Community Brag Posts

Kerplunk Game for Outdoors

Submitted by thediyplan on Thu, 03/18/2021 - 13:54

Here’s another fun game to play for all ages, especially for kids. It’s called a Kerplunk Game. The original Kerplunk game is small, made from plastic, and is mainly for indoor use. But to make it more interesting and to encourage kids to spend more time outdoors, I’ve built a Giant DIY Kerplunk Game with a wire mesh screen. This is a great backyard game for any occasion or a party.

See my website for additional pictures and how I've built it, TheDIYPlan.com

Estimated Cost
$70
Estimated Time Investment
Afternoon Project (3-6 Hours)
Recommended Skill Level
Intermediate

Comments

Potting Bench

Submitted by Anonymous (not verified) on Sun, 04/11/2021 - 13:47

I slightly modified the project to suit my wife's request. One key note: Make sure the main frame pieces mirror each other. I missed that and had two identical pieces outlined in Step 1, versus where the inside aprons actually face each other to allow for the top and bottom rails to be secured to the frame.
Thompson's Clear stain protects the wood; one coat after cutting the pieces and a second one for good measure after assembly.

Estimated Cost
$50.00
Estimated Time Investment
Weekend Project (10-20 Hours)
Recommended Skill Level
Beginner

Comments

Recycling Center

Well...this was pretty much all done by me.

I am really not liking how many bad boards there are at the store. It takes forever to find a decent board. I had some of my x12s measuring closer to 11 (yes I know they aren't 12 inches).

The door is a little wonky but if it bothers me too much I will just replace it with a curtain on a tension rod.

I love the yellow and I am very proud of myself :)

I didn't have a Kreg jig (too expensive for us right now) but it would definitely have been helpful...

Estimated Cost
100
Estimated Time Investment
Day Project (6-9 Hours)
Finish Used
I can't remember the exact color...yellow in Valspar satin.

Handpainted with brush
Recommended Skill Level
Intermediate

Comments

tommirhea

Sun, 03/31/2013 - 07:44

I run into that problem as well!!! And with two kiddos at my hip it gets more annoying to sift thru 5 boards before a good one comes up. But it's all worth it. I made this as well and and the magnetic closure made all the difference. This is really nice by the way. The color is fab!

Flipped Cedar Planter

Submitted by Marrero44 on Tue, 05/11/2021 - 04:20

I used the Ana's Cedar Planter plans and flipped it, placed a bucket with cement inside to support umbrella and made a simple table top for drinks. Hope you like it ✌🏾

Built from Plan(s)
Estimated Time Investment
Day Project (6-9 Hours)
Recommended Skill Level
Beginner

Patio table with built-in cooler

My husband wanted a table next to the grill and he wasn't going to build one after working on our deck for 2 weeks. I thought to myself maybe I could build one that had a built-in cooler. Of course, my source of inspiration came from Ana White. I had to detour a little from her exact plan to accommodate our need. We had a basement egress window coming right at that corner near the grill so we would need a table that cover that area perfectly to make a good use of space, hence the measurements and plan had to be altered a bit. Ana White’s plan has 2 built-ins, ours has only 1. It turned out great and we enjoyed it ever since. Now if only the weather just got warmer!

Estimated Time Investment
Weekend Project (10-20 Hours)
Finish Used
Dark walnut stain with outdoor poly.
Recommended Skill Level
Beginner

Comments

Rustic Desk

Submitted by frmoody on Sat, 09/11/2021 - 06:10

I have build several of these rustic desks. I left the "X" off of this one as I had trouble getting it to fit properly. My last desk I had no issues but not this time. I use MinWax "Provincial" stain followed by three coats of Varathan 3X glossy finish on the top and two everywhere else. I also added a cross piece between the two end sections to better secure the top to.

Built from Plan(s)

Comments

4x4 Truss beam table and bench

Submitted by Anonymous (not verified) on Mon, 10/04/2021 - 13:42

The plans were very easy to follow for non avid woodworkers. We decided to upholster the seat on the bench.

Built from Plan(s)

Comments

Raised Garden Beds!

Submitted by ferbit on Thu, 03/10/2011 - 08:02

Yay! Here are my raised beds, motivated by Ana White's post. :) I decided to use 2x lumber rather than 1x lumber because I plan to add benches on the ends of each bed. I just love how these turned out! I used Hemlock rather than cedar because it was a THIRD less expensive. Orange told me hemlock would last roughly 5-6 years whereas cedar would last 7-9 year. I staggered the sizes too - first bed (with the strawberries) is 4' x 10', second is 4' x 8' and the third (with the stakes) is 4' x 6'. Hubby hauled in a bunch of pea gravel to surround the beds while the girls and I added rocks from around our yard to the perimeter. :)

Estimated Time Investment
An Hour or Two (0-2 Hours)
Finish Used
None!
Recommended Skill Level
Beginner

Tall Wood Planters

Submitted by Anonymous (not verified) on Tue, 10/05/2021 - 19:31

This planter was easy to make. Two days including finish.

Built from Plan(s)

Comments

Loft Bed

Submitted by Jenny Anne on Tue, 03/15/2011 - 08:43

I made this loft bed for my 4-year-old son.  It is plenty strong.  It can easily hold him and his daddy for bedtime stories.  I followed the plans to the letter.  I found this a challenging but attainable second project and only needed help with final assembly.  I'll start working on some bookshelves for under it but need to figure out how to work around the supports I already added (that are omitted in the bookshelf plans).  

Now I have to finish the poor kid's quilt so he can stop using my pink one.
Built from Plan(s)
Estimated Cost
$300
Estimated Time Investment
Week Long Project (20 Hours or More)
Finish Used
primed and painted with satin finish. I still need to cover the final assembly screws and touch up some junctions. One note if you paint this, DON'T paint the sections of the long boards that you'll have to slide in on final assembly. We had to sand that paint off to get them to squeeze in.
Recommended Skill Level
Intermediate

DIY Learning Tower / Kitchen Helper

Our little one may be happily playing independently but the second I go to make dinner she demands to be held and refuses to be put down, making cooking impossible. To help keep her occupied but still involved I've been eyeing a learning tower / kitchen helper on Amazon for months now, but at $200 it just wasn't in our budget. My sister-in-law had made a learning tower from a plan by Ana White and suggested I try to make one too. I was unsure at first, I've never made anything more complicated than a birdhouse, but I decided to give it a go!

Please see my blog post for additional photos and lessons learned during this project.

Built from Plan(s)

Wood Deck Chairs

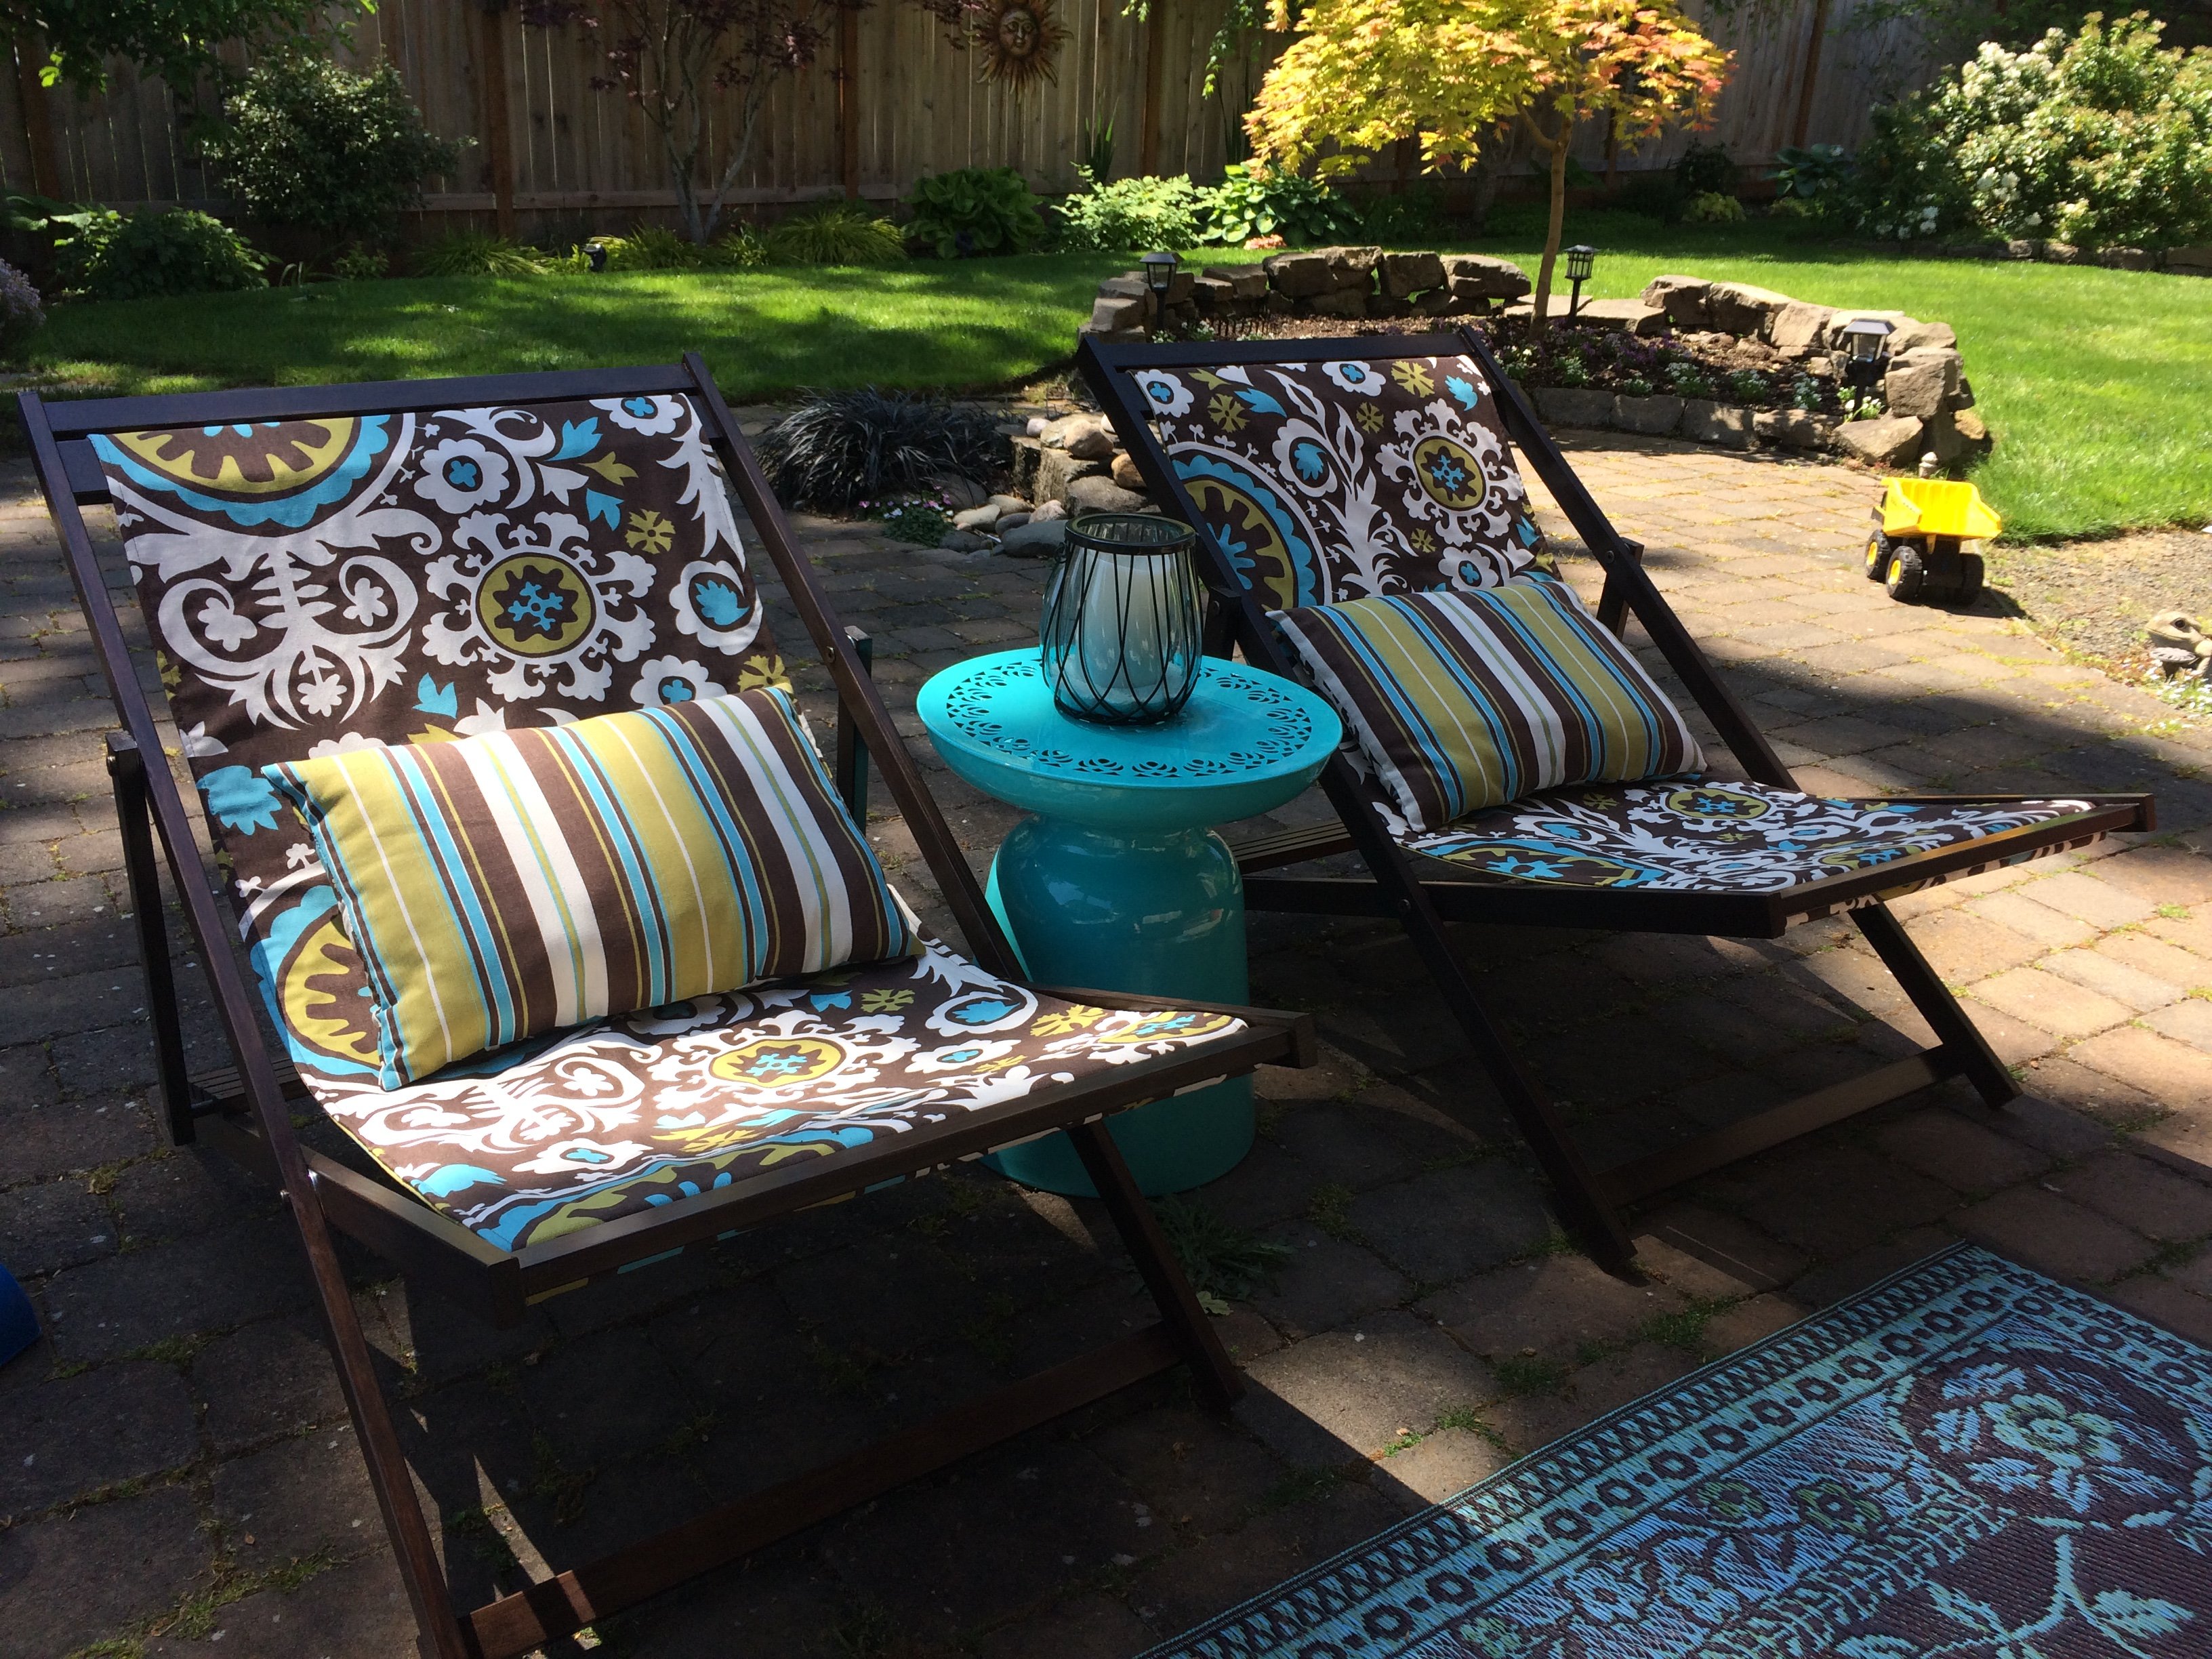
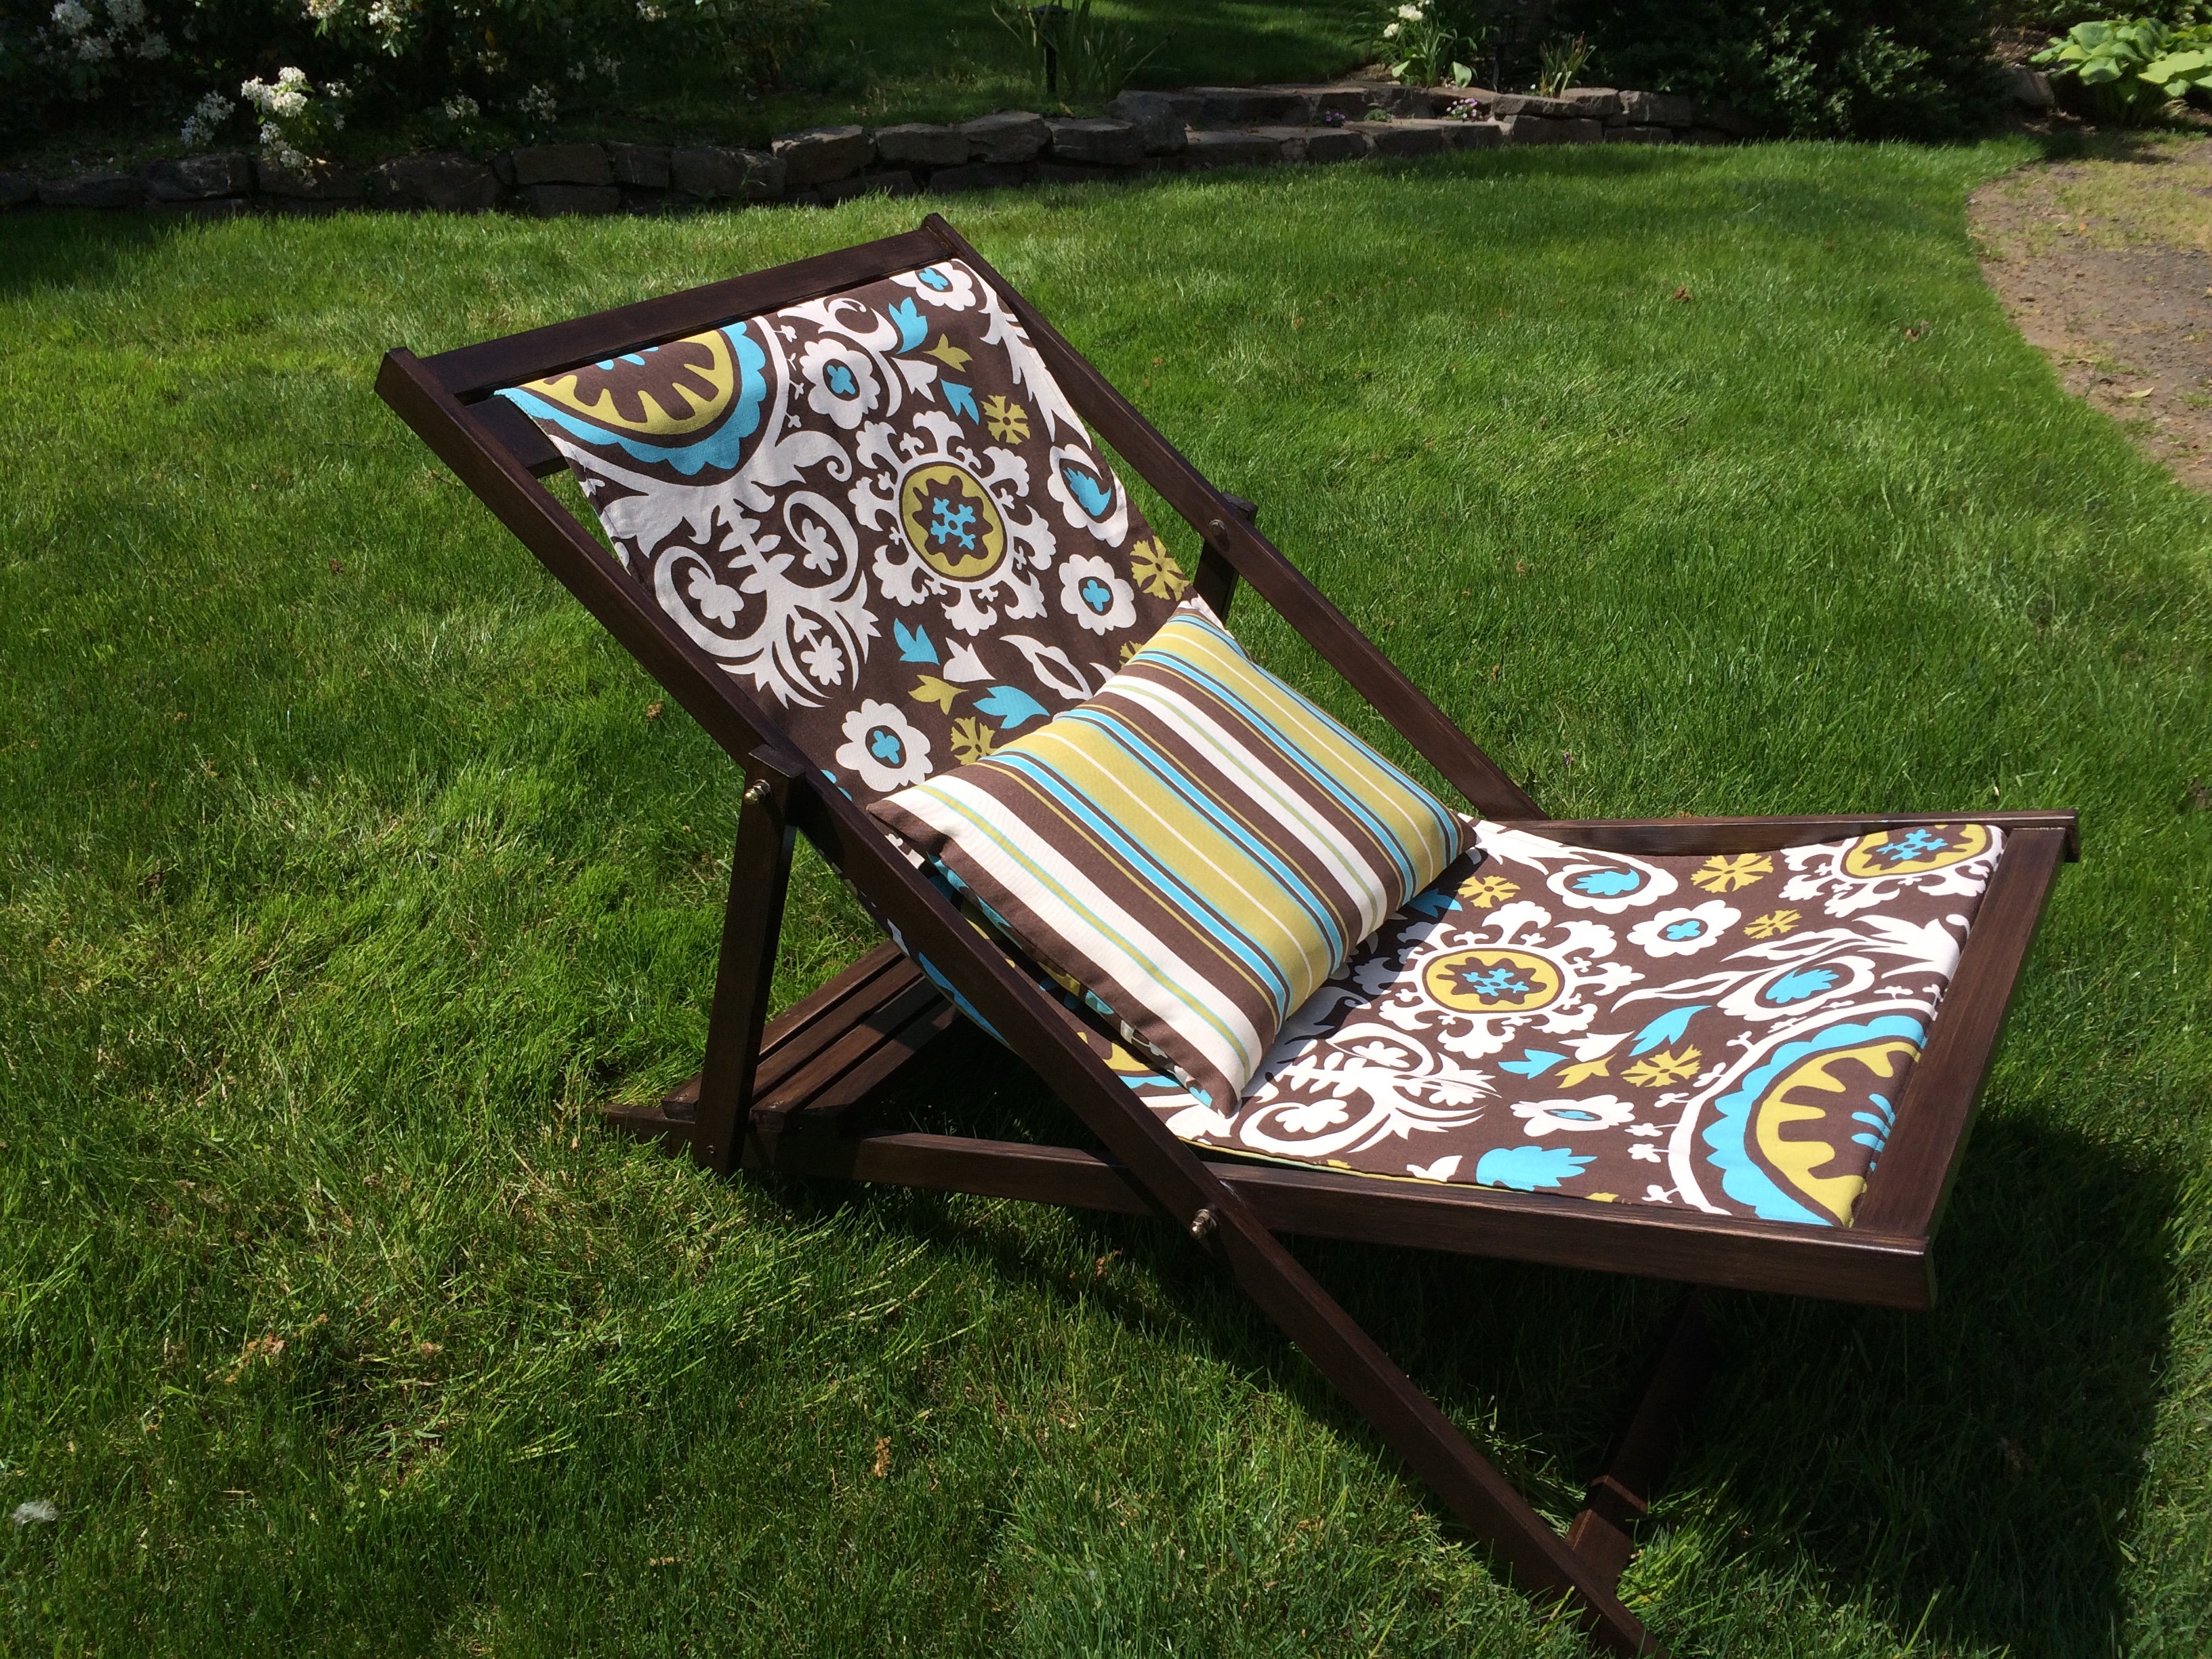
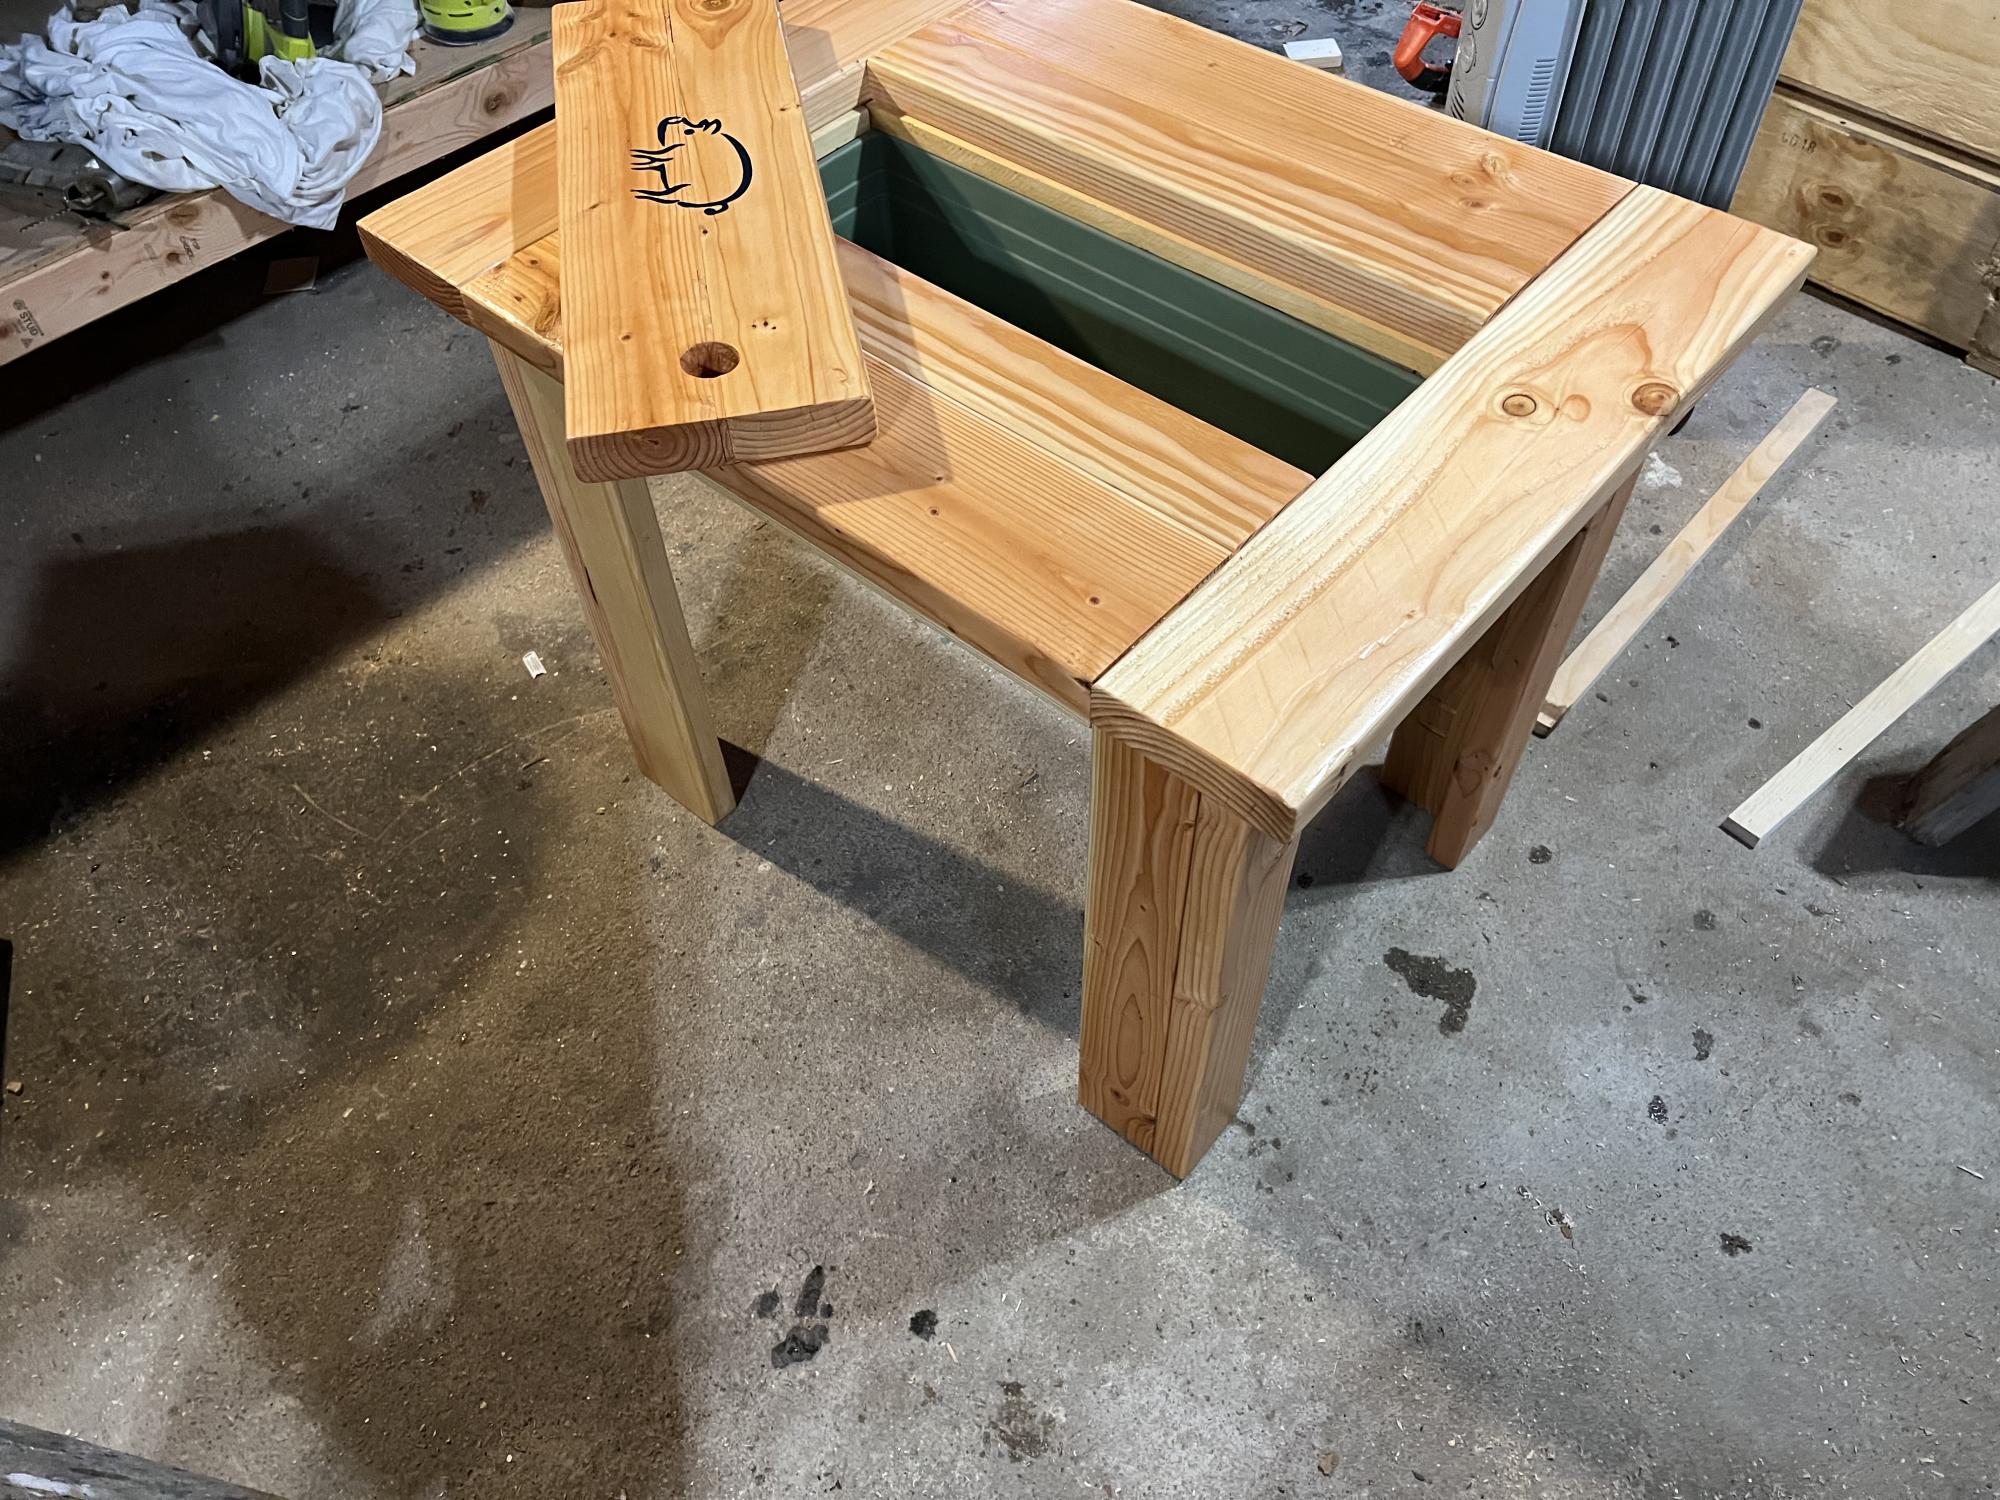
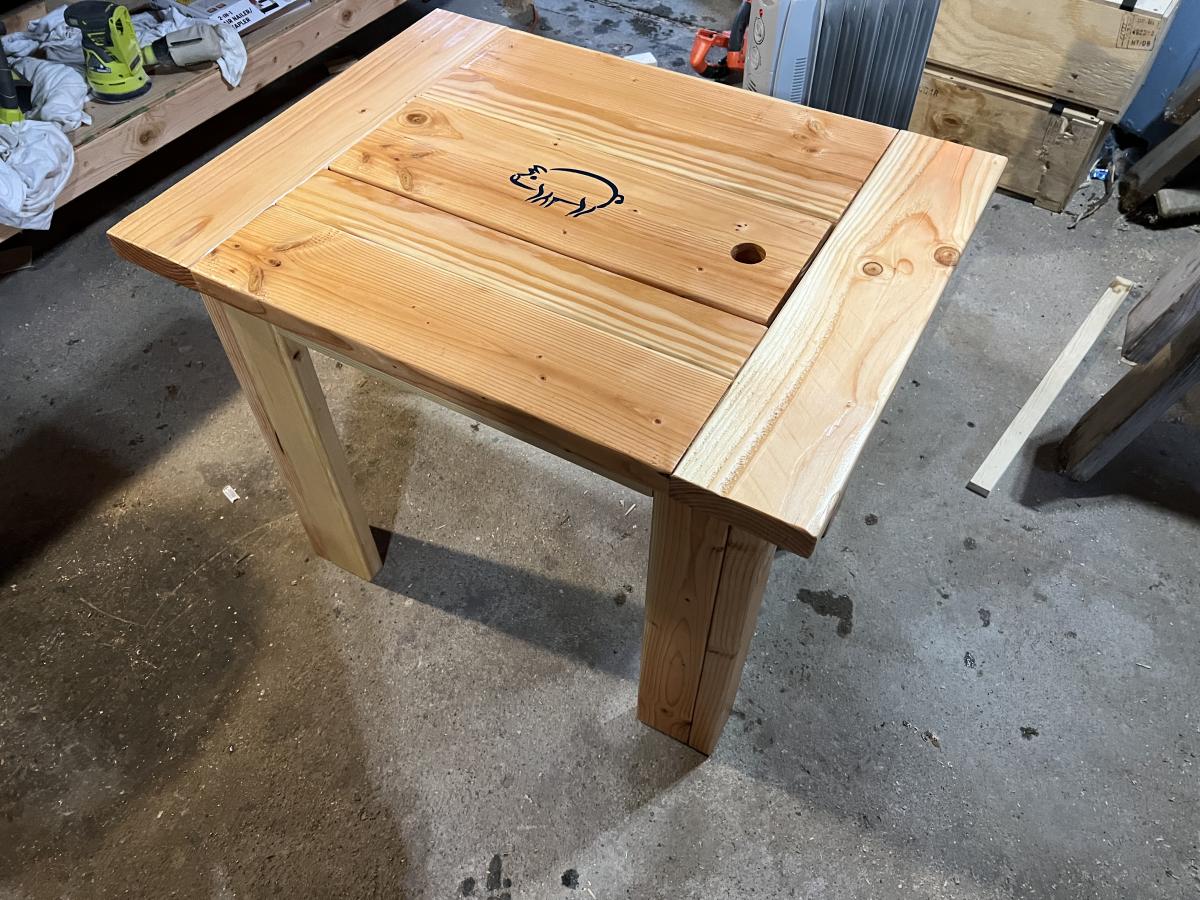
This was my first solo build project and my first time using a power saw. I was terrified but determined because I've been wanting to make these chairs for years. After failing to convince my husband to make them for me, I decided to make them myself and I am so glad that I did. I am so proud!

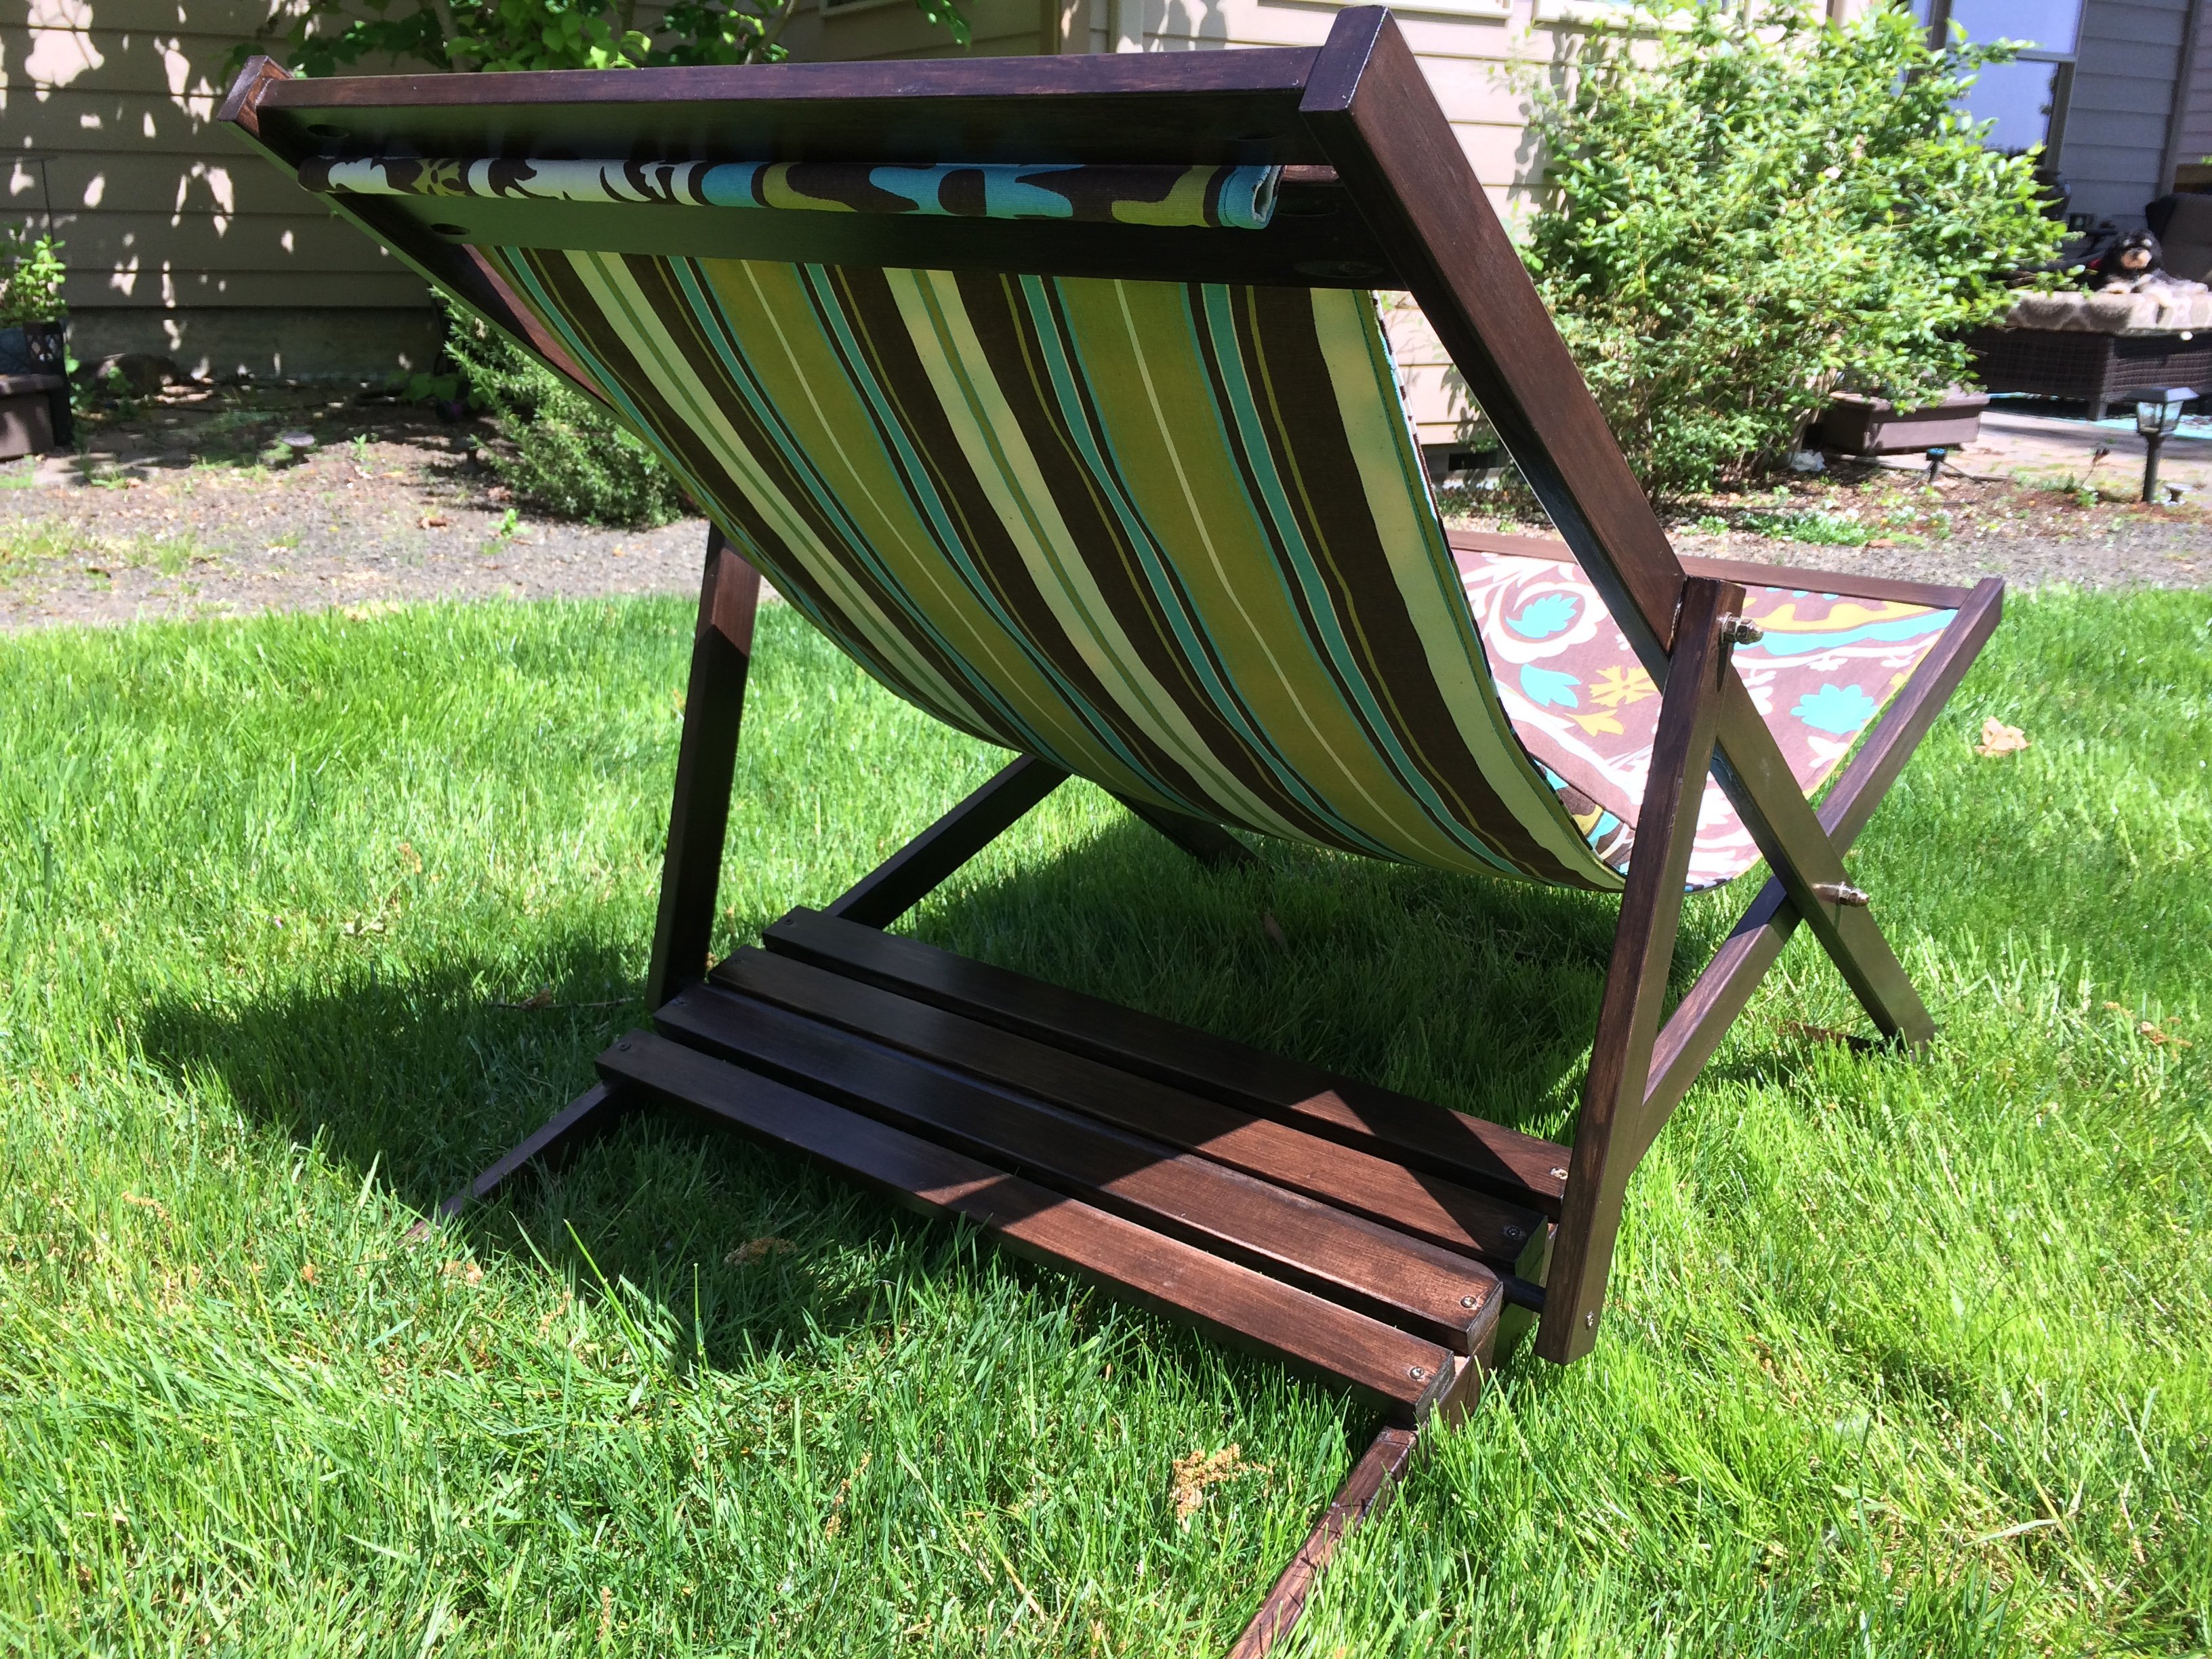
I fell in love with the fabric first (Premier Prints' Suzani Chocolate and a striped fabric called Veranda Chocolate for the bottom) and then picked a stain to match. I chose to reinforce the sling by sandwiching the outer fabric with a layer of heavy duck fabric. I also made pillows, which protect your head from that upper wood support.

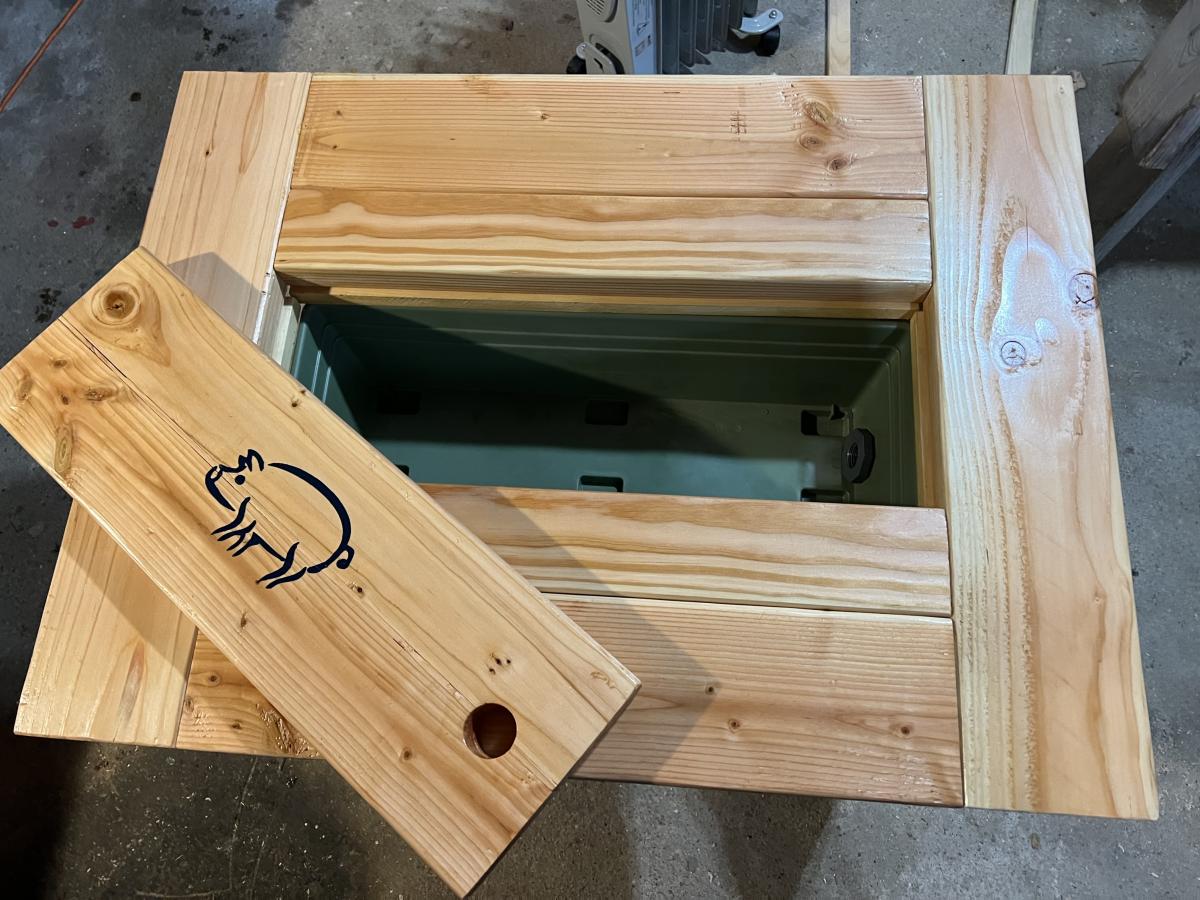
Also, I ordered some special connecting bolts and nuts made by Rockler that someone else mentioned in their brag post. Unlike the hardware mentioned in the original plan, these bolts are flush with the frame on both the inside and out so the chairs can fold completely flat. Here are the links to them on Amazon:

http://www.amazon.com/Statuary-Bronze-Connector-Bolts-8-Pack/dp/B001DT3…
http://www.amazon.com/Cap-Nuts-Connector-Bolts-pack/dp/B001DT3G9O/ref=p…

The inner frame did need slightly larger holes (3/8 inch, I believe) to accommodate the cap nuts.

Estimated Cost
$100 - I spent a little bit more on wood than others because I bought pre-sanded stock. I also ordered extra fabric to make pillows and chose two different fabrics to make the design reversible. This project can definitely be done more economically if you already have some of the materials and if you find the fabric on sale.
Estimated Time Investment
Weekend Project (10-20 Hours)
Finish Used
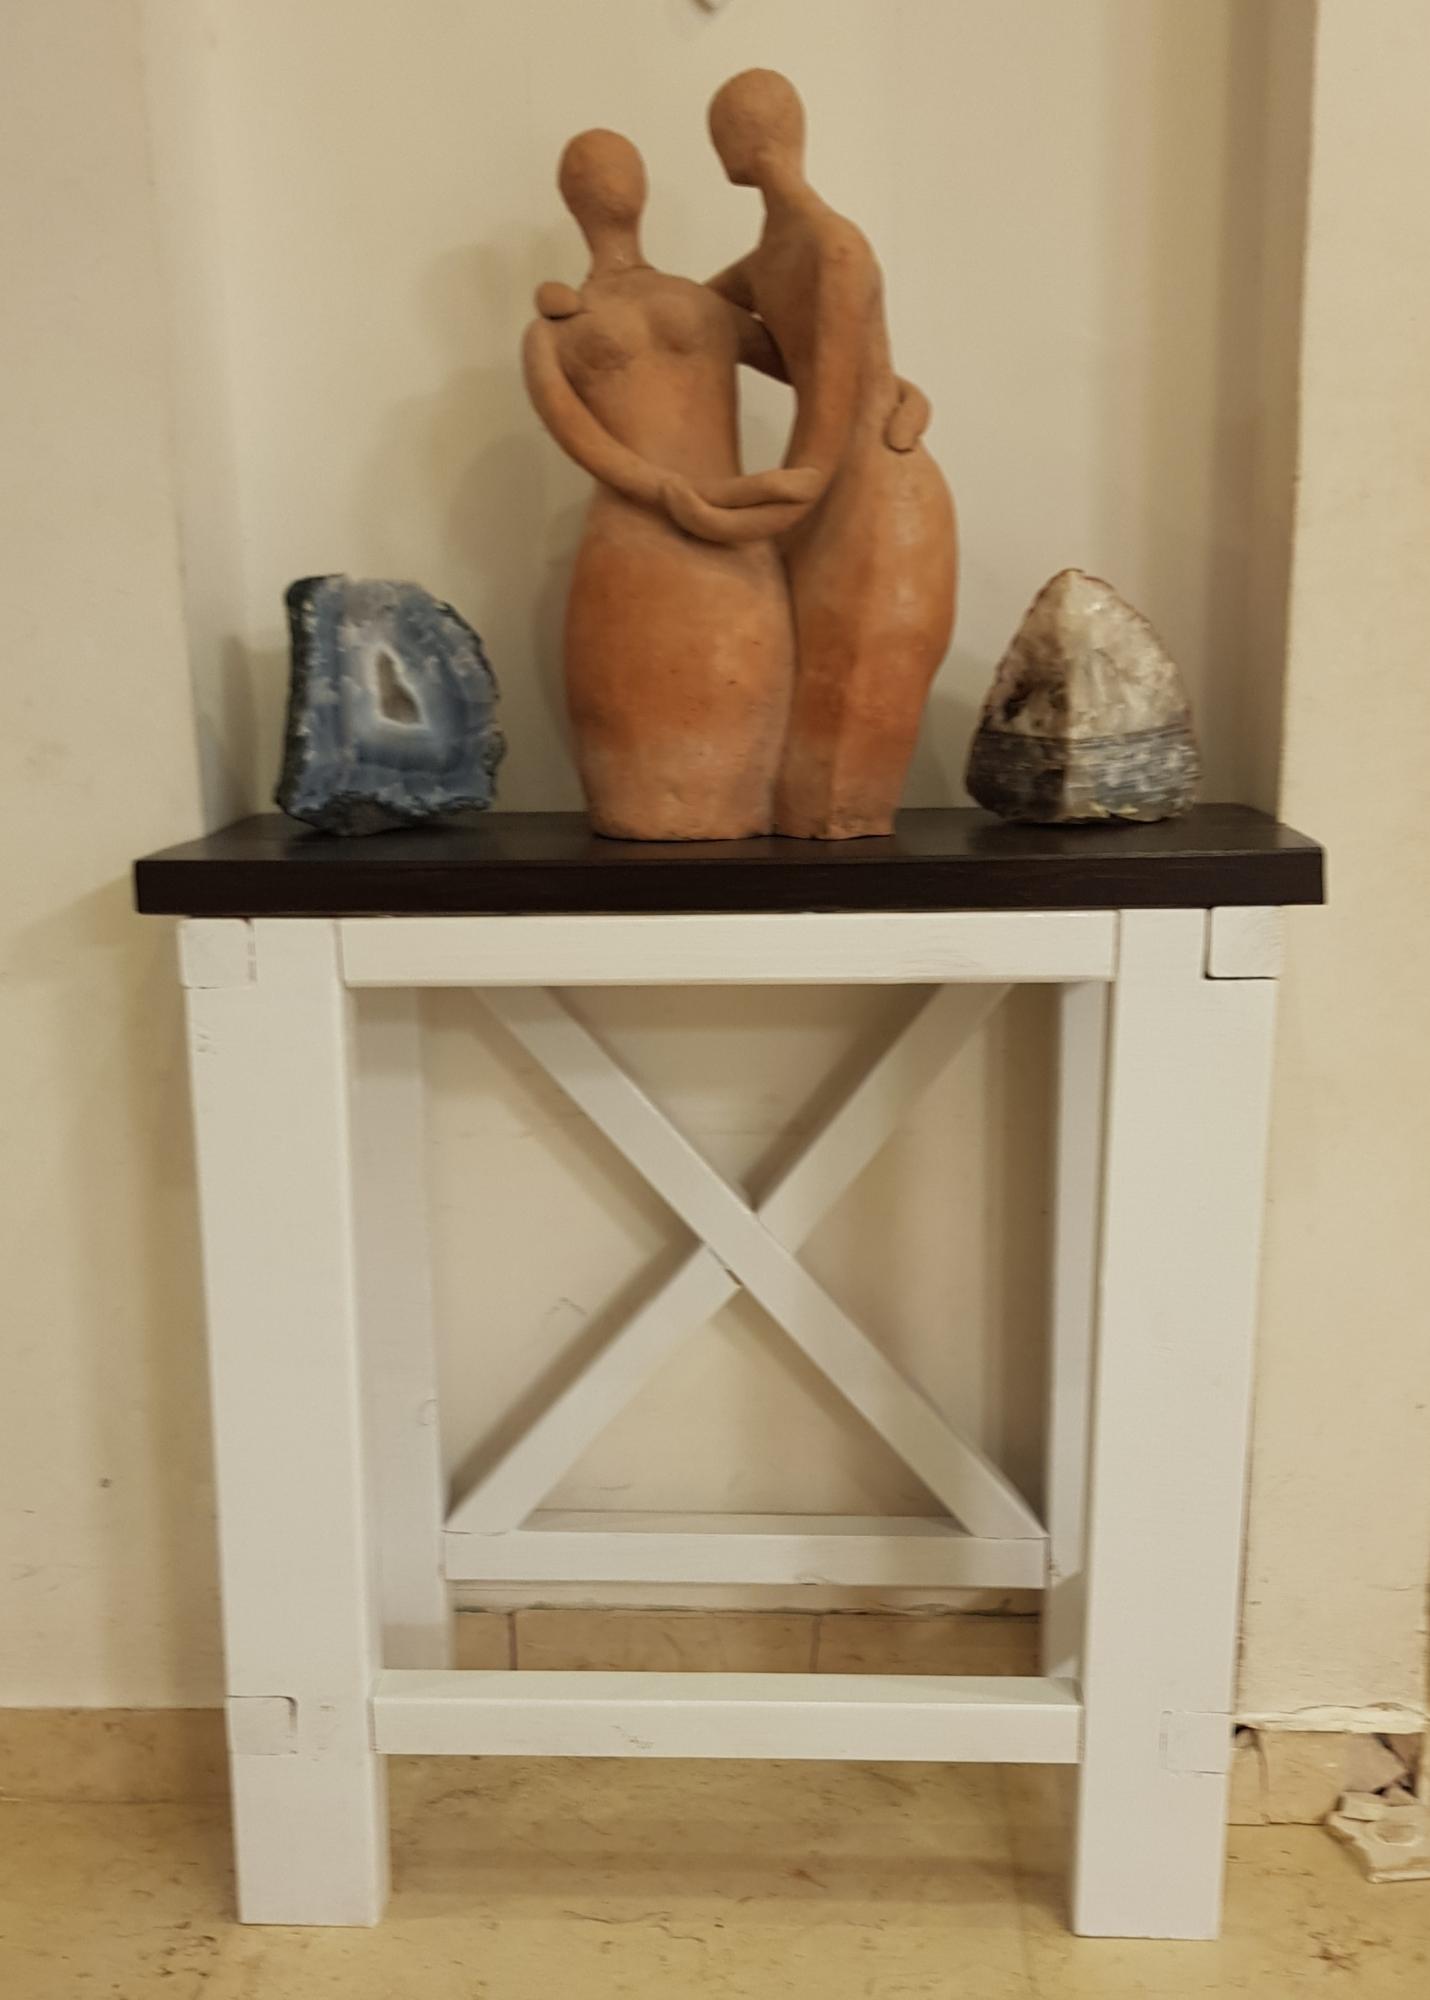
Cabot Premium Wood Finish Stain & Sealer (Espresso) - I originally tried a few different stains (one from Minwax and one from Valspar) that we already had but I didn't like the fact that I would have to do multiple coats to get the color opacity that I wanted and then I'd have to do multiple coats of sealer. I'm too impatient for all that so I found an all-in-one product that worked beautifully. I will definitely use this product again!
Recommended Skill Level
Beginner

Comments

Joni

Fri, 05/22/2015 - 09:43

These are just beautiful. Nice job! Thanks for such a nice write-up with all the additional hardware information.

Modified rustic table and benches

Submitted by dkarinen on Sun, 06/16/2013 - 21:09

We built this table for my brother and new wife's wedding present. We modified it to use as an outdoor dining set. Instead of using the 1x10 for the tabletop we used 2x6's and for the legs we used 4x4's. We attached the top boards with a Camo fastening system we used last year on our deck (works great to conceal the screws). I stained the frame in Behr Cordovan Brown and the top boards in Behr Cedar Naturaltone. It was our first attempt at building a table and I think it turned out great, only problem was giving it away!

Built from Plan(s)
Estimated Cost
$300
Estimated Time Investment
Week Long Project (20 Hours or More)
Finish Used
Behr cordovan brown stain and Behr natural cedartone
Recommended Skill Level
Beginner

Comments

storchinsky

Mon, 06/17/2013 - 10:57

Very nice! I'd been considering this plan for my outdoor table, but my husband liked the modern farm table better. Same idea--I am leaving gaps to allow the water to drain. Love the two-tone finish! It's amazing what you can do with plain old 2 x 6s!

Butcher Block Table

Submitted by Anonymous (not verified) on Sun, 12/19/2021 - 03:56

My own take on this build:
https://www.ana-white.com/community-projects/butcher-block-kitchen-isla…
I used a pre-made butcher block top from Home Depot. I did have to cut it down to 2ft by 3ft
Legs were premade from tablelegs.com. I wanted solid legs and didn't want the hassle of shopping fo 3 inch thick lumber.
Drawer is Tiger Maple with plywood bottom, and the rest of it is Hard Maple.

I made a high speed style build video here-
https://youtu.be/iS5wN_CUrEk

Comments

Christmas Stocking mantle

Submitted by Anonymous (not verified) on Sun, 12/26/2021 - 13:22

I made 2 different-sized mantles, one for my daughter’s house (taller and wider) and one for mine.

Built from Plan(s)

Comments

Seasonal And Holiday

Small Rustic X Console

Submitted by Anonymous (not verified) on Mon, 12/27/2021 - 02:36

My first project!

Built from Plan(s)

Comments

Ice Trough Table

Submitted by SHiggins03 on Mon, 12/27/2021 - 11:37

Wanted to try something different for my Secret Santa gift. Didn’t have the exact plans I needed so I based it off others. Built this to fit in and out of an RV entry door. It also has a drain valve underneath. This was my first without a plan project

Comments

Greenhouse

Submitted by Anonymous (not verified) on Sun, 01/02/2022 - 12:30

Built the greenhouse from Ana Whites plan
She did the plan really well..

Built from Plan(s)

Comments

Modern Farmhouse Bed Frame

Submitted by SofiaTaz on Thu, 01/06/2022 - 23:15

I love how this bed frame turned out! Everywhere that has stain is cedar and the rest is all scrap spruce. Thanks for another great plan Ana!

Built from Plan(s)

Comments

laundry pedestal

Submitted by queenmommy on Thu, 06/02/2011 - 19:19

This was my first project for our newly purchased house. I built it in the 1-car garage and patio of the duplex we were living in prior to our move. I haven't put the trim pieces on yet because it we moved and started using it the day after I got it screwed together.

Estimated Cost
$130
Estimated Time Investment
Weekend Project (10-20 Hours)
Finish Used
2 light coats of Valspar satin spray paint in Berry.
Recommended Skill Level
Beginner