Wood Scrap King Bed
Using Ana's Cassidy bed plans, I made this king sized bed. I substituted scrap pieces for them shims.
Built from Plan(s)
Using Ana's Cassidy bed plans, I made this king sized bed. I substituted scrap pieces for them shims.
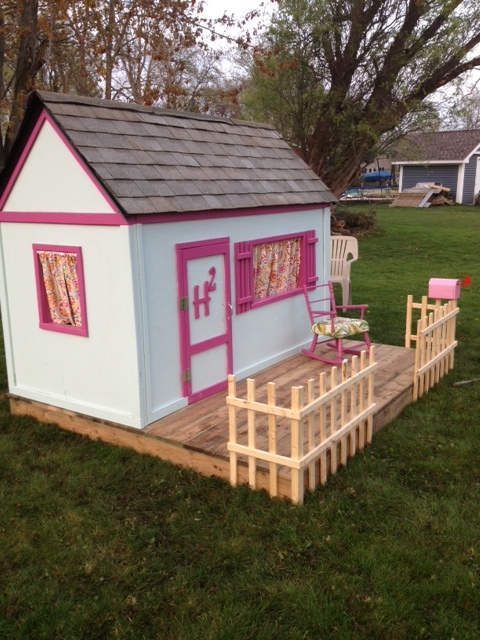
This was our first project and it was pretty simple! We are really happy with the results. We went a little further and lined the inside ceiling and used outdoor carpet inside as well. We saved money by using reminant wood for the deck and some old shingles that had been lying around. It was our first time roofing so it is far from perfect but it should stay dry. Overall our two little girls LOVE it.
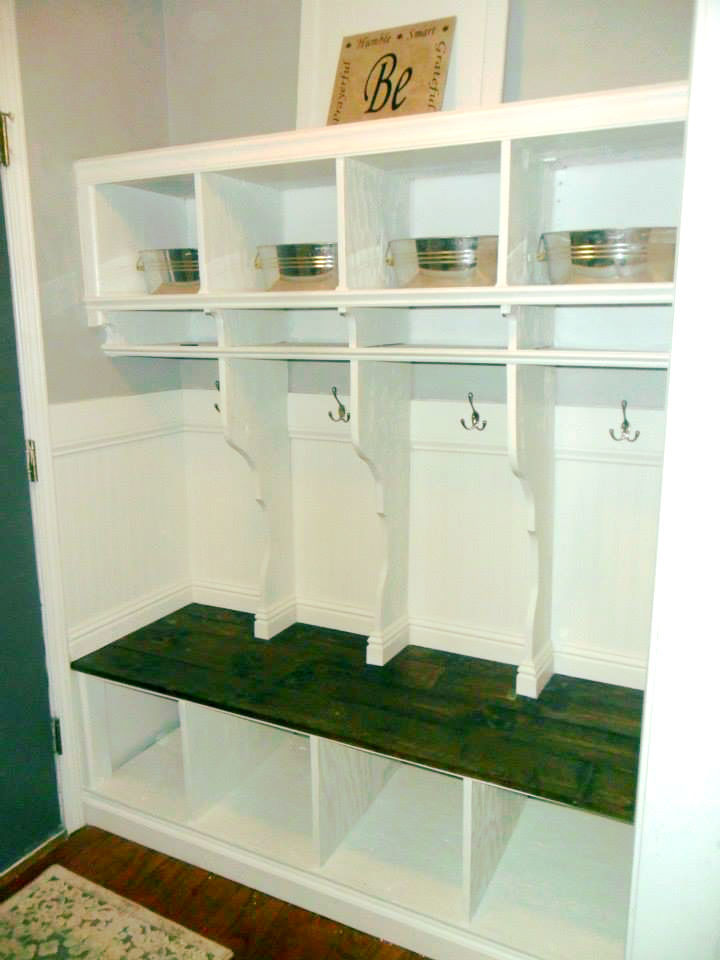
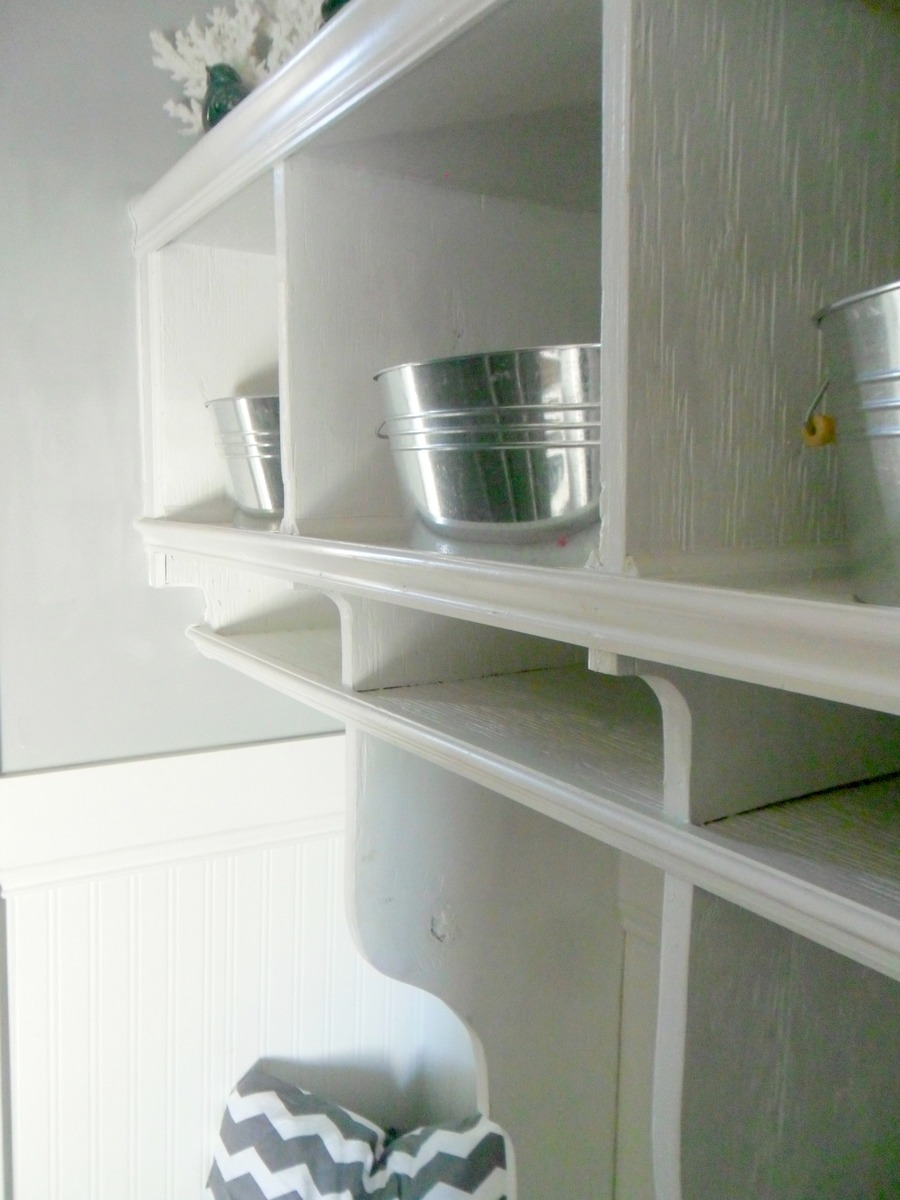
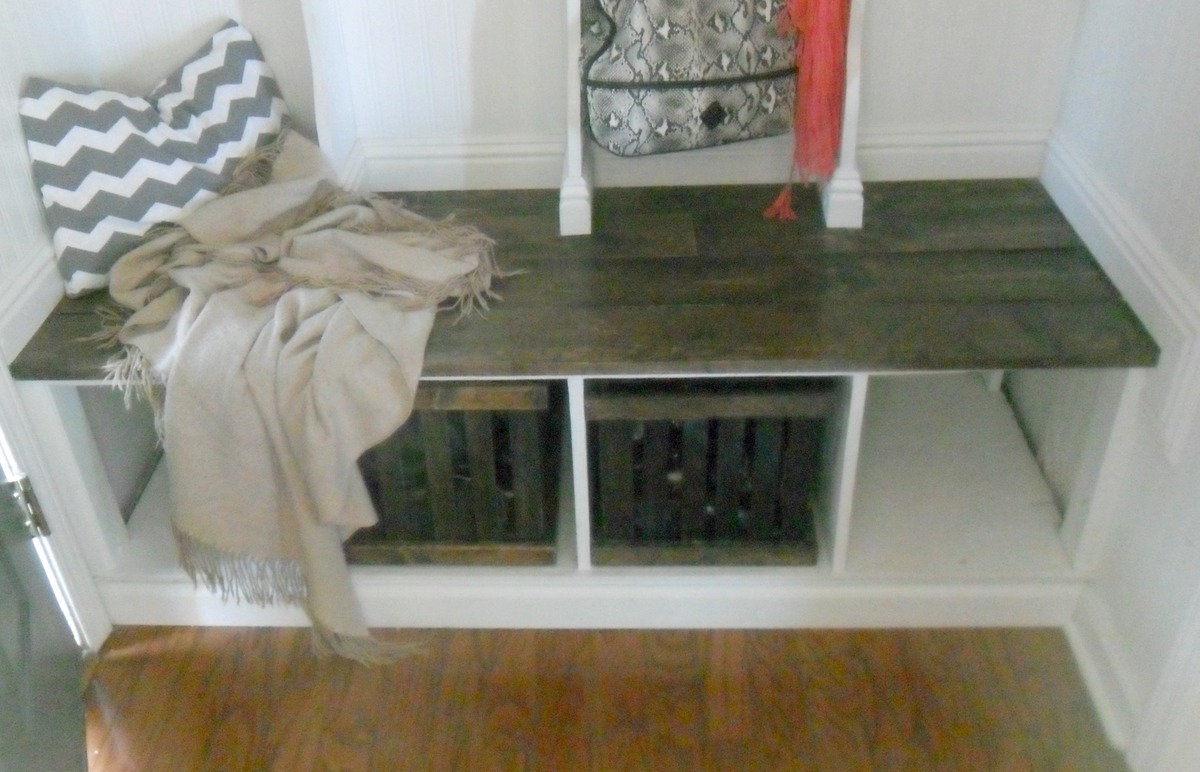
This was my very first building project. I needed a place for my kids to store their things as they went in and out of the house. I happened to have a perfect place to add built ins just inside my front door. Our house is pretty small and there wasn't much room anywhere else. It took me quite awhile, but I was able to learn from reading several Ana White plans and then I designed this myself. I learned how to use Google sketch-up in order to design it. I hope you enjoy checking it out!

Wed, 01/29/2014 - 20:06
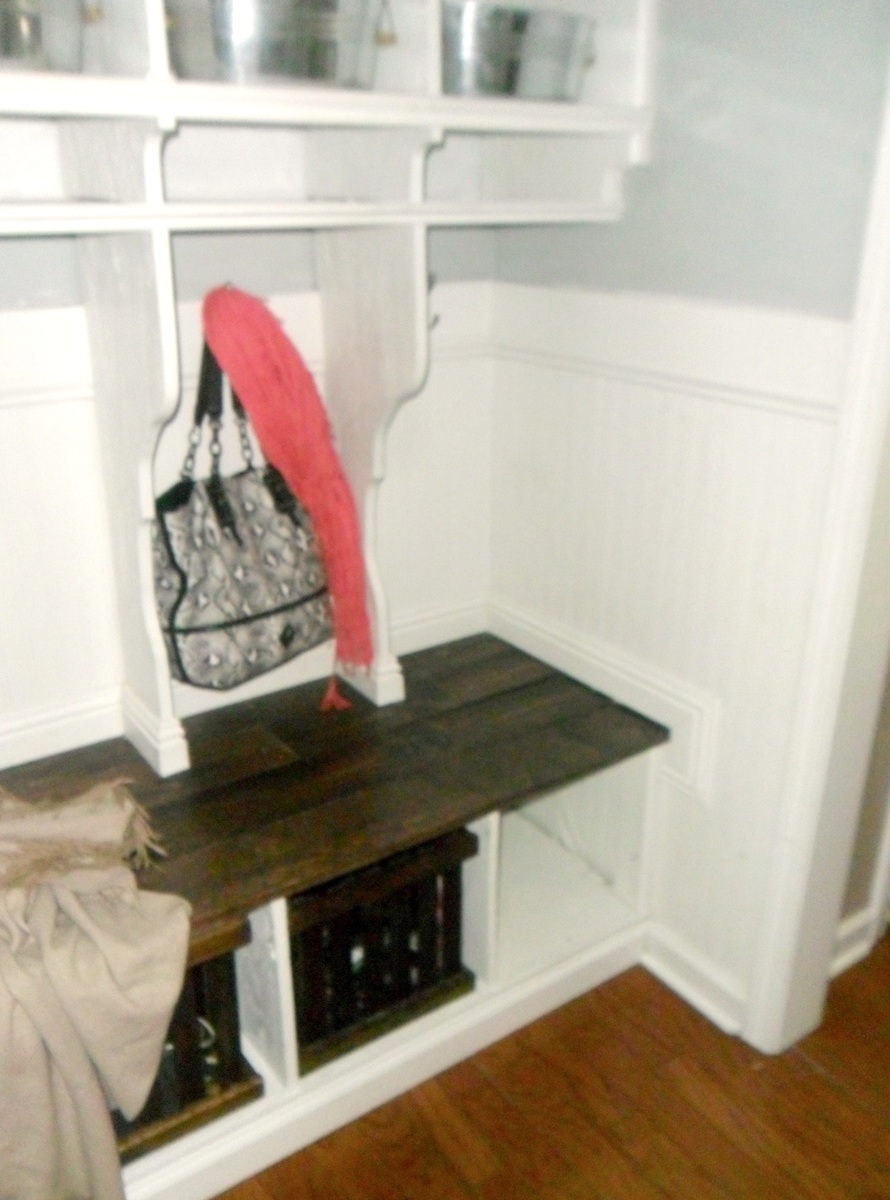
I love the details used. Especially the seating area color choice, buckets for storage and extra shelf...what do you plan on using the smaller shelves above the hooks to store? One small suggestion, you might consider adding extra hooks on the side panels. I did this on my project and I think we've used every hook we have LOL! Fantastic job!!

In reply to Great job! by tommybo76
Thu, 01/30/2014 - 16:20
Thank you so much! You are right, that is something I actually have plans to do. We can always use more hooks! The smaller slots are for school papers. My kids each have a section (I have four kids). They are to take out any papers that they need me to see and place them in the homework slot...I will then either return it to the slot or trash it, if need by. I also use it to put anything I find laying around the house that belongs in their bookbags or that needs to go to school in (library books, etc). You can see the whole tutorial, if you're interested, here: http://www.home-heart-and-hands.blogspot.com/2014/01/diy-mudroom-and-ent...
Thu, 01/30/2014 - 13:26
Thank you so much! You are right, that is something I actually have plans to do. We can always use more hooks! The smaller slots are for school papers. My kids each have a section (I have four kids). They are to take out any papers that they need me to see and place them in the homework slot...I will then either return it to the slot or trash it, if need by. I also use it to put anything I find laying around the house that belongs in their bookbags or that needs to go to school in (library books, etc). You can see the whole tutorial, if you're interested, here: http://www.home-heart-and-hands.blogspot.com/2014/01/diy-mudroom-and-en…
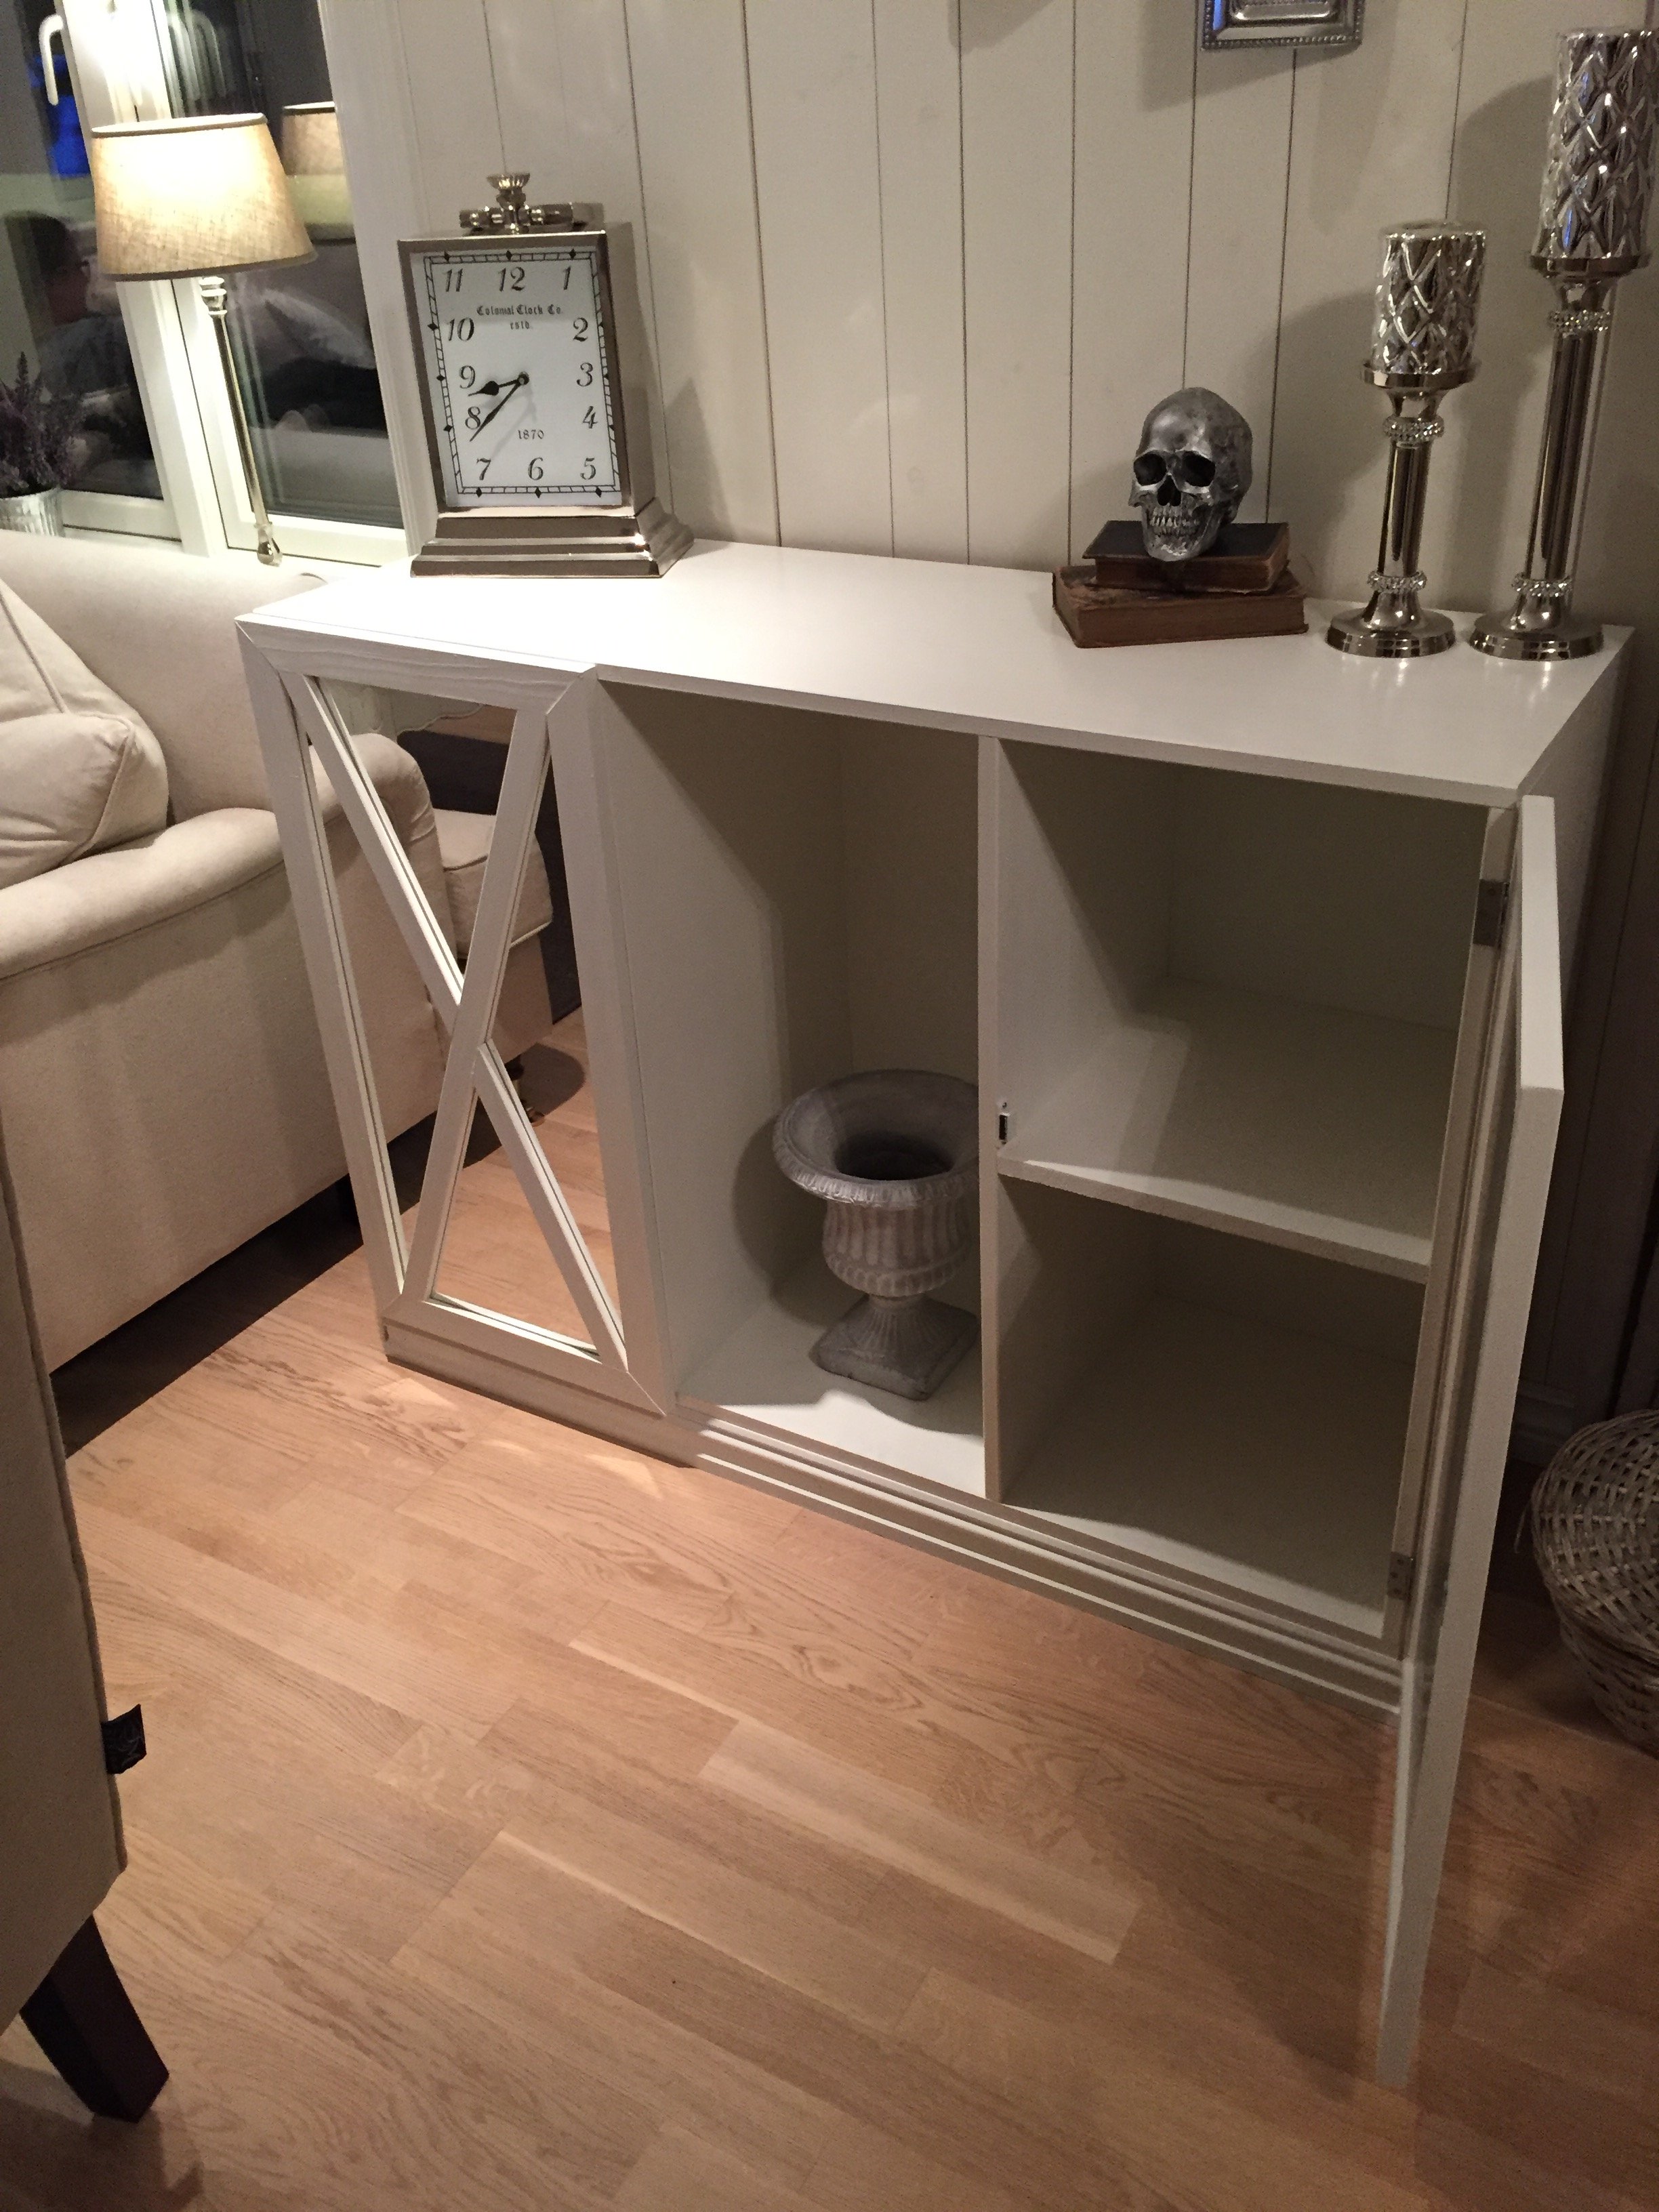
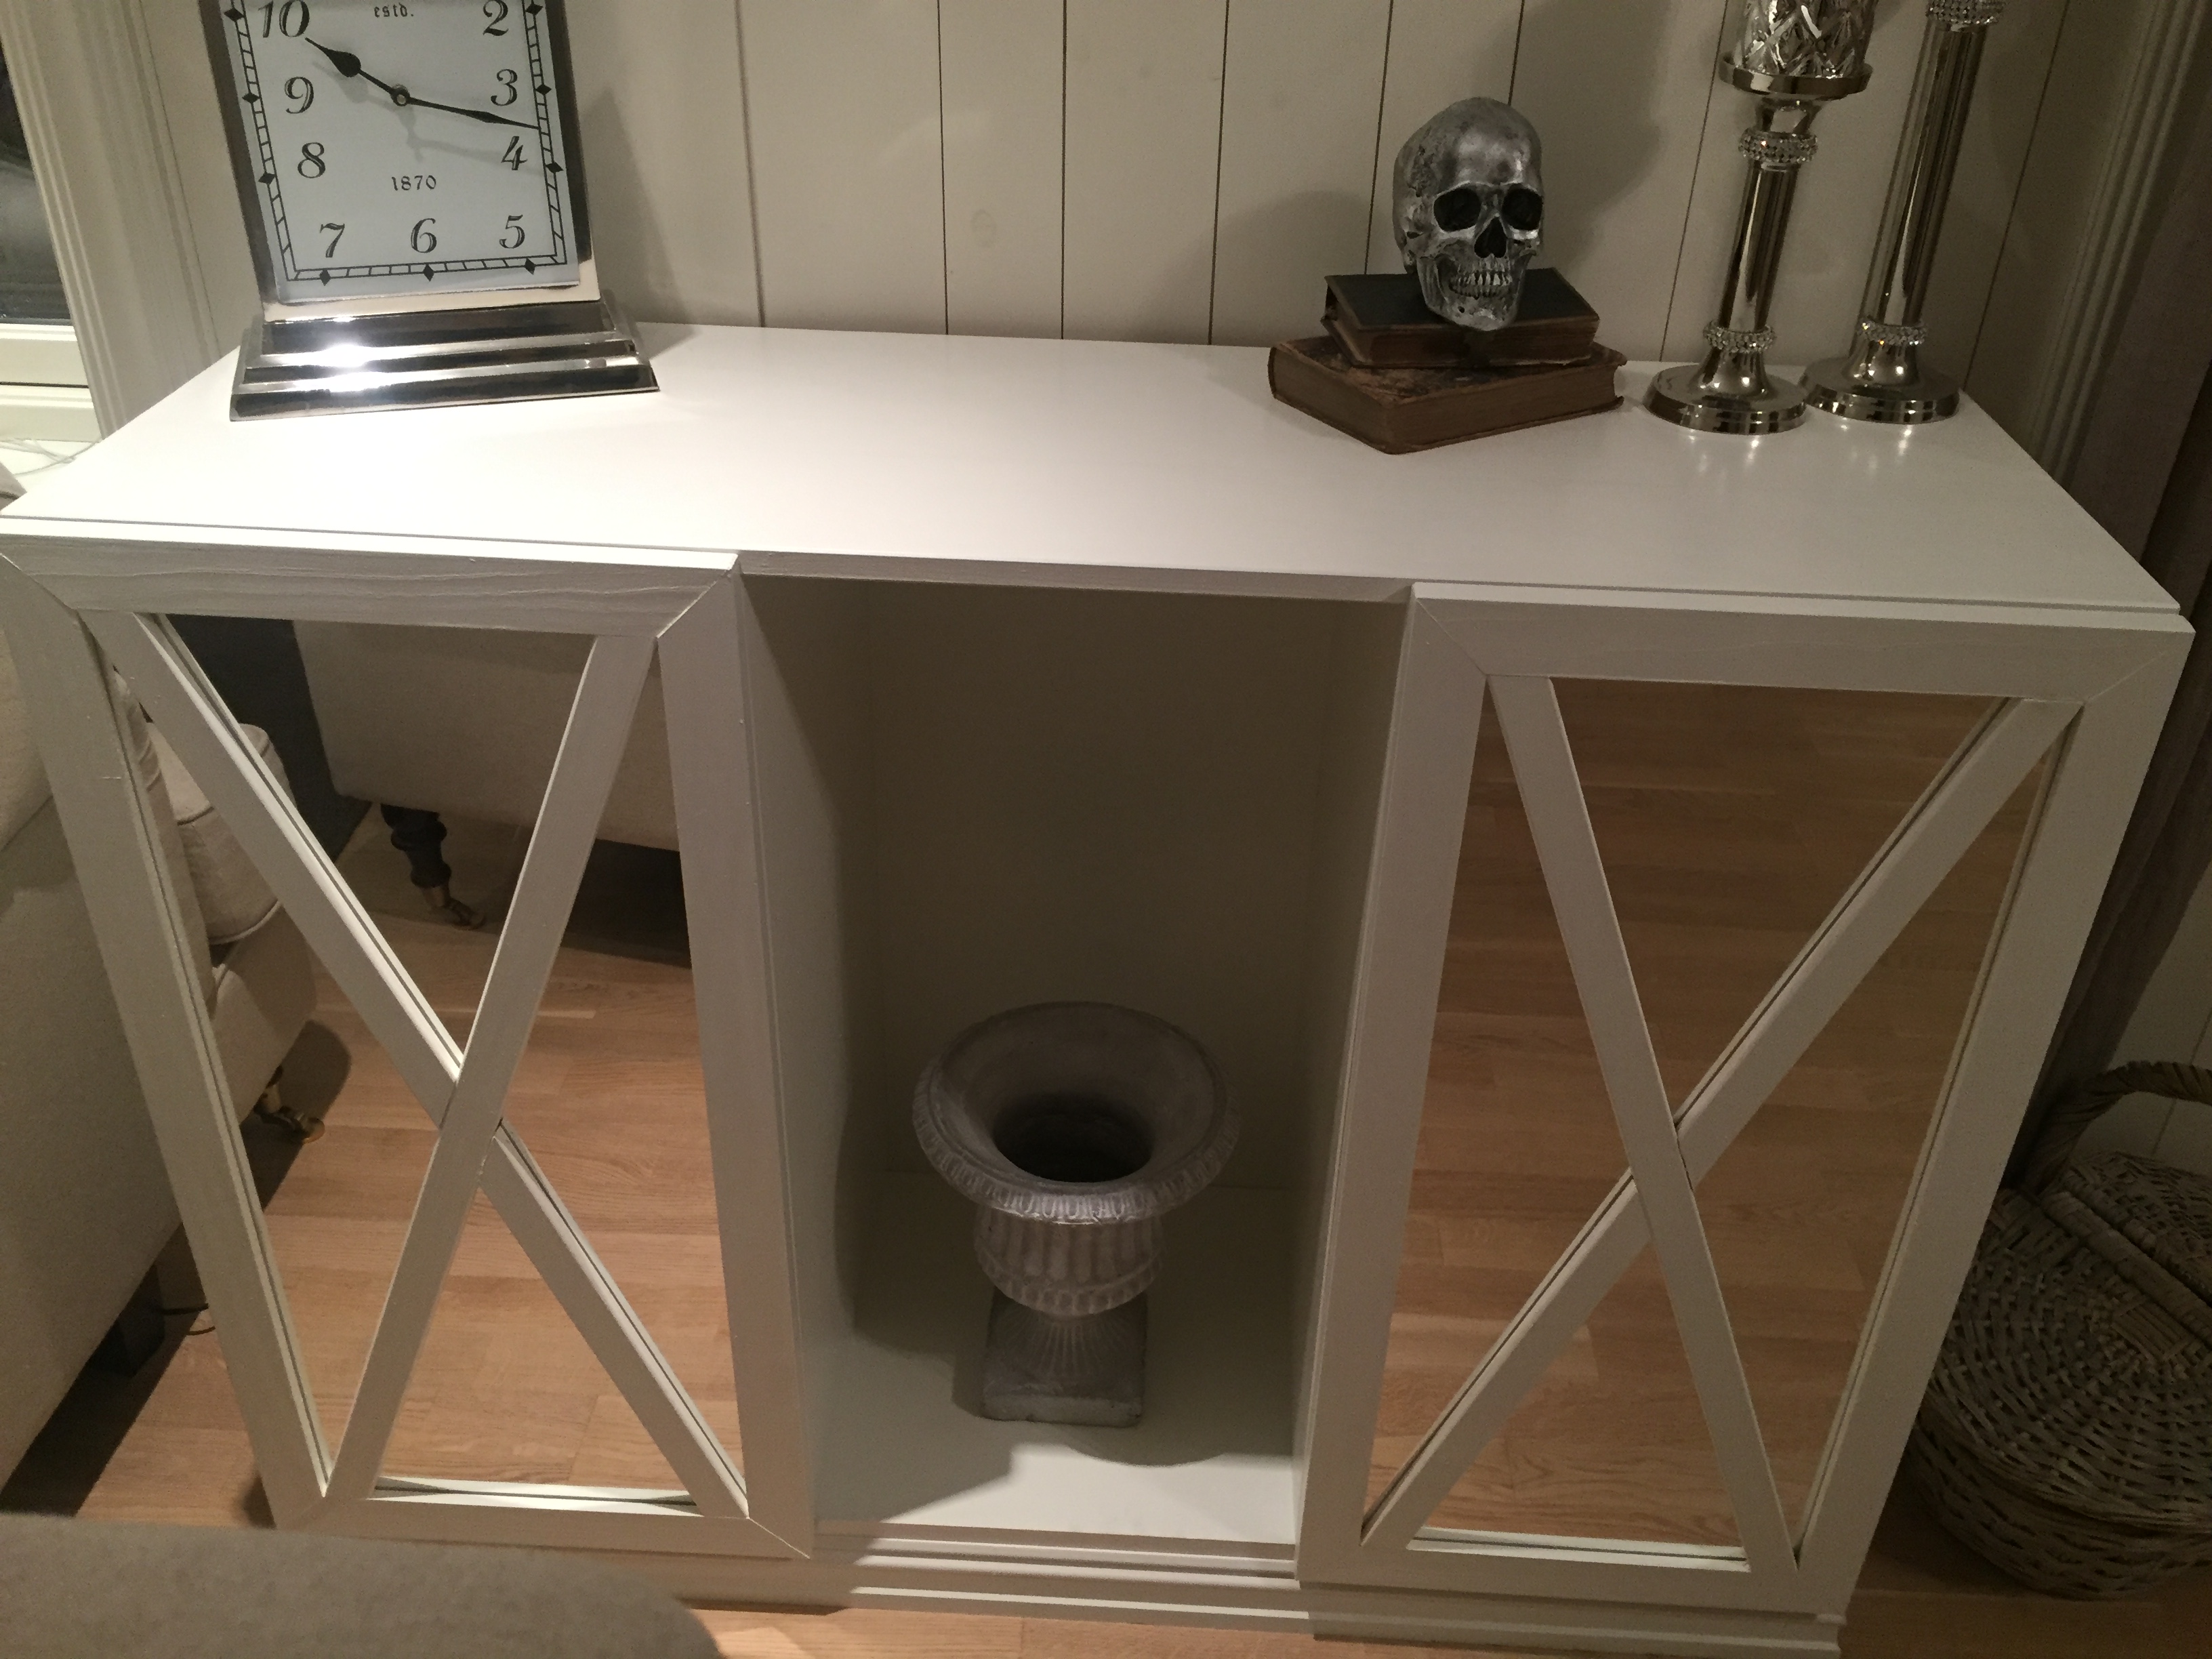
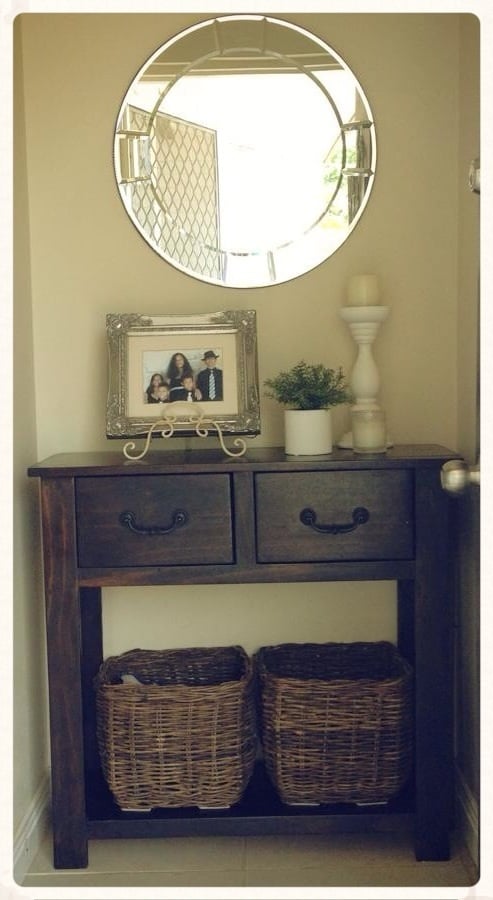
My own take on a mirrored console

I took your plan for the Clara table to make Ben's table. I used your sizing but made Ben's table with pedestal legs. I then used your $4 chair plan as well.
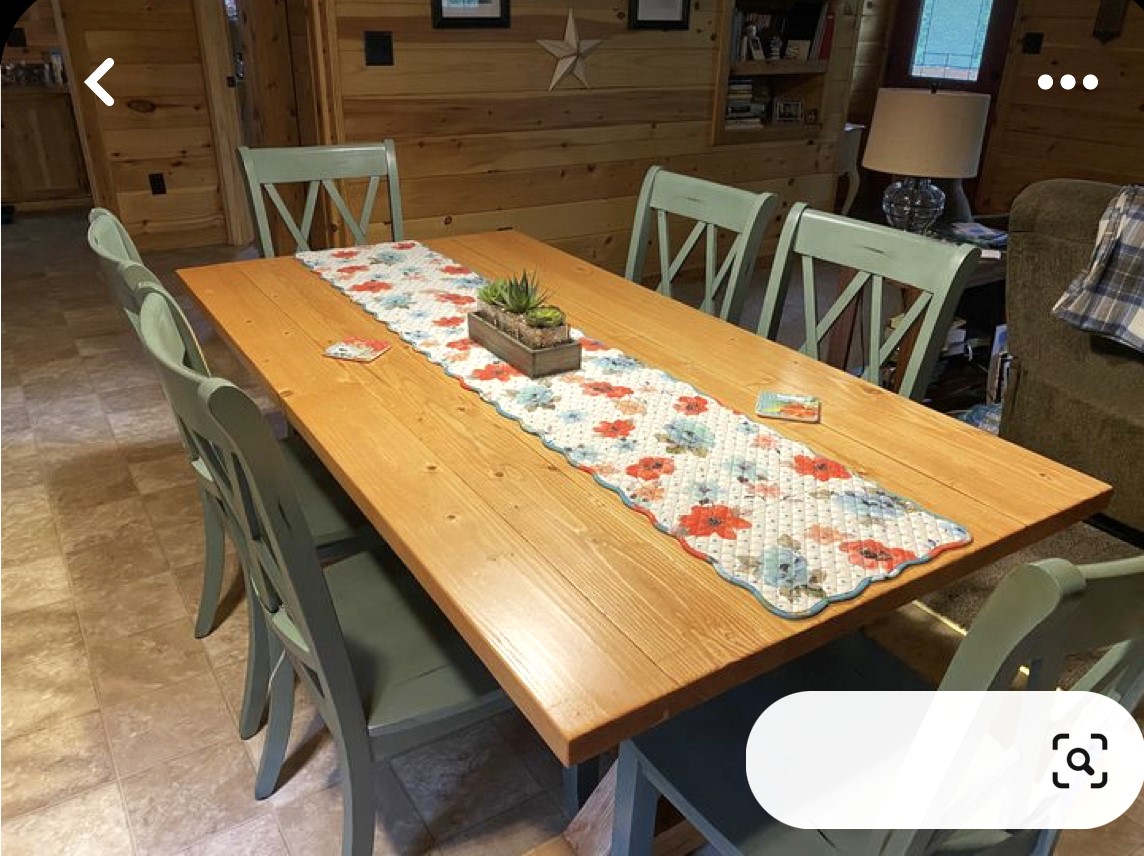
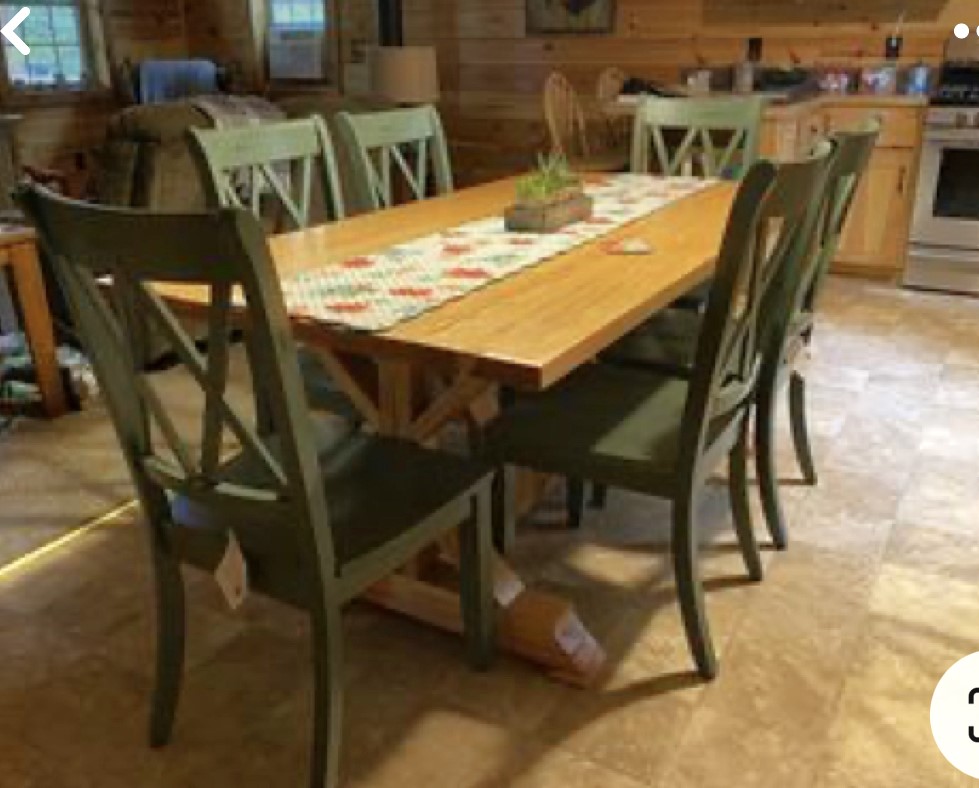
Most of the timbers you use we in Australia consider exotic timber.
I used eucalypts. Tasmanian Oak for the table legs and Red Ironbark for the rest.

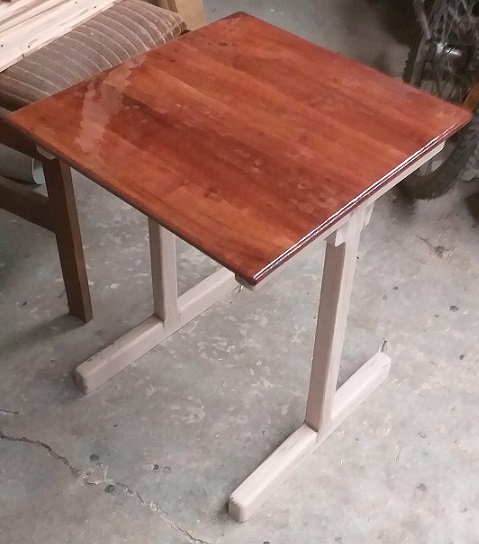
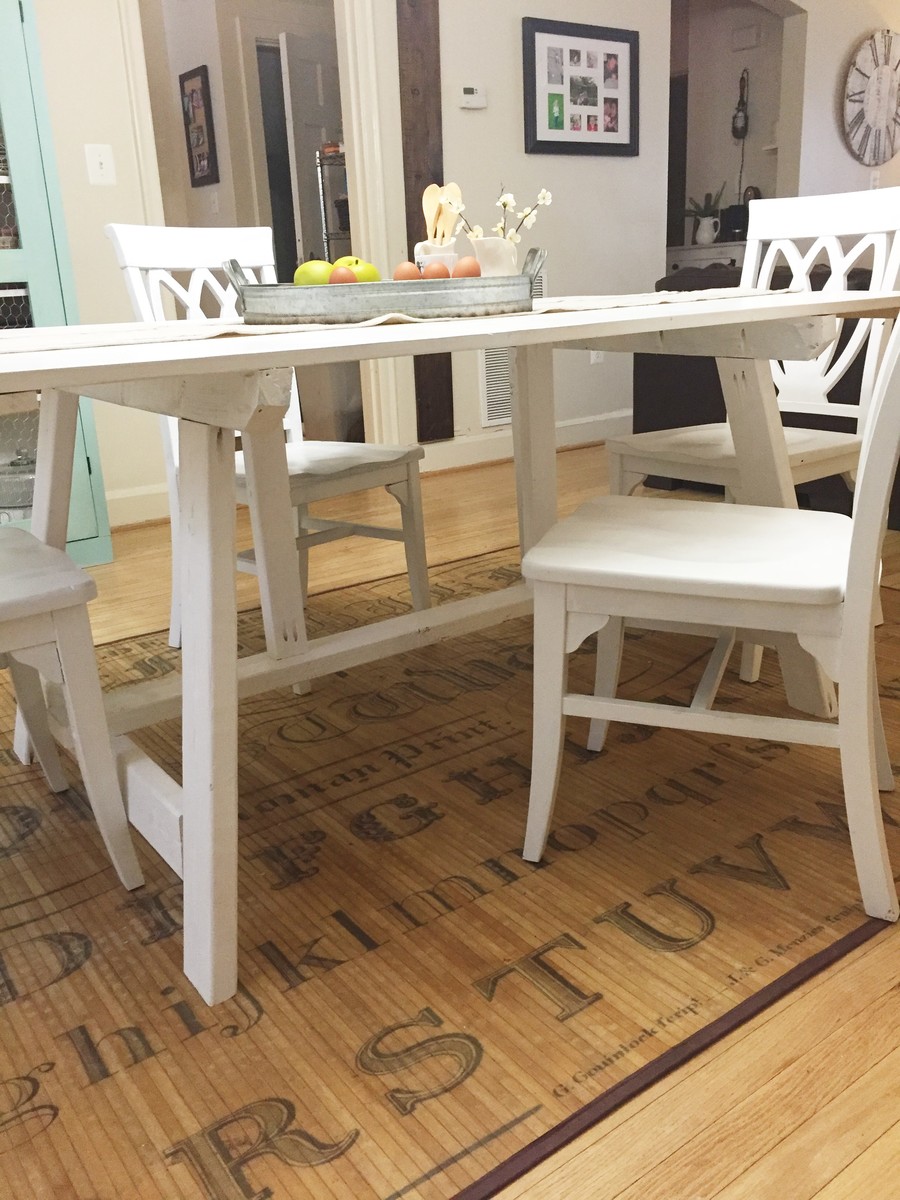
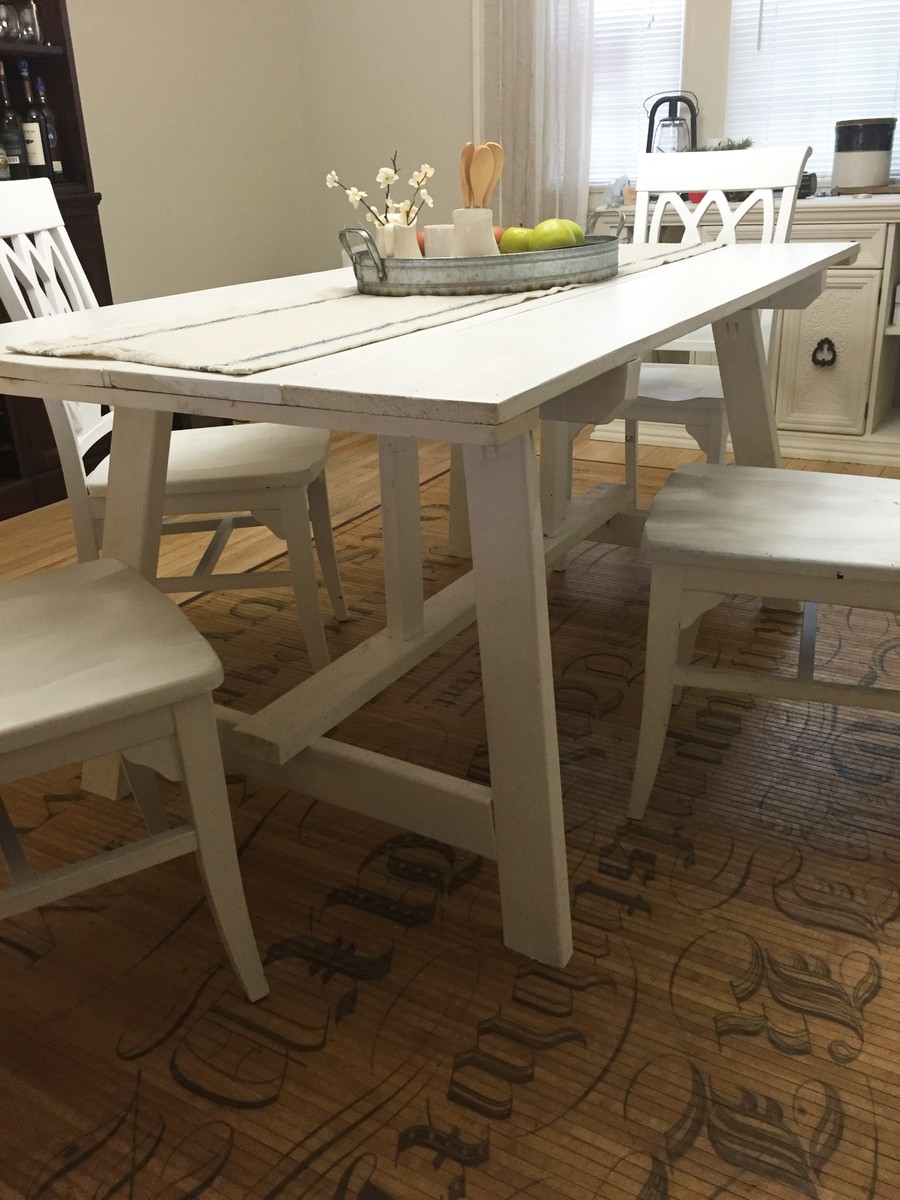
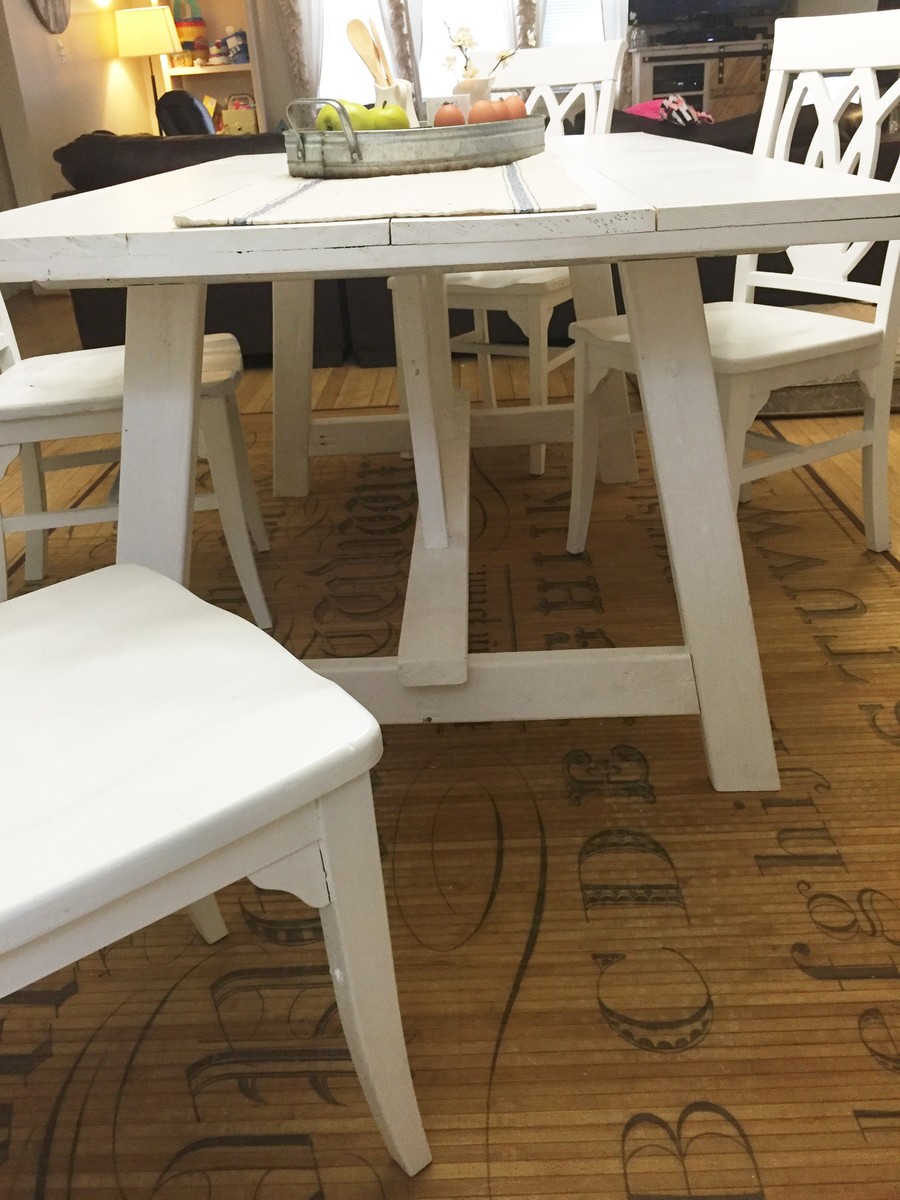
I needed a larger kitchen table to seat six and made the trestle table. Love it!
Terri M
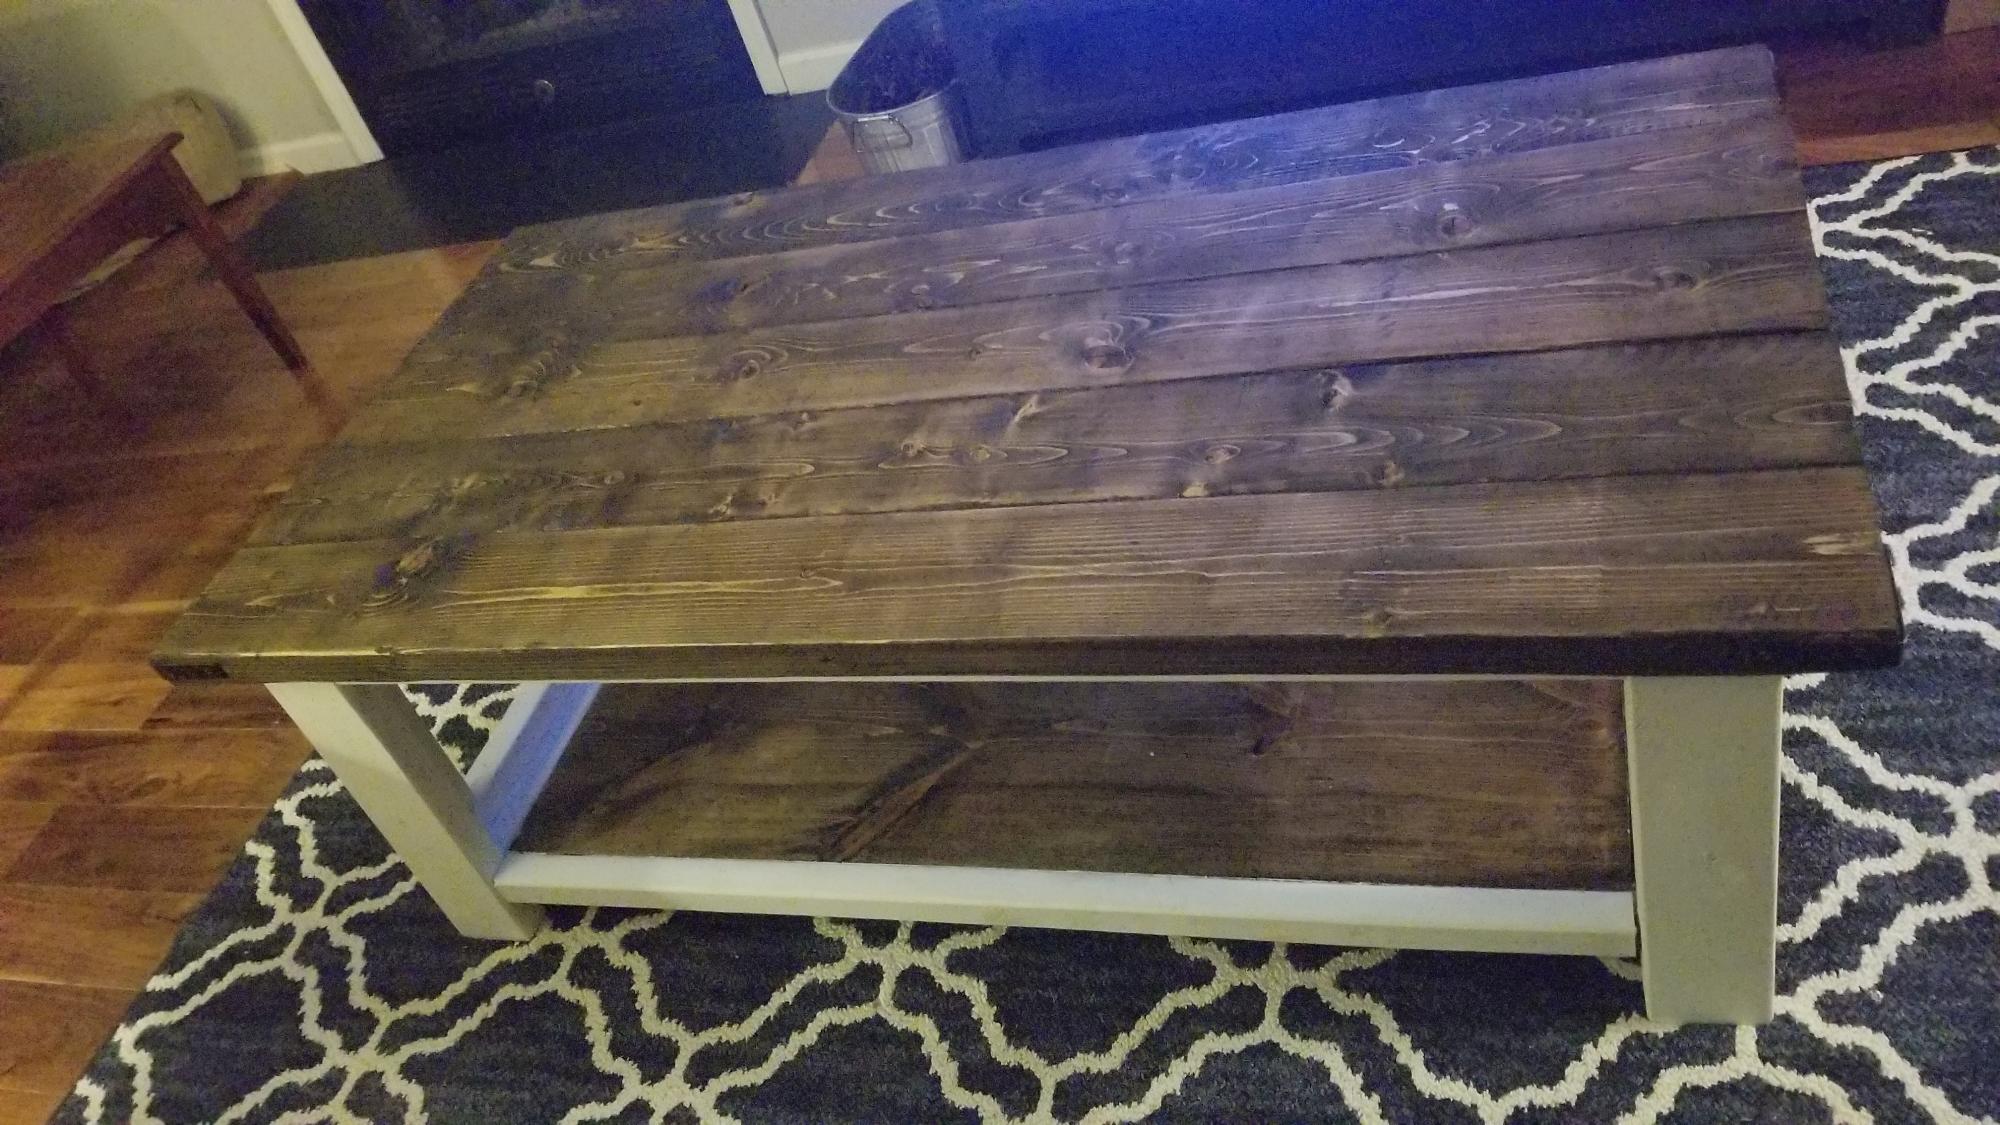
I used the Cottage Media coffee table plans and modified the length and height to suit for the space I needed. Ana's plans were super easy to follow and am pleased with the end result.
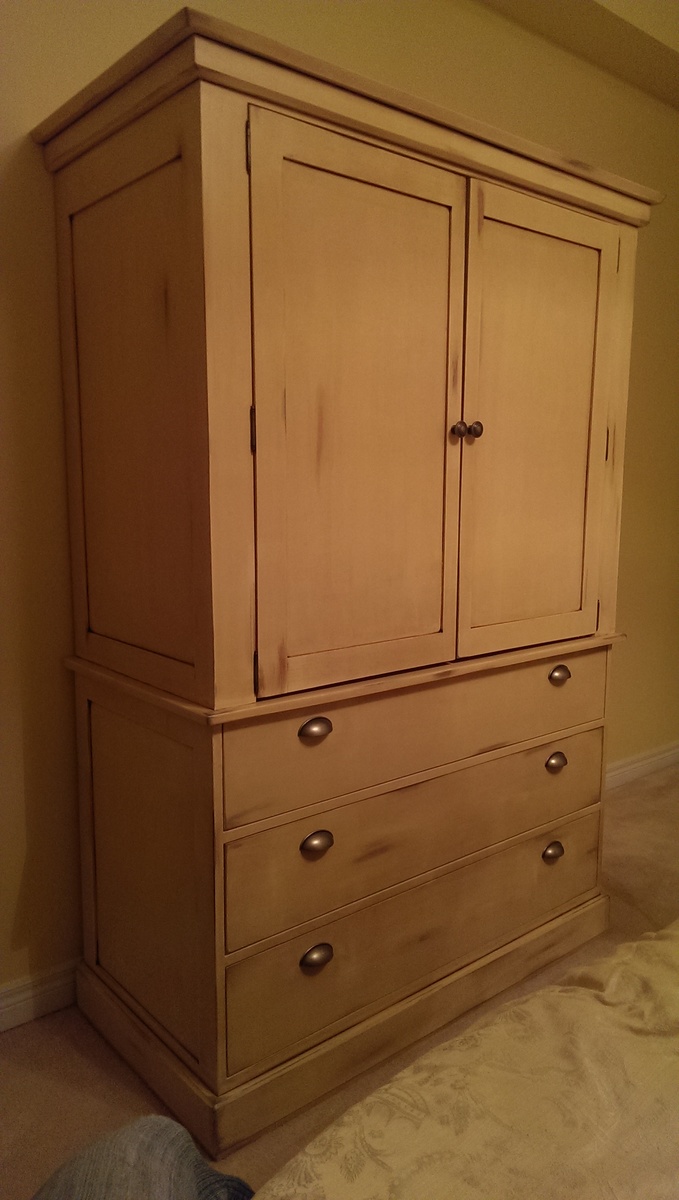
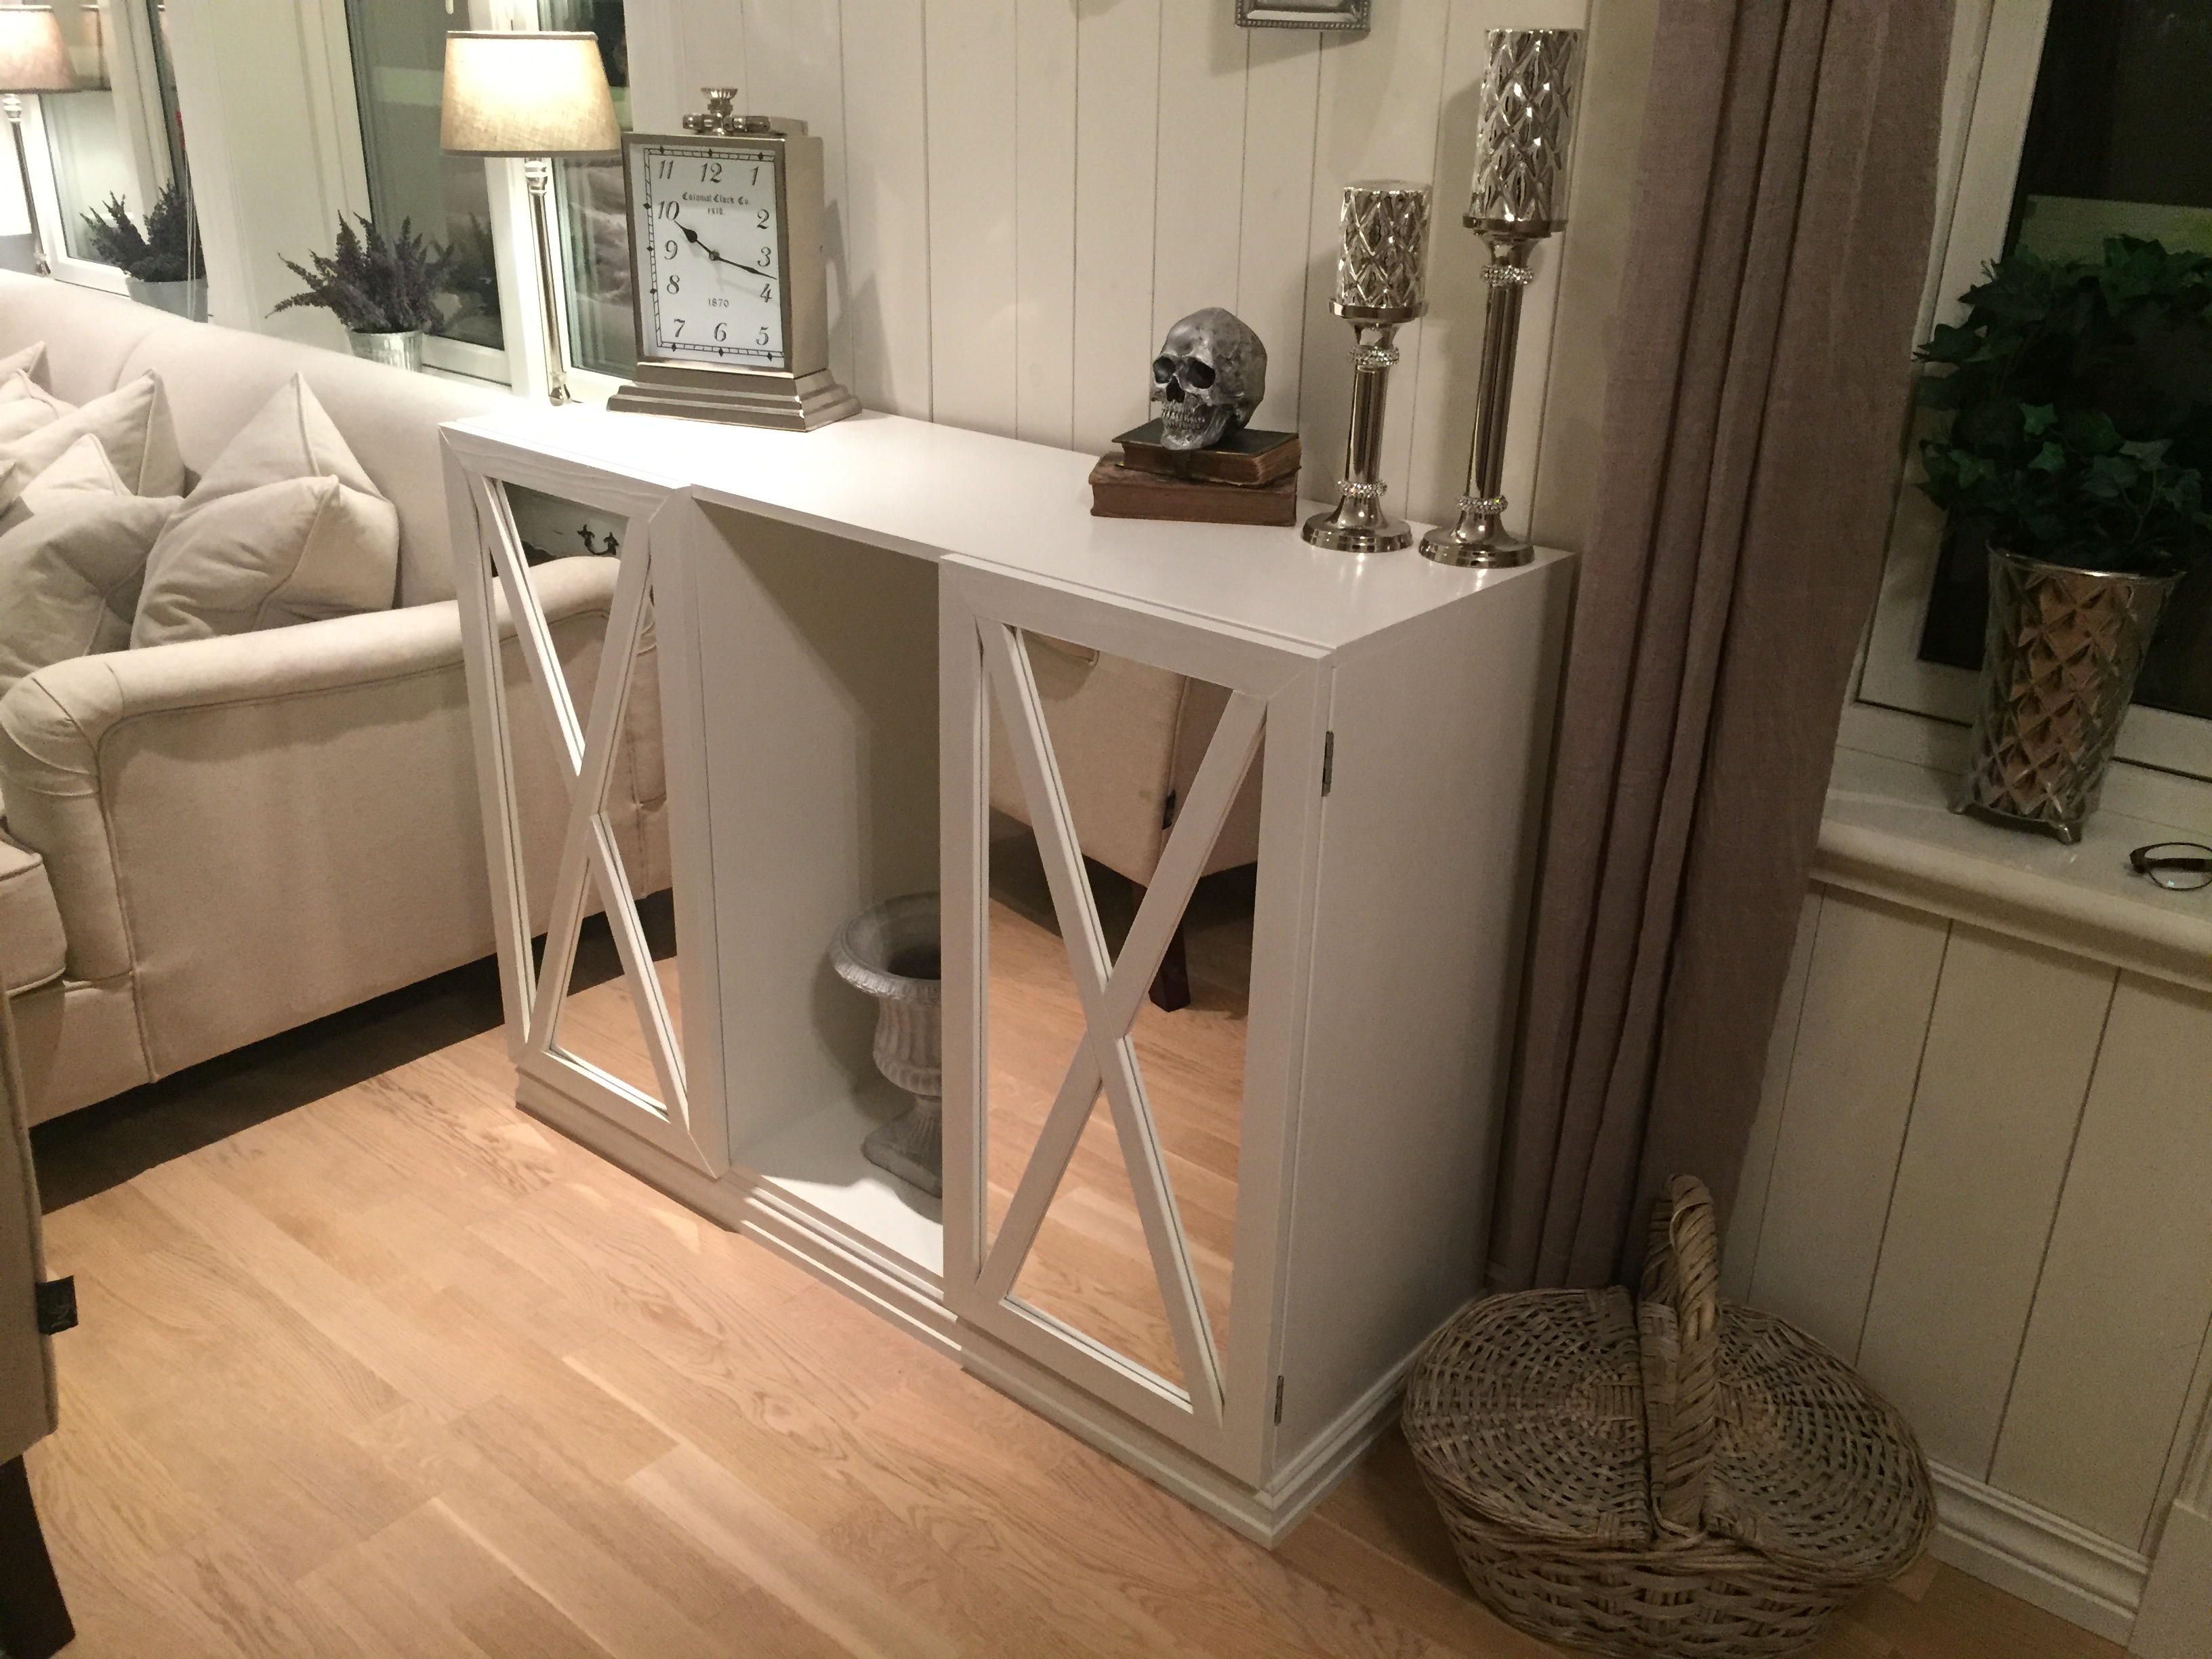
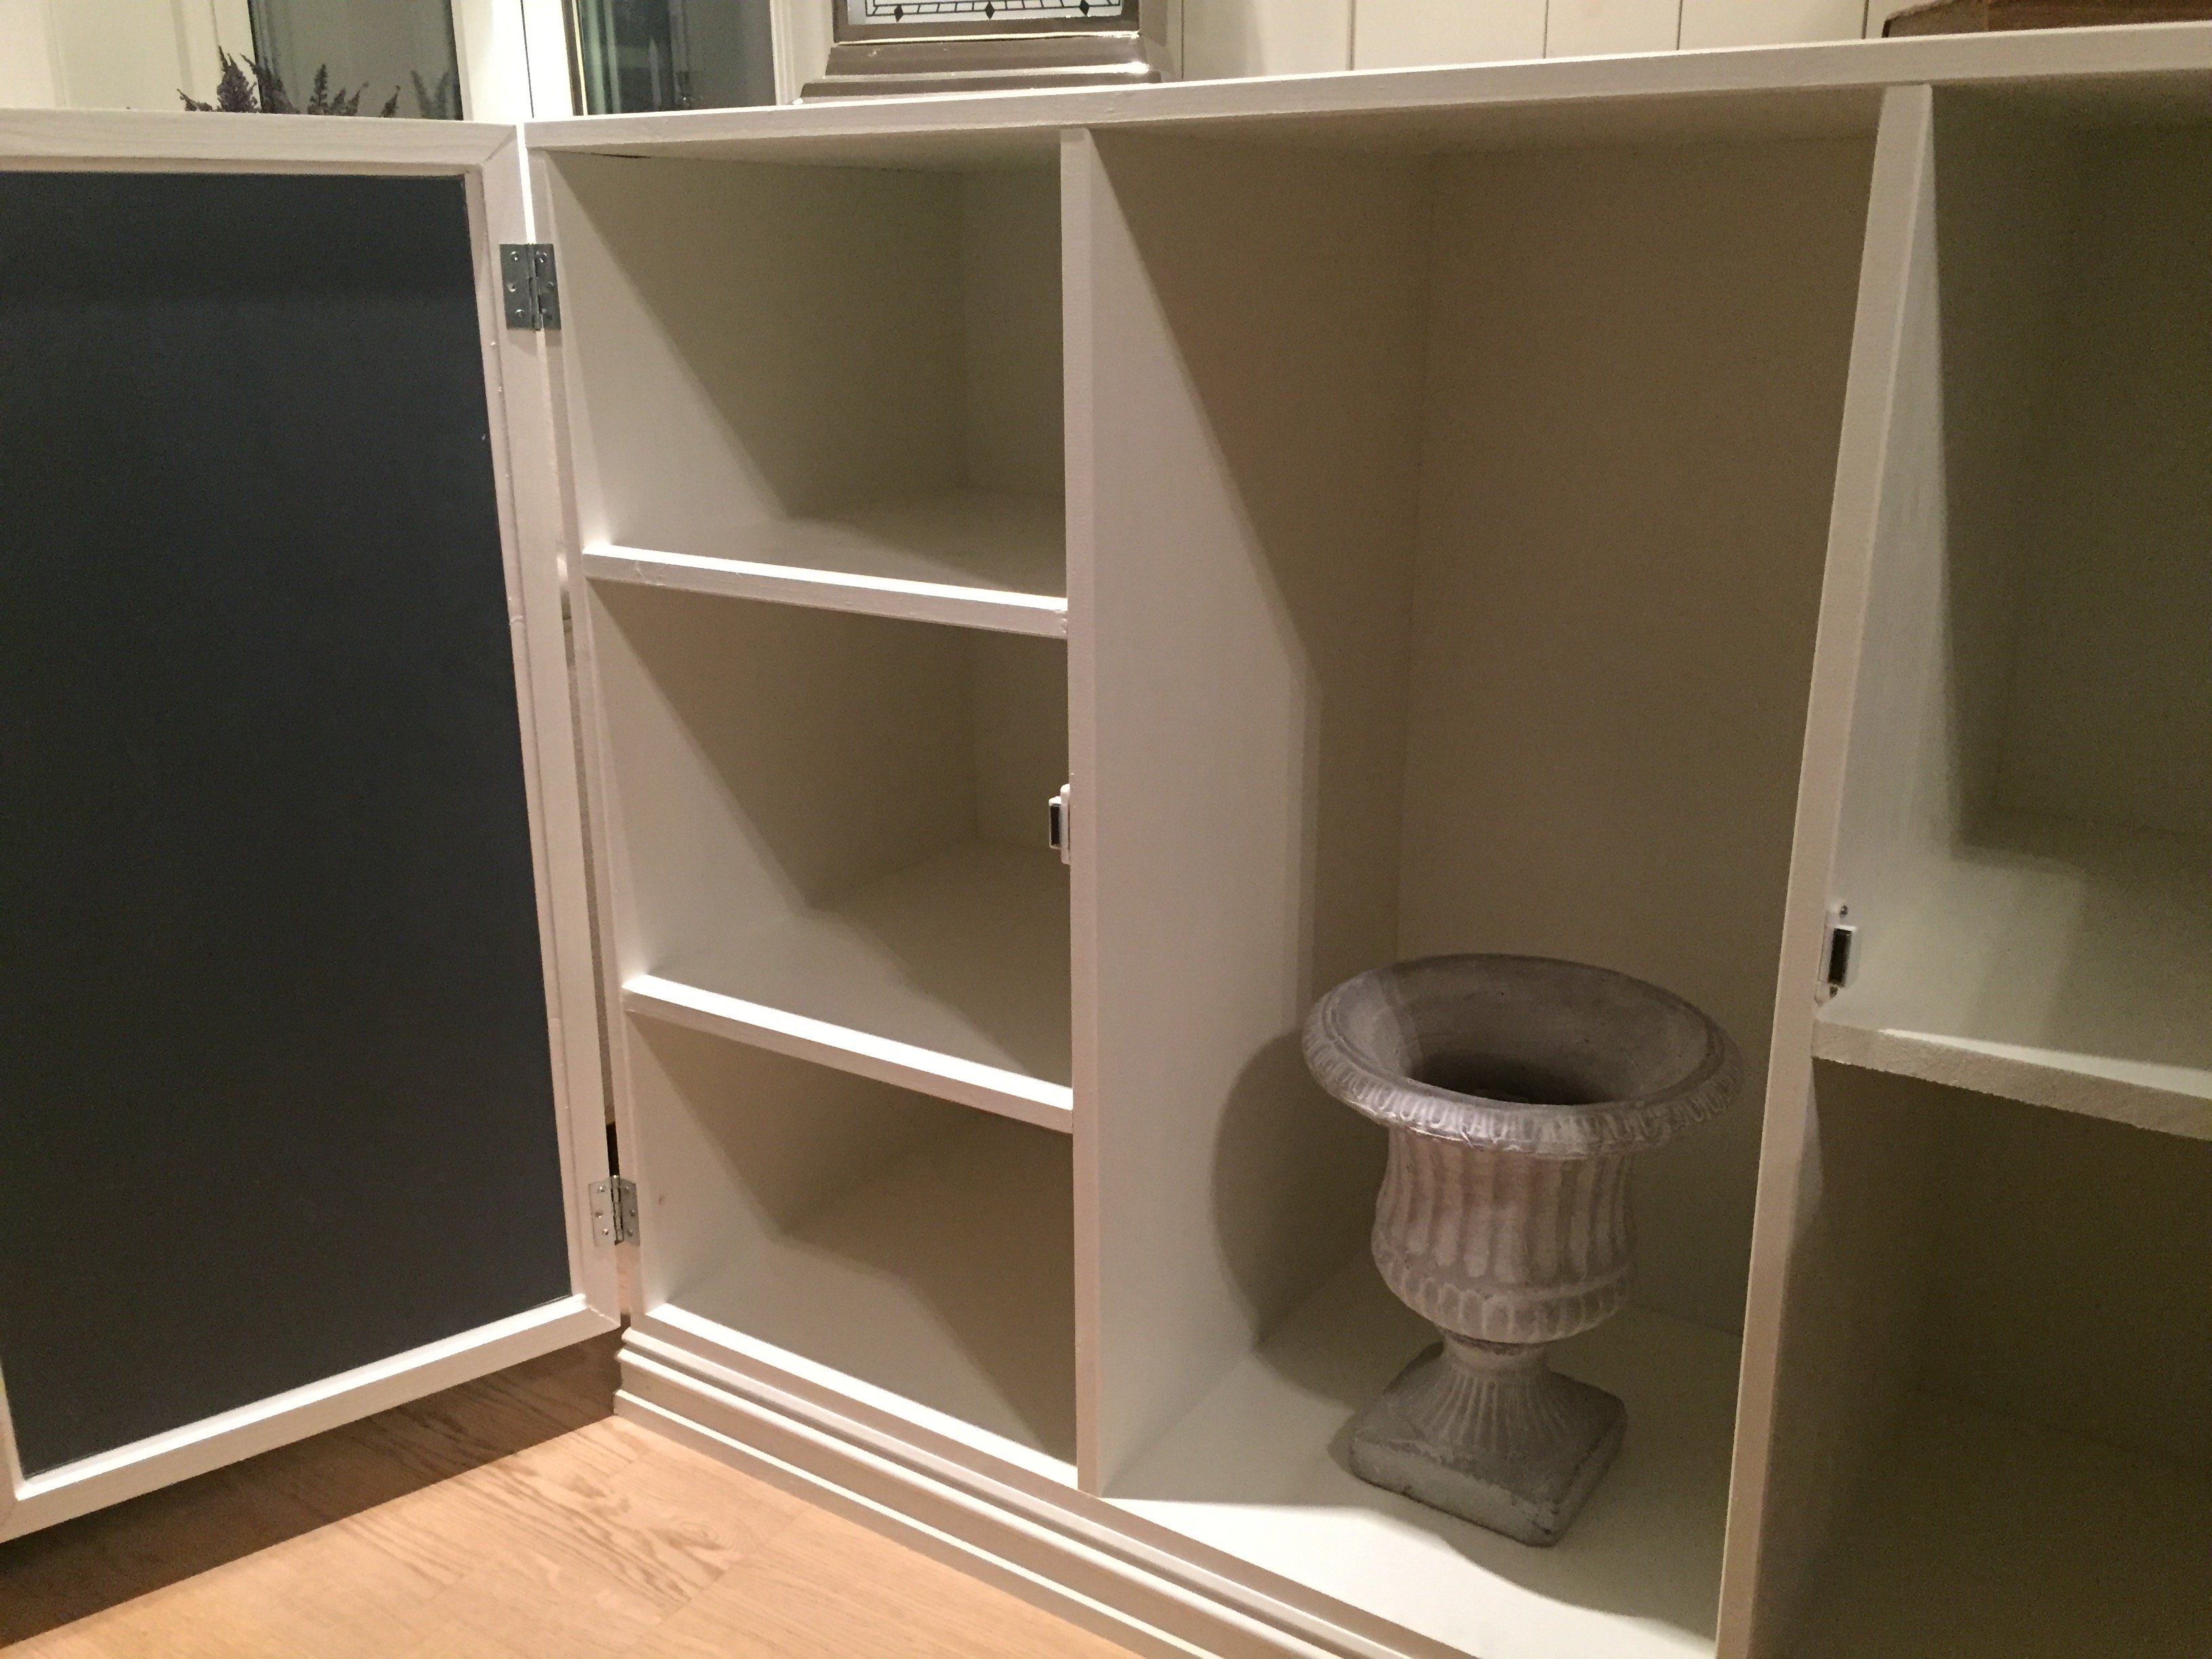
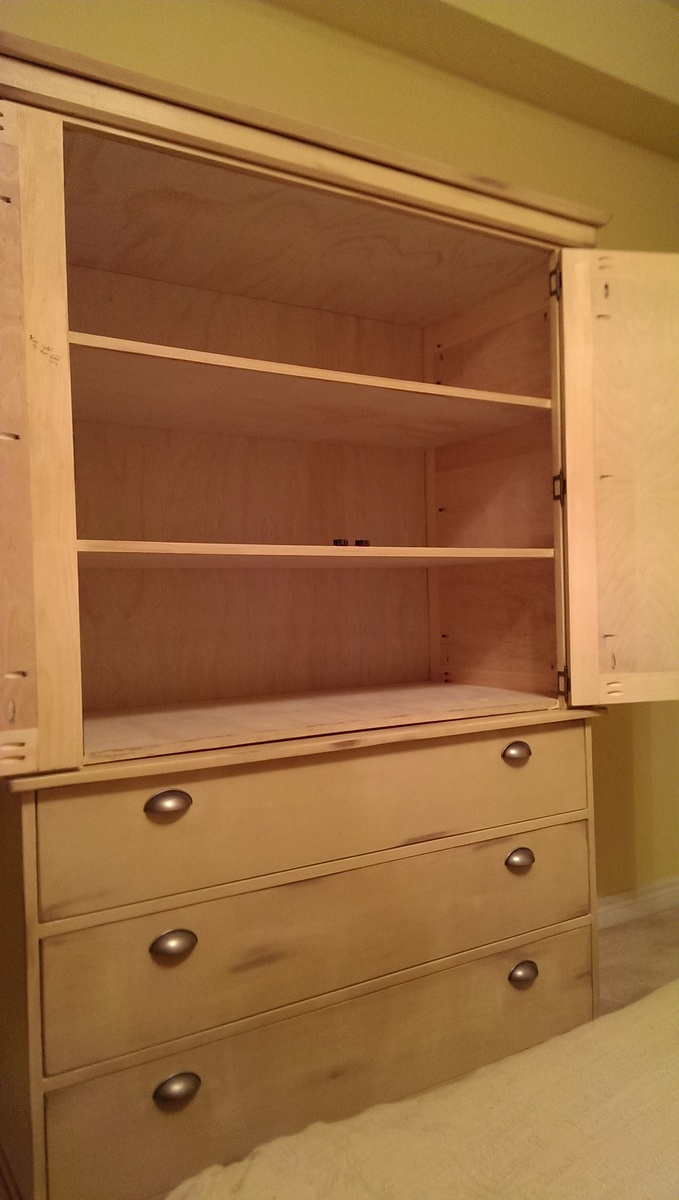
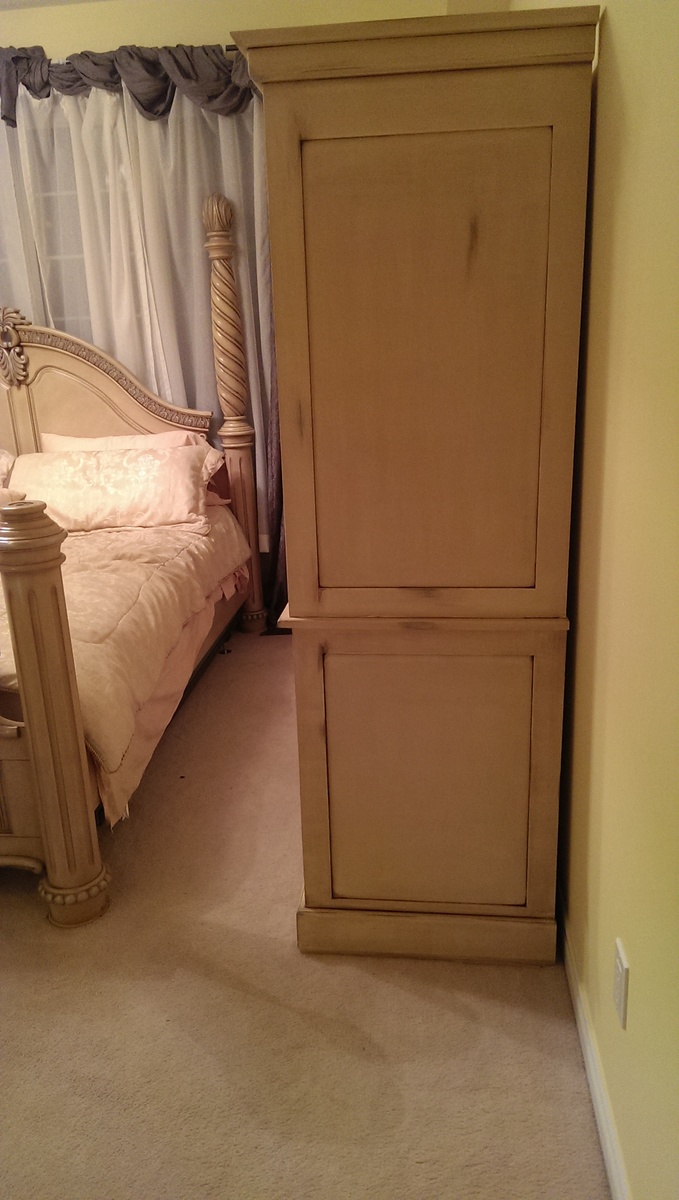
This is the first furniture project I have built from a plan found on-line - at Ana's Website. The plan was very easy to follow and I thoroughly enjoyed building this piece of furniture. I made some alterations to the upper cabinet as per shelving. I used an antique finish to match my bed. The match and design is perfect!

Mon, 02/03/2014 - 08:38
This piece looks like it belongs with the rest of your bedroom set. Great work.
I saw this on Shanty2Chic and loved the plan. I had a friend that wanted me to build her two of these with tin in the door and back. The tin was a challenge but it all worked out. She loves them. Thank you for the plans. I could not have done this without them.
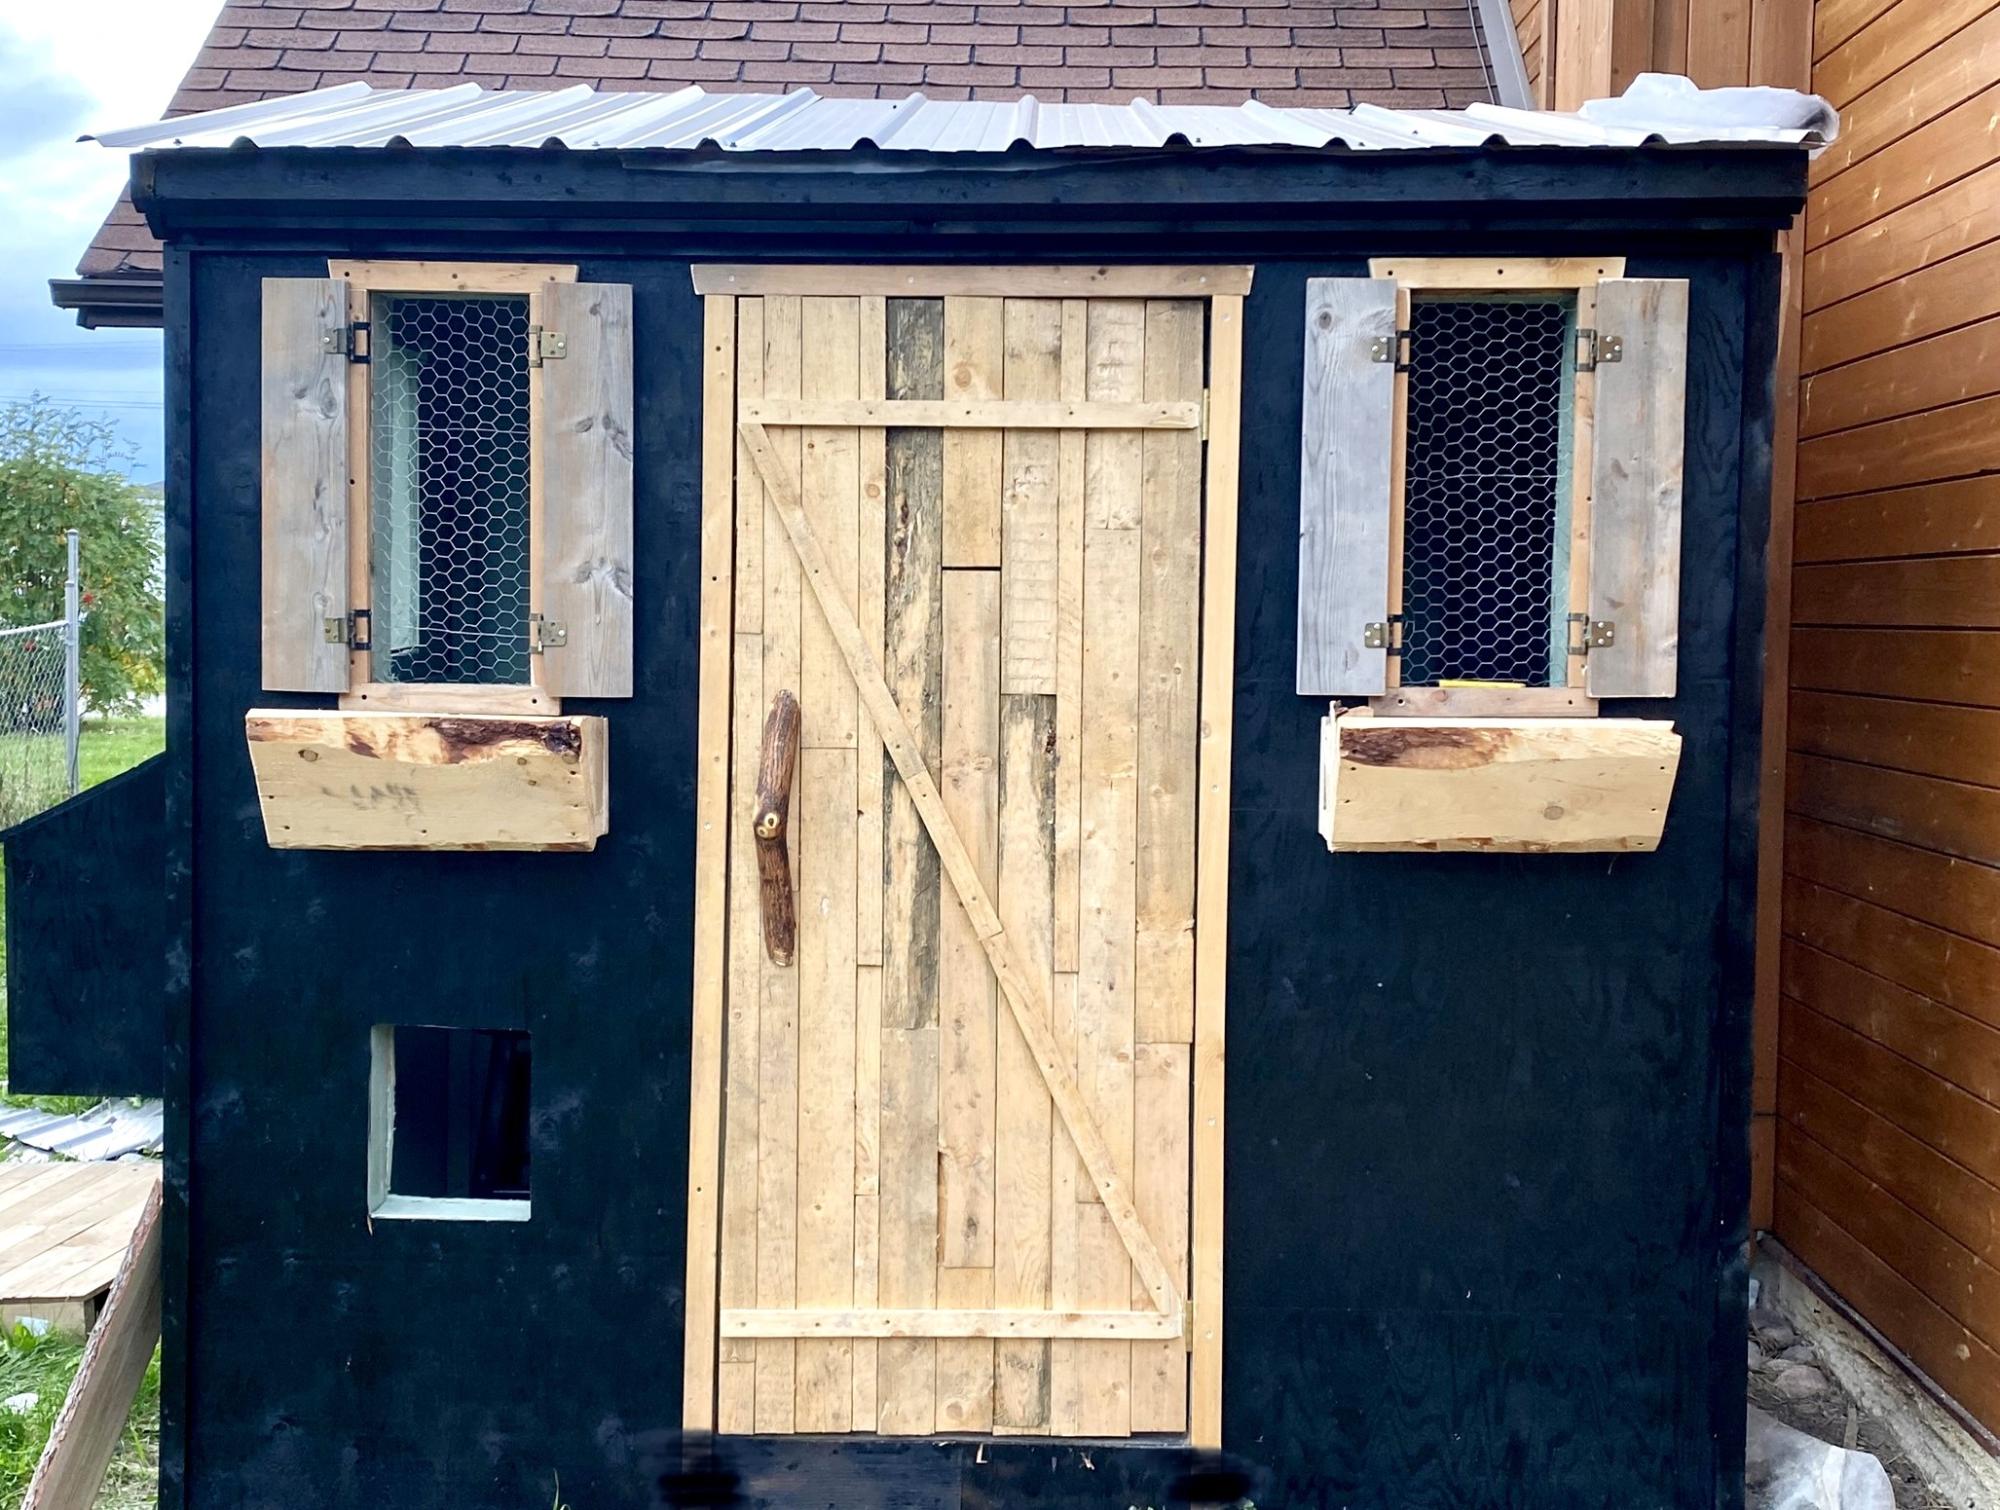
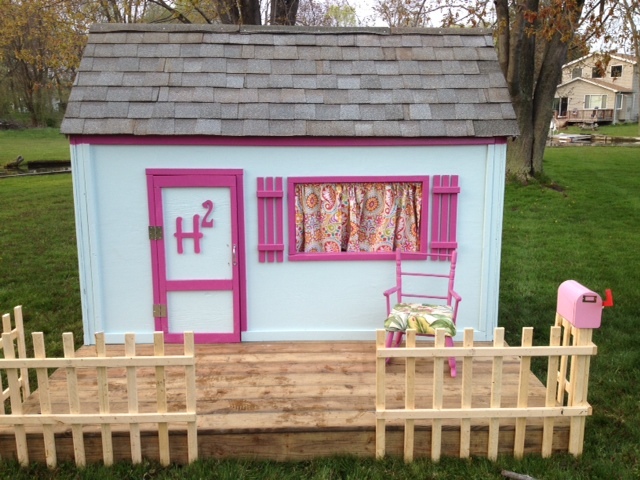
I’ve wanted a chicken coop for a while, and I wanted it cute. I love how it turned out!
Aj
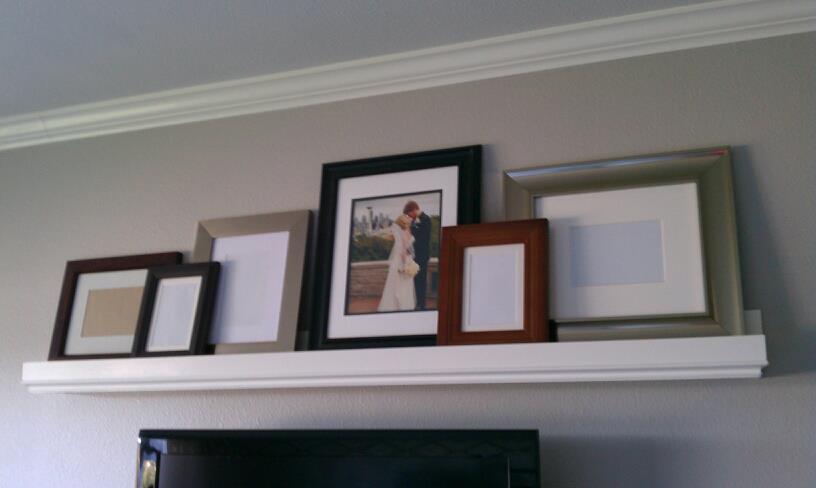
10 dollar ledge with small trim on the bottom (now cost 20 dollars total)

Storage box made from left over 1 by 4 and plywood from recent projects and a top I made for another cabinet but didn't use. All I bought was two 1 by 4s for the top trim and the hinges.


My first build! Didn't want the X's so I put a straight piece on each end.
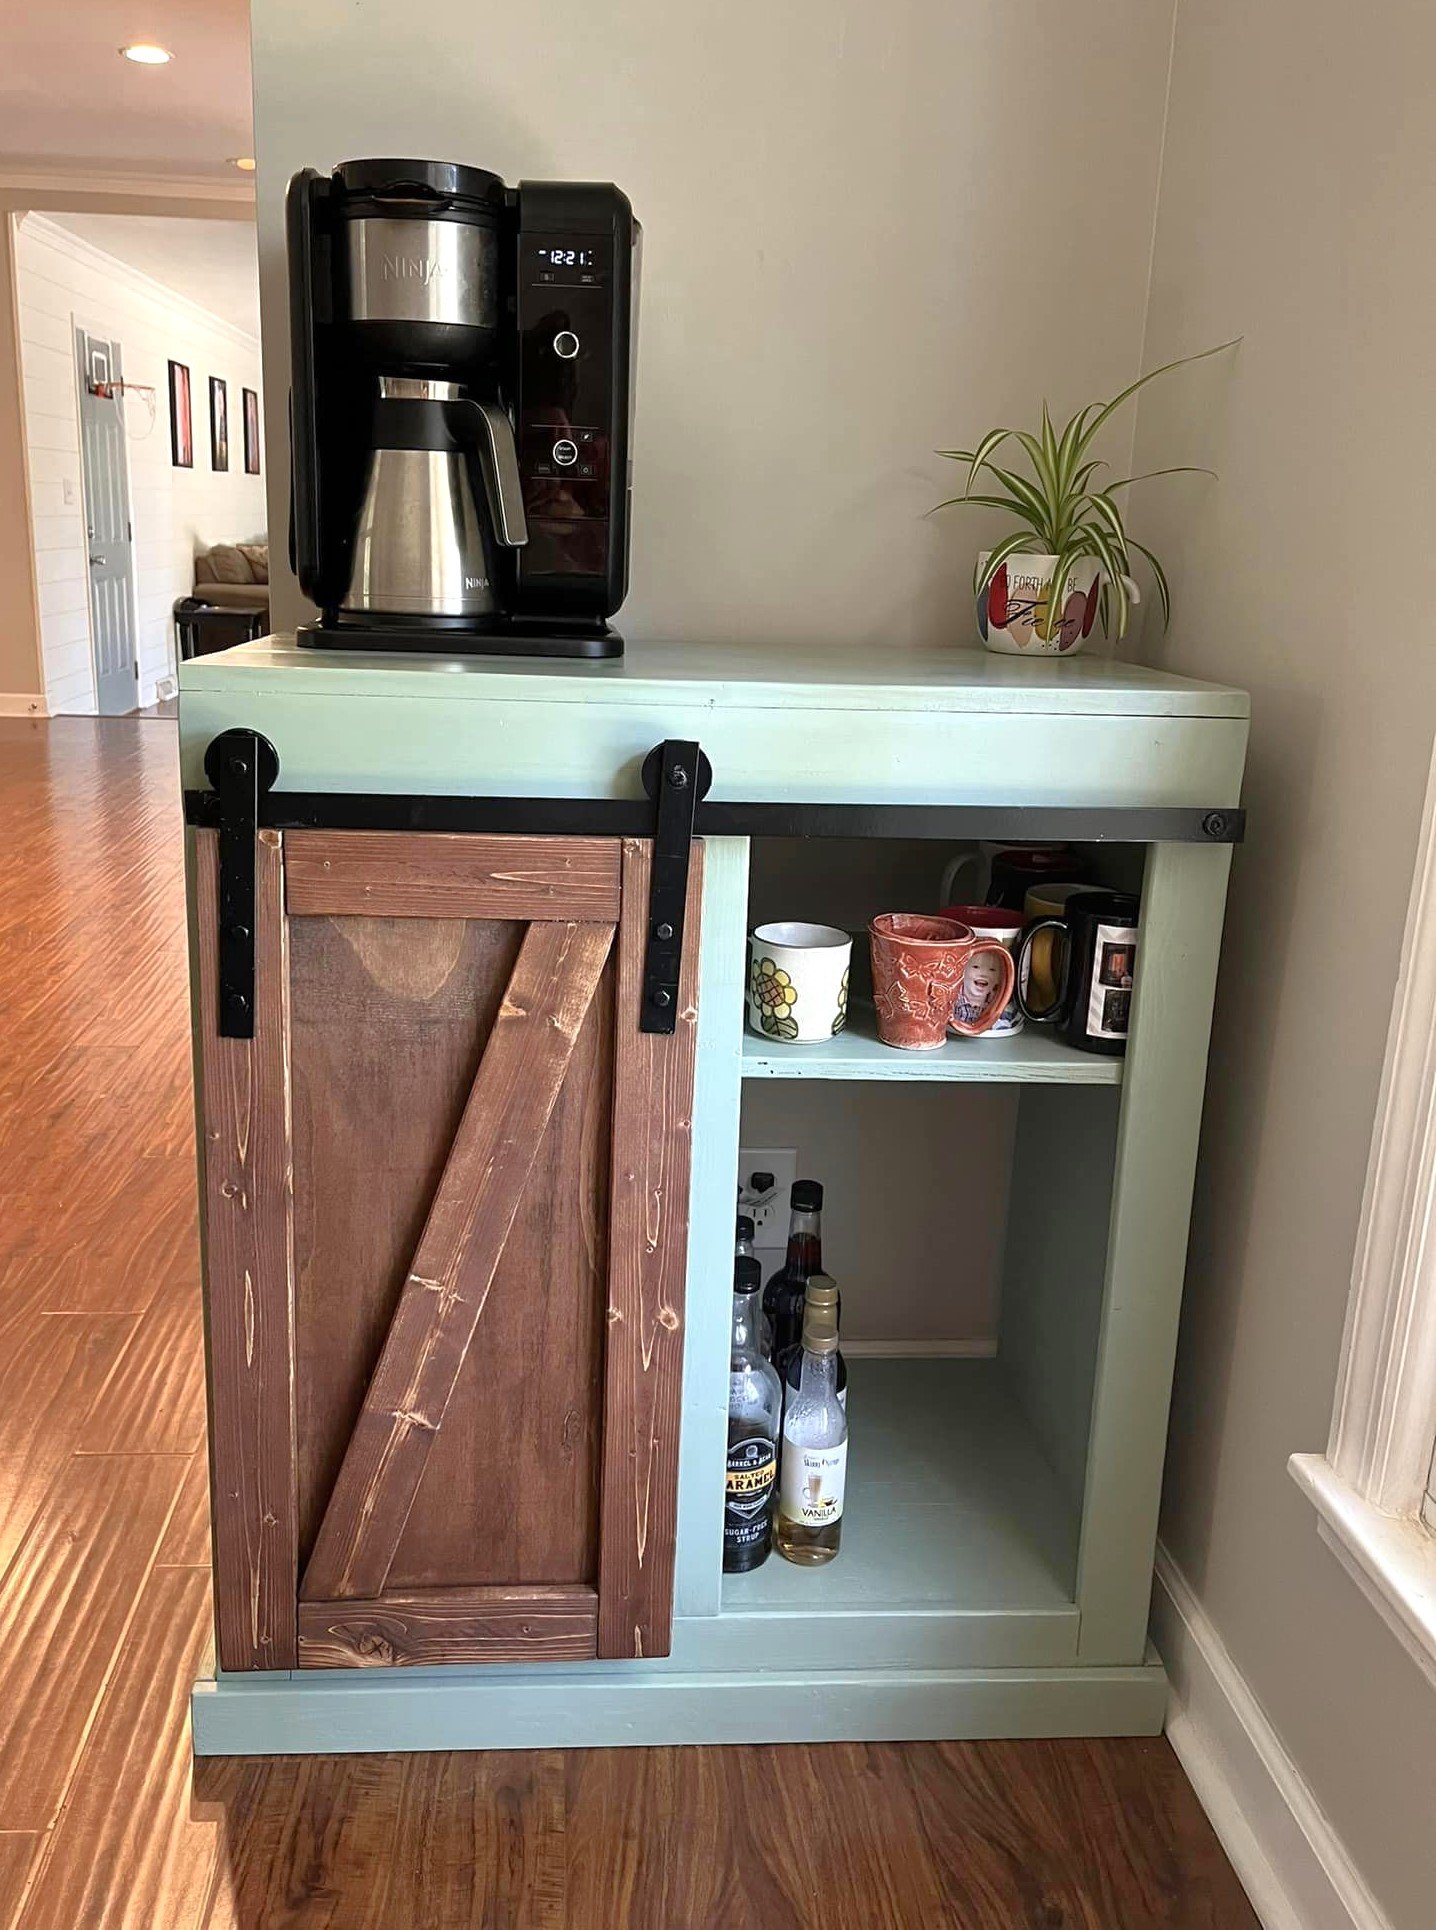
Couldn’t find a coffee bar to fit my space so I modified the Snack Cabient plans of Ana White's! Looove how it turned out! The barn door hardware was fun!
Laura Thompson
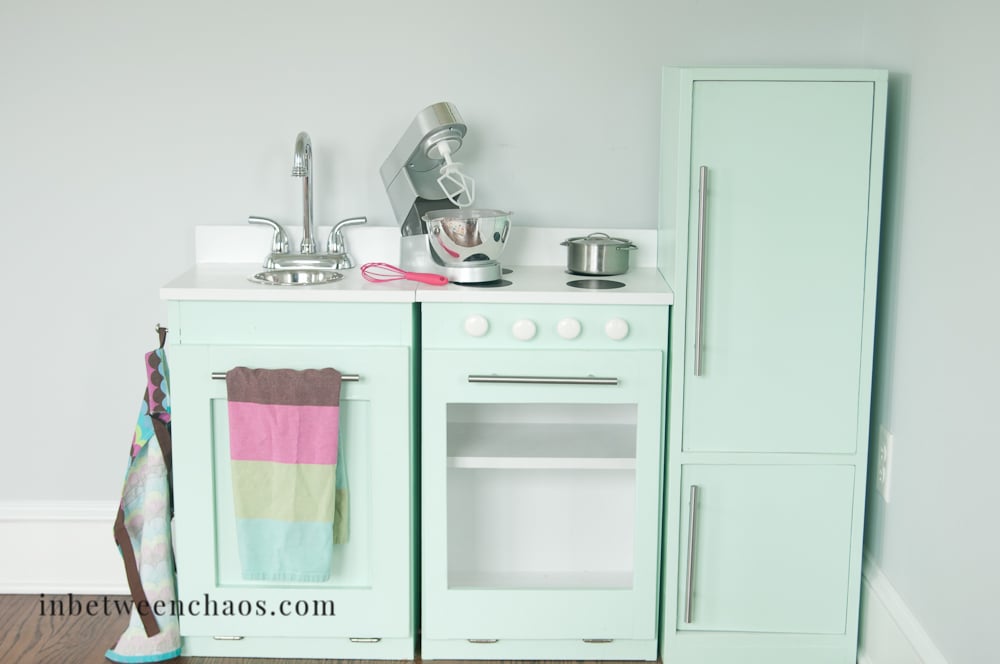
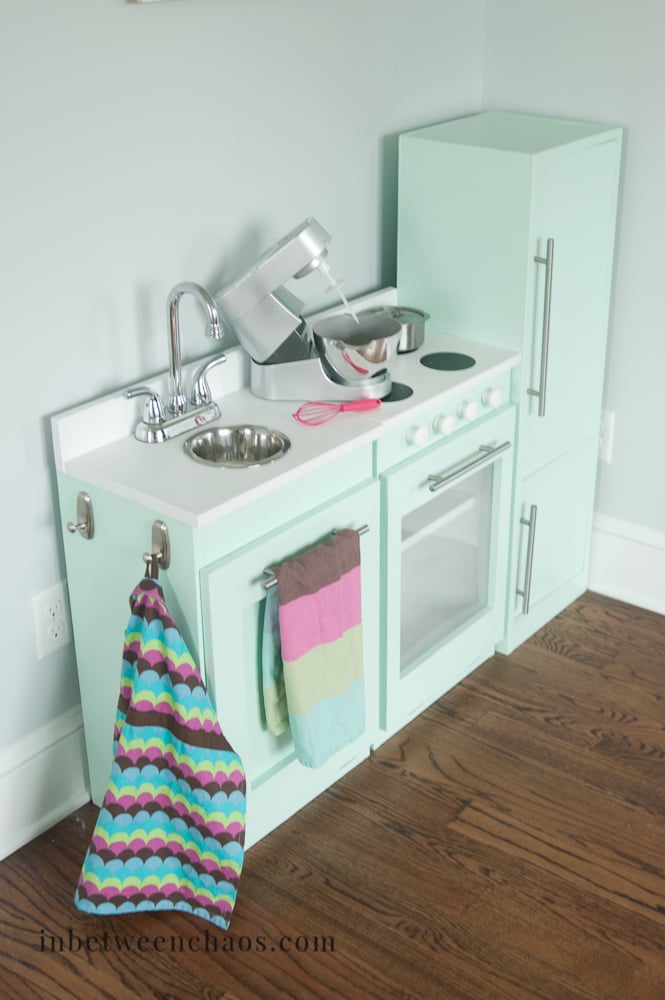
I made this for my 3 kids for Christmas and I'm so glad I did! They have gotten so much use out of it and love to move it around to set up different "houses" and restuarants. Thanks so much for these plans! I made the pieces a little taller, and use the play stove as the sink base too so that it could double as a dishwasher :)
I'm really bad at making the X's, so I just added some straight pieces for decoration.
Working on getting furniture done for my kids. Gives me something to do when they are away on visitation. New furniture from a store is too expensive right now & gives me something to work on to keep my mind off of things.
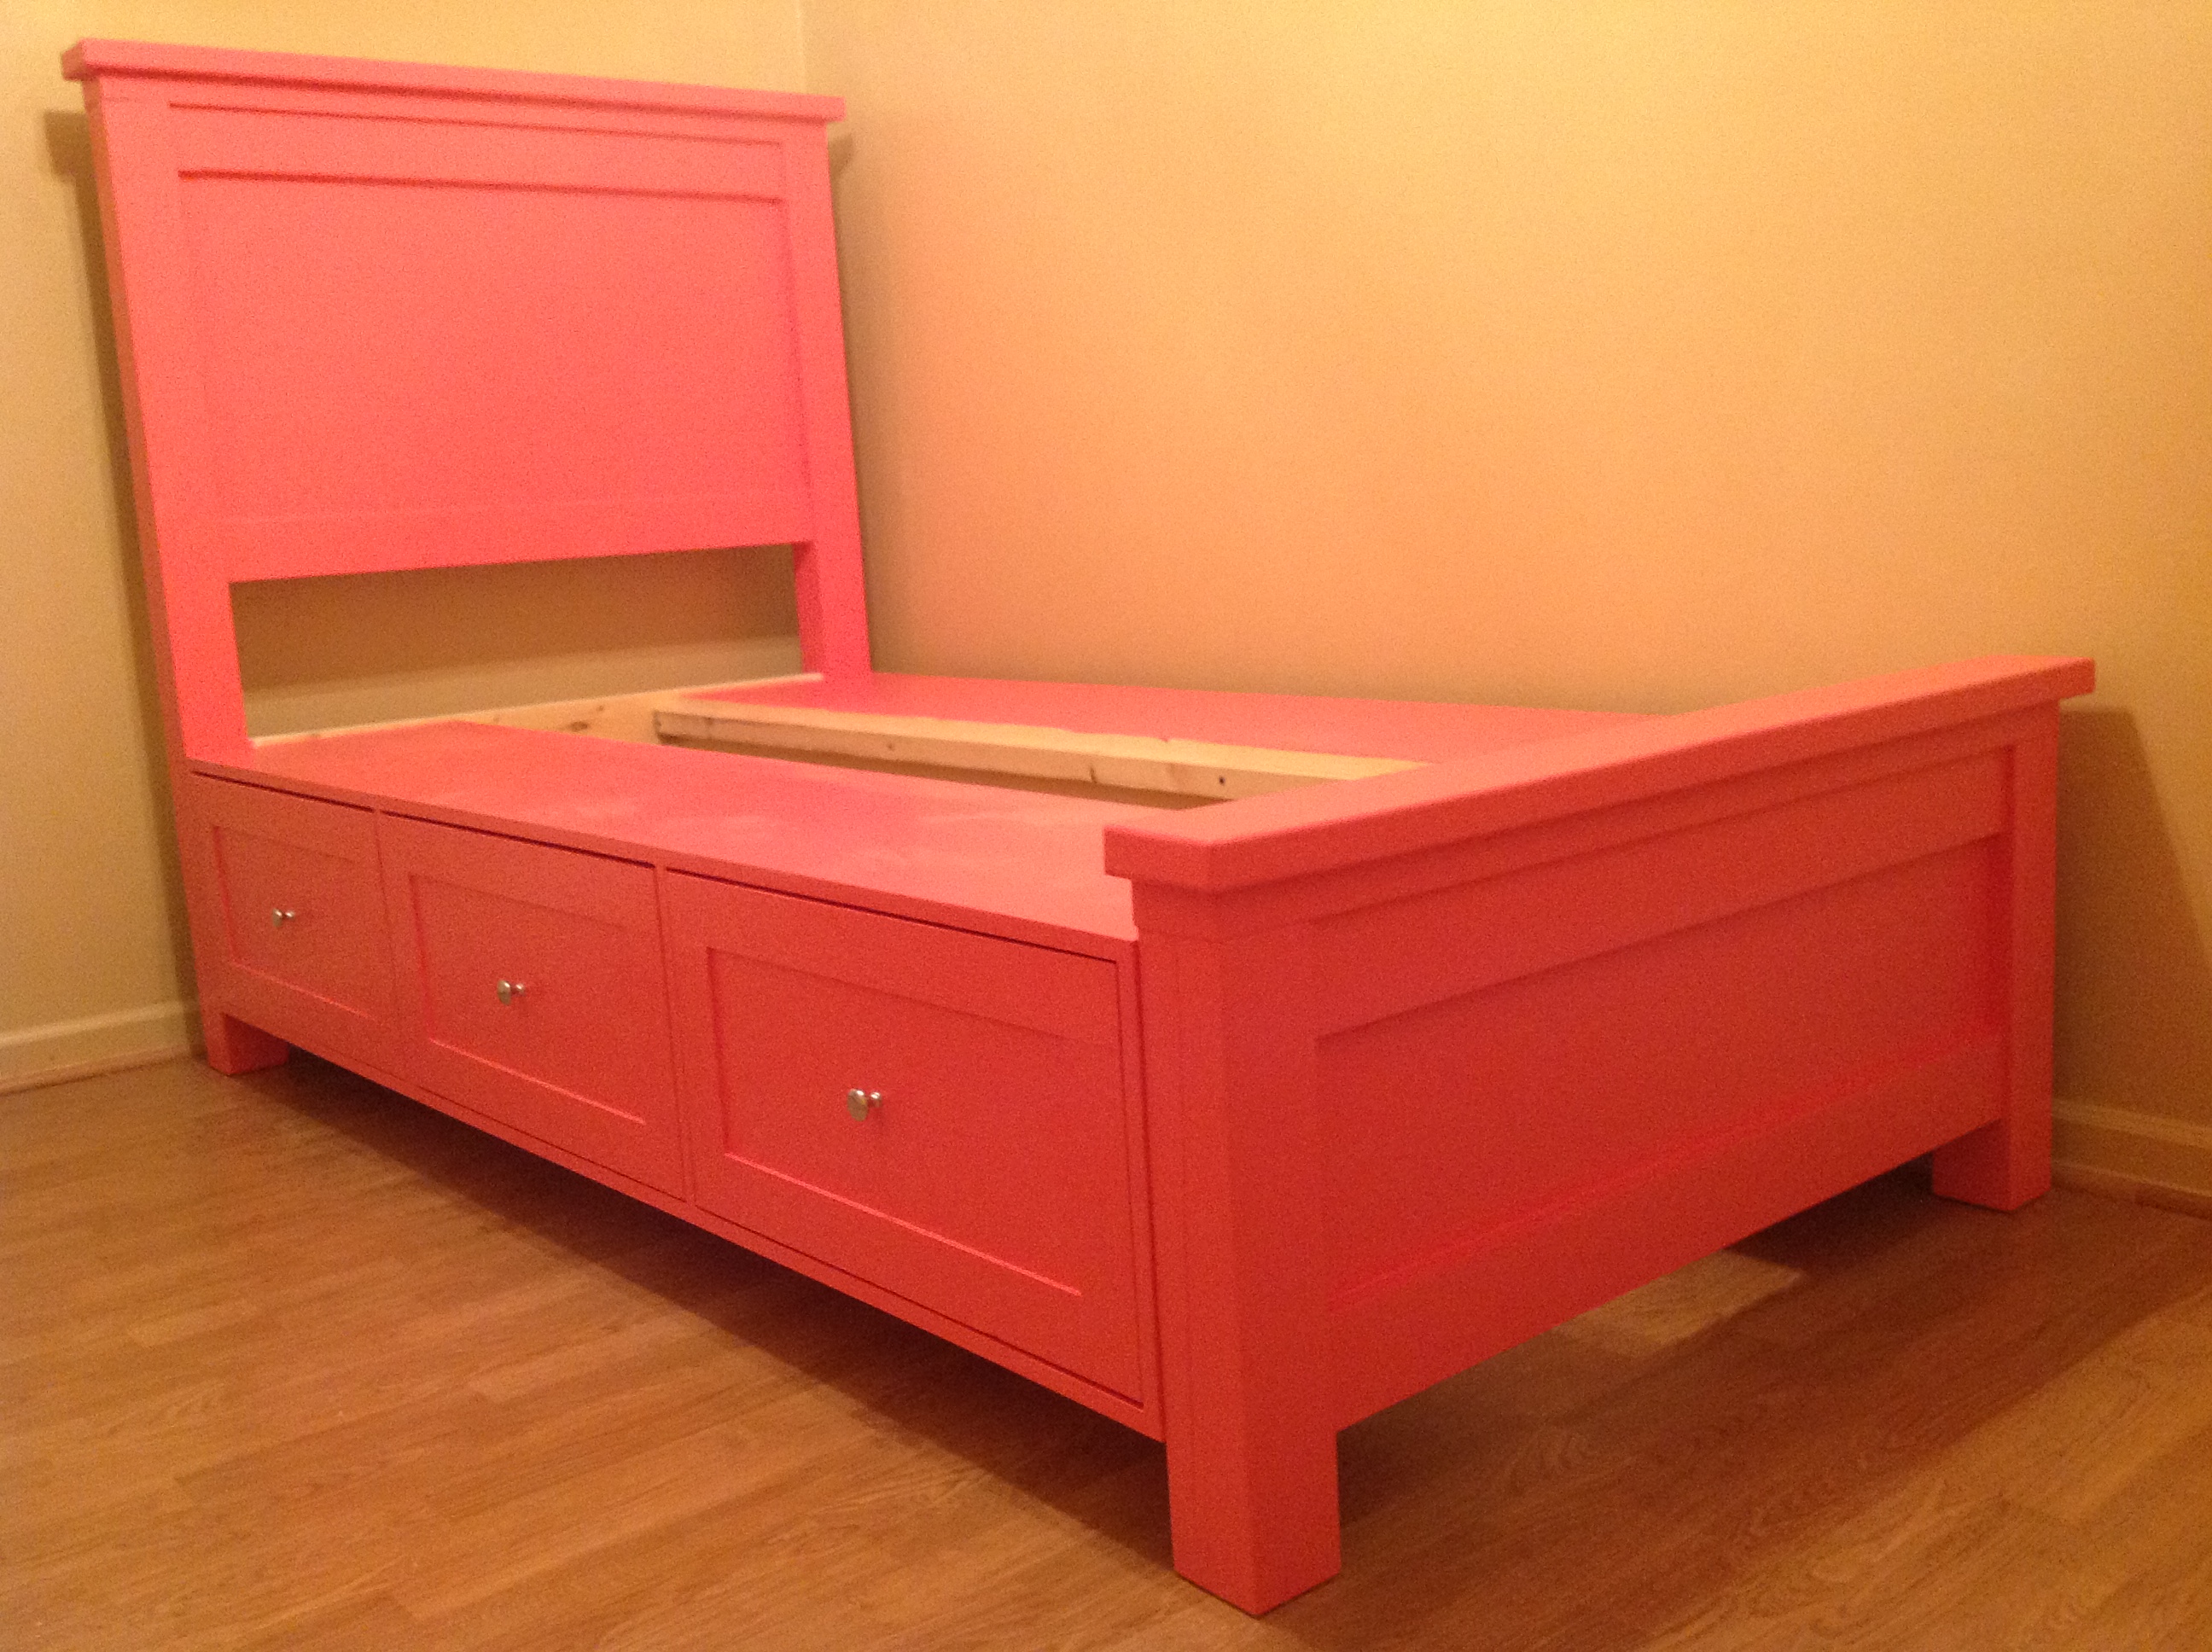
Modified to fit a Twin XL mattress.

Fri, 04/27/2012 - 13:37
Beautiful job! I love the color. I have memories of being gone for weekends on visits and coming home to a newly decorated "Rainbow Brite" bedroom and my mom assembling a waterbed for me on the kitchen floor (it was the eighties); it felt great to know that my mom was thinking about me while I was gone, your kids will not forget those things.
Wed, 05/16/2012 - 09:48
Hi!, i am new to all of this and would love to make this bed for my daughter, could you share the measurements for the twin version? thanks!
Sat, 06/02/2012 - 03:12
Hi, I like this bed for my son, also looking for the measurements for the twin version.Thanks
Sat, 09/01/2012 - 20:31
I built a similar bed for my niece. I designed the boxes slightly different however. I followed the Twin Farmhouse plan but removed one board from the headboard/footboard panels. This narrows the width to accomodate the storage boxes. http://ana-white.com/2012/03/twinning
Sun, 01/17/2016 - 09:17
Hi! I know this question has been posted before and replied to but, for some reason, I can't see the replies so... would anyone mind maybe sharing their converted measurements for a twin sized bed? Thank so much! This will be our first project and I'm sooo nervous!
Sun, 01/17/2016 - 09:17
Hi! I know this question has been posted before and replied to but, for some reason, I can't see the replies so... would anyone mind maybe sharing their converted measurements for a twin sized bed? Thank so much! This will be our first project and I'm sooo nervous!
Fri, 02/05/2016 - 20:20
I made this bed in a twin. The twin mattress is 39x75. That's 21 inches narrower and 5 inches shorter than a queen. So just make the head board, foot board, and slat measurements 21 inches shorter keeping the height the same. The length is five inches shorter but to get three drawer slots the same size I made mine 75 3/4 long. ( 24 1/4 for each drawer slot).
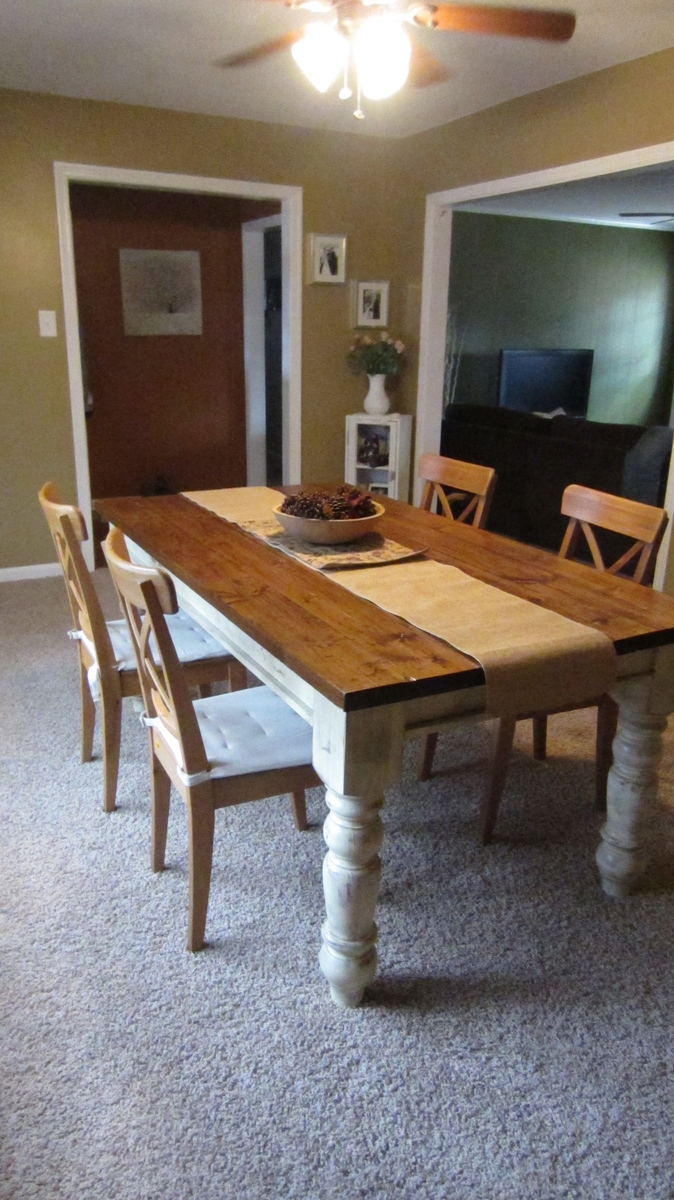
My husband Chris and I have been planning for a few years now to build a farmhouse table for our home. Every year for christmas my mother-in-love (mother in law) gifts us a "must have" tool. We like to think of it as her investing in our home and quality time together. Last year she gave us the Kreg gig, holy cow, that sure is a must have!!! :) This year we received a hand sander. Needless to say we were motivated to start our farmhouse table journey.
We loved the table Ana built for her sister, so we followed the plans almost to a tee. We ordered the turned legs from Georgia. Let me also add that we try to buy everything we possibly can that is made in america, from paintbrushes on. I encourage everyone to take the a few seconds to look and spend an extra dollar or two to support america's economy.
The only modification we did to the plan was add a small strip of wood to the base layer for just a little extra touch of character. :)
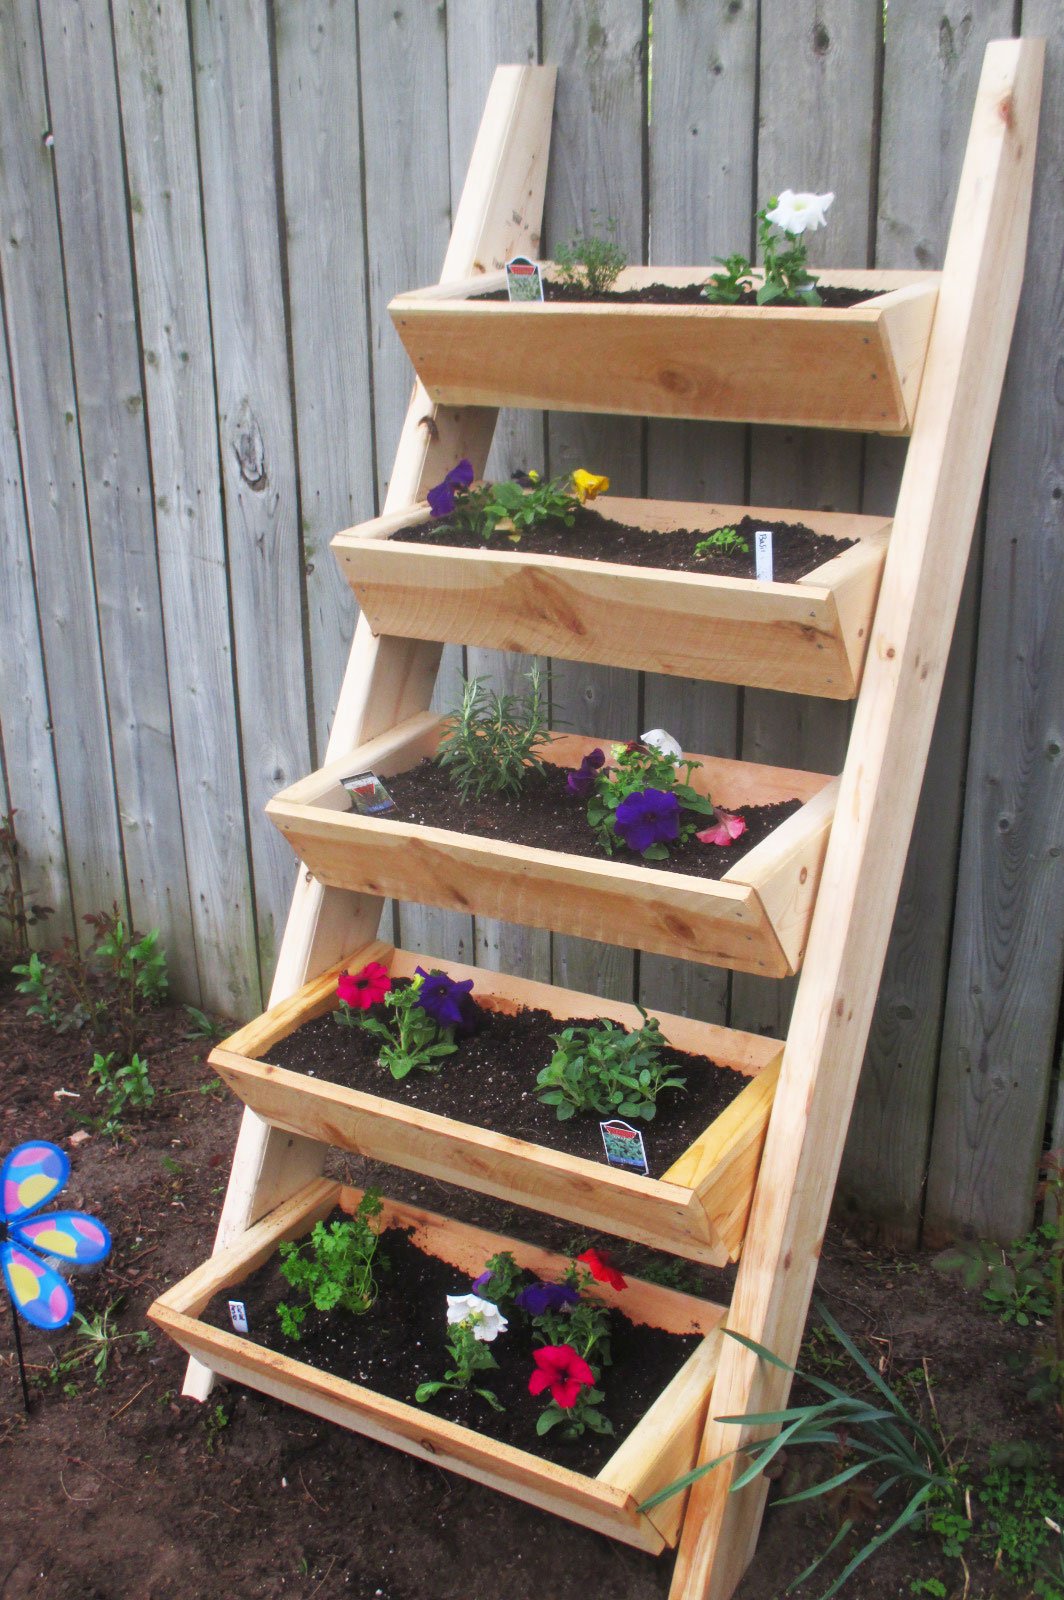
Living on a small city plot, this vertical ladder planter was just what I was looking for to grow my herbs and flowers. I am not an experienced builder but the plans were easy to follow. It didn't take me much time at all to complete this project. Now I am looking forward to fresh herbs and flowers all summer.