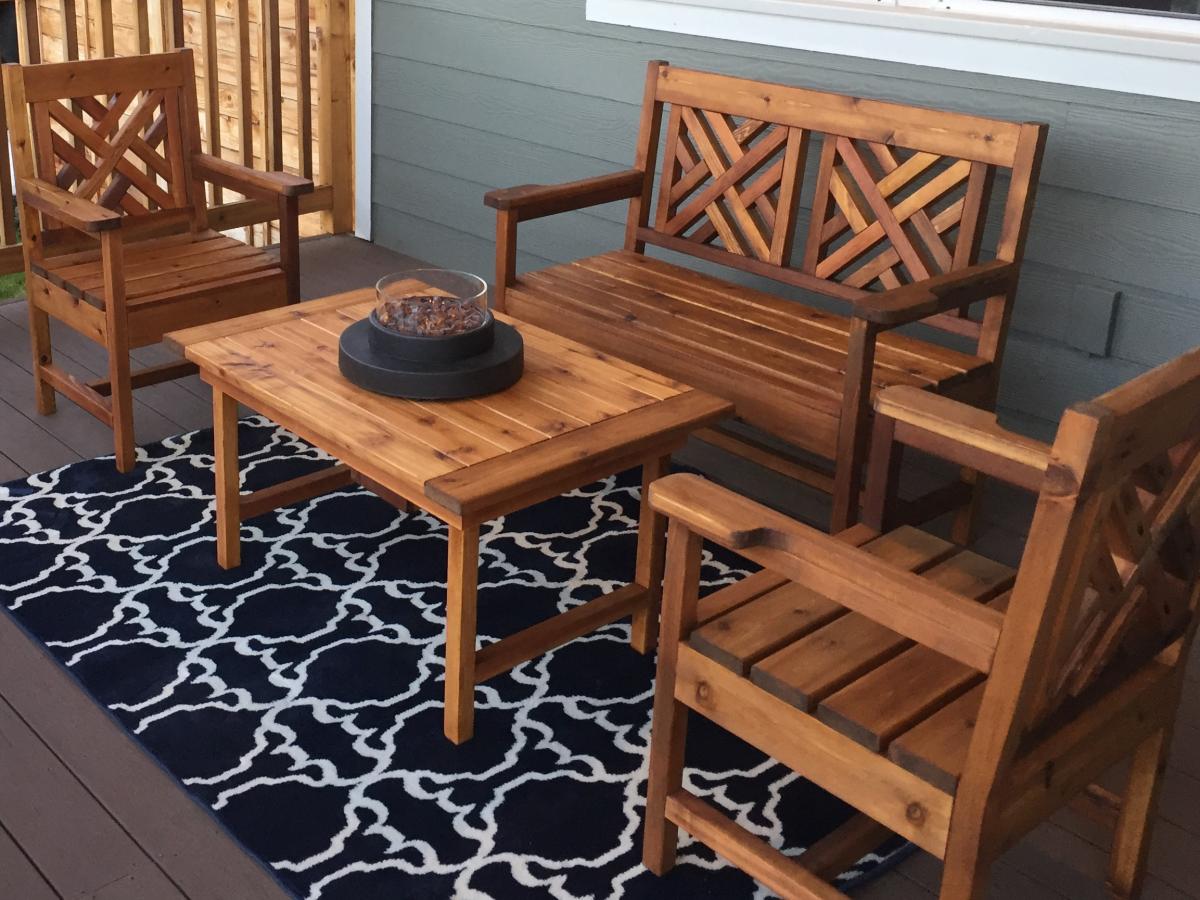
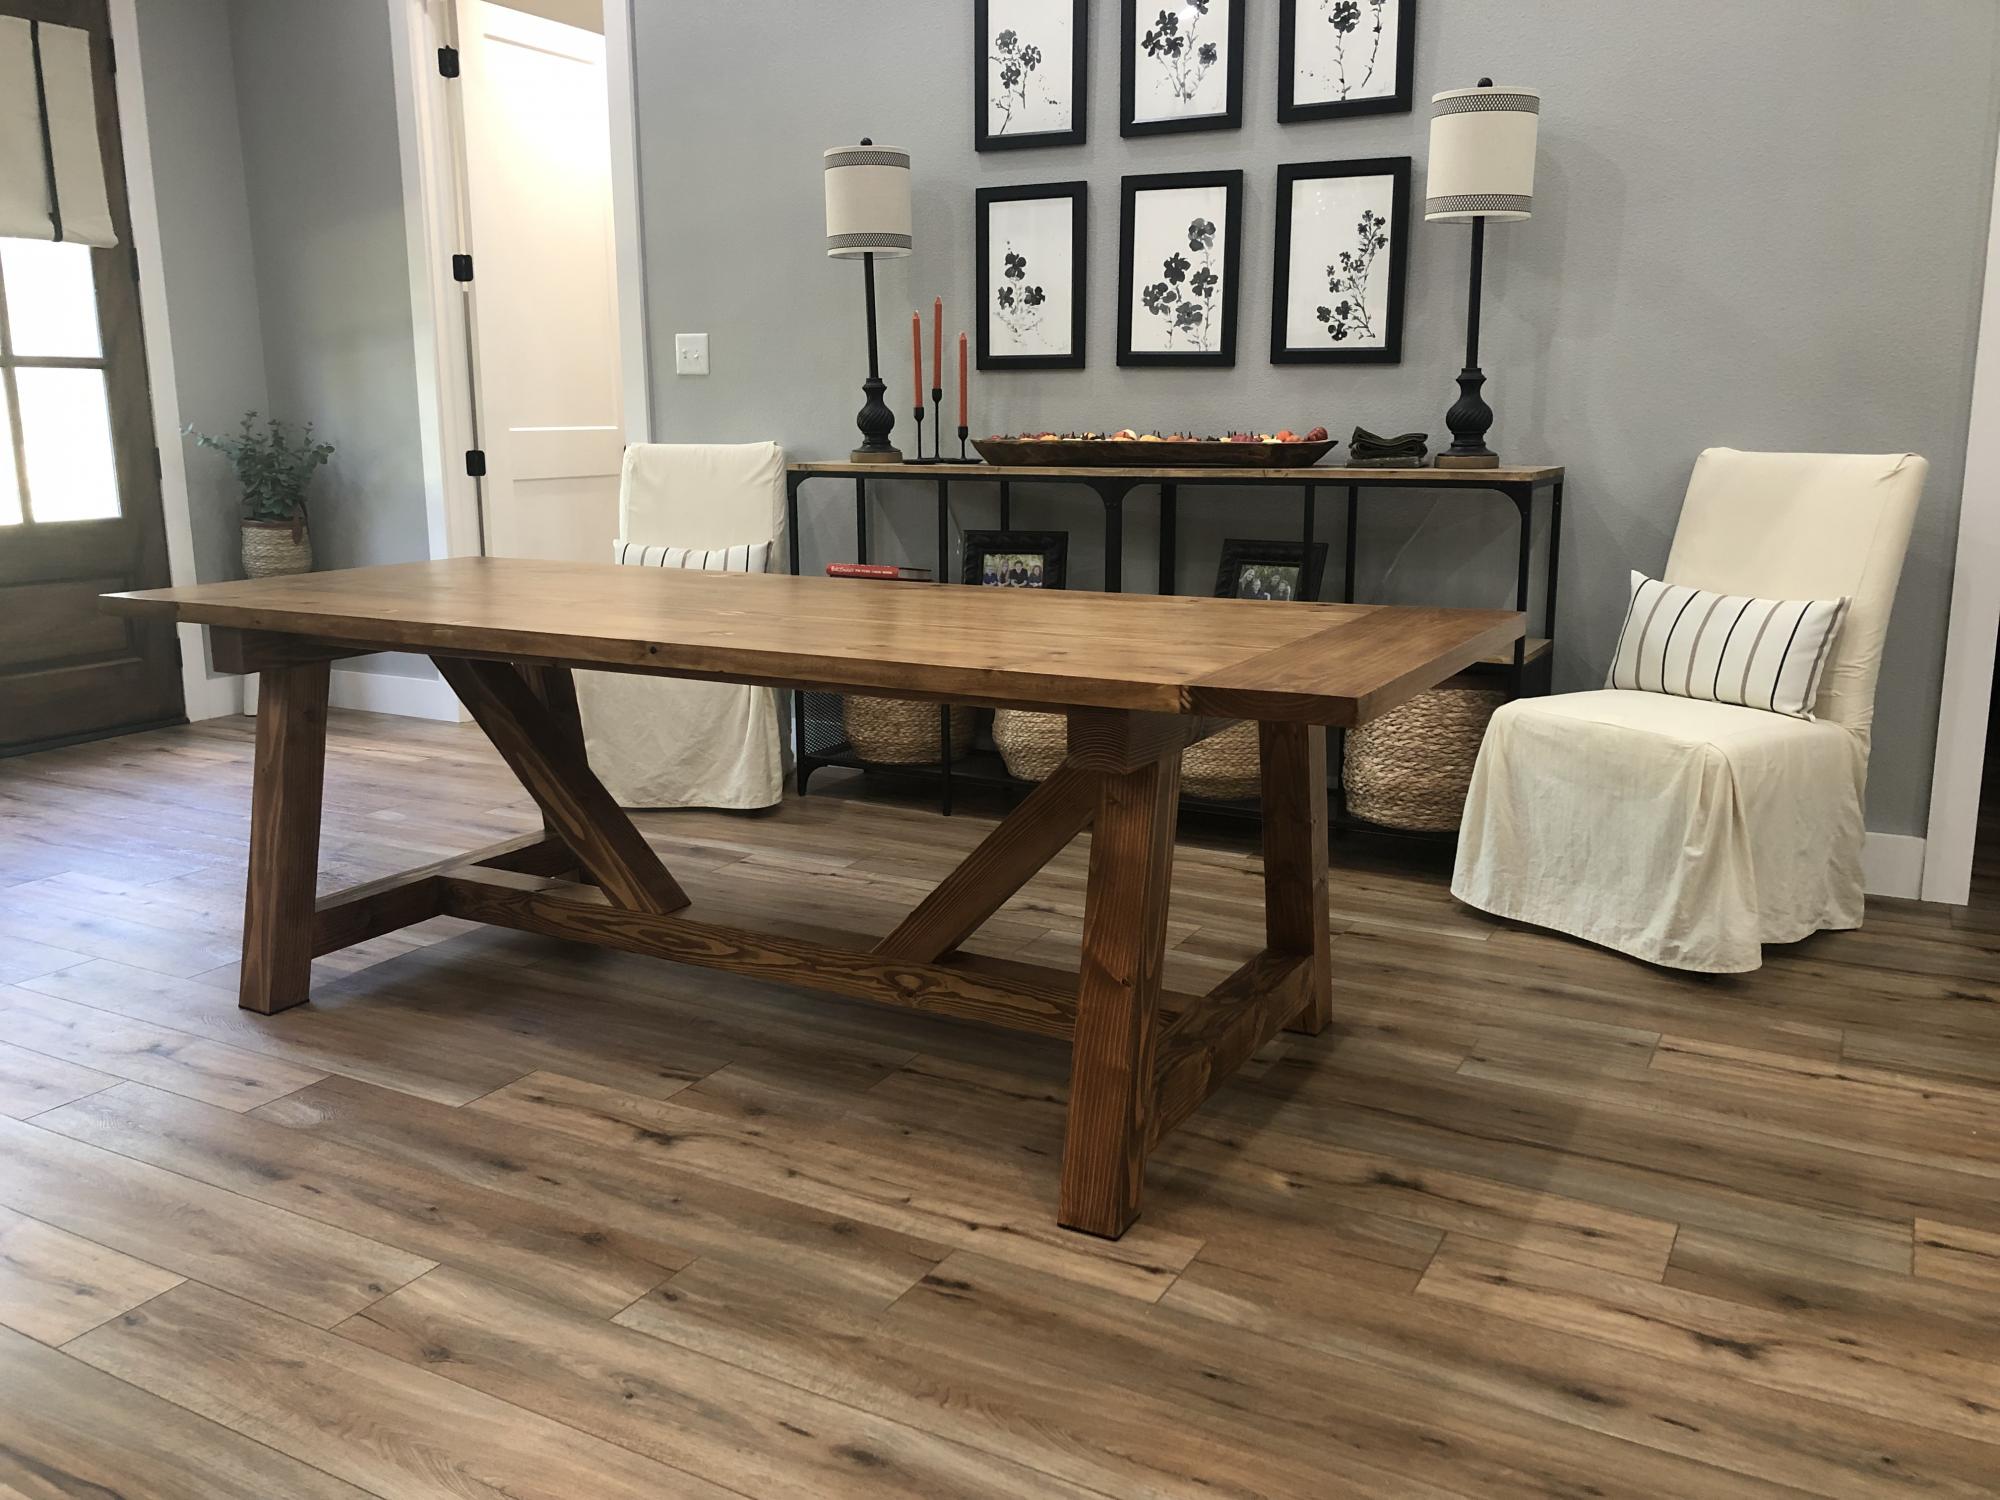
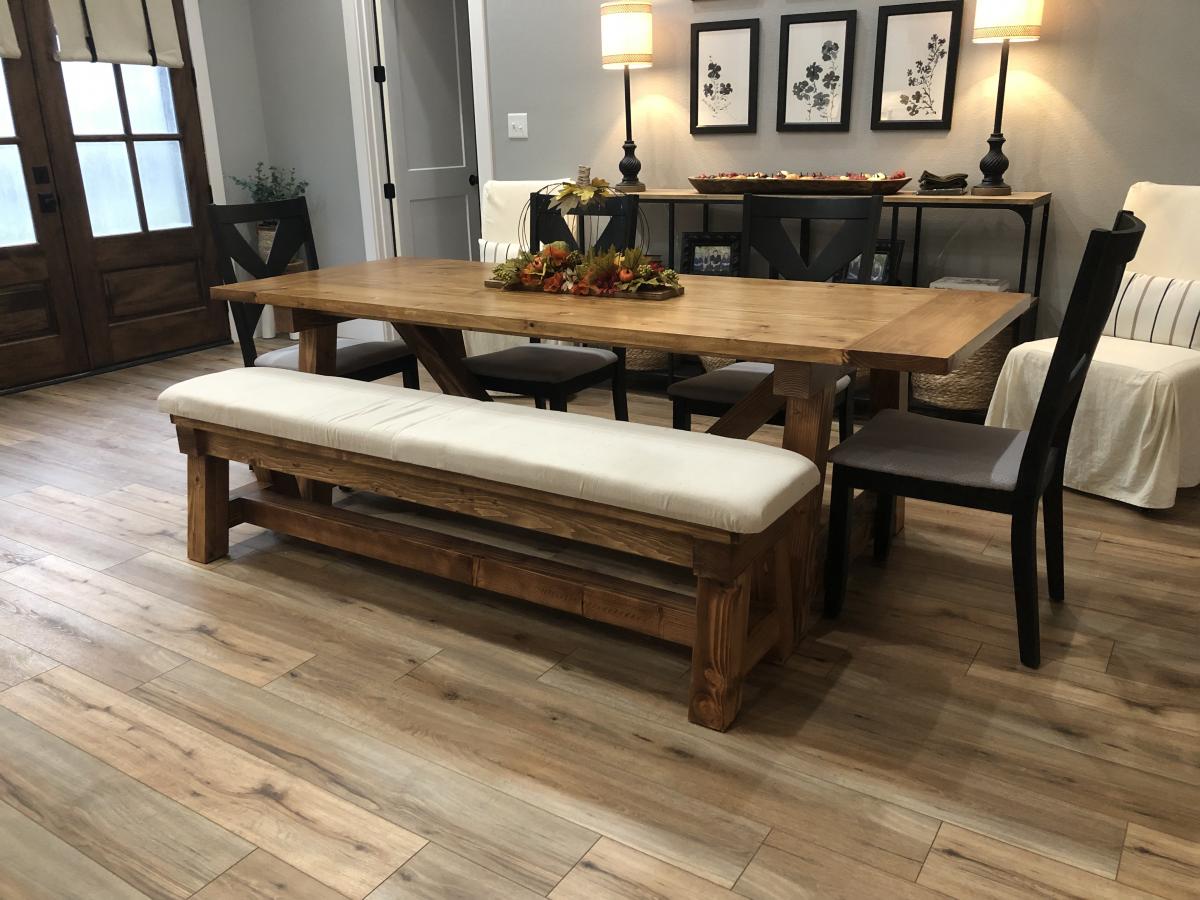
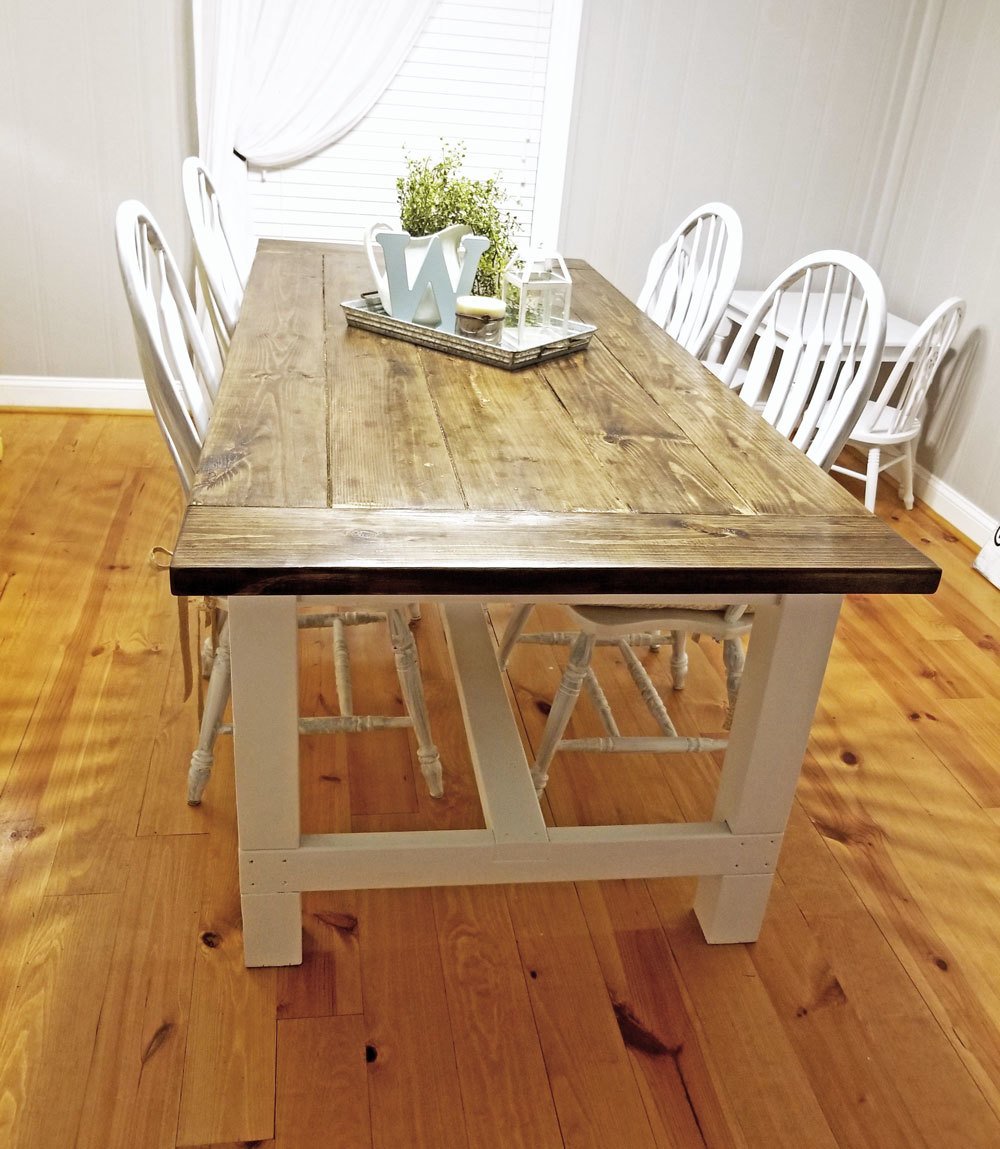
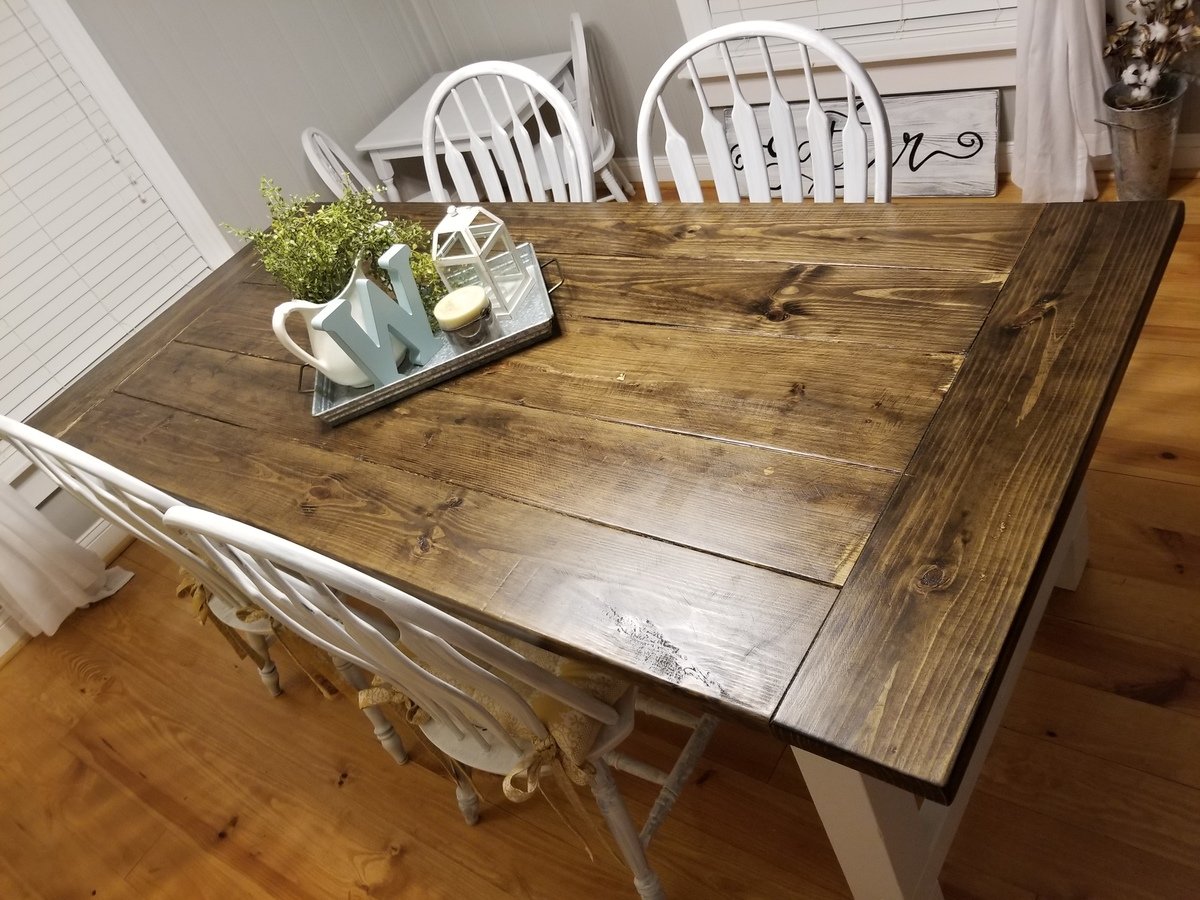
Woven Back Bench, Chairs, plus a table
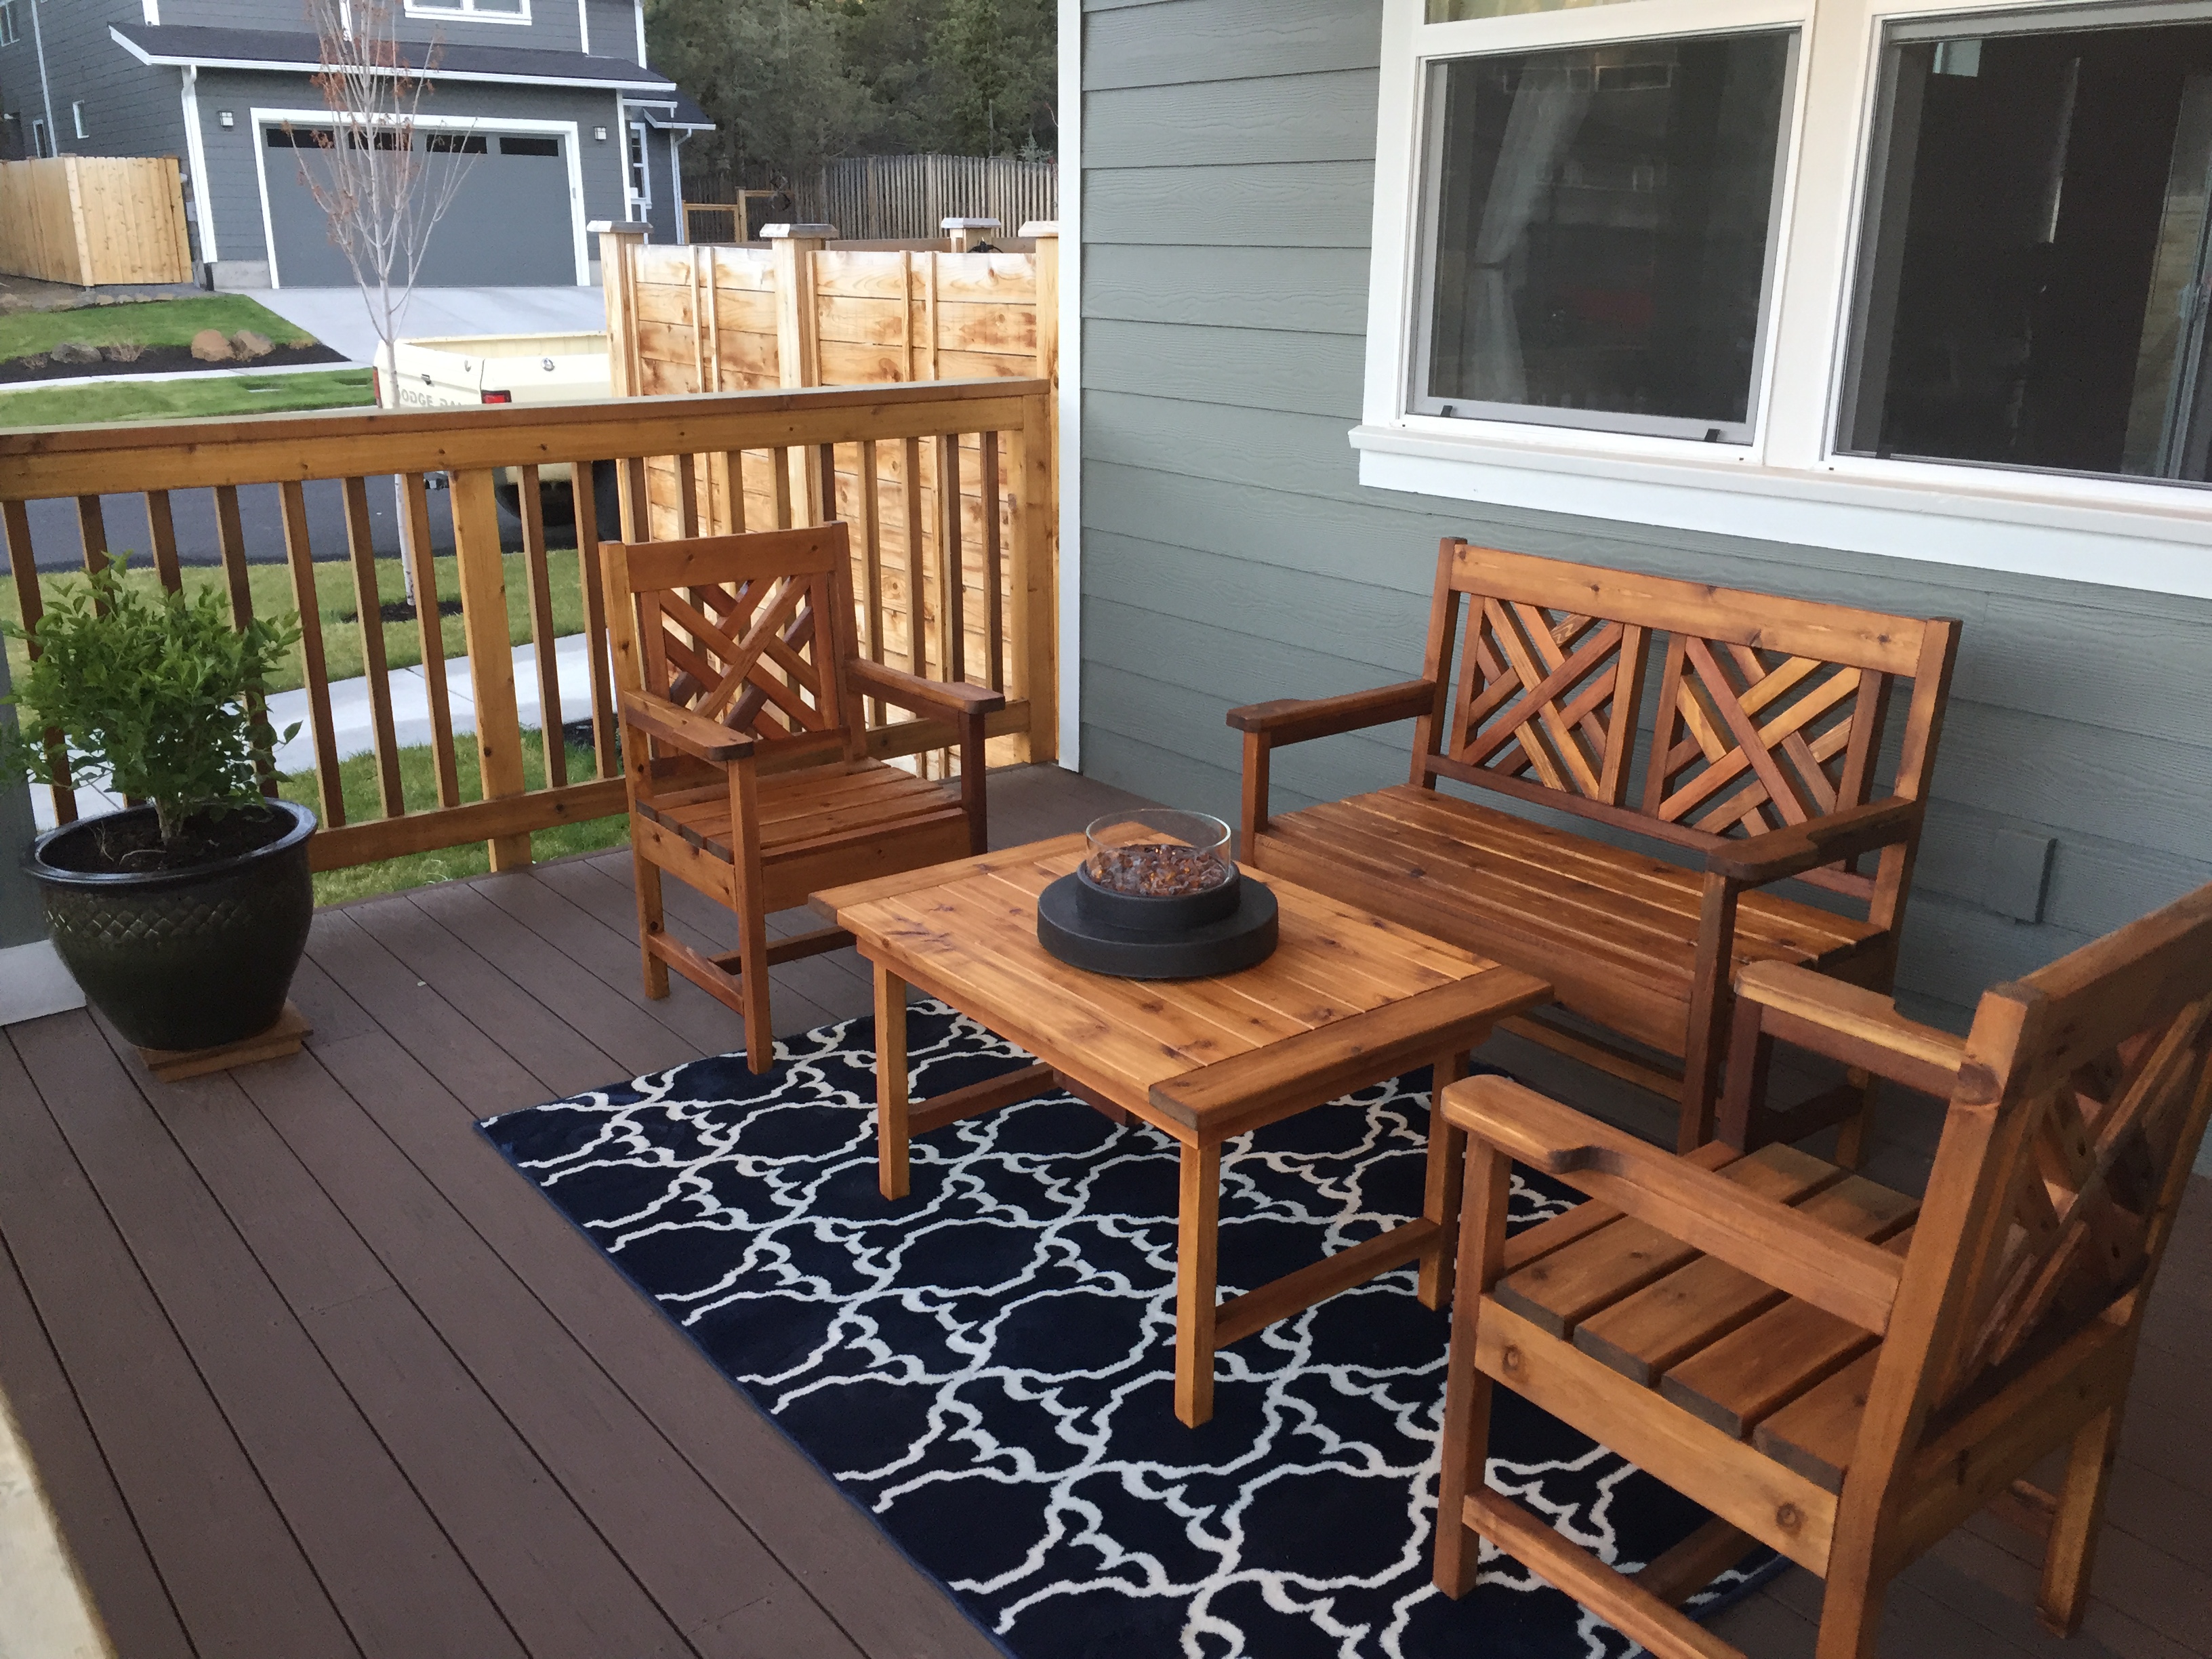
Adapted the woven back bench plan into two chairs. Talk about a ton of pocket holes!
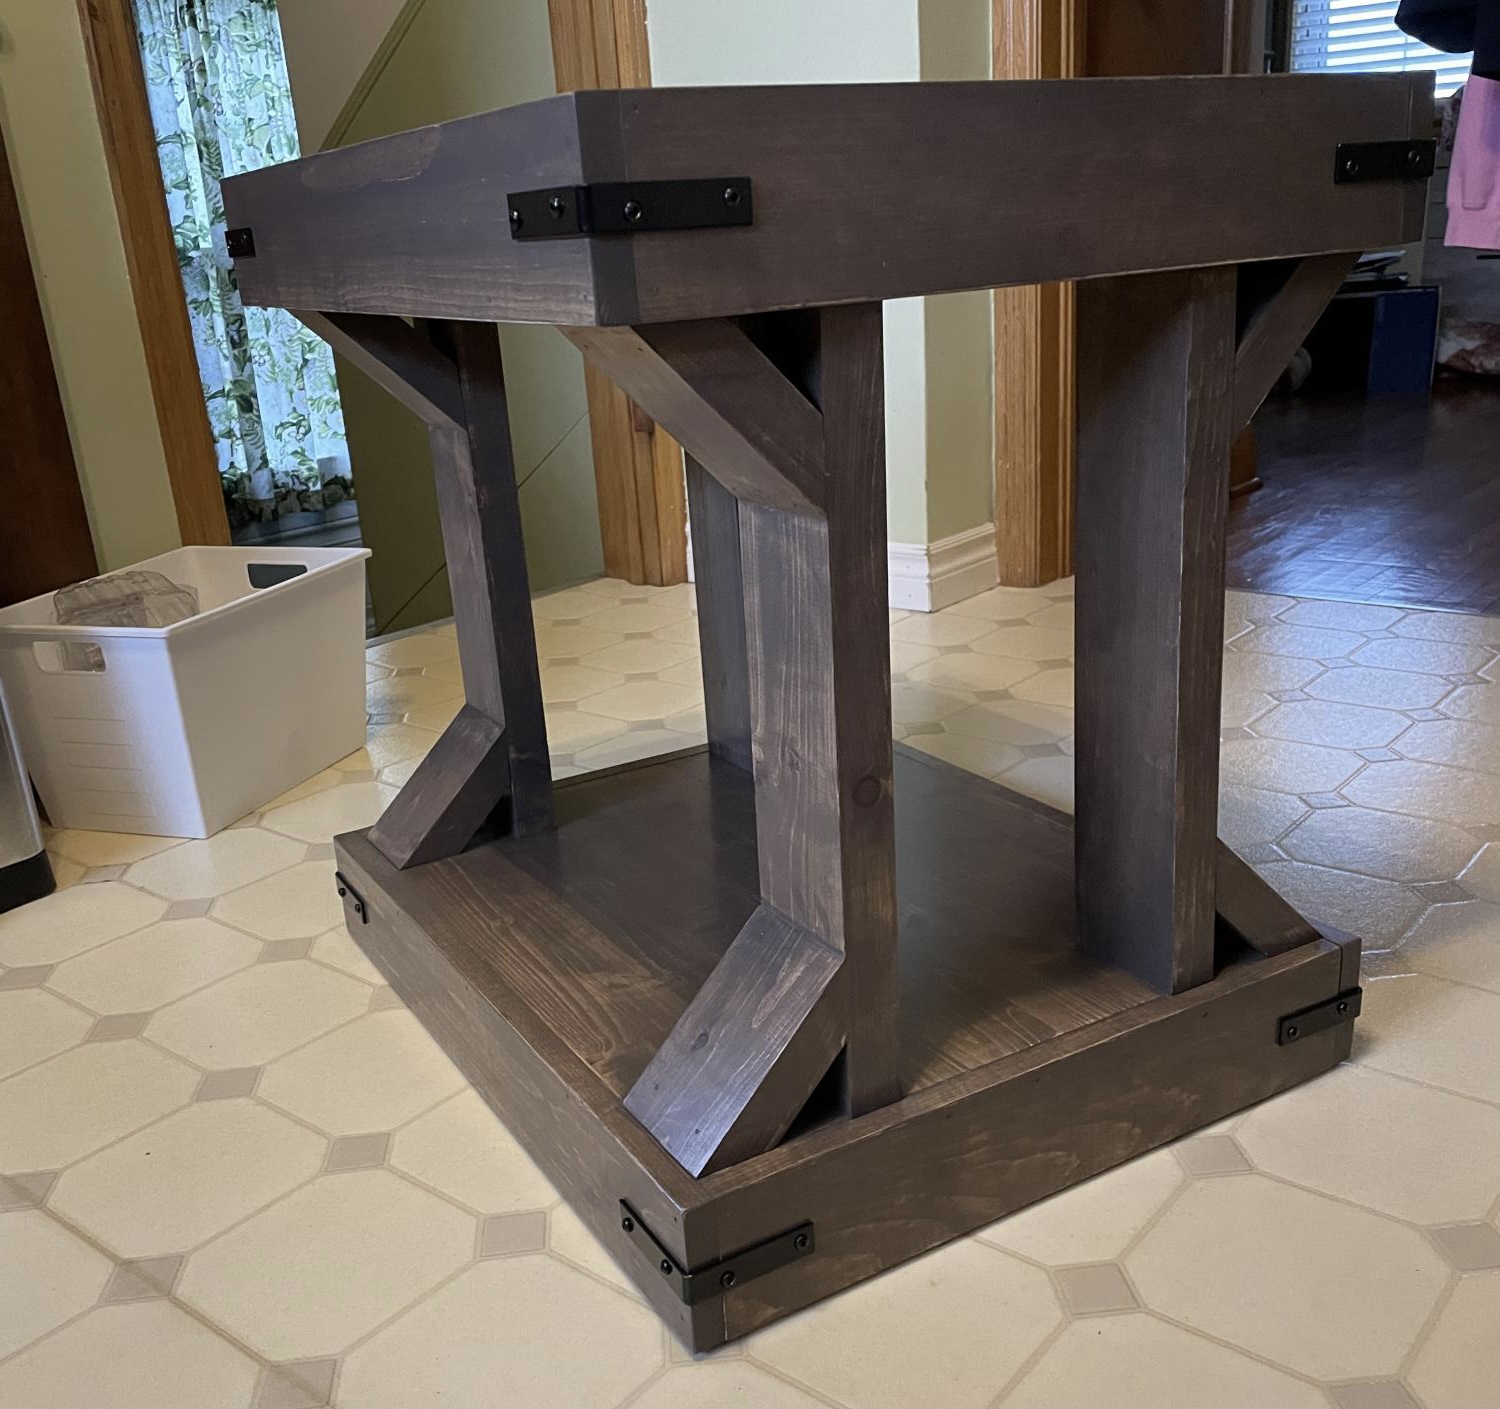
Table with a small propane gas fixture.
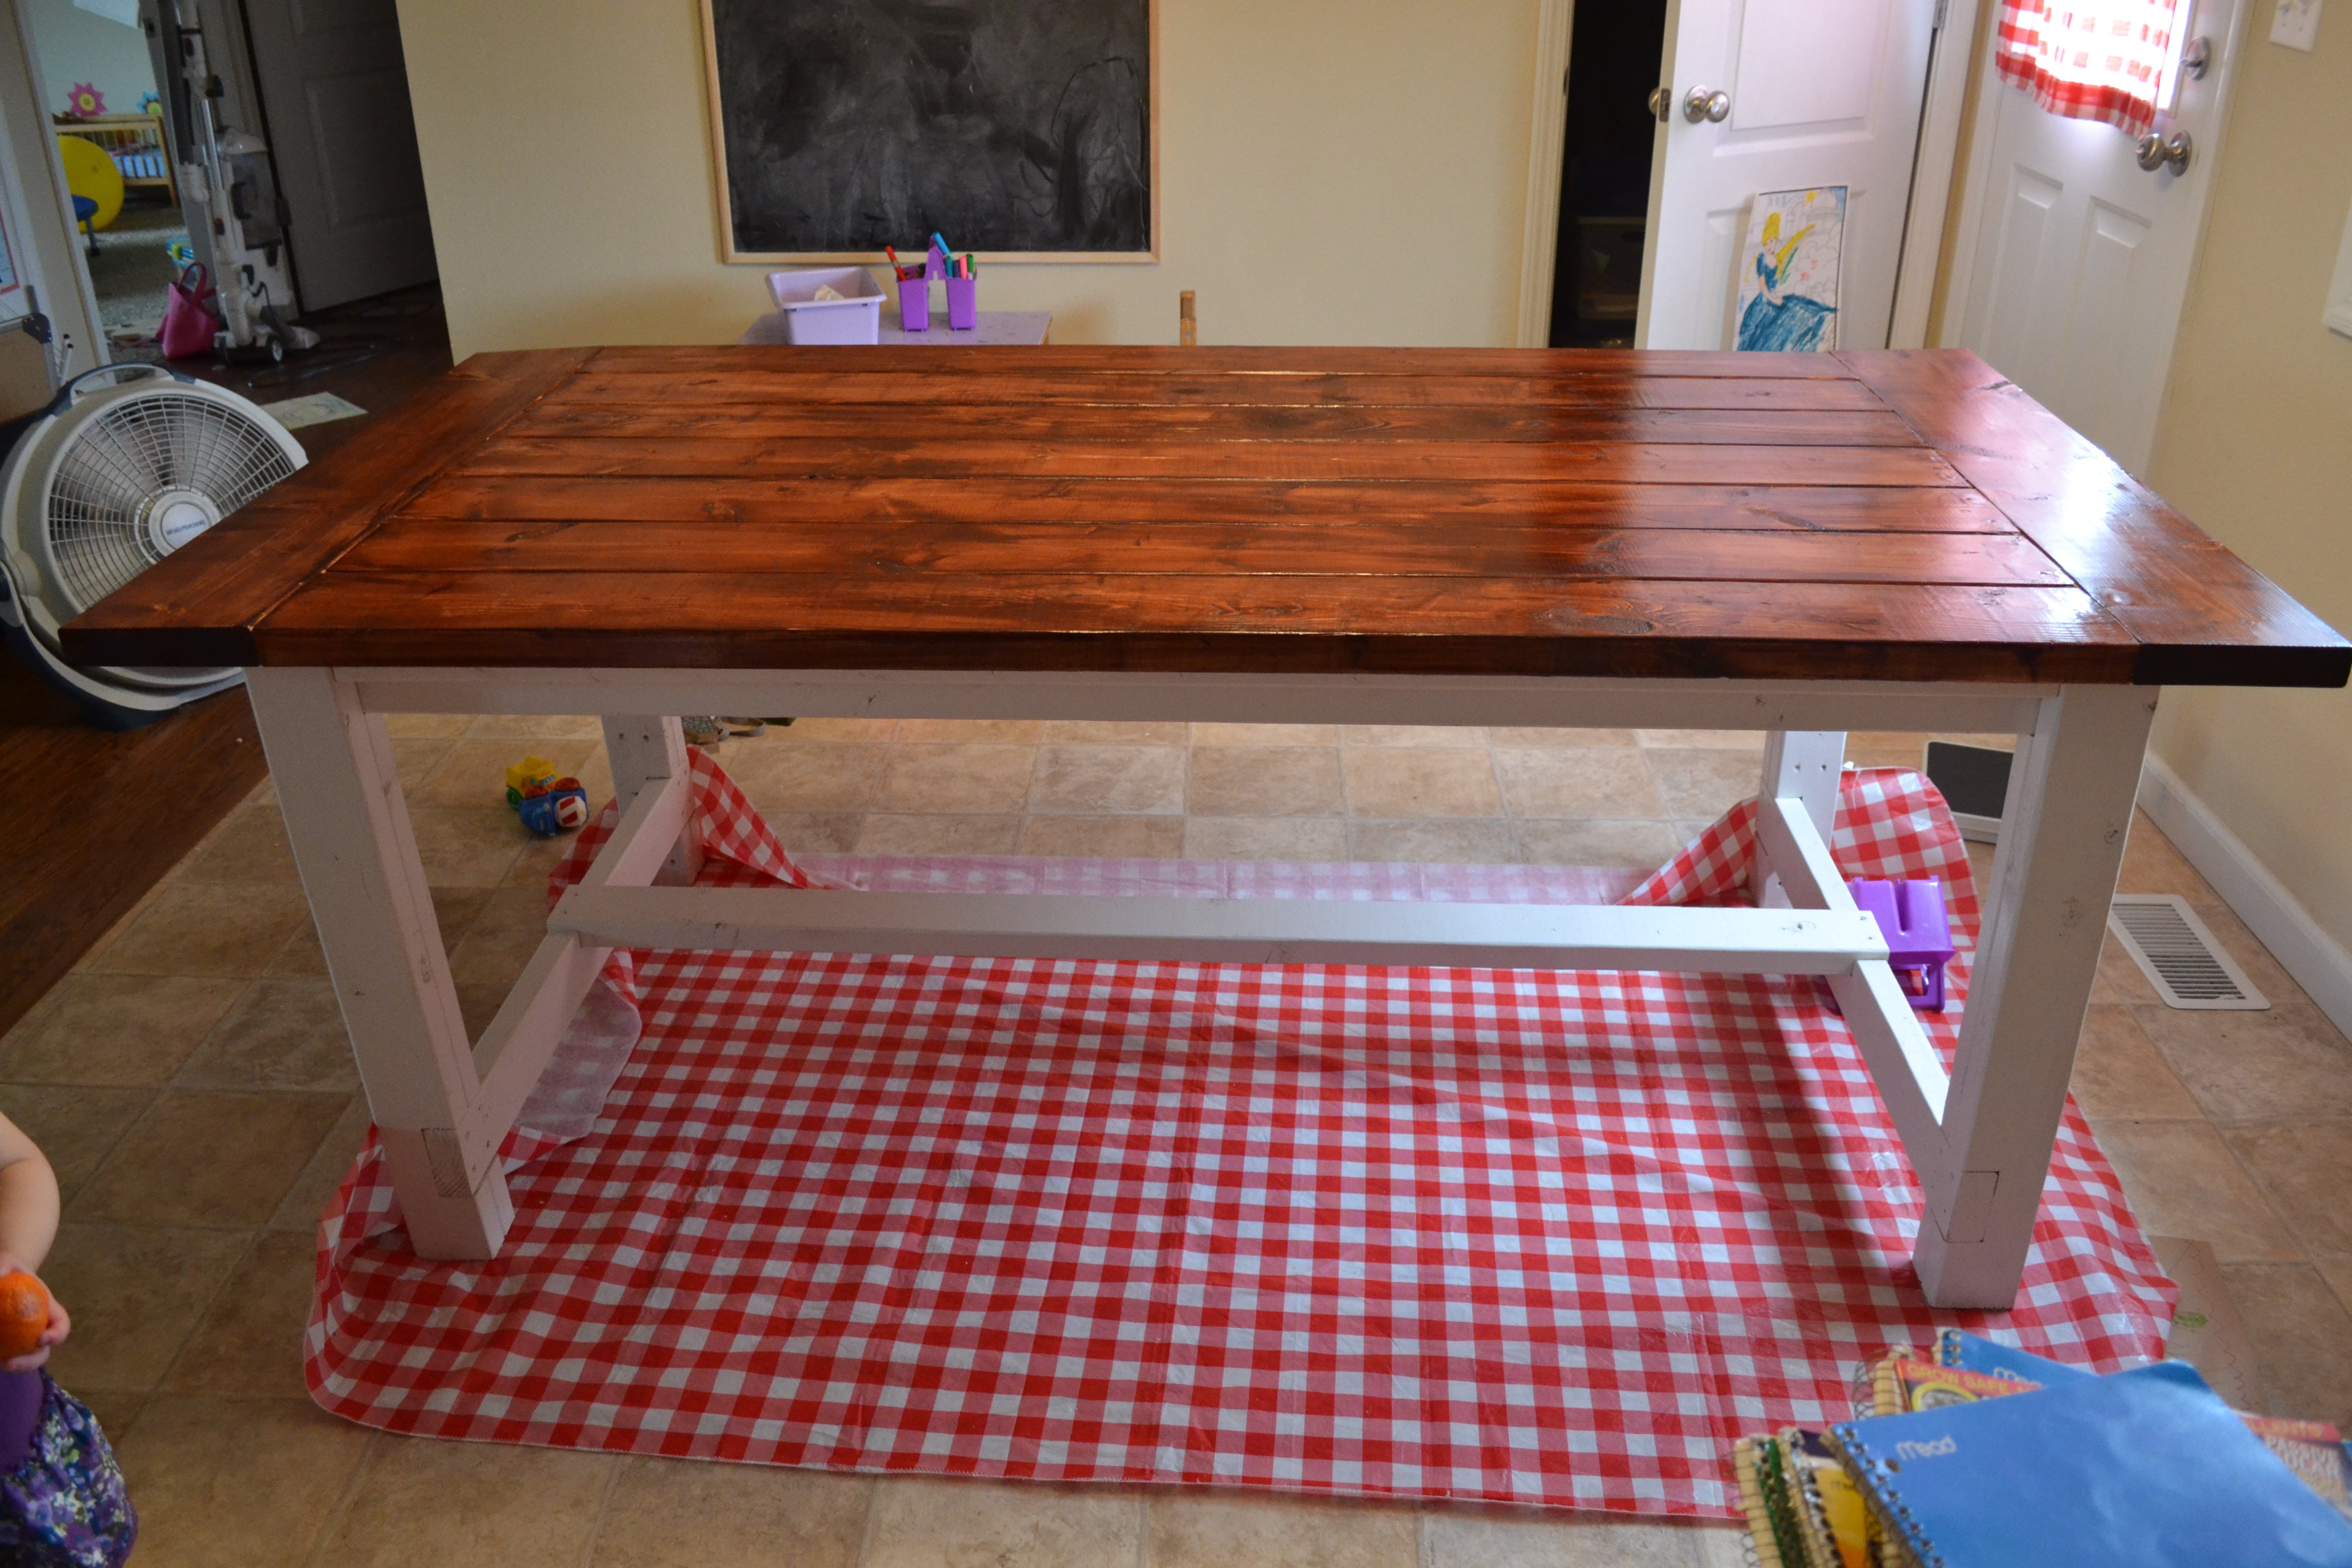
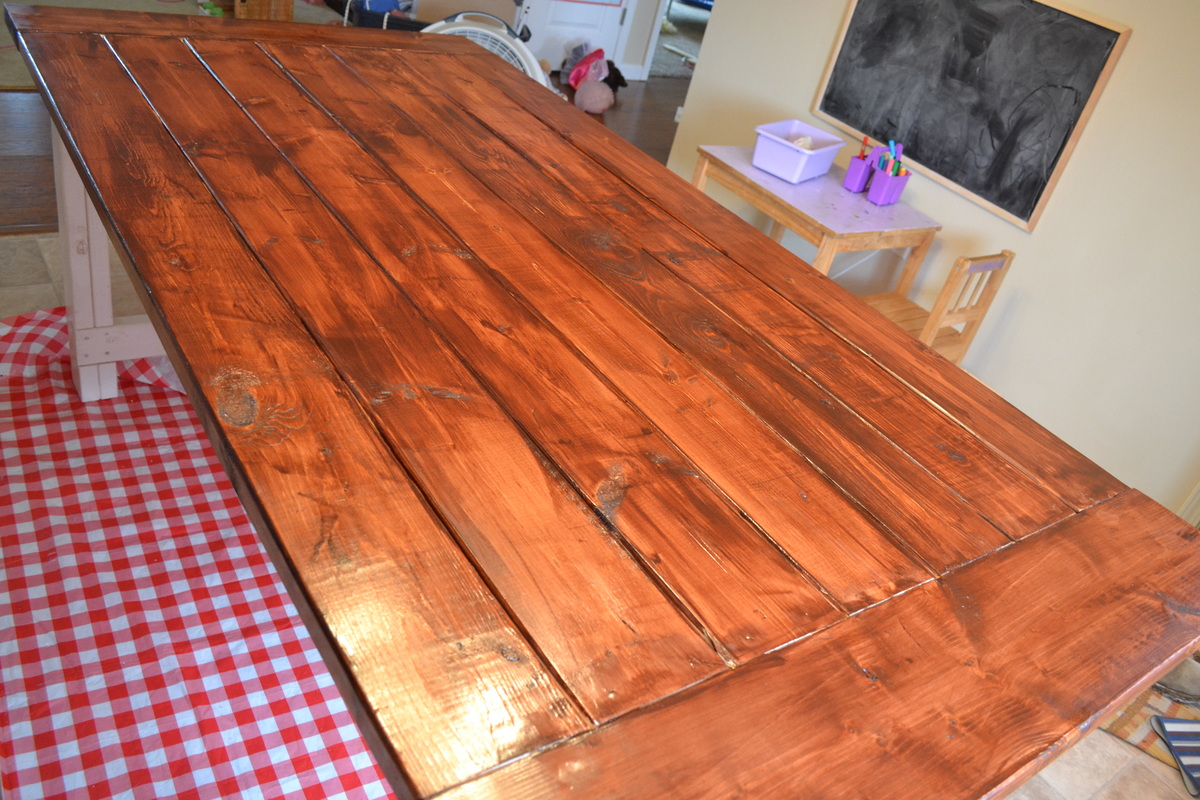
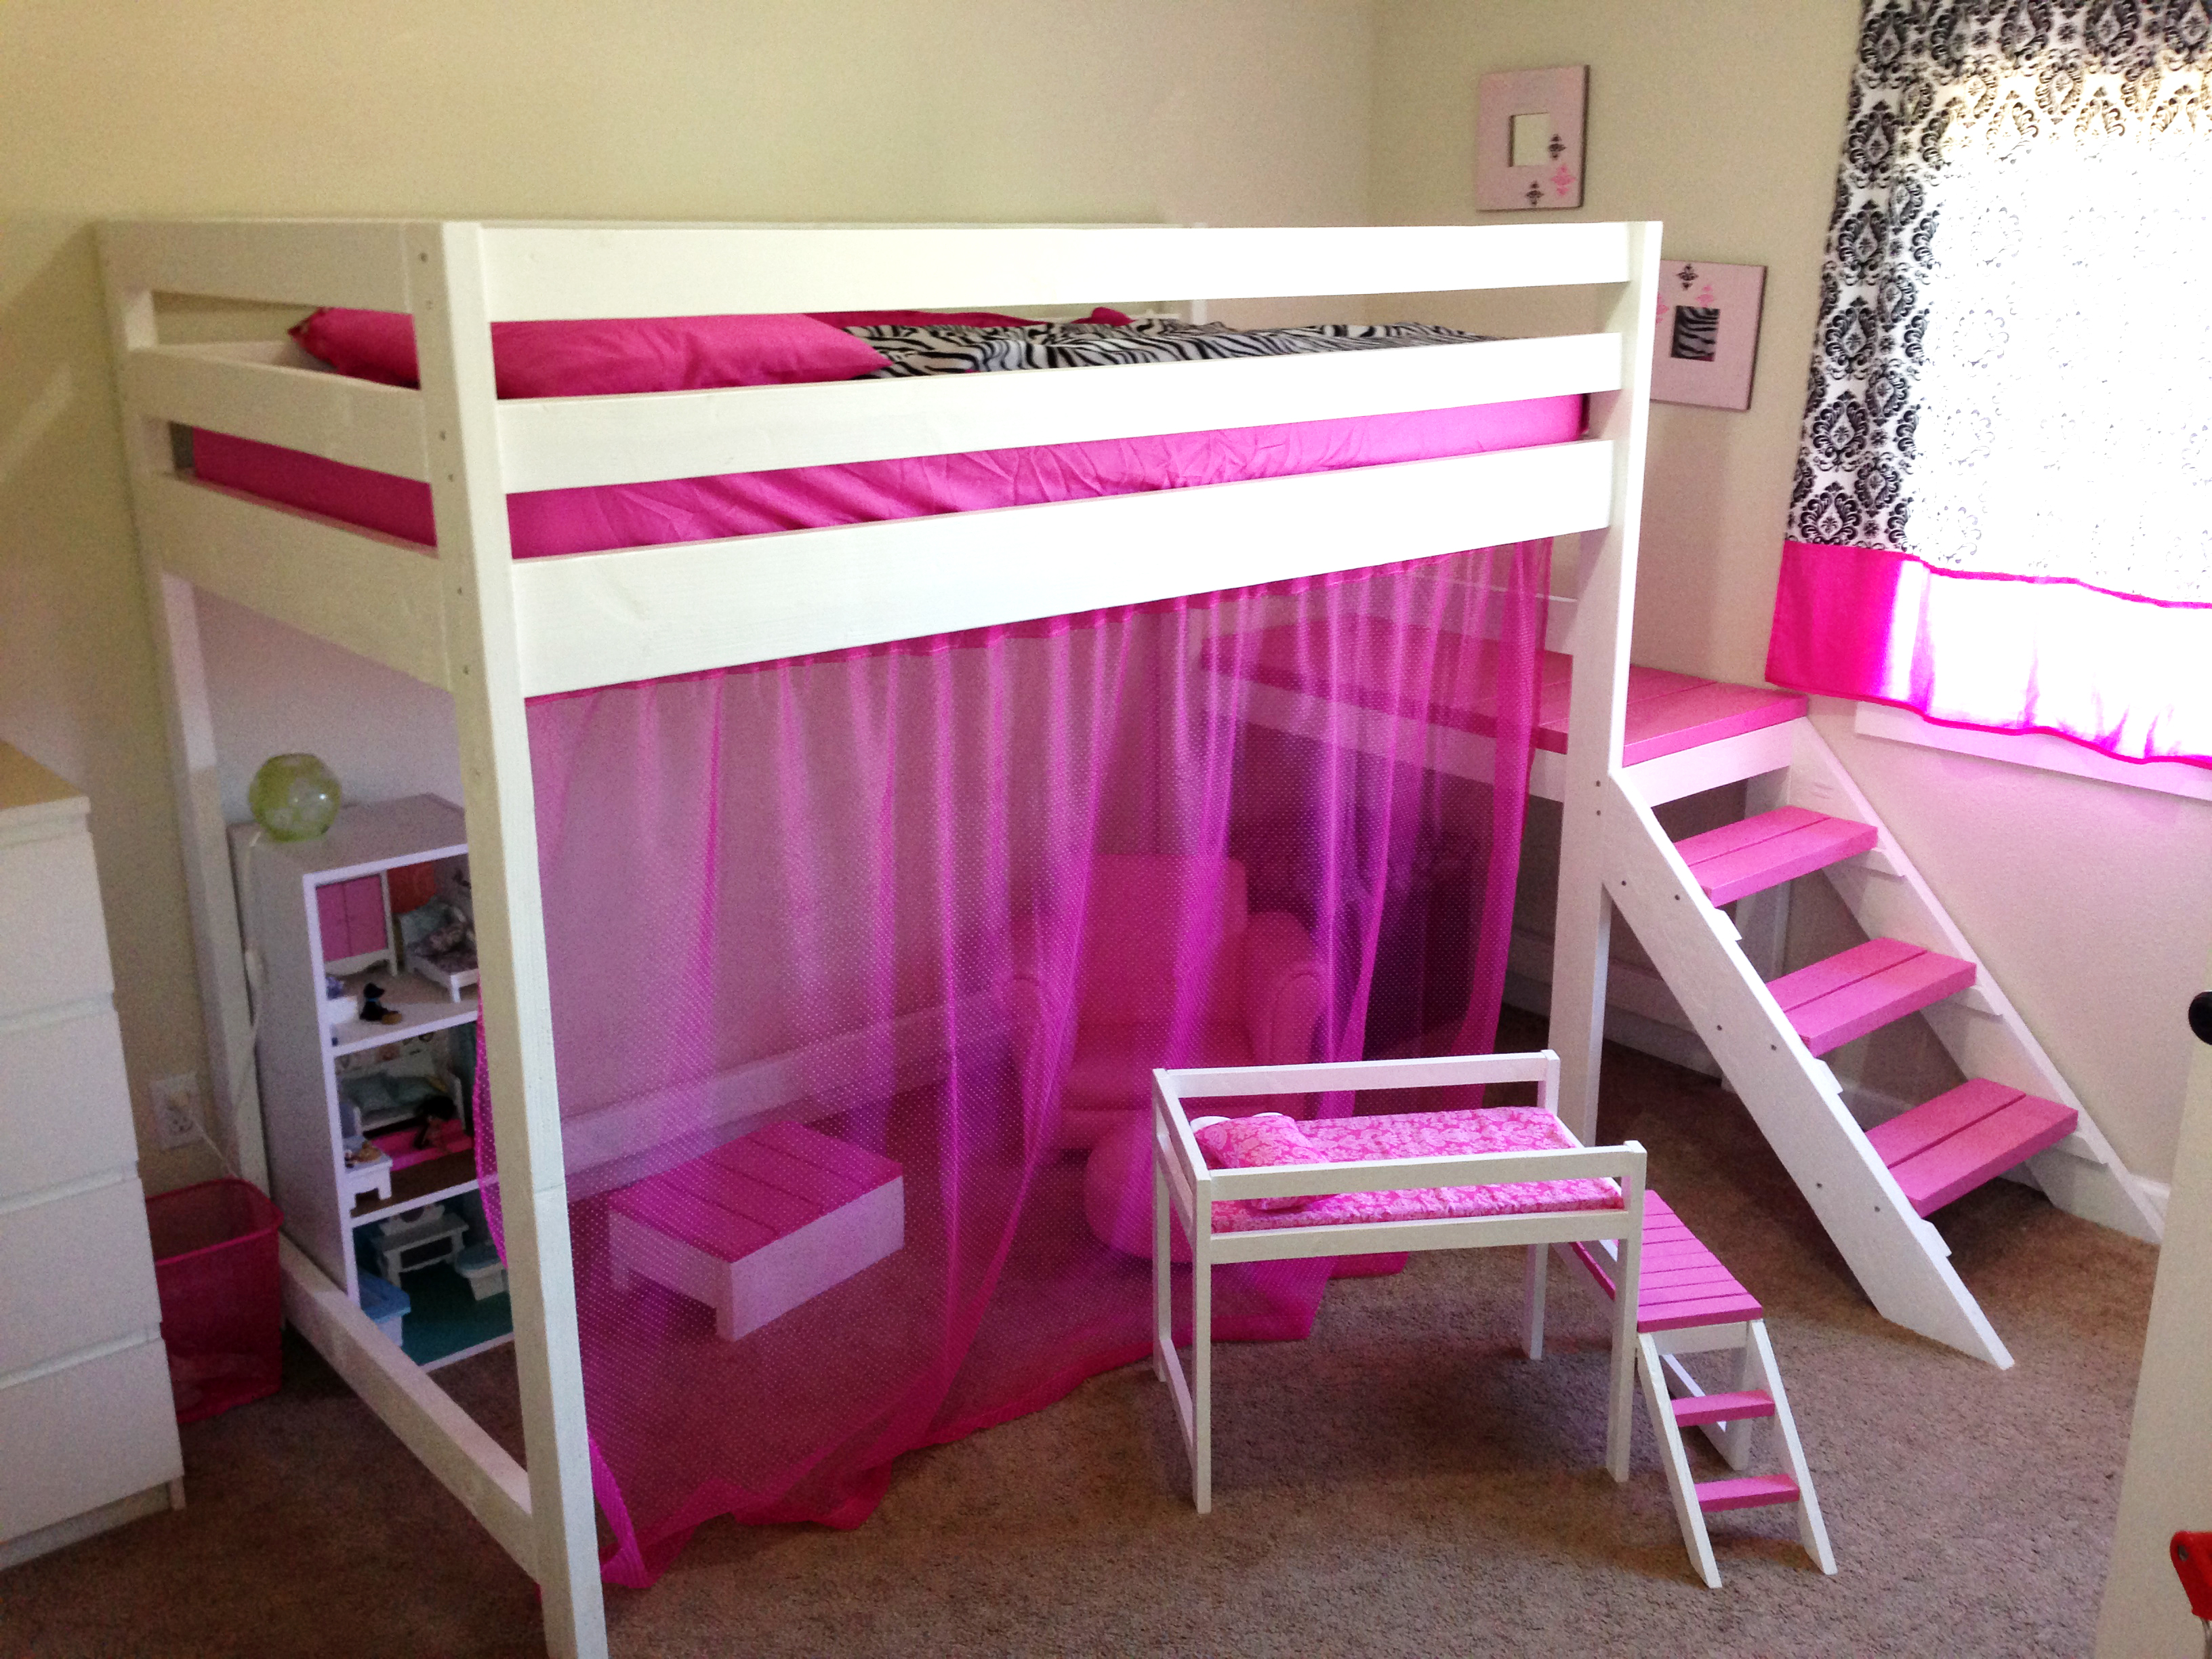
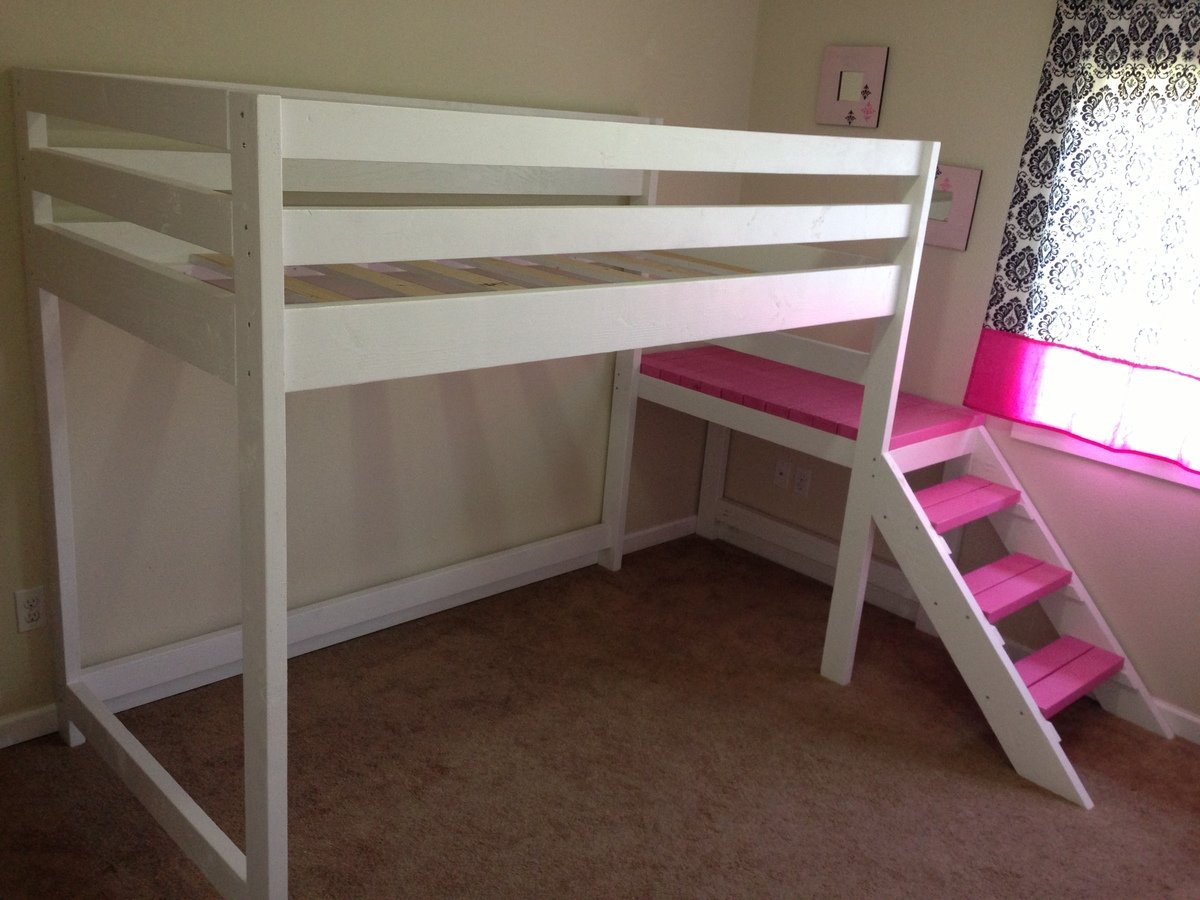
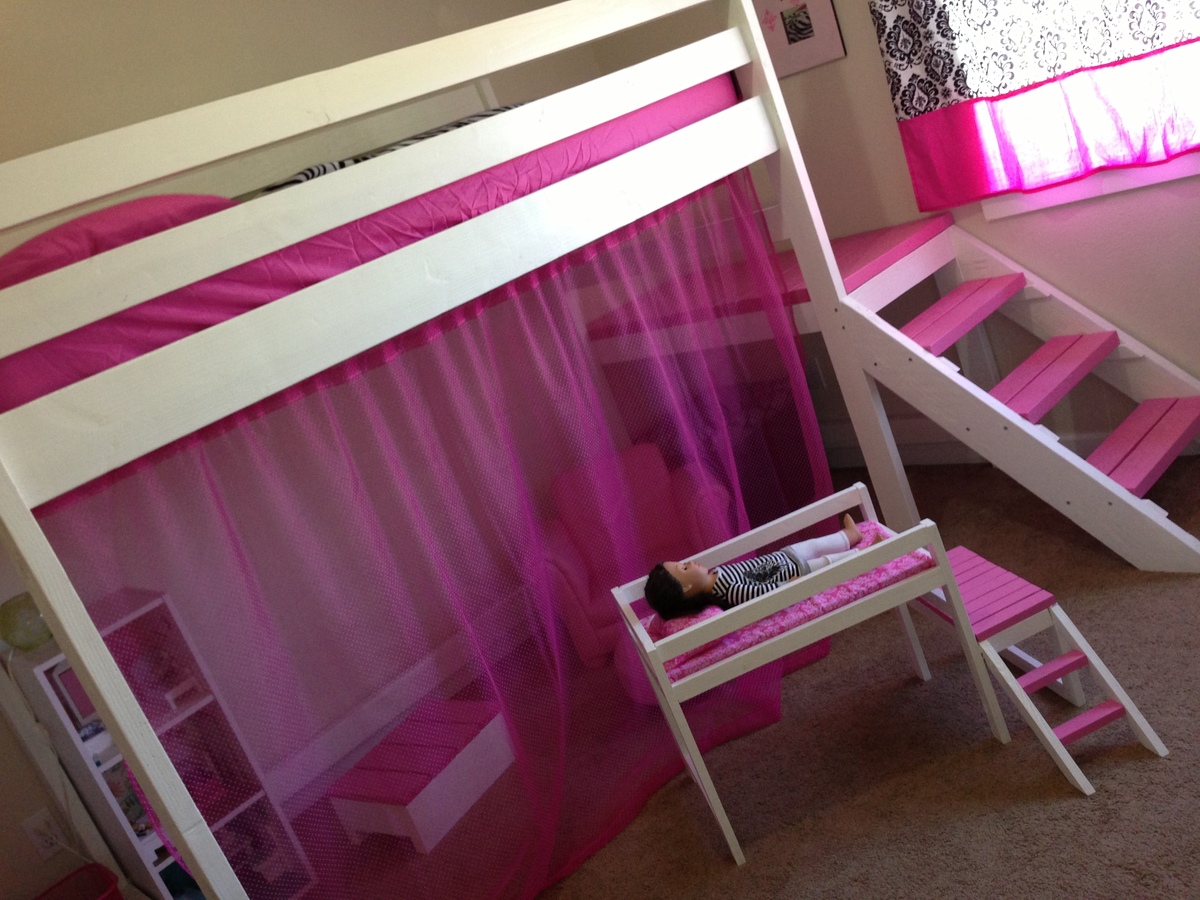
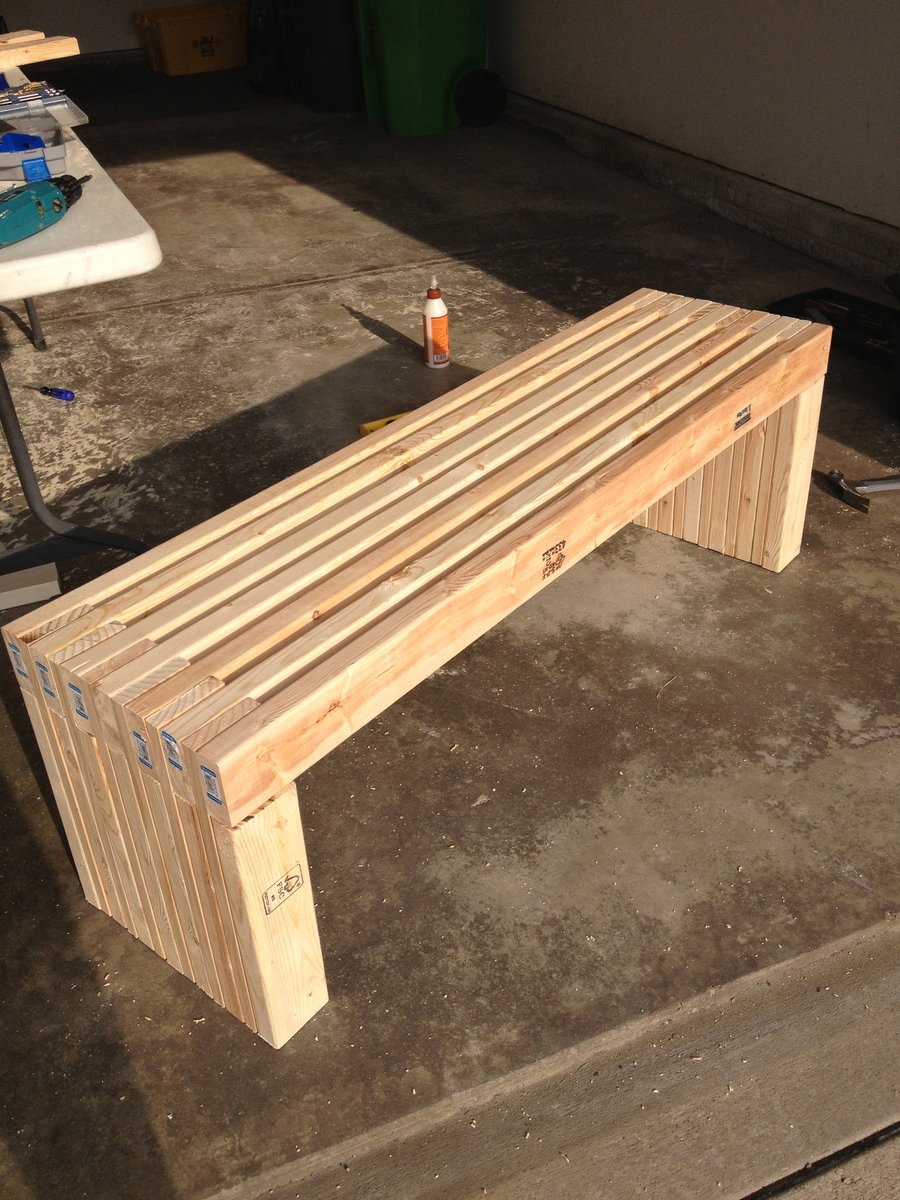
Built from Plan(s)
Estimated Cost
$110
Estimated Time Investment
Weekend Project (10-20 Hours)
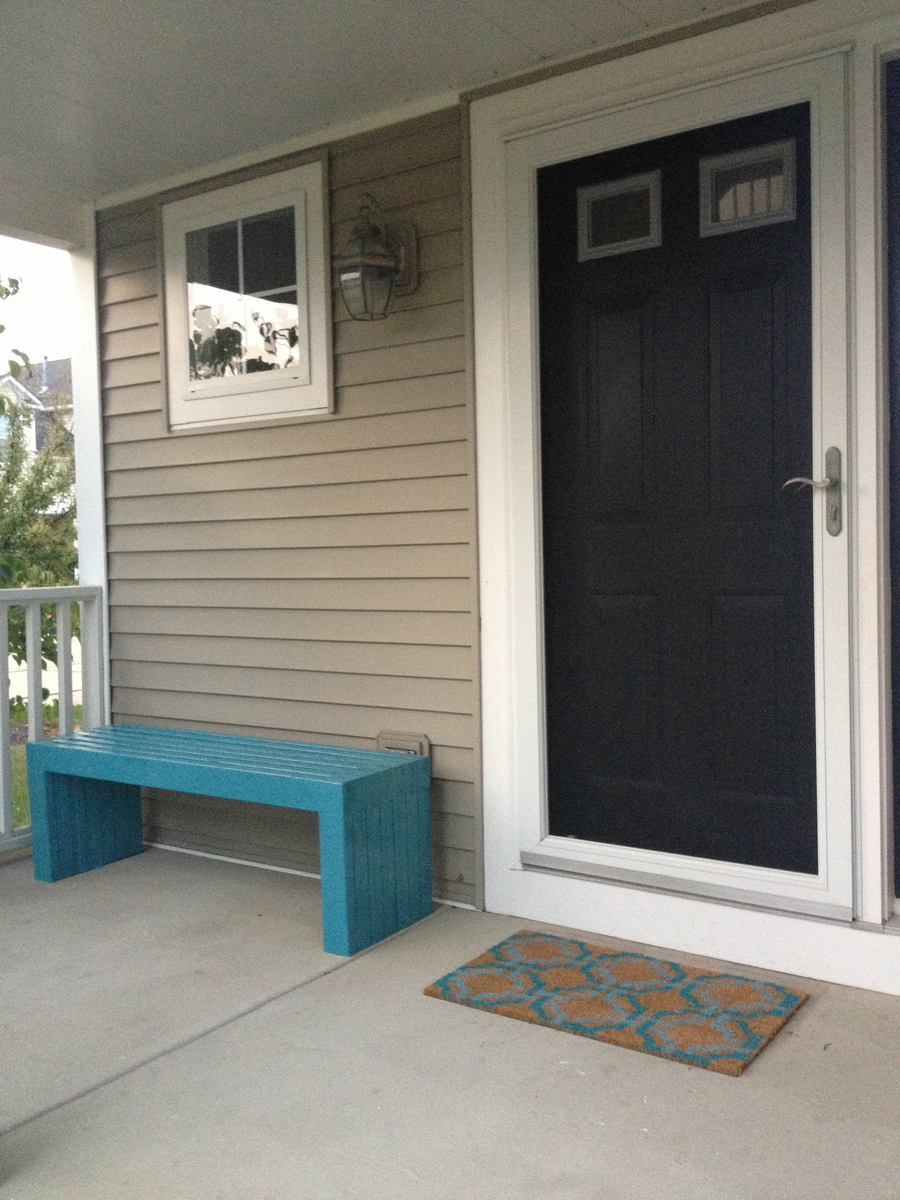
Finish Used
Olympia Elite Rustic Cedar outdoor stain, single coat so far.
Recommended Skill Level
Intermediate


Comments
Ana White Admin
Wed, 10/20/2021 - 10:26
Amazing!
This set up is absolutely gorgeous!