Grandy sliding door console
6 foot sliding door console with barn door style doors. Dark walnut top. Handmade hardware for the sliding door.
This was really easy and provides a place for DS to display his artwork.
Modified the plan to use pallet wood and stained it classic grey for a weathered look.
Sun, 01/24/2016 - 22:40
how many pallets did it take to make this. Thanks
I made this bed pretty much by myself, my hubby helped me assemble it in the bedroom. It is king size so I had to do my own measurements. To my surprise it was pretty easy. Just make your measurements accurate. Had blast. Next project please!
Changing table built for my first niece.
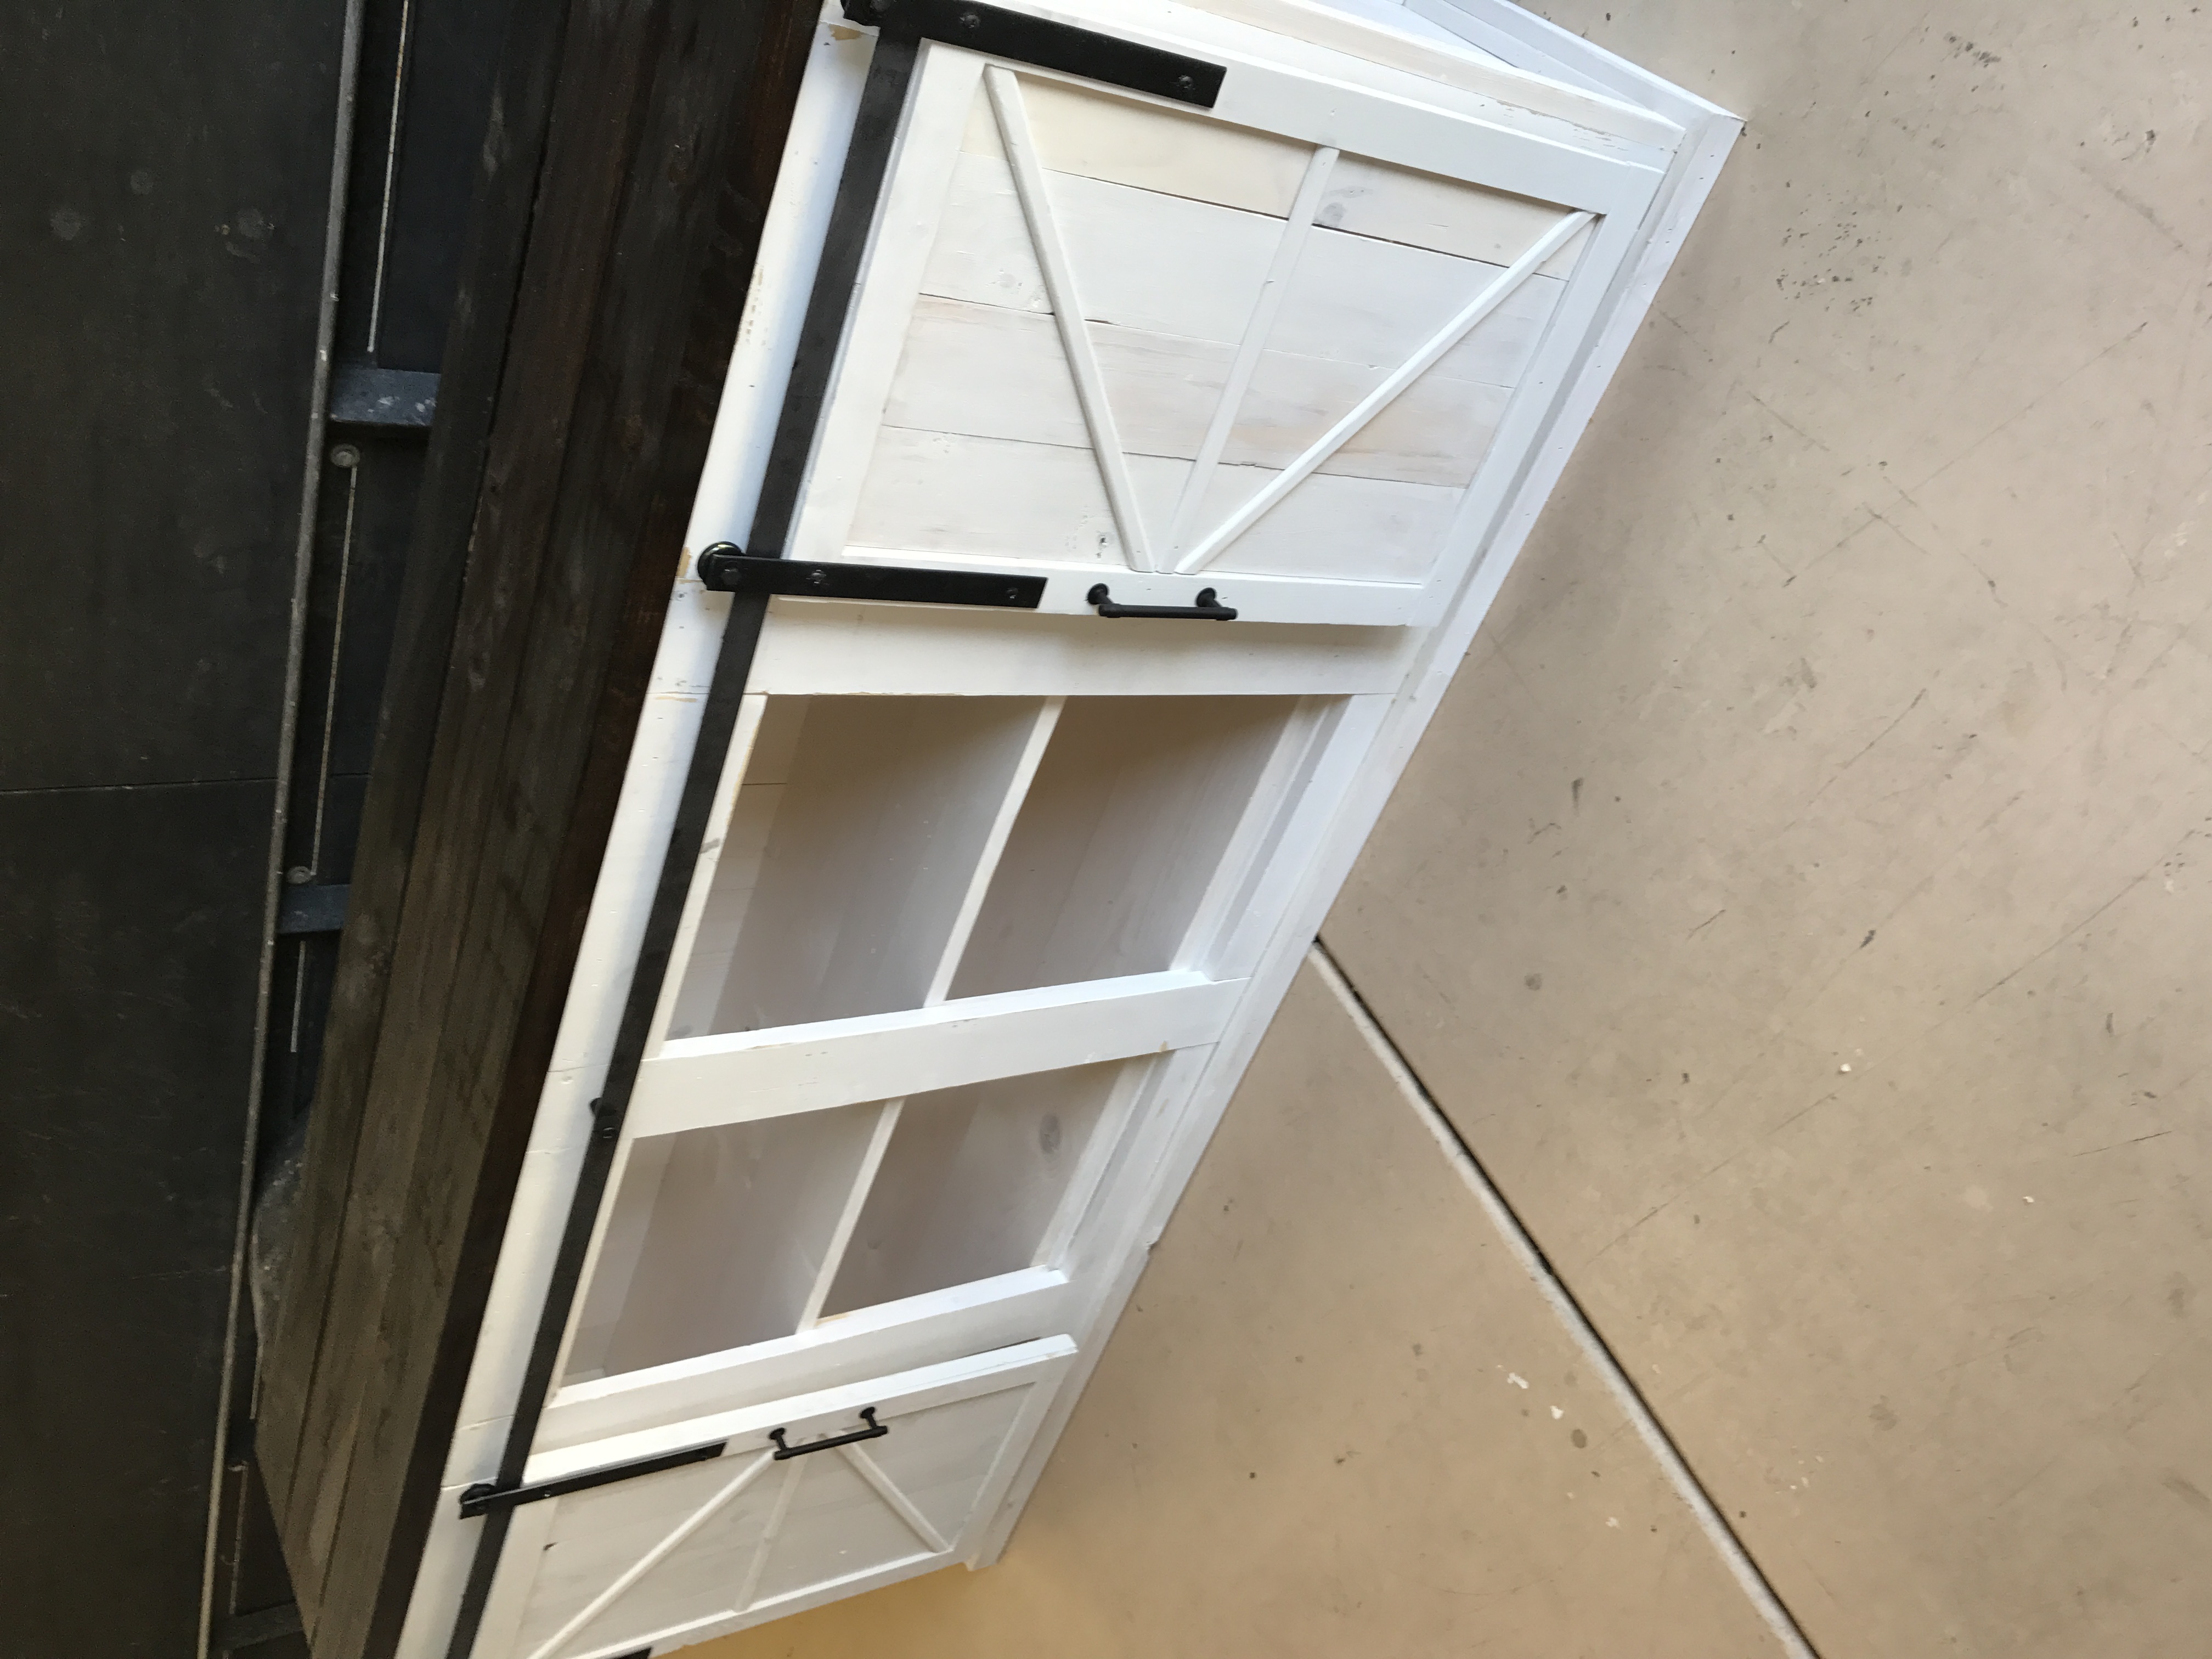
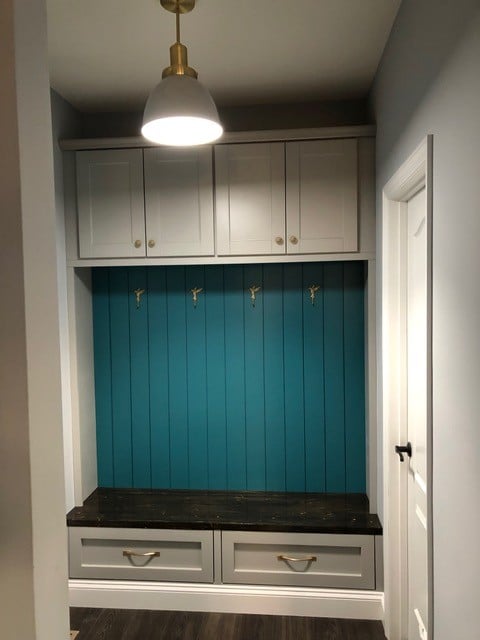
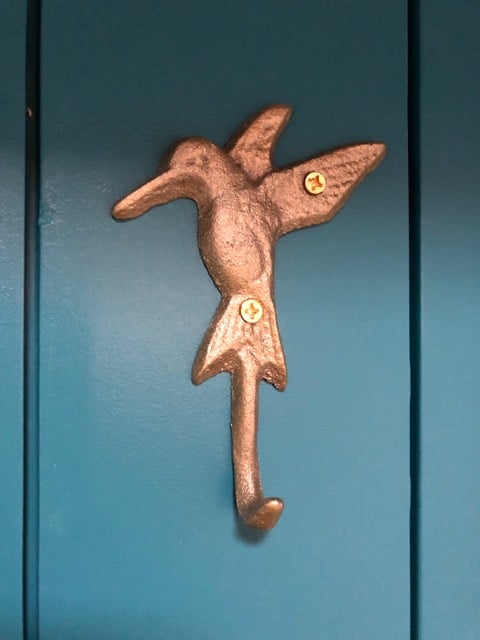
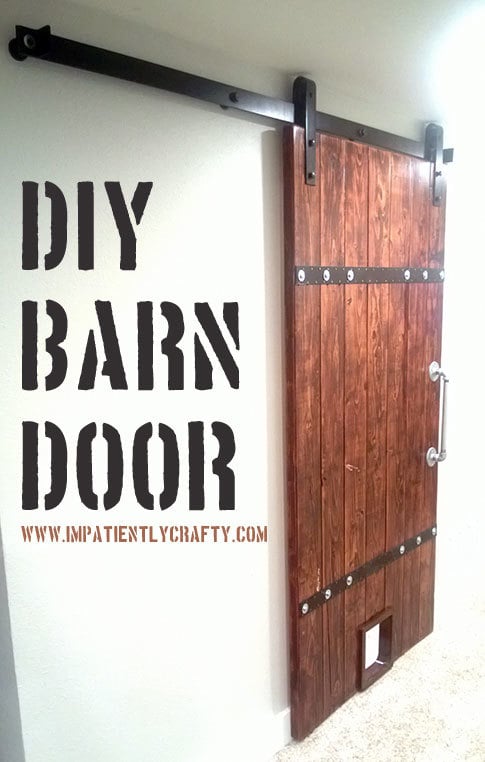
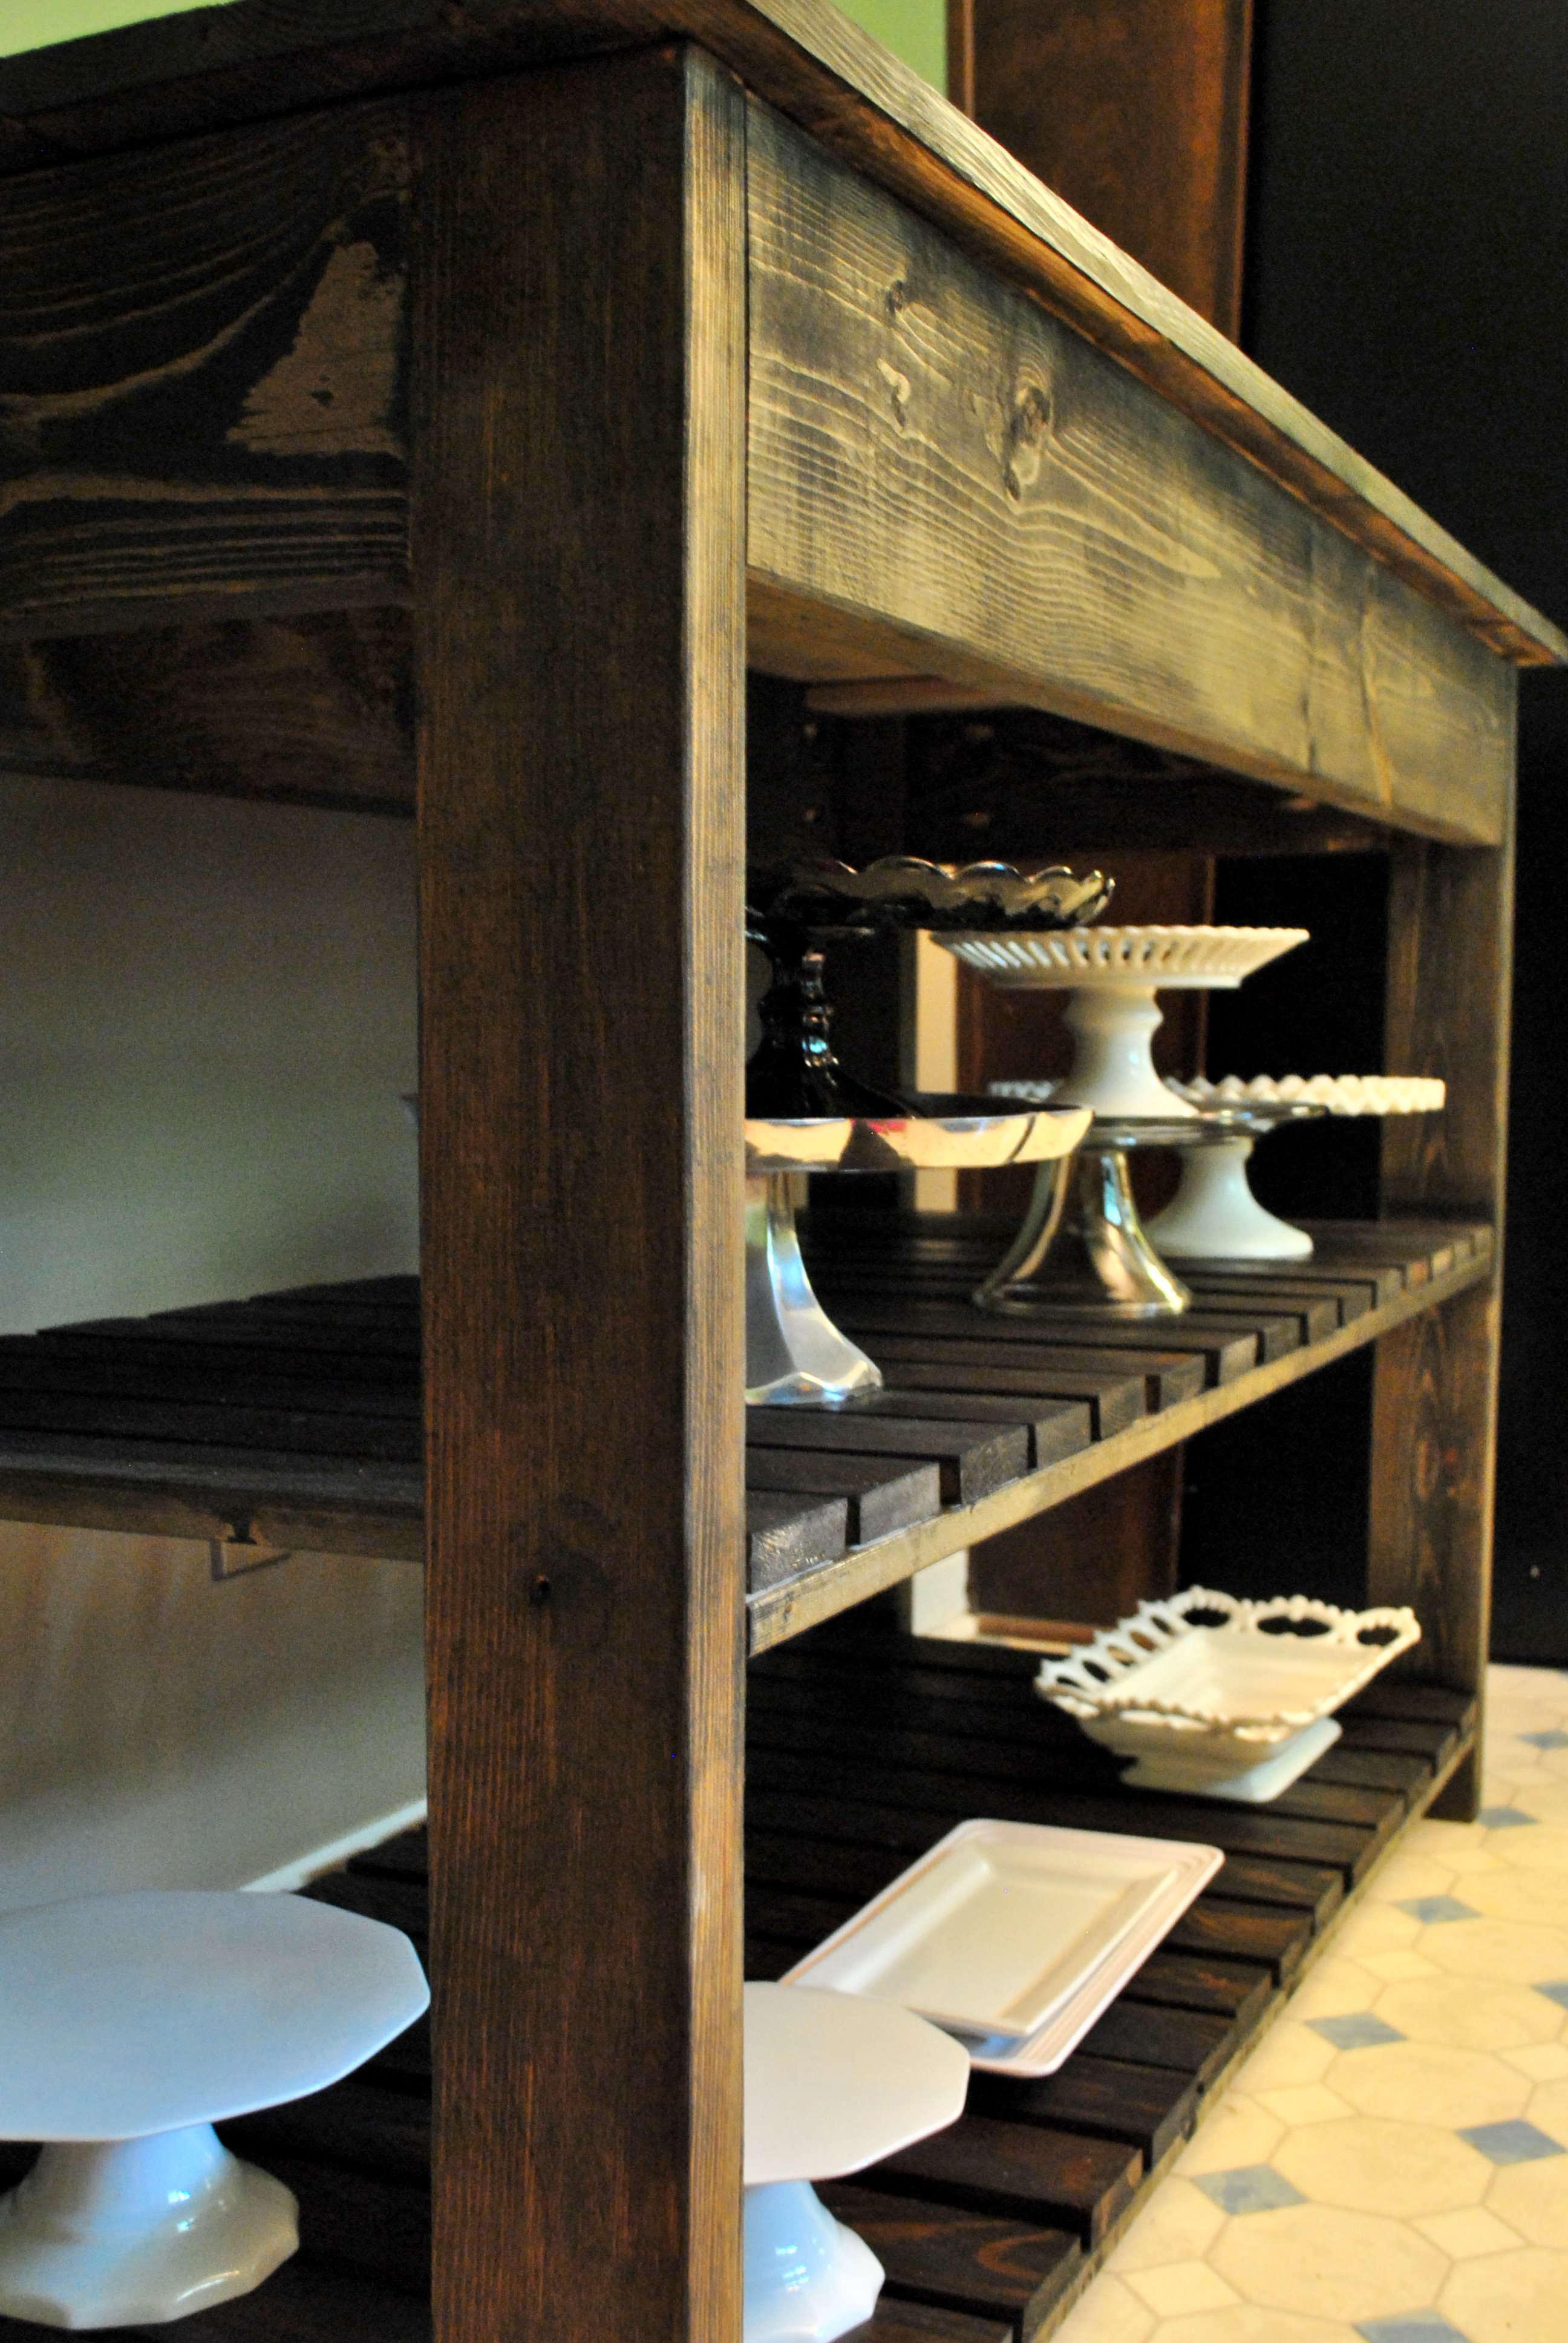
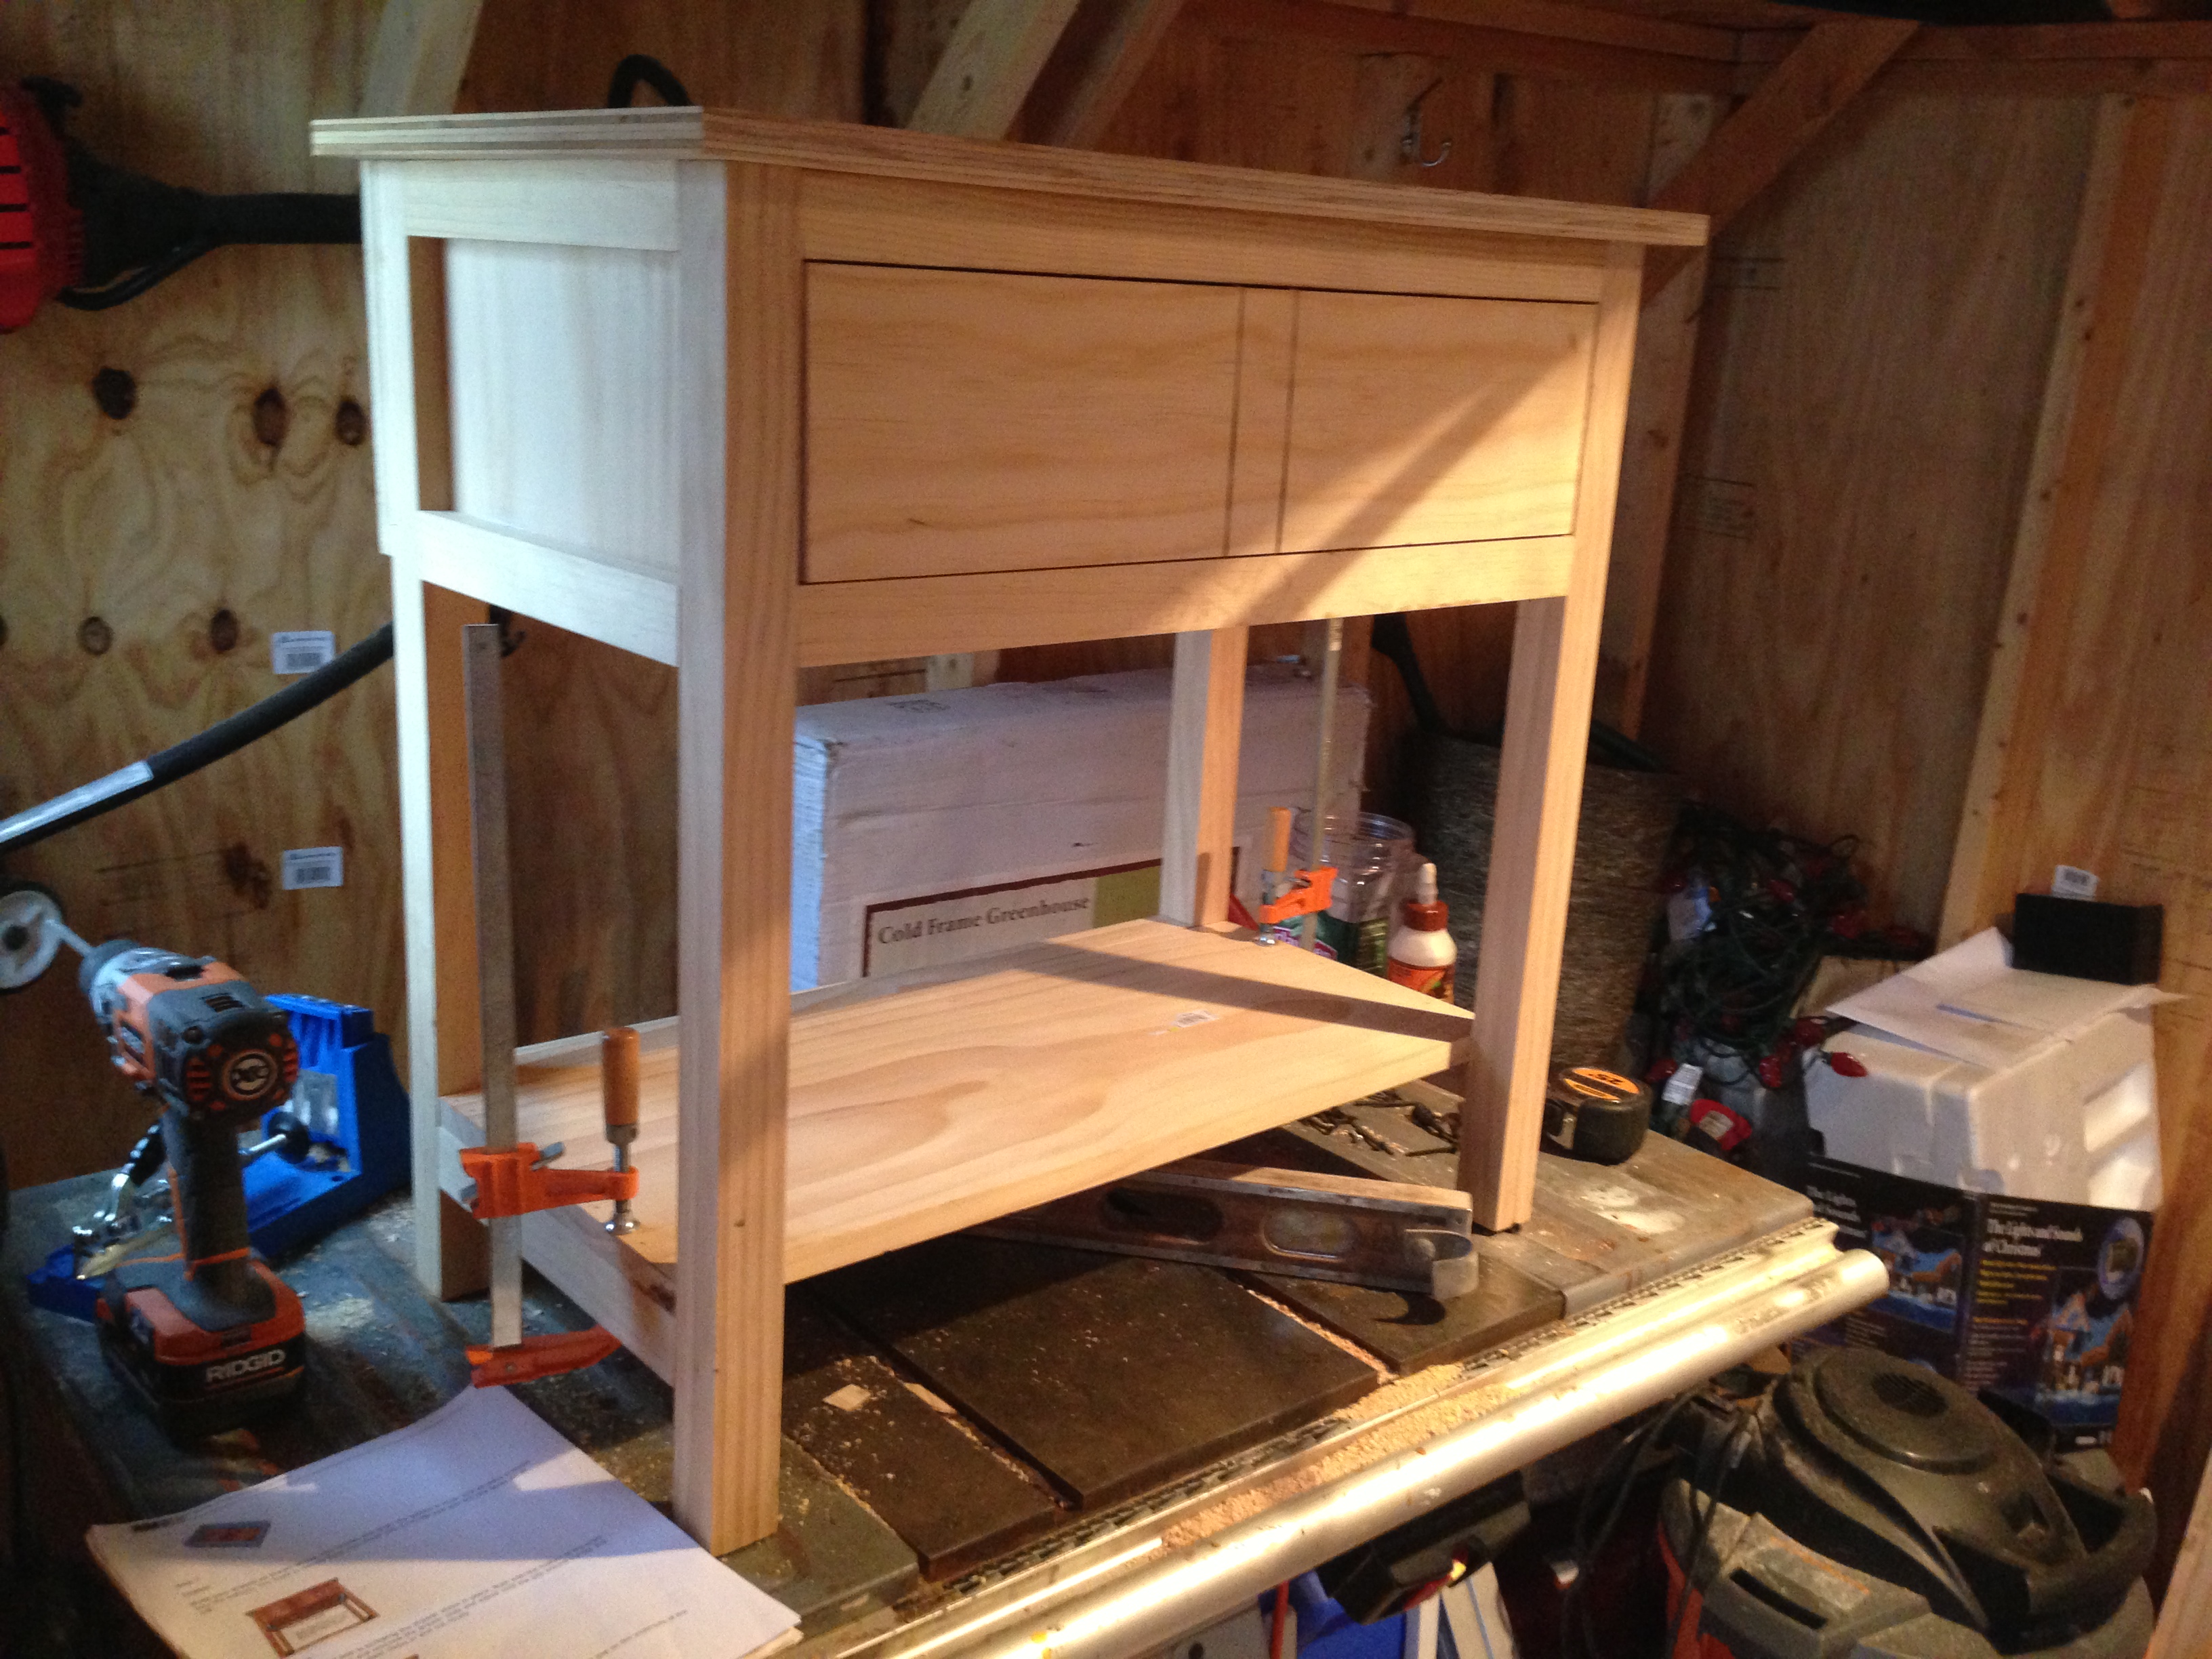
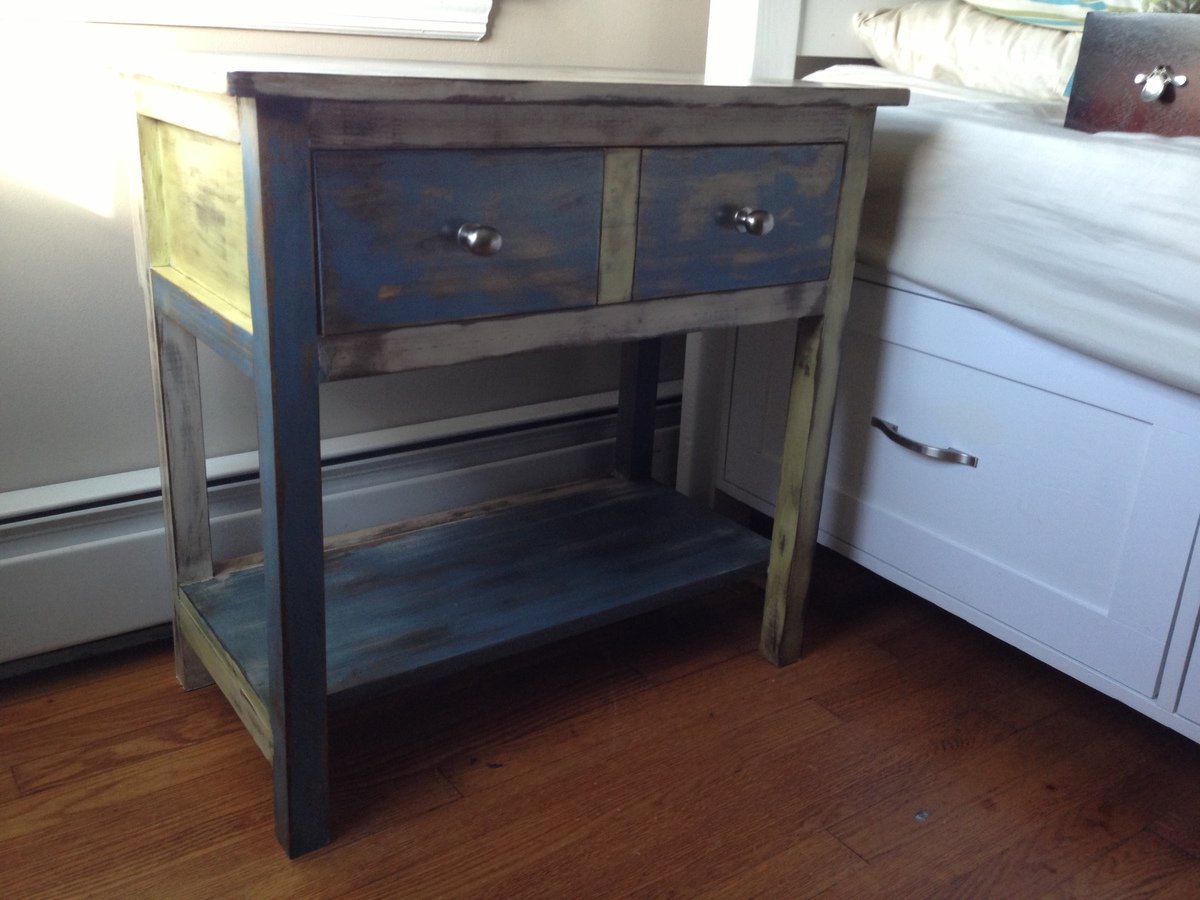
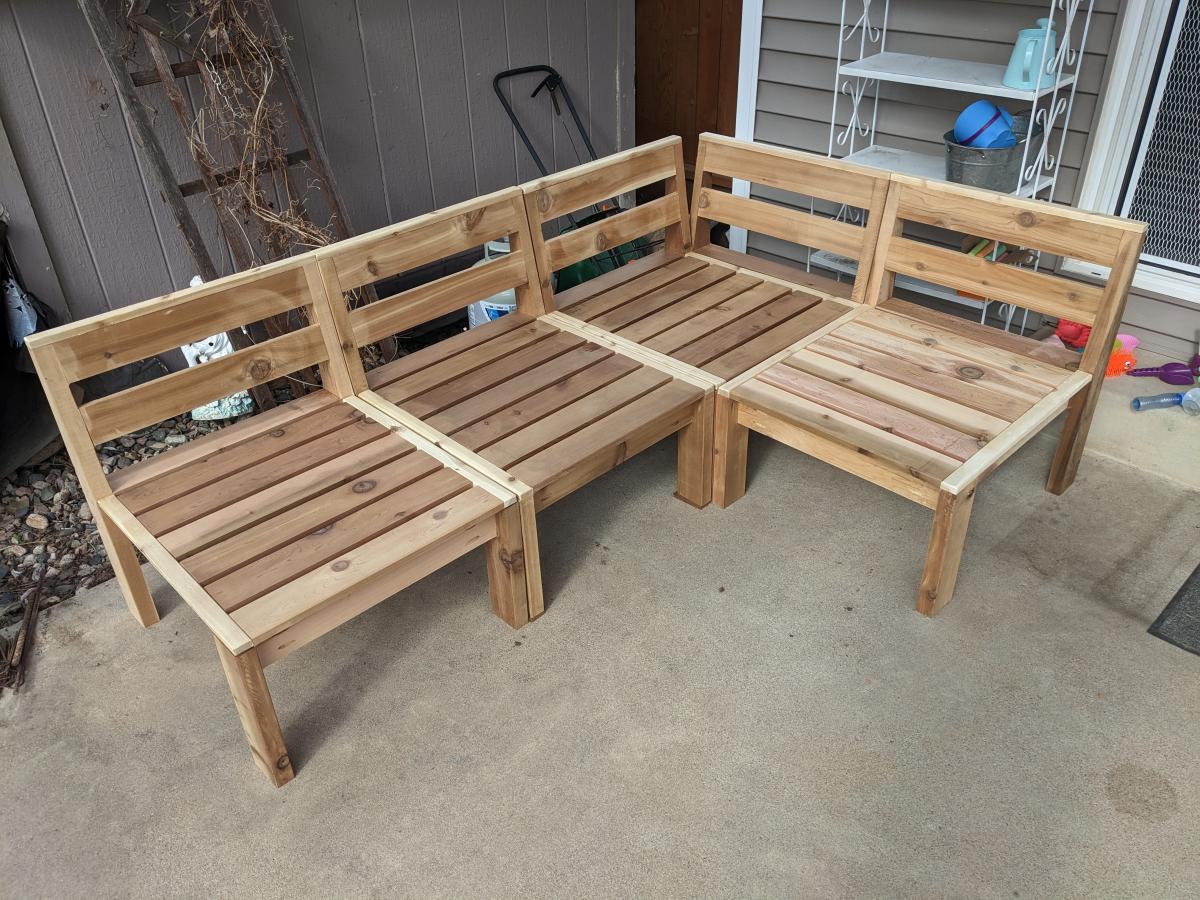
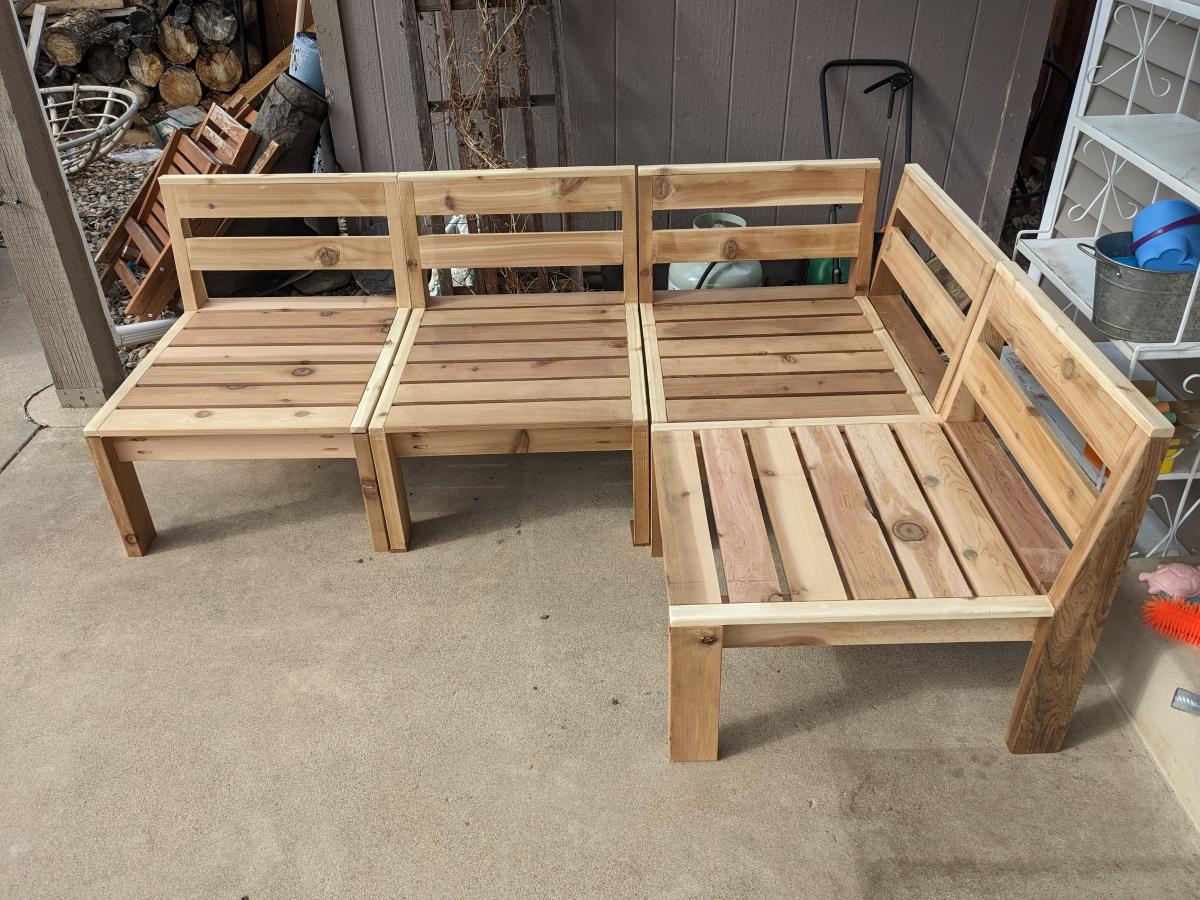
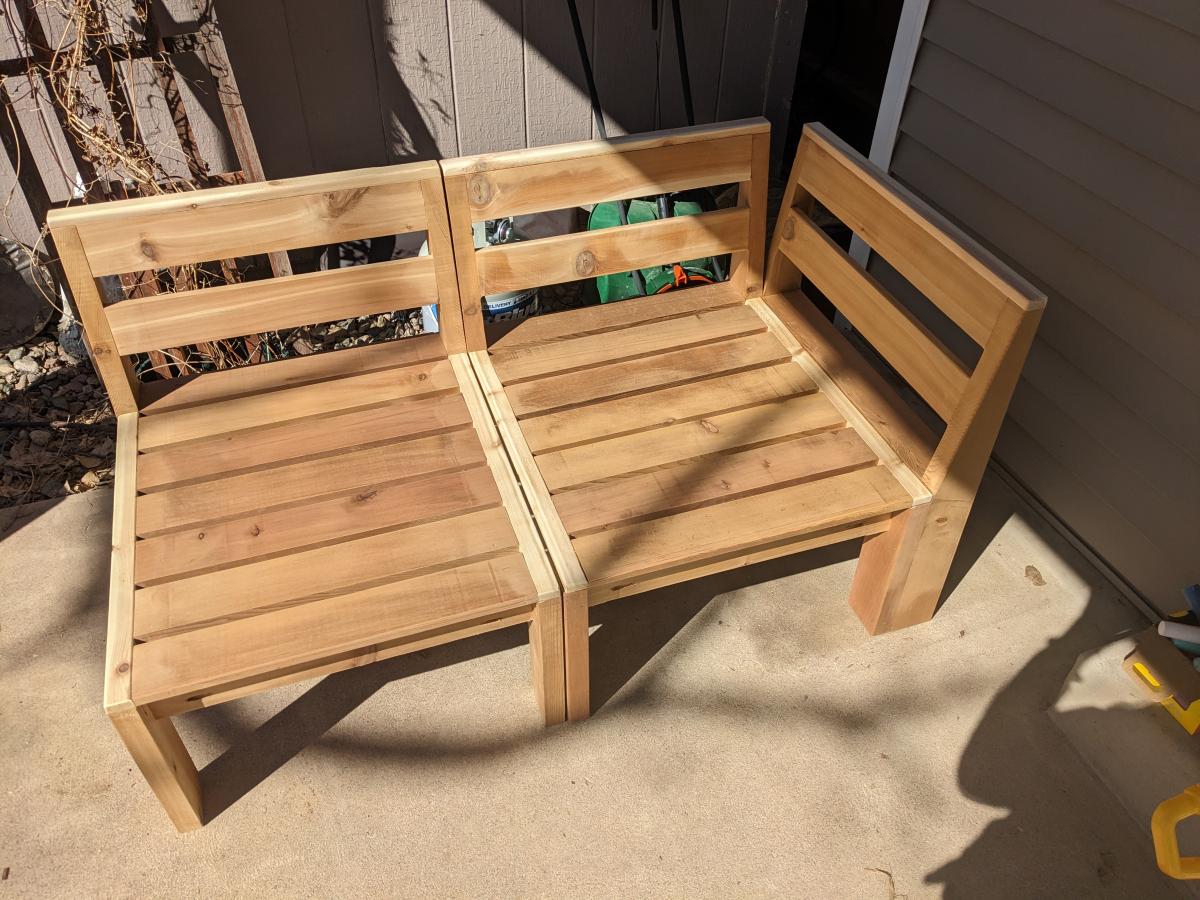
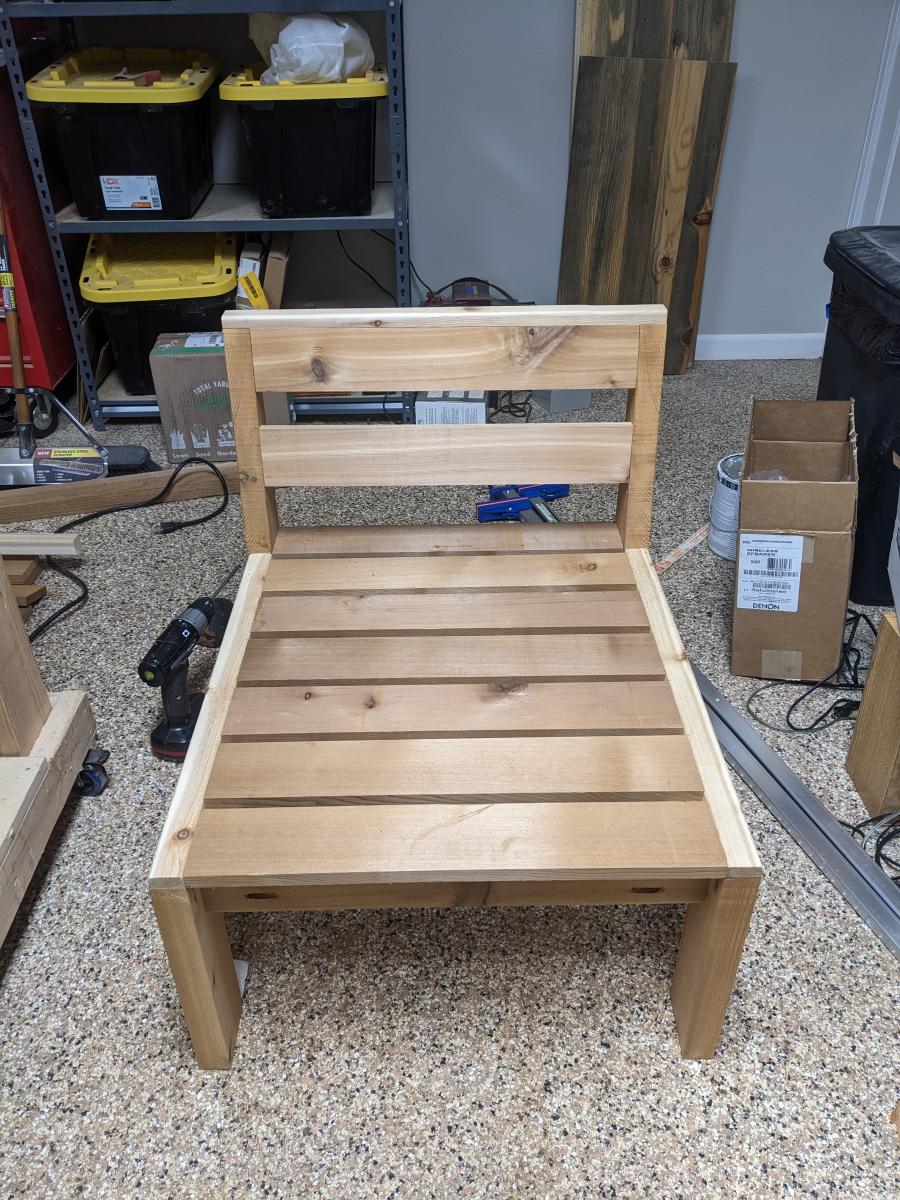
This is actually a mash up of Ana's "Mudroom Bench with Easy Drawers" design, and a "Mudroom Lockers" post by Infarrantly Creative. The end result is a 66" W x 98" H x 19 1/4" D built-in bench with 2 drawers and 4 cabinets. I did the cabinets first, to easily support them while installing on a temporary ledger board without the bench in the way. Unlike Infarrantly, I did not have existing cabinets to re-purpose, but I found 30W x 24H x 12D cabinets that practically matched the adjoining kitchen in both color and style. I also added matching pulls and handles to tie both rooms together. I almost went with taller cabinets to the ceiling, but this approach with Crown Molding "not-to-ceiling" matches the kitchen cabinets. I also bought matching trim pieces for the ends and across the bottom so anything touching the cabinets matched in color and texture. In hindsight, the color-matched paint was so close, though, I could have saved some cash by cutting and painting those pieces instead. Everything gray below this point is 1x material cut to spec and then painted. The bench is based on Ana's design (modified to two drawers) with Infarrantly's stained top. The top is a pine board from HD stained to closely match our LVP in that room, and the entire first floor. You will notice the top rail of the bench frame (attached to the top with Kreg pocket holes to minimize visible nails/screws) is also stained to give illusion of a thicker slab. The stain closely matches our LVP in that room, and the entire first floor. This was my first time building drawers, but thanks to Ana's "Easy" drawer design, it still worked out pretty well. The drawer frame technique (instead of faces) made everything a little more forgiving (which I definitely needed). After painting and reinstalling, I noticed that some of the reveal around the drawers did not line up evenly and straight around them. I simply adjusted the rails (drawer side), and the middle upright between them, without needing to remove or rebuild the drawers or the frames - WHEW! Between the cabinets and bench, I used 1x12's and 1x2's, down the sides - although you could leverage the existing wall finish. I also added vertical shiplap to the back, but again you could leave the existing wall finish or use beadboard. It is painted teal to coordinate with the adjoining kitchen's tile and backsplash. I added the Hummingbird coat hooks, since we love those feathered visitors around our deck in the summer. Thanks to both Ana White and Infarrantly Creative for inspiring this addition to our new home.
Thu, 10/14/2021 - 08:04
That is amazing! Thank you so much for sharing, what a beautiful space you created!
Mon, 09/12/2022 - 11:59
Thank you for sharing, such a perfect mash-up of plans, it came out beautiful~
Use poplar because it takes paint so well. Ended up using a preambled worktop for the top. Pocket screws and glue.
I made his Barn door out of the wood that was left in our garage when we moved in. Using (7) 2x6 boards and adding stain sanding and hardware, it became a super functional industrial rustic (is that a design style LOL) door! (I added a cat door to for our cat ;))
In reply to I love the strapping. This by Pam the Goatherd
Thu, 08/01/2013 - 11:08
Thank you! I was just super happy that I didn't have to cut the strap ties lol. now if our cat would just get used to using the cat door.....
In reply to I love the strapping. This by Pam the Goatherd
Thu, 08/01/2013 - 11:08
Thank you! I was just super happy that I didn't have to cut the strap ties lol. now if our cat would just get used to using the cat door.....
or maybe I should say DDIFM?
Dad, do it for me?
I really needed a place to store my cake plates...
other than their current home on top of our fridge.
The rattling and shaking that went on every time we opened the freezer
was about to give me a heart attack.
I found this beautiful table that was constructed DIY
from plans on the anawhite website and fell in love.
So my dad got to building, and sanding, and building, and staining. Then he brought me this gorgeous table last weekend. I can't stop staring at it. I am obsessed with the wood grain. The slats. The perfect handmade storage solution. The contrast between the dark wood and my mostly white serving pieces. The height. The endless entertaining possibilities.
I promise the pictures do not do it justice...
Thank you for the great idea!
I built this for my nephew's birthday.
I took the child's airplane swing and modified it to look like the character from Disney's Planes.
Sun, 08/11/2013 - 05:55
This is soooo cute, your nephew is going to love it!! I love how you gave it a Disney character's face!
this project it was nice and easy to do it I had make the farm house bed then I saw this night stand and I had to have it
Mon, 08/12/2013 - 20:31
Oooh, I love the finish you applied to it! It looks so cool. Great job!
Building this project and sewing the cushions was like a love letter to my family. I made them a year ago while on a high dose of Prednisone for my asthma and chronic pain (so helpful!). I finally felt capable of doing something that would bring our family together outside. A year later it continues to serve us well.
The instructions for the sectional were very well done. Super friendly and made me want to keep going! I used black analin dye to stain the wood. Swoon!
For making the cushions:
- I relied heavily on Sailrite's resourceful web site & tutorials for their thorough and detailed instructions on making cushions, cutting foam and sewing piping.
- Home Depot has the best pricing on foam.
- Used the brand 'Cushion Qwik' Silk Film (Amazon) to wrap the foam so they can withstand PNW rain.
Fri, 05/27/2022 - 12:25
Thank you so much for sharing, that is a great description of building, "a love letter to my family"!
I found out what the rack in the drive up area of my local Lowes was!
I often see piles of wood and sheets or plywood and such sitting there, but I never paid it much mind-turns out its a clearance rack of sorts they call it the "cull" rack, because they are culling the items from inventory that may be cut, chipped marked etc.
So I was at the store buying something for my Bocce Court and saw this pile of 16ft 2x4's and saw they were only $20 and there was 8 of them- so I picked em up for a "future project".
Needless to say they weren't the truest boards but they worked well enough for something like this. I had to buy a 2x6 to attach the top to because 2x4's aren't wide enough to give proper clearance as the plans showed(and I really didn't want to reinvent the wheel on this) so i bit the bullet and bought a $3 2"x6"x8'
Now if you notice I used all 2x4's for this instead of 2x6 so I adjusted the top to 14 1/8 to accommodate 4 2x4 pieces separated by spacers I use when installing wood floors. I made no change to the seat dimensions, but there is 4- 2x4's vice 3- 2x6's.
Great plan- perfect for more seating on my weekly bocce nights and they hold in excess of 600 lbs easily for those concerned about load limits.
(Note for those curious, that is my Bocce court in the background, it is 10'x60' and built with pressure treated 4x6's and 2x4's and a whole bunch of DG and crushed oyster shells.)
Thu, 02/23/2012 - 11:14
I plan to build several of these for my daughter's family. They stand around a fire most nights in the spring. Those nights often end up with roasted hot dog dinners with the friends who have dropped by. The dual purpose of these would be perfect!
I was inspired to make these wall racks for my daughter's Barbie dolls after seeing a magazine rack on the Anthropologie website that sold for $118! I made 3 of them for under $15 each. Storing the dolls standing up keeps their hair from getting so tangled. It also makes it easier for my daughter to see her dolls, play with them, and put them away when she's done. Finally, they make wall decor out of toys she already owns and loves. This was an easy project that a beginner can do, and it only took a couple of days. We love our Barbie racks!
Not sure why the photo is upsidedown. This project was very easy with the proper tools.
I took the plans from DIY and followed them to the "T"...more or less. I'm making 4 more of these for family and friends and will try the Kreg Jig to install the seat bottom and back rests.
We have 12 foot studs in our house so I wanted to make use of the height of our ceiling to provide more space on the floor for the boys to play! With two boys sharing a room, the beds were going to take up a lot of valuable floor space. I found the bunk bed plans in Ana's book and decided to modify them to make loft beds. We had to do two so decided on an L shape so we could fit them into the room! Once we made the first bed we decided we should put only one set of stairs in to save space. The safest way we could think to do this was to place the stairs against the wall so the boys were less likely to fall. The stairs double as book shelves. The coloured rope was an added safety feature we thought up and gives me peace of mind! This was a fun, relatively easy build for two non-builders making their first big project. I bought a Kreg pocket hole jig for this project and it was a life saver. I can't imagine doing this build with out it!!! We completed it in about two to three days while my brother was down on holiday. It was fun and good brother sister bonding time! I am about to embark on phase two of the boys room, this time by myself , adding a storage dresser under one bed. I will modify Ana's laundry dresser plans to fit some plastic storage boxes. Then a day bed/sofa under the other bed using Ana's Alaska cabins day beds plan and finally (if I'm still standing) a shorter version of the craft table for the middle of the room! That's my year planned! Hope you enjoy the pictures, the beds are so big and high it's very hard to get a good photo.
I took the 2x4 outdoor sectional plans and built two complete sectionals, then I modified the 2x4 coffee table plans to accommodate a home made fire table. I built the burner and plumbed the system using an old stove top from an RV and some black iron pipe. To finish off the set, I used my tiger torch to burn the wood and sealed it all with spar varnish. I love it!
Fun project! Started with rough western red cedar which I ran through a jointer and planer to get good lumber.
I made a few changes to the design. I used thinner seat boards and cut a leaning tilt in the backrests. I also added 2 boards on the back rests.
I used all pocket holes to hide the screws. Once they dry out I will seal the sectionals.
Got a full set of cushions on Amazon for $300. Total for this project was around $700. Not too bad!
I love this pattern of Ana's! My husband and I made these together. We have 3 very tall pine trees close together, planted by my Mum 50 years ago; one for each child. Now a cedar bird house for each tree. An extra for our cottage in Garden of Eden, Nova Scotia.
Thank you for sharing this pattern Ana.
Darlene & Garry