Community Brag Posts

Mud Kitchen

Submitted by Noyehx4 on Mon, 07/20/2020 - 12:48

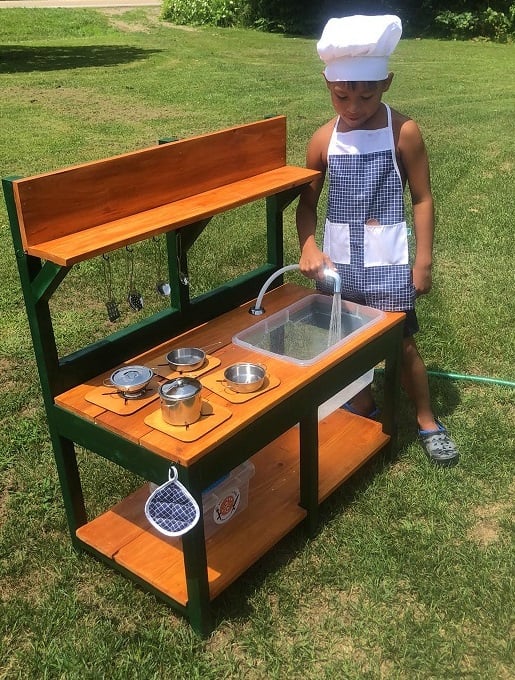
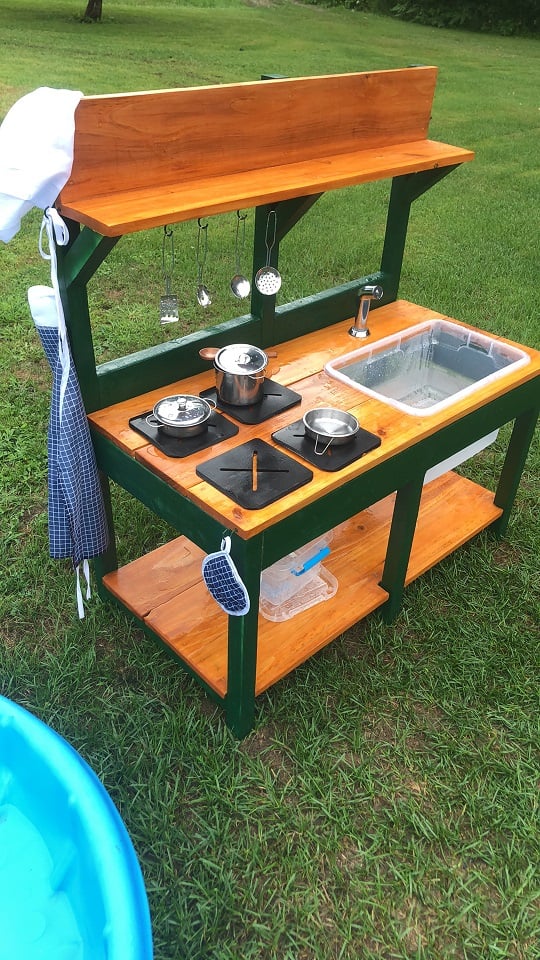
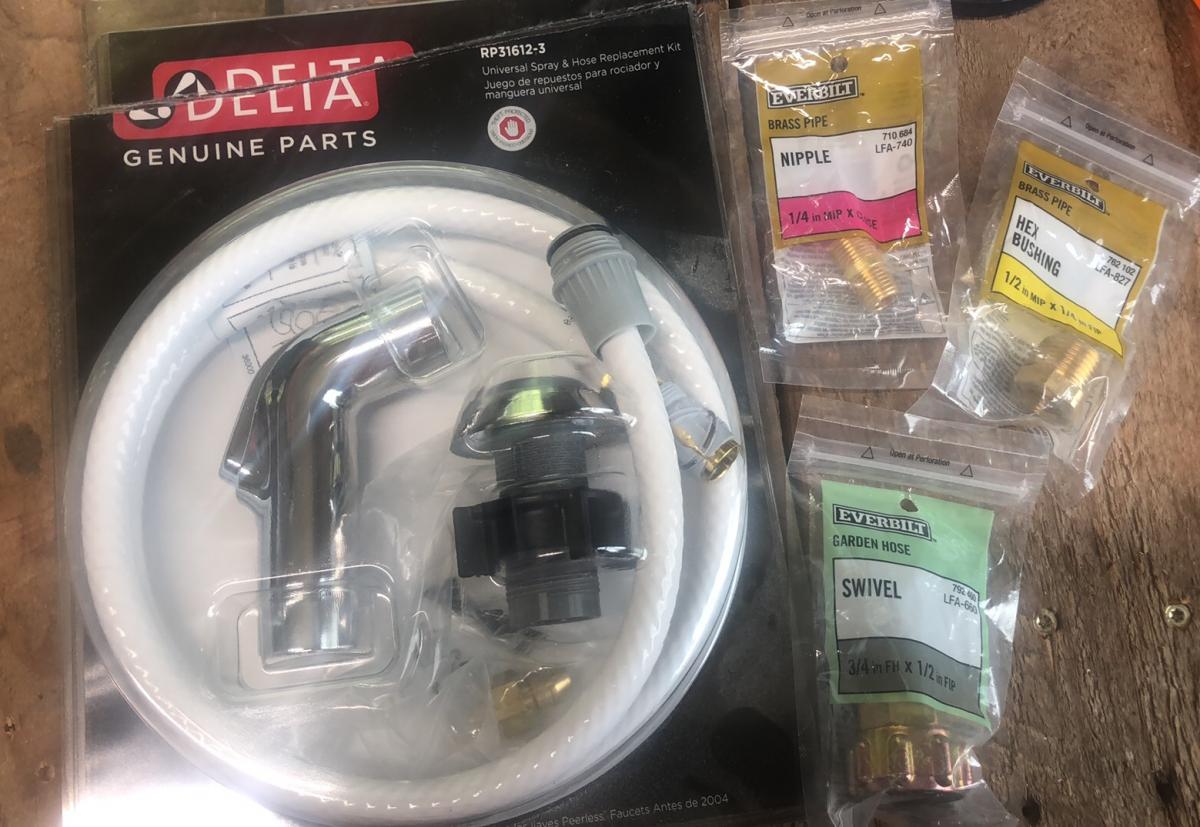
This was my first build, like ever. I am very proud! Props given to my hubby who is a carpenter by trade. I went back and forth on stains and paint colors at home depot. He didn't rush me and was awesome the entire time! He actually picked up the supplies, and is now a fan of the self tap screws! He thought he knew where everything in home depot was, but he had to ask to find those LOL. He wanted to use his new nail gun, but I wanted to follow the plans. The plans are awesome! We decided not to add an oven door just yet. Likely will soon. (Avoiding pinched fingers for now) I also have the knobs for the front, but it was hot and since I had only just stained them, they needed time to dry and second coat yet. (I kind of forgot about them once I finished them with my new dremel) We purchased the hose kit from the kitchen section at home depot. It came with everything, I searched market place and even posted asking if anyone had a used one for sale. No luck. This was $20 and came with everything, the guys at home depot showed me what adapters to get to ensure that it would hook up to our garden hose, and we grabbed those too and they worked perfectly! I messed up cutting one of the angles for the shelf the wrong way, but there was enough scraps for my husband to help me fix it. It was a fun build, and so rewarding to see our kids playing with it! I used my dremel 4300 and it wasn't powerful enough for the thicker wood, so my stove tops are thinner, but he actually enjoys setting them up and spraying them off the table with his hose! I painted the brass hooks green when we were painting the kitchen so they would match. The pots and pans came with the little tote and the apron chef hat and pot holder. It was a perfect finishing touch. *Edit to add photos kitchen hose kit from home depot, reading comments, others had a hard time finding adapters. I suggest taking what you have with you to home depot so they can show you what adapters you need. We needed three because we have a quick attachment on the end of our garden hose, (for our sprayer) now little mans mud kitchen can be connected and disconnected easily!
Built from Plan(s)
Estimated Cost
$75
Estimated Time Investment
Weekend Project (10-20 Hours)
Finish Used
Rust-Oleum Ultra Cover 2X Enamel Spray Paint and Behr Semi-Transparent Waterproofing Exterior Wood Stain and Sealer
Recommended Skill Level
Starter Project

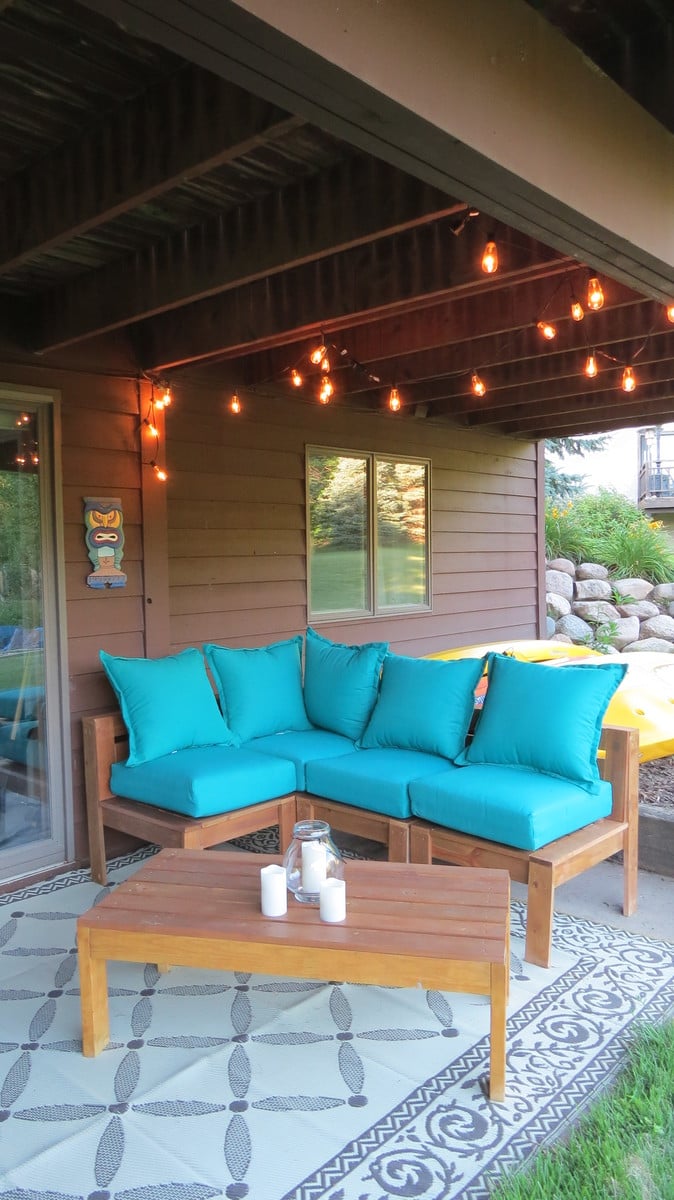
Outdoor sectional

I changed the plans a bit and added backs to the chairs. I've never used a saw or a drill before, but I am thrilled with how easy this was to do. I love the end result!
I found cushions to go with the furniture at Target.

Estimated Time Investment
Week Long Project (20 Hours or More)
Recommended Skill Level
Beginner

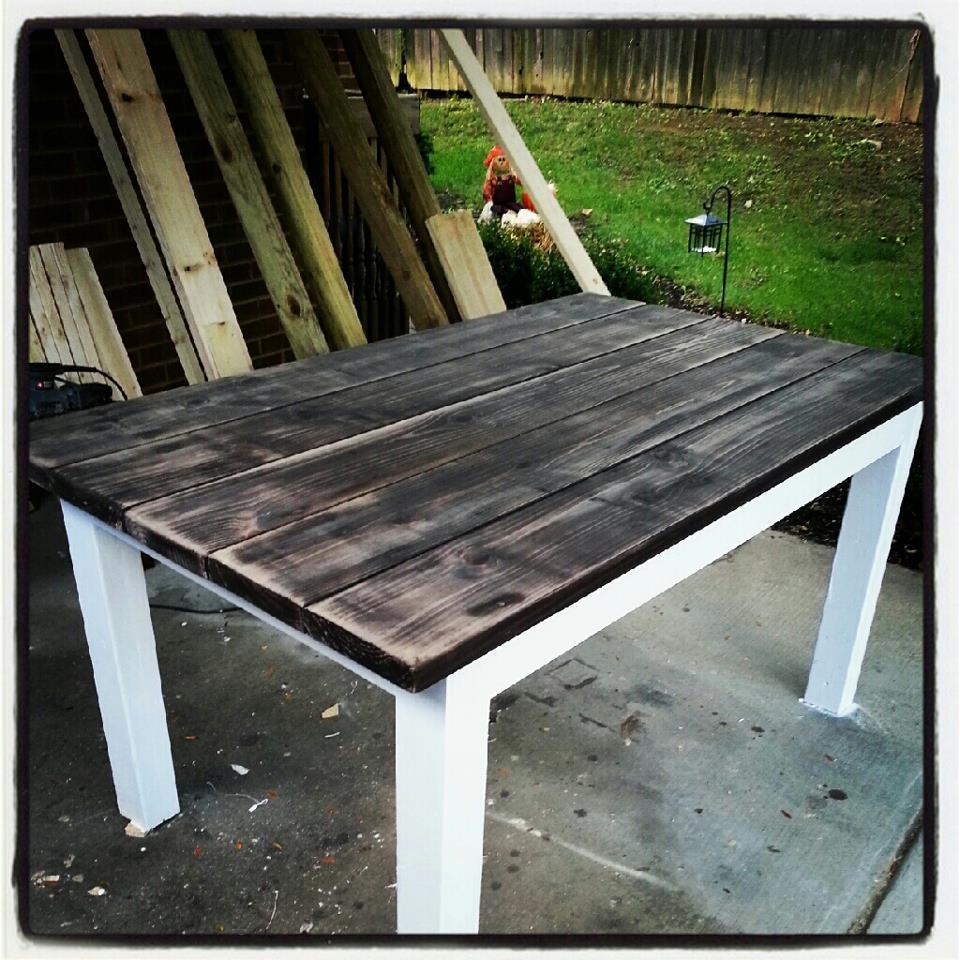
Sister's distressed table

Submitted by SamWiseMan on Mon, 10/08/2012 - 17:46

After I built my table (the farmhouse/tryde), my sister wanted a table for her new home. She had looked online and found a table that someone had refurbished from an old table, and put a new top on it..

So once she described it to me, I got started. I again used 2x4s glued/screwed together for the legs. Then I got 2x8 and start putting them down. Since these are such big boards, you have to be extremely careful not to get ones that aren't straight. If they are warped, they will make your table wobbly once you screw them down. After I finally got past that, I began staining.

For the distressed-ish look, I used Rustoleum's water-based Kona stain. I stained each board and then use a wire brush to "scruff" the boards up a bit. From there, I sanded the tops with a combination of 60 grit and 220 grit. I used Rustoleum's matte-finish poly to give it a very soft feel and look.

This table compares best with the farmhouse.

Estimated Cost
$65
Estimated Time Investment
Afternoon Project (3-6 Hours)
Finish Used
Rustoleum's water-based Kona stain and ultimate-matte finish poly.
Recommended Skill Level
Beginner

Comments

SamWiseMan

Mon, 10/15/2012 - 14:48

I'm sure you can build it to come apart. This particular one, no. I made another where the top will come off as a one solid piece, but this top is screwed in each individual piece.

Now you could unscrew everything and screw it all back together, but then you would have to make touchups to the paint and stuff. I use white caulk to fill the seams from the base of the table to the table top, and to the legs to the base.

The Traditional Wood Toddler Bed

Submitted by jputz2014 on Fri, 08/01/2014 - 05:39

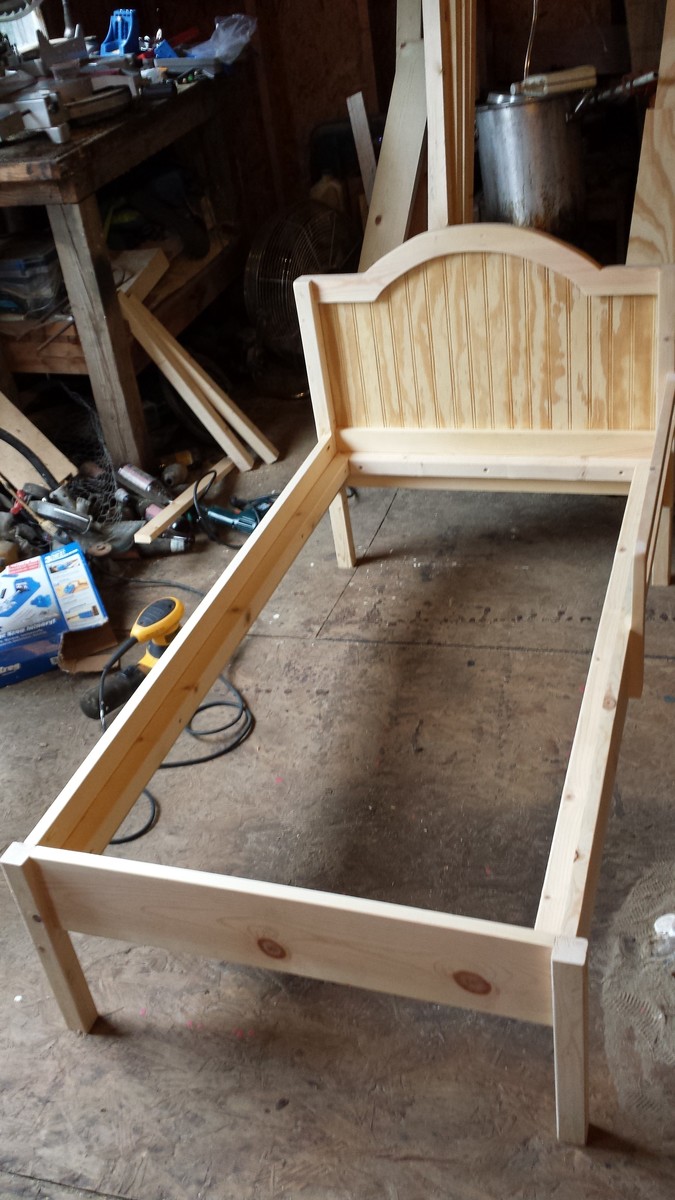
This is The Traditional Wood Toddler Bed. Built straight from the plans. Worked out great and my daughter loved it!

Built from Plan(s)
Estimated Time Investment
Afternoon Project (3-6 Hours)
Finish Used
Unfinished for now. Daughter cant decide on a color.
Recommended Skill Level
Beginner

Kid's room makeover

Submitted by Geronimama on Thu, 08/21/2014 - 12:52

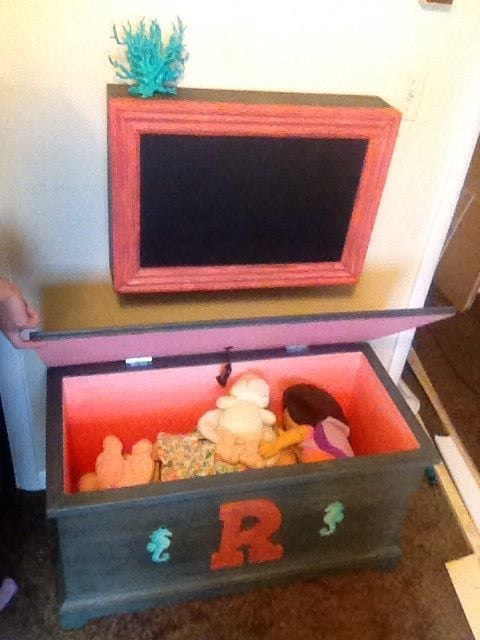
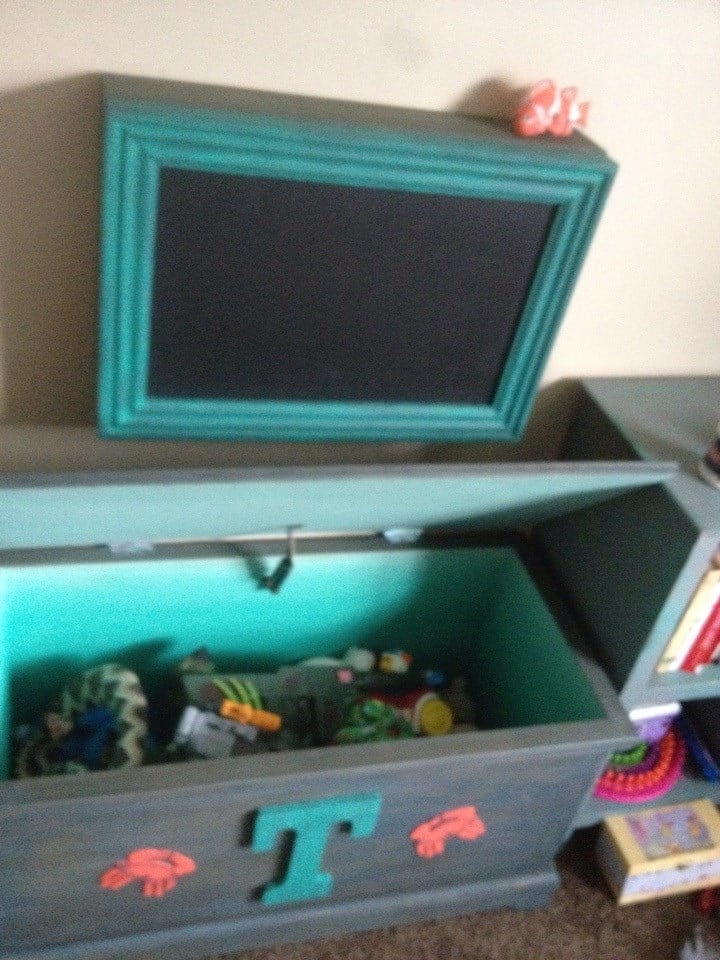
My kids we're spending the summer at their Dad's, so I wanted to surprise them by redoing their room. I've never built anything before, but I've found that I really love it!

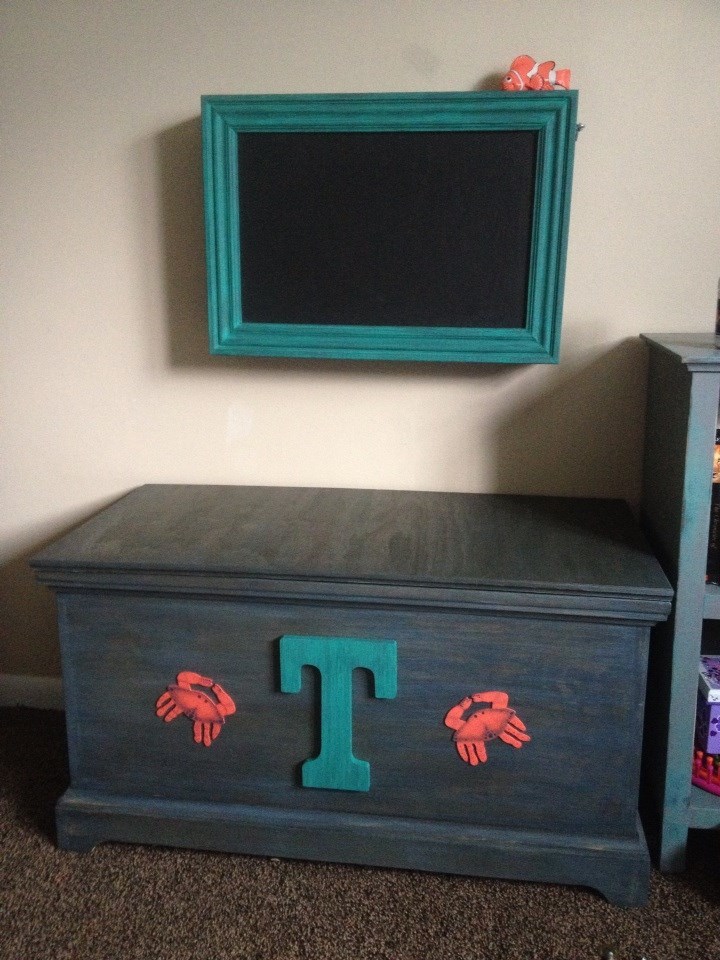
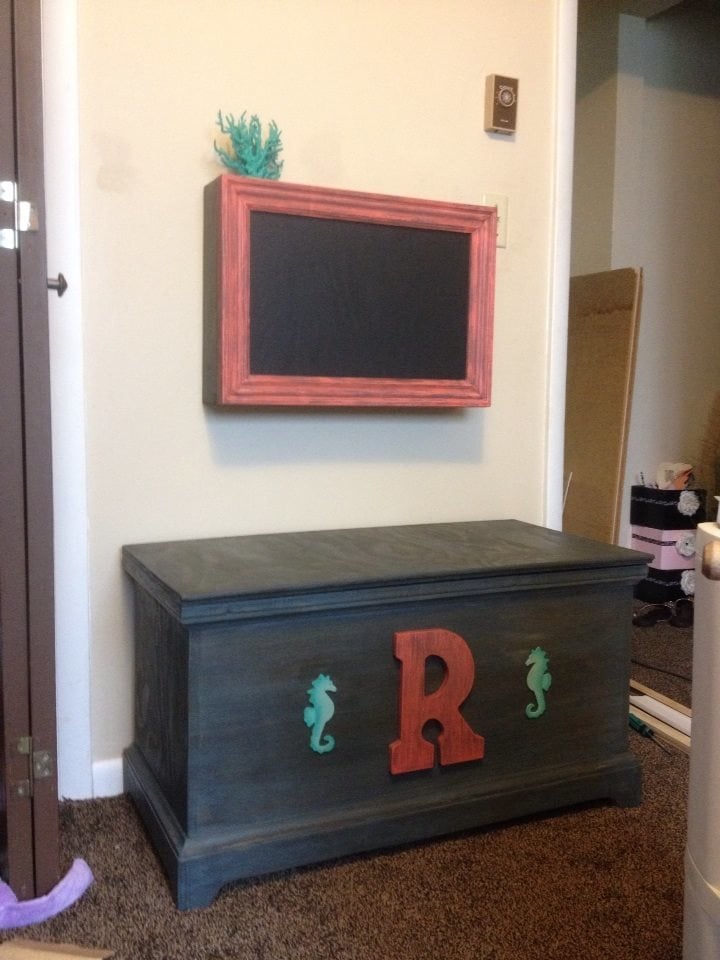
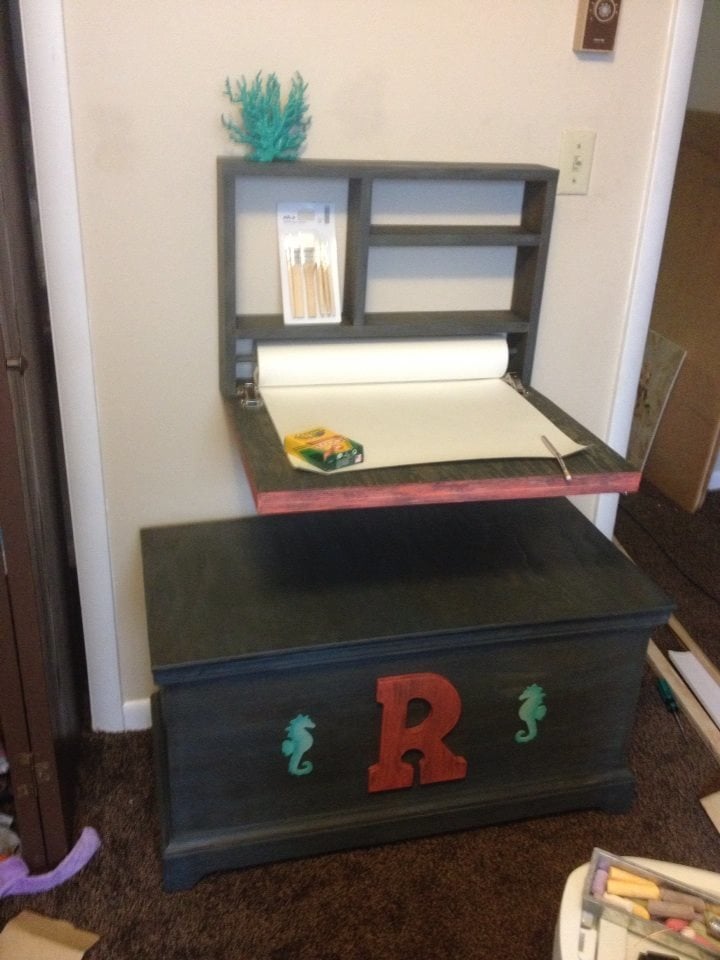
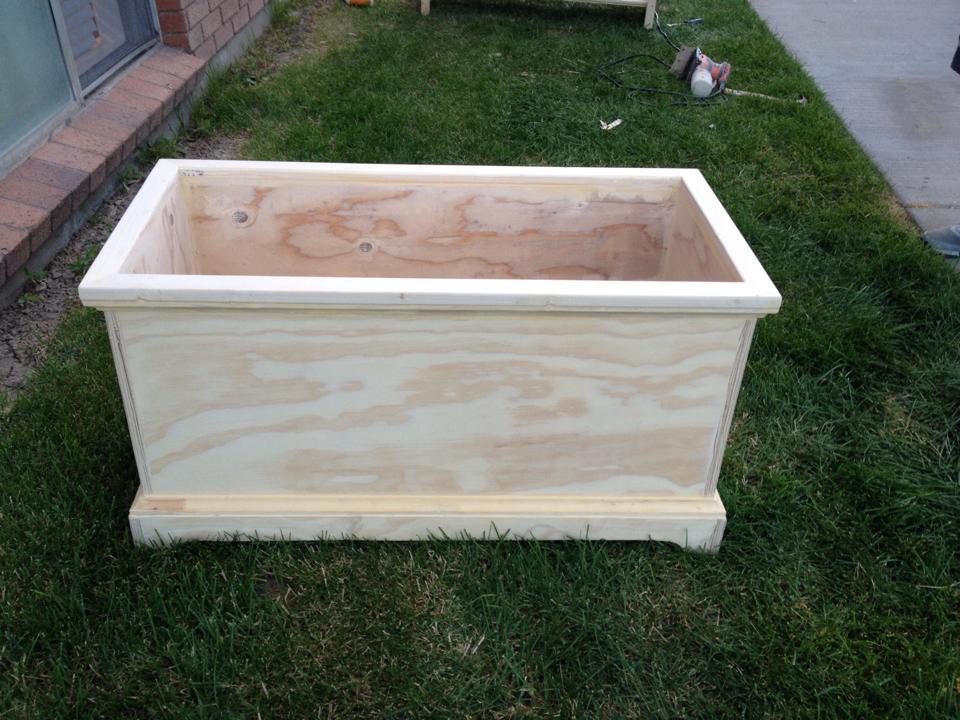
I decided to take the advice of another builder and reduce the width by 1/2 in in order to get 2 toy boxes out of one 4x8 sheet of plywood. I also added a lid.

I tried to replicate a driftwood type paint finish by making a stain out of steel wool, and apple cider vinegar. After it was dry, I did a paint wash with a charcoal colored paint, then added a bit of cream paint to lighten it a bit, and dry brushed it on, I did this one more time making it even lighter, then wiped and blended. After the piece was dry, I waxed it using a dark wax made from Howards was paste and Minwax jacobean stain.

The inside is ombre painted too!

I really love the way they turned out!

Estimated Cost
$40 each
Estimated Time Investment
Weekend Project (10-20 Hours)
Finish Used
Homemade apple-cider/Steel wool stain, valspar paint matched to Sherwin Williams- Iron Ore, vanilla craft paint, & homemade dark wax made from Howards paste wax and Minwax Jacobean stain.
Recommended Skill Level
Beginner

Extra Wide Console Bookcase

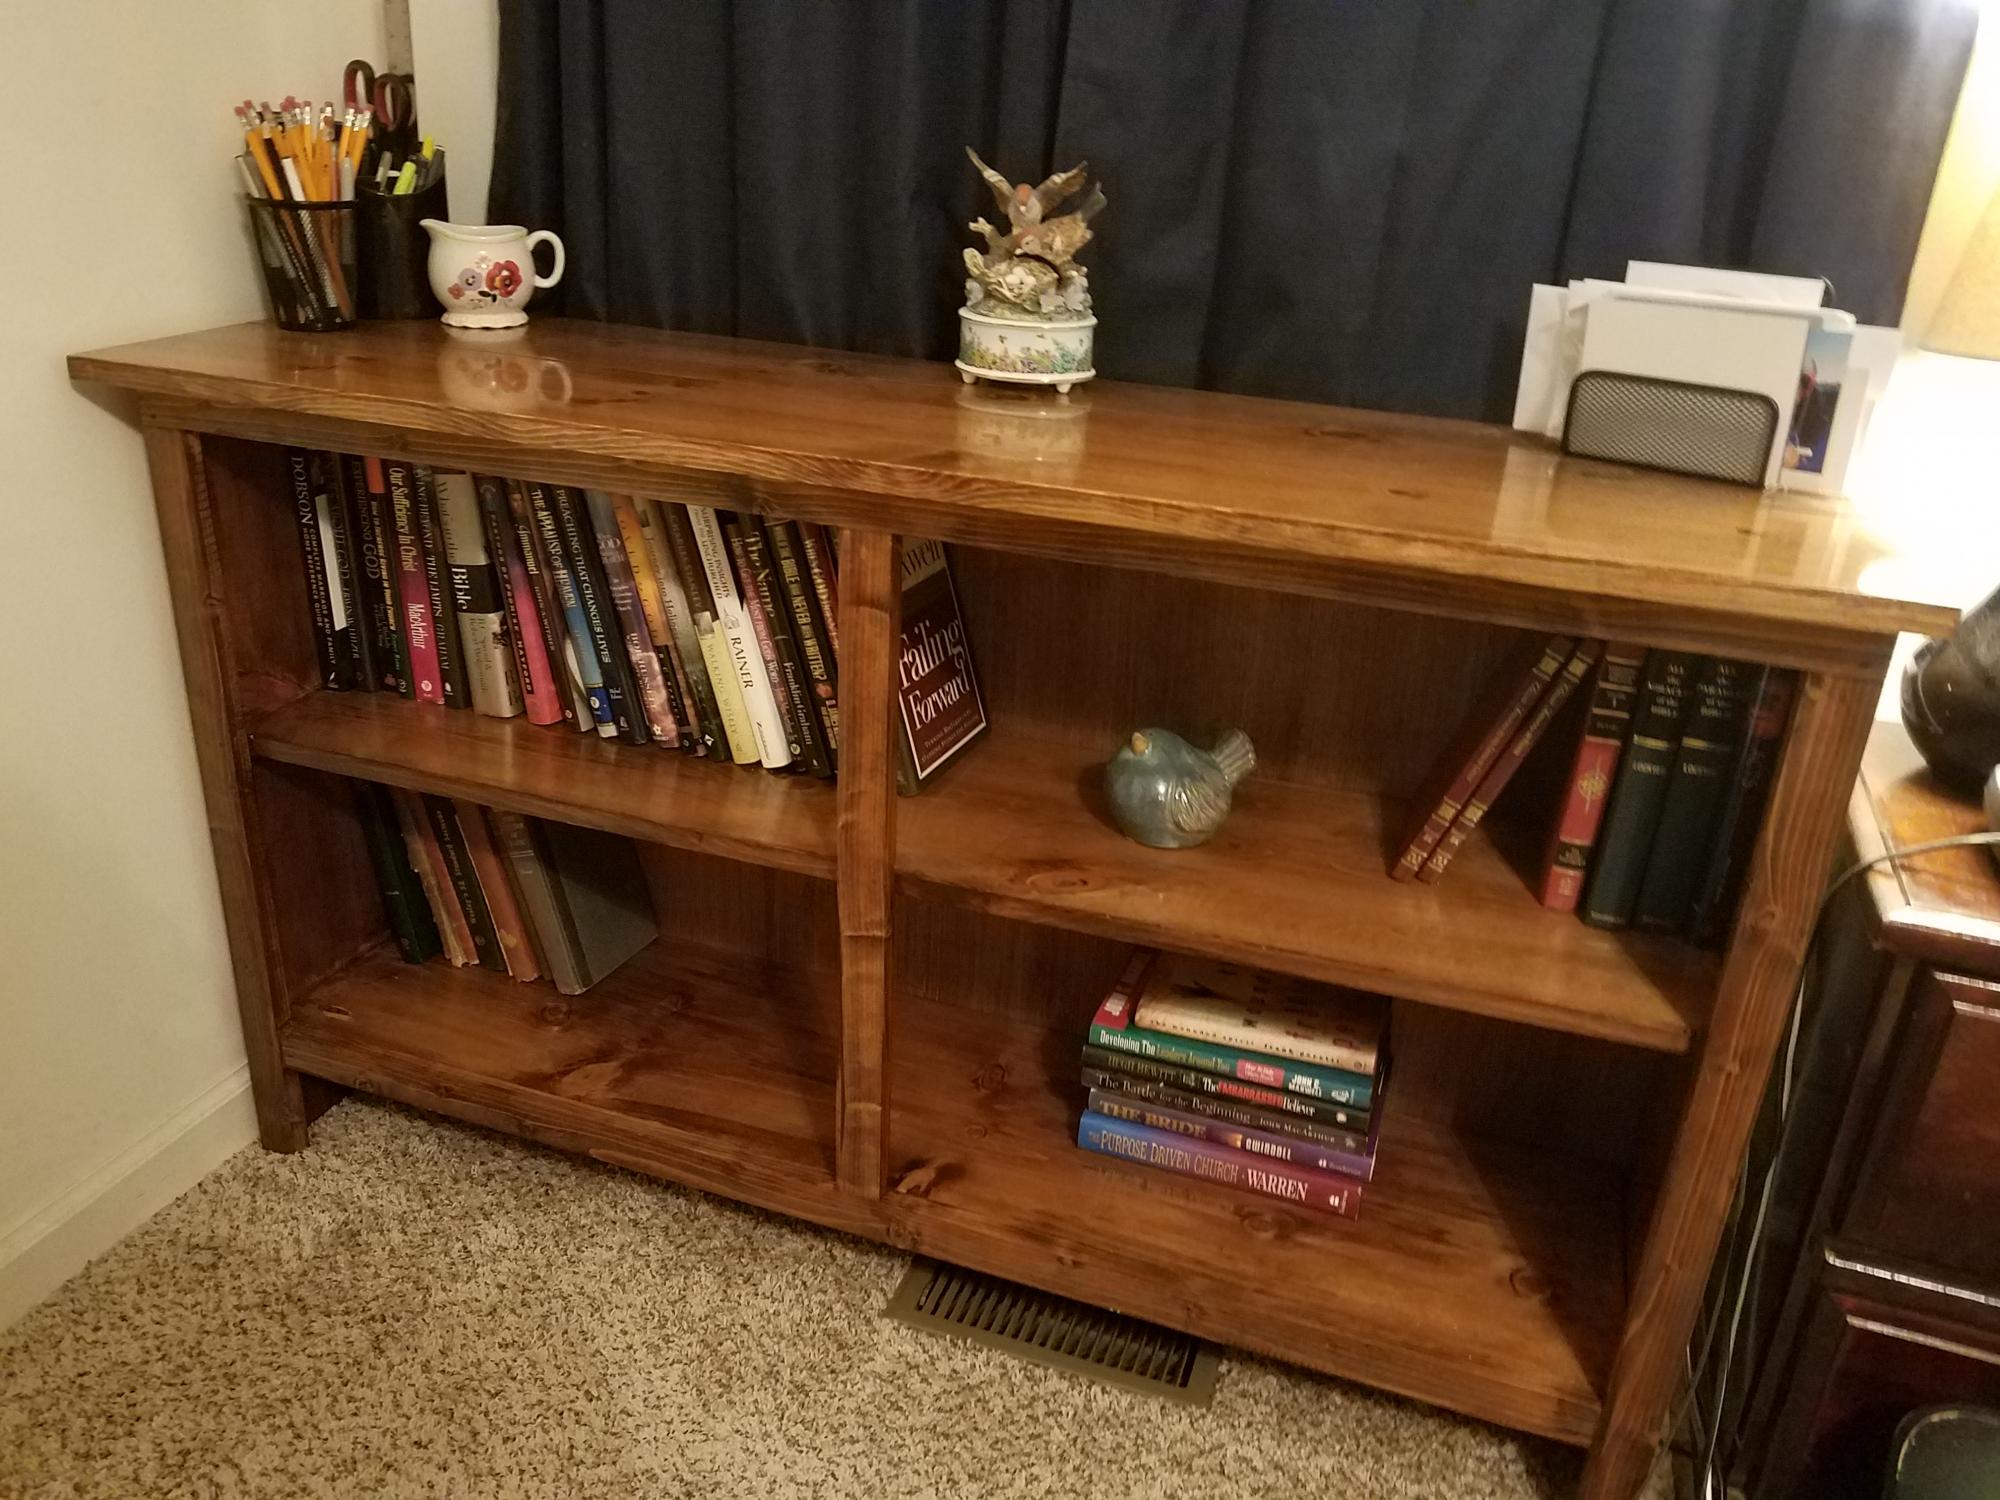
I started woodworking about 4 months ago and the first few things I made was a bit wonky. I didn't mind because it's solid wood and I was proud of myself for doing it.
I am 59 yrs old and I love building things! I now do better and made this shelving unit, and it's the best I've done so far.

Built from Plan(s)
Estimated Cost
About $60
Estimated Time Investment
Afternoon Project (3-6 Hours)

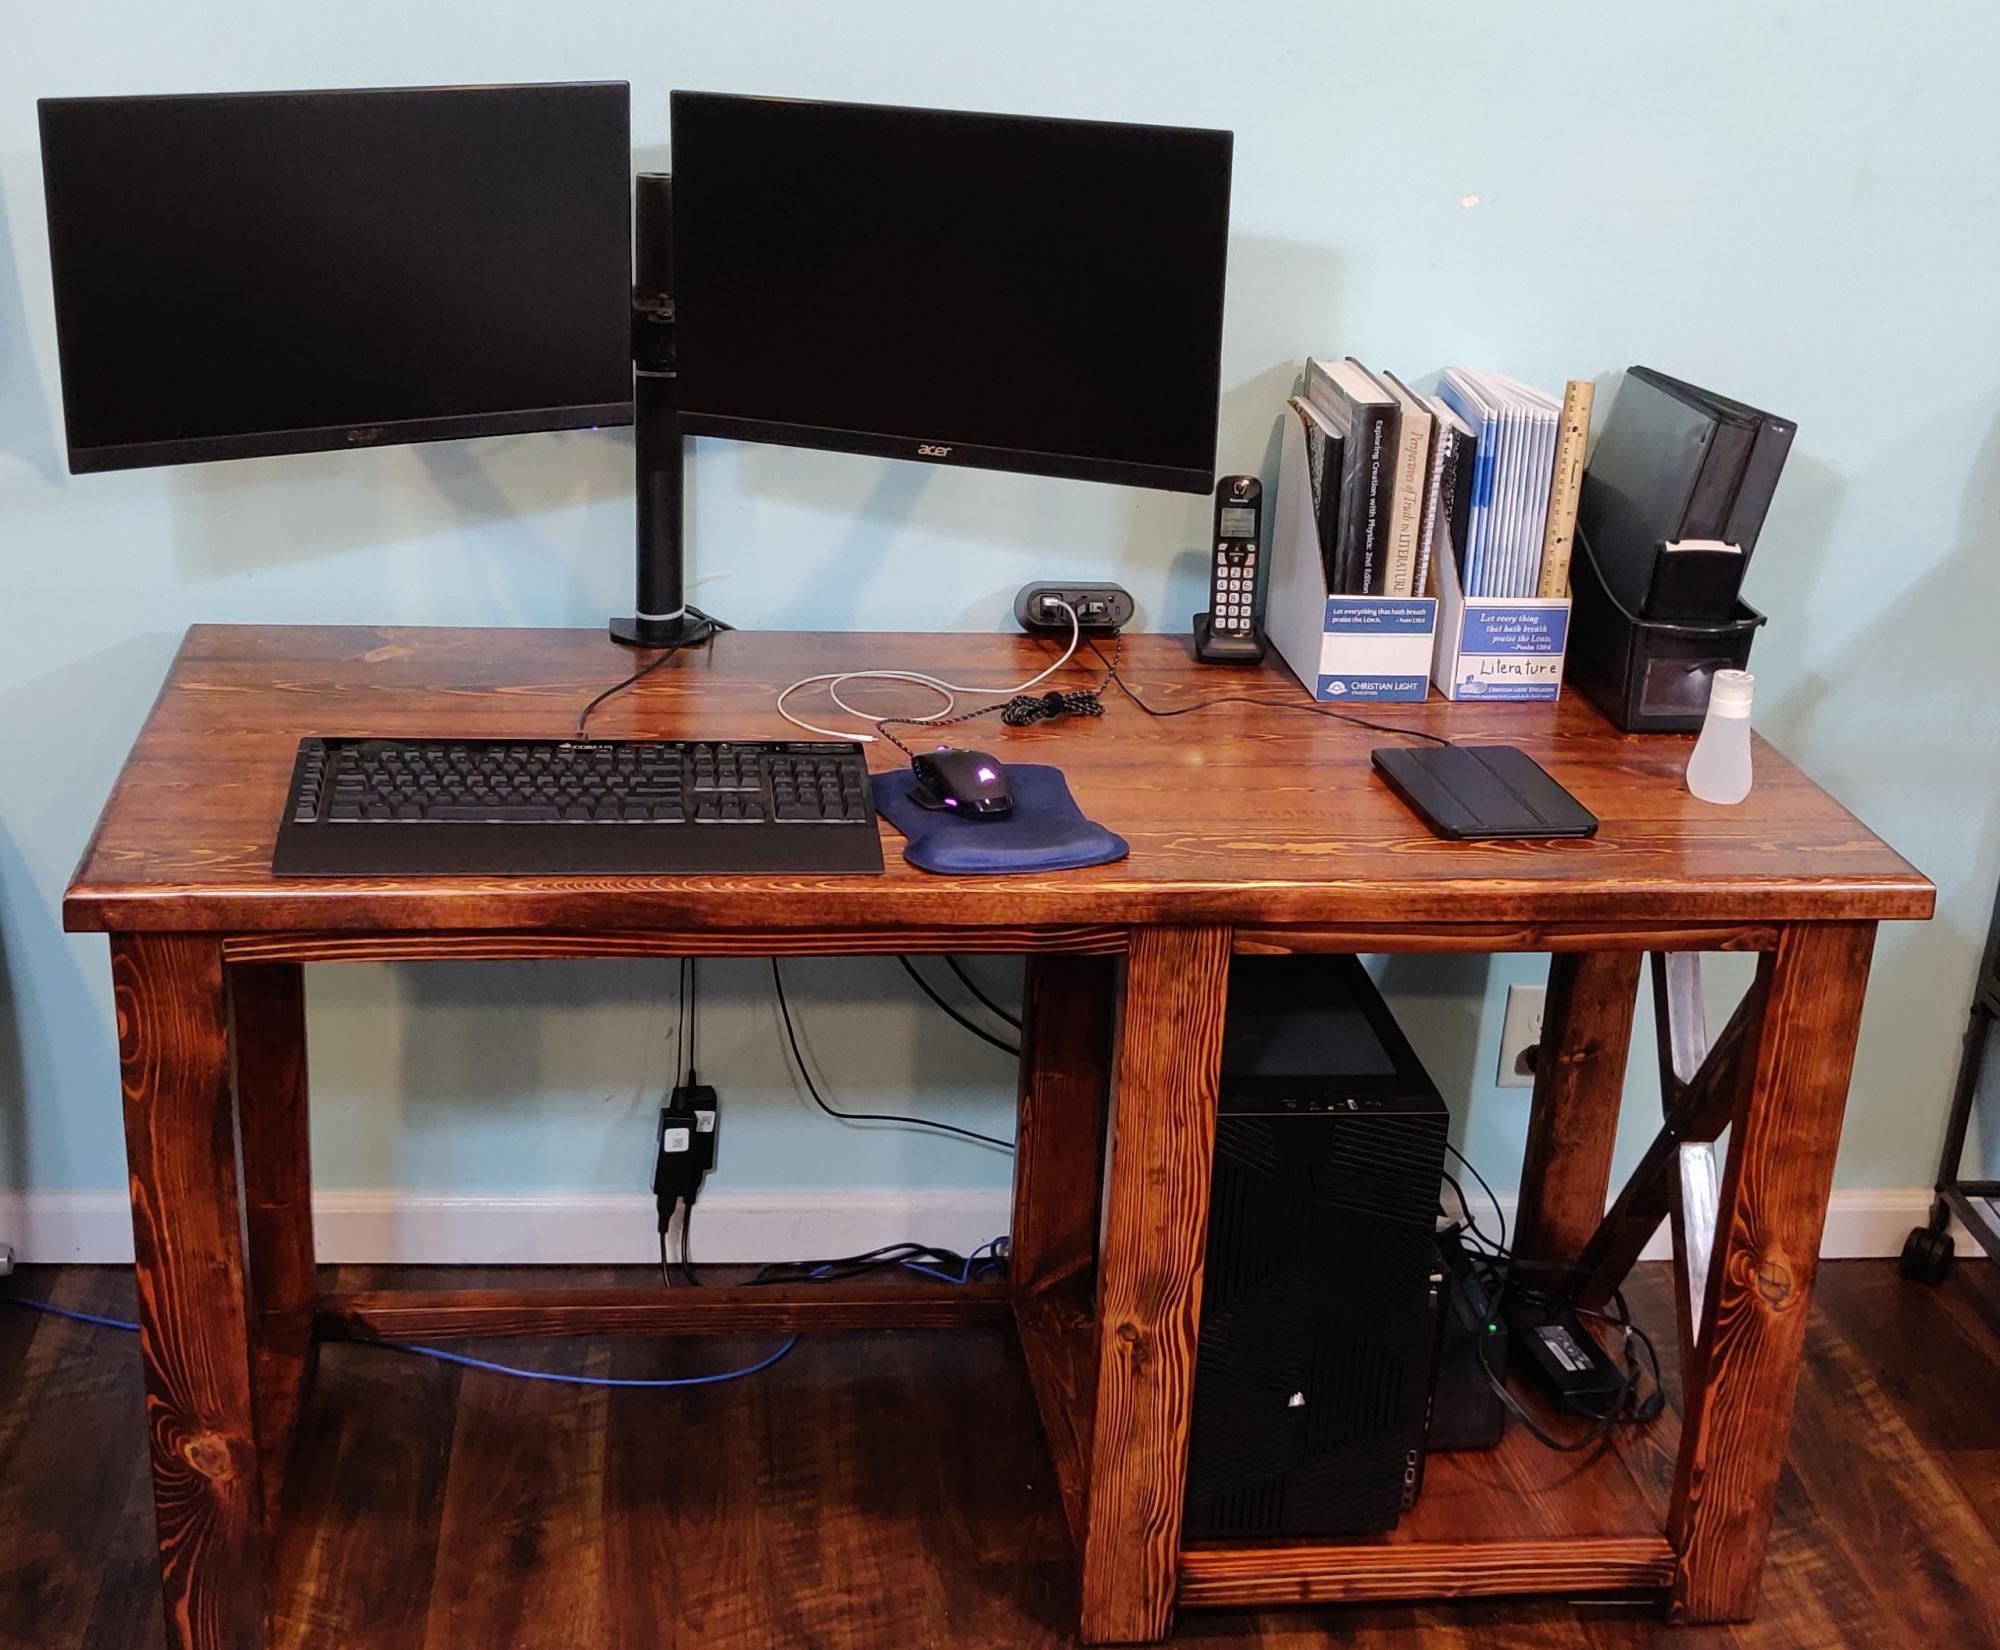
Rustic X Desk - My 1st Gen Build

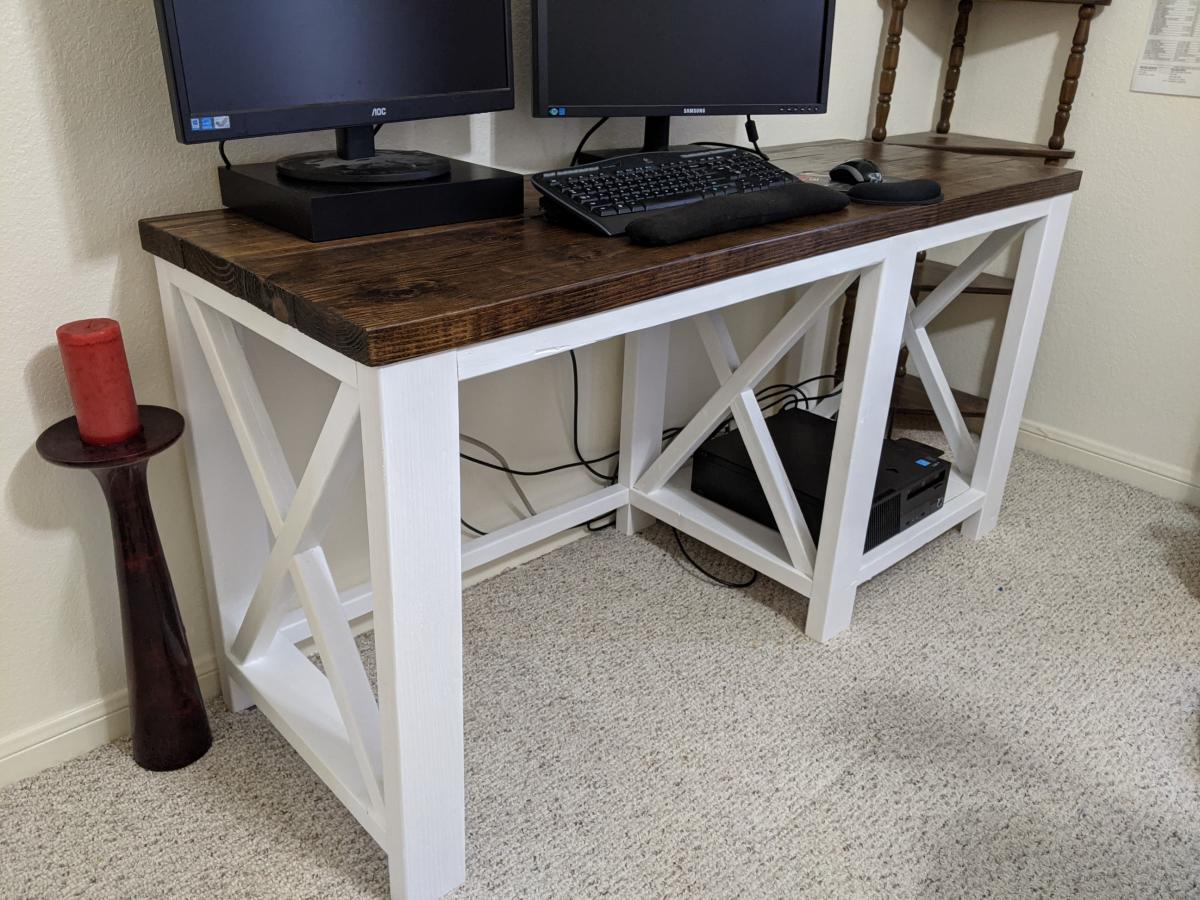
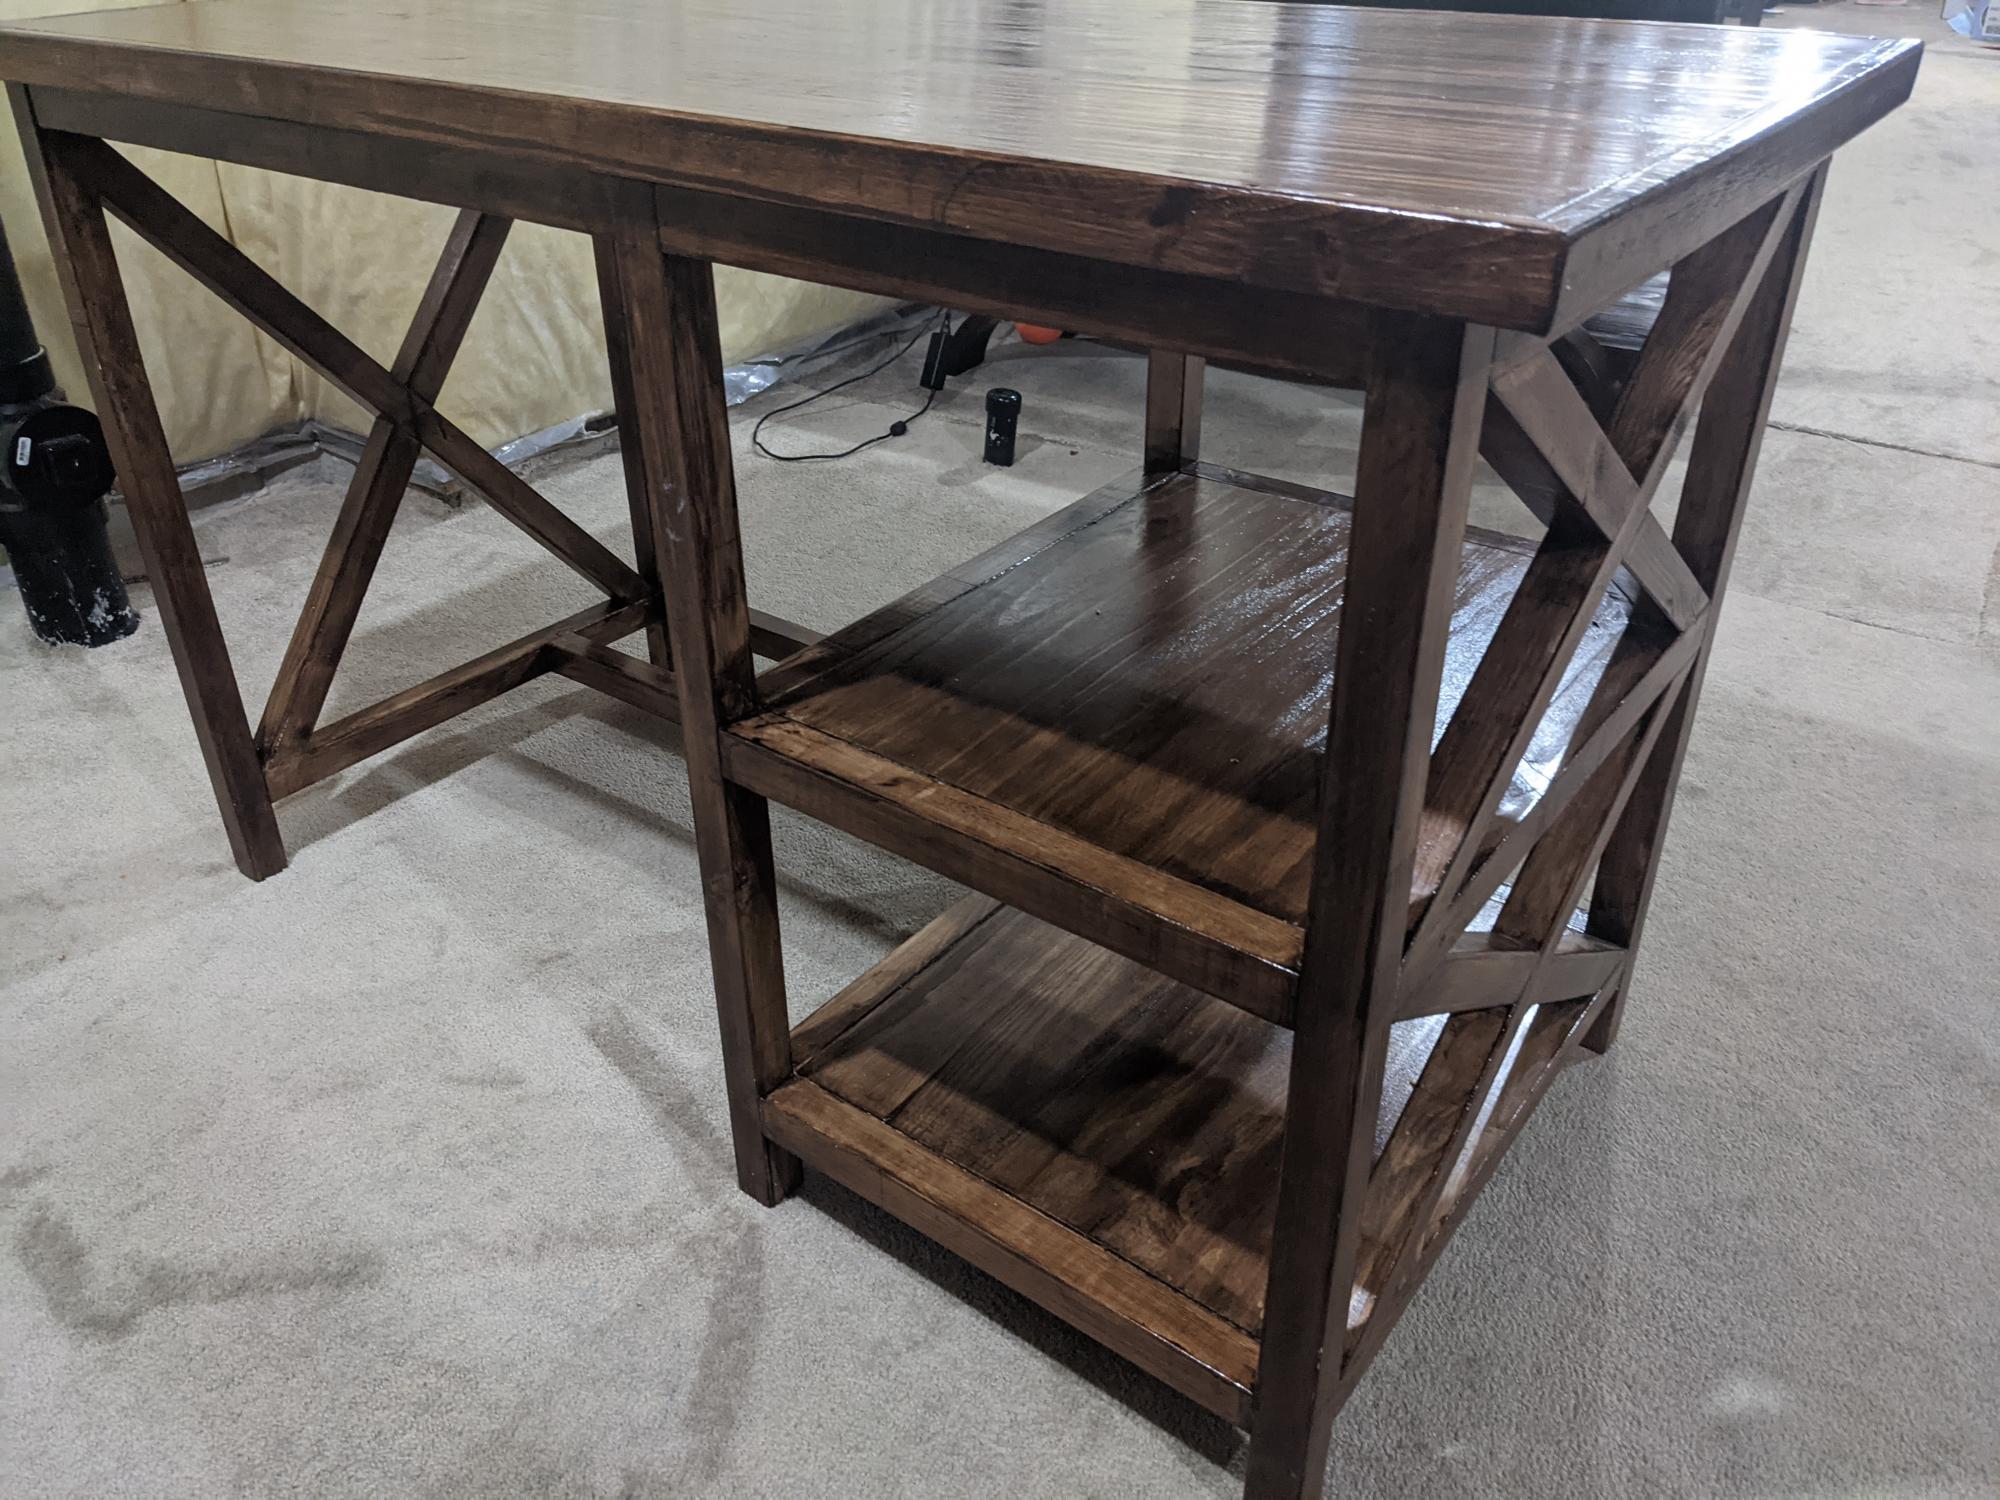
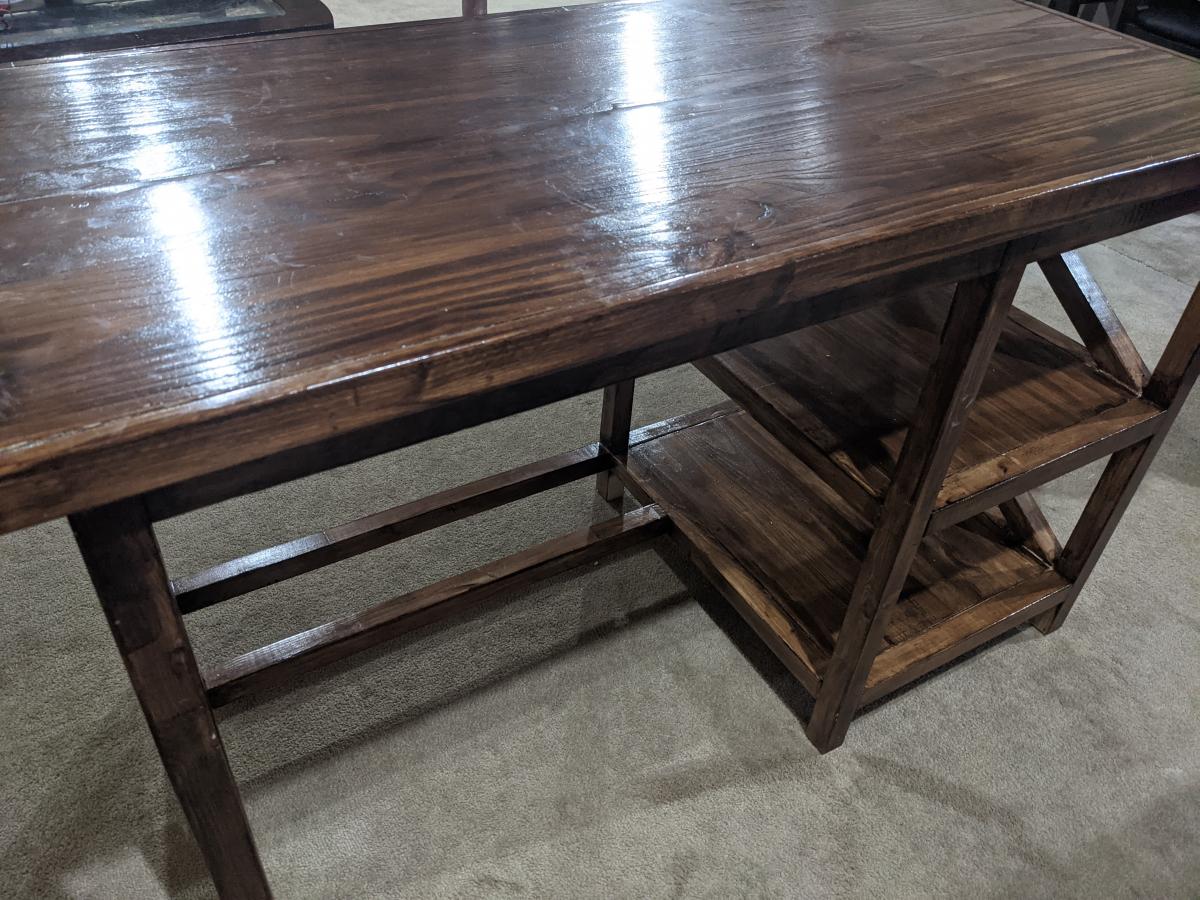
I built this iteration for my second son to give him a spacious workspace for his schoolwork, dual-enrollment activities, and for the occasional moments of kicking back and enjoying a bit of PC gaming.
We stained it with Minwax #215 Red Oak and used Minwax Satin polyurethane to finish ours.
I stuck to the Rustic X Desk plan for the most part and made the following modifications:
1) I used five 2x6 planks instead of four, to give it a 27.5-inch depth.
2) I used a 3/4-inch roundover bit to round off the tabletop to give it a smooth feel.
3) I left out the "middle" X, so my son could have easy access to the "guts" of his computer
4) I left out the middle shelf so my son could stow his PC tower "below deck"
5) Not really a modification; I used a 3/4" straight router bit to cut notches into the 2x2's used for the X detail so they would sort of lock together because I wasn't happy with the way the angles and all were coming out with the two half-leg parts of the X detail.
6) I hated the selection of furring strips at the local big box home improvement store and didn't want to travel all the way across town to see if the "lumber stores" had anything better, so I ended up milling my own on my table saw from cherry-picked 2x4 lumber. It was cheaper than buying the premium pine to boot, since a 2x4 would give me a pair of 2x2s and leftover 1/4x2 that I'll be able to run through a planer and turn into something useful. Not a modification, just more of a "if you're plagued with lousy selection, try this instead" idea.
7) Installed a Wiremold WMC220BK convenience 120V/USB power center to make it easy to plug in a desk lamp, charge a cell phone, etc. without making a cable mess. (https://smile.amazon.com/dp/B0768R2JDG)
8) Added felt pads under the feet to make it slide easily on wood/vinyl flooring
9) I set the bottom of the leg assemblies 1-1/2 inches above the floor instead of 3 inches, so our indentured robotic servant "Mo" won't get trapped underneath any of them. He isn't the sharpest tool in the shed but at least earns his keep. Mo is a late-model Roomba 675, if any are curious to know.

Between the "custom" milling and the fact that I should have run all this 2x4 and 2x6 through a planer to cut down on all the sanding and resurfacing needed, this ended up taking a lot longer than the initial couple weekends to build plus the staining and finishing time. I'm in the middle of building a second one of these with some slight modifications since the need/use case is a bit different. I'm also planning a third revision and build that will include some "geek-friendly" customizations, namely integrated cable management and will have two shelf bays instead of one, just half as wide (a single 1x10 on the left/bottom and another 1x10 on the right/bottom, with the seating area in the center). The third "generation" will be a Christmas present for a computer science student (who consequently also graduates at the end of this fall semester).

Built from Plan(s)
Estimated Cost
80
Estimated Time Investment
Week Long Project (20 Hours or More)
Finish Used
Minwax #215 Red Oak stain and three coats of Minwax Satin Polyurethane

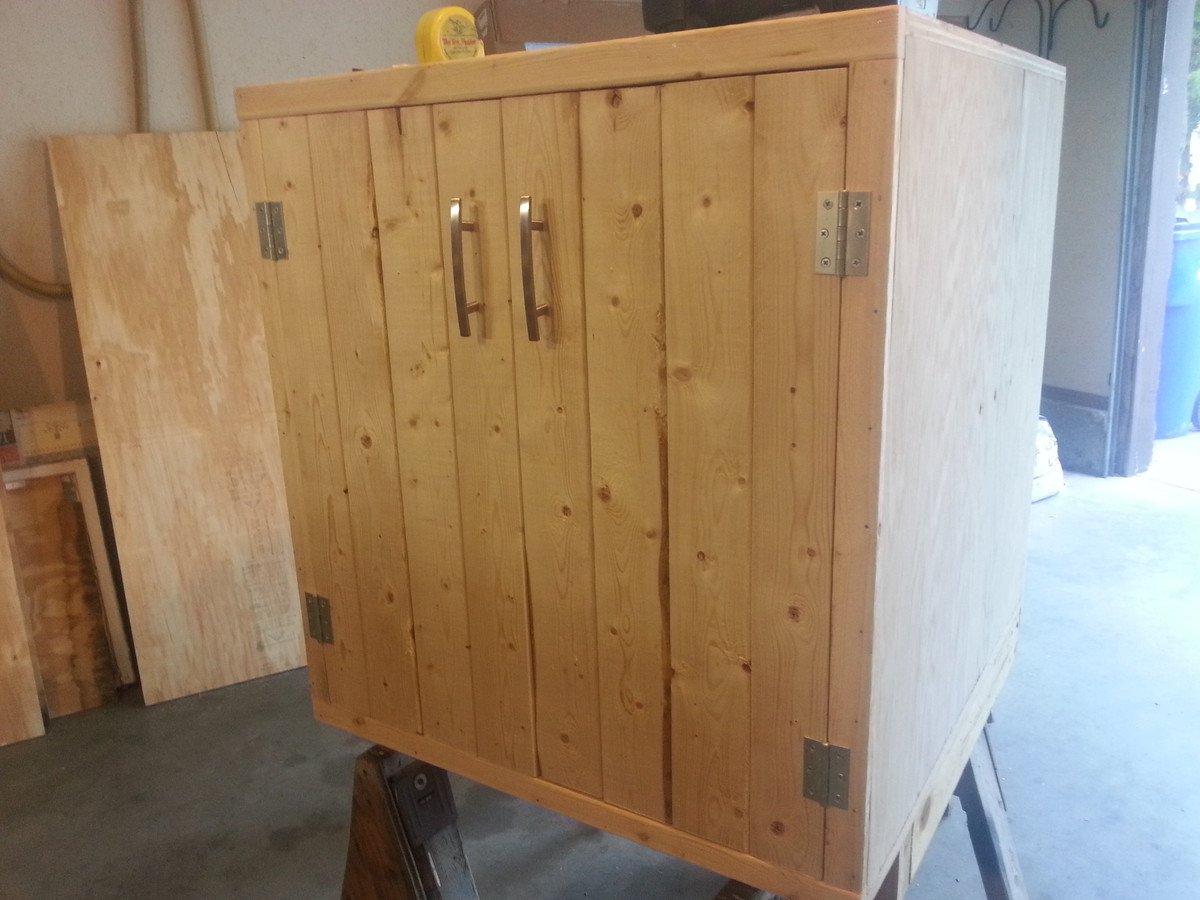
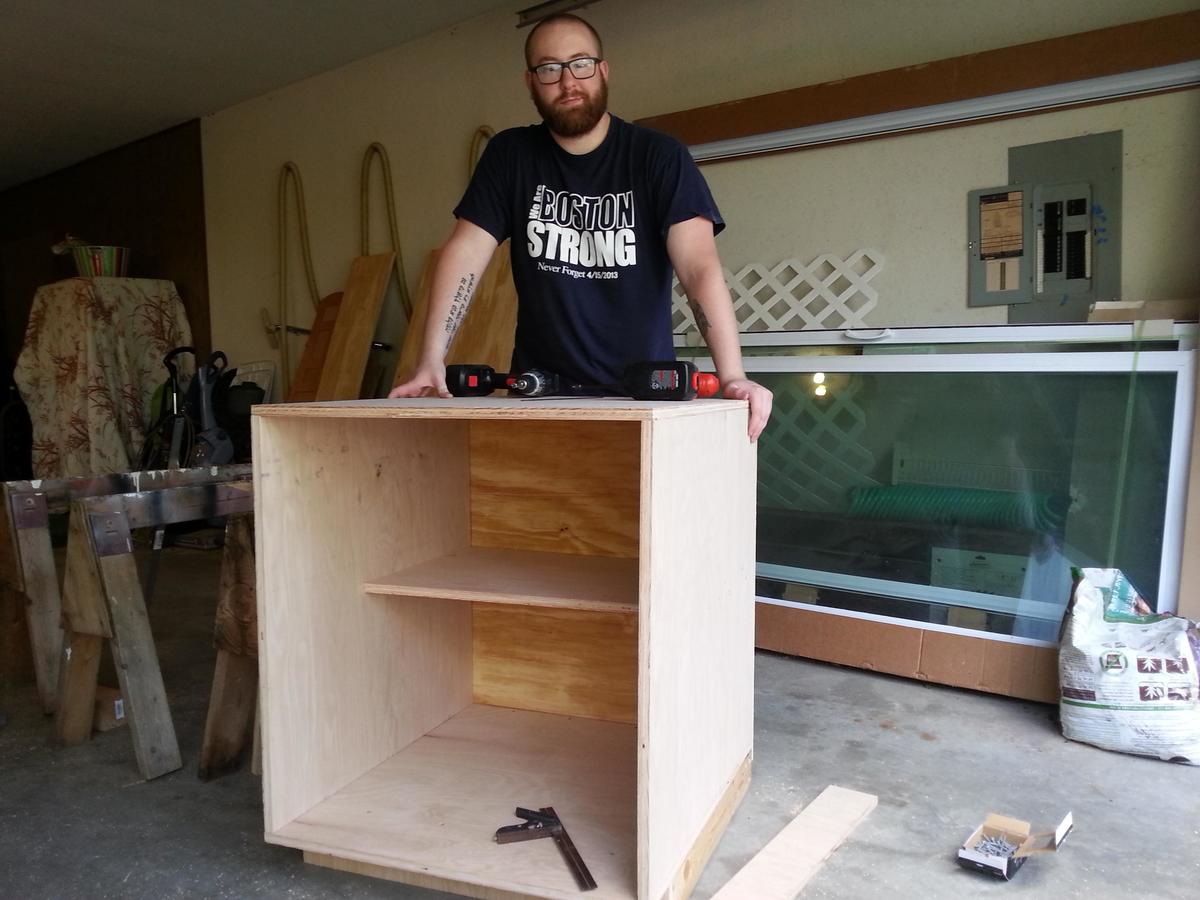
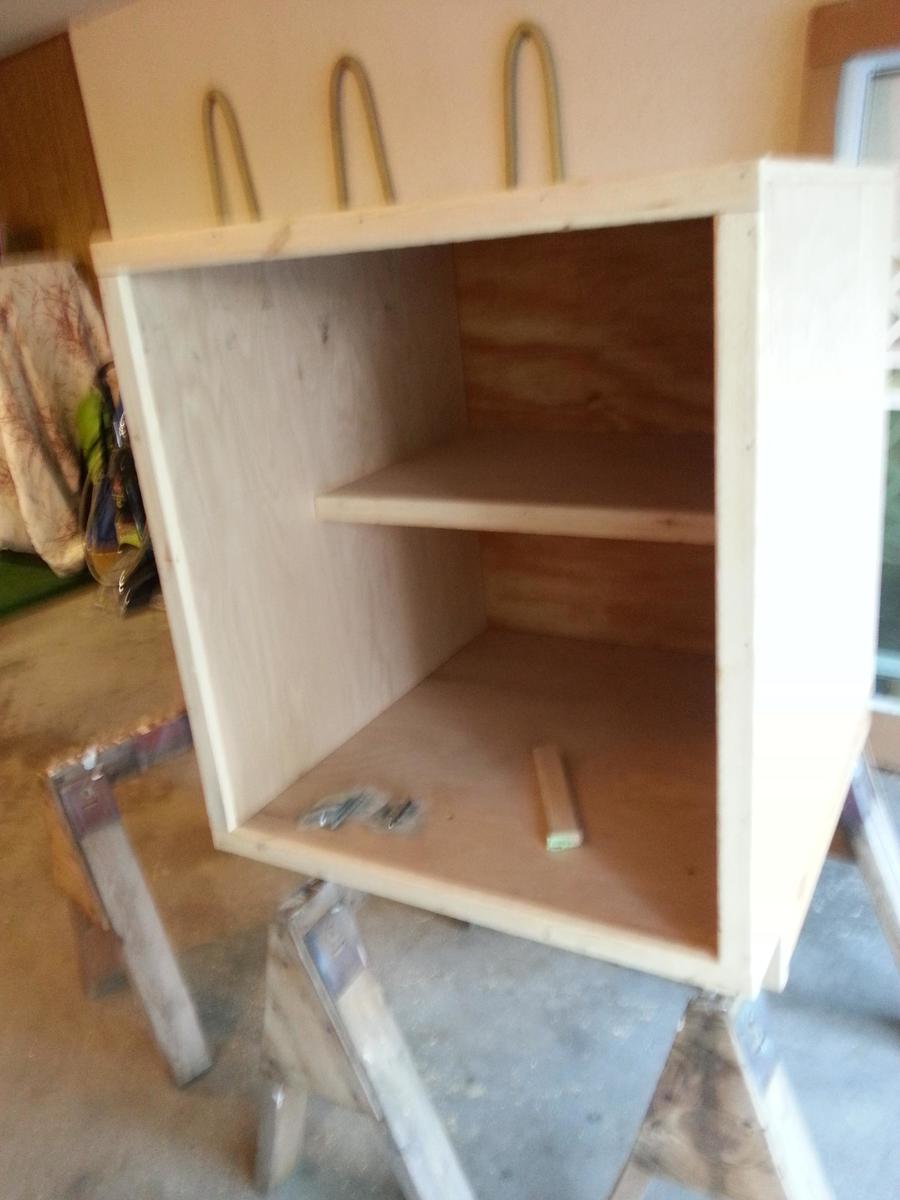
Modified Emerson Cabinet

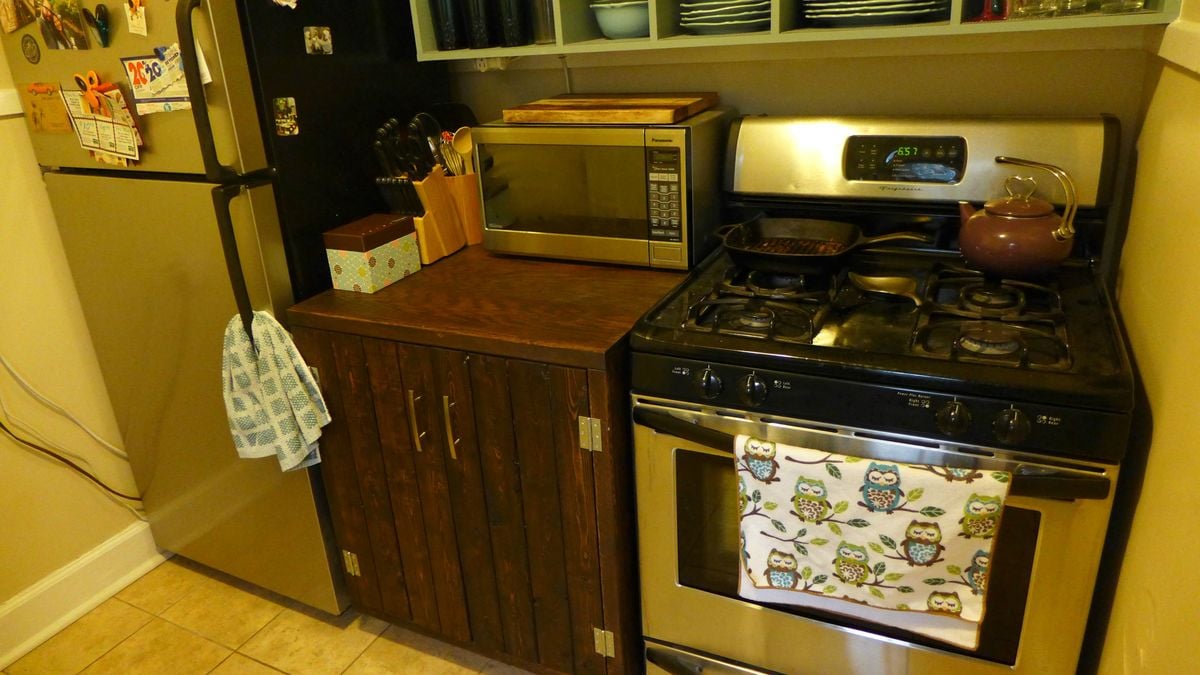
Made this cabinet to go between the fridge and stove in my kitchen. I based it on the Emerson plans (although heavily modified) because I love the looks of that buffet. Came out huge and quite square (its about the size of a washing machine), and it holds soooo much. Great to have that much extra storage in the kitchen.

Estimated Cost
~$100.00
Estimated Time Investment
Day Project (6-9 Hours)
Finish Used
Kona stain
Recommended Skill Level
Beginner

Big Sandbox with Lid

Submitted by flinchball on Mon, 09/21/2020 - 13:18

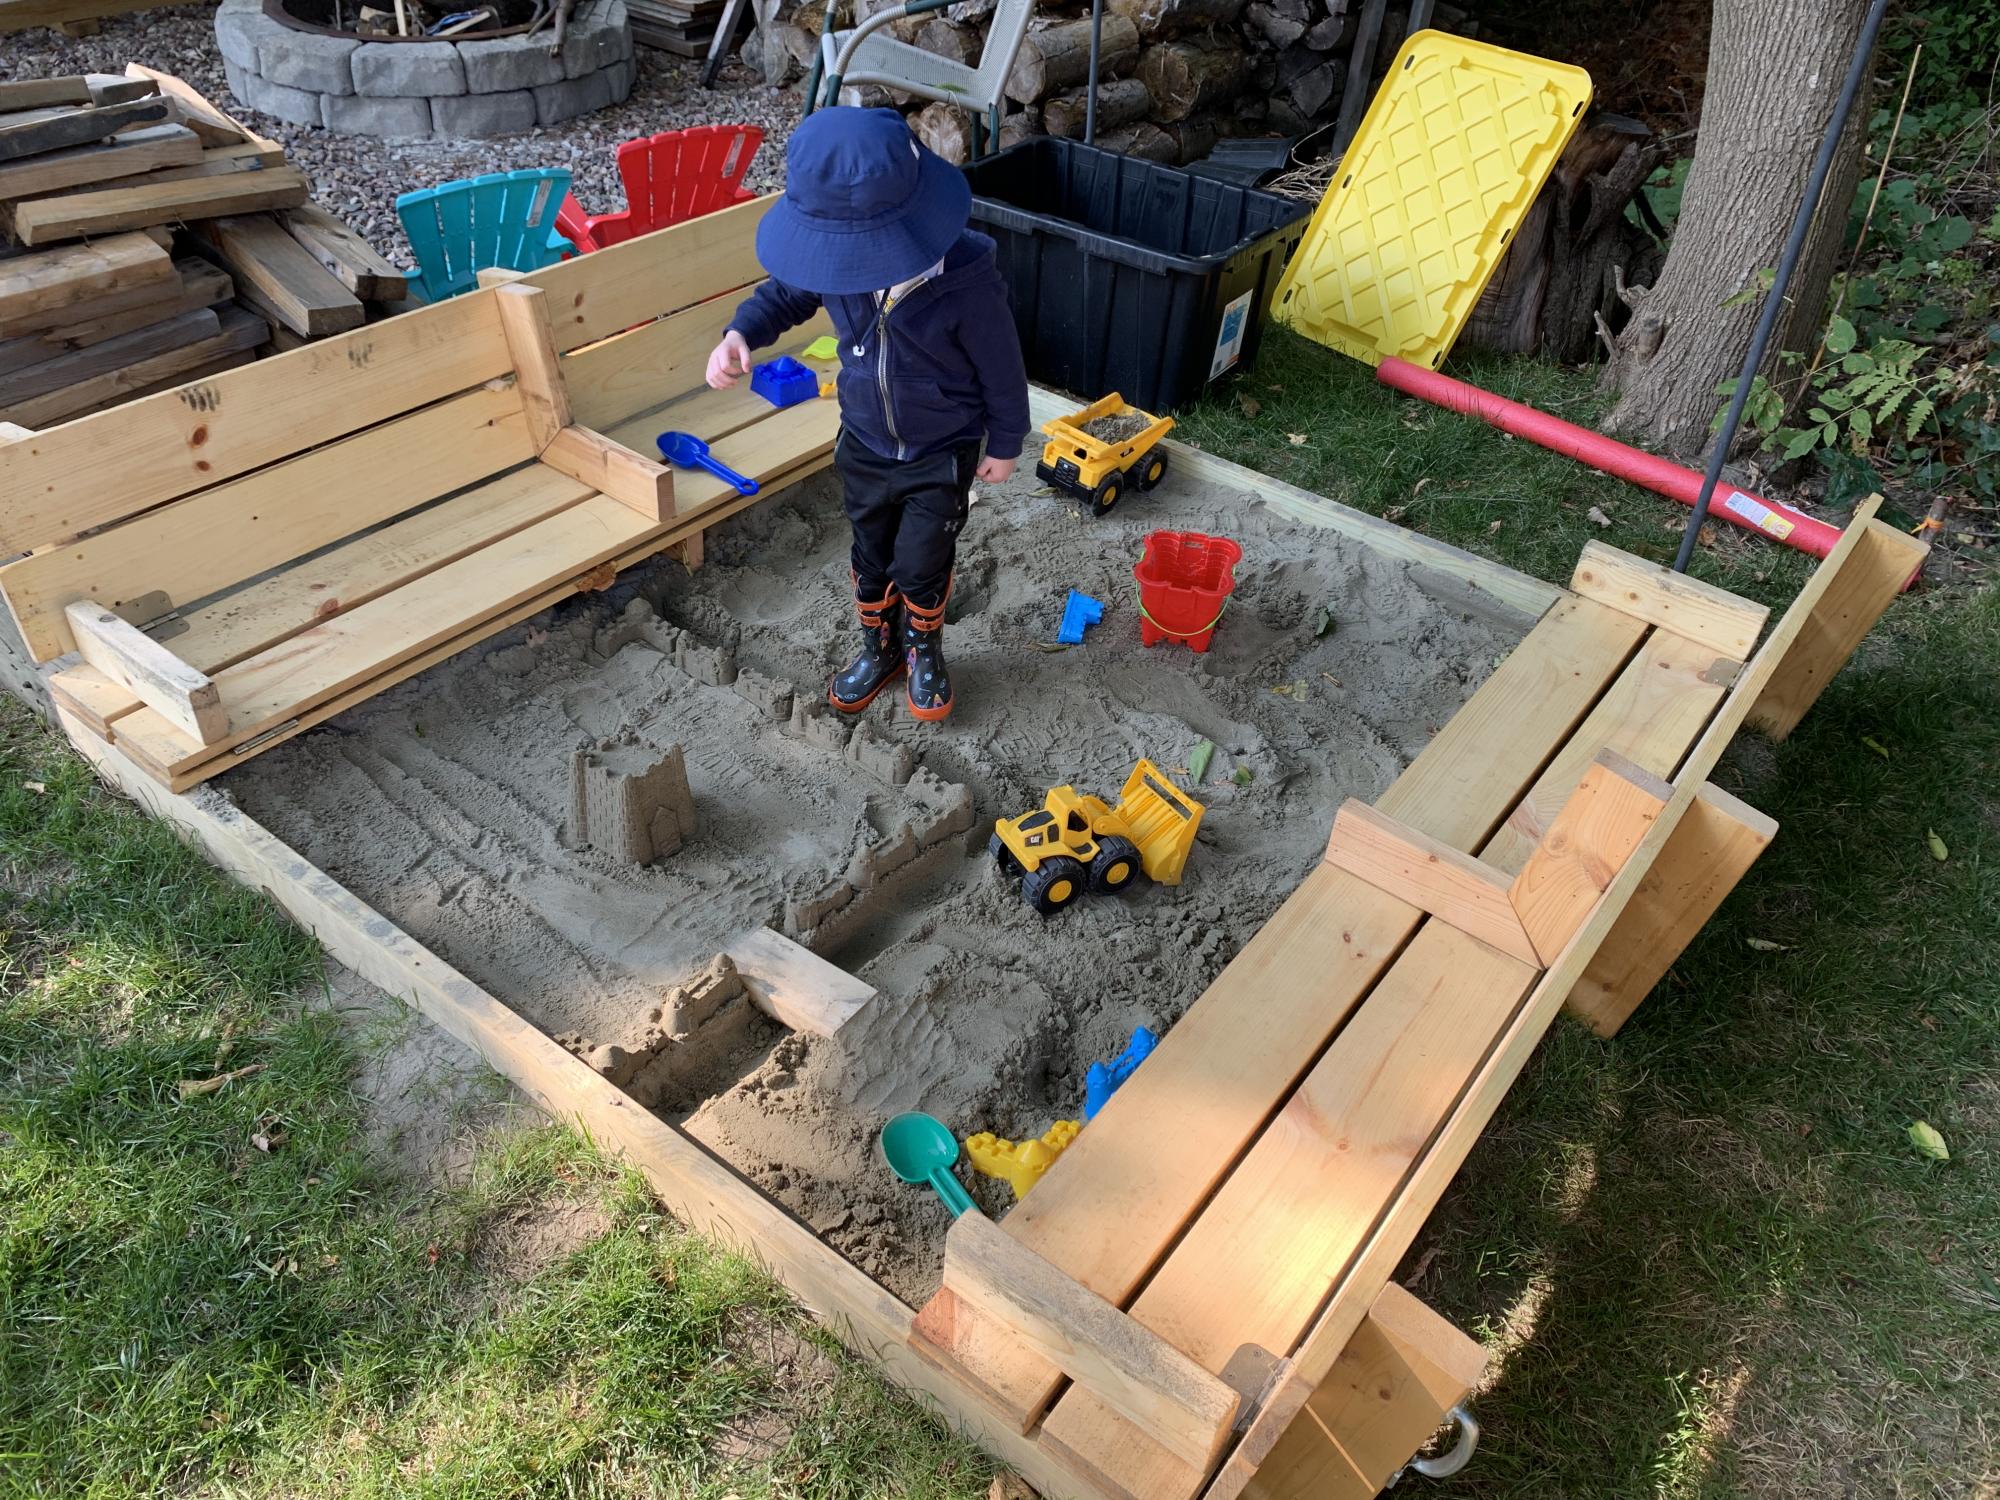
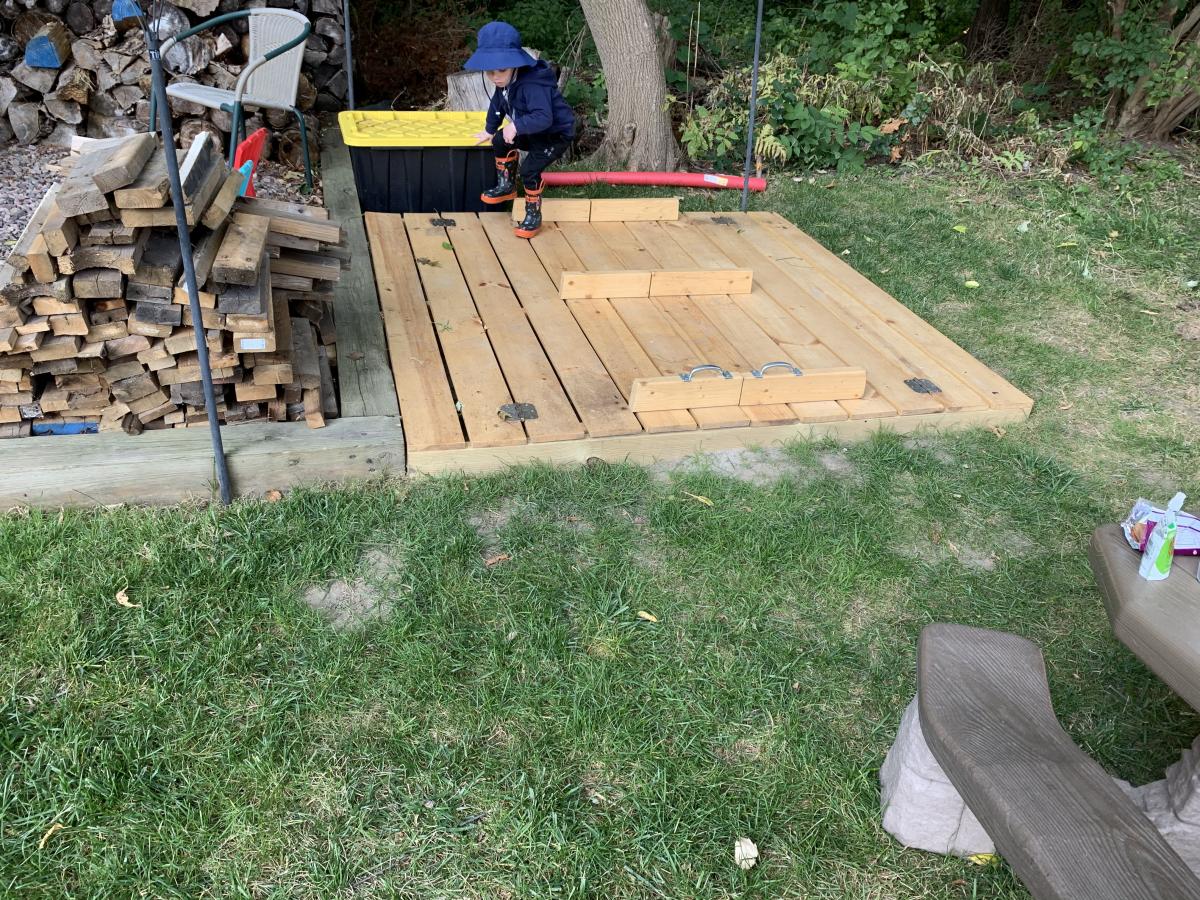
Made the sandbox 6x6. Recessed it so it sits flush with the timber’s around our fire pit area. I added extra armrests in the middle that double as supports when the lid is closed in case anyone wants to walk on it. Filled the sandbox full enough that the armrests sit on the sand when closed. It’s very sturdy now for walking on and the kids have tons of room to play. Thanks for a great plan to work from.

Built from Plan(s)
Estimated Cost
$100
Estimated Time Investment
Day Project (6-9 Hours)
Finish Used
Boiled linseed oil.
Recommended Skill Level
Beginner

Comments

Rustic X Desk

Submitted by CarolinaL on Wed, 11/18/2020 - 14:48

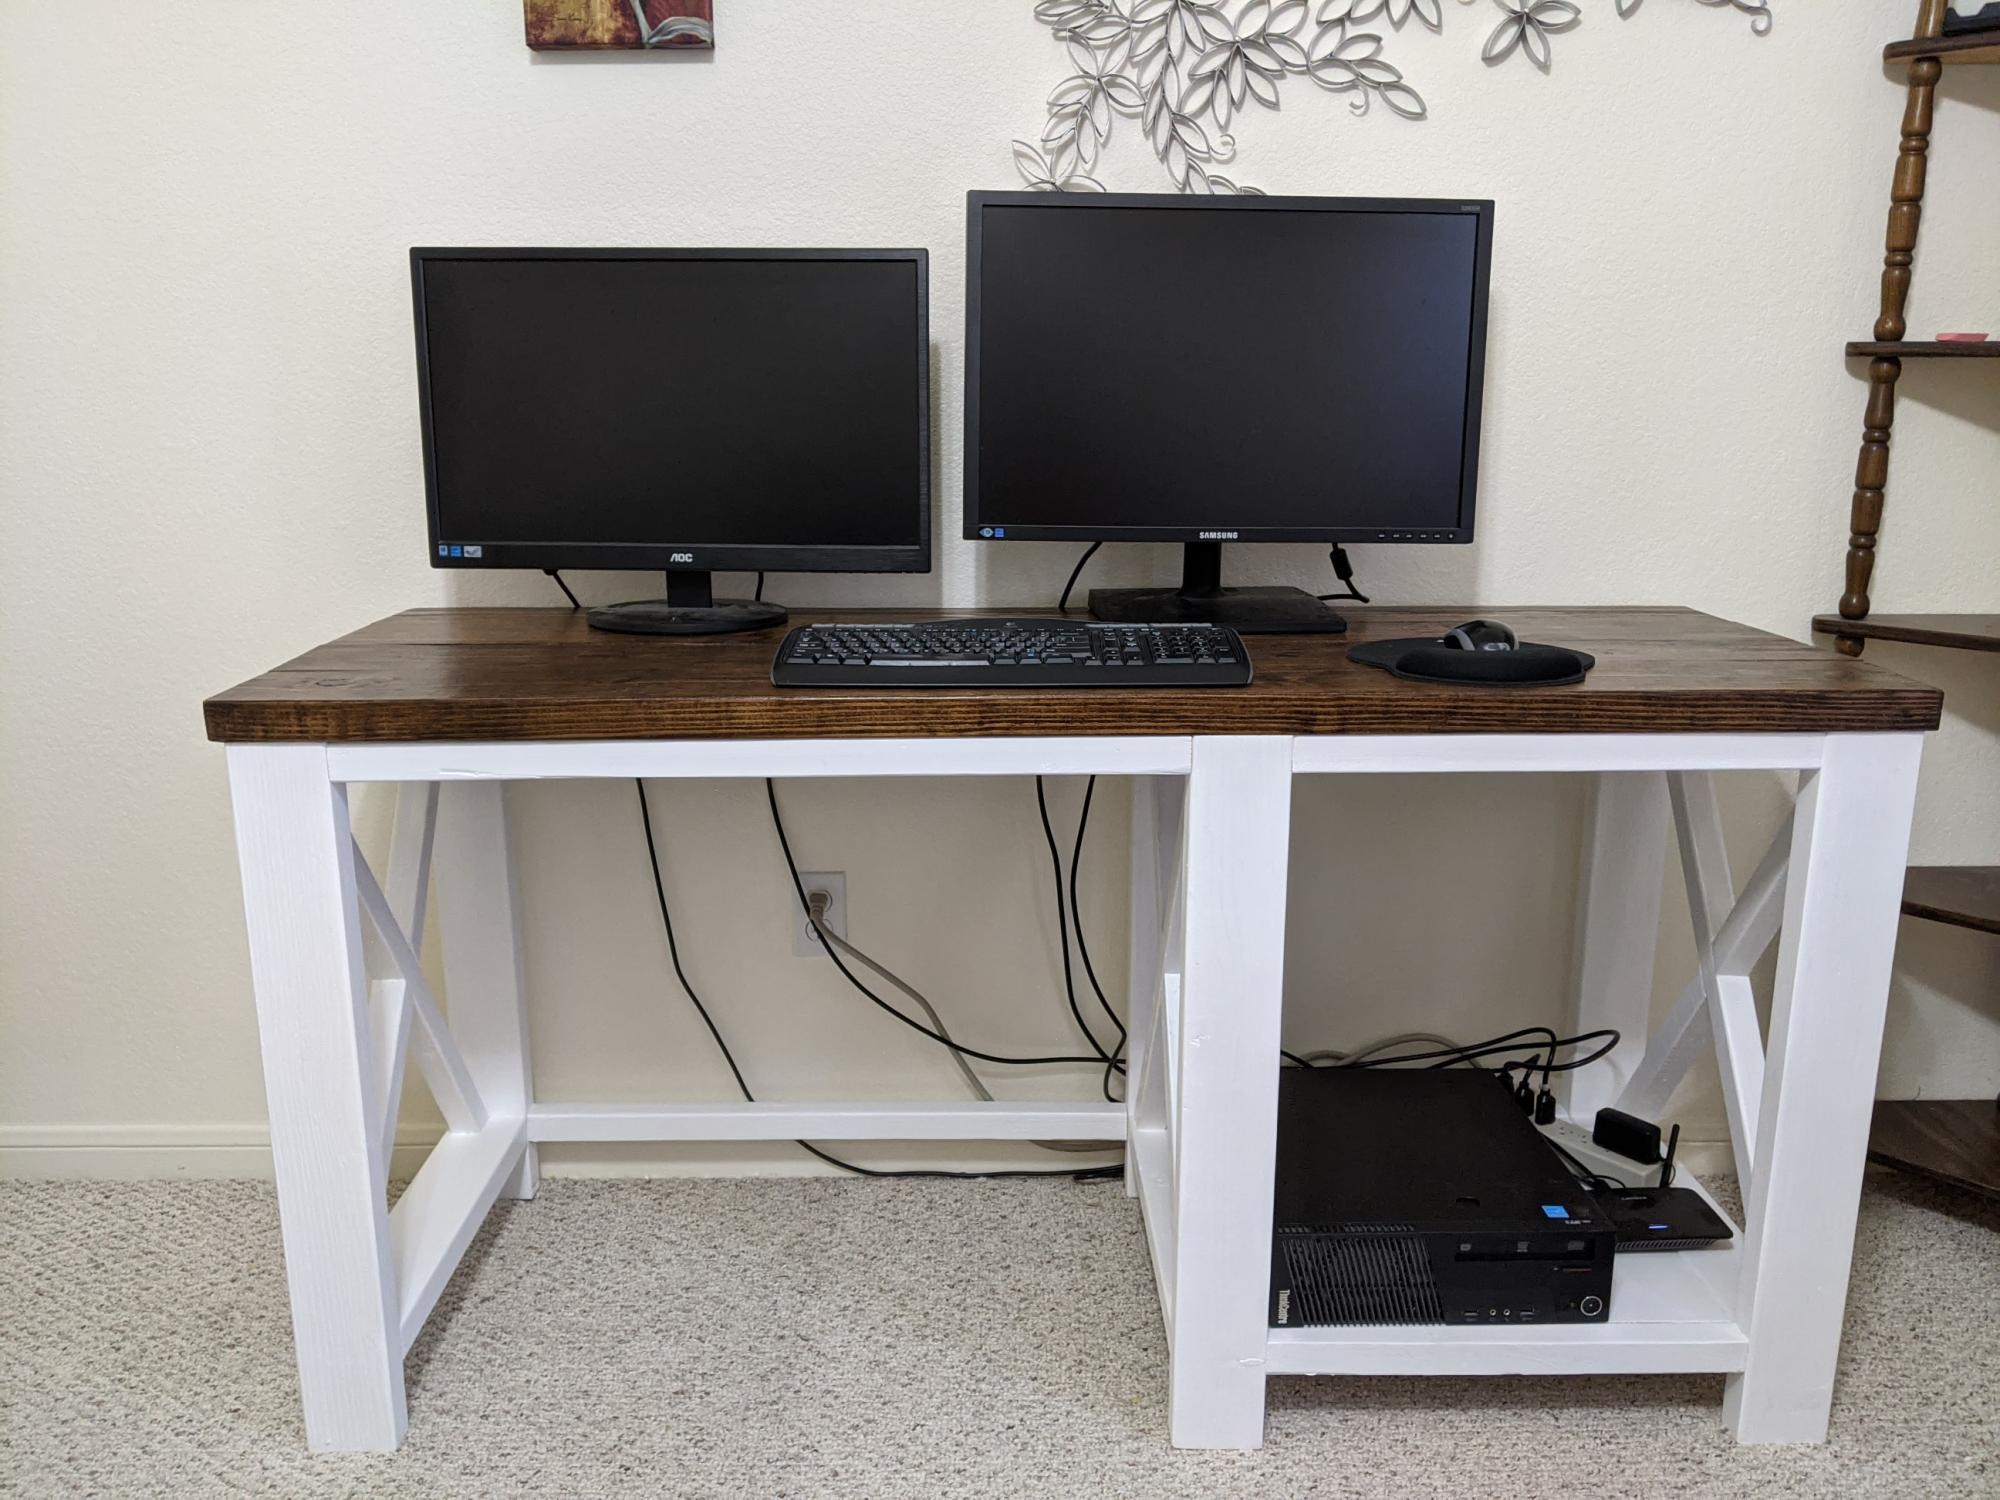
I finally got tired of my computer set up being on my sewing table. I will be working from home for quite some time and I'm so glad I finally have a designated desk for work.

This desk came out perfect. It's not too difficult but the X did take some time to get right. Used Ana's video instructions.

Built from Plan(s)
Estimated Cost
$60
Estimated Time Investment
Weekend Project (10-20 Hours)
Finish Used
Minwax Provincial for the top
White satin paint for the base.
Recommended Skill Level
Intermediate

Comments

Mantel Moulding Headboard - King Size Here!

Submitted by lydiamatt on Mon, 01/25/2021 - 13:23

Hello,
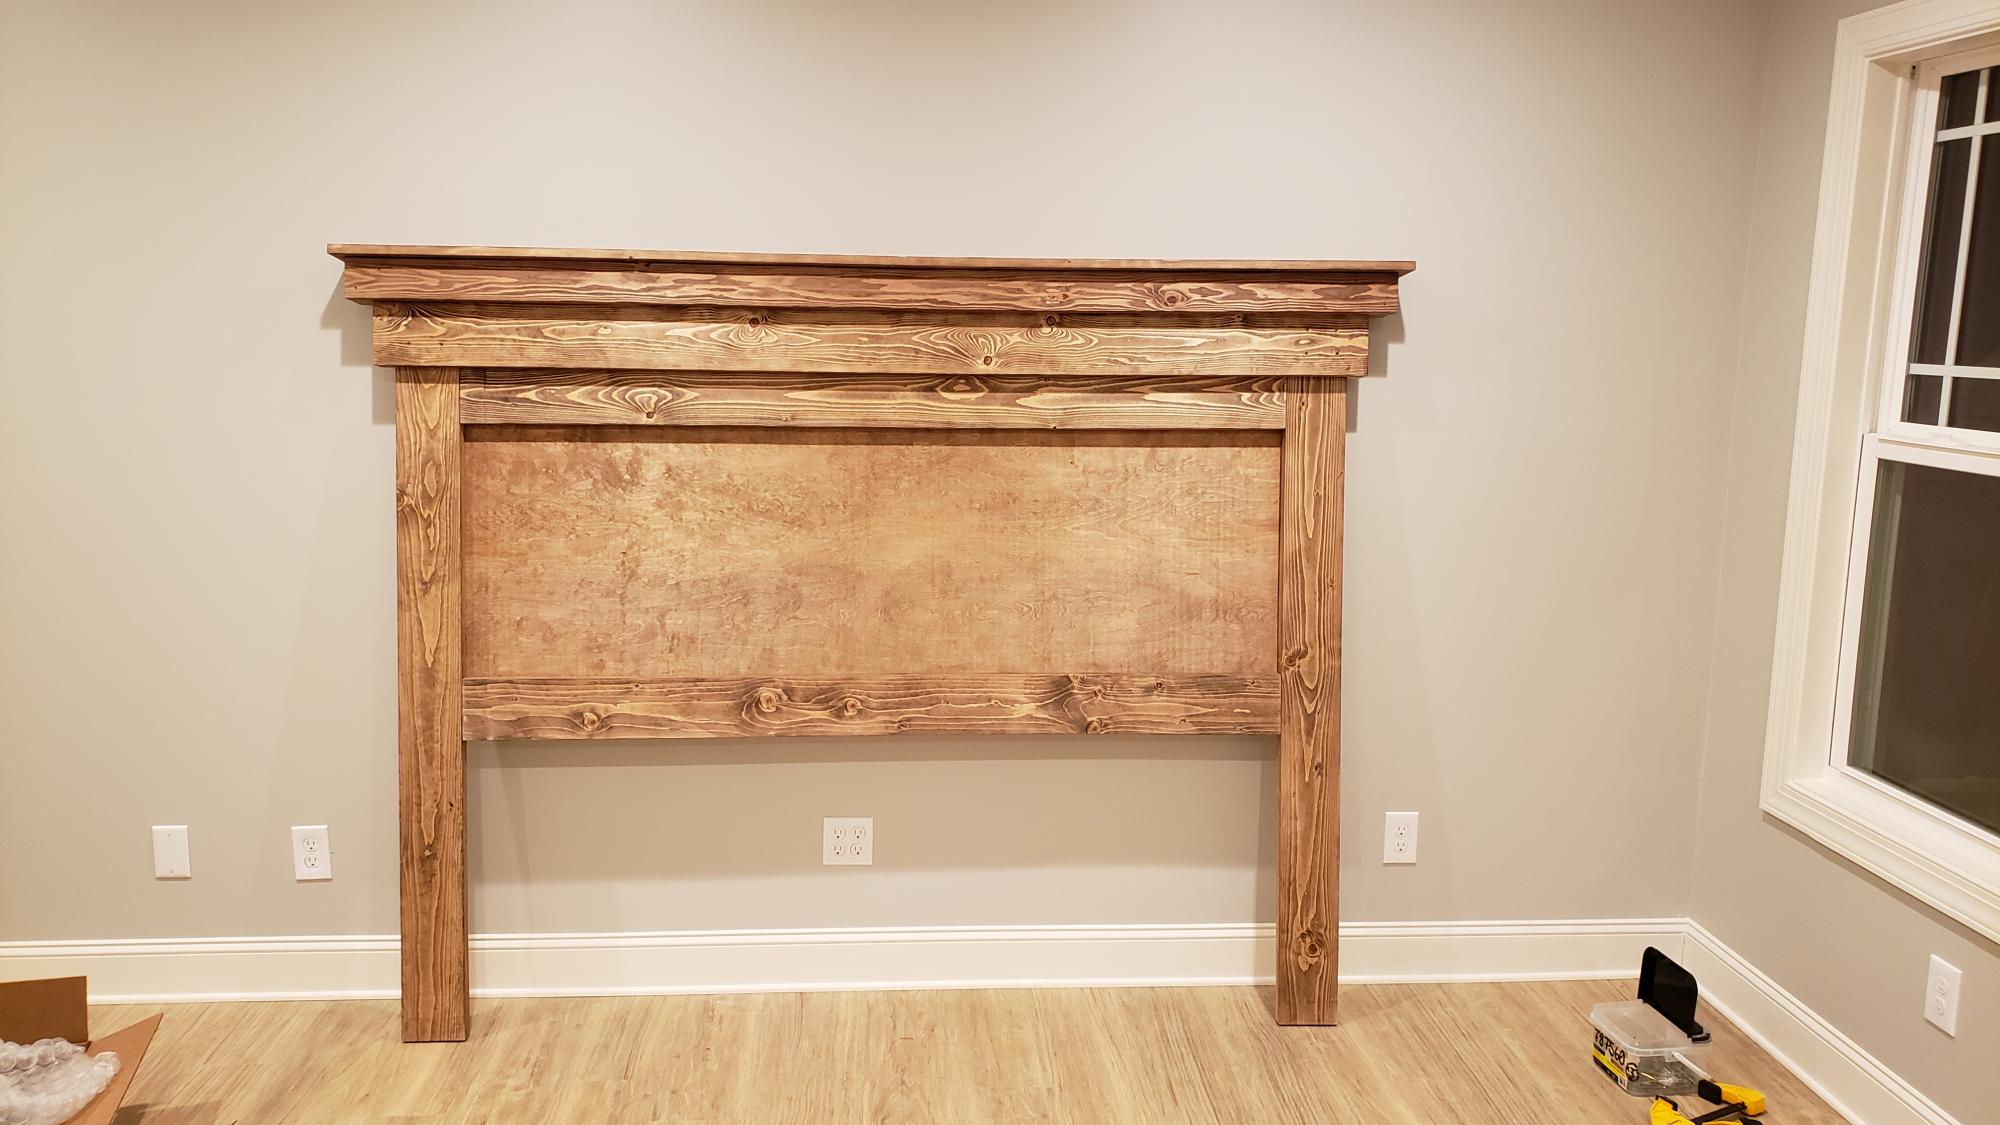
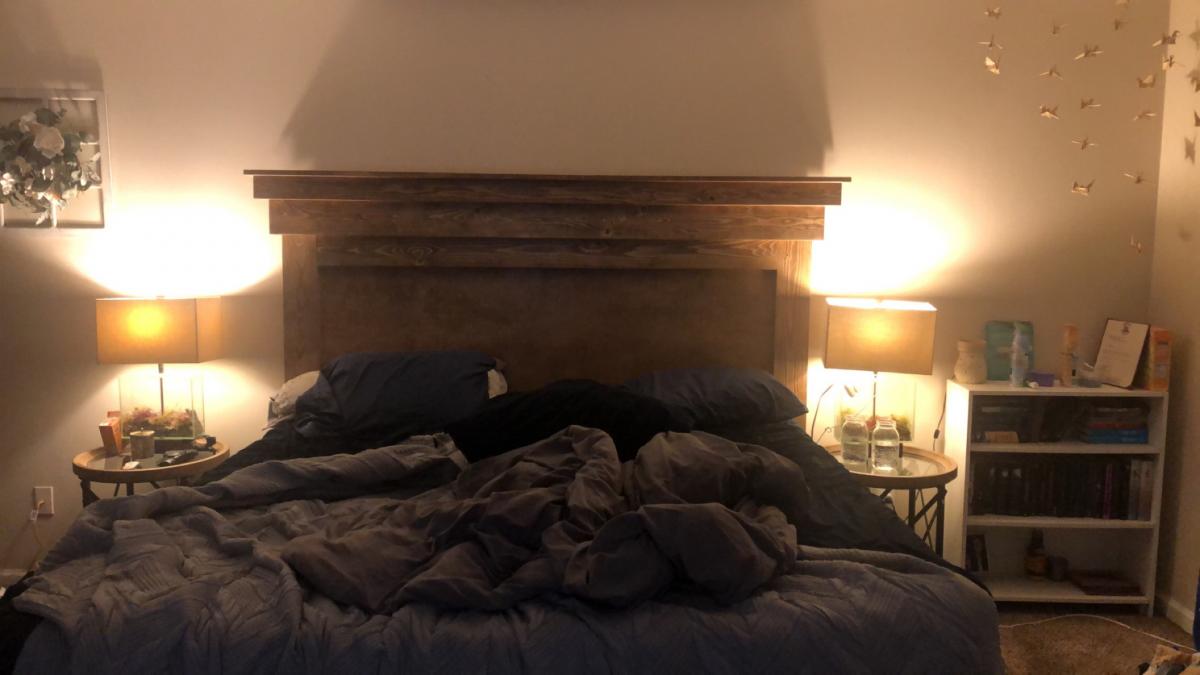
I have a PDF with material, cut list, and assembly steps for anyone interested. I also used Type 2 wood glue and all screws with this build, substituting for nails in the original plan!
Please email me at [email protected] with any questions!
Thanks
Matt

Built from Plan(s)
Estimated Time Investment
Afternoon Project (3-6 Hours)
Finish Used
I have painted this Extra White, and stained with Special Walnut from Minwax.
Recommended Skill Level
Beginner

Comments

Tack Box

Submitted by Evandgc on Tue, 12/30/2014 - 16:21

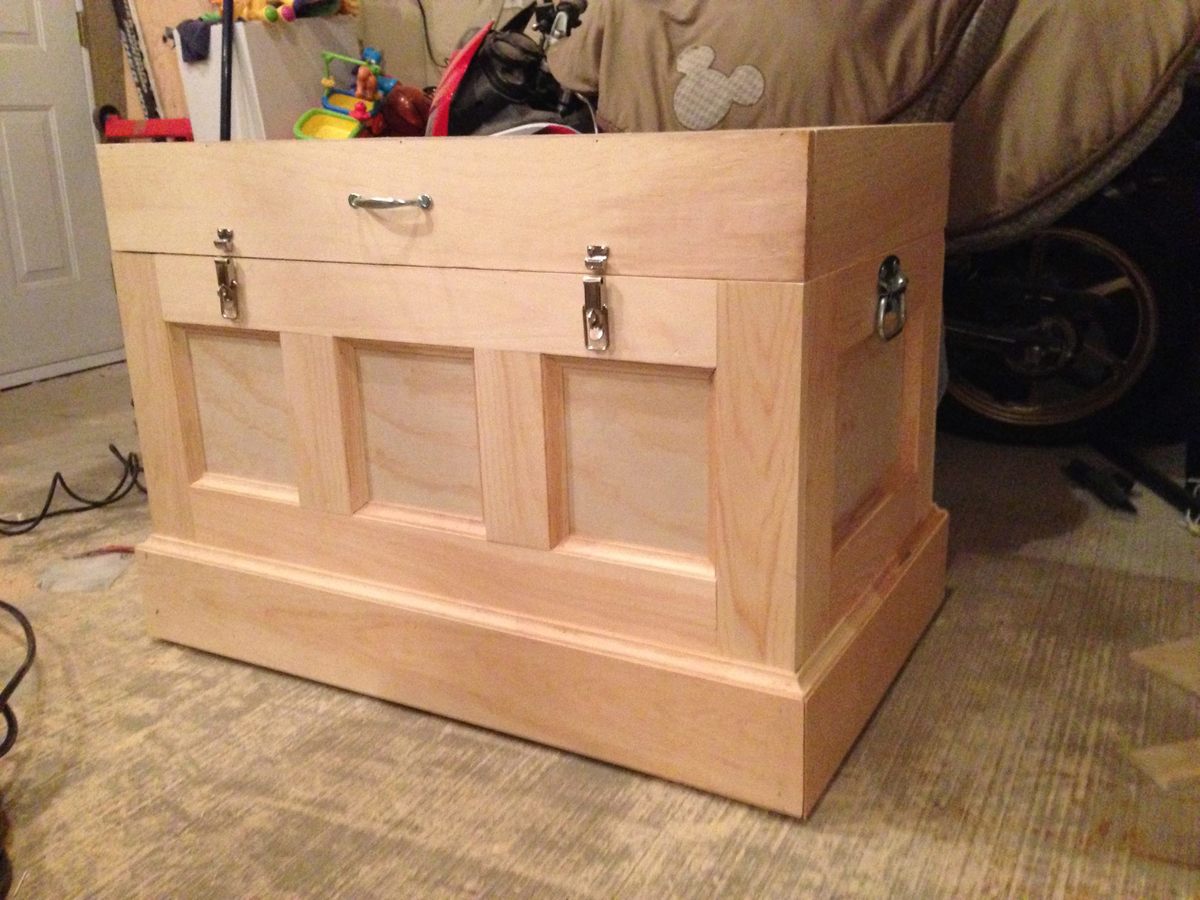
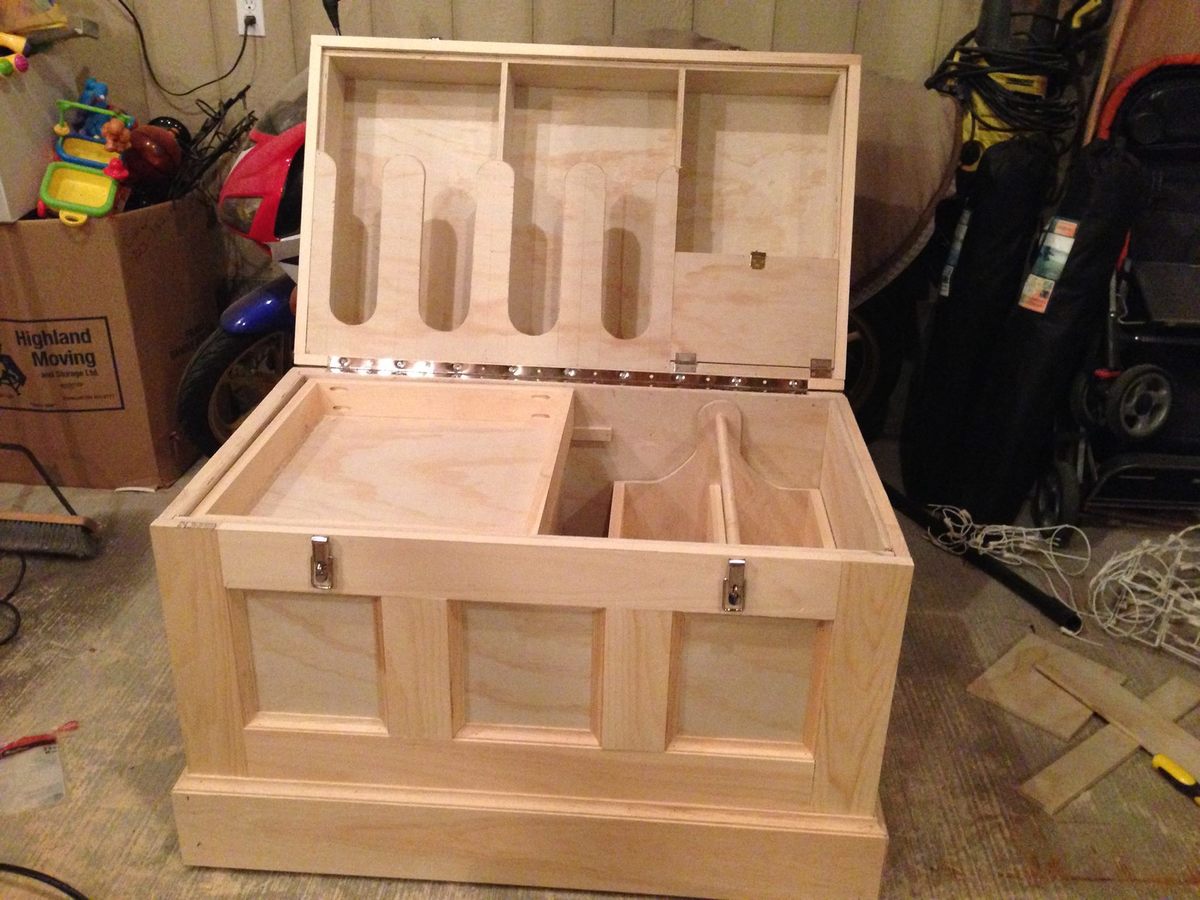
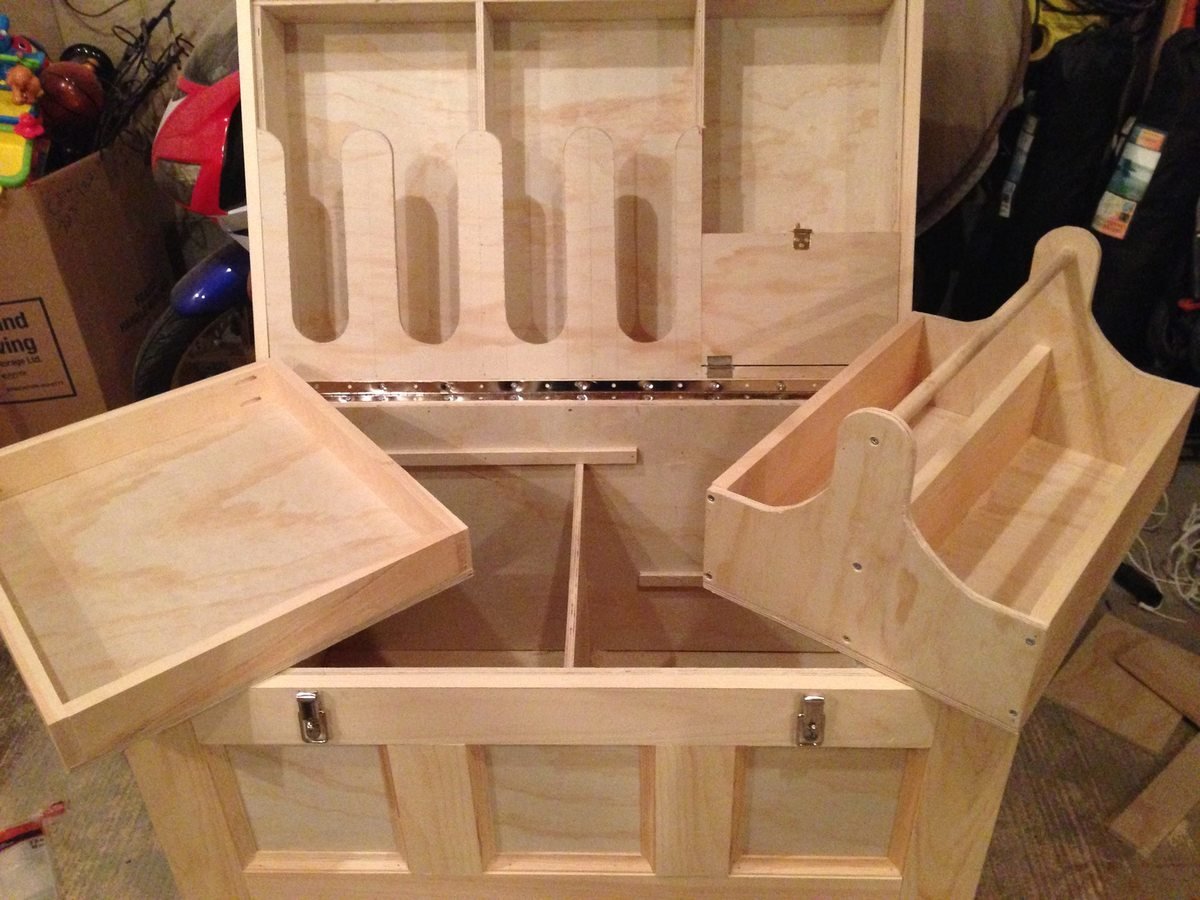
I made this box for my wifes christmas present. She has been riding horses for sometime and is planning on doing some shows. I built this box from Mimi's storage bench design, made it bigger, added a deeper box top and created the rest from looking at pictures online. Its all made of pine plywood and pine boards to keep it light. I added 4 castors to the bottom to make it easily moveable and hid them with the moulding around the bottom. Still has to be sanded and stained before it hits the barn. Its 39W X 24D X 29H. I used a piano hinge and routered the back to set the hing in. Added cove moulding around the bottom and to all the boxes around the front and side. Used a lot of pocket holes and finsh nails. Took me longer than it could have, because I planned everything as I went.  I will add more pictures when its finsihed. I would rate it intermediate to advanced depending on your skills with certain tools. 

Built from Plan(s)
Estimated Cost
Will all the hardware, wood materials, screws etc, I think it cost me around $250-$300
Estimated Time Investment
Week Long Project (20 Hours or More)
Finish Used
not finished yet
Recommended Skill Level
Intermediate

Comments

Farmhouse desk

Submitted by shruti on Sat, 02/06/2021 - 18:49

Made this farmhouse desk from the plans. It came out very well.

Built from Plan(s)
Estimated Time Investment
Week Long Project (20 Hours or More)
Recommended Skill Level
Intermediate

Comments

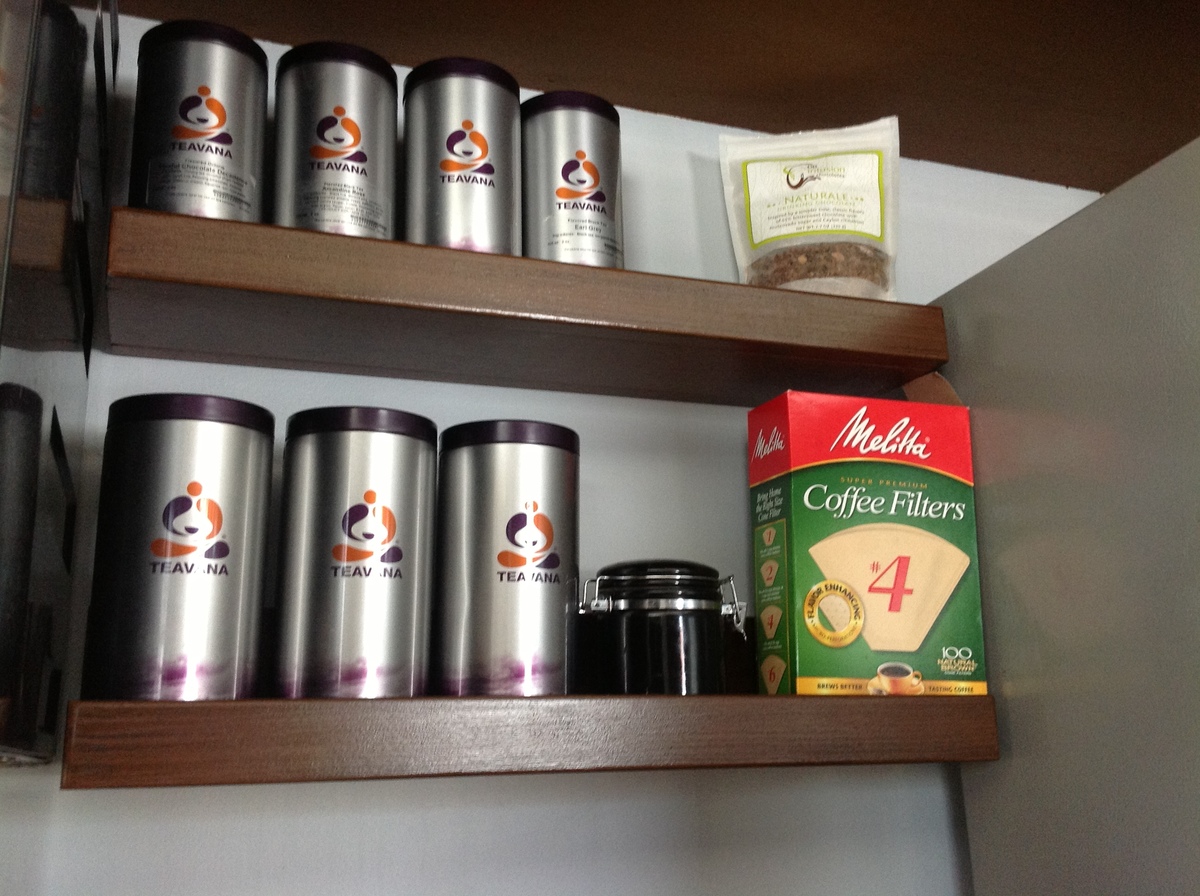
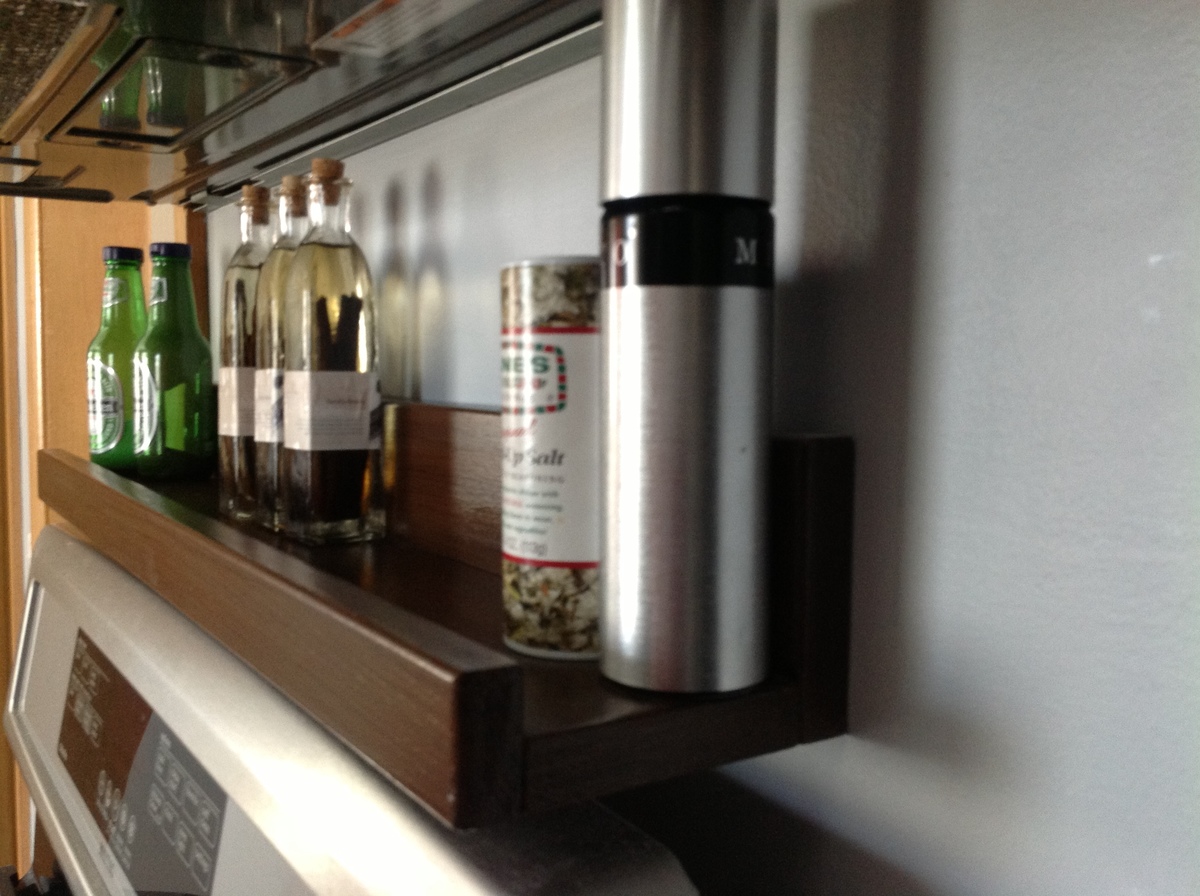
Kitchen Shelves

Submitted by Renren_13 on Sun, 02/24/2013 - 10:08

I recently painted my kitchen cabinets with a Rust-Oleum Cabinet Transformations kit, and I wanted to add some matching shelves for items I could store above the stove and coffee maker.

Built from Plan(s)
Estimated Cost
$15
Estimated Time Investment
An Hour or Two (0-2 Hours)
Finish Used
Rust-Oleum Cabinet Transformations tinted to Toasted Almond with the dark glaze. I used Minwax Polyurethane in Semi-Gloss instead of the finished included with the Cabinet Transformations kit.
Recommended Skill Level
Starter Project

Comments

Shark HD4 Extended Bed Sturdy Workbench

Submitted by Janettx on Thu, 04/06/2017 - 05:30

I started with the sturdy workbench plans ( http://www.ana-white.com/2011/03/sturdy-work-bench ) but enlarged it to 38x64x33 to accommodate my new CNC machine.  The plans give you enough enformation so that making a size change it very easy.  I used scrap wood I had and Plywood so the project only cost $85.00 to build.  I didn't have many 2x4's so I used the 2x6's I had instead.  Very sturdy table that took about 4 hours to build.

Thanks,

Janet Fox

Built from Plan(s)
Estimated Cost
$85.00 with and scraps
Estimated Time Investment
Afternoon Project (3-6 Hours)
Finish Used
left raw
Recommended Skill Level
Beginner

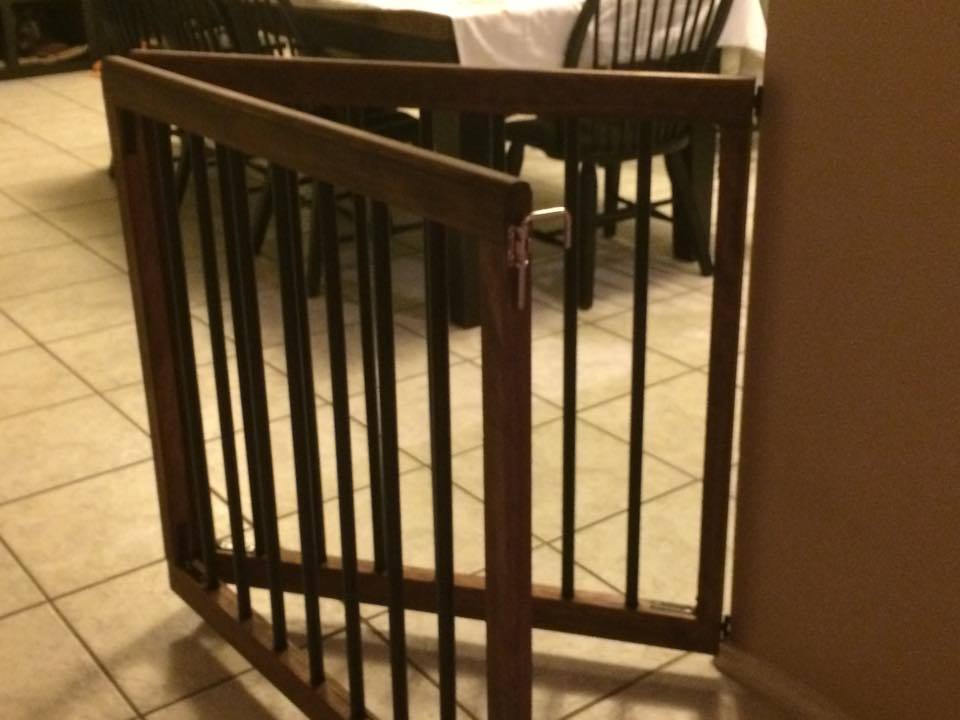
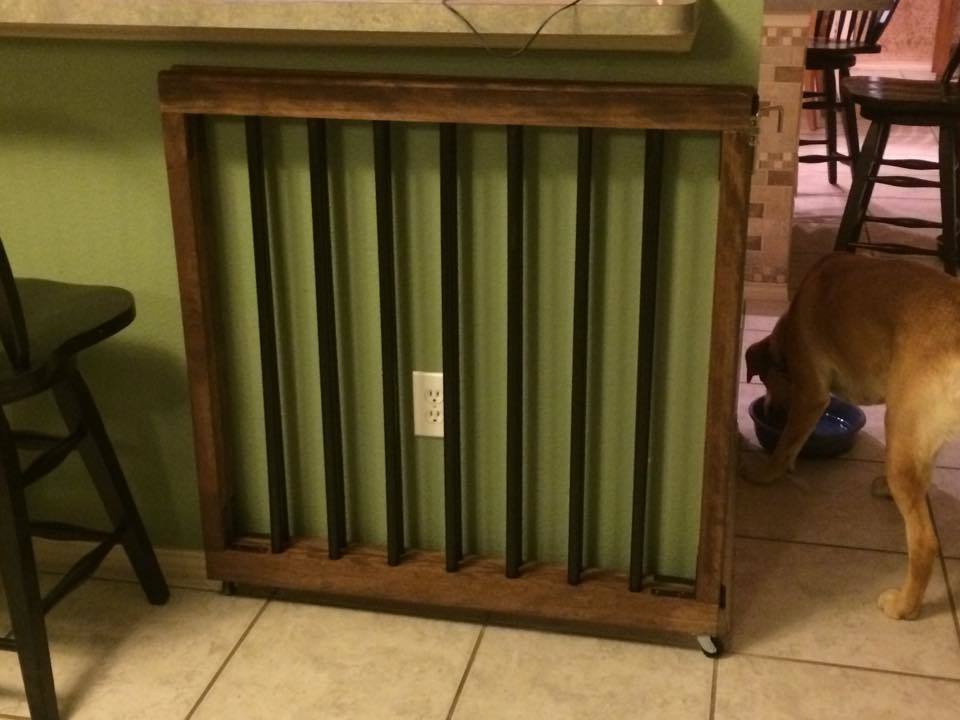
Dog Gate

Submitted by shellyward on Tue, 01/20/2015 - 13:20

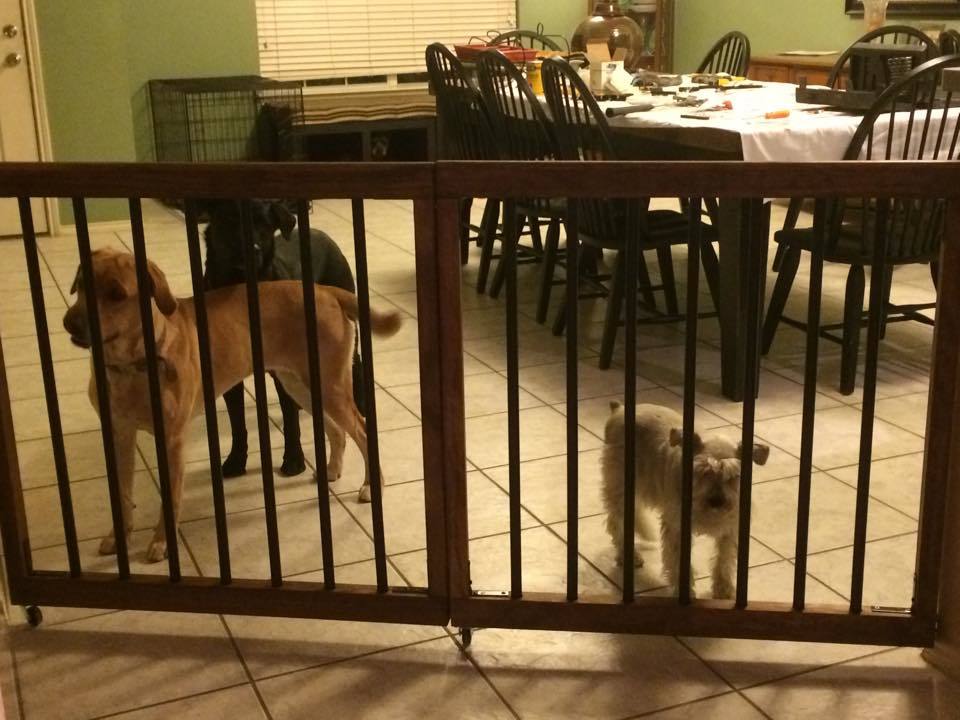
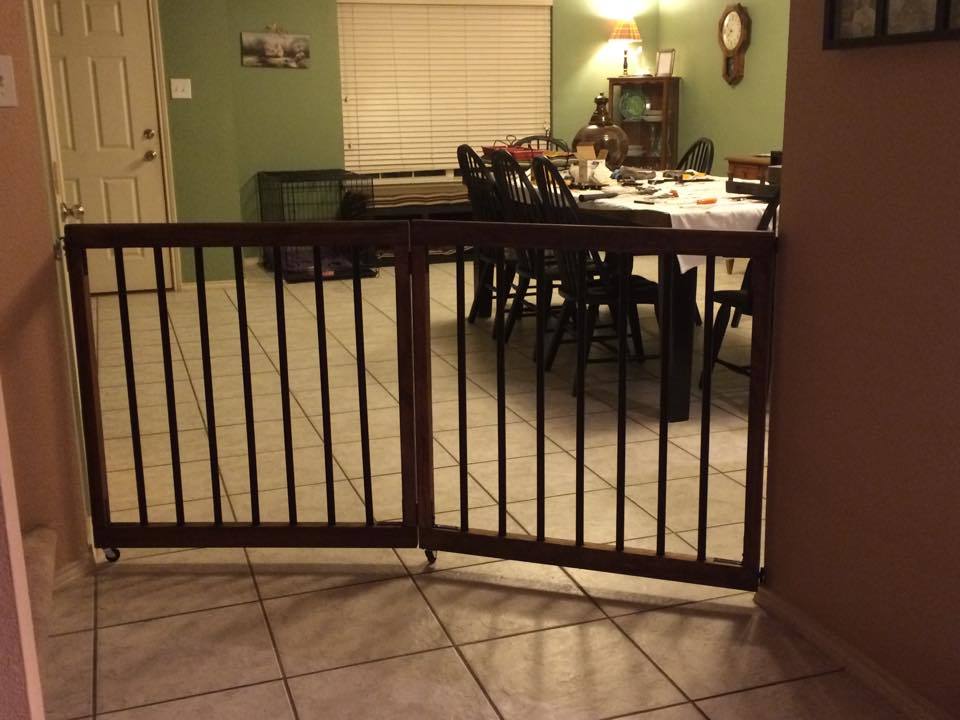
We needed a way to confine the dogs in one room when not supervised to protect our new living room furniture.  I wasn't willing to pay the price it would cost for a gate large enough (if I could even find one), so I started the hunt for a plan. I couldn't find exactly what I wanted so I took ideas from several and this is the result. This folds into itself and against the pass thru bar when not in use.

Estimated Cost
$75
Estimated Time Investment
Weekend Project (10-20 Hours)
Finish Used
Minwax Red Oak Stain and black spray paint for the rungs
Recommended Skill Level
Beginner

Comments

shellyward

Thu, 01/22/2015 - 09:39

Thanks! I will try to get something written up in the next few days and add it to the post.

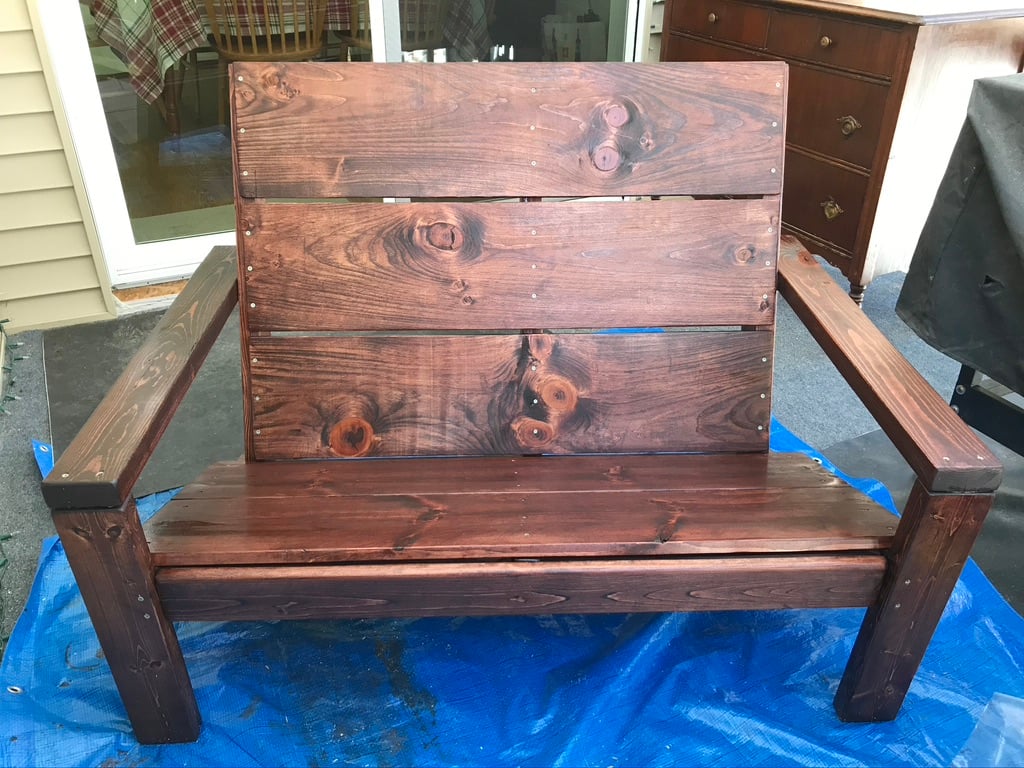
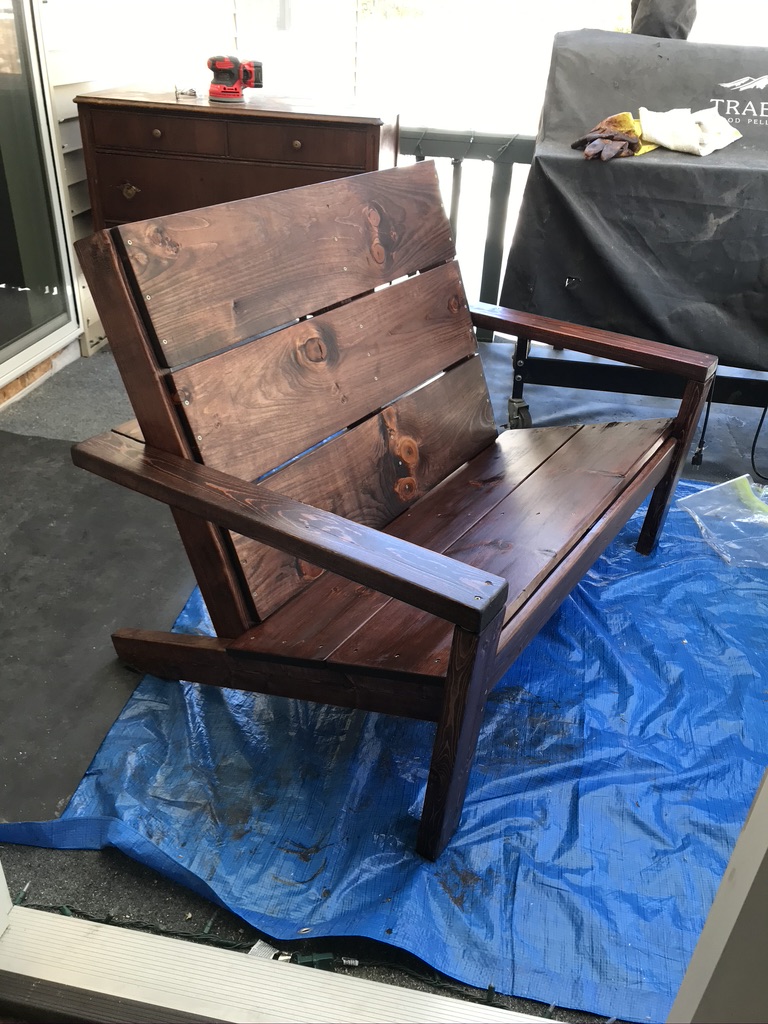
Rustic Adirondack Bench (love seat)

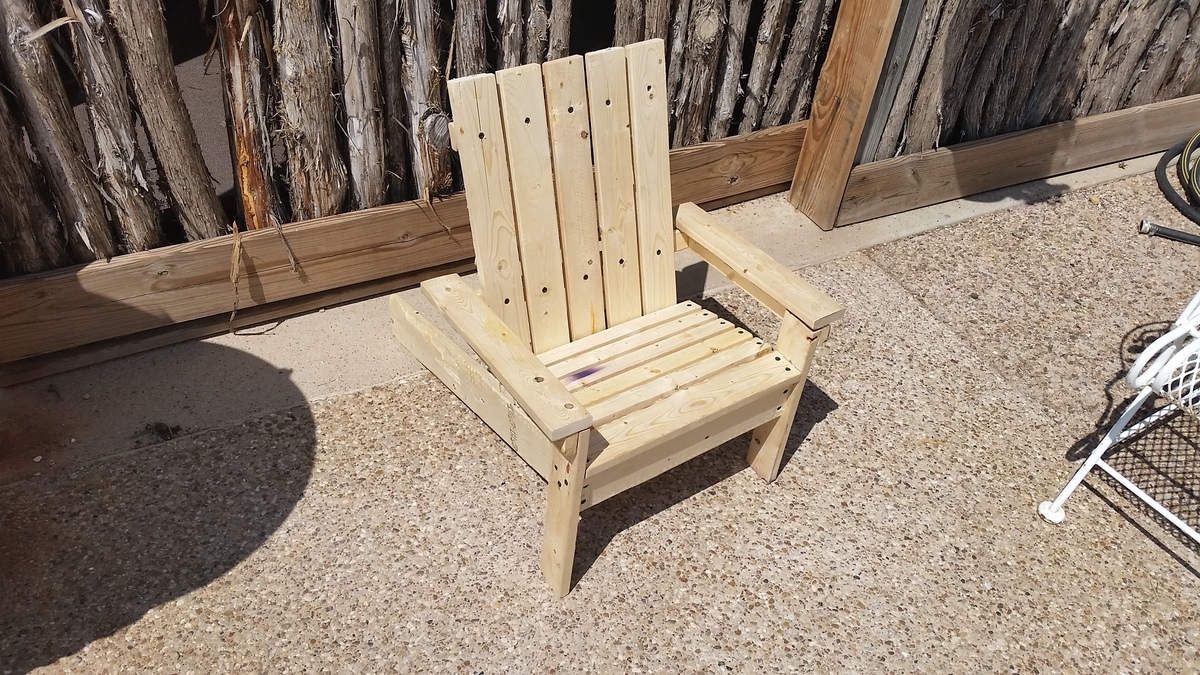
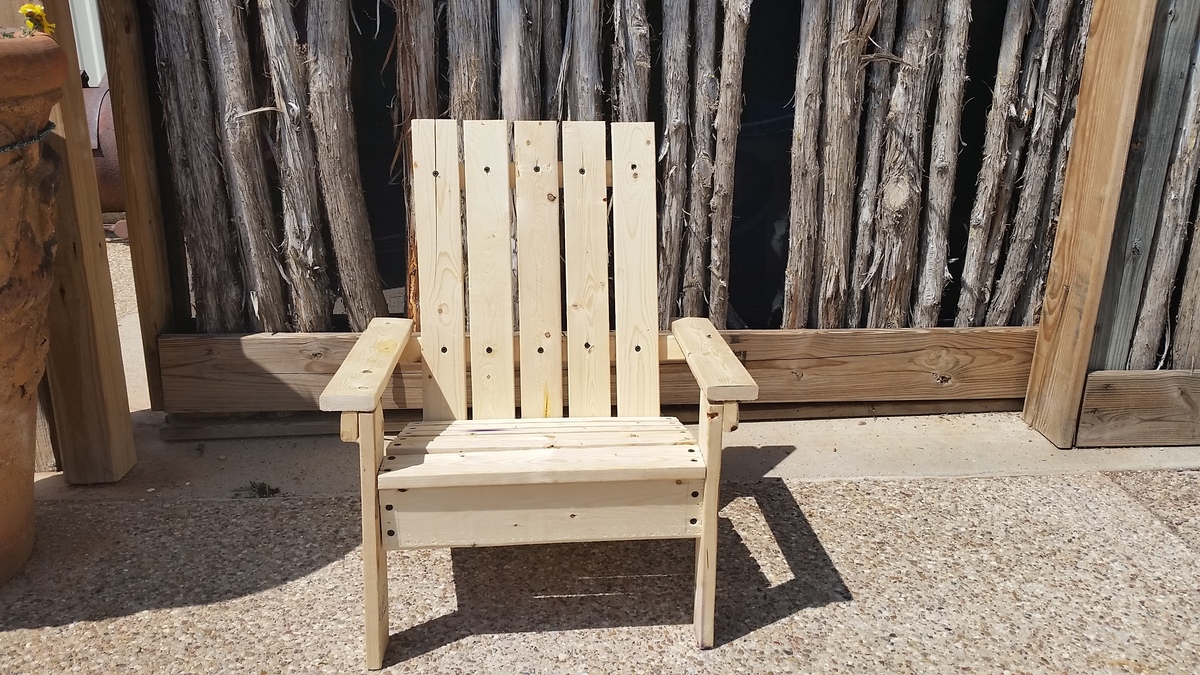
I loved the Rustic Adirondack Chair so much I felt I needed to make a bench in the same style. I had to be a little creative with the chair plans and modify them to make my bench work. I am absolutely thrilled with how it came out! I already have a friend who has requested a chair and bench (love seat) for his son's wedding gift!

Estimated Cost
Material costs for the wood was $85-ish. Wood prices are nuts right now!
Recommended Skill Level
Intermediate

Comments

mjackson41995@…

Fri, 08/20/2021 - 16:37

You can make the 1x10 in any length you want. I’m planning on making a loveseat too and The measurements I chose for the seating area will be 48” long (which is the size for 2 seat cushions).

The Step 1 in Ana’s plan, all measurements will be the same.

Step 2: The two 2x4 horizontal supports will be cut at 48”.

Step 3: the two 1x10 seat panels will be 3 inches longer than the horizontal supports. So you will cut the 1x10 seat panels at 51”.

Step 4: Instead of two, you will need THREE seat supports. So cut three 2x4’s @ 32 3/4”. The third seat support will go in the middle of the other seat supports, drilled to the horizontal back support.

Step 5: Attach your back bottom horizontal support which will be a 2x4 at 48”.

Step 6: Attach the 1x10 seat back panels. You will cut (3) 1x10 @ 48”.

Here is the cut list for the loveseat version of Ana’s Adirondack plan. These are the lengths I chose. So with this cut list your loveseat should be big enough for two 24x24” seat cushions. I plan to add cushions for extra comfort.

My cut list:
(2) 2x4 @ 31 3/4”
(2) 2x4 @ 19 1/2”
(2) 2x4 @ 33 1/4” Cut at 20 degrees as per Ana’s plan.
(3) 2x4 @ 48” Horizontal supports. One goes behind your calves.
The other connects the end frames/arm rests at the back.
(2) 1x10 @ 51” Seat panels.
(3) 2x4 @ 32 3/4” Vertical supports for the back panels.
(3) 1x10 @ 48” The back panels.

Custom Dog Kennel

Submitted by Anonymous (not verified) on Sat, 04/29/2017 - 17:35

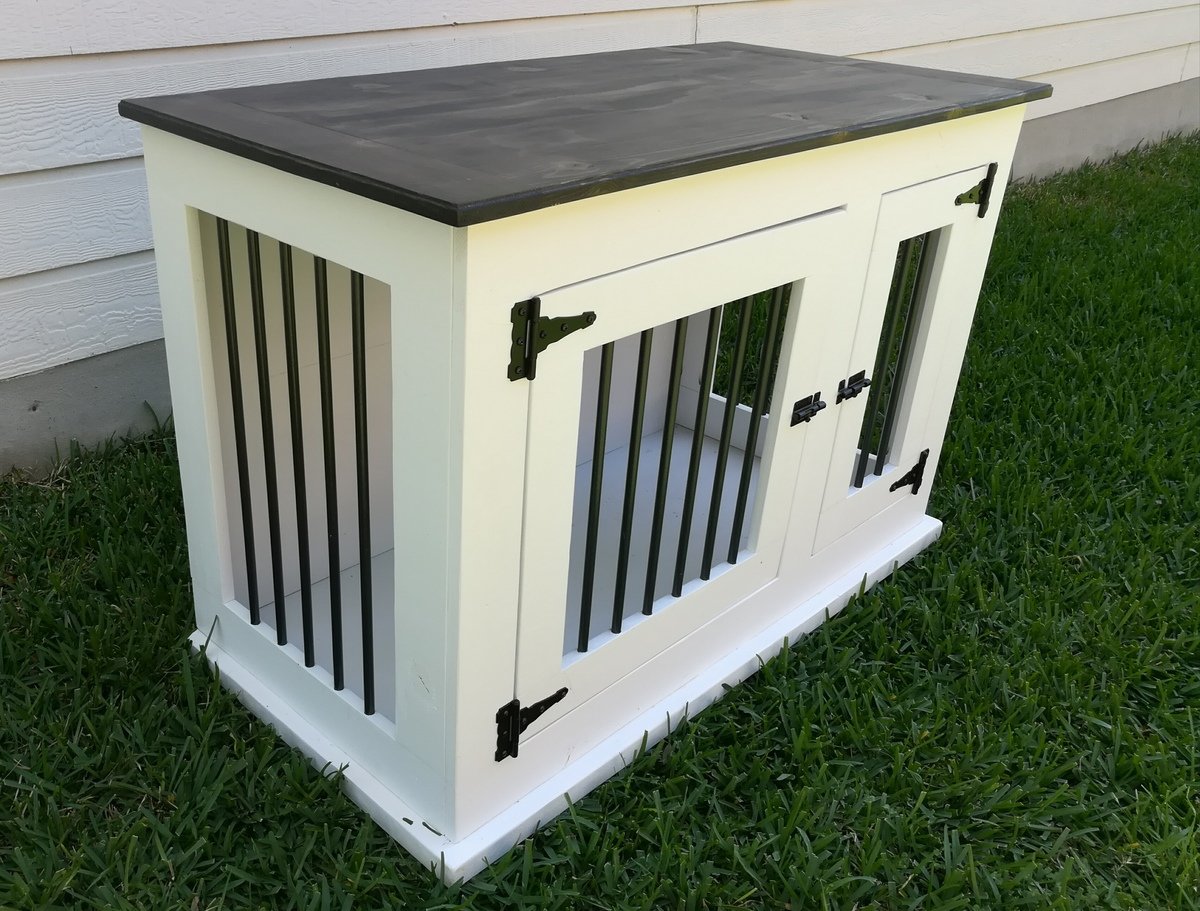
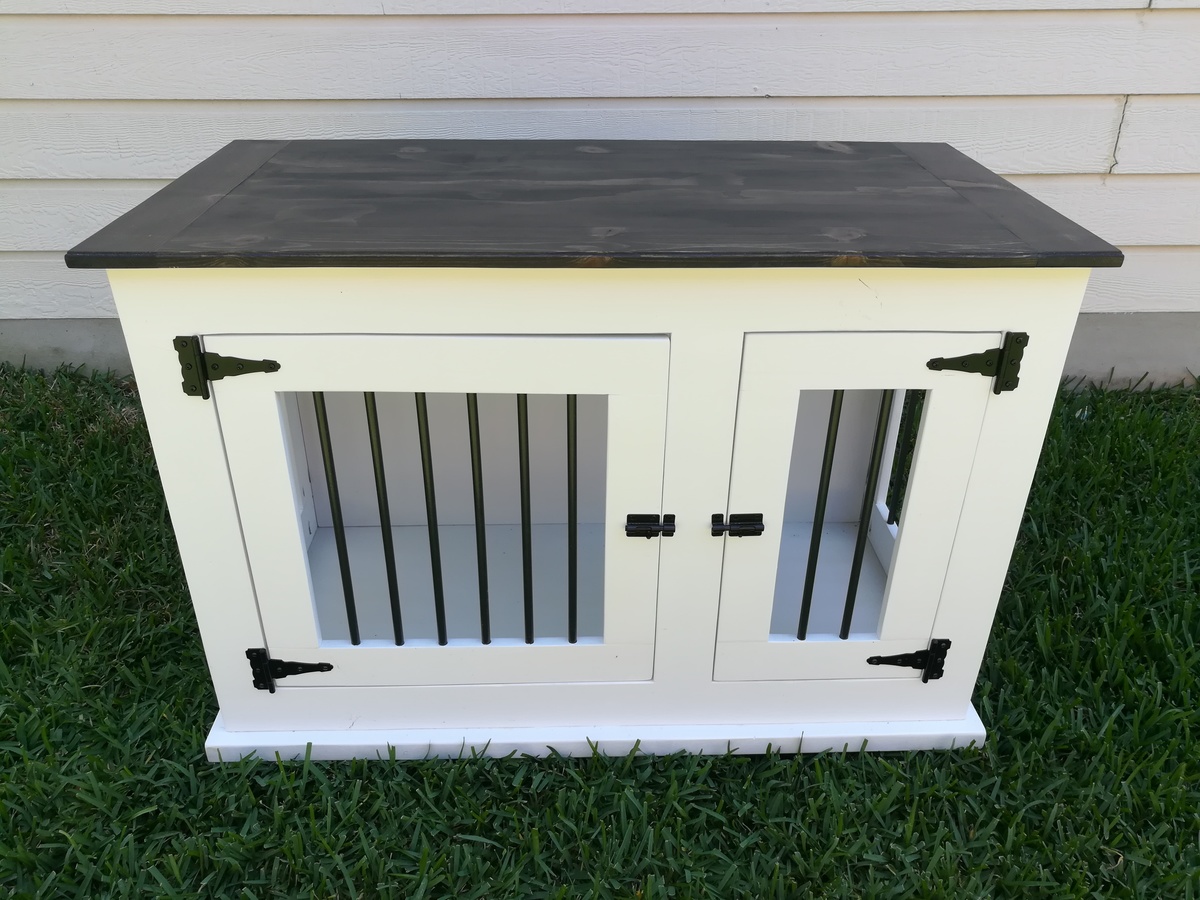
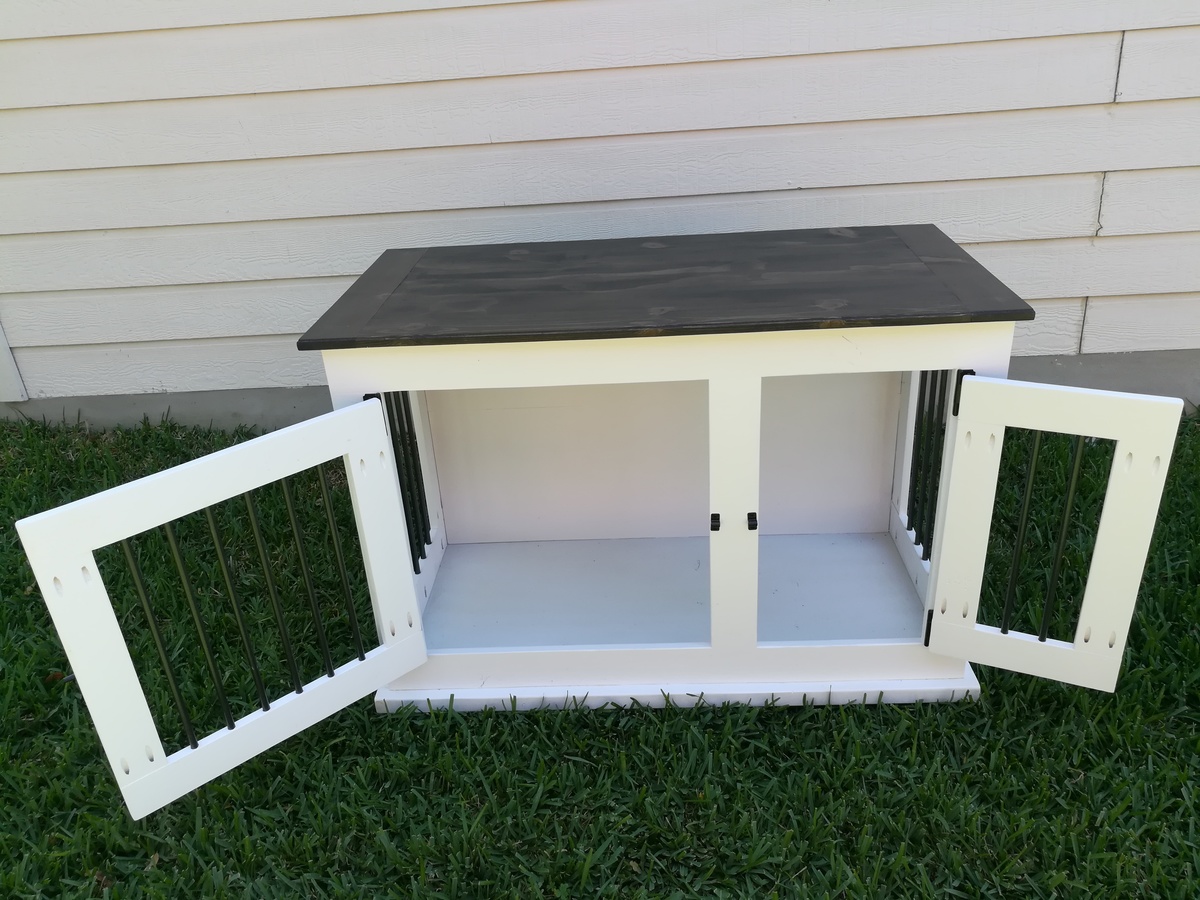
Why not treat your furry best friend like part of the family with a high end custom dog crate. This is an easy way to hide those ugly wire crates while providing another table space. Also has a top that opens up for easy access cleaning. More pictures of my work is available at:

https://www.facebook.com/Deezknotswoodworking/

Or on
PINTEREST: Ngo DIY Furniture


DIMENSIONS
4ft long X 2ft wide X 32" high 

Estimated Cost
$250
Estimated Time Investment
Week Long Project (20 Hours or More)
Finish Used
Rustoleum Oil Base Flat white, Varathane Ebony stain, Varathane Polyurethane Matte
Recommended Skill Level
Intermediate

Classic Bunk Beds

Submitted by dwm22 on Tue, 03/26/2013 - 17:16

Construction phase of the bunk beds was about a day and a half project...Cutting, assembling, screwing, bolting. Nothing complicated about it at all. Just followed the instructions step by step. I didn't use metal brackets to reinforce the mattress rails (that the slats lay on). I'm a good 250lbs and I laid on them without a problem. Also, similar to the posted Comments, the original materials list is short a little lumber. I followed the advice of some of the Comments that indicate how much additional wood you'll need. I didn't have to make any additional trips for wood.

The finish took me another 2-3 days (incl. drying wait-time between stain and polyurethane coats). The sanding (electric hand sander) takes a number of hours to sand all the surface area and all the edges (300 grit). I then I applied 1 coat of pre-stain wood conditioner and then immediately 1 coat of Natural color stain (basically clear oil stain but it brings out the wood grain just a bit), and then 2 coats of semi-gloss polyurethane for a shine / protection. Each of those coats took me 2+ hours as I applied them using a paint brush (vs. spray gun).

Since I only need to take apart the bunk beds into 4 pieces to carry upstairs(front, back, 2 sides), I simply bolted them together using 3" bolts (with washers / nuts). 4 bolts in each of the 4 corner posts.

The only real modification I made was moving the ladder to the left-hand side (vs. right-hand side per the instructions). All other measurements were basically the same.

Really happy with the mini Kreg Jig! Simple to use and provides solid joints for the rails of the 2 shorter sides (without showing screw-heads from the exterior).

My toddlers have been sleeping on them for a week now and no squeaking or shaking. They are sturdy. And neadless to say, my boys LOVE having bunk beds.

Sure I could just buy some inexpensive bunk beds for $200-300 but where's the fun in that!?

Let me know if you have questions, happy to help out! Thanks again to Ana and her site.

Built from Plan(s)
Estimated Cost
300 ($220 for pine wood plus 16 bolts, screws, sandpaper, wood conditioner, stain, polyurethane)
Estimated Time Investment
Week Long Project (20 Hours or More)
Finish Used
Minwax Pre-Stain Wood Conditioner, Minwax Oil-Based Natural Wood Interior Finish Stain, Minwax Polyurethane Clear Semi-Gloss
Recommended Skill Level
Beginner

Comments

NimbleShopper

Wed, 03/27/2013 - 09:58

The bunks look really nice. Professional even.

What size bolts did you use?
Where did you purchase them?
And, finally, how much did they cost? Guestimation is fine if you can't remember exactly. :)

dwm22

Wed, 06/12/2013 - 09:55

The bolts I used are 3/8" x 5". I used 16 total bolts to assemble. Each bolt (+2 washers & nut) is maybe $2-$3 at Home Depot. So in total, around $35-$40 for the bolts and hardware.

DIY Farmhouse Bedside Tables

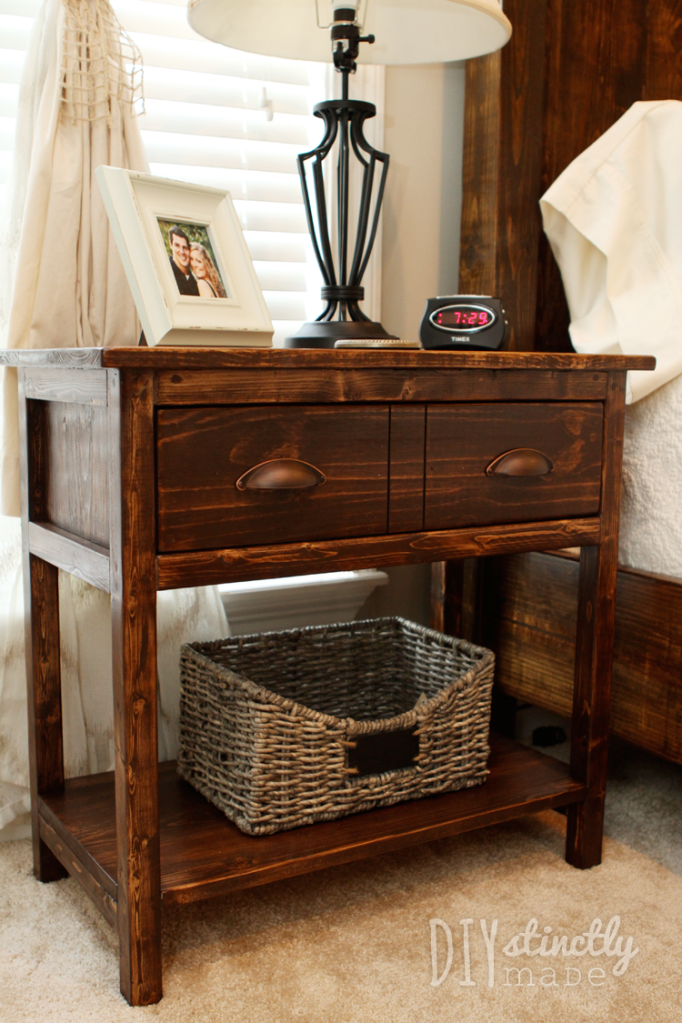
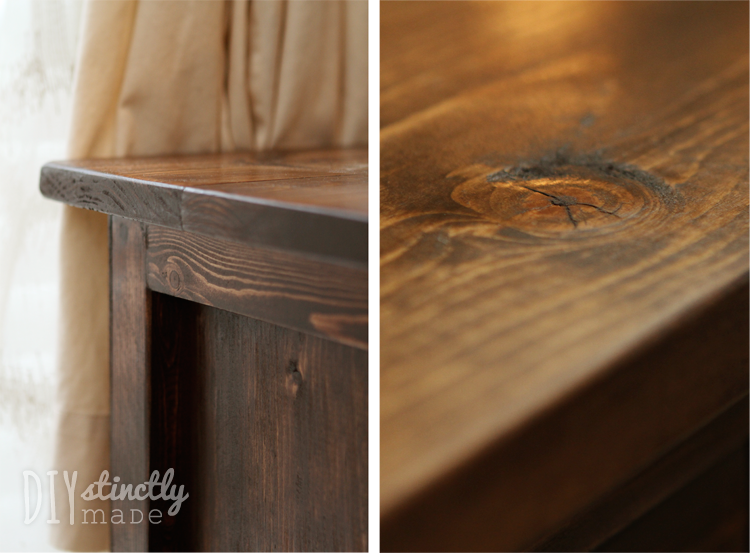
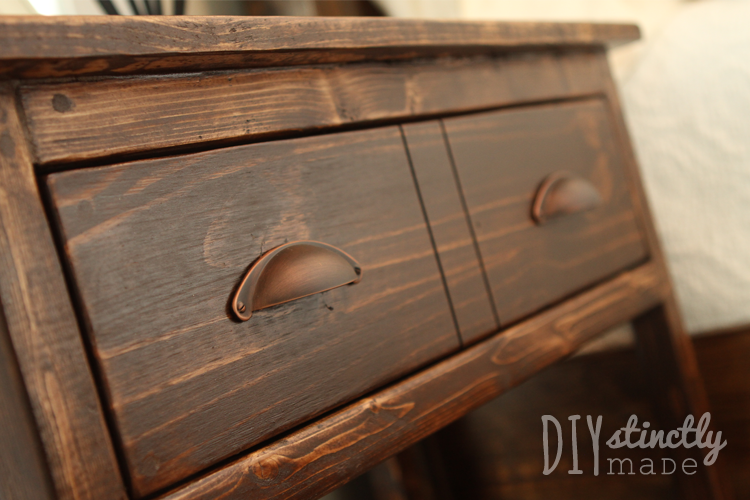
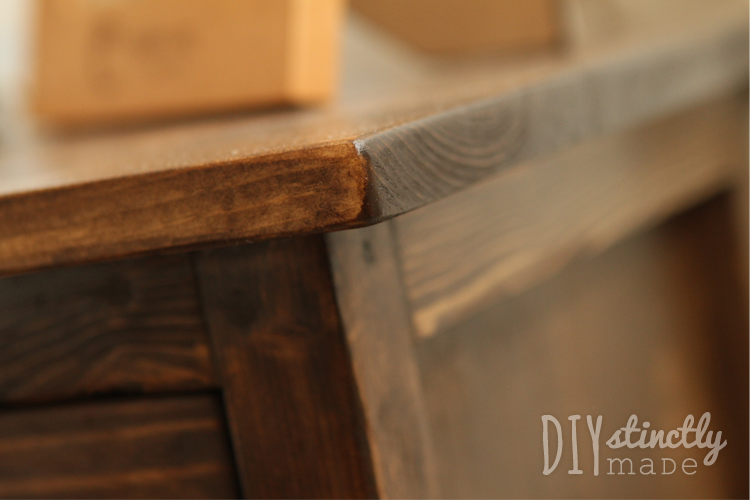
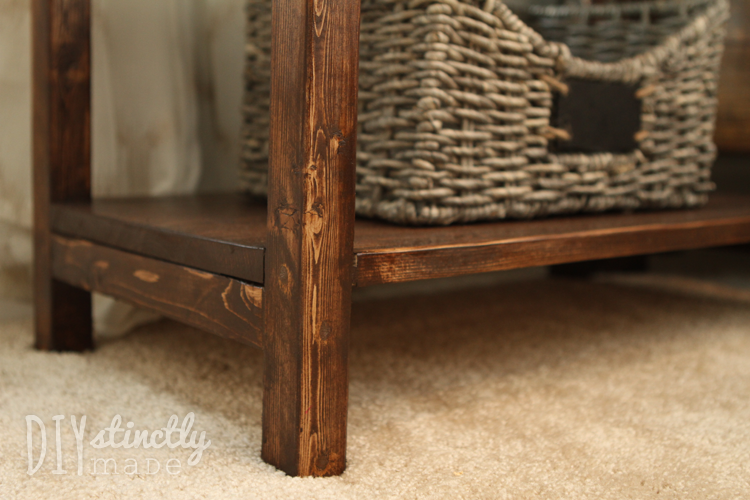
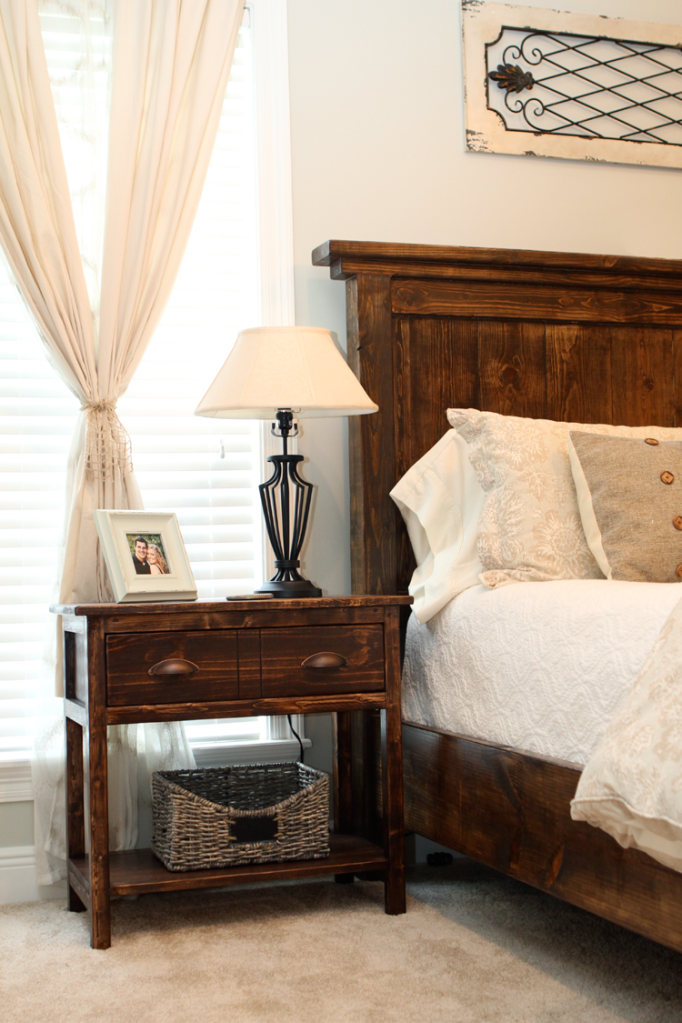
We used the Farmhouse Bedside Table plan to build our bedside table and we LOVE how they turned out! This plan was very easy to follow and we were able to whip these up in no time for less than $90... FOR TWO!

Built from Plan(s)
Estimated Cost
$90
Estimated Time Investment
Afternoon Project (3-6 Hours)
Finish Used
We used Rustoleum Dark Walnut Stain applied with a brush and immediately wiped off with a lent-free cloth. Sealed with Minwax Satin Spar Urethane.
Recommended Skill Level
Beginner

Comments