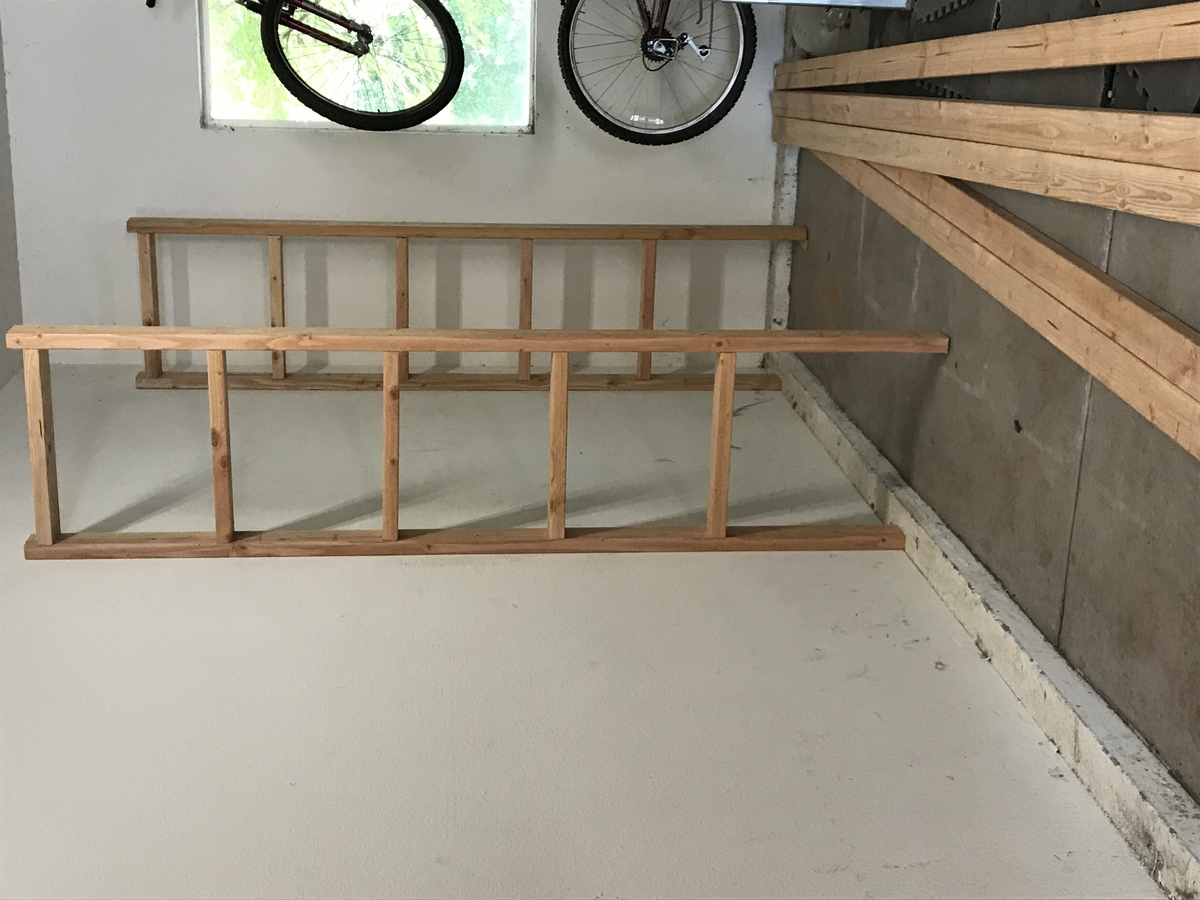
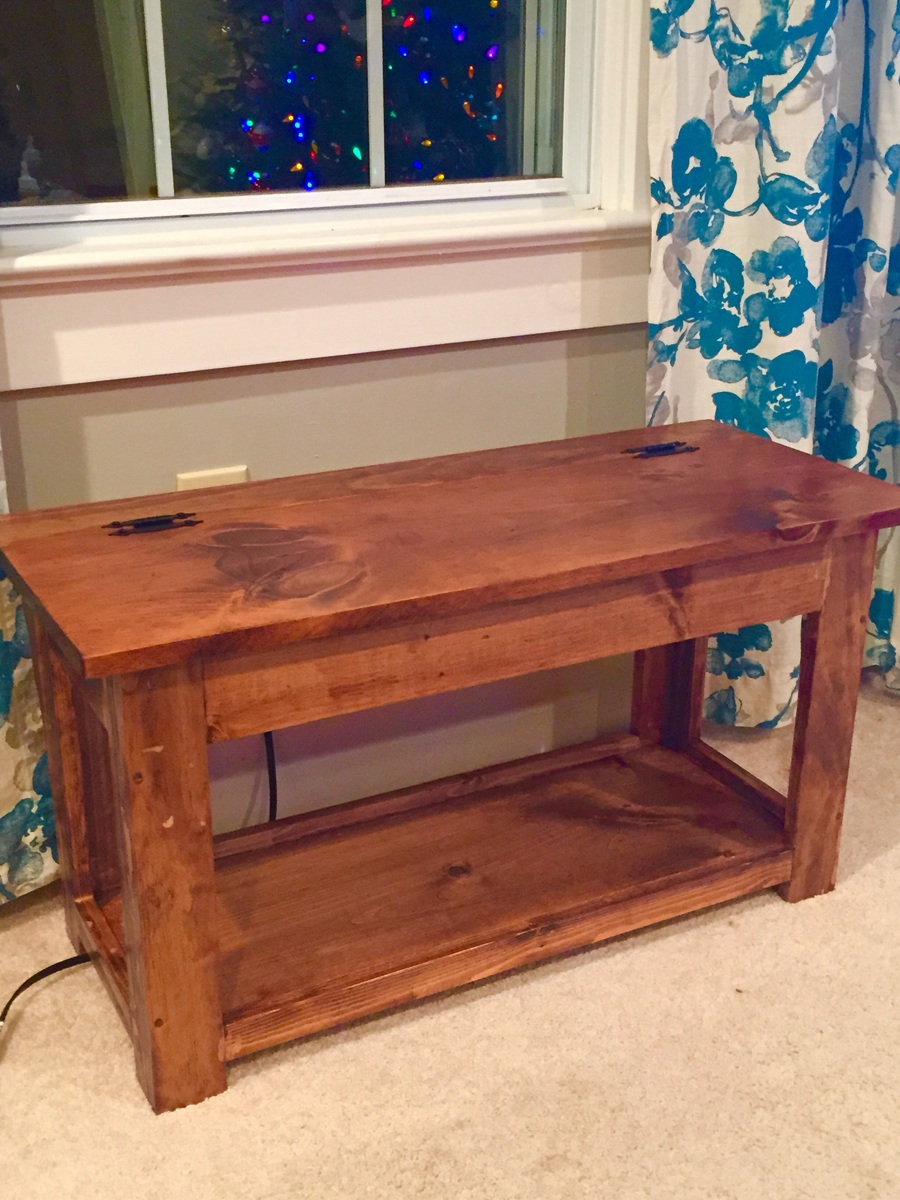
My first project - metric mitre saw stand
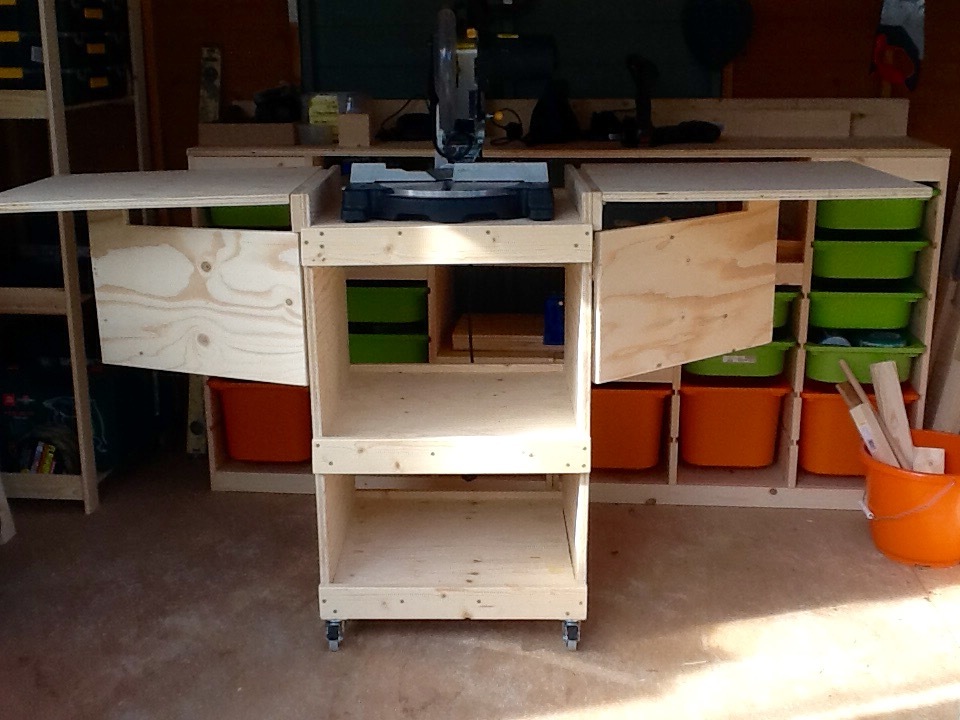
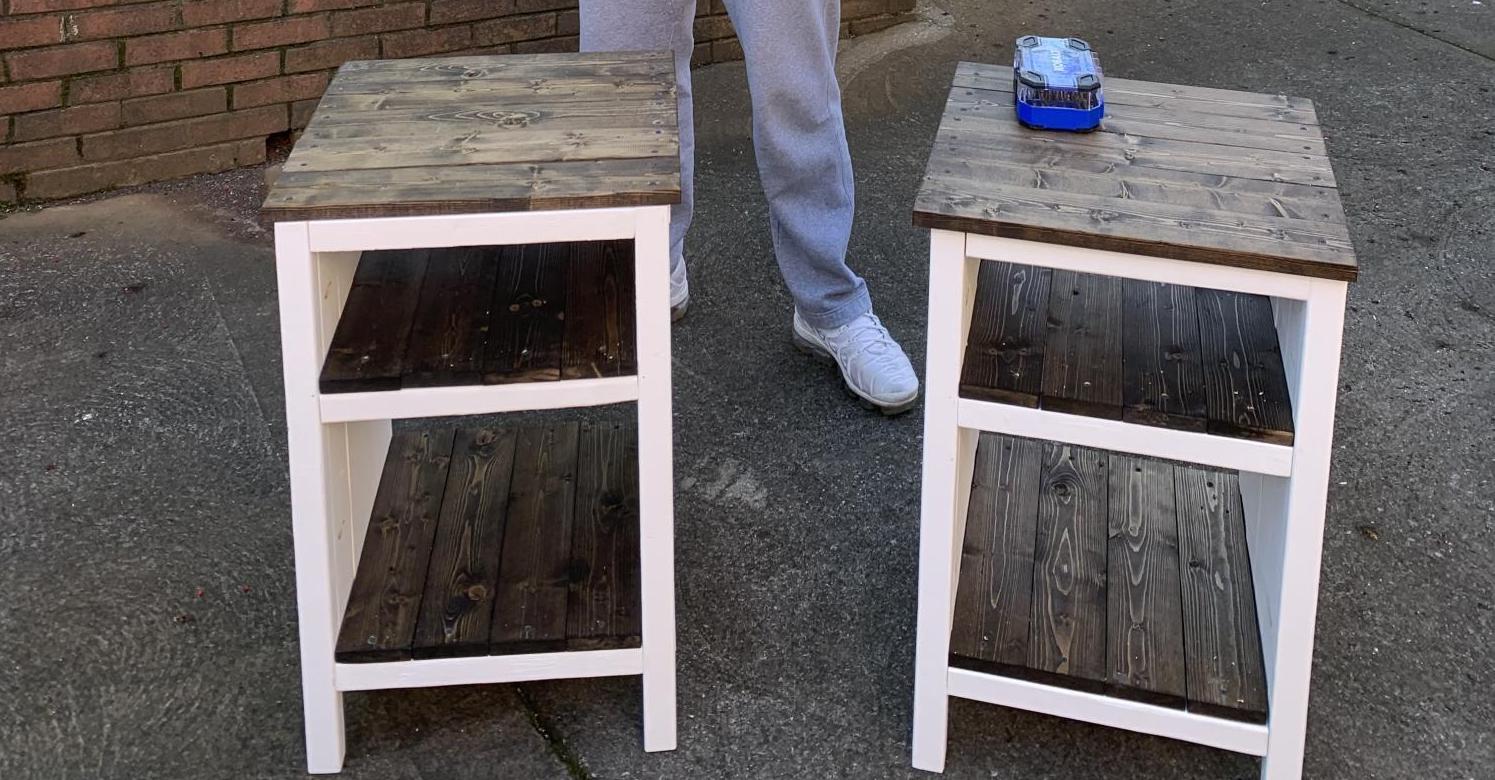
Adaptation to fit my little mitre saw, small workshop and the metric timber available in B&Q. My first build, this should let me build more while staying comfortable and safe. I'm ridiculously pleased with myself!
It took longer to build than expected because my little boy thinks naps are for wimps.
In case anyone in the UK wants to build similar, here's my adapted sizes.
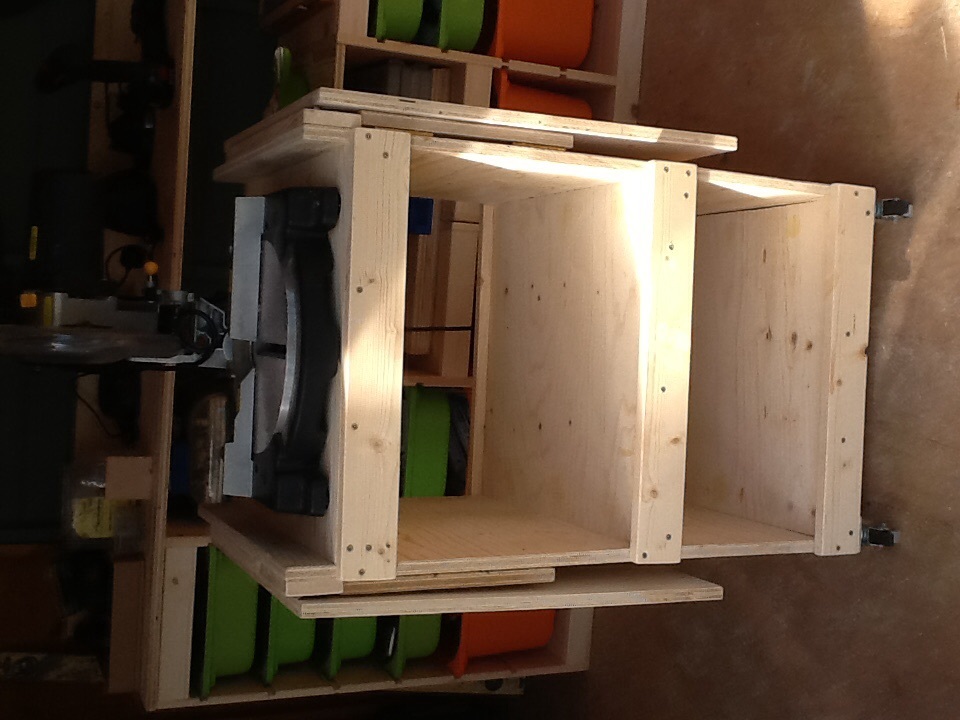
18mm plywood cutting list:
2 85cm x 50cm (sides)
3 50cm x 50cm (shelves)
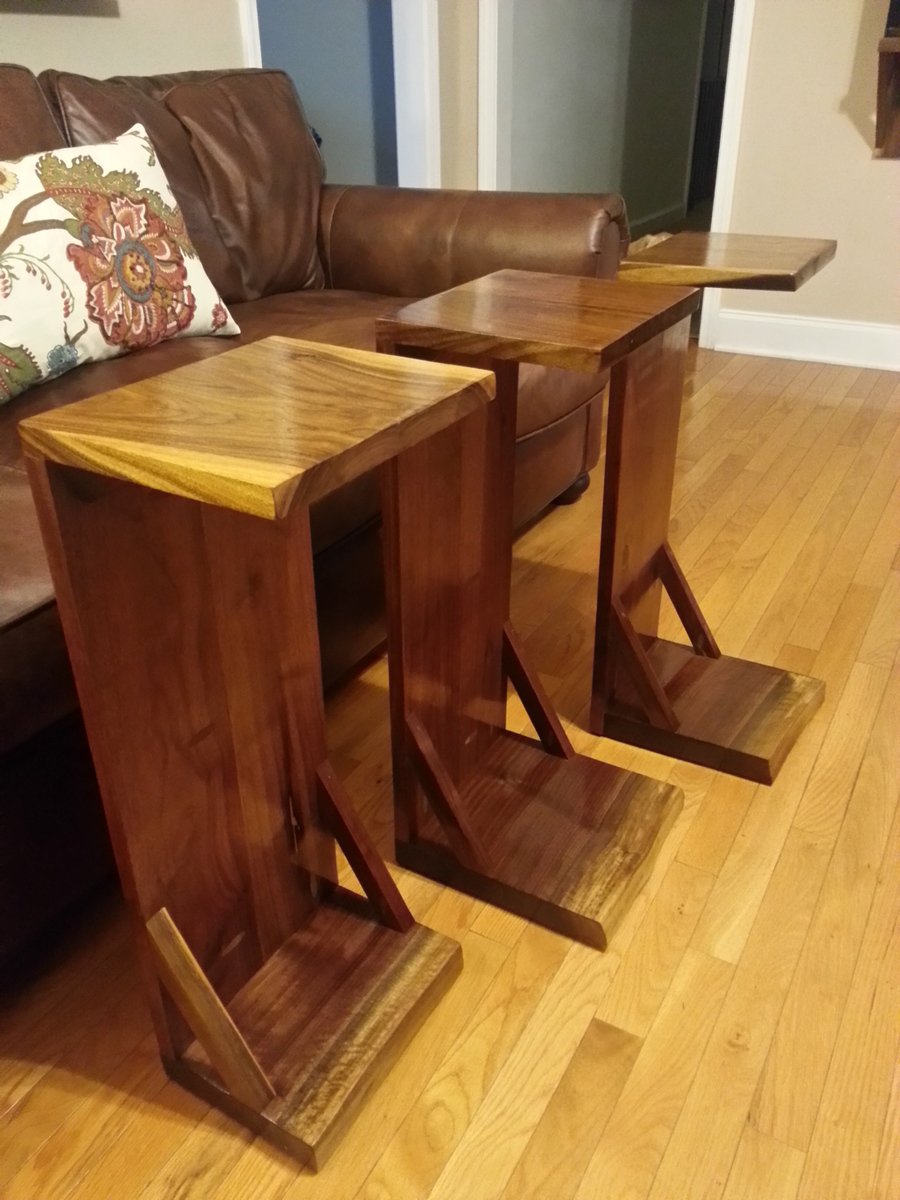
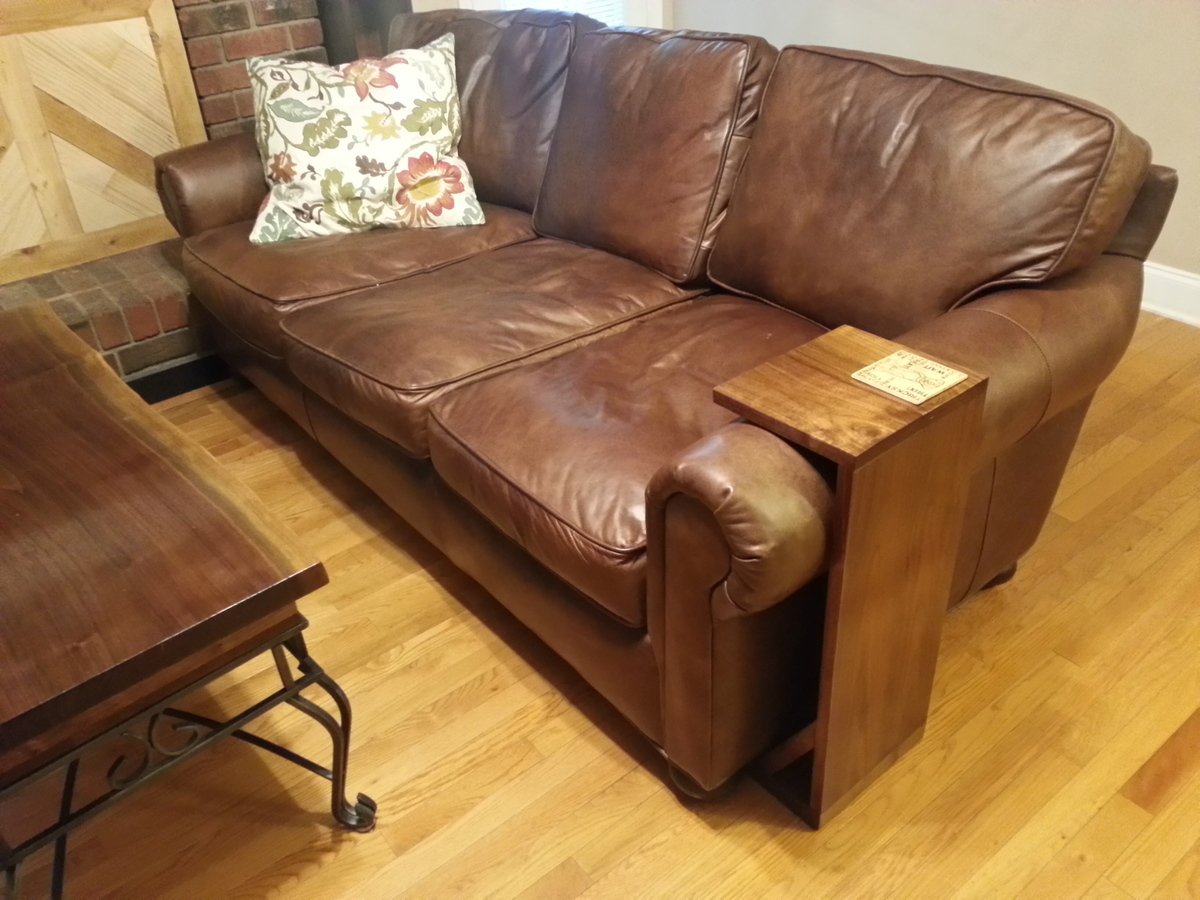
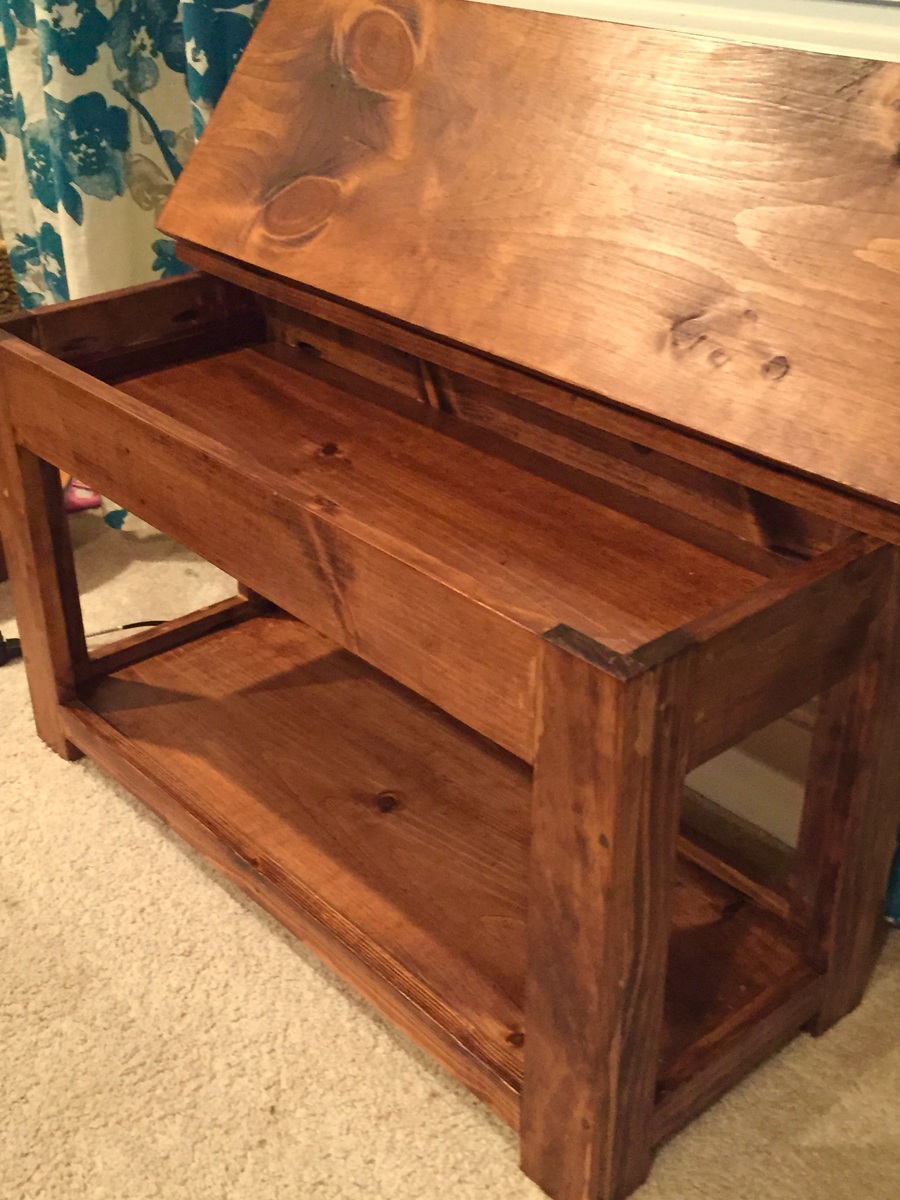
2 50cm x 60cm (leaves)
2 45cm x 30cm (leaf supports - replaced fancy brackets that were too expensive over here)
Timber cuts:
6 34mm x 34mm @ 50cm (cleats)
6 18mm x 70mm @ 52cm (supports)
2 18mm x 70mm @ 42cm (spacers)
Built from Plan(s)
Estimated Cost
£40
Estimated Time Investment
Day Project (6-9 Hours)
Finish Used
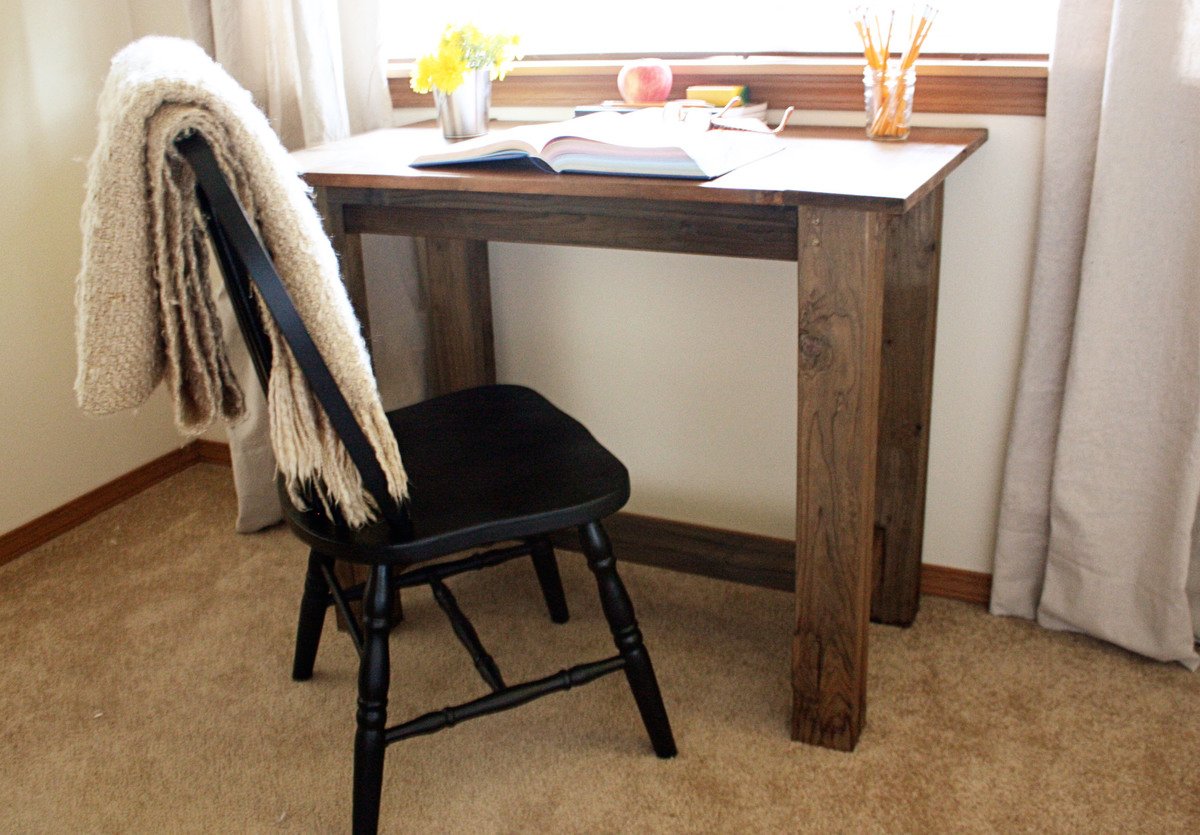
Help me use my mitre saw safely and comfortably.
Recommended Skill Level
Beginner


Comments
EmH-C
Mon, 09/14/2015 - 05:43
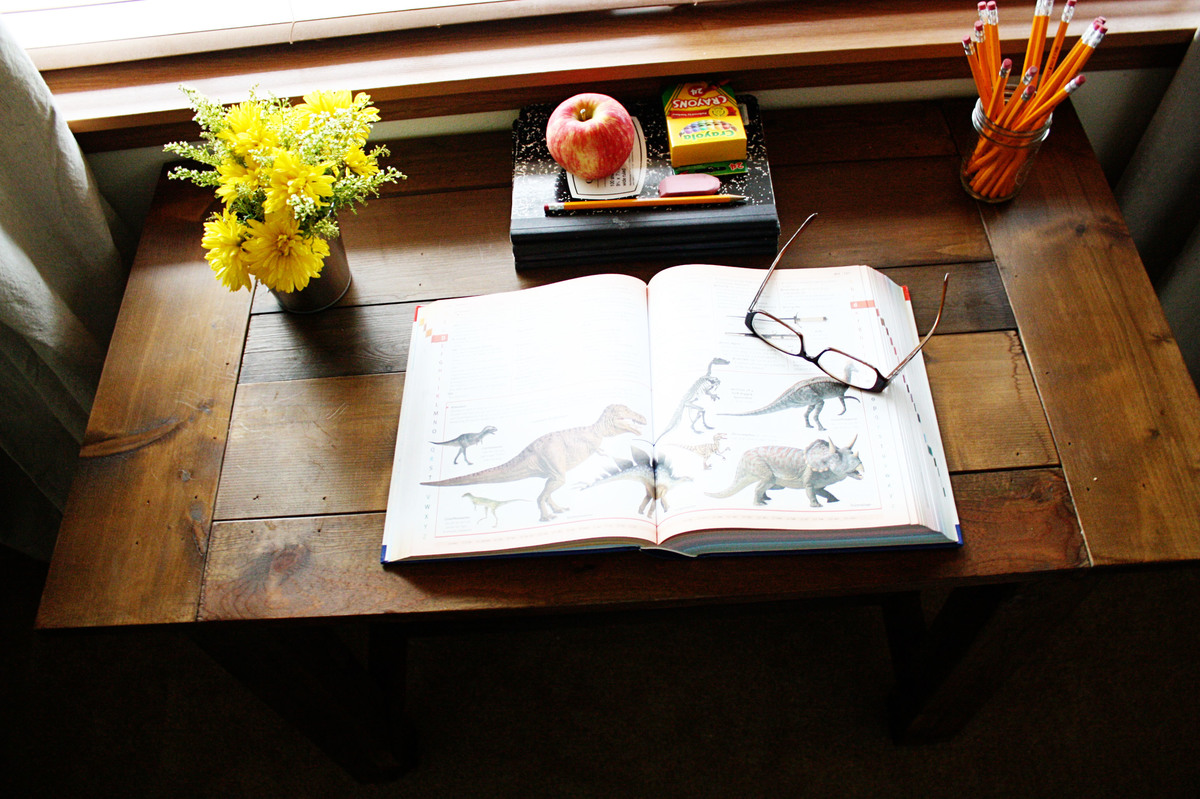
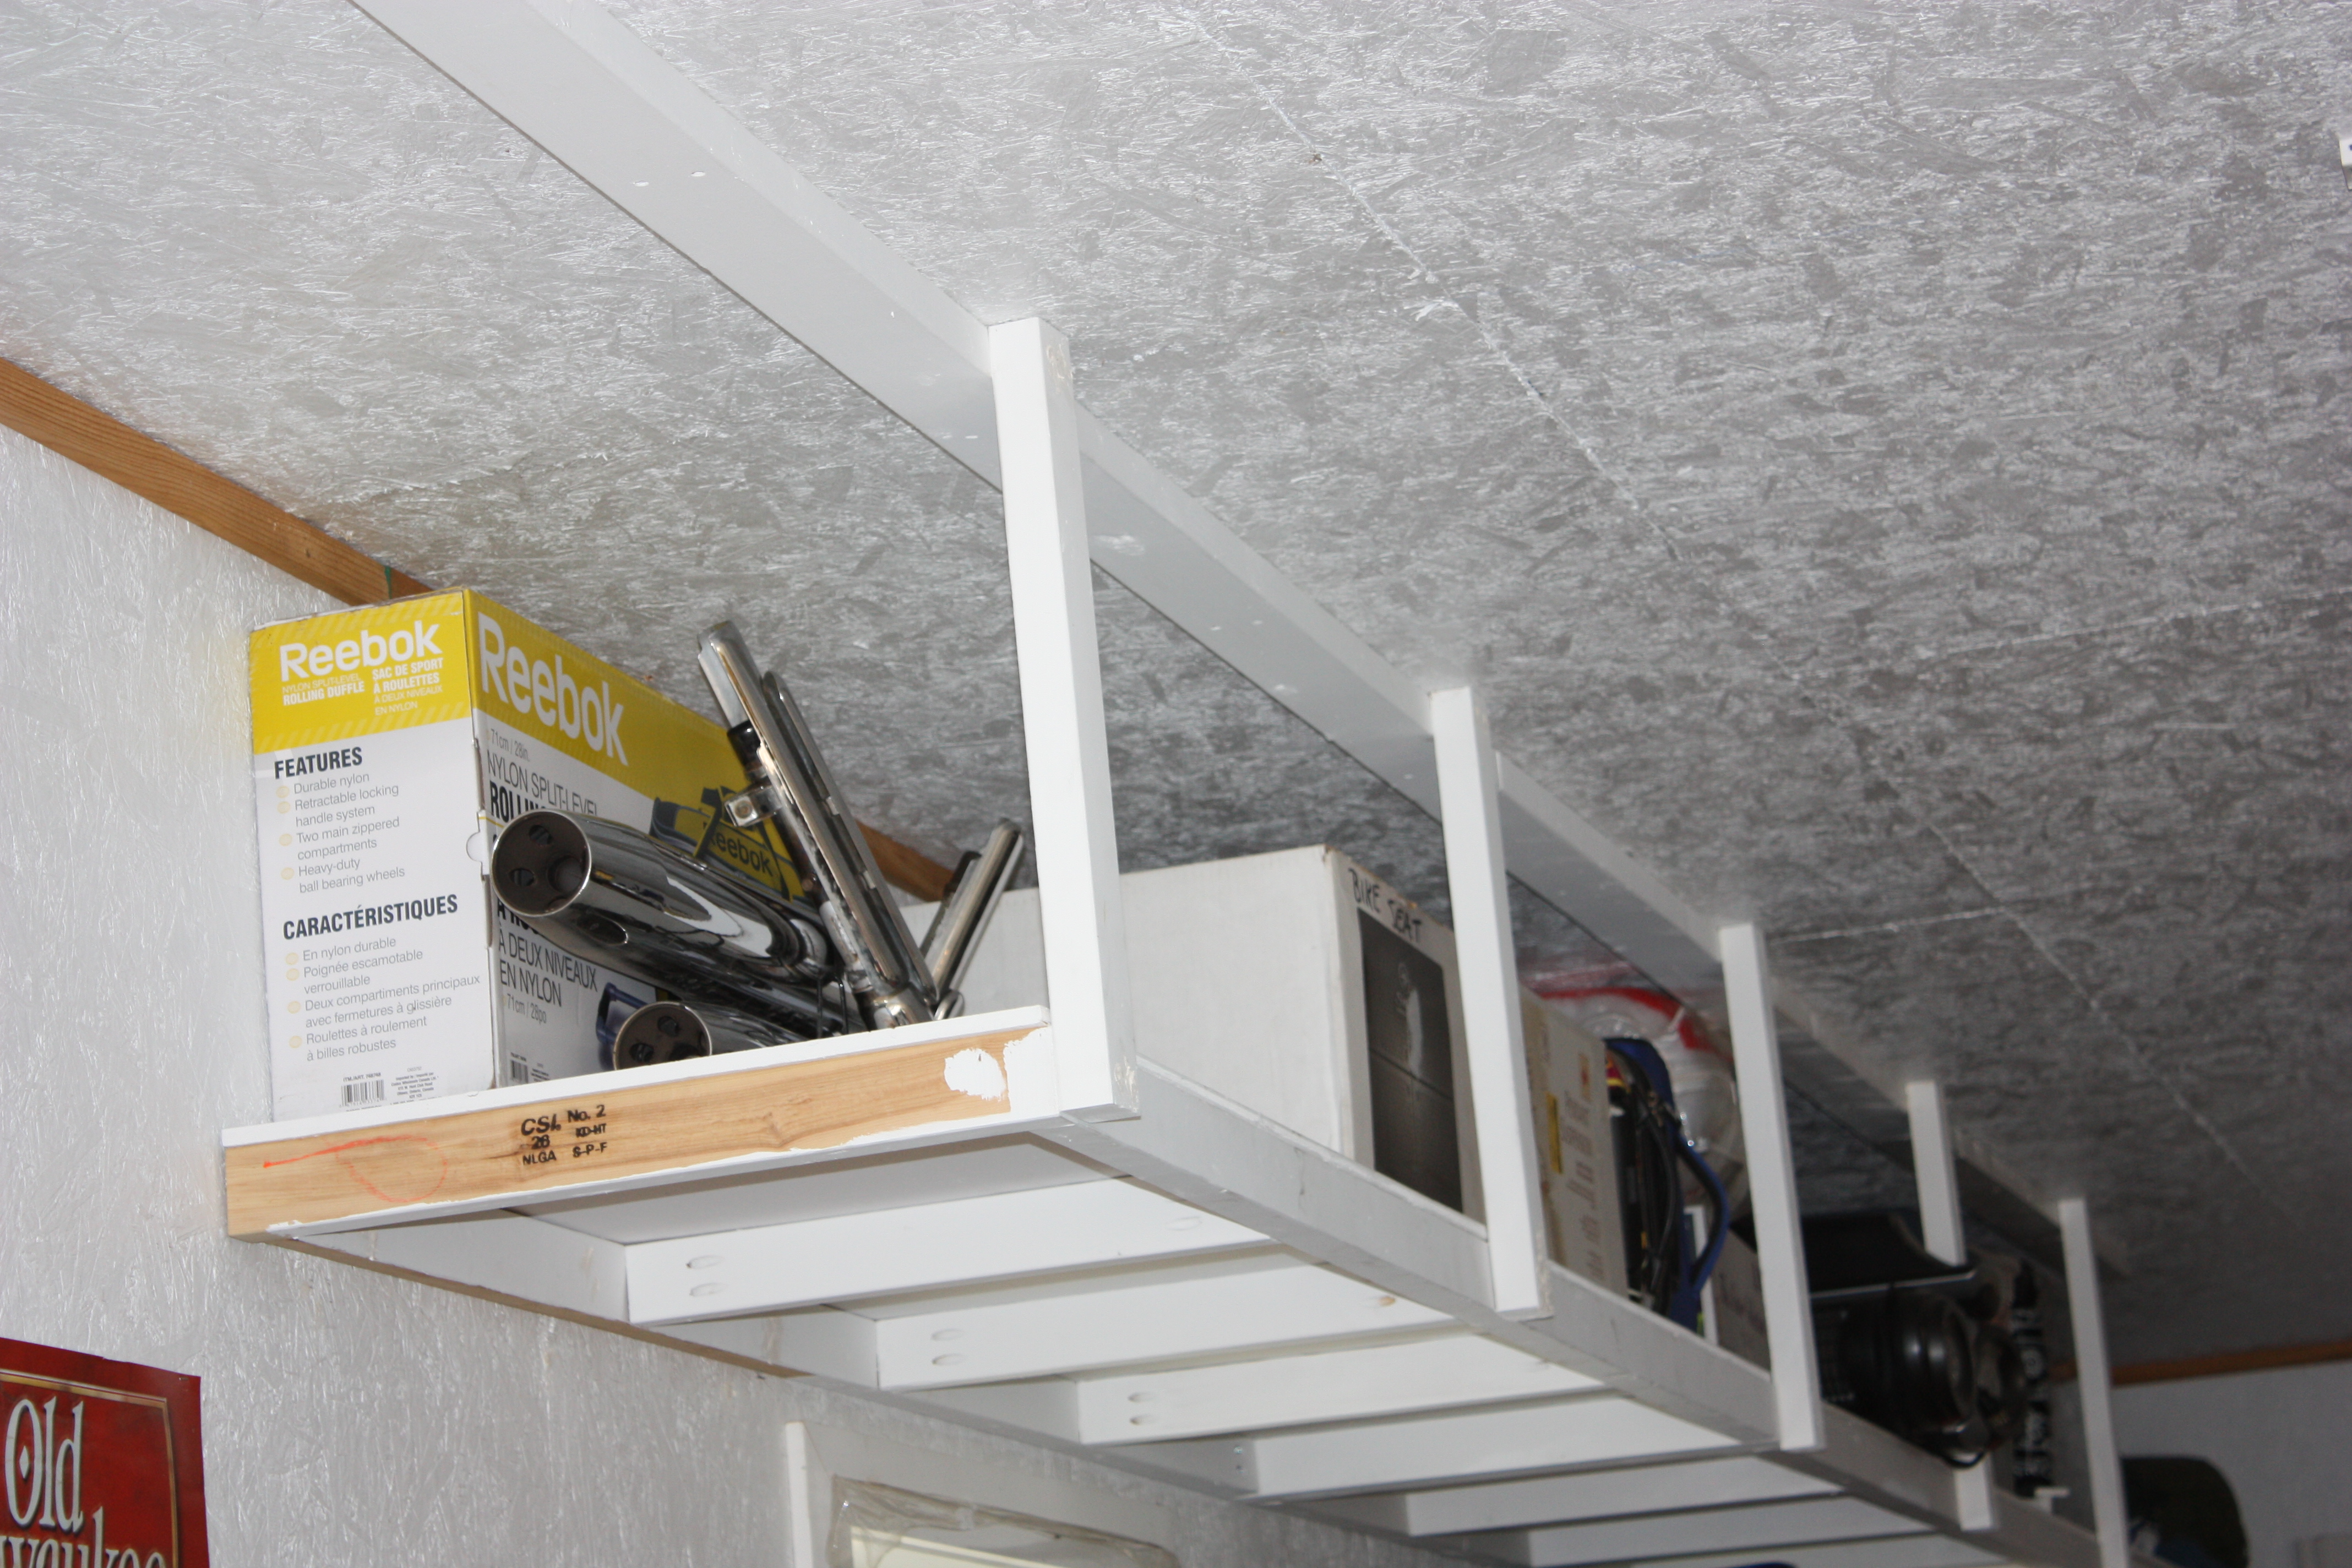
Upside down photo
Sorry the photo is the wrong way up.
Em
ewebrat
Tue, 07/28/2020 - 10:27
Your leaf supports are a…
Your leaf supports are a great idea!