2 tone stackable chairs and table
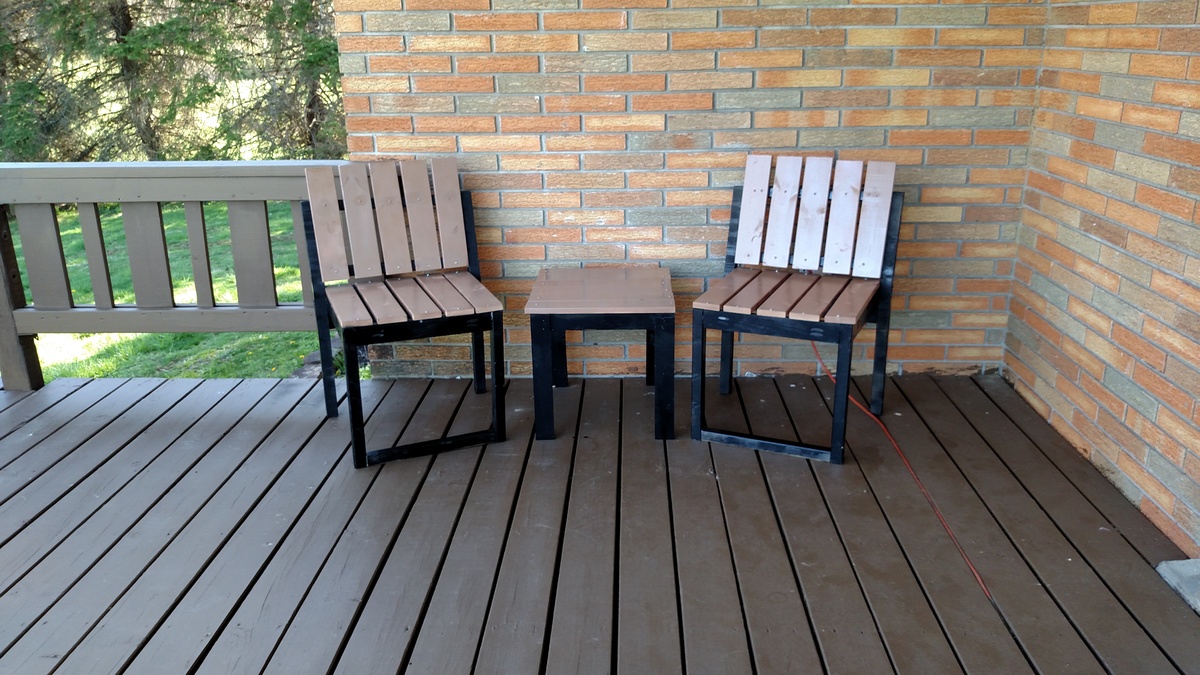
I made them in brown and black

I made them in brown and black
I fell in love with the loft bed but thought the stairs stuck out too far for my daughter's room so I revampd the plan just a bit to add three 'stairs' in the platform rather than the standard stairs in the plan.
I got started on the project on a Friday night, got my cuts made, my pocket holes drilled and pieces sanded for an early start Saturday morning, everything went together like a dream - though it would have gone MUCH faster if I had had a second set of hands; I had to balance all of the long peices on other peices to try and get them attached and it took much longer than it had too!
It was all together, the holes filled and first coat of primer on by Saturday afternoon - I used Zinsser primer so the knot's did not bleed through. Sunday morning I was painting and it was in place and decorated by Sunday night!
Great, easy to follow plans (as always) Ana - thank you, I have one VERY happy daughter!
Thanks for the plans!
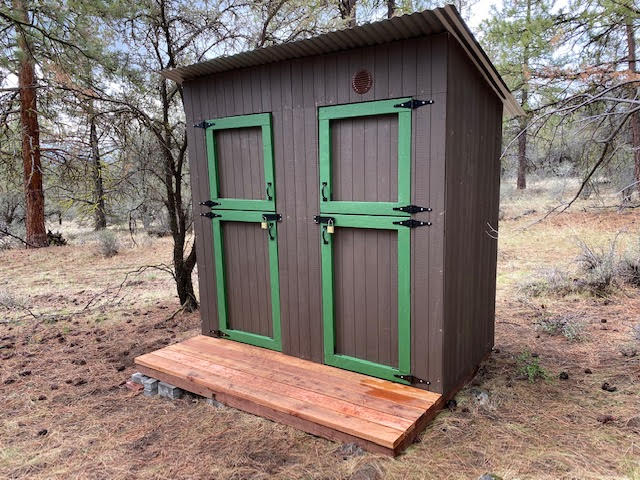
I built an an outhouse for my camping property in the PNW. The plans were great and easy to follow.
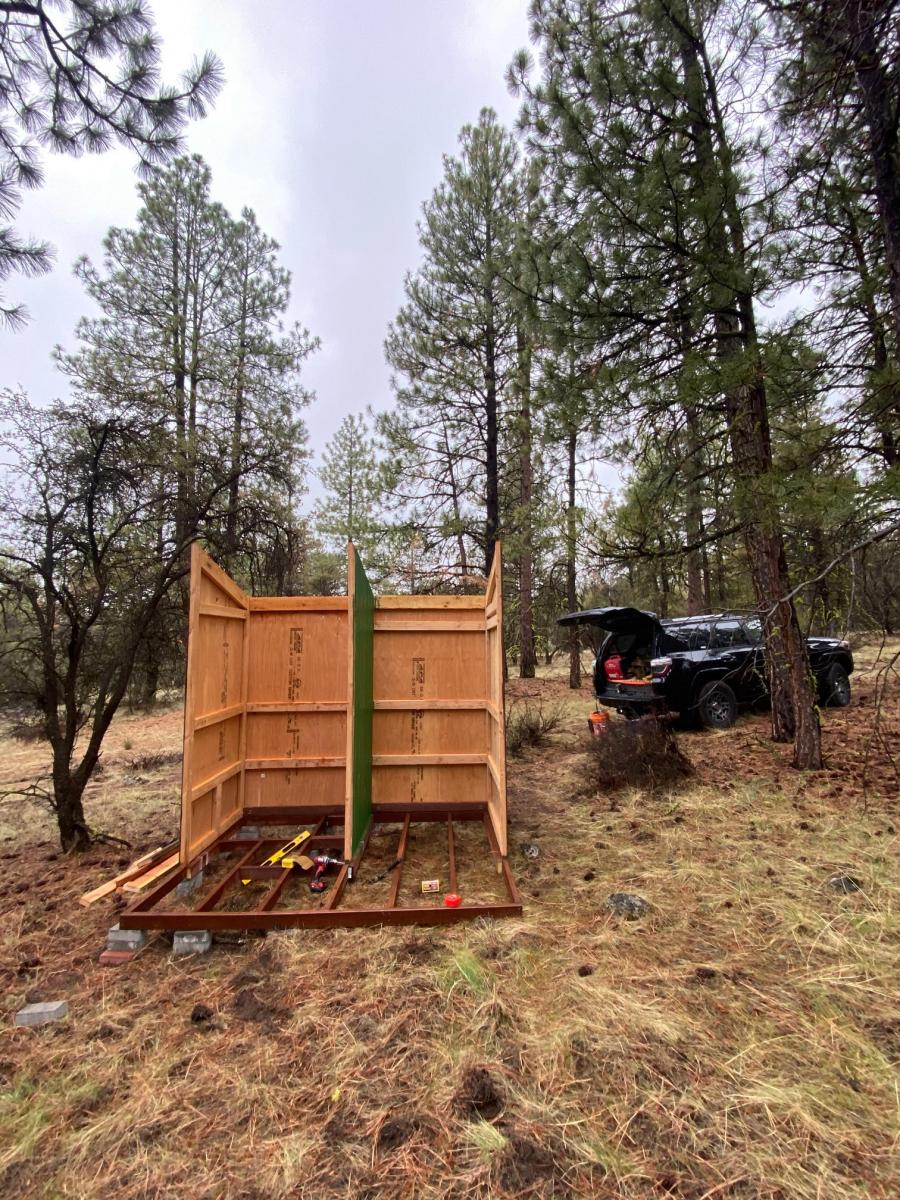
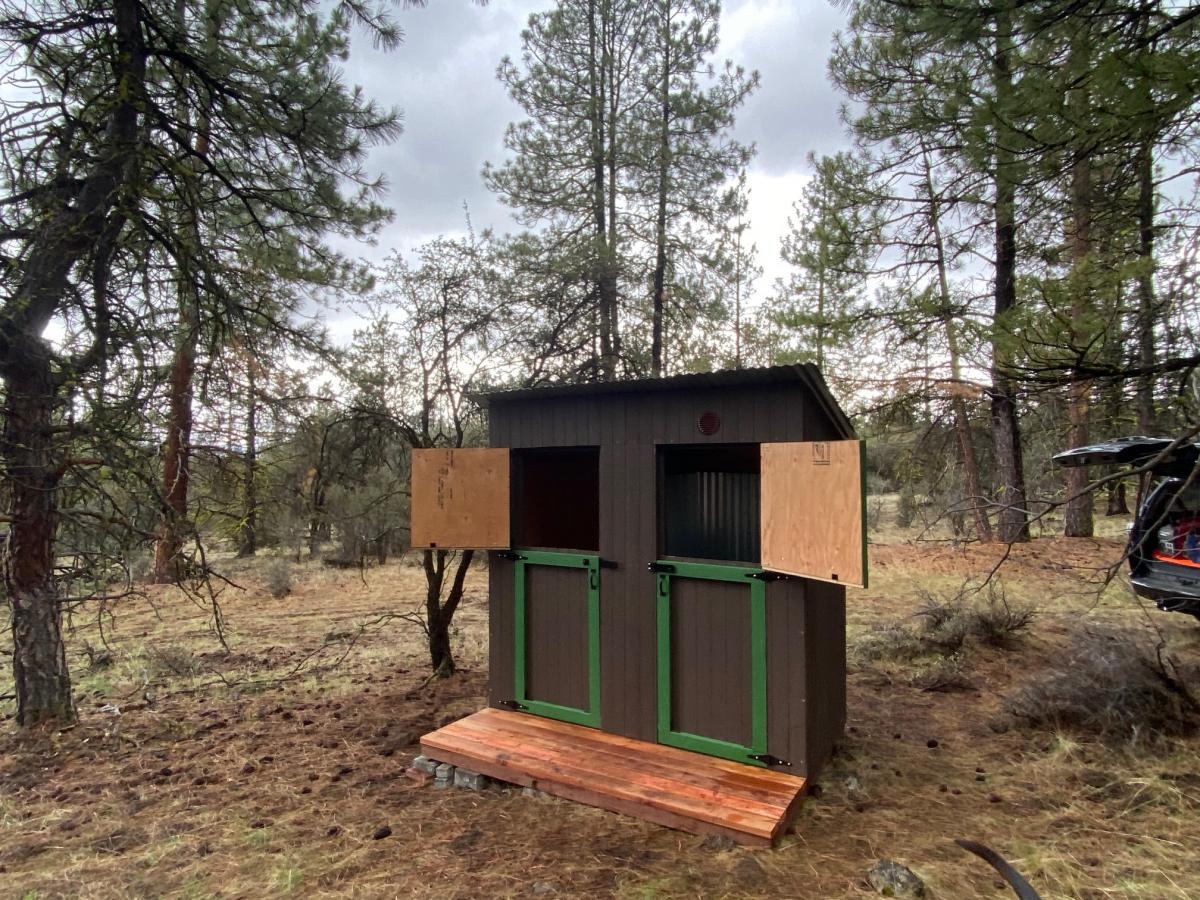
I did take the liberty of extending the the front wall to 8' still using the 15 degree roof line. I also wanted the option to shower during extending camping trips so I extended the floor and added one more back and side wall to create a shower house. With this design, I basically duplicated the side and back wall. Since I am in the middle of the woods, the Dutch doors were a last minute embellishment that I'm glad that I implemented in order to take advantage of the view!
For the shower, I used composite decking with 1/2" gaps for drainage and lined the inside with 6' lengths of corrugated metal roofing.
One additional note: I did build this on my back patio over a couple of weekends since my property is a fairly long drive from my home and about 2 hours round trip from the nearest hardware store. It broke down easily in about 30 minutes with 2 people and fit perfectly in the back of a full size pick up truck for the trip.
In summary, great plans and I love this site. Much appreciated and happy building!

Thu, 04/29/2021 - 16:44
Thank you so much for sharing, what a great addition to your property!
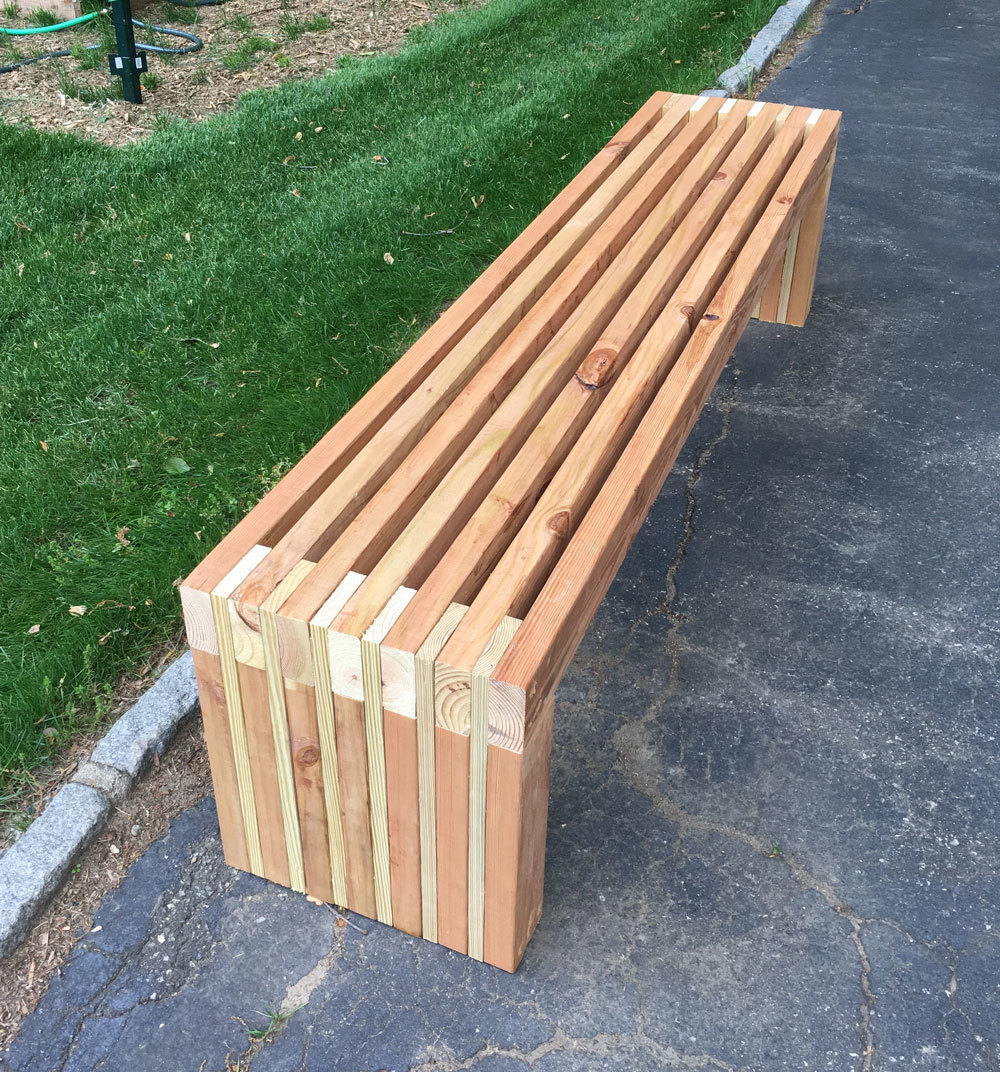
Great bench
Hi Ana, found your page very informtive and very easy plans to follow. Made the crate to keep my vinly records in and was well pleased with the en result. Think I'll add some castor wheels to it once I've finished painting the crate,
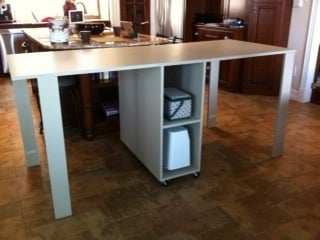
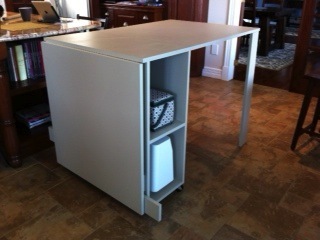
We did it in MDF as suggested, used piano hinges, and changed the height to 36" because I'm used to work at counter height and wanted a larger surface, plus I don't mind sewing sitting on my stool. We had the store cut all the pieces, but this table is very heavy using this material. We also made the legs at 4" considering the weight. The only disadvantage of making it 36" high is that the legs will stick out once folded, unless you have the room and adjust the depth at 36" as well. I overlooked that detail but in the end, I don't mind since this table is stored away out of the view when not used. It did soak up a lot of paint... Already used it and it's great to have my space ready to use roll away, not having to clear the counter or dining table to work.
Tue, 01/28/2014 - 05:11
Do you happen to have the new measurement layout for what you did????!!
I was trying to work it out, but math isn't my strongest suit!
Also-- did you consider making it wider so the legs wouldn't stick out??
(I am planning for plywood instead of mdf)
thanks!
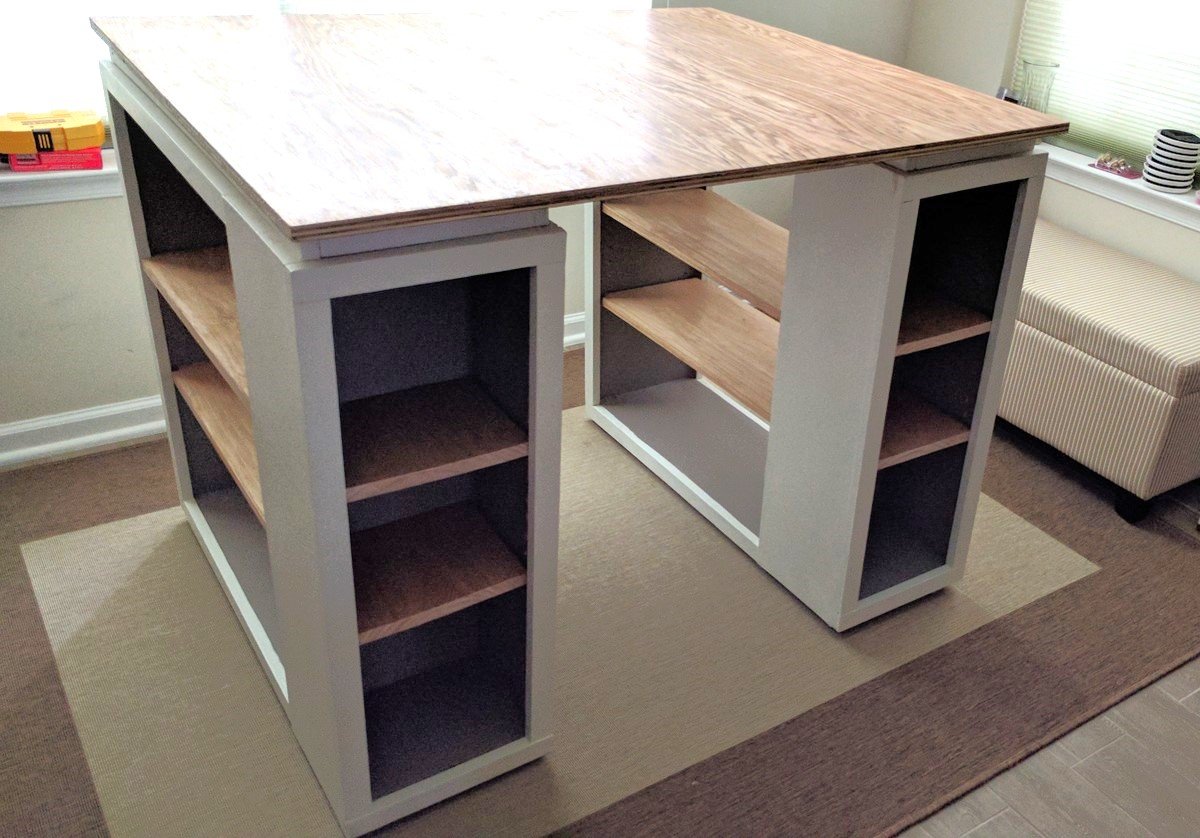
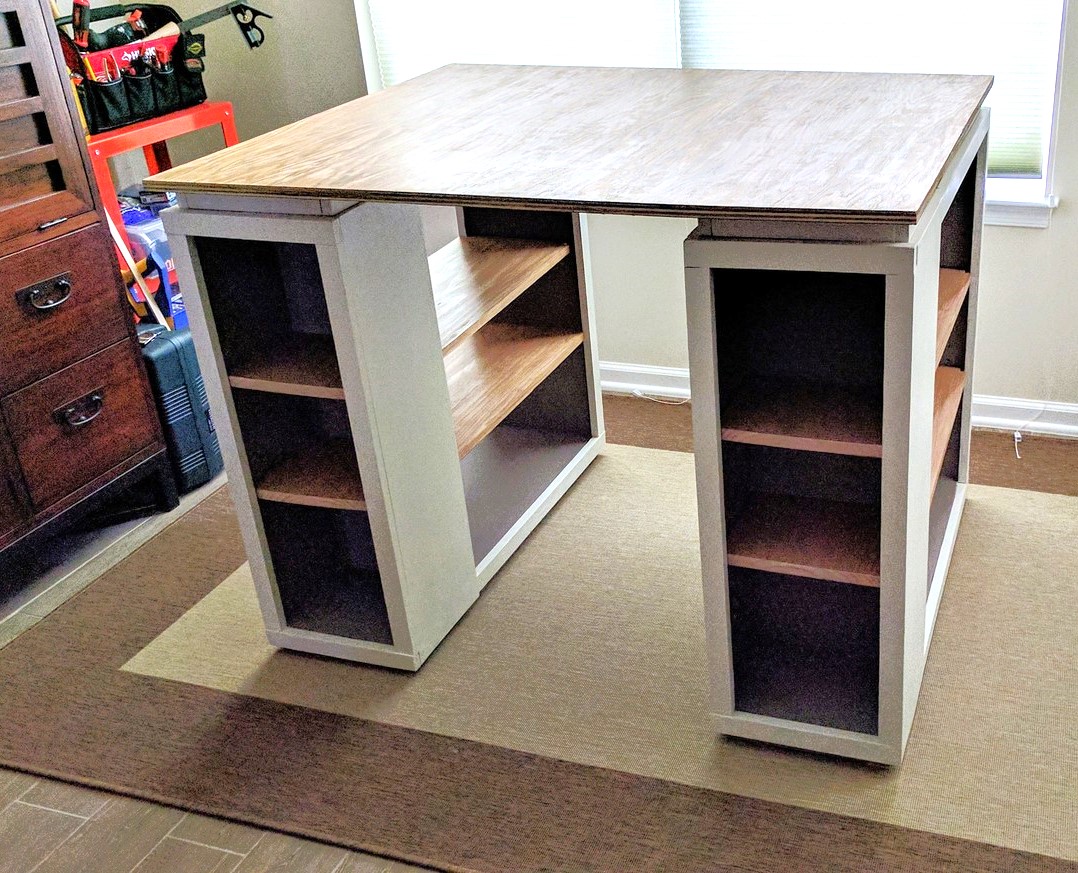
As a solo and novice woodworker, it took me a while to get used to the pocket hole jig and longer to cut the wood myself but eventually it all came together. To ensure I could get it out of the house if I move, I used circle 8 desktop fasteners to fasten the plywood top to the risers. I am proud I finished and love to use the table now for both craft work and breakfast on the weekends.
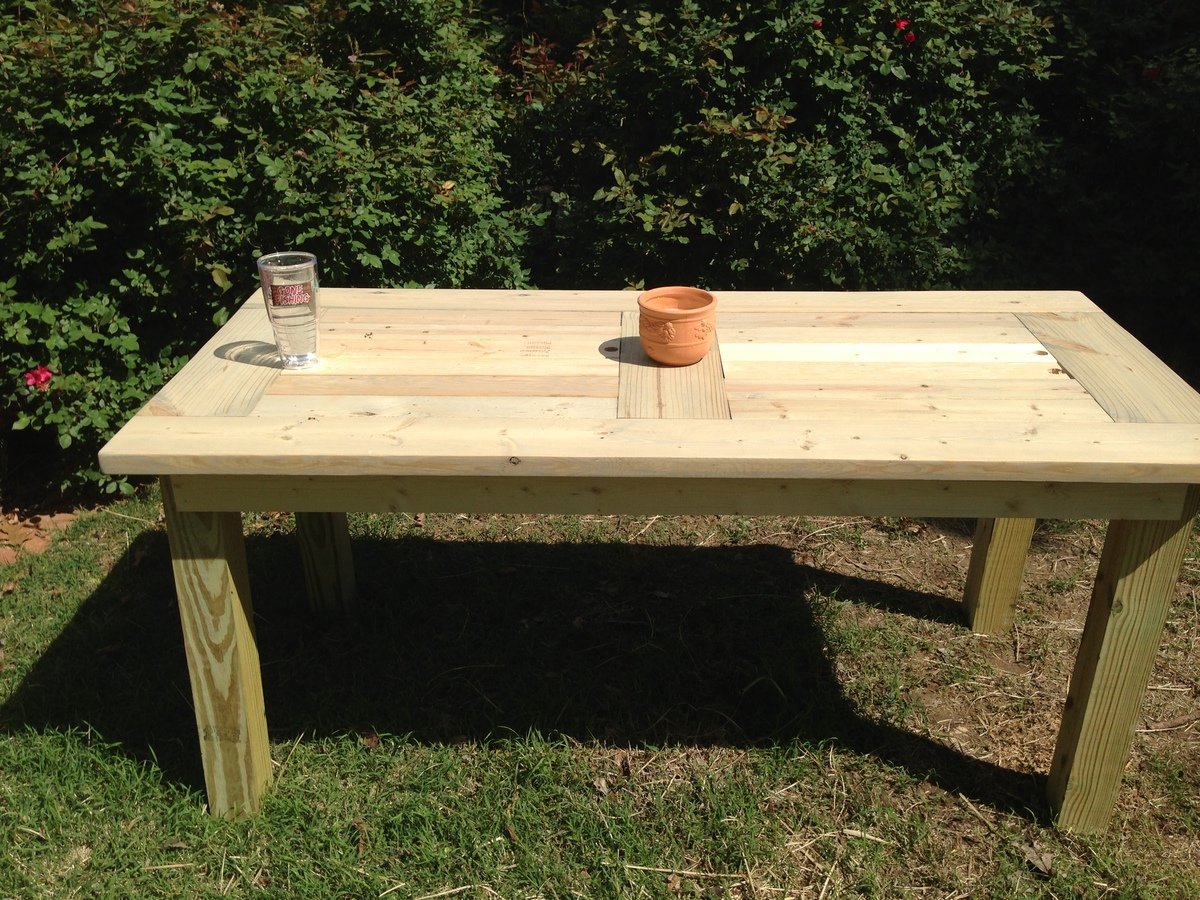
Weekend project, I used 4x4's instead of the 2x4's to give a heavier look, now off to buy a bandsaw to give them a 1/4" taper to give a more refined look.
Sat, 12/28/2013 - 08:39
What were your dimensions since you went with 4x4 instead of 2x4?
This project came from a plan I recieved when I bought my kreg jig, not sure of it origins, it was awhile ago. I needed a place to hide dog food, biscuits are on the left and food on the right!

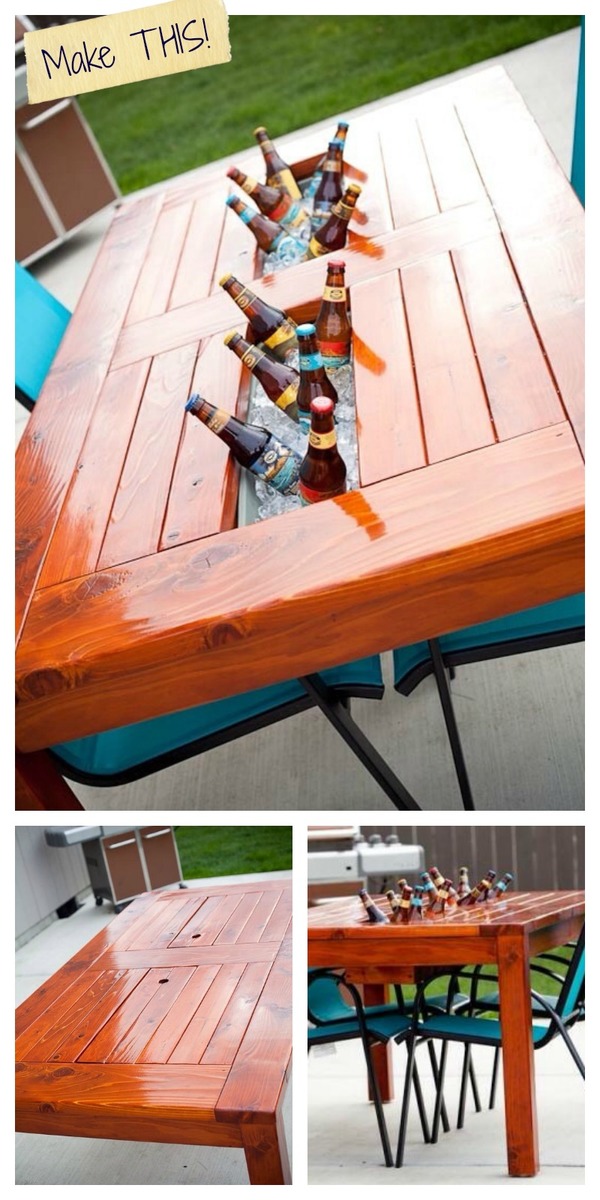
After seeing the patio table with beer/wine cooler, I wanted to build this for my brother and wife who recently bought a house. I asked them if they were interested and of course they said yes. I modified the original plans by adding a 2x4 on each side of the cooler to make the table wider. I also made the legs out of 4x4 vs the 2x4s that were originally called for. I used redwood and then stained it and used a varnish for the final coating. I probably wouldn't use the varnish again for an outdoor table, because it looks like it should be an indoor table vs outdoor. Overall, I'm pleased with the results and the best part about it, I get to enjoy it every time I go over for a BBQ.


Wed, 07/03/2013 - 13:04
Awesome table, do you happen to have the measurements you used. I'd like to make the same table but I need the lumber yard to make the cuts.

My boyfriend and I wanted a calm relaxing beach feel at our Florida vacation home, however with kids in college and two getting married, we were on a tight budget. We found these plans on Ana White's website. He made the headboard and bench and I distressed it to make it look weathered. We used Minwax Dark Walnut as a base, let it dry over night, and lightly wiped it down in the morning. We then used Rustoleum "Chalked" in White Linen and applied it with a large stencil brush we found at Michaels craftstore. We applied it almost haphazardly, purposely making it look rough. The chalk paint dries quickly. We then brushed on some clear Americana creme wax. We are very happy with the end result, it was our first project build, and we nailed it. Thanks. Ana!!!


This was my first building project ever! It was so easy to do...the only problem was that we didn't have enough room for all the veggies we wanted to plant in our garden because we only built two! The plan is to build at least two more this summer!
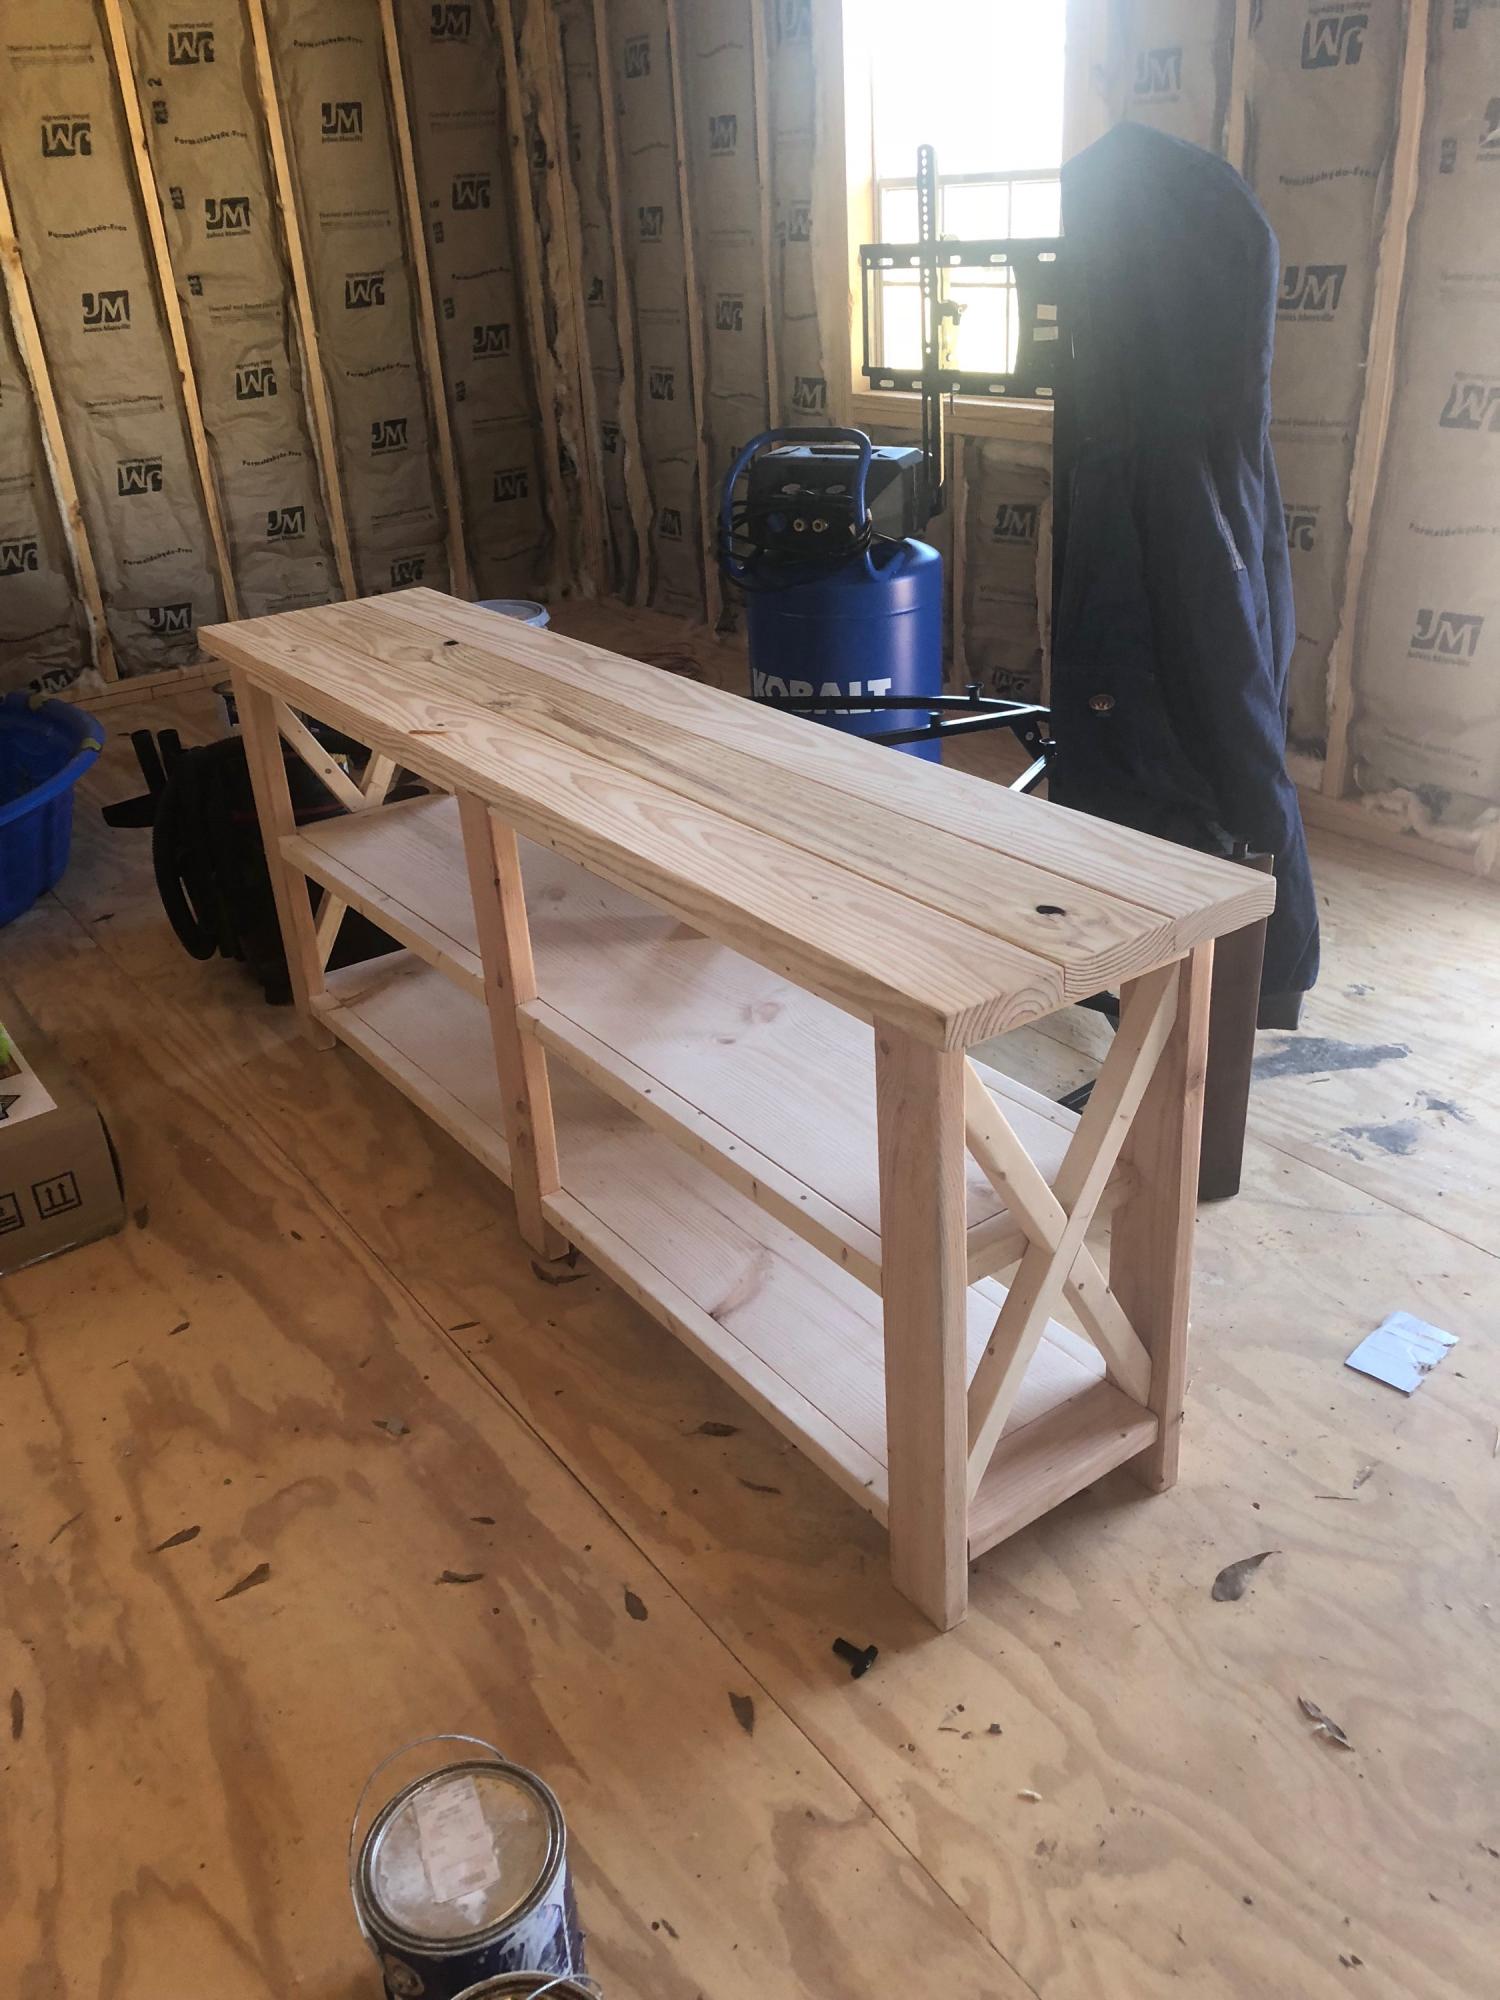
Built this for some dear friends ... turned out so pretty.
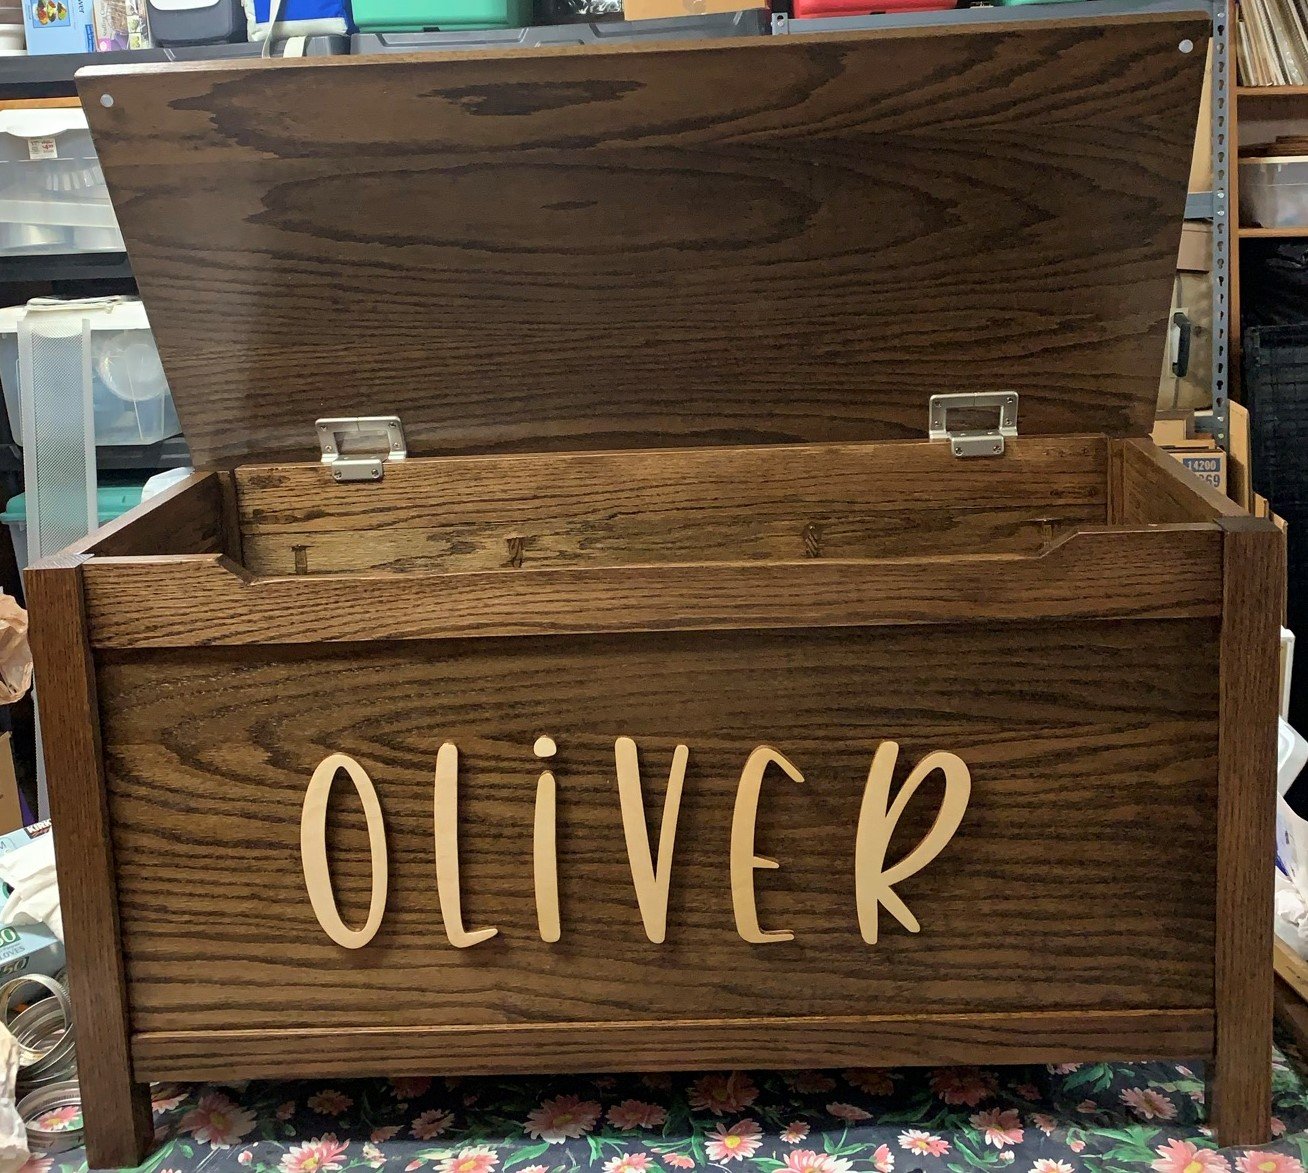
The toybox for my grandson for his first Christmas was my first project. I'm super happy with how it turned out and his parents love it!.
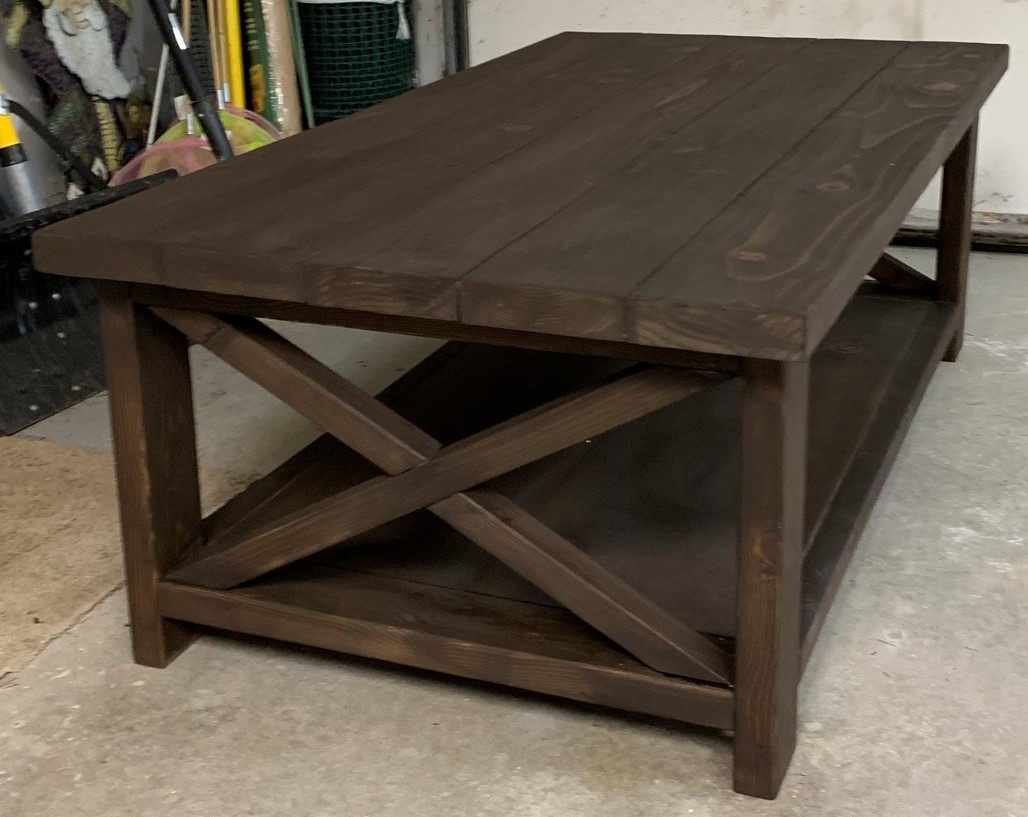
After the toybox I decided to make a coffee table for my daughter and she picked out the design from your site. She loves it!
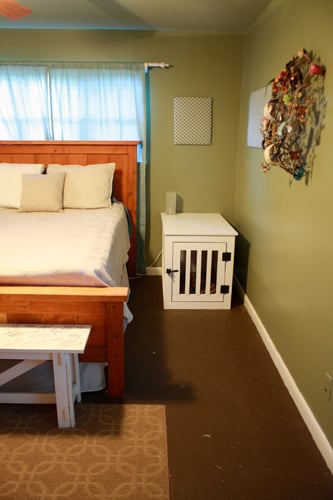
In need of a replacement for my hideous (but large!) wire kennel, I was ecstatic when Ana posted plans for an end table kennel, just like the fancy ones in Sky Mall magazines! Once I got out of my first trimester of pregnancy, I enlisted a friend to help me out with the build. I spent a little too much on lumber (I accidentally purchased the good whitewood, as opposed to furring strips) but I'm chalking that up to pregnancy brain. After a million Kreg Jig holes, the assembly was maybe an hour or less to put all four sides together. We decided to paint the interior prior to assembly, and that was a good choice! I put the sides together with L-brackets, and honestly did a pretty poor job of it. But the main reason was to easily disassemble it should it need to be moved at some point. I splurged on the hinges and gate closure, and love love LOVE the finished product! These were great, well-laid out plans!
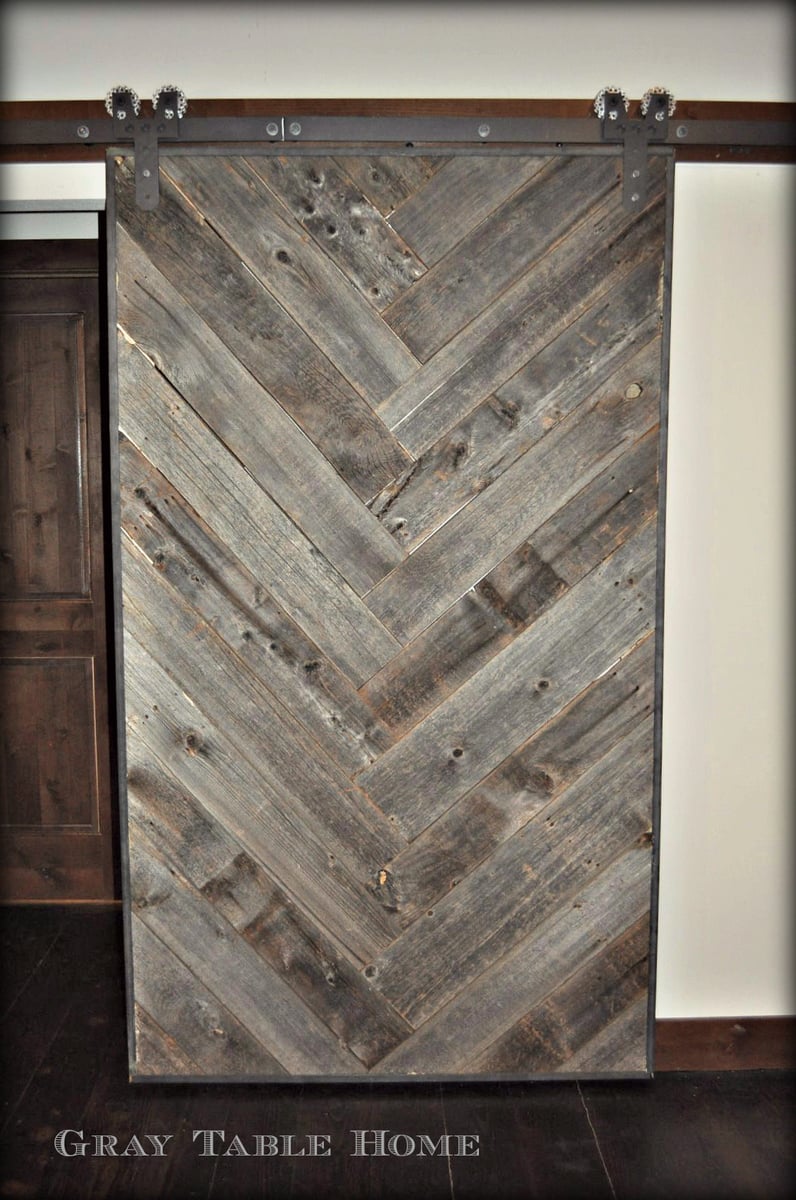
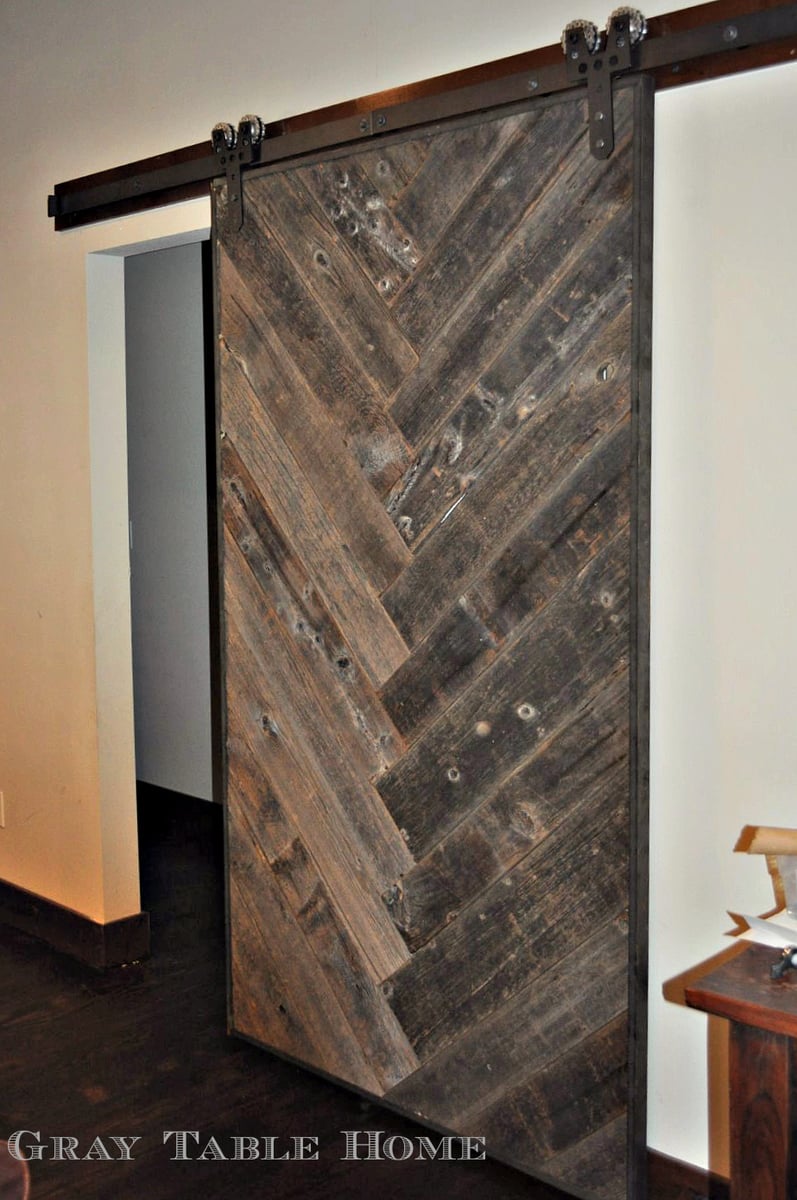
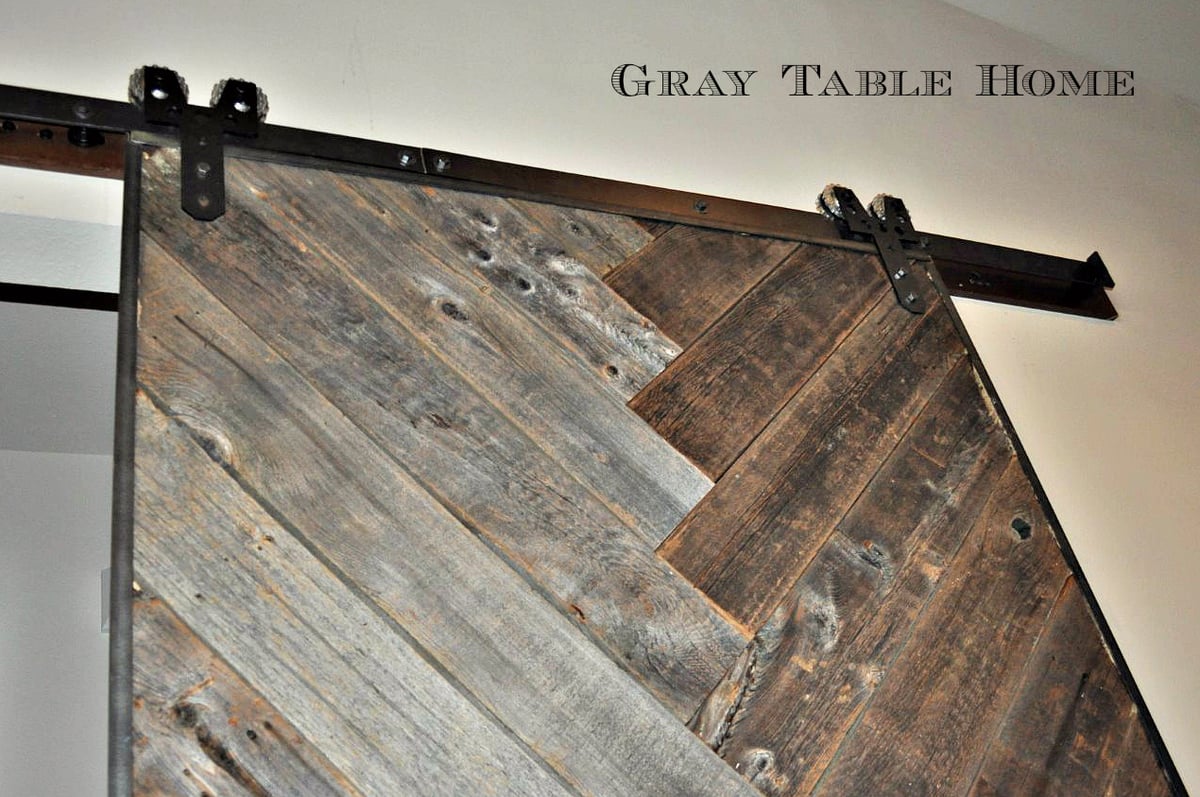
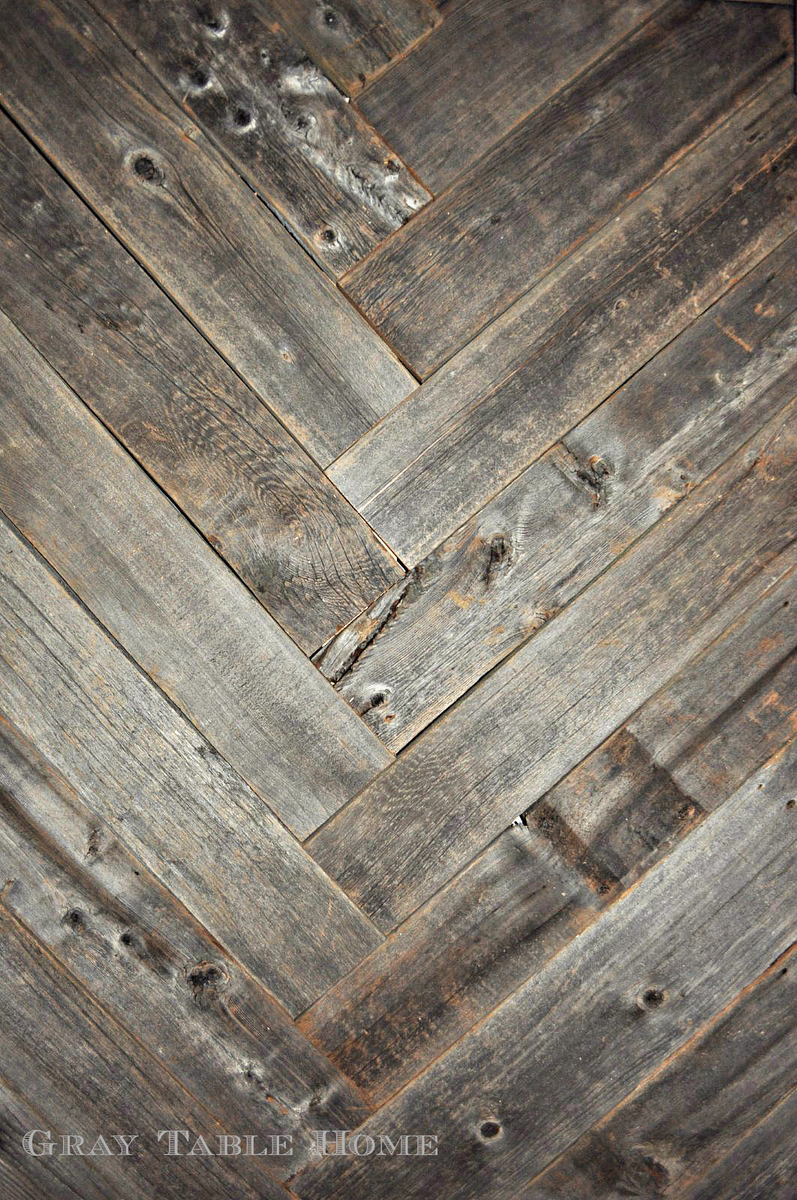
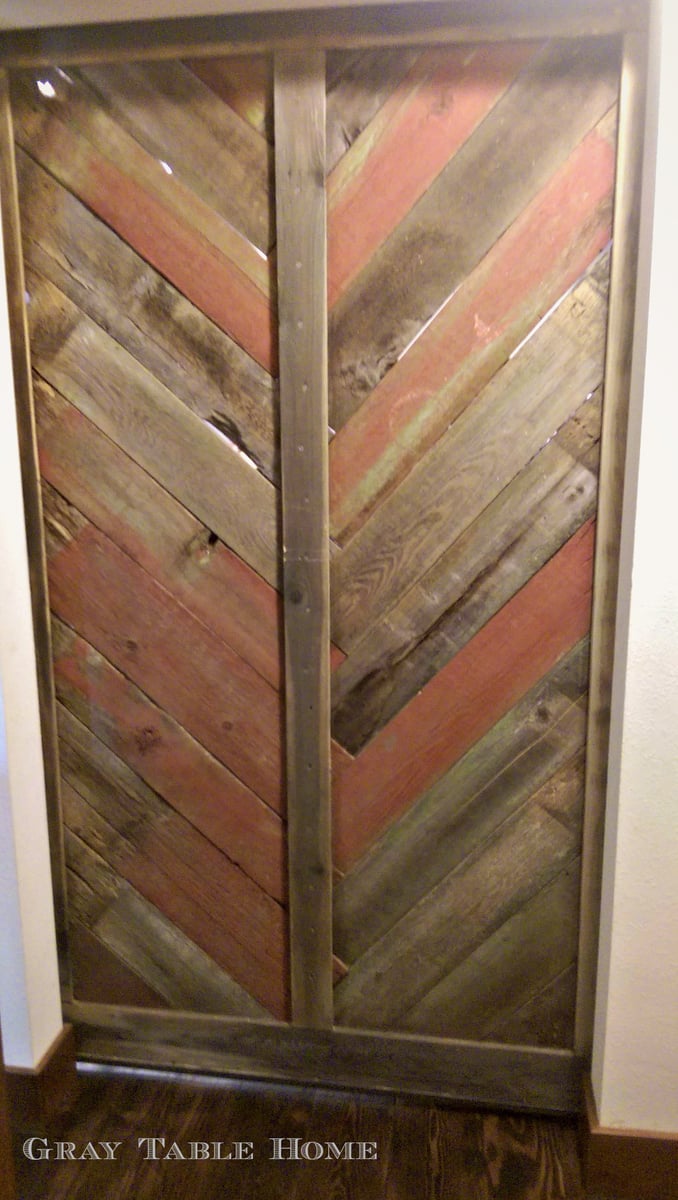
This DIY Herringbone Barn Door is used over a simple hallway opening to separate the maing living space from the kids' bedrooms. I searched this site and Pinterest for inspiration, and loved the herringbone and chevron patterns that I found. This door was made of reclaimed barn wood and wrapped in raw steel channel iron. Hope you enjoy!
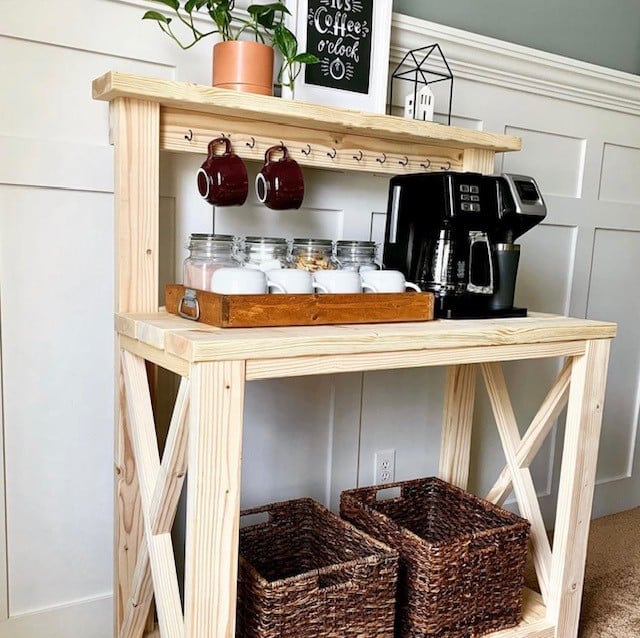
Built from the farmhouse potting bench plan
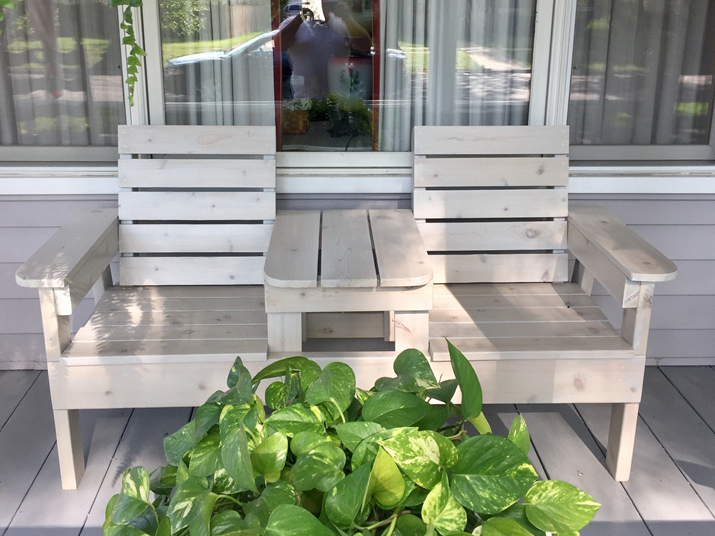
Very nice bench. I have now made three. This one is grey washed red cedar.
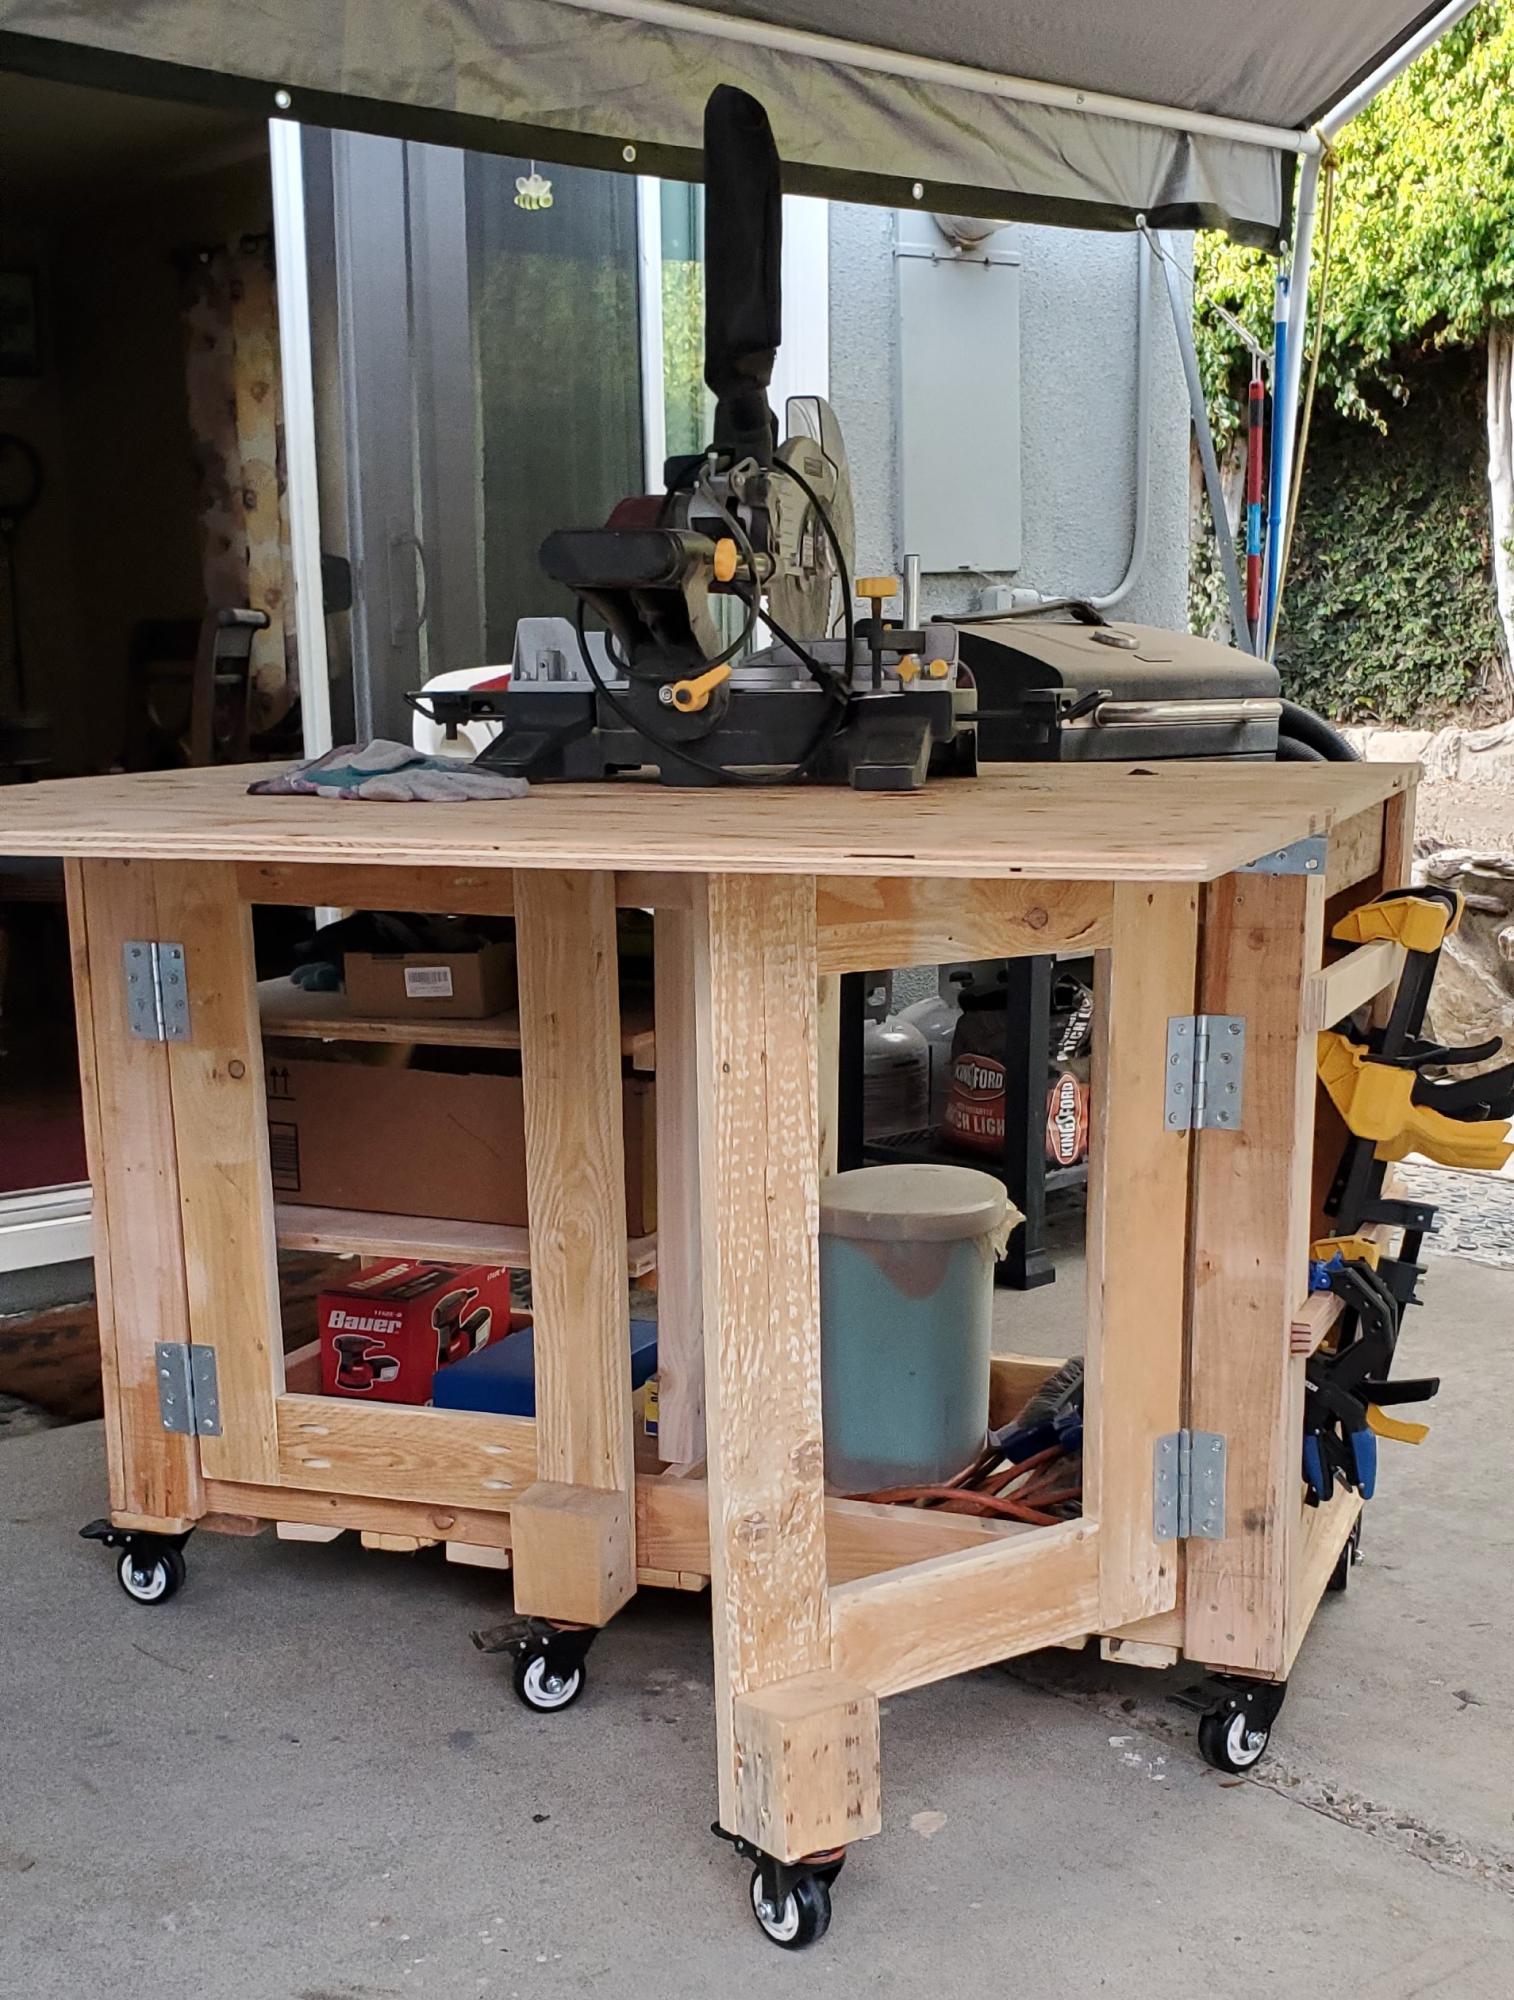
I'm a beginner DIYer and I knew one day I was going to have to make a workbench. I made mine 24x48 so I wanted a little more support to hold up the drop down leaf. I searched your site and found another plan with these gatelegs and knew this is what I wanted. I love the way it came out. What do you think?
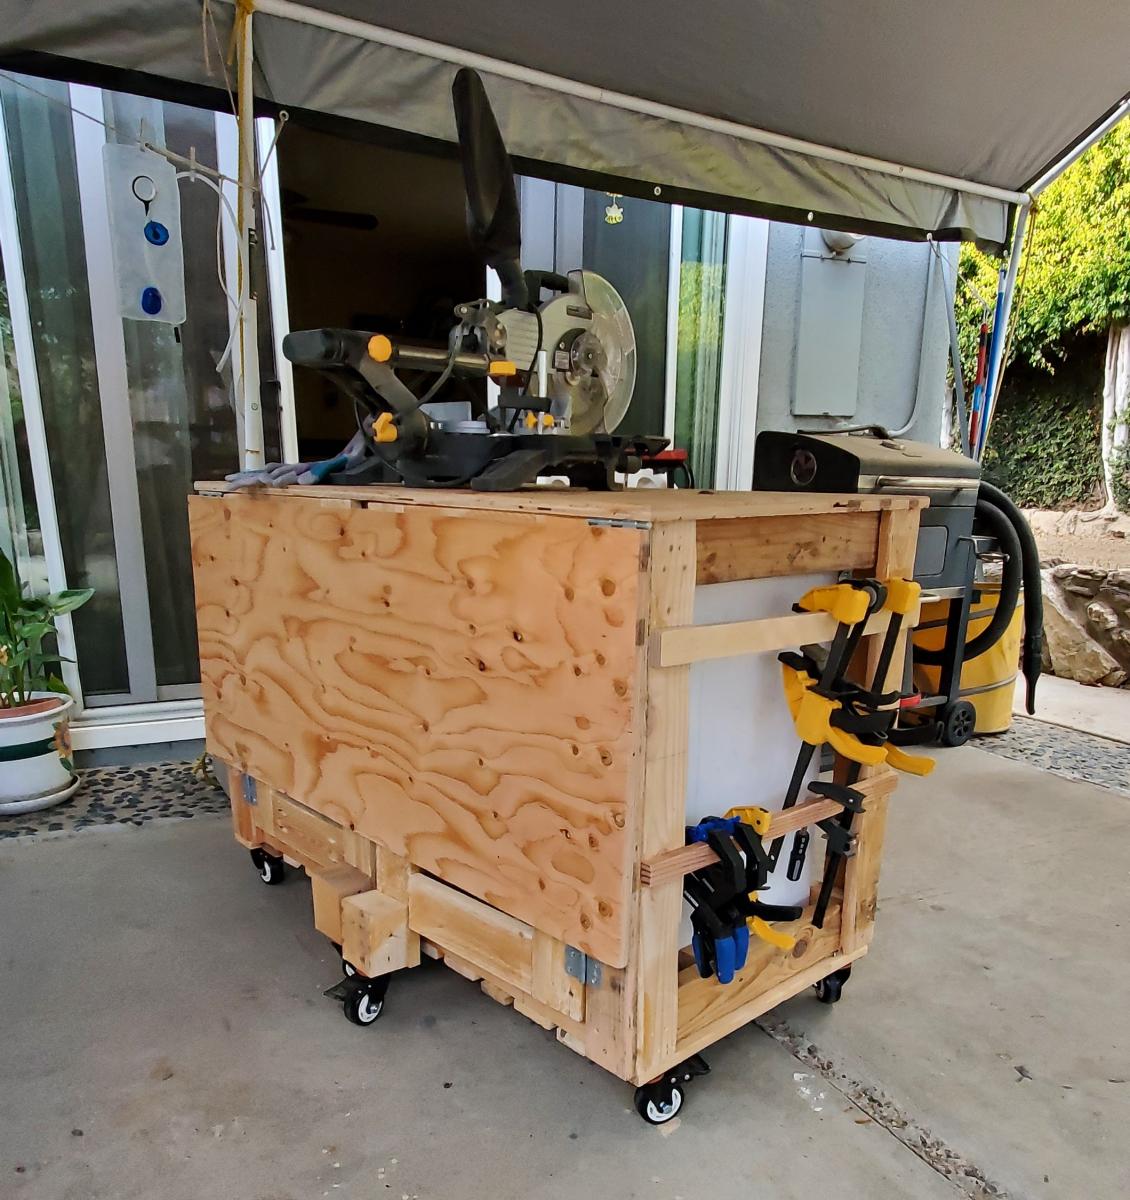
I used the plan for the simple potting bench, but because I had a lot of reclaimed wood, I used well supported 1x4's instead of 2x4's, simply because I had an abundance.