Farmhouse Beginner coffee Table
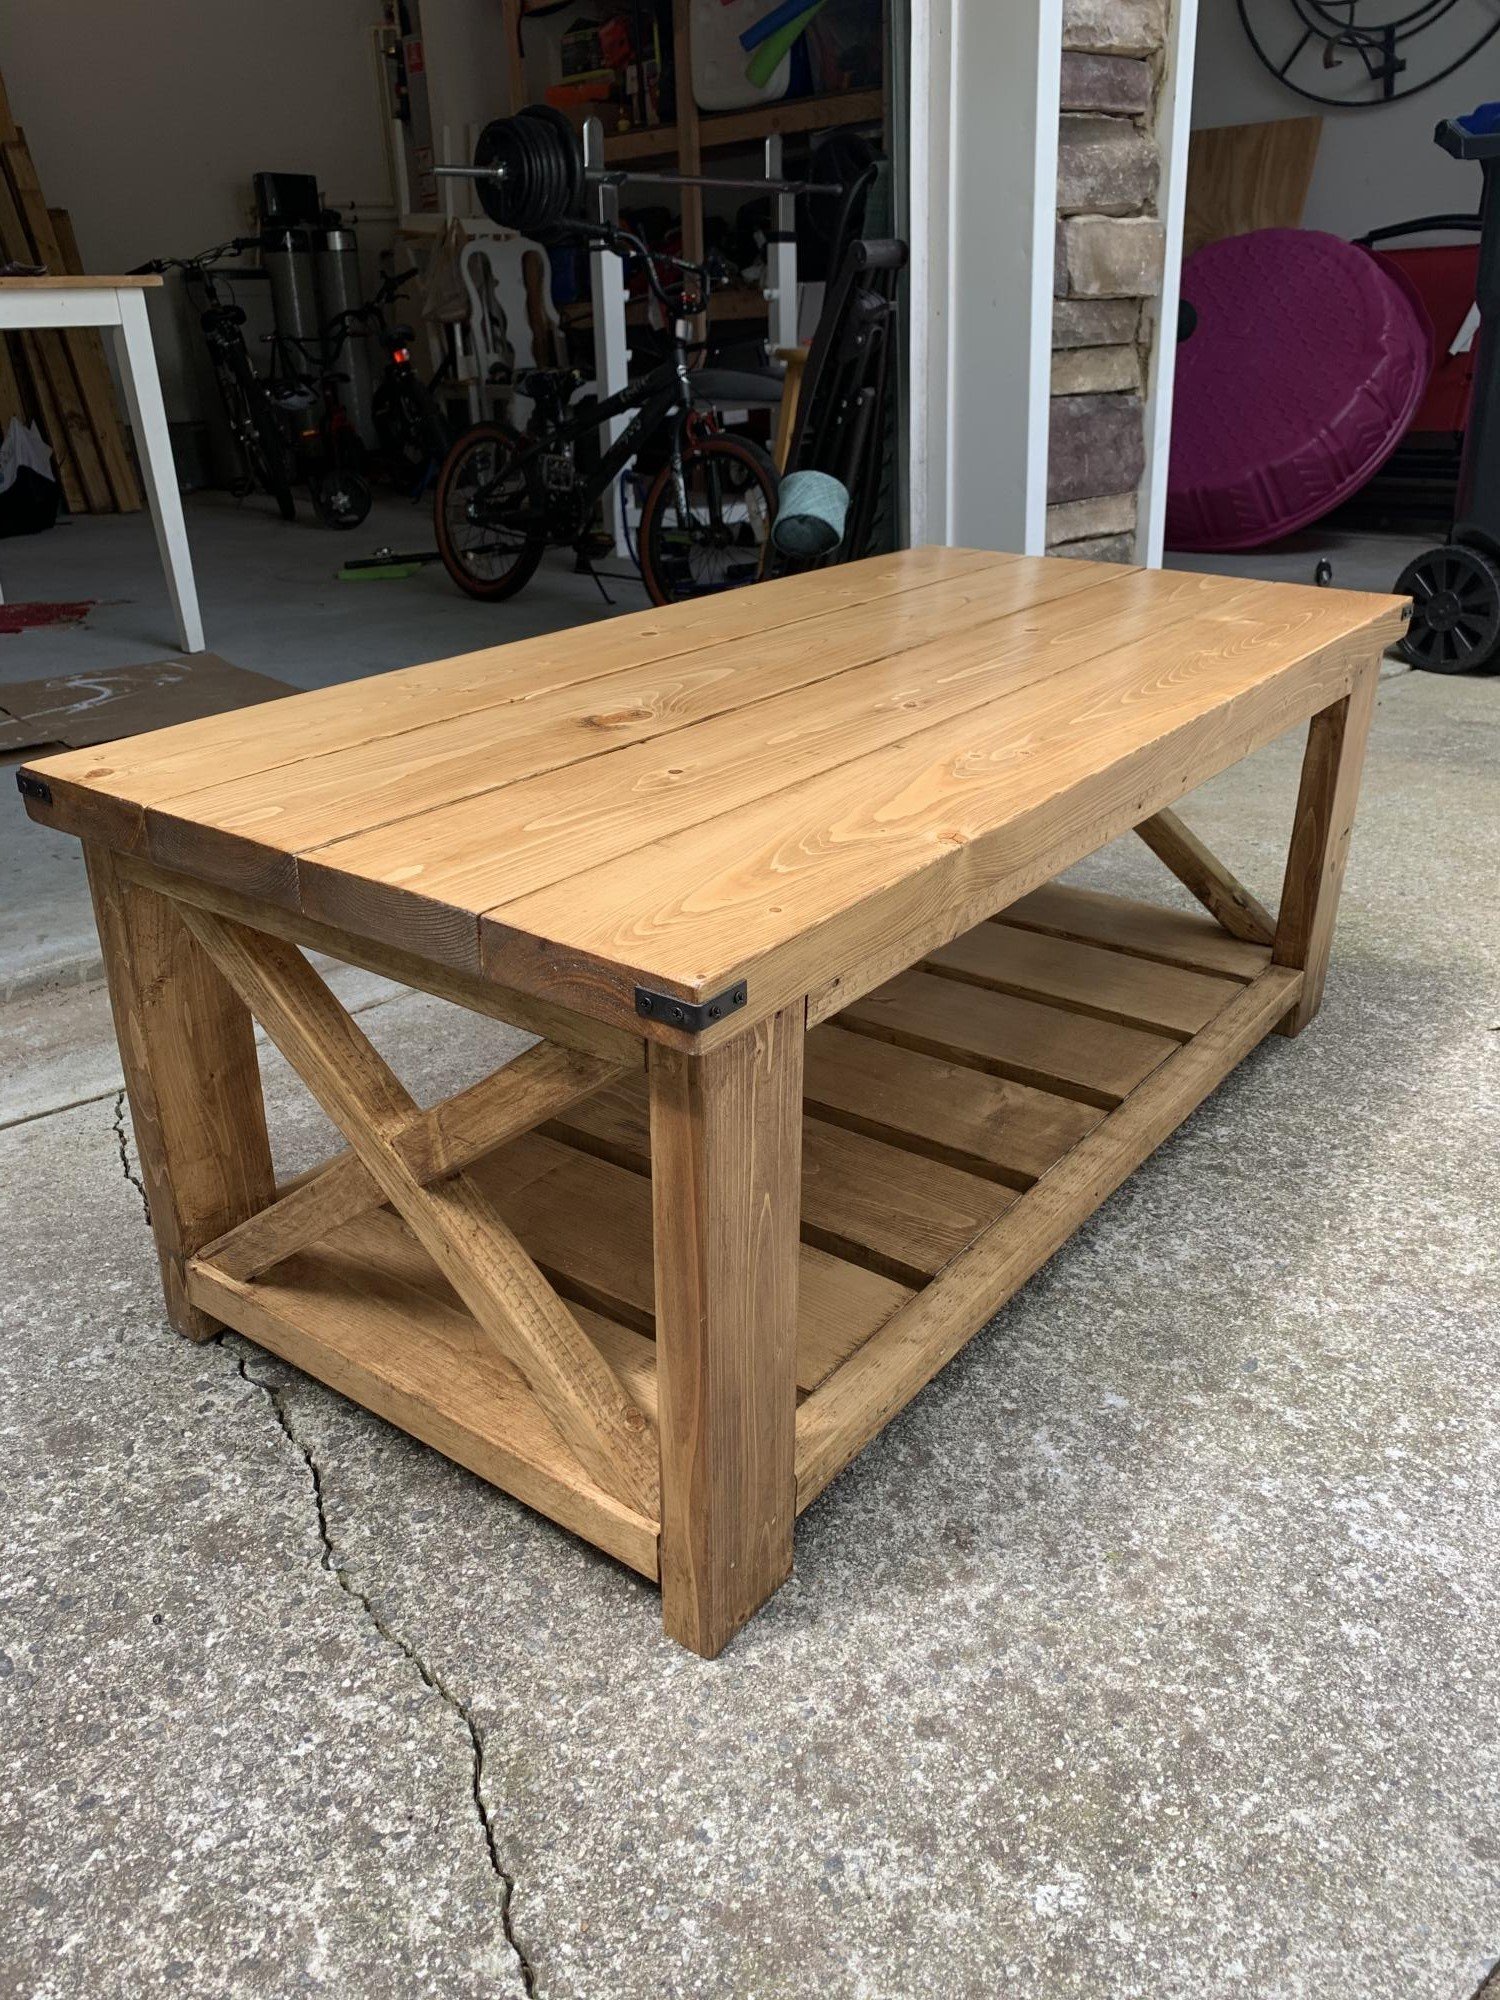
So Fun!! My first ever wood build!! I’m completely addicted now ha! Thank you so much! I’m learning so much from watching your videos.
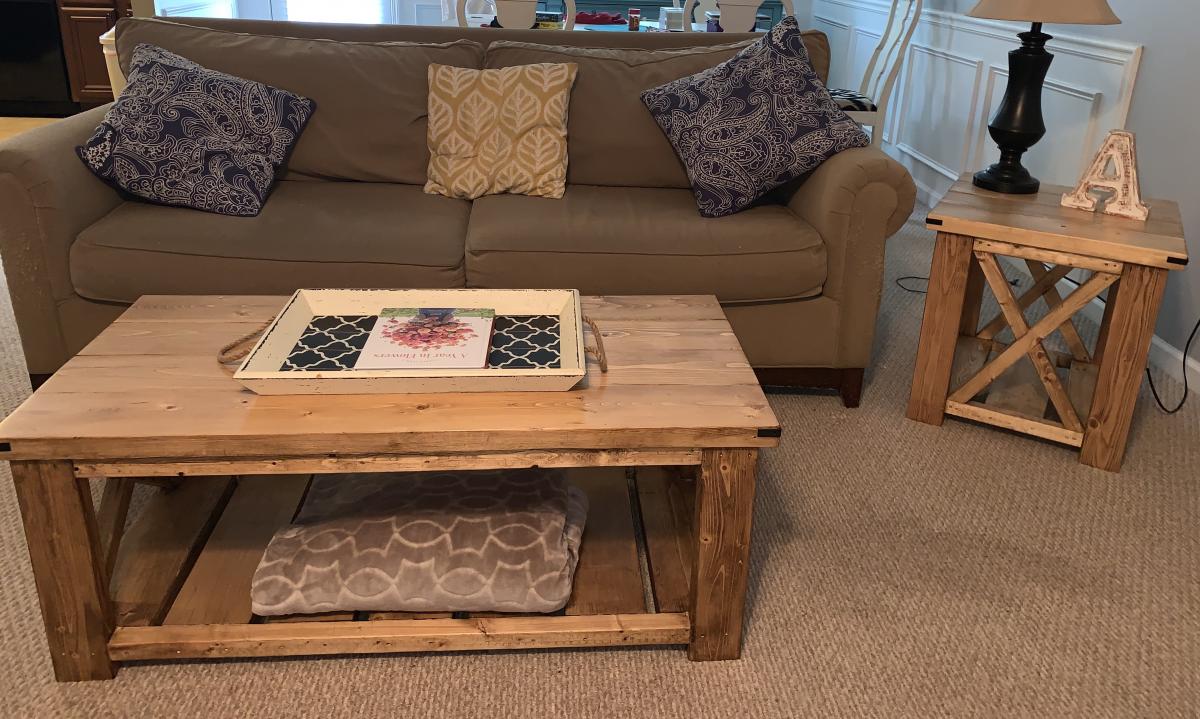
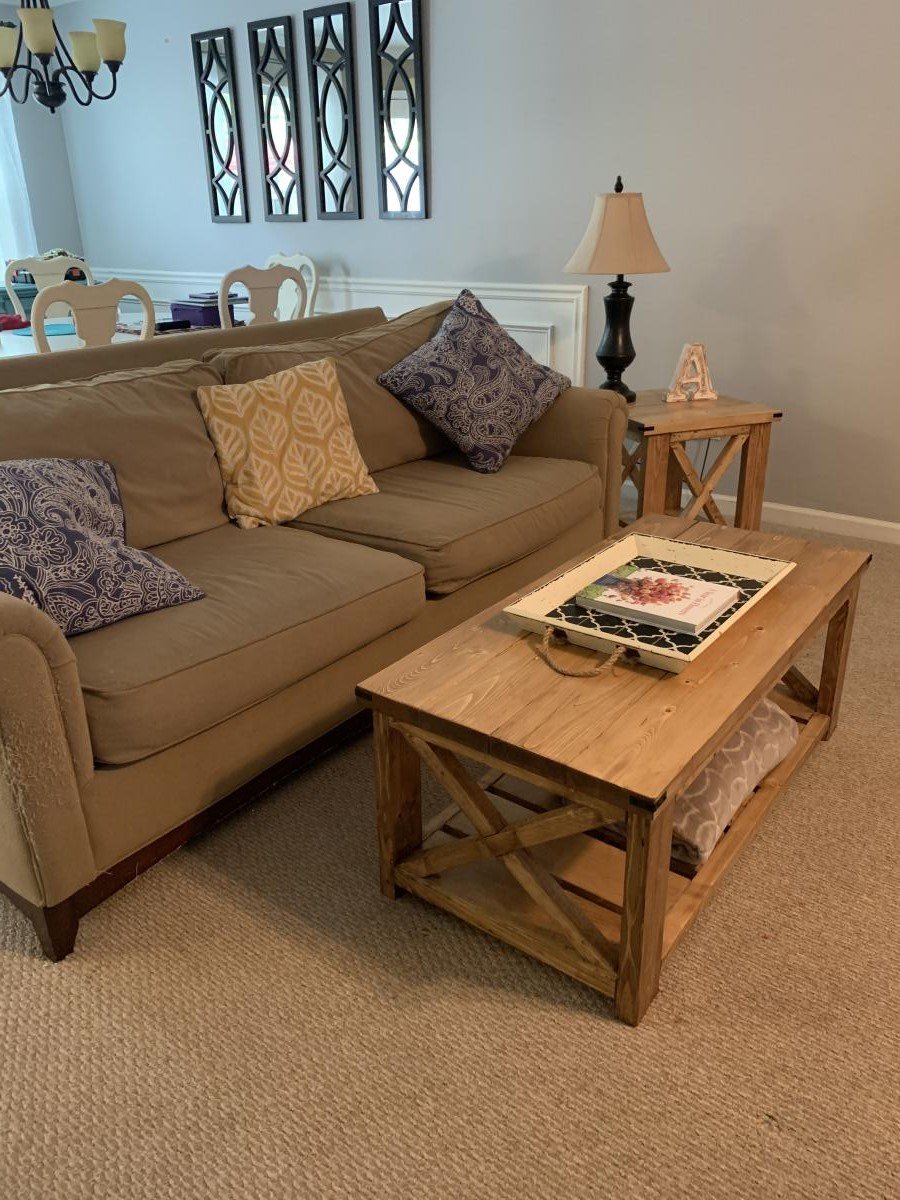
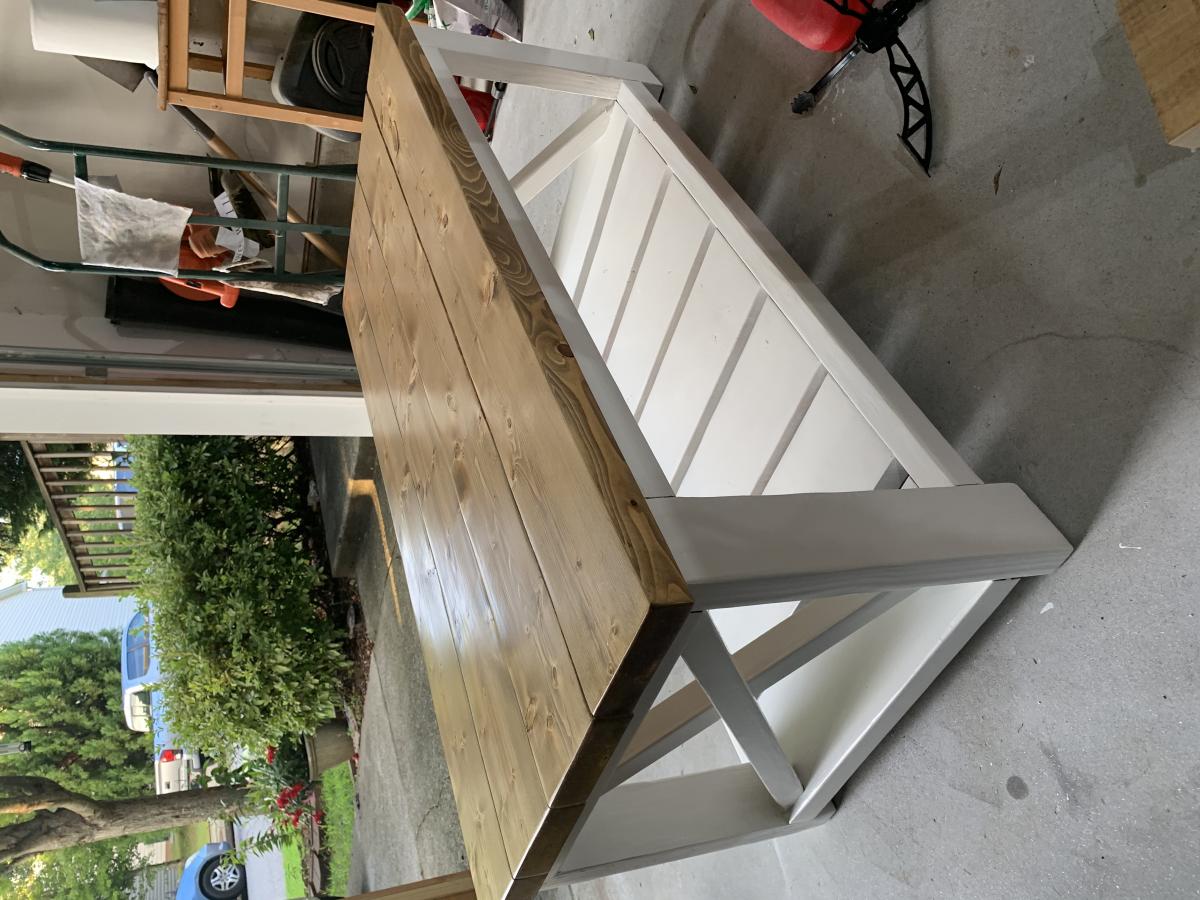
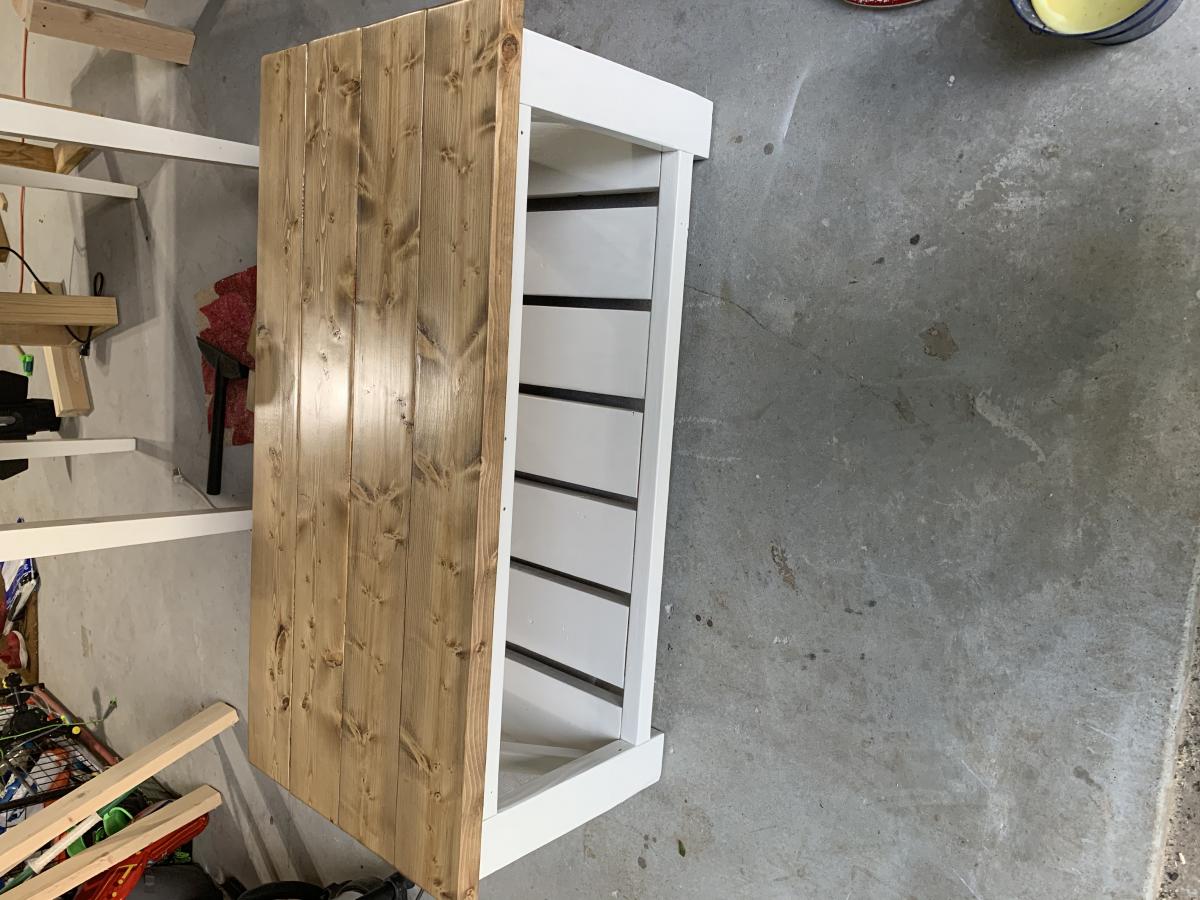

So Fun!! My first ever wood build!! I’m completely addicted now ha! Thank you so much! I’m learning so much from watching your videos.


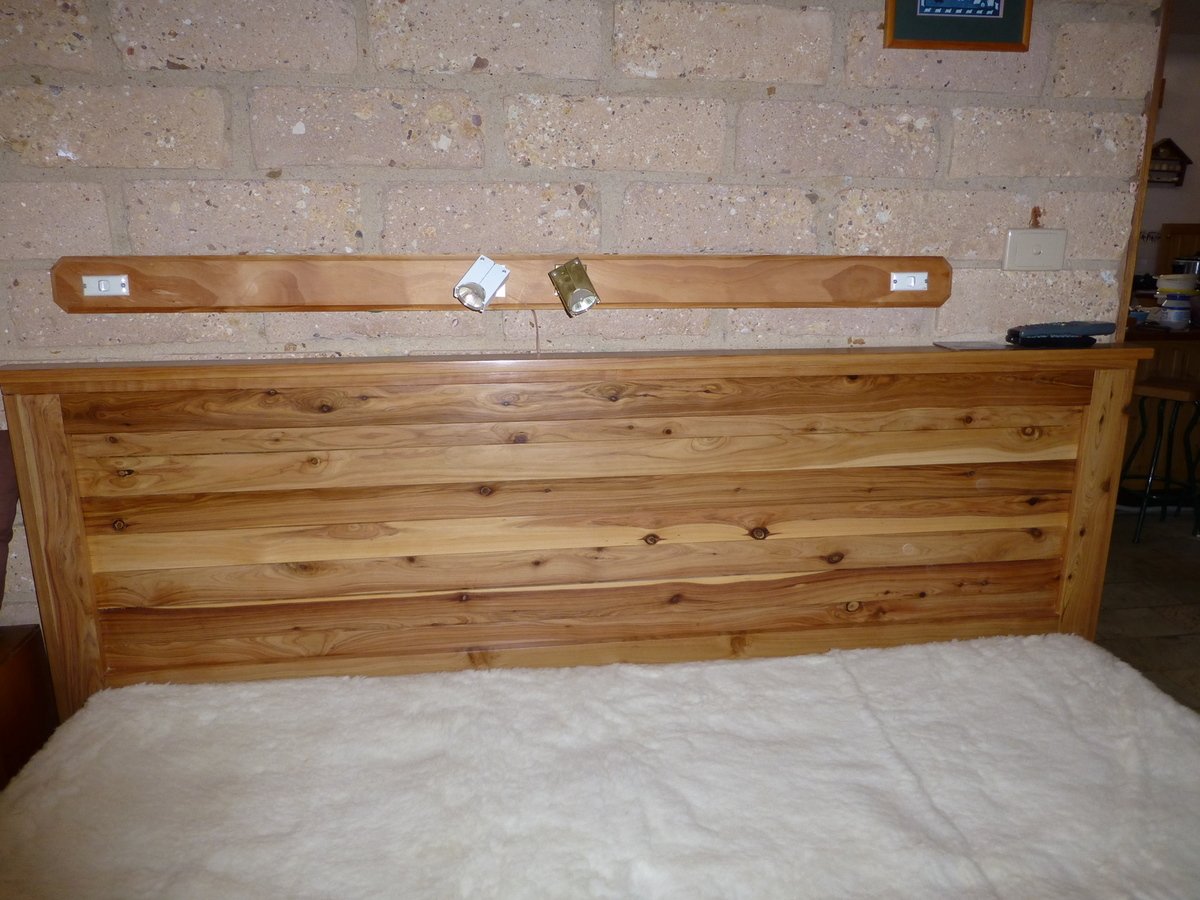
It was time for a new mattress - as it so happened, the store had a sale on: any size for the price of a single. So I couldn't resist and got the king rather than the queen size. Rather than buying the the bottom of the ensemble as well I decided to try and build a bed.
Would have loved a farmhouse bed, but the bedroom is tiny, the king only just fits in, so no foot end or chunky posts. Mom's fine farmhouse bed was the initial choice - but I like my timber `natural' and couldn't get pine mouldings. So ended up building the reclaimed headboard - out of cypress pine fence pickets: these come in 65x19mm (i.e. close to a 1x3 pine board) and up to 1800mm long, but used pine for the bits which are not visible (easier to work with & lighter). I wanted a bed where my feet touch the ground when I sit on the edge and which don't need to climb up to, so shortened everything to make the top of the mattress at 550mm from the floor.
The bed itself is from Mom's farmhouse bed plans, modified for a King (72 inches wide) with a middle rail. The sides are made from two length of cypress tongue and groove floorboards each, joined together with pocket hole screws and with the top tongues ripped off. The slats are fence pickets as well - managed to find enough of the nominally 1800mm ones which were just long enough to fit across after squaring off the ends, the most economical option. To hold them in place, I glued on spacer blocks cut from a 1x2 length of pine - the slats sit between them snugly & making the slats removable makes it much easier to move the bed.
I sealed the timber with a base coat of oil-based polyurethane and the applied furniture wax (carnauba) and buffed it to a soft glow.
This was a big project, it took me the best part of 4 weekends - lack of space & winter weather didn't help (ended up assembling the bed in the lounge room). It cost me almost $300 all up, about $220 for timber, the rest for screws, nails, sandpaper, glue, varnish, woodfiller and wax - half the price of what the commercial base alone would have been.
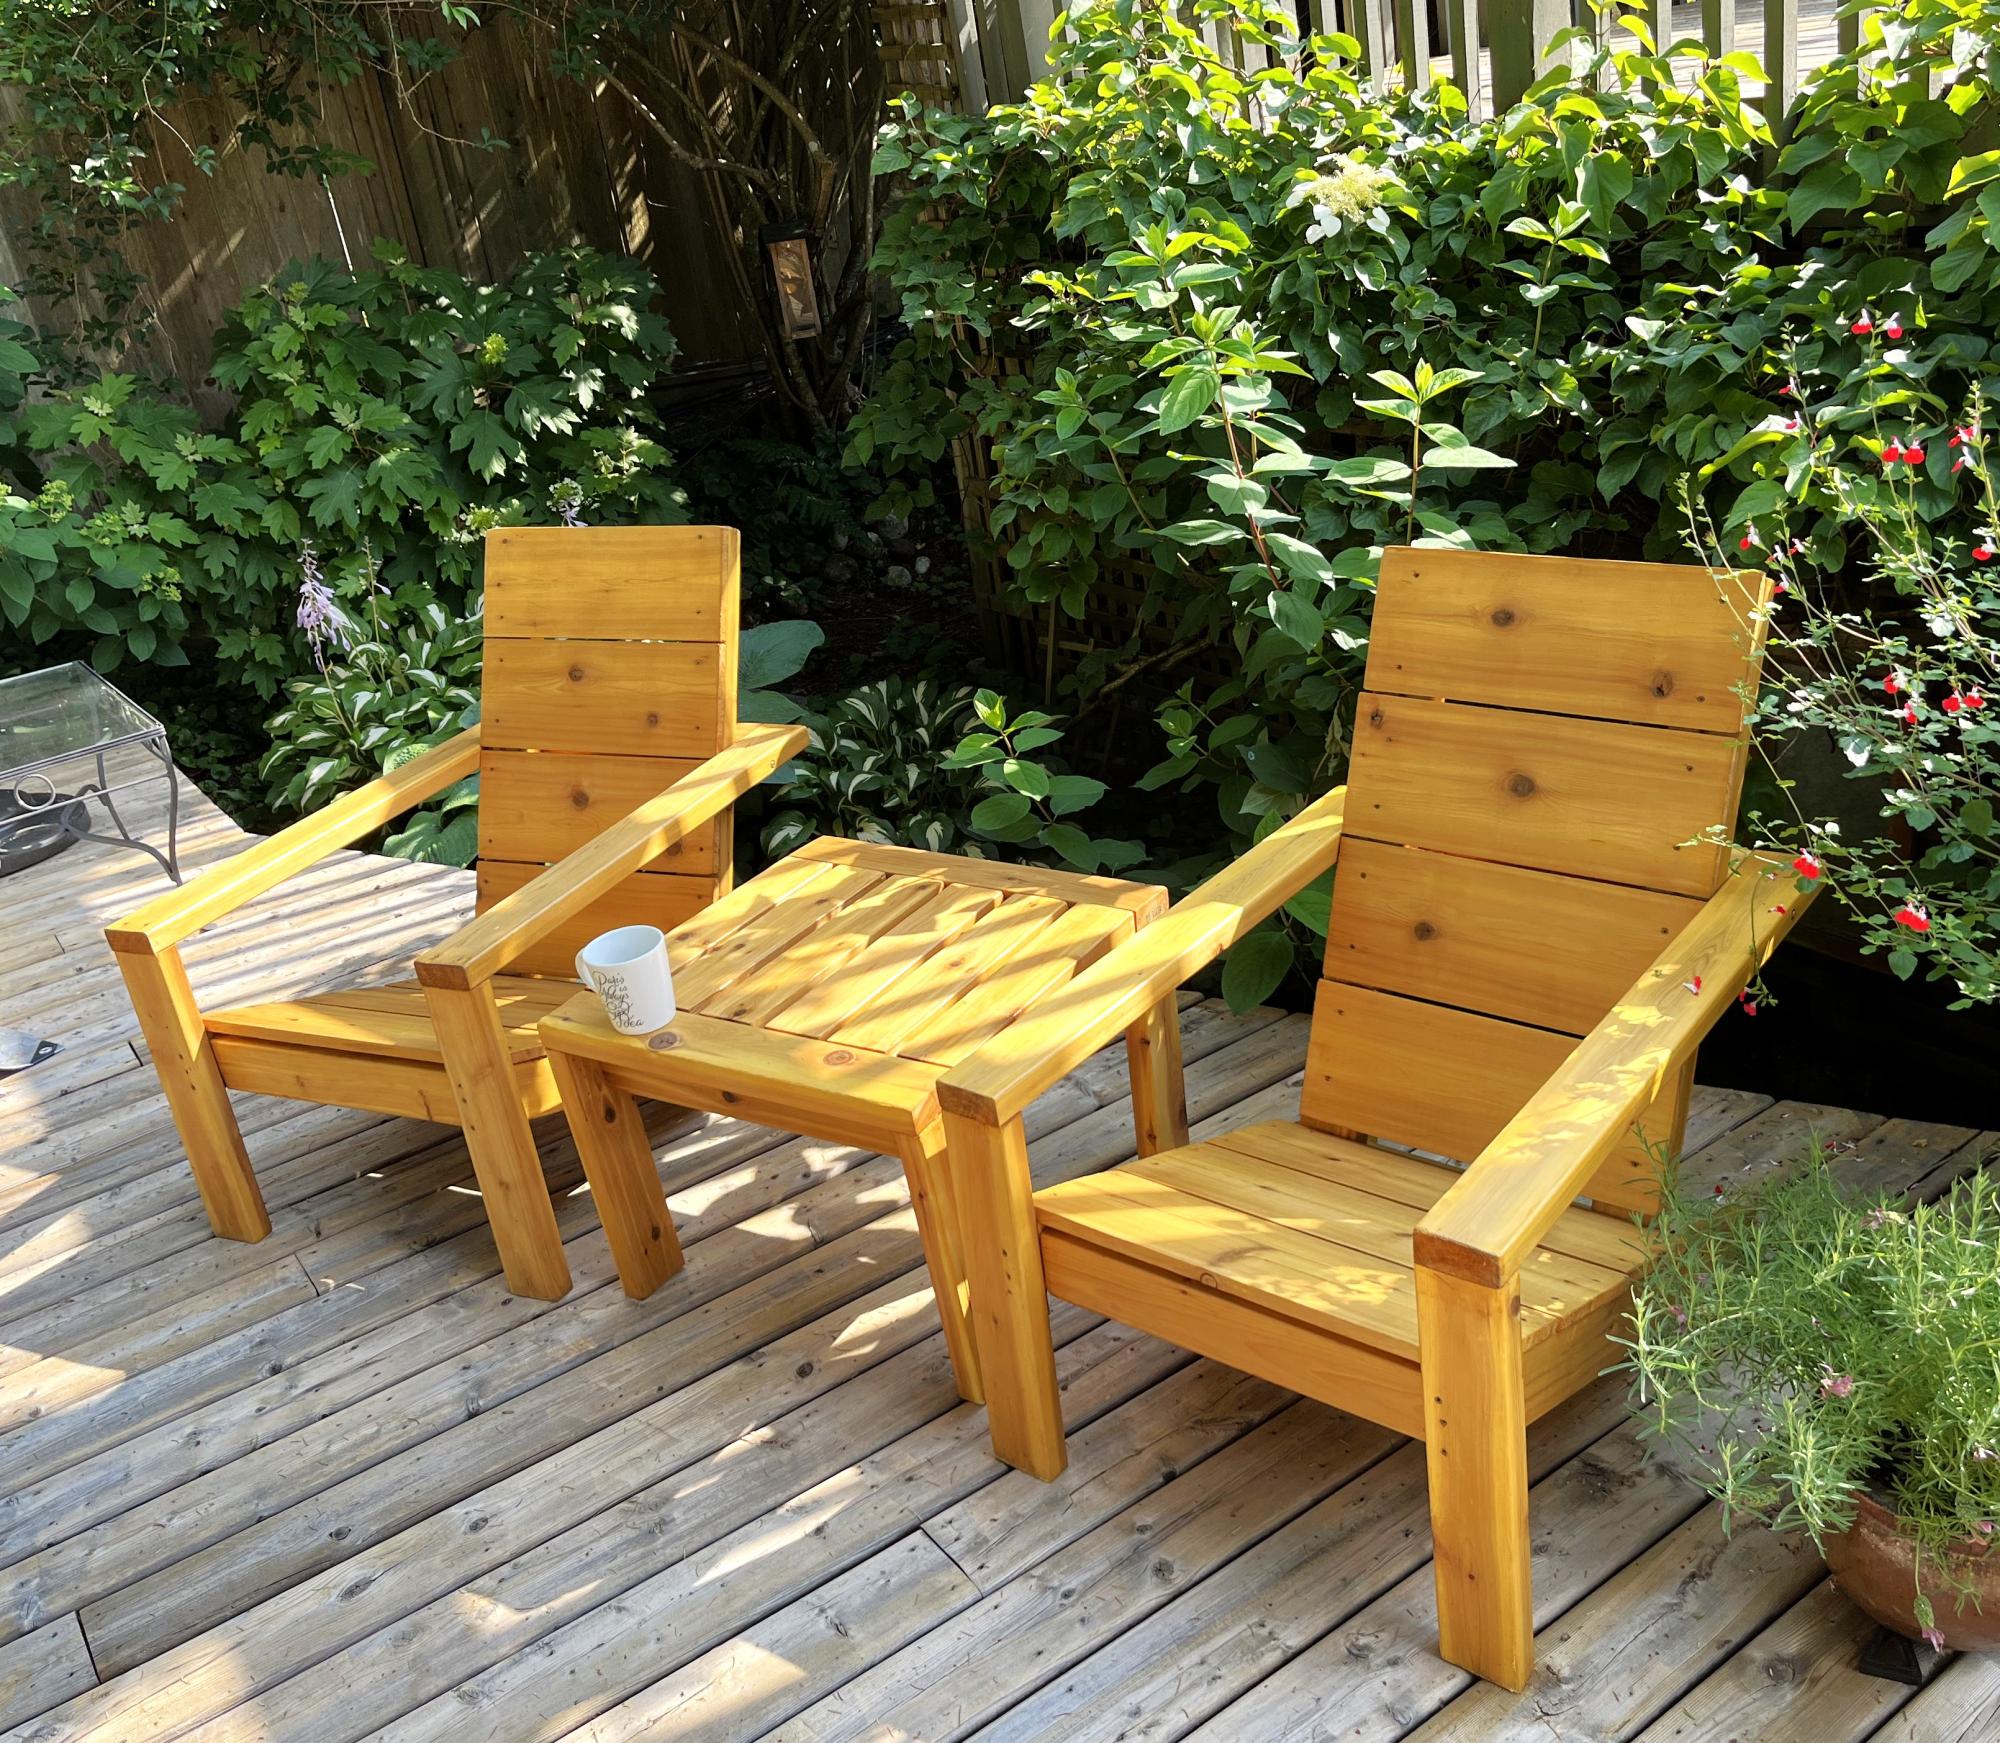
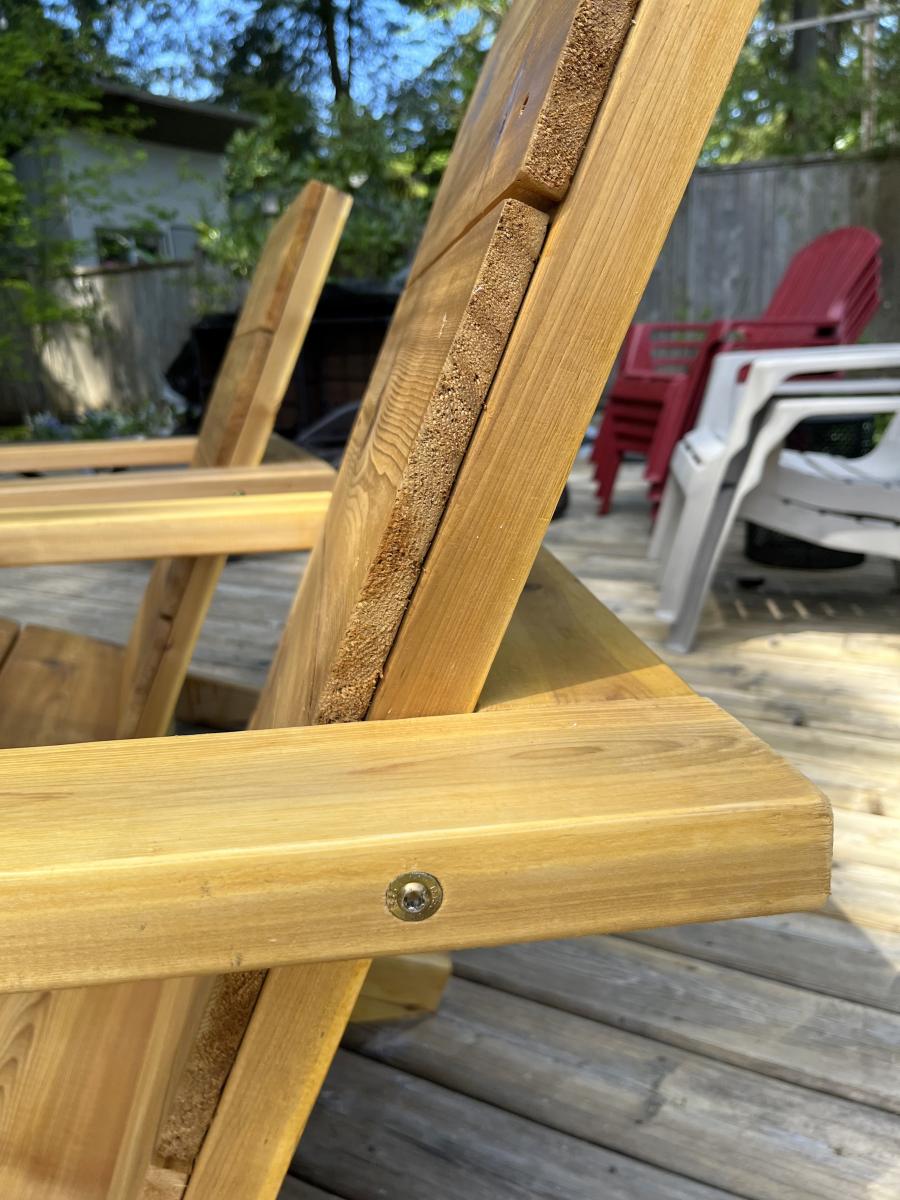
I added a 6 inch lag screw to support the arm in case someone sat on the arm. I also added small metal brackets hidden to help secure the leg strength.
Matt
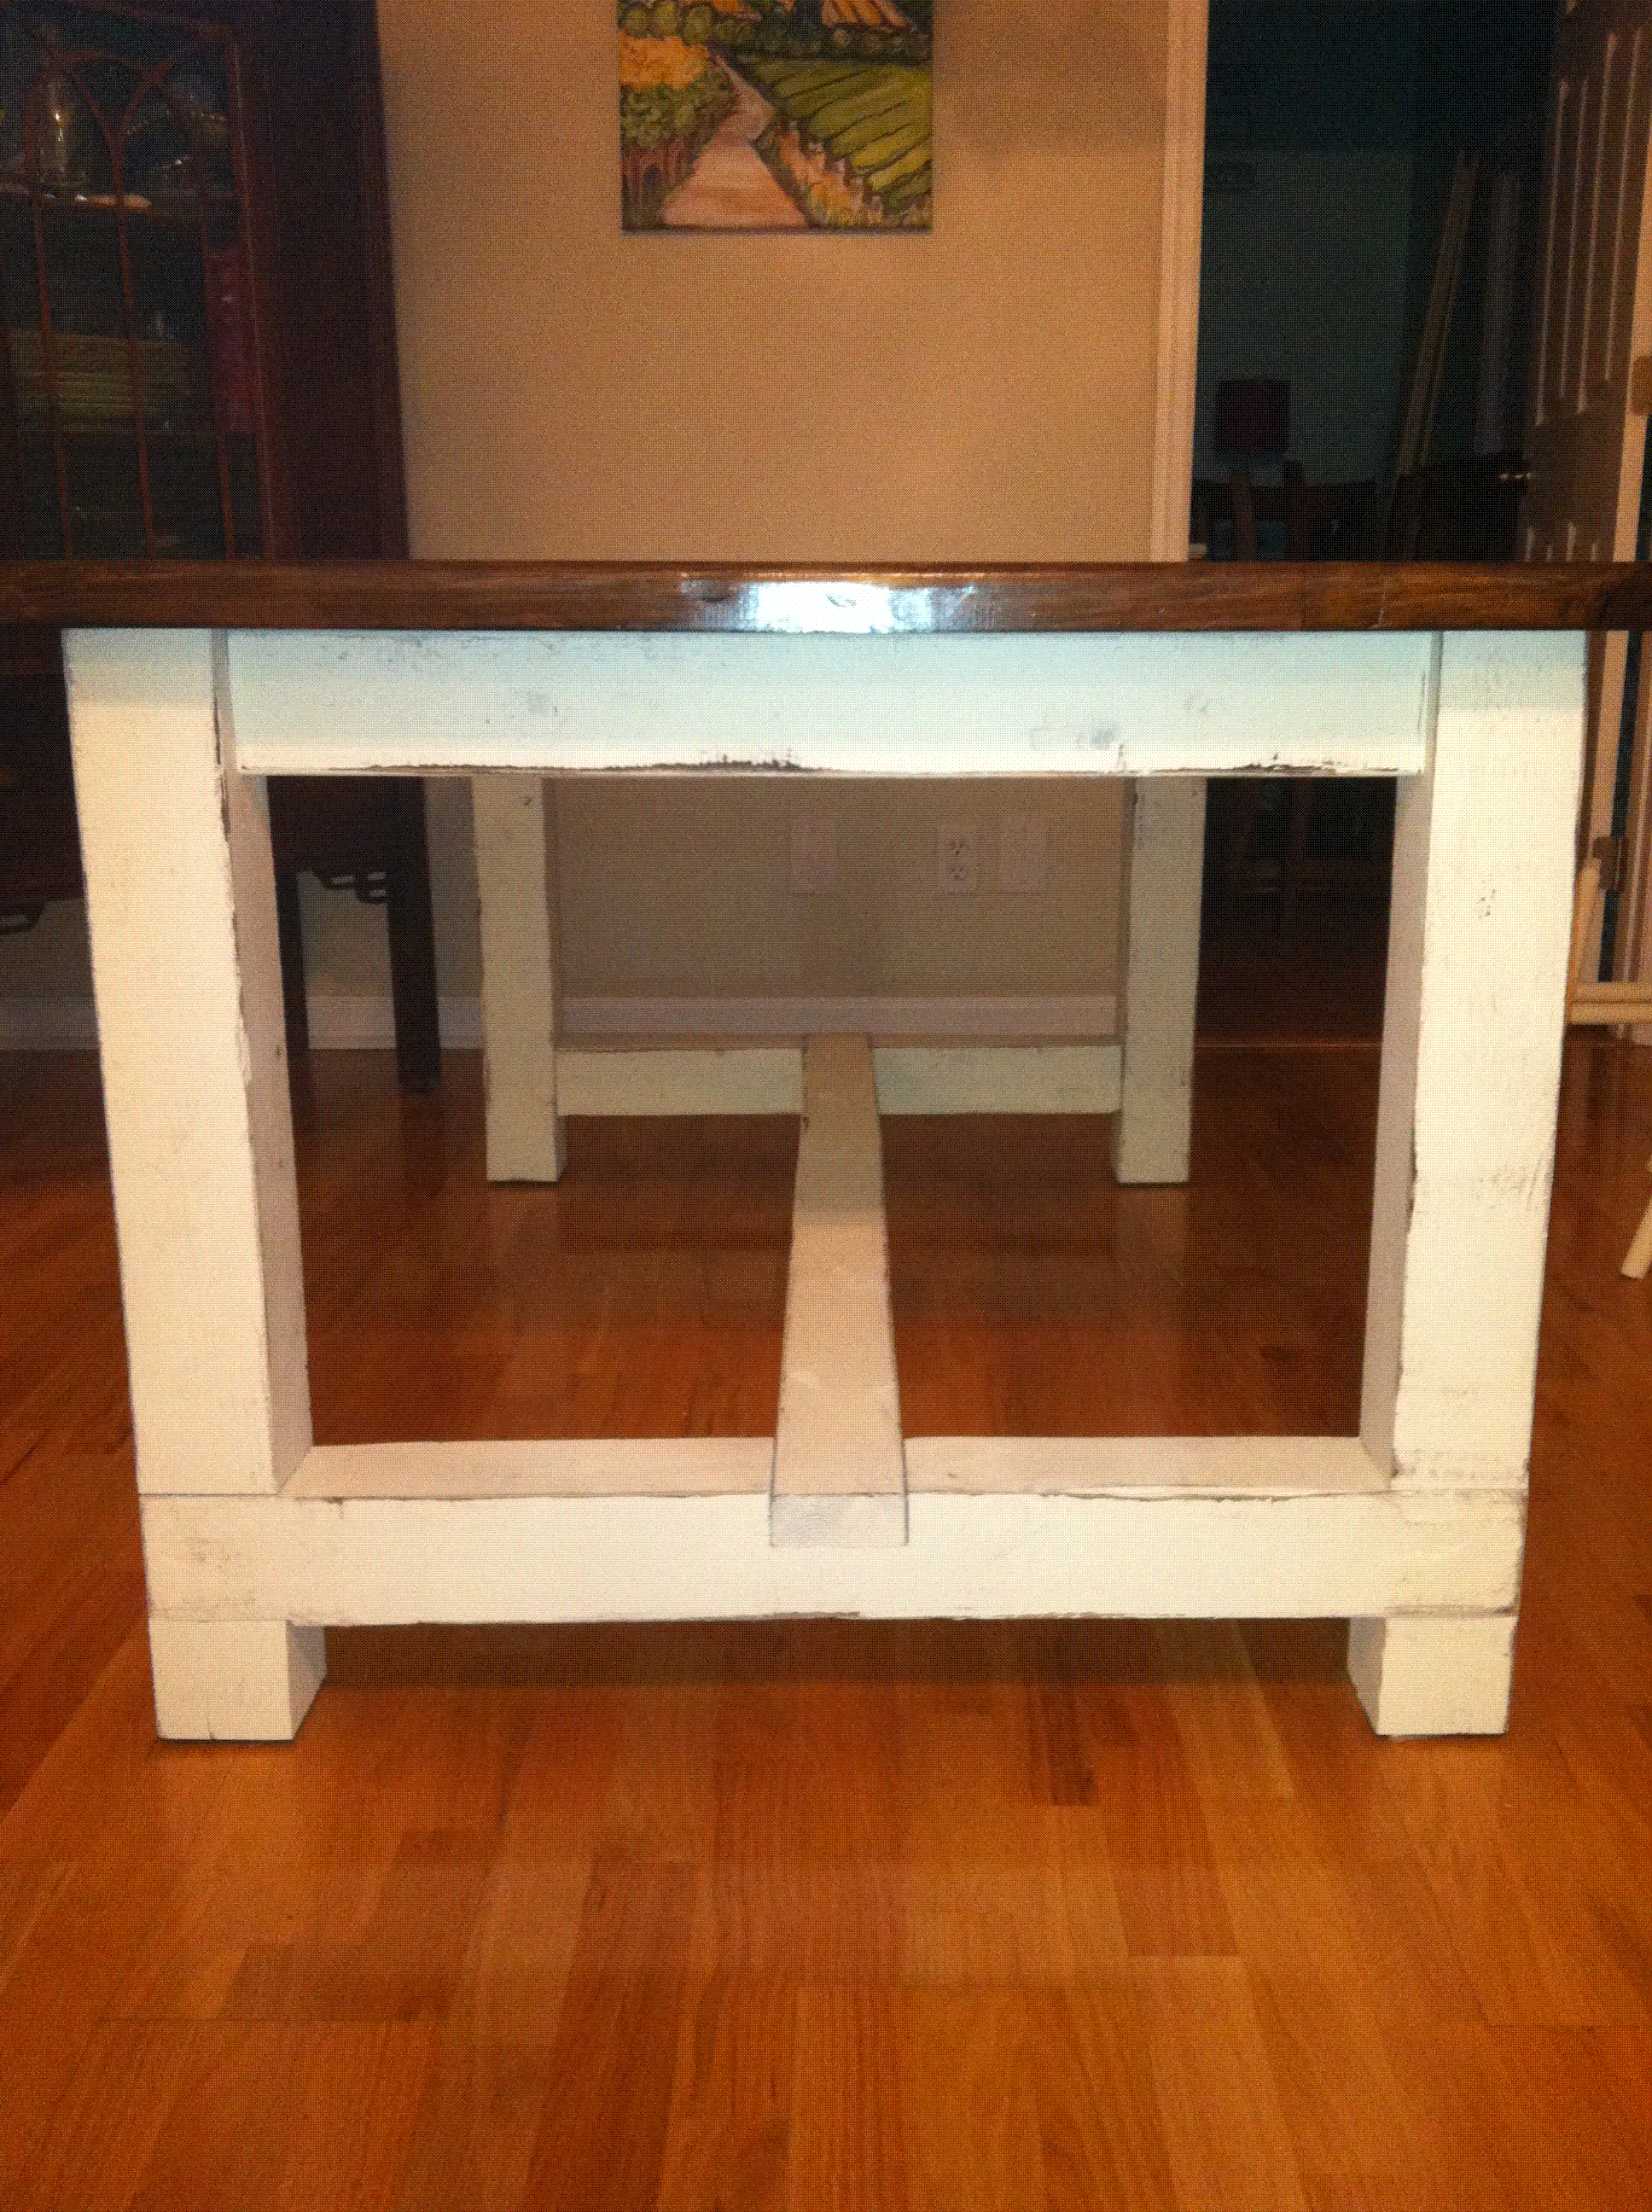
Custom Farmhouse Table built using plan by Ana White!
Wed, 12/19/2012 - 15:10
Trying to get the plans for the farmhouse dining table
Tue, 02/24/2015 - 14:12
definetly going to use this building plan but scale it down by 50% and make a cute, sturdy, lasting coffee table. Thank you for the plans
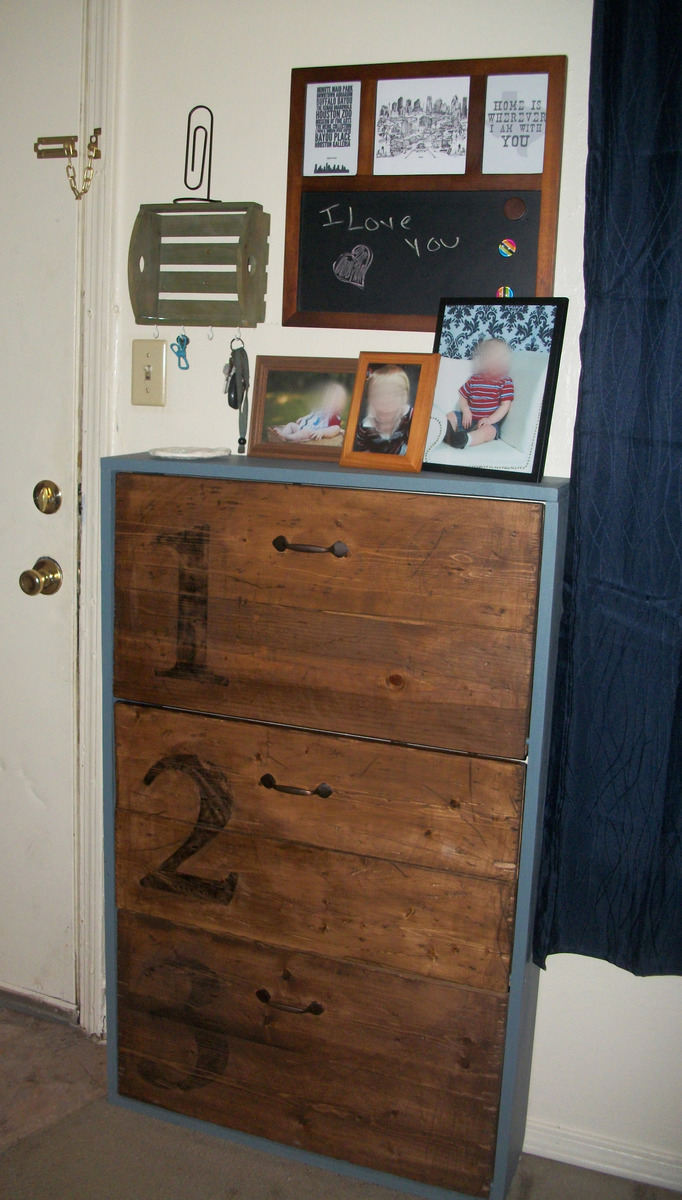
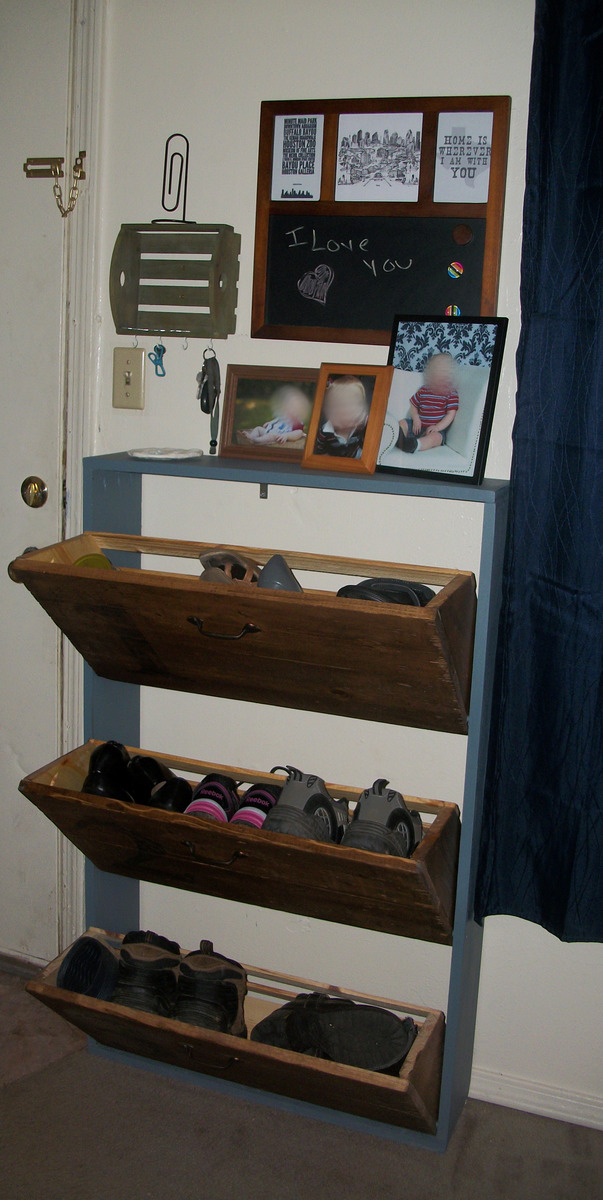
This started off as a project for spring break and ended up taking over two months to finish up (and it's still not completely finished... the third drawer needs to be poly'ed still)! I seriously overestimated how hard it would be to make everything fit right and dh had to help out some making things fit together, the dowel pins and the notches to make the drawers tip out and he made the stencil for the numbers but I pretty much did the rest myself. With a handsaw and a drill. That's it. We didn't have any other power tools at the time. If we had the proper power tools, a babysitter for the weekend and nothing else to do but work on it, I think it could be done in a weekend.
I needed something to fill the awkward narrow space by the door and we needed shoe storage so I modified Ana's plan to make it narrower and added an extra drawer. I was orginally going to put feet on it like the plans call for but we decided we liked it better without. We used a thrift store belt for the drawer catches that keep it from tipping all the way out. It is braced to the studs in the wall with corner braces. Everyone comments on it when they see it and we've had several people ask if we could make them one!
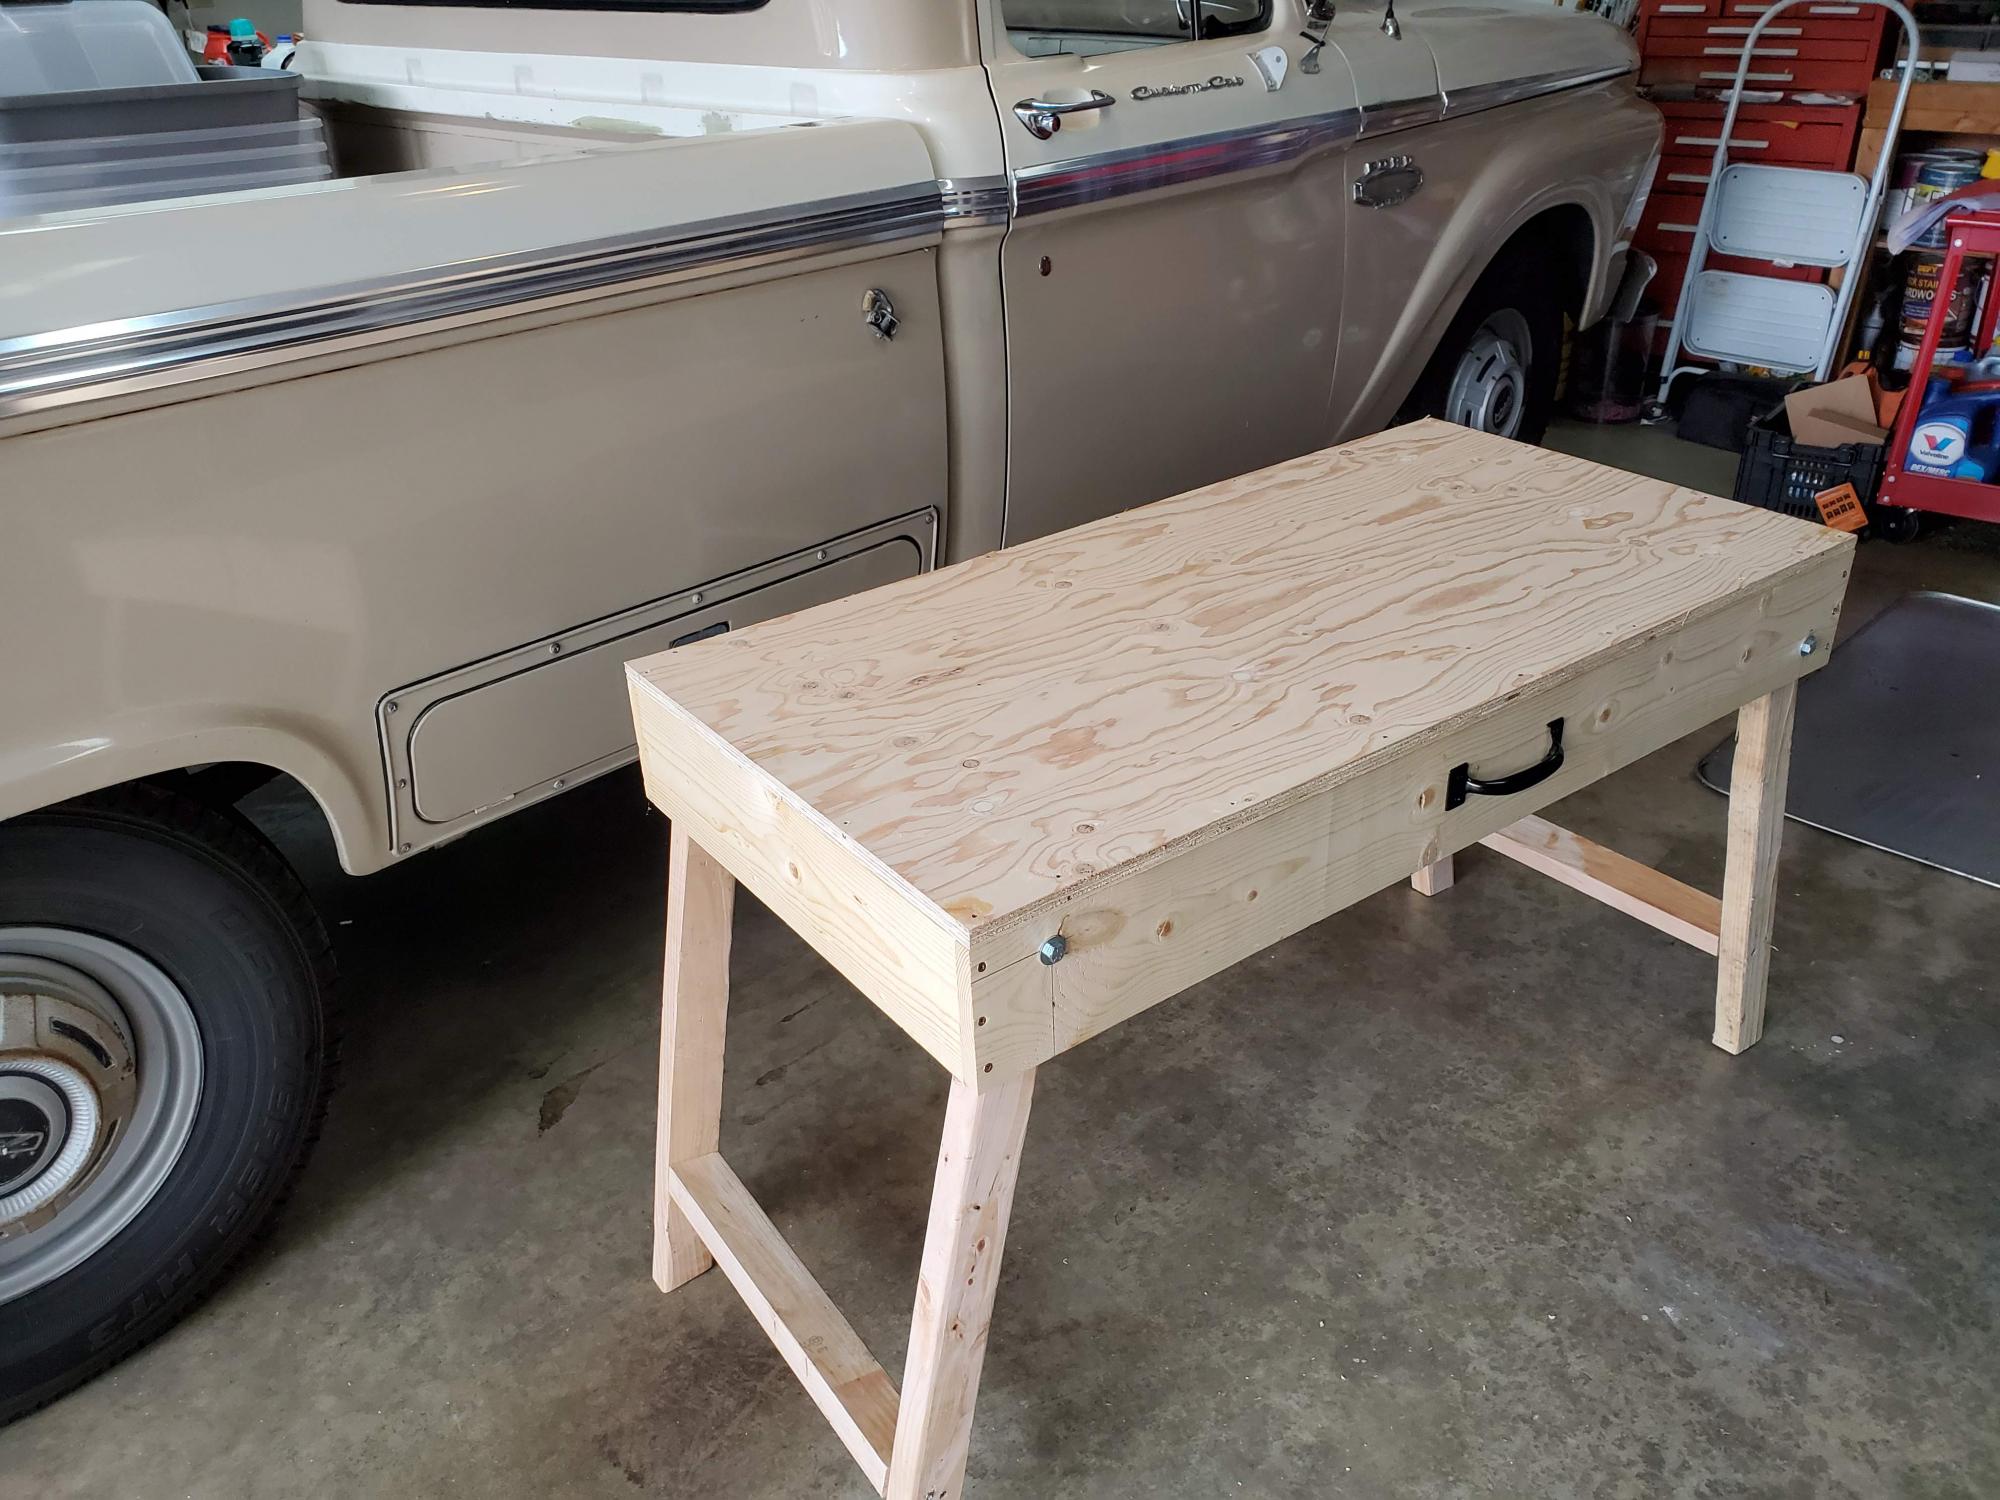
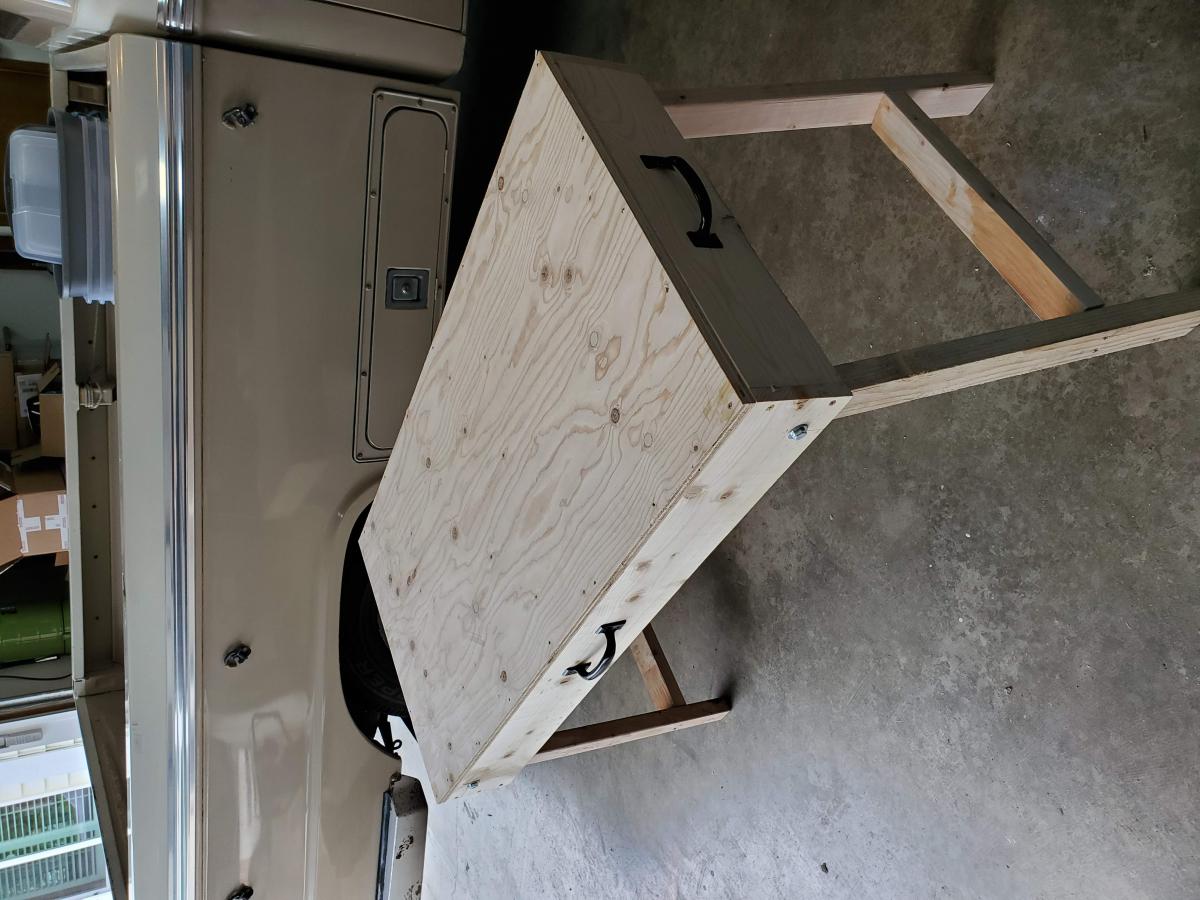
This is my first build. I thought making a work table would be the ideal first project. I'm very happy I came across Ana's Youtube channel and website. I made some rookie mistakes with the cut list. I t was my fault but a good learning experience. In the past I have dreaded any kind of woodworking project. I became very frustrated using the garage floor or some makeshift work table. This sores nicely in the garage and is very functional. I did add a handle on the side of the work table to carry it to the work site. I'm looking forward to many new projects.

It took us awhile but we built these white cabinets from scratch. It turned out great and looks better in person. Thank you for your articles!

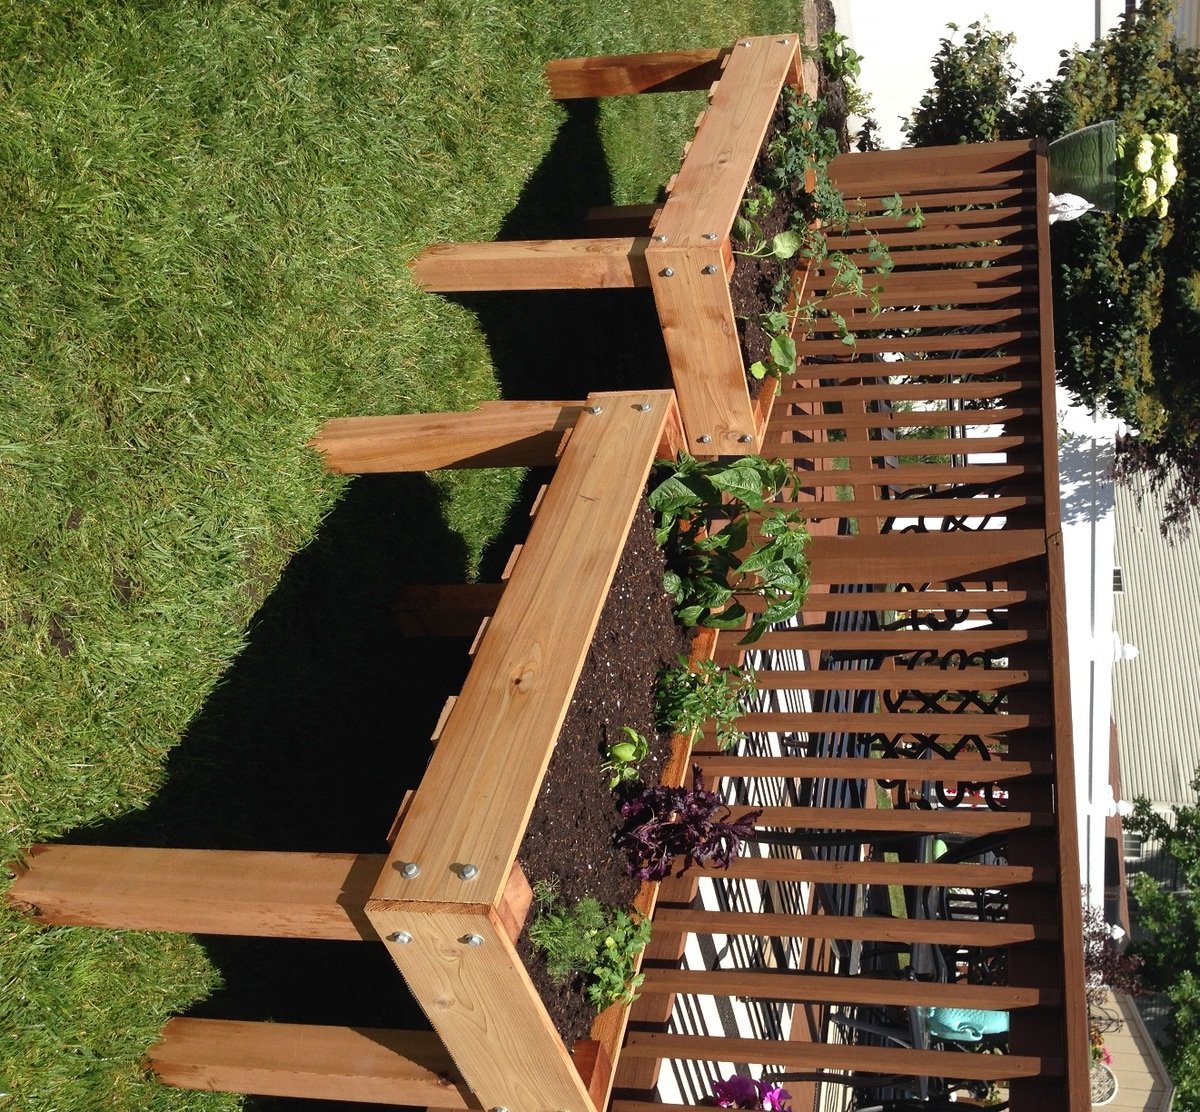
Using the counter height planter plans from Janettx. Thanks!
Mon, 09/20/2021 - 13:24
Nice job!!! I'm still using mine. I ended up putting 12"x12" pavers under each leg to extend their life. After the 2nd year now we get bumper crop out of ours each season.
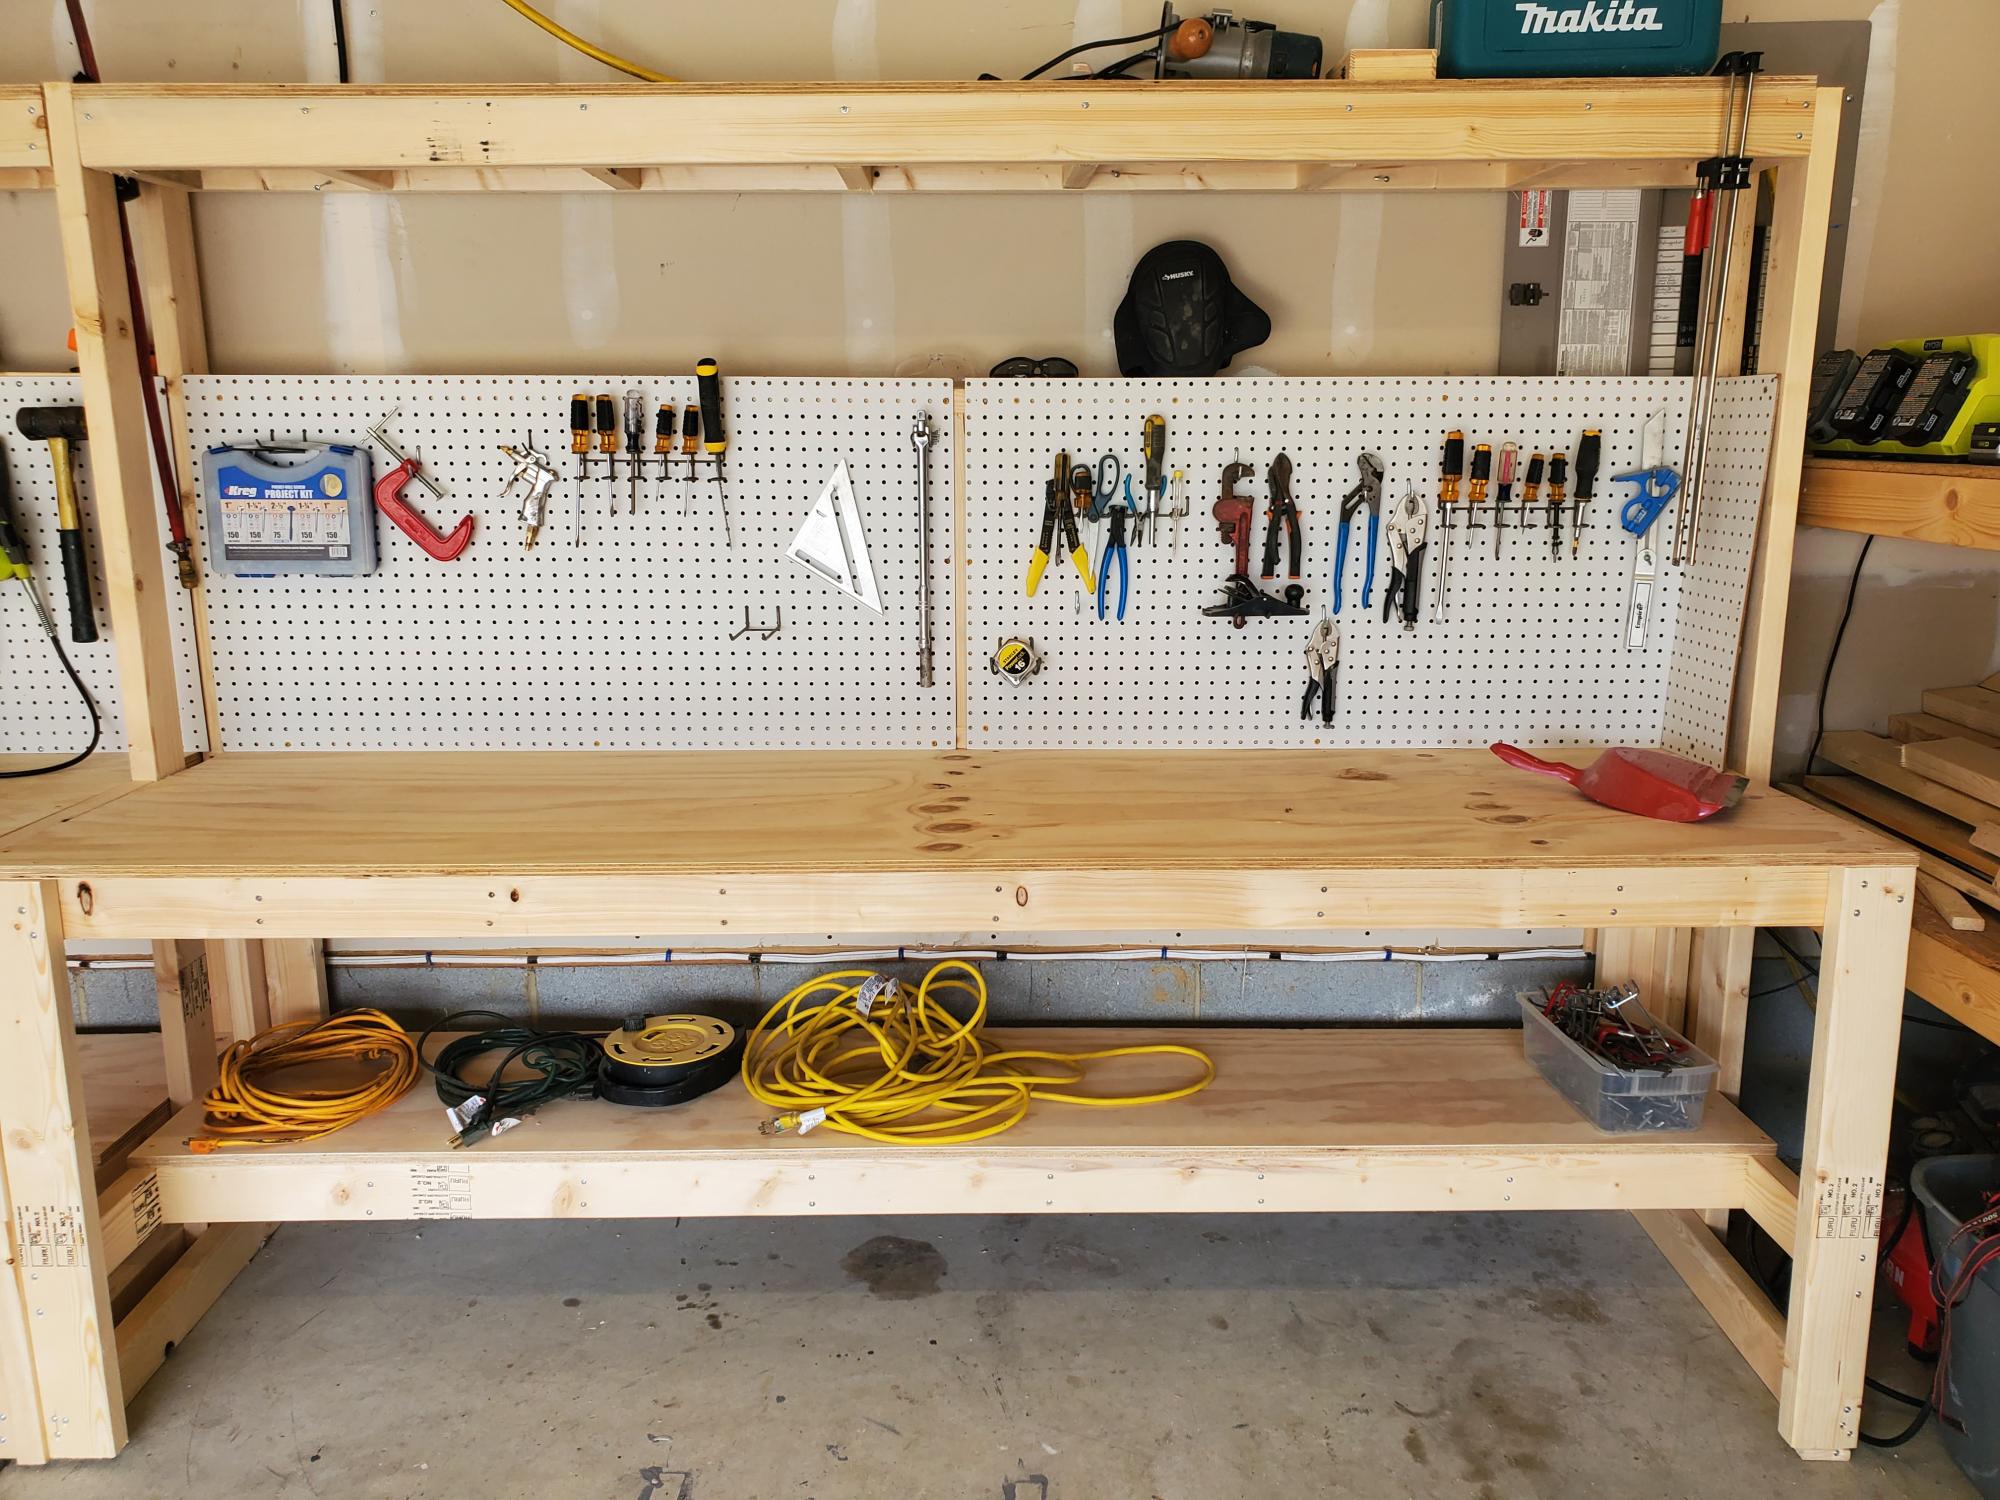
I made a workbench for my garage it was pretty easy. I also made an instructional youtube video if you want to learn how to make it. #diy #workbench #bench
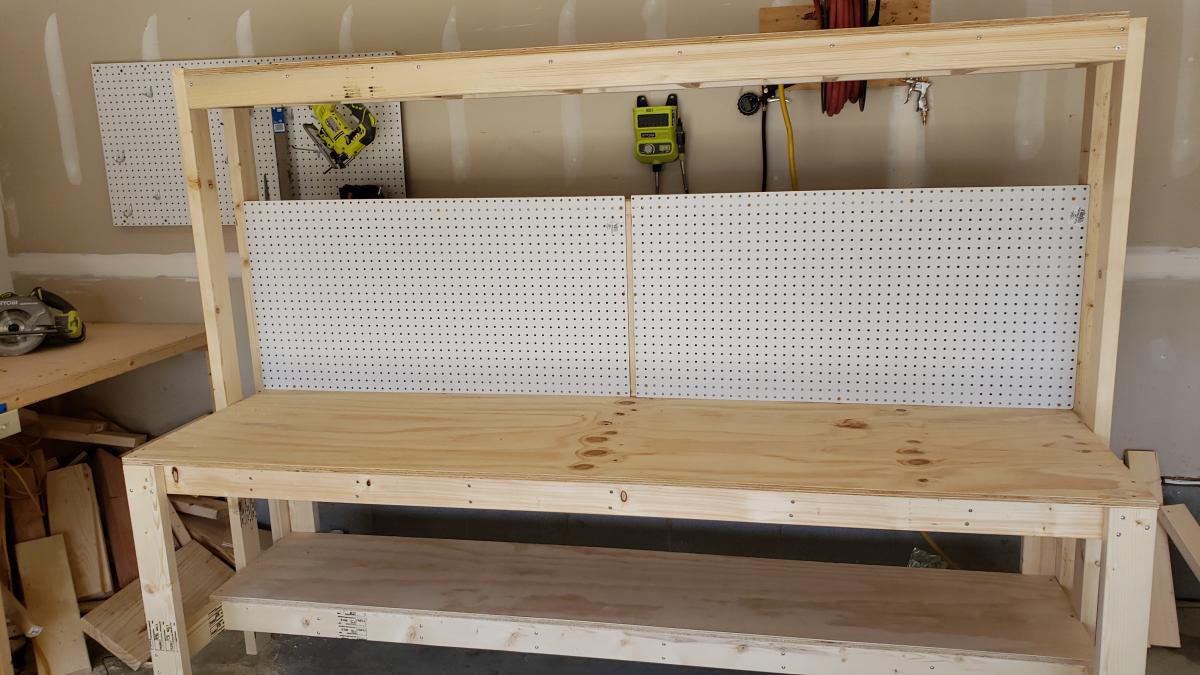
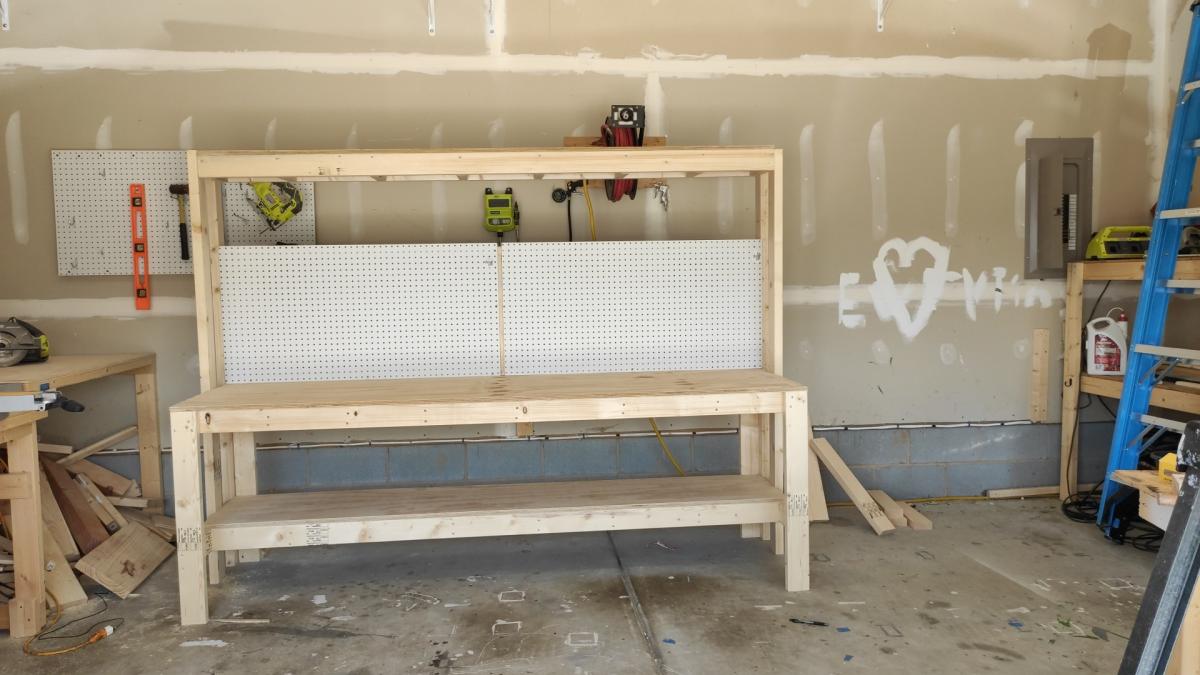
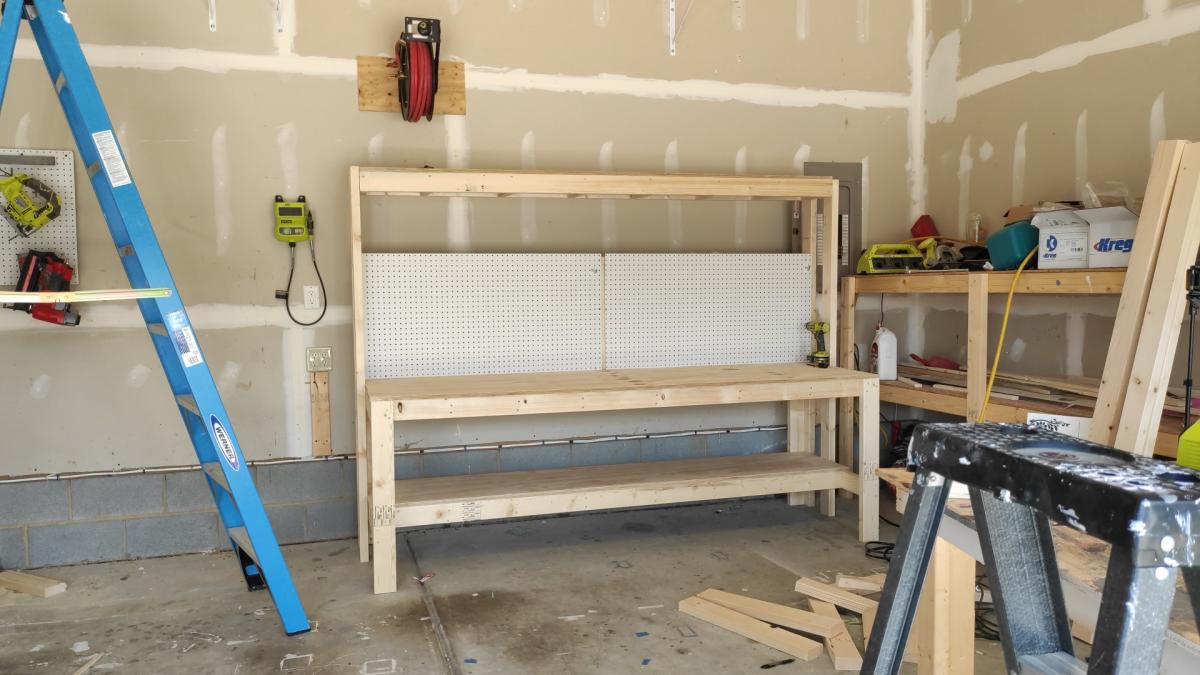
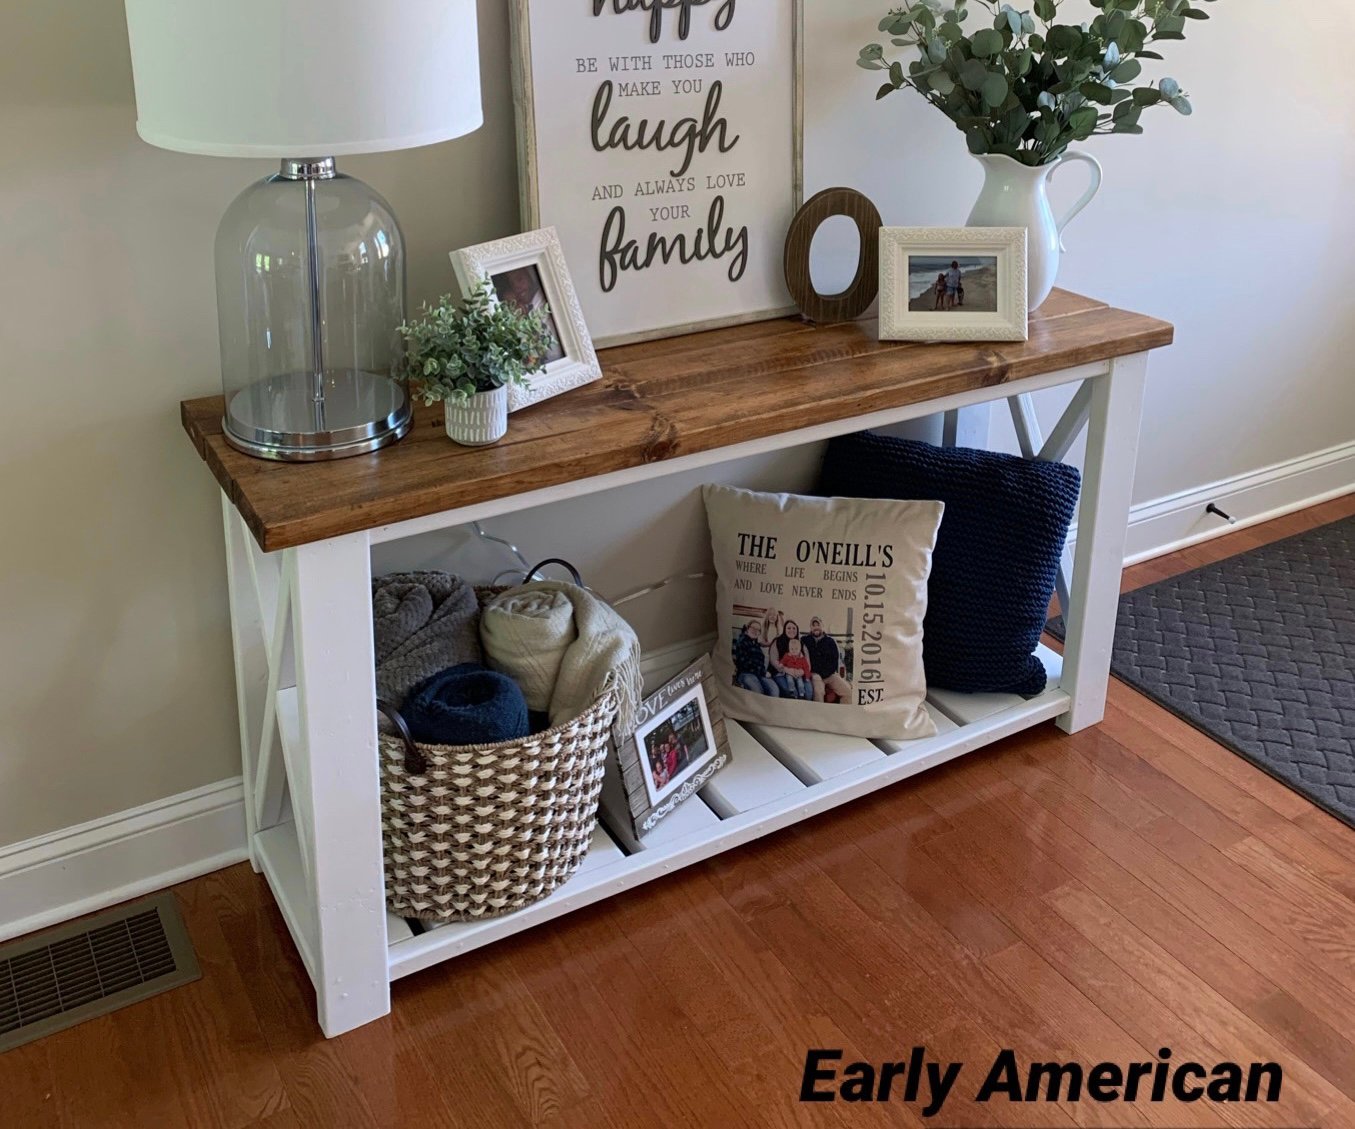
16.5” depth, 60” length , 30” height. White Satin frame , Early American Minwax Stained Top/3 coats poly satin clear coat .
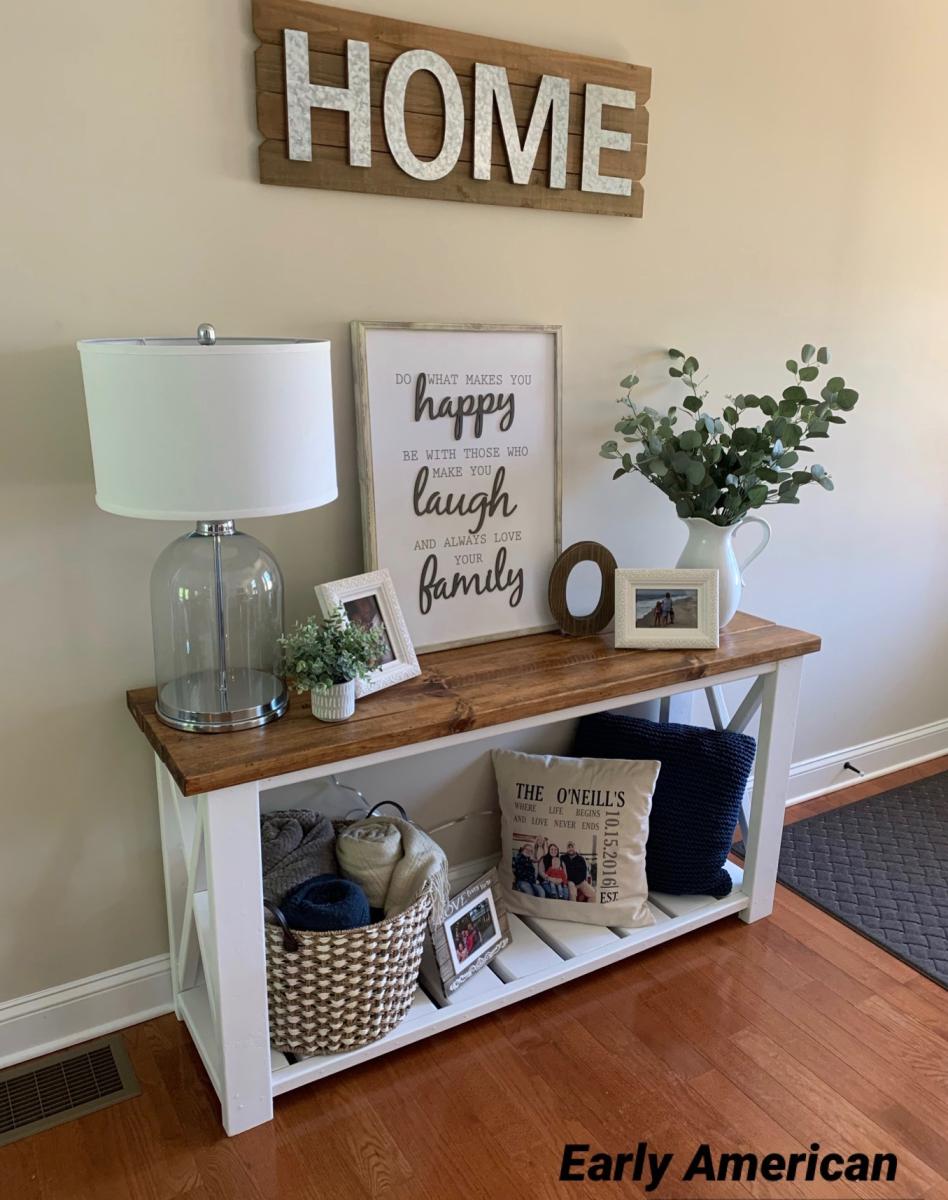
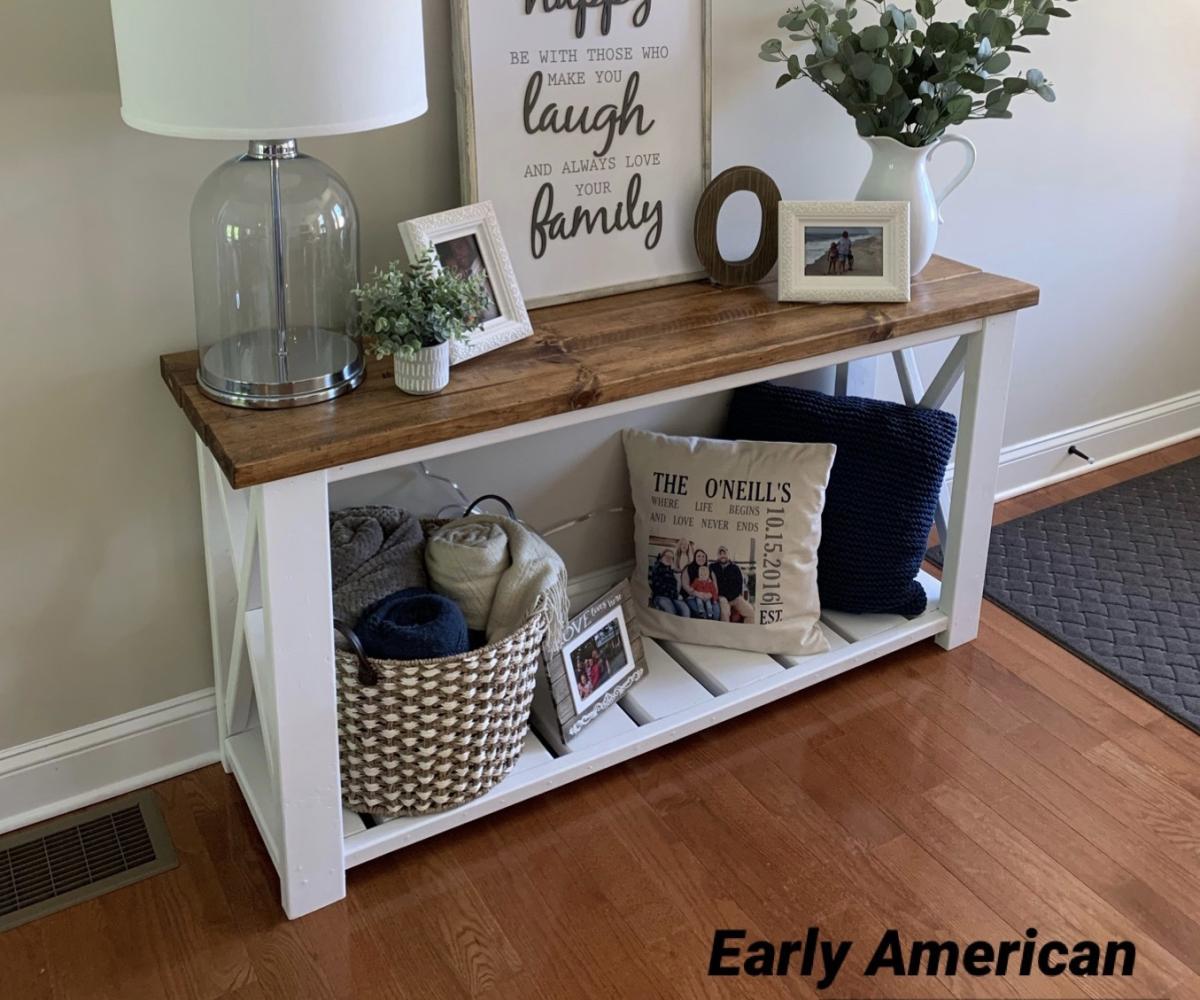
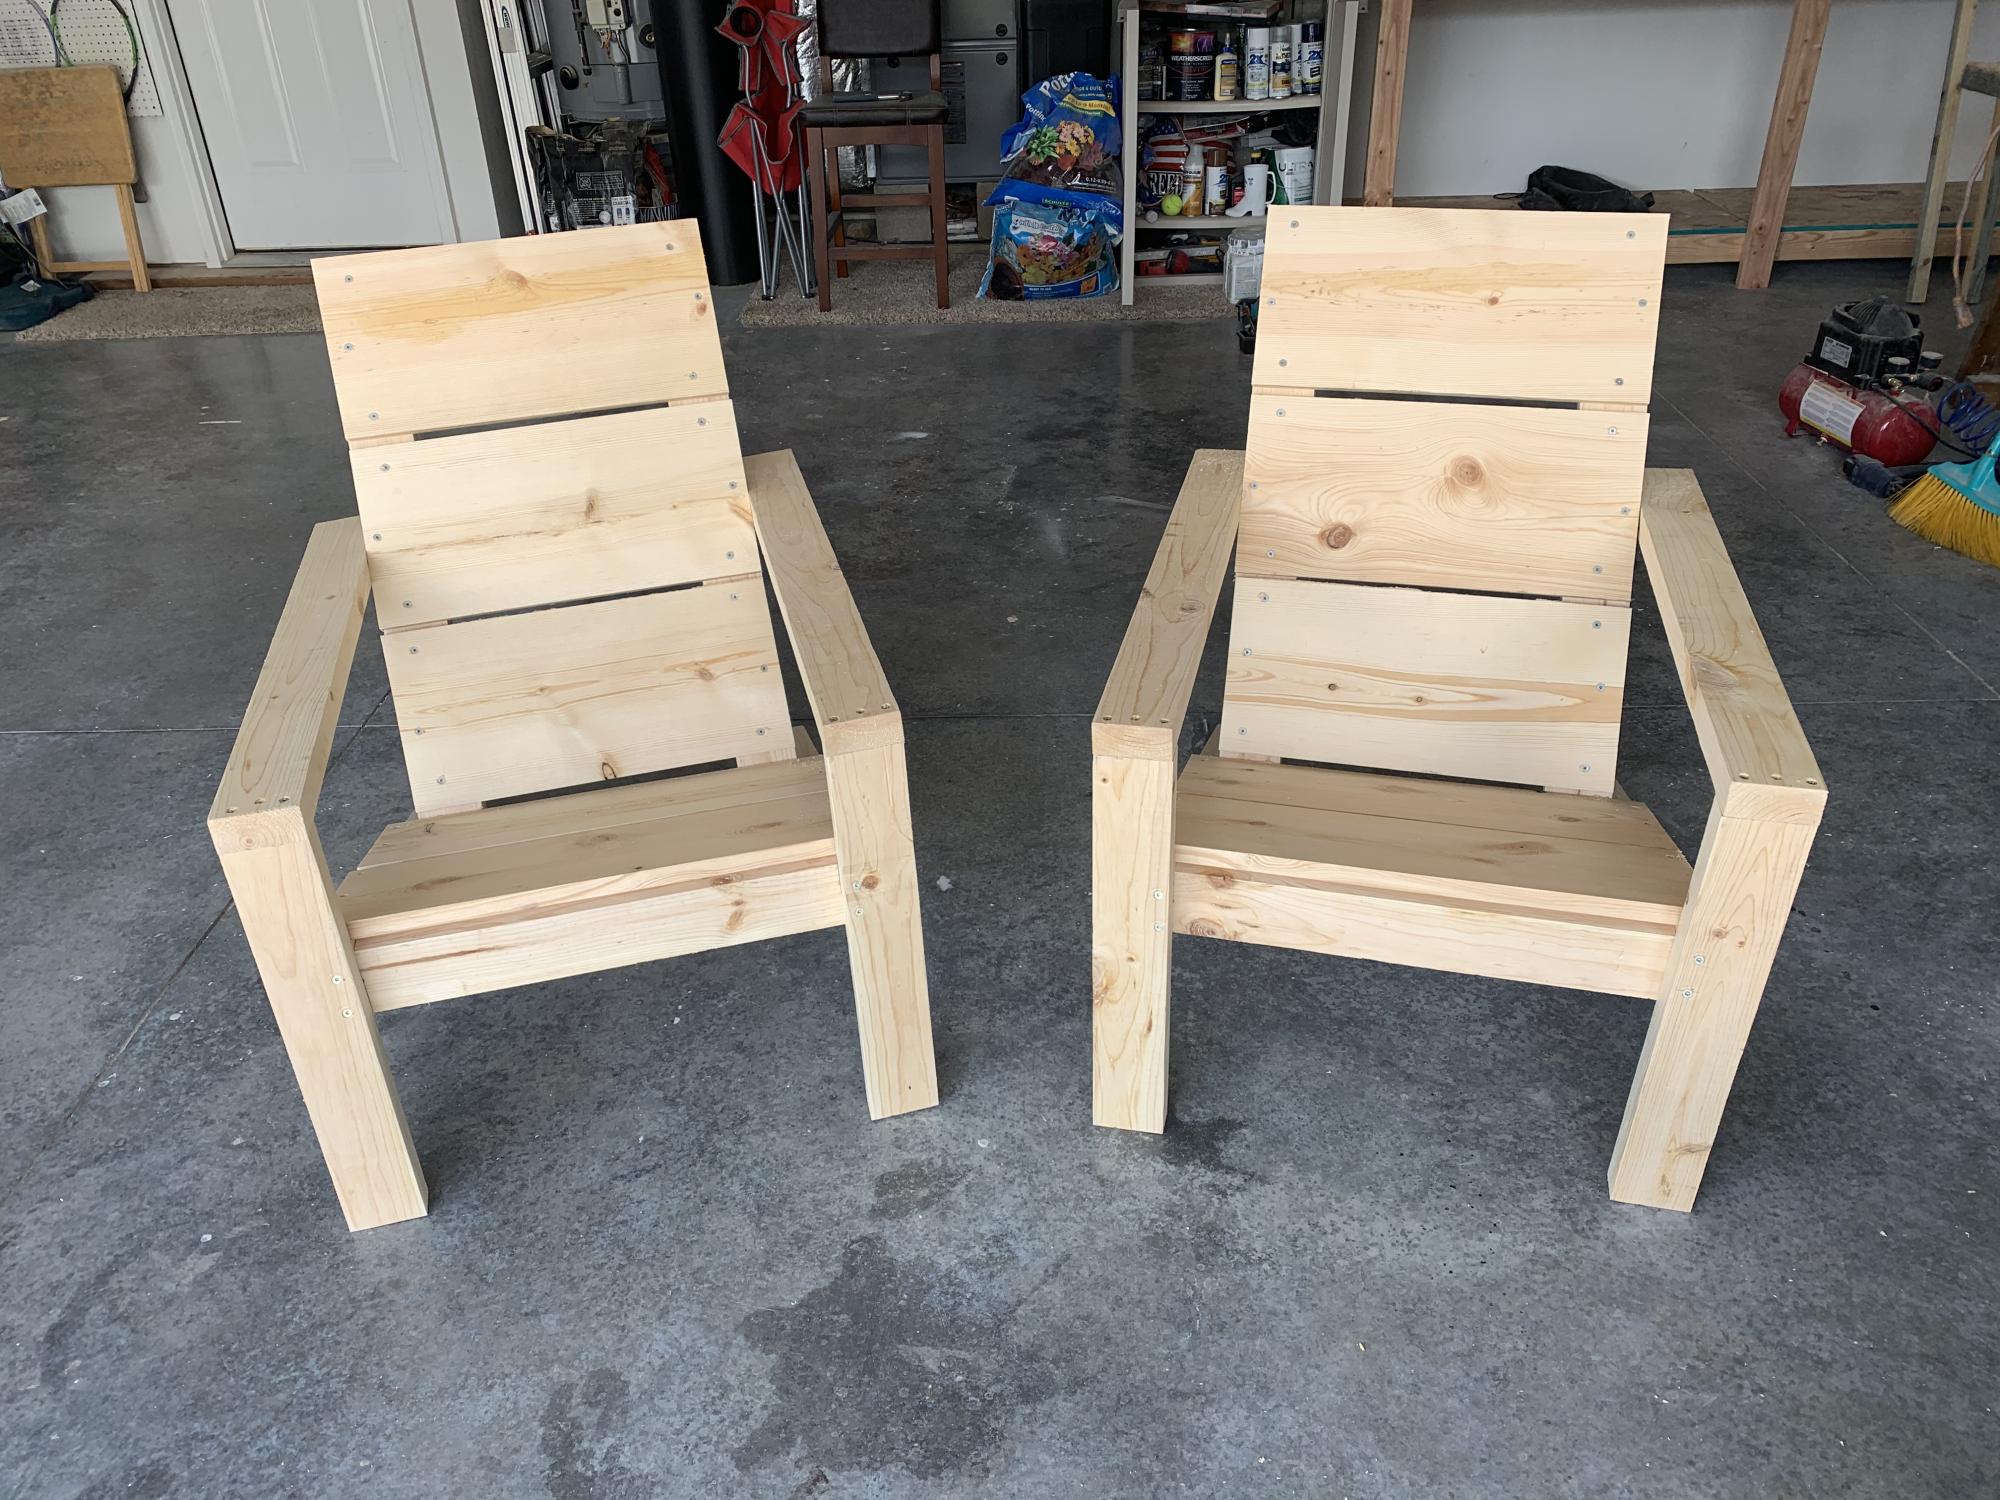
Such easy plans to follow! Thanks, as always!!!
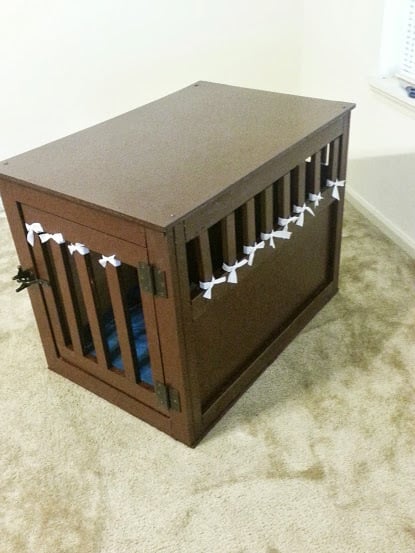
This was my first project ever. I did it around April 2013. I worked with my boyfriend on it, and I think it turned out really well. I plan on making more for friends and family. I didn't use finishing nails the first go round, so I am going to make sure to do that this time. Also, I bought the cheap pine from Home Depot, but it split terribly, and the bowing made for inconsistent cuts. I ended up going back and getting red oak to finish it up, so about 75% of the box is pine and the rest is red oak(not including the MDF board, or plywood, etc). I did an MDF board on top and plywood on the bottom.
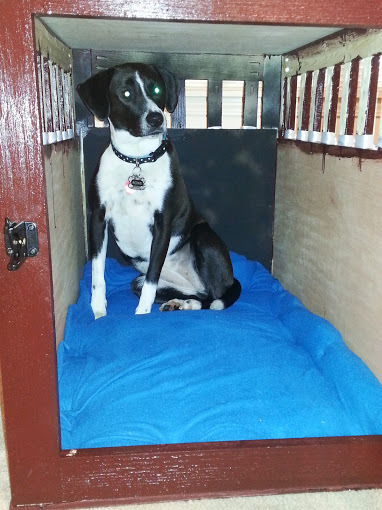
We ended up painting the crate instead of staining, and we did a polyurethane coat on the top to help protect from the eventual spills that will occur. I didn't paint the inside of the crate, mostly because you don't notice it is unfinished and I was a bit lazy. Originally I did line the bottom of the crate with cushioning and fabric and stapled it to the bottom (pictured) as a bed for Roxie; but, with the "Snowmageddon" this past winter here in Birmingham, I was stuck out on the road all night and while my apartment manager came and fed her and took her out, she did decide she was going to pitch a fit by eating the handmade bedding. Not a big deal though, now she has a bed from TJ Maxx that works perfectly.
Roxie is a border-collie/lab mix, and she tends to be more border collie in size (50 lbs, about knee height). I went directly from the specifications here on the site and Roxie fits in this well with plenty of room to stretch out. I work and go to school, so she is in the crate for about 8 hours a day, give or take, and she has been doing just fine with it.
I should note that my dog did not really like her original wire crate. We trained her with it, and she would go on command, but she never liked it. After this was built and the first time we let her check it out, I was amazed. She went straight in and laid down. Now it's her favorite spot in the house (other than on my bed of course).
I have received more compliments on it than I can count, and I have people begging me to make one for them. This was definitely worth it! Great plans!
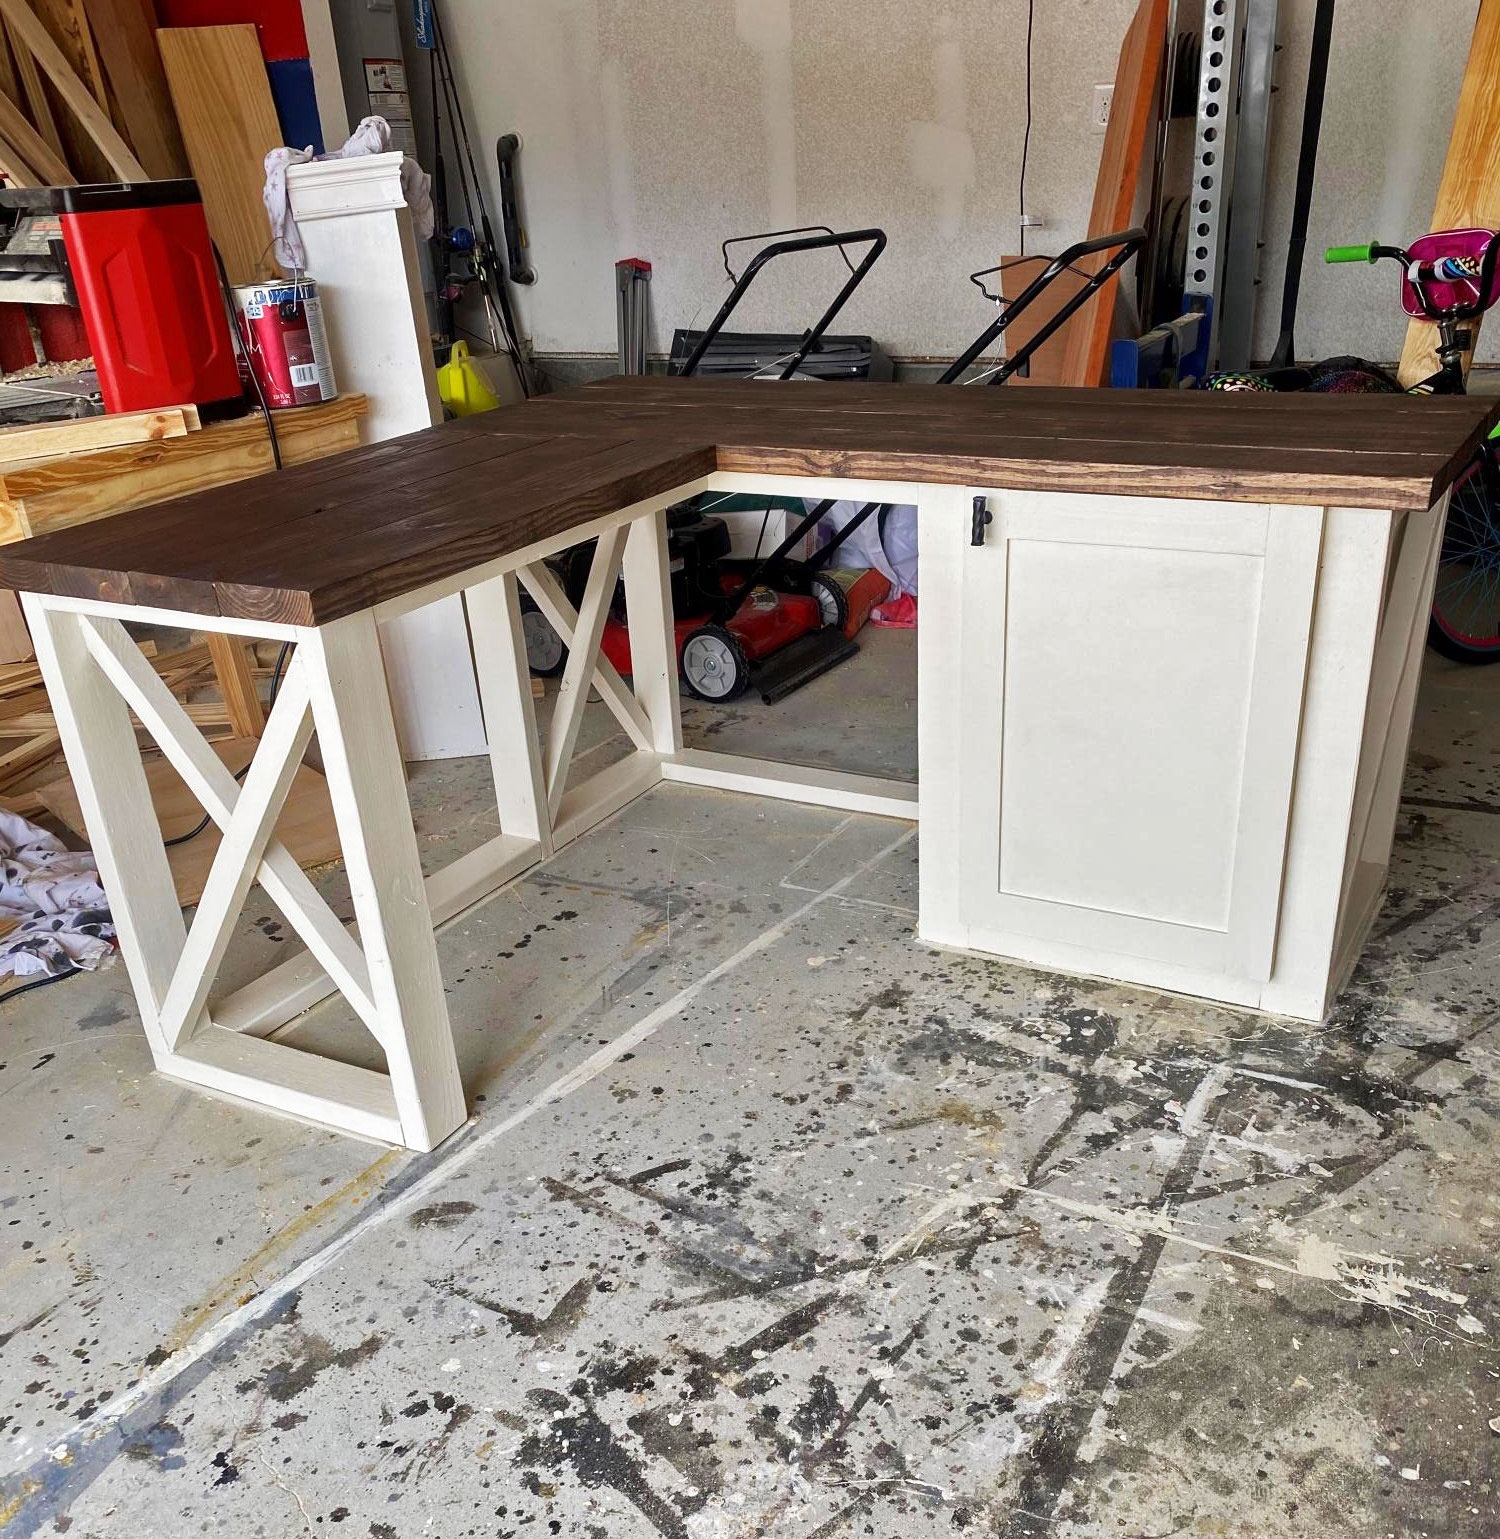
Put a twist on the farmhouse desk plans
Wed, 12/09/2020 - 11:03
This is beautiful, love the finish! I would love to see it in it's space!:)
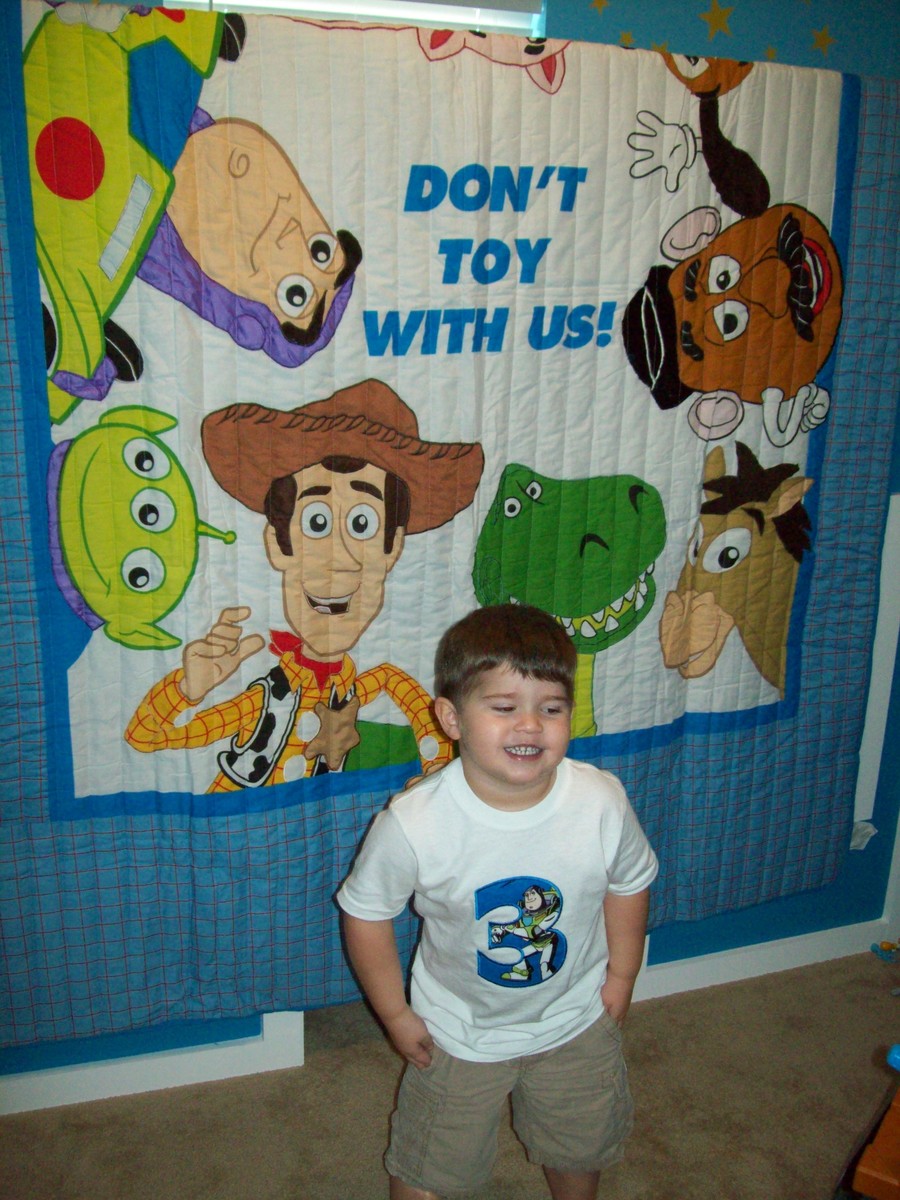
My son was about to turn 3 and I really wanted to redesign his bedroom as a birthday surprise. We went with a Toy Story themed room, he just loves Toy Story.
I started off by painting the walls blue with yellow stars like Andy's room in the movie. I added some custom painted art work and then it was off to find a cool playhouse bed. My husband and I were shopping around and we could never really find what we were looking for in the store. So we decided to build one ourselves using plans from this website.
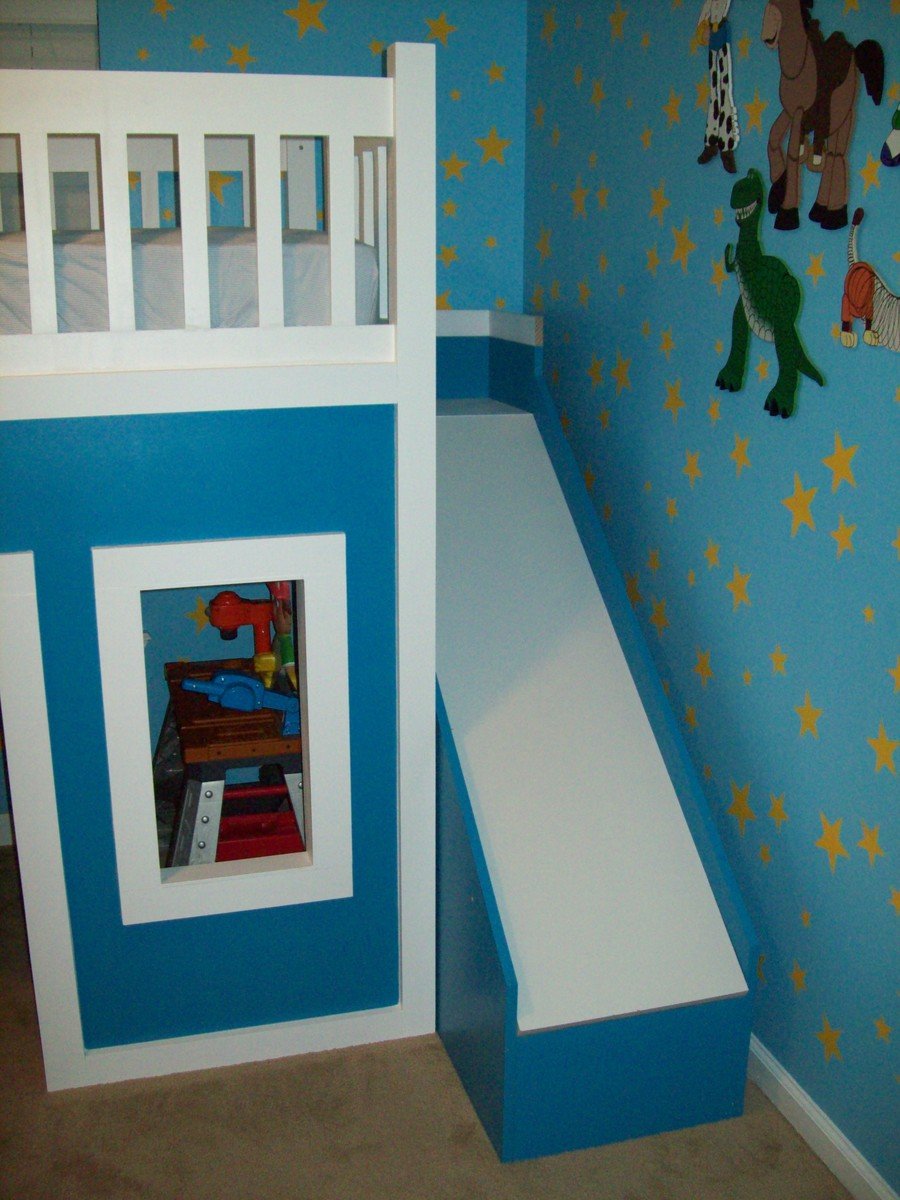
I used the playhouse loft bed and the playhouse loft bed stair plans, for the bed and the stairs. I used the castle loft bed plan as inspiration for the slide. The project took us about 5 weeks from start to finish. We both have full time jobs and we did most of the work on the weekends. I looked at each plan very carefully and made notes. I had to modify the stair plans slightly to fit the space where we wanted to put the bed. The stairs look narrow, but they work just fine. My husband and I can both use them to get up in the bed. The stairs feature hinged stair tread with built in storage. We built them like that at first, but then later decided to make them stationary stair treads, with plywood. I didn't like the way the hinges looked and the top stair was so deep that I was worried my son would fall in there and get stuck. The storage idea was neat, but his safety was more important to me. The bed turned out really nice and VERY sturdy. Both my husband and I are able to get up there with my son (not at the same time).
Another modification that I made was instead of slats to hold on the mattress, I used a piece of plywood. I wanted the roof in the playhouse to look finished, and I didn't want to see his bedding hanging down from the slats. I painted the top of the plywood white, where the mattress goes to blend in with the slats, and the other side was painted blue to match the walls inside the playhouse.
I did modify the playhouse front facade to have 2 windows and one door. I like the symmetrical look. The total project cost about $400. I used birch plywood and select pine boards, and about 6 quarts of paint. I noticed AFTER we had finished the bed using the birch plywood, that Home Depot had cabinet grade plywood on a random end cap, that was just as nice for $12 less a sheet. If I could do it all over again, I would definitely use that!. I wanted the paint to have a nice smooth finish, without having to do a lot of sanding or patching.
We had Home Depot cut the plywood to the dimensions we needed. I had my husband cut the rest of the wood dimensions listed in the plans, and then I painted all of them before we put the pieces together. I used a small roller and self priming paint. The paint finish looks great. After assembling the bed I can not imagine what I would have gone through trying to paint it after the fact.
The slide was a bit tricky, I looked at the plan for the castle loft bed and attempted to use those dimensions, and for the most part they worked. But when we went to assemble the slide, we did end up recutting some of the wood to different dimensions. I used a piece of the melamine coated closet shelf material for the slide.
It is already finished in white and its nice and slick, like a slide should be! I hate MDF, but for this it seemed the best fit. We cut the top edge at an angle to meet up with the slide platform. PLEASE BE CAREFUL with this material. After it was angle cut the edge was razor sharp and I sliced my fingers up. Once it was installed it butted up perfectly to the slide platform, and the edge was hidden and not a danger. But use caution during the install.
Clamps are your friend! We used Kreg clamps for everything. They kept the wood in place while we were screwing the parts together. The coolest thing that my husband came up with was clamping two identical pieces for plywood together, and drawing the template for the slide support walls. Then he used his circular saw to cut them out. We ended up with two mirror image pieces. They looked awesome. I left them clamped together when I sanded the edges as well.
We really didn't have any building experience other, than building tables and chairs for children, We got the deluxe Kreg jig kit and a miter saw on Craigslist for $50 each and they were both practically brand new. This was the first time we had ever used a Kreg jig and we are both addicted. That thing is the bomb.
We locked my son out of his room for a week while we assembled everything. We had the big reveal at his birthday party and all of the guests were excited to see it after seeing my facebook teaser posts of our progress. There were 8 kids up there at one time and the bed did not budge. They all enjoyed the slide. I did the planning and paint and my husband did an awesome job making all of the cuts and sanding everything. We are both very proud of the final product. My son love his new big boy bed.
DISCLAIMER: This bed is not recommended for a child under 6 years old. My son is mature for his age and we monitor him carefully.
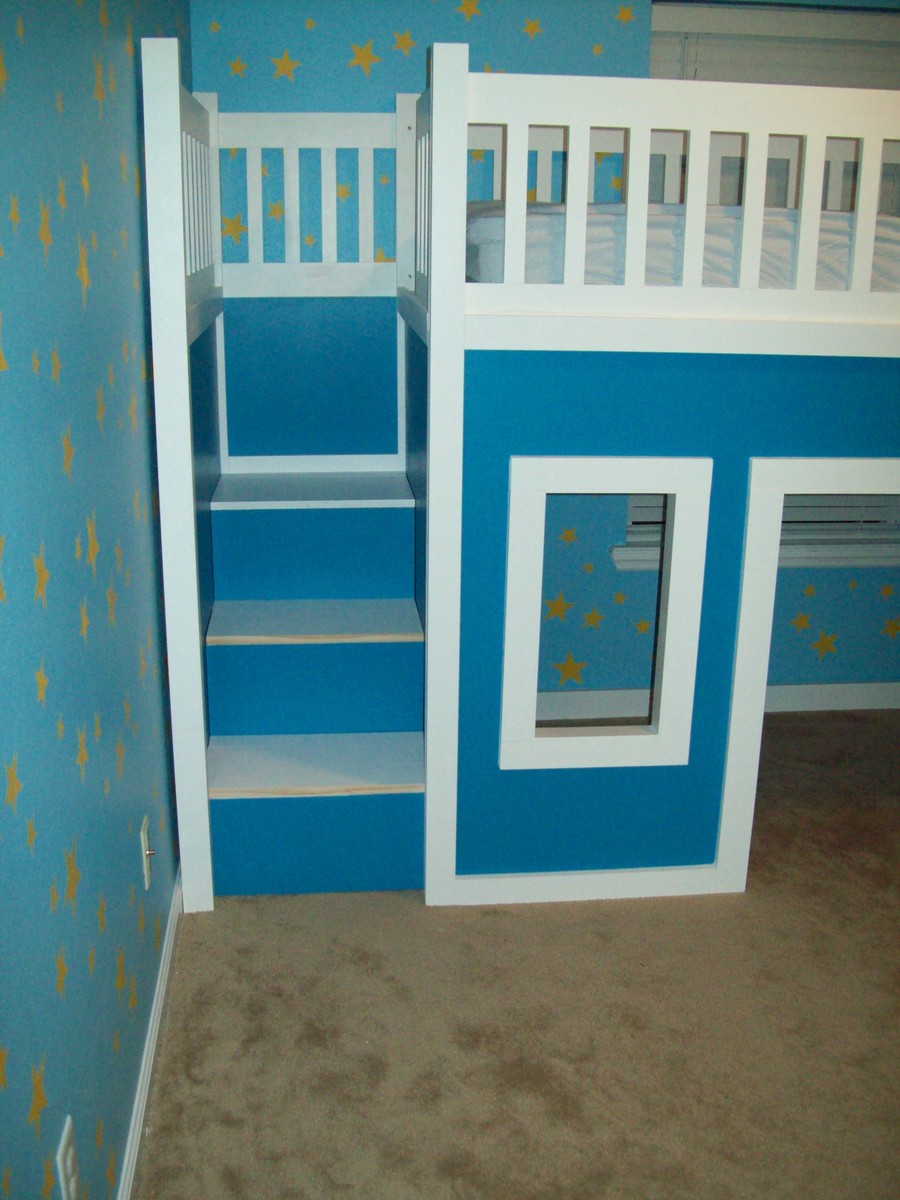
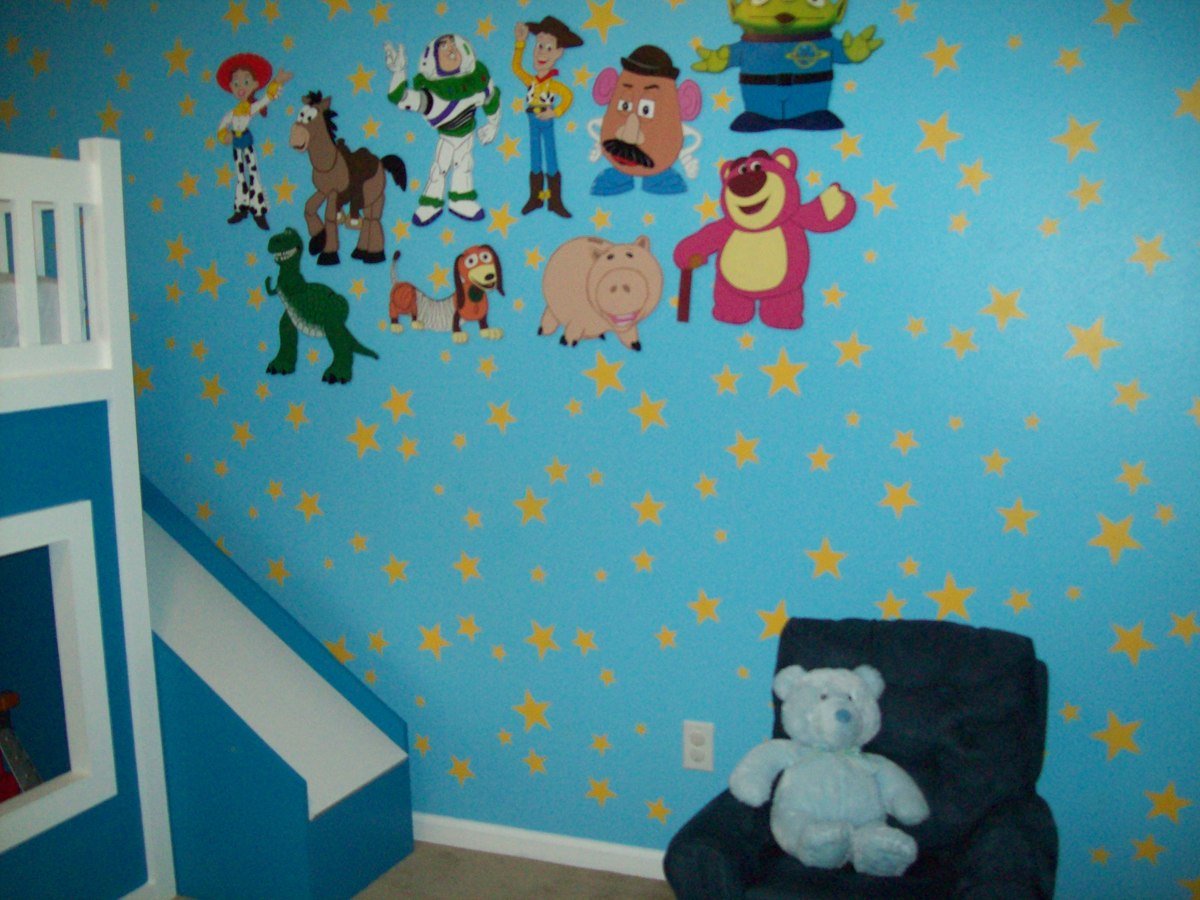
Mon, 01/21/2013 - 12:41
This bed is awesome. My boyfriend and I want one just like this for are son. Did you happen to write out all your dimensions? I would love to make this bed for my son.
Mon, 10/20/2014 - 03:10
I also would like to know the finished dimensions of your project. What is the hight, length, and depth?
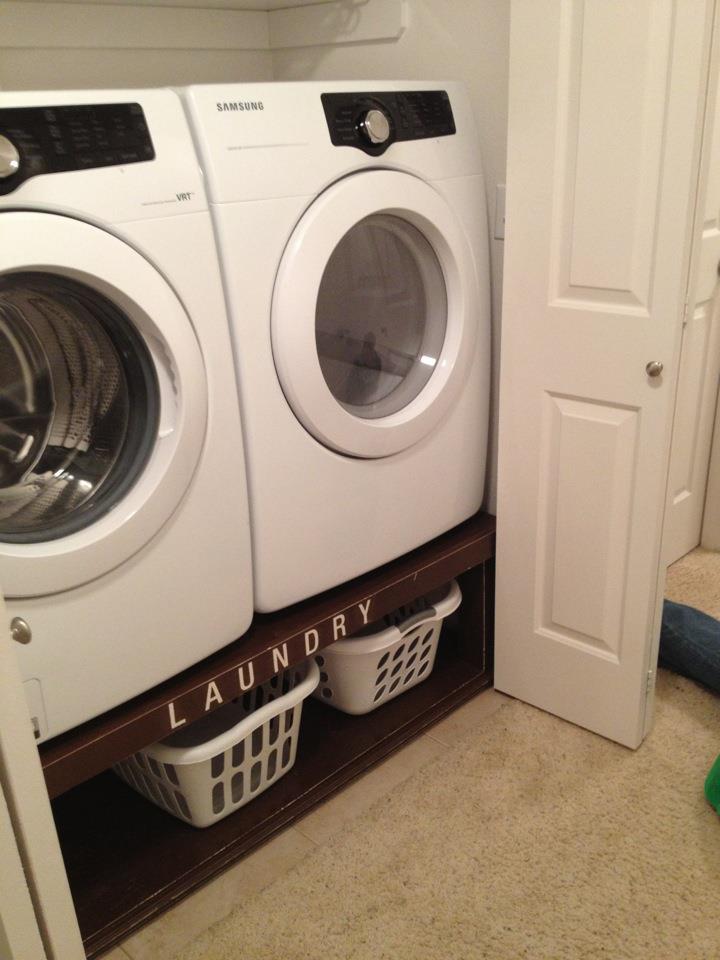
This is my version of the washer/ dryer pedestal. I changed a couple of things and made it smaller to fit in my closet but I am very pleased with the outcome. This is my very FIRST project to do in my home and although it brought tears a couple of times, it is very sturdy and extremely useful. It definitely makes a difference and my husband hasn't stopped doing laundry since we put it in so I am SUPER happy!
A few things about the project, it took me much longer because I am a beginner but it was definitely worth taking my time. It is not completely perfect but it goes in a closet and it for laundry so the main thing was sturdiness for me. I spent quite a bit of time painting it and researching and trying different techniques. I believe she used MDF cover for the final touch so hers looks more flawless. I need to go back and fill in a couple of scratches from where we knicked it with the dryer but it serves the purpose.
Fri, 11/09/2012 - 19:39
I too started my first project and hand many moments of sweat, tears, and soreness( mostly the day after) but we finished it an although its not perfect it slowly started to look better...lol I just had to give you some kudos because I think it looks great and its even better because you made it. Hope to see more!
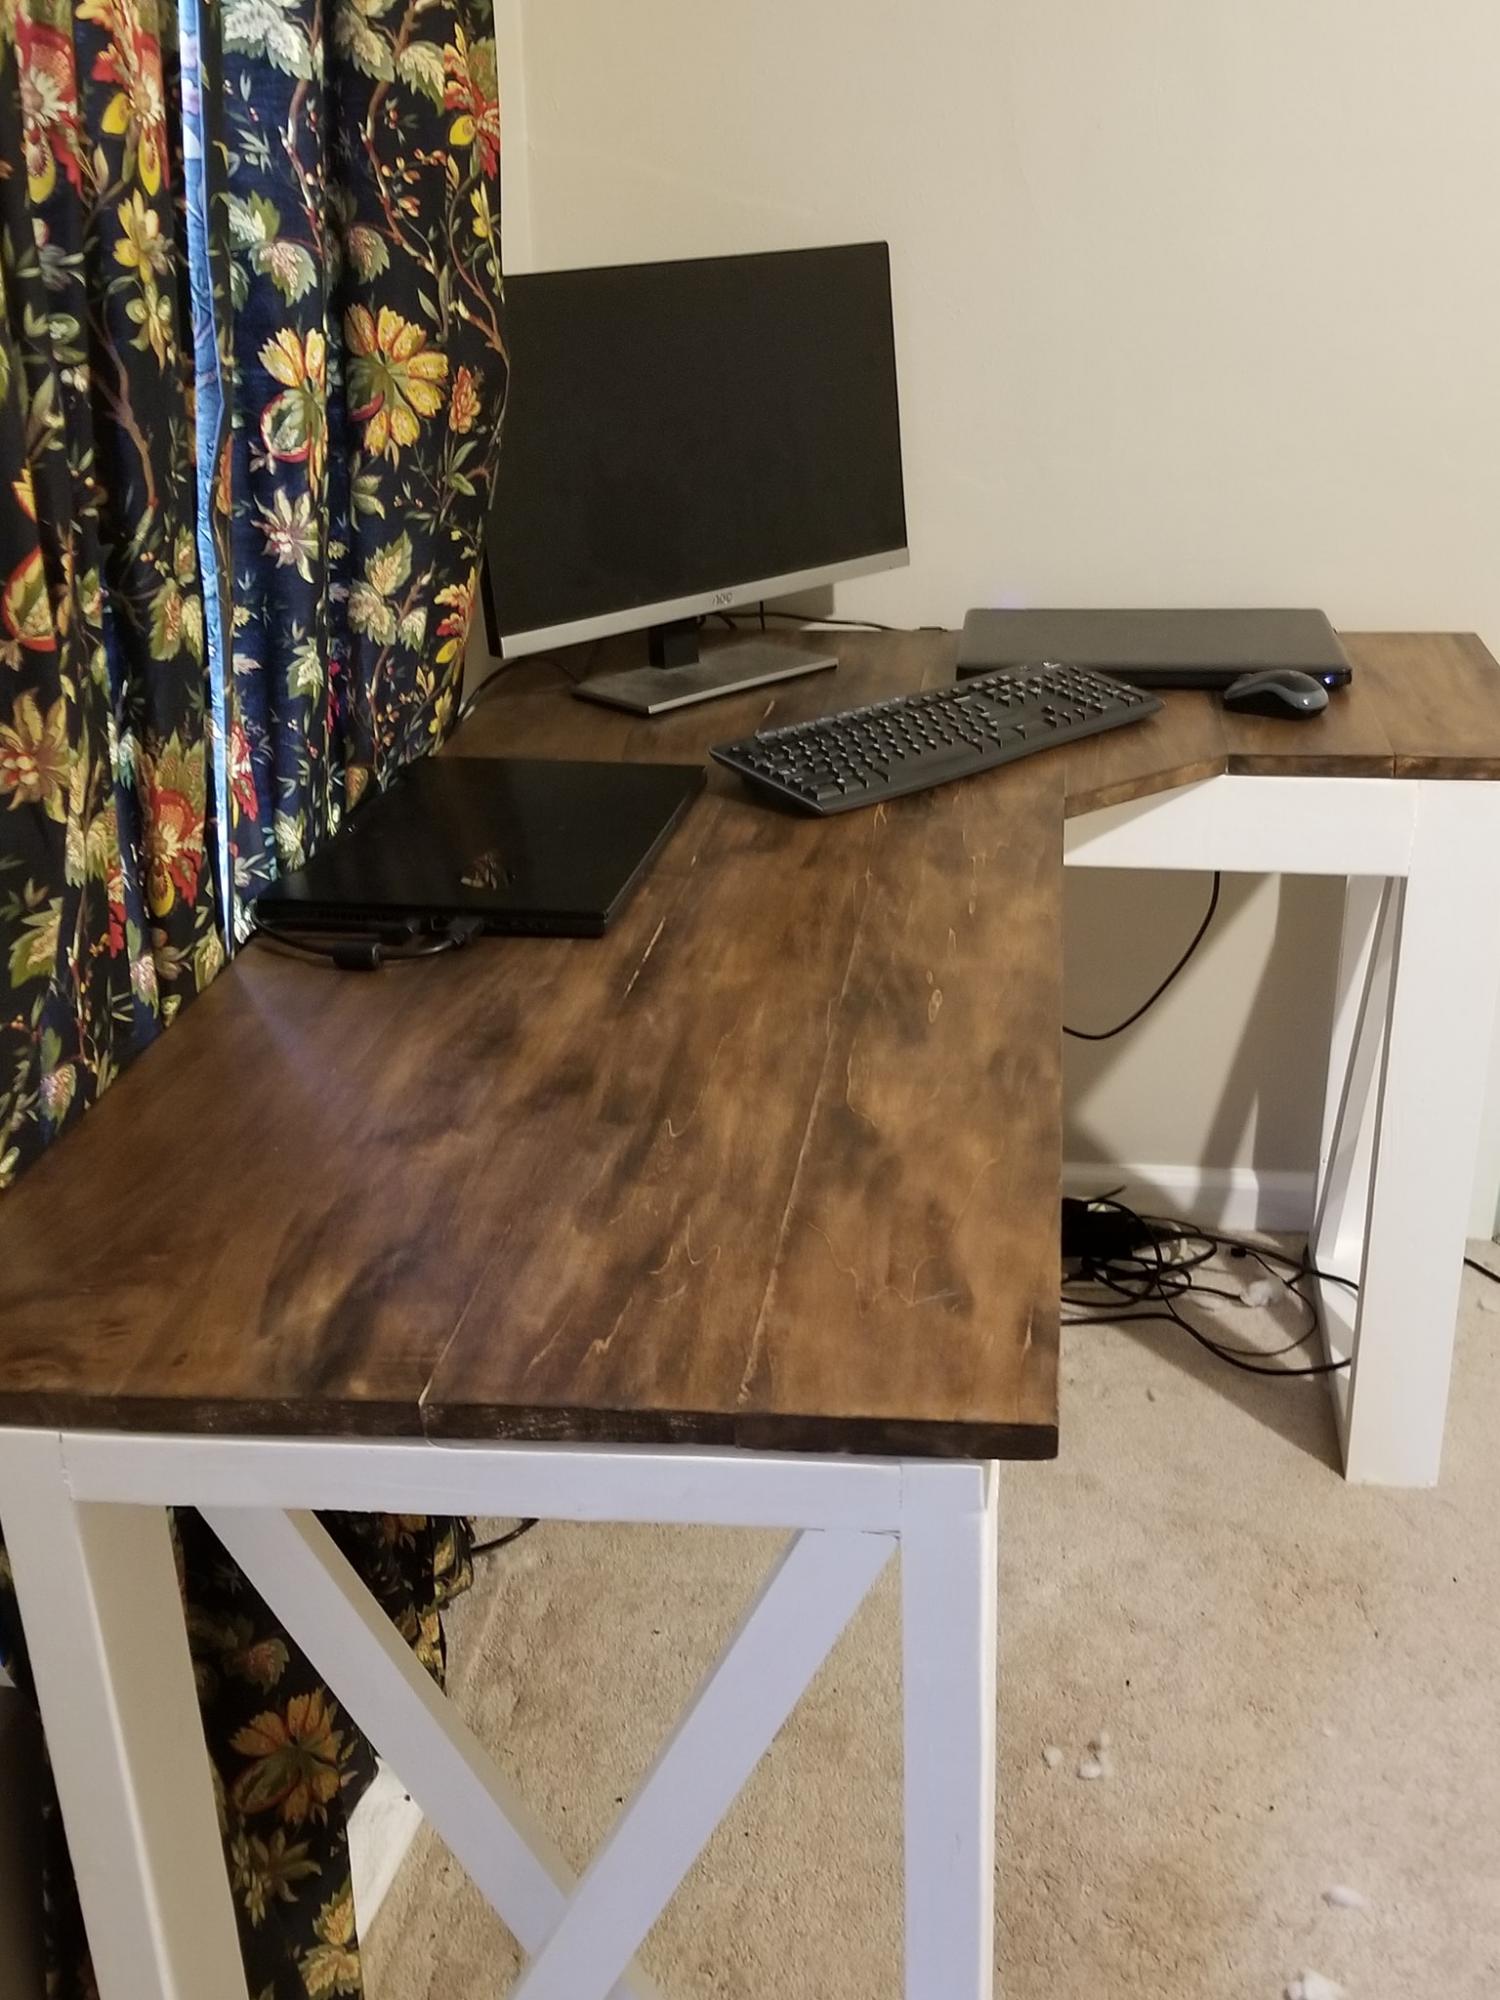
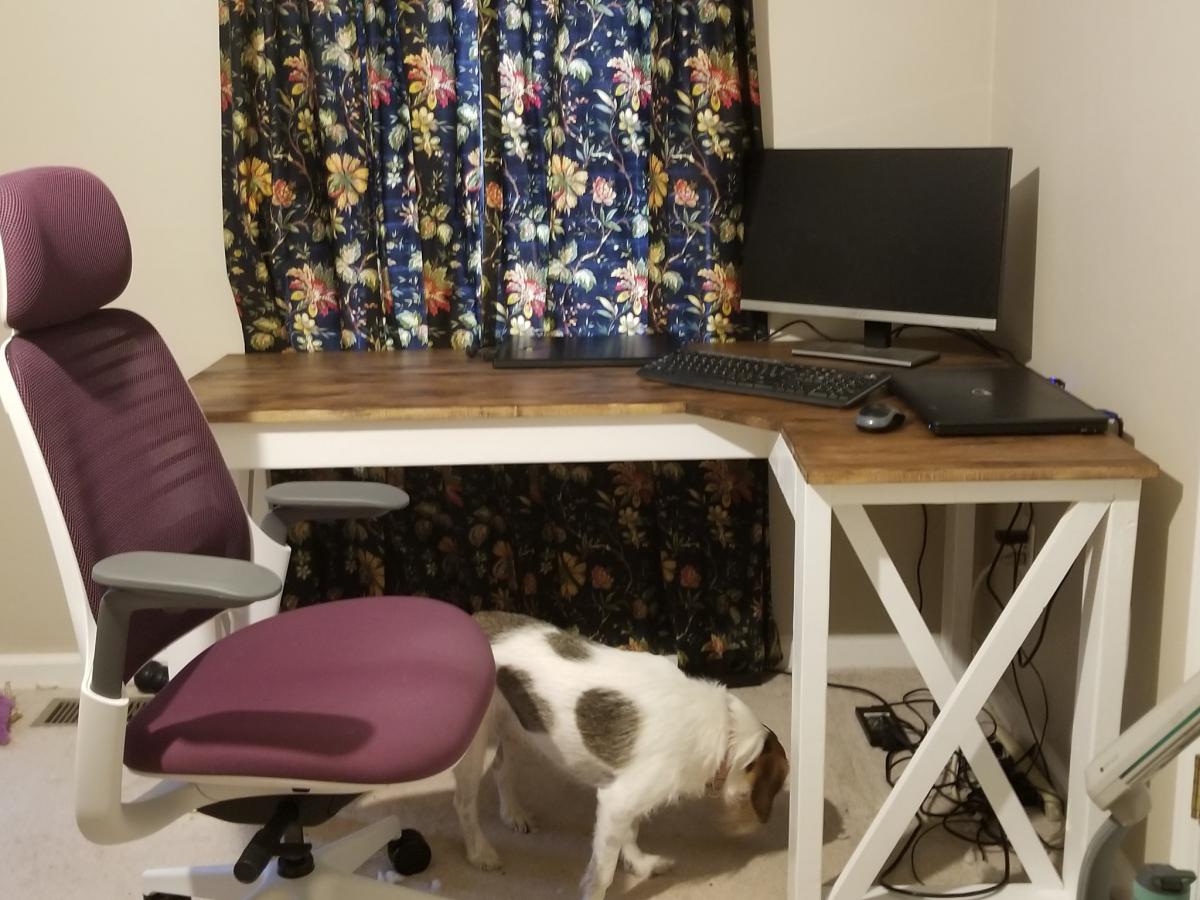
I modified this plan for the short leg to only be 37.5" and the long leg is 60" to fit my space. The bottom is painted white pine, and the top is poplar stained with Minwax Honey and 2 light coats of poly. I also cut a 45* angle in the top to make sitting in the corner a bit more comfortable.
Project was completed in one week (including finish drying time) for about $100.
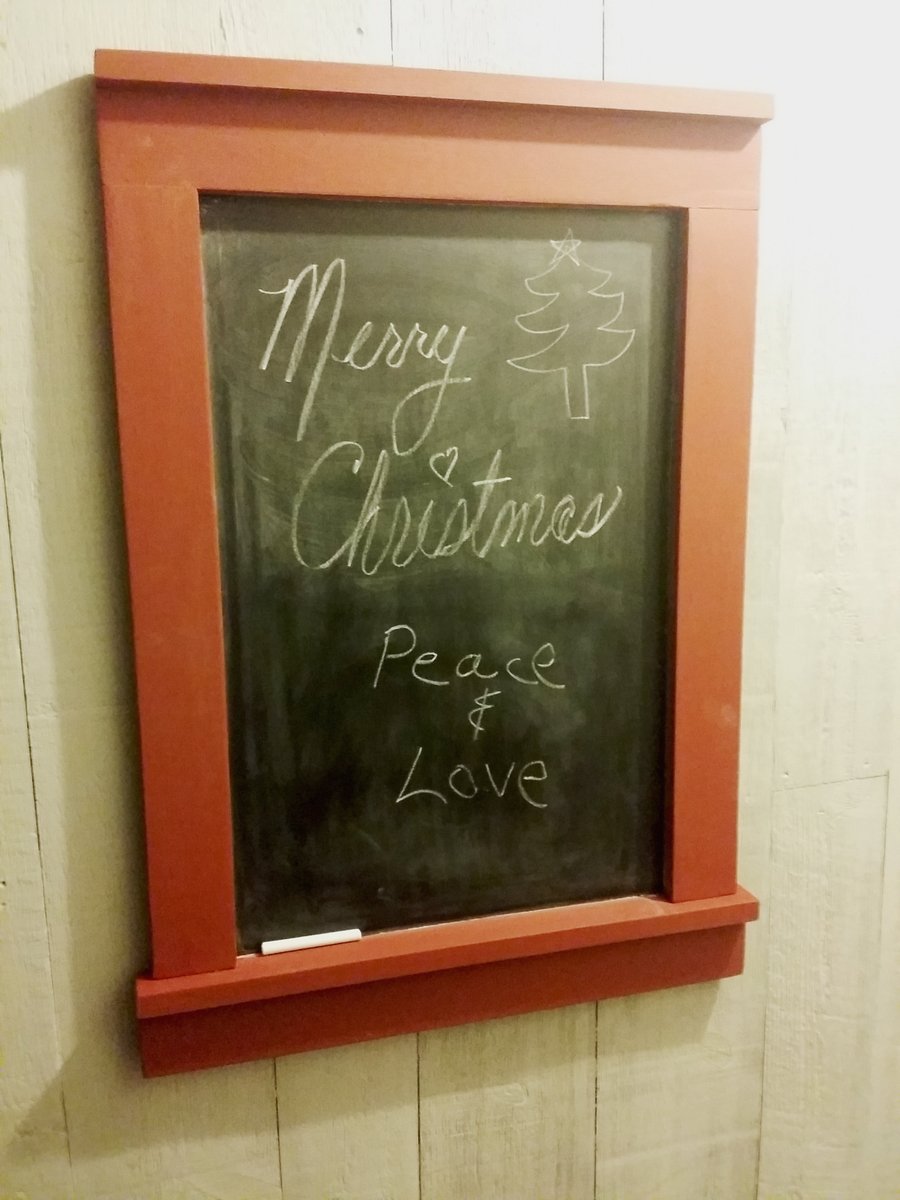
I made this craftsman frame to fit a 16" x 24" chalkboard. I followed the plan, using 1x3's and 1x2's, attached with a Kreg Jig which made it easy. Oh, and glue. I usually buy full sheets of plywood and paint them with chalkboard paint but time was short and I used a 24" x 48" prepainted panel. I cut three 16" x 24" chalkboards from this panel.
I allowed 1/2" all around the inside dimension in order to glue and staple the chalkboard to the back of the frame. I decided to paint them all with a barn red paint sample. Cheap enough and they're going under the tree to three family members!
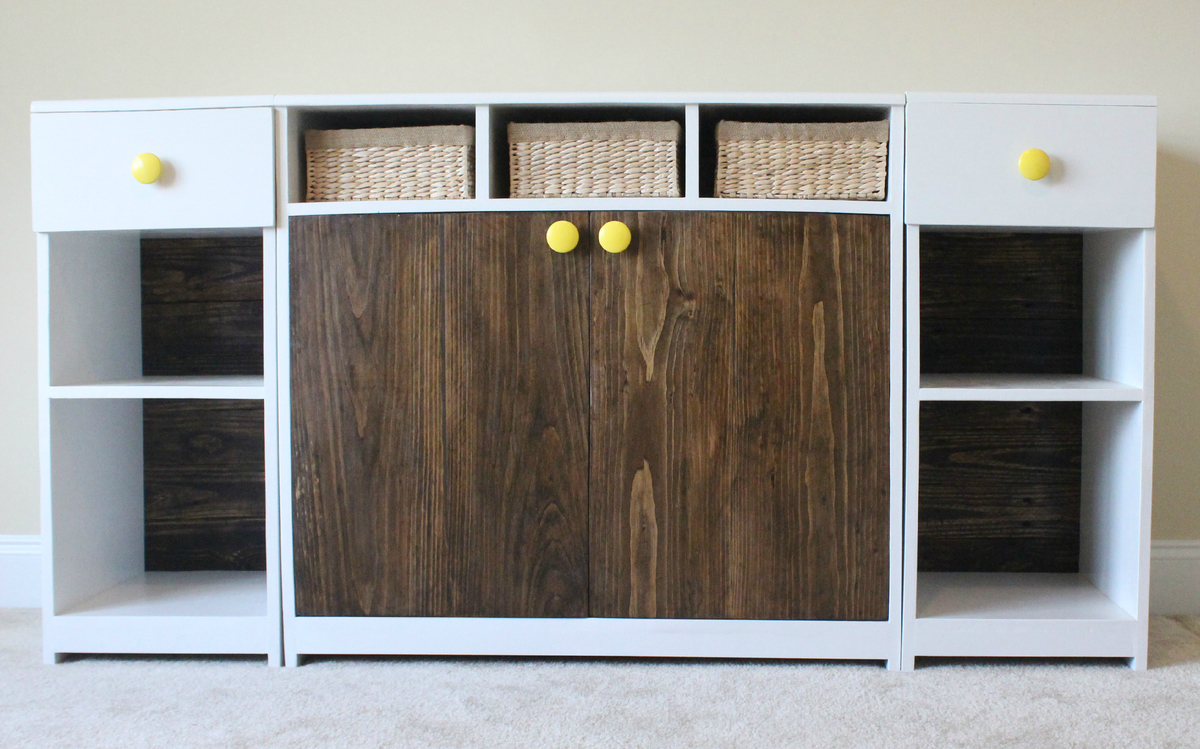
We made some significant changes to the shelves/cupboards. Since we were on a bit of a time constraint with the impending arrival of our little bundle of joy, we decided to nix the drawers all together and instead make three open face shelves. This made the larger cupboard and door face area a little shorter than in Ana's plans. We made most of these changes on the fly while sitting in the garage..
We have a big move coming up and probably won't put the hutch, center base, and side bases together until after the move. We'll post pictures of everything put together once we get settled.
Oh, and for some reason I've been calling this the Madison Changing Table. . When it is actually called the Madeline Changing Table.. whoops!
We wrote up general directions with pictures here: http://thehuth.blogspot.com/2012/11/madison-changing-table-part-3-cente…
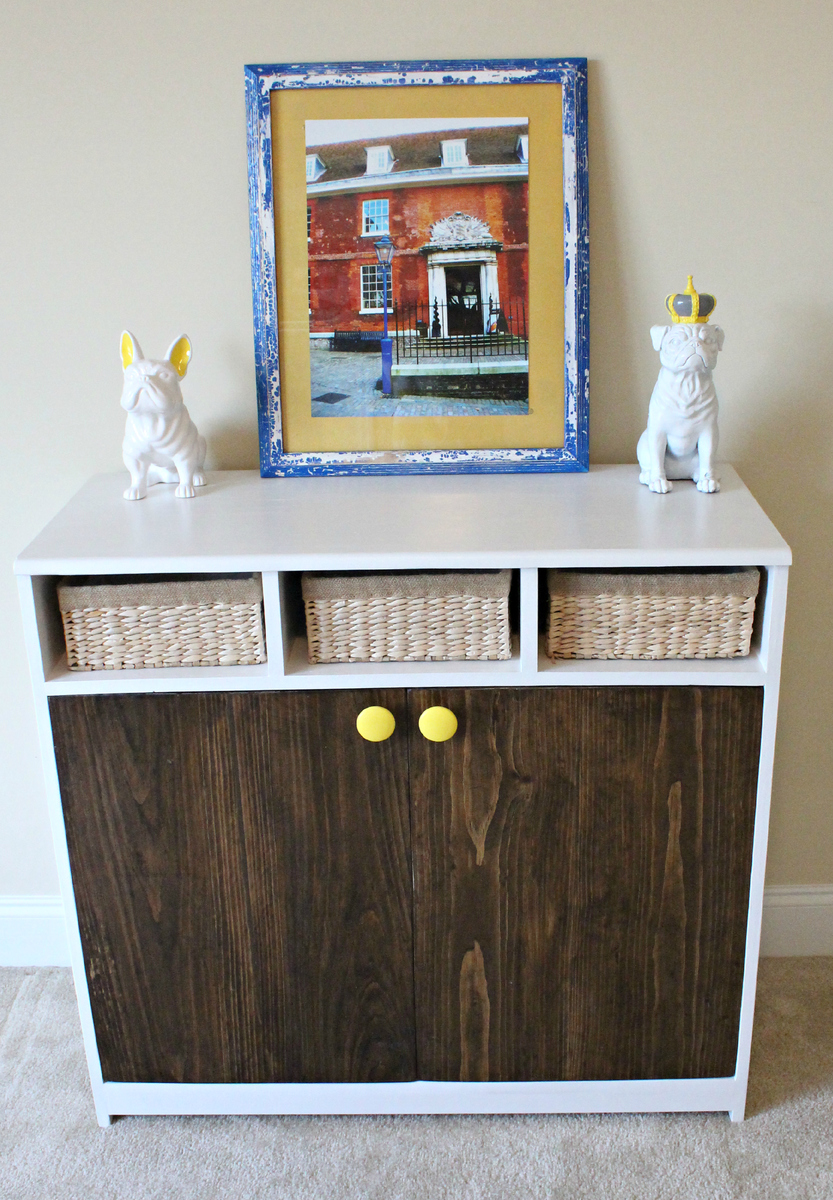
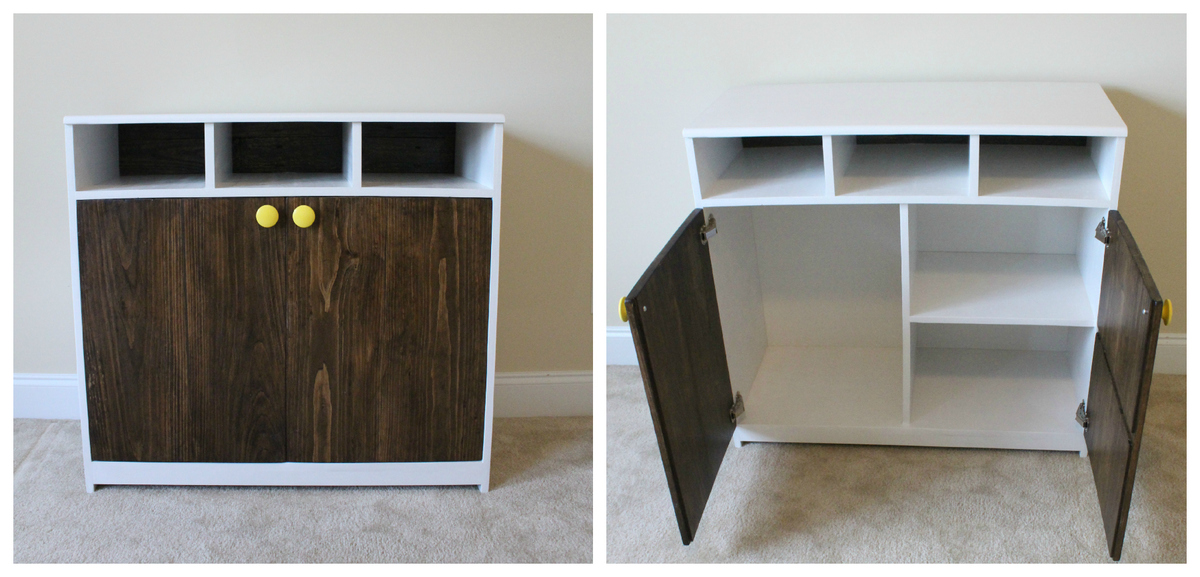
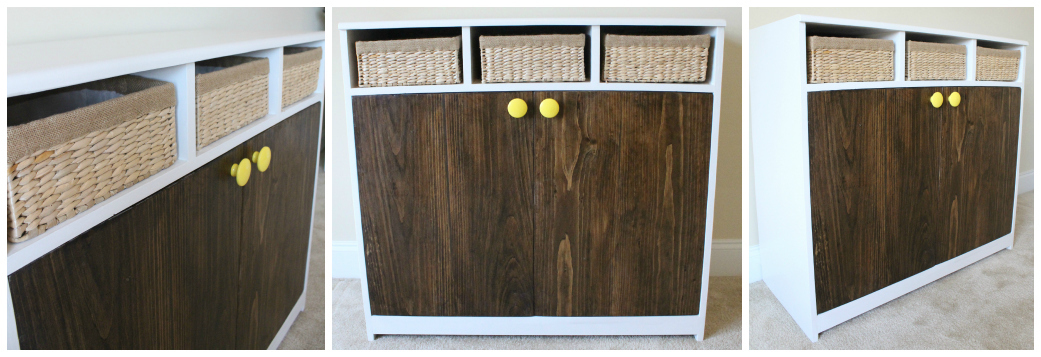
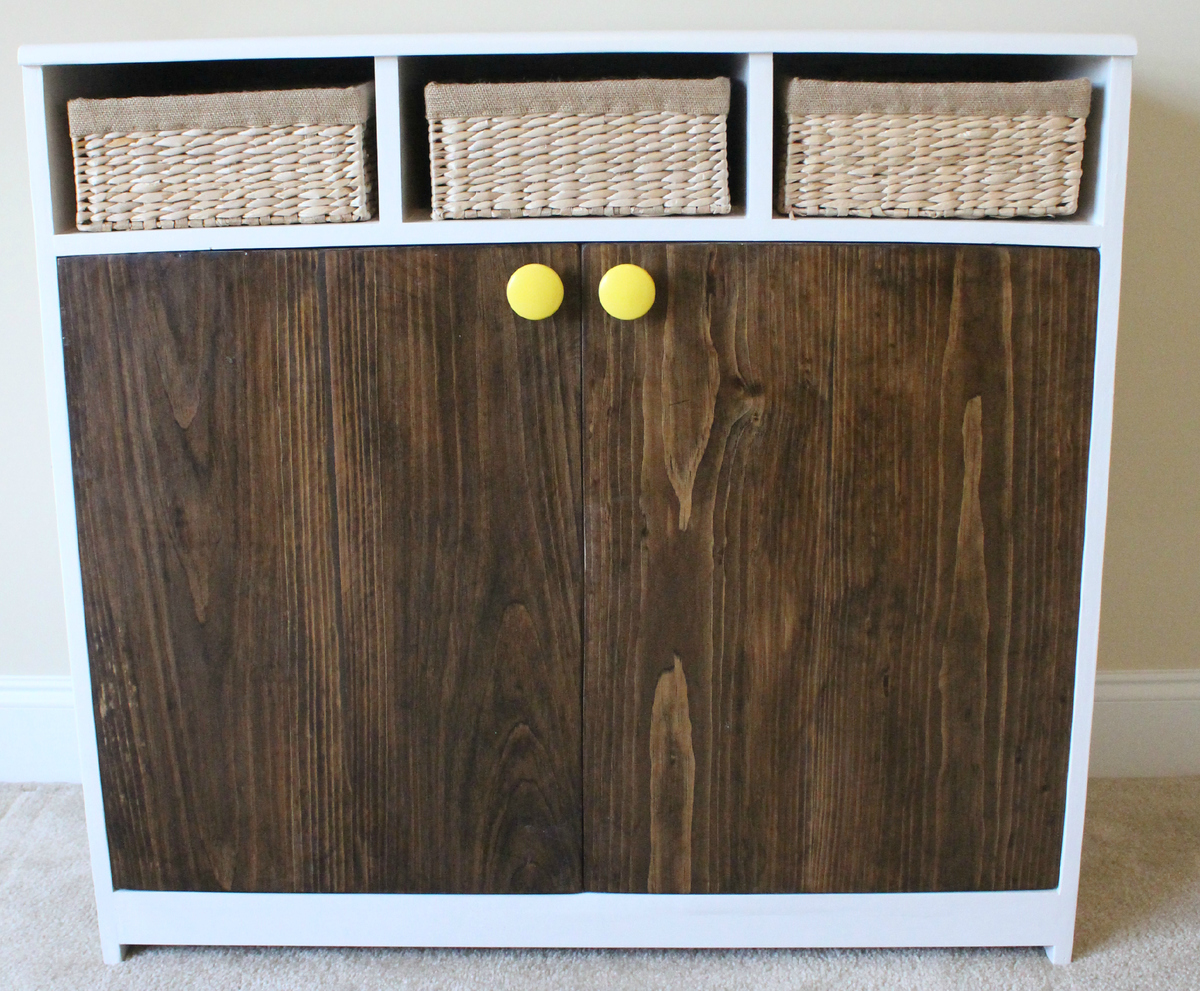
It was a great project for my dad and I.
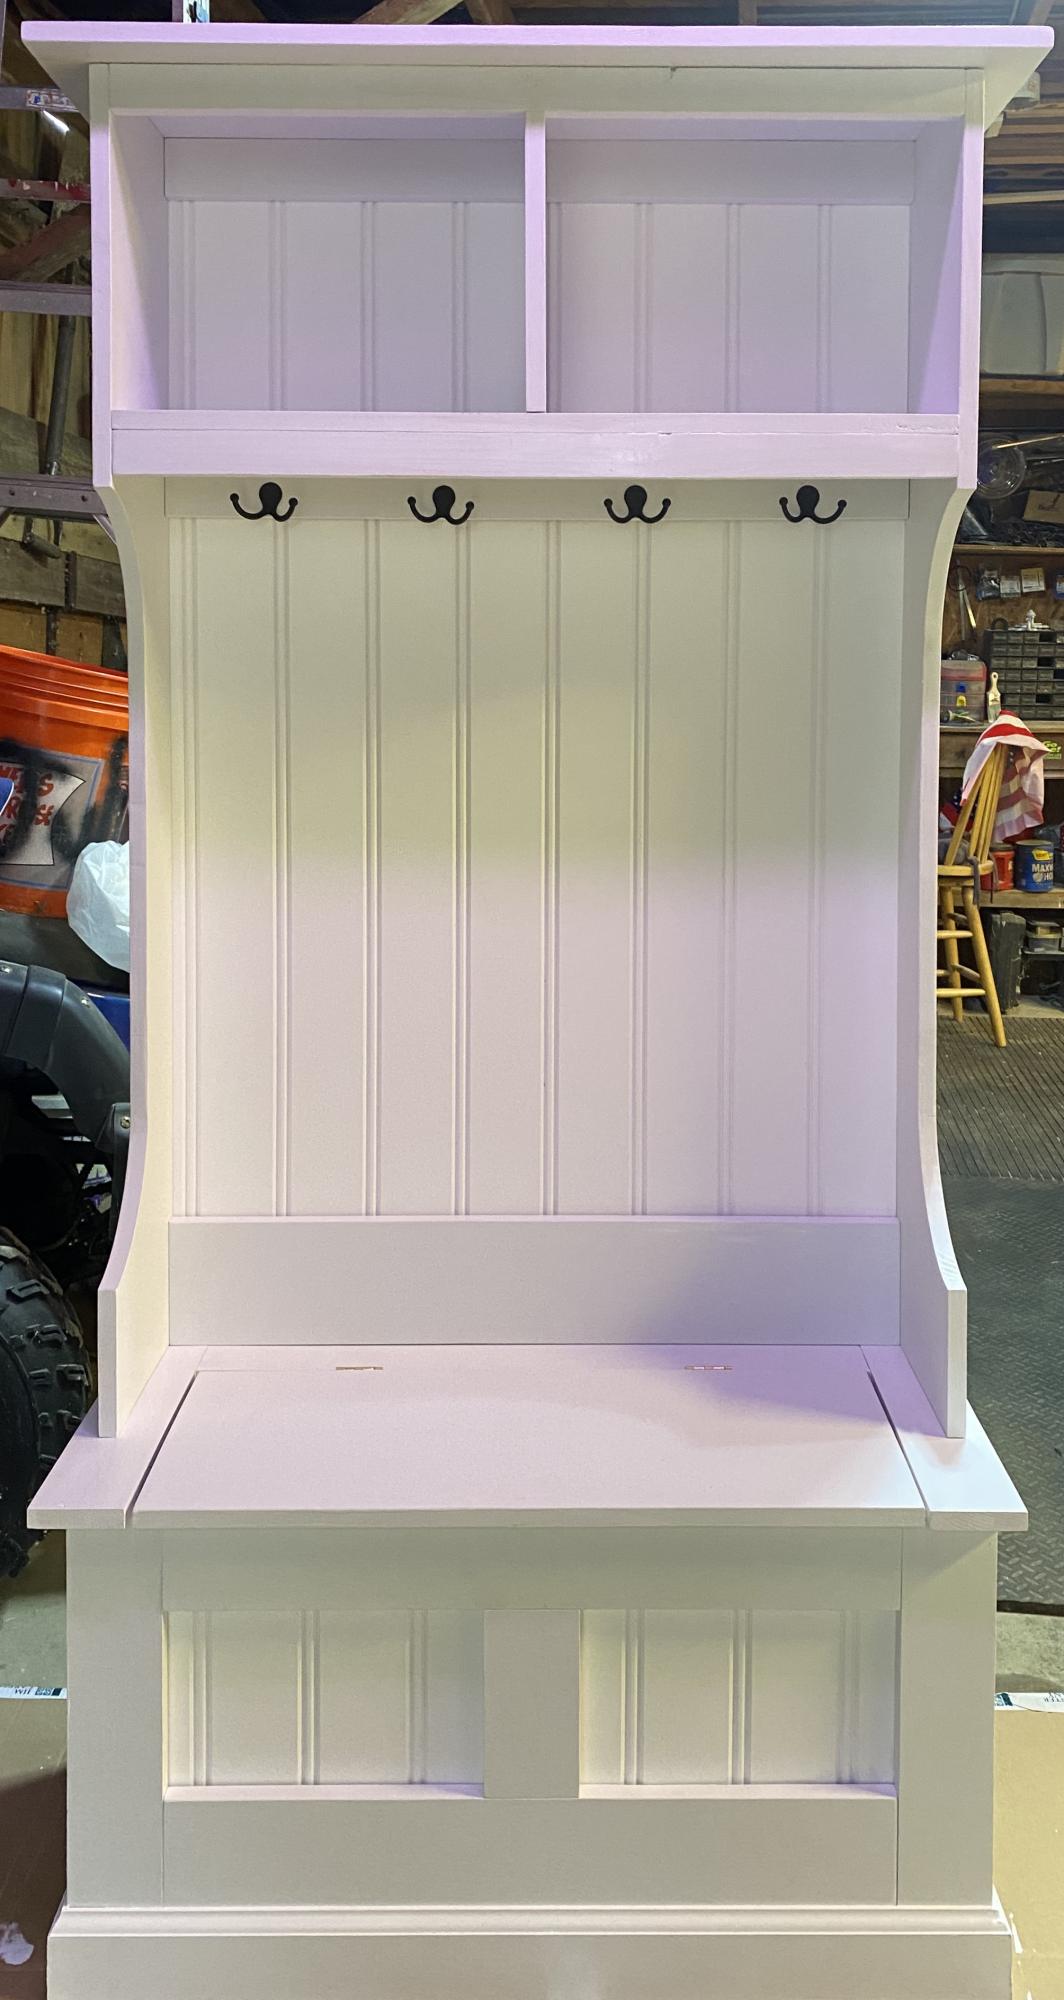
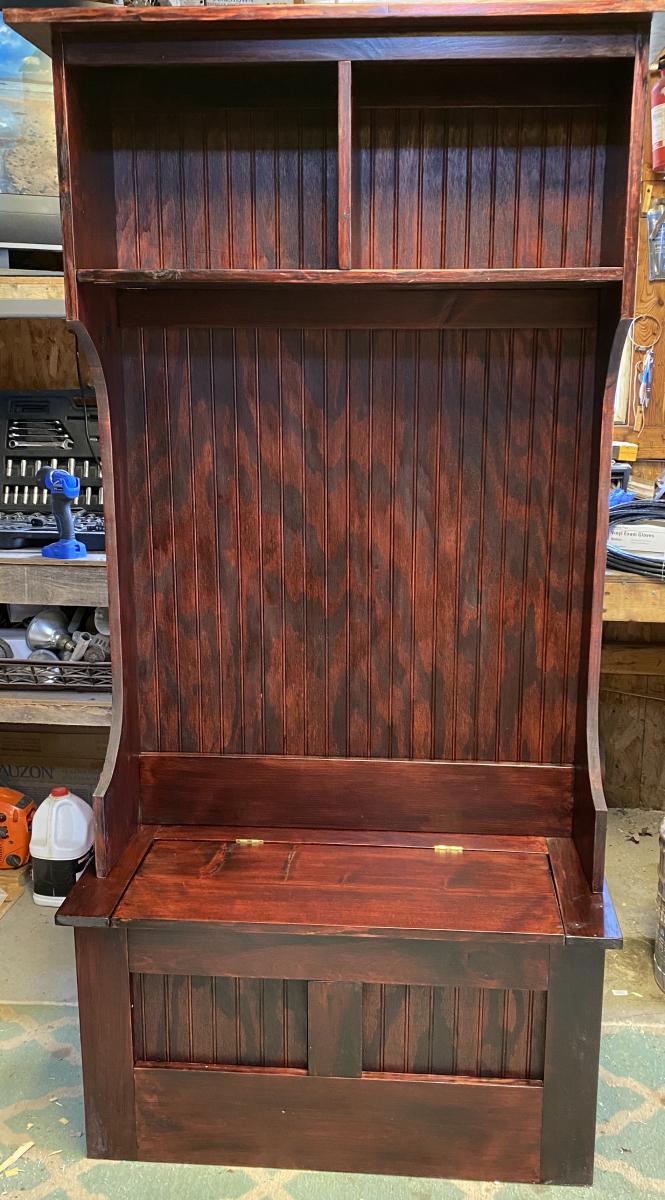
This is the third hall tree I made from this site. Love how easy the plans are to follow!
