Community Brag Posts
Modified Laundry Basket Dresser
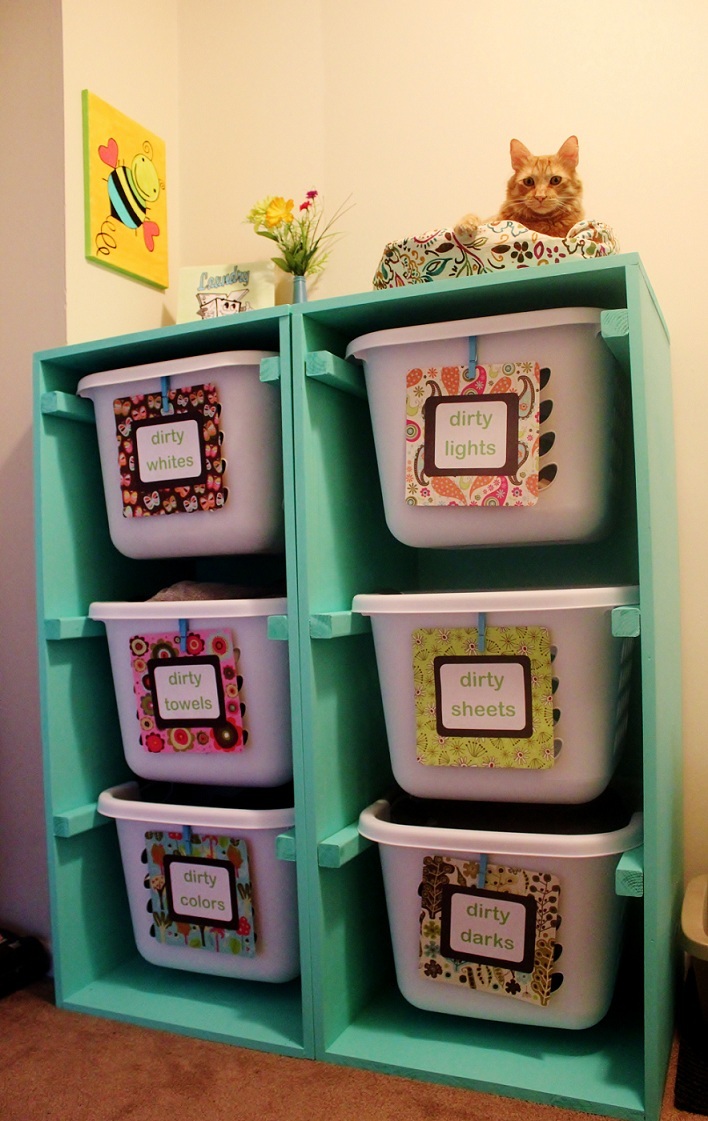
Both dressers were completed in one (long) day by my boyfriend and his father. Modifications were made to make it fit square Sterilite 1.5 Bu./ 53 L laundry baskets (serial/bar code # 073149121789).
I'm not sure what size pieces they purchased, however this is the cut list (for one dresser, 3 laundry baskets):
2 - 48" x 20" (sides) - could possibly be shorter, we had a little bit of extra space
1 - 20" x 20" (bottom)
1 - 21.5" x 20" (top)
1 - 48.5" x 21.5" (back)
6 - (2" x 2")'s cut into 20" pieces (or the metal angle option in the original design)
They did not distance the spaces perfectly for the (2" x 2")'s, but every 14-16 inches should be about right.
I'm sorry these instructions are void of a lot of information, but I hope they can help.
I think this project can take a shorter amount of time if no mistakes are made. They had to run to Lowe's 2 times in the middle of the project because they forgot to purchase a second size of screws and then they cut the back too thin.
Good luck, and have fun! It is a fabulous project and oh so very useful.
Built from Plan(s)
Estimated Cost
$50 - $100
Estimated Time Investment
Day Project (6-9 Hours)
Finish Used
Lowe's Creative Ideas for Color, "Dive In" CI 249
Recommended Skill Level
Beginner
Comments
Mon, 05/28/2012 - 09:53
Wonderful idea!
This is a brilliant solution, particularly since most sorters don't have enough compartments to separate the whites, sheets and towels from each other. But we really don't want to wash them together, do we?
Love how cozy your kitty looks up there, too.
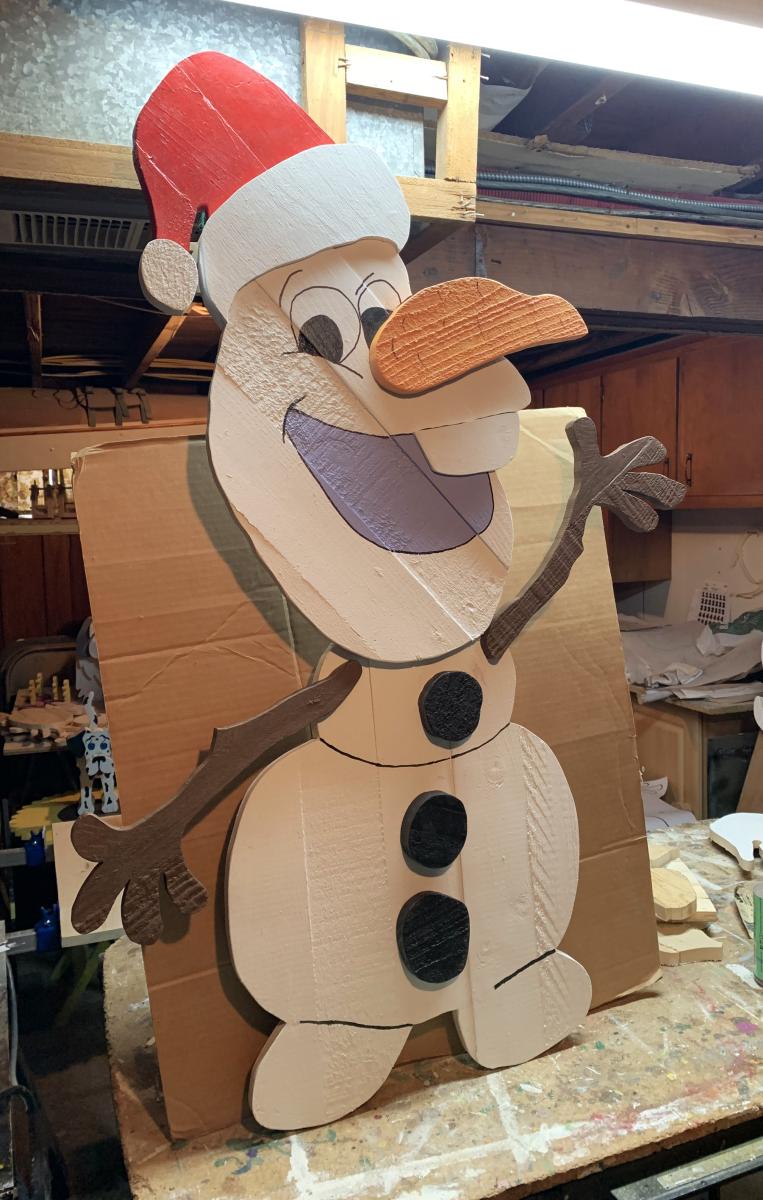
Christmas Figures made from Pallets
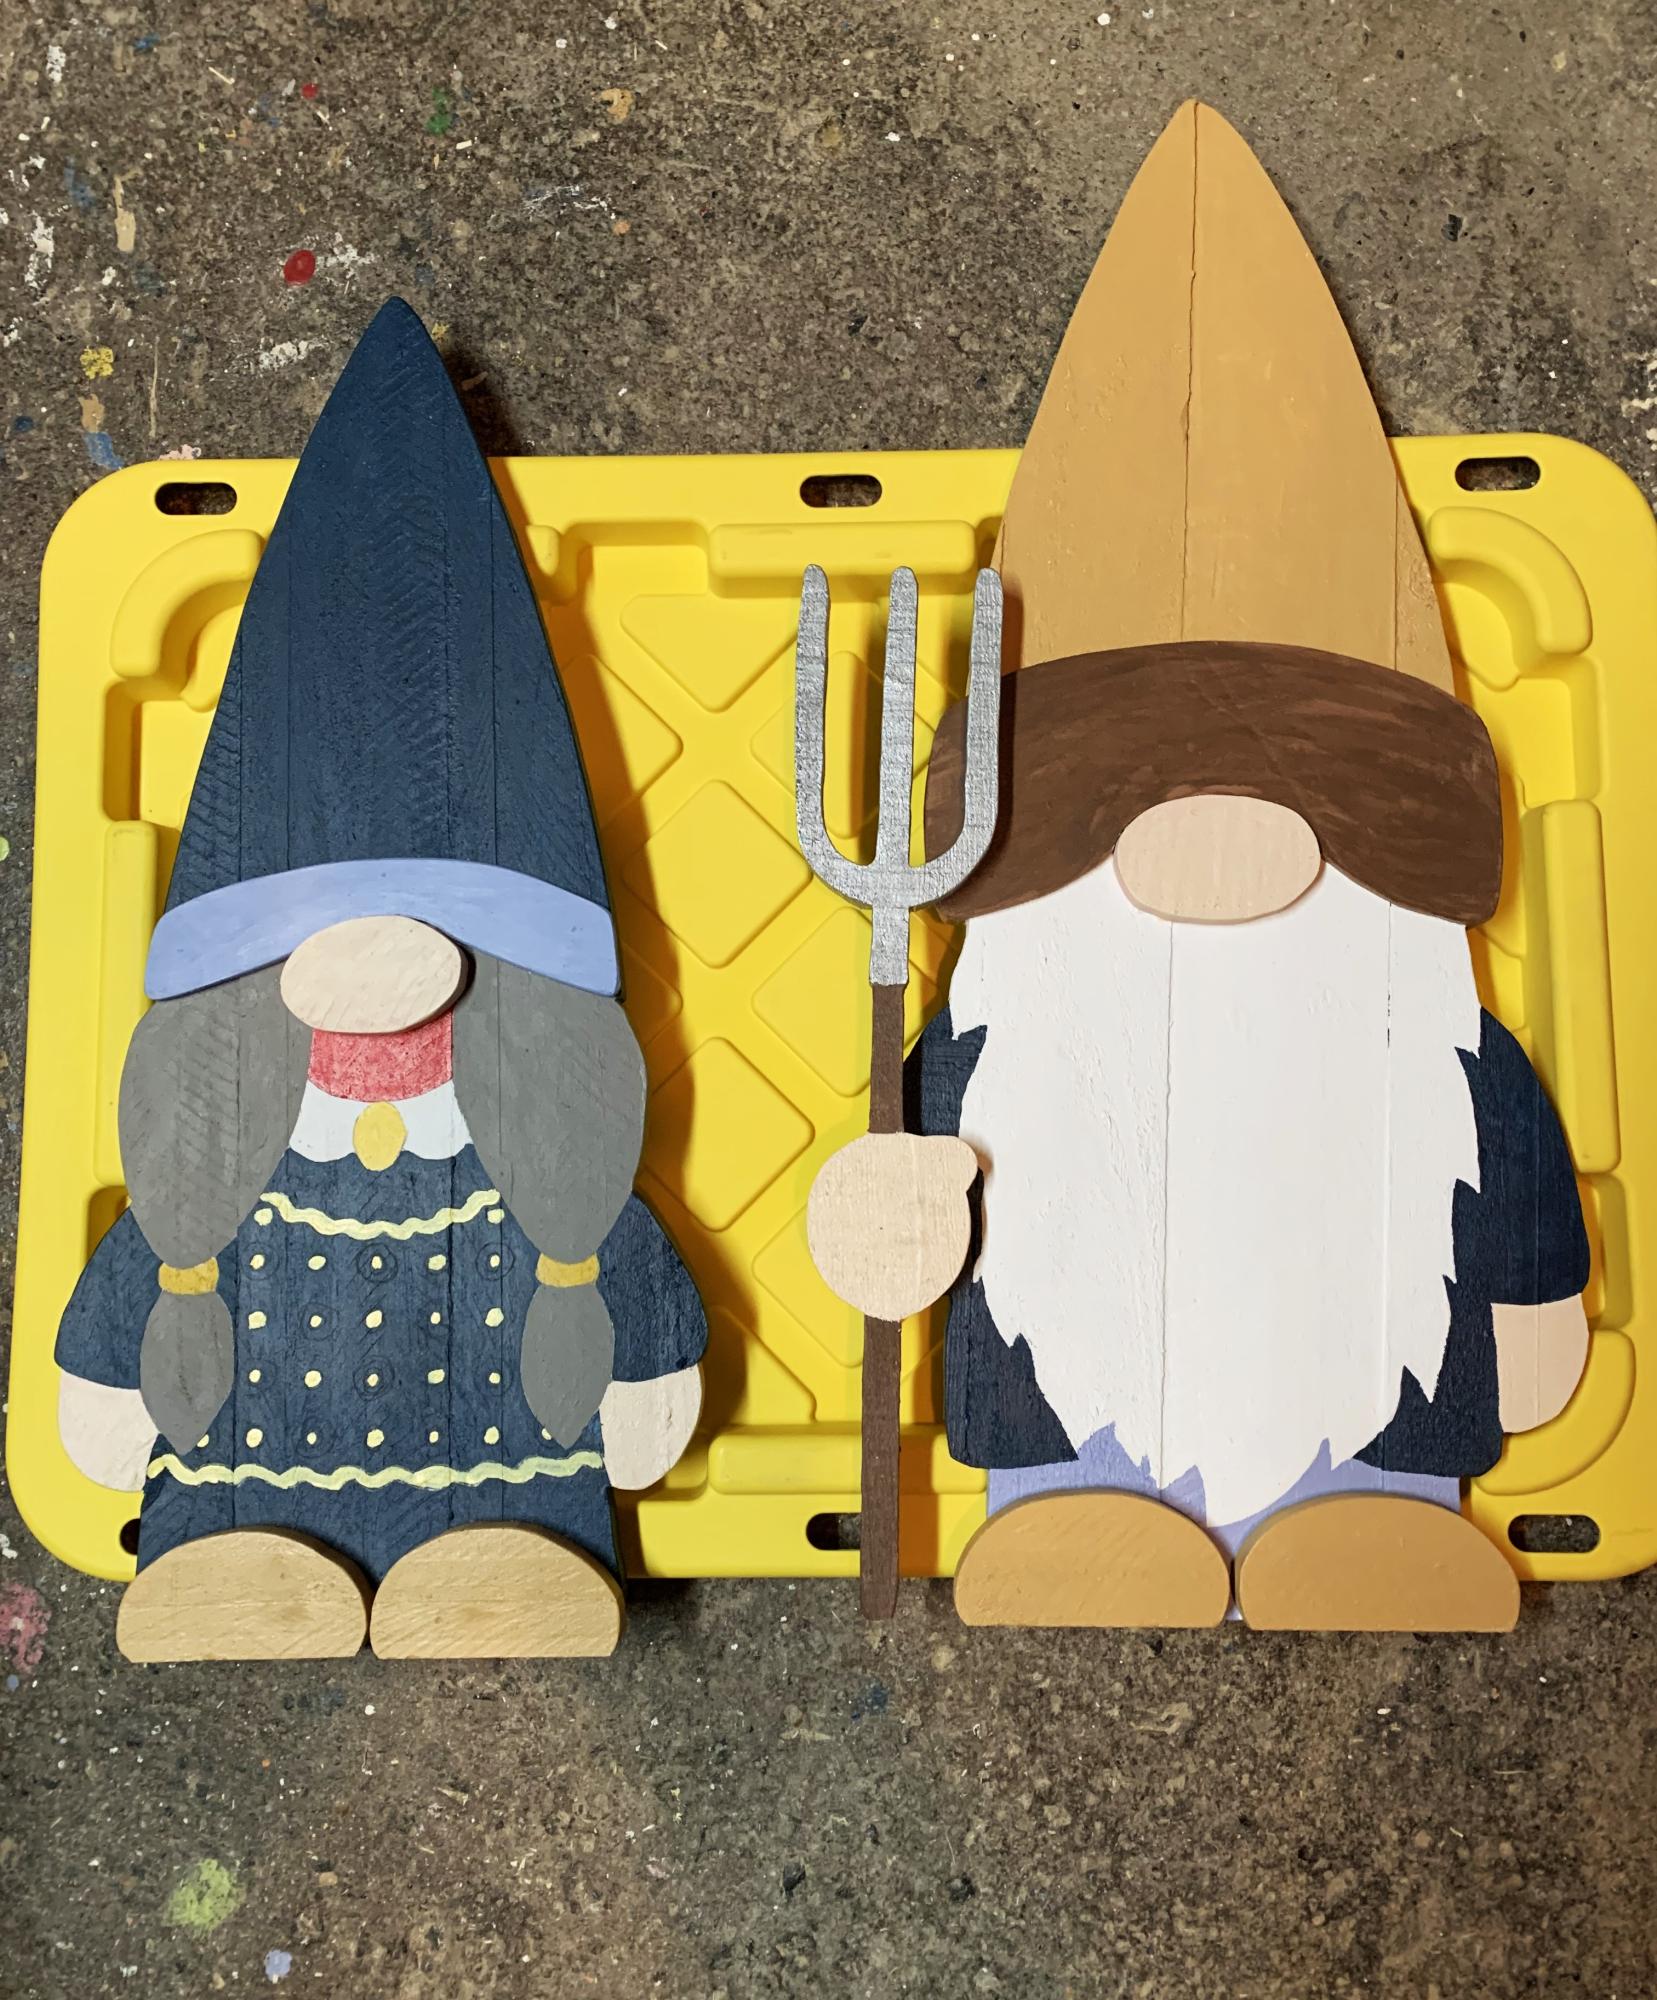
I chose to adjust the great design to have a free standing tree with backing and a live bark base. Fun project.
Seasonal And Holiday
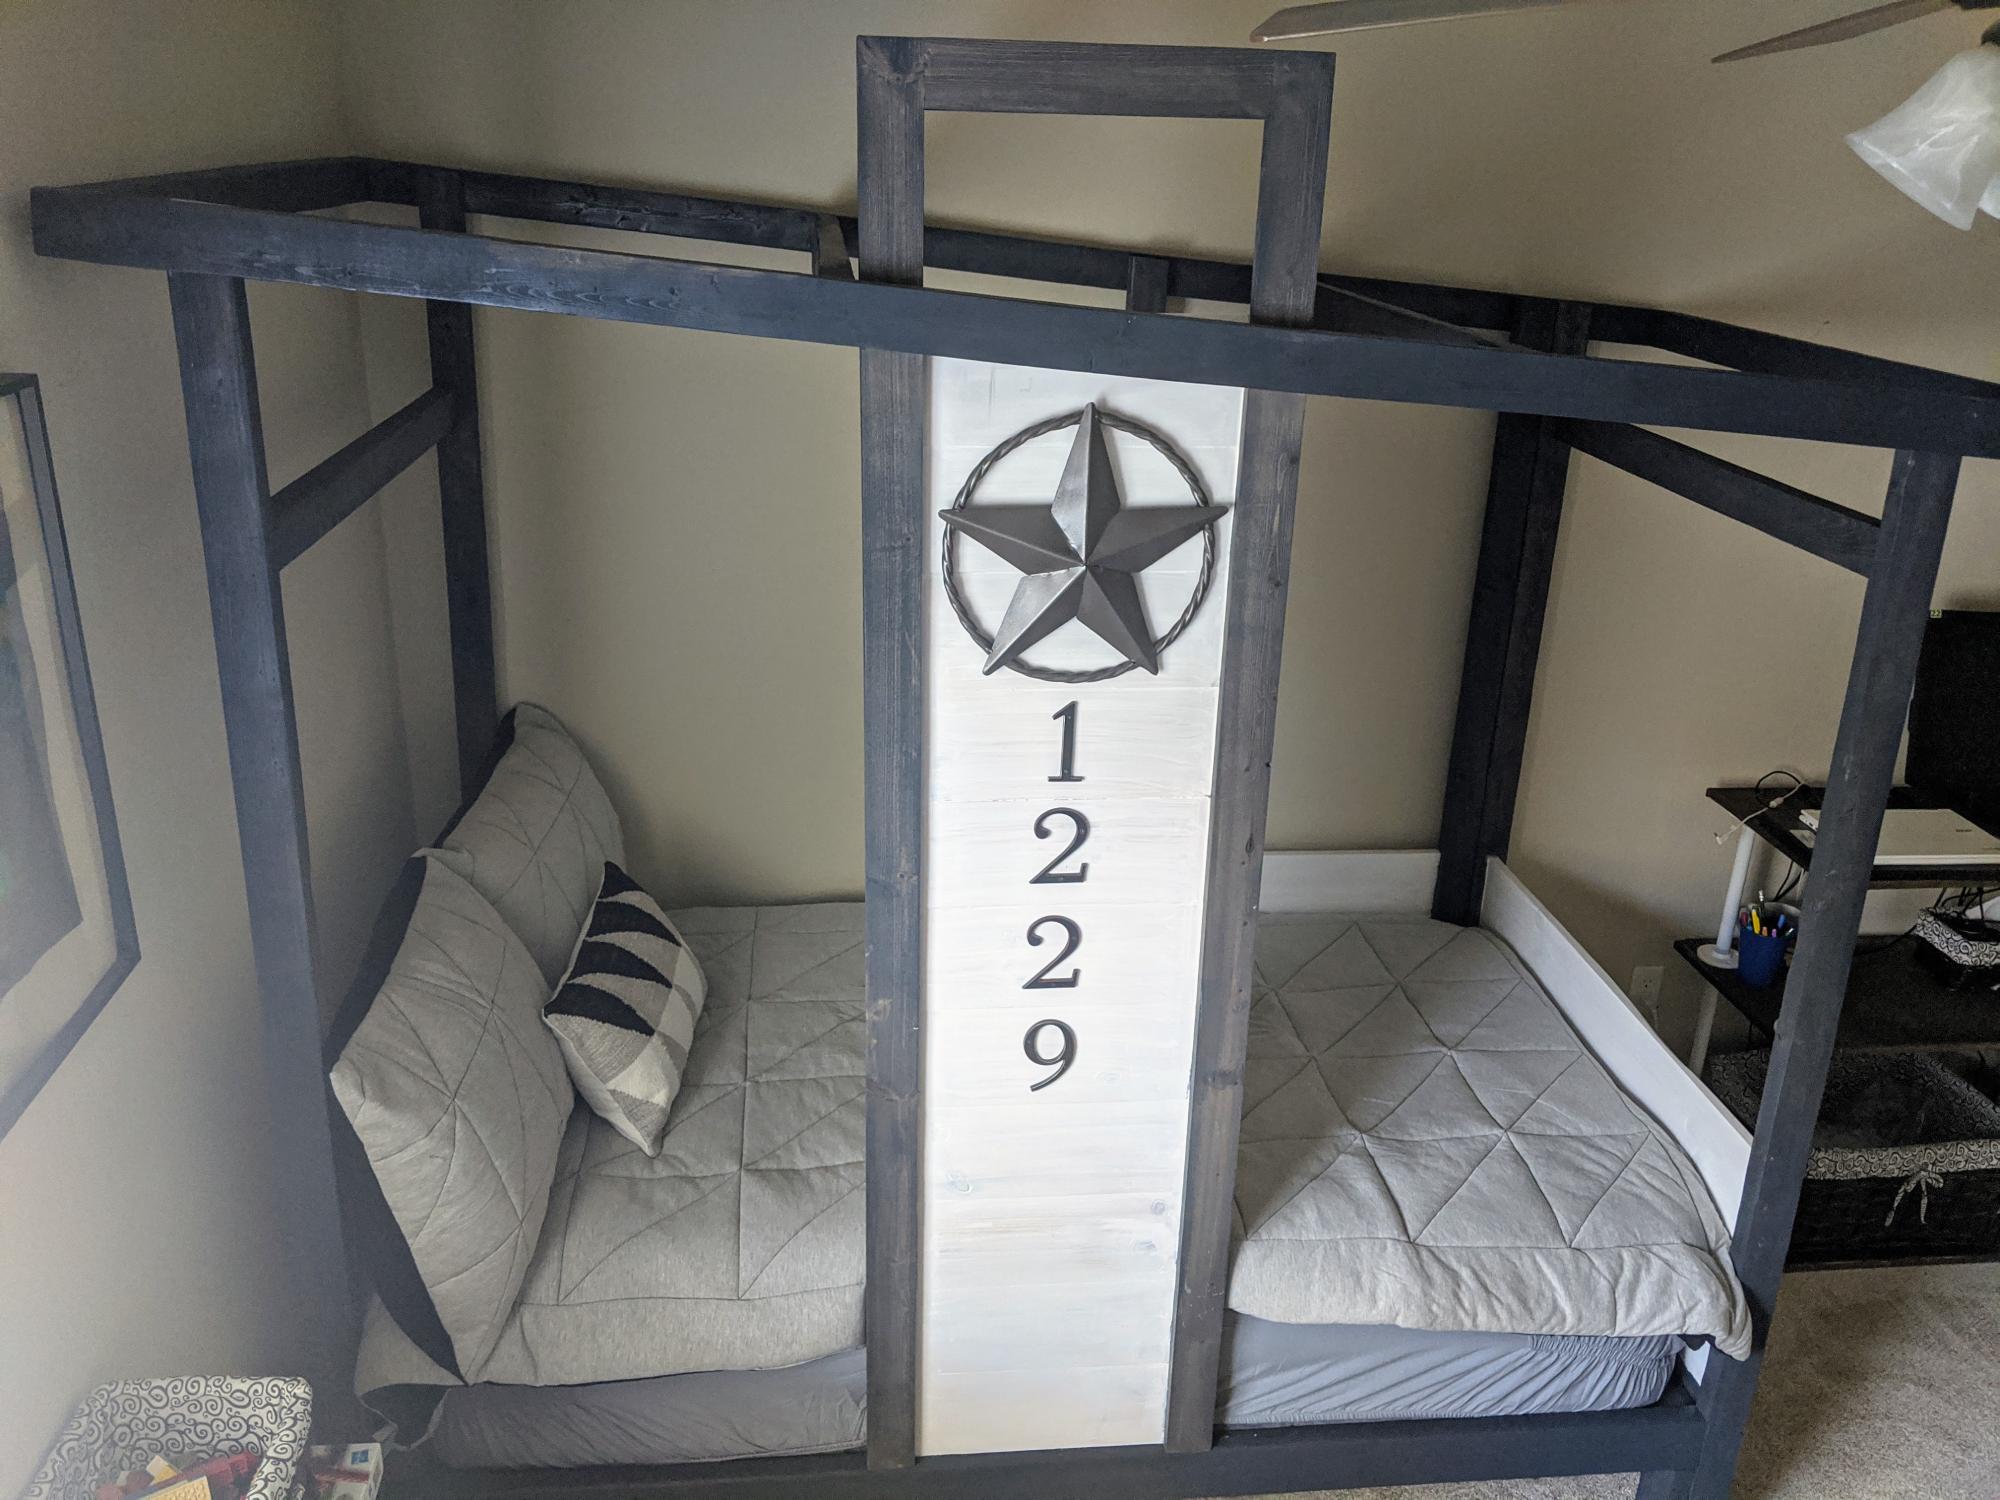
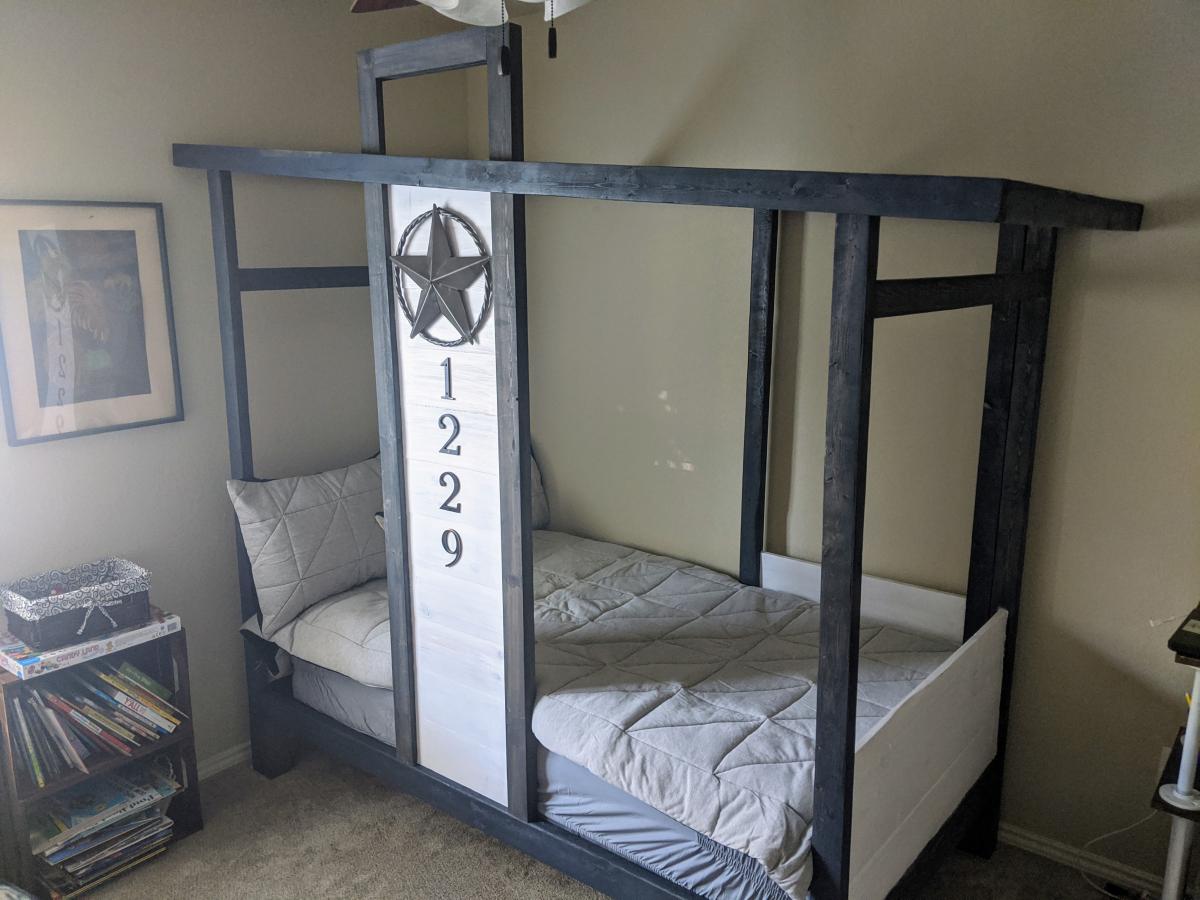
My build of “House Bed Frame - Modern Tiny House Shape” for Ana-White
https://www.ana-white.com/woodworking-projects/house-bed-frame-modern-t…
As a high school teacher, I noticed Ana-White’s post for a contest to build a tiny house-shaped bed heading in to spring break; I entered and was selected. COVID-19 directed my teaching in a very different way and actually slowed down my woodworking while I have finished the project. Inspired by the Ana-White’s writings of making beautiful furniture with typical tools, this project is a perfect example of being able to build without the need for high-end shop machines. I followed the plans almost to the letter while keeping my mind open to slight improvement especially around the process of transportability. As a teacher, I emphasize that every writing is ready for editing and revision; with experience in woodworking, I approach building in a similar manner. My finished project below pictured below has some minor revisions planned for disassembly and reassembly in a minimal number of parts using only a screwdriver.
@anawhitediy
https://www.facebook.com/knockoffwood
Smart and stylish woodworking plans to make your home awesome.
#anawhite
smart.bio/anawhitediy
@SawDustDonLawler
https://www.facebook.com/HHH-Wood
@EduDonLawler
Estimated Cost
$160.00
Estimated Time Investment
Weekend Project (10-20 Hours)
Finish Used
The finish used on this project was Minwax Aged Barrel and Minwax Pure White.
Recommended Skill Level
Intermediate
Swing Bed - Time to Relax!
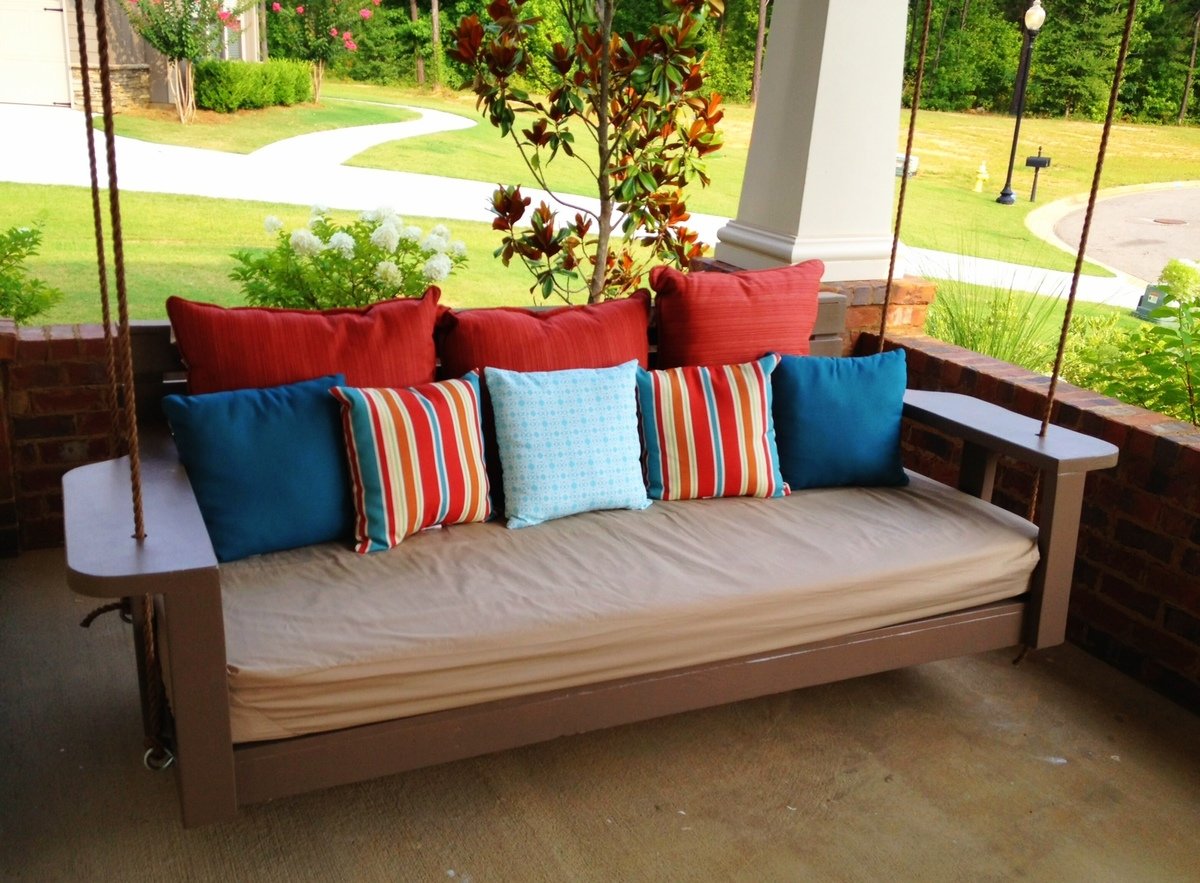
A few years ago our family vacationed in Watercolor, on the northwest Florida coast. We loved the house we stayed in so much when we returned home we put our house up for sale so we could build a home similar to the one we stayed in. One of the features we loved so much was the large covered front porch and most of all the swing bed it showcased. My wife spent every morning and night that week relaxing in that swing. I promised my wife then that I would make sure got her own swing. Thanks to Ana White, she was back in her (new) swing last night.
I began with the "Large Modern Porch Swing" plan and made some changes. I wanted to use a twin size mattress so I increased the size of the swing's base. Also, because the mattress was 6" I lifted the arms and back. The arms are the biggest and best change I think. I had seen someone else do similar arms, but I they used an 1x12 I think. I wanted a heavier look, so I used a 2x10.
Built from Plan(s)
Estimated Cost
$200
Estimated Time Investment
Weekend Project (10-20 Hours)
Finish Used
Glidden Paint - Monterrey Cliffs
Recommended Skill Level
Beginner
Comments

Wed, 07/17/2013 - 13:56
Porch Swing / Bed
Do you use a regular twin mattress? What do you do when it rains?
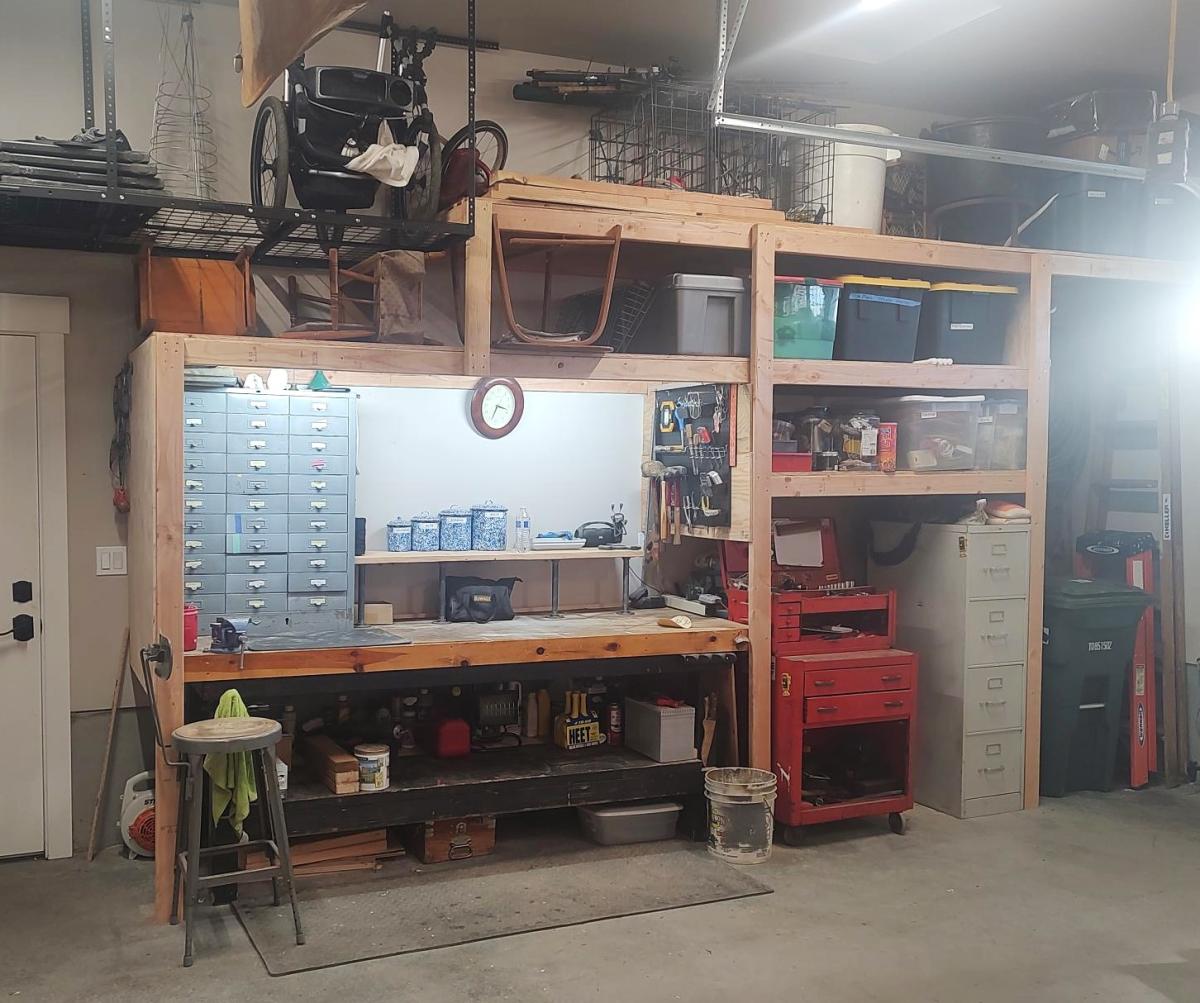
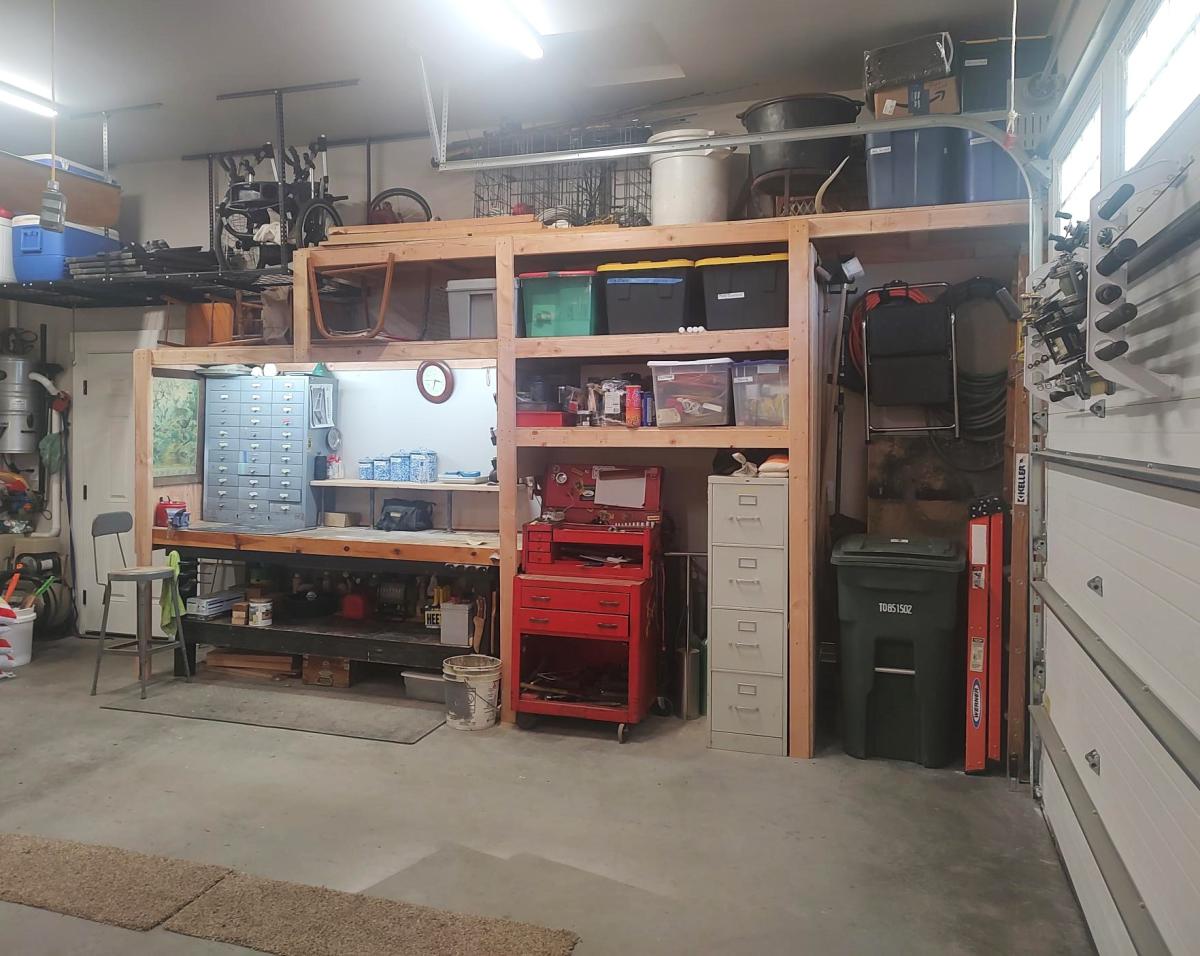
Custom Garage Shelves
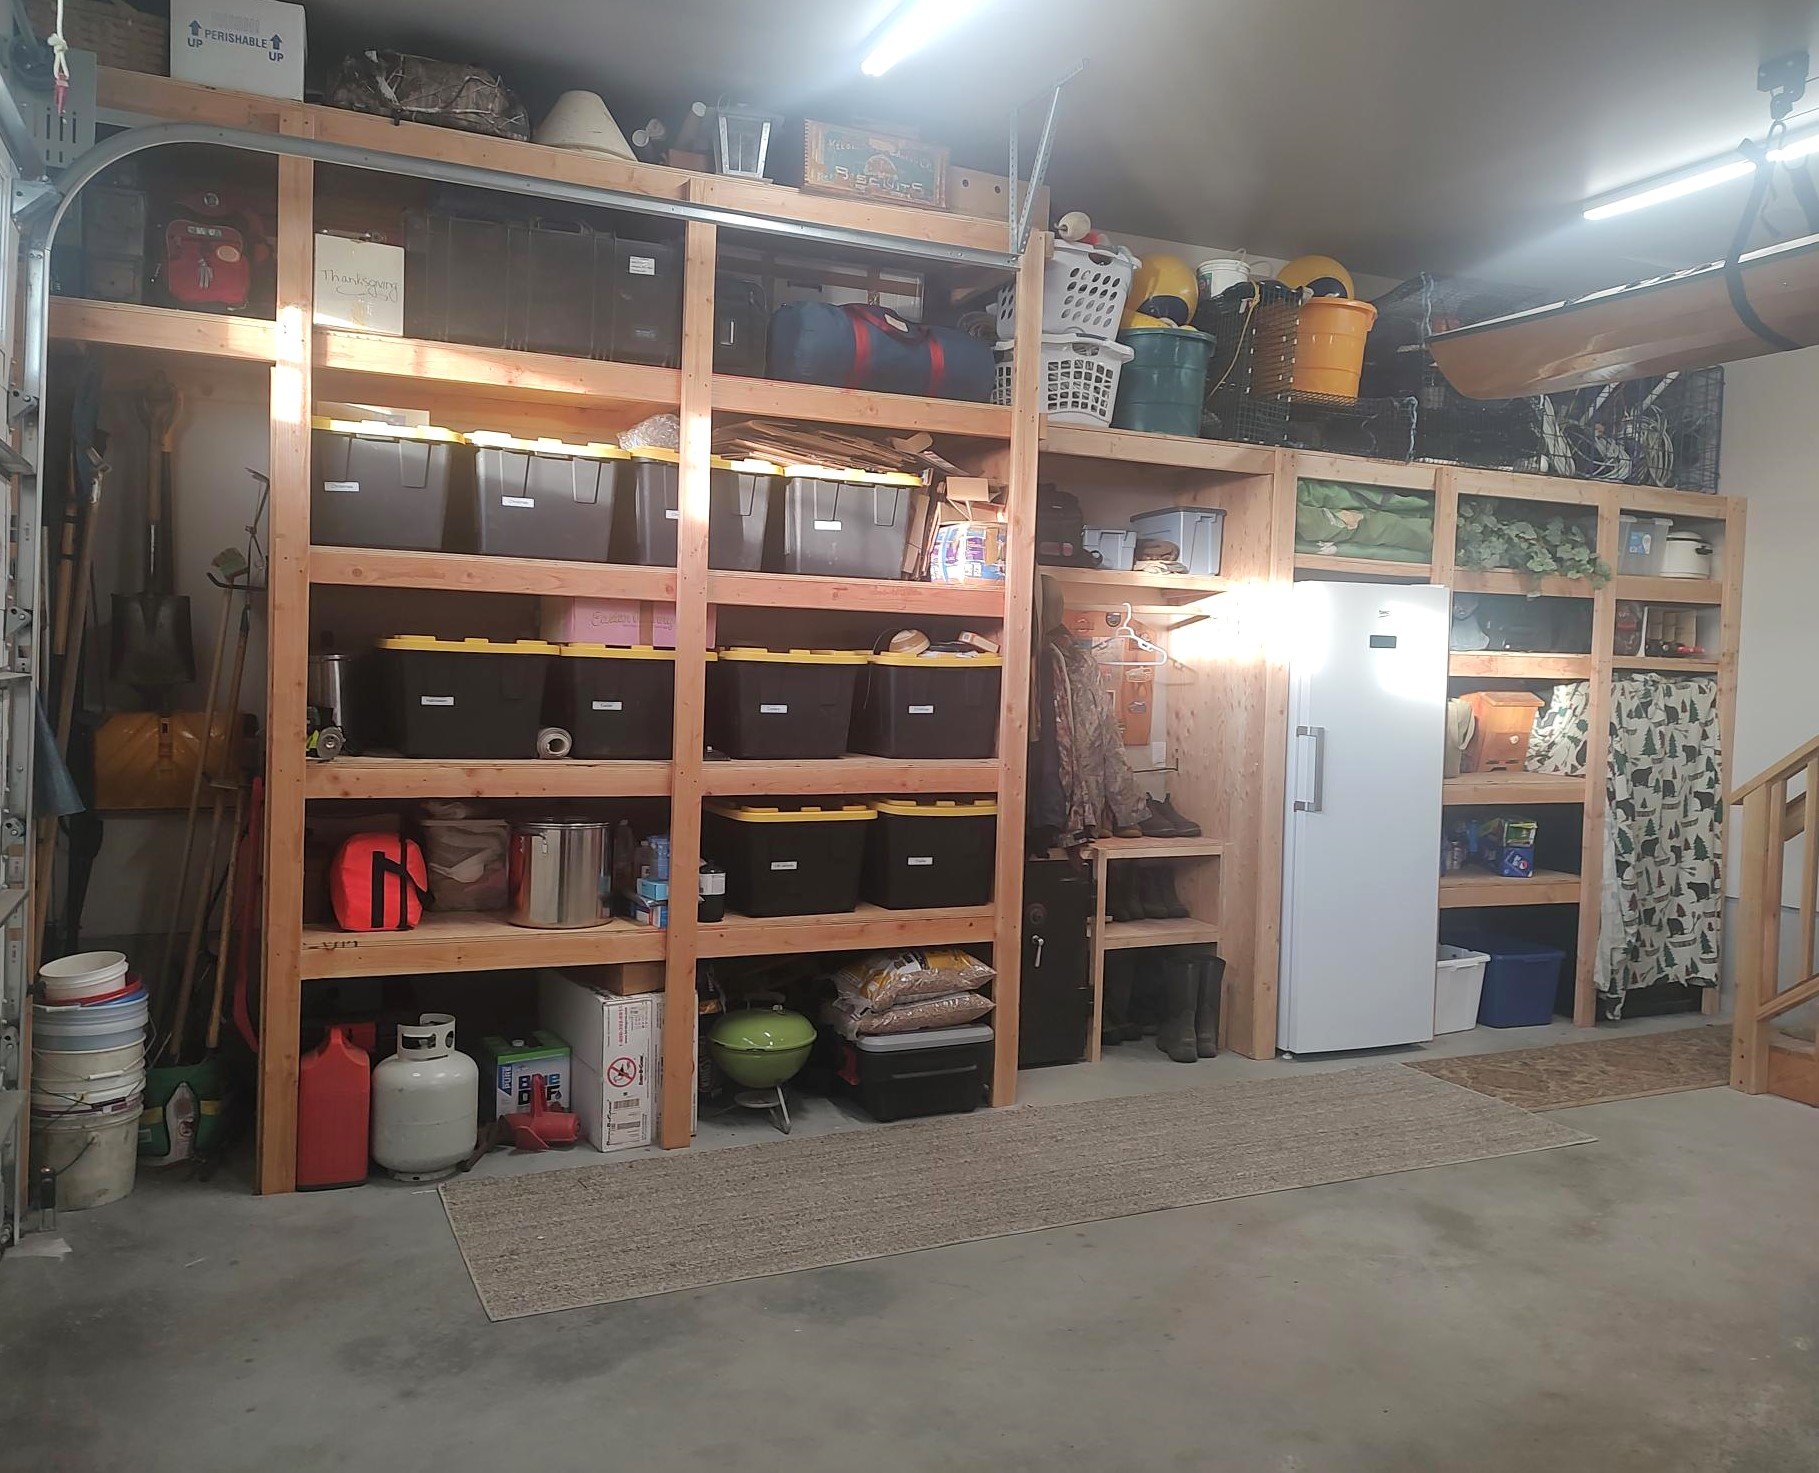
I just finished shelves on both sides of my garage using your video. I built a coat rack and boot rack. I also made space for tall items like tools and ladders near the garage door. I had to also build in a gun safe, freezer and my work bench. Everything came together and now I have everything in bins on shelves.
Gary Hoffman

Built from Plan(s)
Closet Drawer Tower
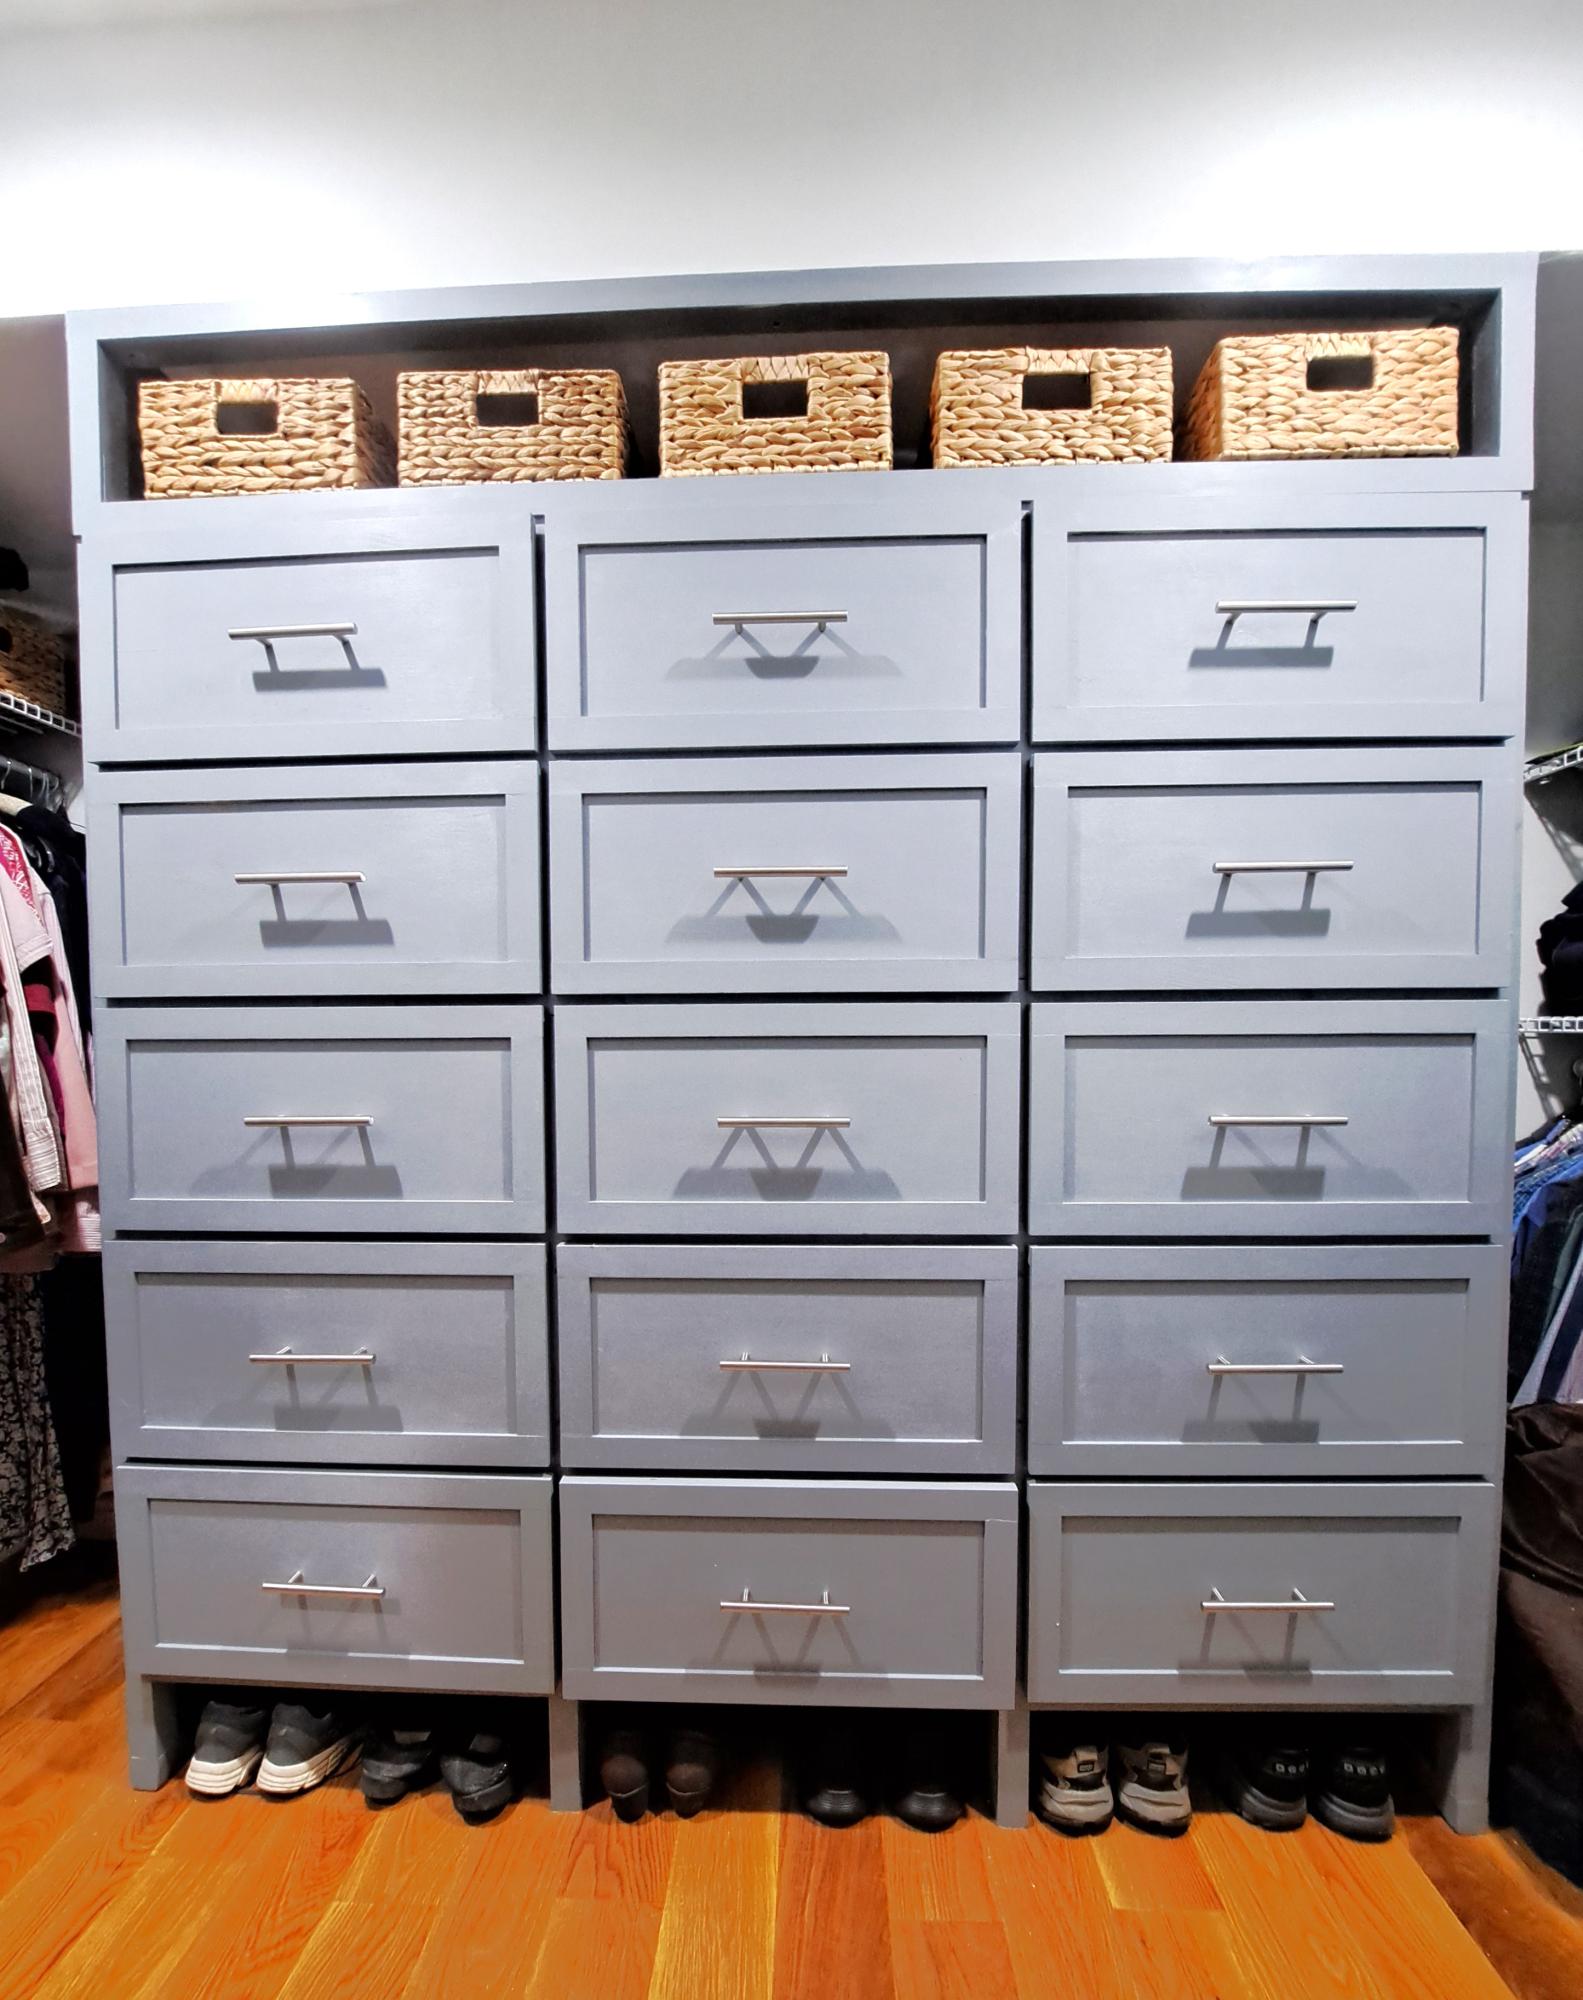
Using Ana's methods of drawer construction - 15 Drawers in the Primary Bedroom Closet - with tote storage above and shoe storage under.
Phil F. *Ana's secret drawer slide trick for full extension drawer slides
Folding Workbench with Storage
Digging through my scrap wood collection, I came across some pieces of pegboard from our previous home that I had forgotten about. I had just relocated a lot of garden tools to the shed, and there was an empty wall in the garage that would now be perfect for the pegboard. After mounting the pegboard and hanging up some tools, the wall still looked a little empty. I had a vision of mounting a heavy duty folding workbench to the wall. This was the perfect location, and if the workbench folded, we could still fit the car in the garage. You can read all the details about my folding workbench on my blog at:
http://www.justmeasuringup.com/blog/building-a-folding-workbench-with-french-cleats
The workbench is a perfect addition to my garage, and its used every day. Best of all, I just fold it down when I need to park the car!
Estimated Cost
Around $150
Estimated Time Investment
Weekend Project (10-20 Hours)
Finish Used
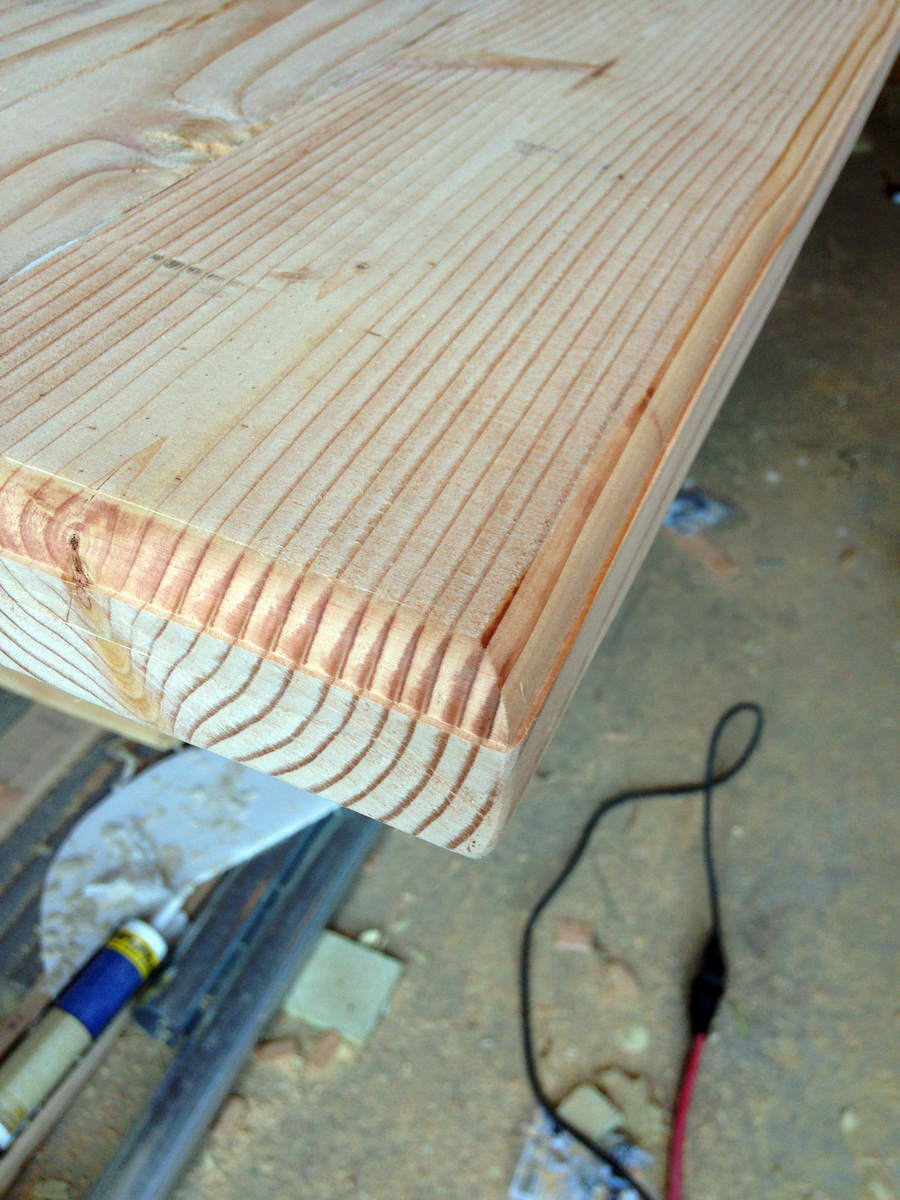
No paint or stain, but I did route the edges of the table with a roundover bit to give it a professional finish
Recommended Skill Level
Intermediate
LOVE MY SHED!!!
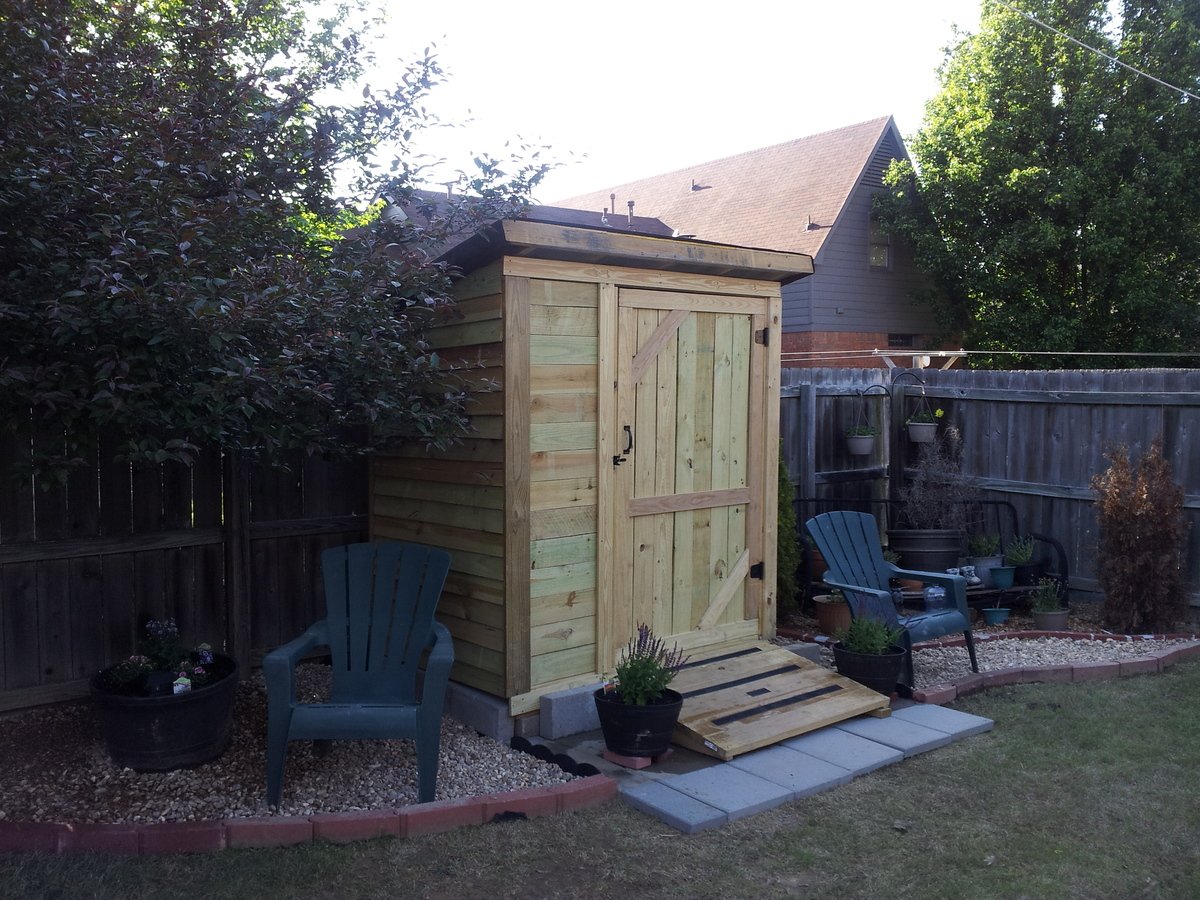
I saw this storage shed plan and loved it. I did make a few changes because I needed a 4' x 8'. I also built a shed floor to secure it too so I built the shed frame using 2x4's.
I also put the lower ends of the side walls in the rear to assist with water runoff.
Because I wanted the option to add shelves on the left side I decided to put one larger door on the right front only and added some contrast by vertically placing the pickets on the opposite side. I'm presently waiting for my shingles to arrive. After that I'll stain it. I really enjoyed putting this together, learned a lot.
My next project will be the outdoor sectional. I'll be making 5 pieces, 1 corner and 5 armless pieces. Can't wait to start.
Happy building,
Keep Safe
Built from Plan(s)
Recommended Skill Level
Beginner
Comments
Wed, 08/03/2016 - 06:03
Measurements
I absolutely love this shed and the way you altered the design with one door. Can you please send me the measurements you used for this project? I would love to build this for my yard!
Sideboard/Game Console
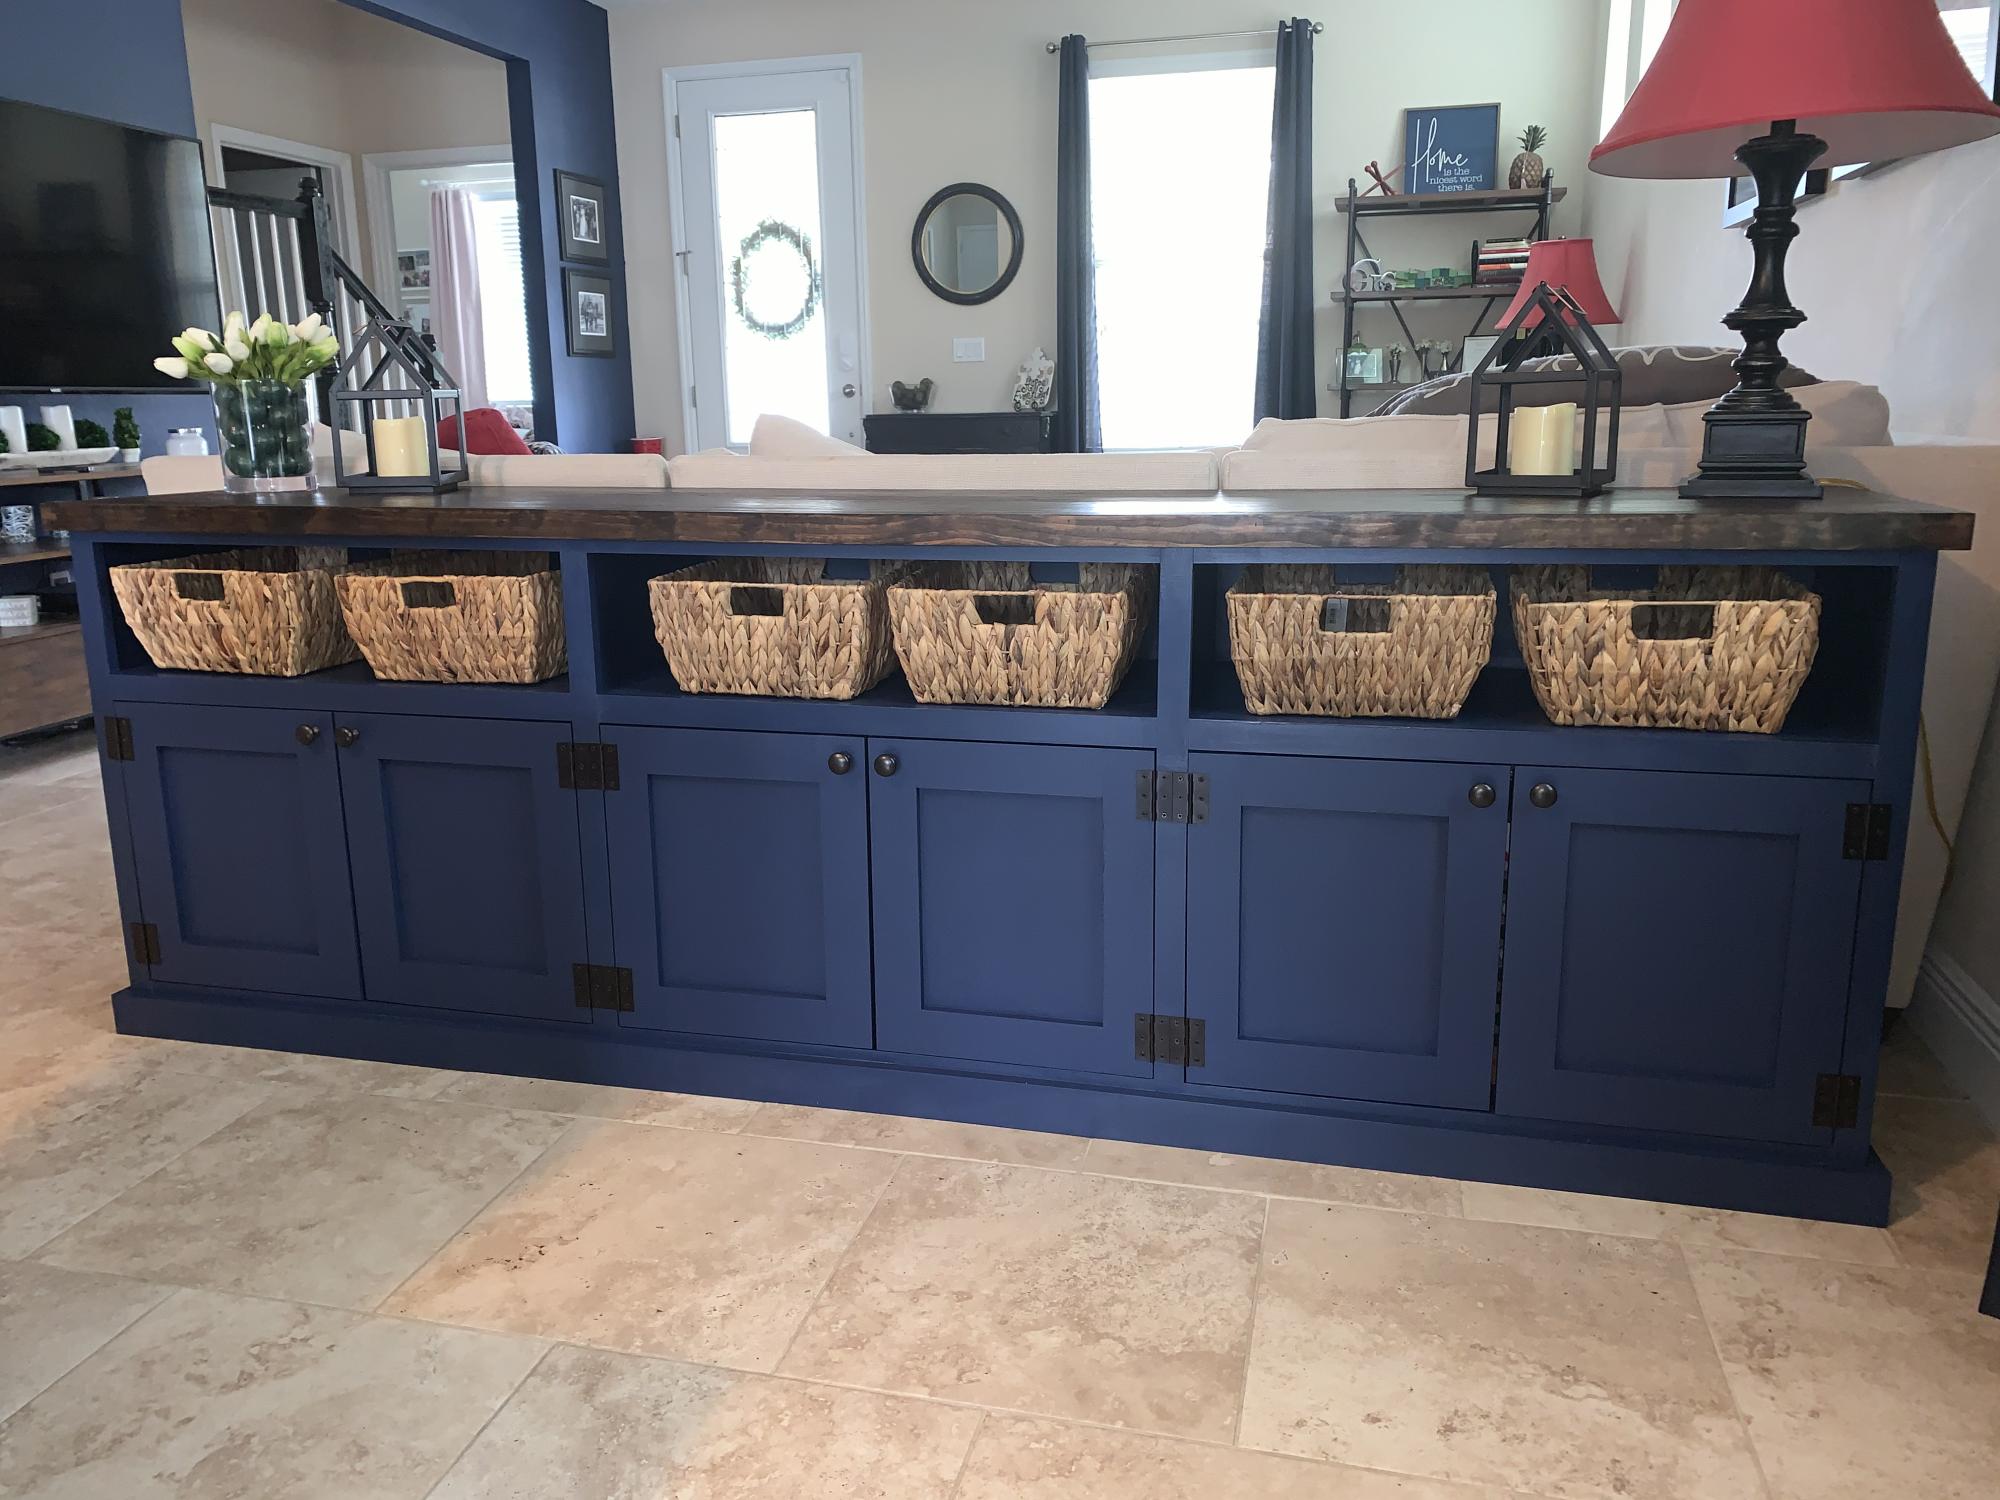
Used the plan for a double-entry console to make a triple cabinet to go behind the couch and serve as a board game console and sideboard for the dining room.
Lowered the total height to 34 in to fit behind the couch. The total length is 8 feet.
For the plywood top I edged them then pine boards to make the top look more like a solid piece of wood and stained it.
Built from Plan(s)
Estimated Cost
$300-400
Recommended Skill Level
Intermediate
Comments
Cluckingham Cottage

Cluckingham Cottage wasn’t built in a day, but it WAS built by a DAME!
A-frame instructions were pretty helpful considering the builder knows nothing about construction. I made a few modifications to accommodate my 5 chooks + 2 bantams . Sturdy and tight structure.
Built from Plan(s)
Estimated Cost
Under $400
Estimated Time Investment
Weekend Project (10-20 Hours)
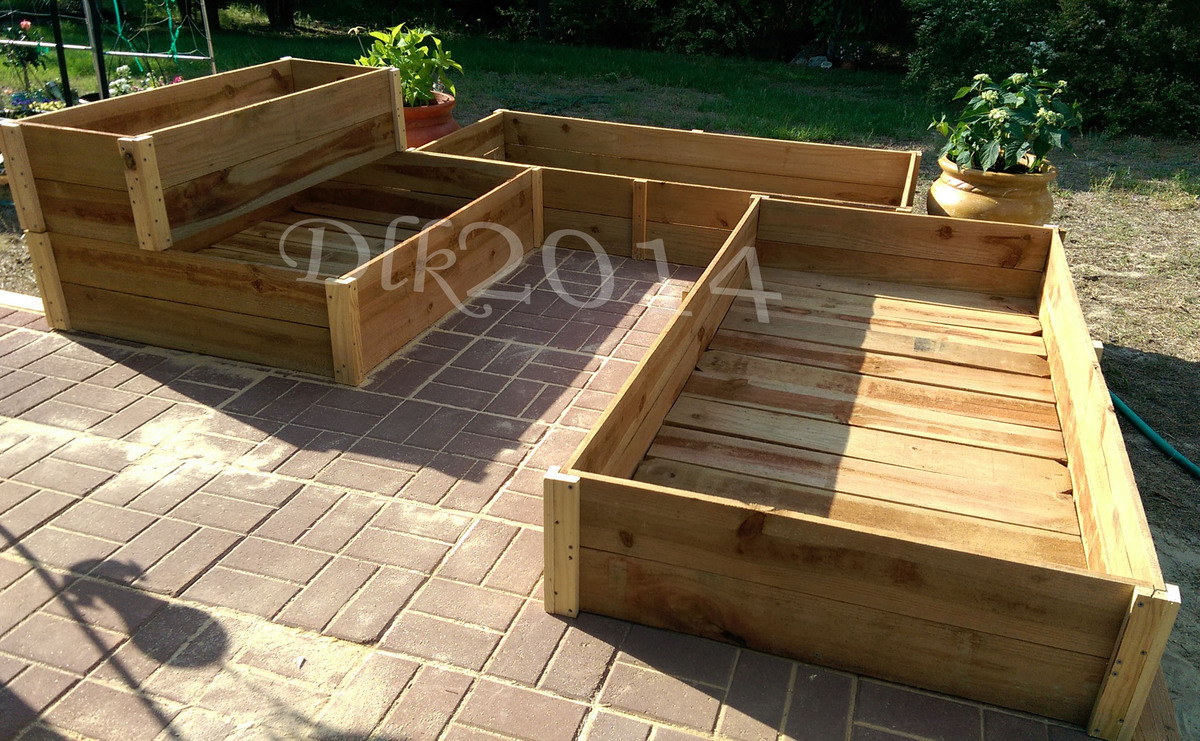
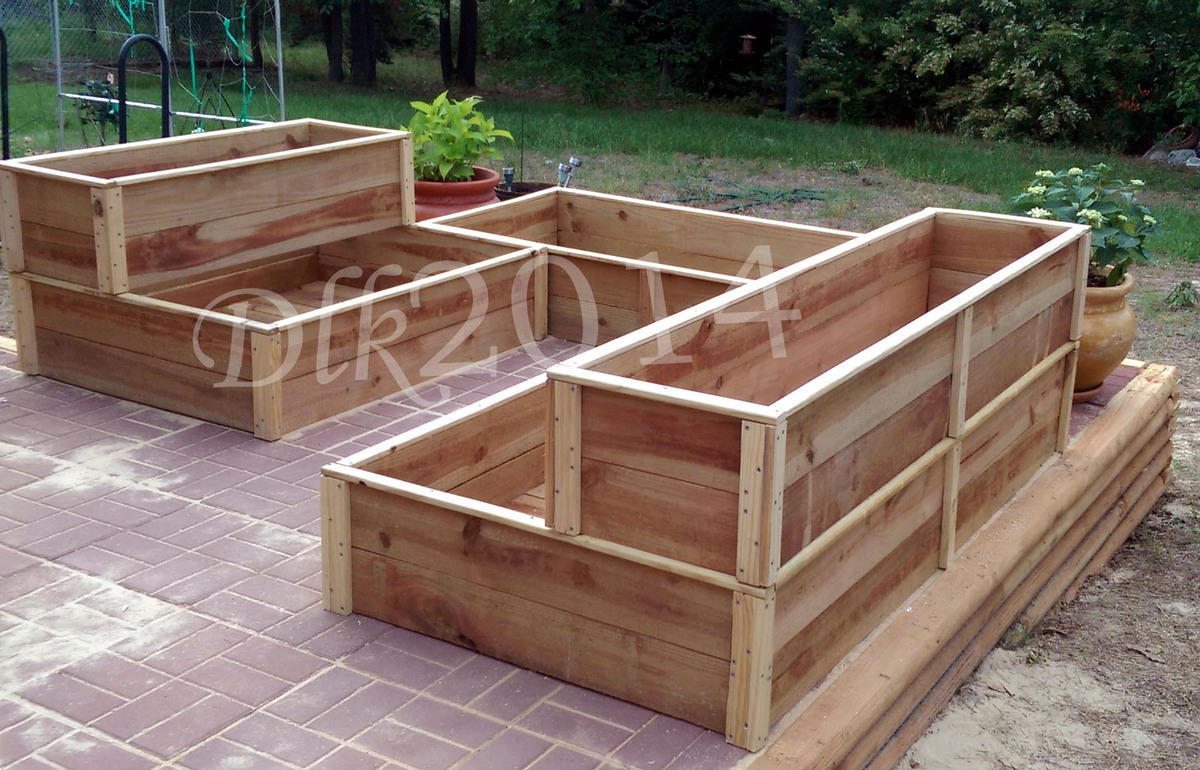
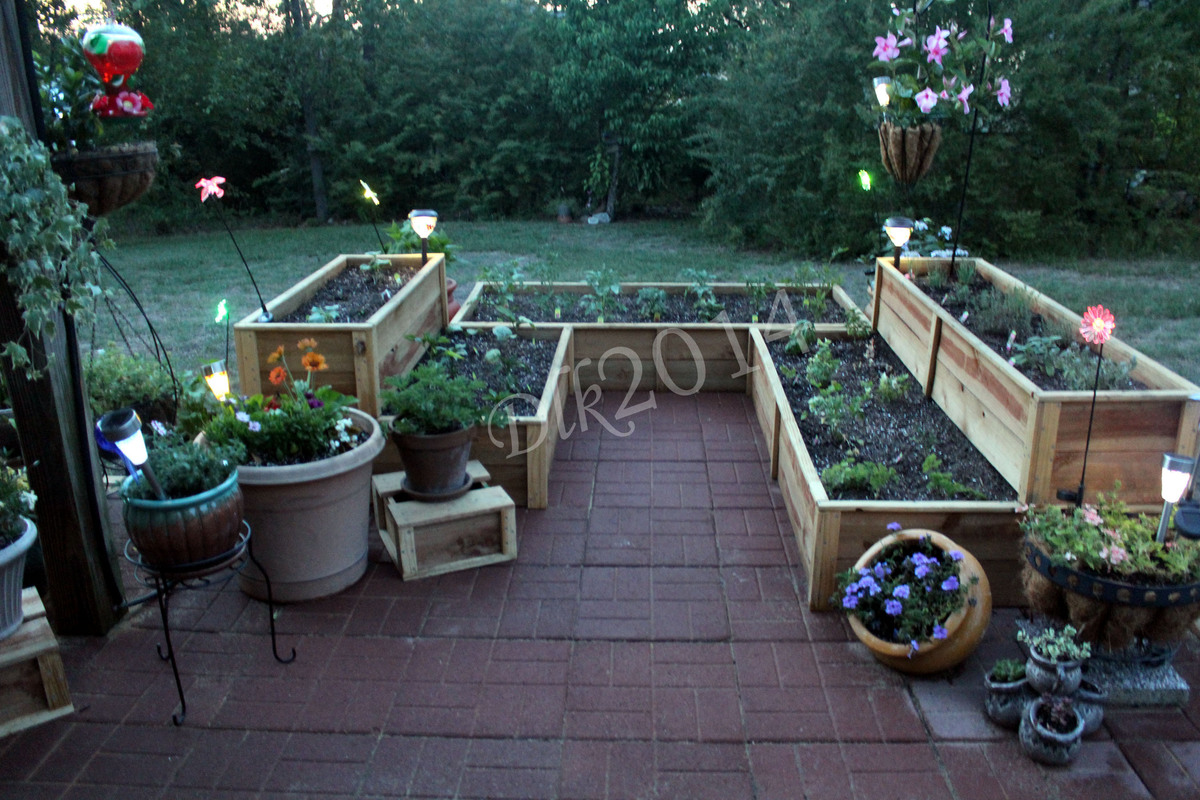
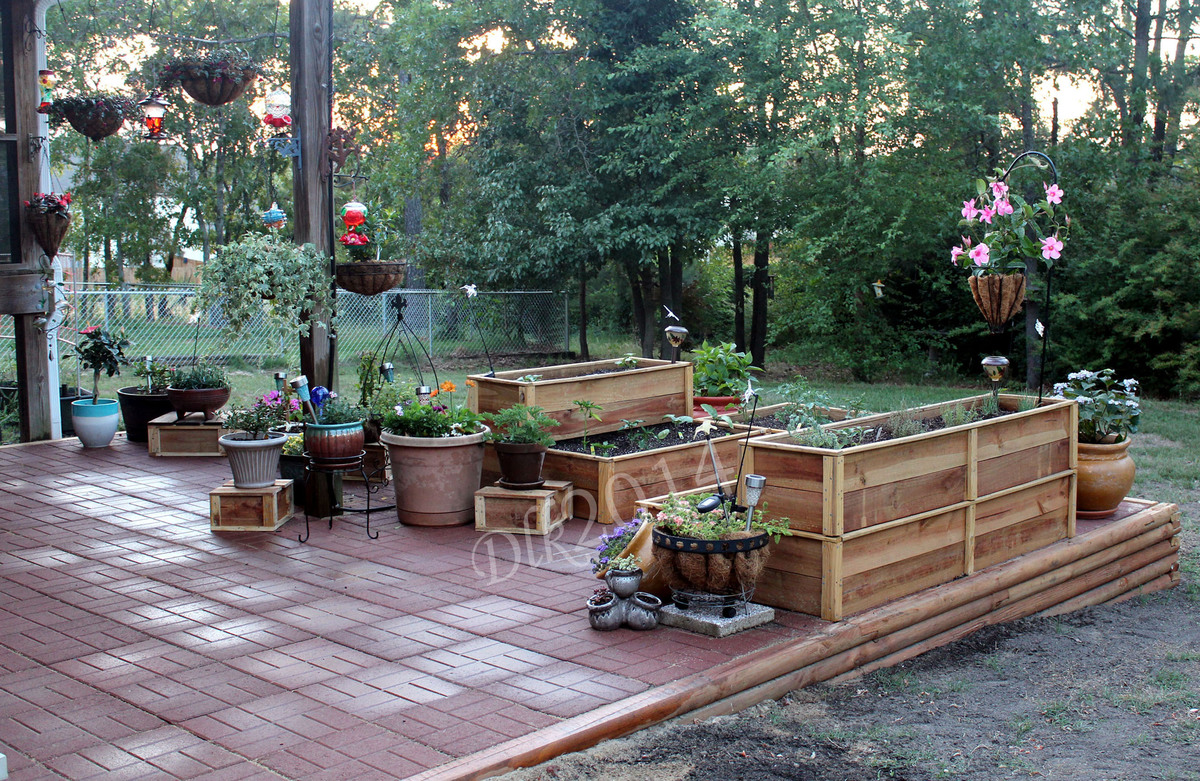
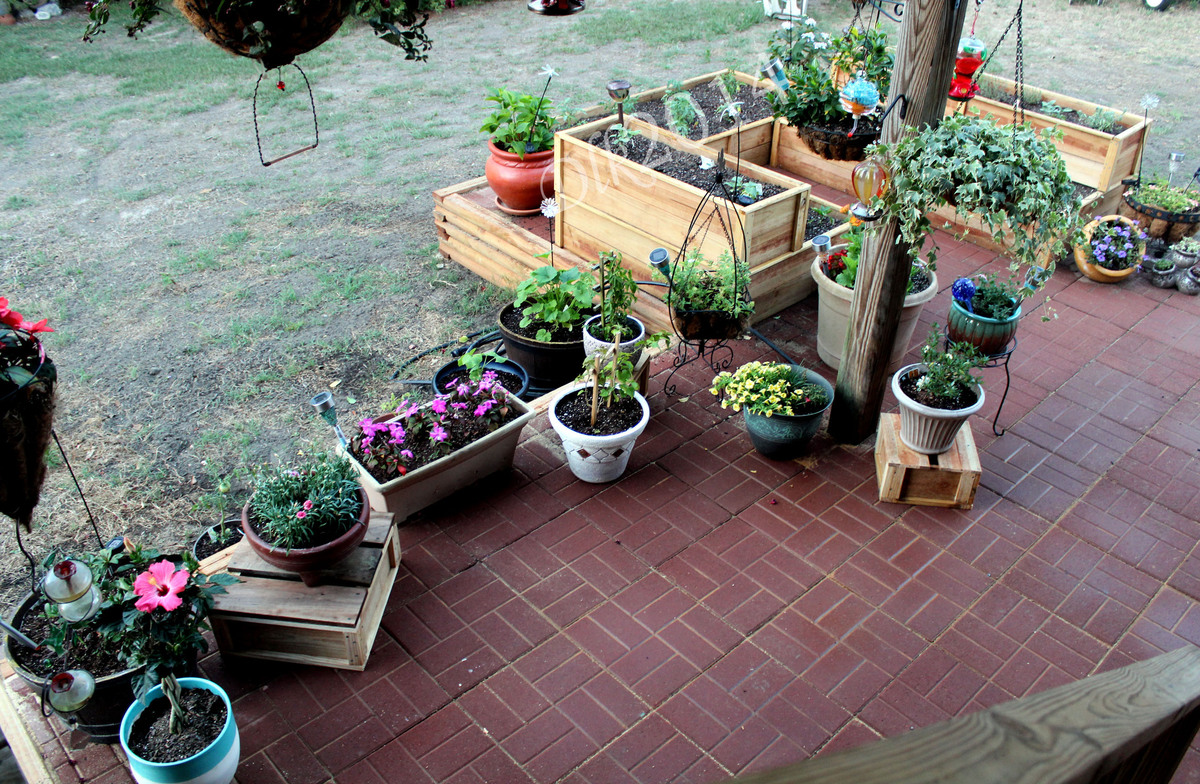
Raised Garden Beds
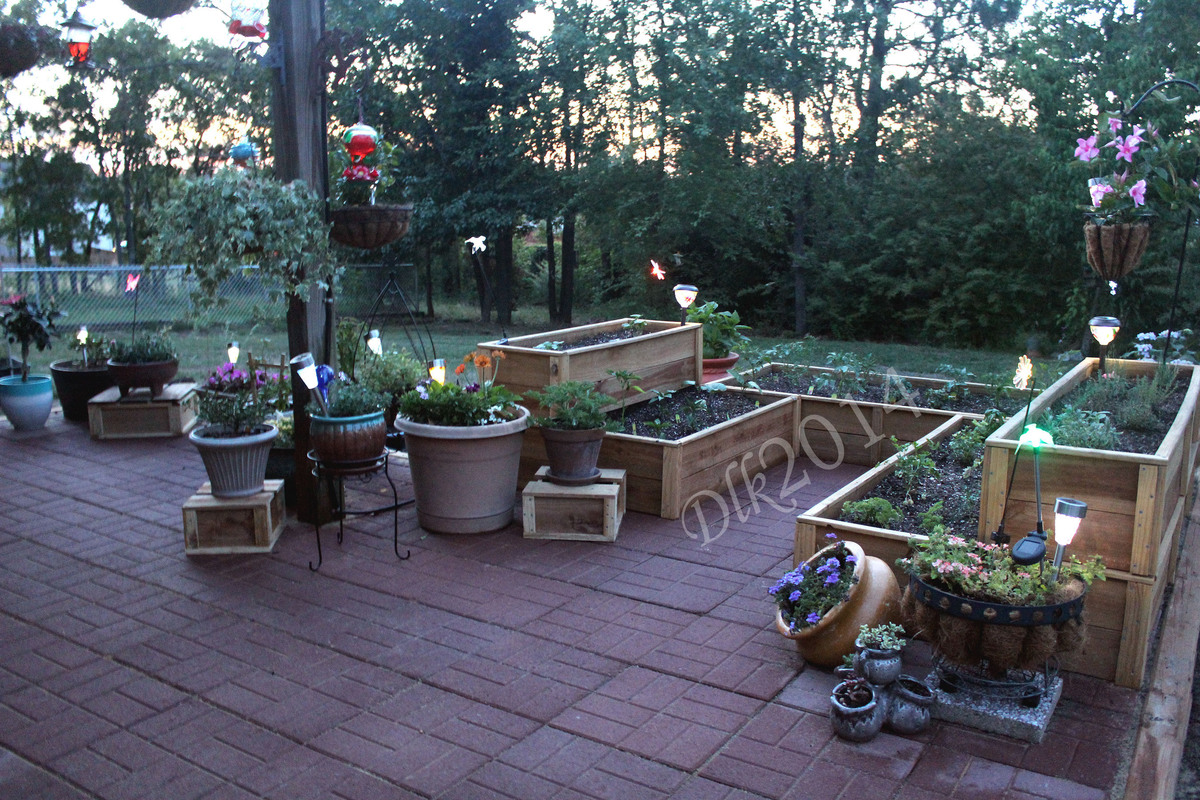
I used the basic Raised cedar garden bed plans with a few alterations. I made them different sizes, stacked one on top of the other for some dimension in my garden and secured them together from in inside.
Built from Plan(s)
Estimated Time Investment
Week Long Project (20 Hours or More)
Recommended Skill Level
Intermediate
Comments


Wine Fridge and Tilt-out Garbage Console
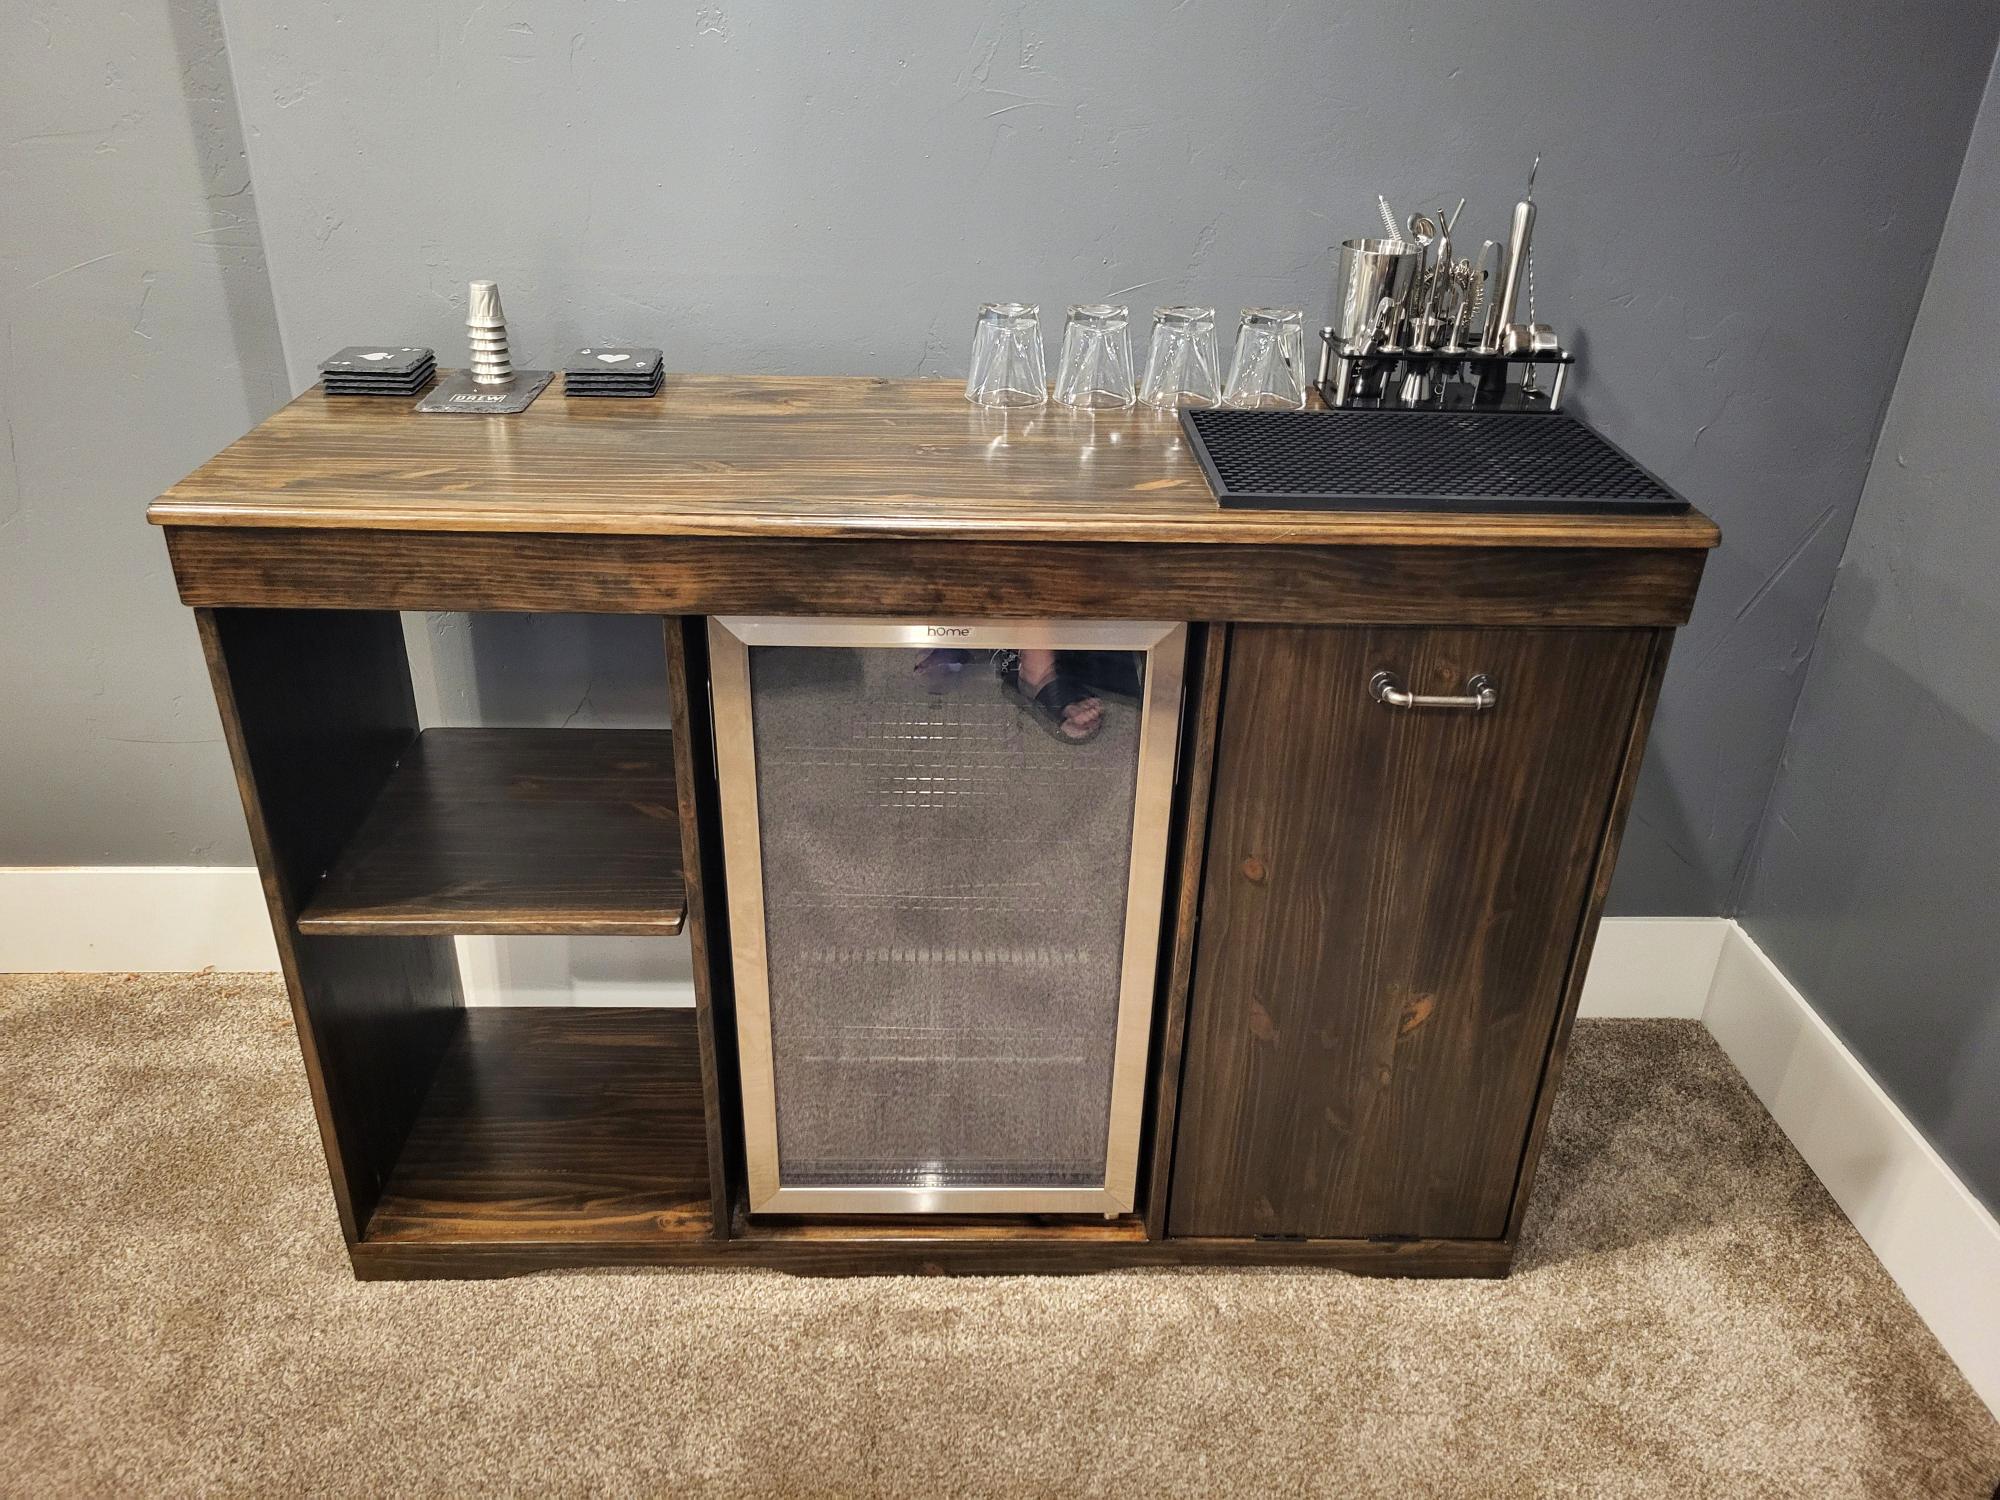
Waste tilt out, wine fridge, and storage shelf.
Drewsmith1549
Outdoor Sofa & Coffee Table
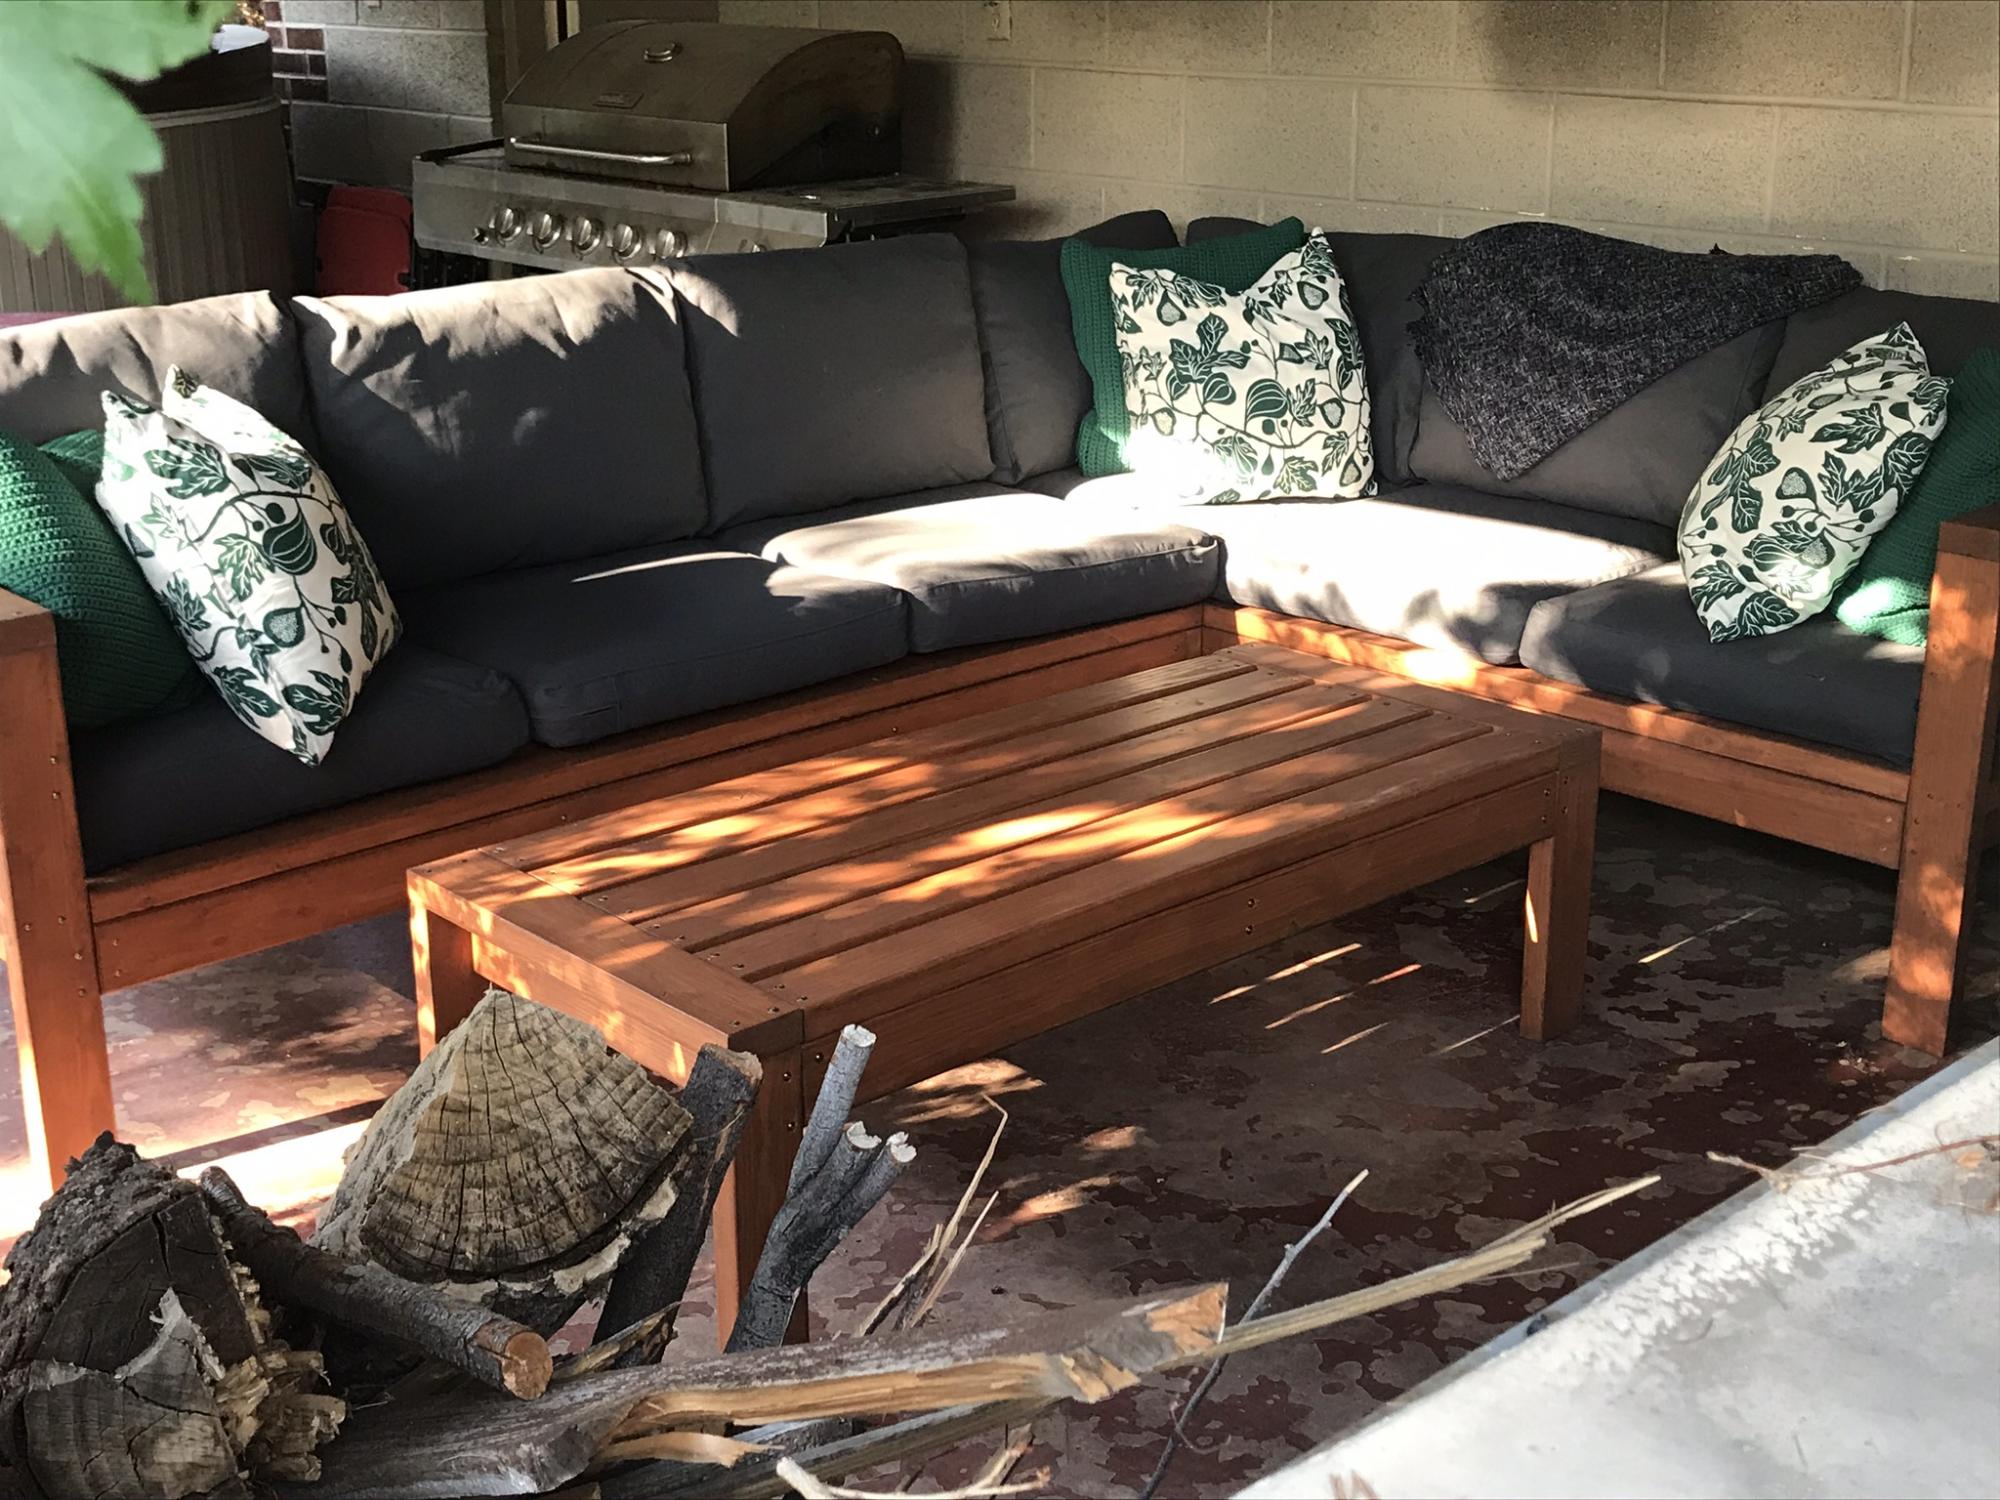
This project took a while. Stained everything before assembly which made it easier. Plans are easy to follow. Thank you for making them available. Our property is starting to look a lot like your website.
Built from Plan(s)
Estimated Cost
180
Estimated Time Investment
Weekend Project (10-20 Hours)
Recommended Skill Level
Beginner
Comments
Mon, 08/02/2021 - 08:35
Joining method?
Looks amazing! What method did you use (pocket holes, dowels, deck screws, etc) to join the visible portions like the arms?
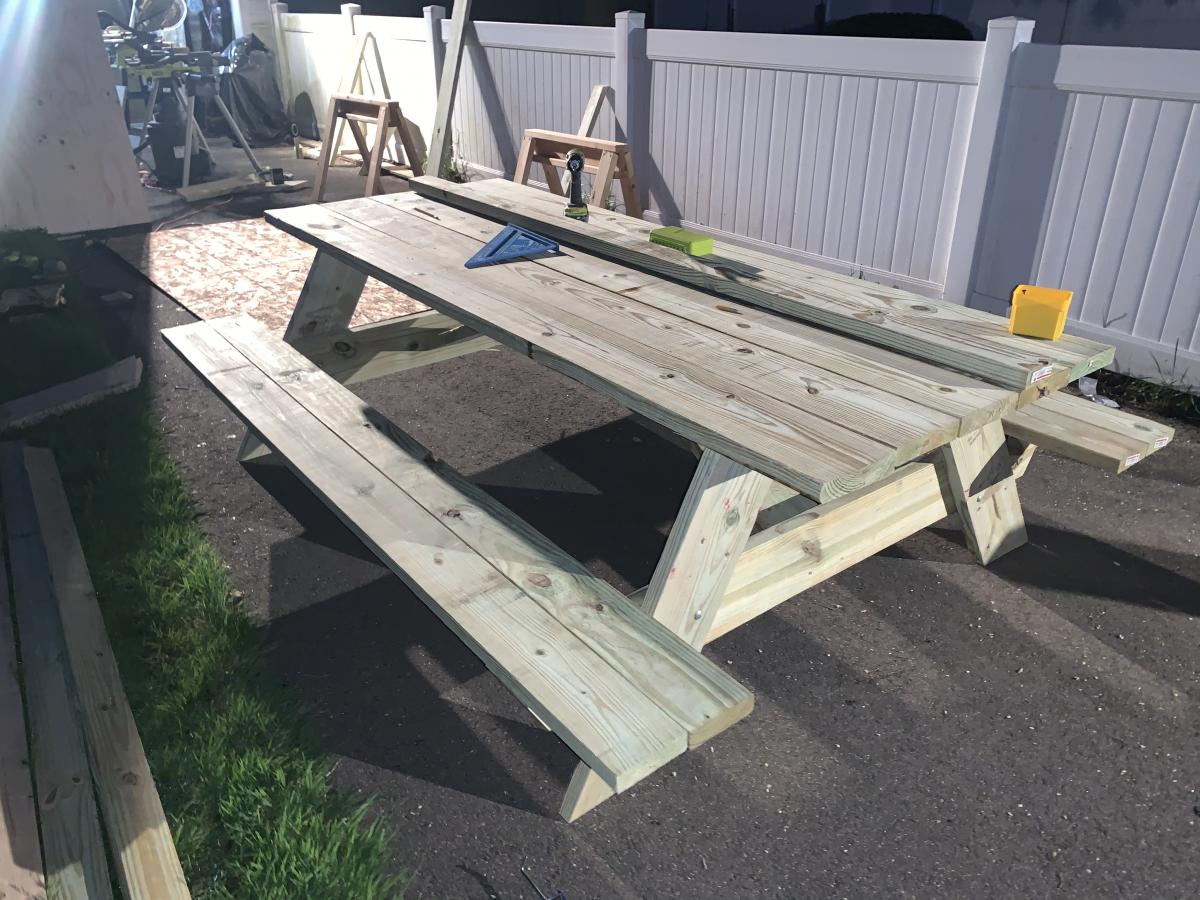
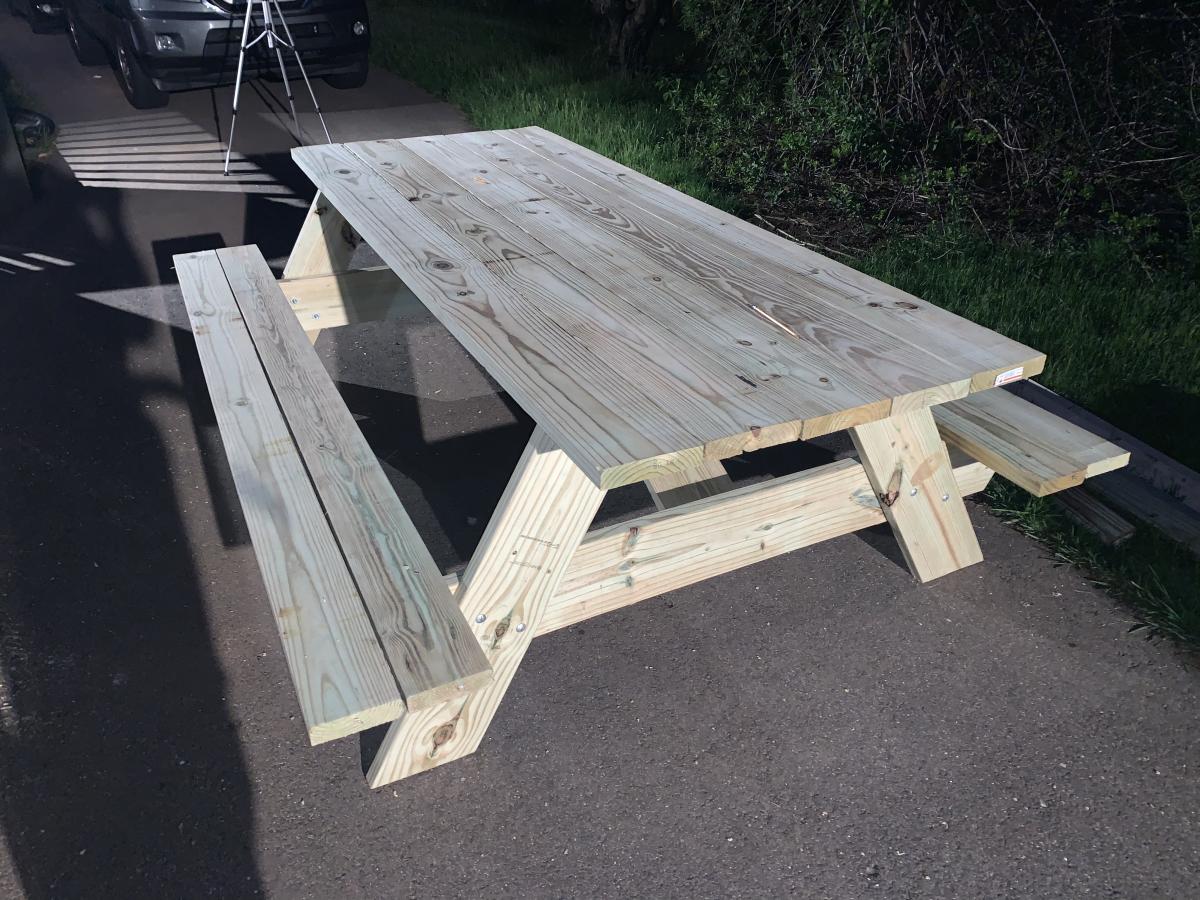
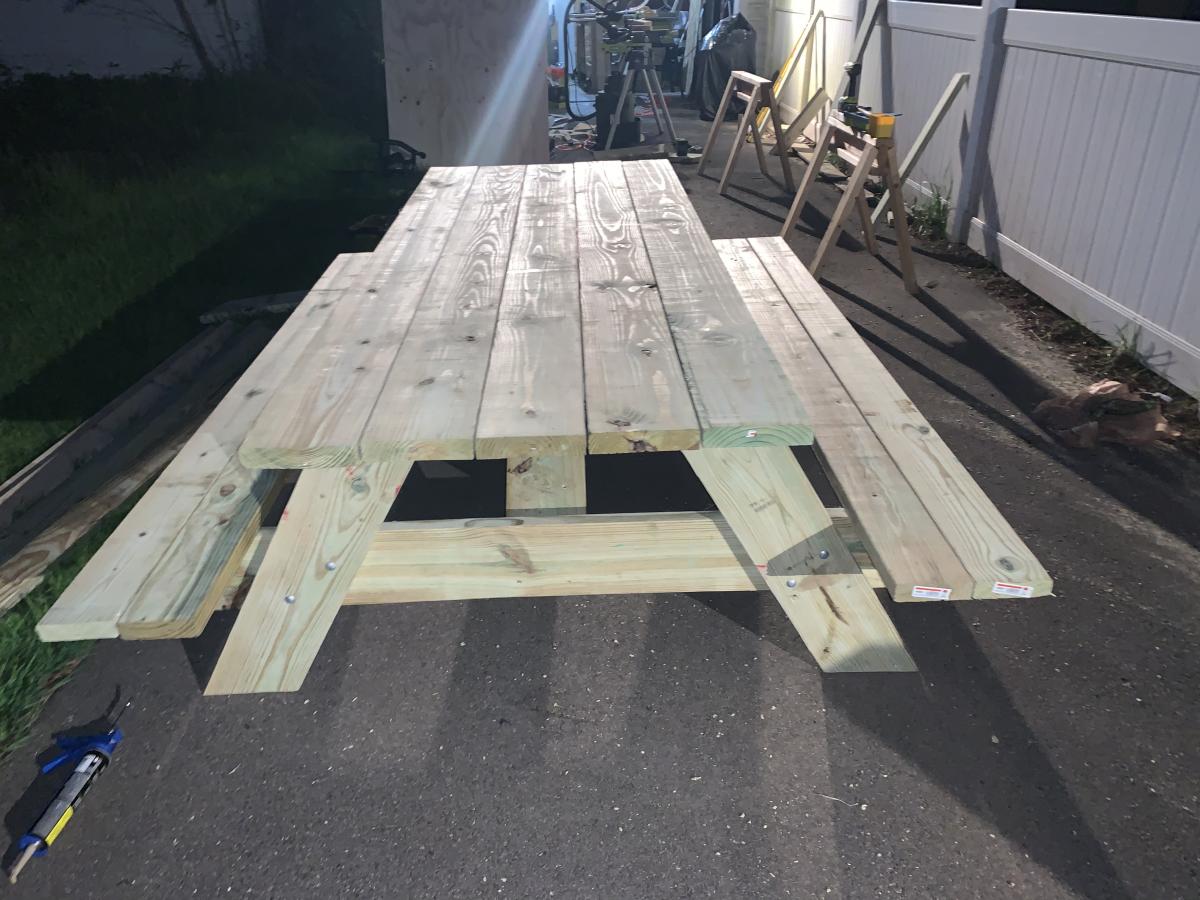
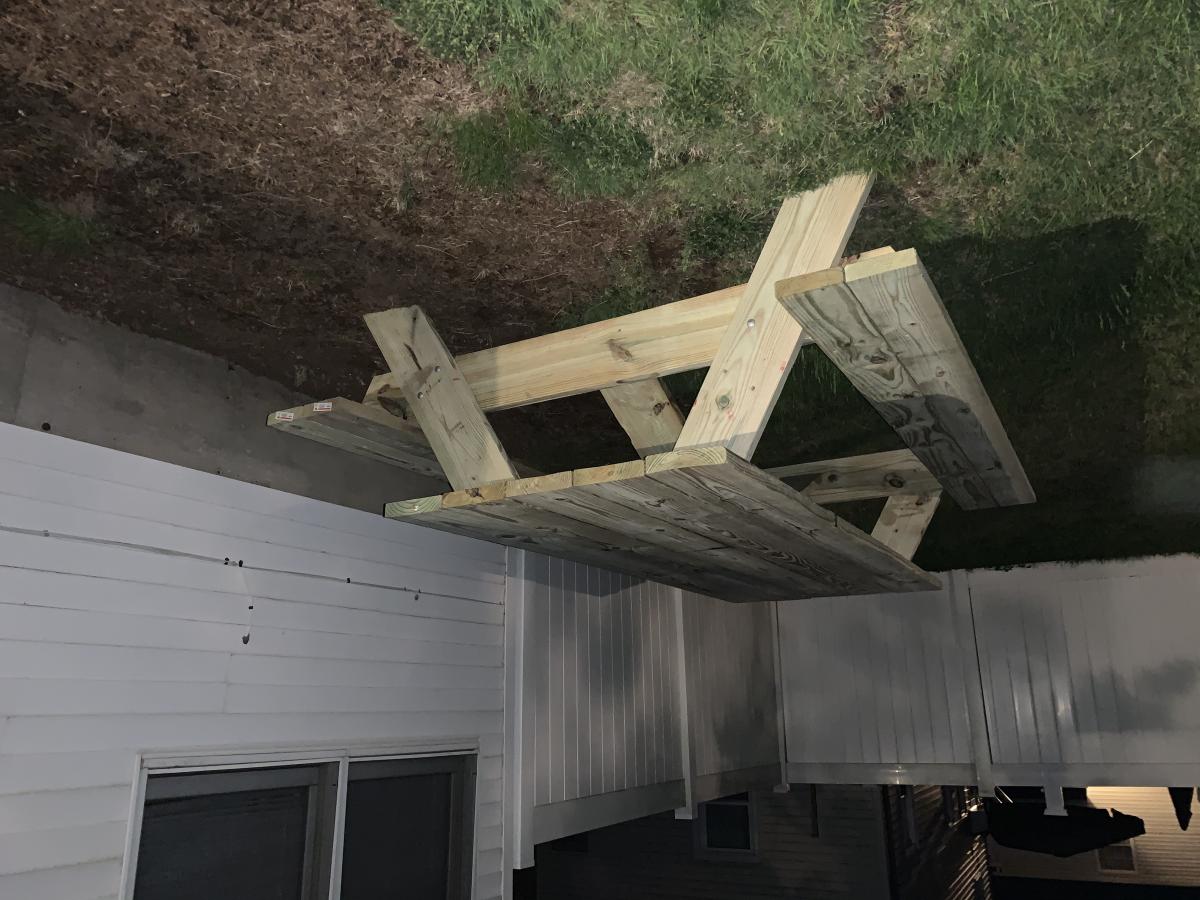
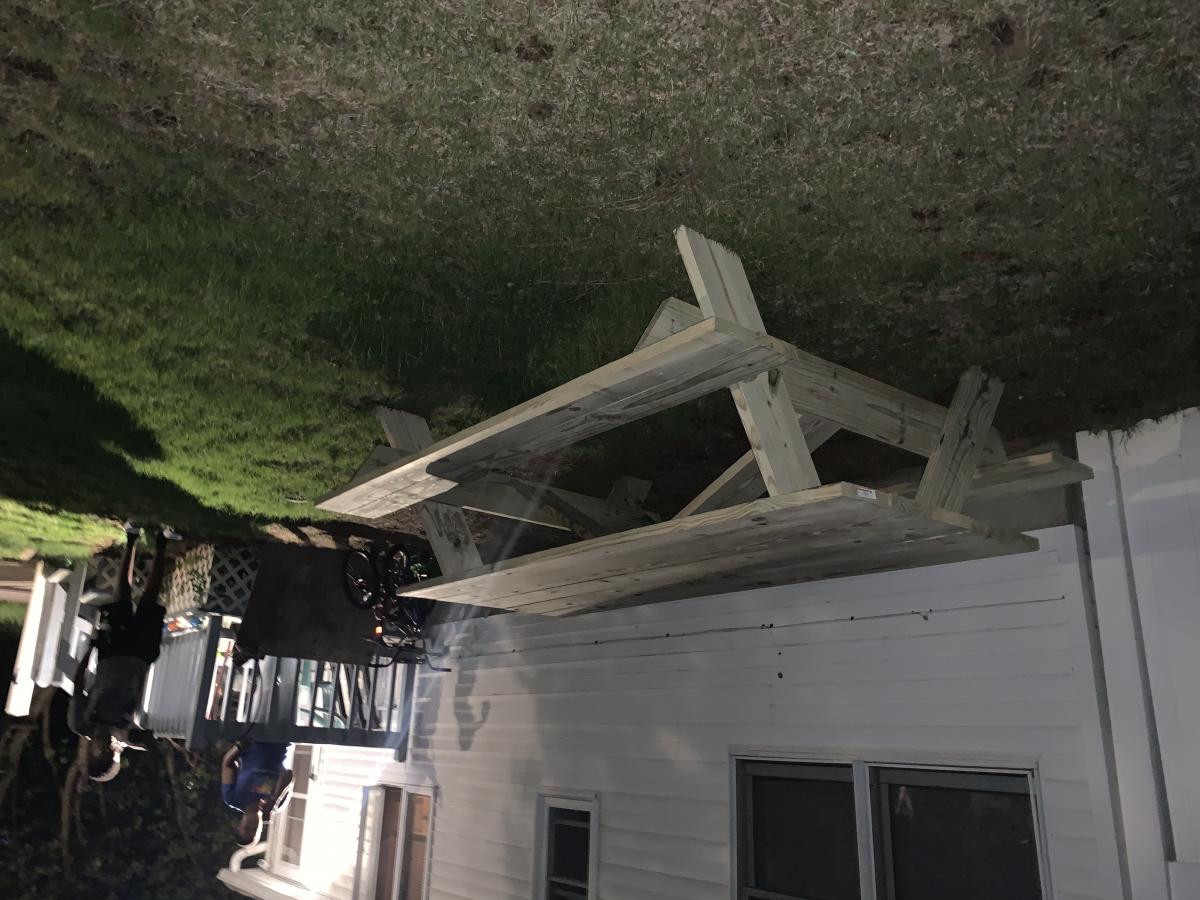
Picnic Table
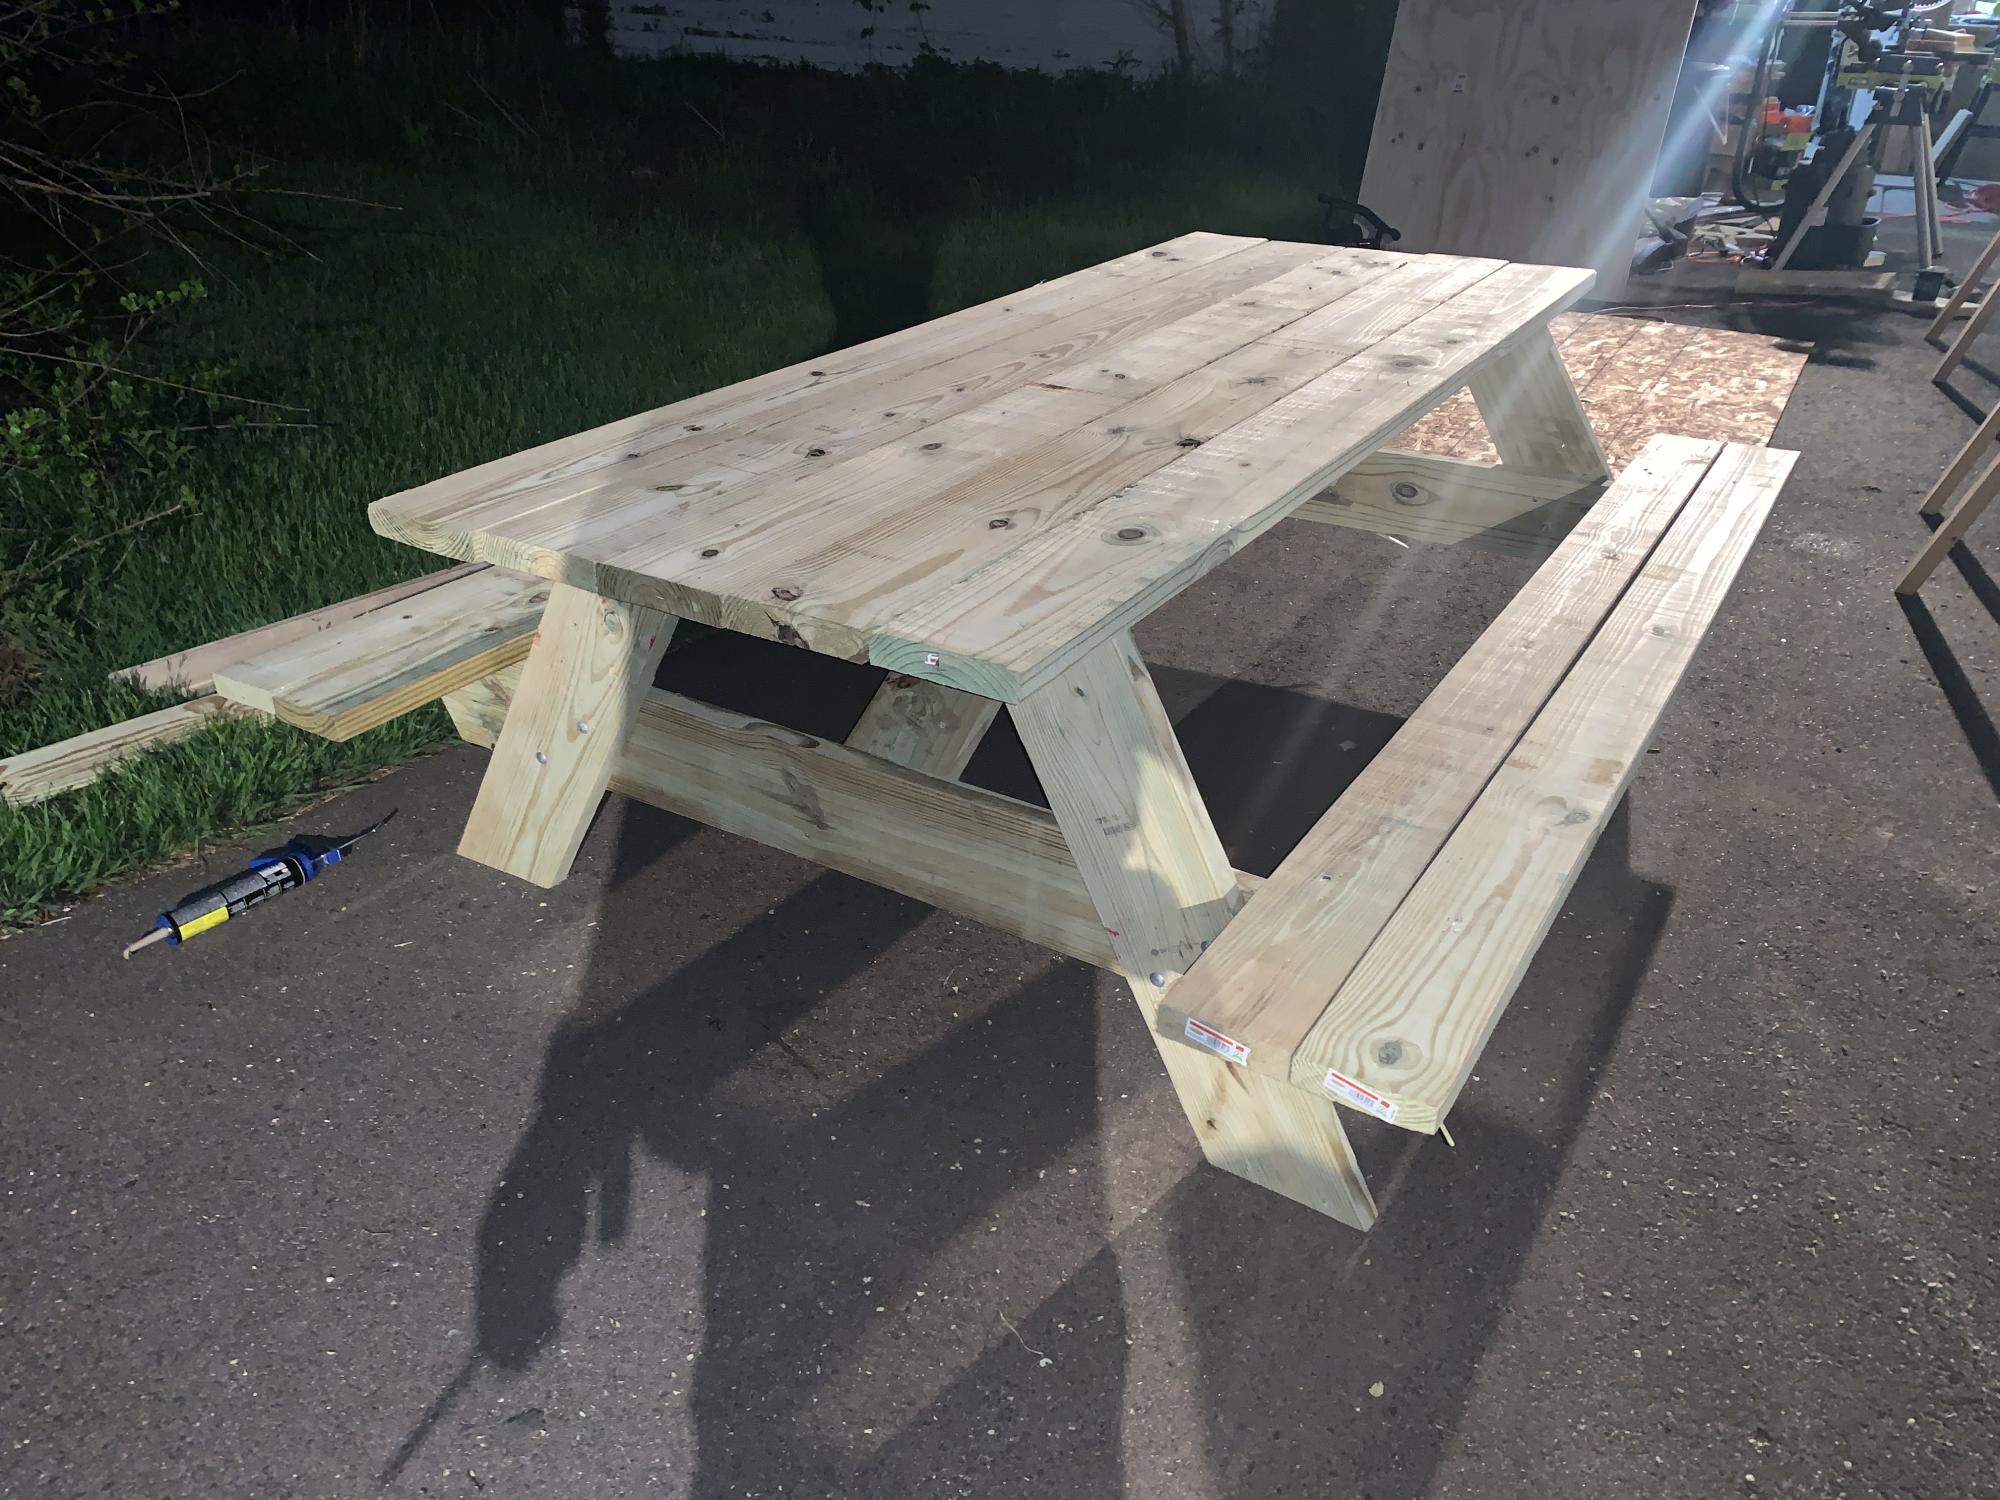
8’ x 3’ Table
Built from Plan(s)
Estimated Cost
$150
Estimated Time Investment
Afternoon Project (3-6 Hours)
Recommended Skill Level
Beginner
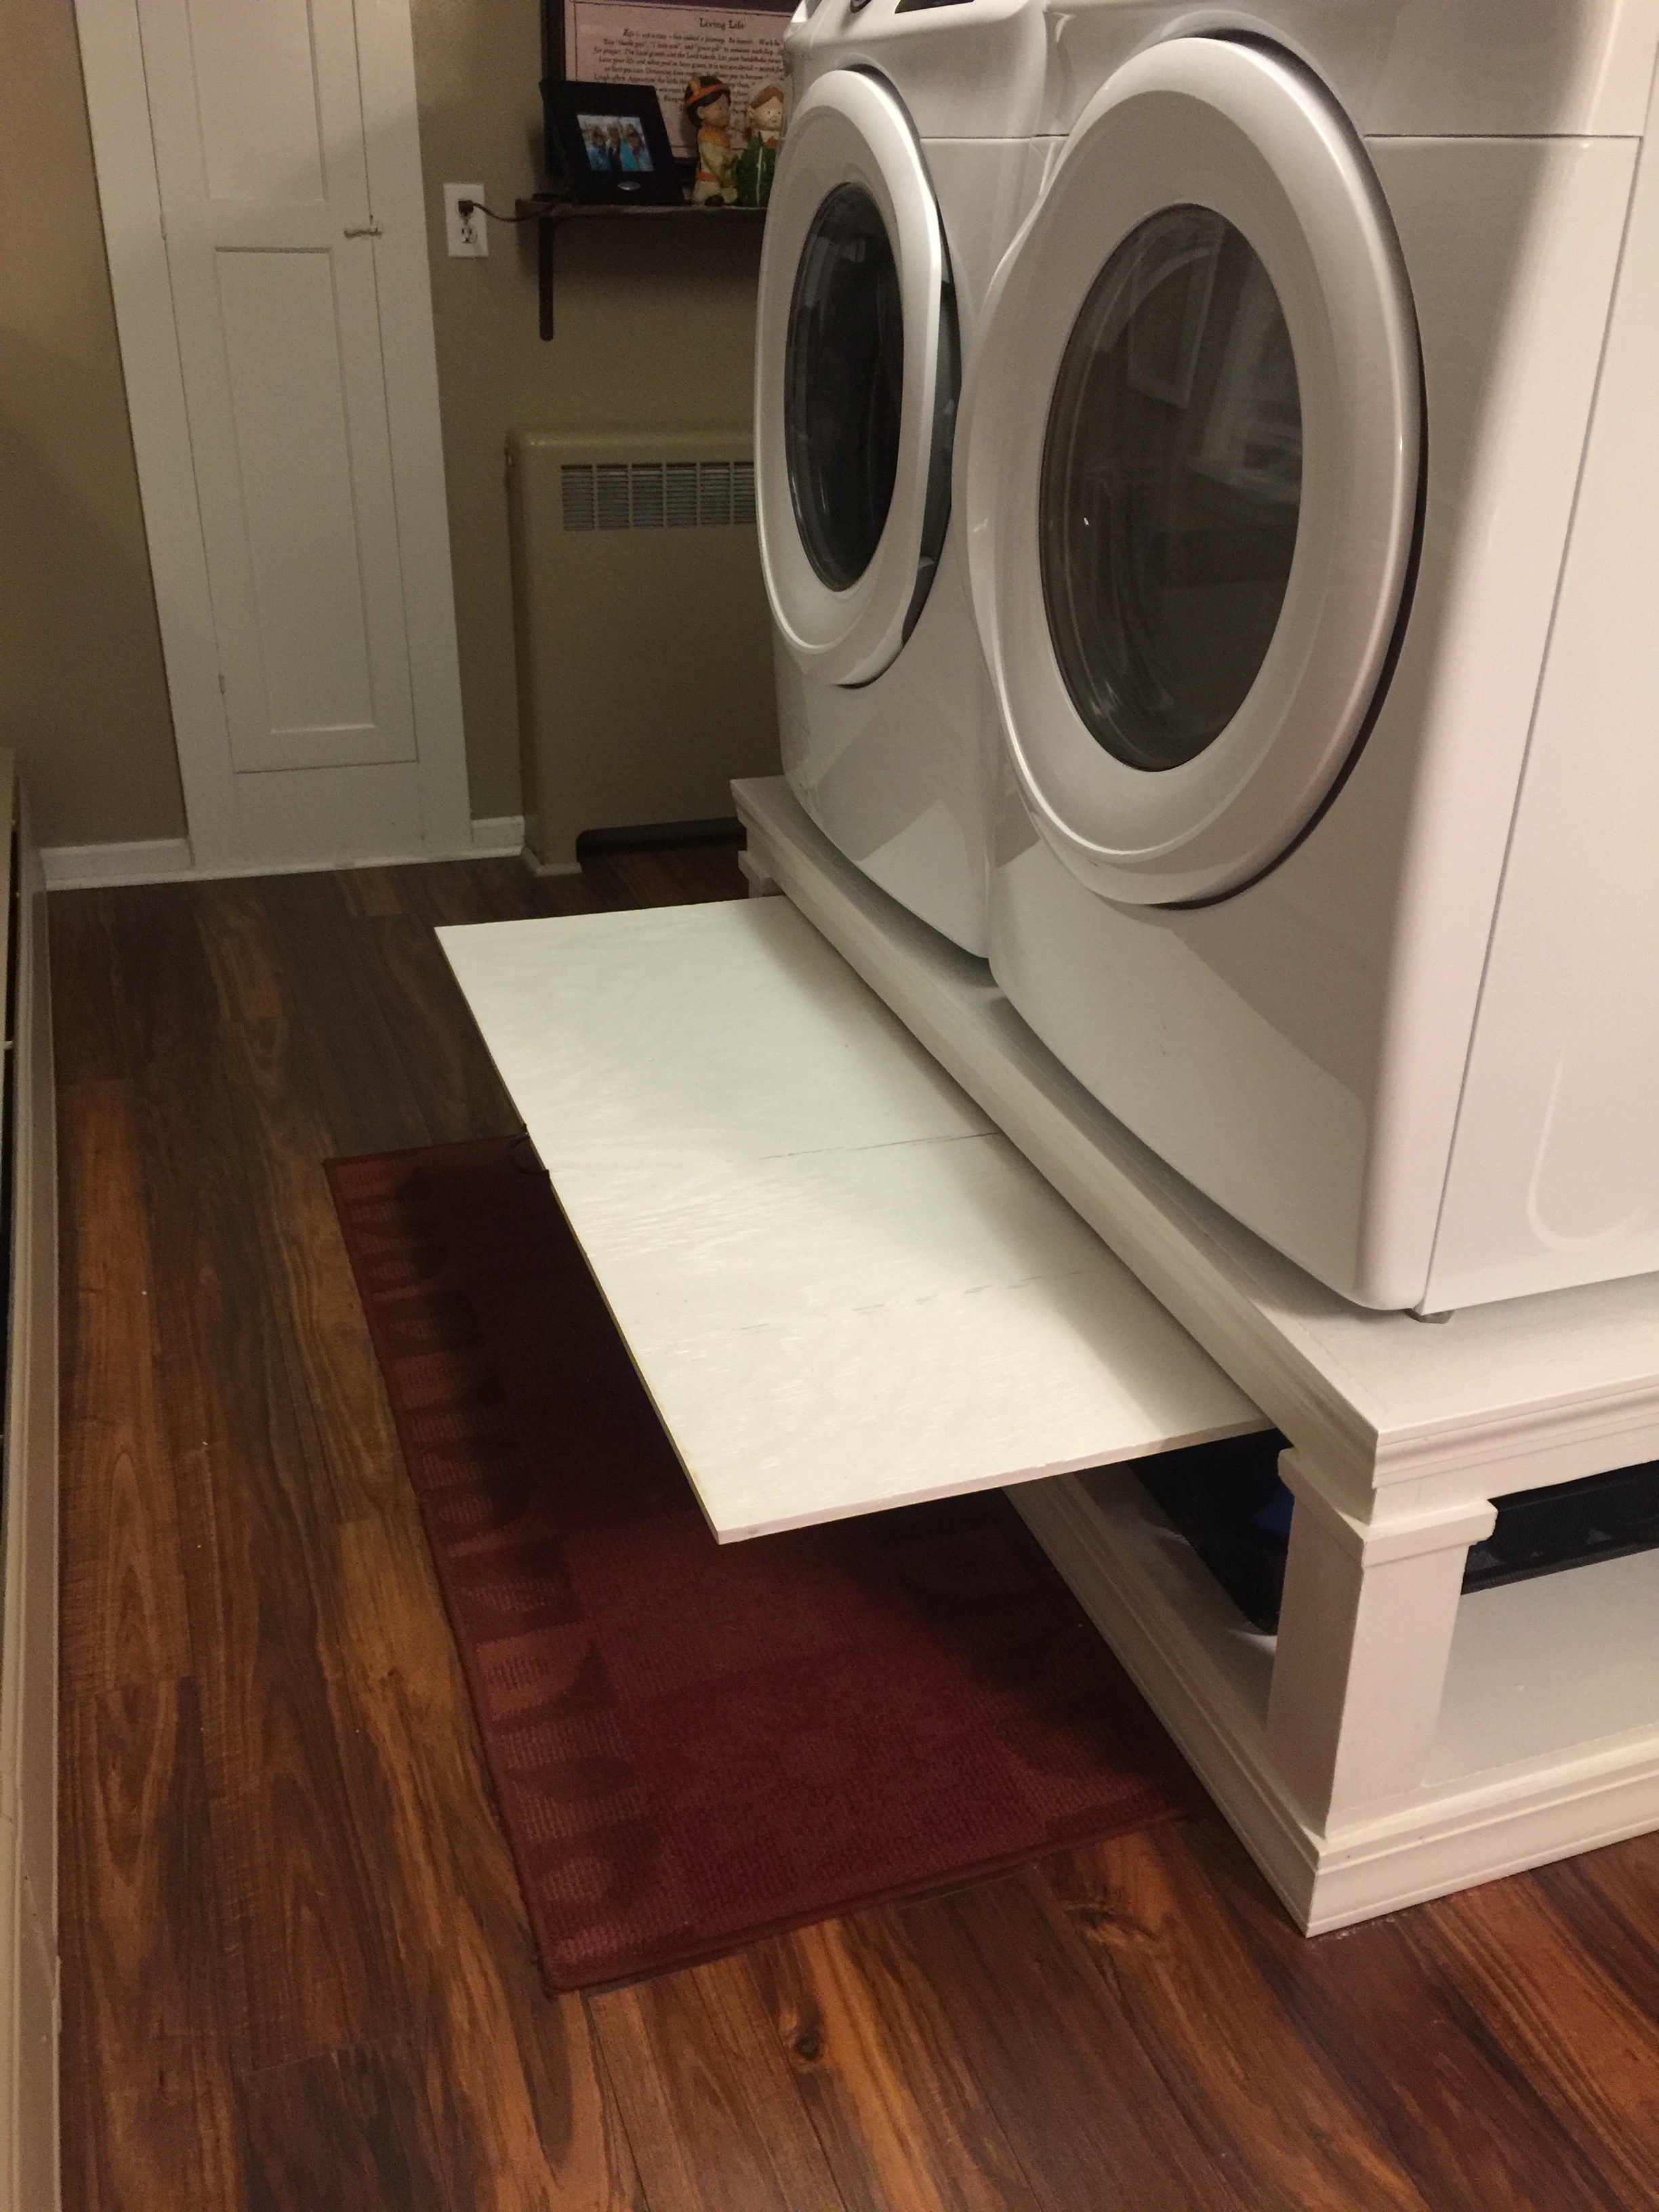
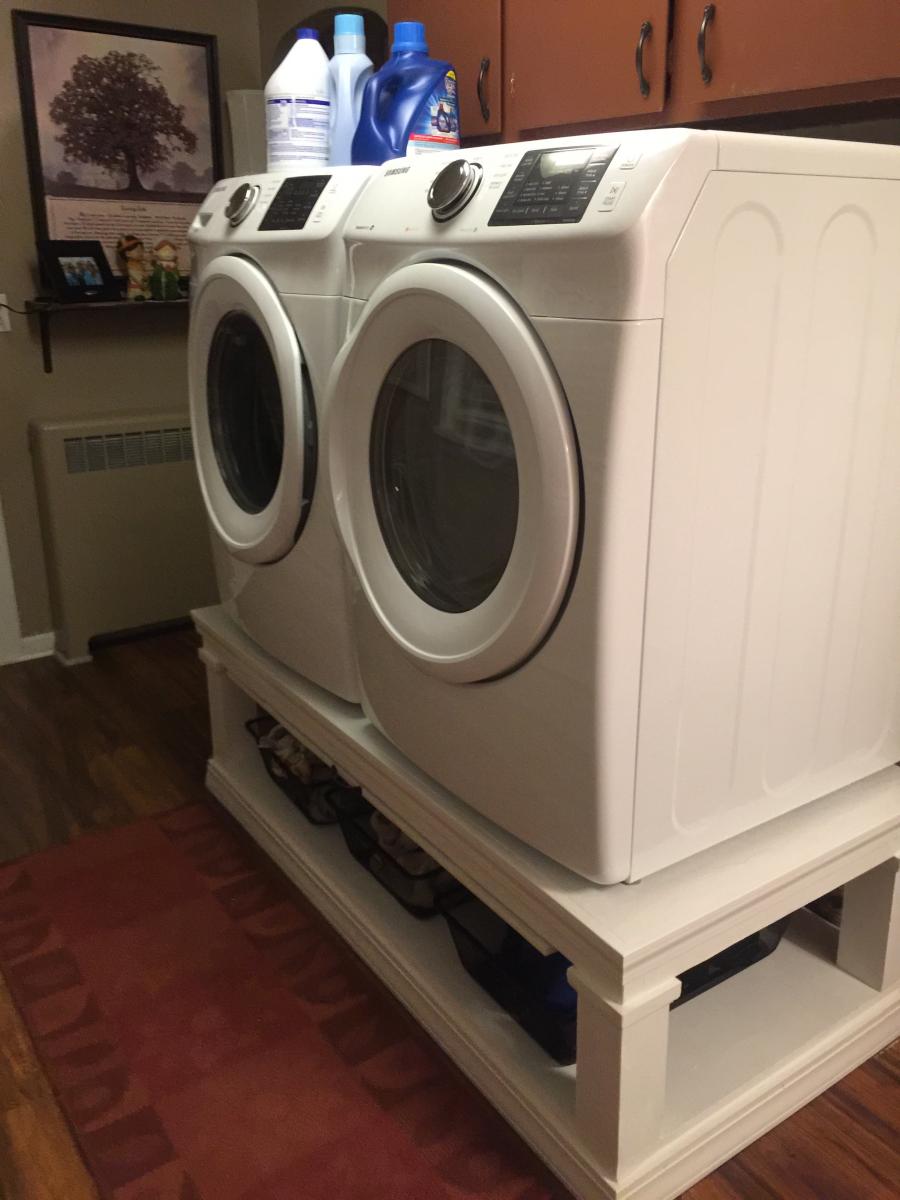
Washer & Dryer Pedestal
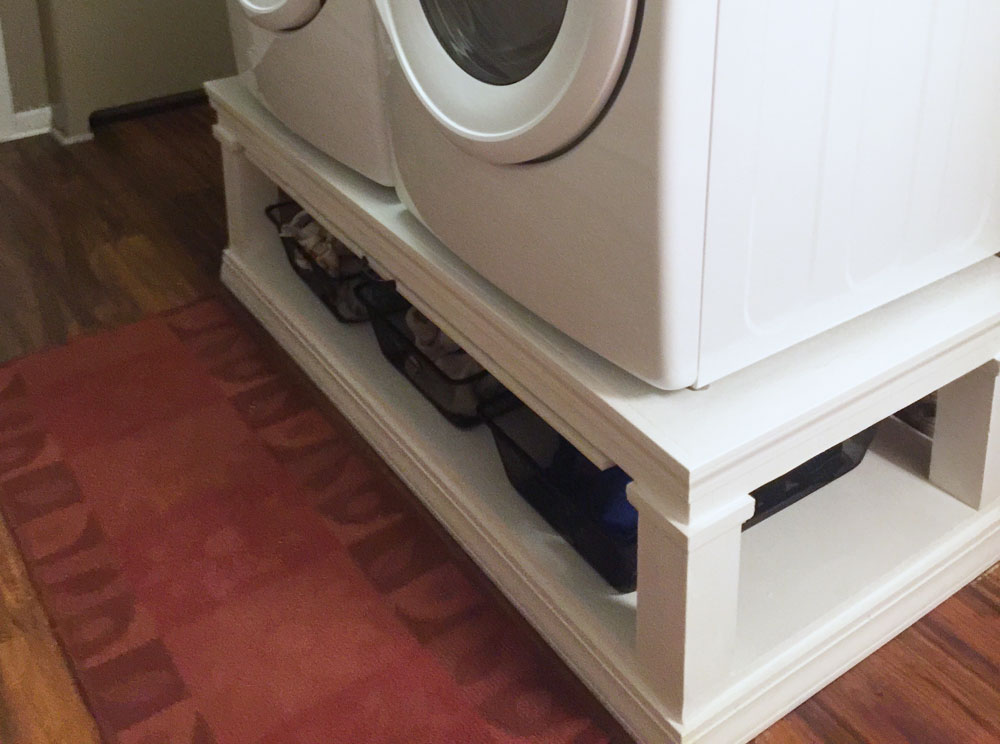
Good, sturdy pedestal is a nice addition to the laundry room.
I used the plans from Sausha’s Washer/Dryer Pedestals and added a pull out to place the laundry basket on.
Built from Plan(s)
Estimated Cost
About $100
Estimated Time Investment
Afternoon Project (3-6 Hours)
Finish Used
White paint
Recommended Skill Level
Beginner
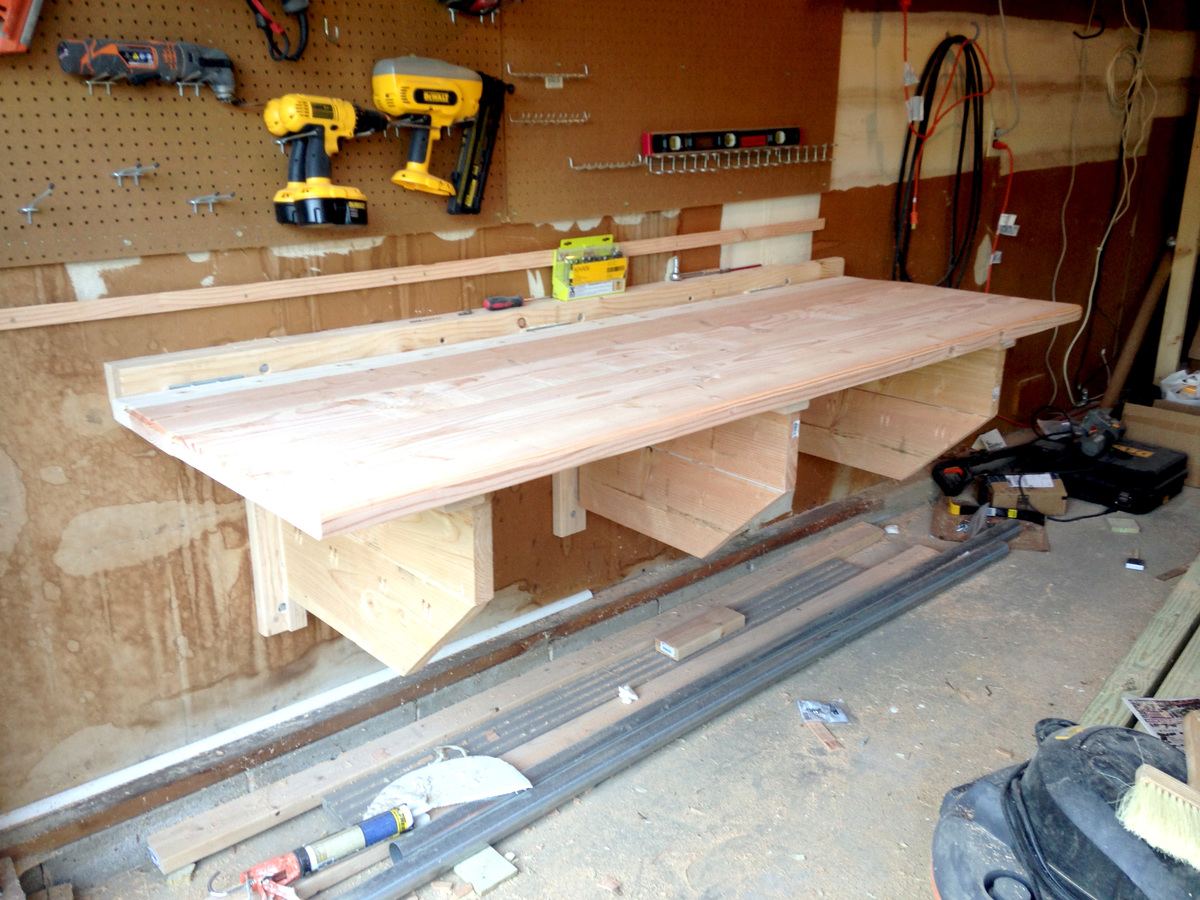
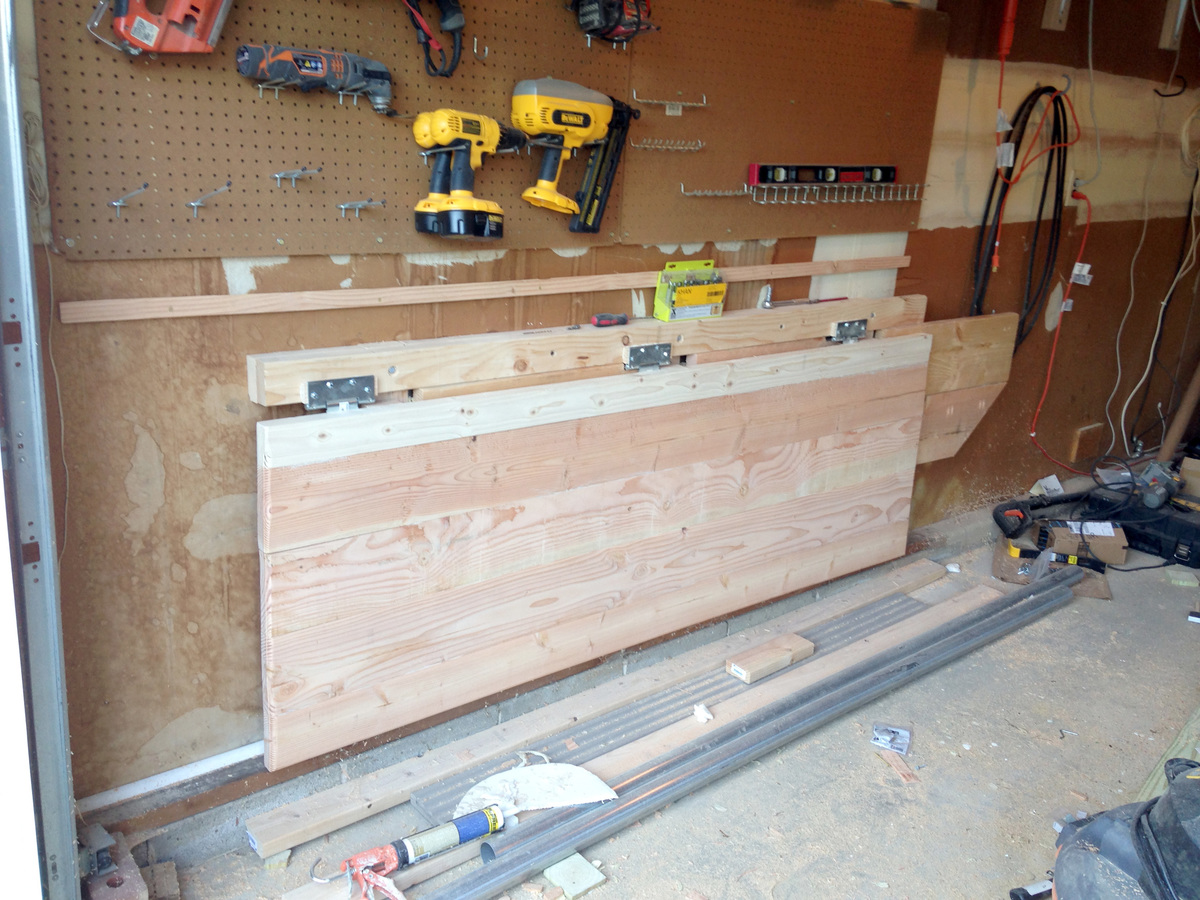
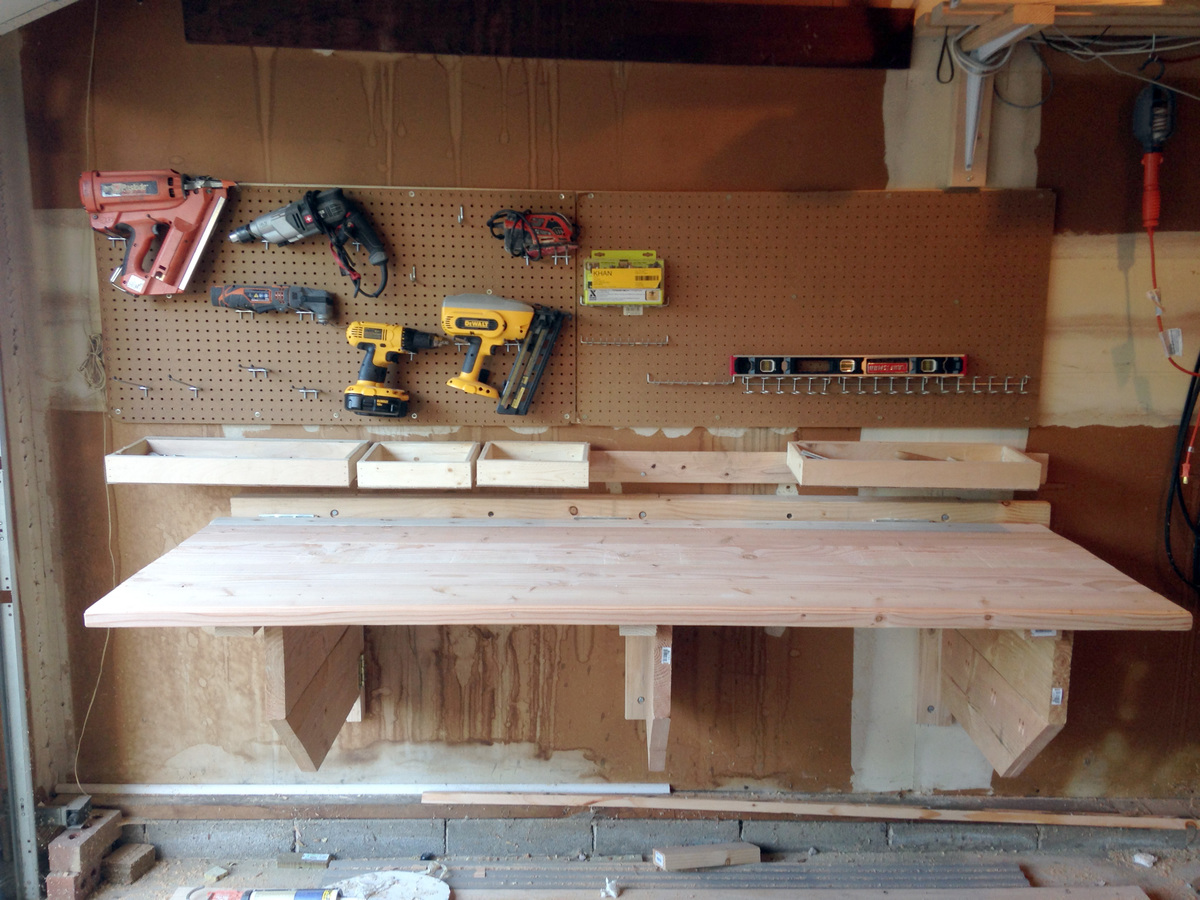
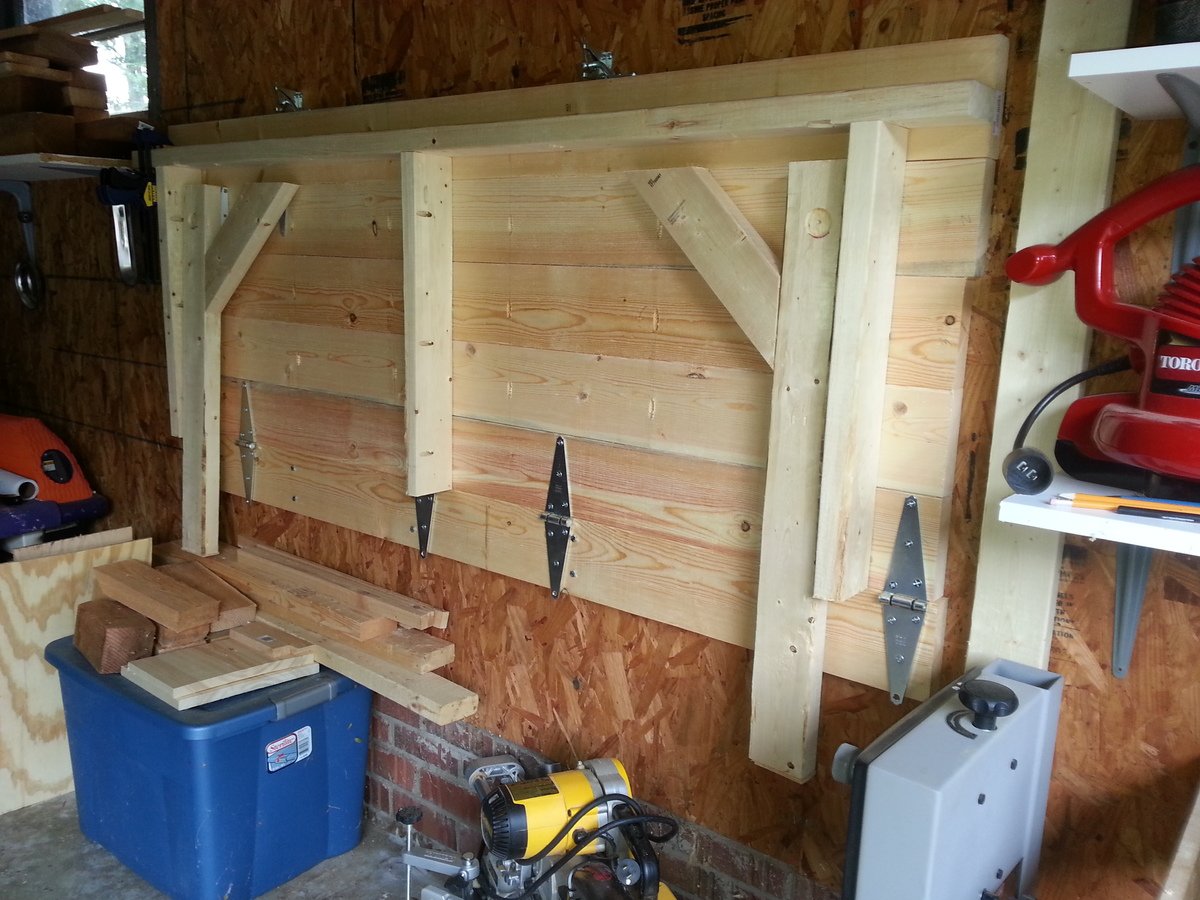
Folding Garage Workbench
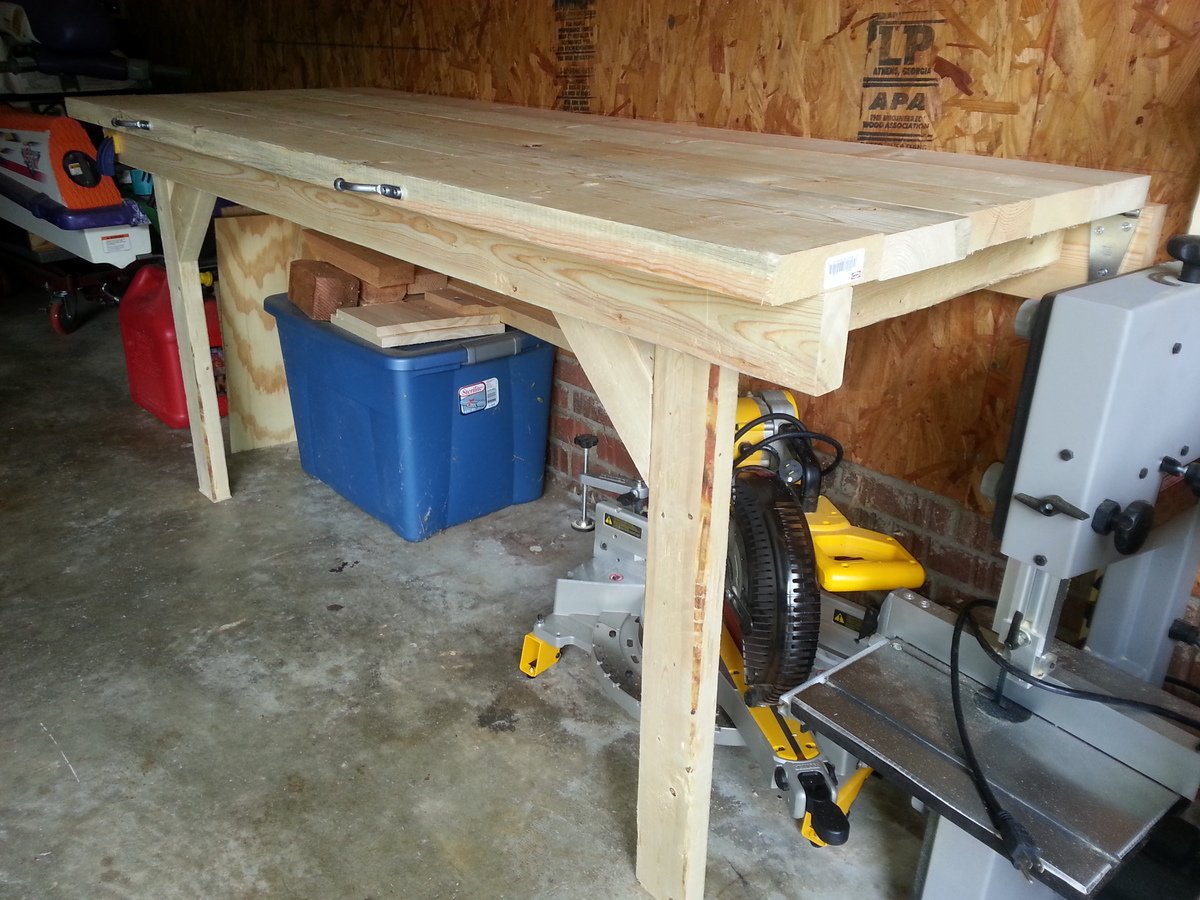
I wanted a good flat and level workspace to continue projects. This workbench folds up to the wall in my garage so I can still park when not working on anything. I made it pretty stout with 2x4s and 2x6s since it would need to support fairly large pieces of furniture without deflecting. It is very heavy as a result though (good core workout folding it up and down :) )
I used two folding shelf brackets on the legs to keep them from accidentally being kicked out from under the table while it's out. (http://www.woodcraft.com/Product/2001690/2615/Folding-Shelf-Bracket-8-P…)
I used four heavy strap hinges to connect the table to the 2x6 (which was lag screwed into studs). Two gate latches were used to secure the edge of the table to studs when the table is folded up.
I cut the legs approximately, and then when the table was hung I cut and shimmed them to get the table level on the uneven surface of the garage floor.
Estimated Cost
Total = $81.10 (Lumber = $33.40, Hardware = 47.70)
Estimated Time Investment
Day Project (6-9 Hours)
Finish Used
none
Recommended Skill Level
Beginner
Comments
Fri, 08/15/2014 - 16:32
Really like your workbench
I really like this fold up bench design. It may be heavy, but I bet it's incredibly sturdy. I also have a really compact garage. I have pegboard on my walls, so a bench that folds UP doesn't work for me when I want to get a tool.
My own bench is more light duty. It's a sheet of 2x4' plywood attached to a frame made from dimensional lumber. It folds down so I have access to the tools at all times. It's based on a design on the Family Handyman website, although you can find the same design all over the web.
Thu, 02/05/2015 - 18:50
More Pics??
Great idea! I need to build this. Can I please get a picture of it folded up, so I can see the hinges on the legs and the latches holding it while folded?
Fri, 11/06/2020 - 13:55
Folding leg hinges
Can you show another picture of the hinges you used on the legs that can fold out when lowered?
Thanks! Kate
Finally finished my 2x4 modern adirondack chairs!
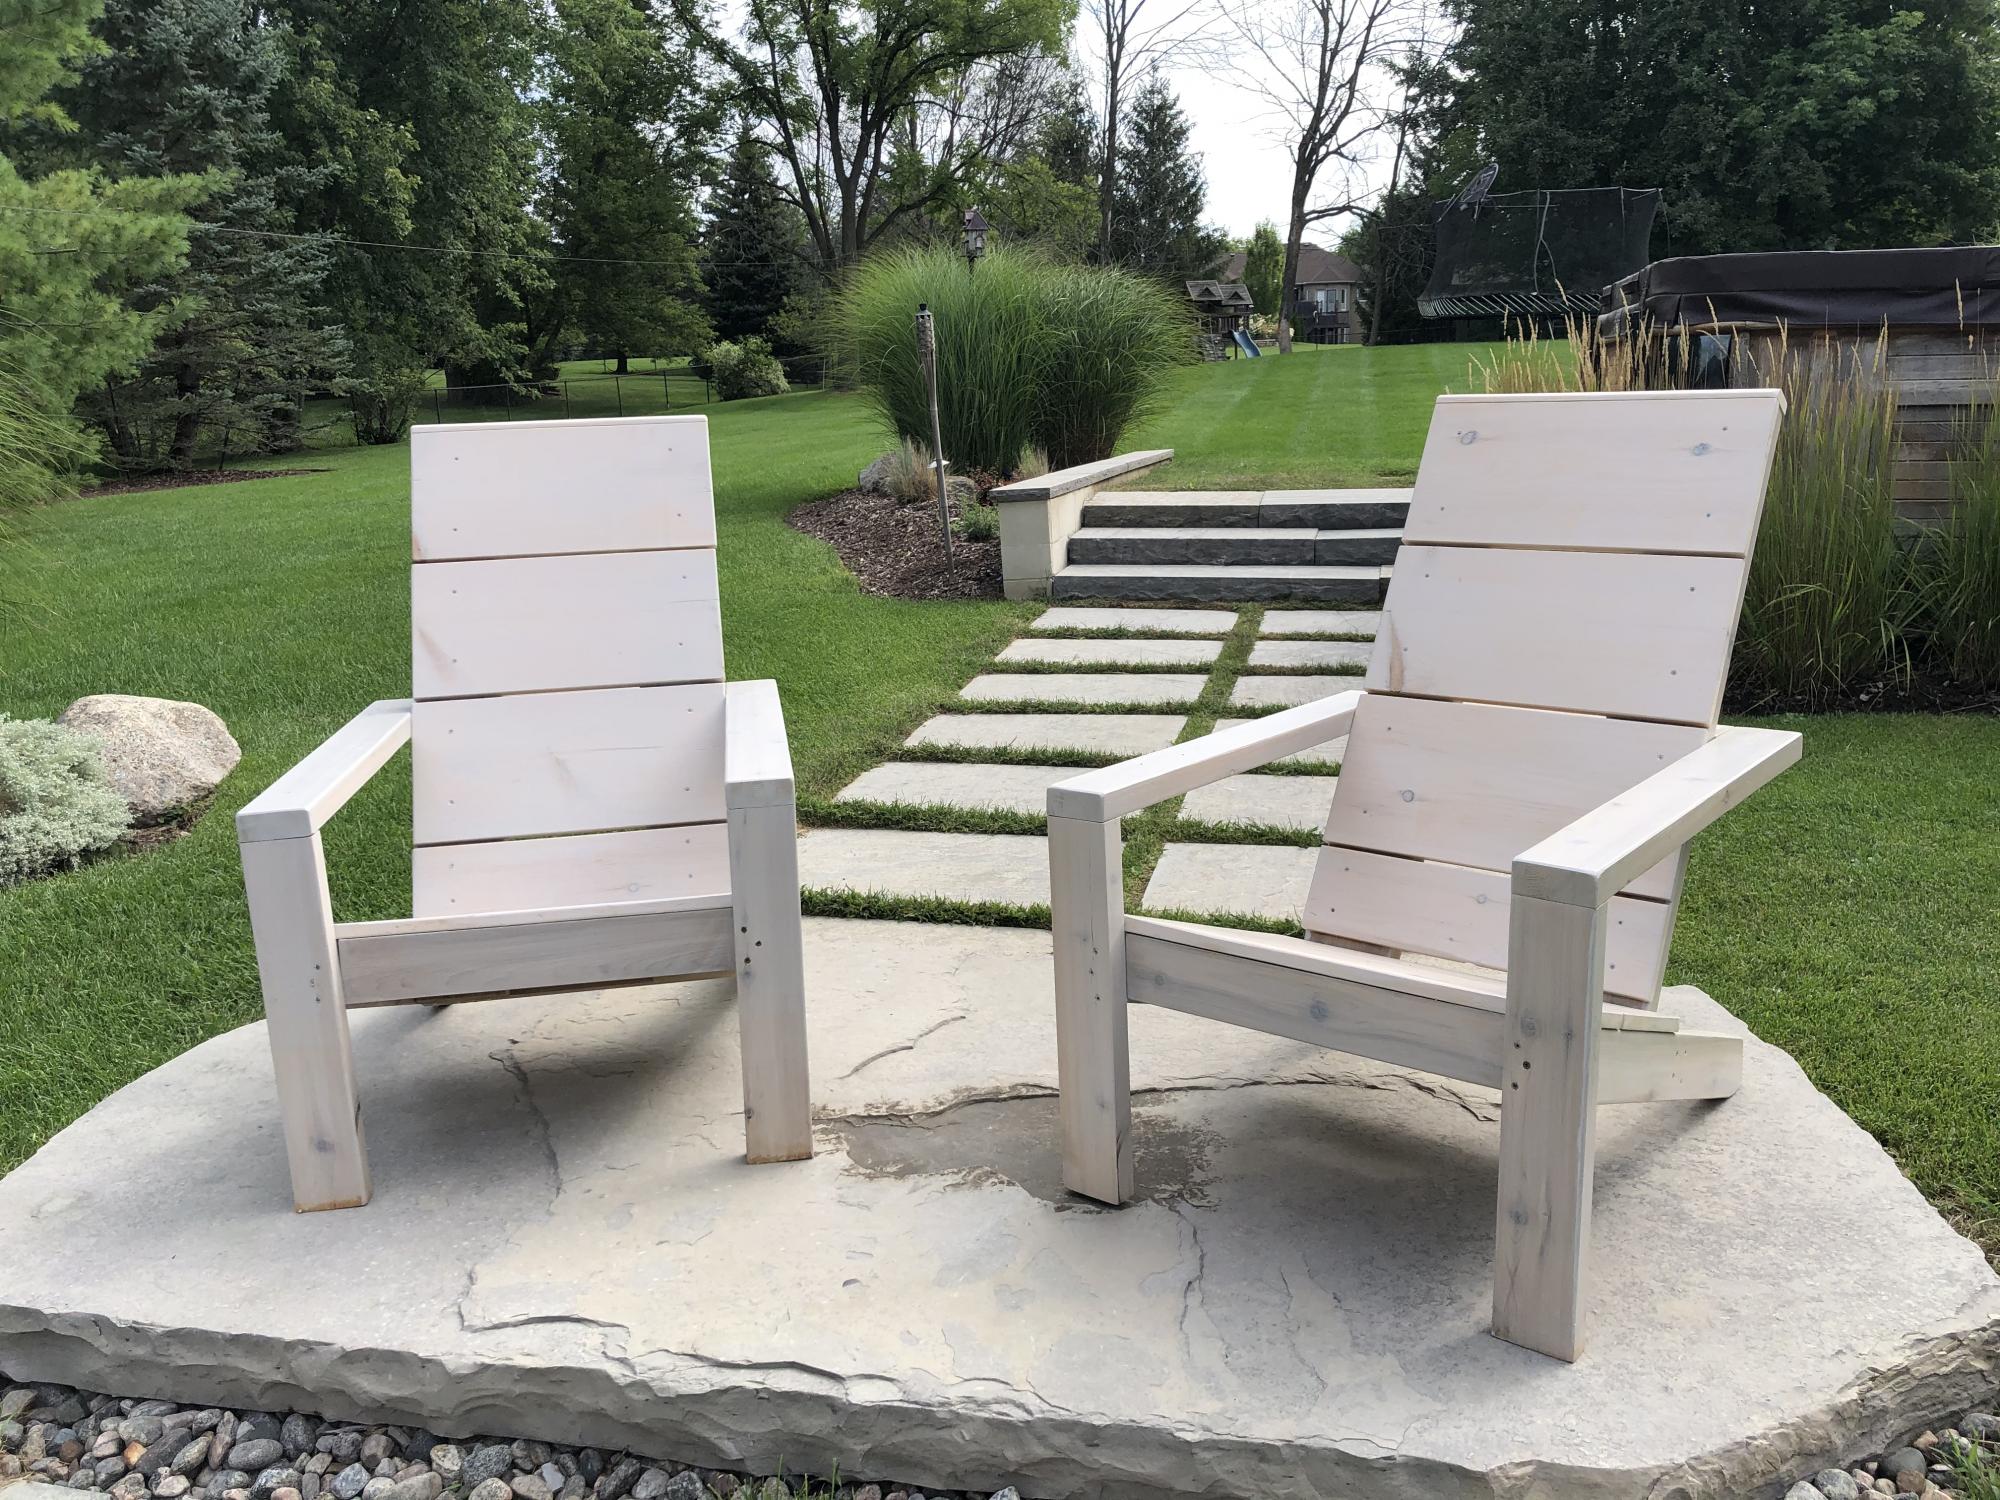
I finally finished my DIY Modern Adirondack Chairs! Frame made with 2x4 cedar lumber and seat and backs with 1x10 pine planks. Stained with Benjamin Moore Aborcoat silver grey semi-transparent stain with a clear coat. Used a free diy plan by Ana White with some slight modifications to make the chair back higher. Cost was a bit higher than expected but lumber has gotten more expensive during the Covid time.
Thanks Ana for the design and the YouTube video. I watched it at least 20 times!
Built from Plan(s)
Estimated Cost
About $100/chair
Estimated Time Investment
Weekend Project (10-20 Hours)
Finish Used
Benjamin Moore Arborcoat Silver-Grey semi-transparent again, Arborcoat Clearcoat
Recommended Skill Level
Beginner
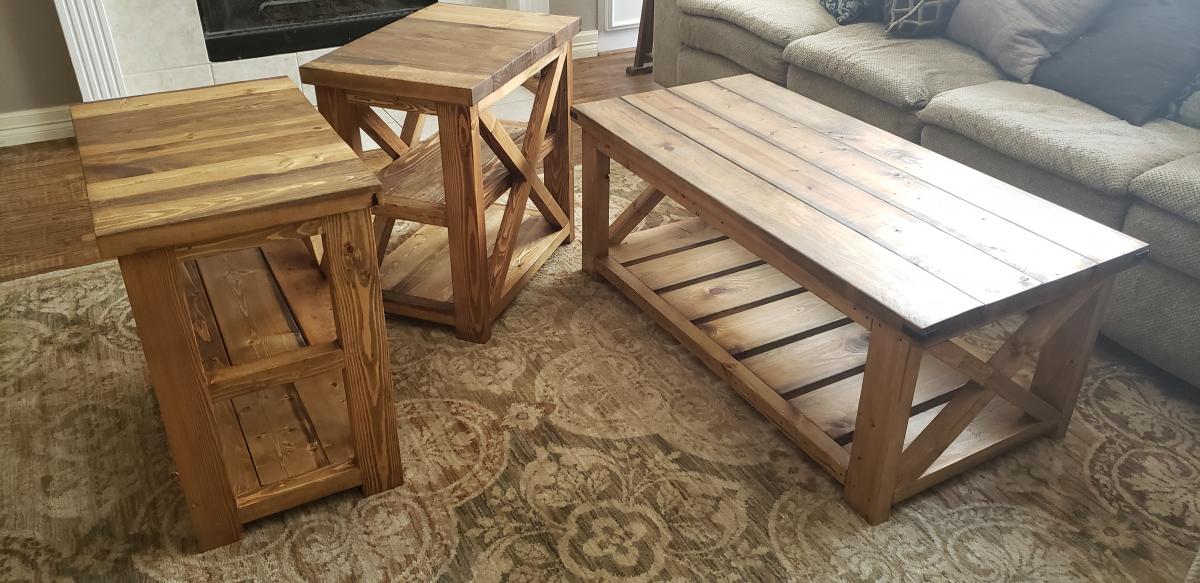
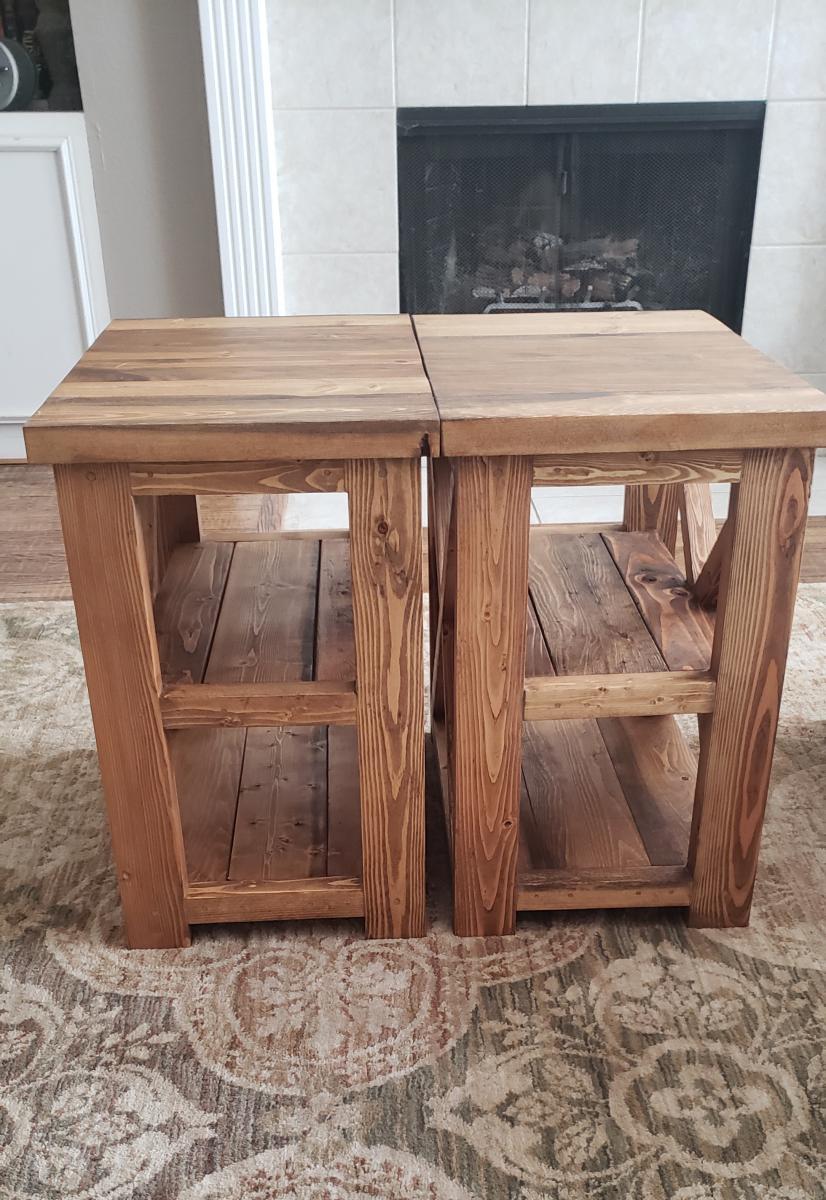
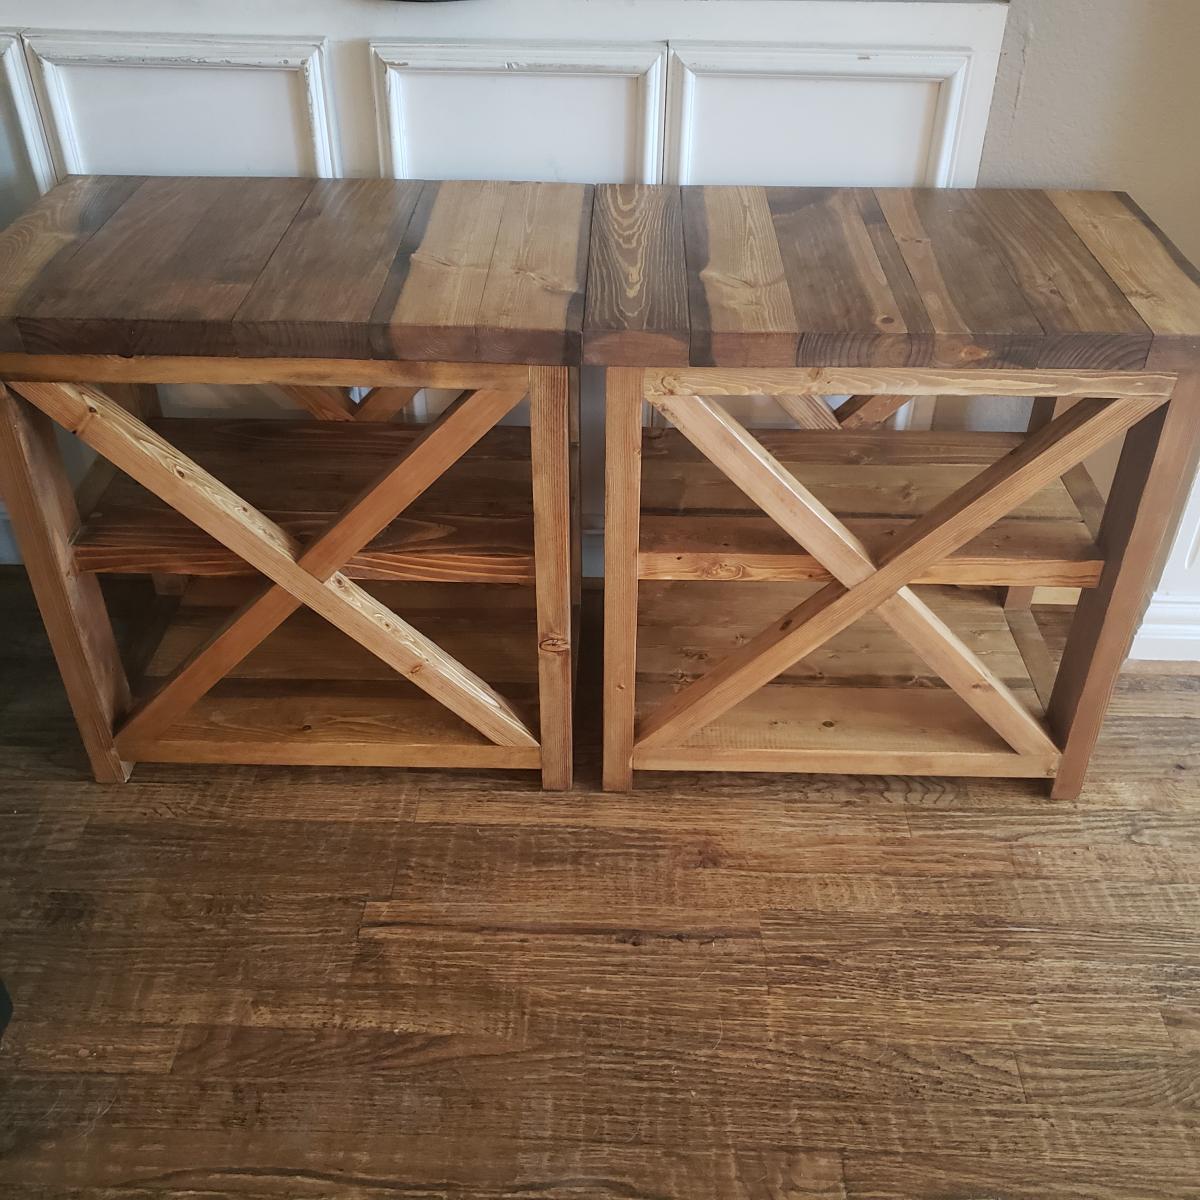
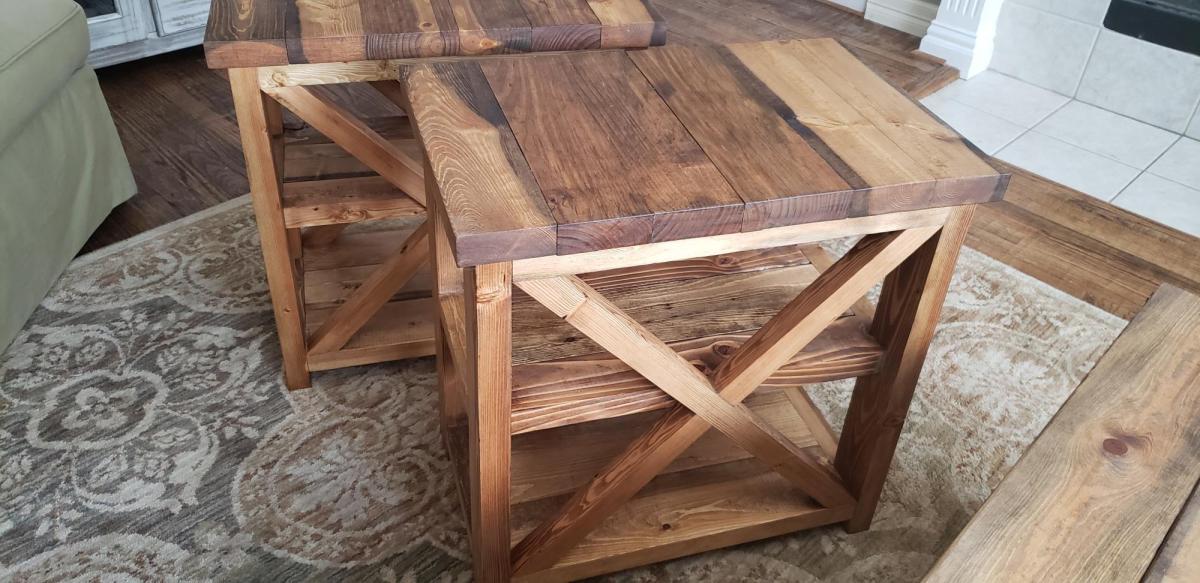
Rustic X Side Tables - Added Shelf
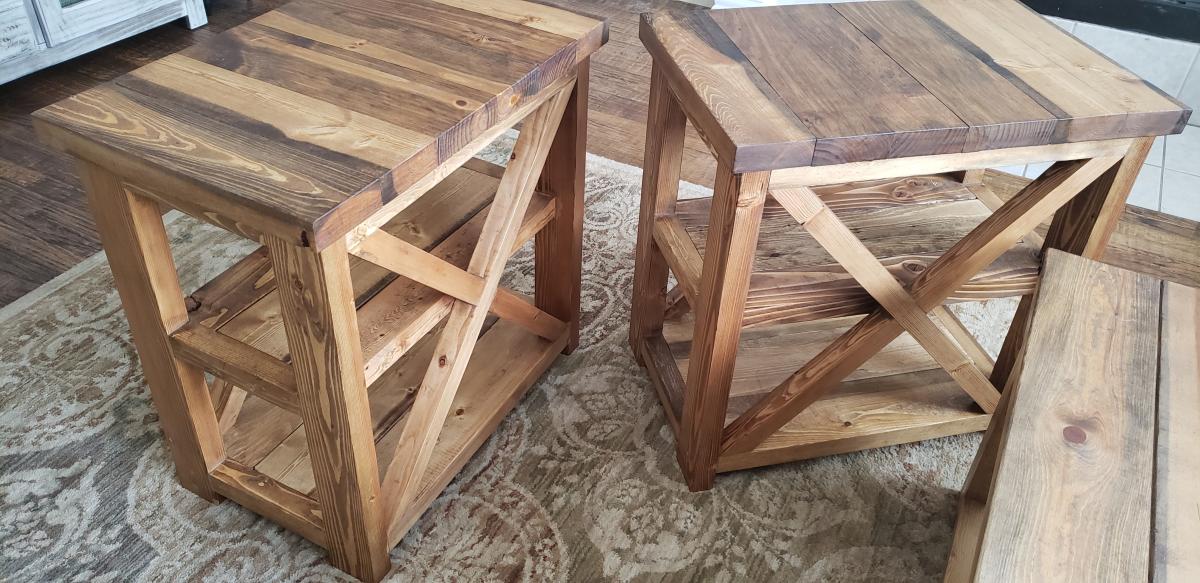
This was a fun project! We had already made the coffee table and someone wanted side tables. We assisted the plans for the side table to make these 16w x 25h x 25d and added a center shelf. After getting our cut list the build was easy and quick. It took about 6-9 hours to cut, build, sand, stain, apply finish, and finish sand.
Built from Plan(s)
Estimated Cost
$60
Estimated Time Investment
Day Project (6-9 Hours)
Finish Used
Dark Walnut Stain with rubbed matte finish
Recommended Skill Level
Beginner
Comments
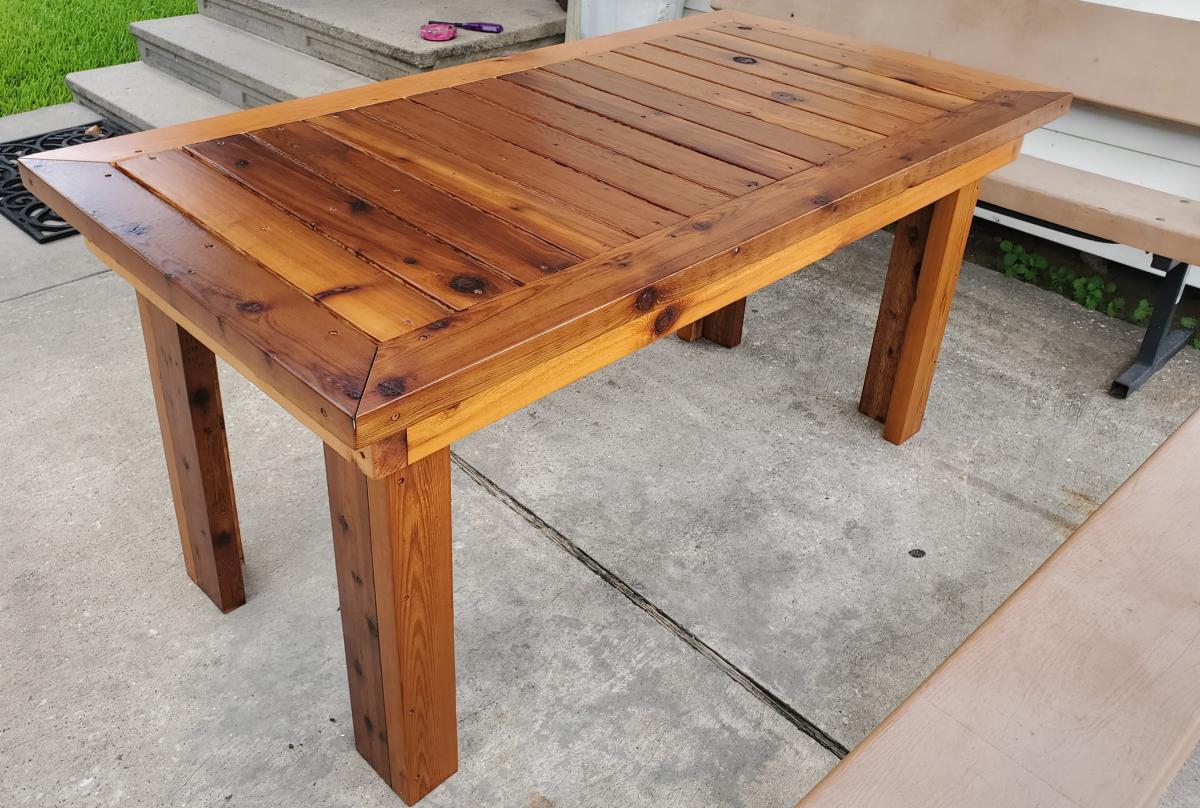
Outdoor patio table
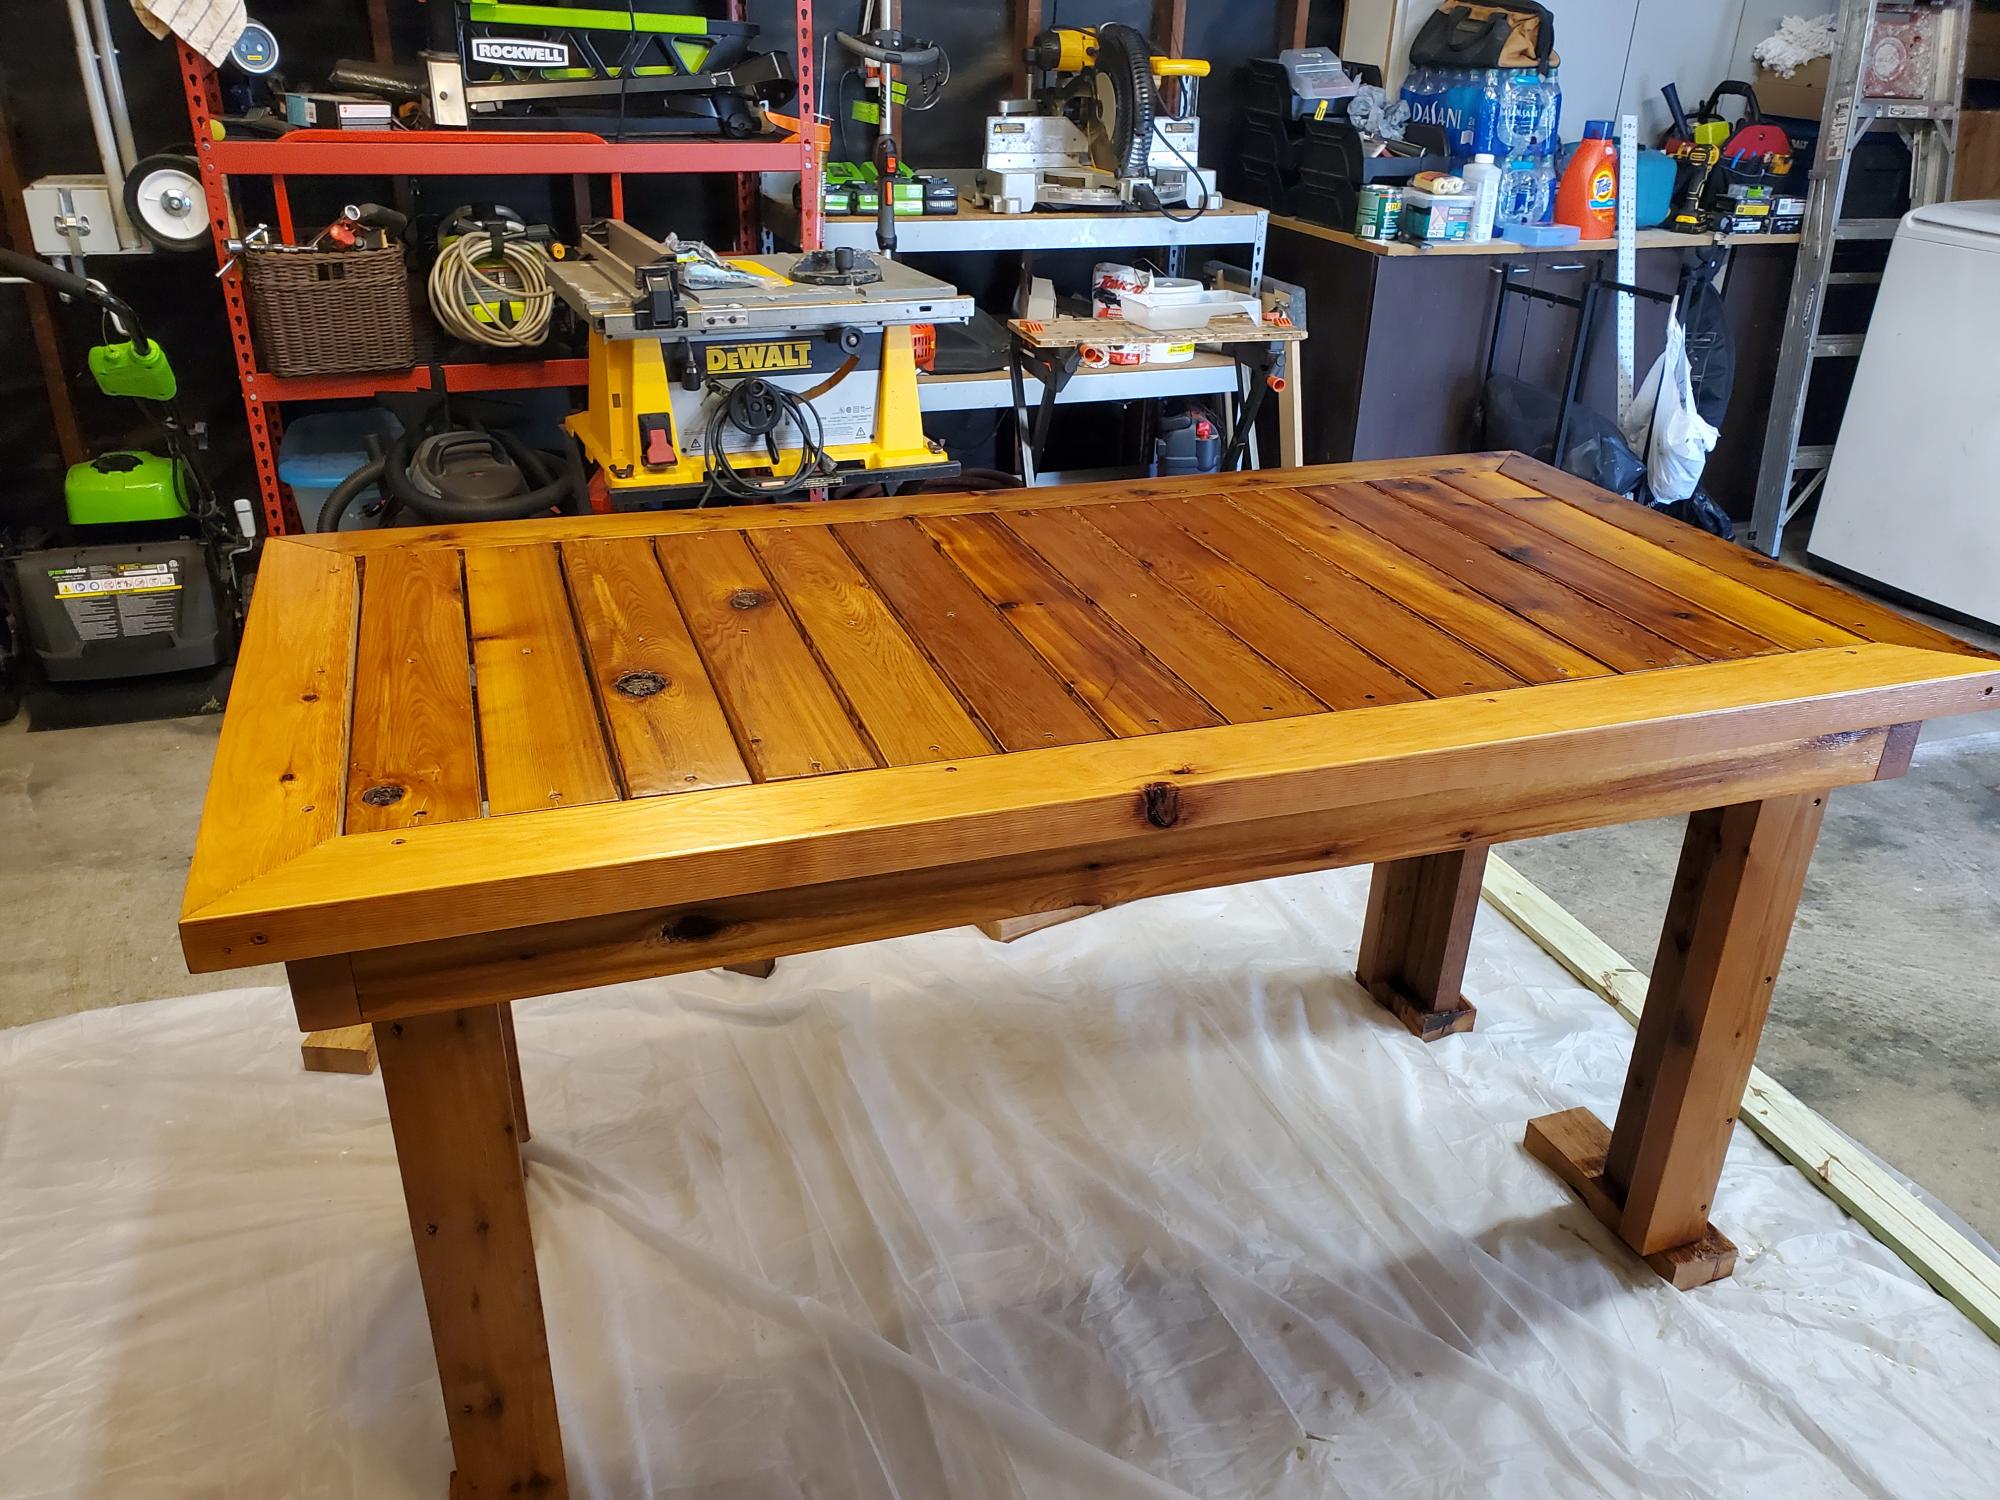
All cedar 2x4 version of the Simple Outdoor Dining Table with a satin urethane finish.
https://www.ana-white.com/woodworking-projects/simple-outdoor-dining-ta…
Built from Plan(s)