Community Brag Posts

Herb & Flower Ladder

Submitted by Anonymous (not verified) on Mon, 05/09/2016 - 15:06

Living on a small city plot, this vertical ladder planter was just what I was looking for to grow my herbs and flowers. I am not an experienced builder but the plans were easy to follow. It didn't take me much time at all to complete this project. Now I am looking forward to fresh herbs and flowers all summer.

Recommended Skill Level
Beginner

Comments

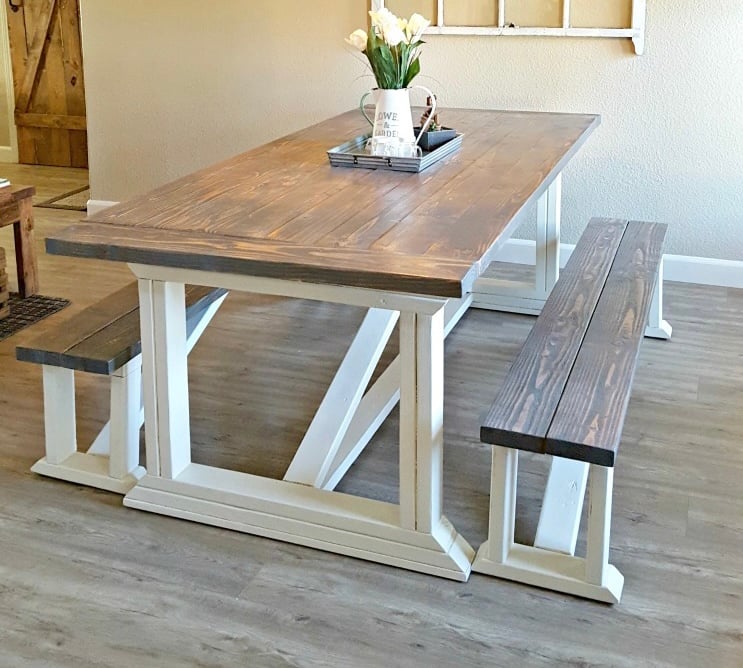
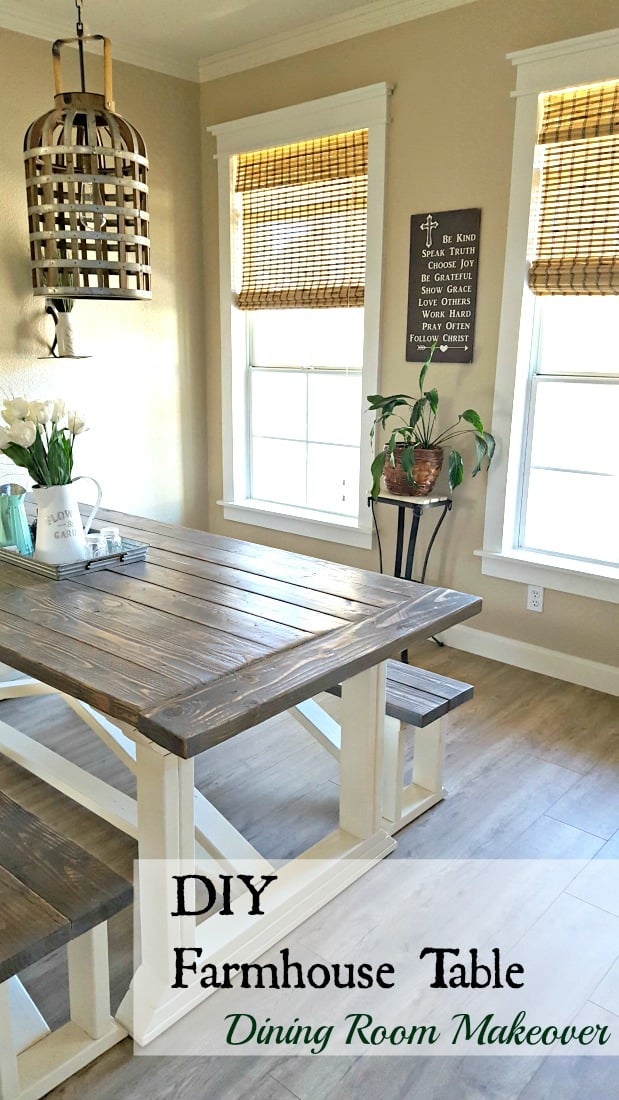
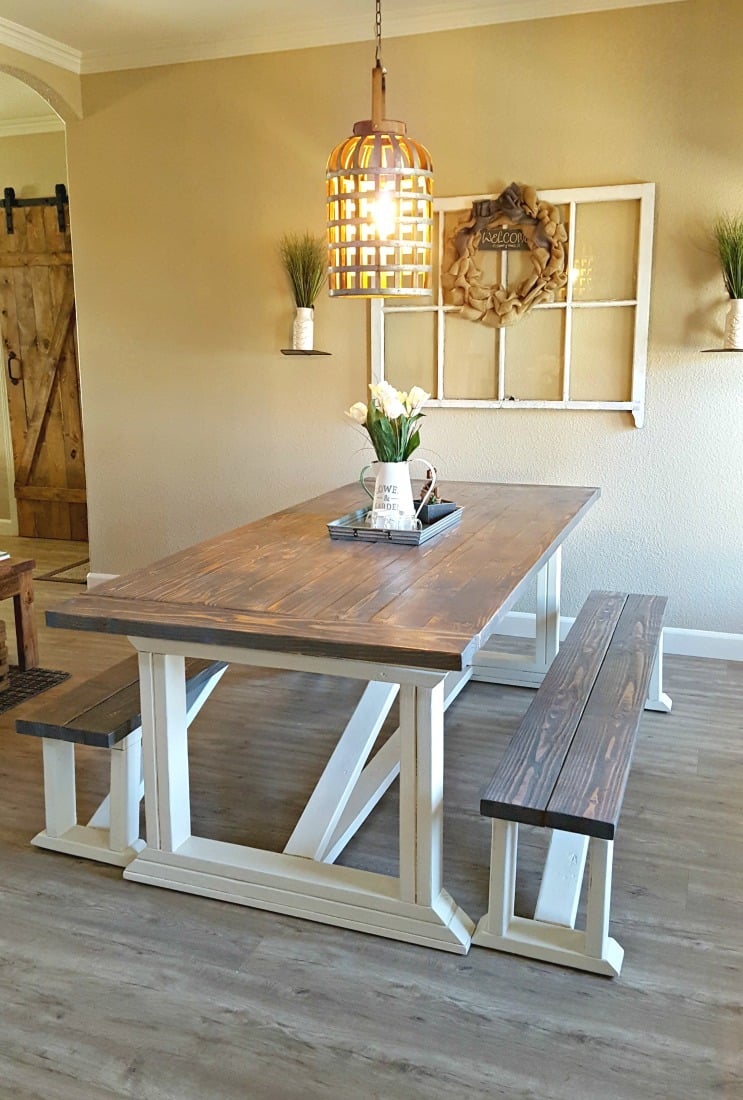
Rekourt Dining Room Table and benches

Submitted by Anonymous (not verified) on Sat, 03/18/2017 - 18:08

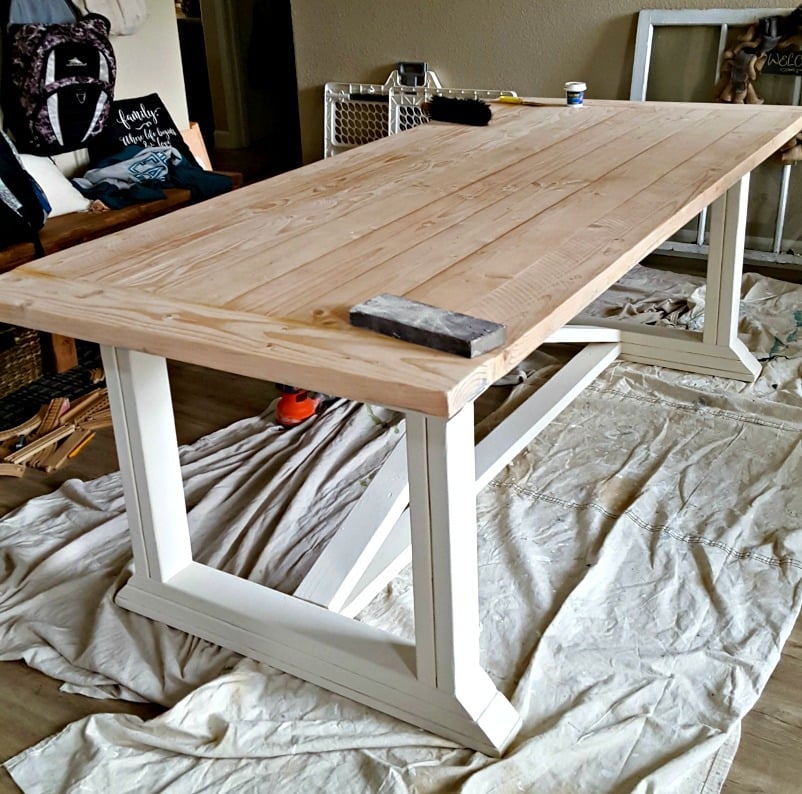
This was my first big build and I love how it came out!  Thank you Ana White for amazing and straightforward plans to follow for both the farmhouse table and benches.  

Estimated Cost
$150
Estimated Time Investment
Weekend Project (10-20 Hours)
Finish Used
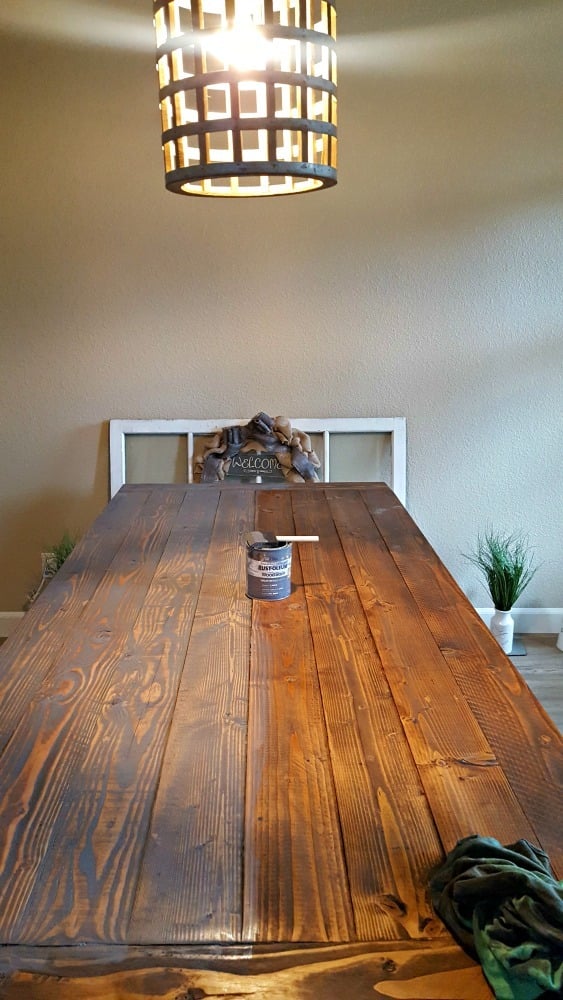
Top MinWax Dark Walnut plus Rusteoleum Weathered Grey. Bottom is painted with ivory chalk paint.
Recommended Skill Level
Intermediate

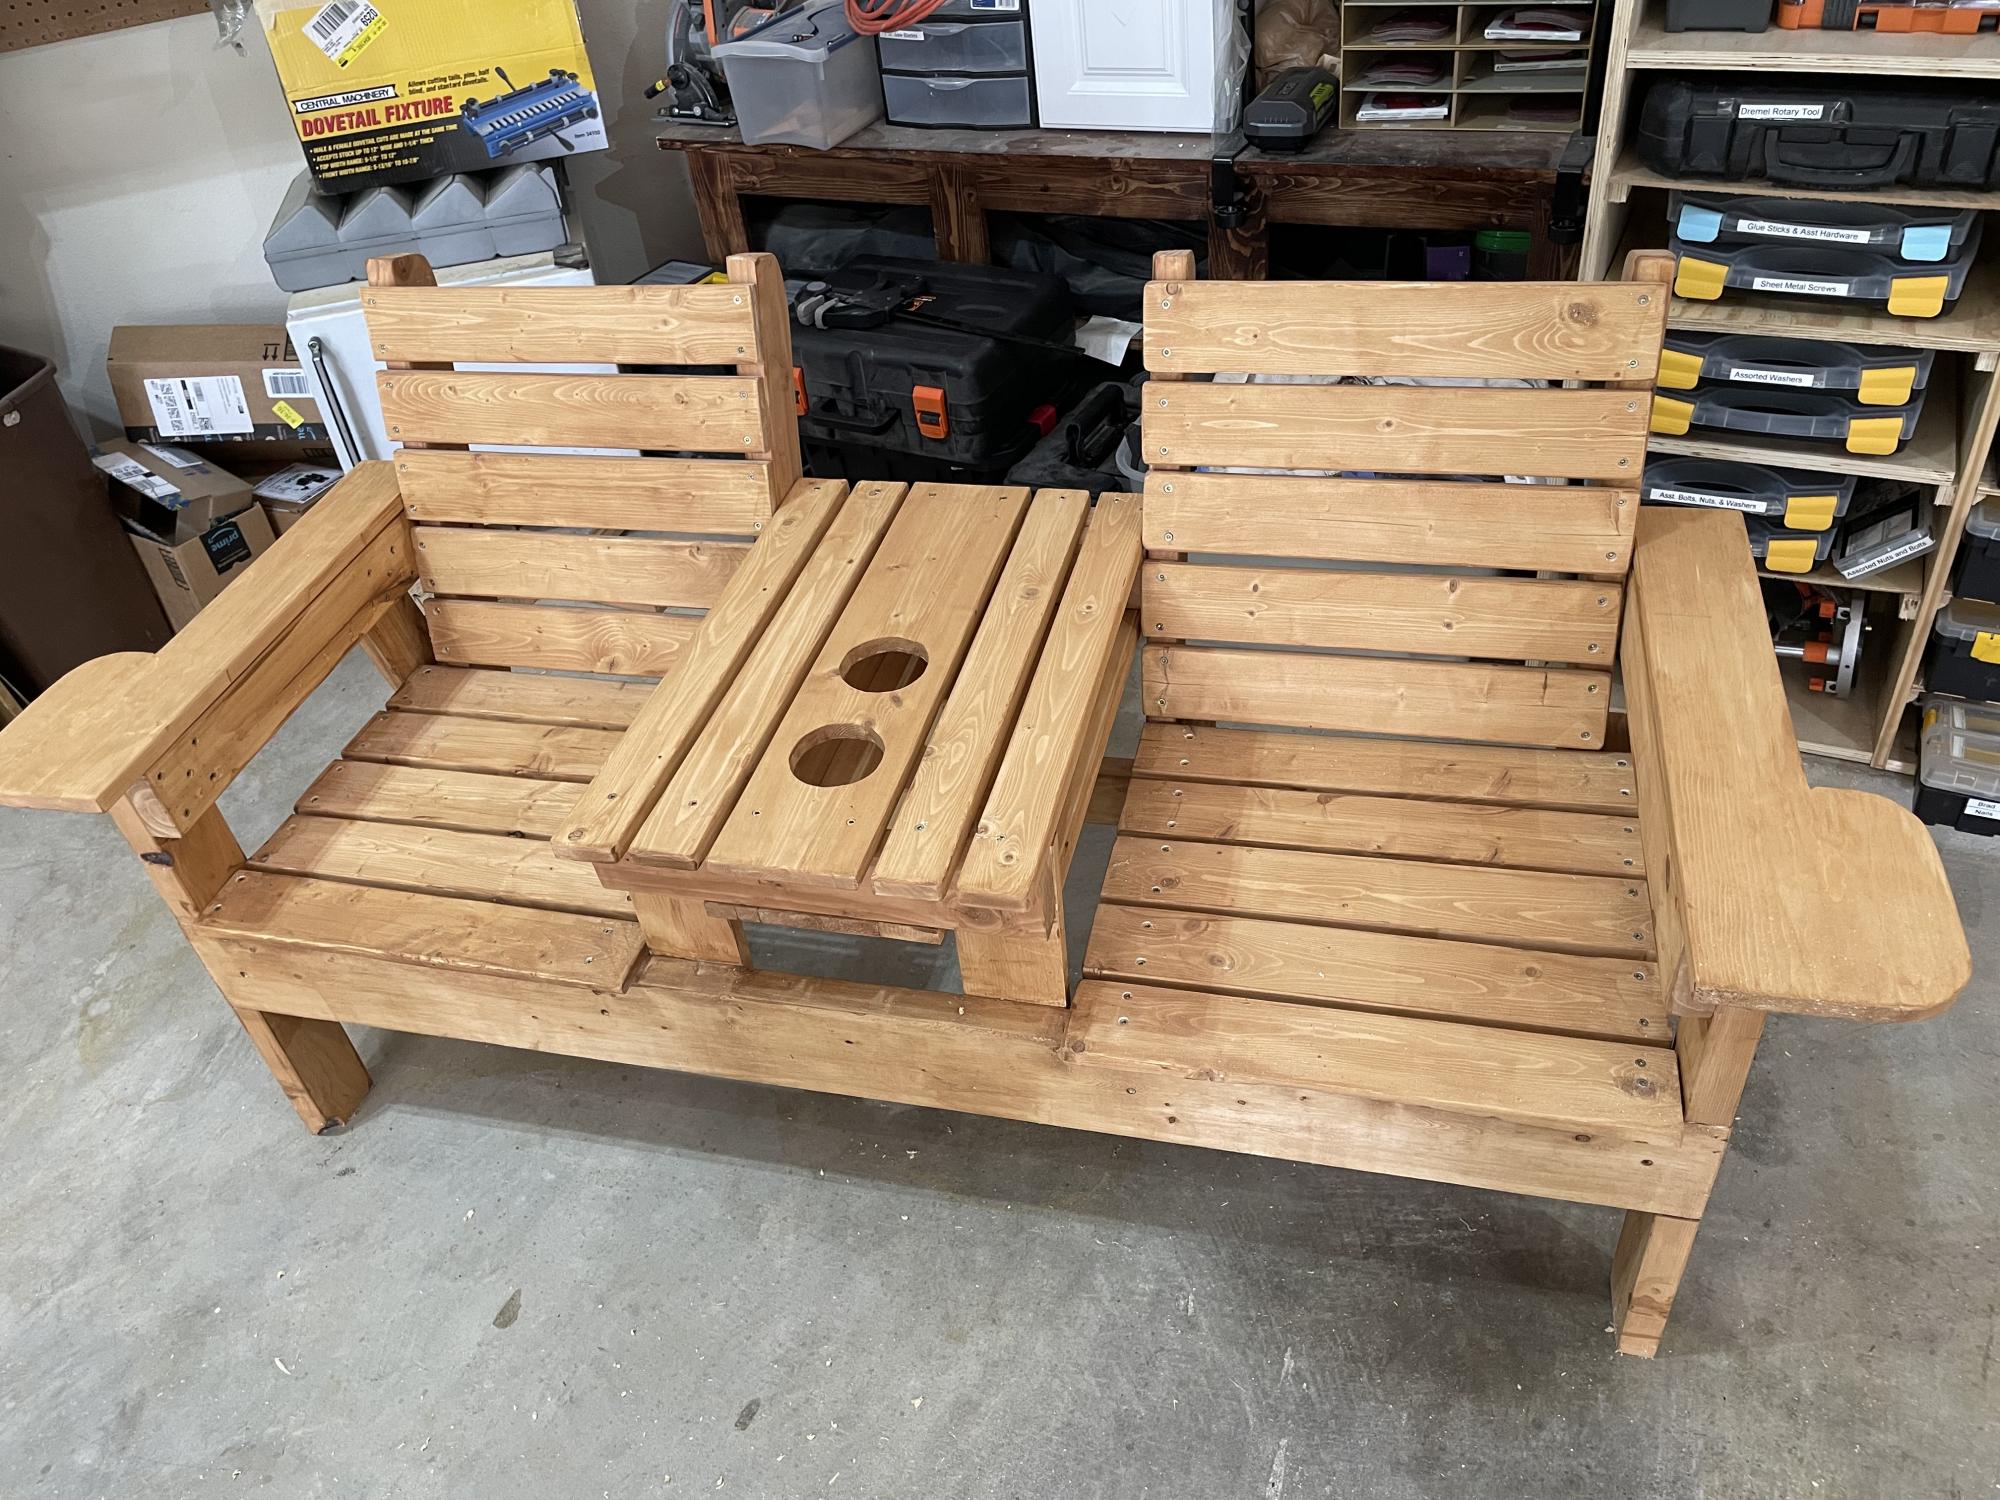
Double Seat Outdoor Chair

Submitted by Anonymous (not verified) on Mon, 10/04/2021 - 16:29

Very easy and quick to build. It is amazingly comfortable. There are no cushions needed. My wife loves it. I took parts of Ana’s Simple Outdoor Lounge Chair and Modern Outdoor Chair with a twist patterns and modified them to be a double seat instead of a single seat.

Built from Plan(s)

Comments

Ana White Admin

Tue, 10/05/2021 - 09:29

That is so cool how you combined the plans and came up with that! It looks amazing, thanks for sharing!

Rustic Table

Submitted by mmmond03 on Sat, 09/16/2017 - 16:09

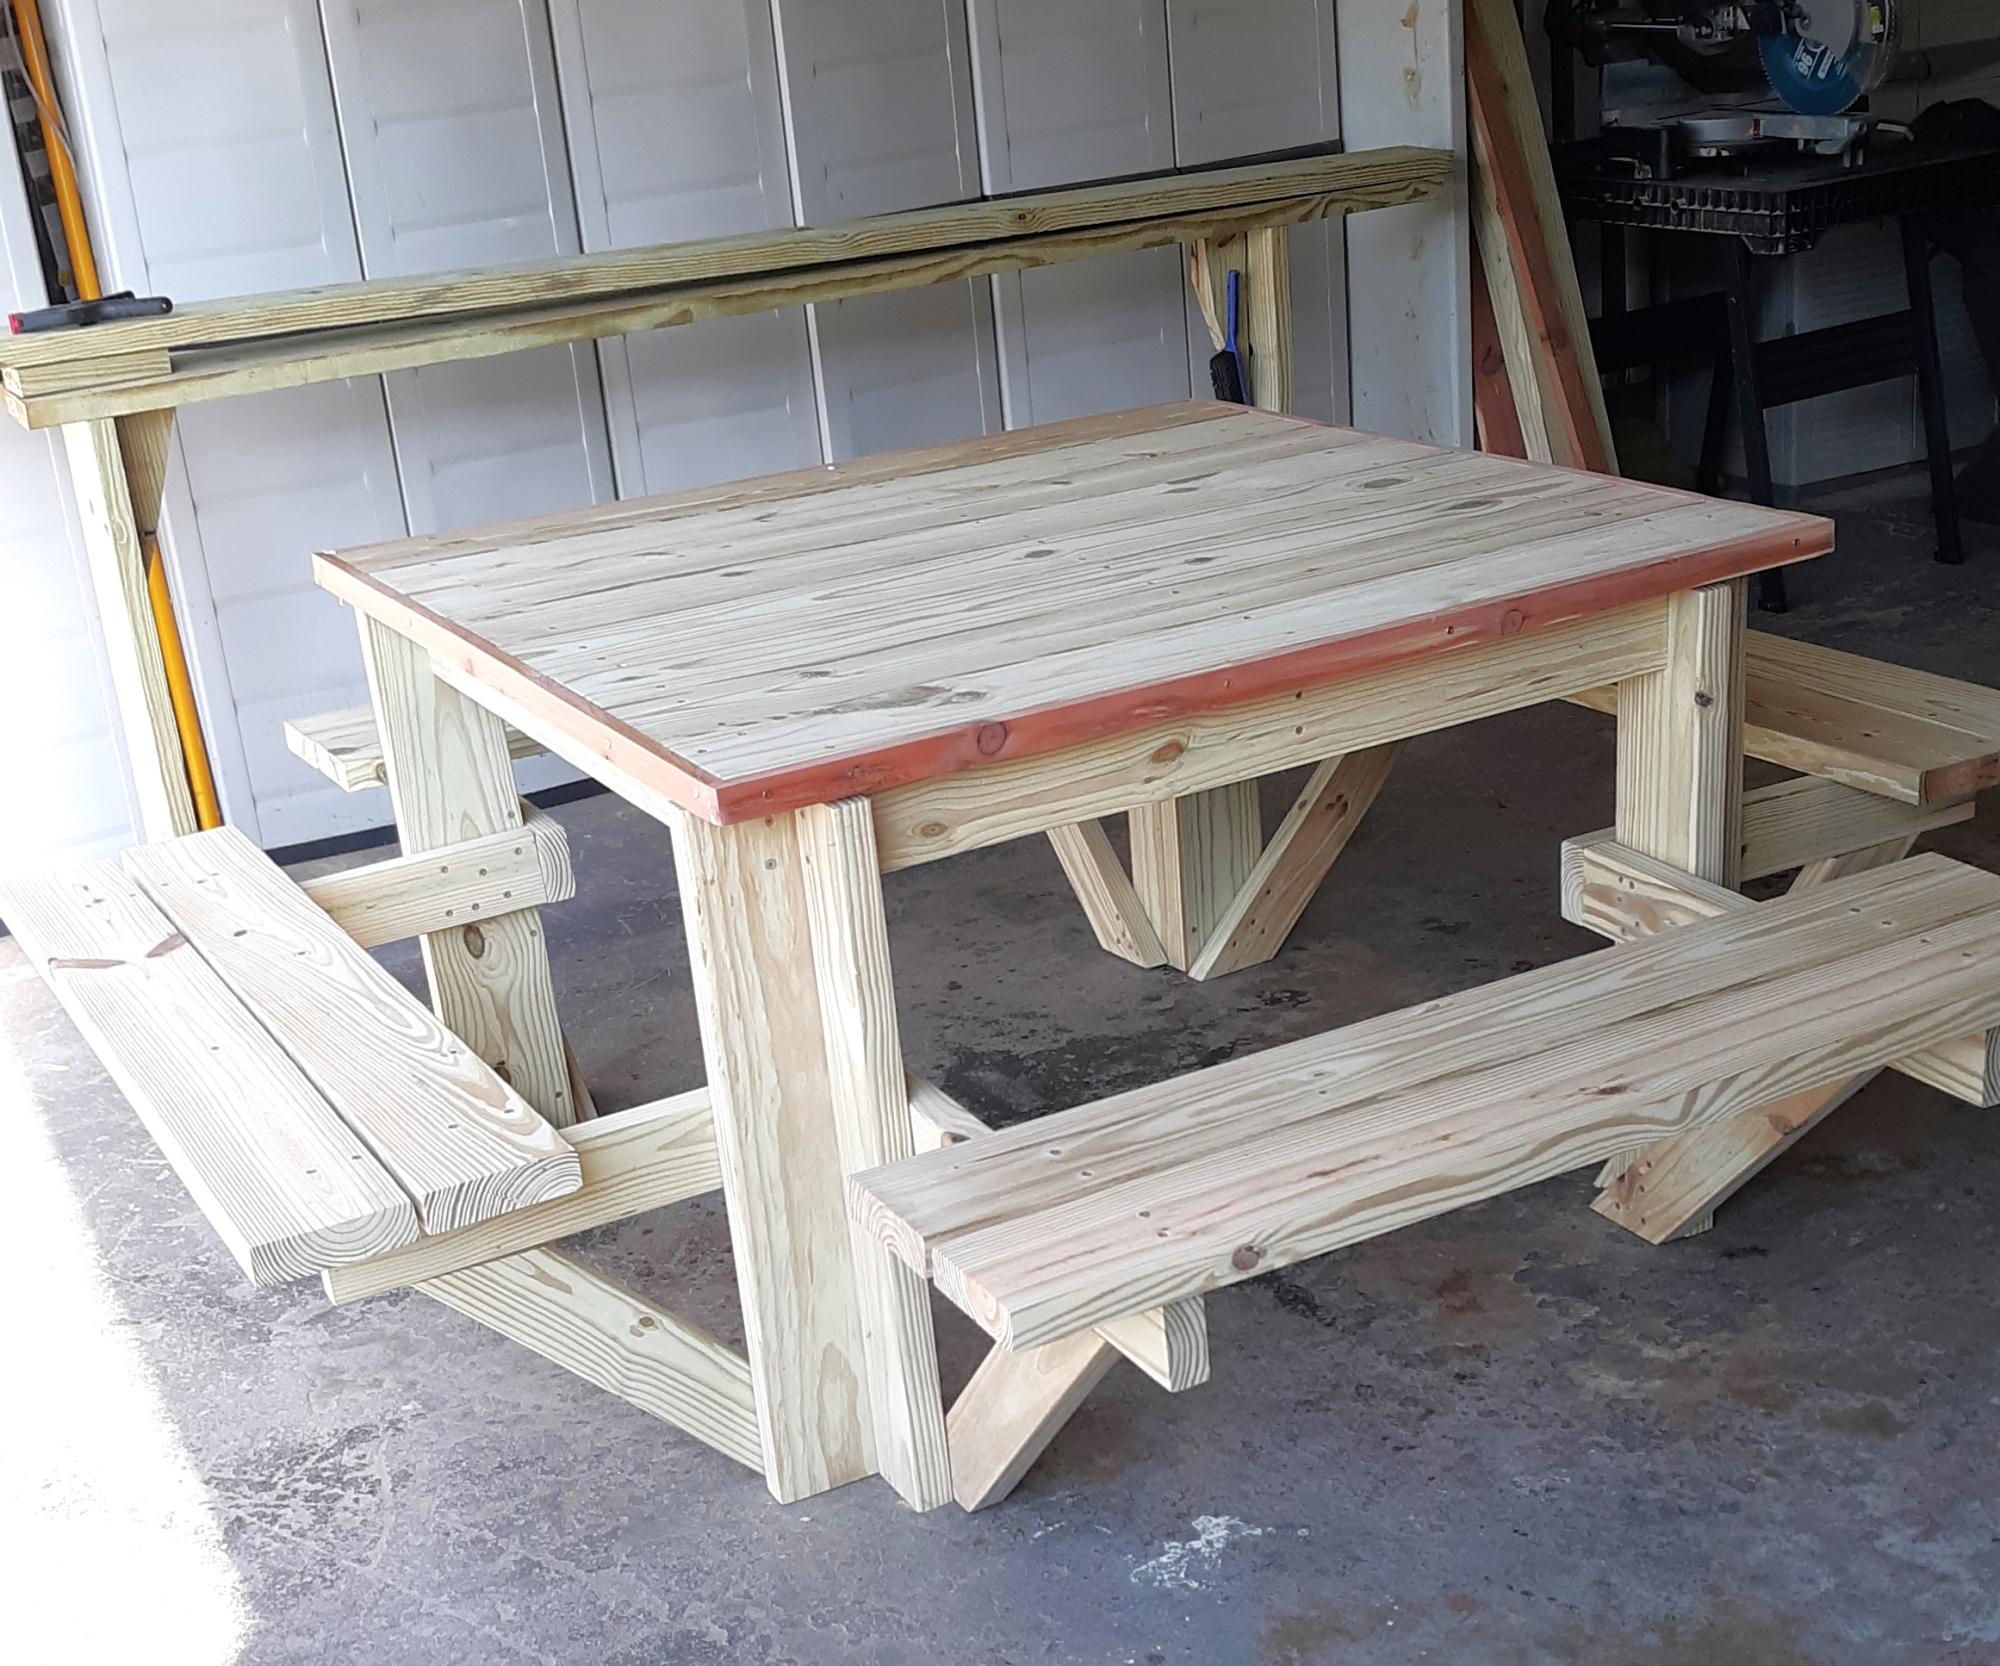
Built this table with some modifications from the rustic table plans. Made it 6ft and added the breadboard end. Fun project!

Built from Plan(s)
Estimated Cost
$70
Estimated Time Investment
Weekend Project (10-20 Hours)
Finish Used
Oil Based poly
Recommended Skill Level
Intermediate

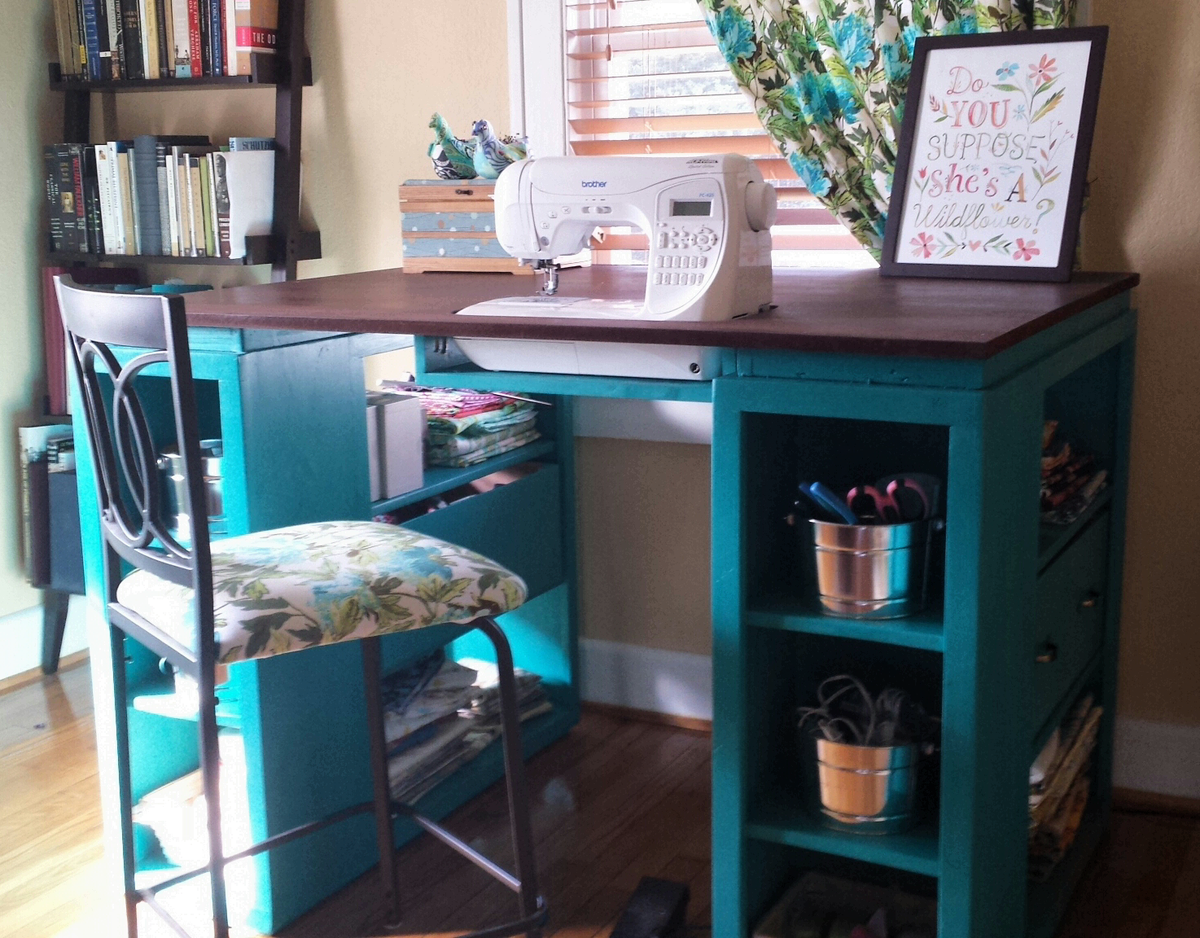
The perfect sewing table!

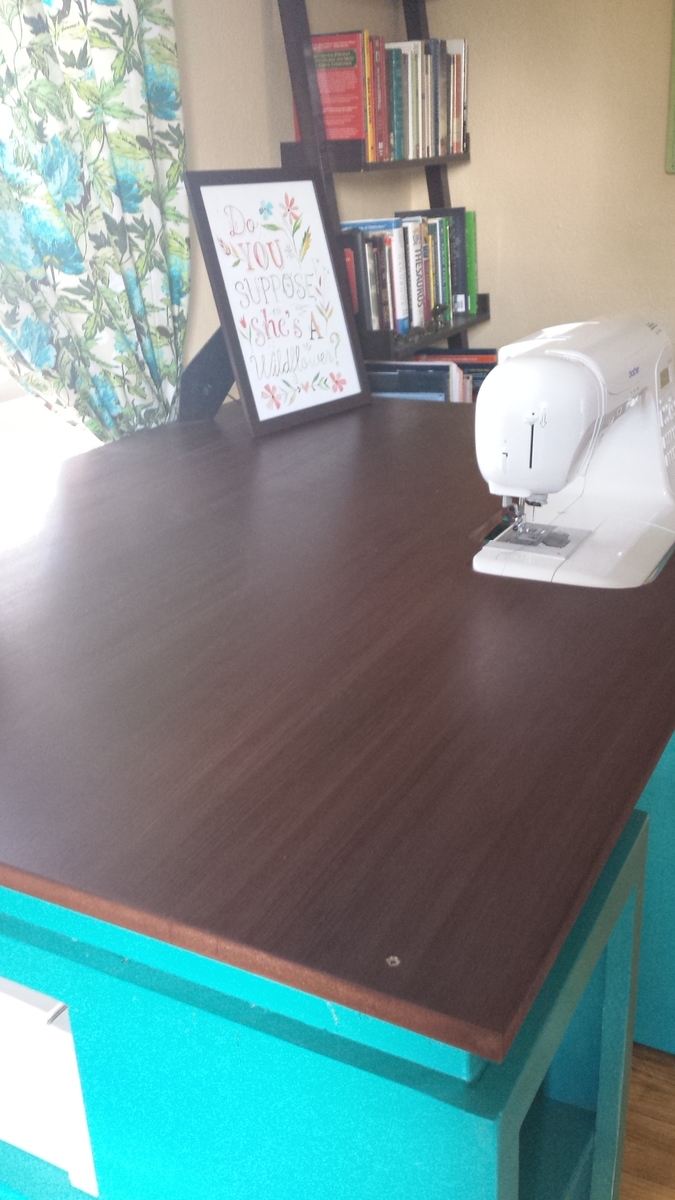
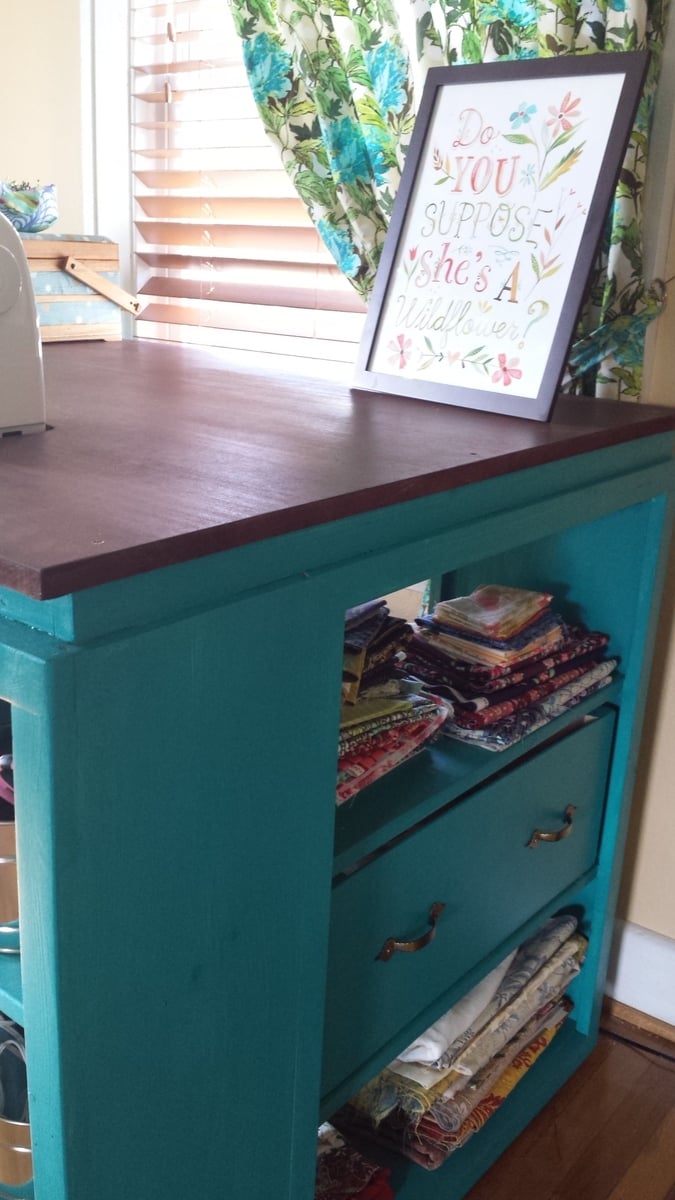
I have been looking at sewing furniture for years, but the prices always made my jaw drop. I have a small craft room, so I needed a table that could also triple as a cutting table and fabric storage. Thank you so much to Ana White for this plan! I built exactly to the plan in The Handbuilt Home, and it's the PERFECT size.

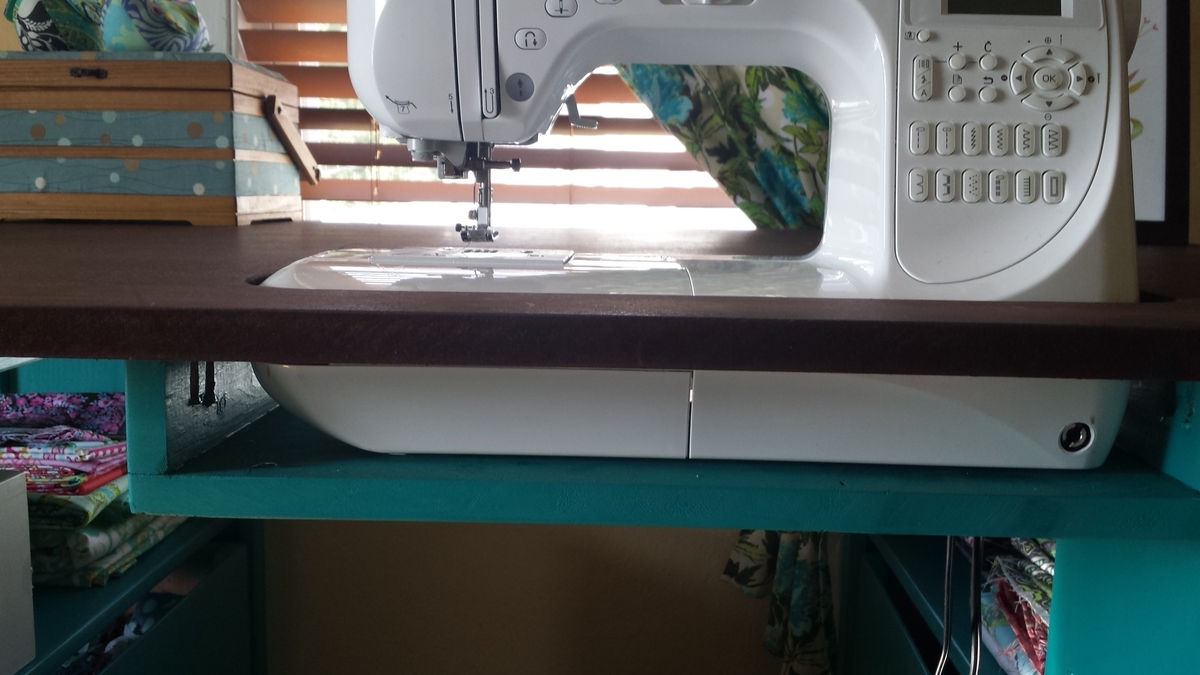
So the sewing machine can sit flush with the top, making working on big sewing projects way easier, I traced the outline of my machine on the MDF and cut it out with a jig saw. Then I built a small shelf using a 1x12 scrap and 2 1x3 scraps. Putting the 1x3s on top of the 1x12 made the shelf 3.75 inches deep, which is exactly the depth I needed. I attached it to the underside of the tabetop using a pockethole jig and screws.

I built 2 boxes using 1/4 inch plywood, and installed drawer pulls on them, giving the illusion that the table has 2 drawers built in. This is where I keep my ugly stuff--interfacing and fabric scraps.

I got the color scheme for the table from the entryway console plan in The Handbuilt Home. In order to make the MDF top look like it had a wood grain, I applied mahogany gel stain with an old washcloth in very thick strokes that spanned the length of the tabletop. It soaked in and lost the "grain" look in some places, but the majority still looks like wood. I did have to apply several coats of polyurathane over the stain; the MDF has a prickly texture that grabs fabric and makes it hard to feed through the sewing machine.

My only complaint is that I didn't quite think through the fact that seating is bar height and I'm 5'7". It's a little difficult to reach my sewing machine pedal. I may build a small stool for the pedal to sit on so I don't have to half sit/stand to sew.

This is the first woodworking project I've done alone from start to finish: from going to Lowe's and picking out the wood, to cutting the wood with a circular saw, assembly, and finishing. (My fiance did carry it up the stairs for me. :) )

I'm so in love with this table! And now to finish the quilt I started 6 months ago....

Built from Plan(s)
Estimated Time Investment
Week Long Project (20 Hours or More)
Finish Used
I used 2 coats of Valspar Signature paint in Laguna Beach, and Minwax mahogany gel stain on the MDF tabletop.
Recommended Skill Level
Intermediate

Comments

MissMehndi

Mon, 09/23/2013 - 15:22

I love this idea!! I too have wanted a sewing table for a long time but the prices of them take my breath away. I may have to make myself one! Thanks for the inspiration!!

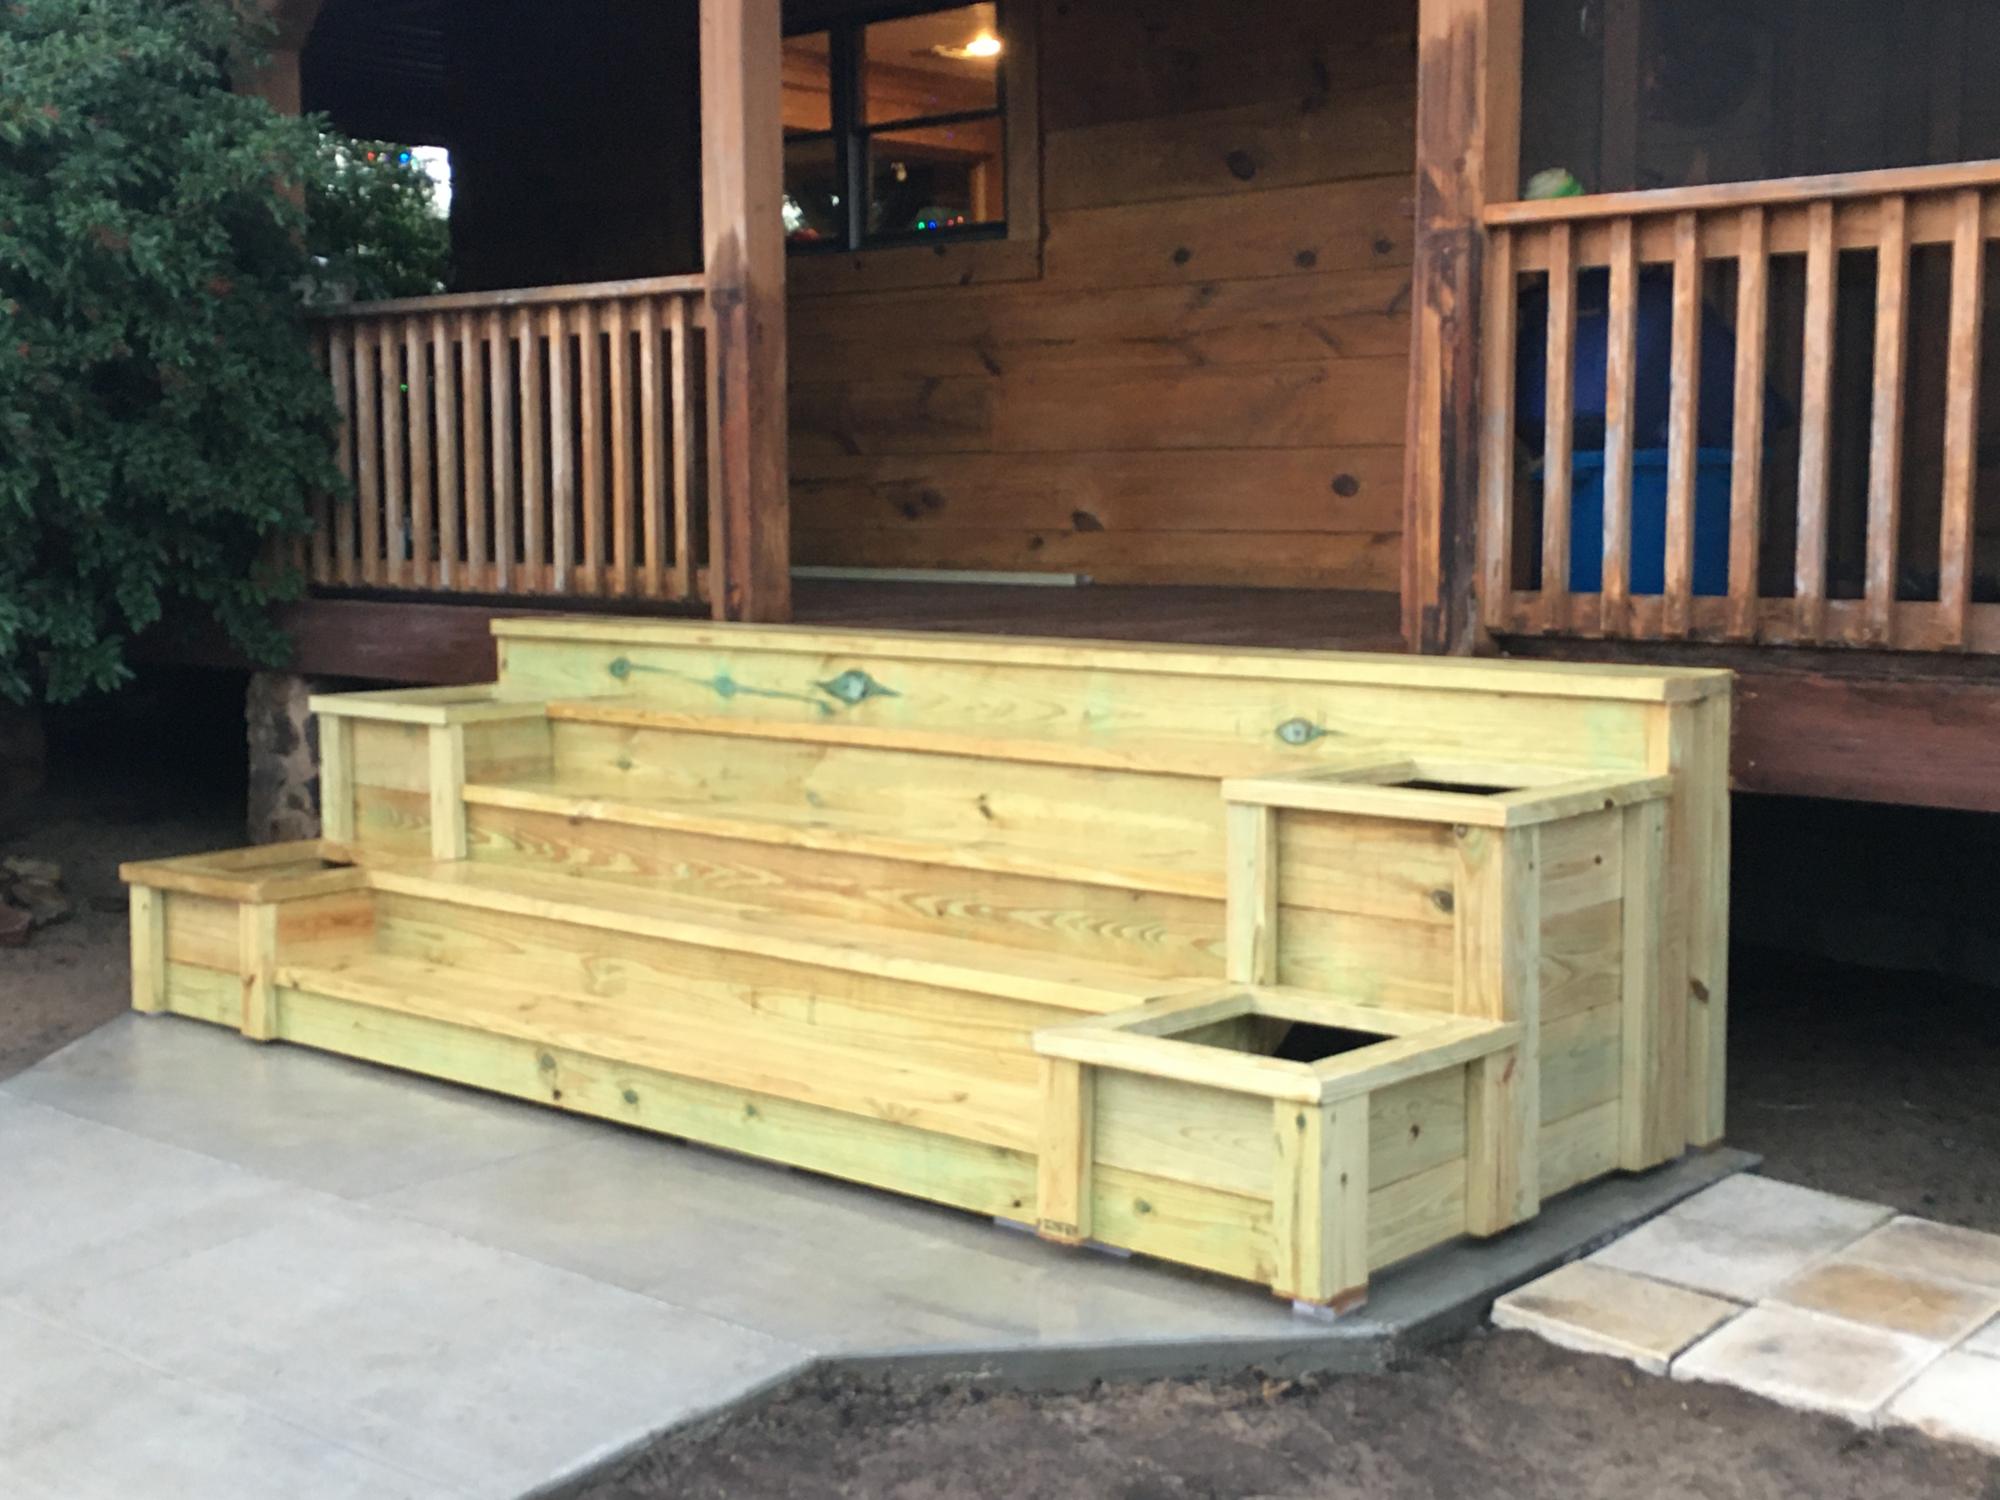
Planter Porch Steps

Submitted by kstarbird on Thu, 12/26/2019 - 15:06

Plan modified to be built on stringers due to hight. 

Finish Used
Pending

Comments

Seasonal And Holiday

Panel bed with box springs

Submitted by Kait14 on Mon, 12/30/2019 - 12:36

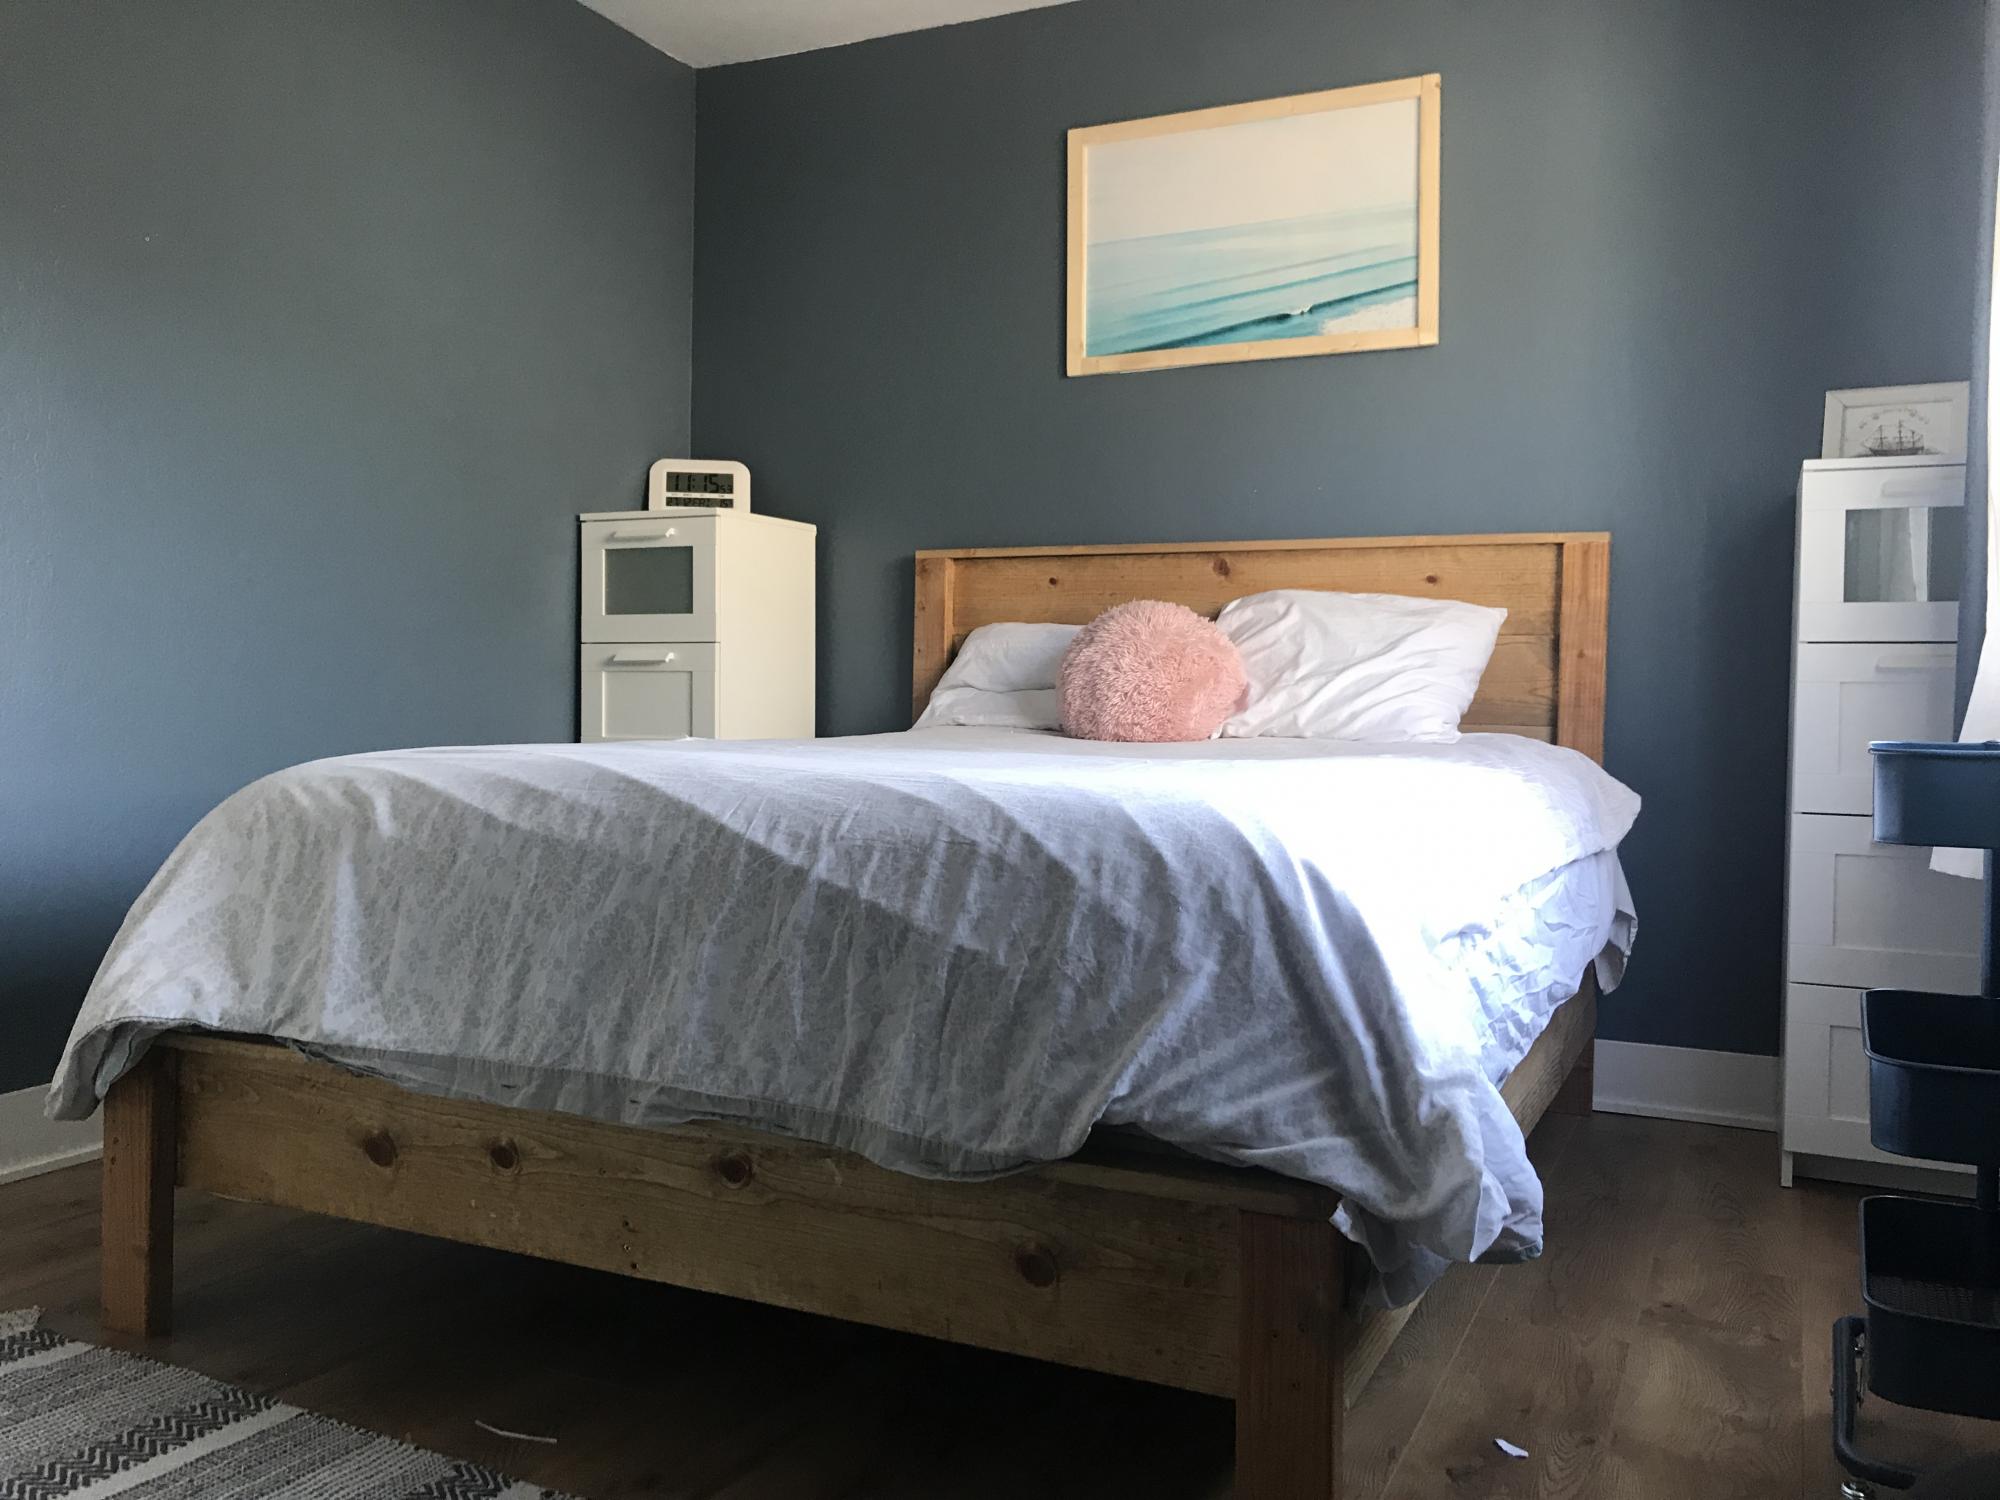
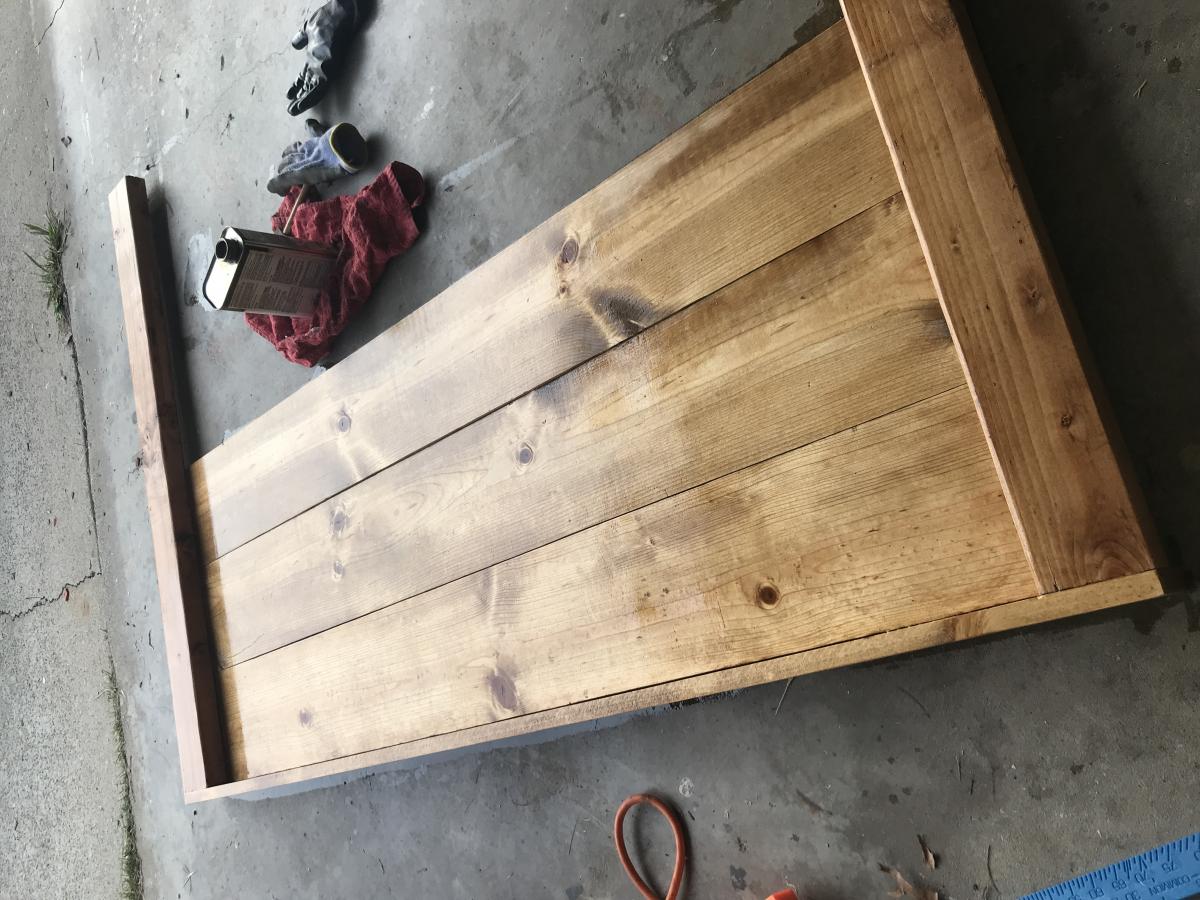
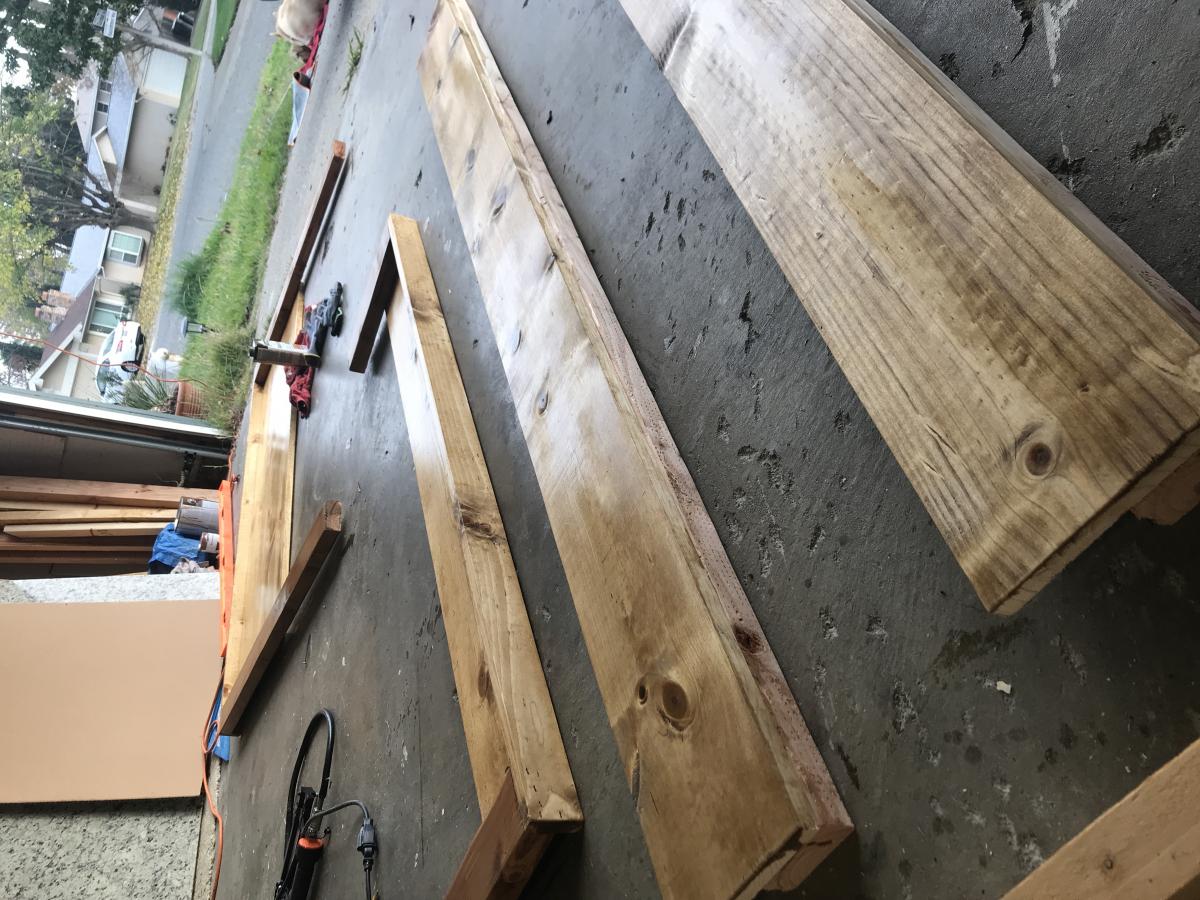
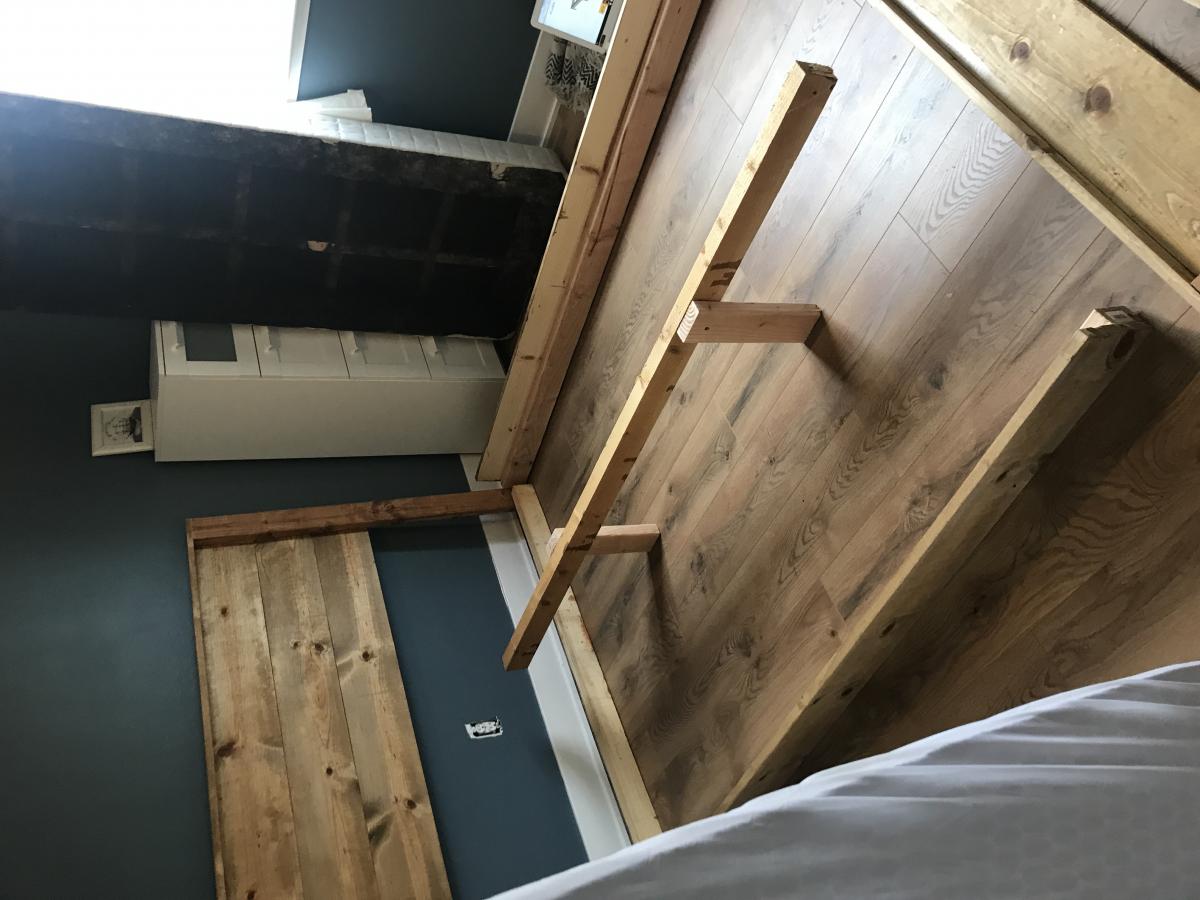
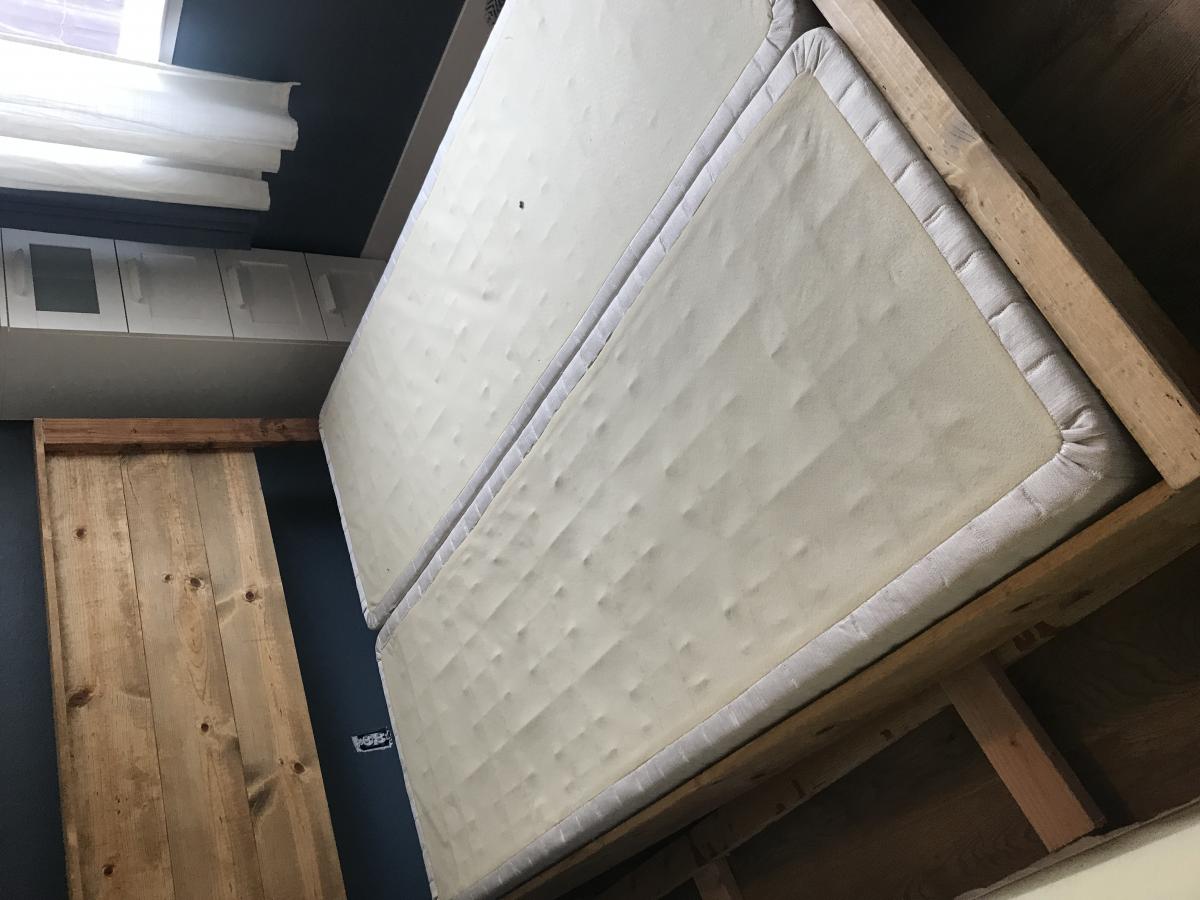
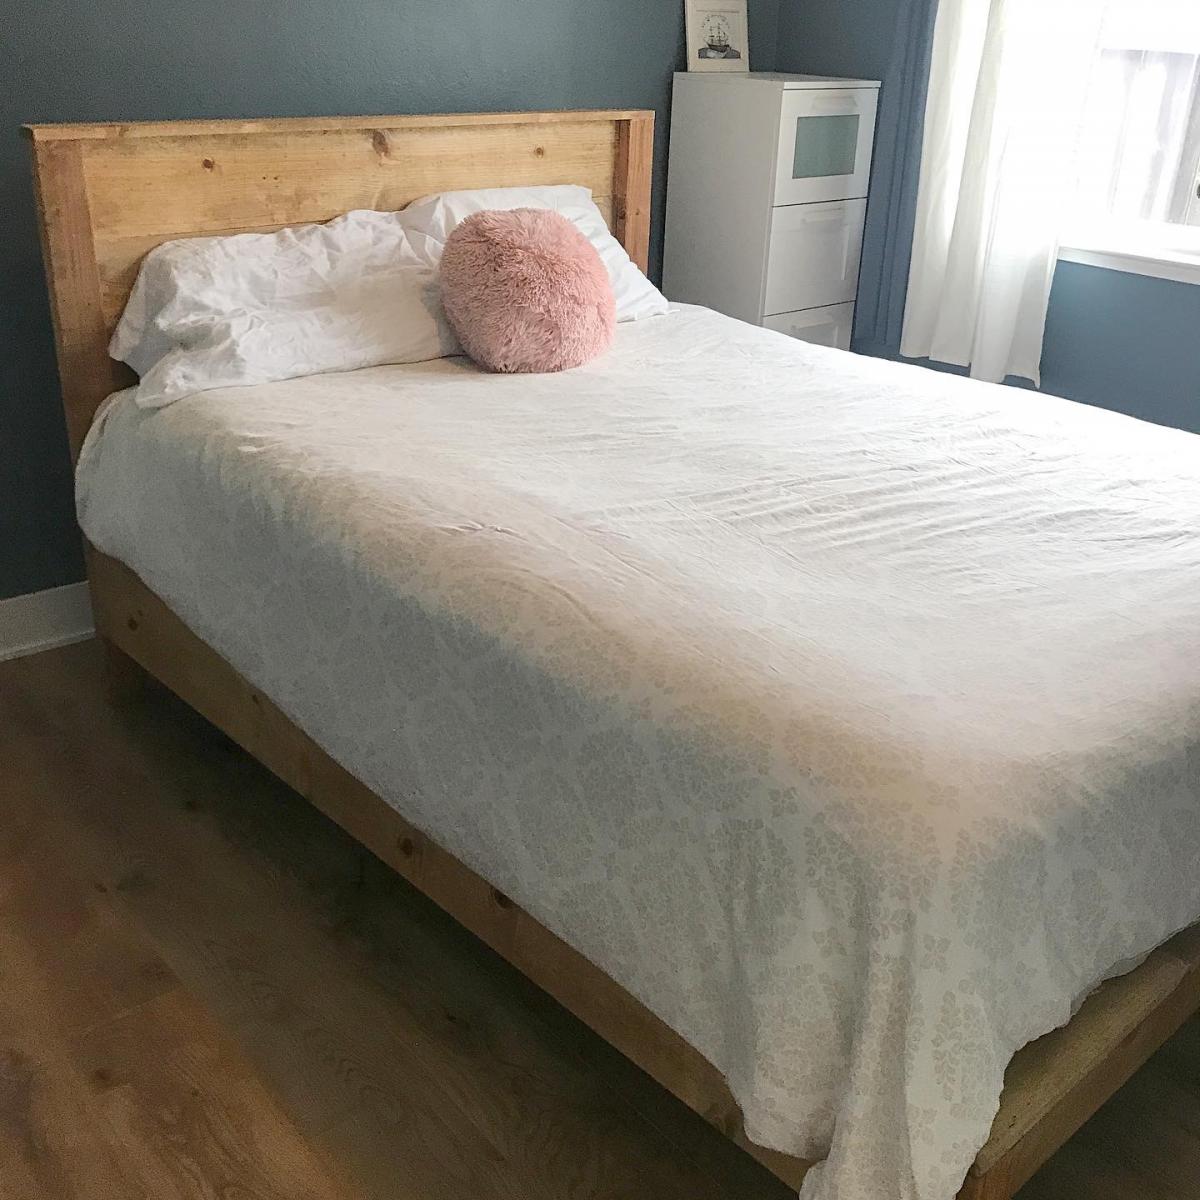
I built this bed for a guest room. Easier than I expected and took 2 days! I used watco danish oil in medium walnut. I was able to save some $ by using two twin box springs that I already owned instead of adding slats. I modified the height of where the box springs sit by lowering the cleat 2” and shortening the legs on the center support by 2” as well. It worked perfectly! 

Estimated Cost
75
Estimated Time Investment
Weekend Project (10-20 Hours)
Finish Used
Watco Danish oil medium walnut
Recommended Skill Level
Beginner

Garden Bench on a diet

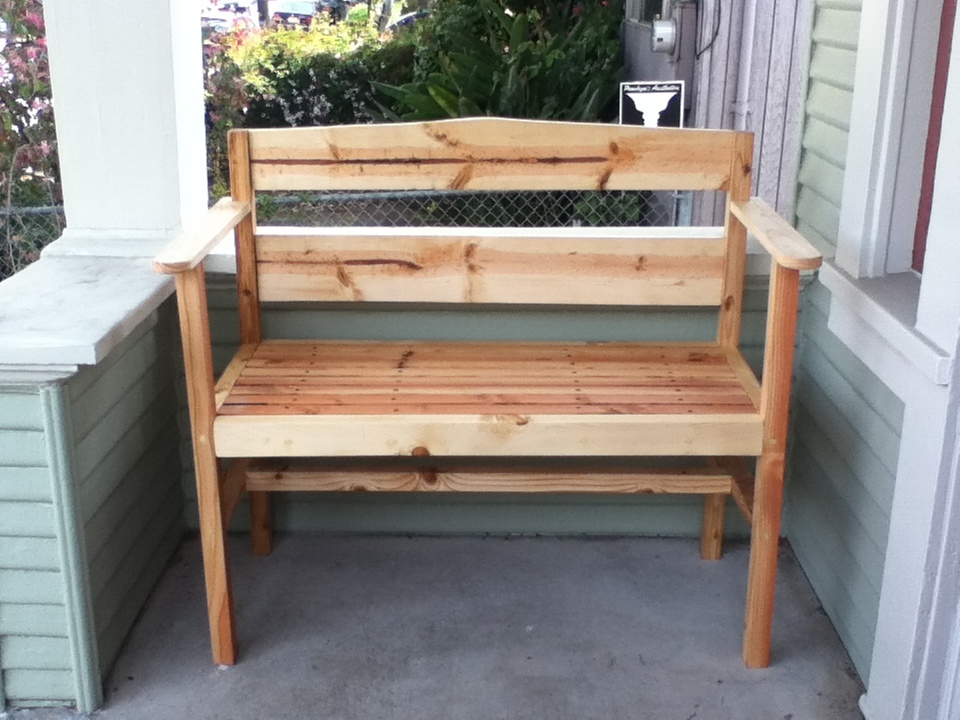
This bench was perfect for our front porch, but after I bought all the lumber I realized how big and substantial it would be. So, I slimmed it down and swapped out the following: seat slats 1x2, posts and supports 2x2, arms 1x3, backrest 1x6, aprons 2x3. Looks great and feels like a better fit for our porch. Enjoying the afternoon sun in style now, thanks!

Built from Plan(s)
Estimated Cost
$25
Estimated Time Investment
Day Project (6-9 Hours)
Finish Used
Thompson's Water Seal
Recommended Skill Level
Beginner

Comments

momejojo

Wed, 05/01/2013 - 09:31

I would like to make the bench on a diet since my front porch is smaller aswell. Are the cuts the same as original plans?

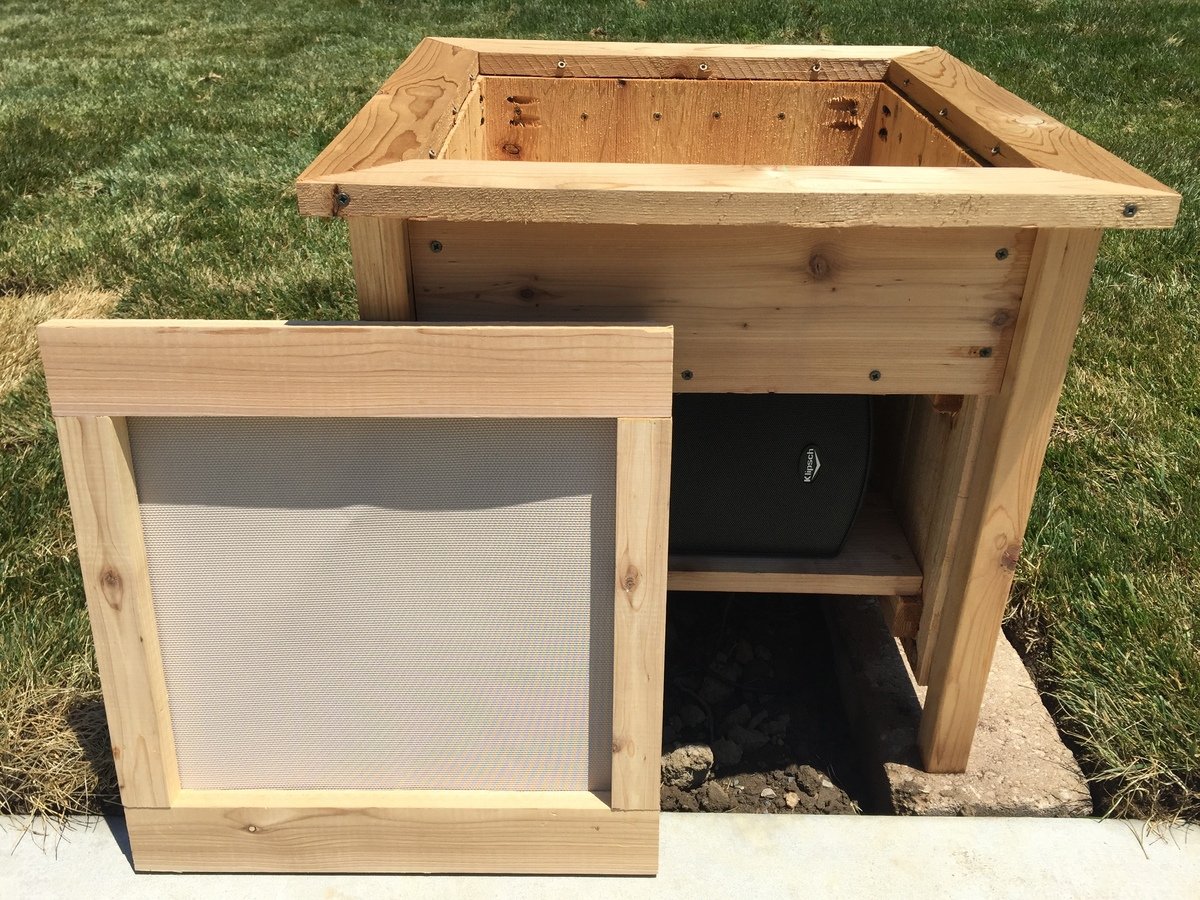
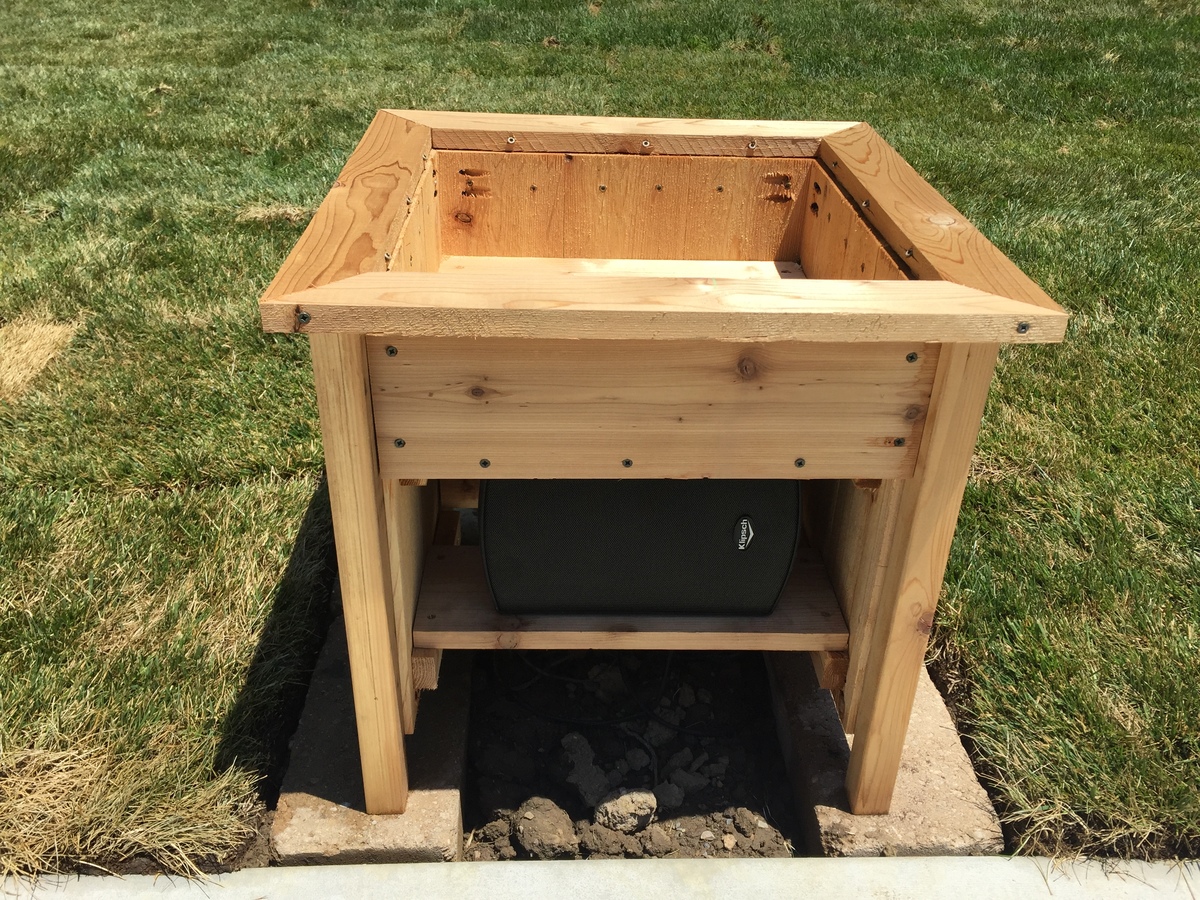
Cedar Planter Outdoor Speakers

Submitted by Hoosierdoc on Fri, 06/10/2016 - 10:53

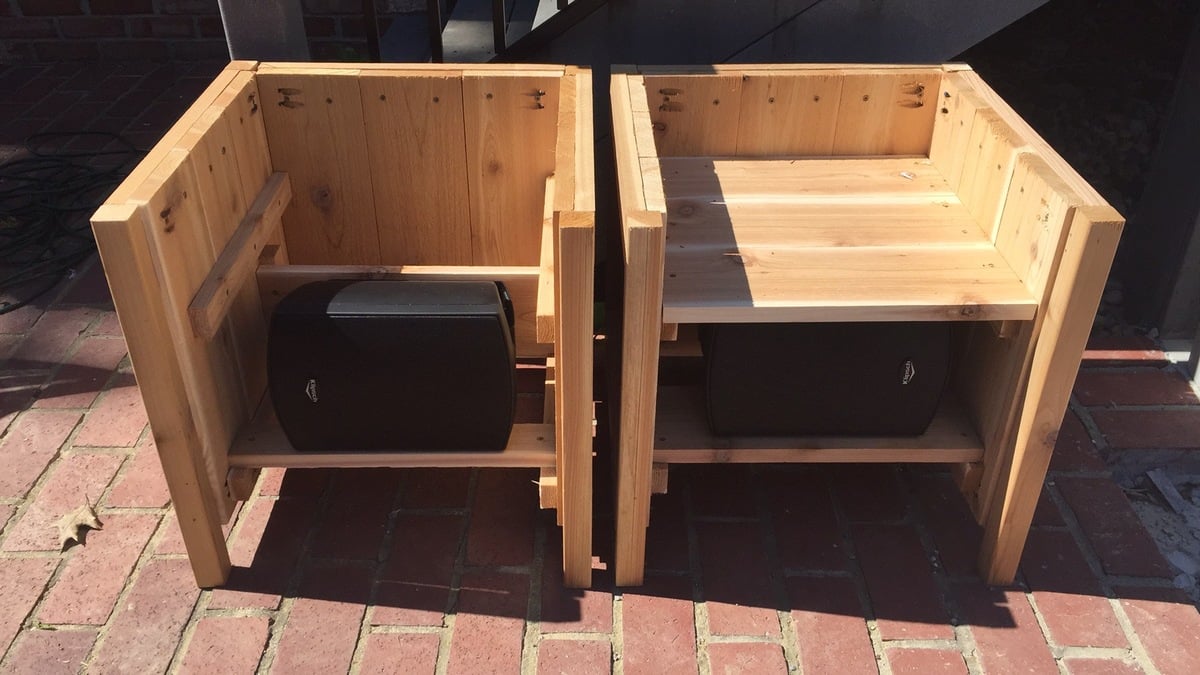
We just put in a pool and I needed something to hide a pair of outdoor speakers. I used Klipsh AW-525 speakers.

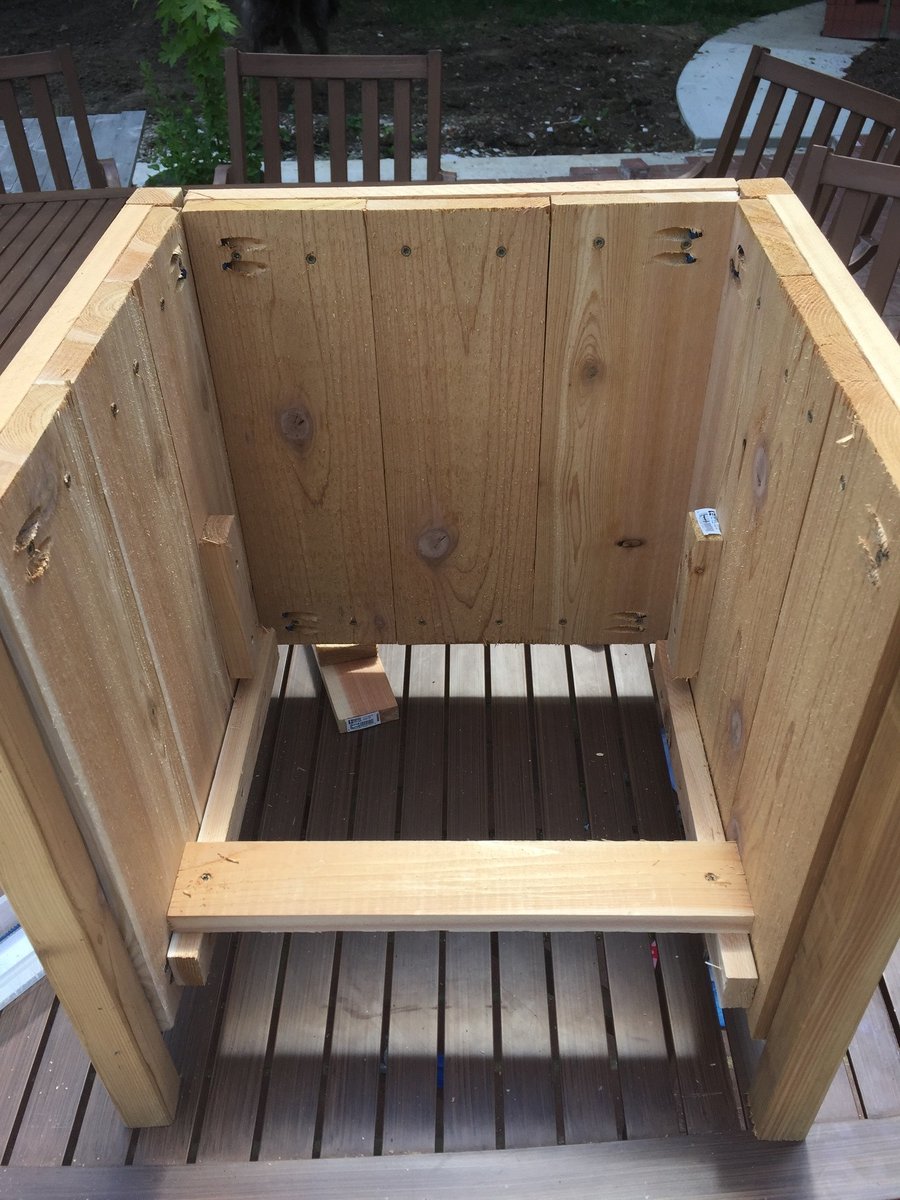
Basically I raised the bottom of the planter enough to fit the speaker under and had to add a few framing pieces to secure the speaker mount to. The mount attaches to a vertical board and the weight rests on a horizontal board. The wiring comes up from below.

The front panel uses vinyl mesh from Sailrite.com to hide the speaker but allow sound out. Imm planning to hang it with magnets if it doesn't distort sound too much.

Built from Plan(s)
Estimated Time Investment
Afternoon Project (3-6 Hours)
Recommended Skill Level
Beginner

Comments

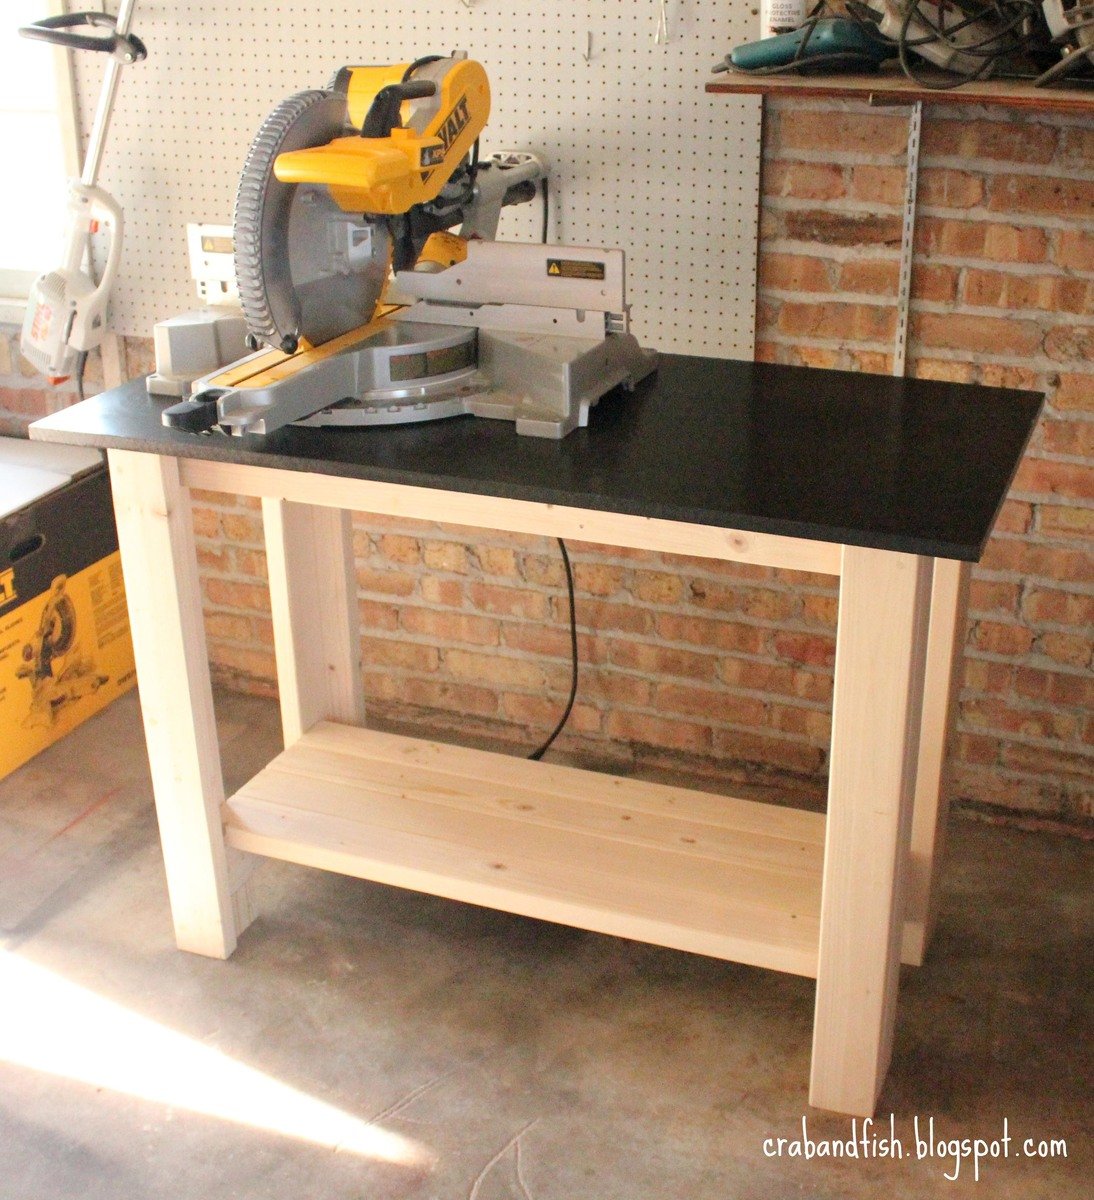
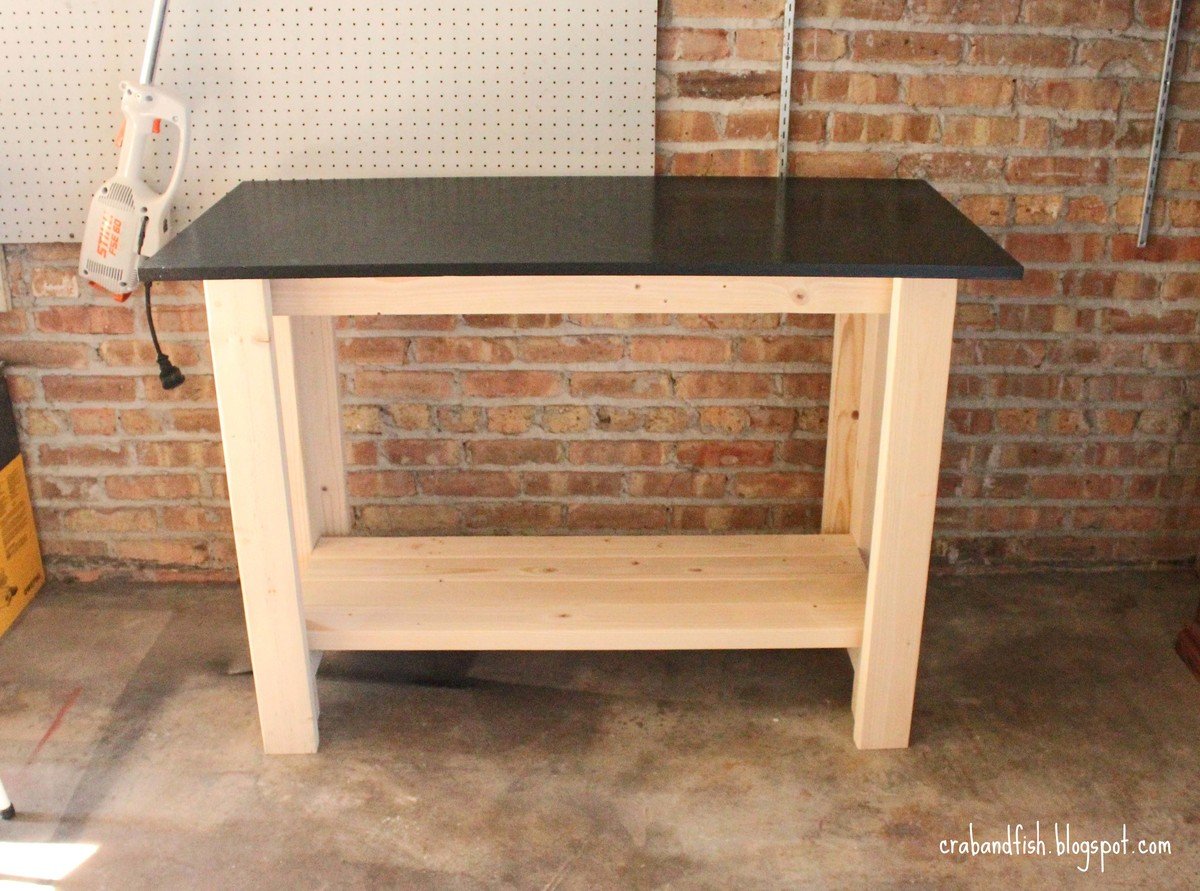
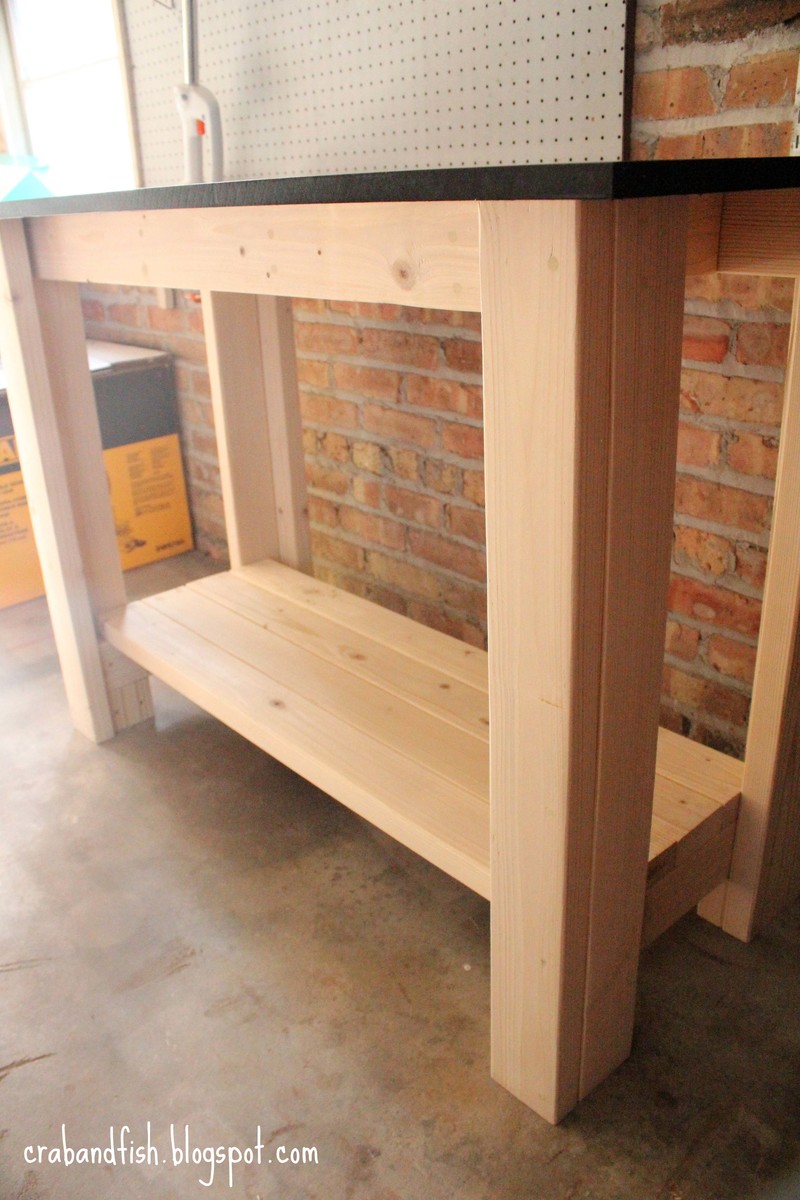
crab+fish make a work bench

see the full post at:
http://crabandfish.blogspot.com/2012/06/fish-made-work-bench.html

we bought our first home two months ago and have been doing a lot of small improvement projects. we decided to build your sturdy work bench in order to have a dedicated space for cobbling new projects together.

Built from Plan(s)
Estimated Cost
$45
Estimated Time Investment
Afternoon Project (3-6 Hours)
Finish Used
glossy black paint for counter, bare wood legs
Recommended Skill Level
Beginner

Comments

Dining Room Shelves

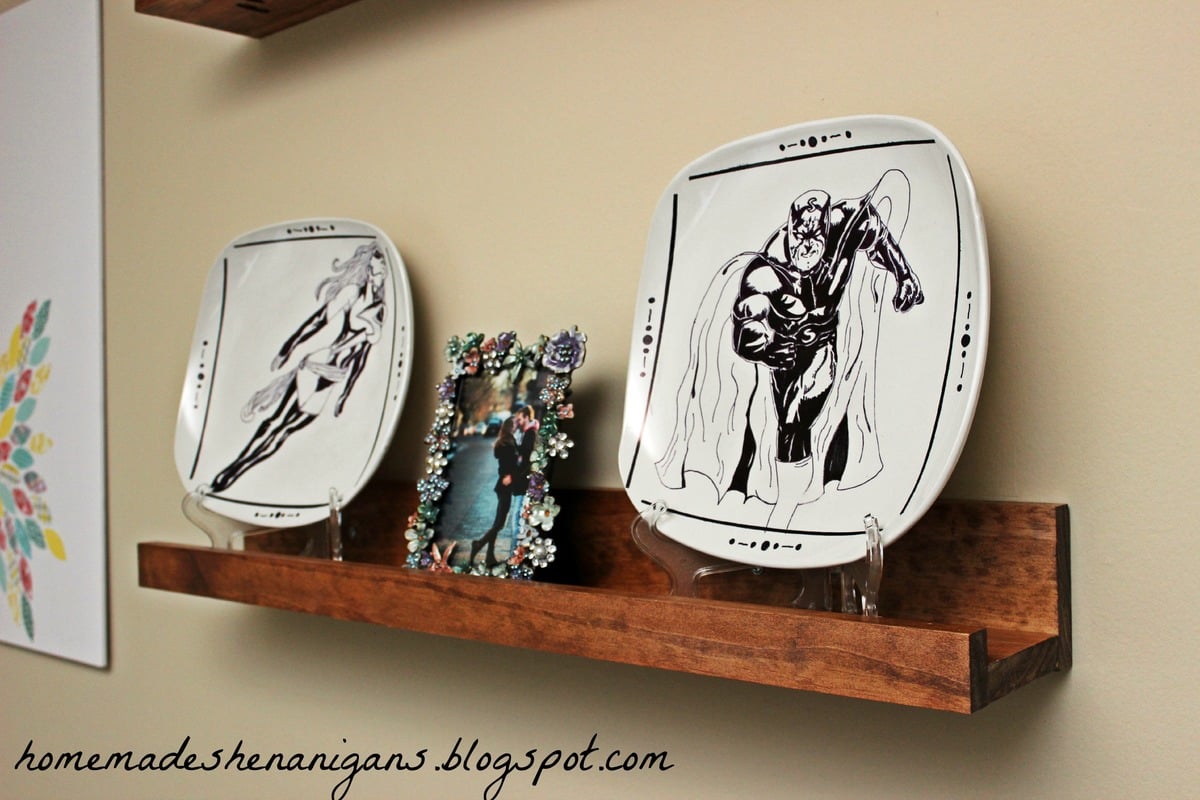
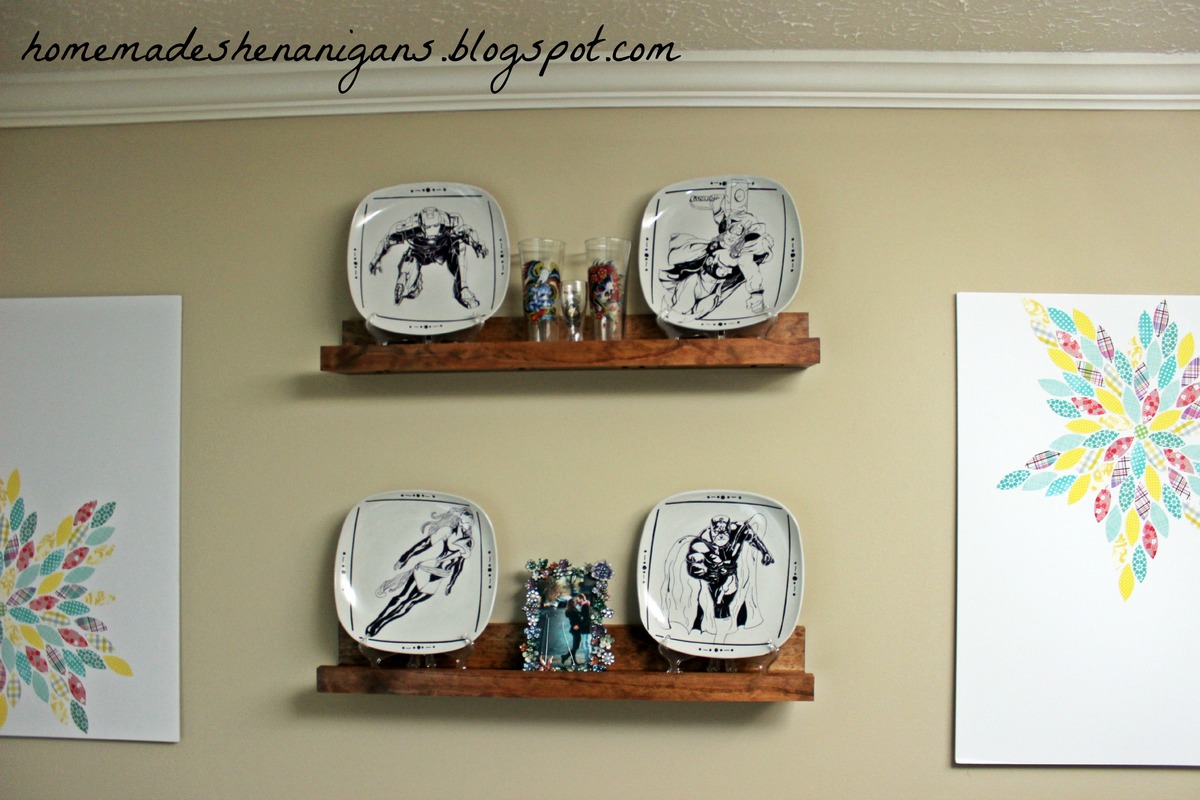
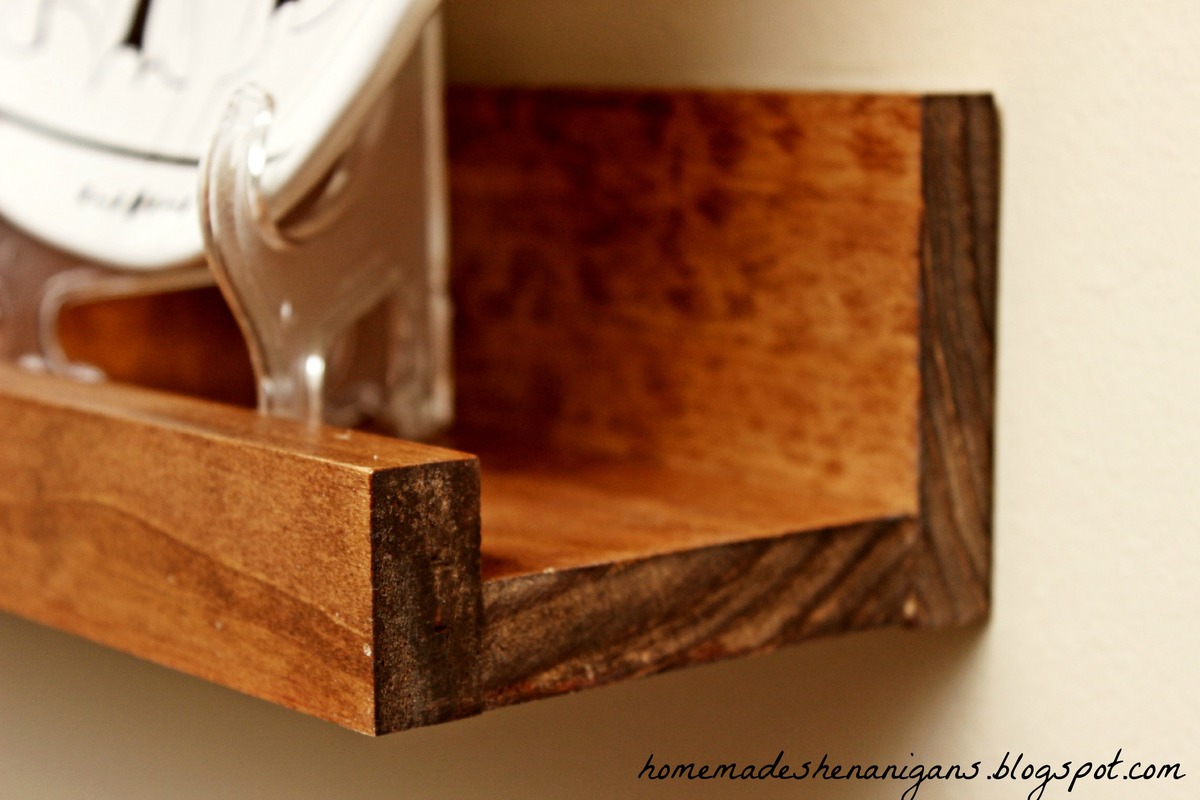
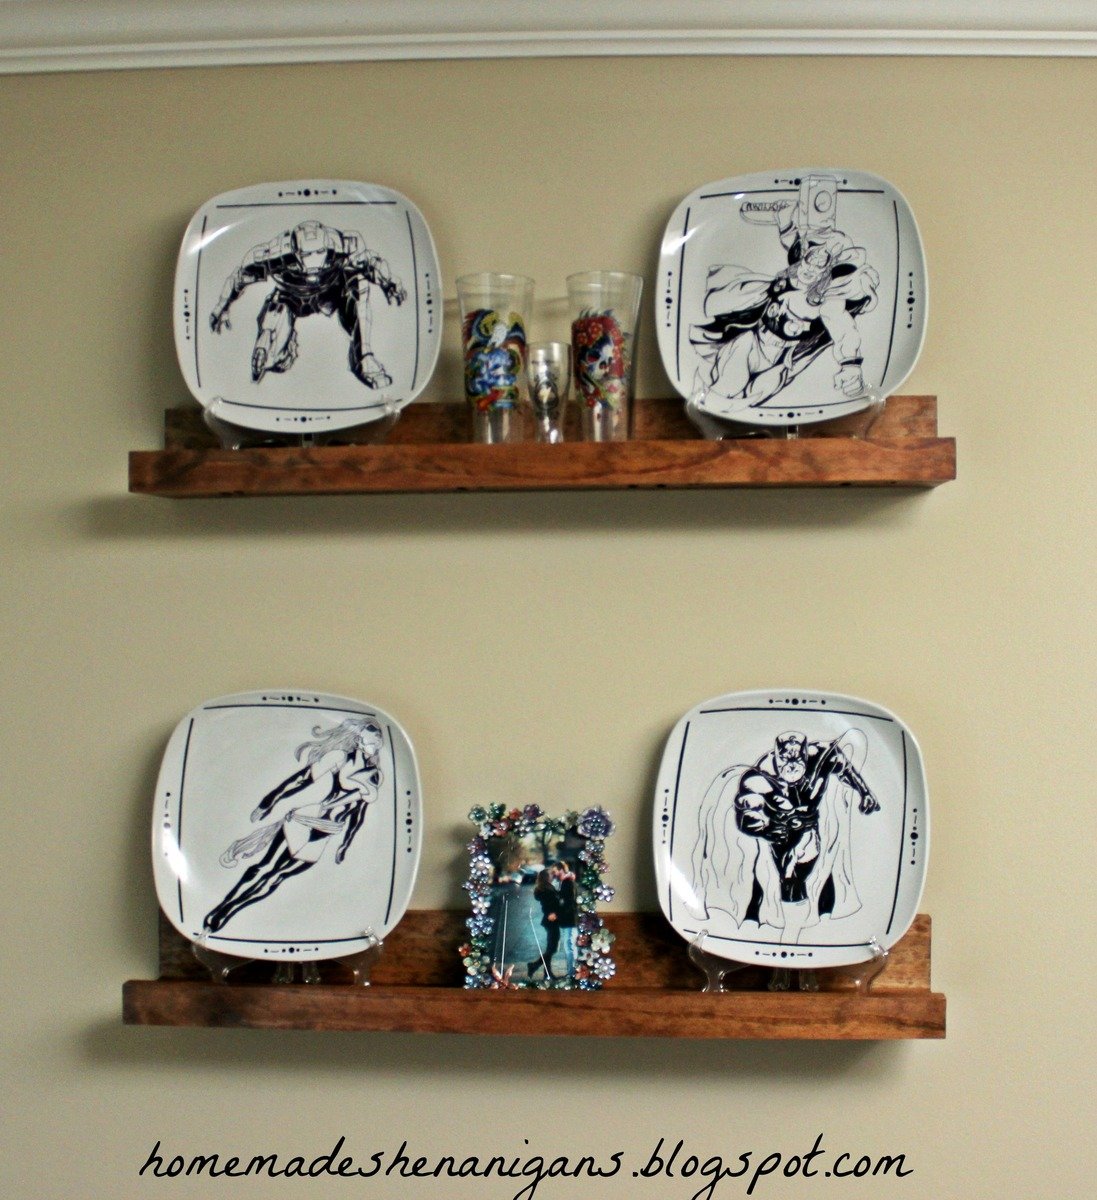
My shelves are about 2.5 ft long. I wanted a display area in my dining room to show off some plates I had made for my boyfriend a while back.

Built from Plan(s)
Estimated Cost
$30.00
Estimated Time Investment
Afternoon Project (3-6 Hours)
Finish Used
One coat Rustoleum Dark Walnut stain with one coat Miniwax Gunstock stain on top. Two coats of polyurethane.
Recommended Skill Level
Starter Project

Rustic Modern 2x6 Platform Bed

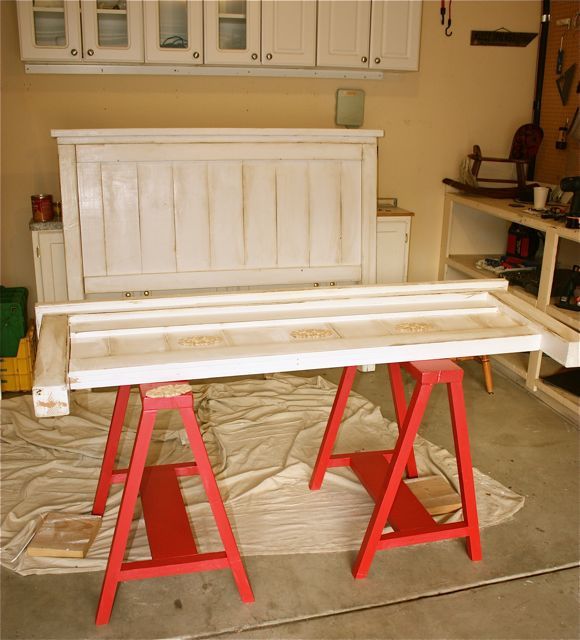
I recently moved to Boulder, CO and finally have a garage where I can actually work on projects. Since I moved here with practivally nothing, I decided I should build my own bed. This is probably one of the most ambitious wood working projects I've attempted. I also tend to be slightly anal, so I've probably spent way more time on this project than most people have or will.

After reading the plans and other Brag Posts, I felt I was ready to start. I ordered the Kreg Screws, and a few other supplies I would need for the Project on Amazon and was off to the races. Several trips to Home depot to get various pieces of wood, (since I wasn't going to fit it all in my Subaru in one go), I finally had most of the lumber for the bed frame. Let me tell you, it's not easy getting straight pieces of lumber (as mentioned before, I'm a little anal). I decided to go with oversized lumber, since I would have more usable leftover pieces for other projects.

I spent several hours after work during the week, and several more on the weekend, sanding down all the lumber with 60 Grit, then applied the first coat of Stain, to raise the grain. I was out of town for the weekend, and let the stained wood sit in my garage while gone. When I got back, I noticed a lot of marks which I didn't notice before staining. Some of these were from the belt sander I used to knock down really rough parts of some of the lumber. But most of the marks were because I put too much pressure on my random orbital sander.

Lesson learnt: Sanding takes time, and patience! DO NOT press down hard on the sander, if you don't want marks on your wood. These marks will be significantly more prominant after staining.

I decided to sand everything again, 60 grit, then 100, then 150. I gotta say, the wood feels so much nicer to touch and I'm glad I decided to re-sand. I spent a few hours after work to get most of the head board pieces done, but noticed that the 2x4 had warped beyond repair... I'm going to get the upper and lower 2x6 pieces ready to assemble with my kreg jig this weekend, and then decide if I want to add a 2x4 in the middle like the plans call for.

I decided to go with just 2x6s for the headboard, I used the Kreg Jig to put it all together, I also attached 4 supports made of some scrap Plywood I got from my neighbor for the headboard.

I stained it all with a Staining pad twice, then applied 3 coats of Poly with a brush. I didn't sand between coats since I was applying very thing coats and I had already sanded everything down with 150 grit. 
Estimated Cost
$100-150
Estimated Time Investment
Week Long Project (20 Hours or More)
Finish Used
Stain: Minwax Oil based Dark Walnut - 2 coats with a staining pad
Varnish: Satin Water based Indor Polyurethane by Varathane - 3 coats with a brush.

http://www.homedepot.com/p/Minwax-1-qt-Wood-Finish-Dark-Walnut-Oil-Based-Interior-Stain-70012/100376185

http://www.homedepot.com/p/Varathane-1-qt-Clear-Satin-Water-Based-Indoor-Polyurethane-200241H/100169146
Recommended Skill Level
Intermediate

Comments

username.

Fri, 03/02/2018 - 19:17

Sick job dude! What stain is that? I like the color of it and might use it for mine. Did you notice a stain odor at all after applying the stain and covering it with the poly? 

Farmhouse Bed

Submitted by ValBryant on Wed, 08/15/2012 - 14:24

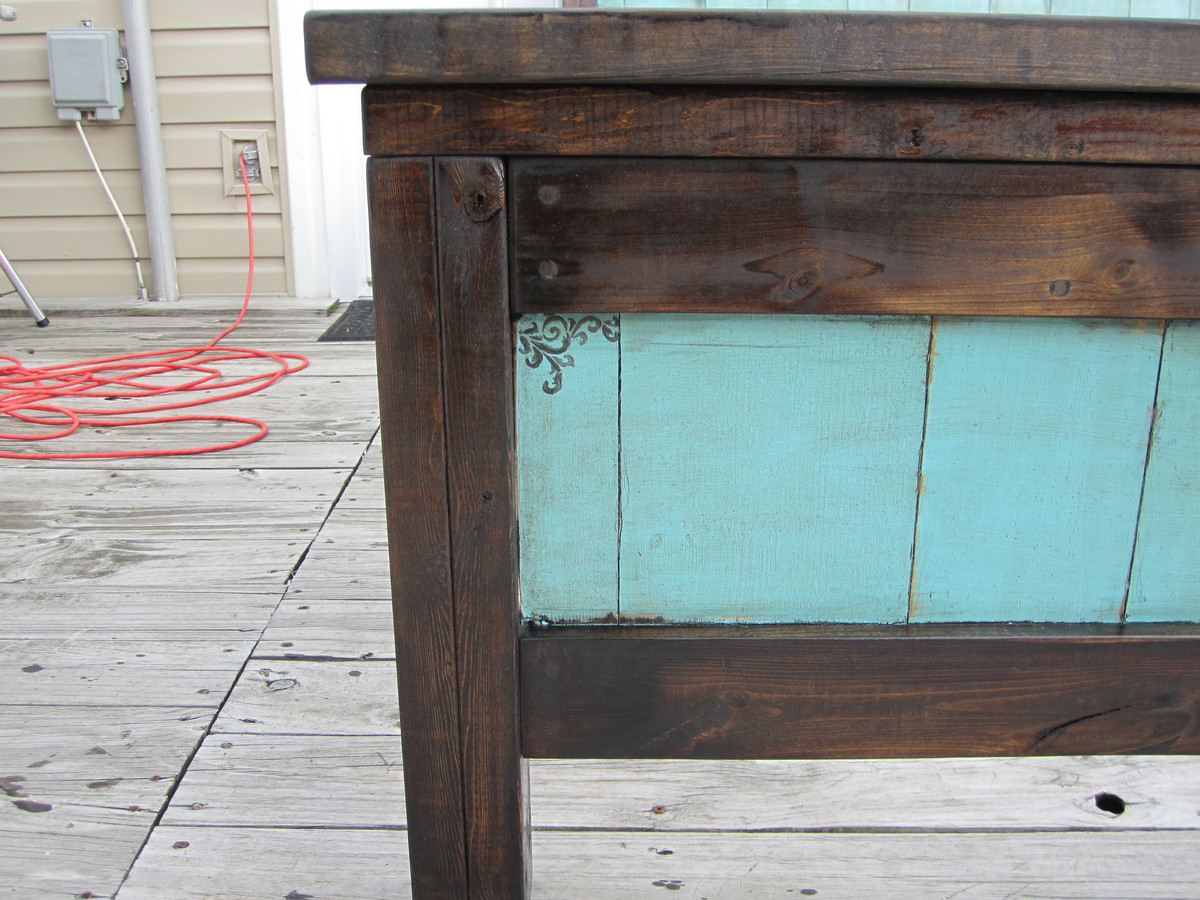
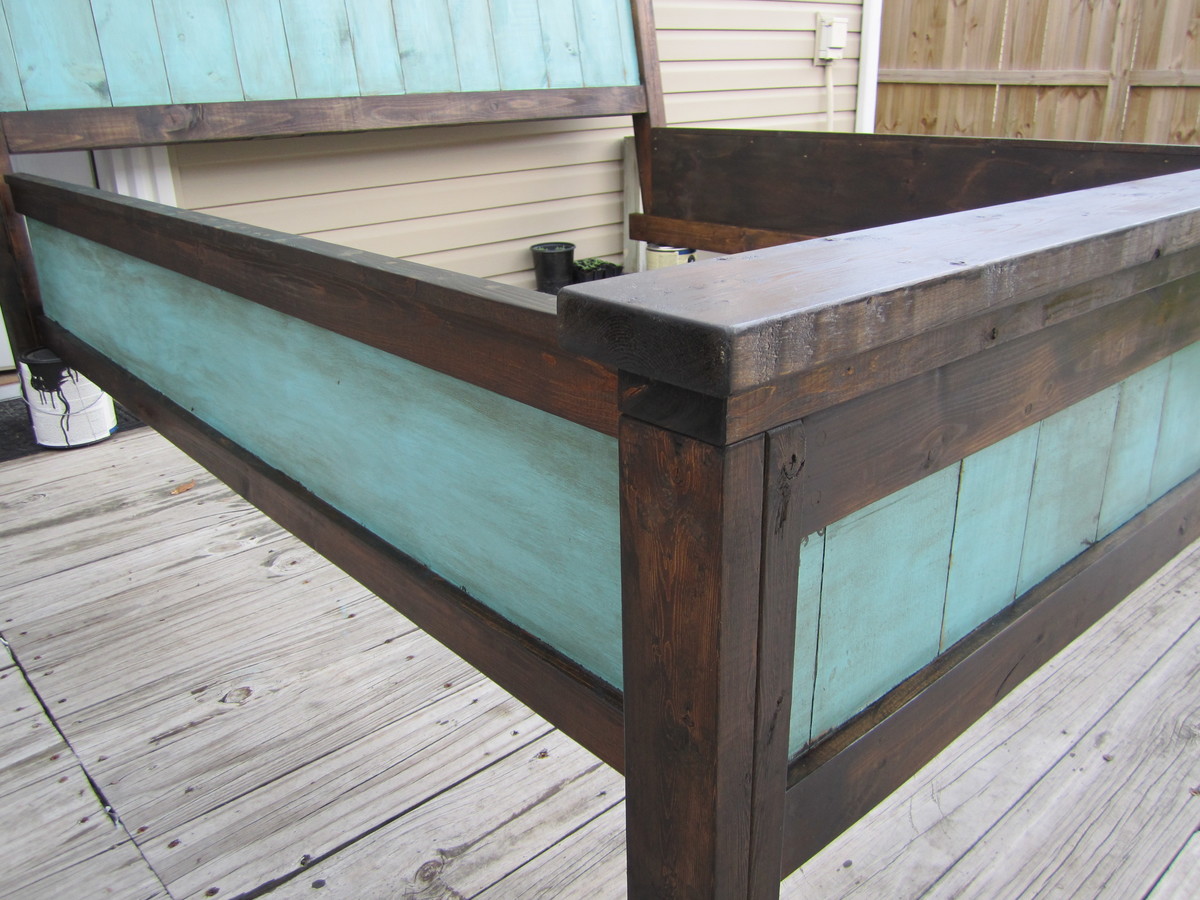
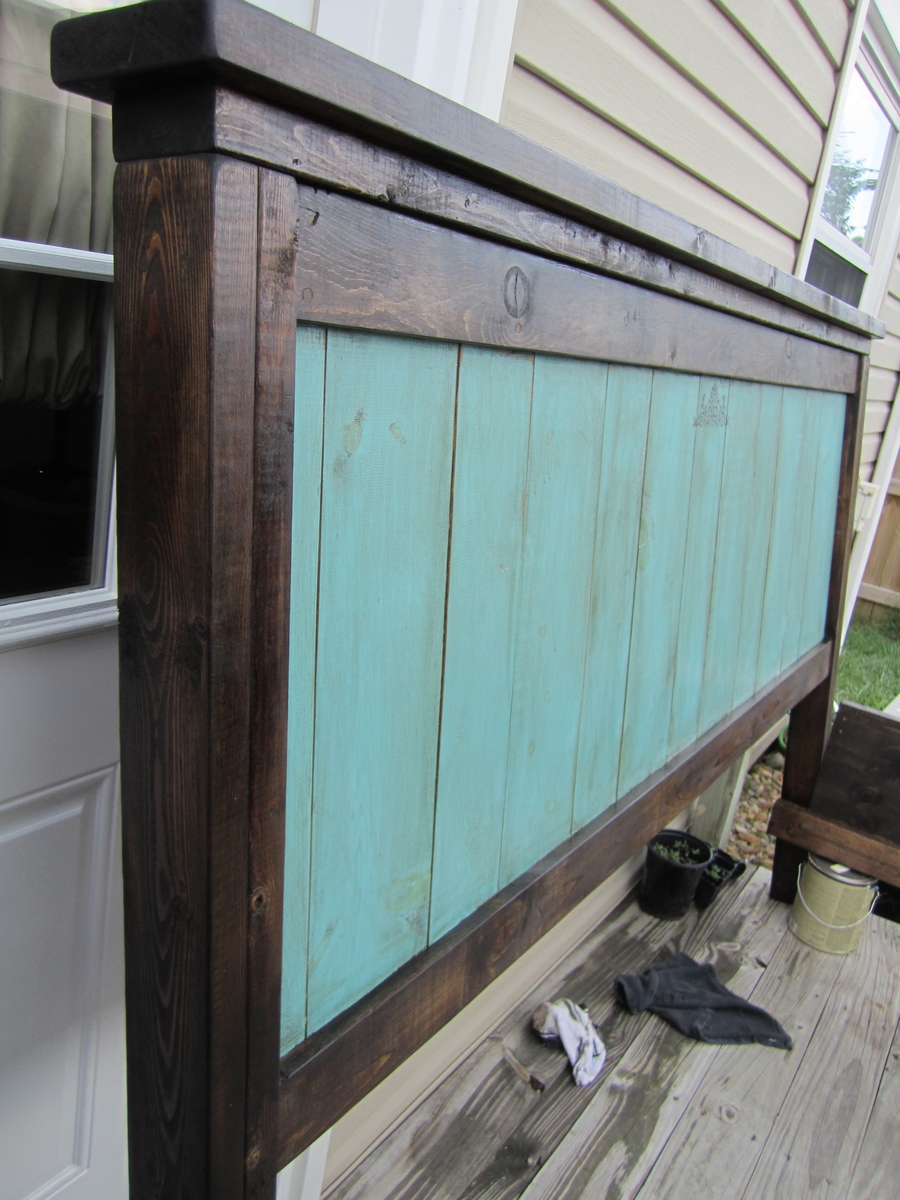
This was our first build alone. I've helped my dad build various things through out the years but was this first time me and my husband built something together.
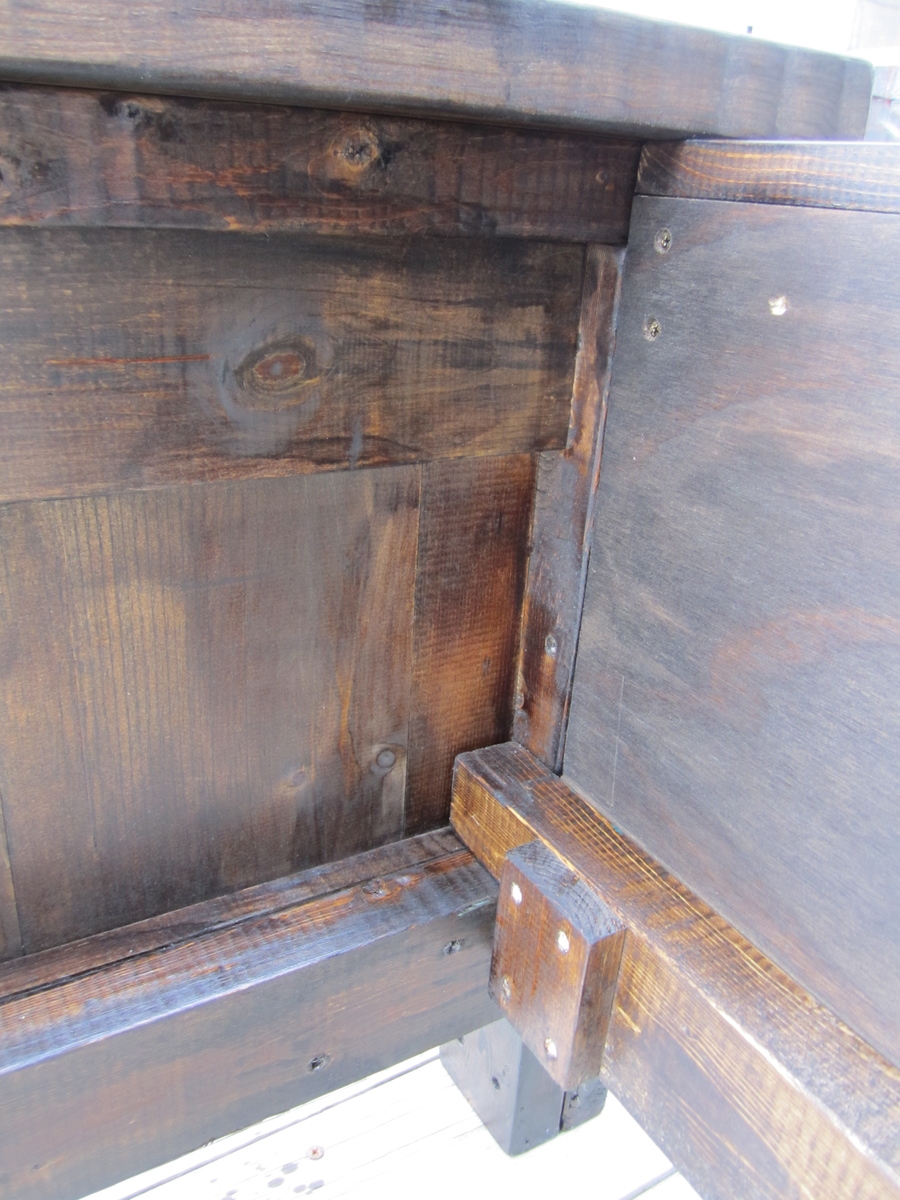
The bed plans were great and it went together easily. We couldn't find untreated 4x4 posts so we went with two 2x4 sandwiched together, and then we bolted the headboard posts to the footboards. The side rails are plywood trimmed with 1x3's and topped with a 1x2. We also used L brackets to attach the side rails to the head and footboards and addition to bolts on the headboard and 2" screws on the footboard. We needed to assemble the bed in a way we could easily disassemble because we are moving soon.

Estimated Cost
160+
Estimated Time Investment
Weekend Project (10-20 Hours)
Finish Used
I followed one of Ana's featured finishes, distressed turquoise with chocolate glaze.
I used dark walnut stain and Valspar's semi-gloss Sea Exposure, and Valspar's Glaze.
Recommended Skill Level
Beginner

Comments

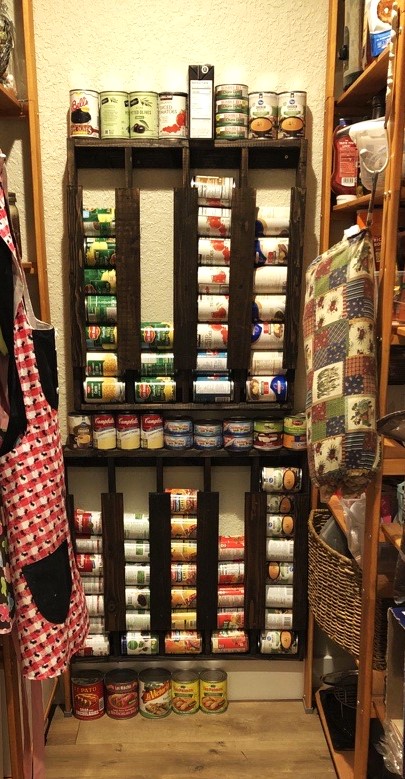
Floor to Ceiling Canned Food Storage

Submitted by Anonymous (not verified) on Fri, 04/19/2024 - 13:56

Loved these plans. Top unit was built exactly to specs. Bottom unit was built to accommodate one column of cans. I have also built one for my sis-in-law and will be building one more for this pantry. Love this project!

Leah

Built from Plan(s)

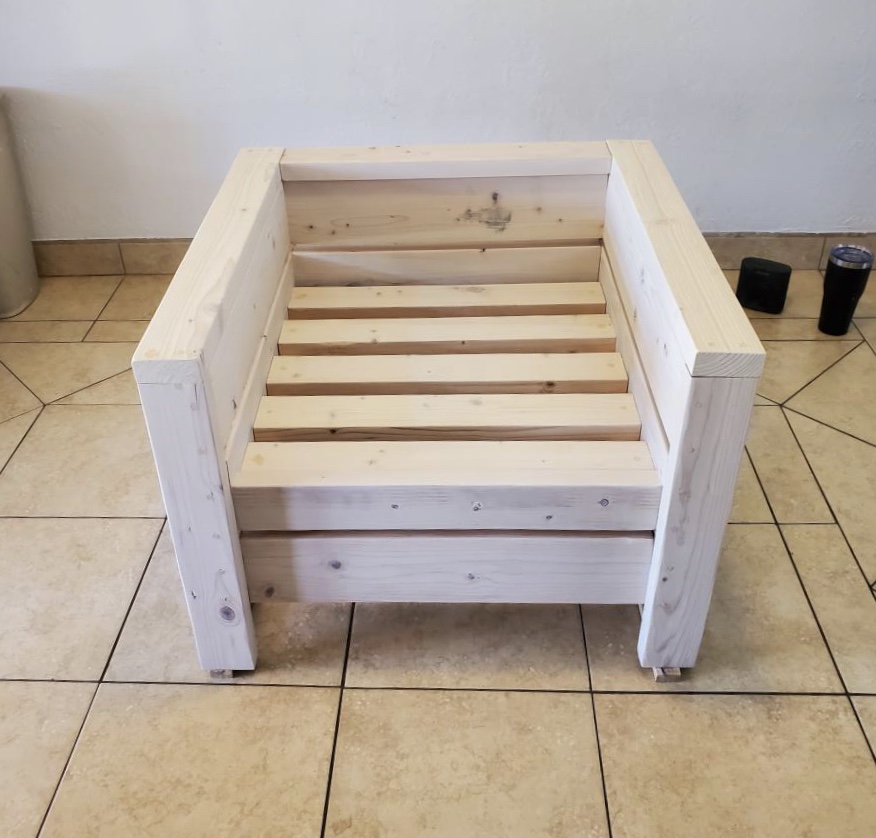
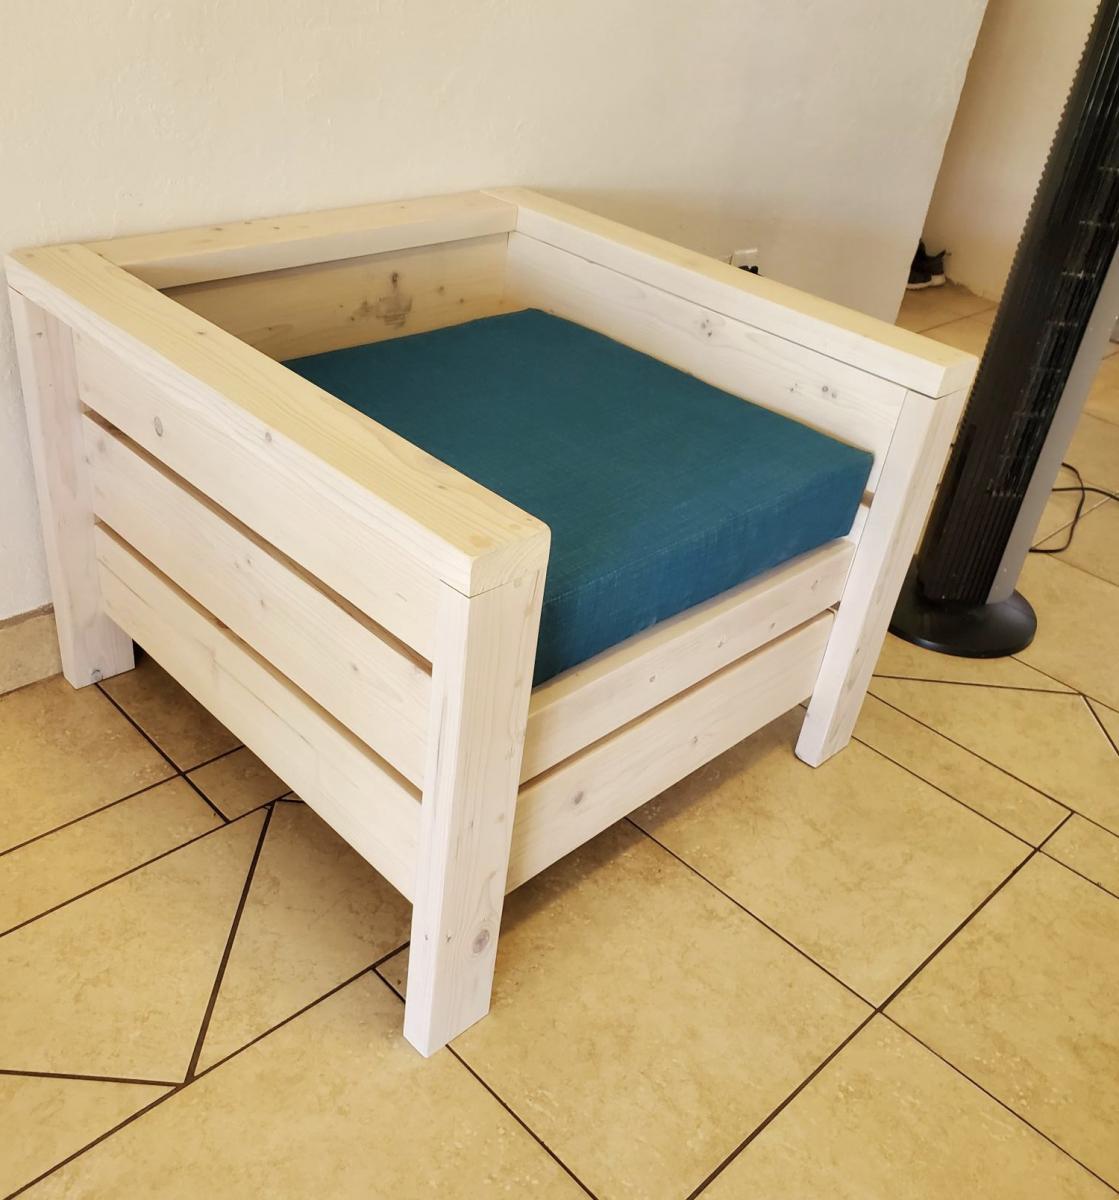
Modern Outdoor Patio Chair

Submitted by Hemann85 on Tue, 07/07/2020 - 11:15

I just built this chair but I think I will be adding a back support for a larger cushion. The stain is a semi translucent white with a touch of grey.

Estimated Cost
$50
Estimated Time Investment
Afternoon Project (3-6 Hours)
Finish Used
Valspar semi-translucent
Recommended Skill Level
Beginner

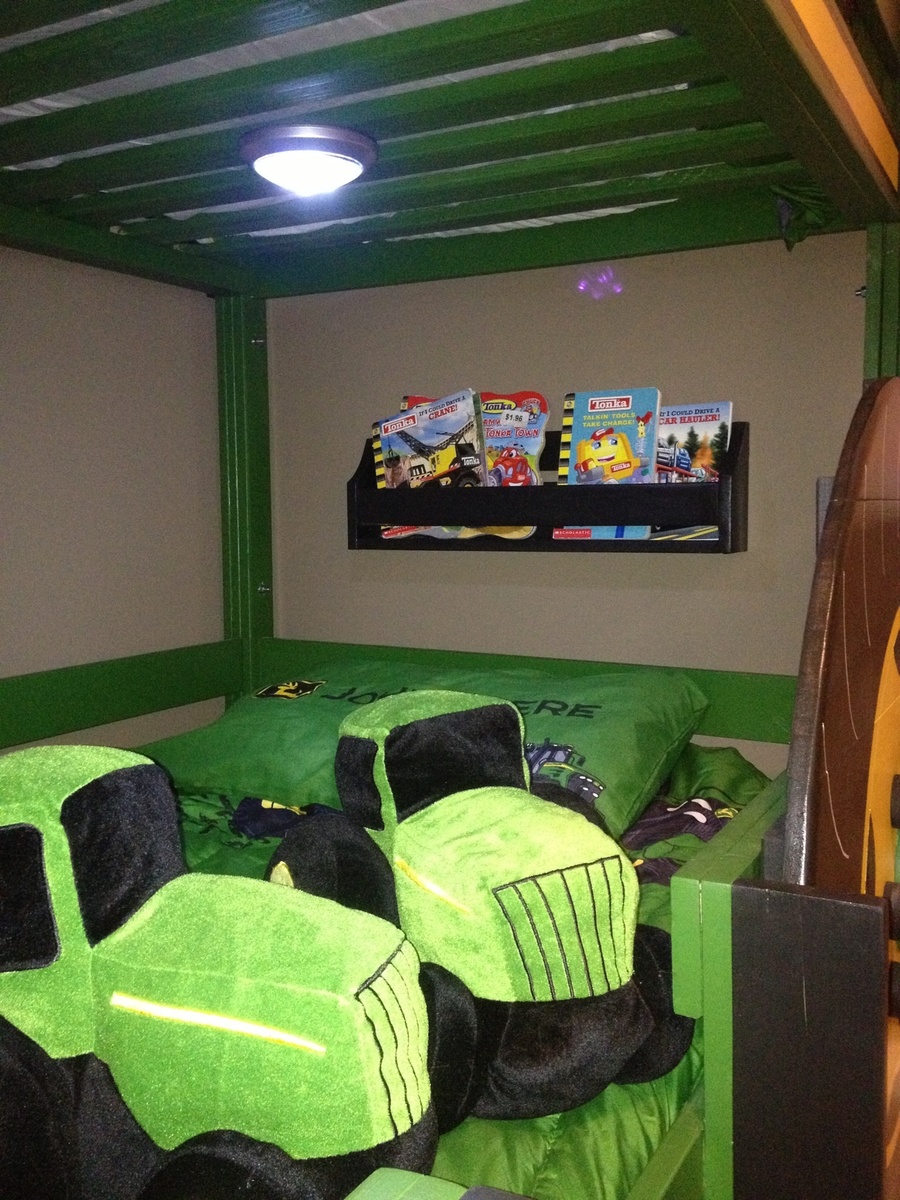
Flat Wall Bookholders

Submitted by Veronica P on Mon, 07/07/2014 - 20:09

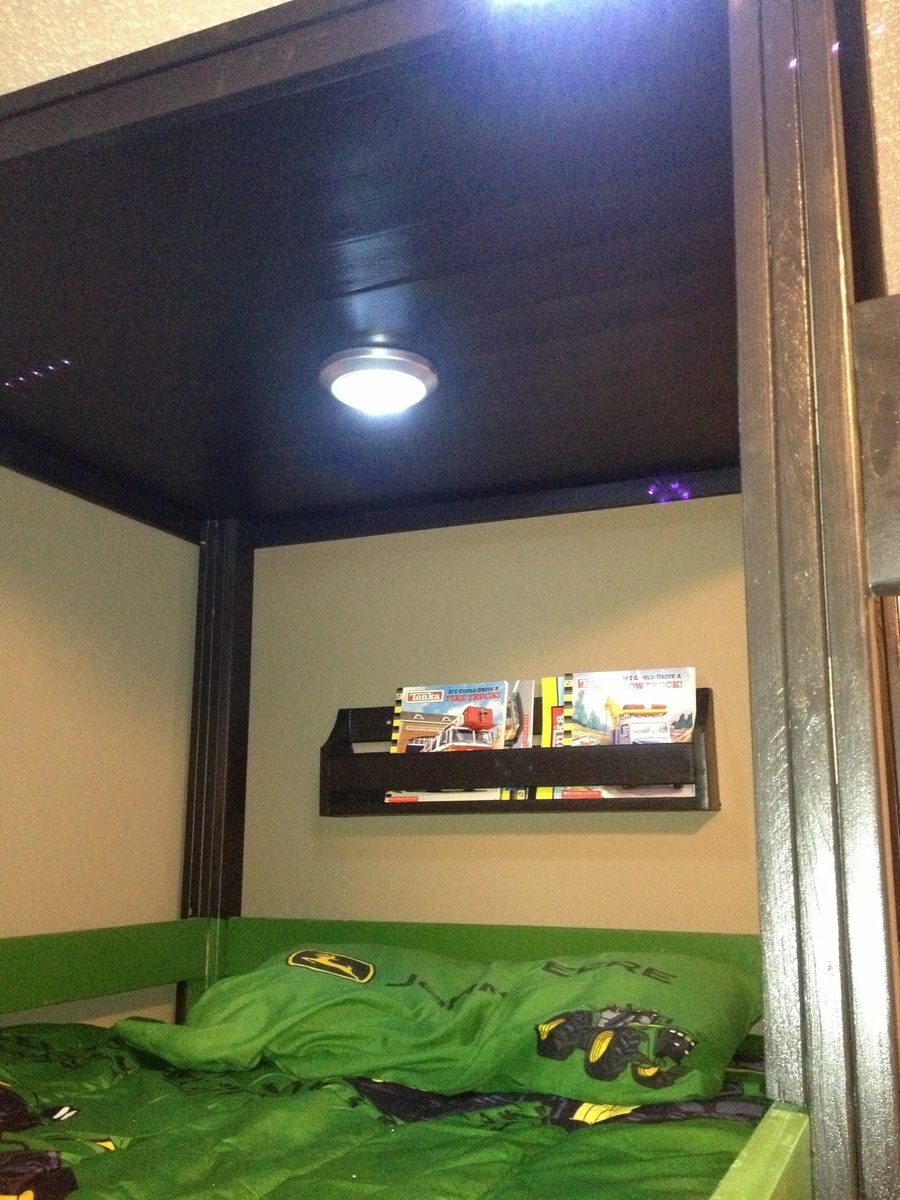
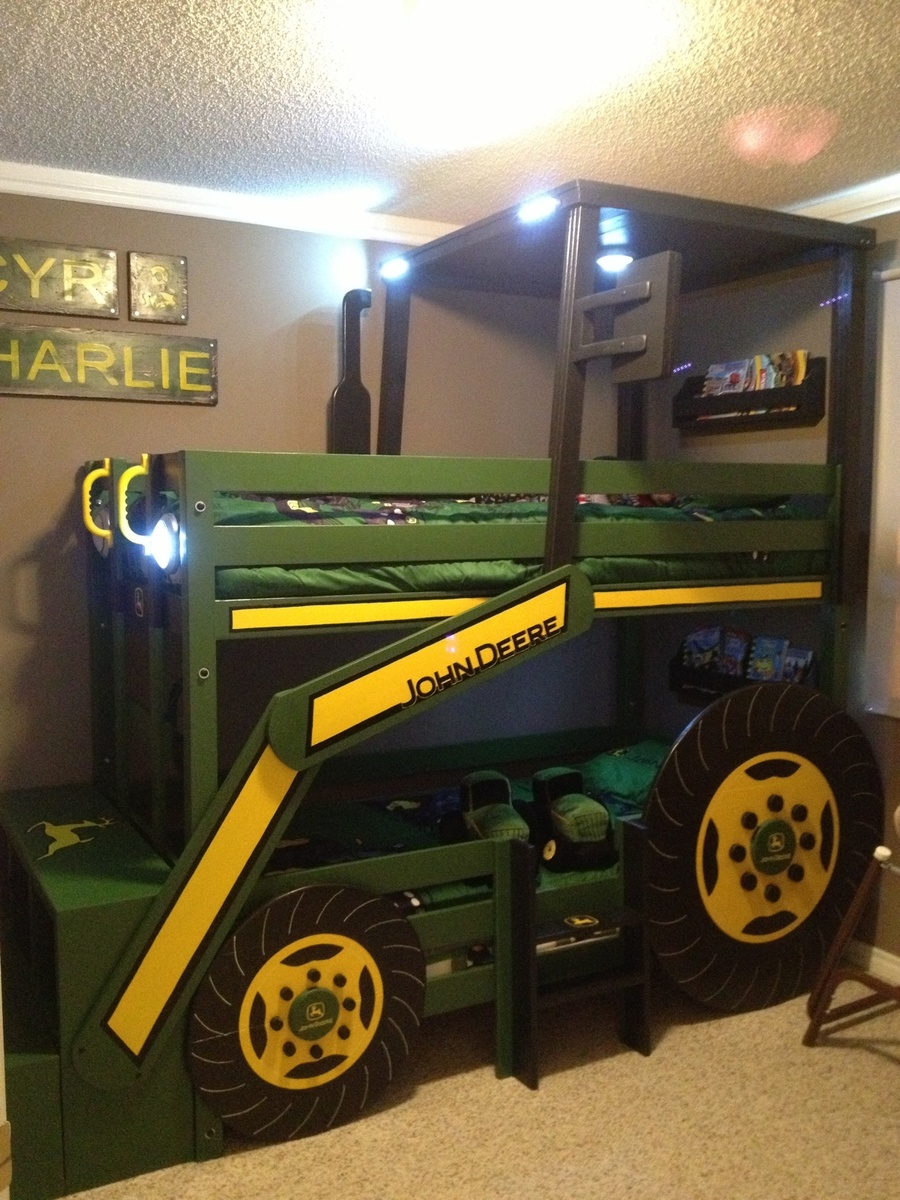
These flat wall bookholders are the perfect little shelves to add storage for books to my boys' new tractor bunk bed. What a great simple plan!

Estimated Cost
Unknown as I used scrap.
Estimated Time Investment
An Hour or Two (0-2 Hours)
Finish Used
Black paint and a couple coats of poly.
Recommended Skill Level
Starter Project

Modern wood dresser

Submitted by Anonymous (not verified) on Thu, 12/08/2016 - 08:07

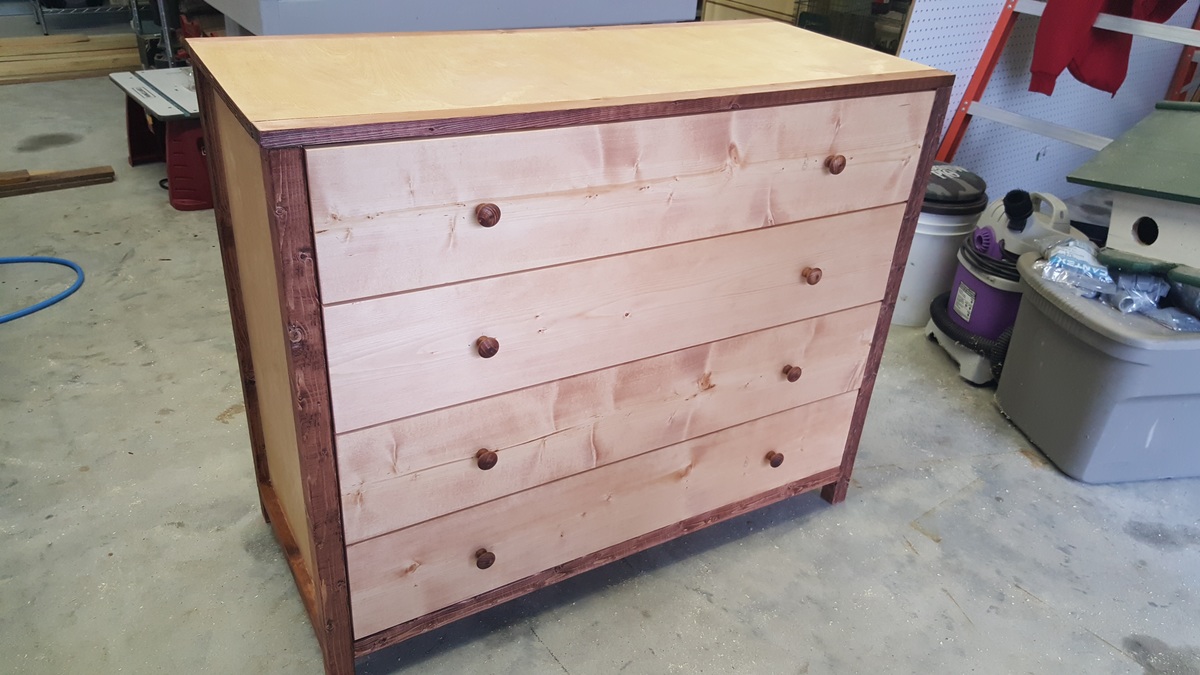
We didn't paint it, but I think it turned out well. We followed the plan almost exactly and it came out great!

Built from Plan(s)
Estimated Cost
150
Estimated Time Investment
Weekend Project (10-20 Hours)
Recommended Skill Level
Beginner

Farmtable and Bench

Submitted by purdyc on Wed, 01/04/2017 - 06:37

Ana

This is a farmtable that i made from your plans, along with the bench also made from your plans.  Turned out pretty good, worked on it mostly on the weekends.  Christmas present for my son and daughter-in-law.  Your website is full of great ideas and plans, thank you.

Chuck

Estimated Cost
For bench and table est $300
Estimated Time Investment
Week Long Project (20 Hours or More)
Finish Used
Minwax Walnut Stain
Recommended Skill Level
Beginner

Living Wall

Submitted by Rantzay on Thu, 10/02/2014 - 16:16

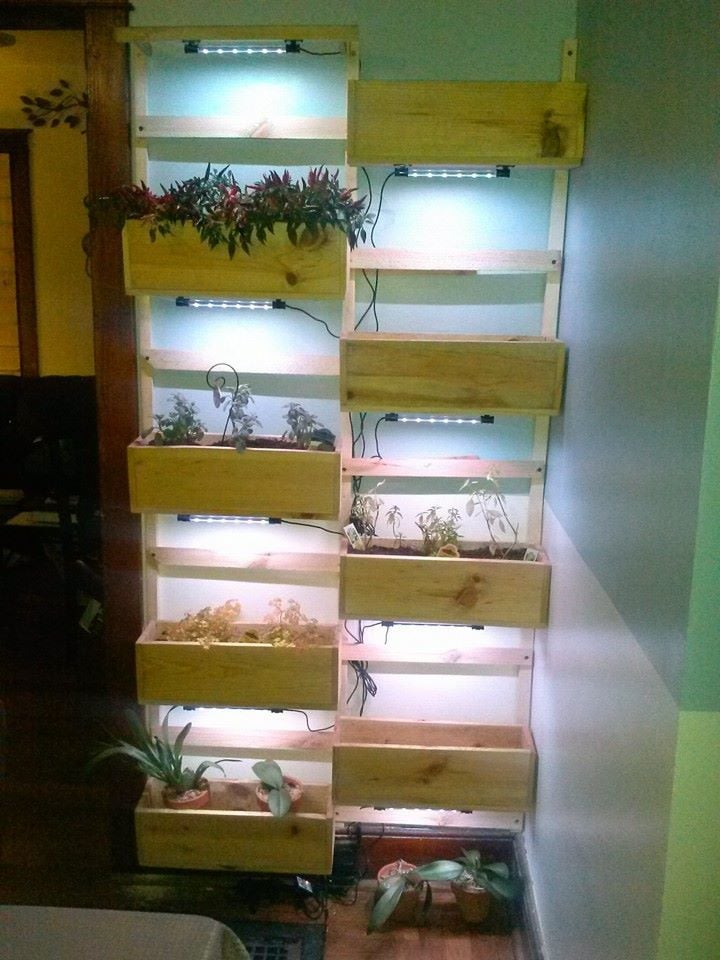
Found the plans for the little 3 tiered planter really interesting.  I built a few of the boxes when my wife says "You know...." She has wanted a "living wall" for years, so I modified some of the sizes to make the boxes 18 inches long to accommodate my 37" inch wall.  I added a french cleat to the back of each box, cut down a couple furring strips that I anchored to the wall and added the other half of the french cleat to the frame.  Woot! Together in moments.  The individual planters can be easily removed and rearranged.  I added LED's to the bottoms of the planters for additional lighting and it's really a cool affect.

Estimated Cost
$25 using cedar pickets
Estimated Time Investment
Afternoon Project (3-6 Hours)
Finish Used
sanded smooth and treated with linseed oil
Recommended Skill Level
Beginner

Comments

Guest Bedroom Closet

Submitted by muses44 on Sun, 11/23/2014 - 08:07

Modified width to fit the closet.  Prep work of sanding and painting took longer than we thought it would; assembly inside the closet was simple but definitely a challenge in the small space.  At 81", the top shelf was higher than intended so had to remove front slat in order to be able to use it - will make the next one slightly shorter.  But love the final product and am now on a mission to get all the cheap wire shelving out of the house!

Estimated Time Investment
Weekend Project (10-20 Hours)
Finish Used
white paint; filled in the screw heads with wood filler.
Recommended Skill Level
Beginner
Back