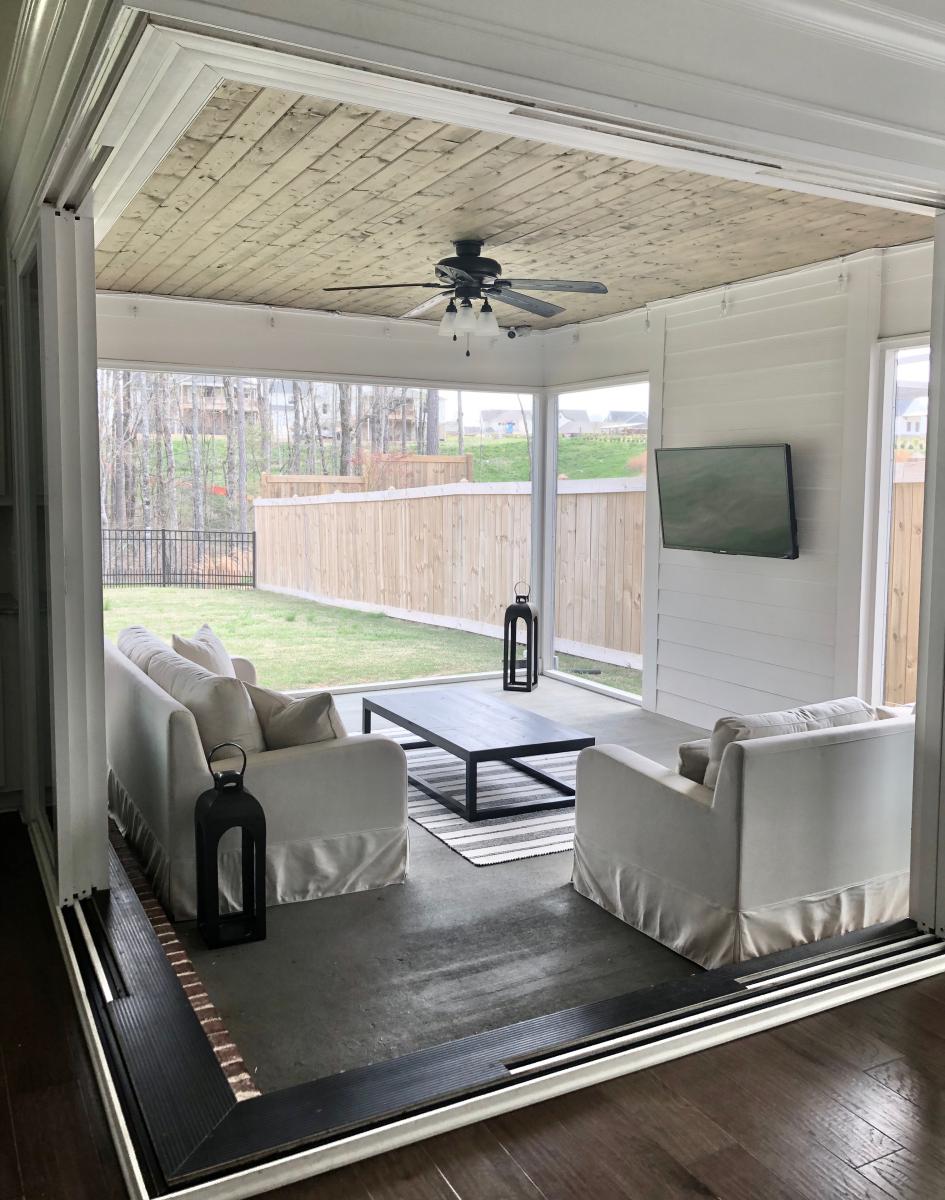
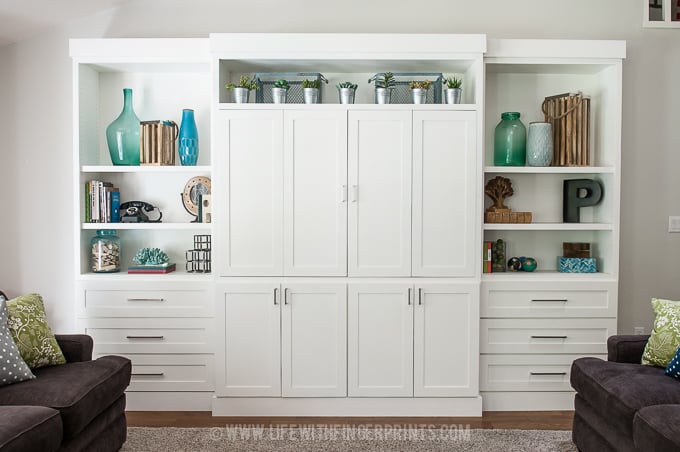
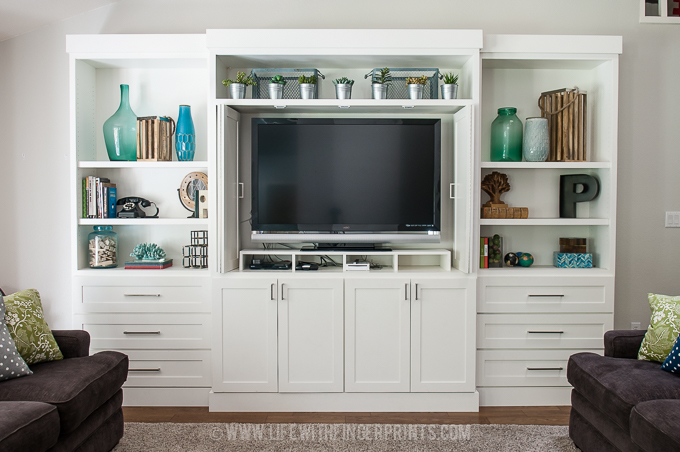
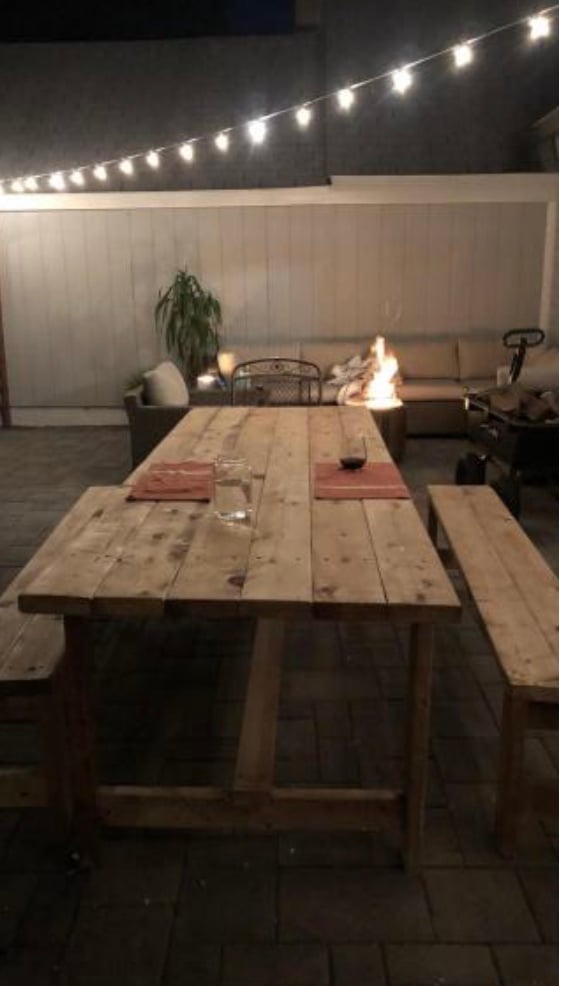
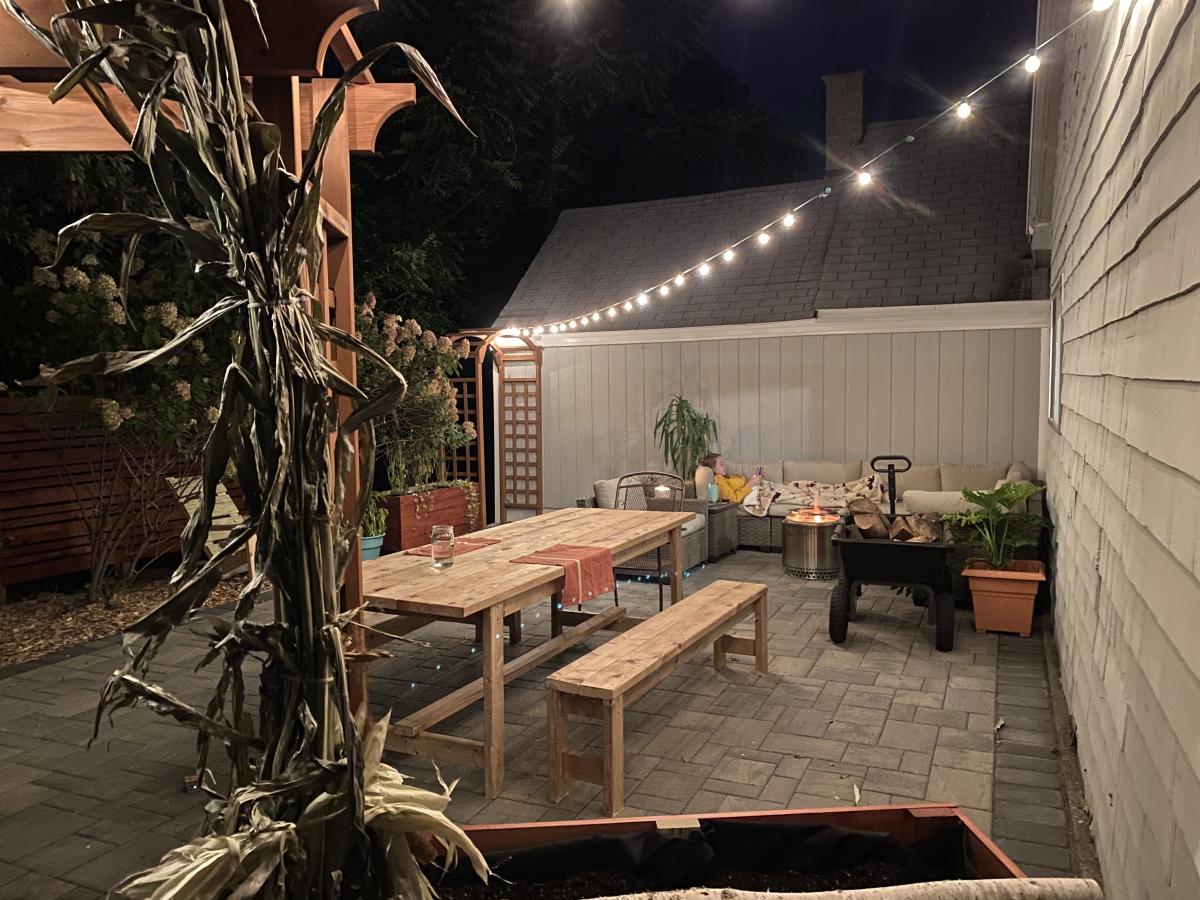
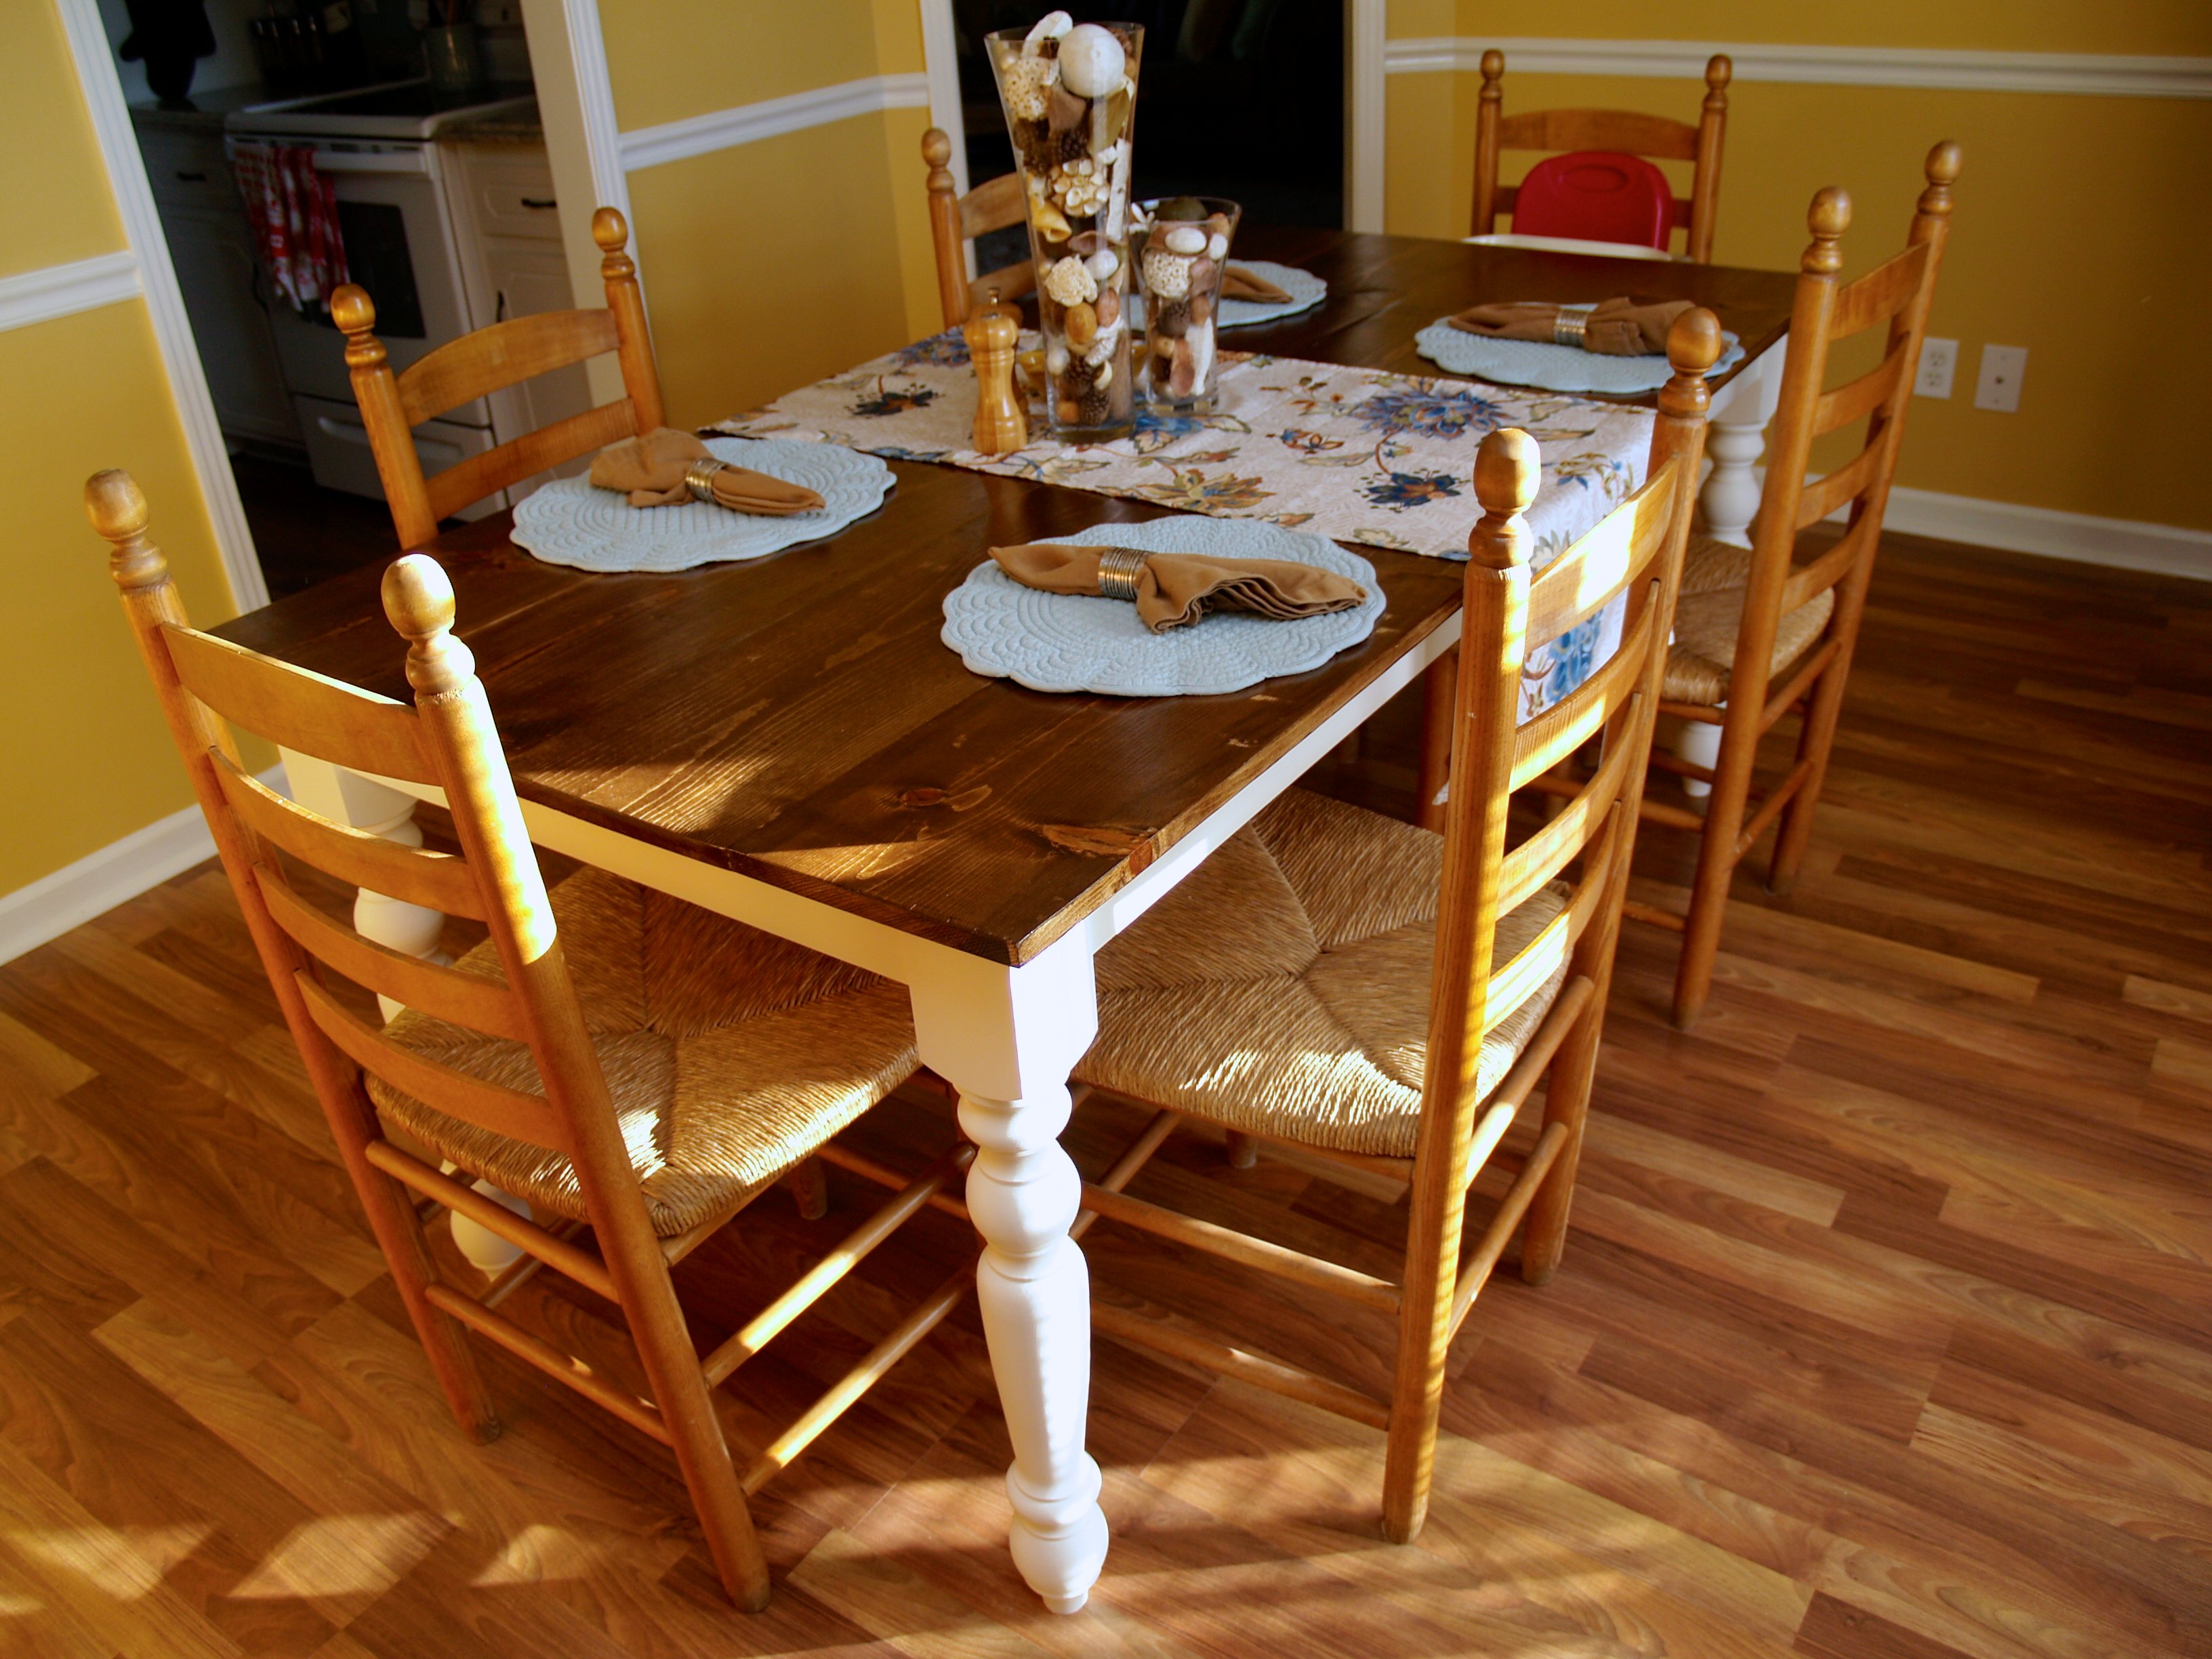
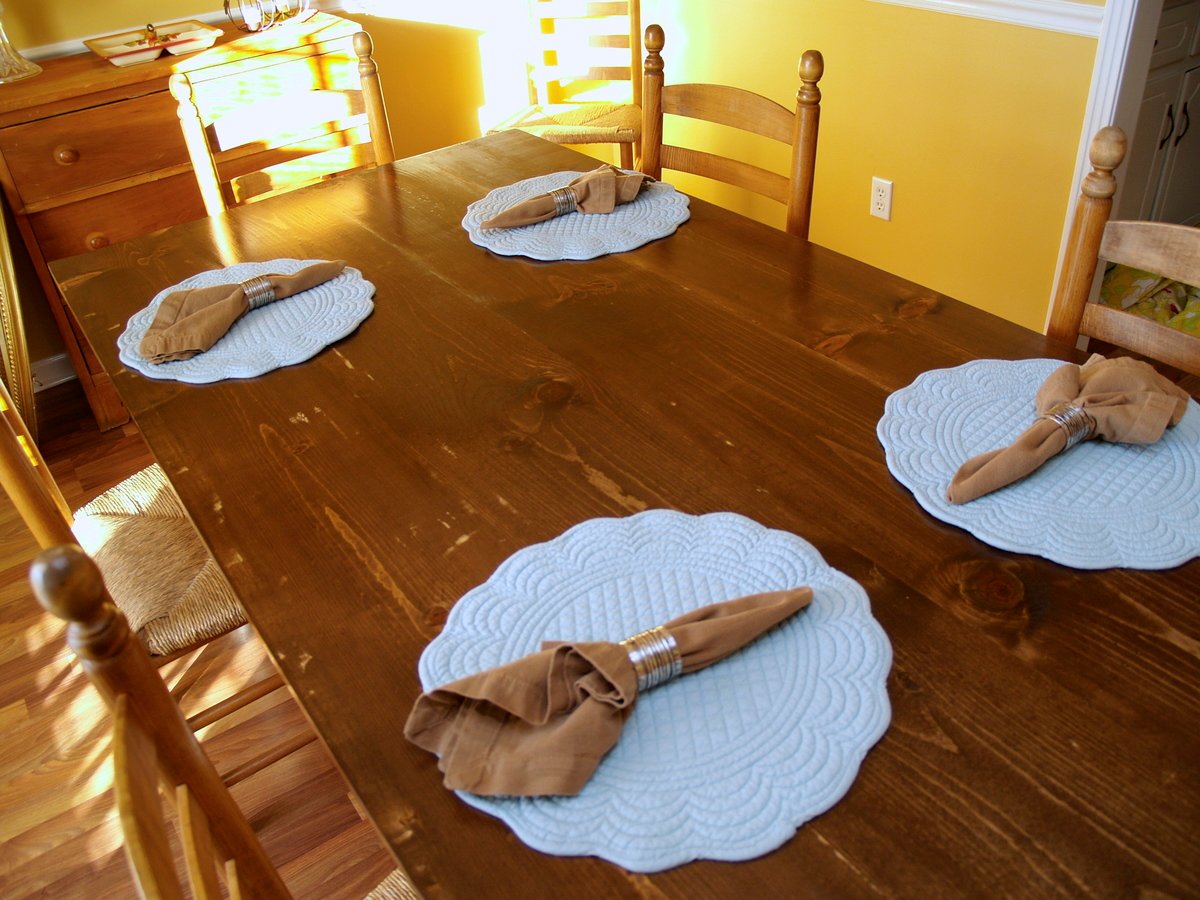
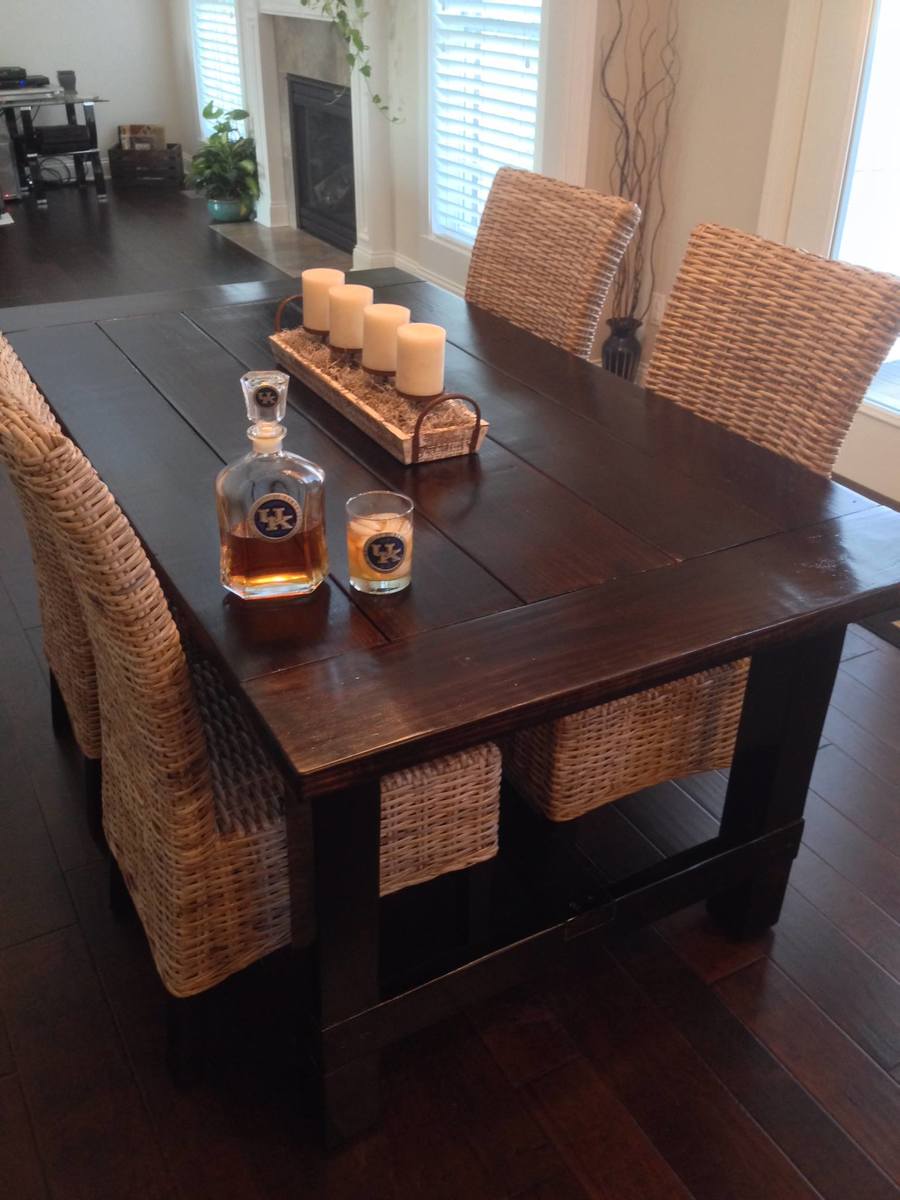
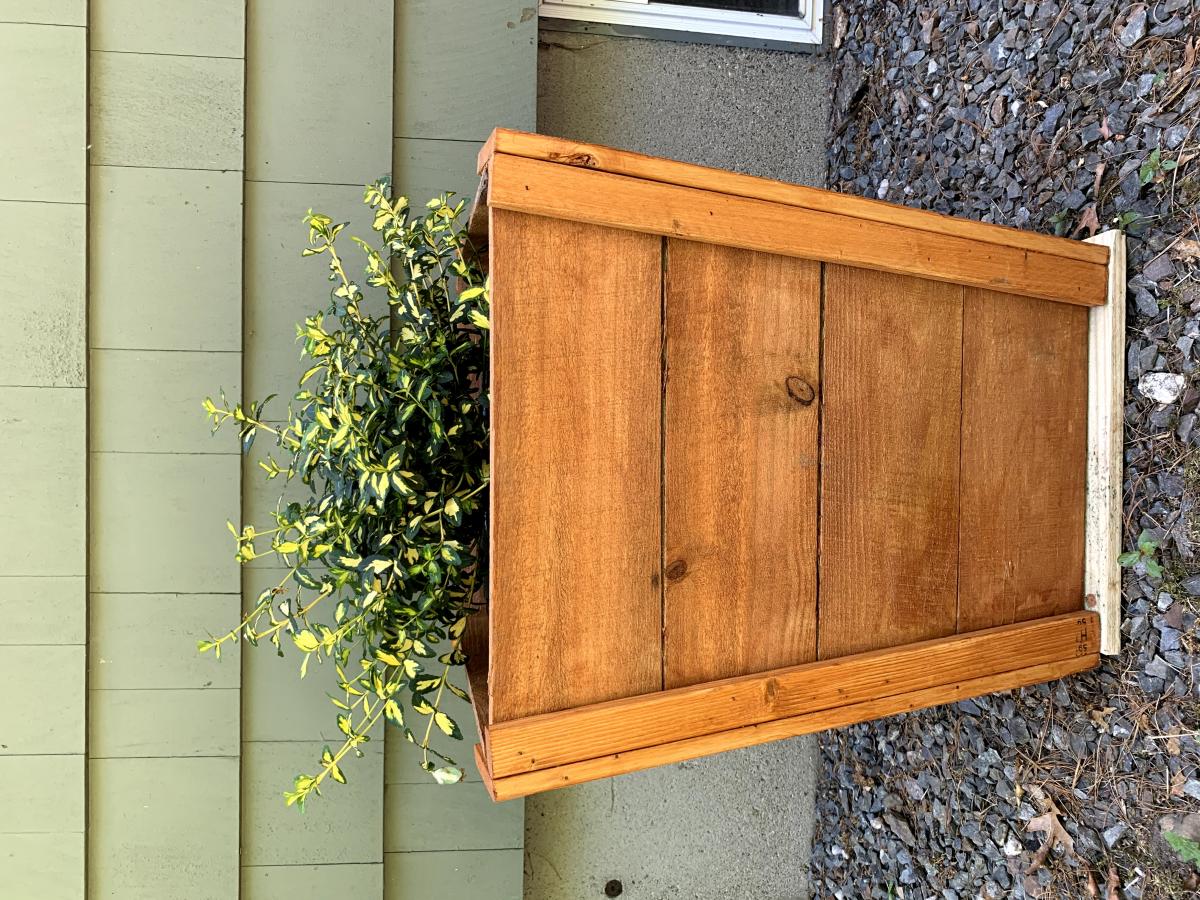
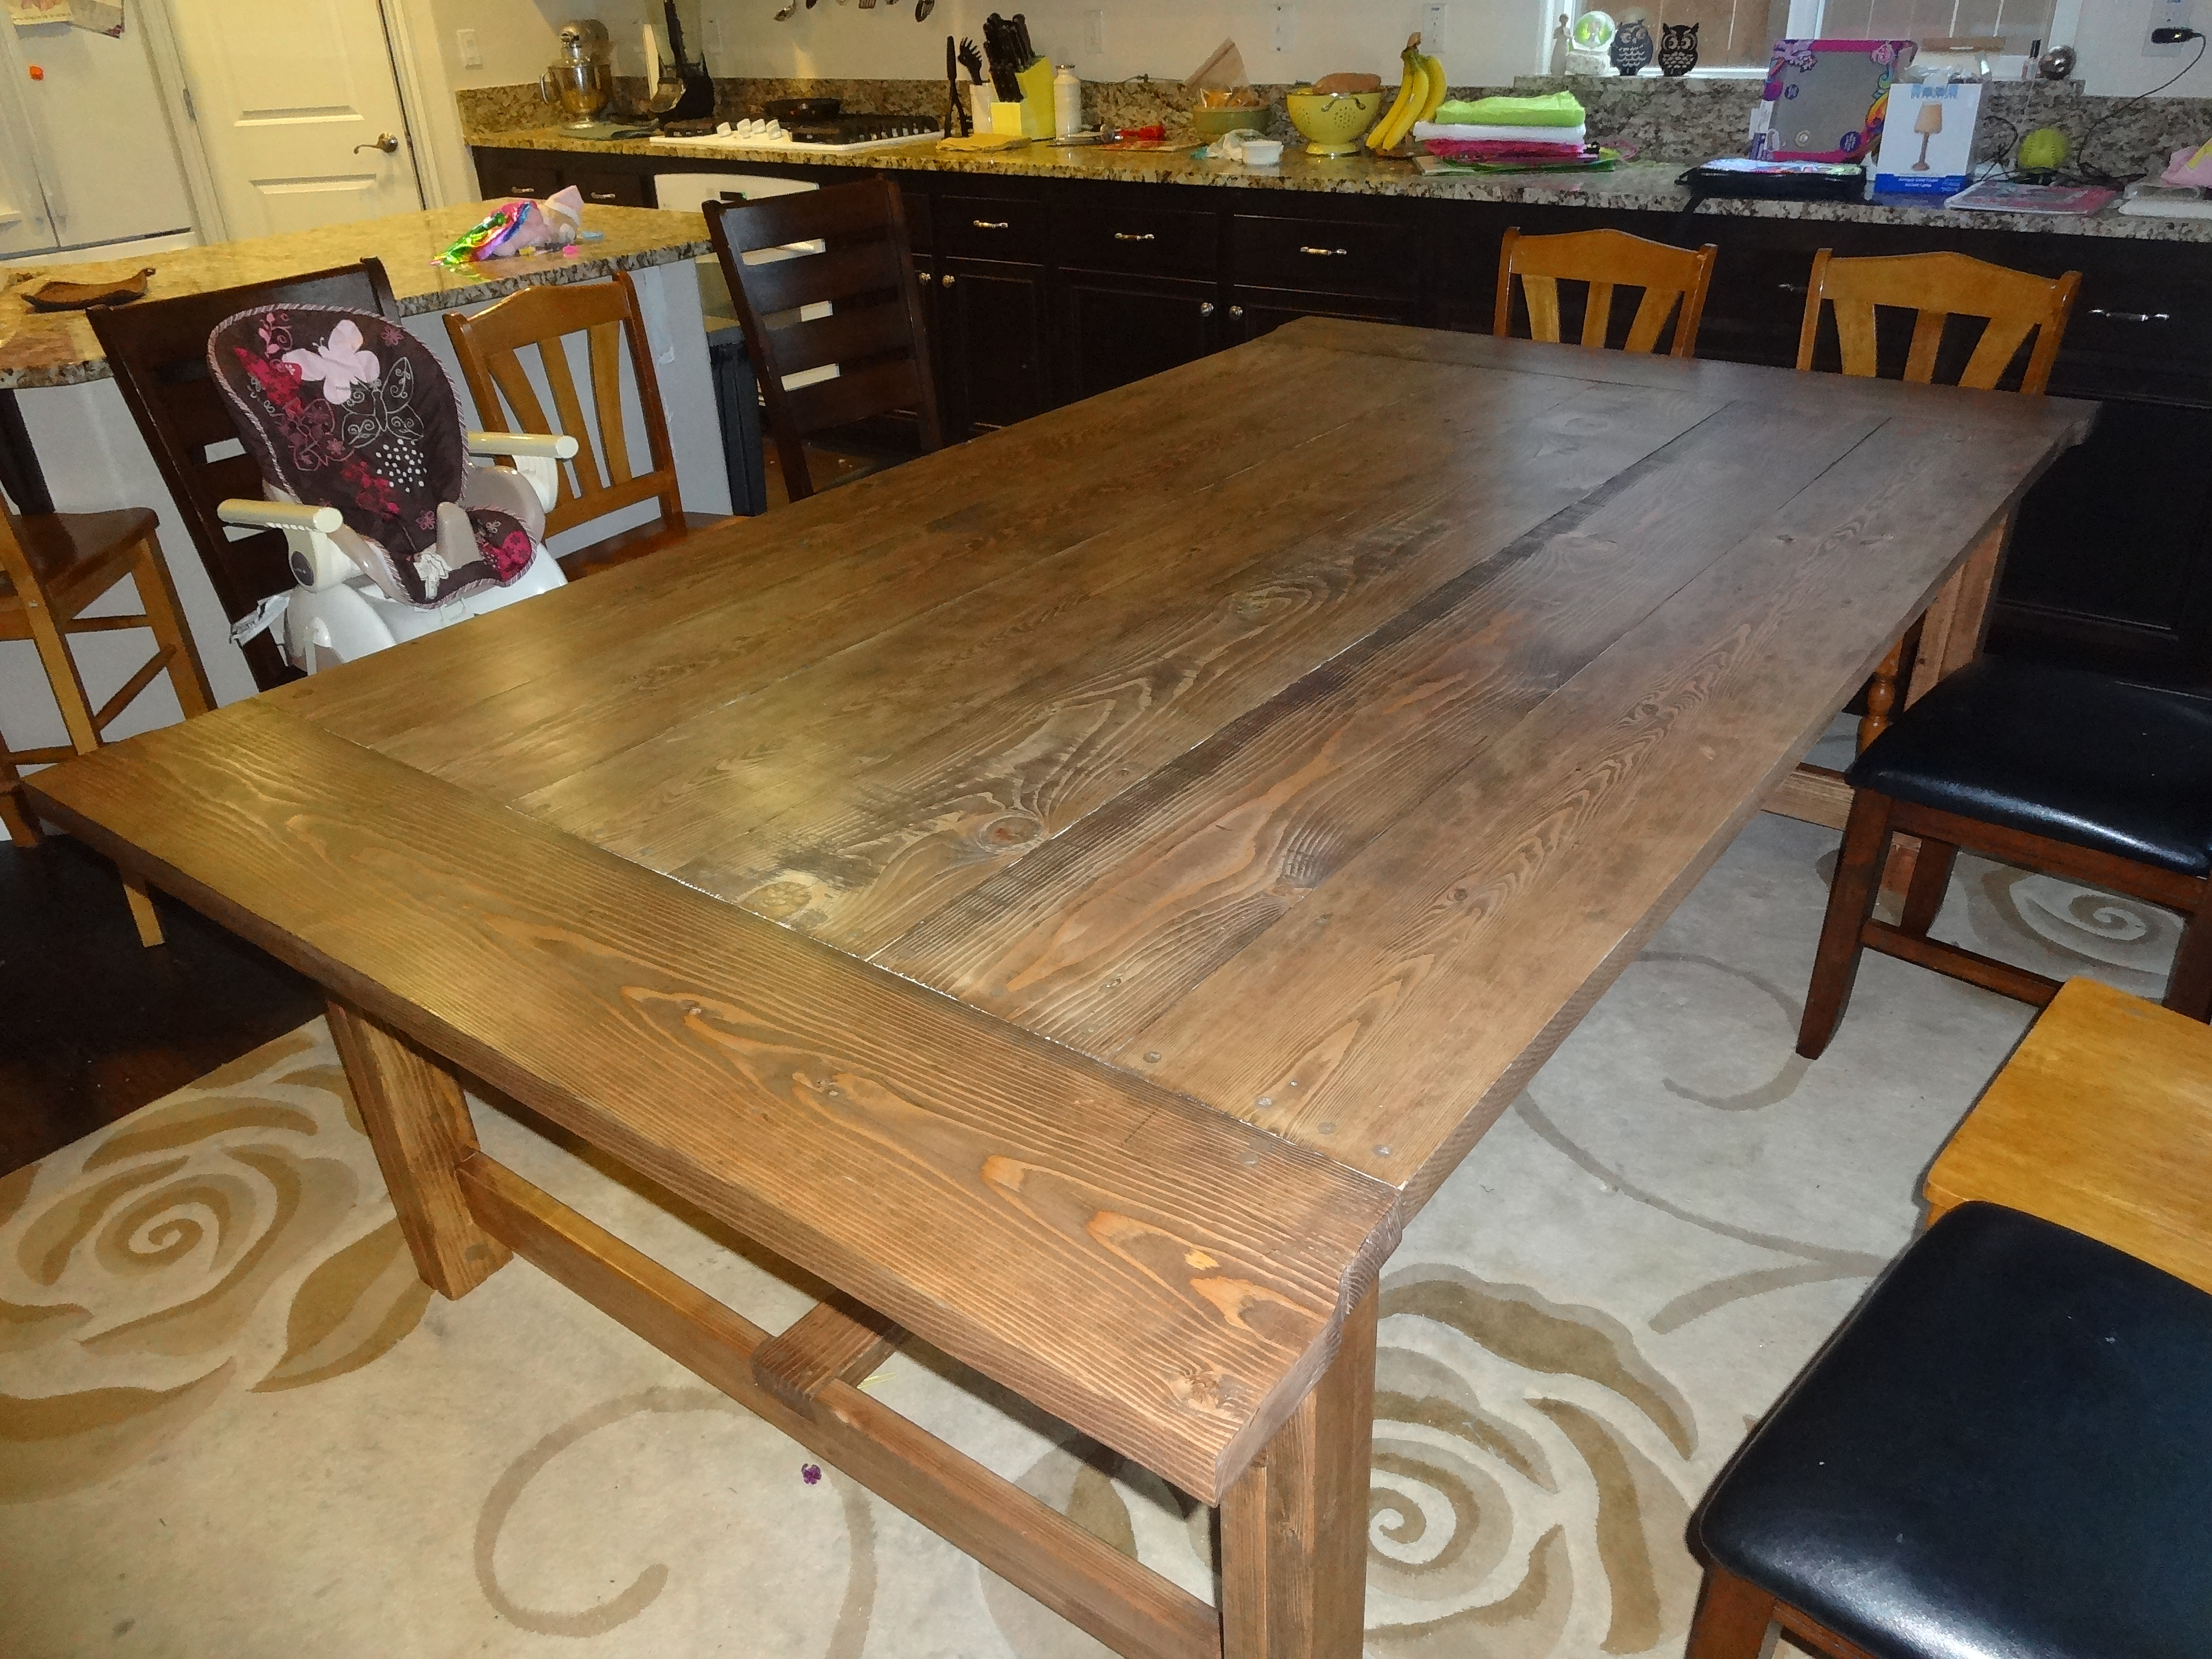
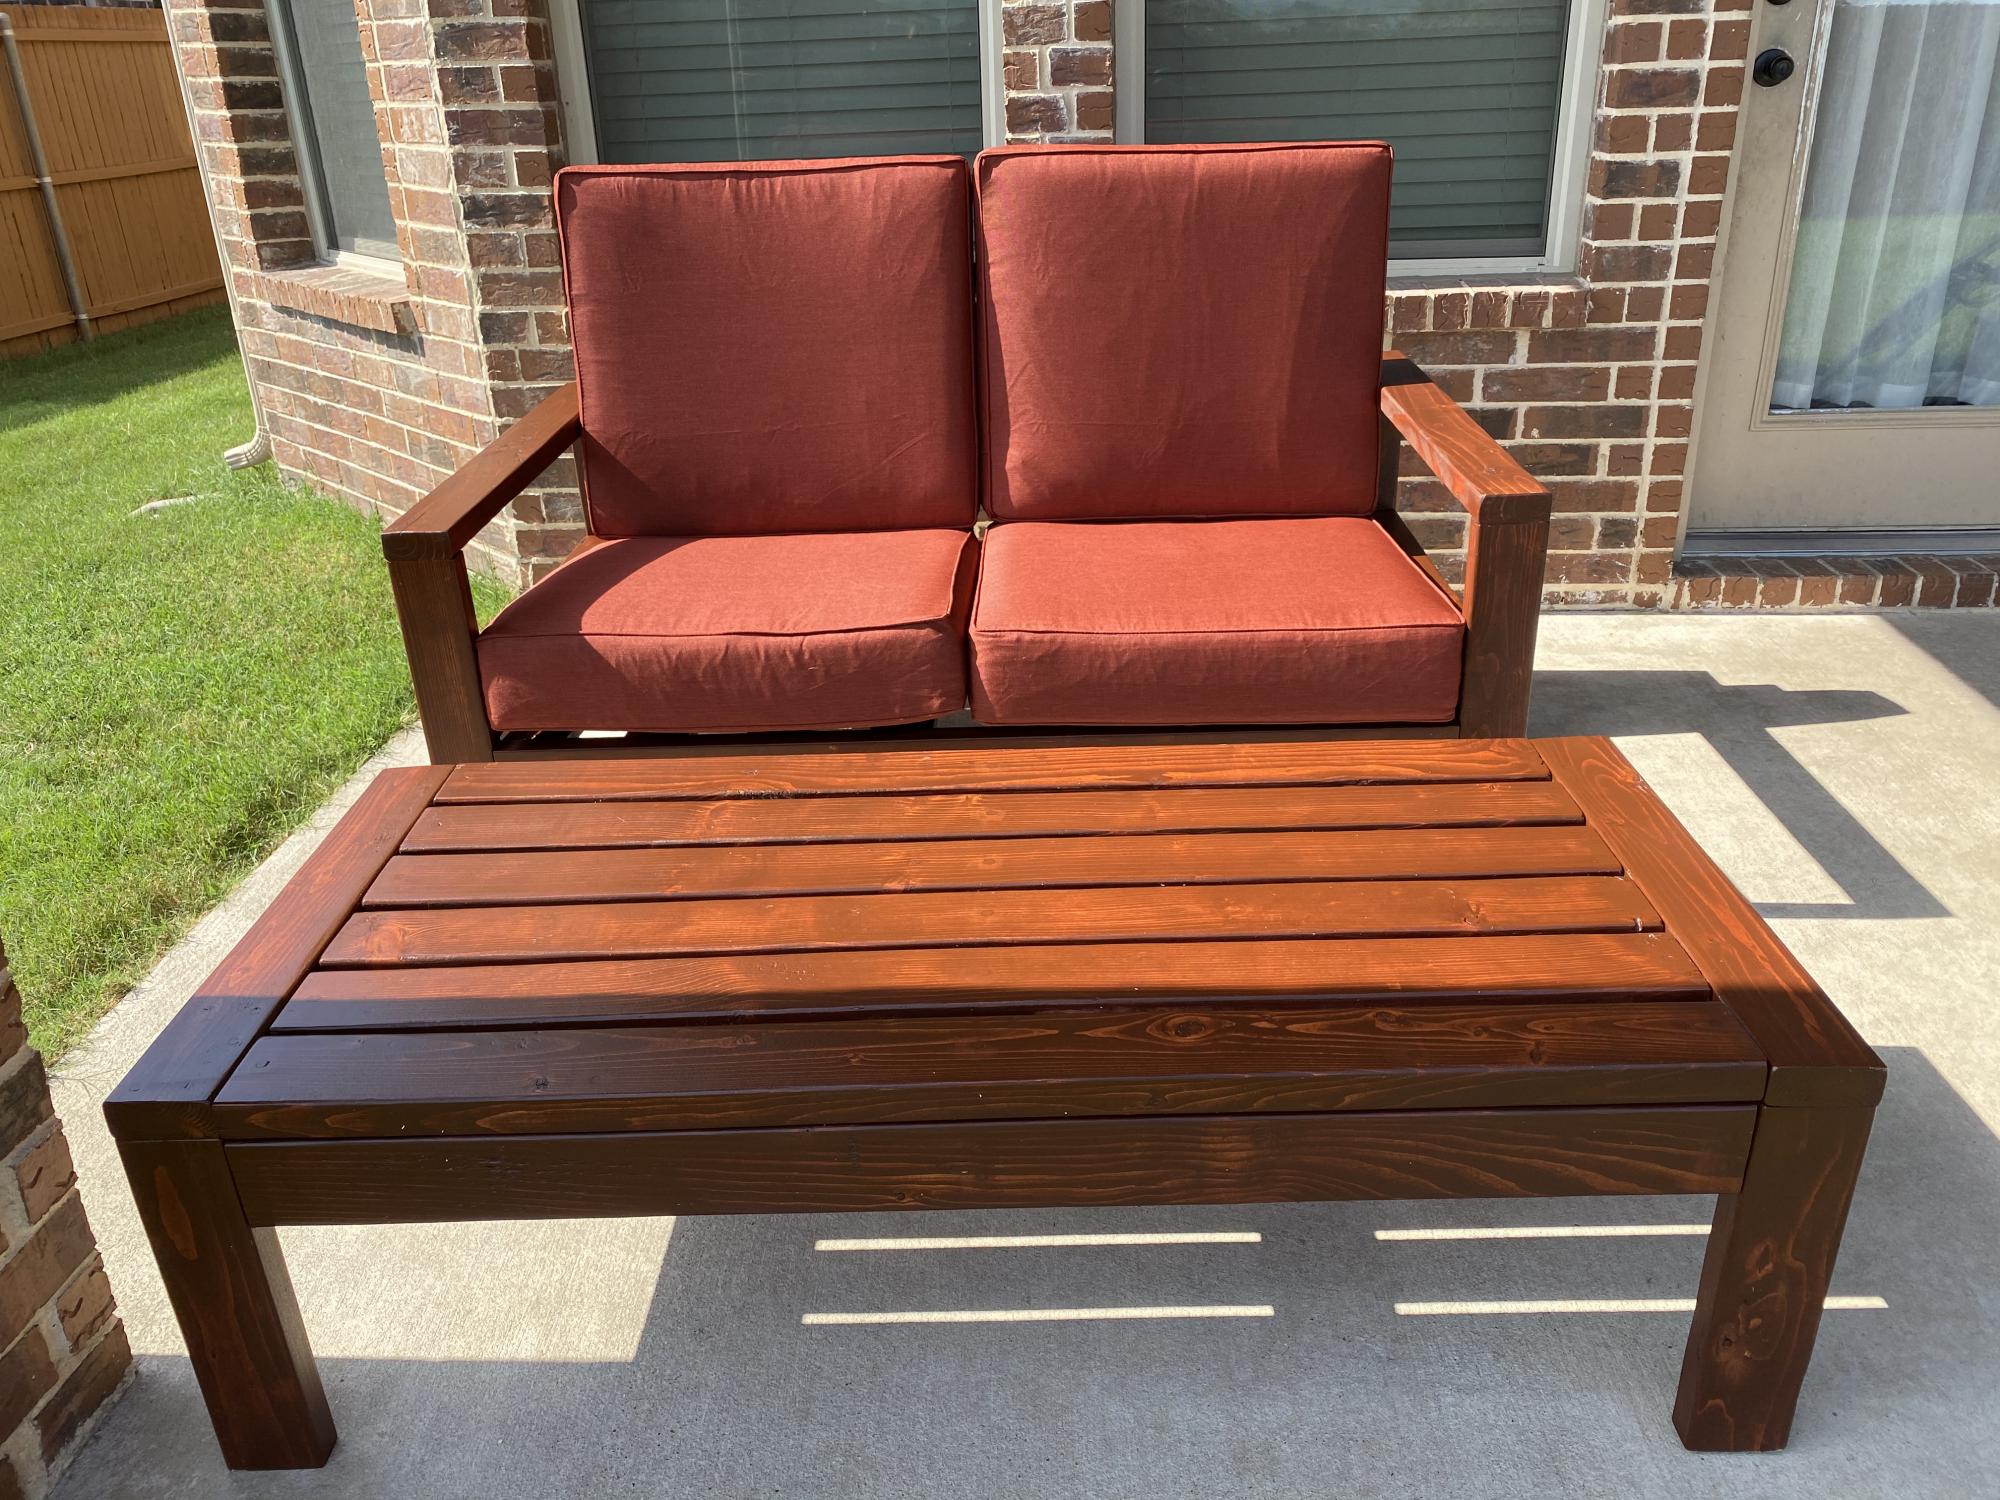
To fit the whole family
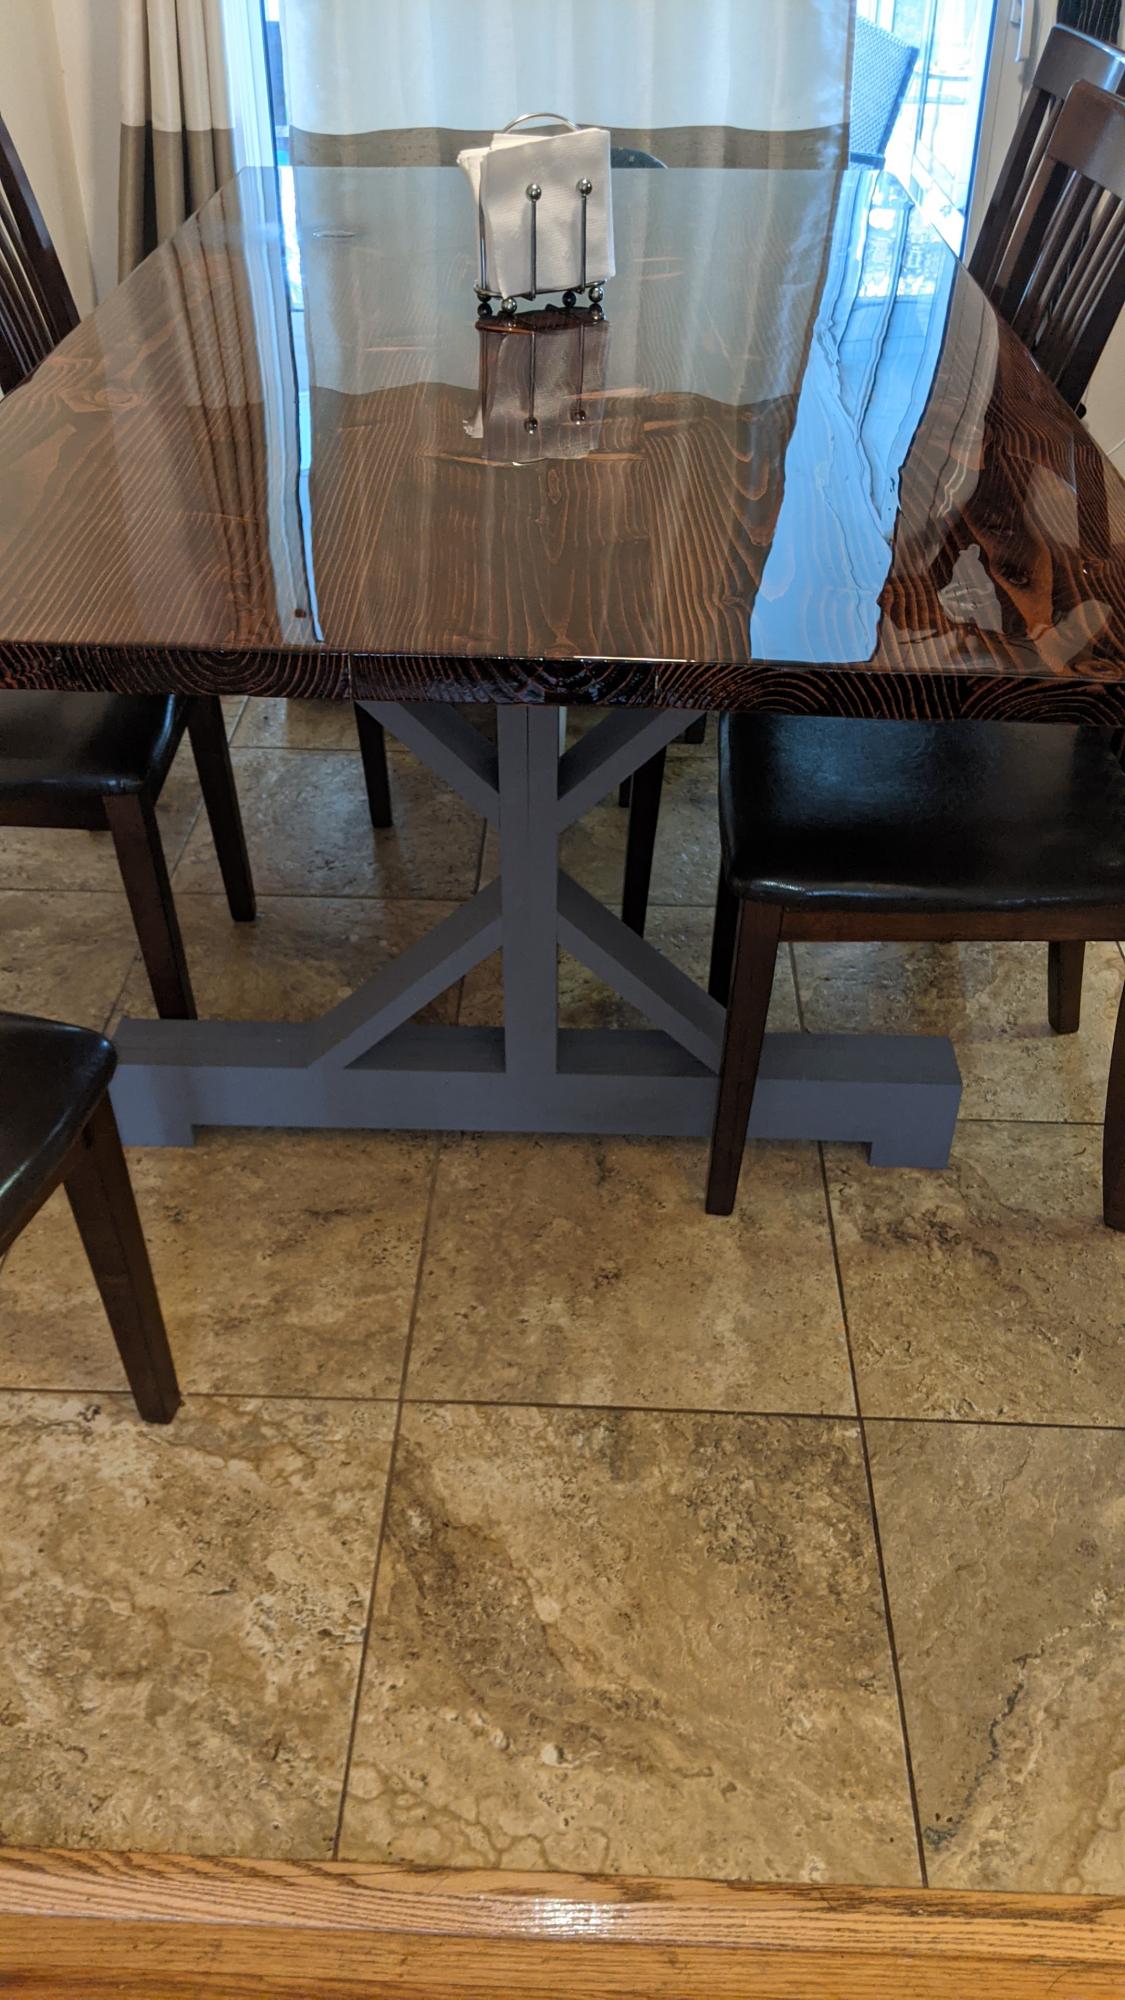
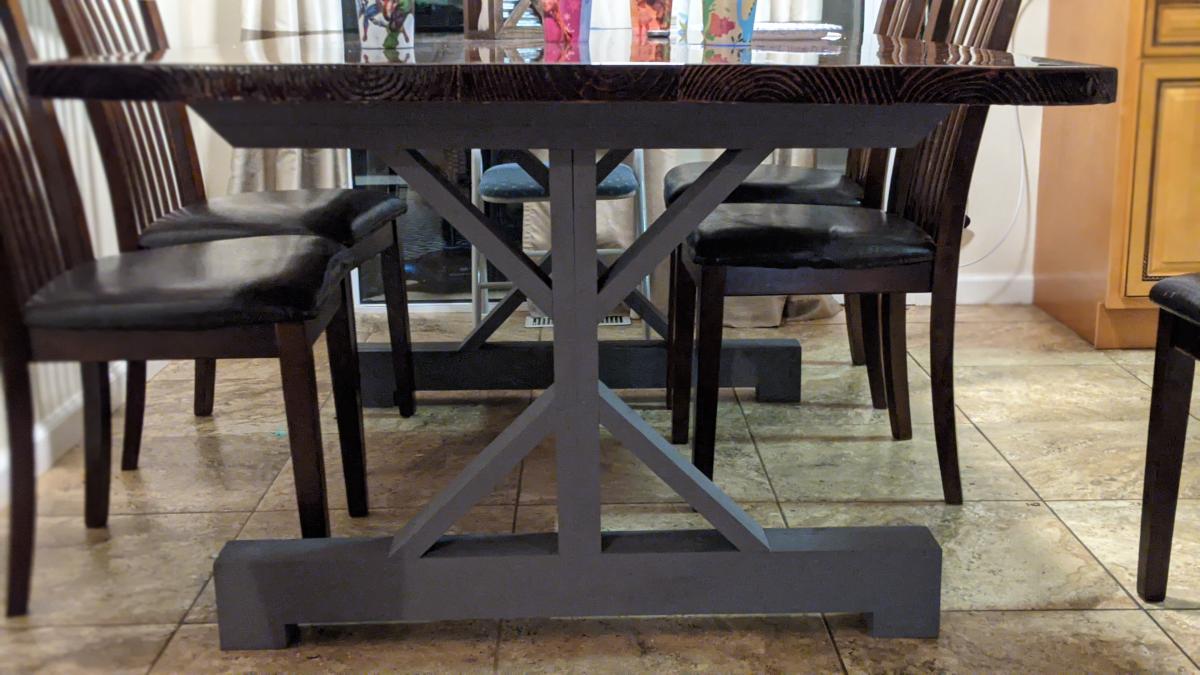
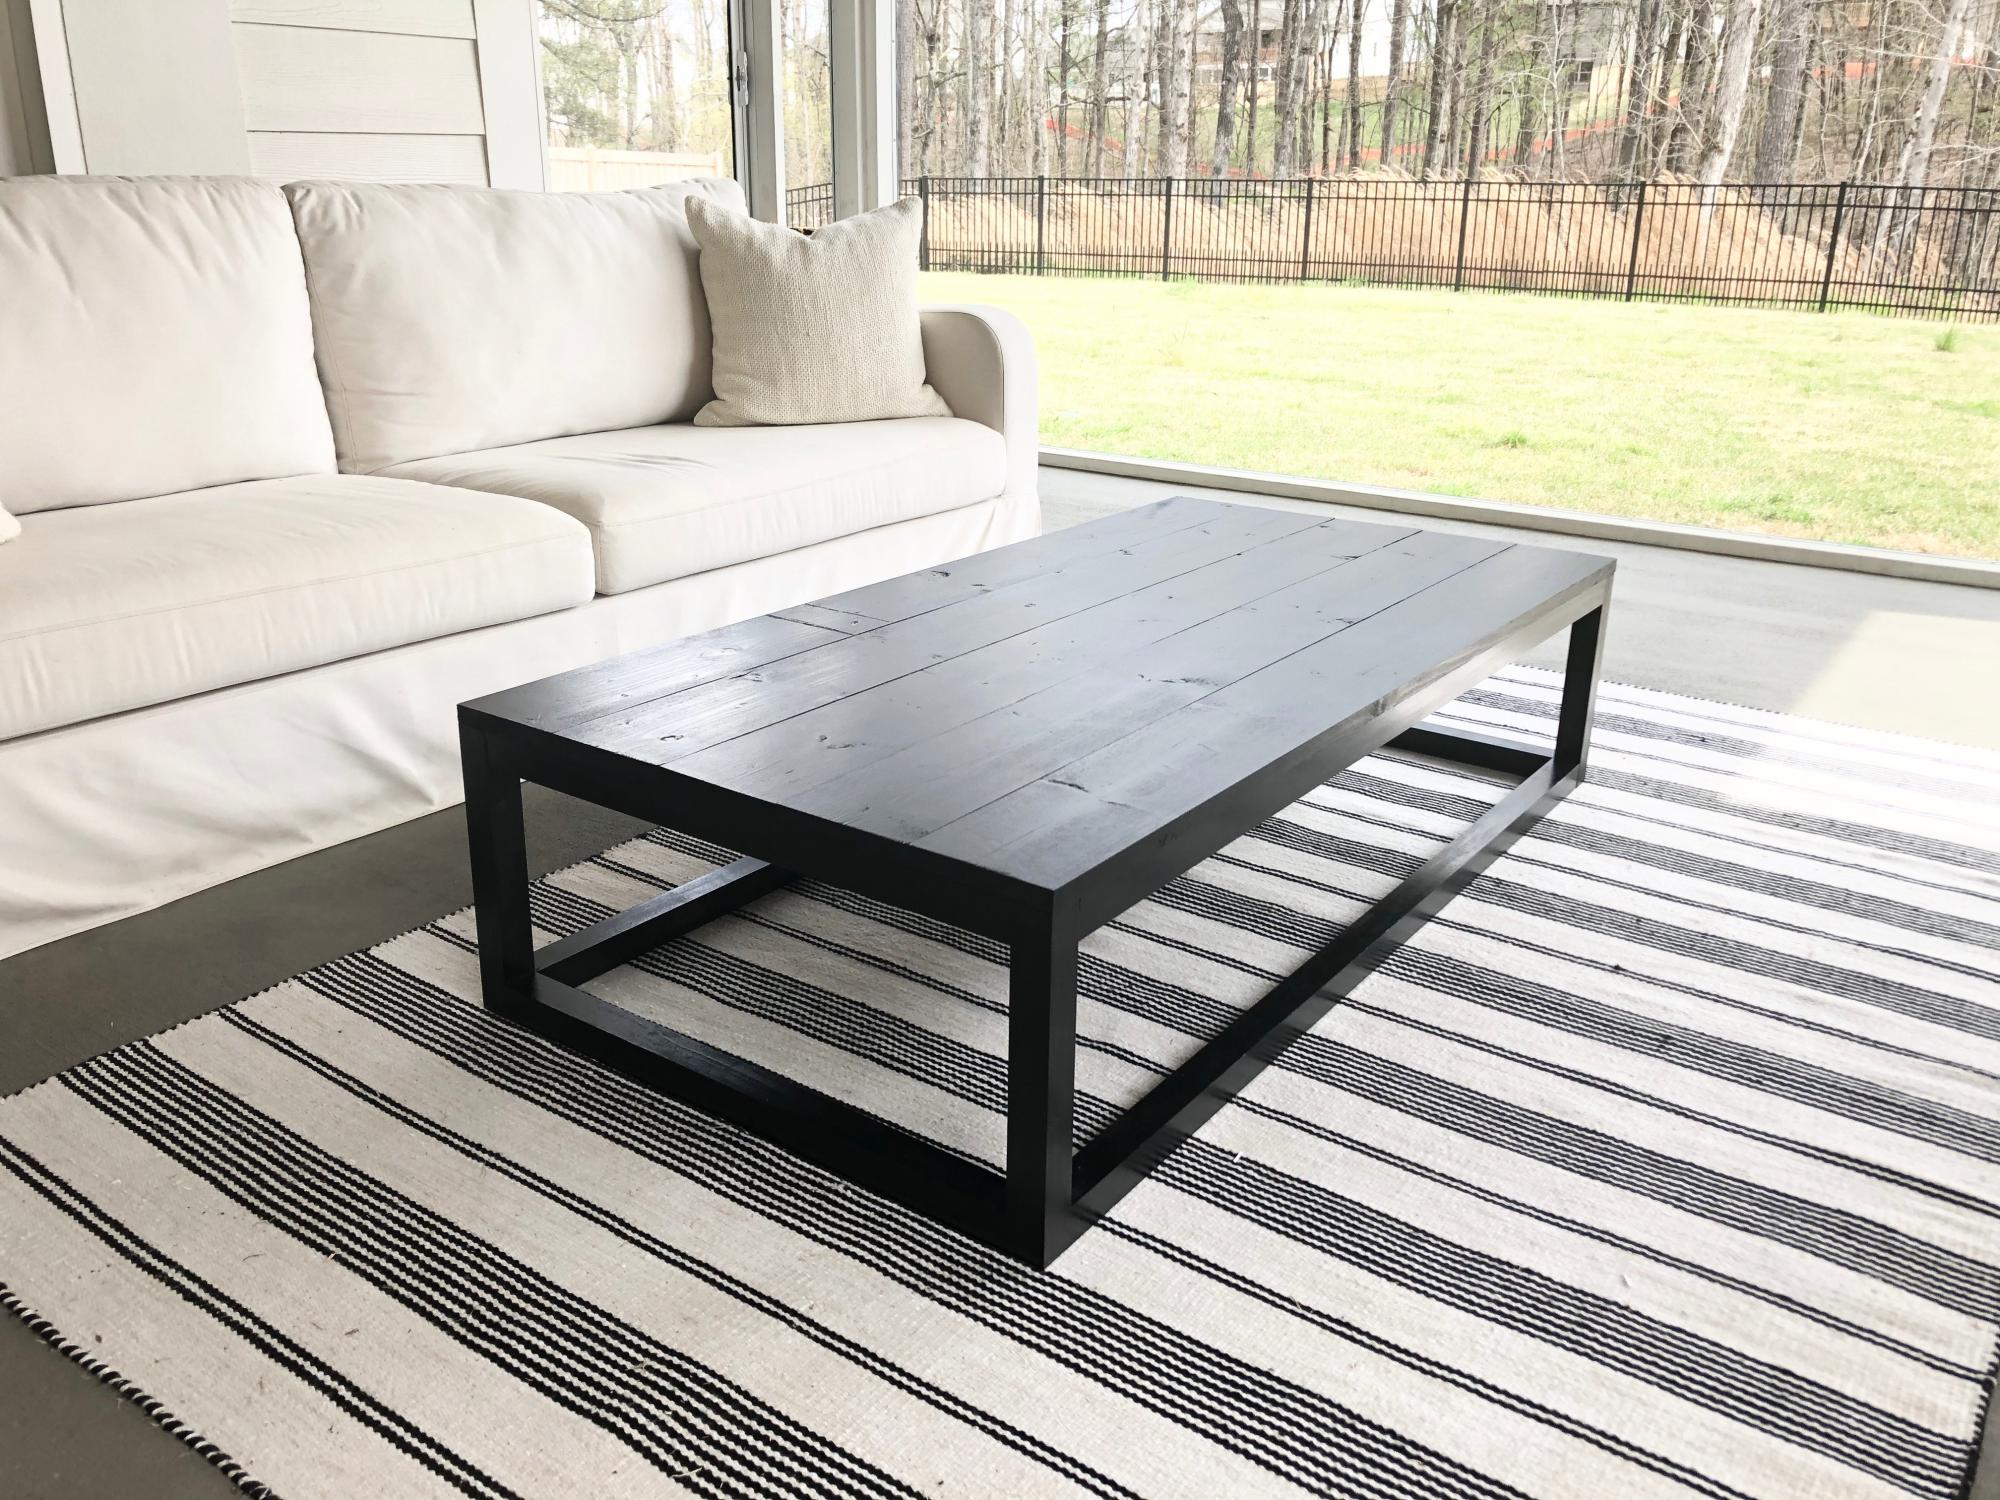
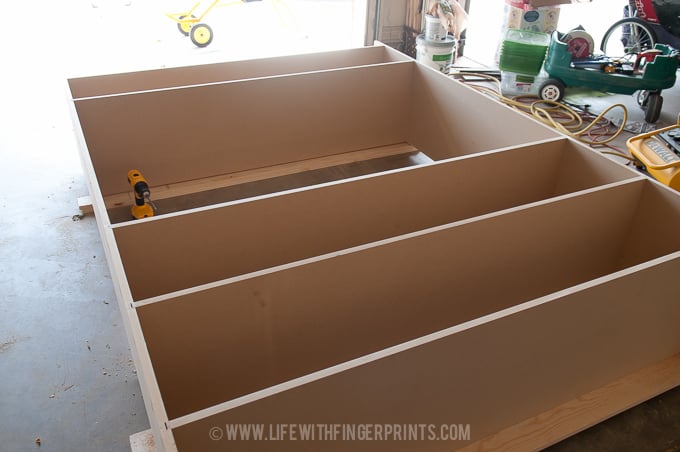
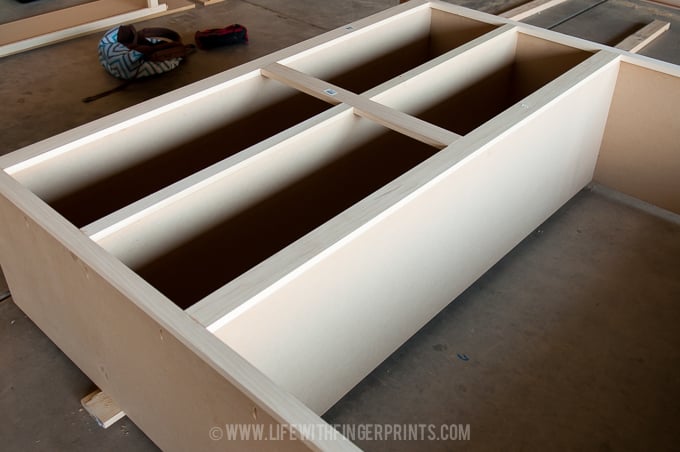
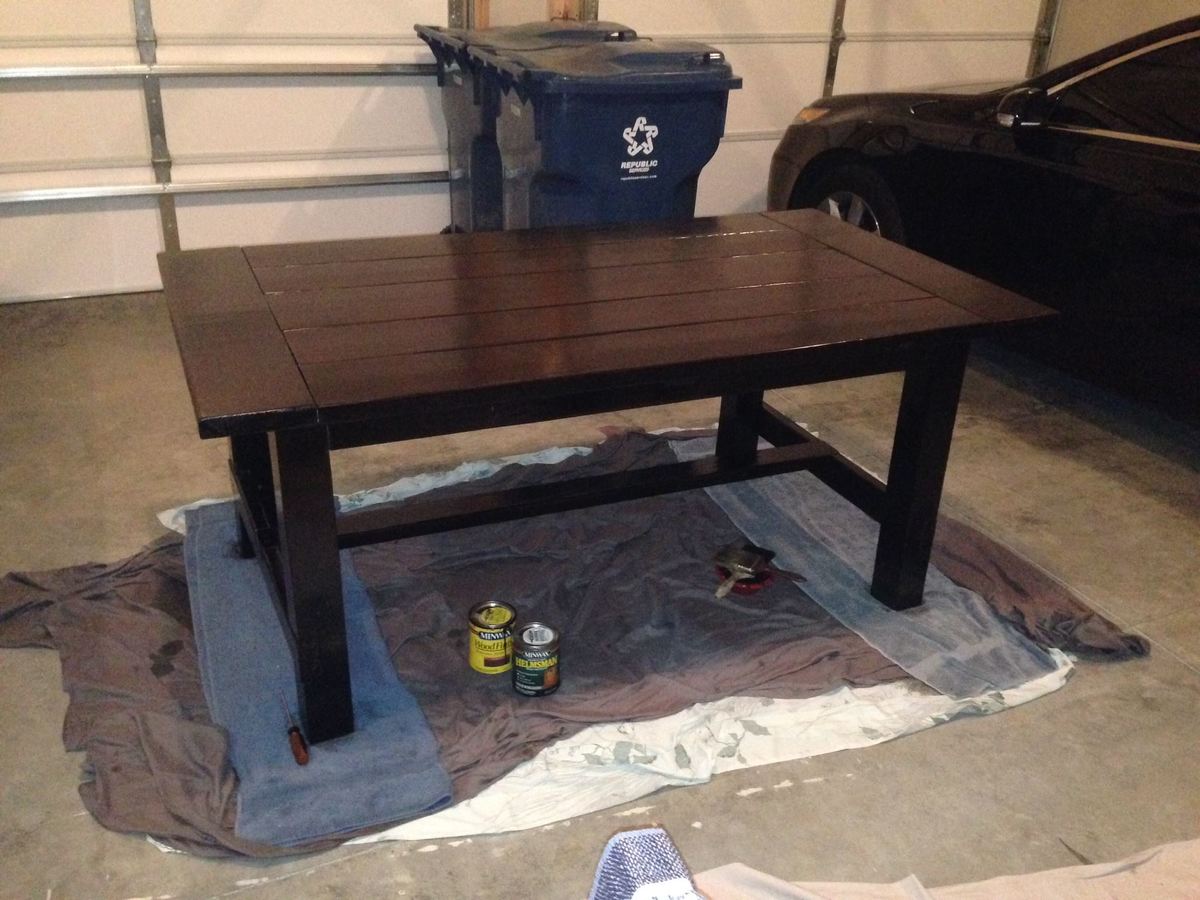
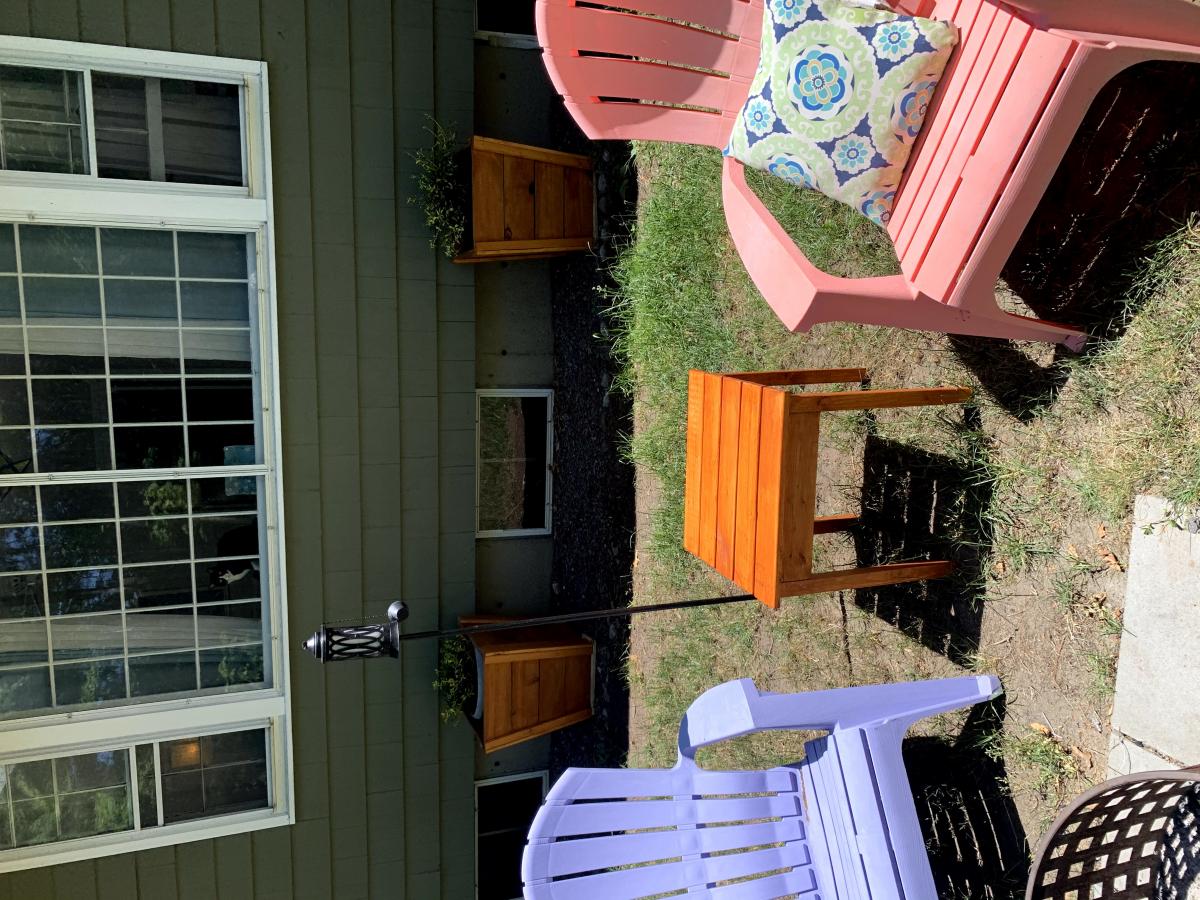
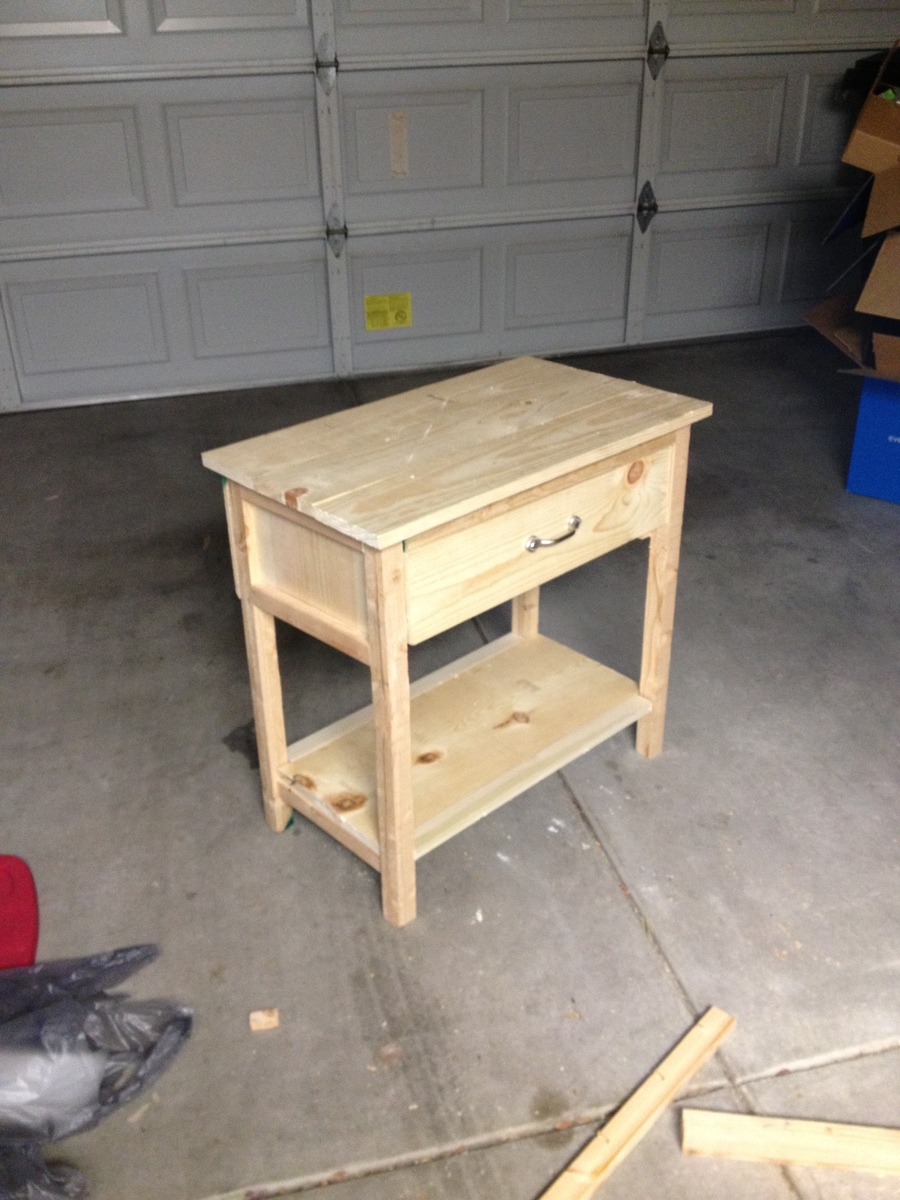
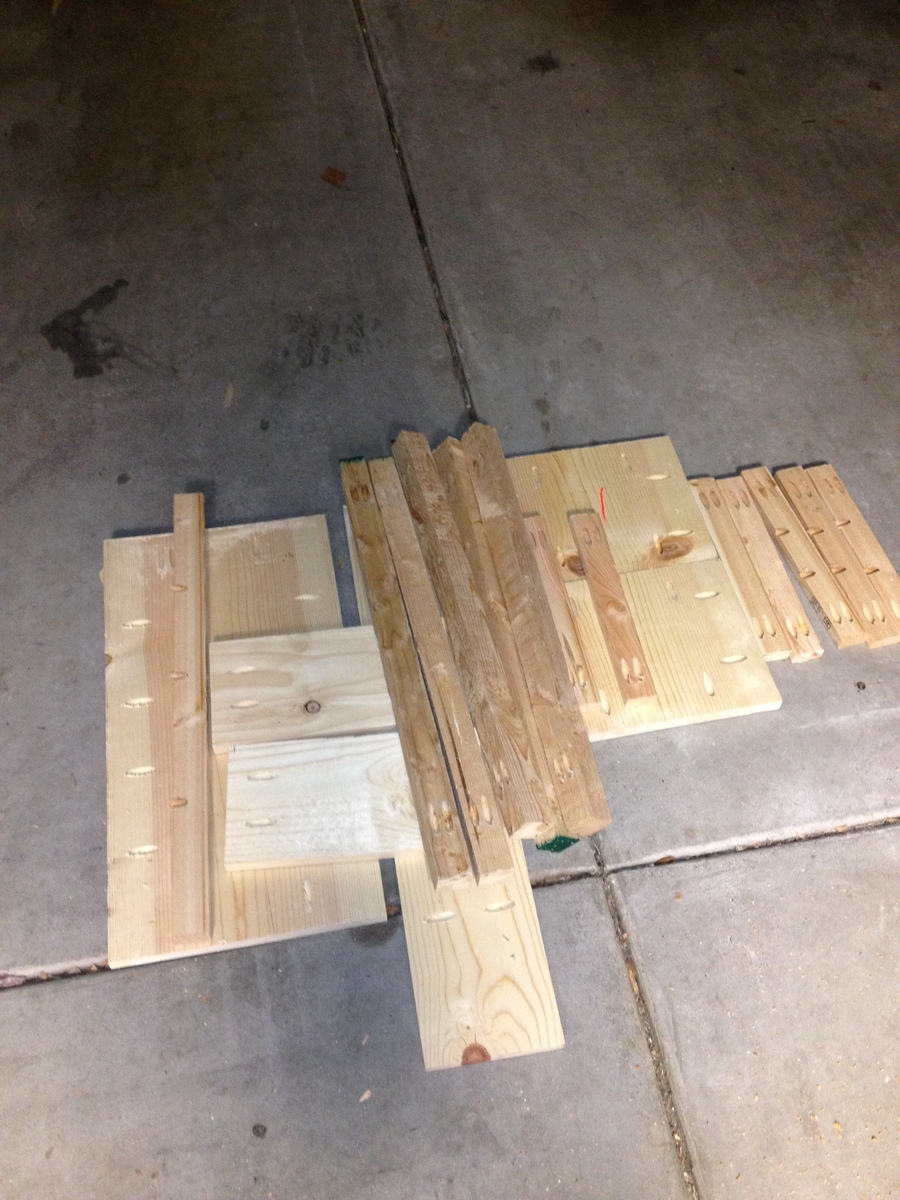
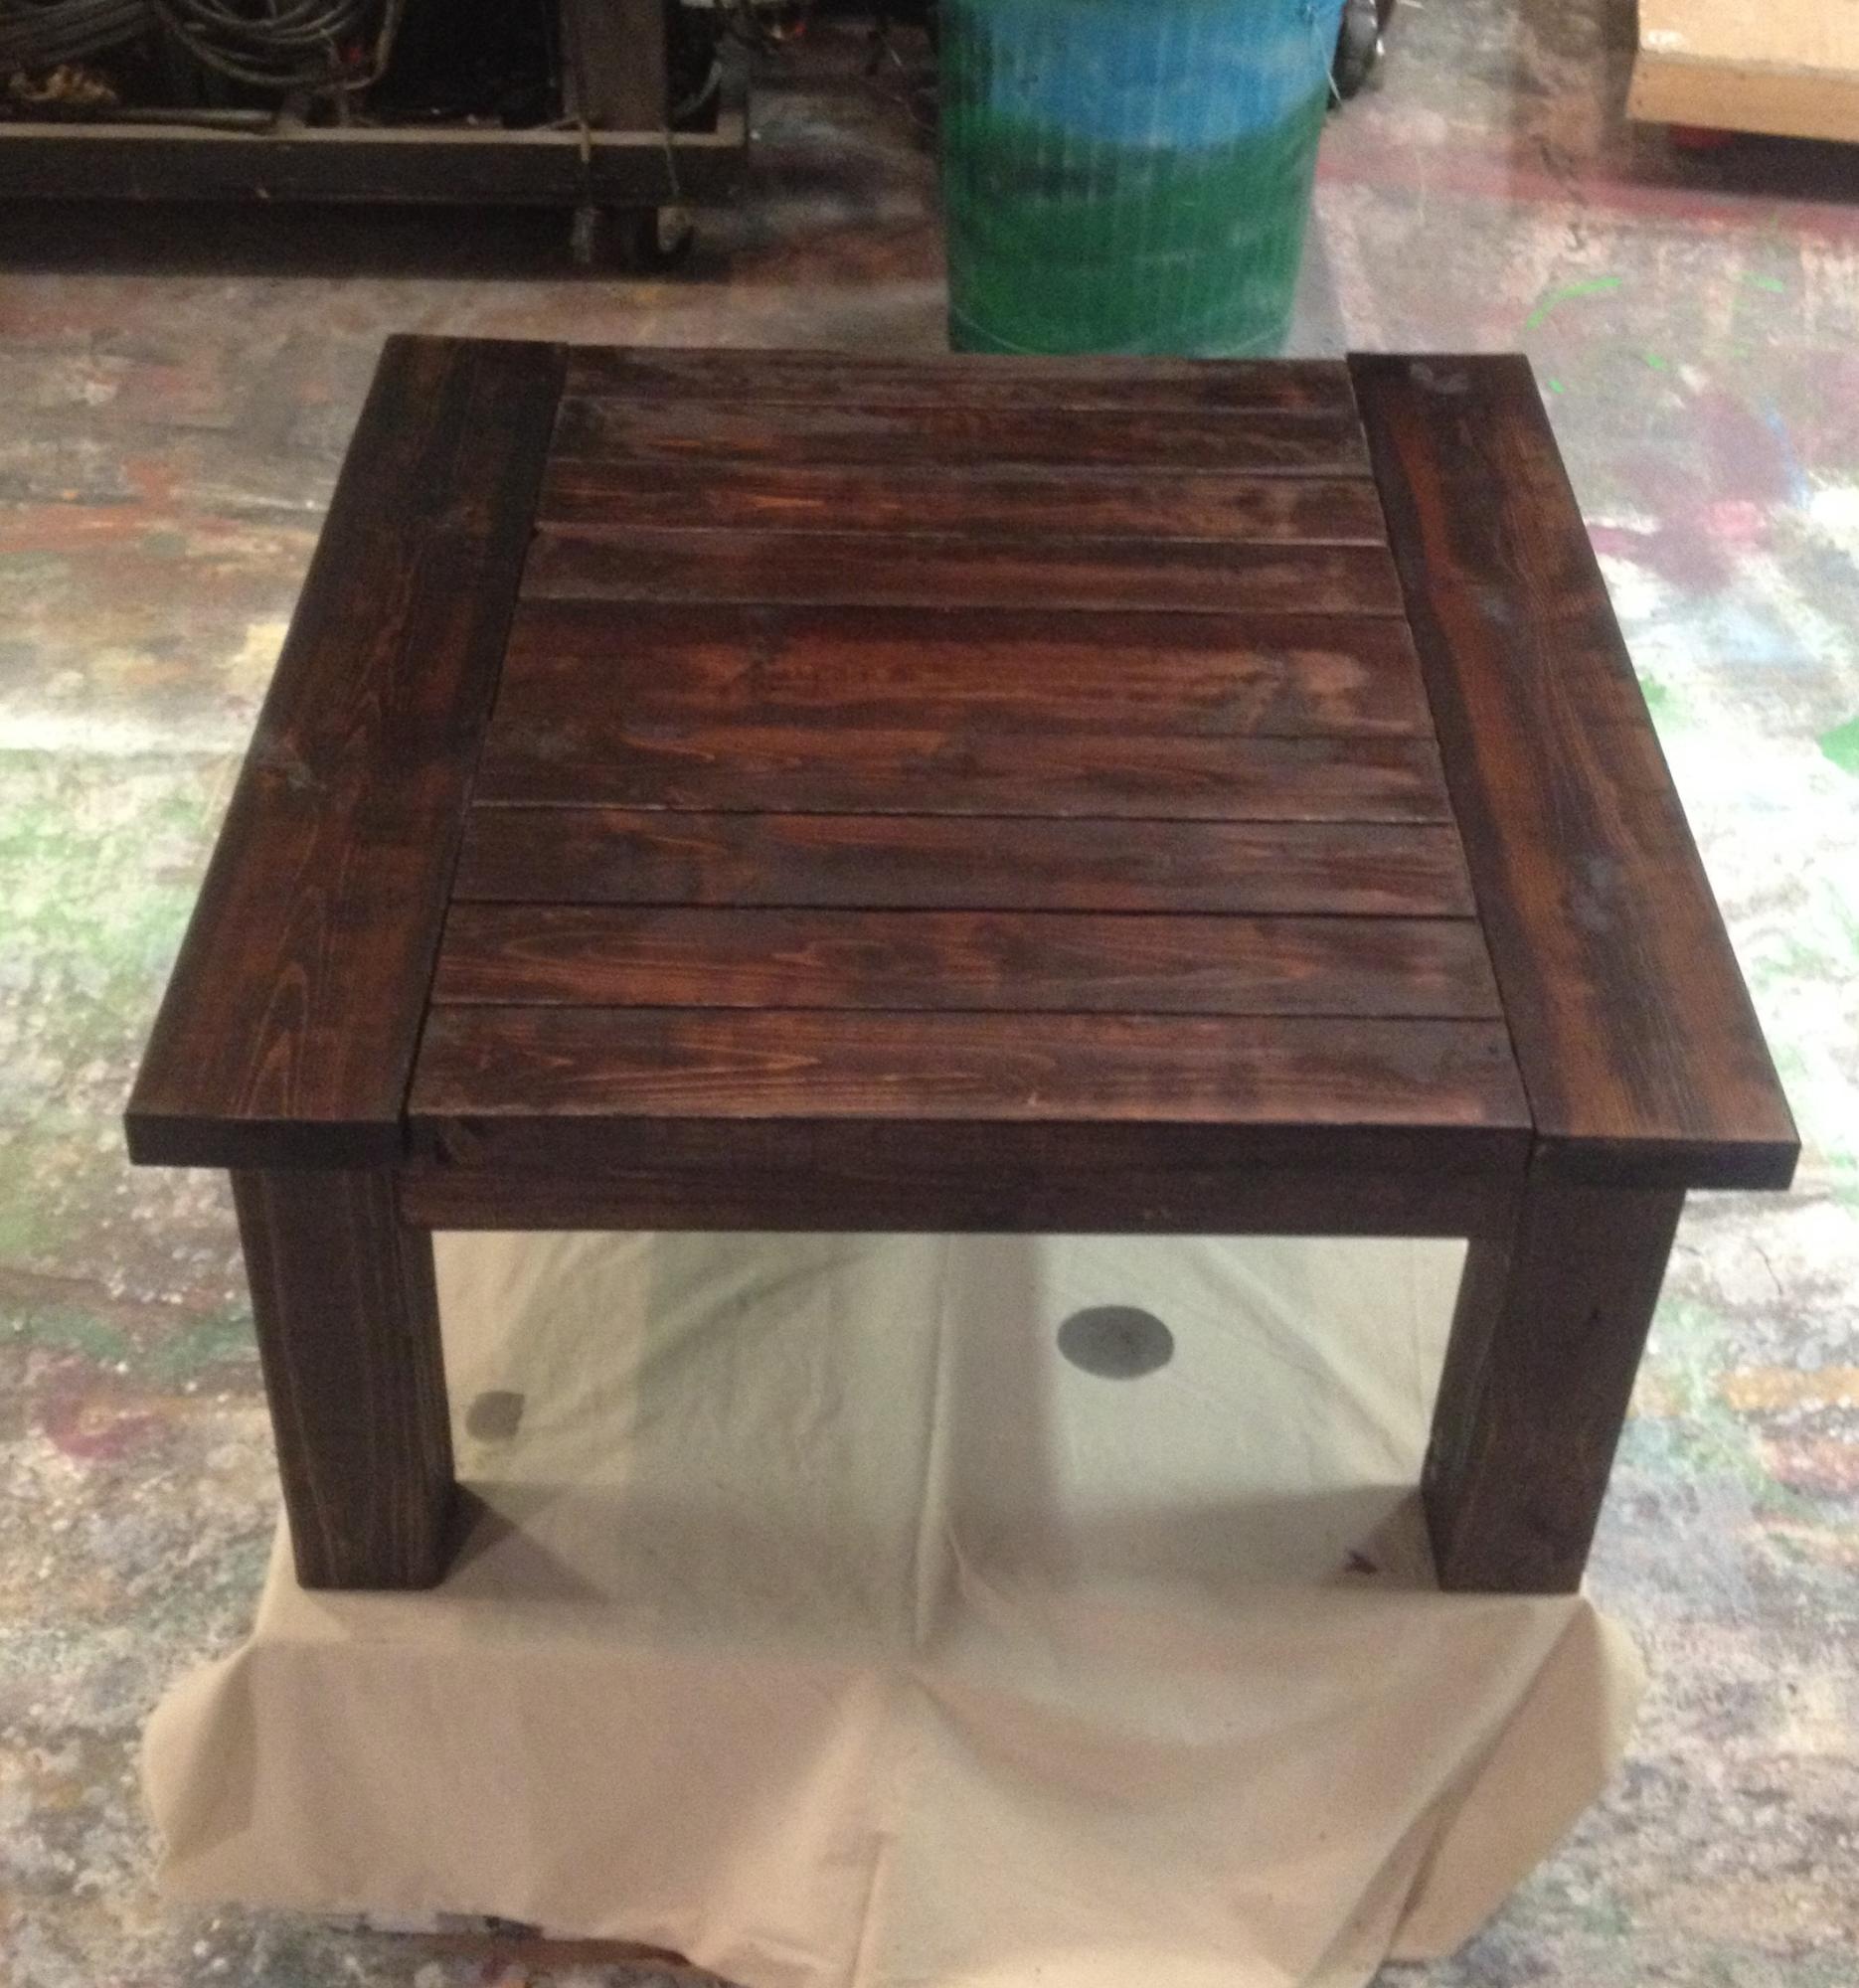
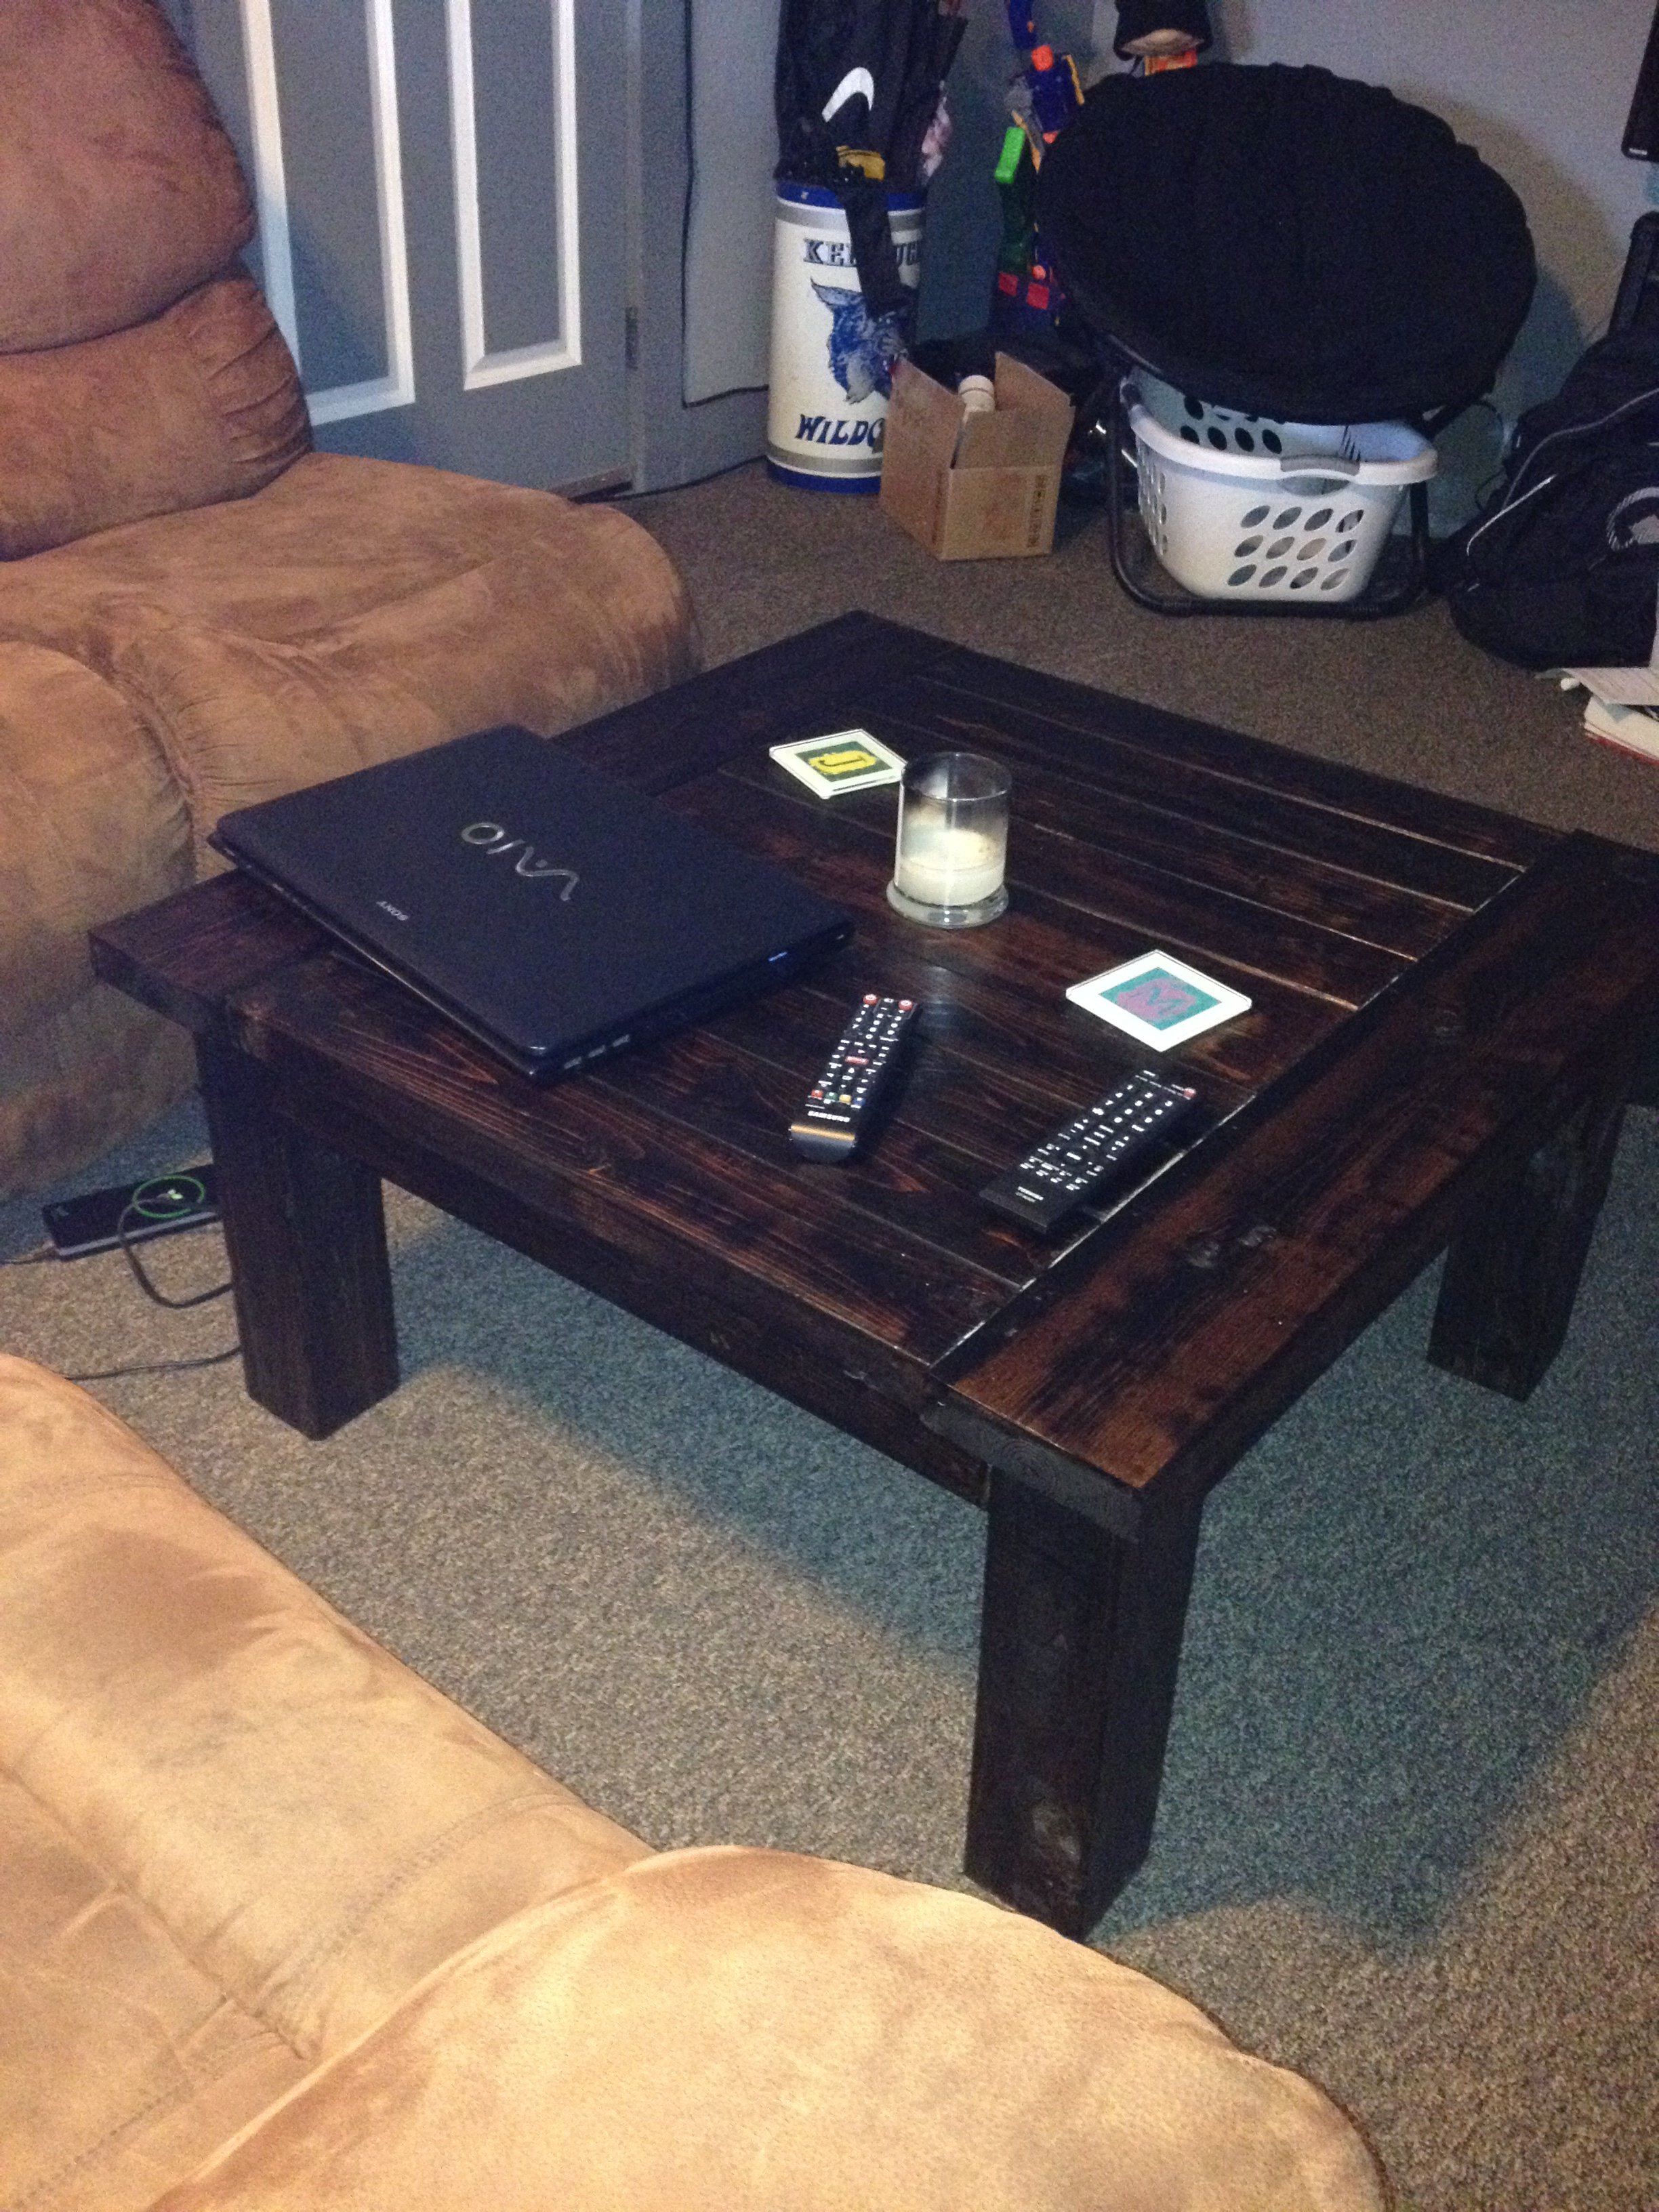
First table build. Took the farmhouse X and just made it for the dinner table. Took me a long time, learned a lot and bought more tools then needed. Having a little problem when the kids lean on it moves down just a touch. Any info to help that much appreciated.
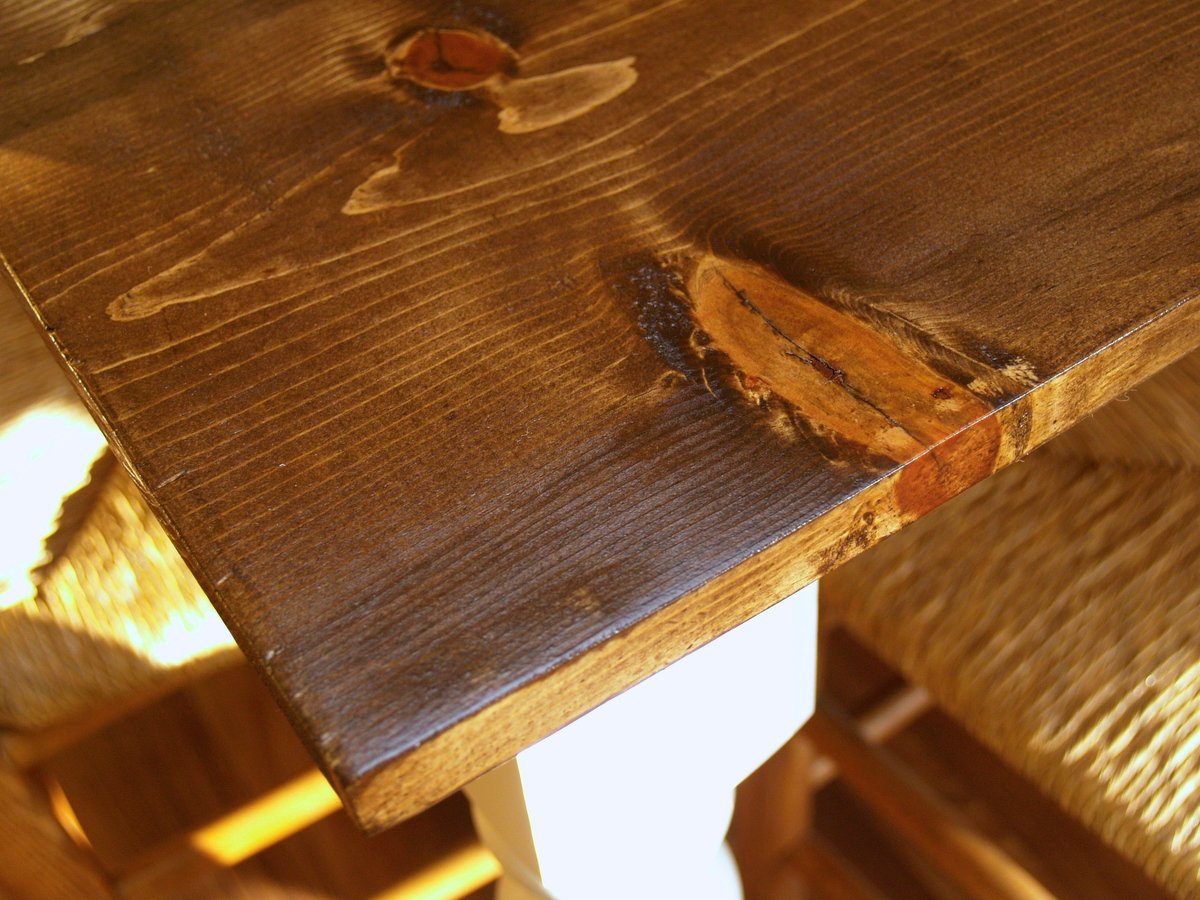
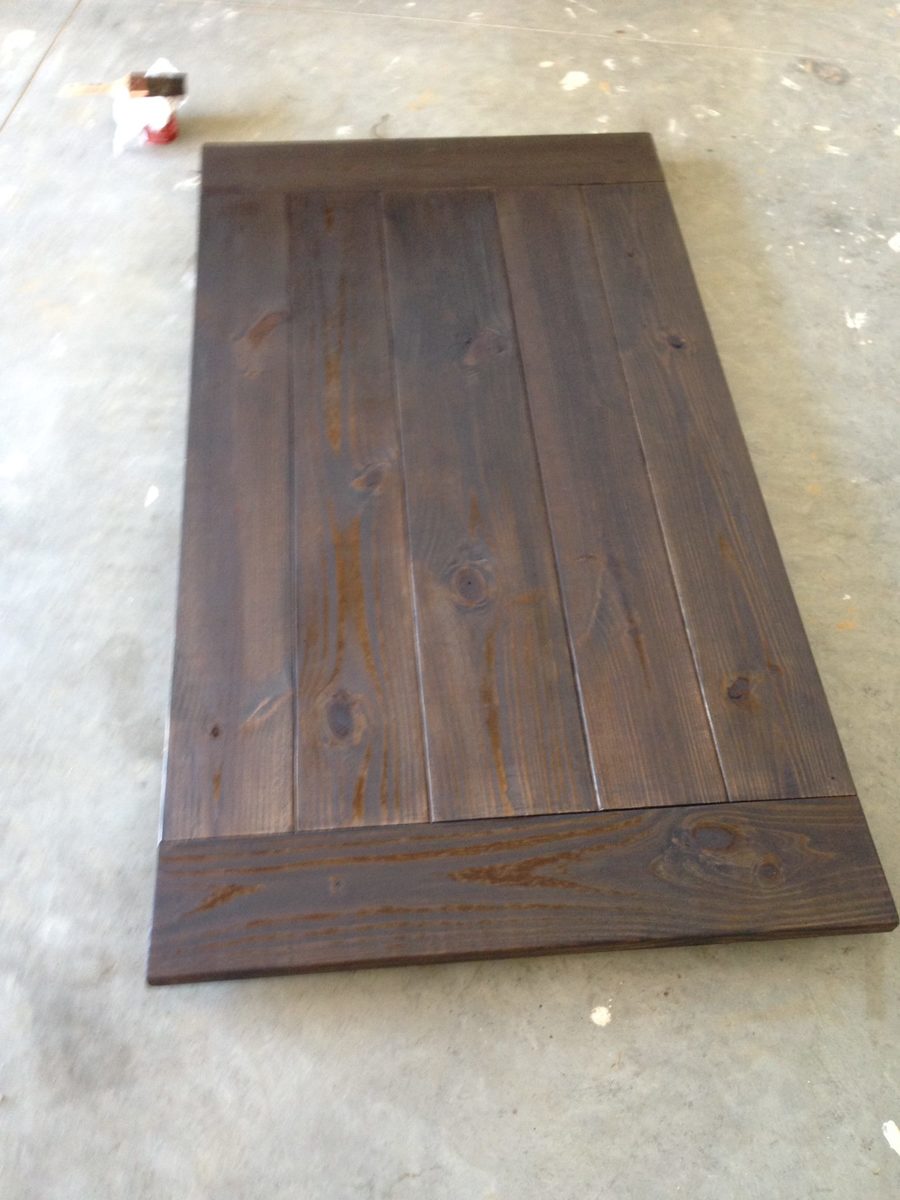
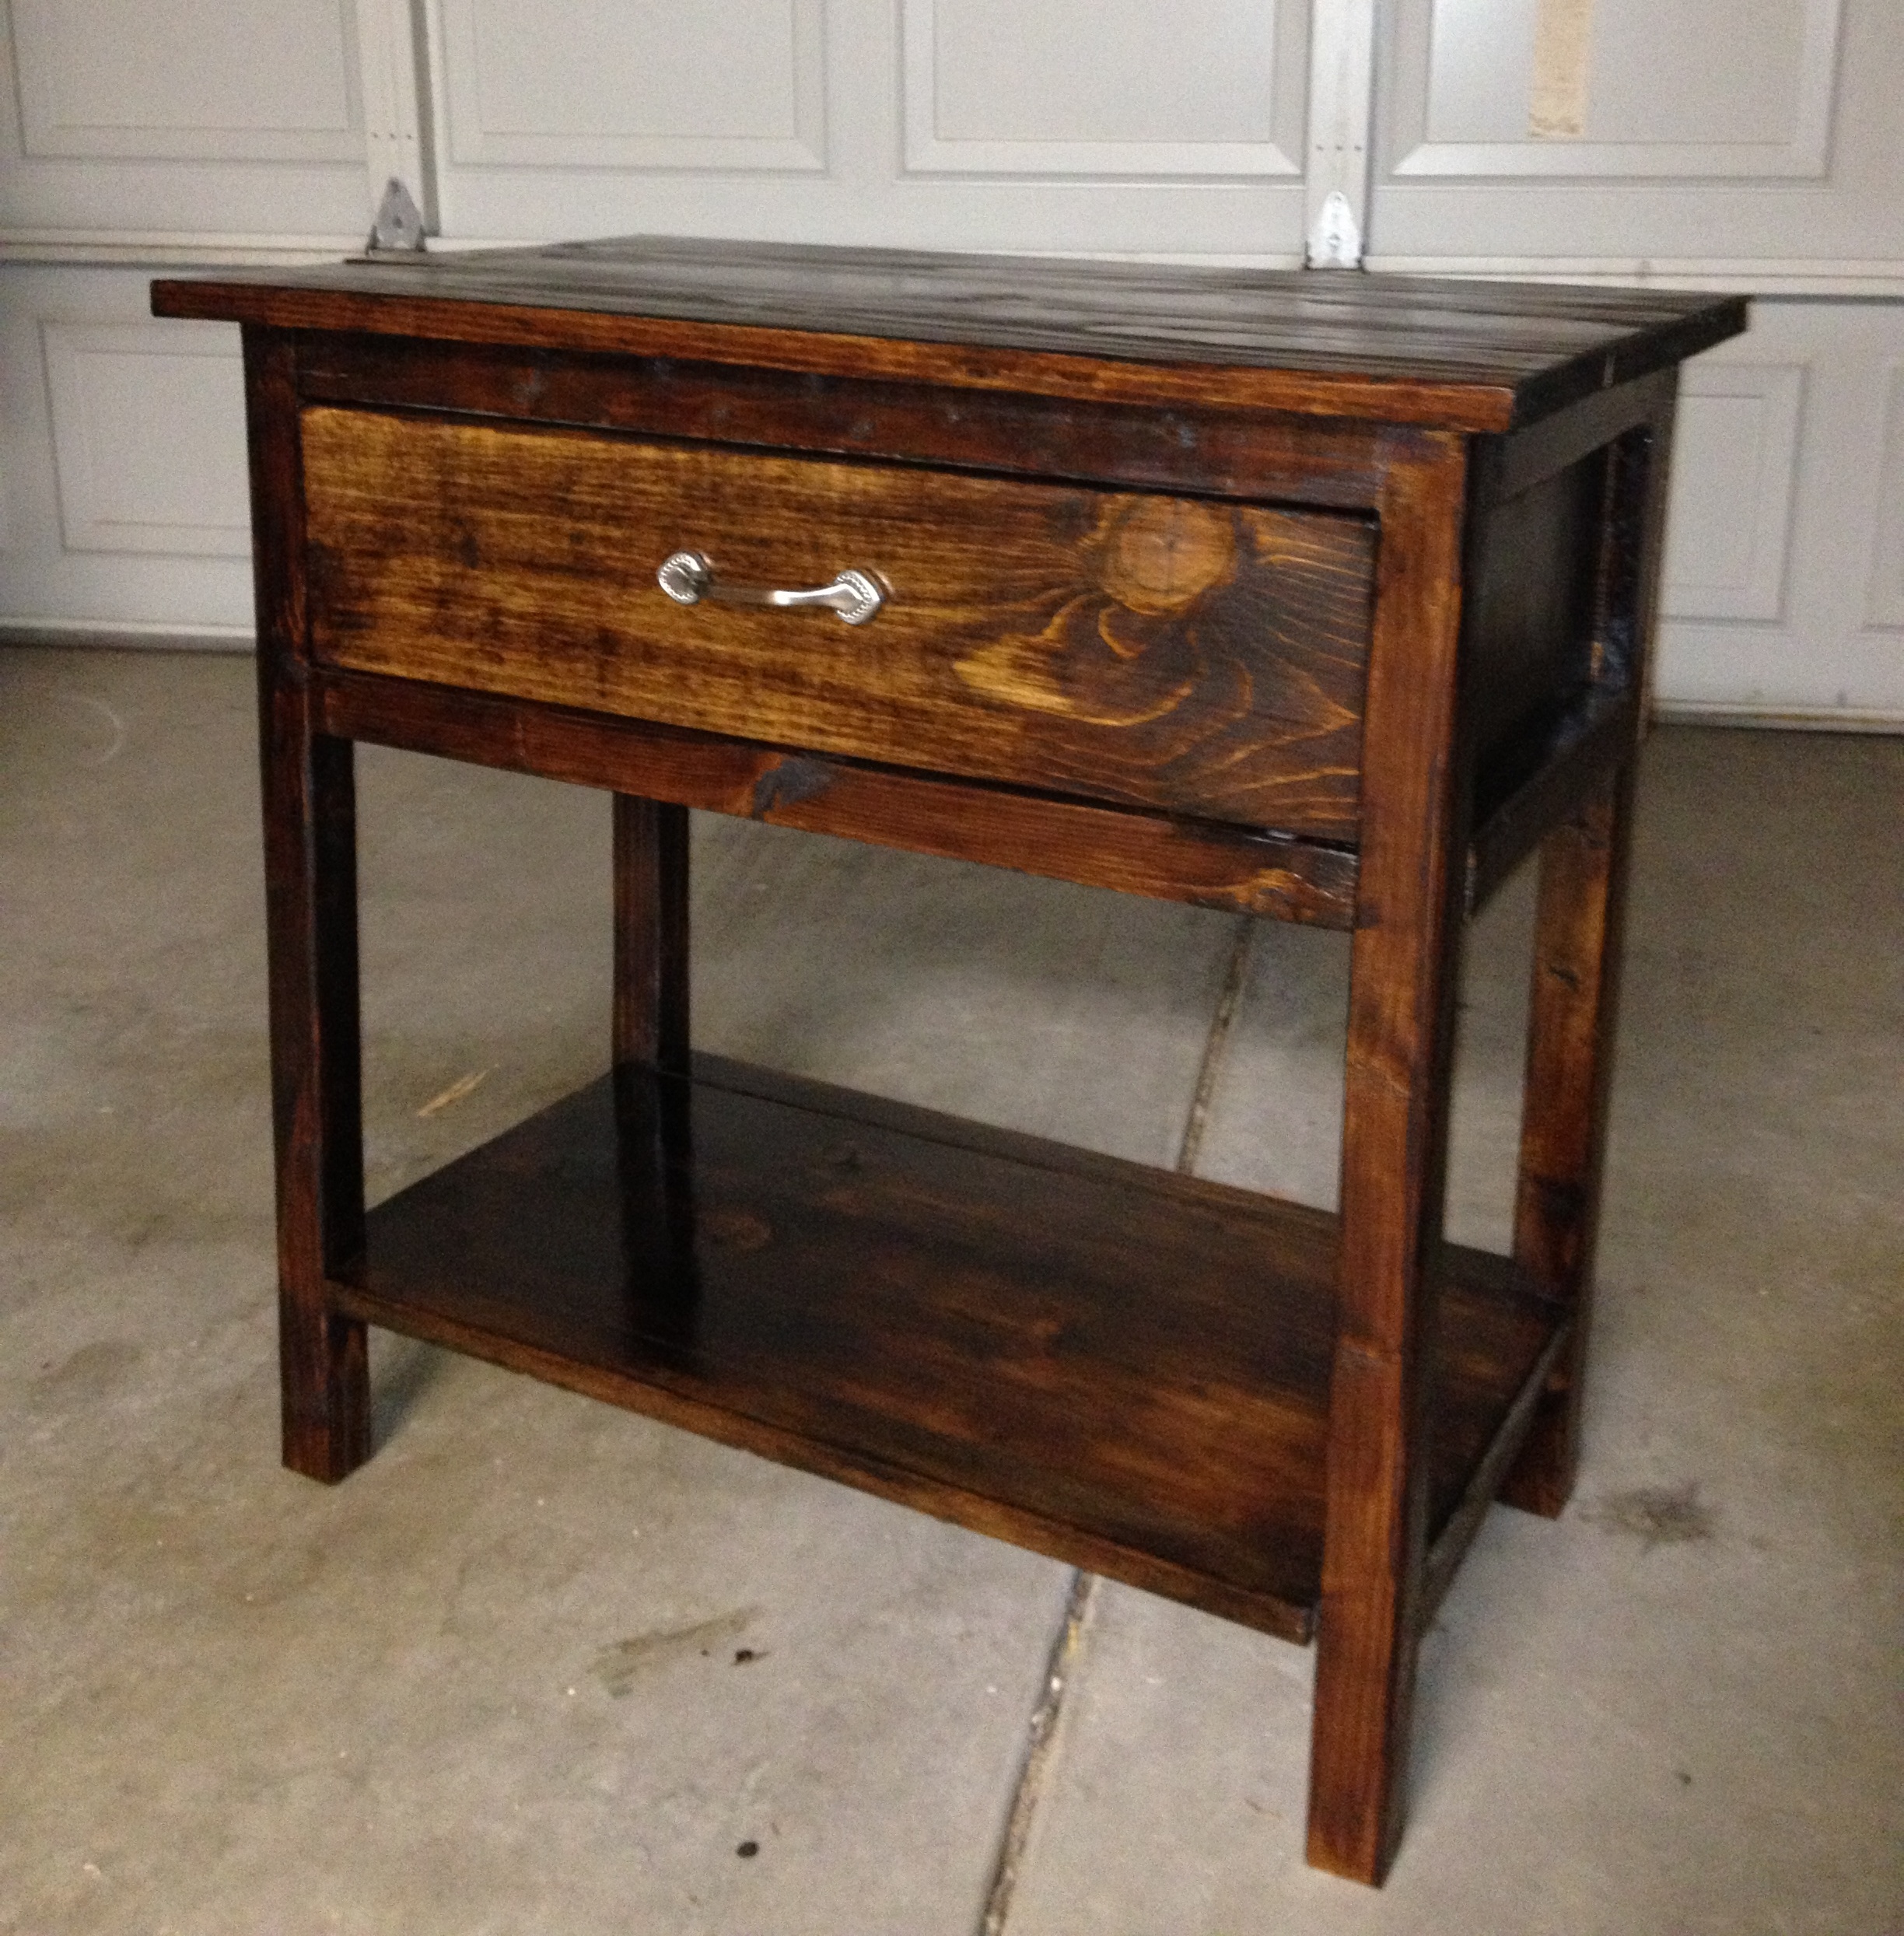
Used red mahogany for stain and glaze coat for top. First time for epoxy also. Legs are cracked slate.

Built from Plan(s)
Finish Used
Glazed coat


Comments
Ana White Admin
Tue, 11/03/2020 - 12:35
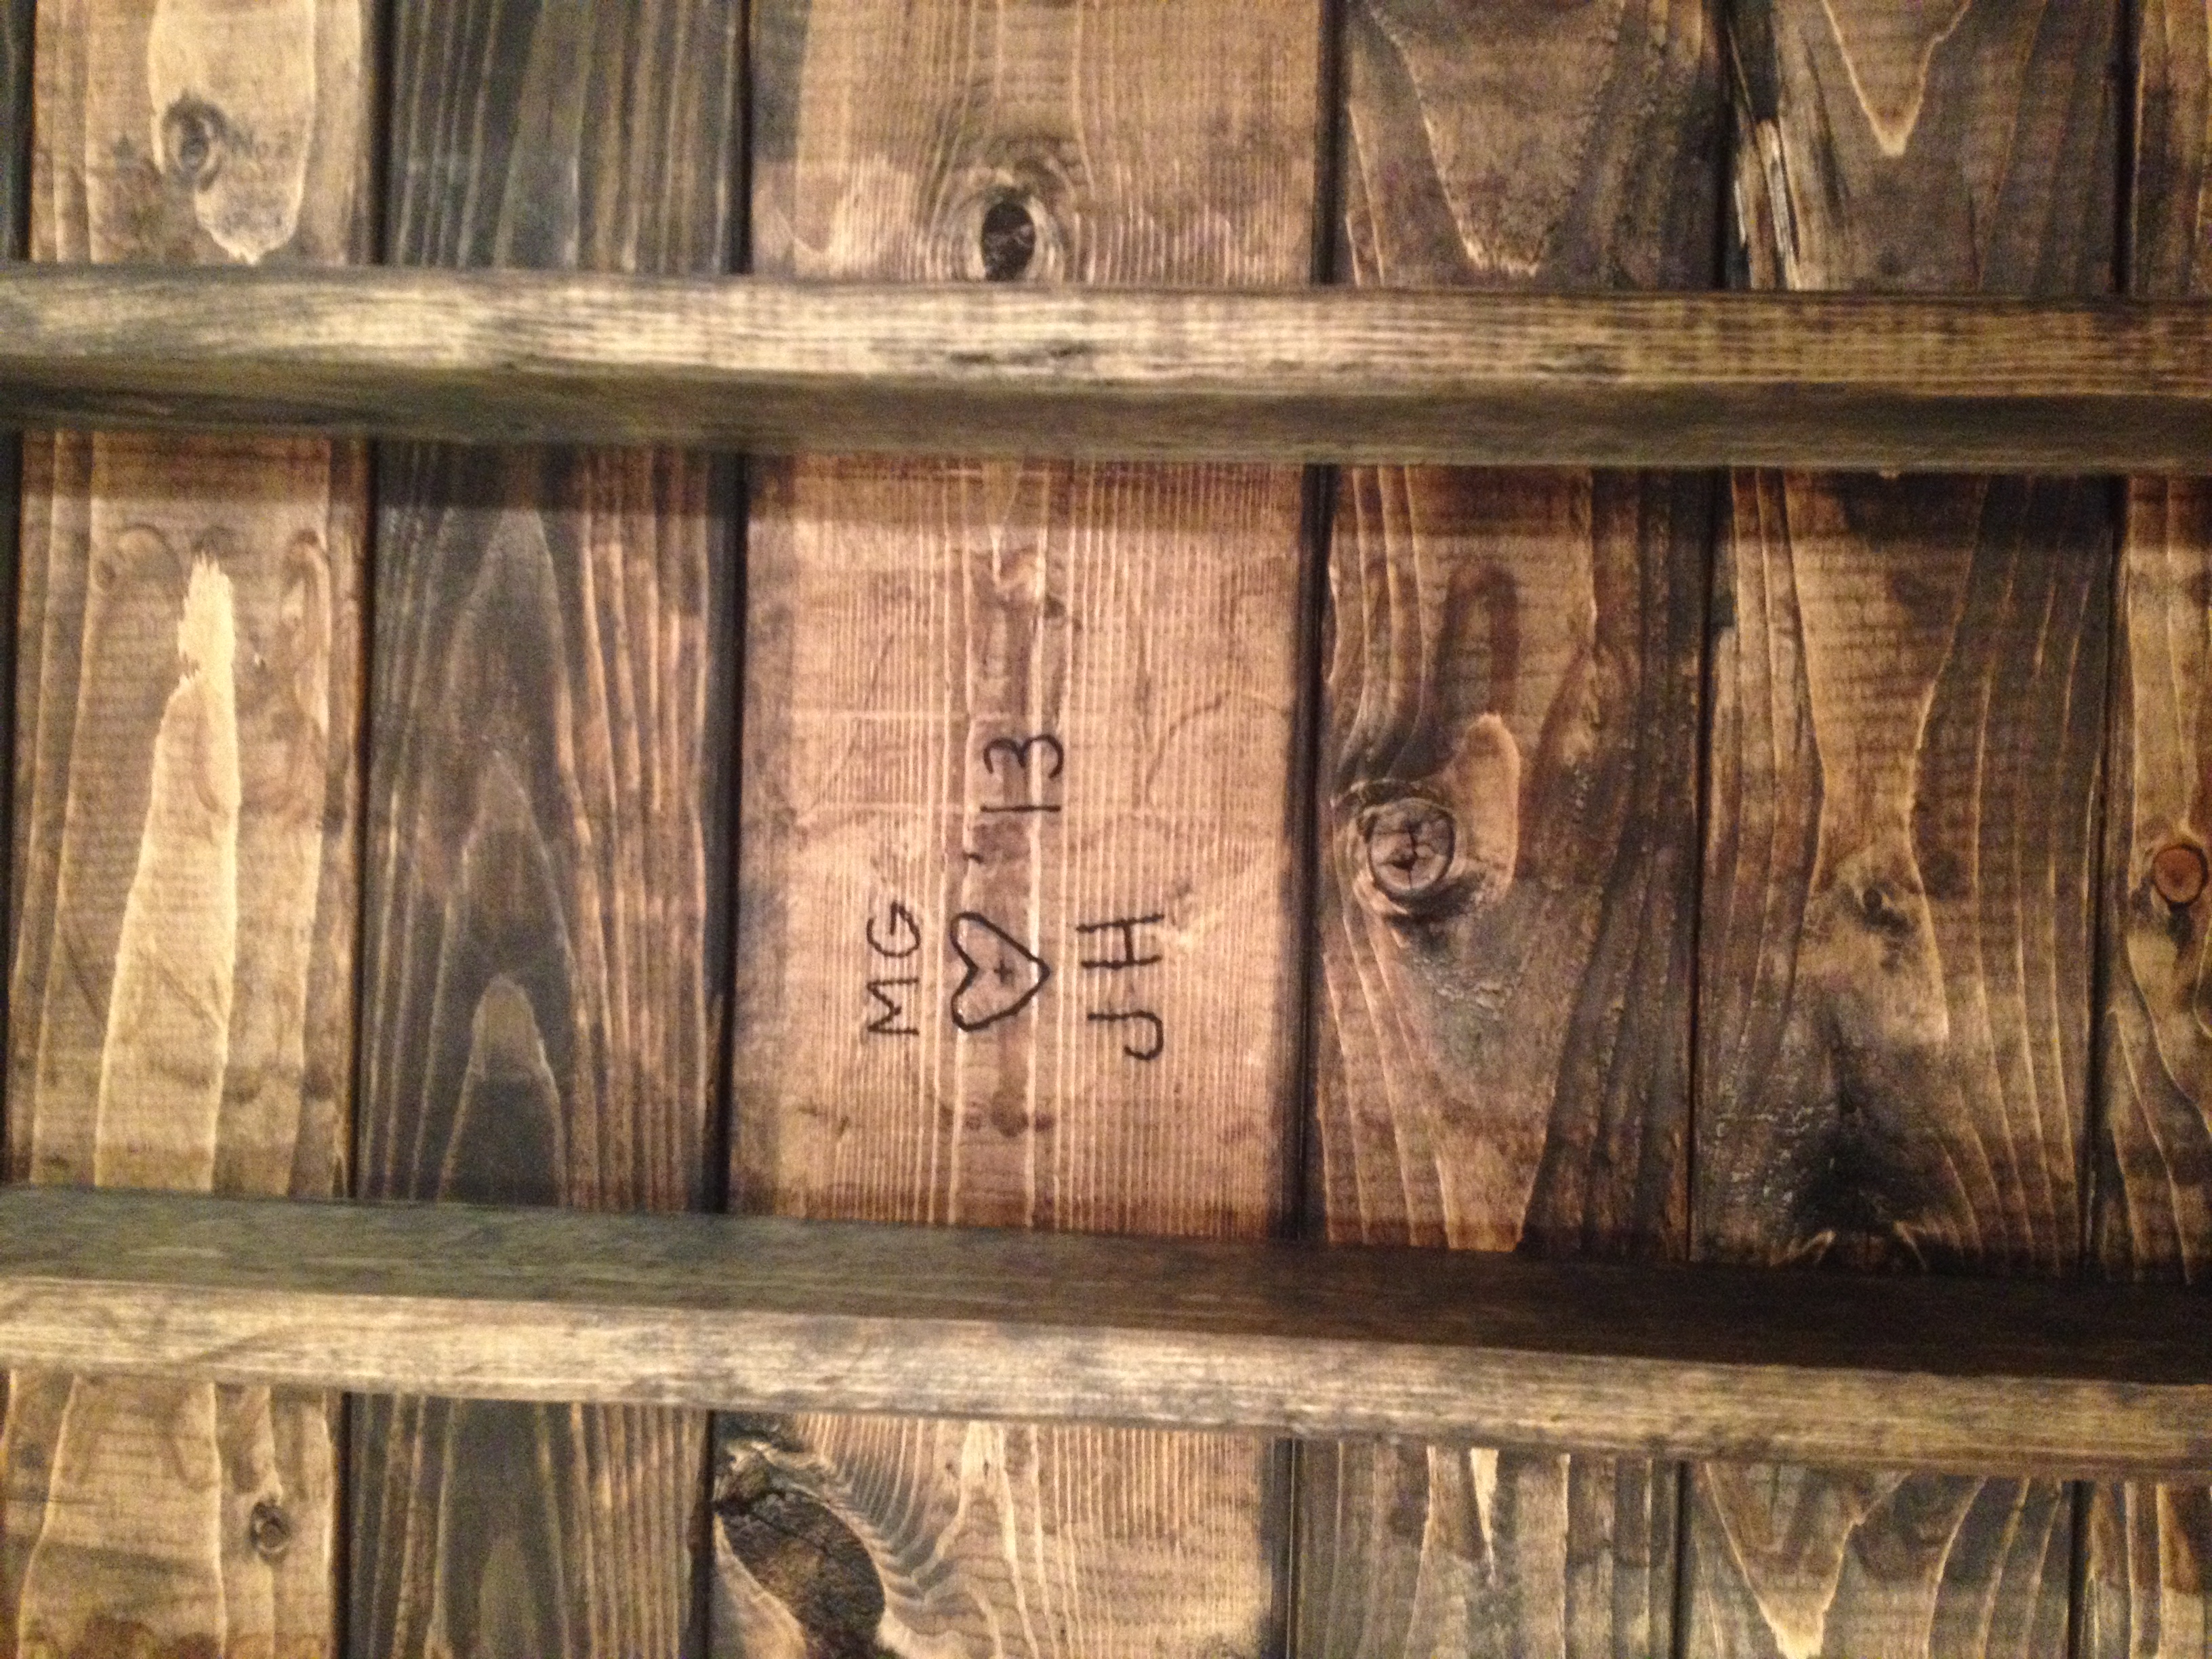
Awe, the happy face!
Looks great, thank you for sharing! I am not sure what exactly you mean by moves down a touch when the kids lean on it...
MWdesign
Wed, 11/04/2020 - 15:59
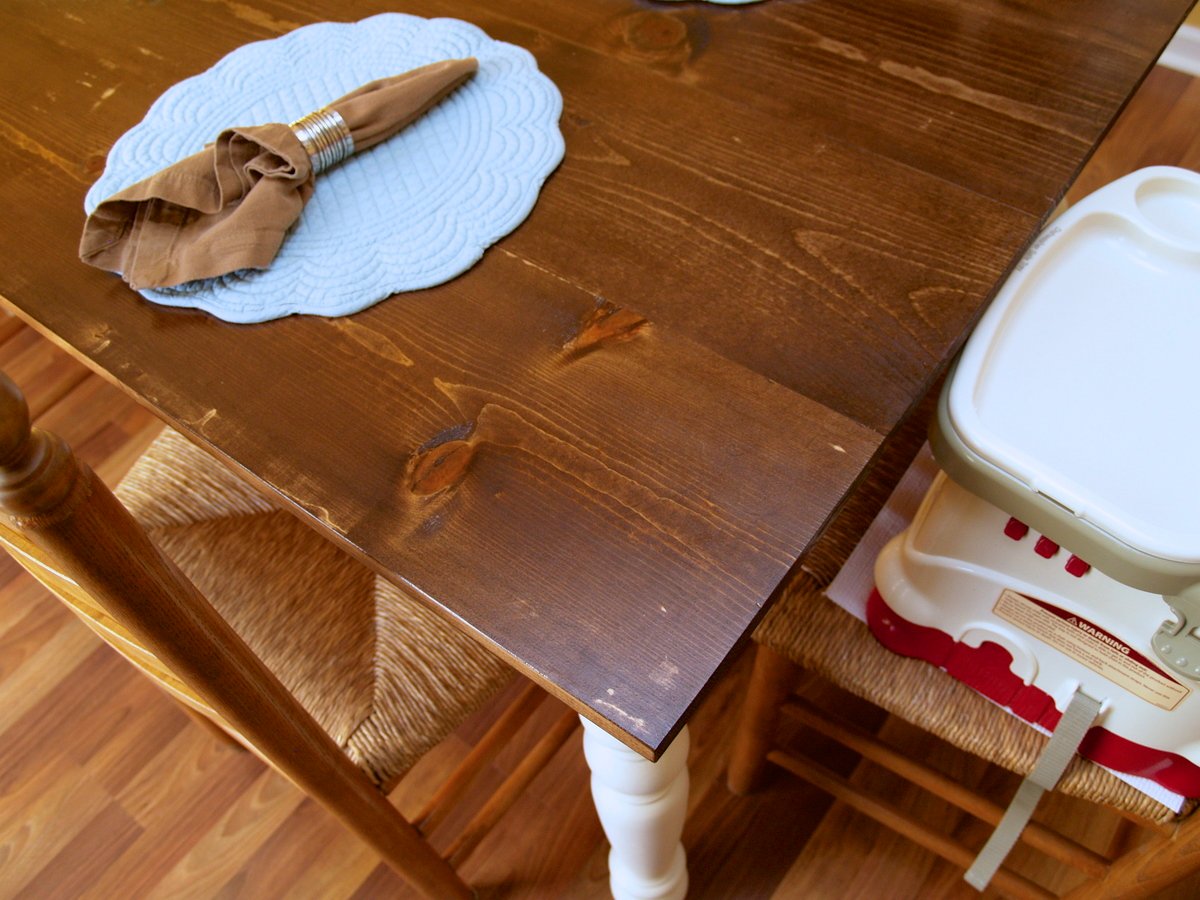
Little one in picture is not…
Little one in picture is not heavy enough but if push where she is it will move down or rock just a little on both sides.