Community Brag Posts

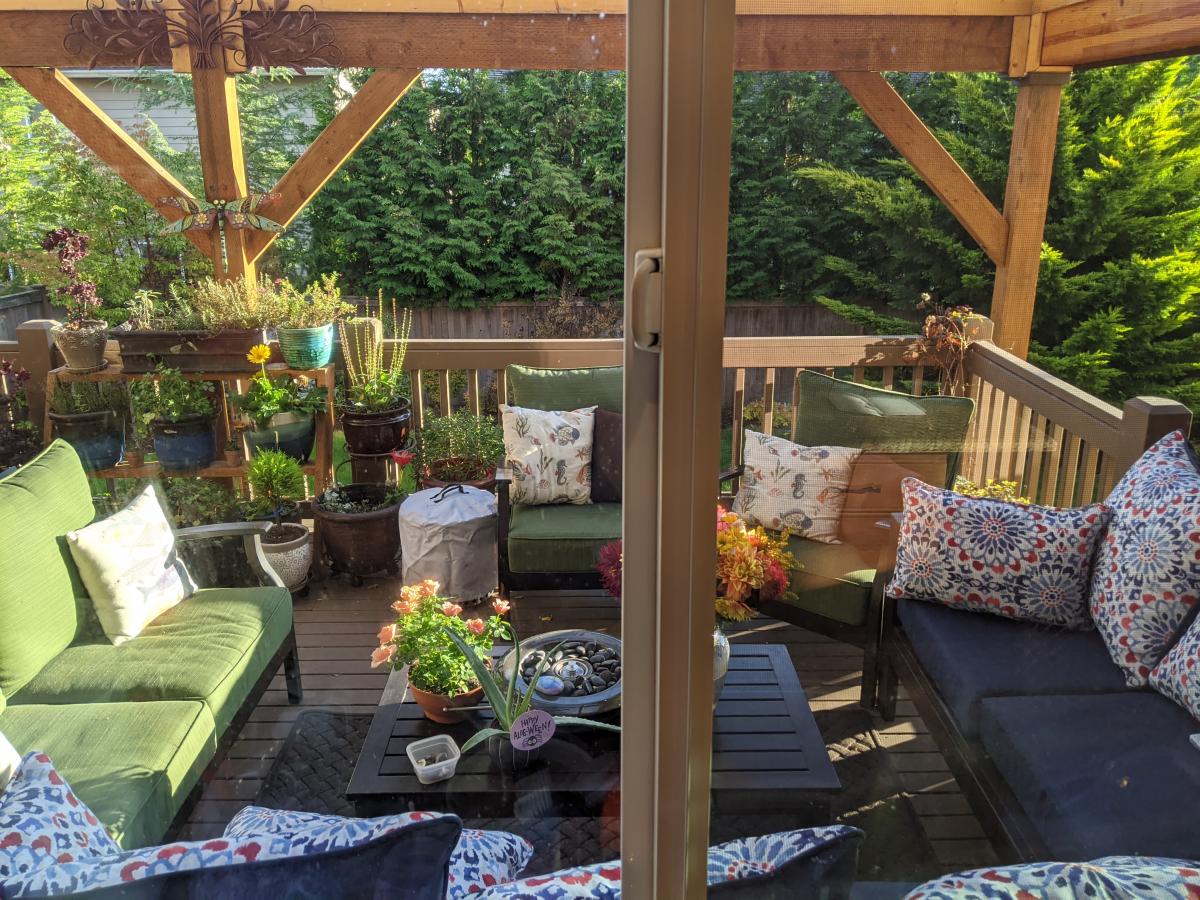
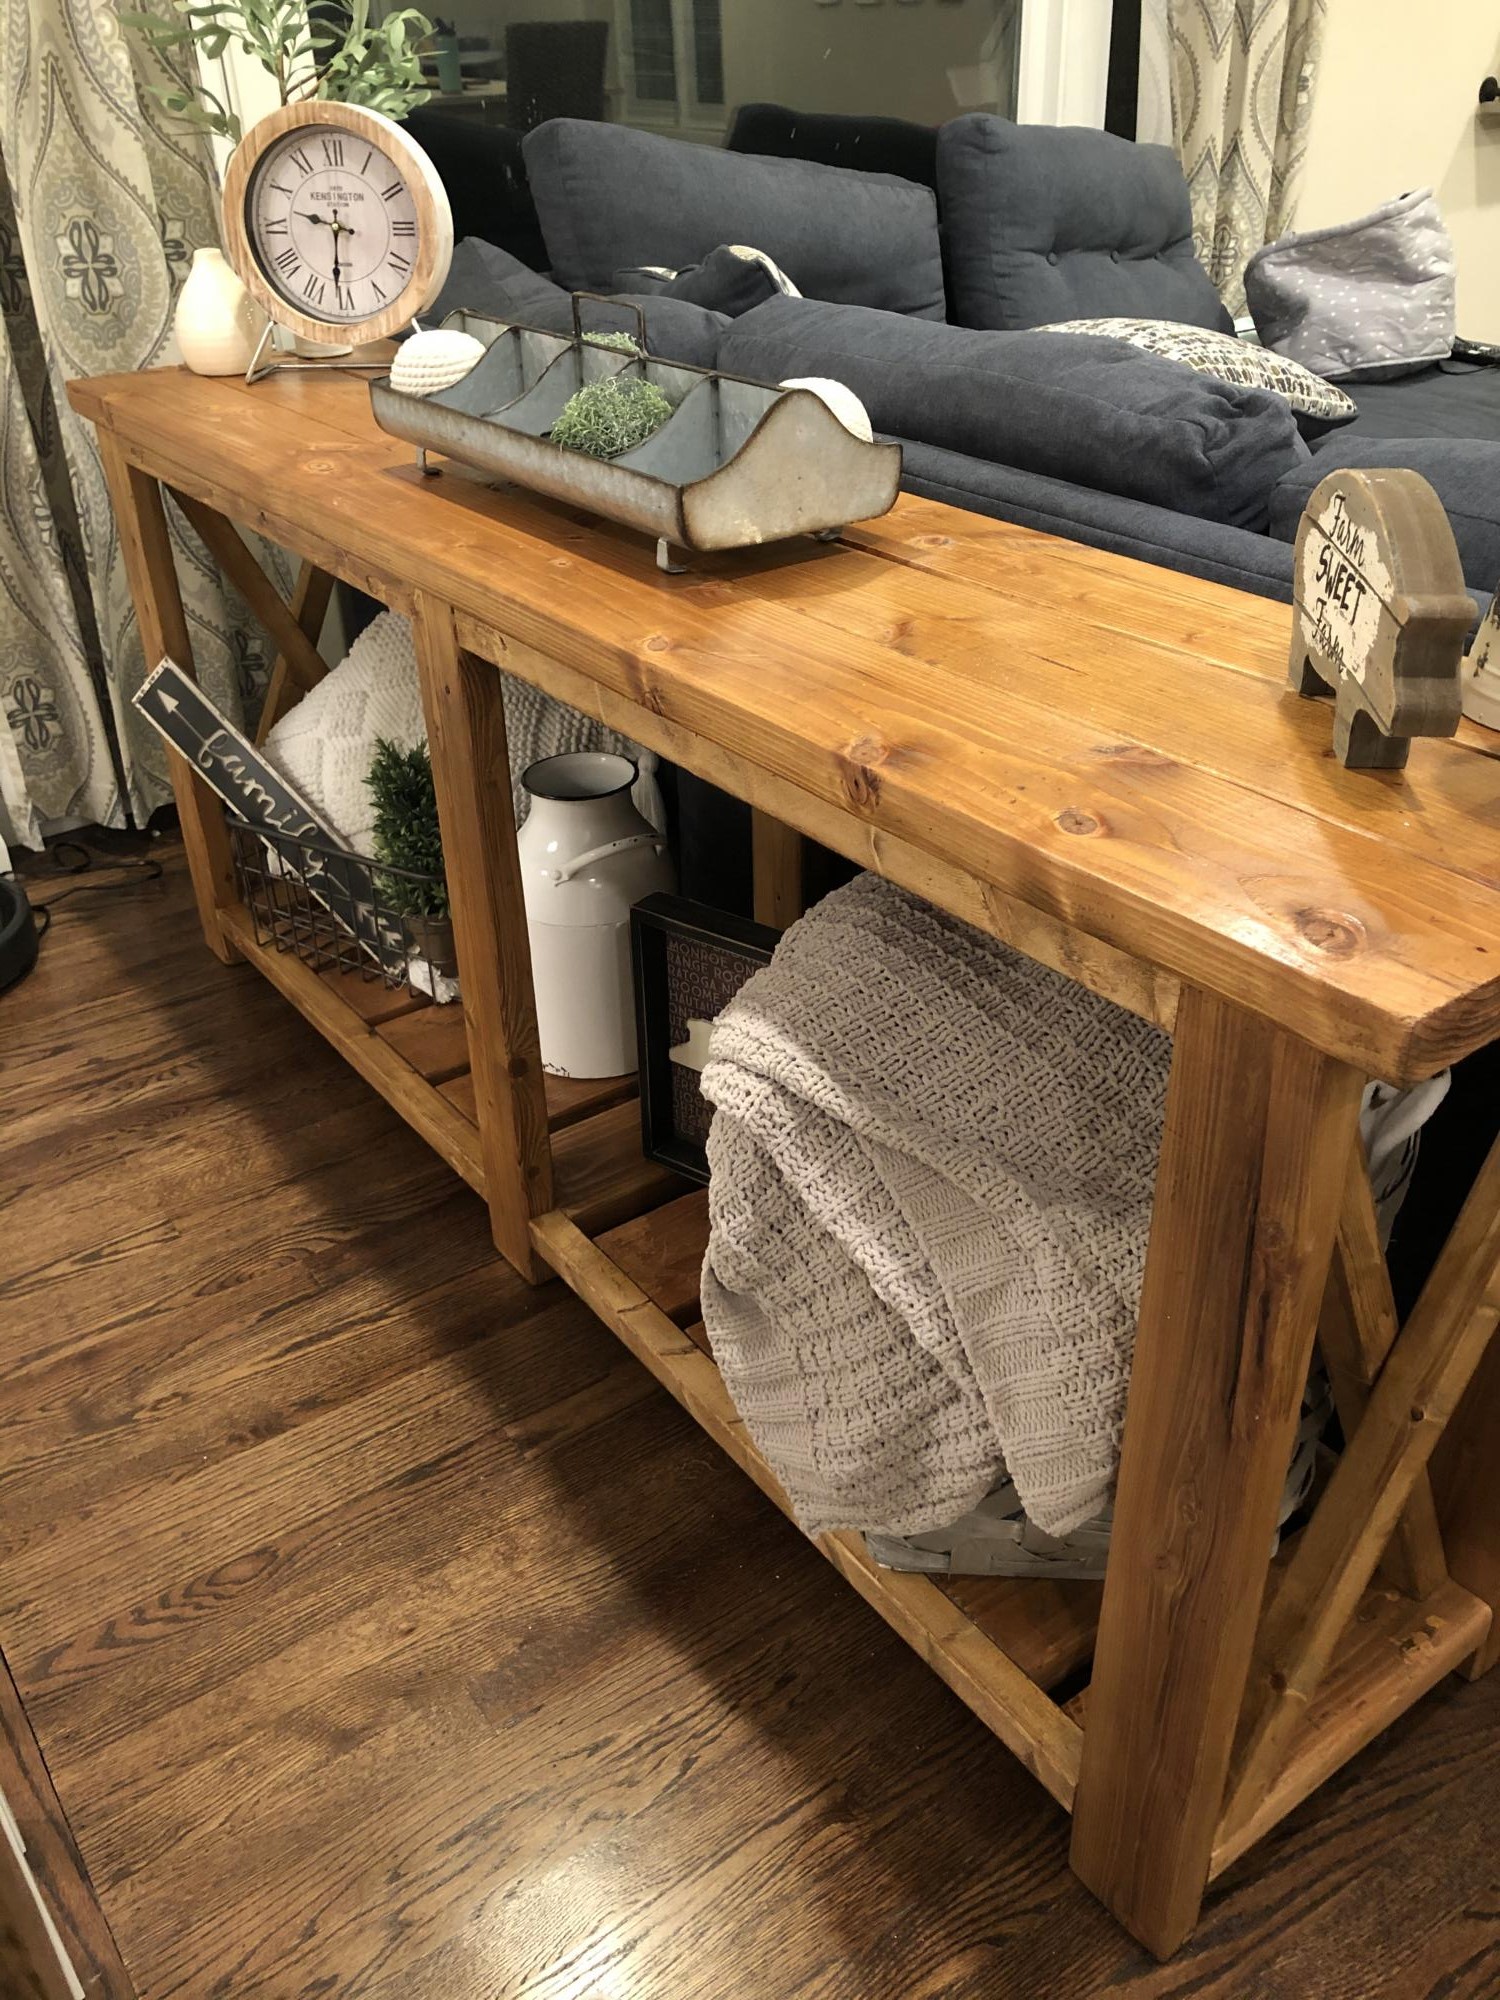
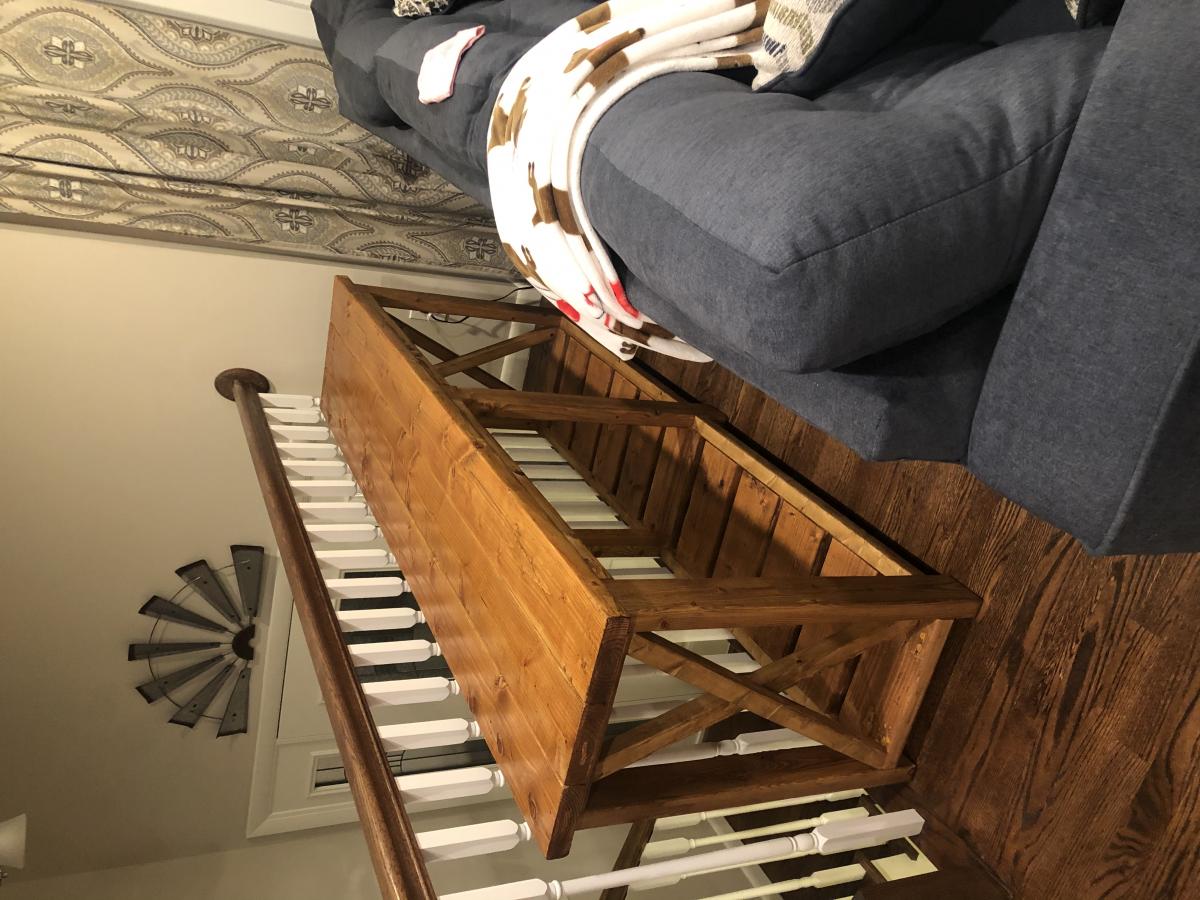
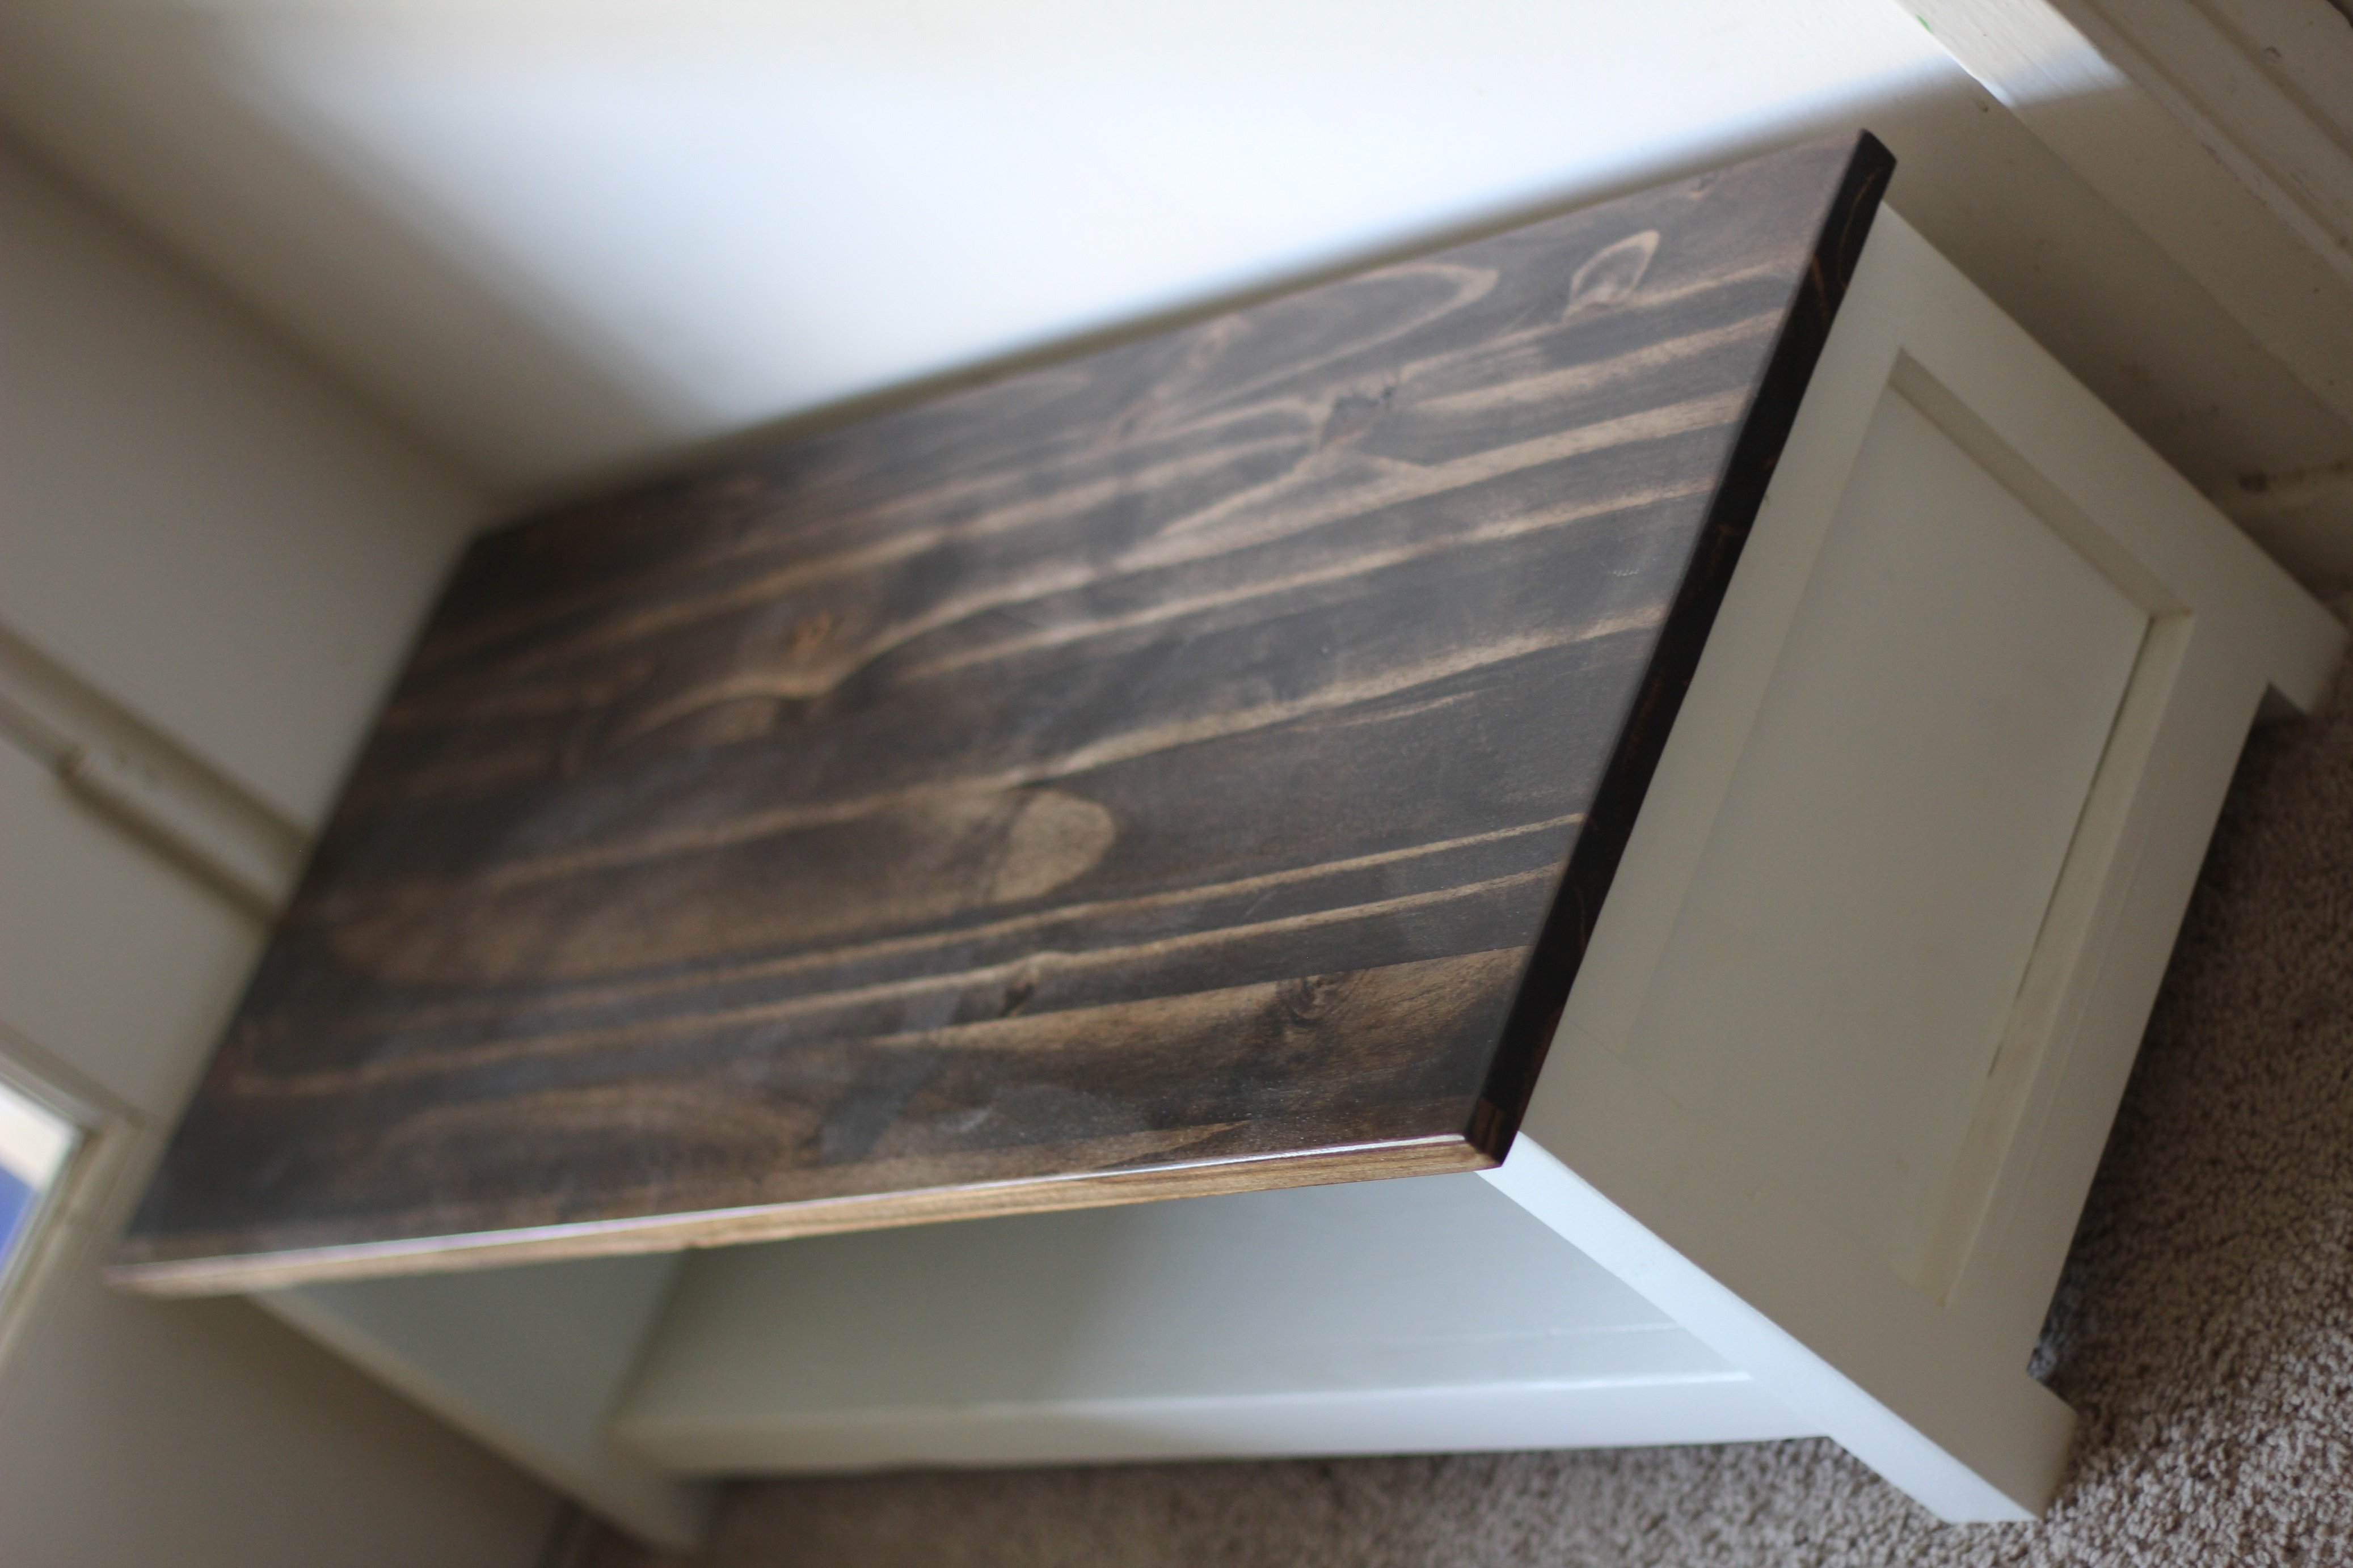
Modified firepit bench

Submitted by kkushner on Sat, 08/15/2020 - 23:11

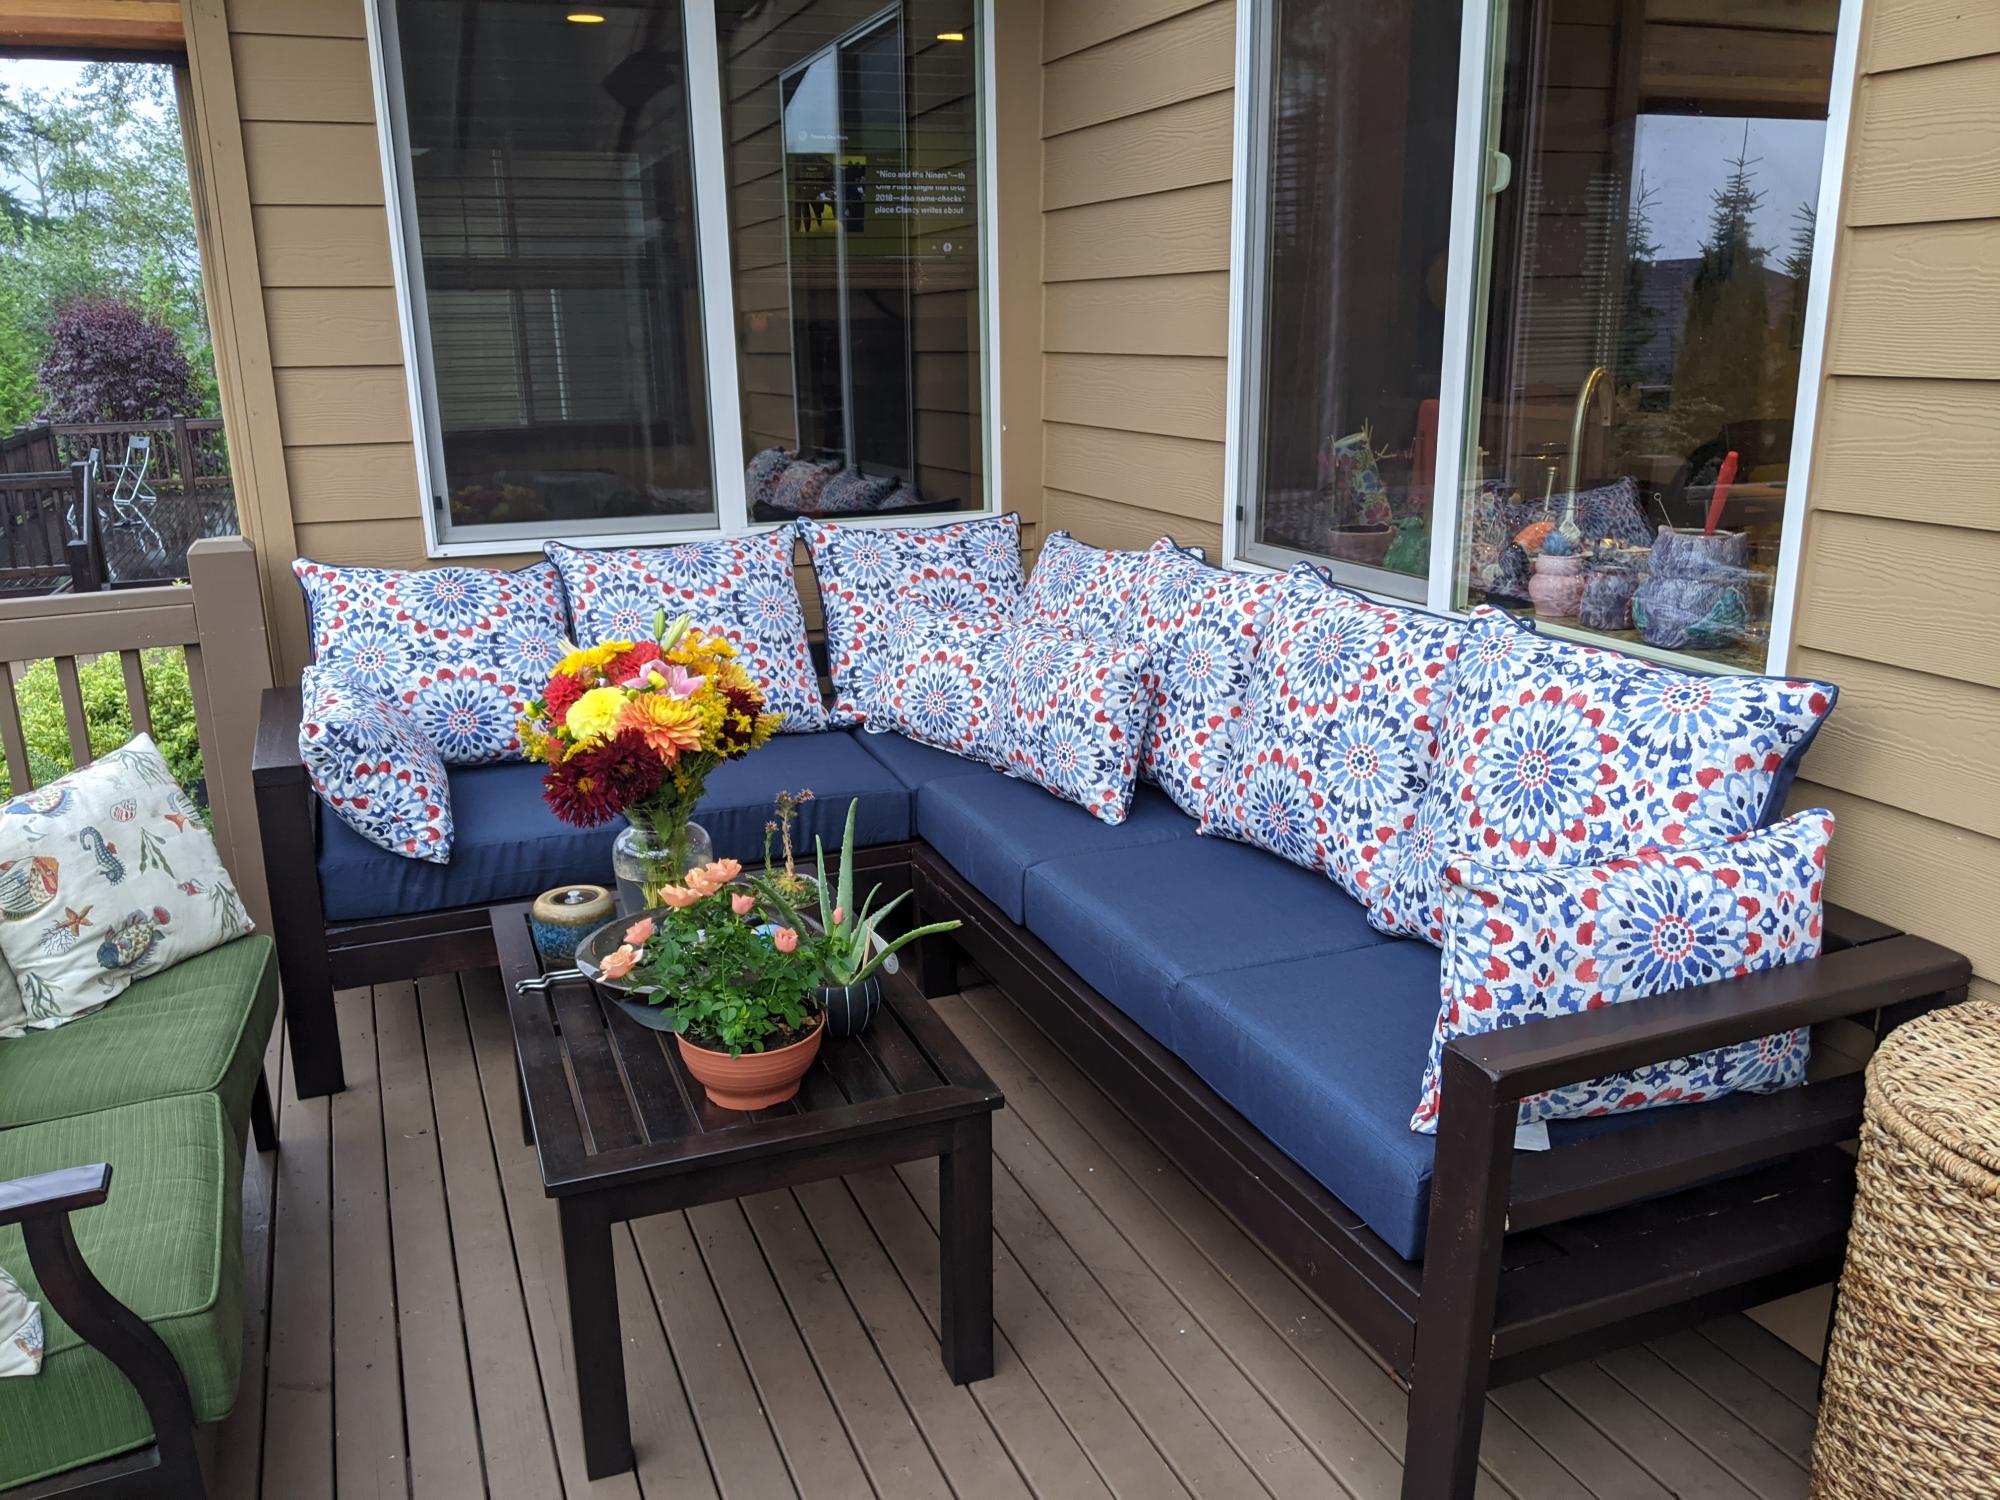
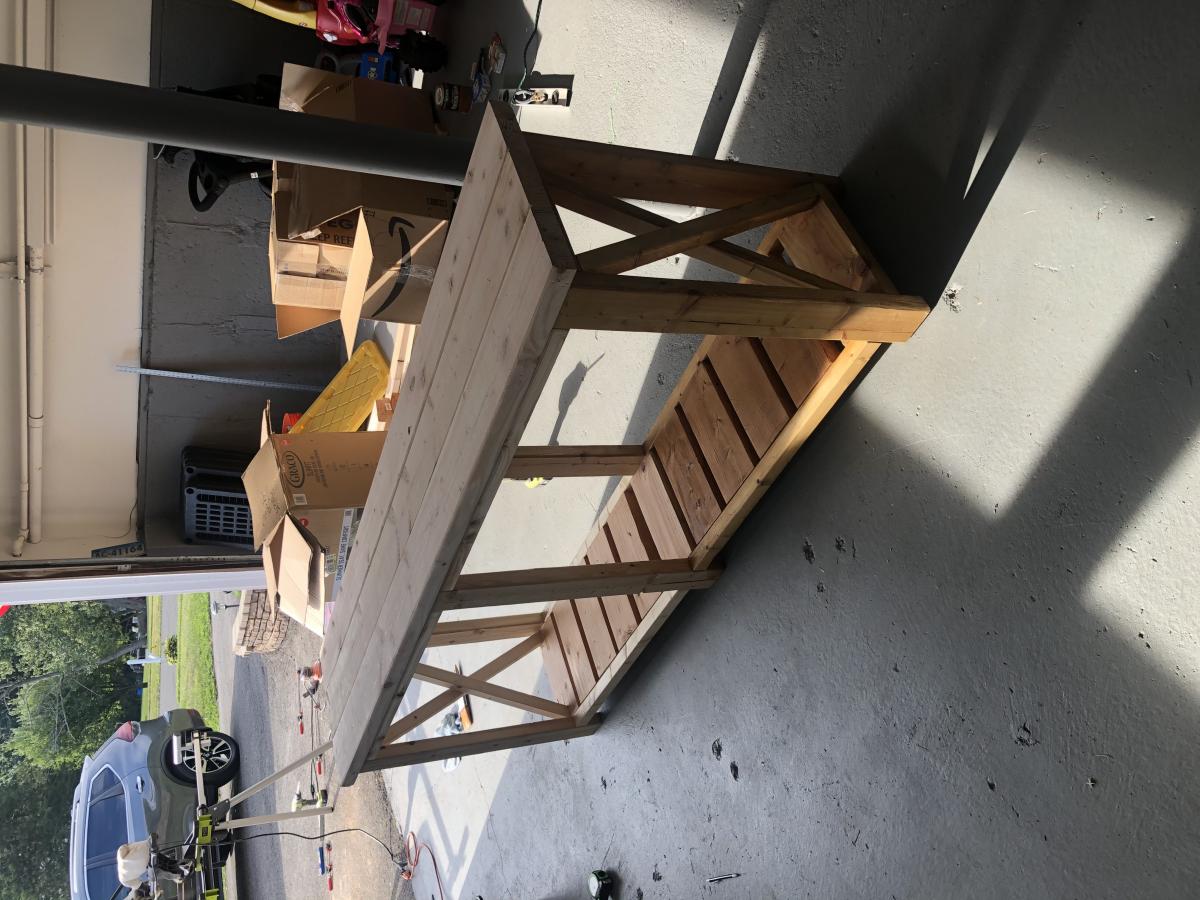
I built the one bench using the original plan with the storage and table top unit but needed two additional seating benches to go around the firepit without the bulk of the backside of the bench.

I modified the original plan as follows:

Shopping List:
(2) 2X6X8
(3) 2X4X8
(2) 1X6X8

Cutting List:
(2) 2X4X17" front legs, 15 degree cuts, parallel long to short
(2) 2X4X23" back support, 15 degree cuts, parallel long to short
(2) 2X4X20.75" back legs, 15 and 60 degree cuts, not parallel long to long
(2) 2X4X24.75" under seat, 15 degree cuts, not parallel long to long
(2) 2X4X30" bottom support, 15 degree cuts, not parallel long to long
(1) 2X4X42" bottom cross brace between leg sets, 90 degree cuts
(2) 2X6 cut equally in half, 3 for the seat and 1 for the top plate
(2) 1X6 cut equally in half, 3 for the back rest and 1 to be tucked under the seat overhang
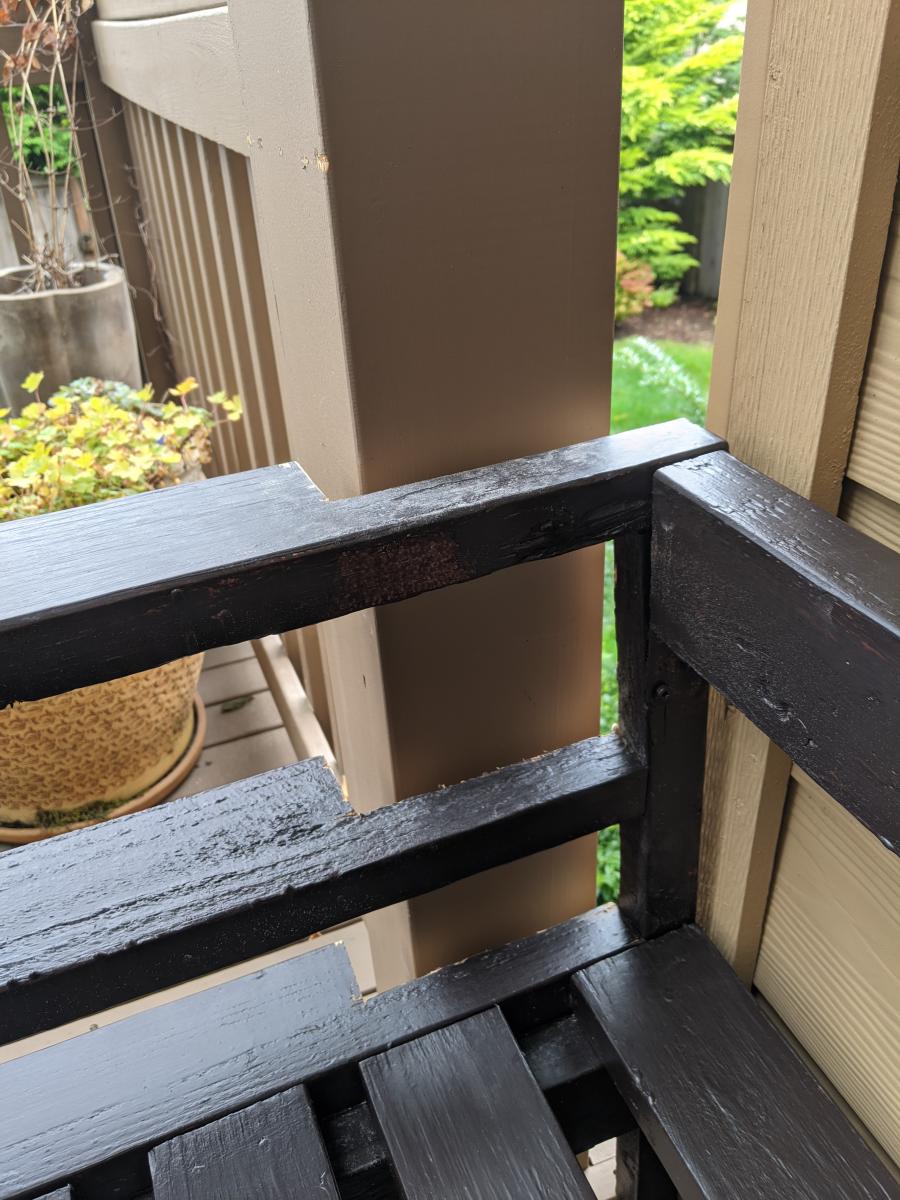
Estimated Cost
$40.00
Estimated Time Investment
An Hour or Two (0-2 Hours)
Finish Used
Brown outdoor wood preservative.
Recommended Skill Level
Beginner

Comments

jwood4

Thu, 09/08/2022 - 11:23

Great work! Have you had any tipping issues with the benches without the table back? If you kneel on the bench backwards and lean on the back do you think it would tip? Ha I clearly have kids around to be asking such strangely specific questions... TIA!

kkushner

Sat, 02/25/2023 - 08:56

I built these for my daughter/son-in-law and their young family. I have grandkids that use them and have never tipped them. However a strong wind gust 100km/hr did flip one over but not the other. I would suggest adding a horizontal ground level ‘foot’ extension on one or both back legs to alleviate any concerns of tipping.

Wall Frame from page 70 of The Handbuilt Home

Submitted by solomonson on Wed, 11/21/2012 - 21:31

So I bought this print, sized 16" x 20", from an independent photographer. My husband said I could get it only if I built the frame, so I was on the hook.
I used pine boards and glued and clamped the outside part since I don't have a nail gun. I sanded the really rought parts, but probably could've sanded more. Finished with Valspar's black spray paint and used mirror clips and 1" wood screws. Blue had glass pieces in 16" x 20" for less than $6. Hung with D rings and picture hanging wire.
Time estimate includes time for paint to dry and rigging up all the hanging hardware.

Estimated Cost
$15-$20
Estimated Time Investment
Weekend Project (10-20 Hours)
Finish Used
Valspar spray paint in black semi-gloss
Recommended Skill Level
Beginner

Fancy French Farmhouse Table

Submitted by LumbeeDiva on Wed, 11/28/2012 - 09:37

After seeing the Fancy X Farmhouse Table on pinterest we wanted to try and build one ourselves, but using the pallets we gathered from the new construction next door and the scrap lumber they were throwing away. The only thing we had to purchase was a sheet of 11/32 plywood to attach the pallet strips to for more stabilization, Screws, Nails, Wood Putty, Stain, and Polyurethane. I filled in all of the cracks to child proof food messes. We used Minwax Provincial Stain on the top with two coats of poly and a distressed antique white paint around the egdes to give it a more french look. The base was one coat of privincial stain with a good rasp/sanding of the edges to age the piece. Our goal was to build something that looked over 100 years old to match all of the china that will be sitting on it when we entertain! I think it looks very stately! This was our first project! :D

Built from Plan(s)
Estimated Cost
100.00
Estimated Time Investment
Week Long Project (20 Hours or More)
Finish Used
Minwax Provincial Stain and Lowes Antique White Paint distressed with course sandpaper and a quick rub of stain to age. All of the edges on the base were rasped after the stain to give a worn look.
Recommended Skill Level
Intermediate

Comments

bkstyles

Mon, 04/21/2014 - 10:32

hi there - This is so so cool and I went out first thing this morning and collected a bunch of pallets from all over to start! I was wondering how you got your pallets apart without destroying them? I am finding that very difficult!

Vegetable Bin

Submitted by ctay on Tue, 10/14/2014 - 17:18

Built this vegetable bin for my sister in law. Just needs knobs, which I'm letting her pick out. Easy build finished in an afternoon. Stained and painted the next day. Could use this for other storage as well. 

Built from Plan(s)
Estimated Cost
60.00 for materials. Already had the plywood for back and paint and stain.
Estimated Time Investment
Day Project (6-9 Hours)
Finish Used
Rustoleum stain in dark walnut for top and edges. Painted in white chalk paint with brown glaze. Distressed to see the dark stain on the edges. Doors are stain with white wash over it and stenciled using stain over that.
Recommended Skill Level
Beginner

Comments

ctay

Wed, 10/15/2014 - 20:30

Thank you Joanne!  Really enjoyed building this!  This is also the first time I have shared one of my builds!  Glad I did. :)


Outdoor Sectional - Love It !

Submitted by Anonymous (not verified) on Sun, 10/18/2020 - 06:11

Great experience building this sectional, although would recommend pre-drilling the holes where practical to avoid splitting. It only happened to me a few times on #2 douglas fir, but I would have preferred to avoid it. As you can see from the picture, I didn't account for the siding taking up the space, and was expecting a perfect fit. Easily fixed with a bit of saw work, and now it's really custom fit for the space. :-)

I've added the details of the finish we used, and really happy with how it turned out, with the exception of my garage workshop lighting not revealing the spots I need to touch up now that it is in the natural light.

And of course, this is a terrific time to purchase couch cushions at the end of the season. Lots of great sales, and we found these at Target for $47 per top/bottom set.

Estimated Cost
$600
Estimated Time Investment
Week Long Project (20 Hours or More)
Finish Used
Rustoleum Rock Solid Deck Start Wood Primer followed by Behr Premium Porch and Patio Floor Paint. This gave a really matte finish that looks a lot like the metal patio furniture we will have next to it, and Home Depot was able to tint this for us. We also added a mildew and moss inhibitor to the paint at the store for a couple extra bucks since we live in the PNW. The extra time needed to get multiple coats on for full coverage was totally worth it.
Recommended Skill Level
Beginner

Simple Bookshelves

A smaller version of the original plan, intended to be a nightstand for our bedroom.

Built from Plan(s)
Estimated Cost
25
Estimated Time Investment
Afternoon Project (3-6 Hours)
Finish Used
Behr Paint in Distant Thunder
Recommended Skill Level
Beginner

Comments

Small Kitchen Island

Submitted by stacynabby on Sun, 11/09/2014 - 10:15

I built this for my mom to replace her small, rolling butcher block. I wanted to add in the tilt out trash cabinet, so I built off the back of it to give her some storage and a bigger work surface. I had a local countertop business custom fabricate the top out of a piece of scrap quartz (that was the spendy part of the project).

Estimated Cost
$40 for the wood and $480 for the quartz top
Estimated Time Investment
Day Project (6-9 Hours)
Finish Used
Minwax Polyshades natural
Recommended Skill Level
Intermediate

Comments

Extra tall bar stool

Submitted by Jbonacci3 on Sat, 01/26/2013 - 12:18

I built a breakfast bar into an existing wall shared between our kitchen and living room. I built it on the taller side of average since I wanted to have room to install new electrical outlets above the counter on the kitchen side. After the project was done we went to buy bar stools to use with the new bar and found that even the "tall" stools were too short to work. Research into extra tall stools showed that what we needed was going to $400-600 each! Luckily my wife found these stools on your site and we were able to make three of them for around $115. Also, they are much sturdier than anything we looked at to buy.

Built from Plan(s)
Estimated Cost
$115
Estimated Time Investment
Day Project (6-9 Hours)
Finish Used
Painted frames with Valspar paint + primer (black). Padded and covered seats with a canvas material.
Recommended Skill Level
Beginner

Comments

Breibee23

Mon, 11/11/2013 - 23:53

This is a saving grace... We didn't want to spend 600-1400 on extra tall bar stools that actually look good and this plan rocks as a stand in :)

Industrial Closet Organizer

Submitted by jvos on Sun, 03/12/2017 - 13:16

I originally built this for a small closet in an old home.  When I moved, I took it with me and was able to rearrange it to fit in a traditional closet.  The center section is a modification of a toy storage plan that I use to store folded clothes.

Estimated Cost
I used 1/2" galvanized pipe and that alone was $80. The lumber was probably $20-$30 more.
Estimated Time Investment
Afternoon Project (3-6 Hours)
Finish Used
unfinished
Recommended Skill Level
Beginner

Twin over full bunk bed with stairs

Submitted by Anonymous (not verified) on Sun, 01/03/2021 - 10:00

Liked the plan took way longer to sand and get everything cleaned up than it took to build.

1x3 slats for under the bed.

Made it extra high just full 8’ boards for the posts and added extra railing and dropped a 12” twin in.

It’s super sturdy, used scraps to add a headboard where the stairs are.

Turned out well

Comments

Farmhouse Indoor Playhouse - I May have gone a little overboard...

Submitted by Anonymous (not verified) on Fri, 01/08/2021 - 19:38

Thanks for your amazing Farmhouse Indoor Playhouse plans!
So easy to follow your directions! I may have gone a little overboard.
I used some scrap wood from recent Renos and wood from an old boxspring my parents had.
The kitchen was originally from Ikea with some updates.
The shrubs are silk plants from Ikea and scrap wood.
The only real cost was Paint $30 ish.

Built from Plan(s)
Estimated Cost
50
Estimated Time Investment
Weekend Project (10-20 Hours)
Recommended Skill Level
Beginner

Comments

Seasonal And Holiday

Farmhouse Console Table

Submitted by jburke3424 on Sat, 01/30/2021 - 17:43

Wife wanted it done without the middle shelf. Easy project! Love the plans.

Built from Plan(s)
Estimated Cost
$100
Estimated Time Investment
Afternoon Project (3-6 Hours)
Finish Used
Modern Oak Stain with Indoor Poly.
Recommended Skill Level
Beginner

Comments

Double Pedestal Farmhouse Dining Table

I based this build on the Triple Pedestal Farmhouse Table found on this site.  I fell in love with the table and I just had to build one!

This table is only 72" long, so I ended up removing the third pedestal.  I also removed the decorative apron that is pictured in the original plan.  I also added a picture frame border using 2x4's with 45 degree angles on the corners. I think I like how this look turned out! I kept the legs the same size as the original plan called for.

This entire build took me about a day and the staining process another 2-3 days. I stained the table top using Varathane's American Walnut stain and I painted the base using an off-white milk paint. But before painting the base, I stained the corners with the same American Walnut stain so that when I was ready to add the distressed look, I could simply just sand the paint until the stain appeared through the white.

Visit my facebook page for more of my builds!
www.facebook.com/simplyrustik

Built from Plan(s)
Estimated Cost
Approx. $140
Estimated Time Investment
Weekend Project (10-20 Hours)
Finish Used
Varathane American Walnut;
Varathane Satin Oil Polyurethane;
Limestone Milk Paint (from Homestead House Paint Company);
Recommended Skill Level
Beginner

Comments

Floor to Ceiling Laundry Room Shelving

Submitted by Anonymous (not verified) on Wed, 04/05/2017 - 11:06

After watching Ana White's video on easy garage shelving on FB, I knew right away it was the perfect technique for adding shelves to my laundry room.  The project was easy and turned out great!  I did the majority of the work by myself, although my Hubby did help me with some heavy lifting at the end (we had to add the shelving before the front frame due to the walls on either side). The shelving unit itself took only a few hours to build.  I painted it the following day making it a weekend project. We have considered adding trim to the front to give it a more finished look, but right now, it is serving its purpose. I will definitely use Ana's technique again.  It was simple and straightforward!  I loved it. 

Estimated Cost
$85-90
Estimated Time Investment
Afternoon Project (3-6 Hours)
Finish Used
Valspar's Linen
Recommended Skill Level
Beginner

S&H bedroom

My nephew ordered the bed for his bride to be and one year later I gifted them the bedside tables to match as a wedding gift. This plan was easy for someone who has trouble with drawers!

Built from Plan(s)
Estimated Cost
basically free. Used scrap wood from beds built. bought hardware only.
Estimated Time Investment
Weekend Project (10-20 Hours)
Finish Used
Expresso stain with dry brush white paint.
Recommended Skill Level
Beginner

Comments

Farmhouse Doll Bed

Made from 1x3 and 2x2 pine furring strips and a piece of 1/4" scrap plywood. I added an additional support across the center of the bed to provide some extra strength as was suggested in the tutorial. Painted with Benjamin Moore Select Soft Gloss White. Mattress is a foam pad inserted into a pillow case which is folded over to make it easy to wash. The bedding was purchased through TreasuresDollShop located on Etsy. https://www.etsy.com/shop/TreasuresDollShoppe

Estimated Time Investment
Day Project (6-9 Hours)
Finish Used
Painted with Benjamin Moore Select Soft Gloss White.
Recommended Skill Level
Beginner

Comments

Shoe Shelf

Submitted by brittanyj on Sat, 04/22/2017 - 17:16

Husband wanted a shoe shelf for the back door entry, and I needed a quickie weekend project, so this fit the bill.  Adapted from fix this build that's plan, but modified for a smaller space and less shoe storage.  Easy project, and looks great.

Estimated Cost
$7- the project panel was on clearance at HD for the top, the rest was scrap lumber- ply, 2x2's and 1x2's.
Estimated Time Investment
Weekend Project (10-20 Hours)
Finish Used
kona stain, white paint, poly
Recommended Skill Level
Beginner

Strawberry planters

Submitted by DevonWood on Thu, 04/08/2021 - 00:17

Using plans from this website here are pictures of two, five tier strawberry planters.
Each tier is wide enough for 4 plants in one litre pots.

Estimated Time Investment
Afternoon Project (3-6 Hours)
Recommended Skill Level
Intermediate

Comments

My floral chicken coop

Submitted by Anonymous (not verified) on Mon, 04/26/2021 - 19:25

I’m so thankful I found Ana White’s site, like, 10 years ago. She’s inspired me so much and helped me to know I could build stuff! This is far from the first thing I’ve built but it’s absolutely the most complex! I was able to find a bunch of wood free locally from a construction site (they posted it online) and some friends had some old plywood they were kind enough to give us. Even with most of the wood covered, the cost of hardware and other supplies still took us over $200. I worked on it during the day for the last few weeks around our homeschooling schedule, so it did take quite a bit of time. I also had to modify it to work with the wood I had and I wanted to make it bigger inside. But it’s finally finished and our little chickies seem quite happy so far!

Estimated Cost
$250
Estimated Time Investment
Week Long Project (20 Hours or More)
Finish Used
Exterior white paint, honey colored sack stain
Recommended Skill Level
Intermediate

Comments

Produce Stand

I really enjoyed this project!  It was very easy and inexpensive.  I used Weathered Oak stain to make the pine look aged.  I also countersunk all of the screws and used oak button dowels to give it a finished look.  I learned how to create the wording and images through YouTube.  Search: how to transfer an inkjet photo to wood.  Cool trick.

Estimated Cost
$35
Estimated Time Investment
Afternoon Project (3-6 Hours)
Finish Used
Weathered Oak
Recommended Skill Level
Beginner

Comments

Debbie742

Tue, 12/01/2015 - 04:50

My sister in law would like one of these and I'm wondering what angle cut you used for your support boards?  I like the idea of going corner to corner vs trying to get each one centered and not making a mistake. I'm also wondering about spacing and if you kept the measurements the same as "Over The Big Moon" ?  Thanks so much!!!


Debora Cadene