Community Brag Posts

Main closet bench and shelving

Submitted by Anonymous (not verified) on Sun, 10/27/2019 - 13:11

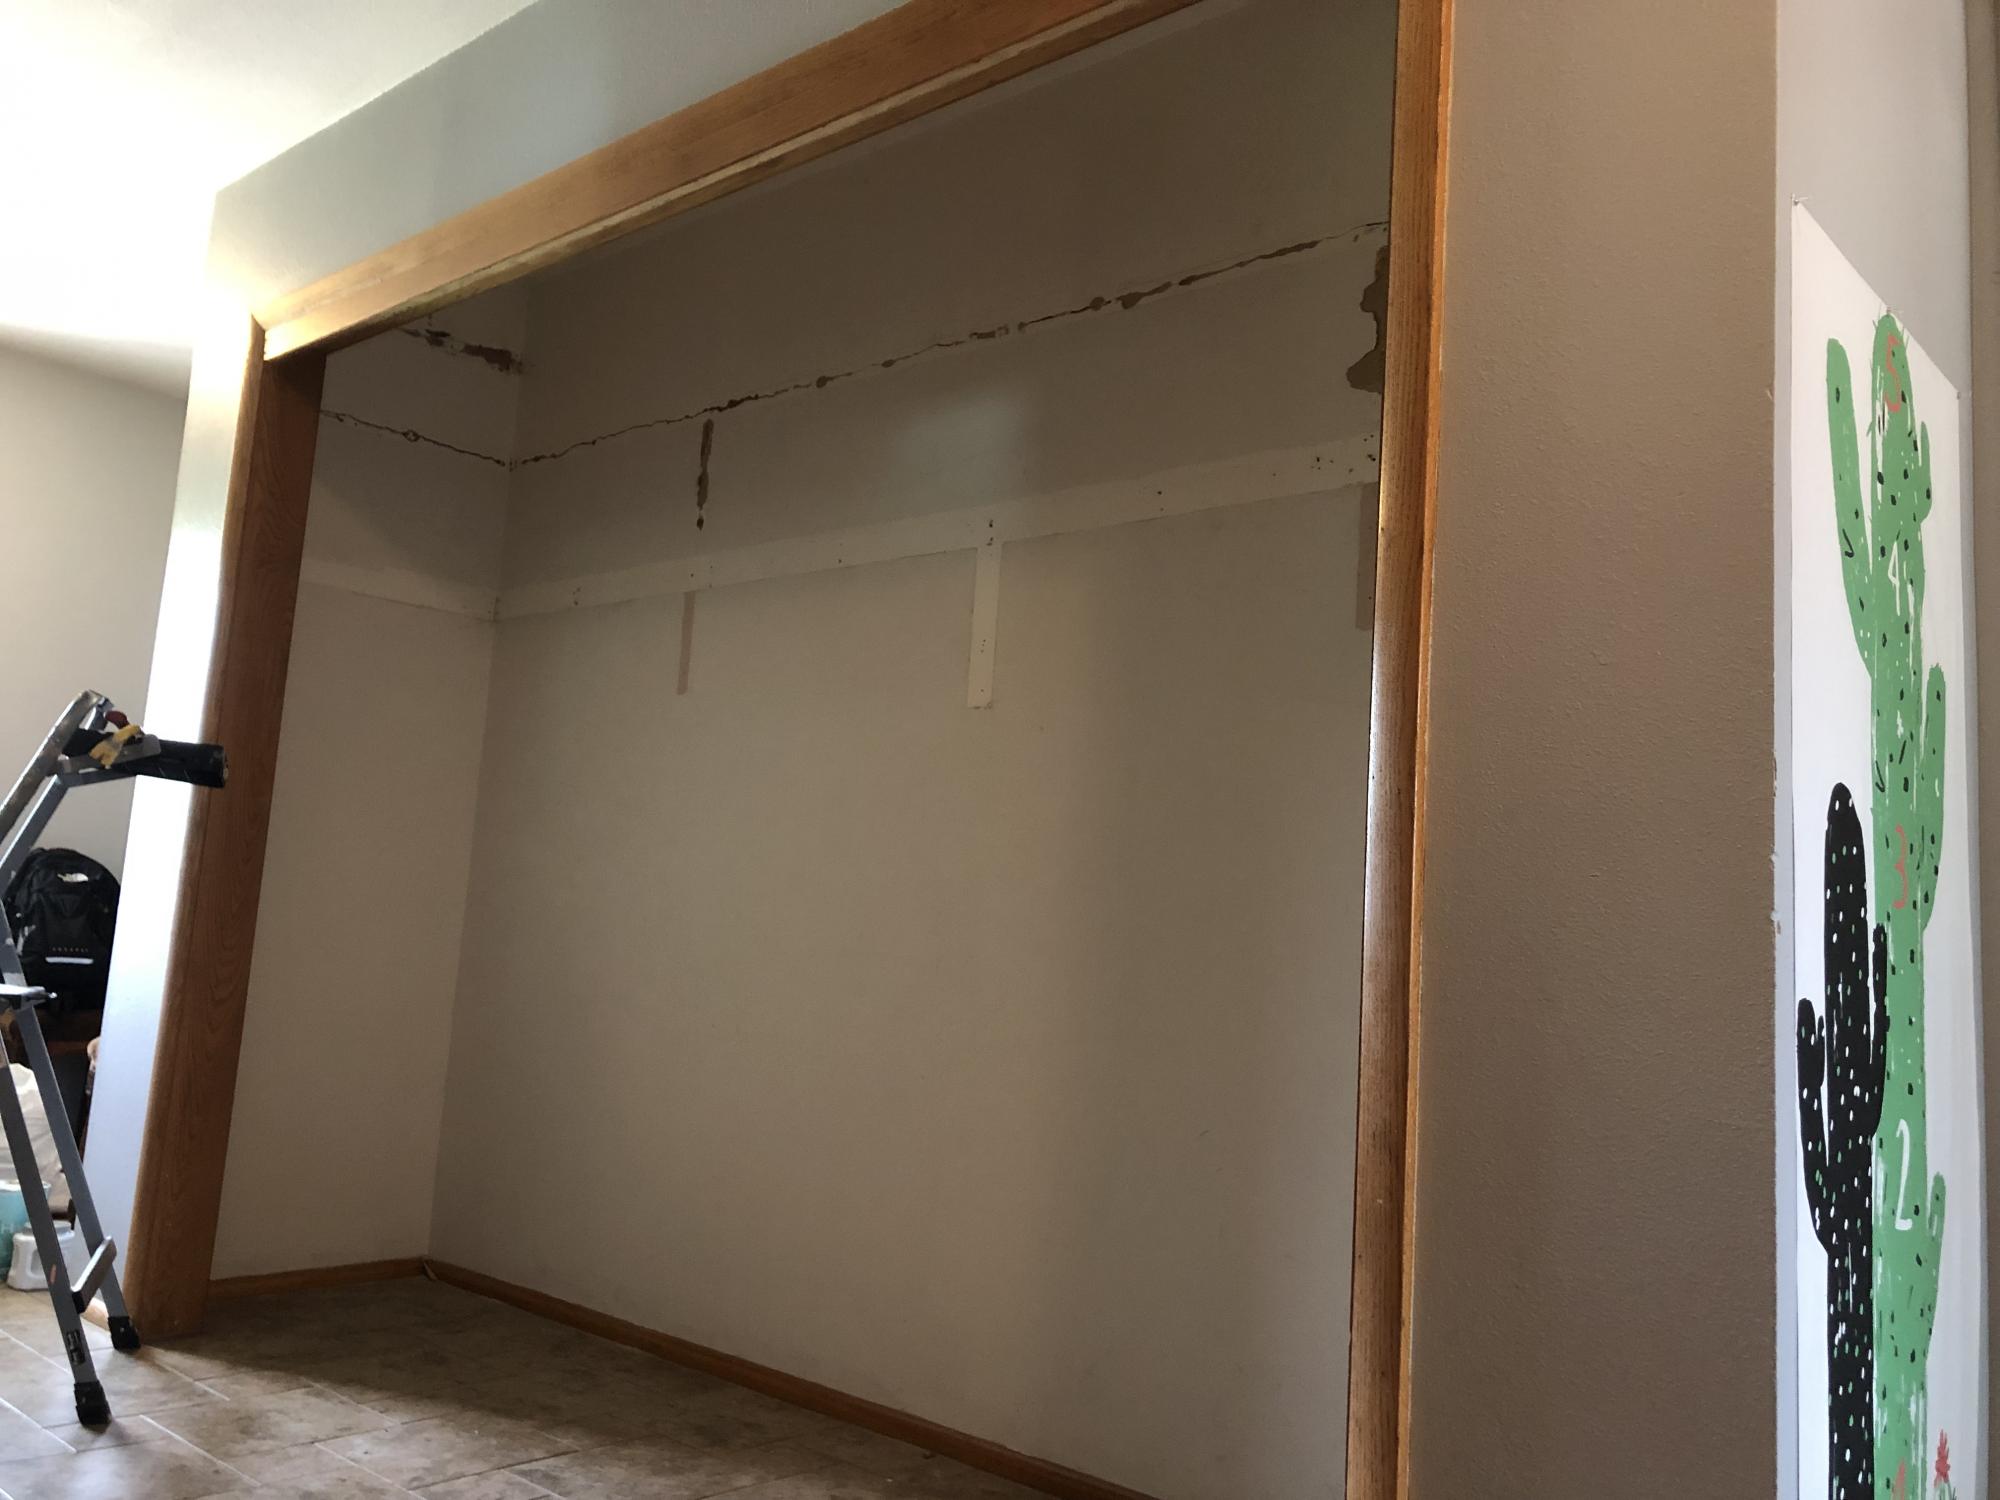
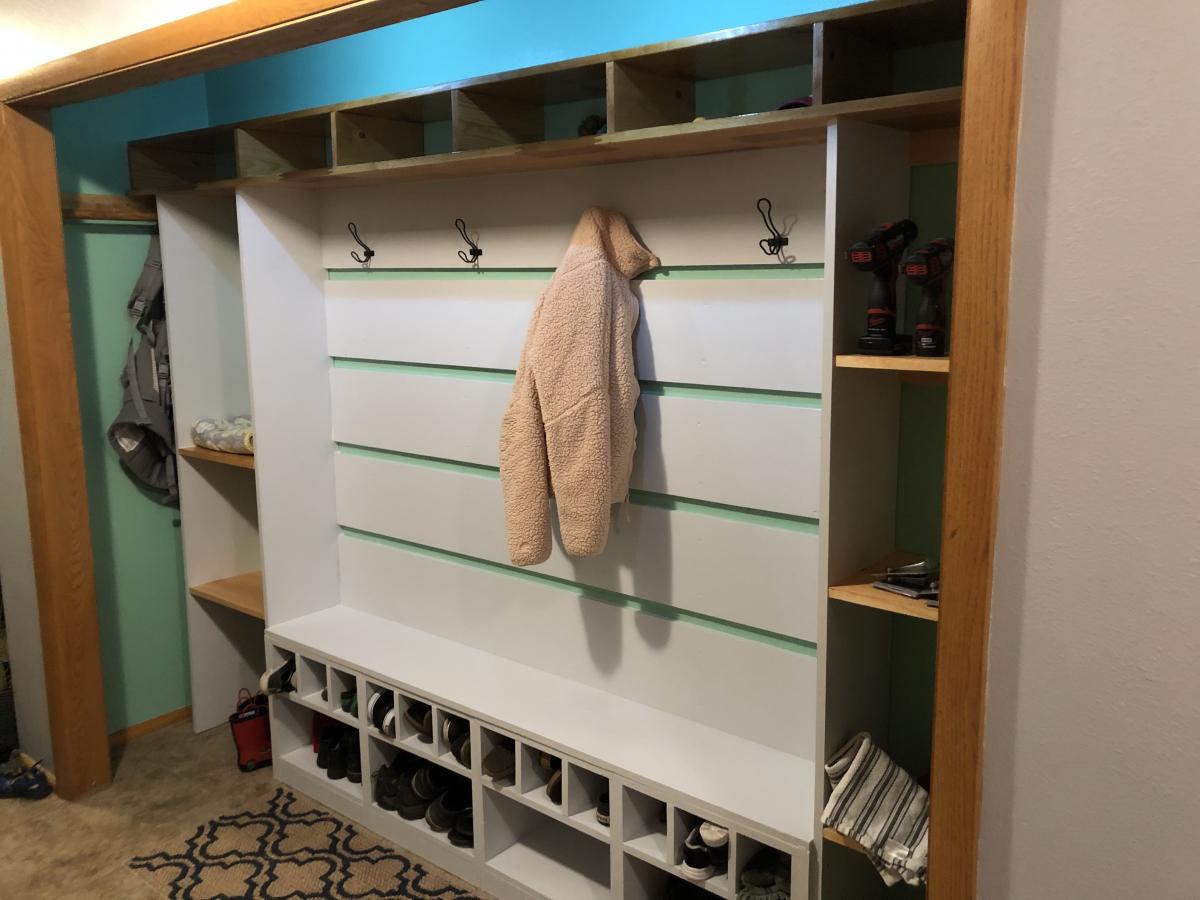
We have a 10 ft closet in our entry which offered plenty of space but had three closet sliding doors. Only one could be open at a time. Had two upper shelves and a rod. Wanted to get things more organized and have a place to get shoes on. Always give my 1 and 3 year old easier access to dress/undress themselves. First attempt at building anything. As I went along changed things based on materials and to get around issues with our closet or my skill level/available tools.

Estimated Cost
200
Estimated Time Investment
Week Long Project (20 Hours or More)
Finish Used
Painted areas are Olympus white sherwin Williams. Stain is classic oak.
Recommended Skill Level
Starter Project

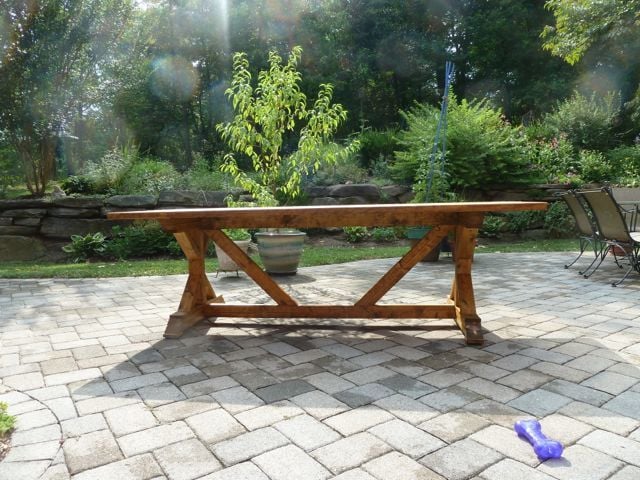
Chunky X Base Table

Submitted by Anonymous (not verified) on Thu, 03/24/2016 - 20:56

So my sister in-law kept sending me tables on craigslist that were for sale. I didn't like anything I was seeing and to buy what I wanted I was looking at roughly $1000 so I found these plans and was like... YES! When I told the family I was doing this they were all pretty much like... "yeah sure, good luck"
I knew that I could do I just needed the plans which were here.

I pretty much stuck to the plans with a few exceptions. I made the table longer to accommodate the entire family on Friday Family Night...! It's a little over 10' long. Instead of 3 – 1x12x8 I went with 3 - 2x12x10. One because as I said earlier I wanted the table longer and two because I just felt that the 1x12 was too flimsy and I wanted something real solid. Because of that I ended up putting pocket holes on each side of all the 2x12 boards and I also put a 2x6 in the middle for additional support.

Everything was pretty much right on except for the base posts, for some reason they were about 2" too short which forced me to cut the upper parts of the X on the base a bit shorter as well. I ended up putting an additional 2 2x6 on top of the base to raise the table to the height I felt was necessary. If I did it over I would have just made my base post 2" higher and only used one additional 2x6 for the additional height.

I ended up staining it with a semi-transparent beige stain to give it a grayish look.

I gotta say everyone was like "holy crap...!" and thought it was beautiful. I gotta say it feels really good to build it yourself and especially when it comes out the way you want it.

thanks so much for the plans!!!

Estimated Cost
$200
Estimated Time Investment
Weekend Project (10-20 Hours)
Finish Used
2 coats of a semi-transparent beige stain from Olympic. Stain and Sealer in one
Recommended Skill Level
Beginner

Comments

SESchild

Thu, 06/04/2020 - 12:15

Hi Ana. I'm a new member here. My wife and I really enjoy your projects! Quick question about the Chunky X Base Table... we're about to build it and we're going to do it 10 ft long like you did. I'm curious how rigid the center span is? I'm guessing the span is roughly 6'. Is it bouncy? I was thinking about running 2 or 3 2x4 "joists" under thre table attached to the bases to provide more support. Thoughts? Suggestions? Thank you!

Cedar 4x4 Truss Beam Table

We had gotten a piece of granite for free, so my husband modified the plans to fit the slab. We made one in pressure treated lumber and loved the look so we decided to make a nicer one in cedar. The benches are a little wider because of the size boards available. We could have ripped them down, but we prefer the wider seat. I will sand the seats and seal the wood to keep it looking fresh longer. We look forward to many great memories at our new table by our outside fireplace. Thank you for the great plans!

Estimated Time Investment
Day Project (6-9 Hours)
Recommended Skill Level
Intermediate

Ottoman Tray

Submitted by Milhouse on Sat, 04/07/2012 - 22:51

I have a large, square ottoman in my family room that looked empty and I didn't have anywhere to put a drink. The cheapest tray I could find that was large enough was $80 and it was damaged! So I slapped some boards together, and this is what I got. I love it! I joined a few boards together for the bottom, using my Kreg Jig, and attached a frame of 1x3's around the perimeter (I mitred the corners).

Built from Plan(s)
Estimated Cost
Free- made from scraps
Estimated Time Investment
An Hour or Two (0-2 Hours)
Finish Used
Minwax Provincial and a satin poly top coat.
Recommended Skill Level
Starter Project

Comments

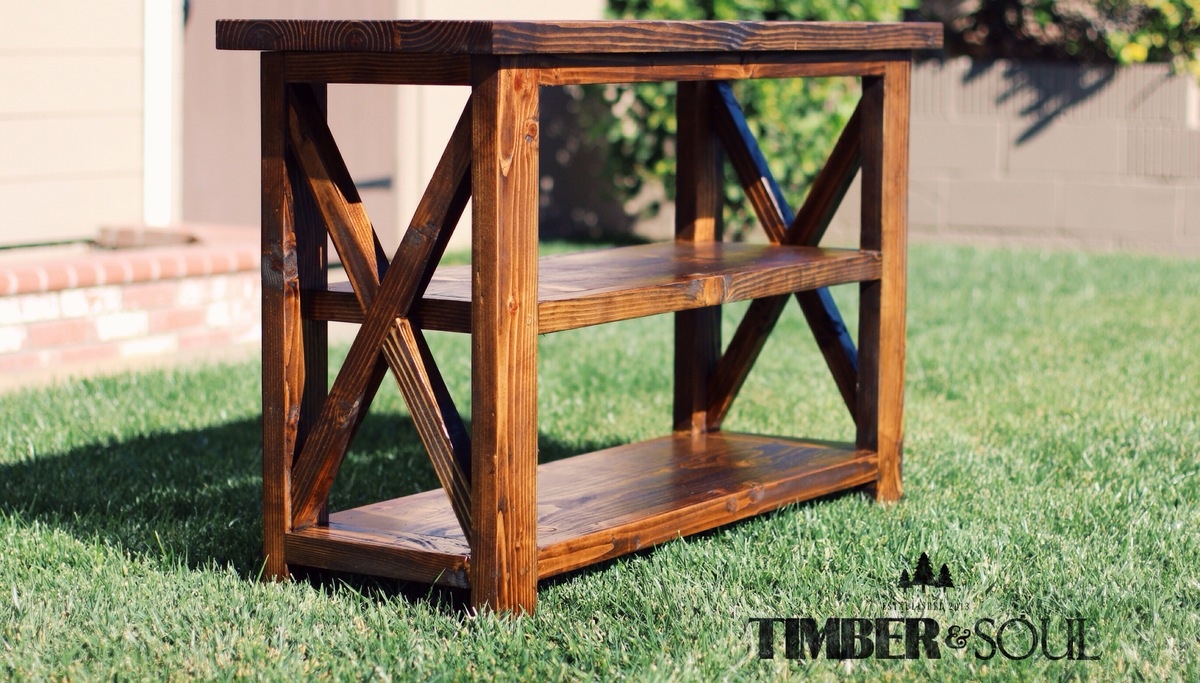
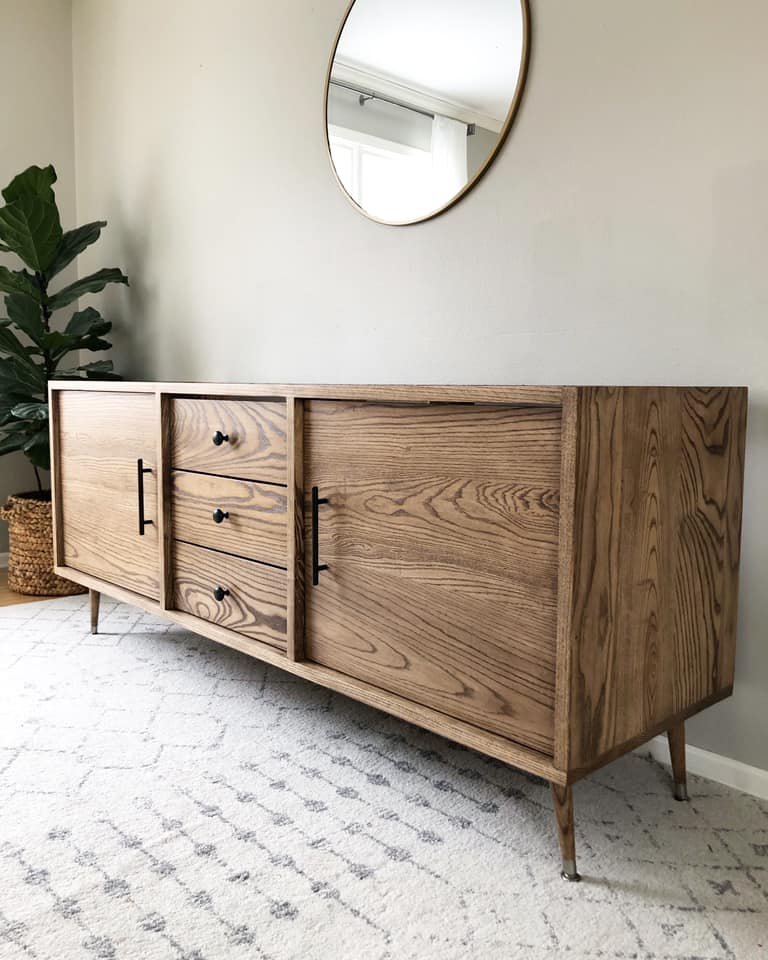
Rustic x console

I modified ana white's plans to build a smaller x console.

Built from Plan(s)
Estimated Time Investment
Weekend Project (10-20 Hours)
Finish Used
Dark walnut stain by minwax with an oil base varathane finish
Recommended Skill Level
Intermediate

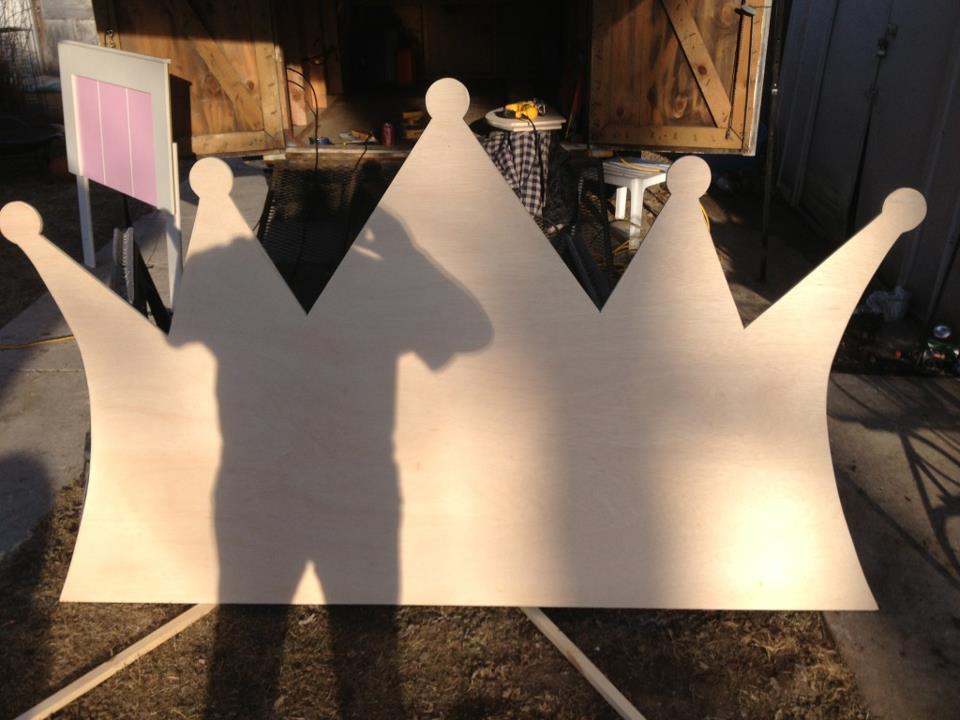
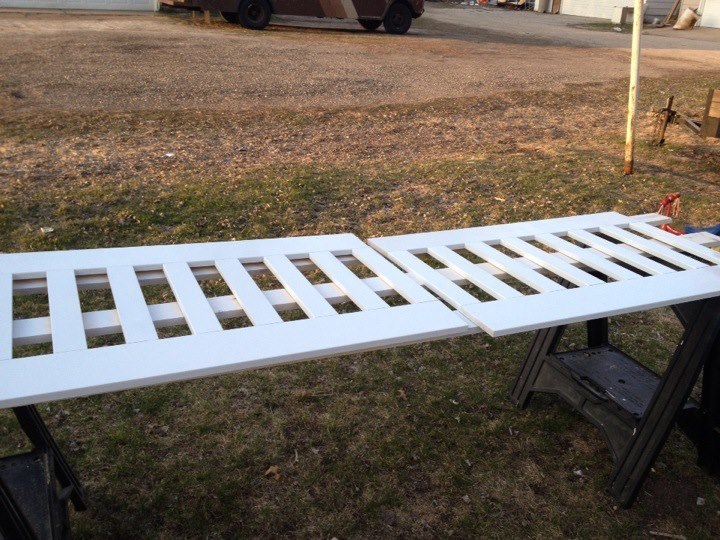
Converted A ashley twin size bed into Twin size Crib

Submitted by Mamabear2 on Thu, 01/23/2014 - 09:53

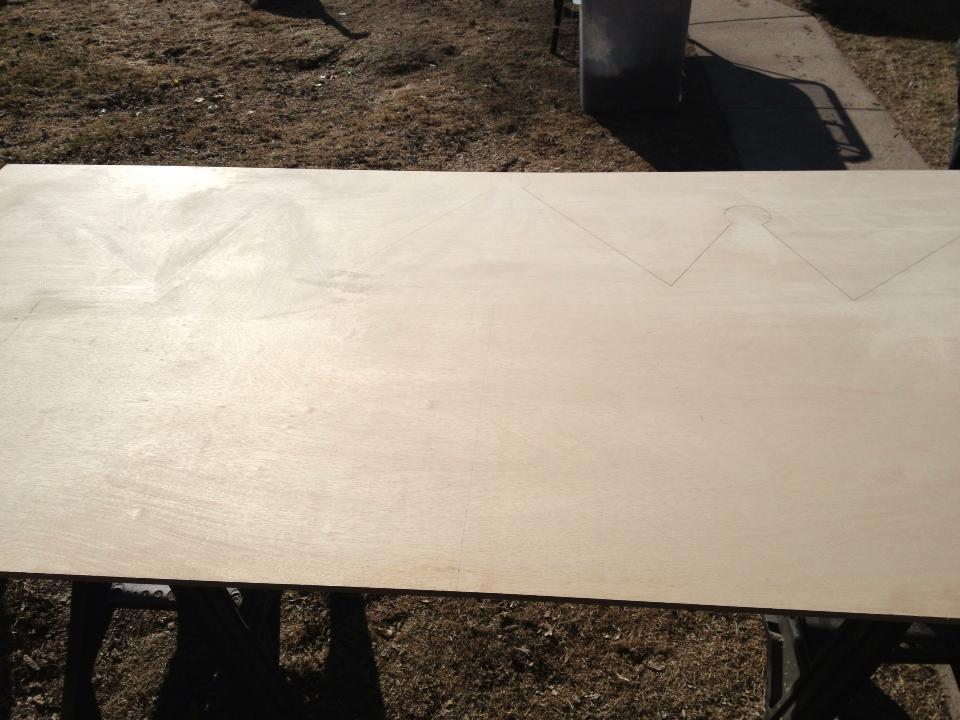
I purchased a twin girls captins bed for my daughter to grow into but she wasn't quite big enough for it yet so I had my husband convert it into a twin size crib!!!! Im in love with how it turned out. My husband Free hand a crown on a sheet of ply wood and cut it out. I used quilt batting and covered it with pink material and did the tips of crown in purple.

Estimated Cost
80.00
Estimated Time Investment
Day Project (6-9 Hours)
Recommended Skill Level
Starter Project

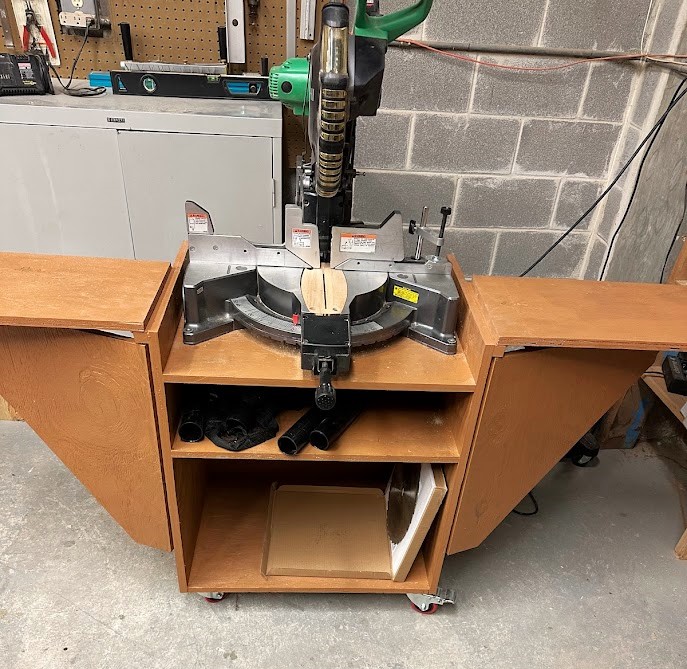
Shared Miter Saw Station

Submitted by Anonymous (not verified) on Mon, 10/02/2023 - 10:48

A friend and I built the mobile miter saw stand from your plans. We live in a retirement community and use the saw in our woodworking shop.

Built from Plan(s)

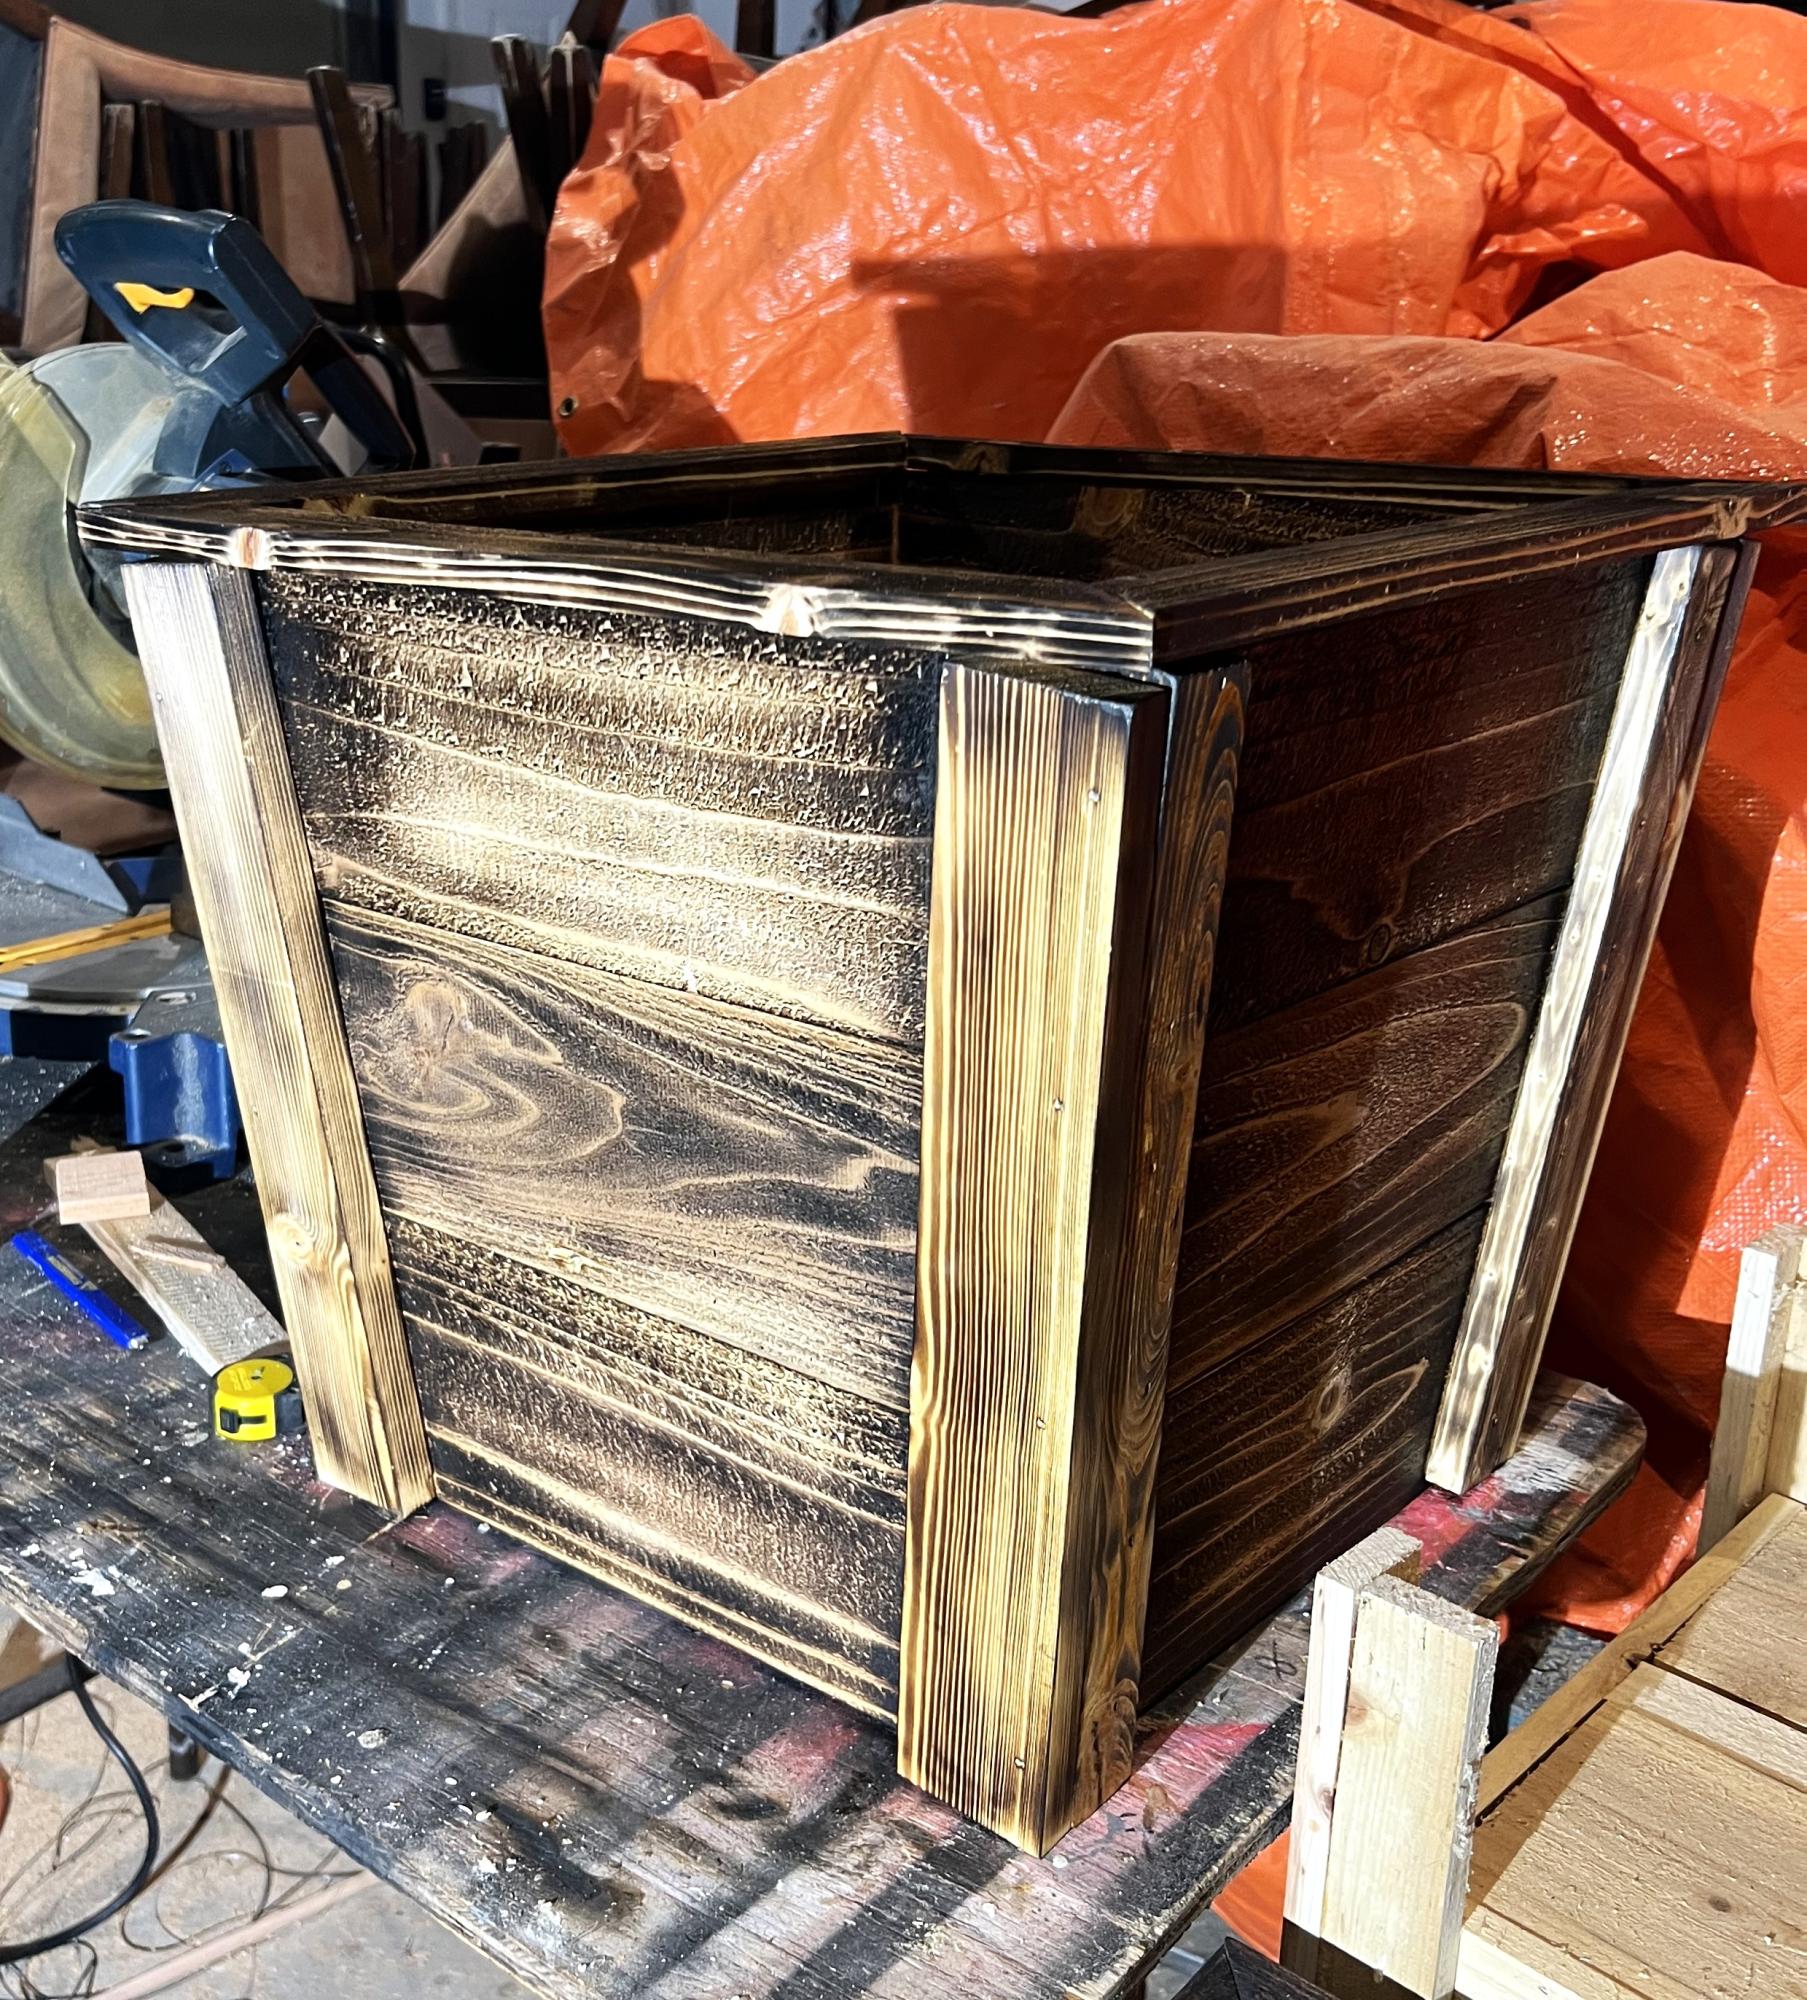
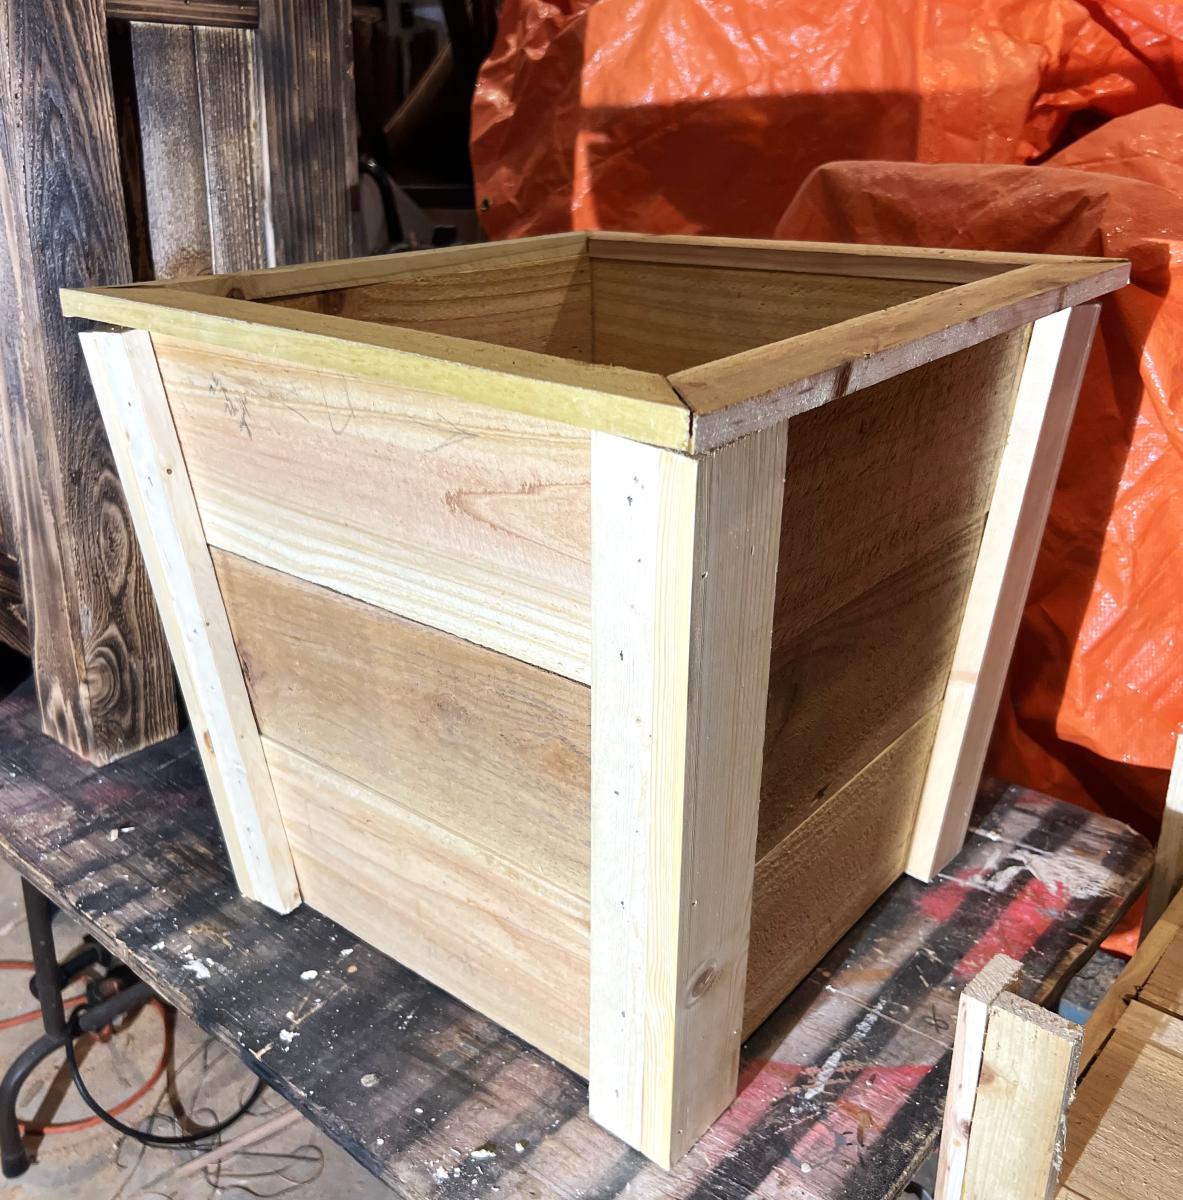
Cedar Planter DIY

Submitted by Anonymous (not verified) on Wed, 10/11/2023 - 10:29

Followed your plan for cedar planter had fun building it thank you so much I added my touch to it of the burn look

JR Lopez

Built from Plan(s)

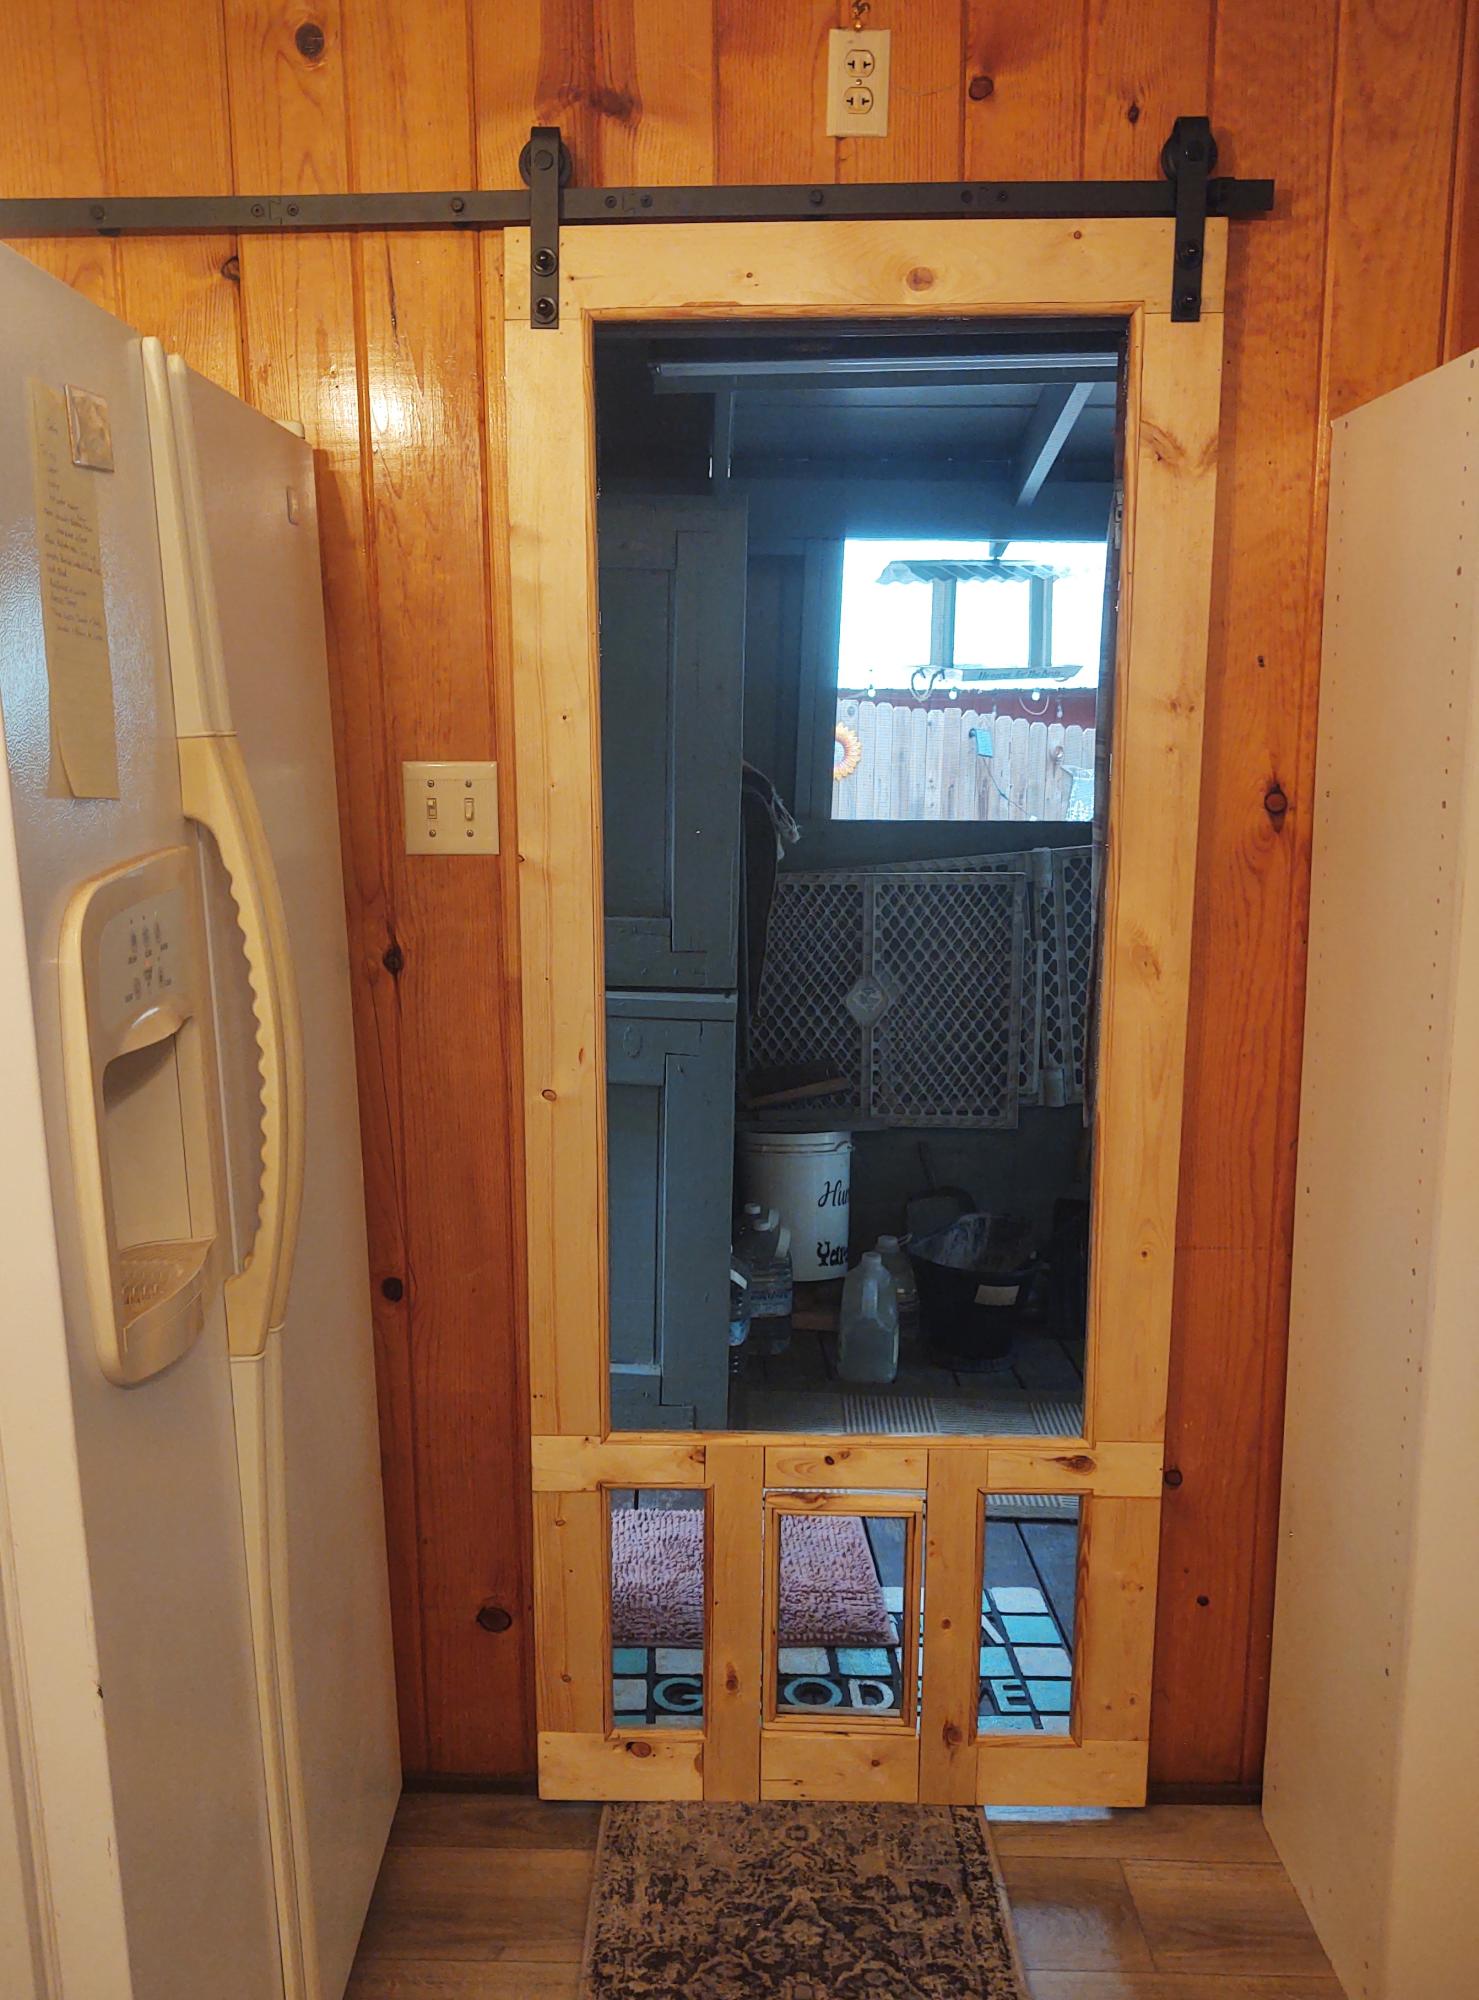
Barn Screen Door

Submitted by Anonymous (not verified) on Tue, 10/17/2023 - 07:45

I needed a screen door but one on hinges wasn't a option. So I built one as a barn door. The center bottom panel is a doggie door.


Lynda Westbrook

Comments

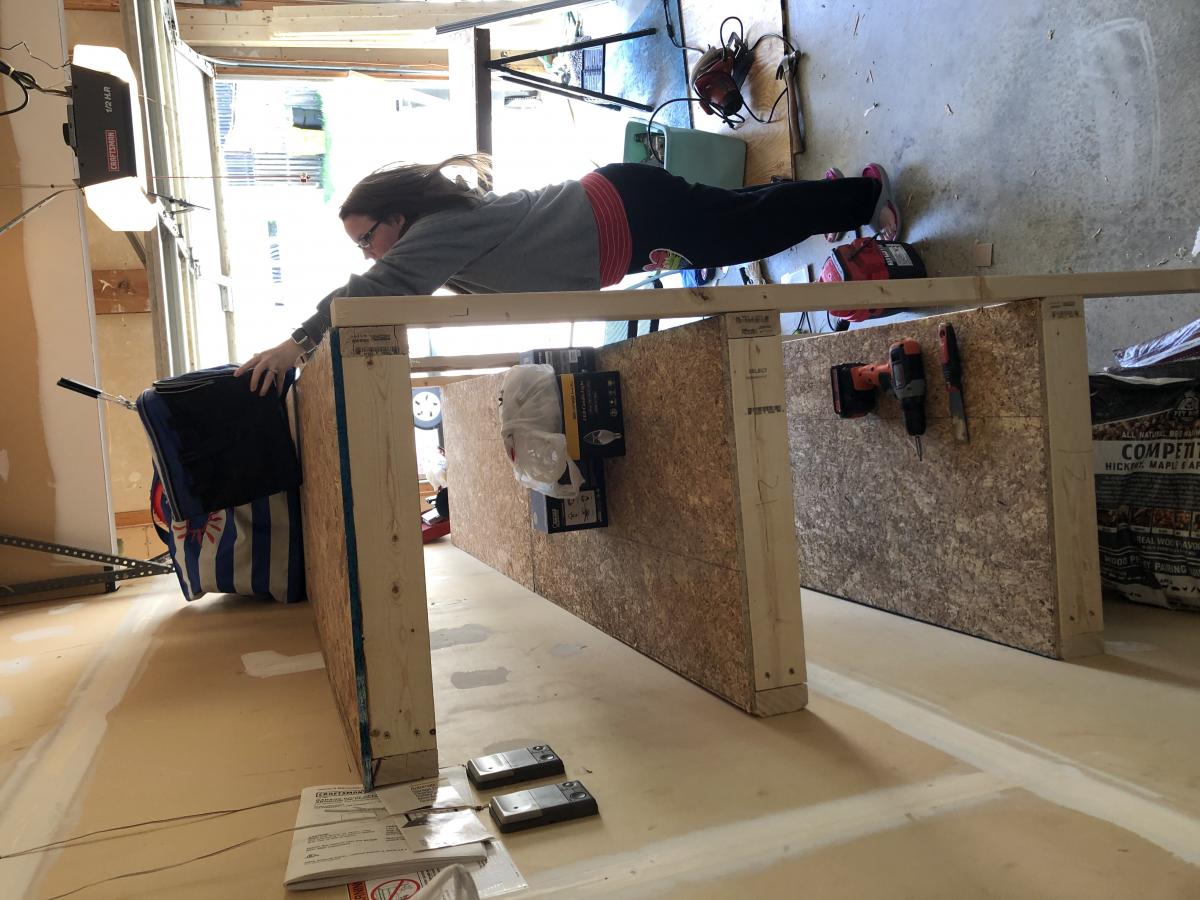
Roll Away Workbench with Miter Saw Stand

Submitted by advanlente on Sat, 03/28/2020 - 11:03

After collecting my tools, I needed a place to store them that would protect them. I had already had two jigsaws break because I was storing them in a rubbermaid tote. When I saw this plan I knew it was going to be perfect for my shop. My husband was supper happy because I would finally have a central spot for my workshop. My boys were happy to help when they could. 

Estimated Time Investment
Week Long Project (20 Hours or More)

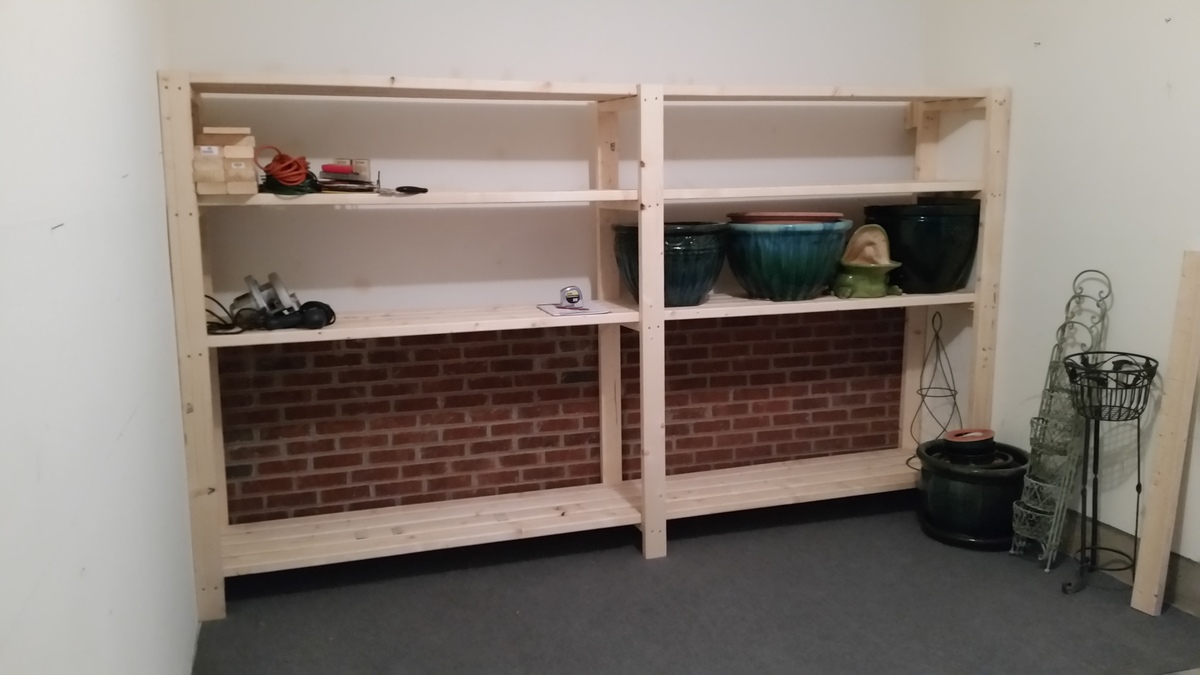
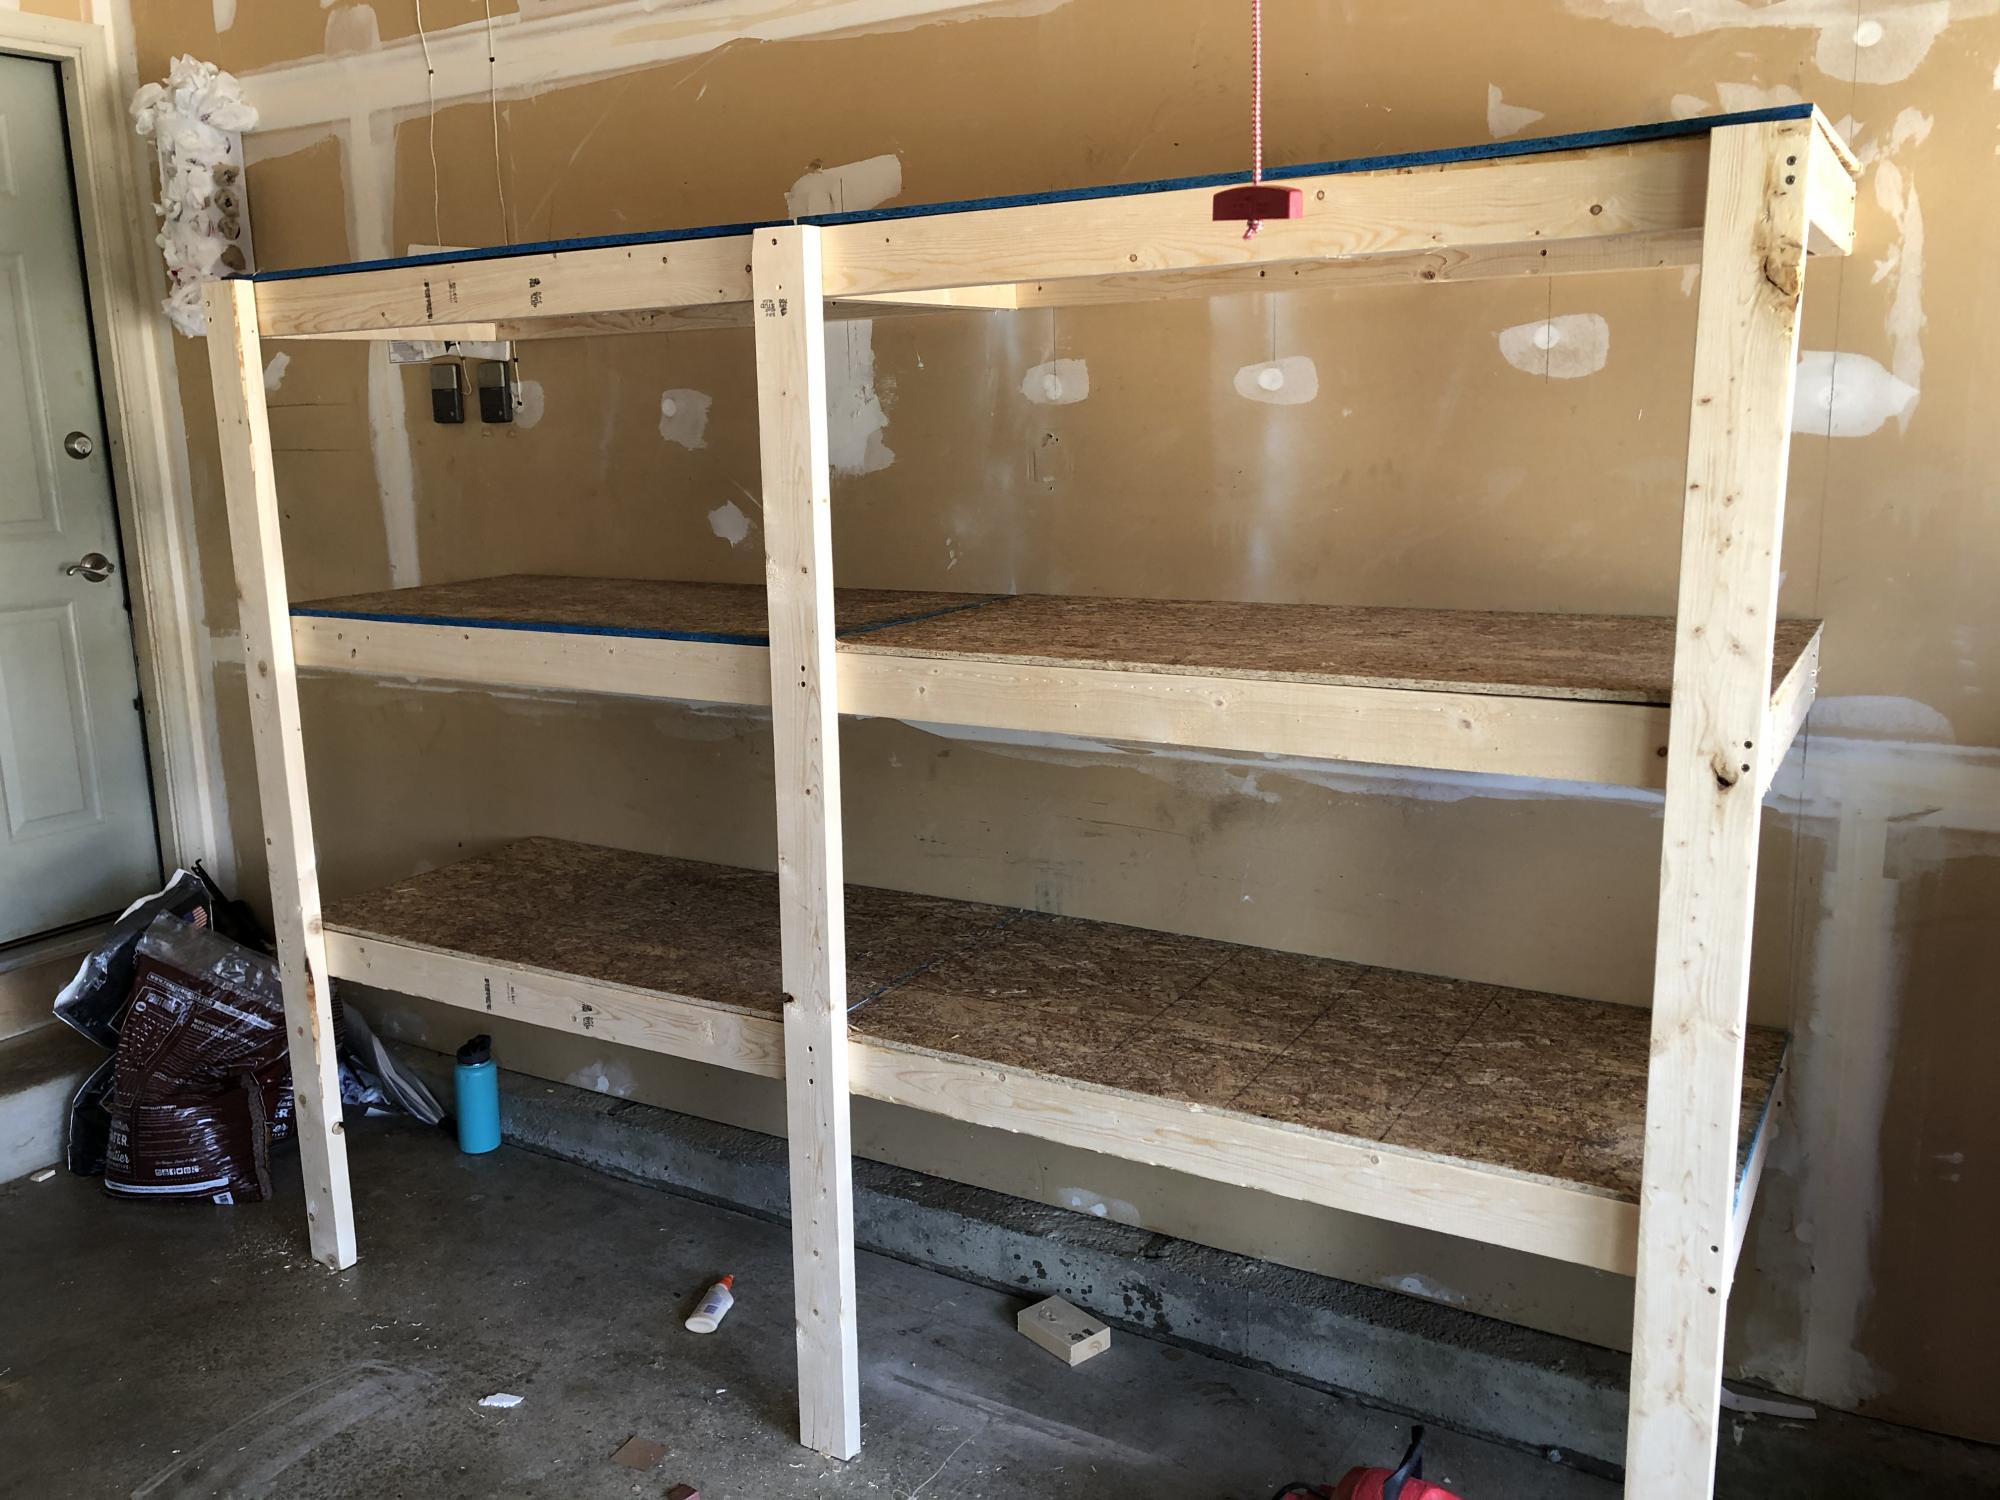
Awesome Garage Shelves

Submitted by scrapngurl on Sun, 04/19/2020 - 14:24

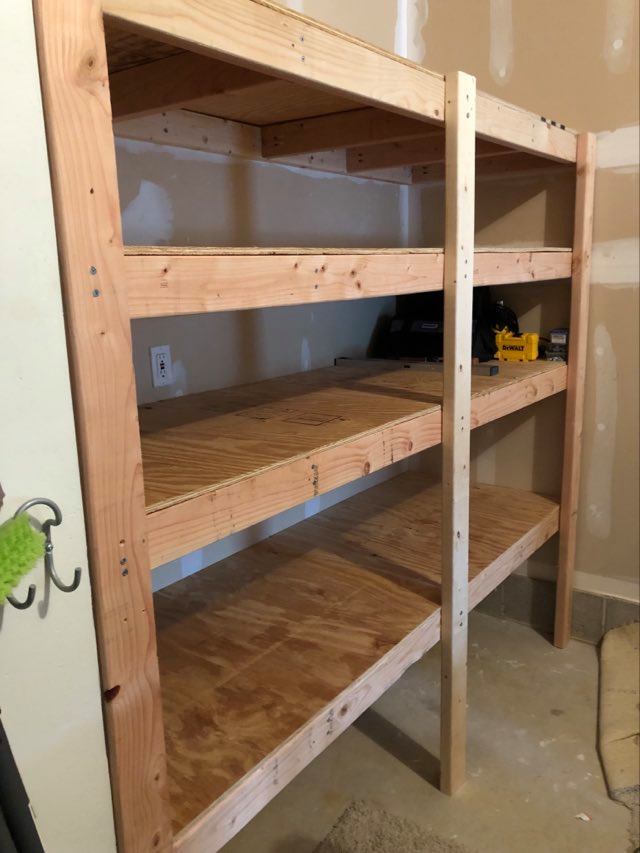
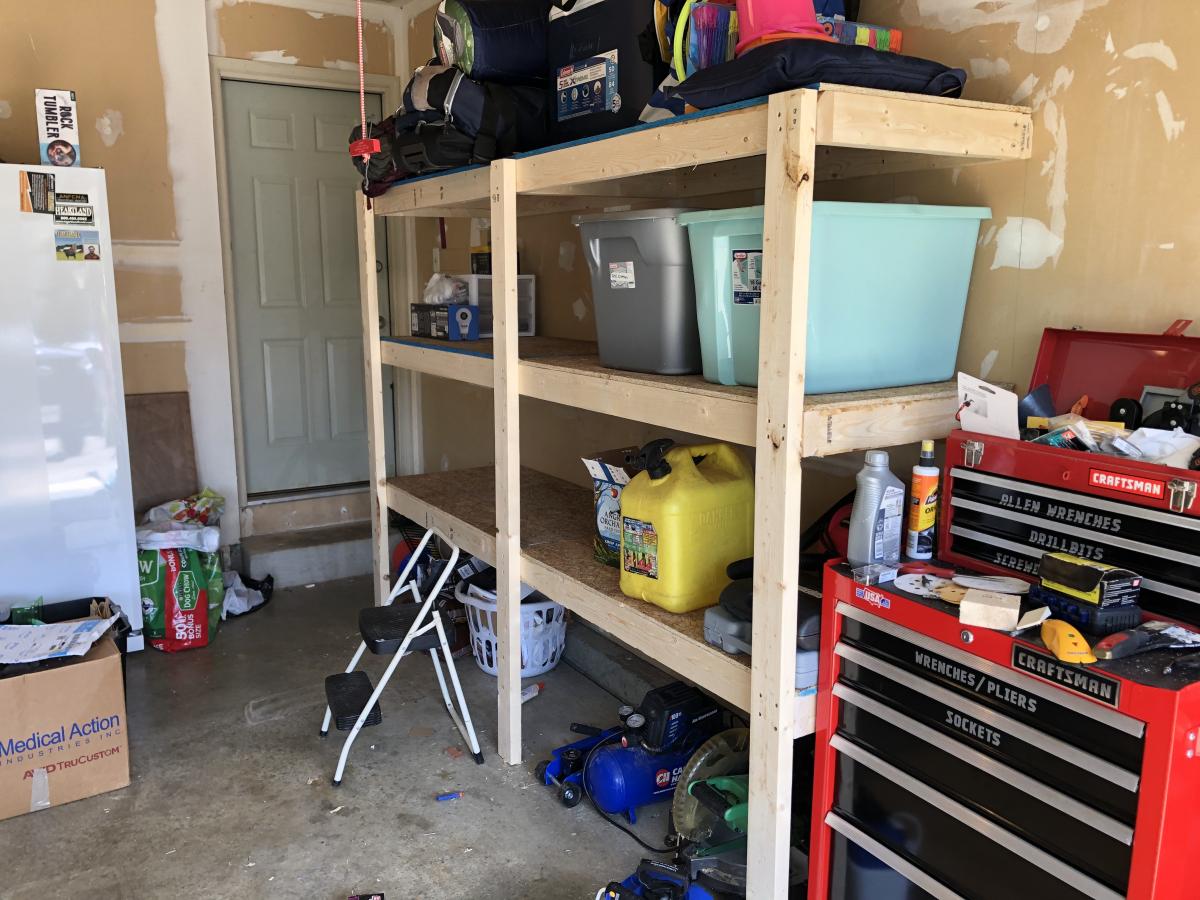
Thank God for these garage shelf plans! :D We have a one car garage that was disorganized and full of stuff. We tried to organize with some metal shelves, but they were very disappointing. They could not hold a lot of items because they were unstable and their measurements did not maximize the space we have. This was my first build and my husband thought I was crazy to attempt it. Neither of us knew what we were doing. However, the plans are simple, clear, and straight-forward and we had no difficulties. I can fit so much on these shelves because they are so sturdy. Love them!

Calif King Bed with Matching Nightstands

Submitted by abaxter0 on Sat, 04/05/2014 - 14:43

The next few months are going to be crazy! My fiancee and I will both be graduating in May. Our wedding will be be just over a month later in June. Sometime in the middle of all that craziness, we will be moving. I'll start a new job and she will be starting a graduate program.

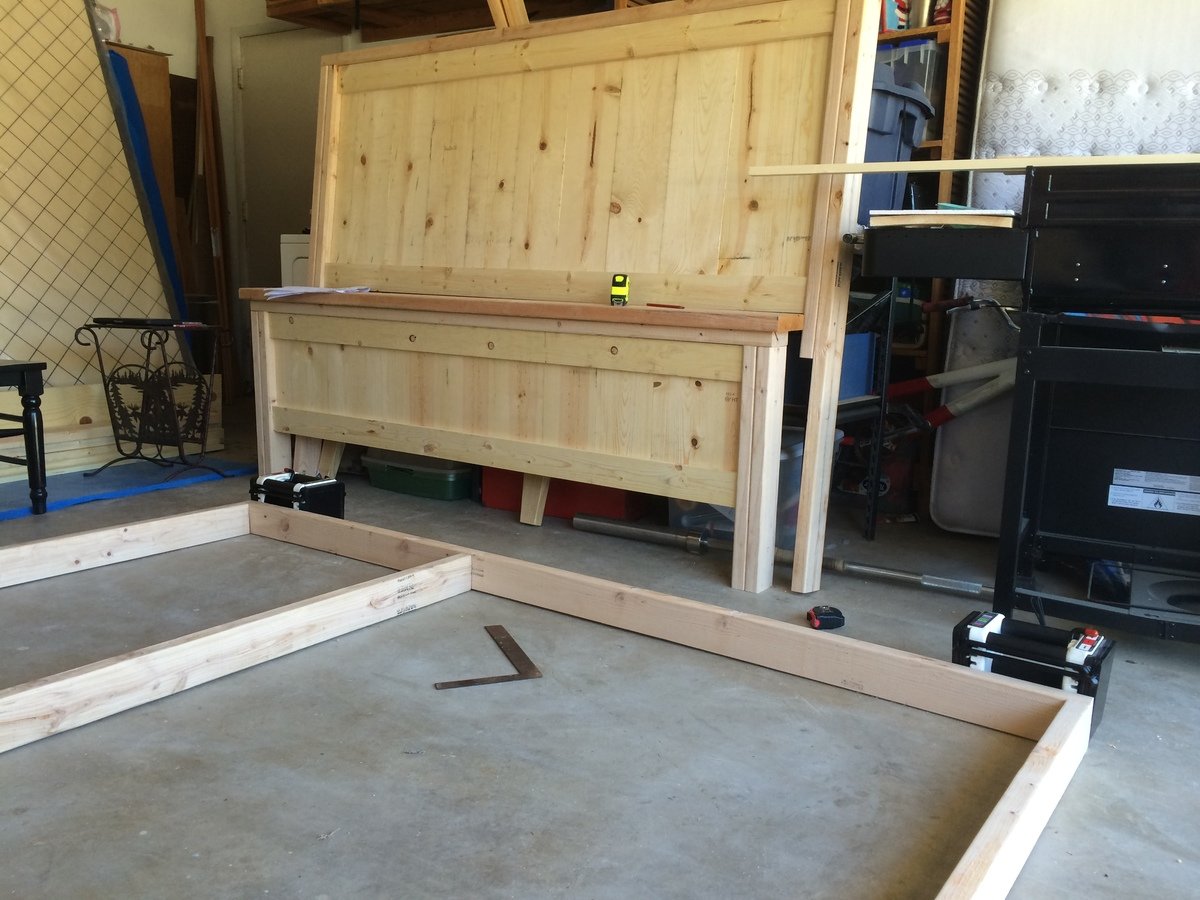
With all this coming up, I had been looking forward to my last spring break as a college student to go "home" and relax by working on a couple Ana White projects that I had picked out. I ended up working from about 9 or 10 am to about 10 pm every day for 8 days to get everything finished! just sitting in the garage working and running back and forth to Lowes was so refreshing. The time flew by and I ended up with two great pieces that my fiancee and I will enjoy for a very ling time.

I spent a bit more than expected after ordering the cheapest ($20) kreg jig from Amazon and other small things like paint but the value for for what I created is still great!

Bedframe:

I love learning how to do new things but I had relatively little experience with wood before this project. I picked up a miter saw a year ago when it was on sale at Lowes and hadn't used it except for cutting laminate flooring so I was excited to be able to use it finally! I had a table saw that was picked up at a garage sale that hadn't been used either which came in handy! My uncle brought over some other tools that were indispensable like a belt sander and finish nailer.

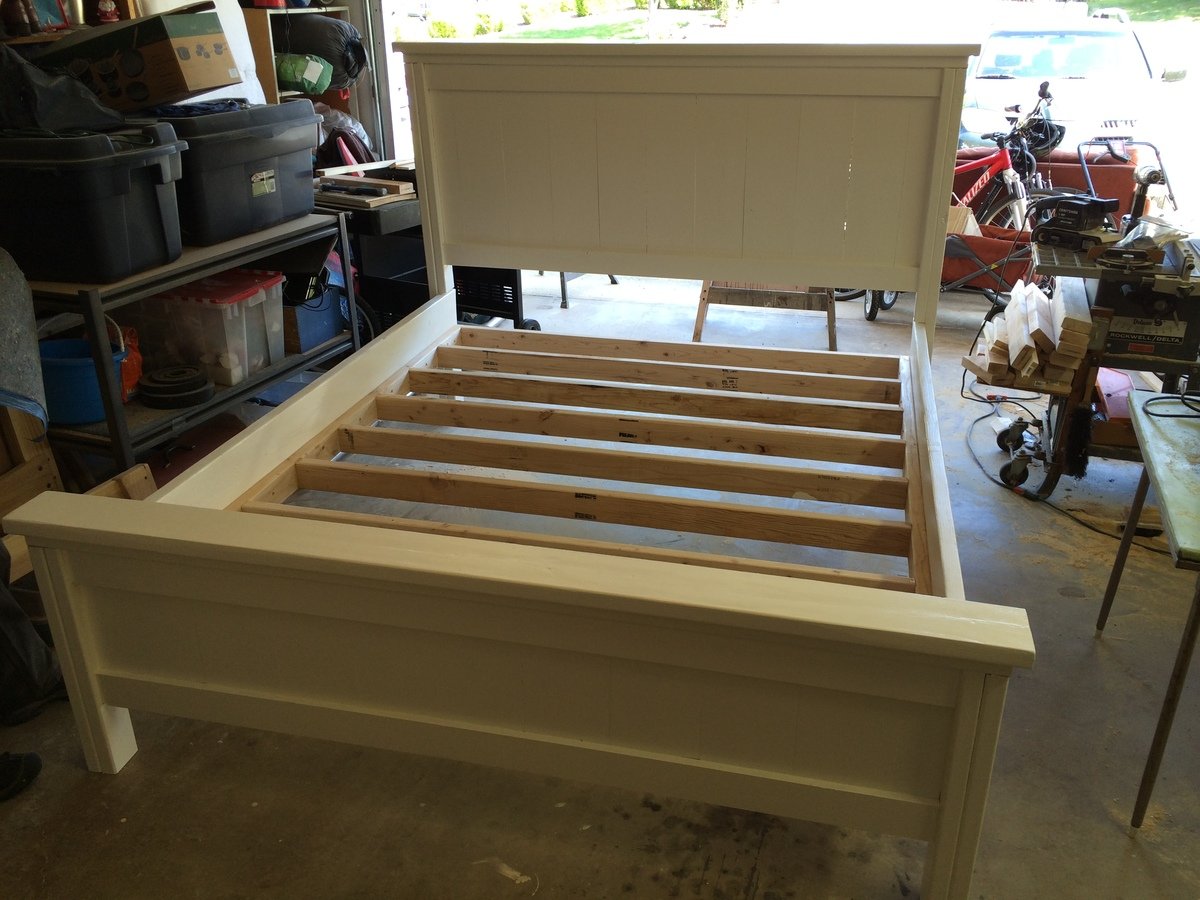
Everything went pretty smooth. The only advice I have is to make sure that you measure EVERYTHING. For example, the slats used in the headboard and footboard need to be the correct width when glued together. Mine came out a little short due to the dimensions of the wood. It was an easy fix for me: use 1x4s on each end instead of 1x3s. I found that when I finished the main three pieces (footboard, frame, headboard), the frame was slightly too big to fit into the footboard and headboard. That's where the belt sander came in handy! Just be careful... the belt sander works FAST.

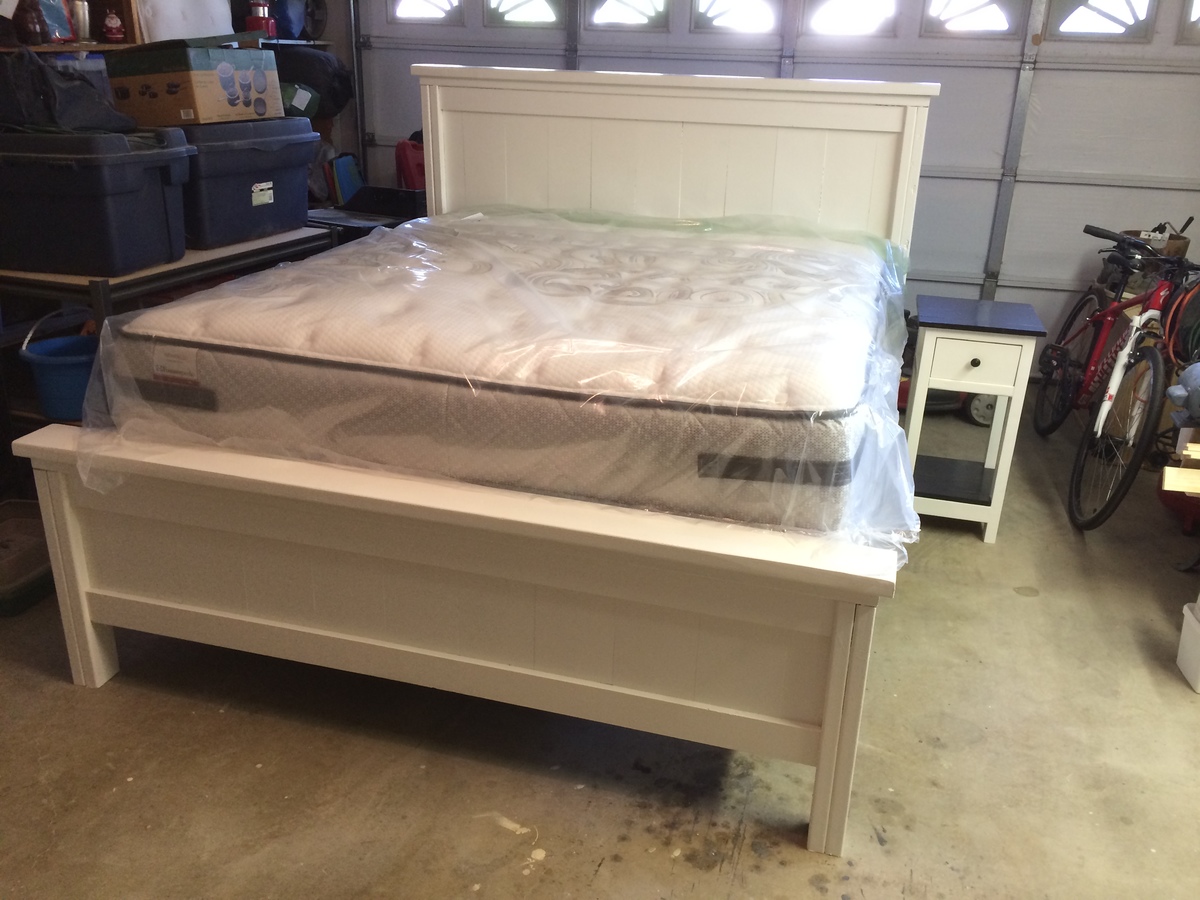
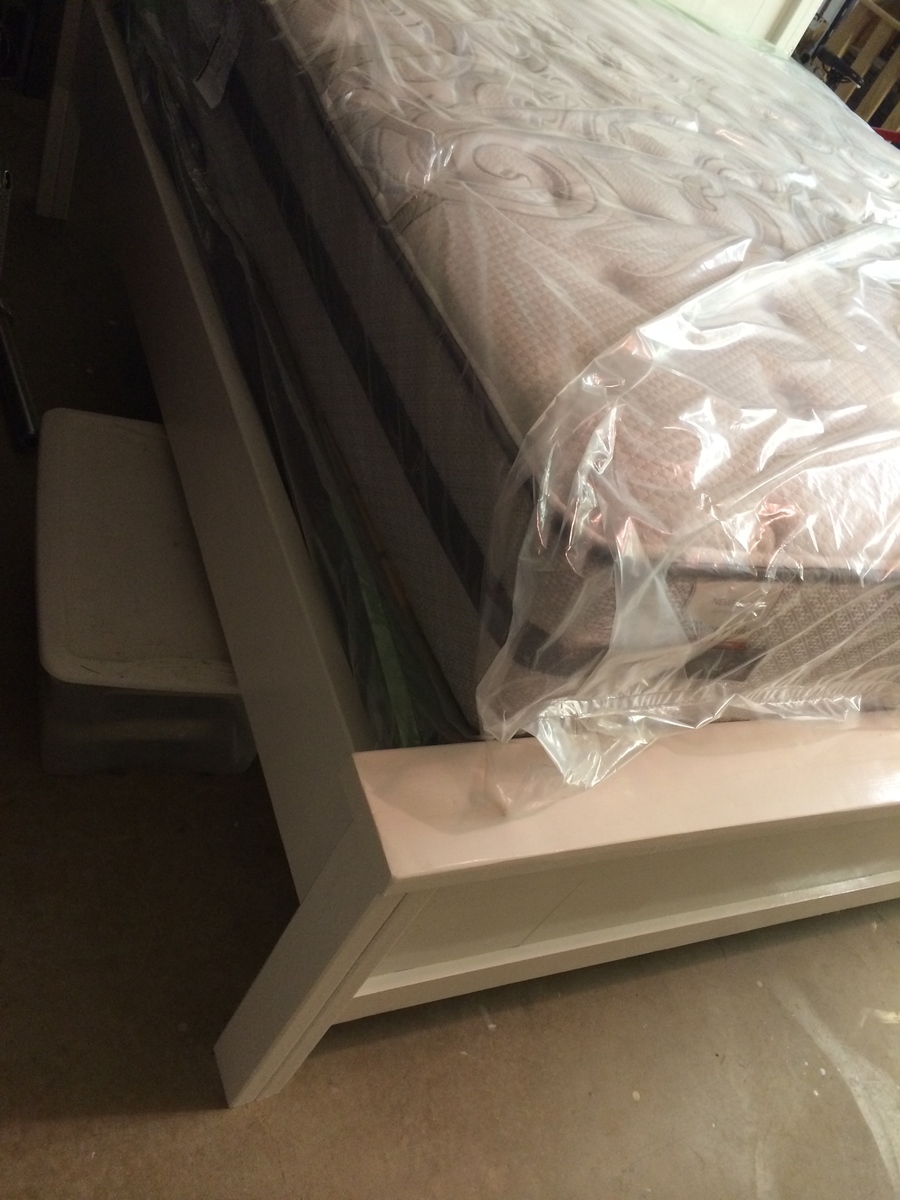
One change I made to the bedframe plan was that I added 3 inches to the legs. My fiancee and I are very tall so I thought this would be a good idea. I like how it came out but I will warn you... this bed is TALL. Especially with a mattress and box springs! One huge positive aspect of making the bed taller is that a 12" storage box fits perfectly under the bed (see picture). I didn't do this on purpose but it's going to be nice to have all that usable storage space!

My final note on the bedframe is that it is huge. I'm not looking forward to moving it (although I think it can be done). I used kiln dried wood from Lowes for everything which worked fine. The only pieces that are not dry are the two 2x10 side panels on the frame. These make the frame SUPER HEAVY. Just a warning.

Nightstands:

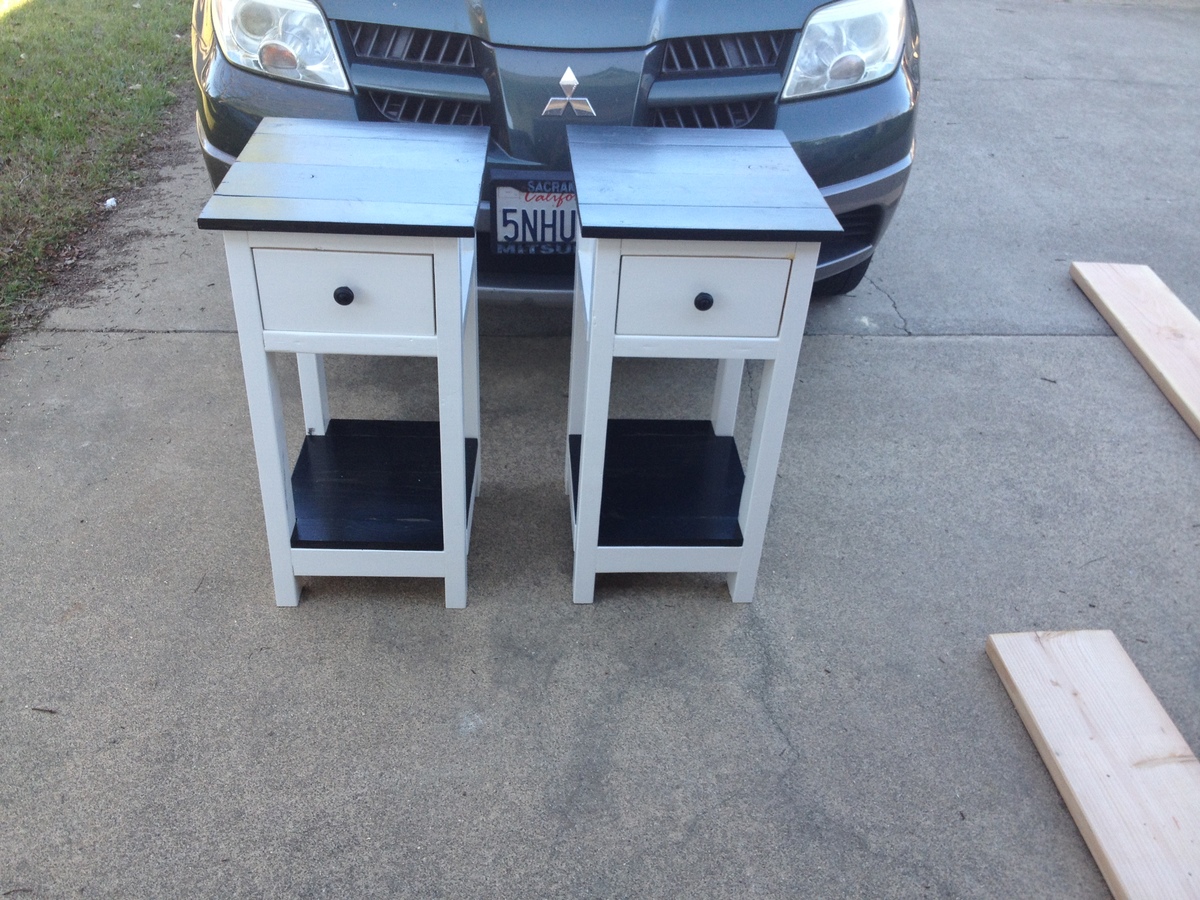
The nightstands were so much fun to make. I used the Kreg jig for everything on it and I highly recommend it. I would not even try to build these without a kreg jig. Besides, the Kreg jig is so awesome to use (I also highly recommend the Kreg screws and the Kreg brand clamp).

I used 2x3 instead of 2x2 for the legs (2x3 at lowes was like $1.50 in stud length compared to like $8 or something ridiculous for 2x2s). I had to be careful with the plans by using 2x3s and get creative in a couple areas but it worked pretty well and made it so much cheaper. I spent under $50 total for two nightstands!

Finish:

I know that these pieces are going to have to be moved so I wanted to finish them with protection being the number one priority. With that in mind, I used a semi-gloss Valspar paint + primer from Lowes and then several coats of semi-gloss poly. I could have done a better job finishing (for example, I only applied one coat to the back of the headboard where no one will ever see) but time was an issue as I only had a week to finish everything before heading back to school. I also probably should have waited a bit longer between coats of poly but whatever.

I stained the tops of the nightstands with an ebony stain and used the same Swiss Coffee Valspar Paint + Primer from Lowes as I used for the bedframe.
Estimated Cost
$200 - $250 for Bedframe, $50 for Nightstands (2)
Estimated Time Investment
Week Long Project (20 Hours or More)
Finish Used
Semi-Gloss Valspar Swiss Coffee Paint + Primer (1-2 coats, depending on whether or not it will be a visible part of the project)
Brush on Semi-Gloss Poly (3-4 coats)
Ebony Stain

One gallon of paint was plenty for all three pieces.
Recommended Skill Level
Beginner

Comments

Blanket chest

Submitted by dbizzle on Sat, 04/19/2014 - 18:51

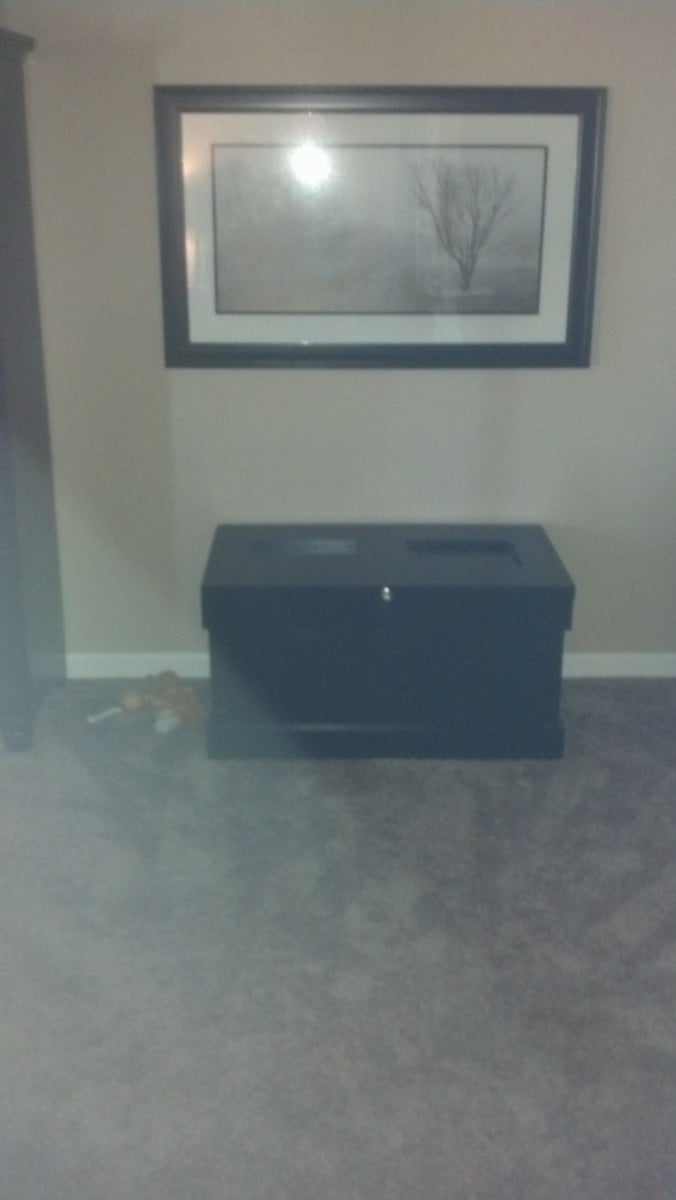
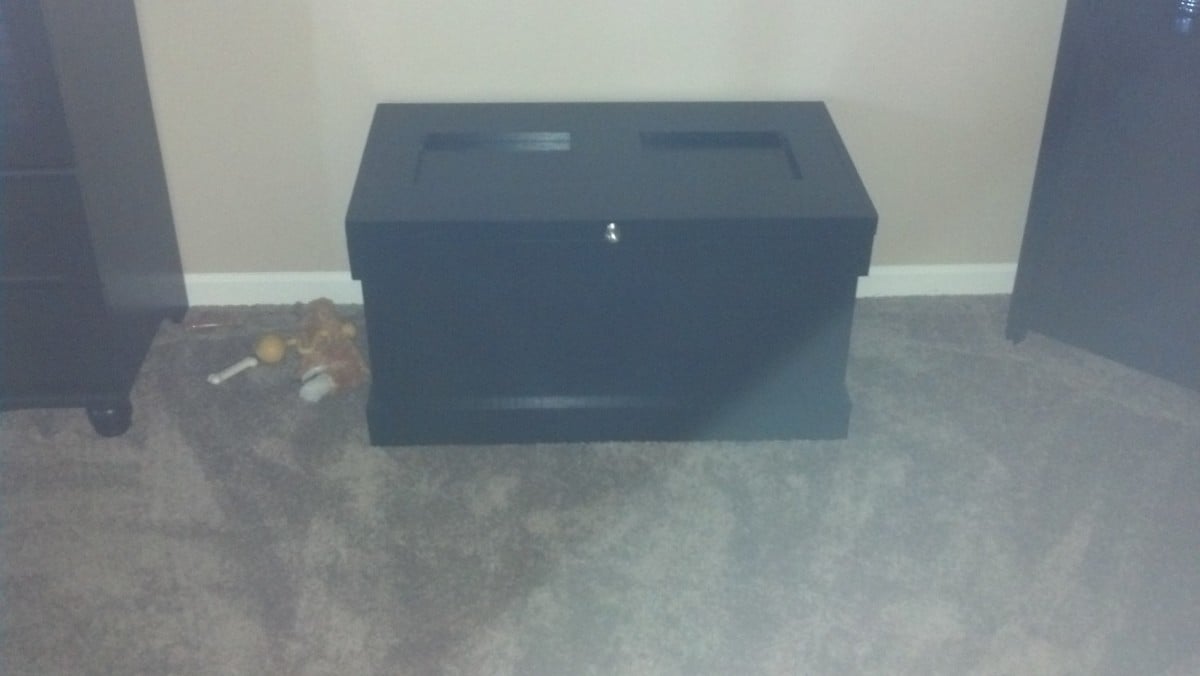
My wife wanted a new chest to store blankets in. I saw the plans for the Becca and thought it would be perfect for what we were after.

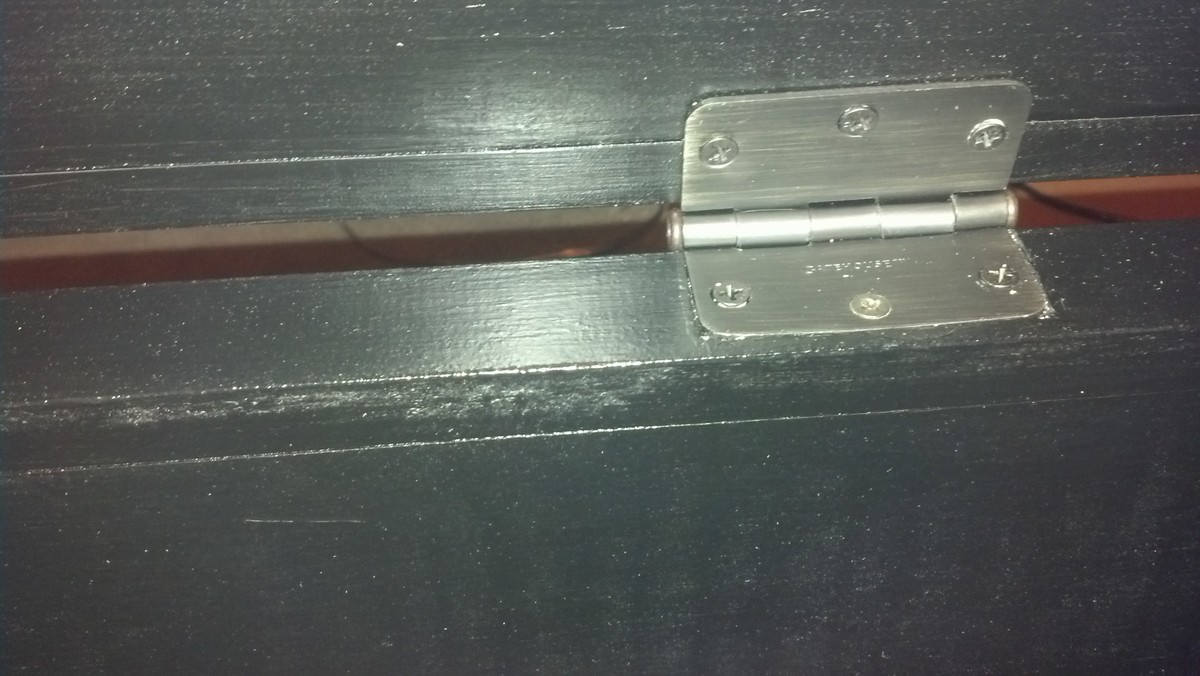
I used some regular plywood I had laying around and some select pine for the trim. I liked the look of the top in the plan but wanted some more texture to it, so I used a solid piece of plywood for the top and layer pine for the trim features. I tested my new chisels to recess the hinges to minimize gapping under the lid.

We painted it solid black to match the rest of the basement furniture. A few coats of poly finished it off for durability.

This took about 2 months for me to get around to finishing. That's probably about...12 hours of actual work, plus finishing.

Built from Plan(s)
Estimated Time Investment
Weekend Project (10-20 Hours)
Finish Used
Valspar spray primer, Rustoleum Painter's Touch Black (2 coats), Minwax Water-based Polycrillic (3 coats)
Recommended Skill Level
Intermediate

Hidden bathroom storage

Submitted by Imadeit on Wed, 07/20/2016 - 13:13

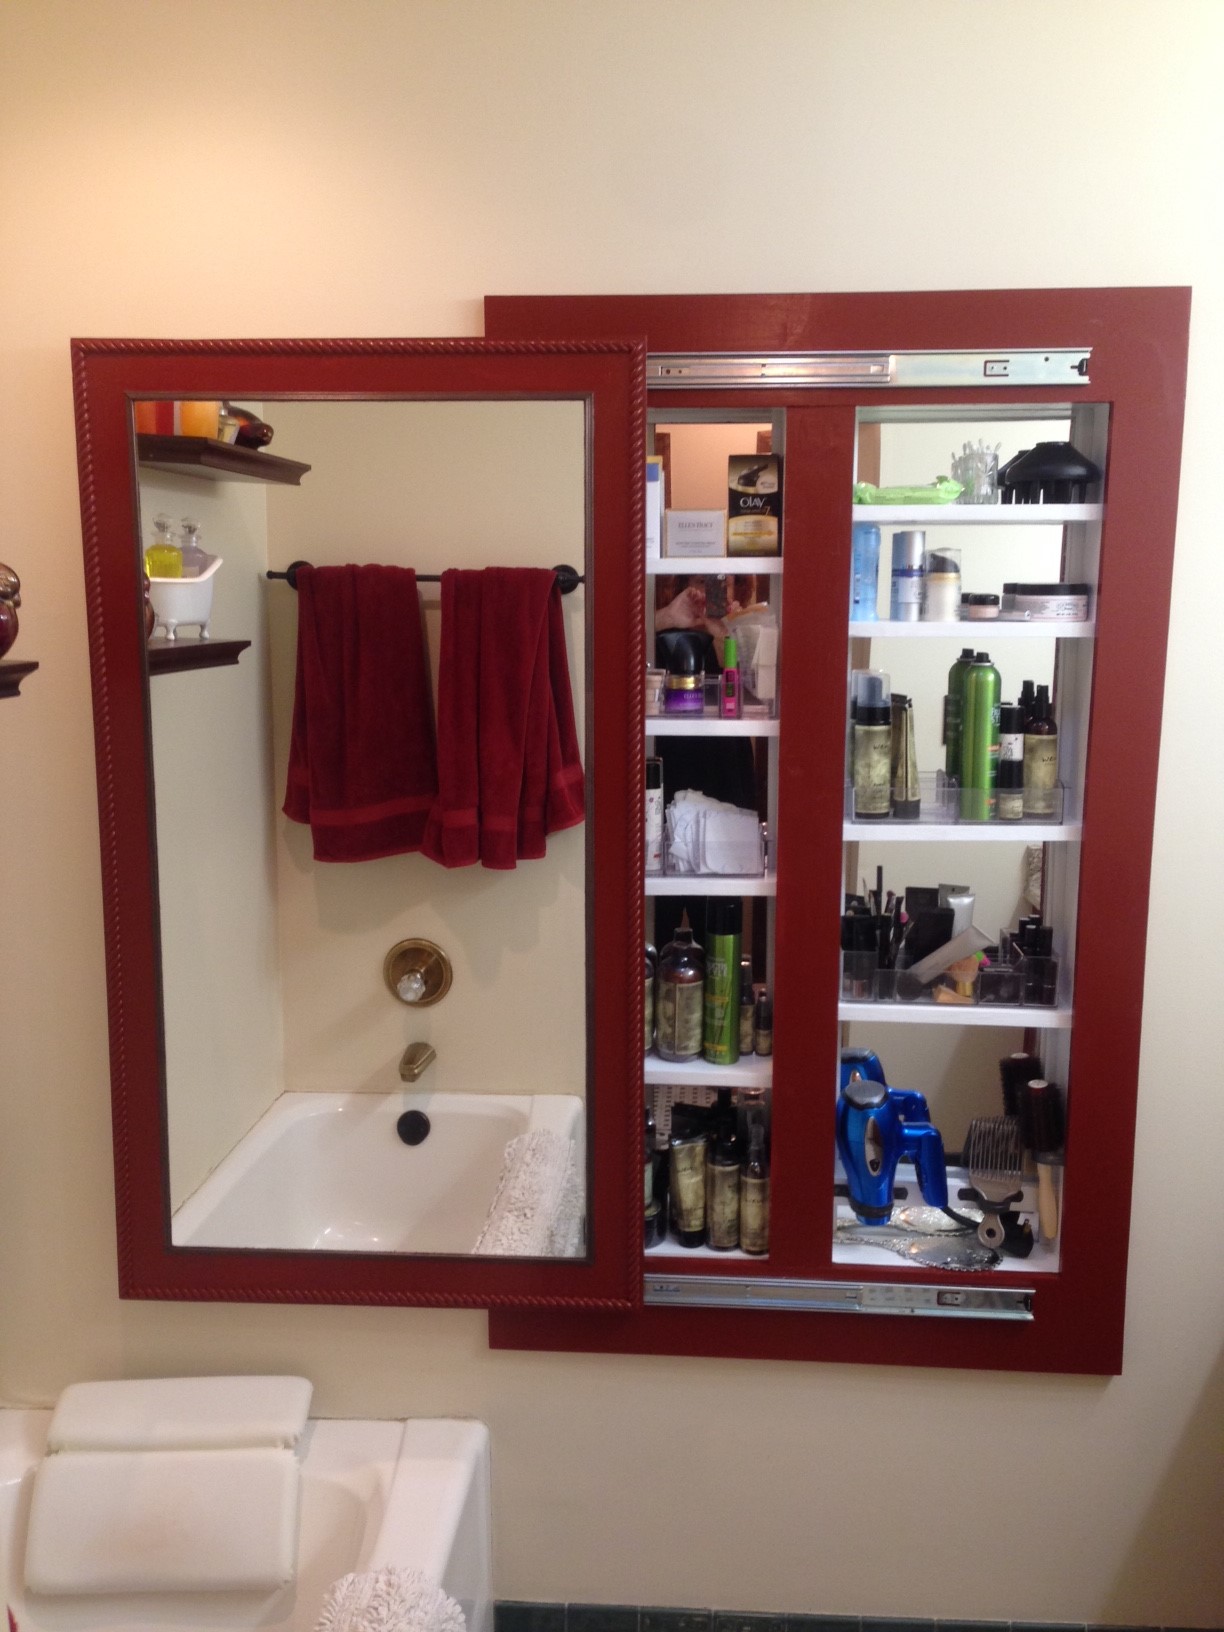
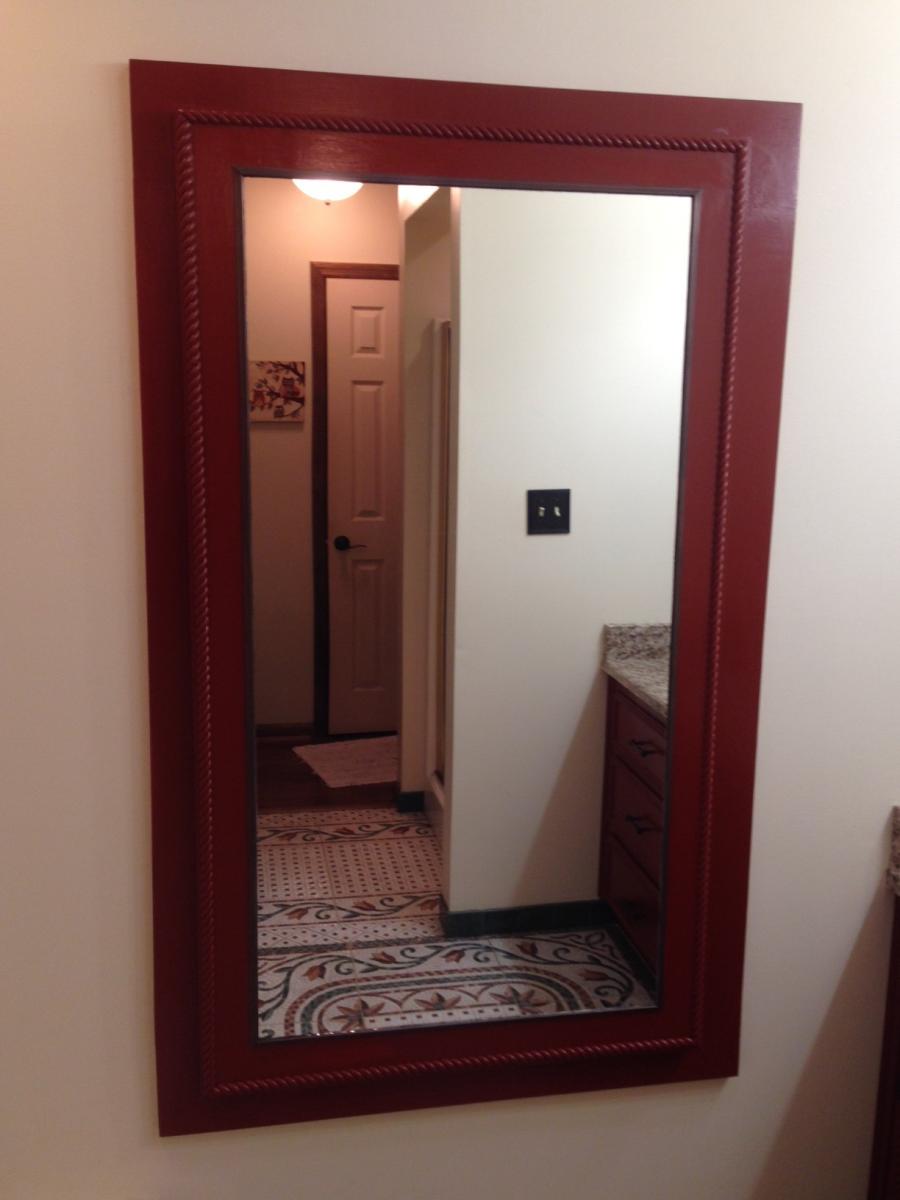
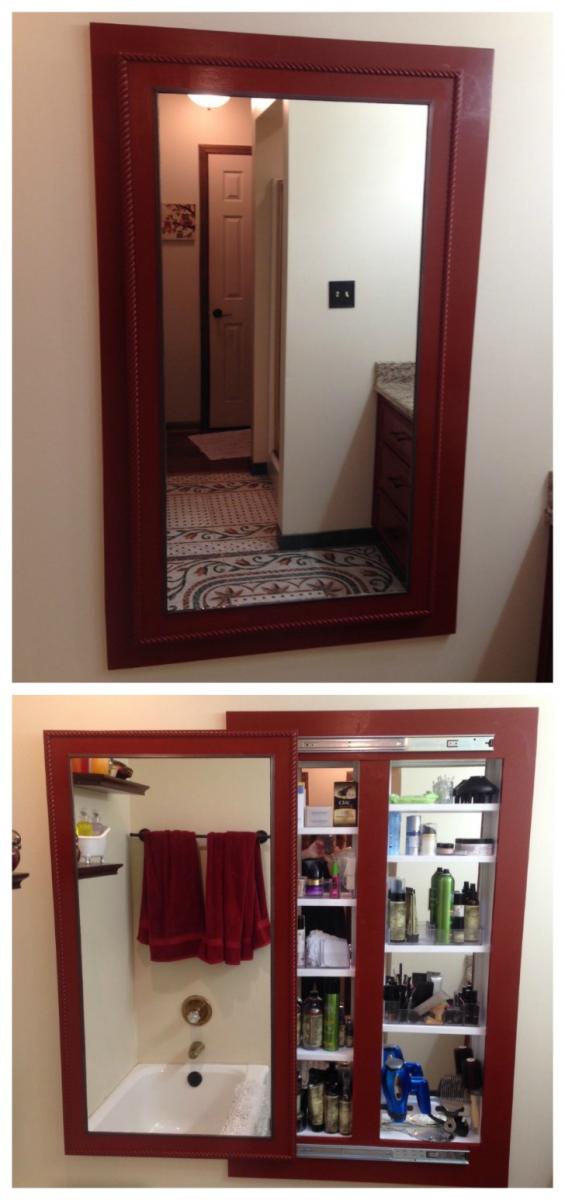
Adapted Ana's full length mirror storage idea.  I needed to recess the cabinet into the stud cavity to save needed floor space.  Opened two cavities and made the interior the same length as the cheap $6 behind the door mirror.  Was able to just sit them on a ledger board and the shelves hold them from falling forward.

The cabinet looks wonderful and holds a TON of things.  Thanks Ana for the inspiration!

Estimated Cost
$200 because of buying a custom cut mirror for the outside, and adding expensive rope molding to match what is on the adjacent vanity.
Estimated Time Investment
Weekend Project (10-20 Hours)
Finish Used
Chili pepper semi-gloss Aura paint by Benjamin Moore
Recommended Skill Level
Intermediate

Comments

bull5480

Sun, 02/27/2022 - 15:58

I am wanting to build a thin or recessed cabinet for an incredibly small area in my bathroom and knew to go right to Ana White! The combination of these two projects is perfect and exactly what I was looking for! Now here’s to praying I can pull it off!! 😬

DIY Garage Shelves (Attached to Walls)

Built this using the BEST DIY Garage Shelves (Attached to Walls) post from here. Was straight forward, and works great. Can't wait to start organizing the garage (finally)!

Estimated Cost
65
Estimated Time Investment
Afternoon Project (3-6 Hours)
Recommended Skill Level
Beginner

Farmhouse table

My 19 year old son made this for me in an afternoon. I did the finishing and used an oil based outdoor stain. I would try a different finish next time. One coat did not seem enough, and two coast were tacky. I love the finished table though. We will use it outside on our patio. I am considering having my son build another using better wood for the kitchen.
Built from Plan(s)
Estimated Cost
$100
Estimated Time Investment
Afternoon Project (3-6 Hours)
Finish Used
Superdeck- Exotic Hardwood Stain, Walnut
Recommended Skill Level
Beginner
Back