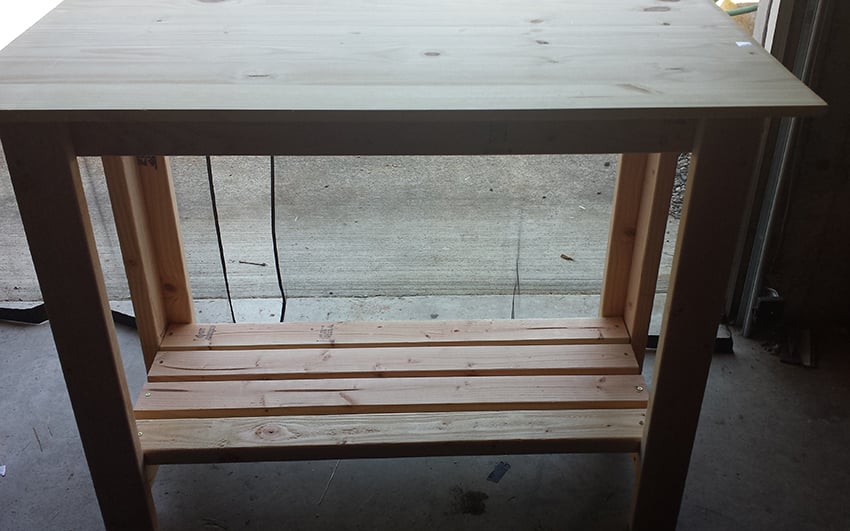
Raised Planter Box with Bottom Shelf
Just built this today, very easy build. I used cedar tone treated lumber for the frame and the cedar pickets. I modified the size some, little smaller than the plans. Total material cost about $70.
Just built this today, very easy build. I used cedar tone treated lumber for the frame and the cedar pickets. I modified the size some, little smaller than the plans. Total material cost about $70.
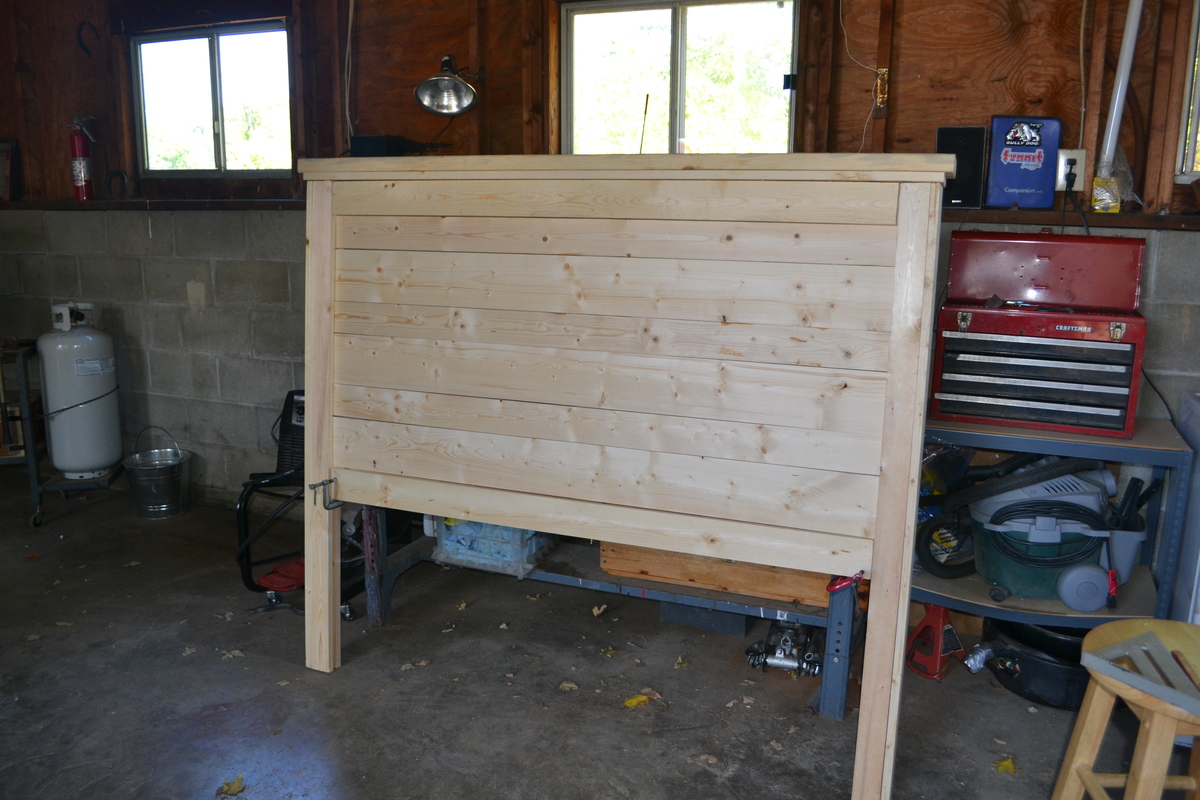
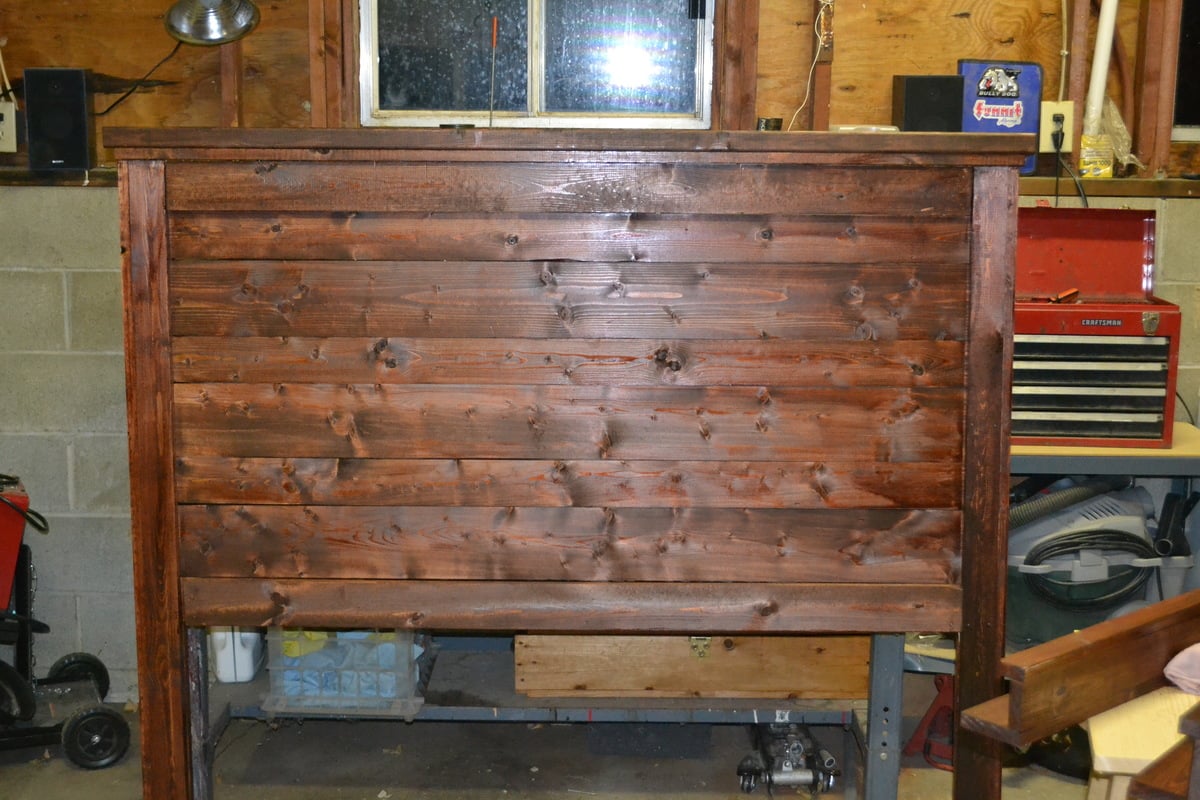
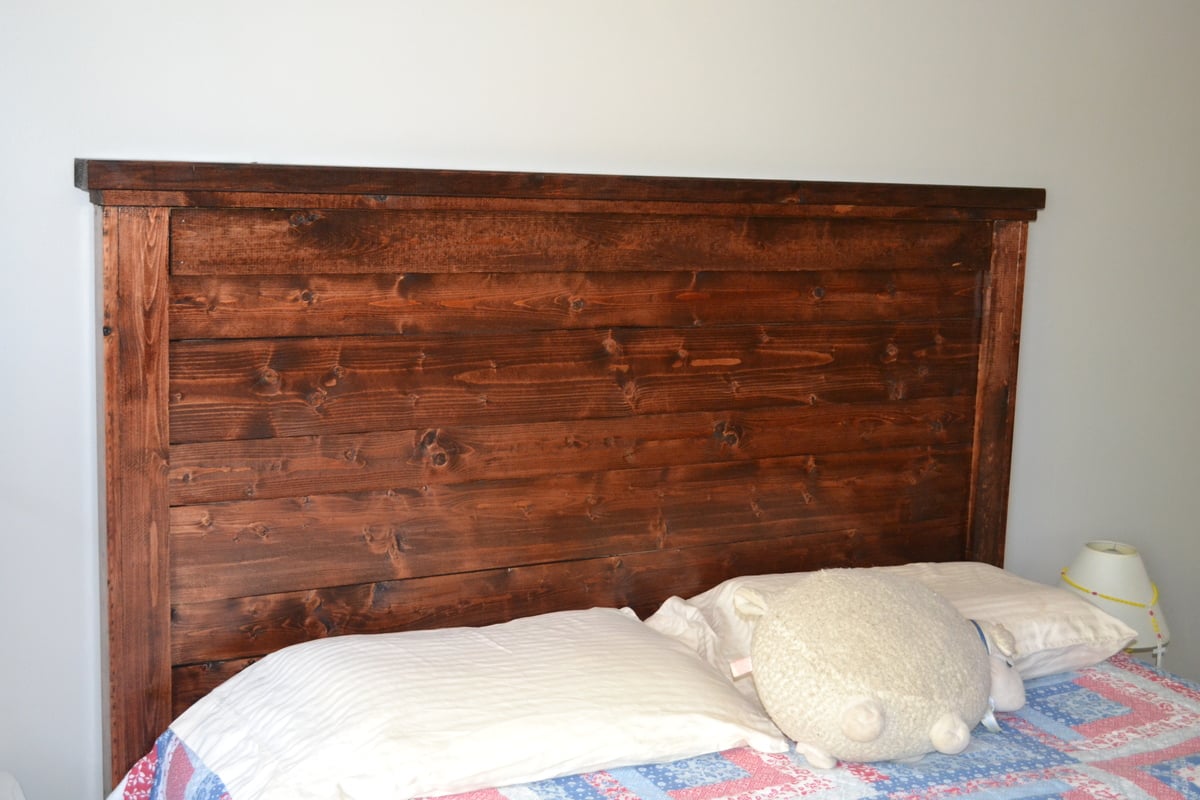
When we moved into our new house, we quickly realized the boxsprings for our queen-sized bed were not going to fit up the stairs. So while hubby was busy with his own projects, I made a 2x4 bed frame at 16-1/2" off the ground and built the farmhouse headboard. We like to use the end of the bed for sitting and putting on socks and shoes, so I did not build the coordinating footboard.
I absolutely love the way it turned out and have received so many wonderful compliments. Take about an ego boost!
Cutting took about 1 hour (first use of a radial saw) and assembly took another hour. I applied 1 coat of Minwax Red Oak stain and 2 coats of Minwax semi-gloss polyeurethane sealer.
In reply to NICE! by Rusty Cottage
Thu, 08/23/2012 - 12:49
Good eye, I forgot those were in the picture. Thank God for scraps!
This was my second project (first was a work bench) and it came out great.
W. Knight
This was my first build from your site! Farmhouse bench.
I was a little confused with the miter saw instructions "bevel cut at a 10 degree angle off center". I had to google to figure out what you meant. In the end the bench looks awsome and I feel very empowered with my tools.
(still need to stain the finished project, bought all the wood and built in 1 day)
Thank you Ana for sharing your plans!! I love your site and I love my Kreg Jig!
Vicki
(Canada)
Wed, 04/15/2020 - 11:38
It looks great and rock solid. I can't find a plan for it. Could you please help me?
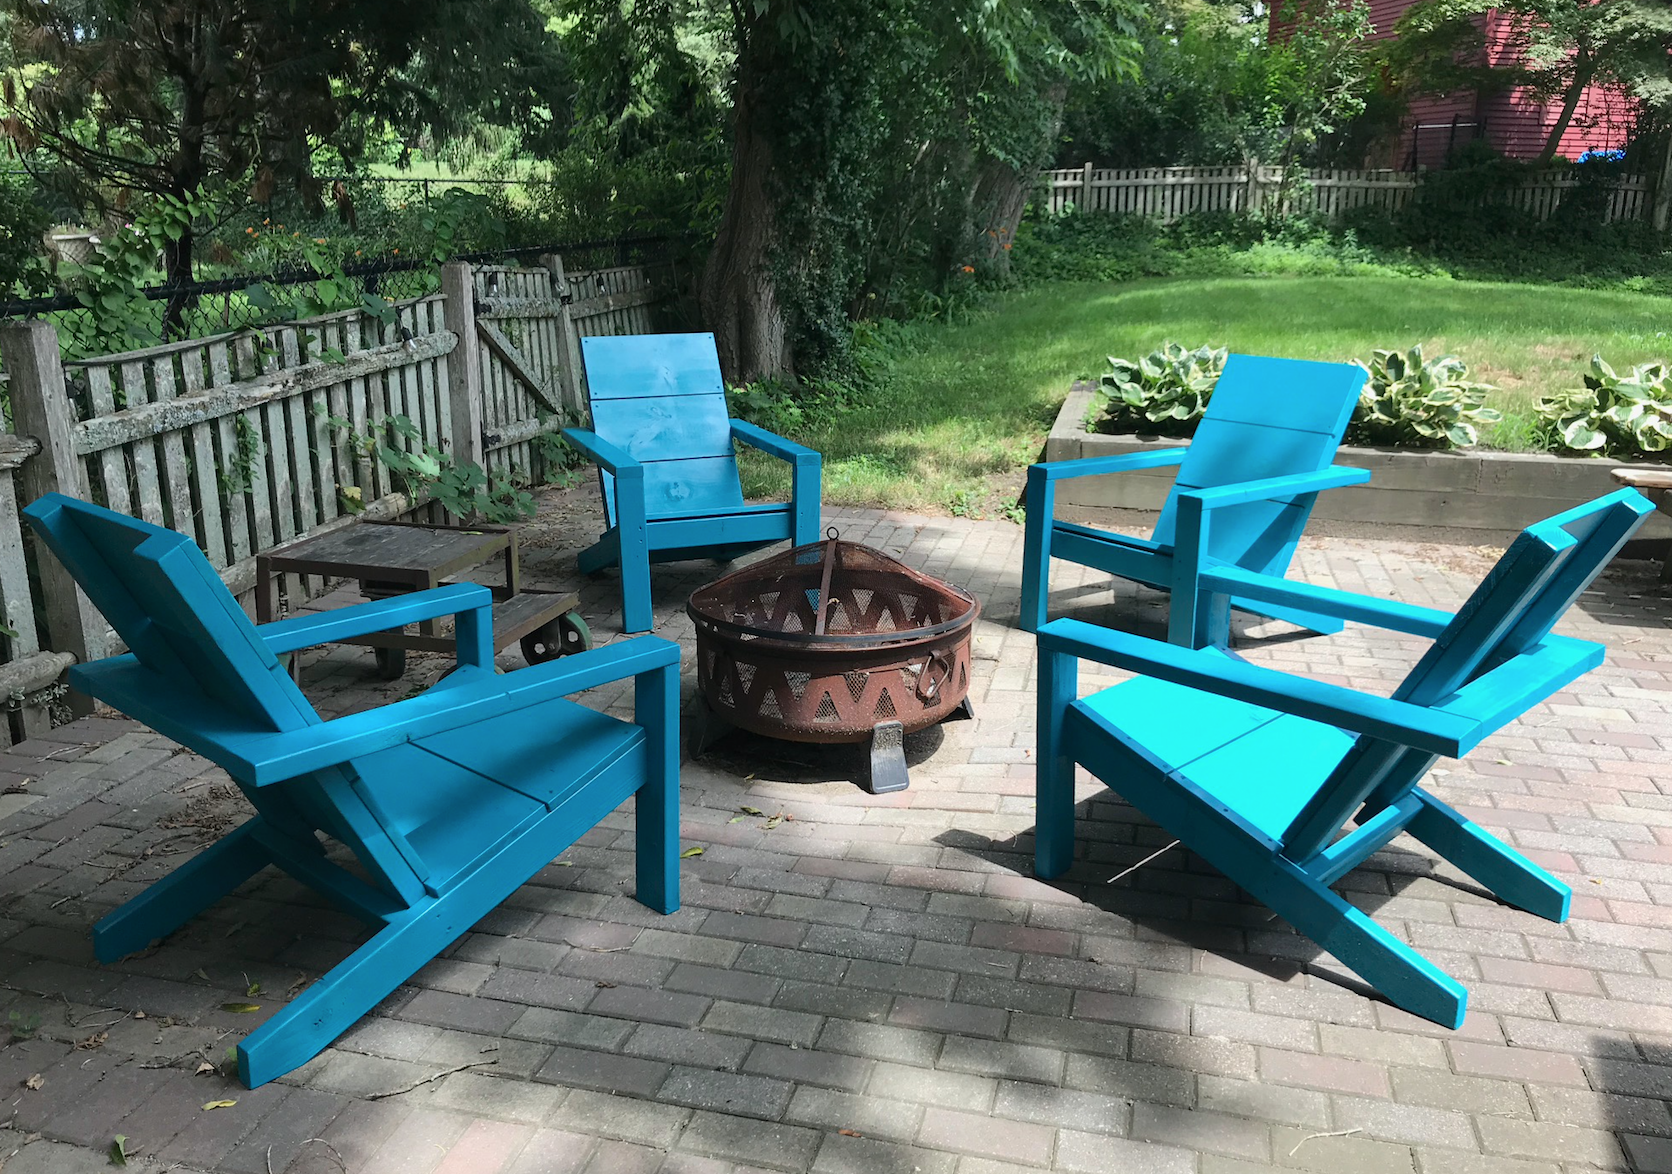
My first Ana White project! I'm getting so many compliments on these! My shop is my driveway so due to the weather, it took me about a week to get these built and painted. And I can only fit enough wood in my car to make one at a time! But they were so fun and easy to make!

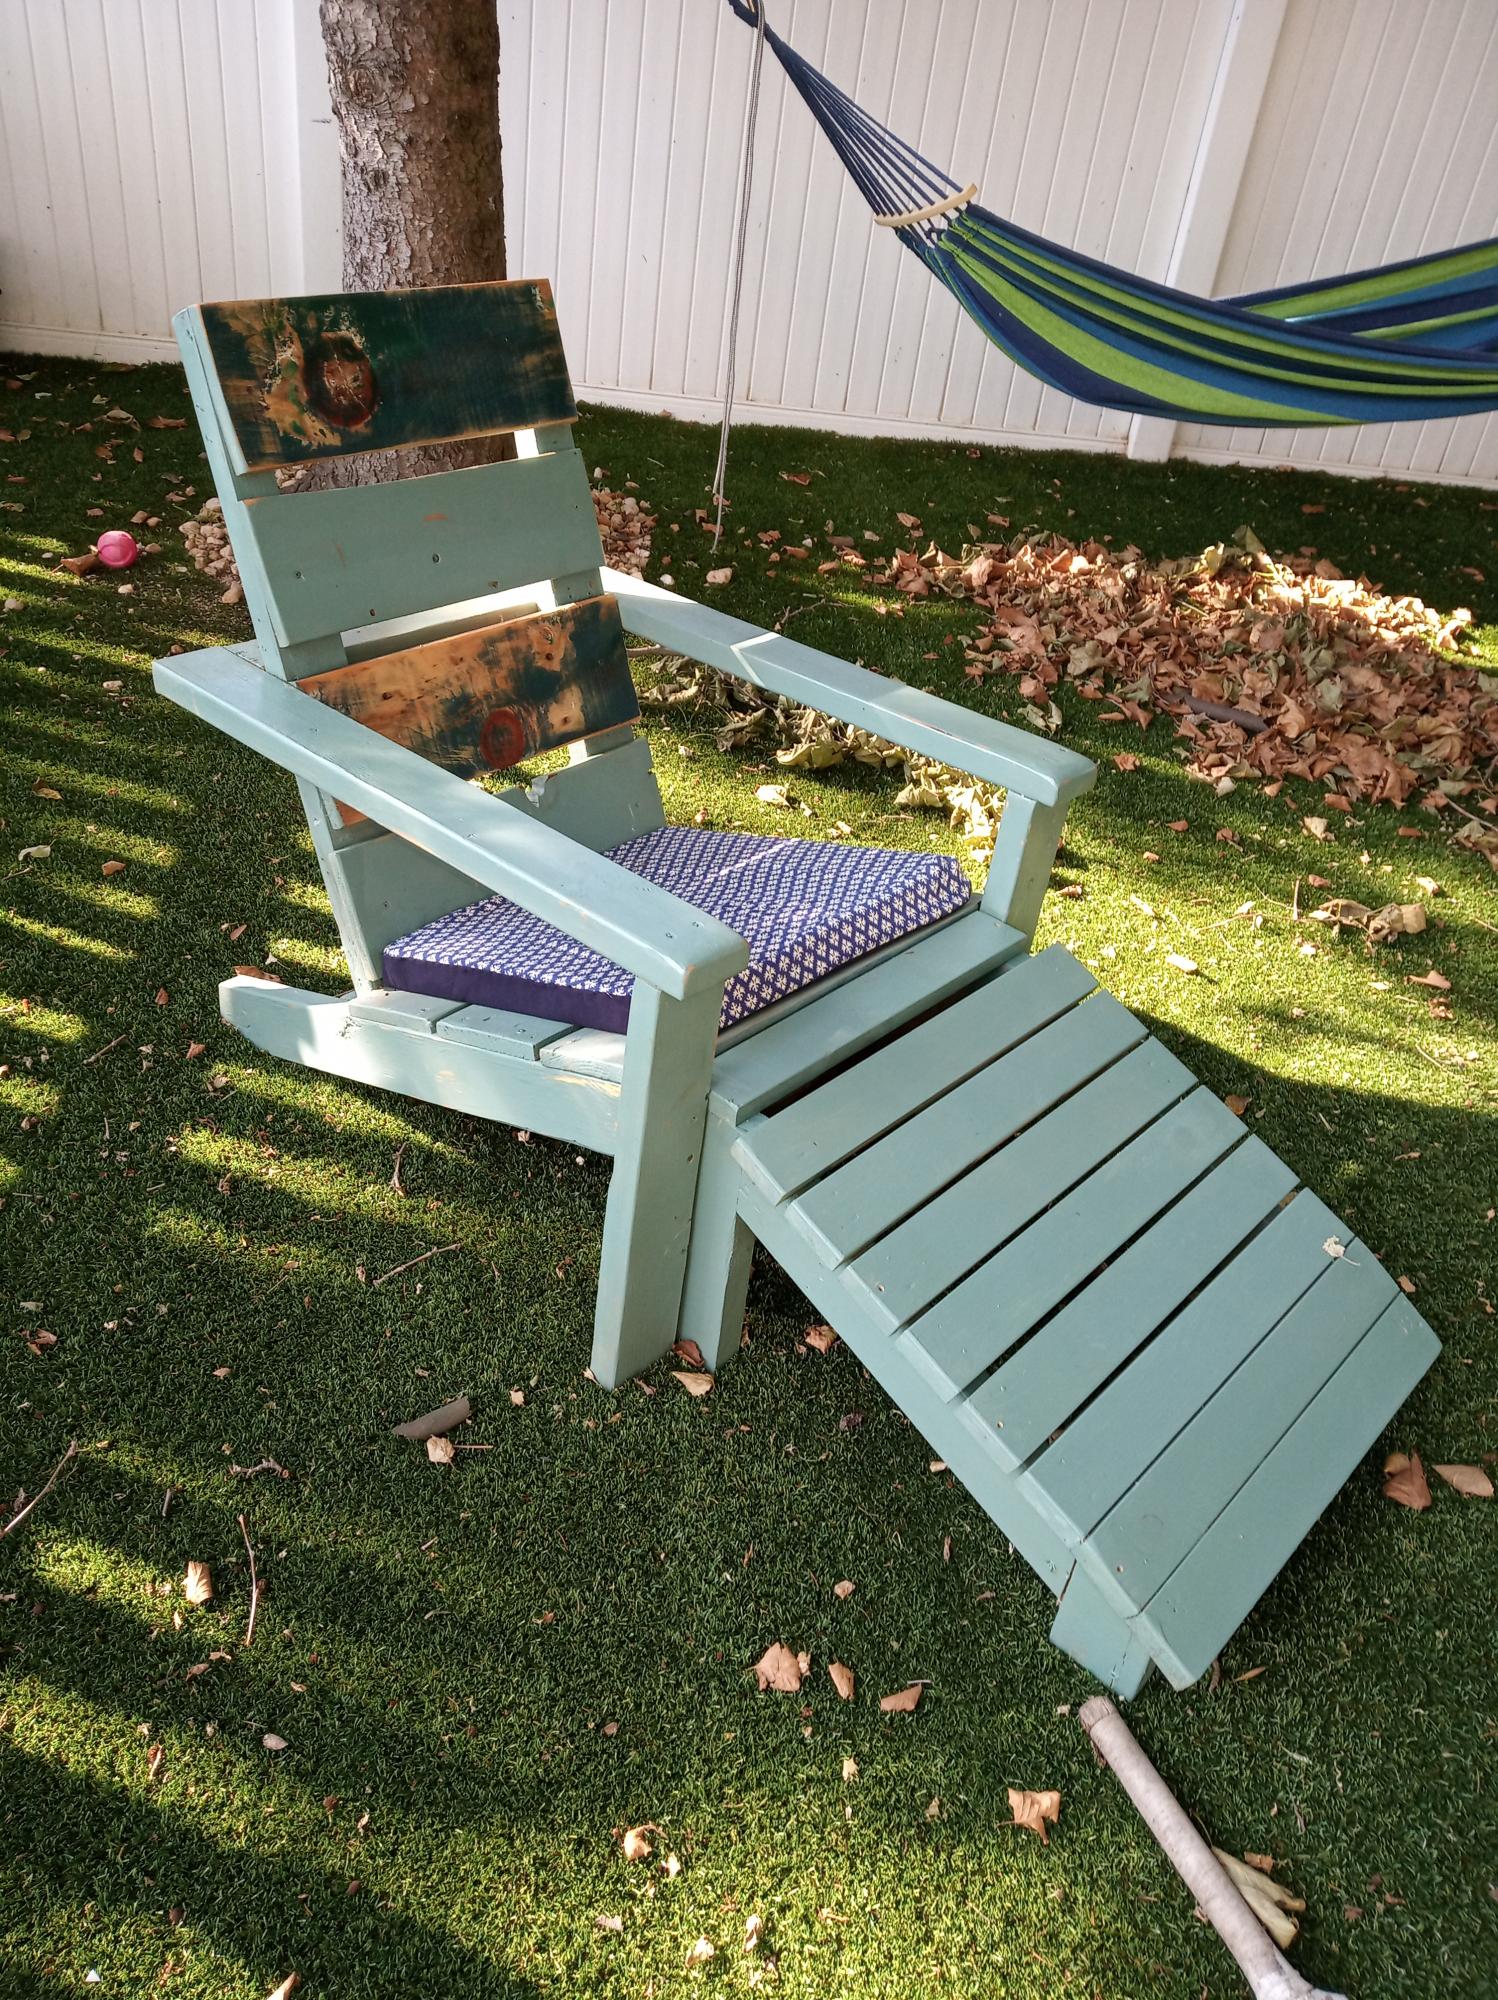
The design plan from the https://www.ana-white.com/woodworking-projects/2x4-modern-adirondack-ch… worked out really well and with tiny modifications to the dimensions i was able to build this in a couple of days. All the wood used was discards on a construction site plus a neighbor discarding a dismantled old fence. Added my footstool which was fairly straight-froward as well. My wife made a few cushions at home for it and its super comfy Really happy with the way the whole thing worked out. Thanks Ana
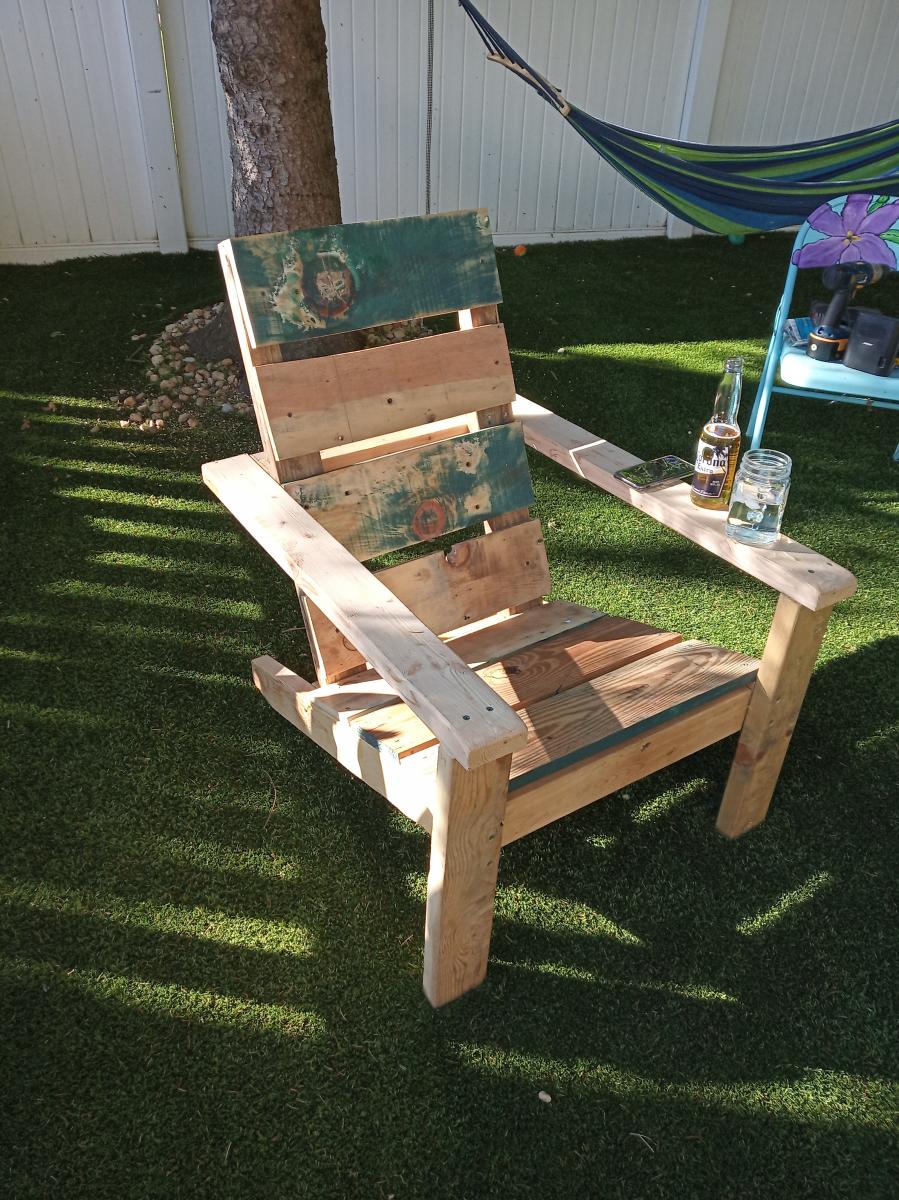
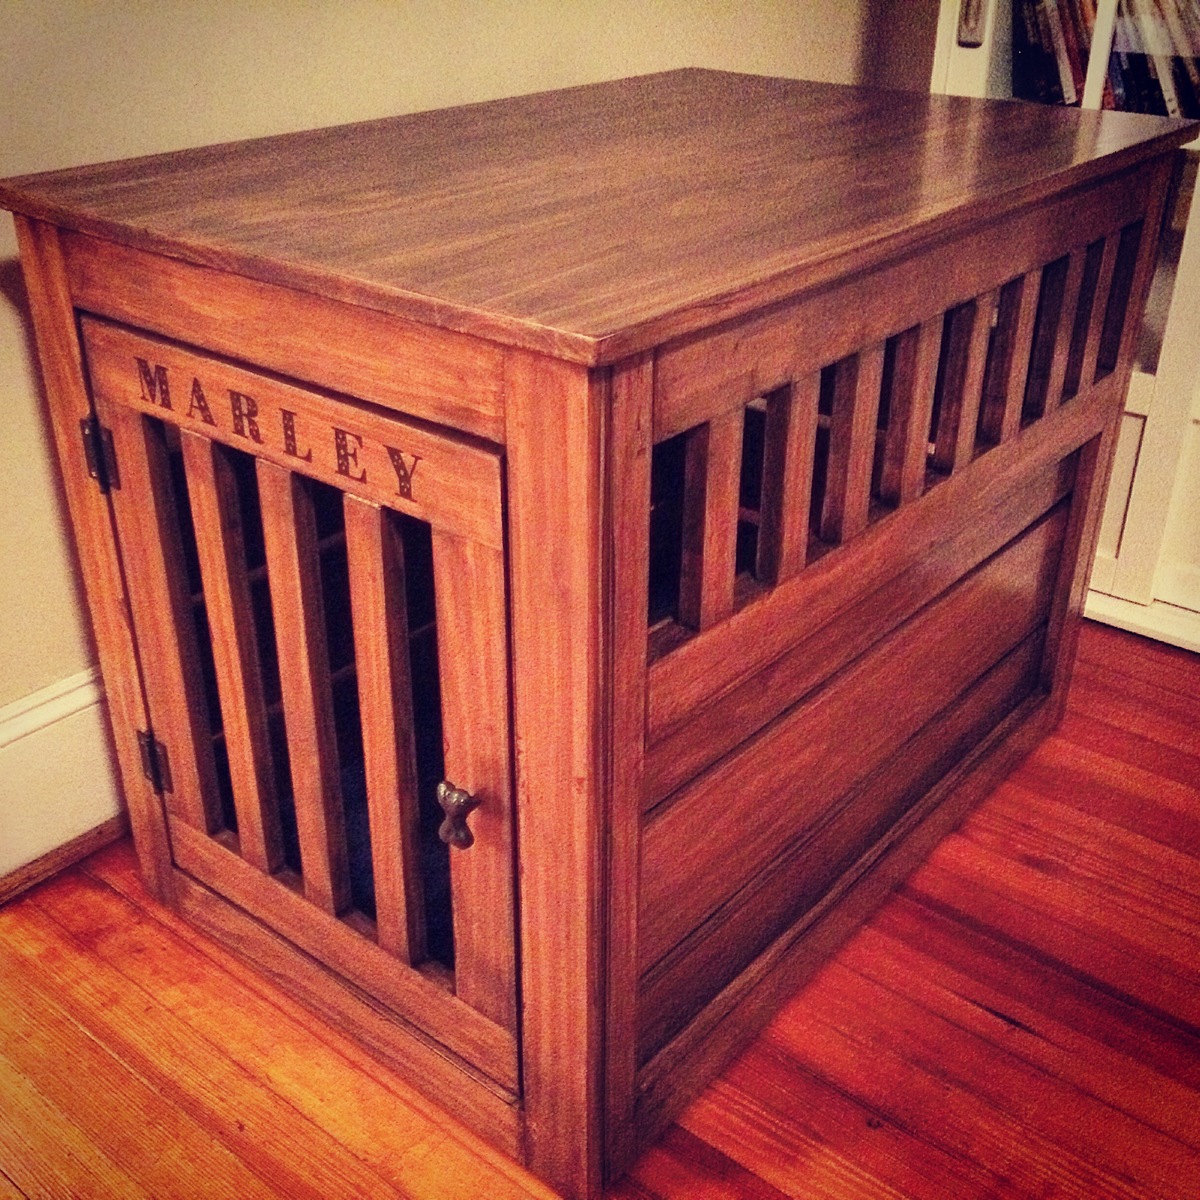
First project made from scratch....took me a while but glad it is finished! Will try to do one more of a larger size for my other dog.
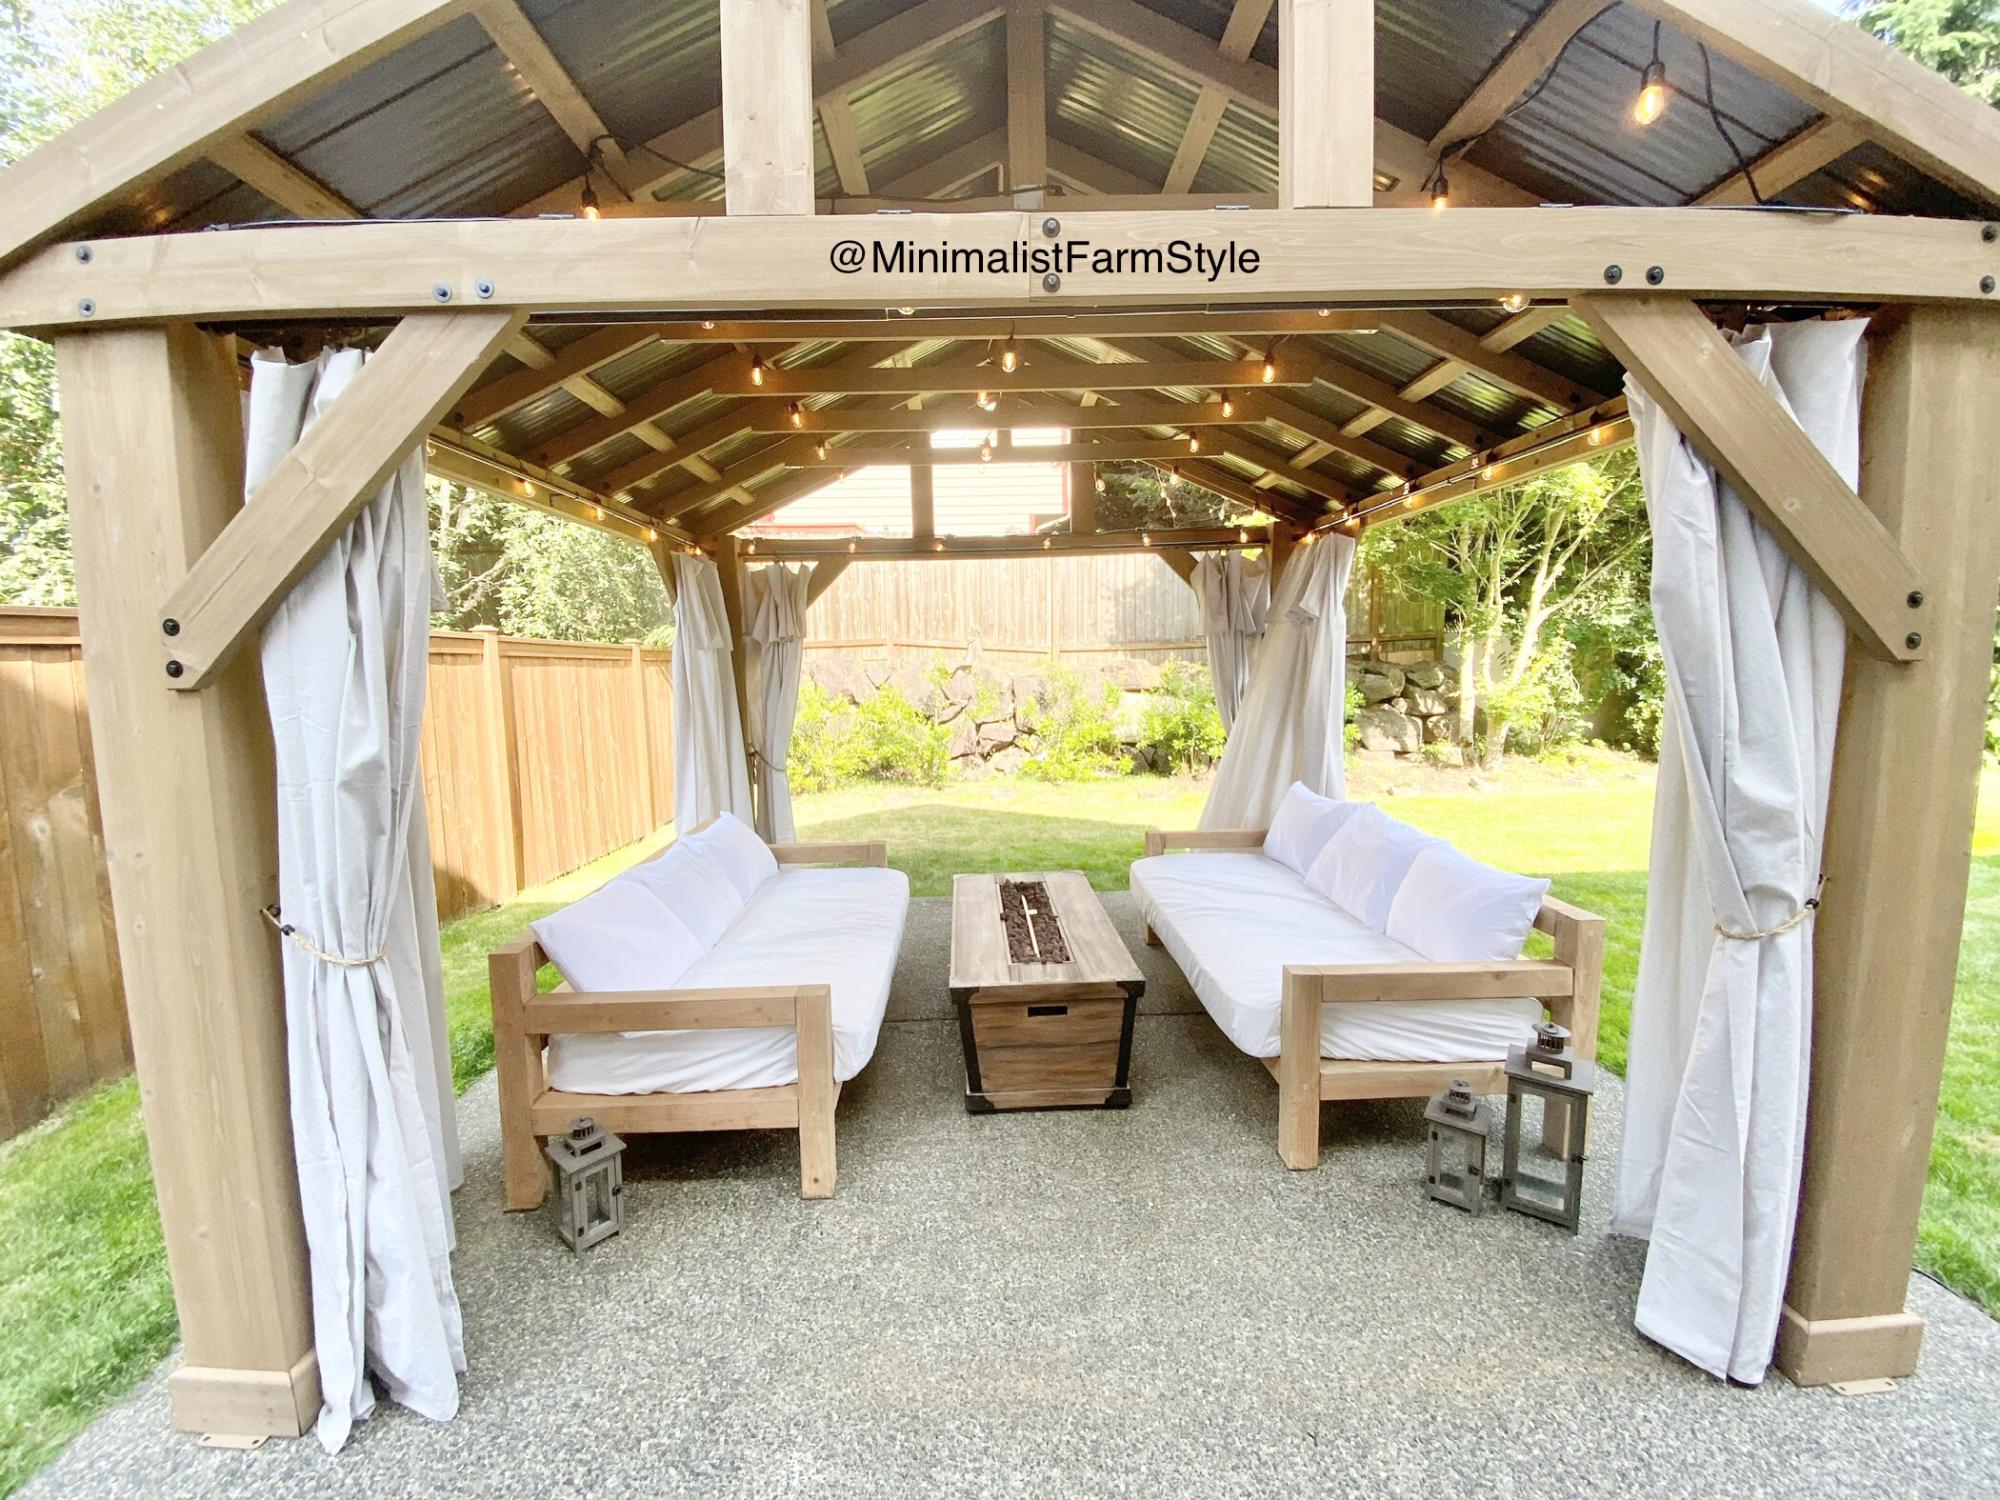
This was my first time DIYing furniture, so I definitely came up with a very easy design!
The dimensions for this sofa are modern as it sits low to the ground and has a squarish appearance.
Free detailed plan on Blog: www.MinimalistFarmStyle.com
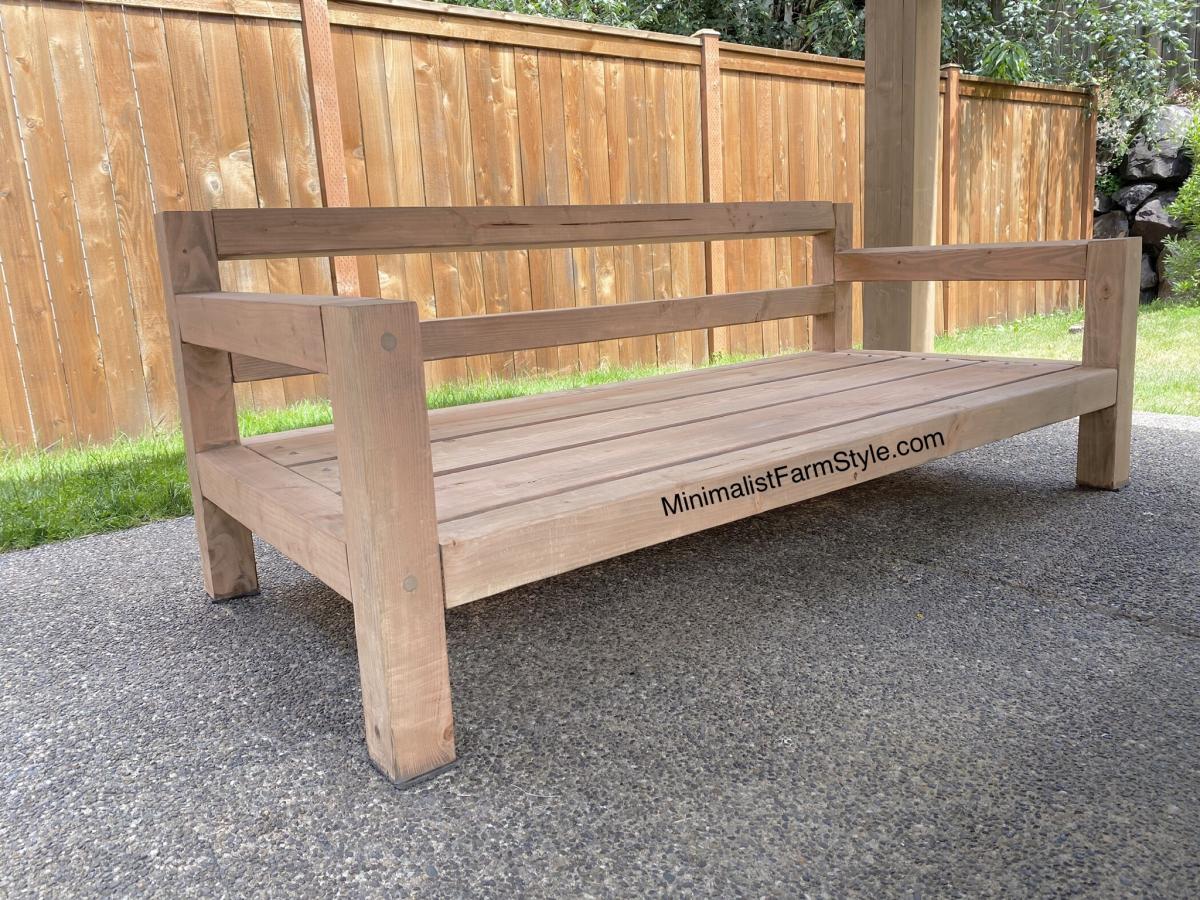
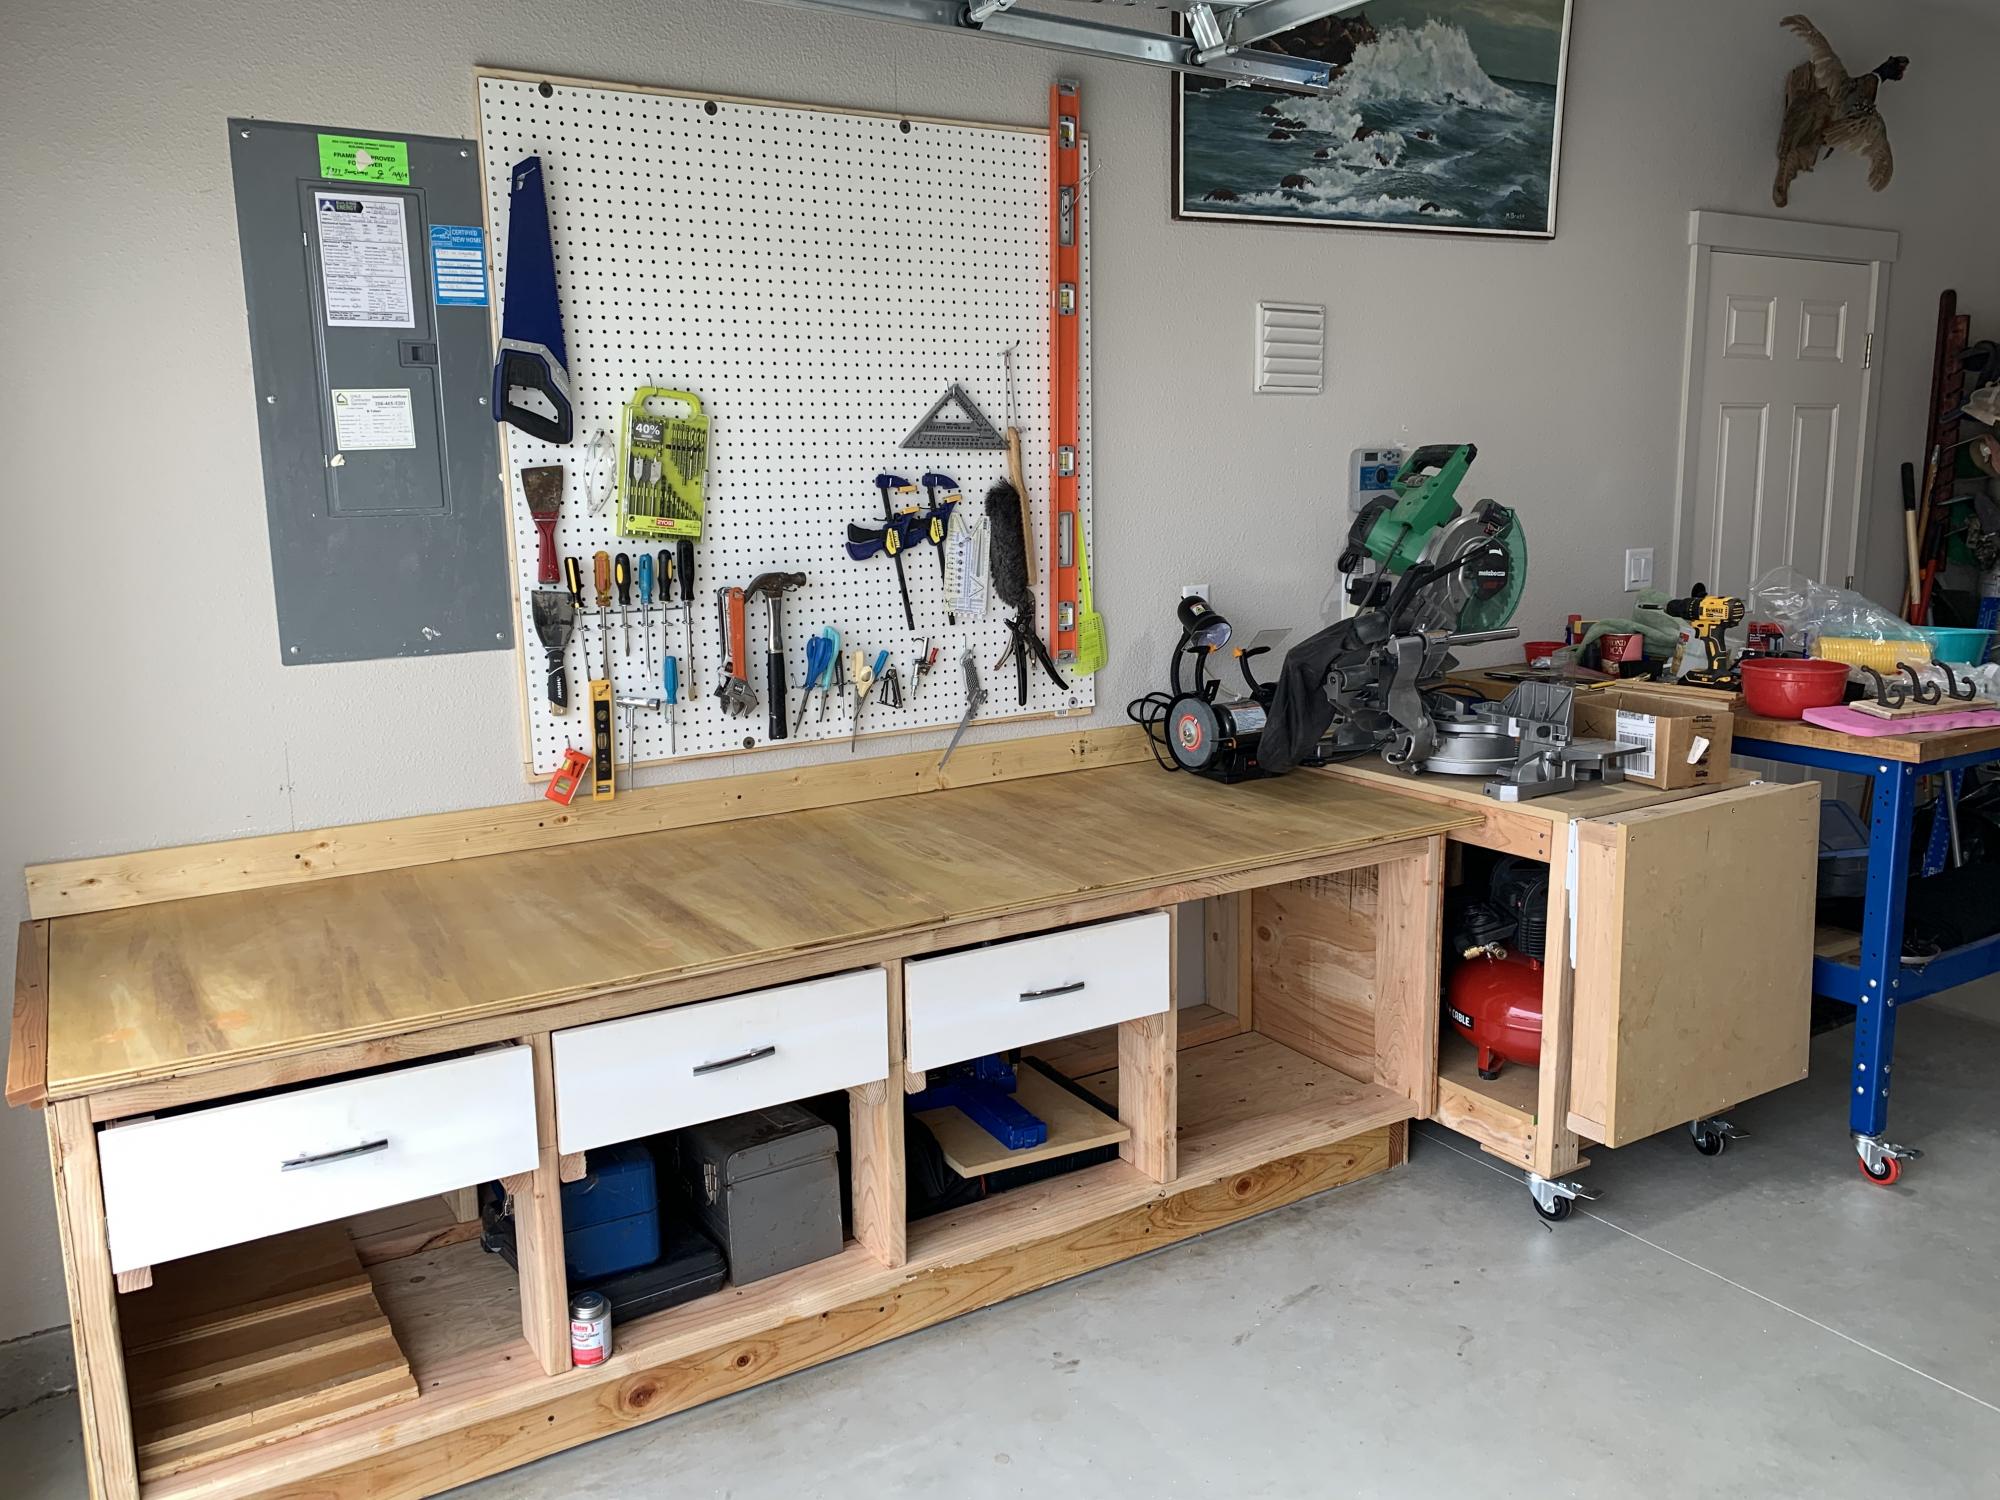
Love your site. The 8’ pony wall I recently made was a great plan. I’m also going to build the outdoor storage plan you have. Thanks for your creativity!
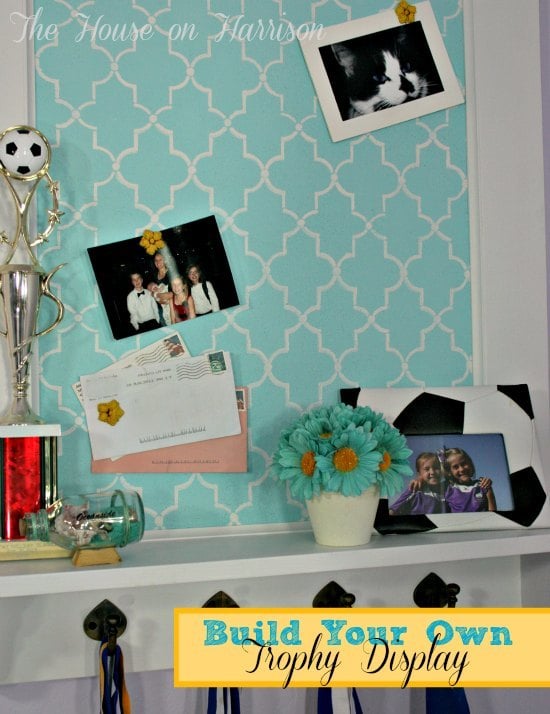
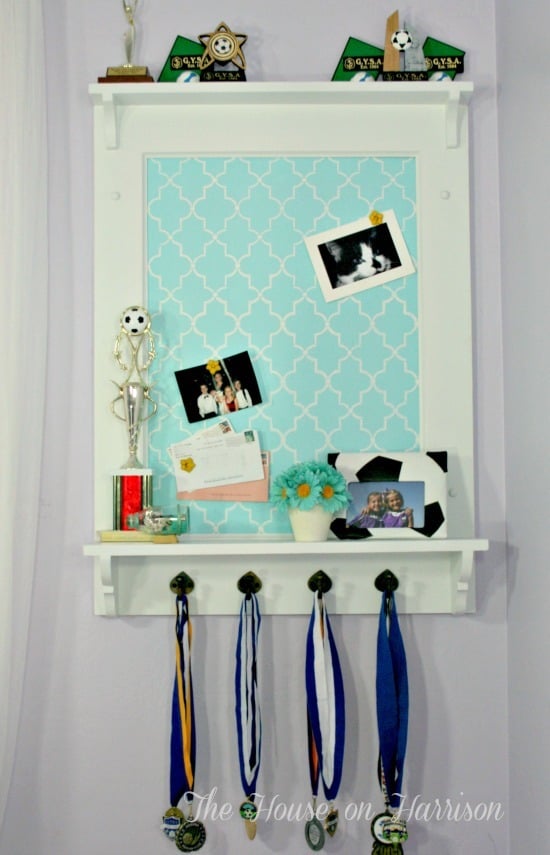
When I got Ana's book The Handbuilt Home, I was super excited to tackle a project. It just so happened that her mirror plan on page 37 also makes a perfect trophy display. I just replaced the mirror with stenciled cork board so my daughter could display keepsakes along with her trophies and medals.
I followed the plan pretty closely, but I added some cove molding to the center to hold the cork board in place. You can find more details on my blog.
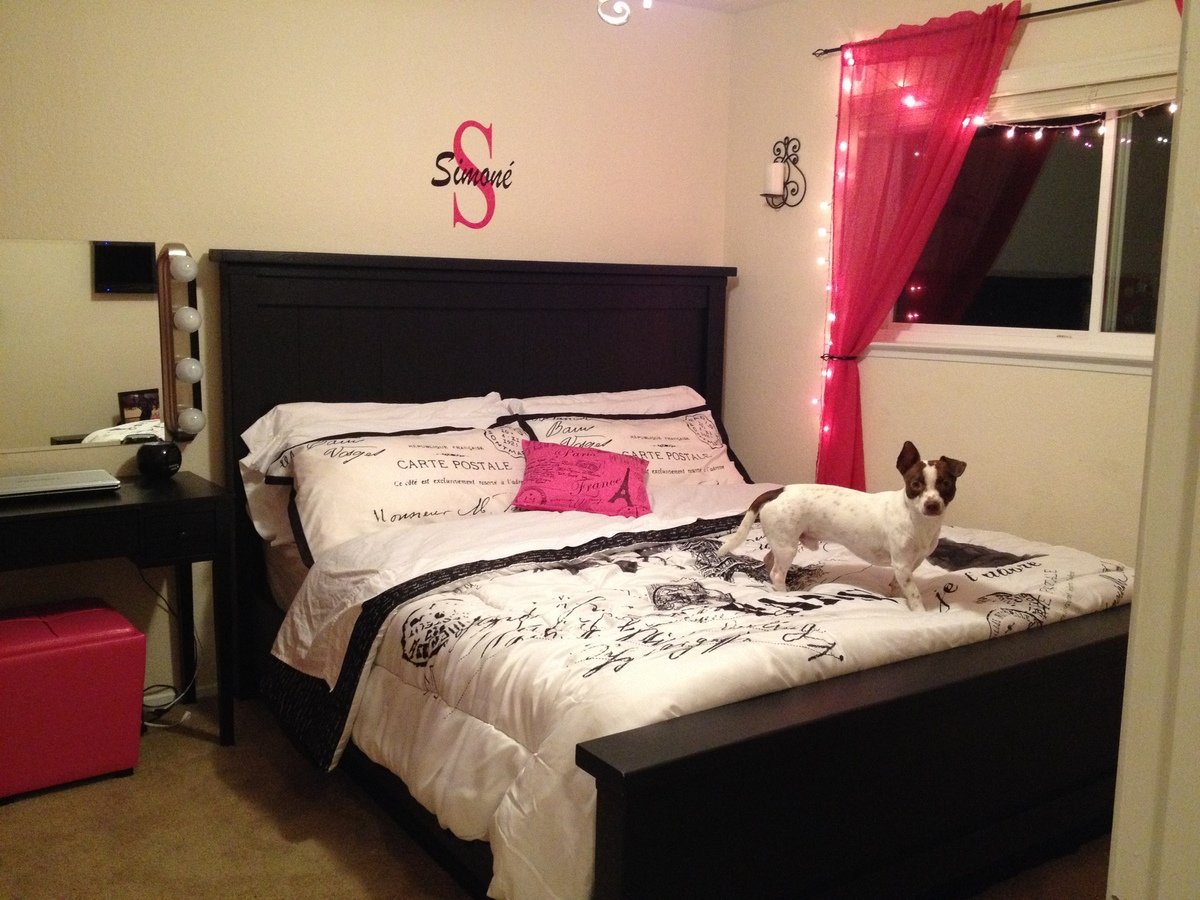
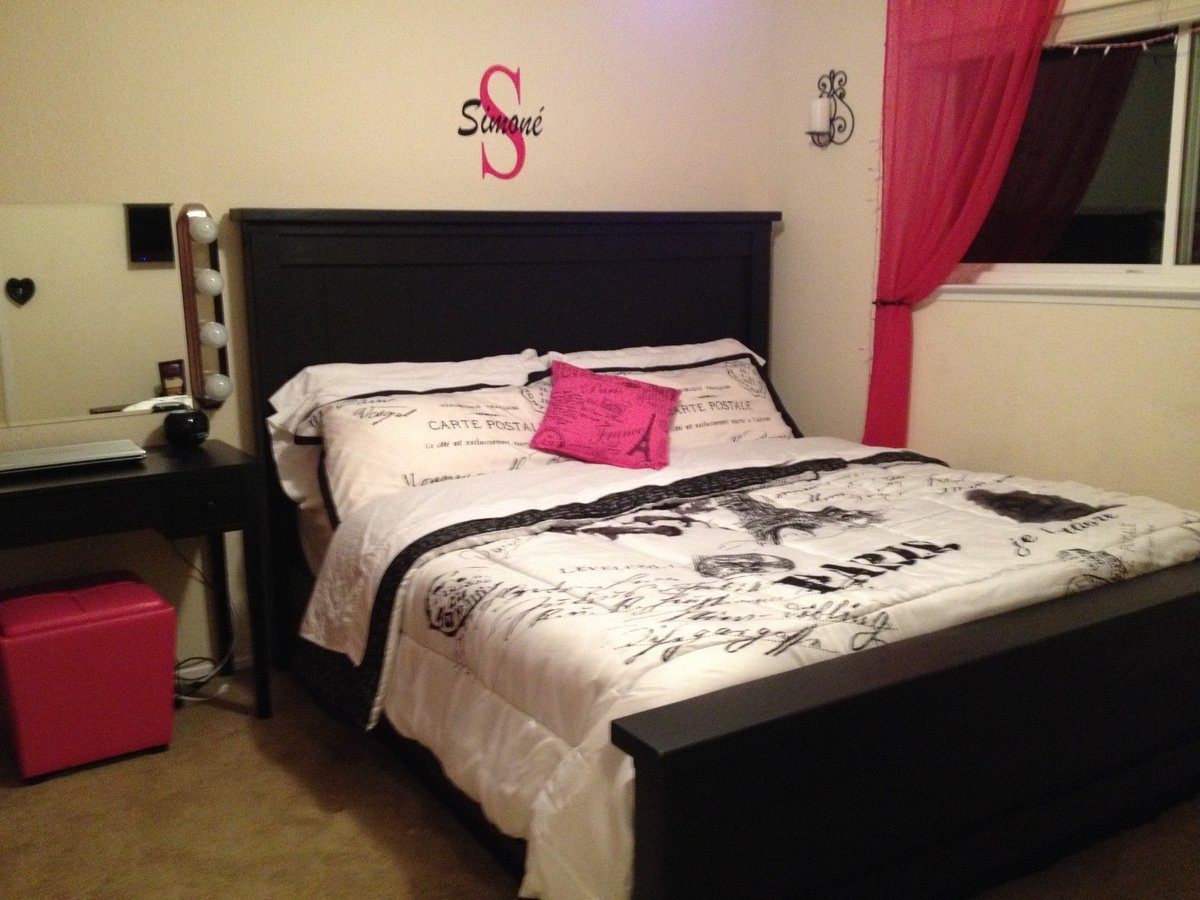
First big build with my boyfriend. We wanted to build this bed for his daughter's 14th birthday, so she would have something hand made from us to keep for a long time. This bed is solid and turned out amazing. The pictures don't do it justice as you cannot see the paneling on the head and foot boards. We used the kreg jig on the side panels attaching the head and foot board in order to make it easy to take apart and move when she goes away to college.
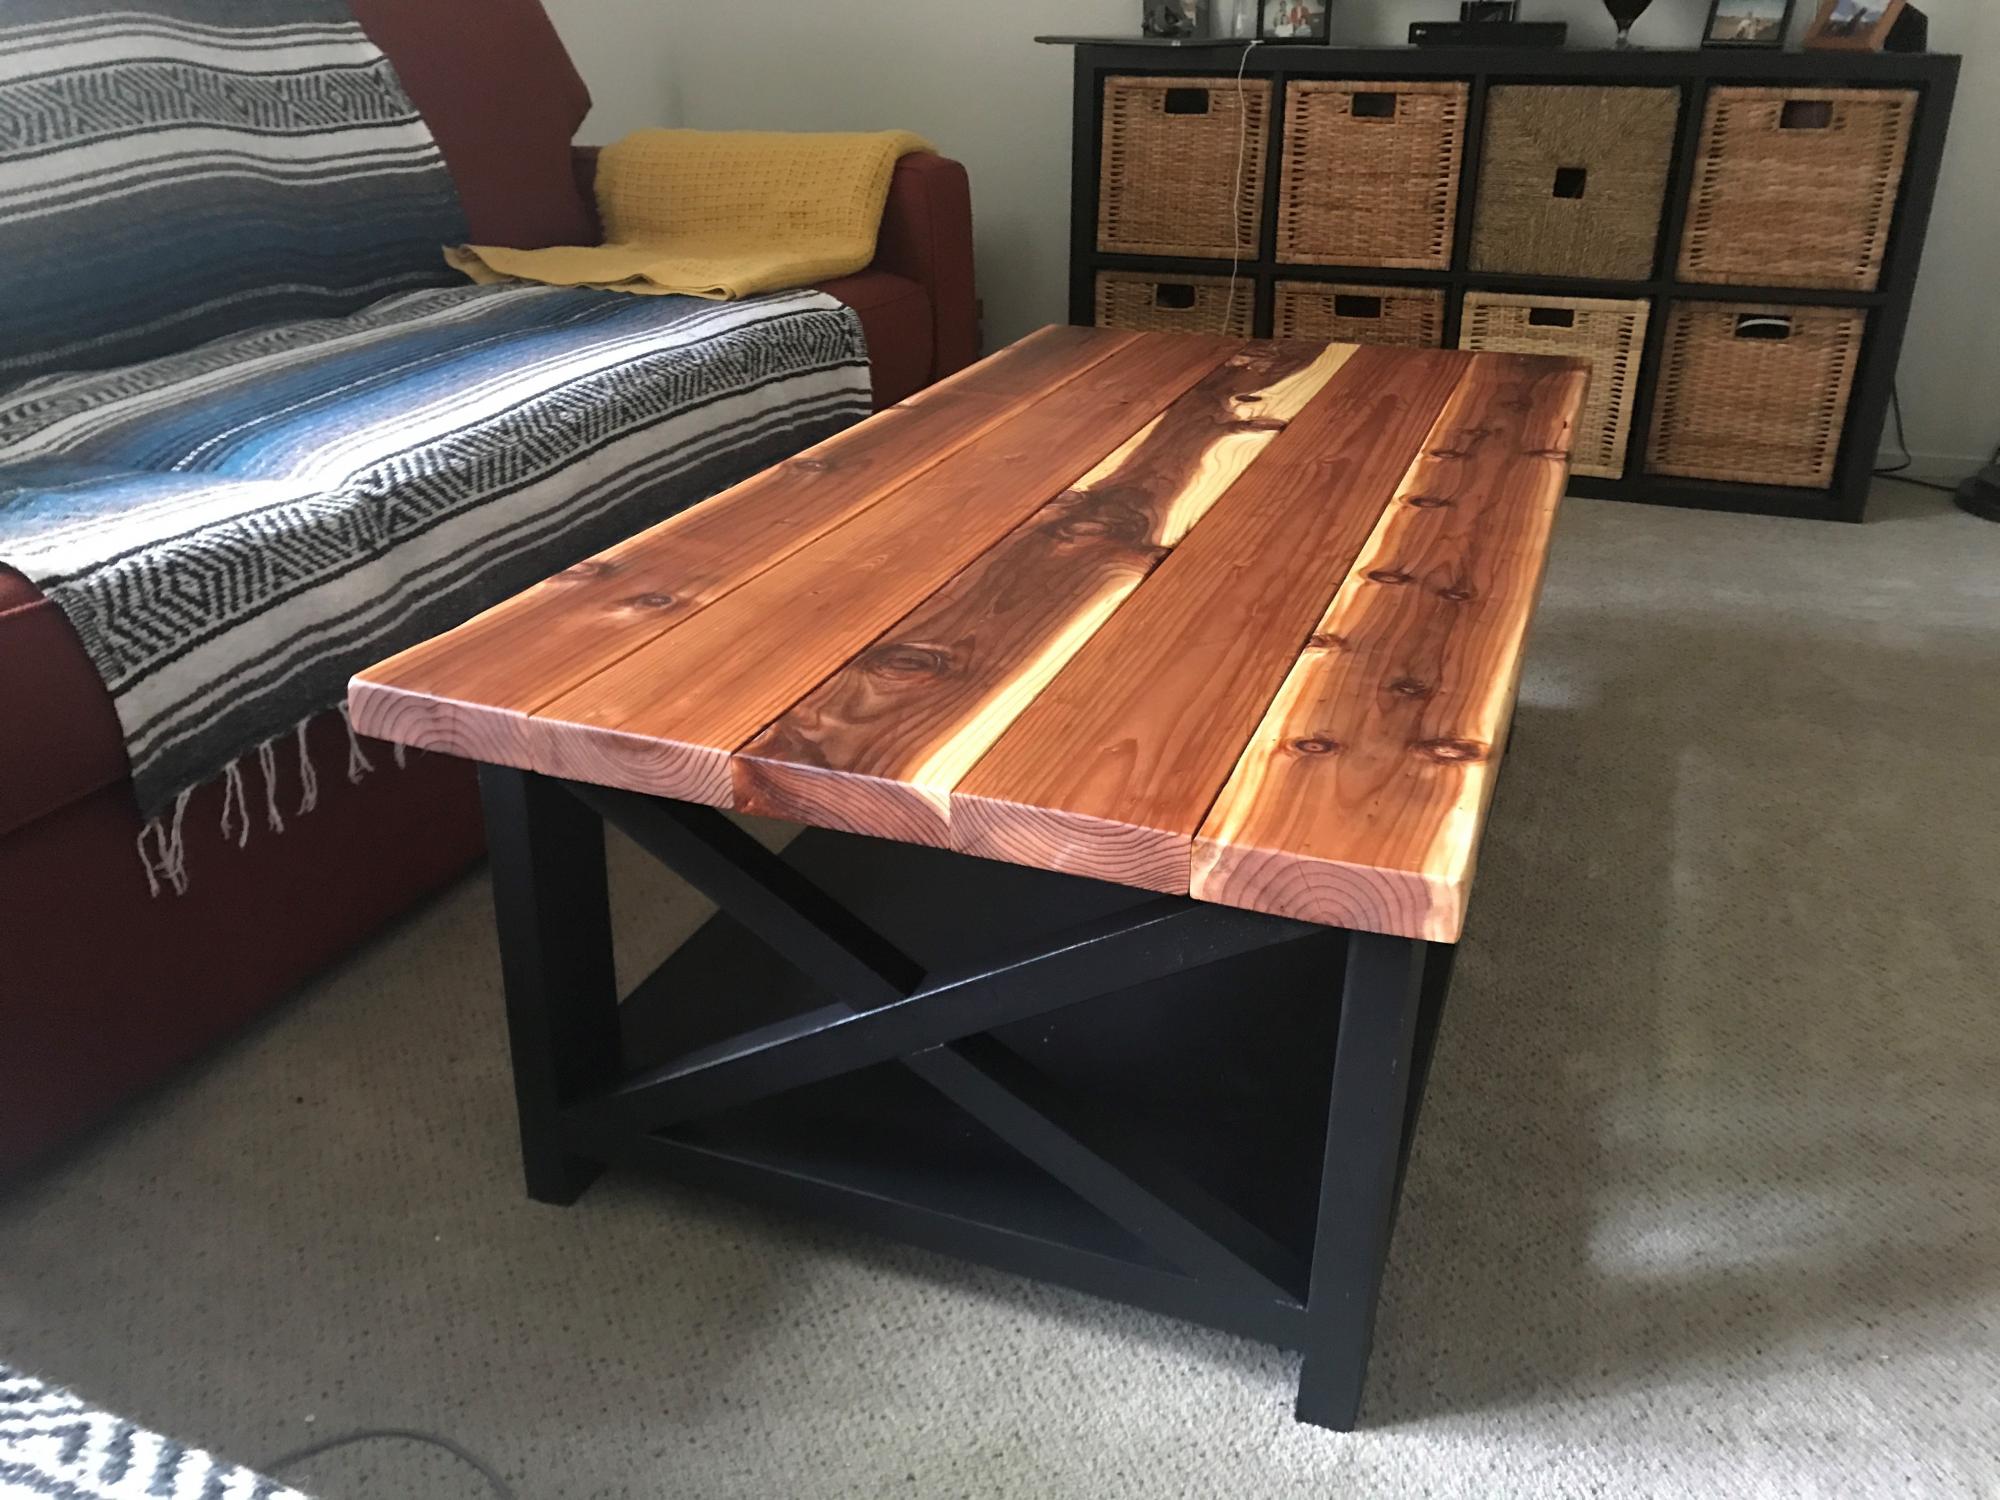
This is our first project using one of Ana's plans. We made one modification adding stability to the top of the structure, but otherwise stayed pretty true to what was described.
Next up is the matching end table!
For the full story of our piece, please visit our website.
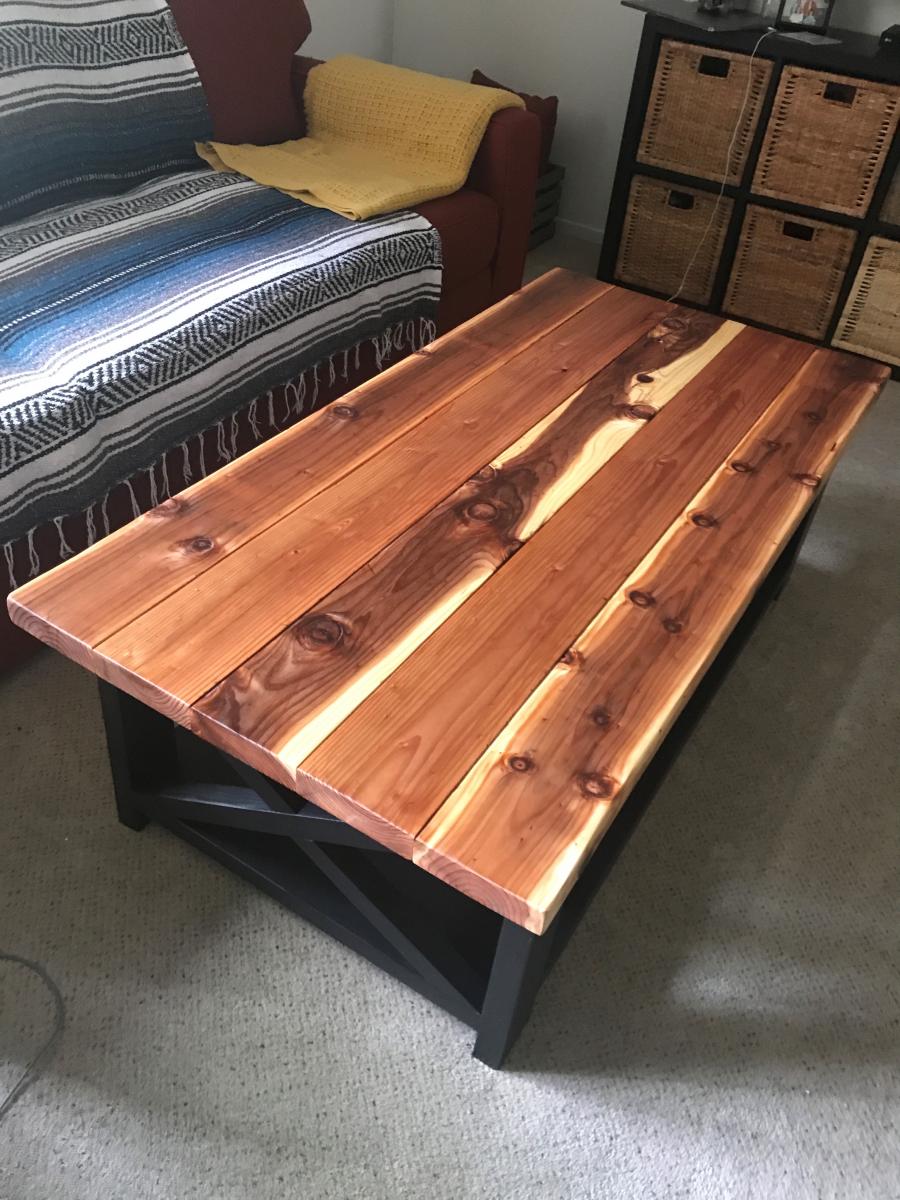
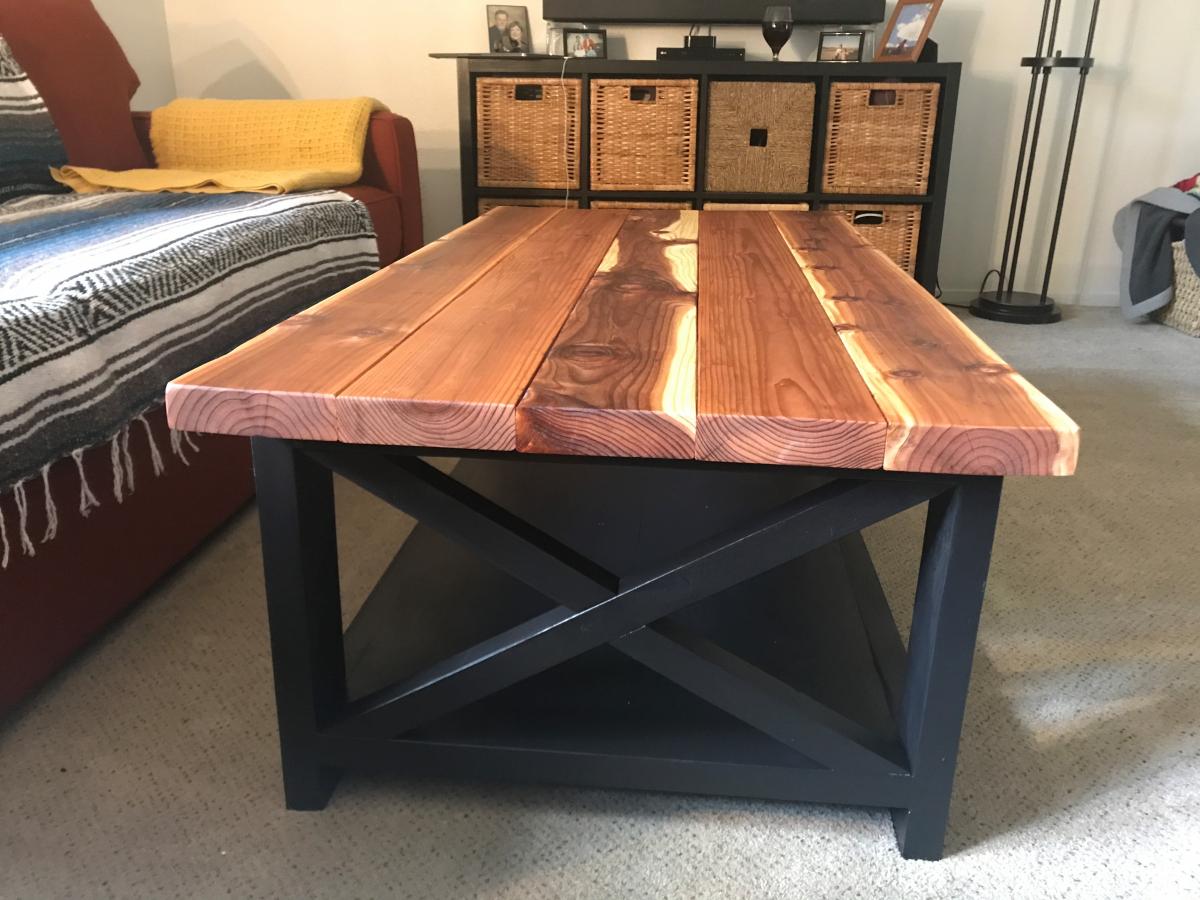
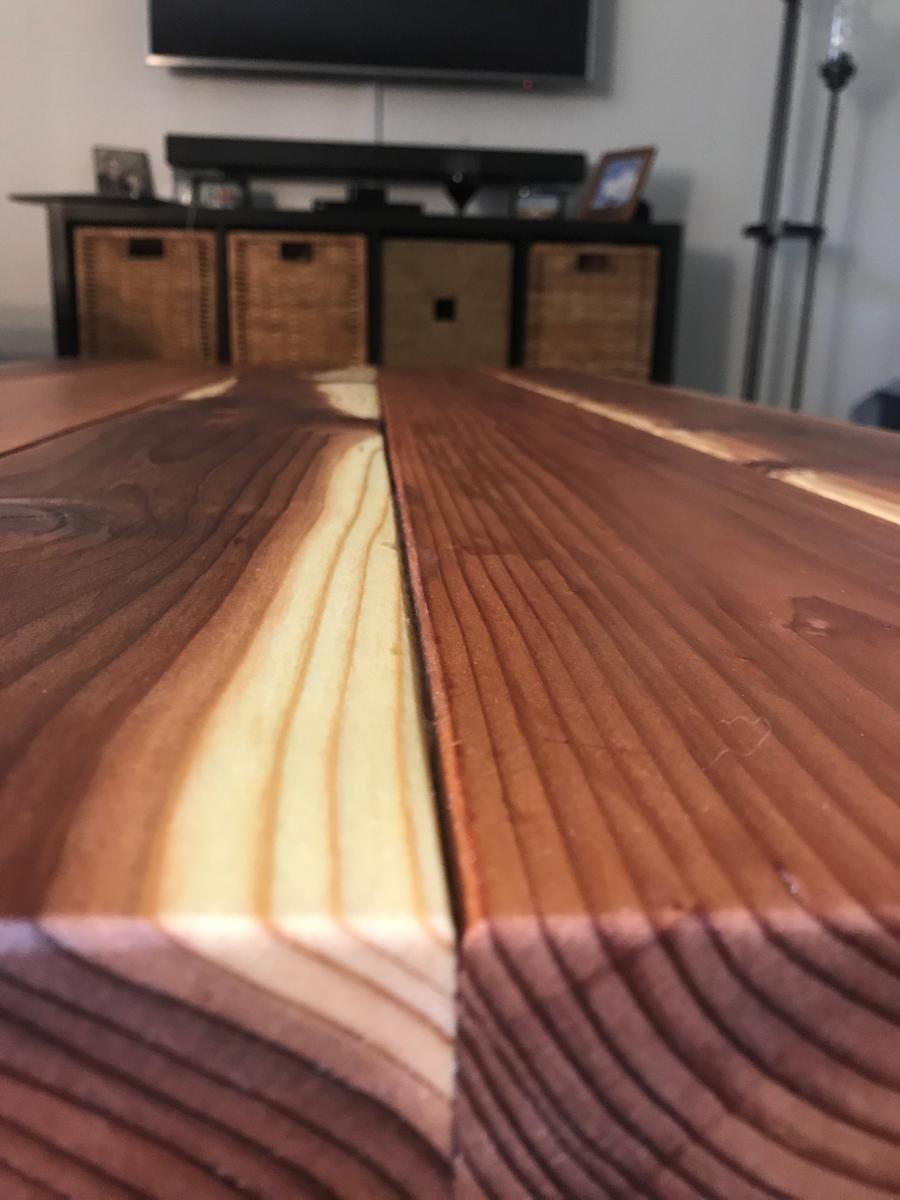
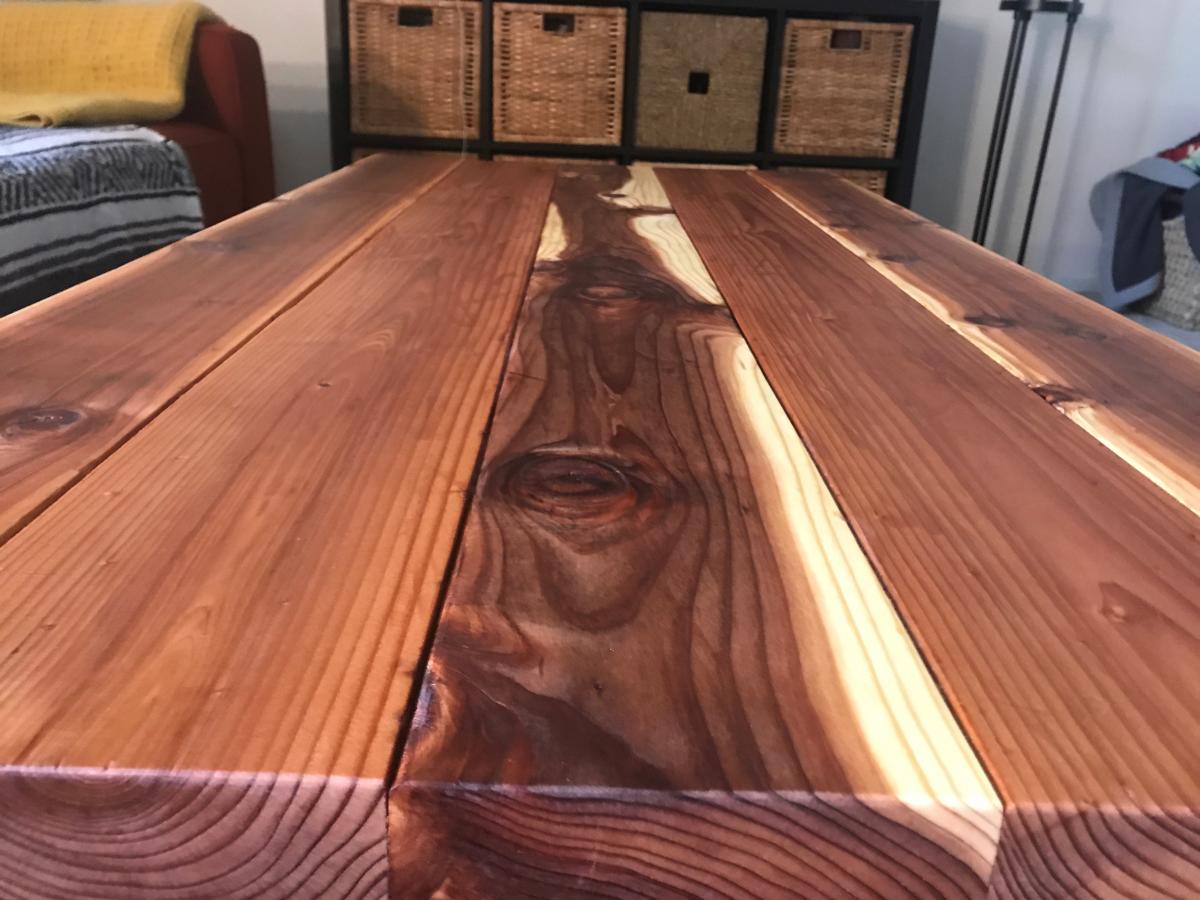

I built this table following Ana's plans! It turned out great!
Tue, 09/09/2014 - 14:42
This table turned out great. The stain job is very well done. Now I may have to build one.
This was my first major furniture project. My daughter wanted a changing table and this looked like it would be a good choice.I made a few modifications; it's a little taller as my daughter and her husband are on the tall side, I also added a small rail to keep the changing pad from sliding off. Overall it was a great learning experience. I have built several outdoor pens and small houses for our chickens, but this was my first attempt at a piece of furniture. I think it turned out well, and my daughter and her husband are happy with it (and that is what matters).Of course I see the mistakes but I learned from them and now know what to do (or not to do) next time. Plans are great, easy to follow ....thank you ANA!! Can't wait to try another plan.
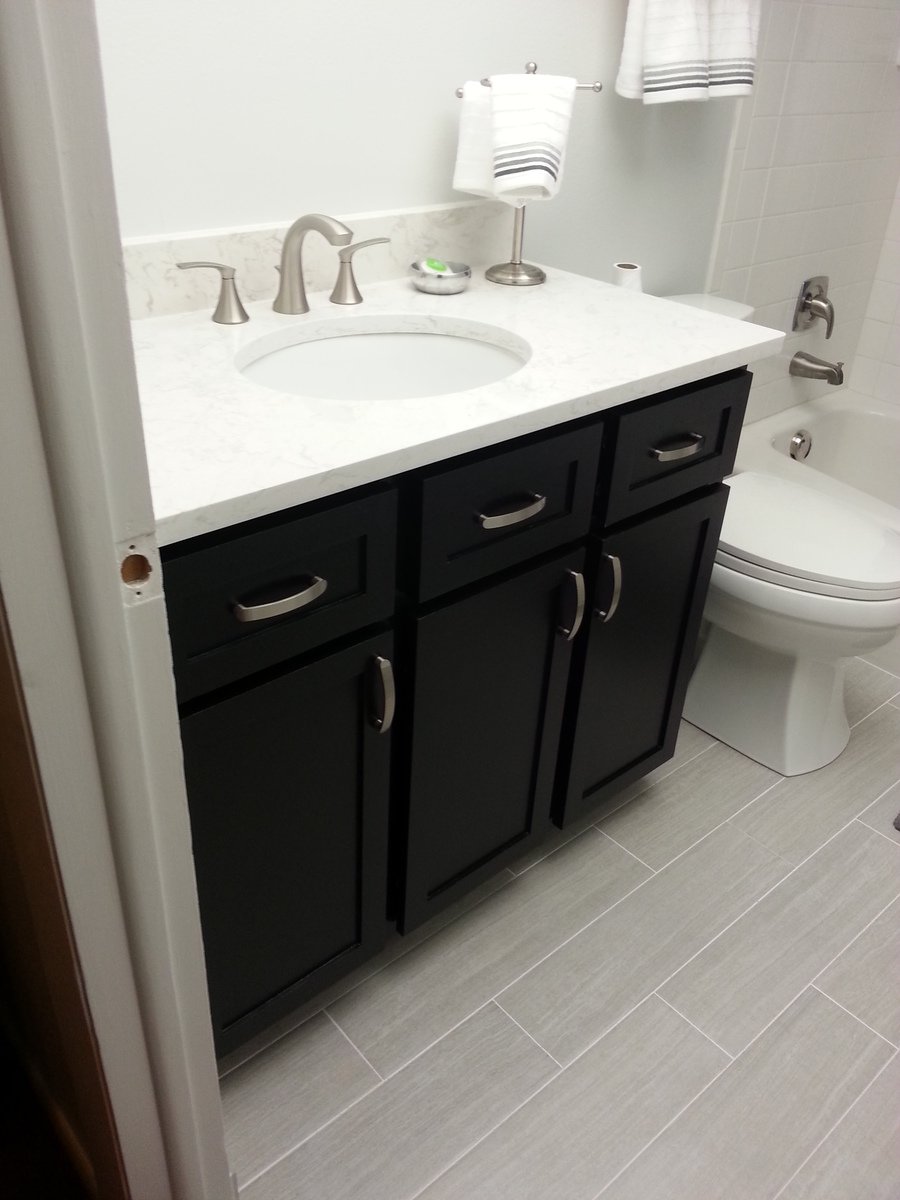
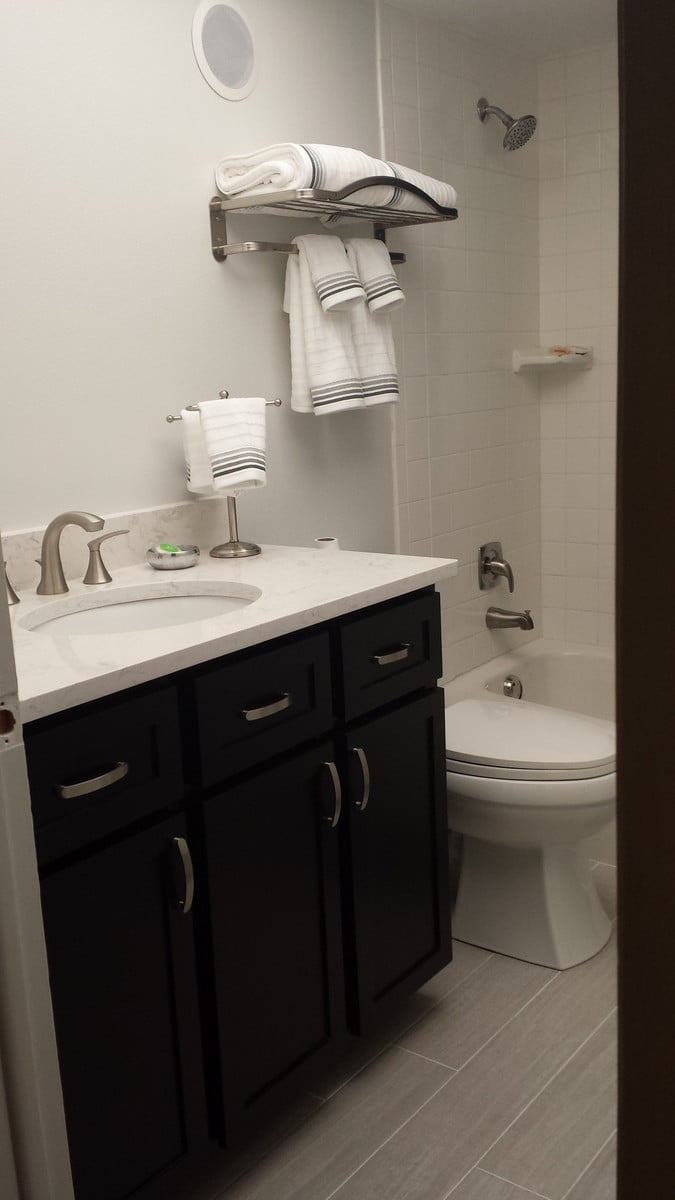
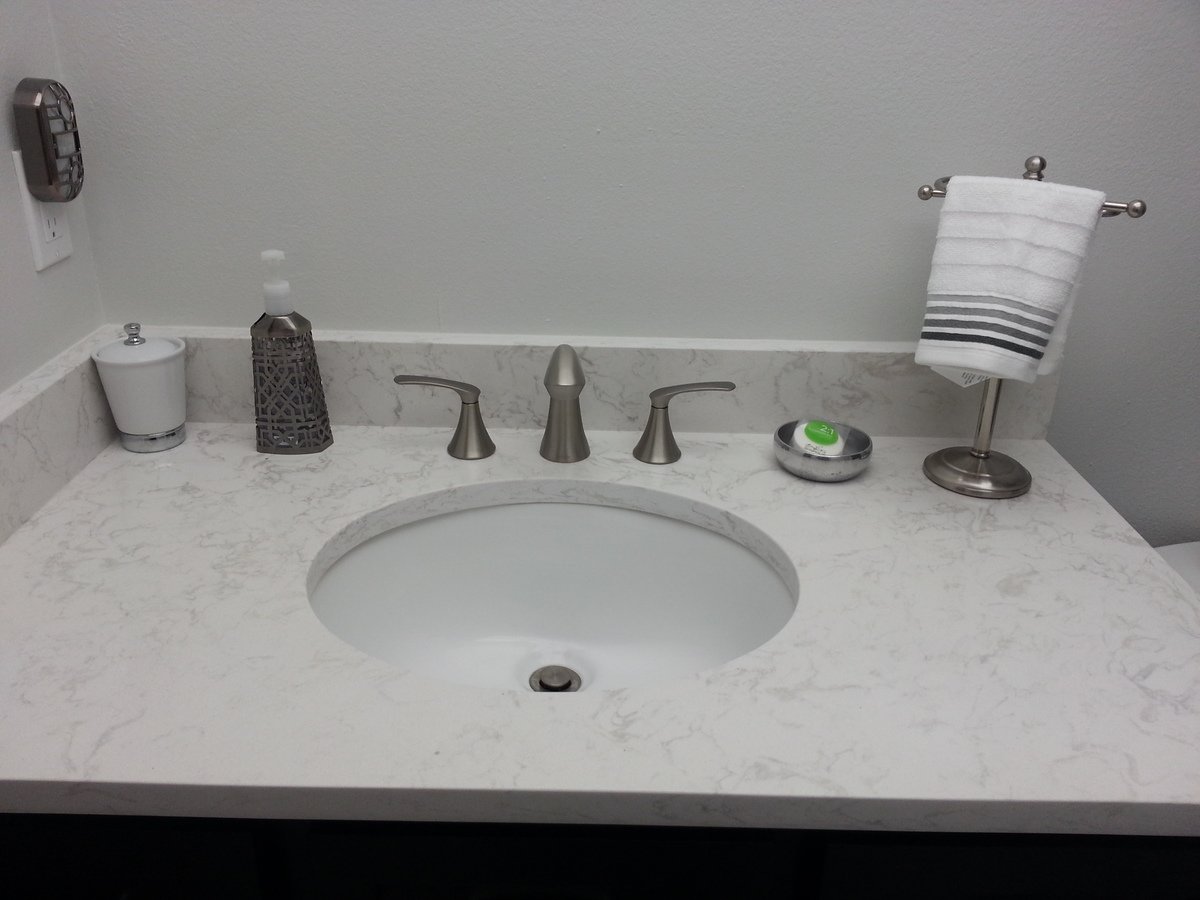
So we had a pretty hideous bathroom (as seen in the last picture). The toilet was pink too, matching the tub and sink. This complete little bathroom remodel was an experiment to see if I wanted to tackle the master bath and eventually the kitchen. We had a drywall guy come in to fill the holes where the original towel bar, toilet paper holder and medicine cabint were. I actually used the plans from the Kitchen Cabinet Sink Base 36 Full Overlay Face Frame because I wanted a toe kick and a Face Frame. I added my own twists like a hidden toilet paper holder on the right, 45 degree tilt out in the middle, and a sliding shelf in the left drawer. I adjusted the dimensions for the space we had and used a soft close track and hinges. We went with a granite top due to the money we saved on building the vanity. We went with brushed fixtures and accessories like a hotel style towel holder. I want to give credit to my girlfriend and her Mom who did most of the demo work (not really sure why and that's her Mom in the last picture). My girlfriend's step father and I laid the tile (I have never laid tile before) and my girlfriend did all the decorating / finalizing to make it look complete and totally awesome.
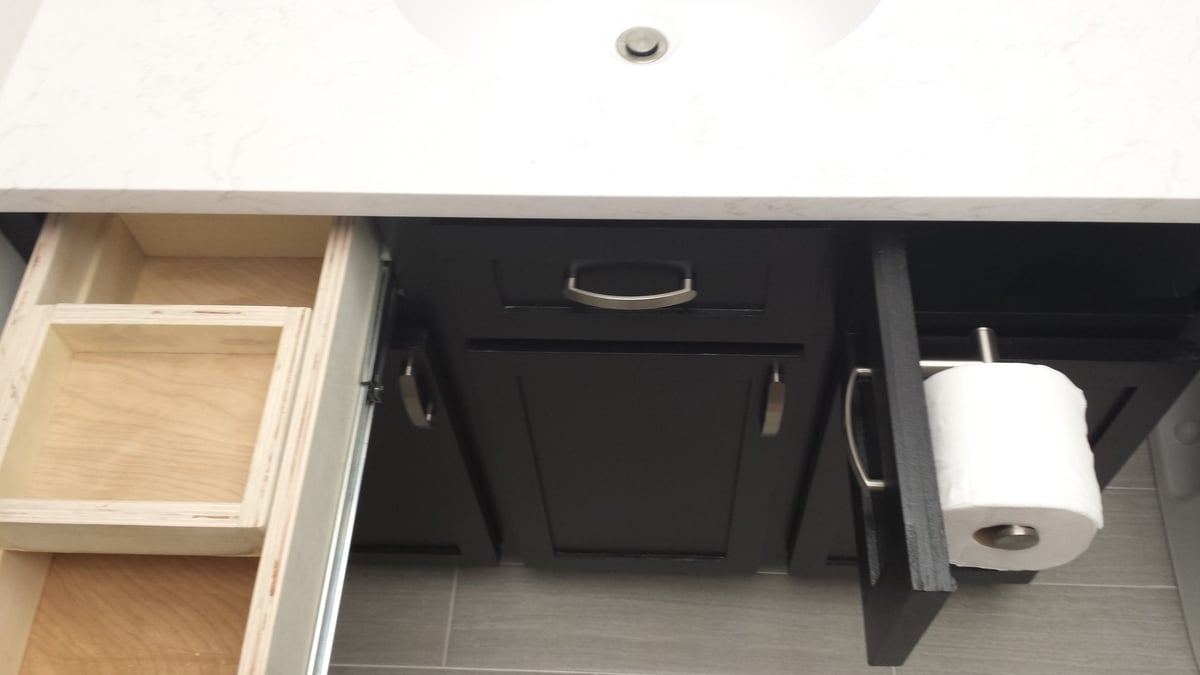
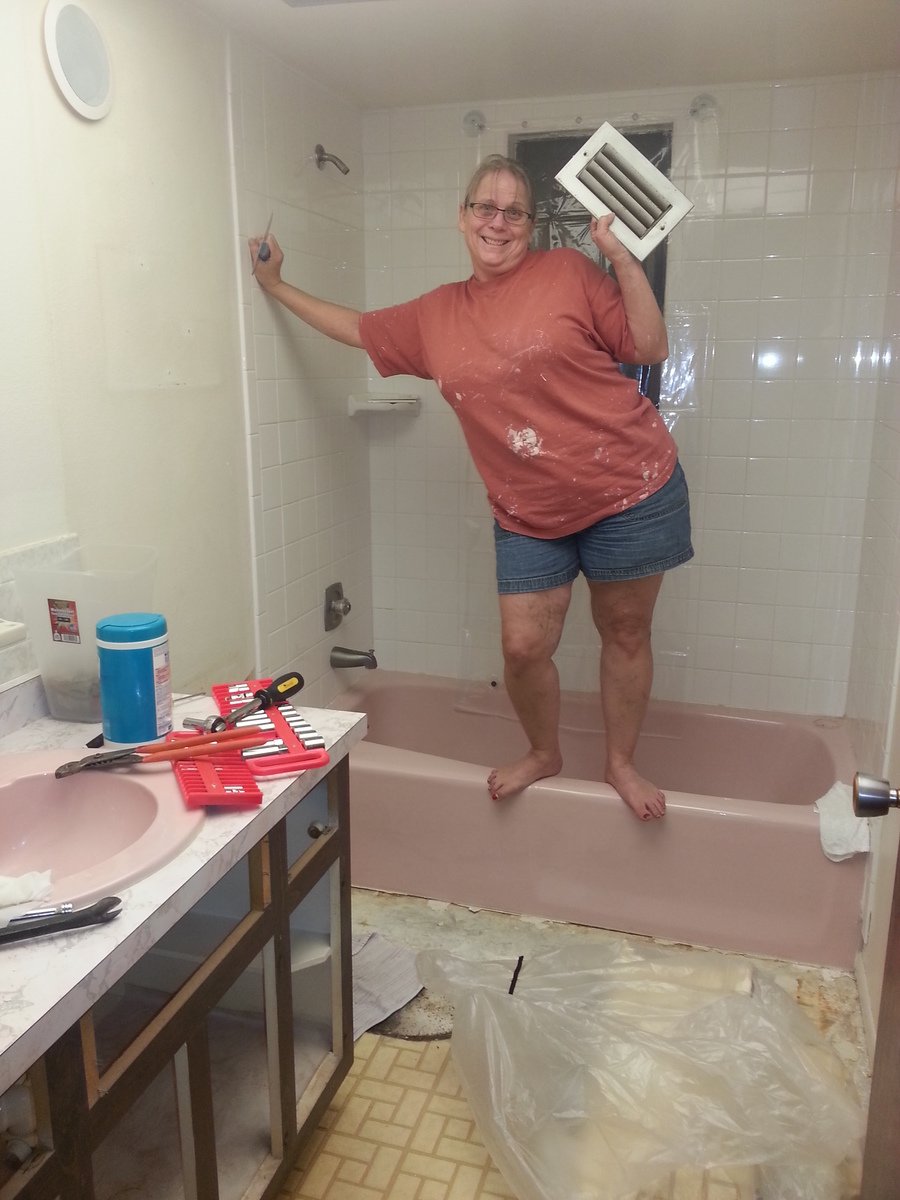
Fri, 02/27/2015 - 09:38
Nice job customizing the plan. I'm attempting something similar -- modifying the kitchen sink cabinet to fit our vanity top, and adding drawers.
Sat, 07/25/2015 - 13:21
I love your finished vanity with all the little extras. Wish your plan was available! I'm not confident enough to do that much customizing yet. Great work!
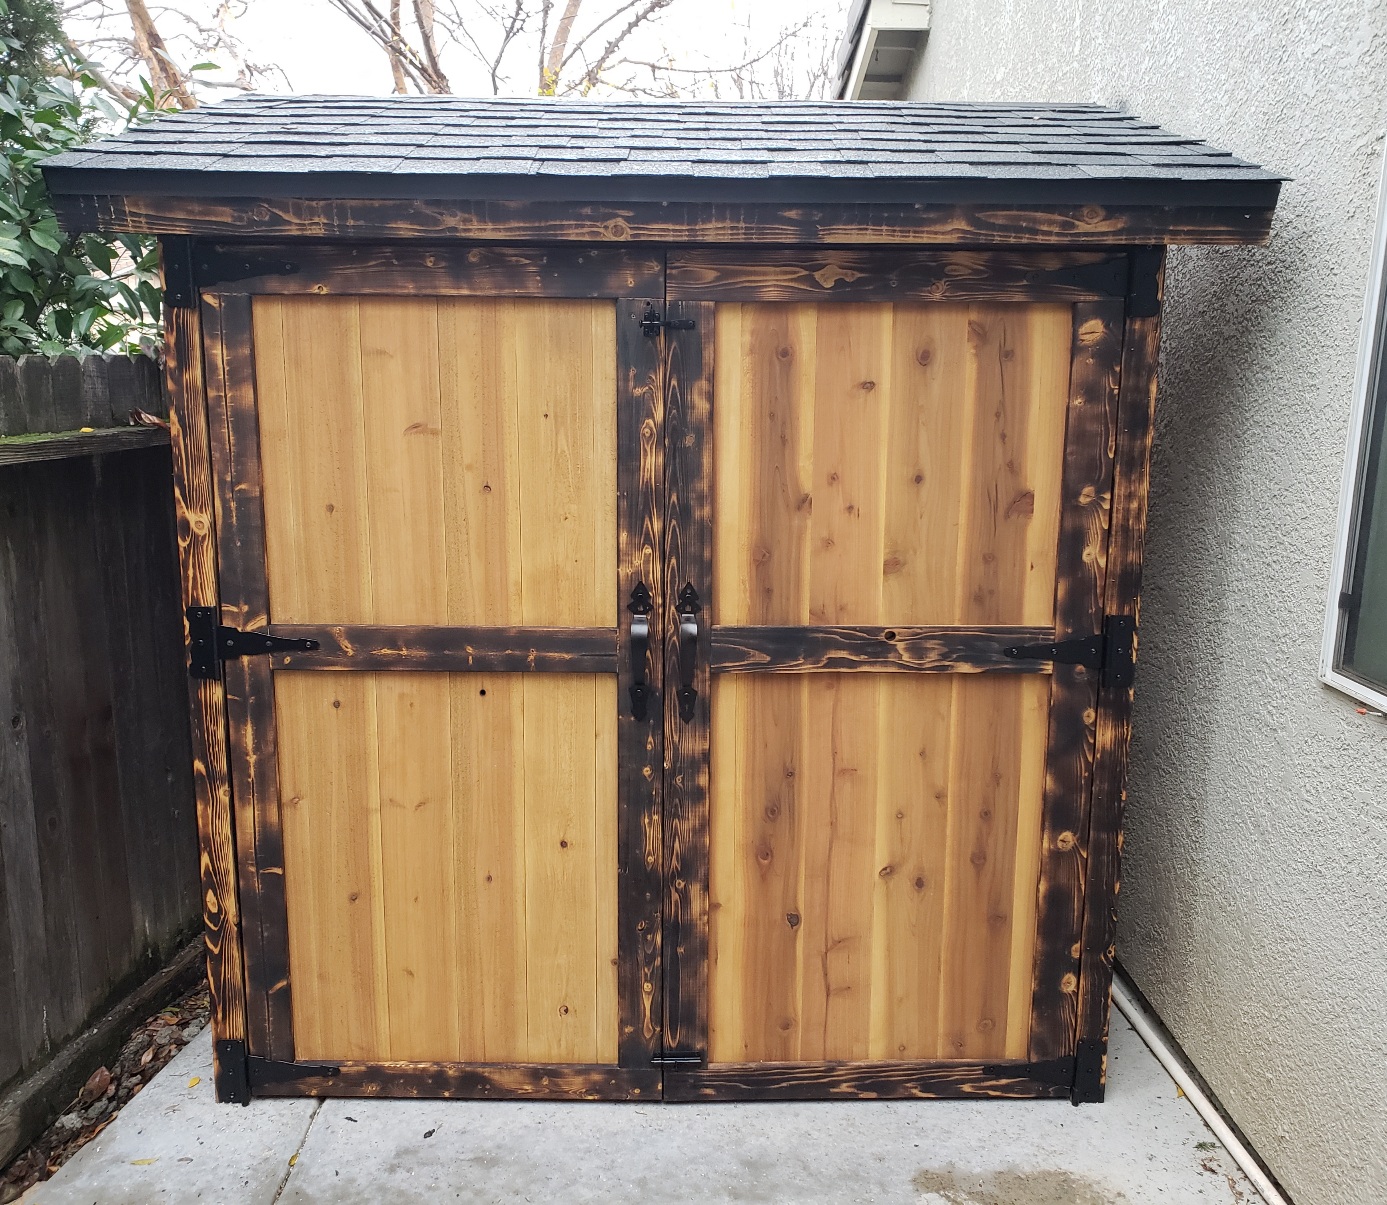
I built this using Ana's Small Cedar Shed plans. It was a fun and surprisingly easy build!
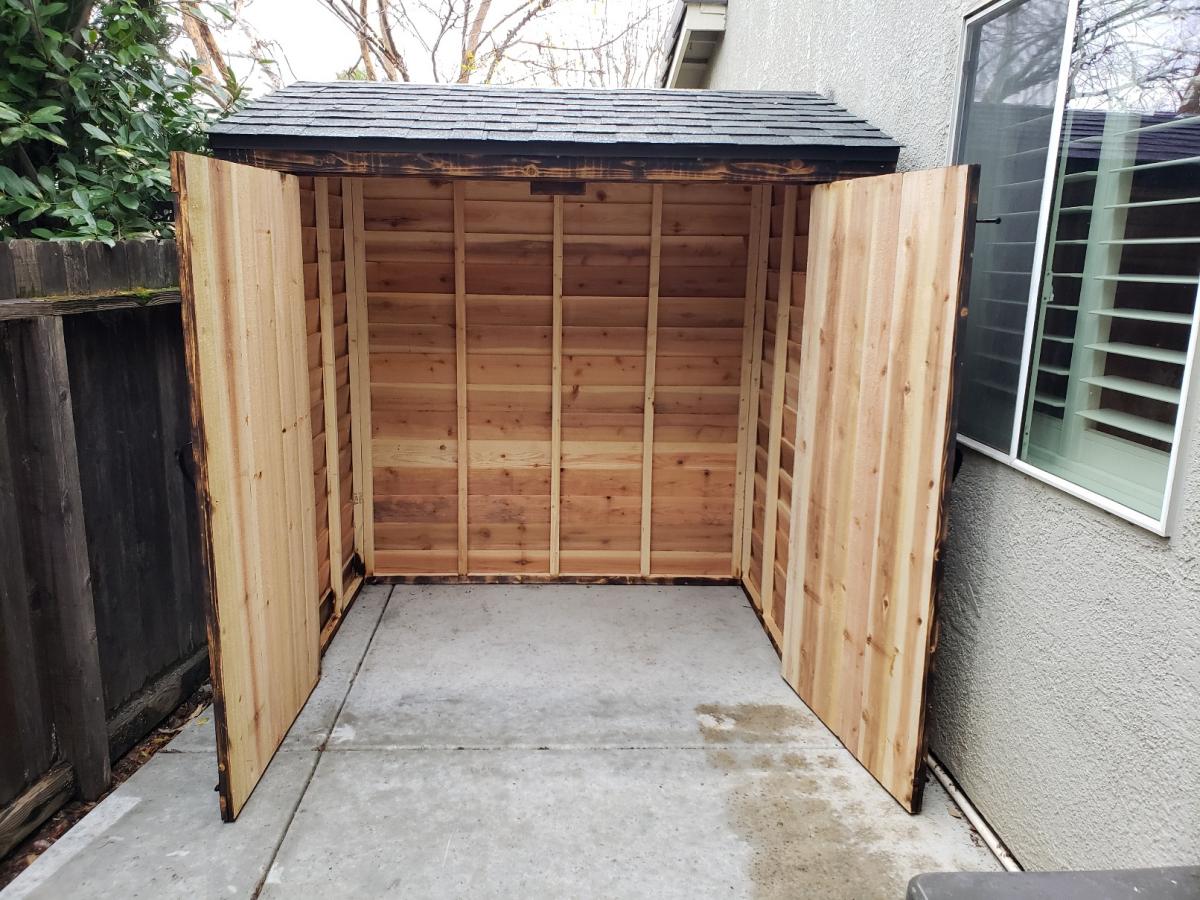
Sat, 09/26/2020 - 18:35
Looks like a fun project, I really like the look of the burned finish! Thanks for sharing your projects:)
We have 6 children and needed a dedicated area for coats, backpacks and other outdoor items. I loved how I could modify the smiling mudroom plans to fit my needs. I used plywood for the bench and 1" x 12" pine boards for the shelves and dividers to minimize the cuts.
This was my first furniture project and only my 2nd woodworking project, the previous one a cubby house over 20 years ago, so I was a bit nervous. I did lots of planning, research and designing before the first cut. I incorporated ideas from Ana projects as well as from other sites and learned how to use a drop saw, various sanders and the pocket hole jig.
We wanted a tall table because when sitting a a regular height table the view is blocked by the deck railing.
I decided to make it out of hardwood for durability in the Australian outdoors and also because we get sea air where we are. The hardwood (Blackbutt) was challenging to work with - extremely heavy and difficult to drill into, but the finished product is SO solid and will outlive us all. Due to the weight and density of the timber I overengineered as far as joining went, using more pocket holes than usual.
I saw the idea of the built in ice troughs years ago and was keen to incorporate them into my table. I also made the legs detachable so that the table top could be moved out onto the deck once it was finished and the legs added in situ. Once it was set up my husband put big screws into the legs just in case but it would really take an earthquake to move this thing.
I managed to build it over 3 weekends and finished it just in time for our family Christmas party but it only had 1 coat of stain on it at that stage. I finished it off later and we also decided that the ice trough covers would look good in a contrasting colour so did them in charcoal. If I made it again it would be a much quicker project as there was alot of 'firsts' and learning along the way.
The dimensions are:
2660mm long (about 8' 9")
1150mm wide (about 3' 9.5")
1165mm high (about 3' 10")
The legs are solid - 140 x 140mm (5.5")
It seats 10 - 12 comfortably and 14 at a squeeze.
We got the bar stools 2nd hand for an absolute steal - 12 for $200! They are handmade hardwood too and look great.
The timber was quite expensive but I was able to use the work account so got it at trade price. This would be a very expensive table to buy but all up it cost us about AU$1100.
This project was not exactly easy but I would class myself as a novice. With the right planning and preparation (plus stubbornness) anyone could do this :-)
In reply to A Piece of Art! by Ana White Admin
Sat, 01/28/2017 - 16:12
Thank you so much :-)
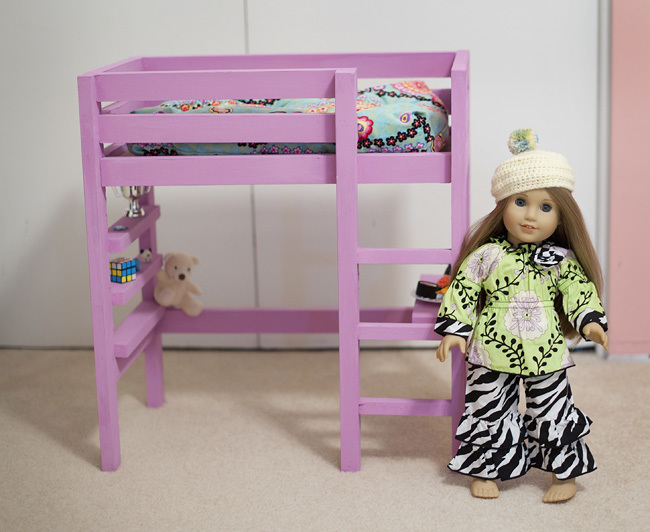
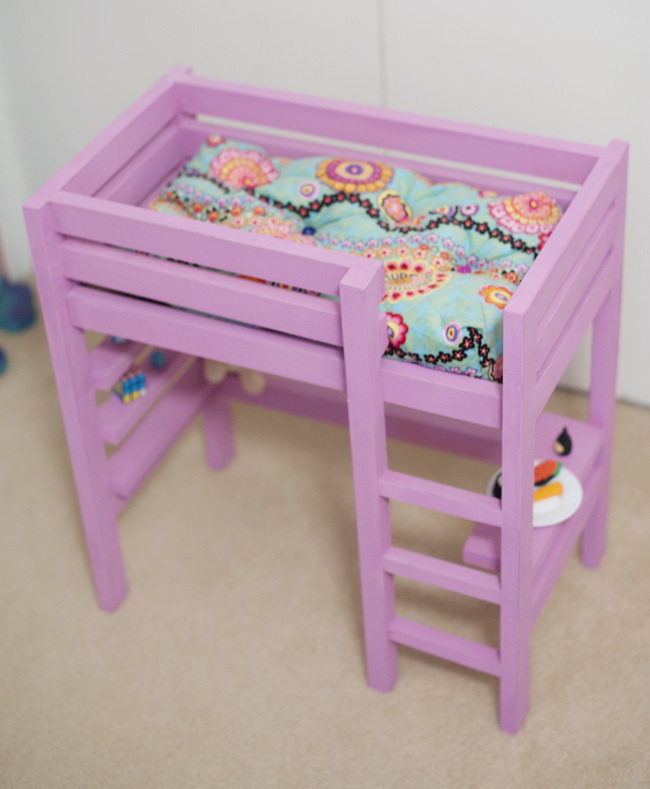
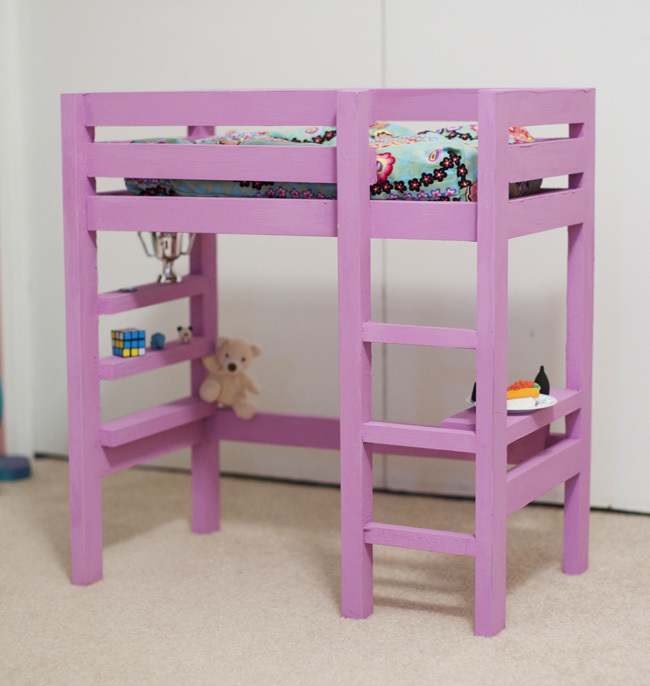
My daughter wanted McKenna and her loft bed for Christmas. I didn't want to spend $225 for the bed. I loved the bunk bed plan but revised a bit to make it like a loft bed. I added the shelves and desk and used the height from the Loft Bed plan so it was tall enough. I also made the mattress using the tutorial link with the bunk bed plans. I loved making it and the plans are soo easy to follow. My next project is the Horse Stable.
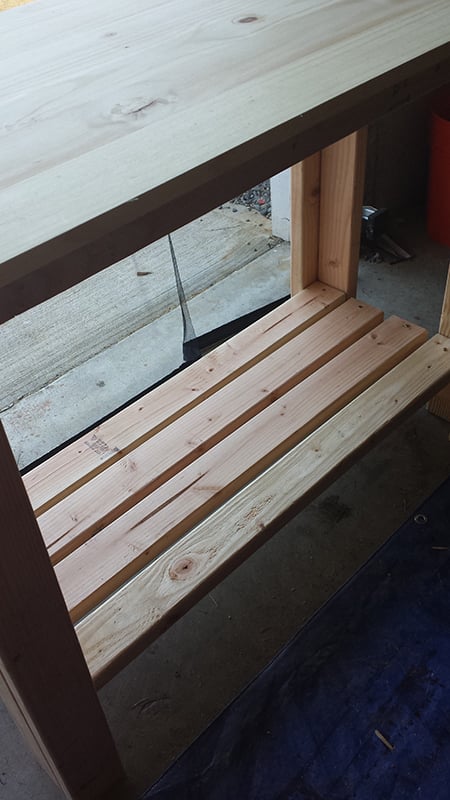
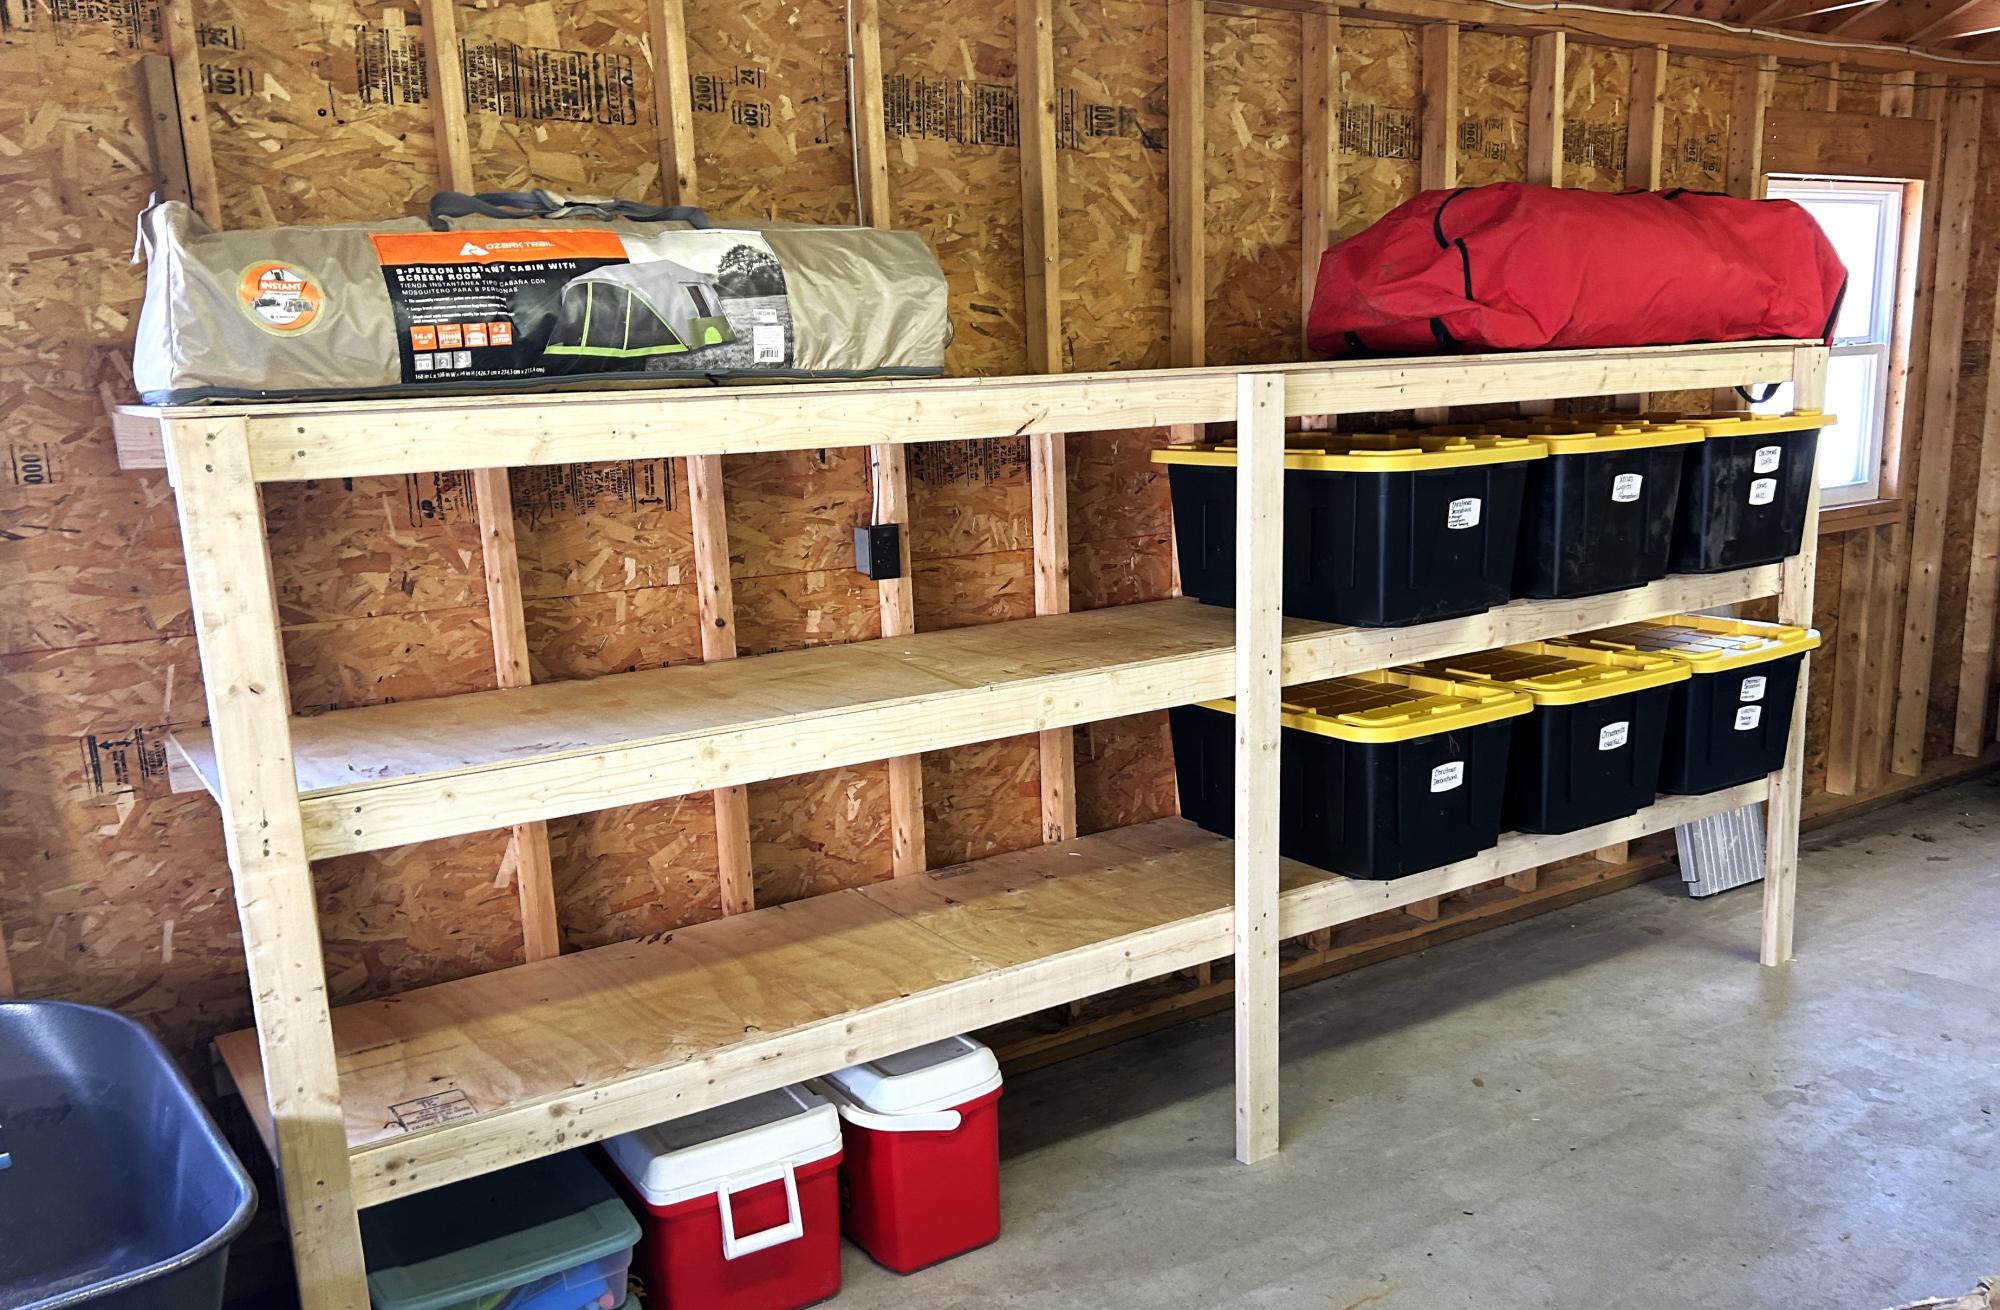
A few months ago, I made a simple workbench to store my miter saw and other power tools when I'm not using them. I love it. It was a very easy project. I opted to do a full bottom shelf and added more 2x4s instead of the standard three.
