Community Brag Posts

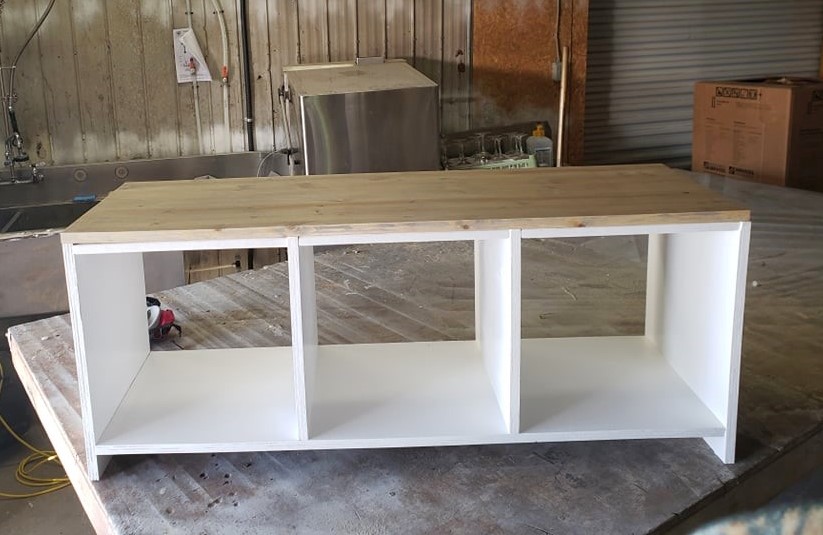
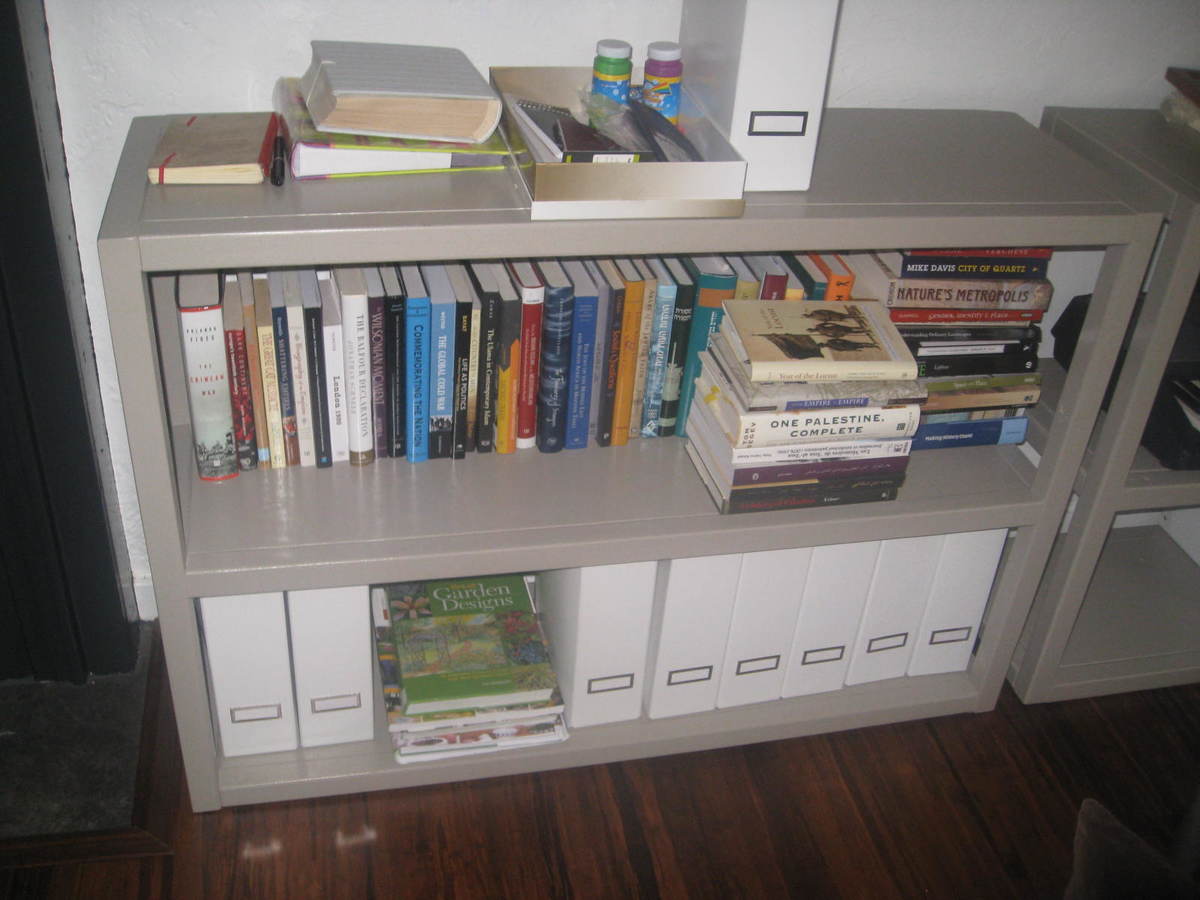
Parson's modern bookshelves--my first build

After following Ana's blog for over a year and bookmarking dozens of projects, I finally built my first project. (I built it months ago and have since built 3 other things...so this is addictive!)

I love the modern West Elm look but didn't want to shell out over $600 for two low Parson's shelves which still would not fit my dimension exactly, so this was the perfect project for me. Initially I had intended to stain the bookshelves a warm pecan color, as I think "modern craftsman" is more my style, but honestly the outcome was so wonky that I couldn't see that the shelves would look nice stained. Instead I painted them with what was supposed to be a color match to BM's Weimeraner -- lesson #1001, BM's paint cannot really be color matched. I may repaint in the future as this is not as warm as the original, but it's been fine for the past few months.

Honestly I had many building problems with my first project -- I had mistakenly thought working with 2x2s (pine) would be 'easy', but I found the opposite to be true (and since I have done another project with 2x2s since then I can confirm that we are not meant to be bffs). I did choose straight boards, but I had the guys at Lowe's cut them. Unfortunately in the future I will have to buy my own saw (and pick up truck and workshop, lol), because literally every single time there has been a problem, even when I check the boards at the store. The problems are generally small--1/4" or so--but of course this makes your project off square.

As a result there were noticeable seams between the 2x2s and the 1x12 boards. Of course caulk and paint hid all of that, but this was the main reason why I couldn't stain the project. I also had trouble with the 2x2s splitting when I used the Kreg jig -- luckily this happened only a couple of times, but in my next built it happened even more often, using Douglas Fir. (if anyone can help me with this, I would love to hear!)

Long story short -- it was a lot of work, it wasn't exactly what I had envisioned, but I love the final product, seams, warts, and all. It fits our space perfectly, it's incredibly sturdy, and the power of making something myself--even imperfect--is amazing. Since then I have built an activity table and a picnic table for my kids, and I even felt confident enough to design and build my own window box. (sure, it's not complicated, but I credit Ana's "training" entirely. of course I haven't yet installed it, but that's a different problem)

Thanks, Ana!!!
Built from Plan(s)
Estimated Time Investment
Weekend Project (10-20 Hours)
Finish Used
paint and poly (eco-friendly version)
Recommended Skill Level
Starter Project

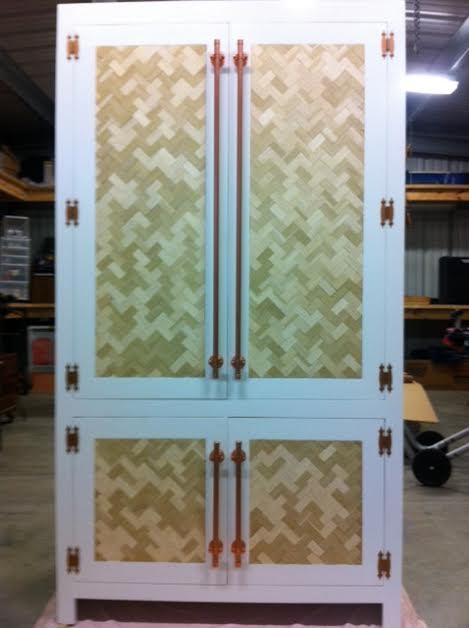
Hawkins pantry

Submitted by mlhawkins on Wed, 04/09/2014 - 08:21

I needed more storage for our TINY kitchen. I found the nursery armoire plans and asked my dad to help me build it for a pantry! We modified it some by making it taller and adding more shelves inside (sorry no pics of that). For the doors I wanted to do something fun so we cut lots (over 700!) of small pieces of wood and inlaid then in a herringbone pattern - IN LOVE! For the handles we used copper pipe and I am IN LOVE with those too! Enjoy!
~ Maggie

Built from Plan(s)
Recommended Skill Level
Beginner

Comments

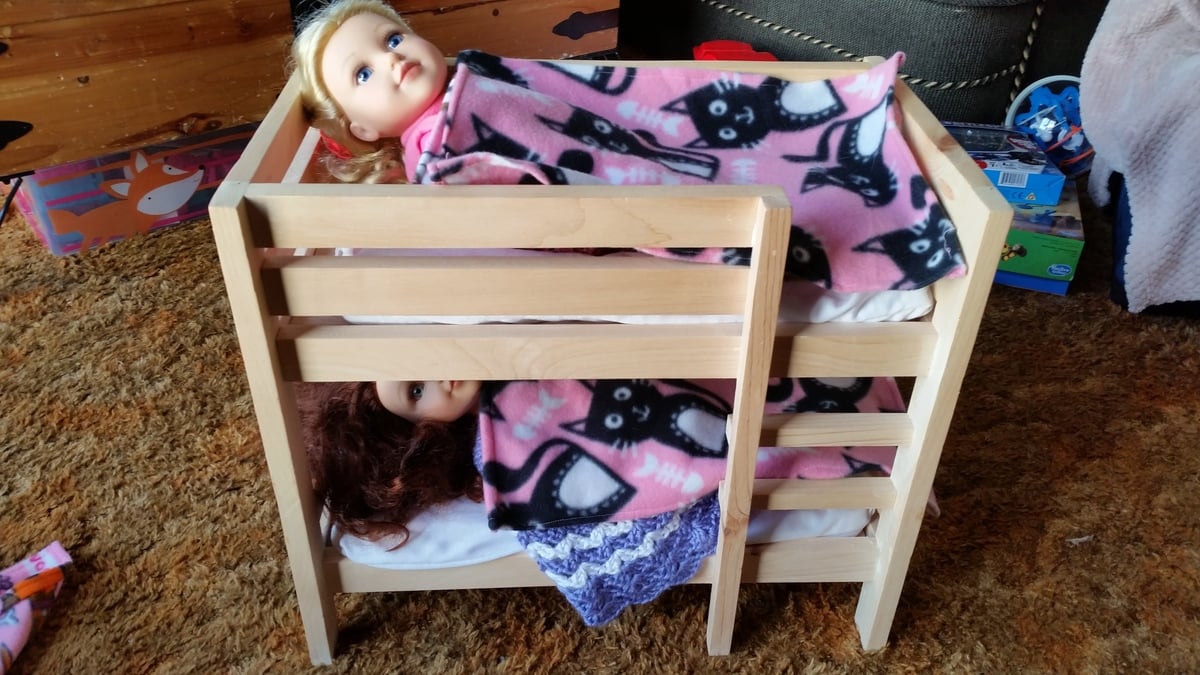
Doll Bunk Beds

Submitted by Anonymous (not verified) on Tue, 07/05/2016 - 19:52

I made this for my daughter as a Christmas gift.  She was thrilled and still plays with it every day.  The tutorials are detailed and easy to follow.  I used material left over from some of my other projects.  There was a learning curve for the sewing portion so it took me longer to learn how to use the sewing machine.  I am a better carpenter than a tailor :)

Thanks Ana...I will try more of your projects.  

Estimated Cost
$50 with bedding
Estimated Time Investment
Weekend Project (10-20 Hours)
Finish Used
Natural Finish
Recommended Skill Level
Beginner

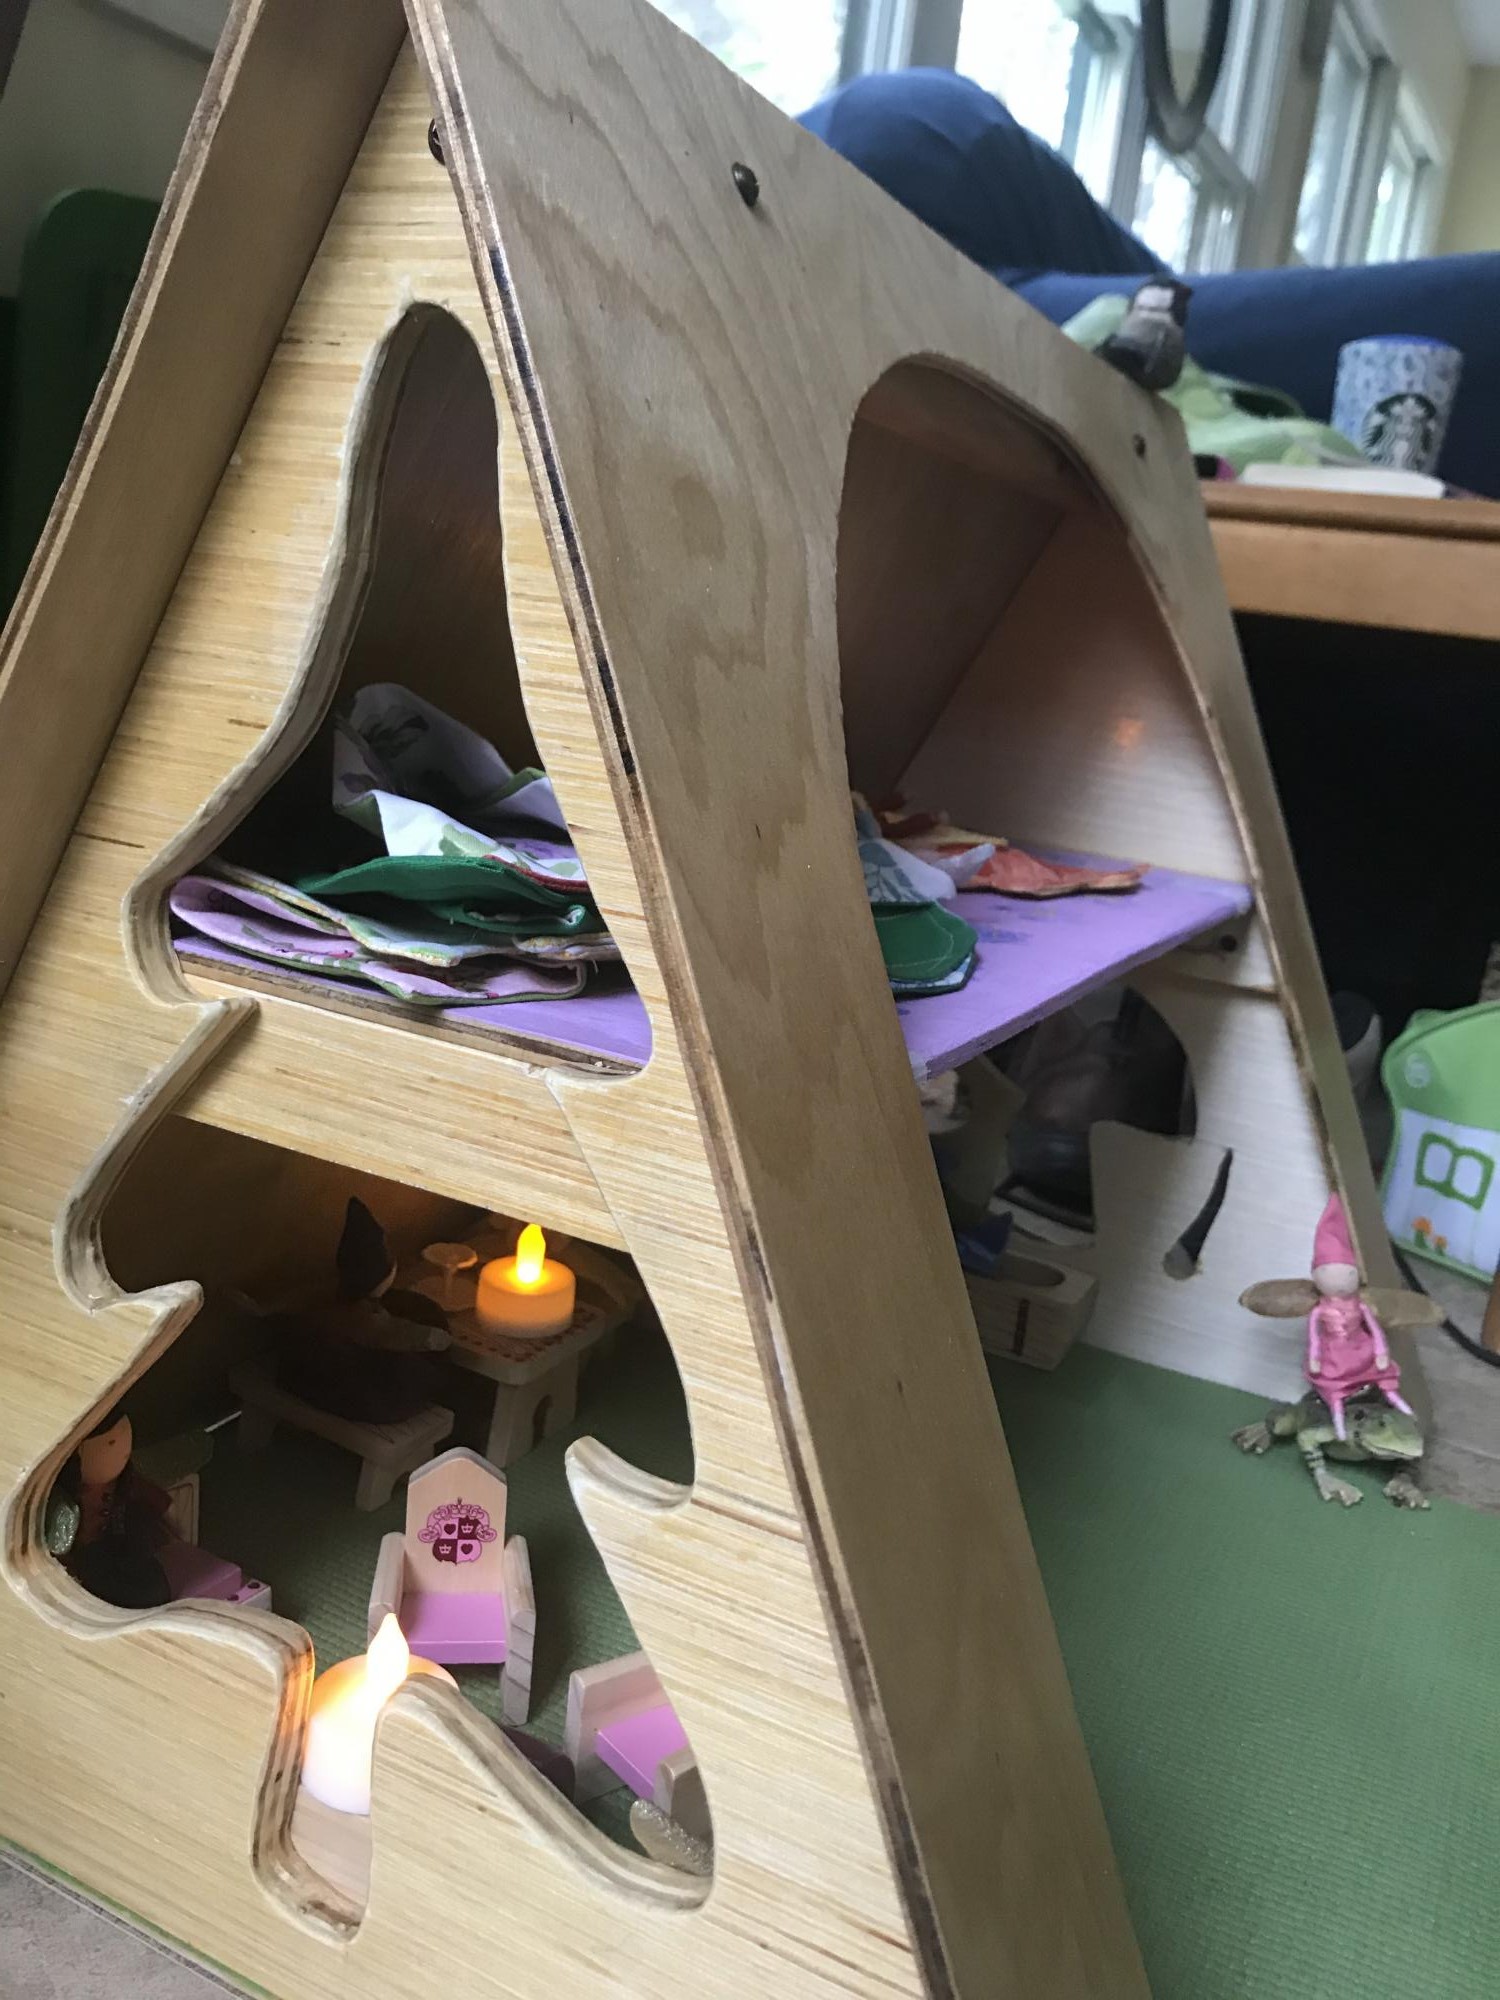
Fairy doll house

Submitted by Anonymous (not verified) on Thu, 04/30/2020 - 13:44

Used quarter and half inch ply. Used closet rod for main beam. Cutout for carry handle. Used Velcro to hold closed. First time. Only used jigsaw and drill

Built from Plan(s)
Estimated Cost
Found matls
Estimated Time Investment
Week Long Project (20 Hours or More)
Finish Used
Poly ur

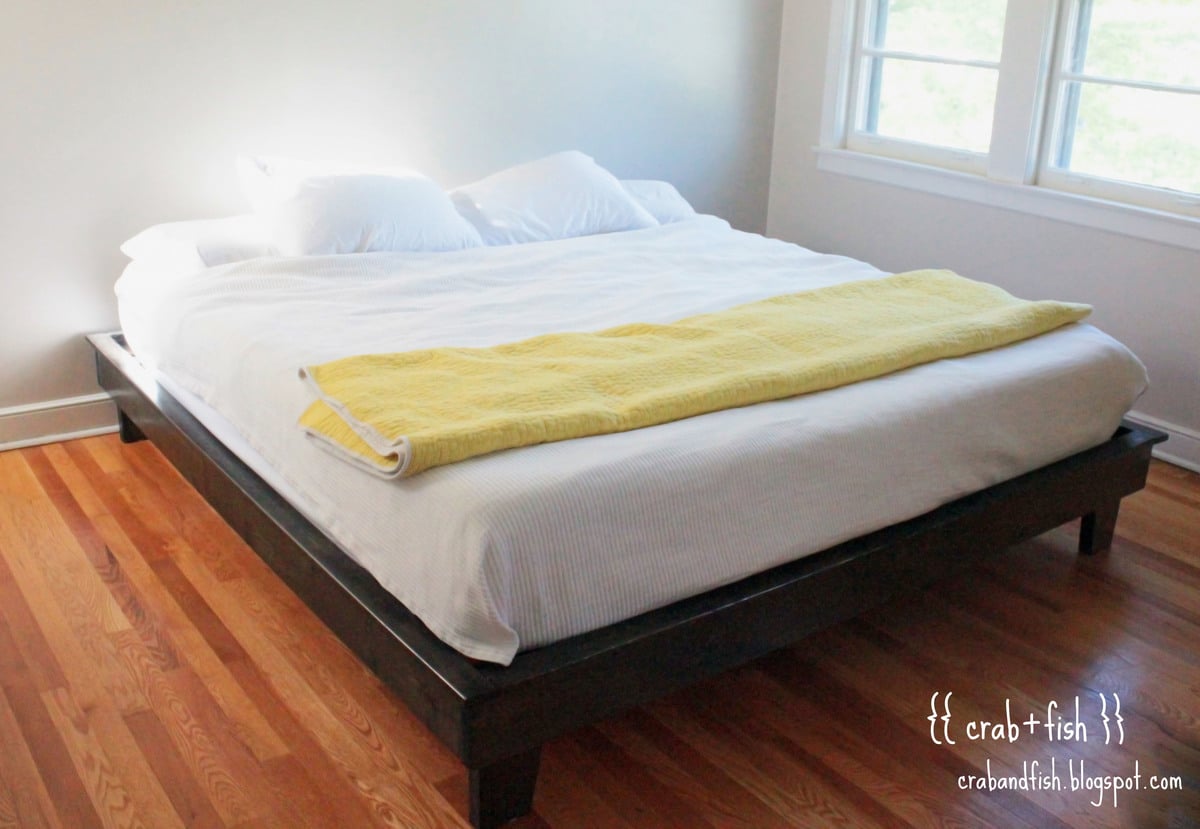
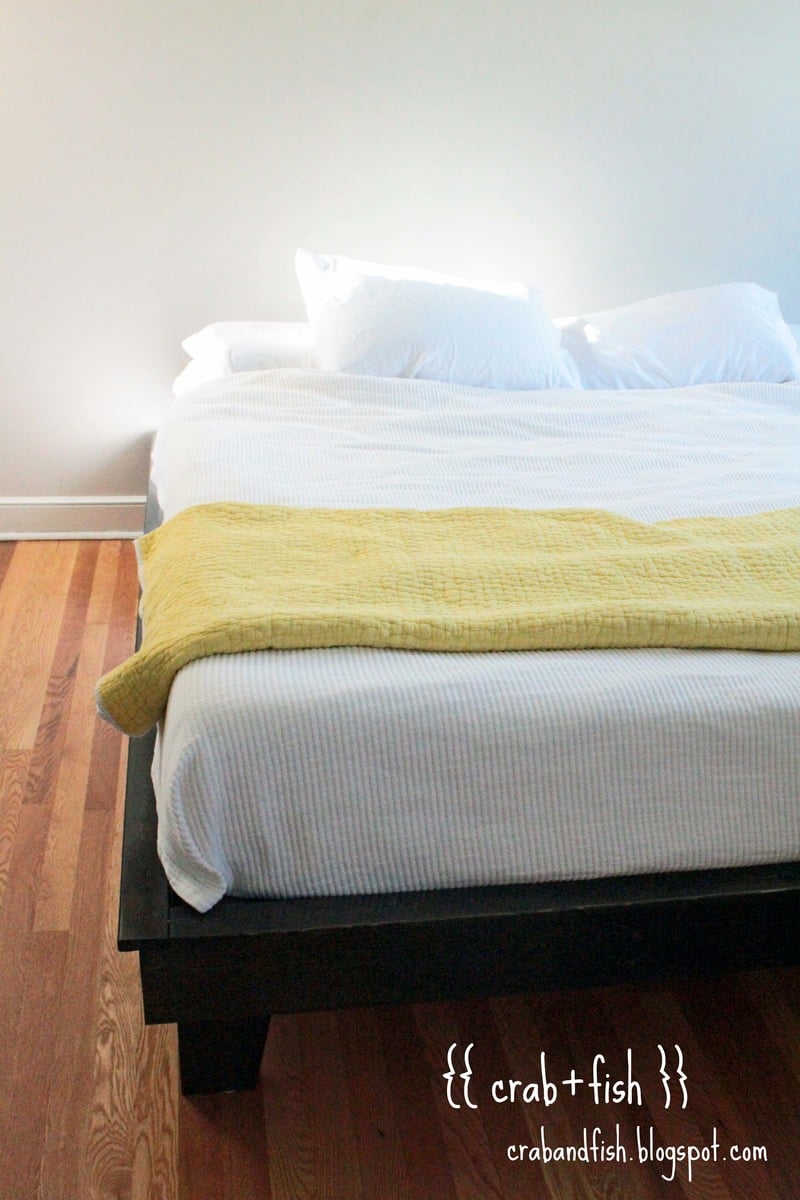
hailey platform bed - king size

please see the full post here:
http://crabandfish.blogspot.com/2012/05/aaaahhhhi-love-our-bed.html

we built the hailey platform bed, modified for a king size mattress. we included four extra feet under the bed for additional stability.

Built from Plan(s)
Estimated Cost
$100
Estimated Time Investment
Weekend Project (10-20 Hours)
Finish Used
minwax ebony - 2 coats
Recommended Skill Level
Intermediate

Modified Fancy X Farmhouse Table

Submitted by feliciab on Sat, 04/12/2014 - 05:54

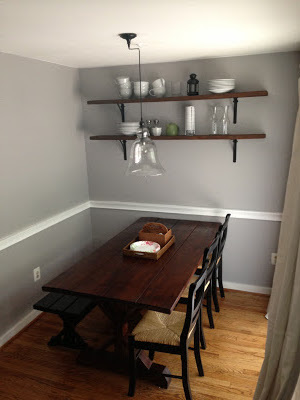
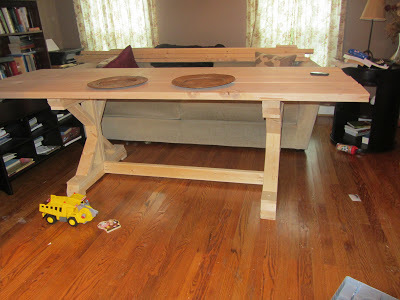
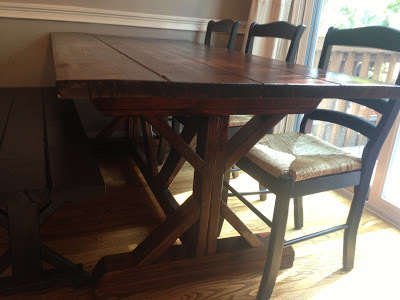
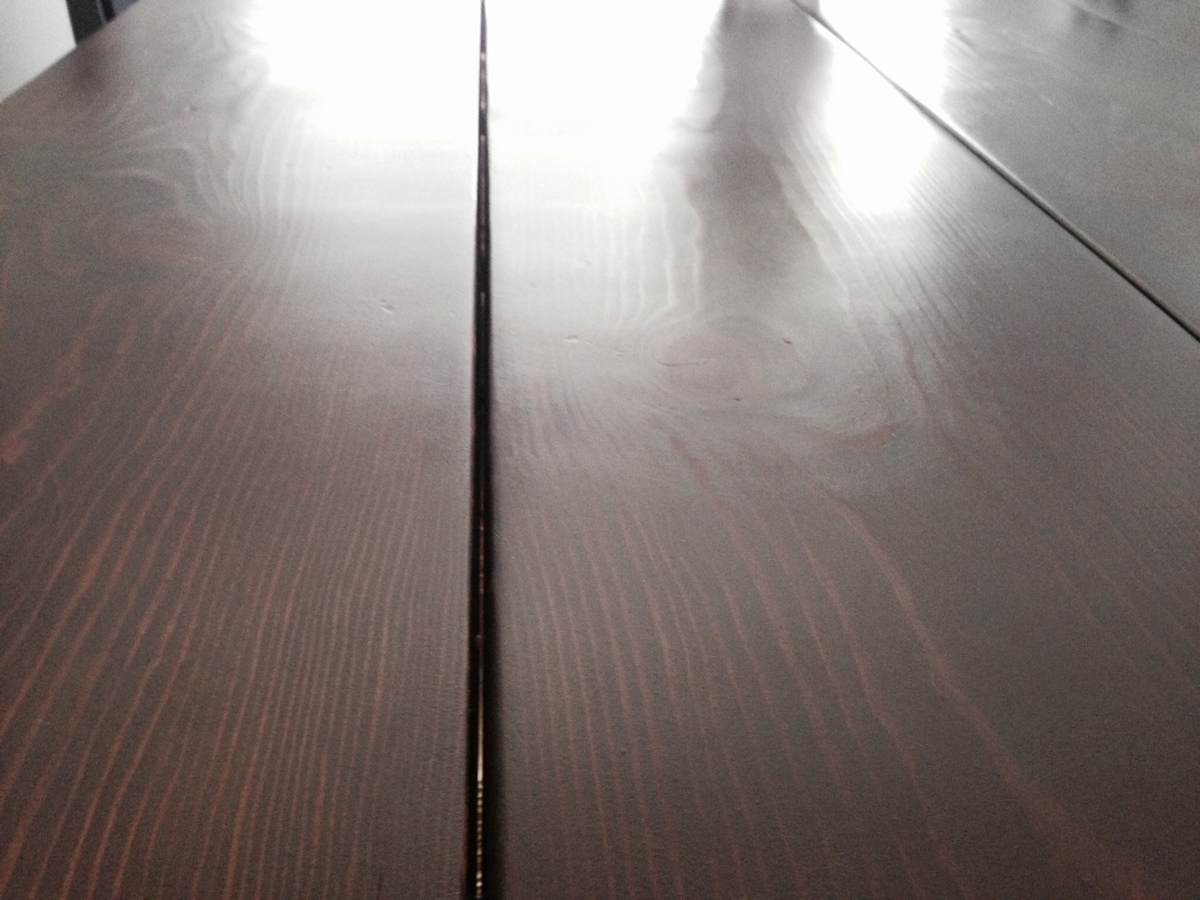
I had admired the x frame table from Anthropologie but knew it was out of my price range. When I saw these plans from Ana White, I knew I had to try to make my own table. This was my first wood working project and turned out that it wasn't too difficult. I constructed the table in a weekend. The first one I built was 5' long (used 4 2x10 boards) so that it would fit in our townhouse kitchen. When we moved to a larger home, I was able to create a new larger top and extended the base. The new table is 8' (used 4 2x12 boards). I absolutely love the table. Thank you Ana!

Built from Plan(s)
Estimated Time Investment
Weekend Project (10-20 Hours)
Finish Used
Varathane American Walnut Stain
Minwax Polycrylic (satin)
Recommended Skill Level
Beginner

Inspired by Gaby kitchen island

Submitted by Anonymous (not verified) on Sat, 07/09/2016 - 16:08

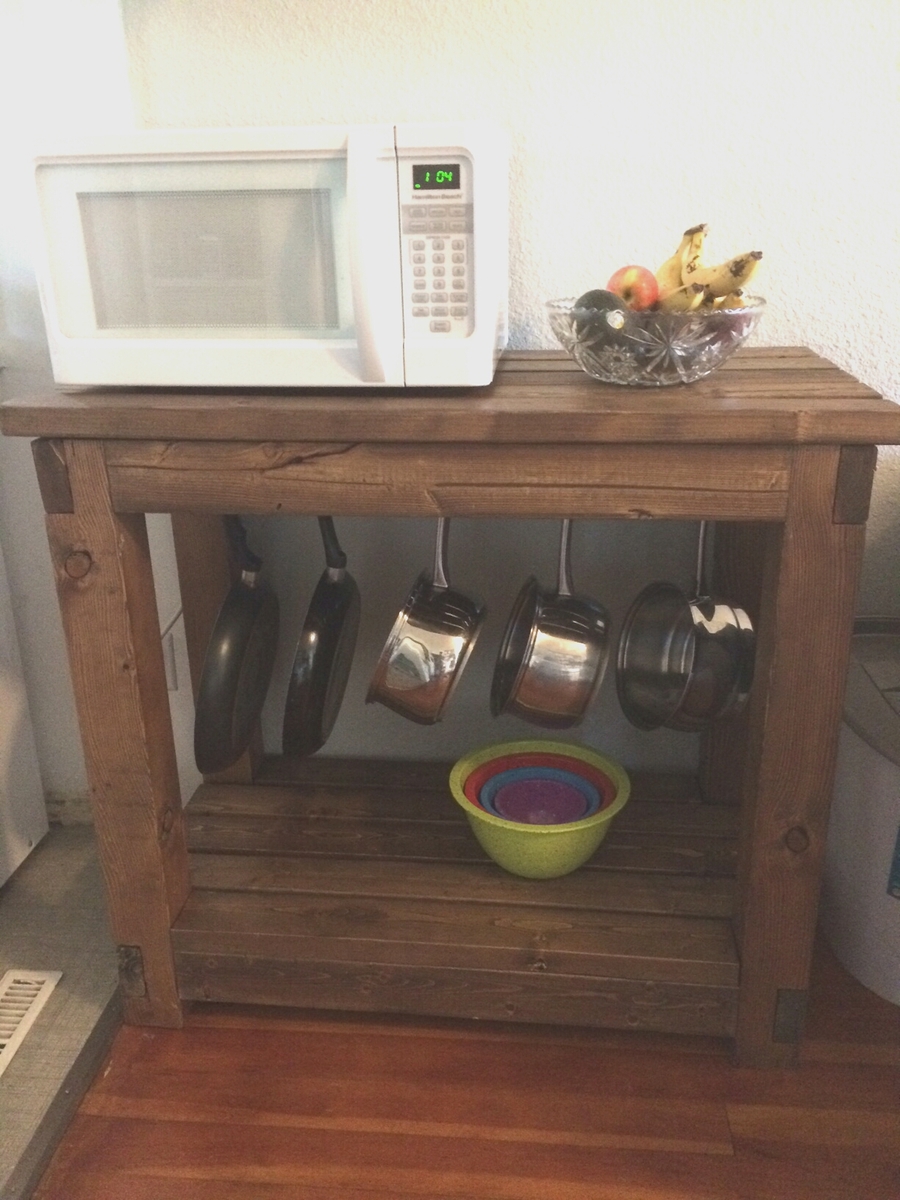
I adapted this from the Gaby Kitchen Island . I loved the design but my kitchen is way too small for an island. I was in need of a table for the microwave so this was the first design  I turned to.

Built from Plan(s)
Estimated Cost
$50
Estimated Time Investment
Day Project (6-9 Hours)
Finish Used
Early American stain and rub on polyethylene
Recommended Skill Level
Beginner

Barn door bookcase

Submitted by Kristi88 on Mon, 05/04/2020 - 15:20

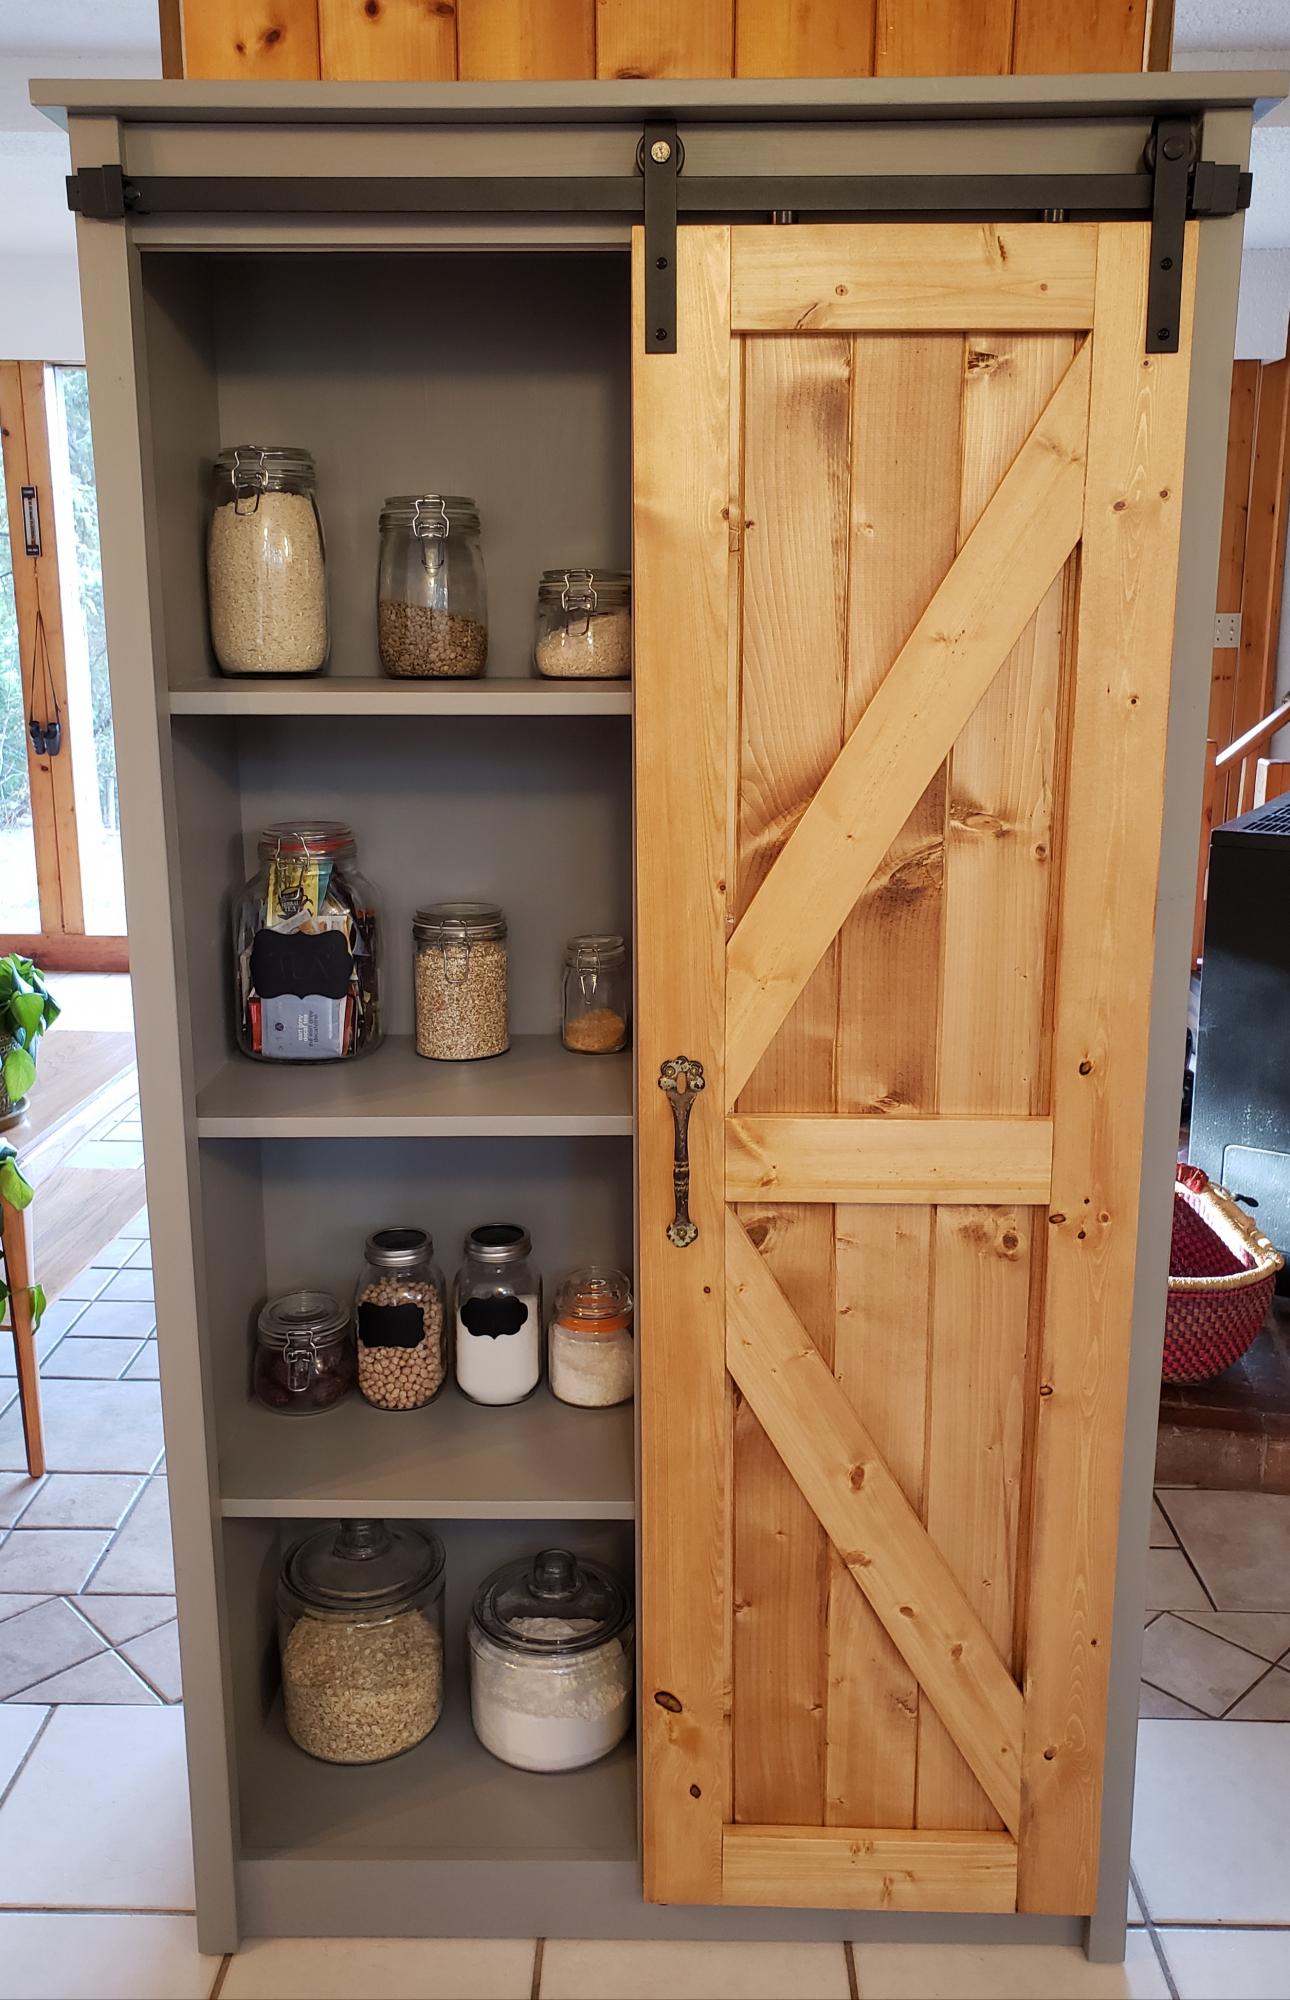
This is my second project and I am really happy with how it turned out! I needed more storage in my kitchen but I only had a 3 foot wide wall to put this up against, so I altered the plans to 5 feet 7 inches tall by 3 feet wide. The handle is an antique from my great great grandmother and dates back to the 1800s. I think it adds some character to the piece.
Thank you for the plans Ana! I can't wait to start my next project!

Built from Plan(s)
Estimated Cost
450 CAD
Estimated Time Investment
Week Long Project (20 Hours or More)
Finish Used
Rustoleum chalk paint in aged grey for the unit and Ipswich by varathane for the door.
Recommended Skill Level
Intermediate

Comments

acantiello

Fri, 05/15/2020 - 08:31

This looks so beautiful! Similar to you, I have a 3 foot wide wall to place this against. As a beginner here, and my head hurting when I do try to adjust the measurements... Would you happen to still have the measurements that you utilized?

Square Planter (w/o finials)

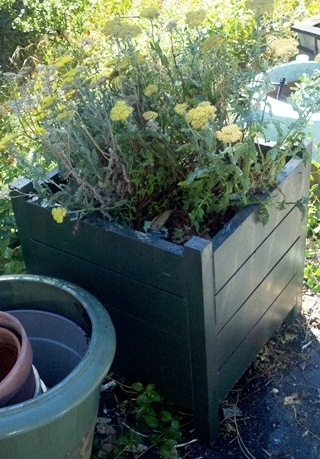
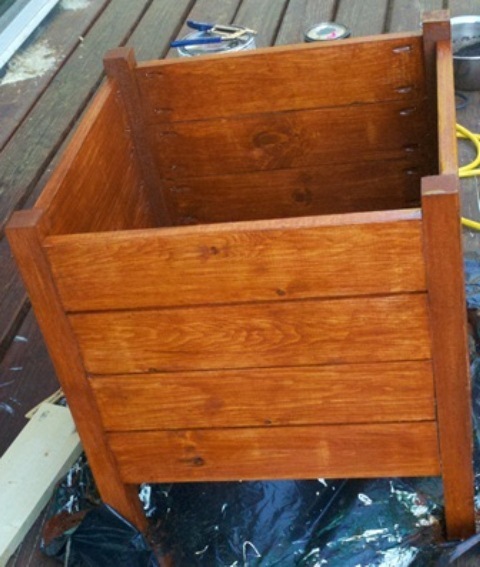
As a first-time user of pocket holes, I have to say they're brilliant! I learned from a lot the mistakes I made constructing the planter, but look forward to using variations of the plan for more planter projects. Thanks!

It took about two hours to construct, and then paint time. I used paint I had on hand (a paint store near me occasionally sells mis-mixed paint for $1/container), so I put on a white first coat and finished it with the green. It was a little too green, so I spray painted it with a light coat of bronze spray.

I attached the side slats to the outer 2"x"2 corner rather than the inner corner and subsequently found the 15-3/4" bottom slats a little too short. I had a spare furring strip on hand, so I cut another set a bit longer and they fit more securely. I haven't decided on finials yet; I may leave them off.

Estimated Cost
$20
Estimated Time Investment
Afternoon Project (3-6 Hours)
Finish Used
Green box: acrylic paint
Stained box: oil based stain with clear overcoat
Recommended Skill Level
Beginner

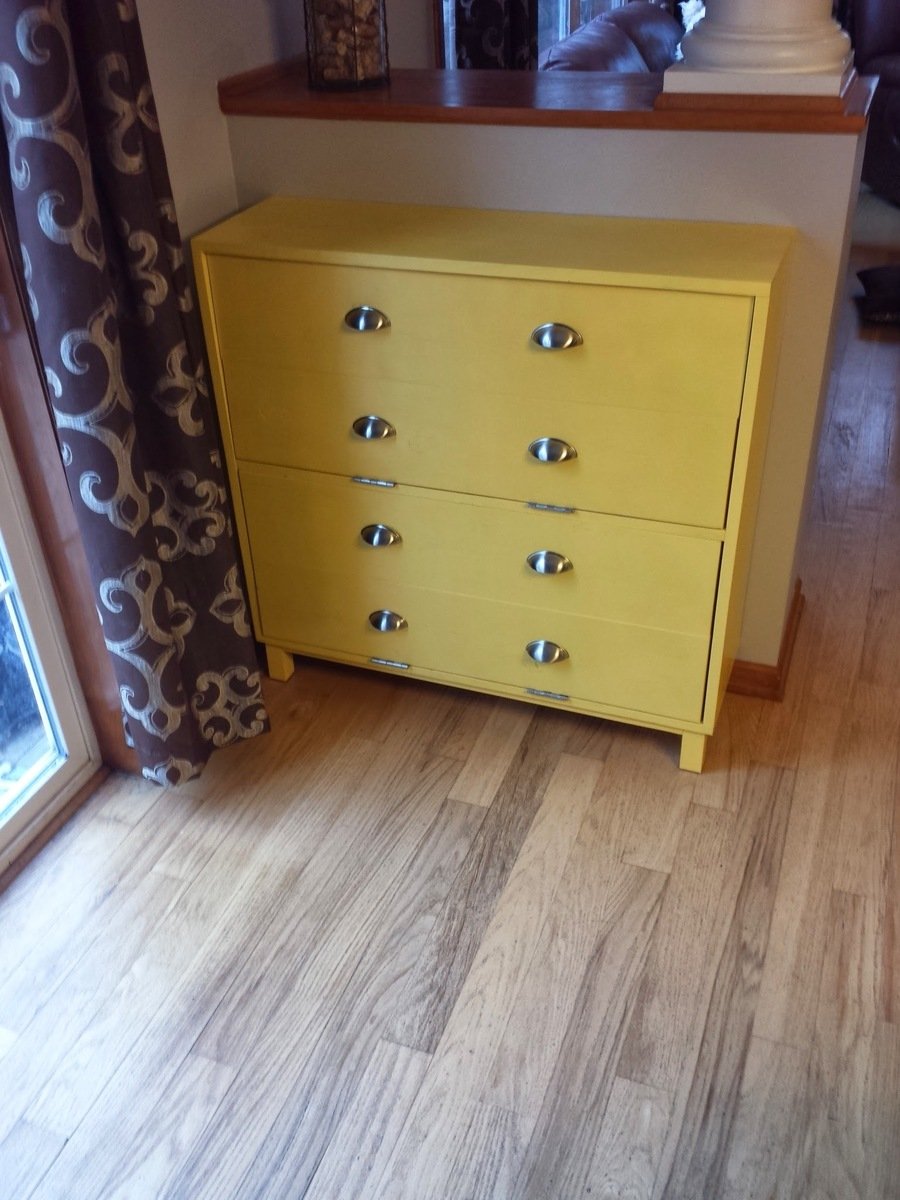
Shoe Dresser / Dog Walk supply Storage

Submitted by adamderkey on Mon, 04/14/2014 - 12:00

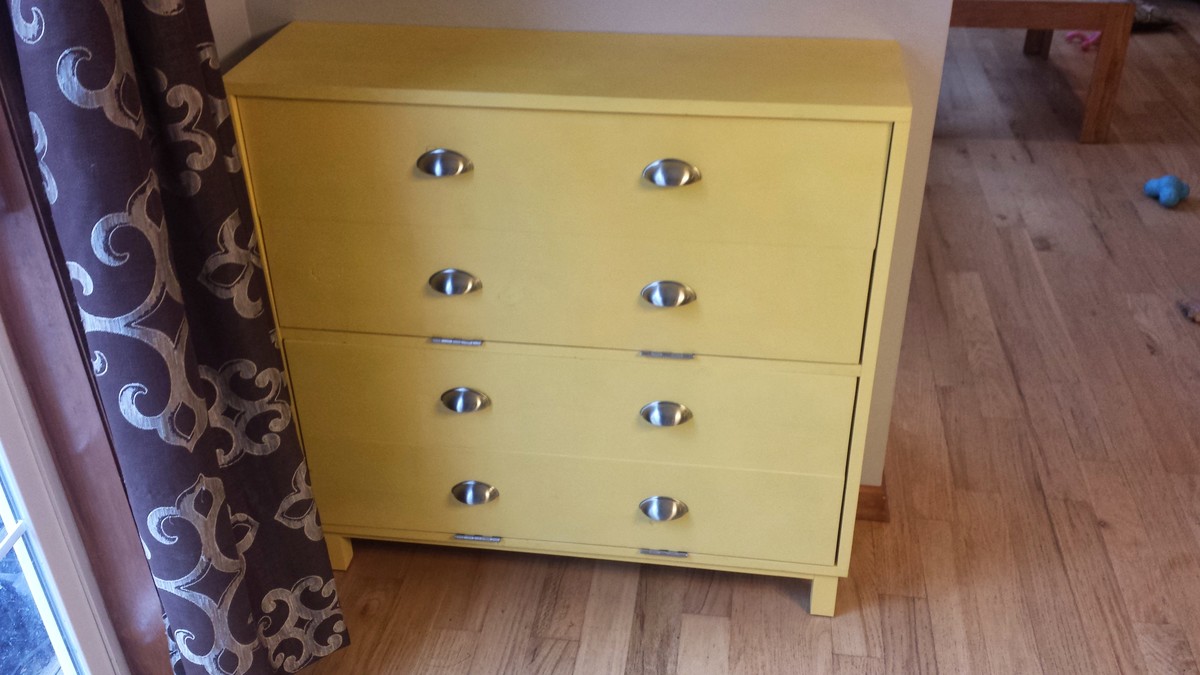
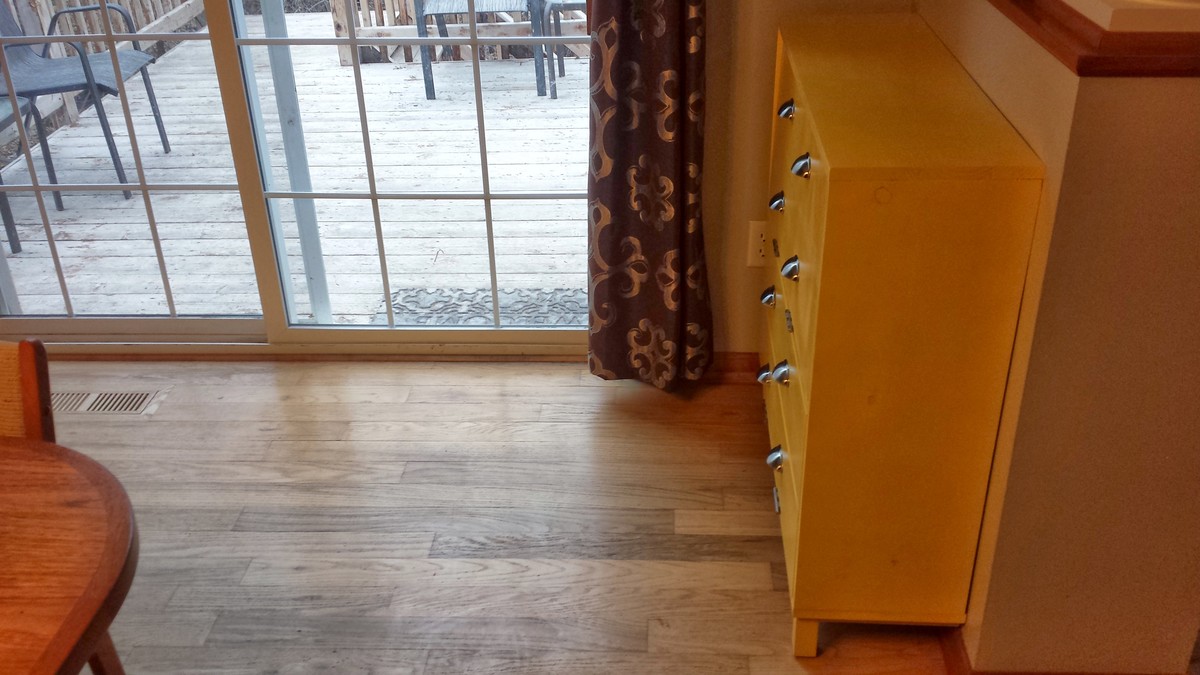
We needed some storage by the back door for shoes and dog accessories so it would be easier for us to take our dogs out for walks. I saw the plan for the shoe dresser and thought it would be great since we would be storing shoes in it. I made it narrower to fit our space and also made it deeper. The cost was mostly in the hardware.

Built from Plan(s)
Estimated Cost
$80
Estimated Time Investment
Weekend Project (10-20 Hours)
Finish Used
Spray paint and spray polyurethane.
Recommended Skill Level
Intermediate

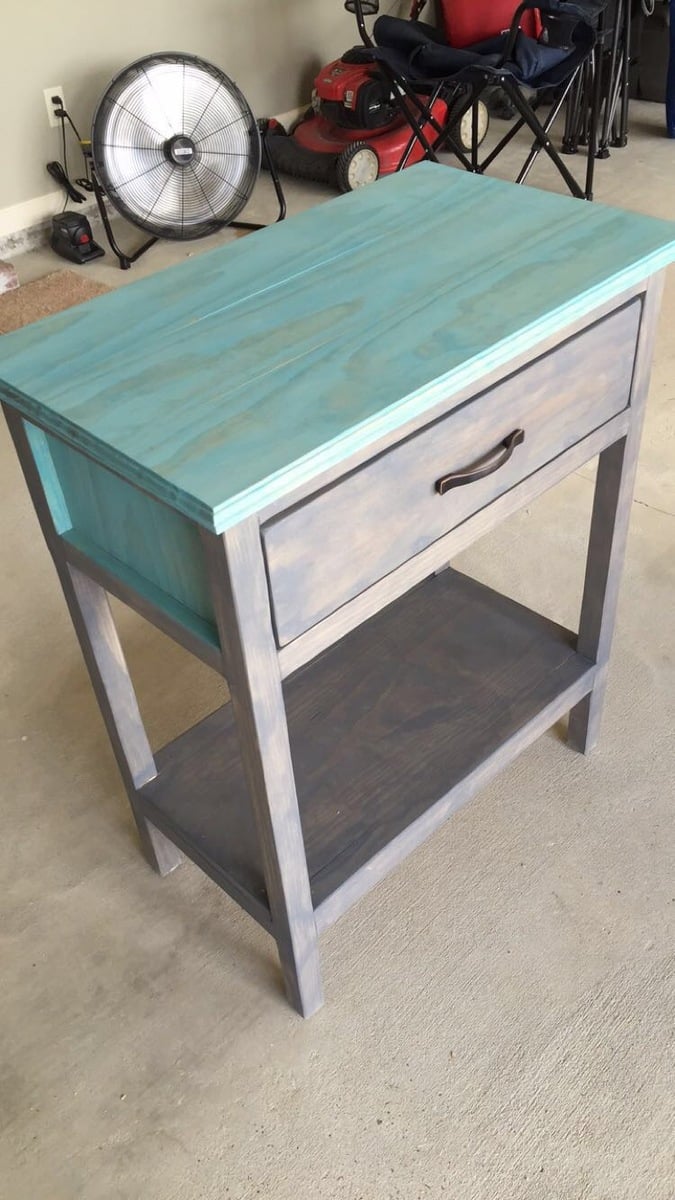
Farmhouse Bedside Table

Submitted by Anonymous (not verified) on Mon, 07/11/2016 - 22:17

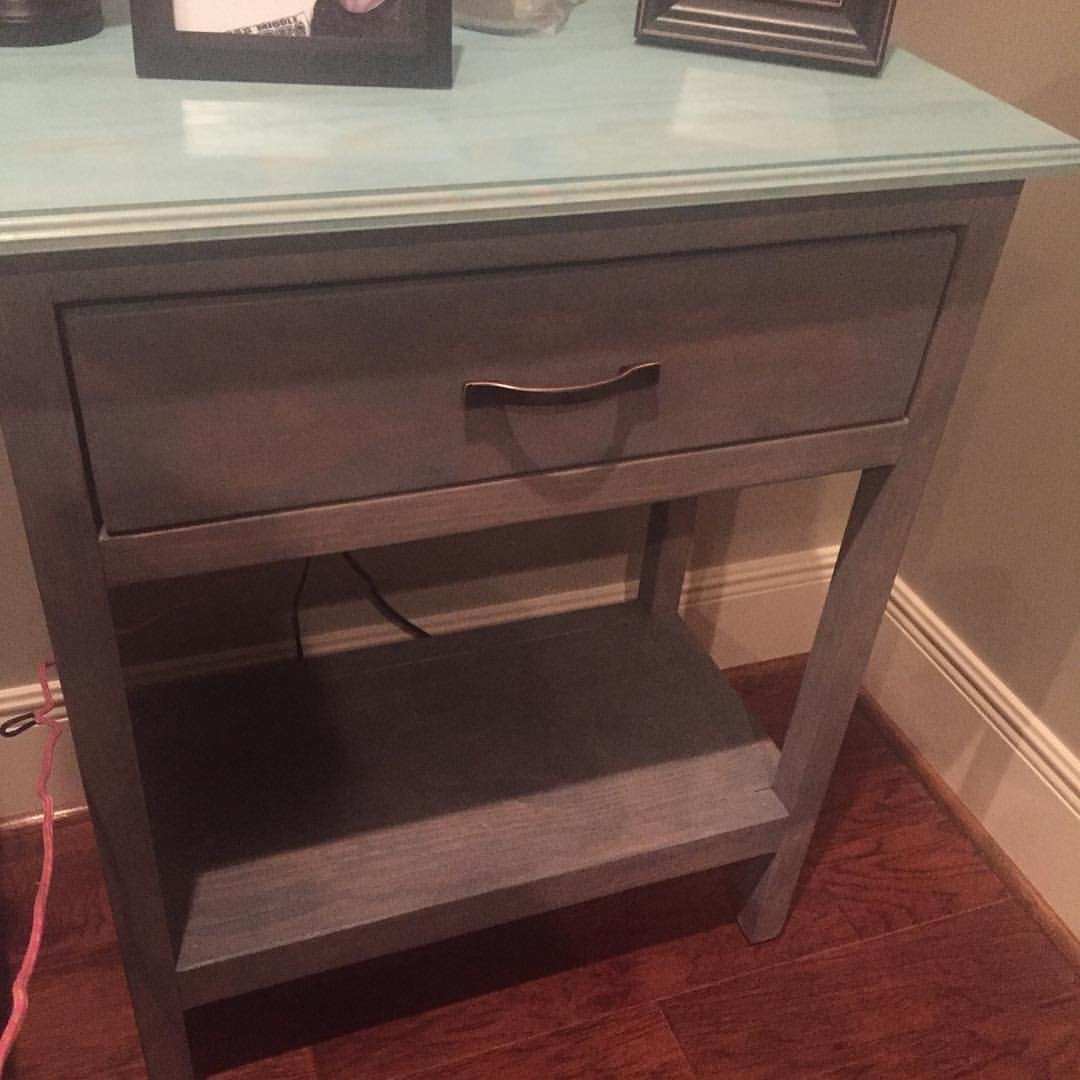
Needed new bedside tables to go with the new bed frame. Loved the outcome. 

Built from Plan(s)
Estimated Cost
$75.00
Estimated Time Investment
Weekend Project (10-20 Hours)
Finish Used
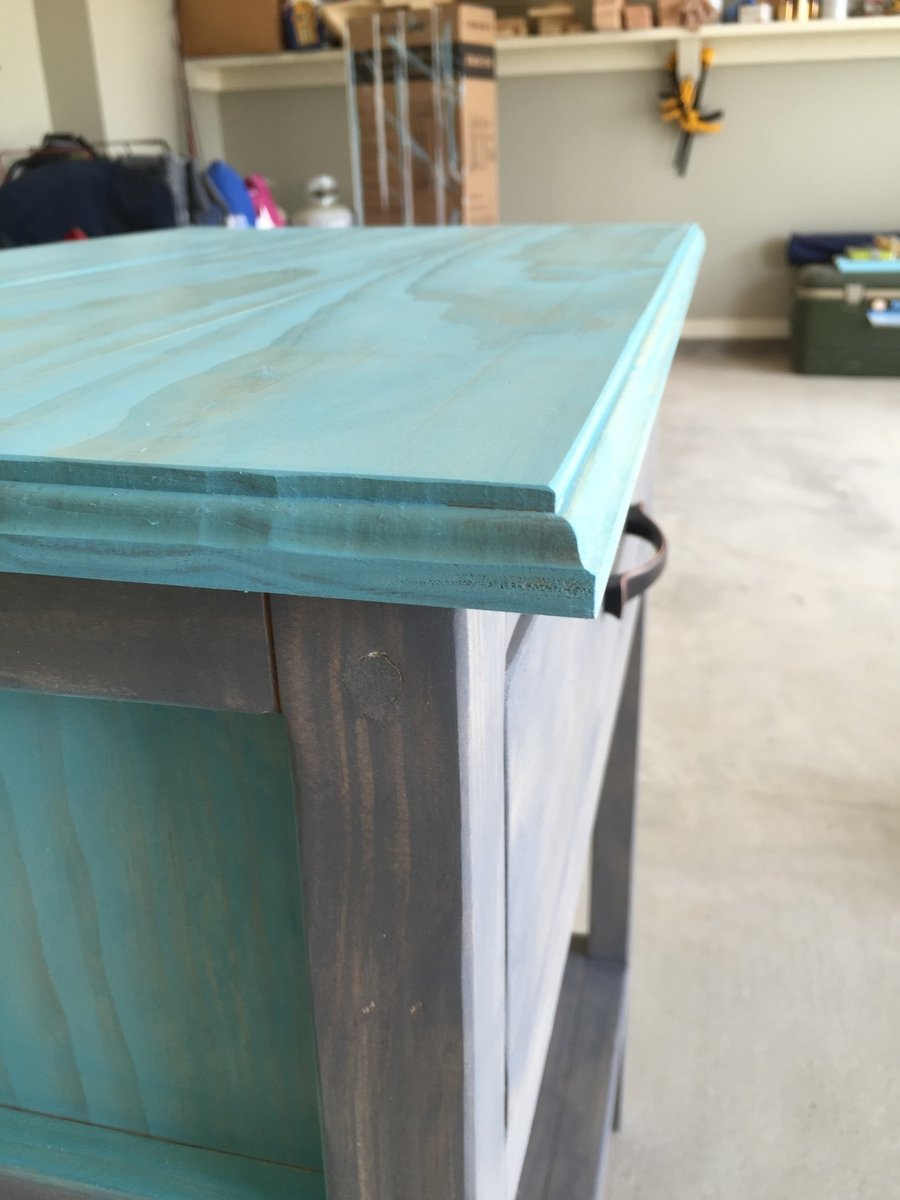
Aqua and Weathered Grey Stain.
Recommended Skill Level
Beginner

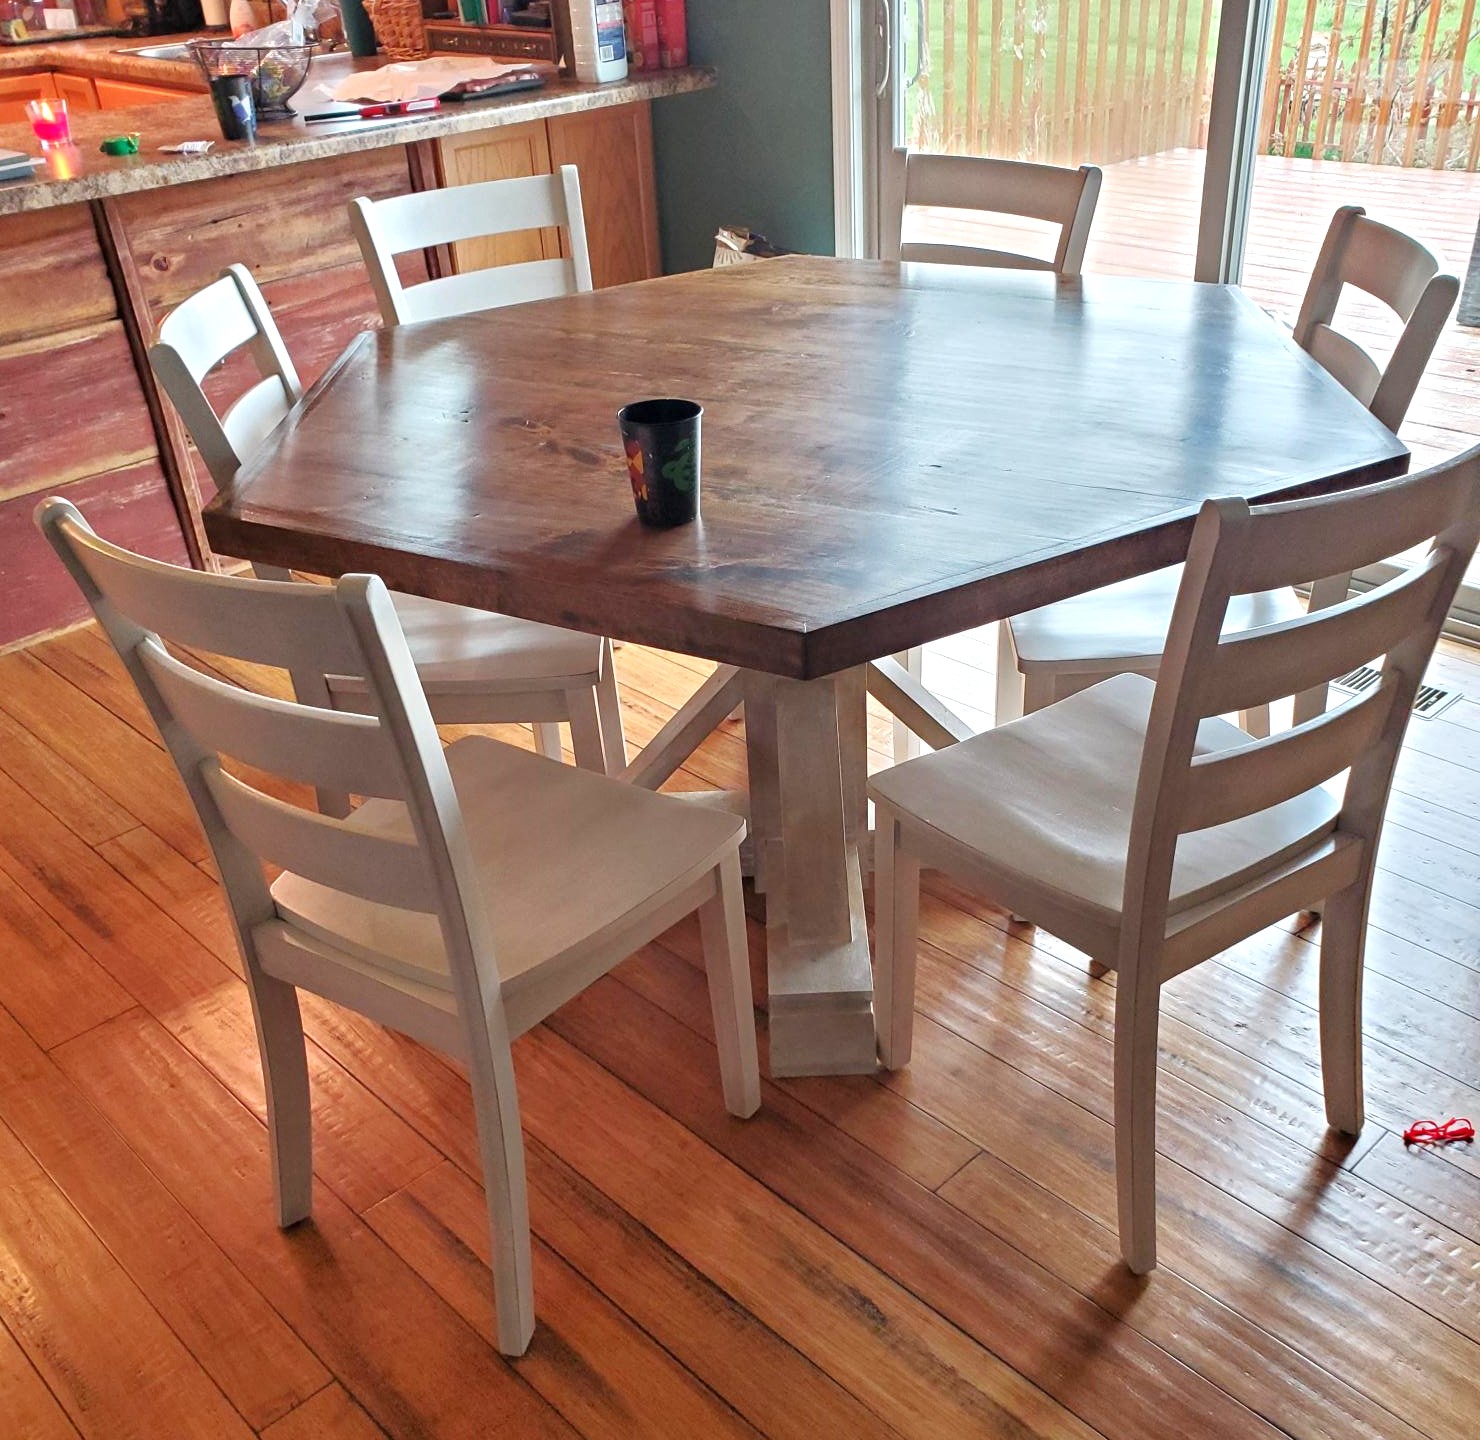
Cherry top dining table

Dad and I milled out a cherry tree 3 years ago. After drying out it was time to build. Google dining room tables for a design and found Ana's site. Found an octagon shaped table and changed to a hexagon. Great plans and had so much fun building.

Estimated Cost
$100
Estimated Time Investment
Week Long Project (20 Hours or More)
Finish Used
minwax (honey) varathane (poly) rust-oleum chalk paint for base
Recommended Skill Level
Beginner

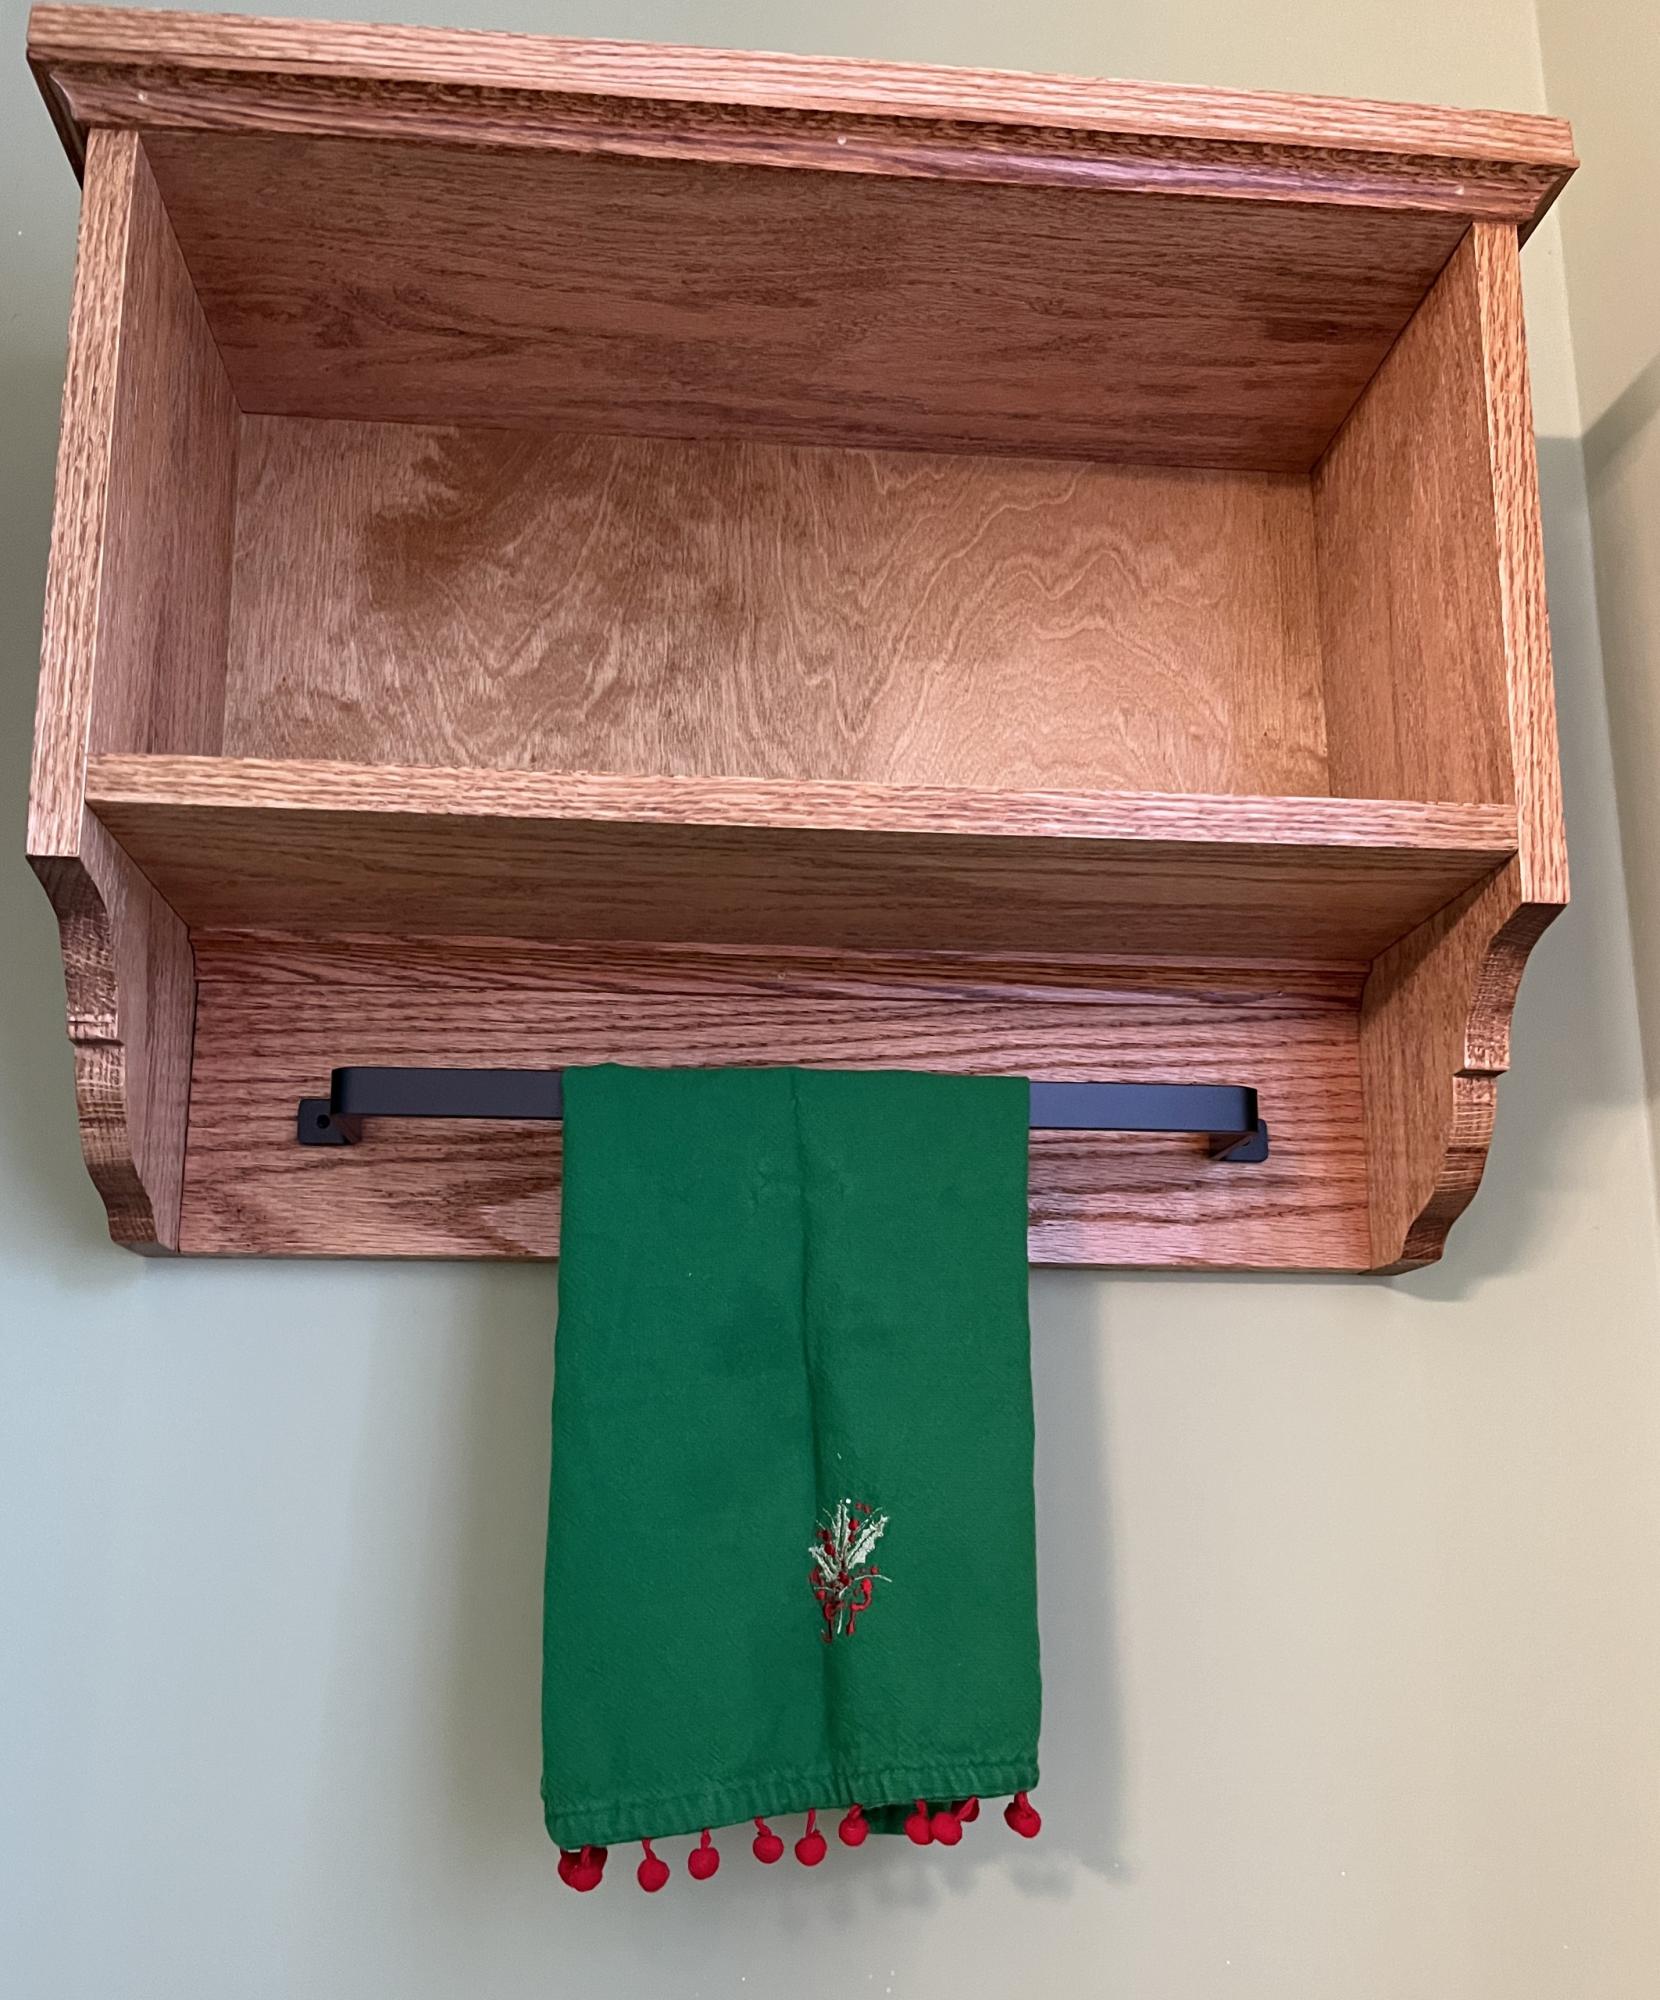
Bathroom Storage Wall Shelf

Submitted by Anonymous (not verified) on Sun, 12/31/2023 - 13:35

Martina Bath Wall Storage
I proudly made this for my wife for Christmas 🎅🏻. She has been asking for something above the toilet. I enjoyed making the curved pieces on the sides. With the left over coping, I added a piece below the shelf. The most challenging part was squaring everything up. This was my first project like this so I definitely learned a lot along the way. Picking stains is an art upon itself.

Rob Shannon

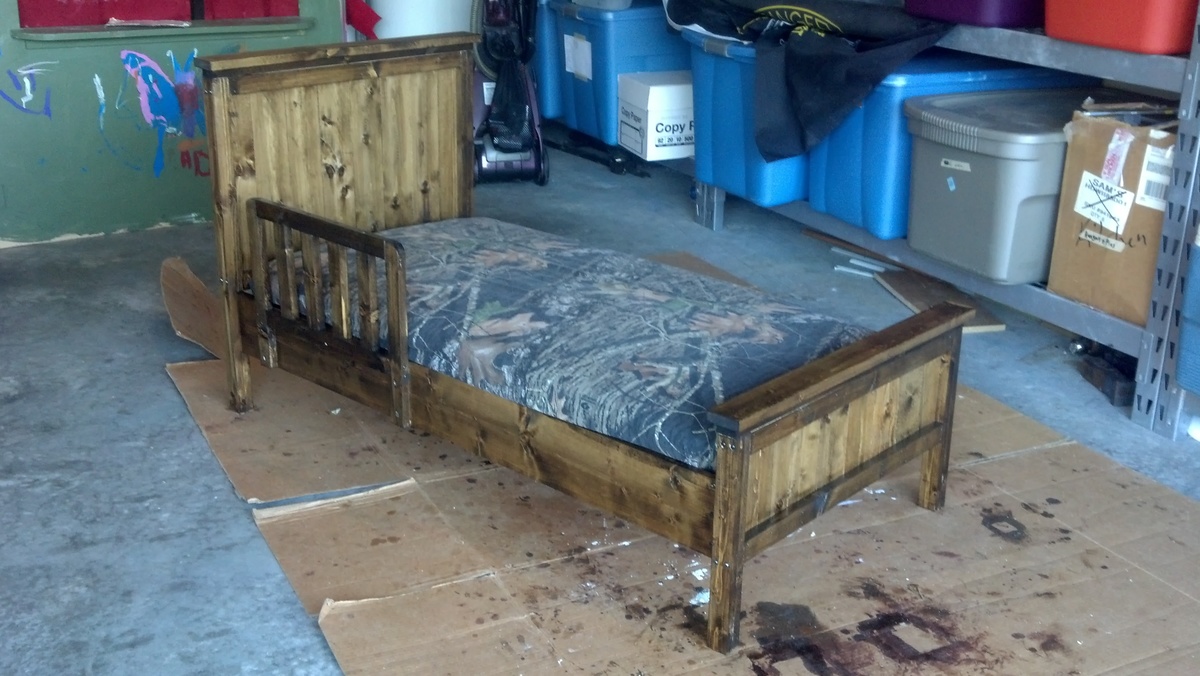
Farmhouse Toddler Bed

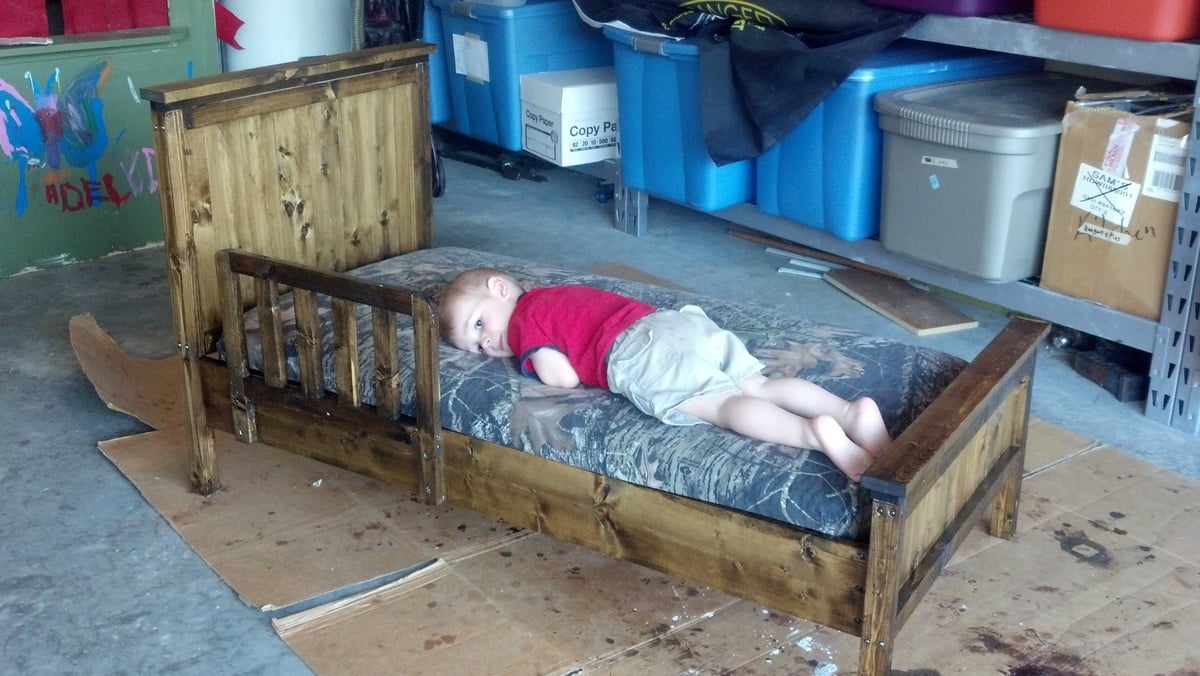
I was way overdue on building this toddler bed for my son. He really motivated me when he started repeatedly climbing out of his crib. The bed was very easy to make. The three things I would recommend are:

1. Do not use pocket holes on the footboard, so you don't have to fill all the holes. The nails worked great on the footboard and it is very sturdy.

2. Attach the side rails to the end board on the outside, not the inside. I found this out the hard way and had to take it apart and fix it.

3. Listen to Ana White and measure your mattress first. My son's fits, but I have to squeeze it in a little.

Great plans!

Built from Plan(s)
Estimated Cost
$30
Estimated Time Investment
Day Project (6-9 Hours)
Finish Used
I used Minwax Dark Walnut, #2716; I rubbed it in with a rag. I followed with 2 coats of Minwax Fast Drying Clear Satin Polyurethane. I love how it turned out. It can’t dry fast enough :)
Recommended Skill Level
Beginner

Comments

shortermama (not verified)

Mon, 08/13/2012 - 17:34

Did you use a plan for your bed rail? Do you find that it's large enough? I feel like my little man will roll right out. He's an active sleeper just like I was as a kid. Though miraculously when I rolled out of bed (even when hitting a wood platform floor when camping with girl scouts) I never woke up. This guy will.

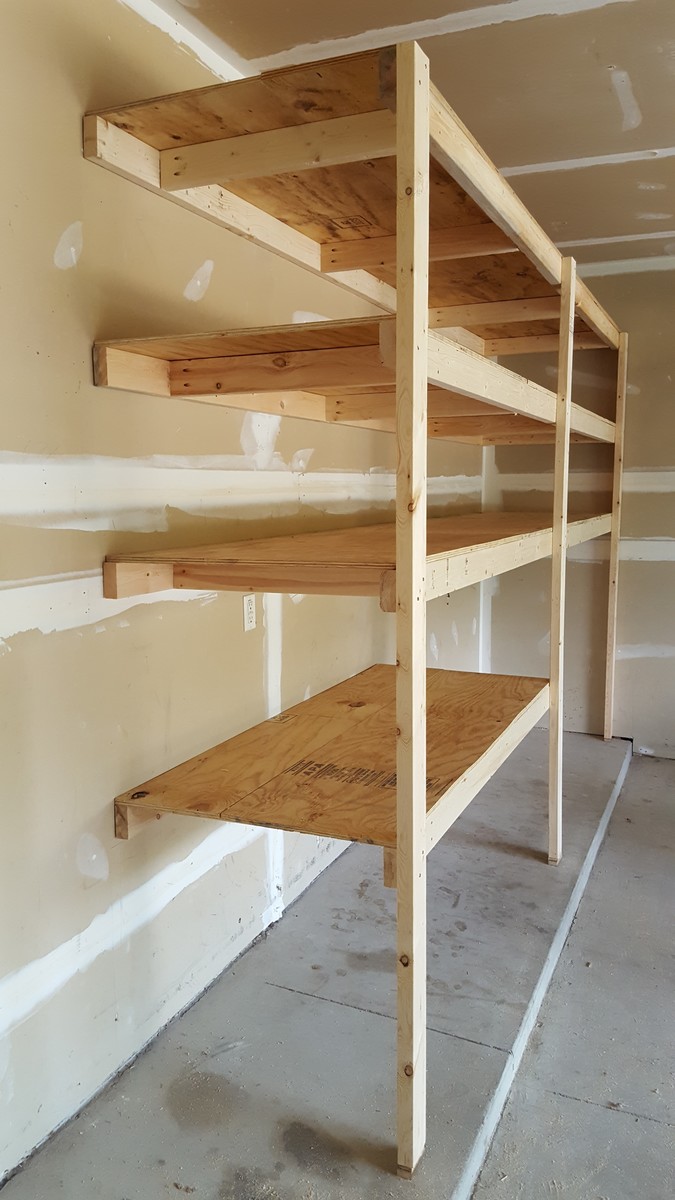
Great Garage Shelving

Submitted by Anonymous (not verified) on Fri, 07/15/2016 - 10:55

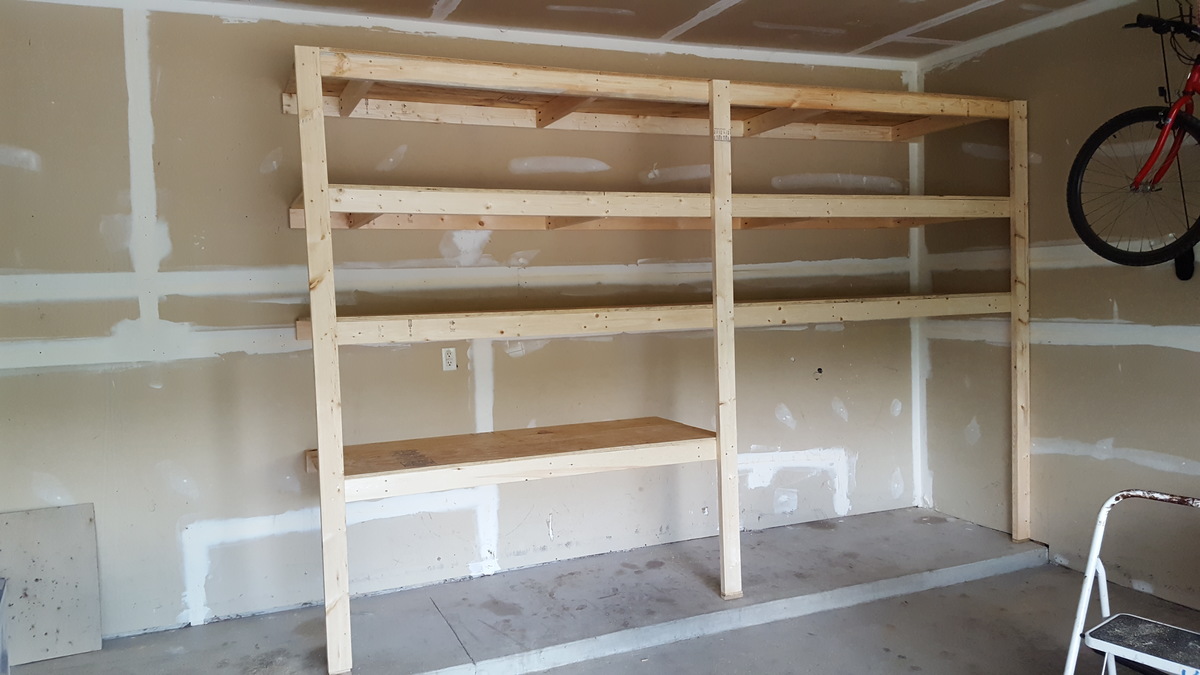
My husband and I built these shelves in our garage this past weekend.  This is one of our first diy projects and we are very happy with how it turned out.  The shelves are 30" deep, around 8 feet tall and 12 feet long.  This was also our first time using the Kreg jig, which we loved!

Estimated Cost
~$150 dollars. We added extra cleats and used thicker plywood (5/8" thick) because our shelves were deeper than original plans.
Estimated Time Investment
Day Project (6-9 Hours)
Finish Used
none
Recommended Skill Level
Beginner

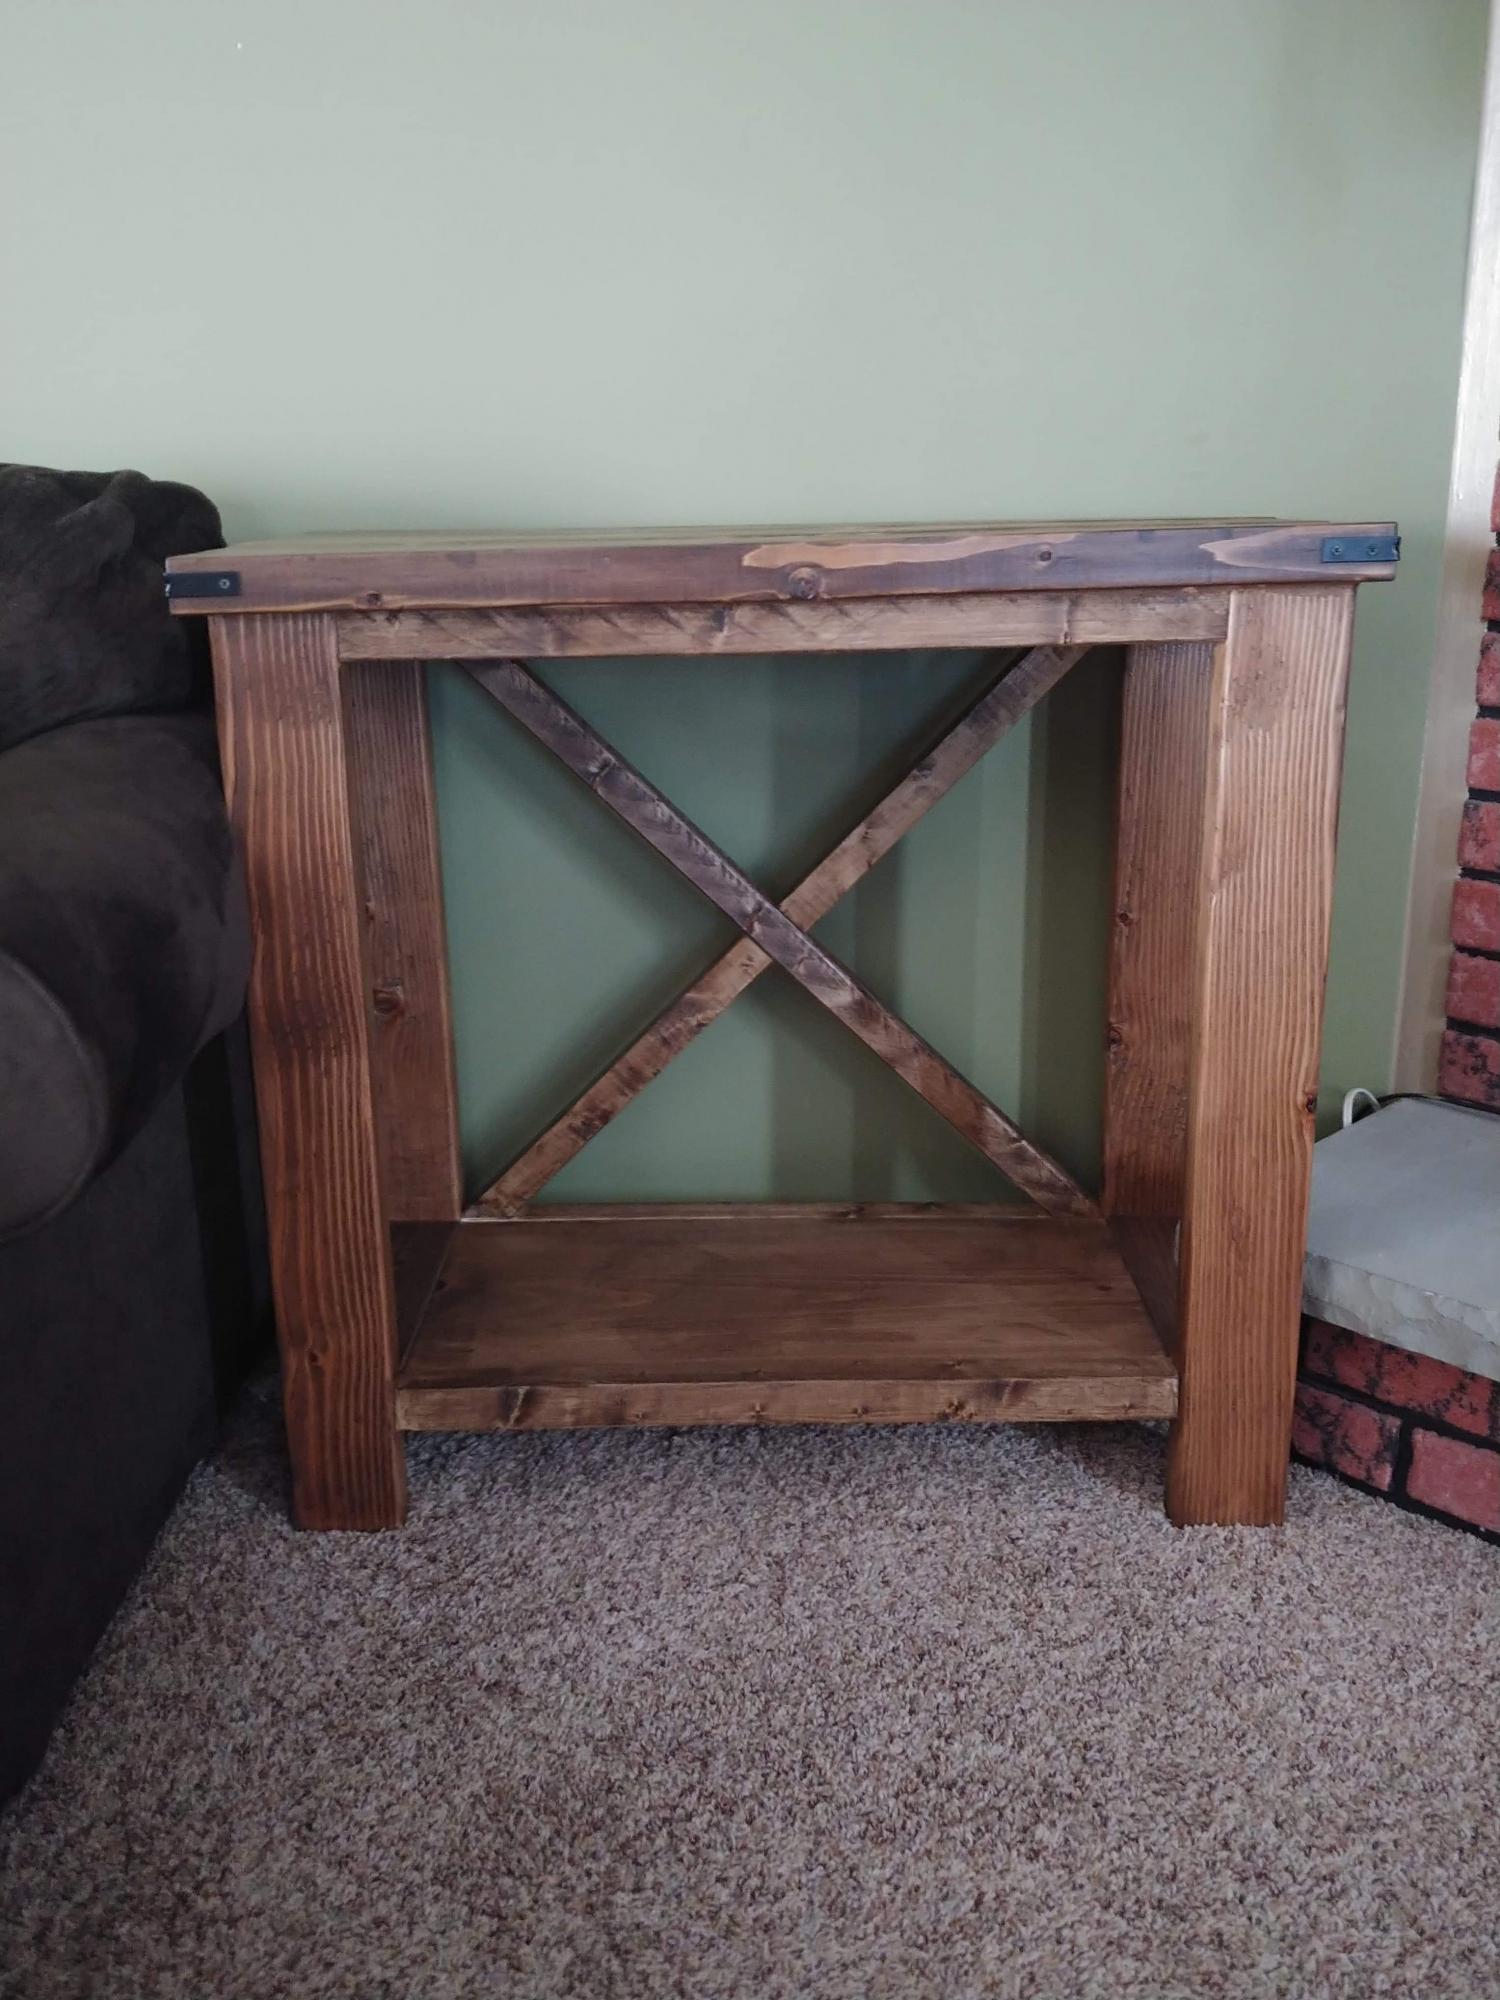
Rustic X Farmhouse Console

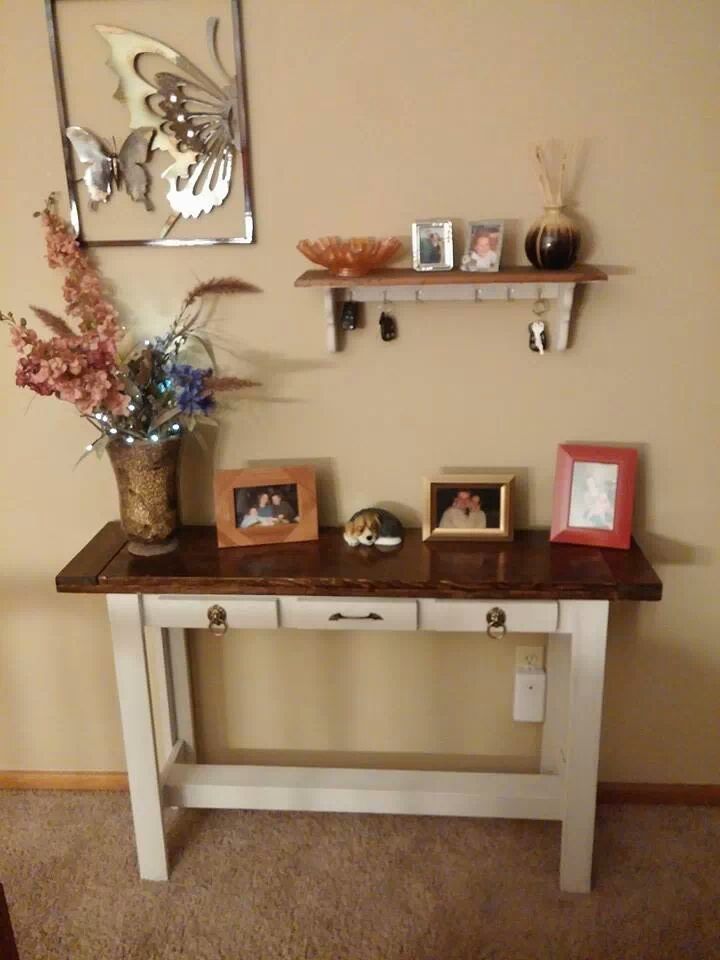
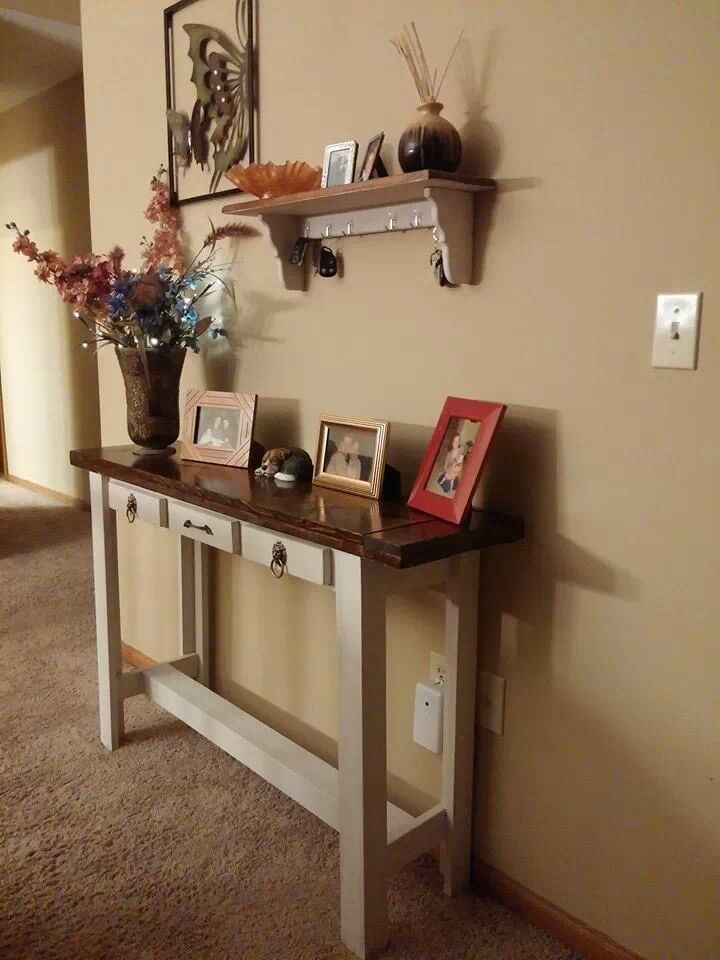
I love how this table turned out.

Estimated Cost
60
Estimated Time Investment
Day Project (6-9 Hours)
Finish Used
Minwax Special Walnut stain
Minwax Polyurethane
Recommended Skill Level
Beginner

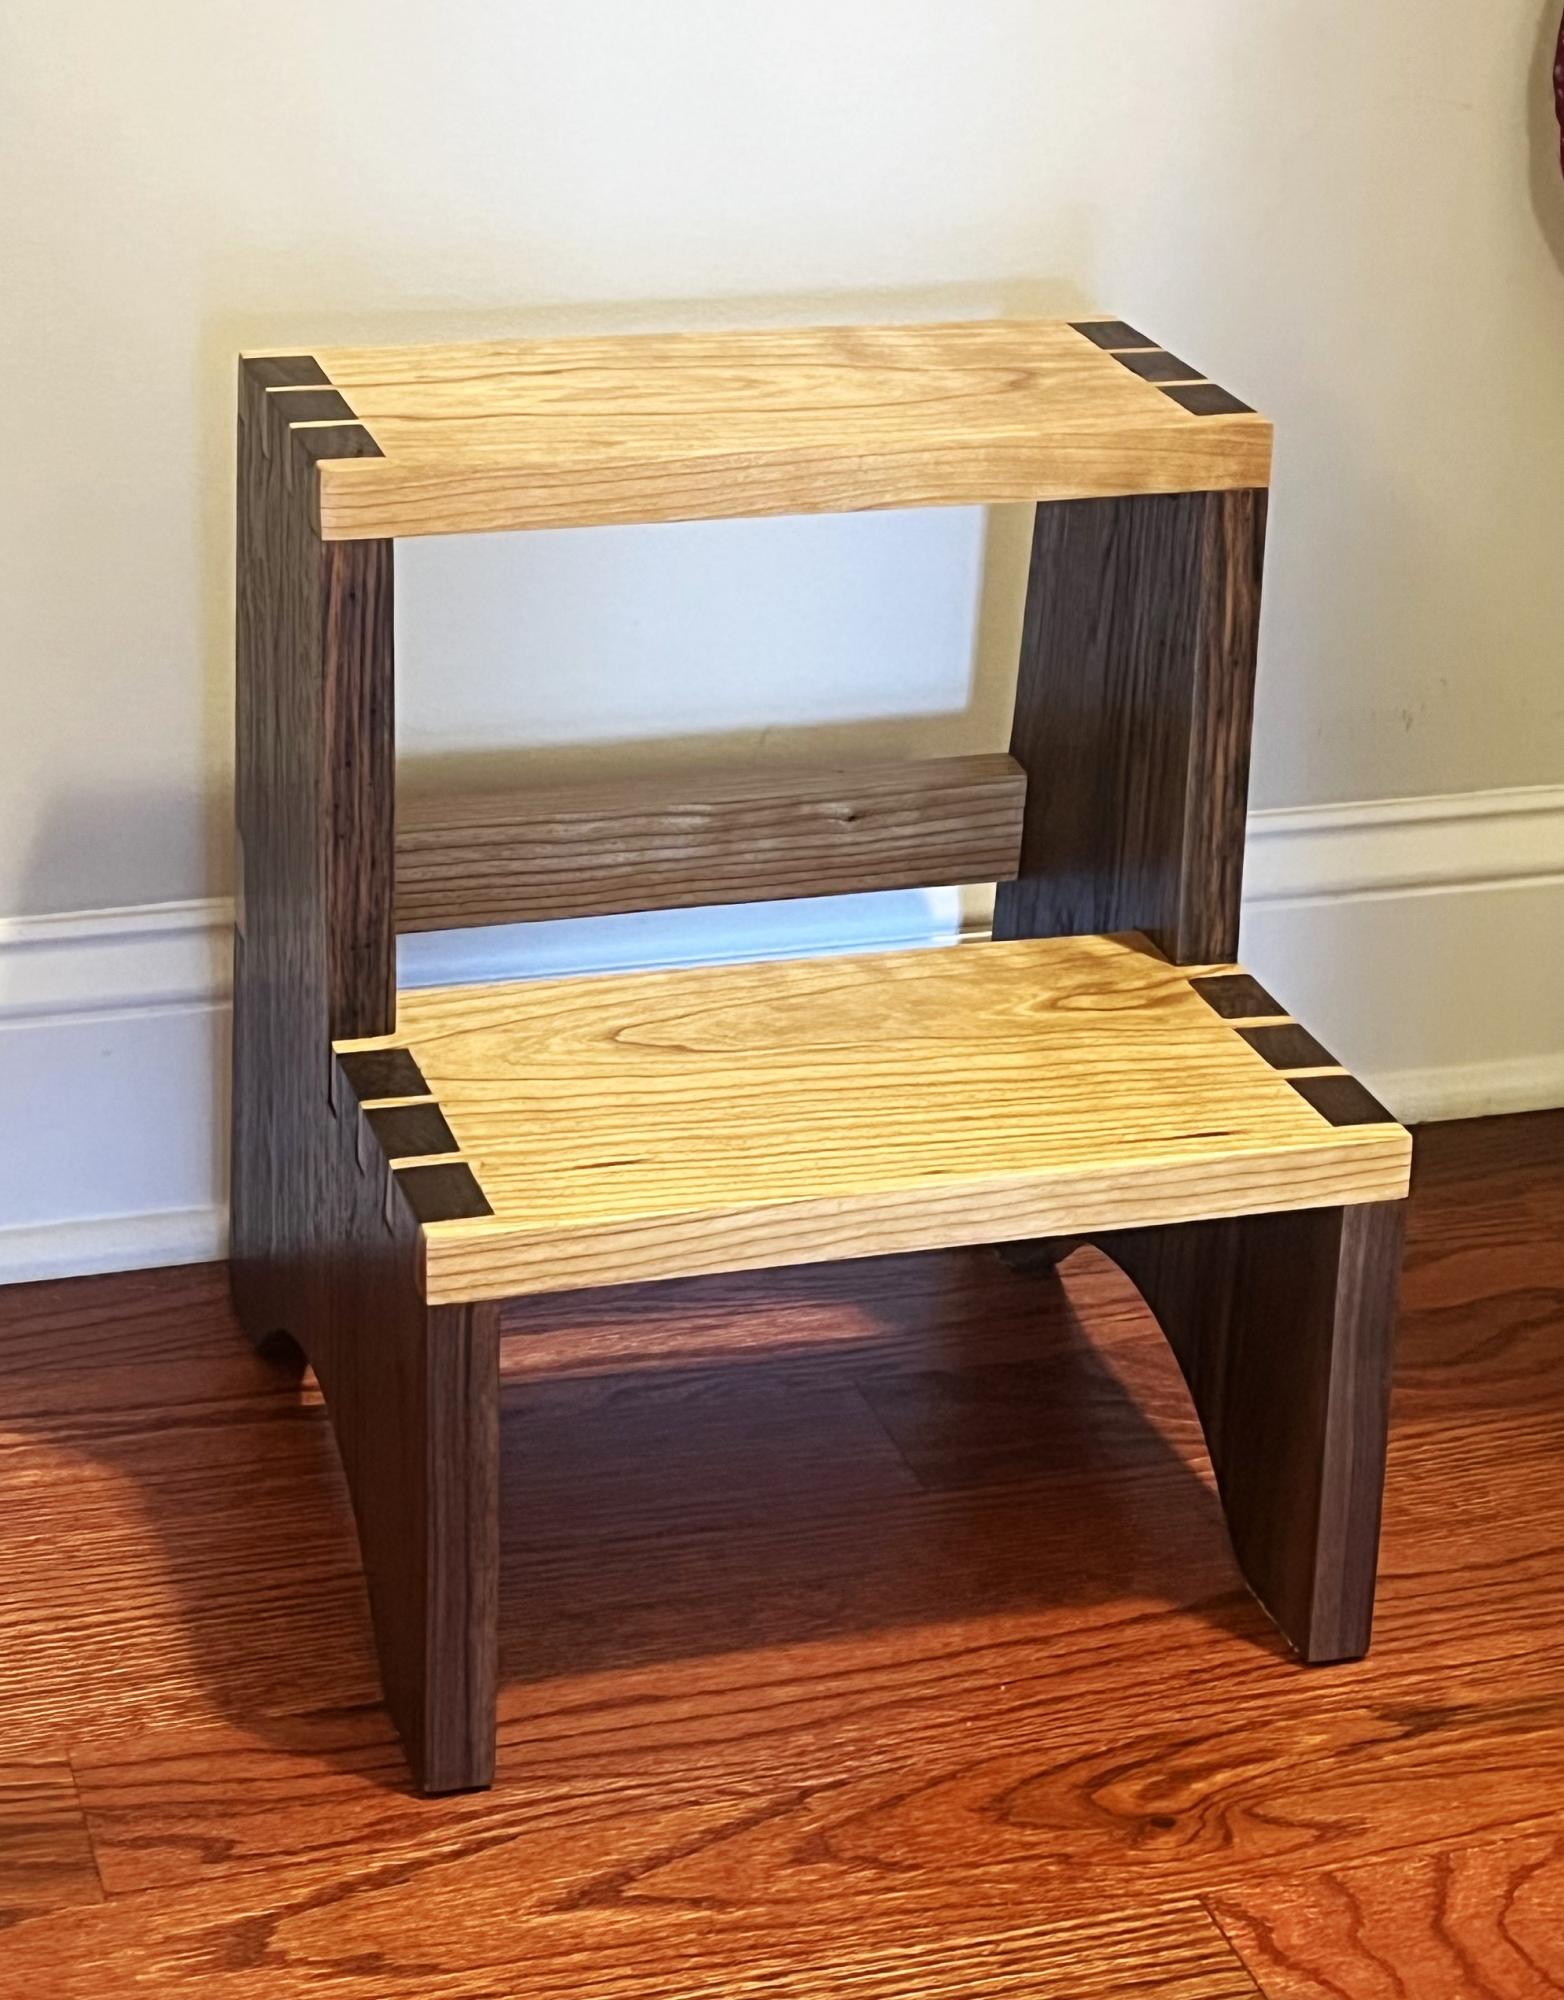
Custom Step Stool

Submitted by Anonymous (not verified) on Wed, 01/03/2024 - 08:40

I’m going to make a step stool for the son of good friends in Florida. The design I liked had dovetail joints, which I’ve never cut before. So I made this stool for my wife as a prototype. Walnut sides with Cherry for the steps. 12.5” front to back, 14” tall, and just about a foot side to side.

Mark Johnson

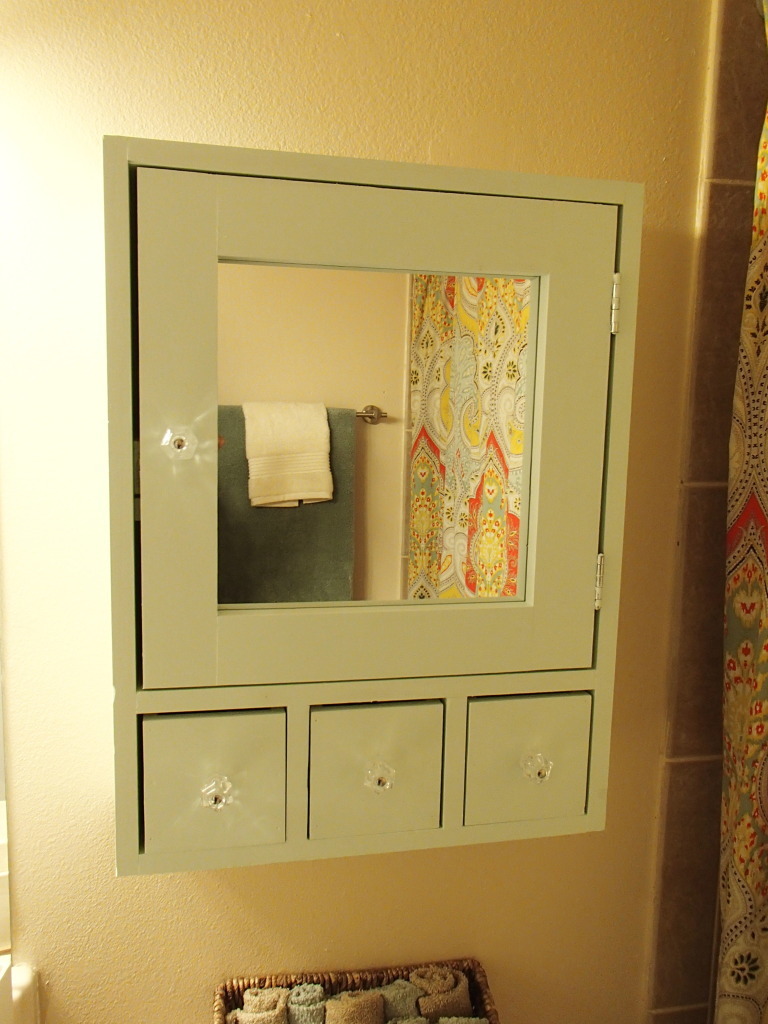
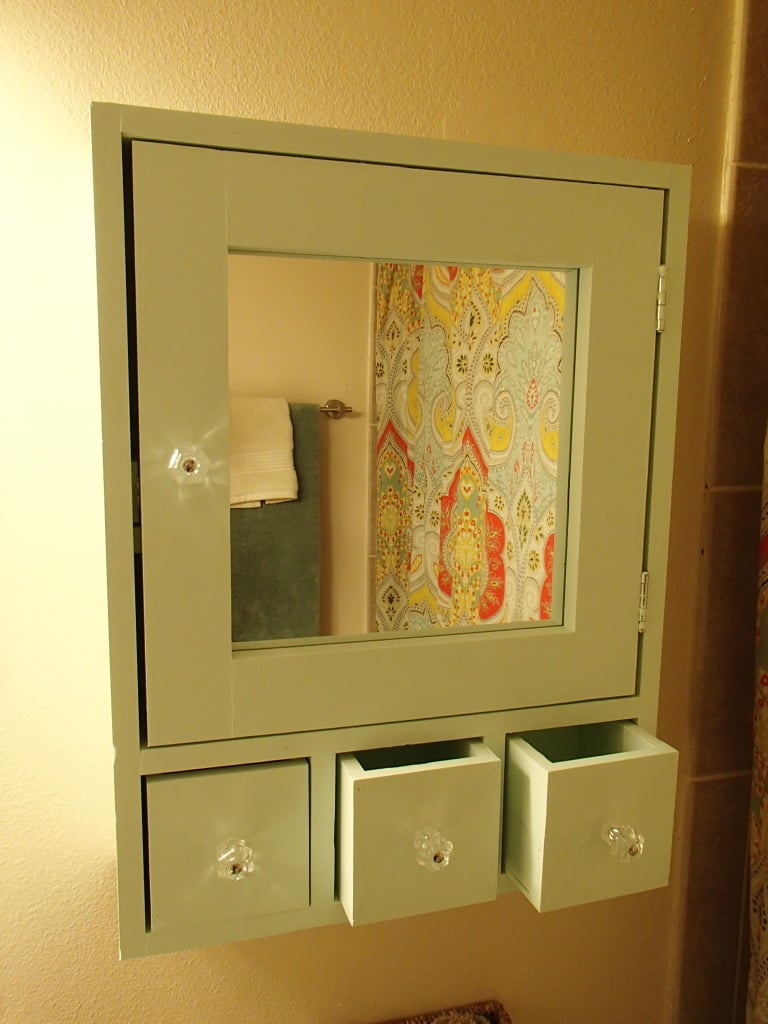
Medicine Cabinet

Submitted by beansurfin on Mon, 07/02/2012 - 18:12

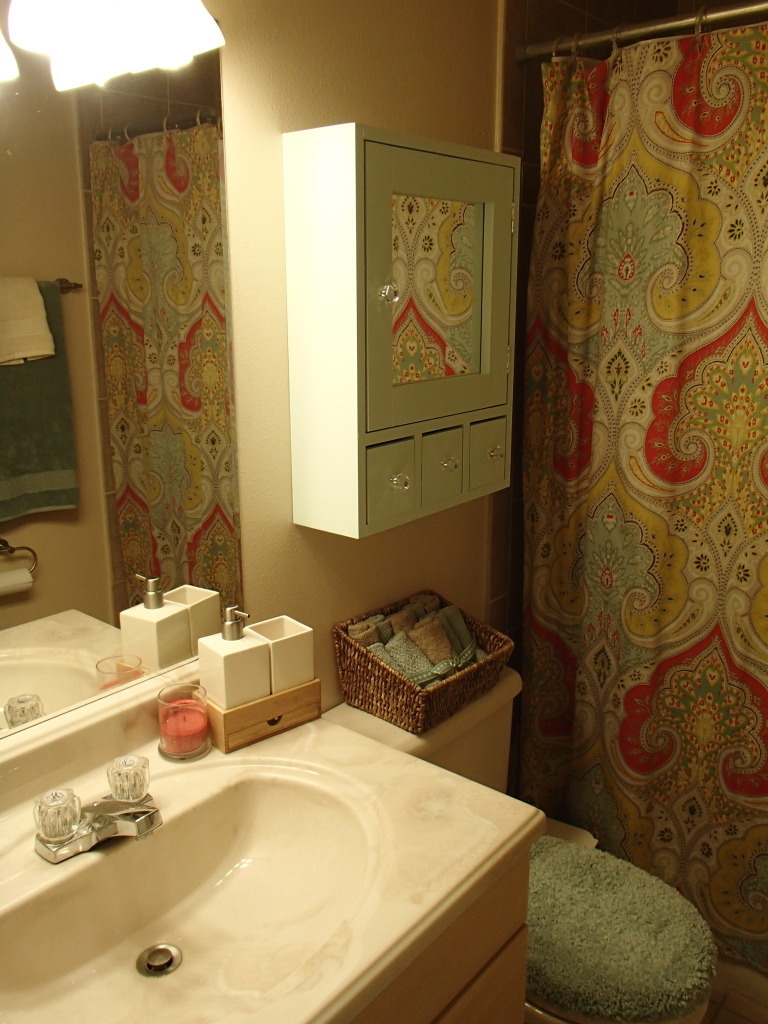
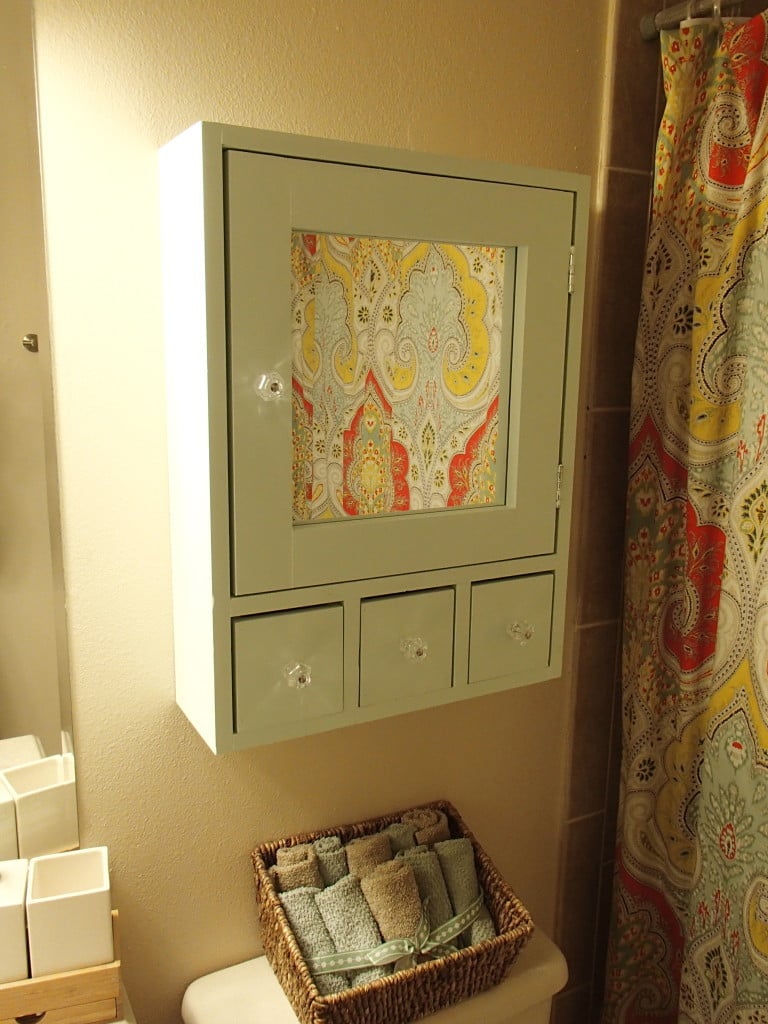
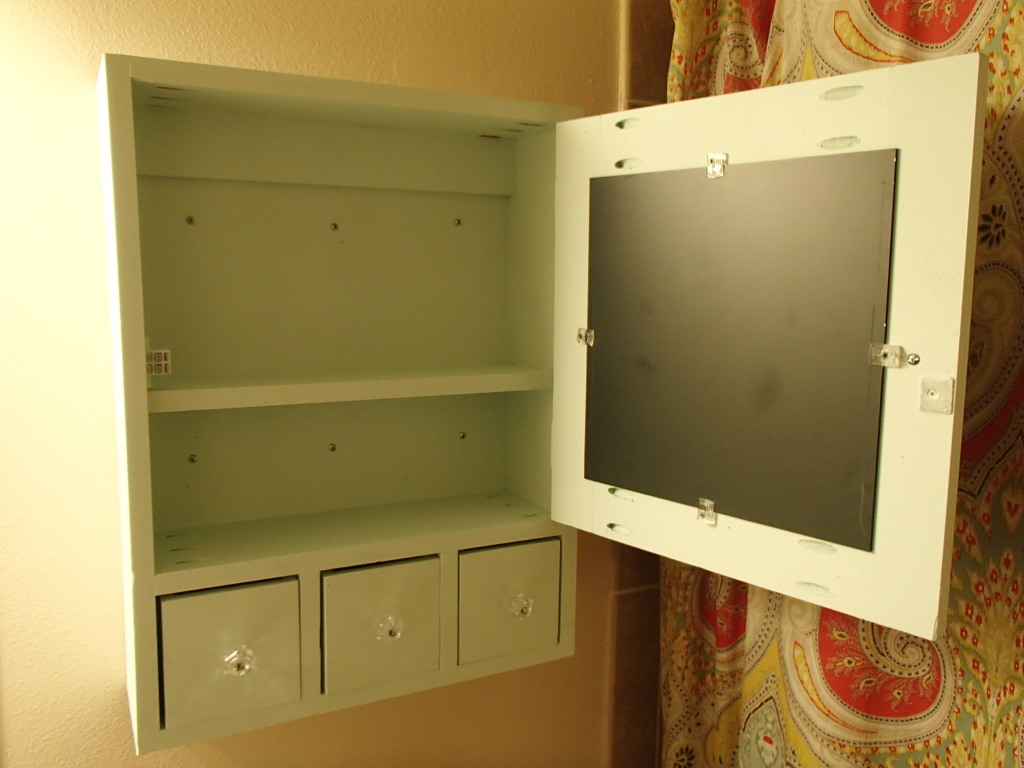
I found this project on I different site (sorry) but really wanted to make it for our quest bathroom. It was not to difficult and it really helps to finish off our quest bathroom since it was missing a medicine cabinet.

Estimated Time Investment
Day Project (6-9 Hours)
Finish Used
Painted
Recommended Skill Level
Beginner

Comments

Back