Community Brag Posts

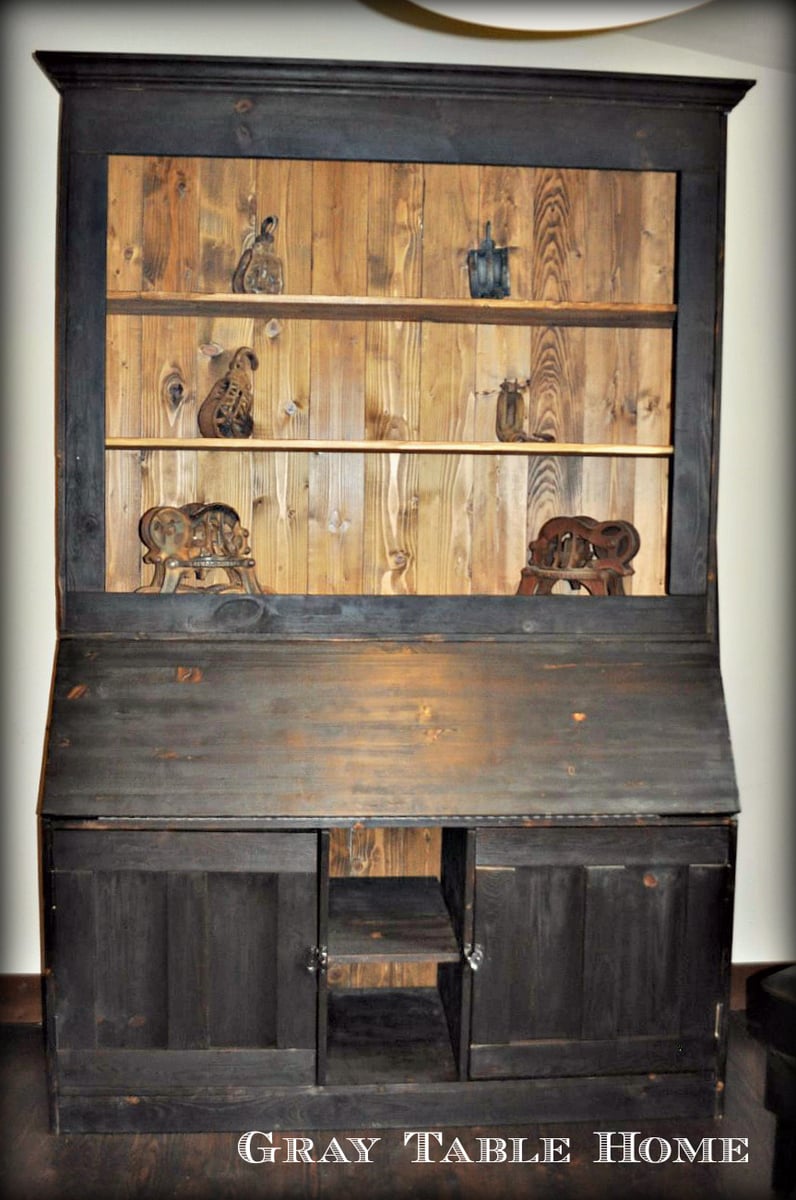
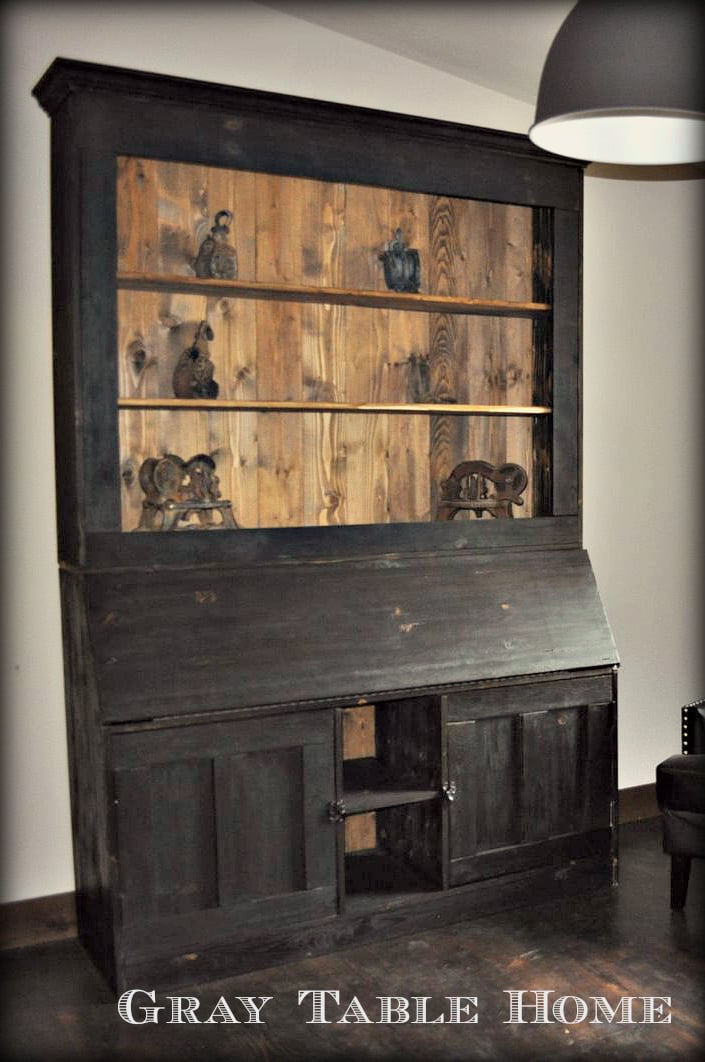
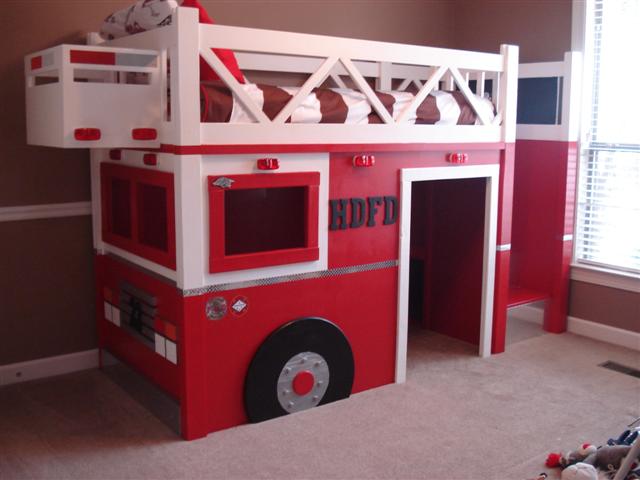
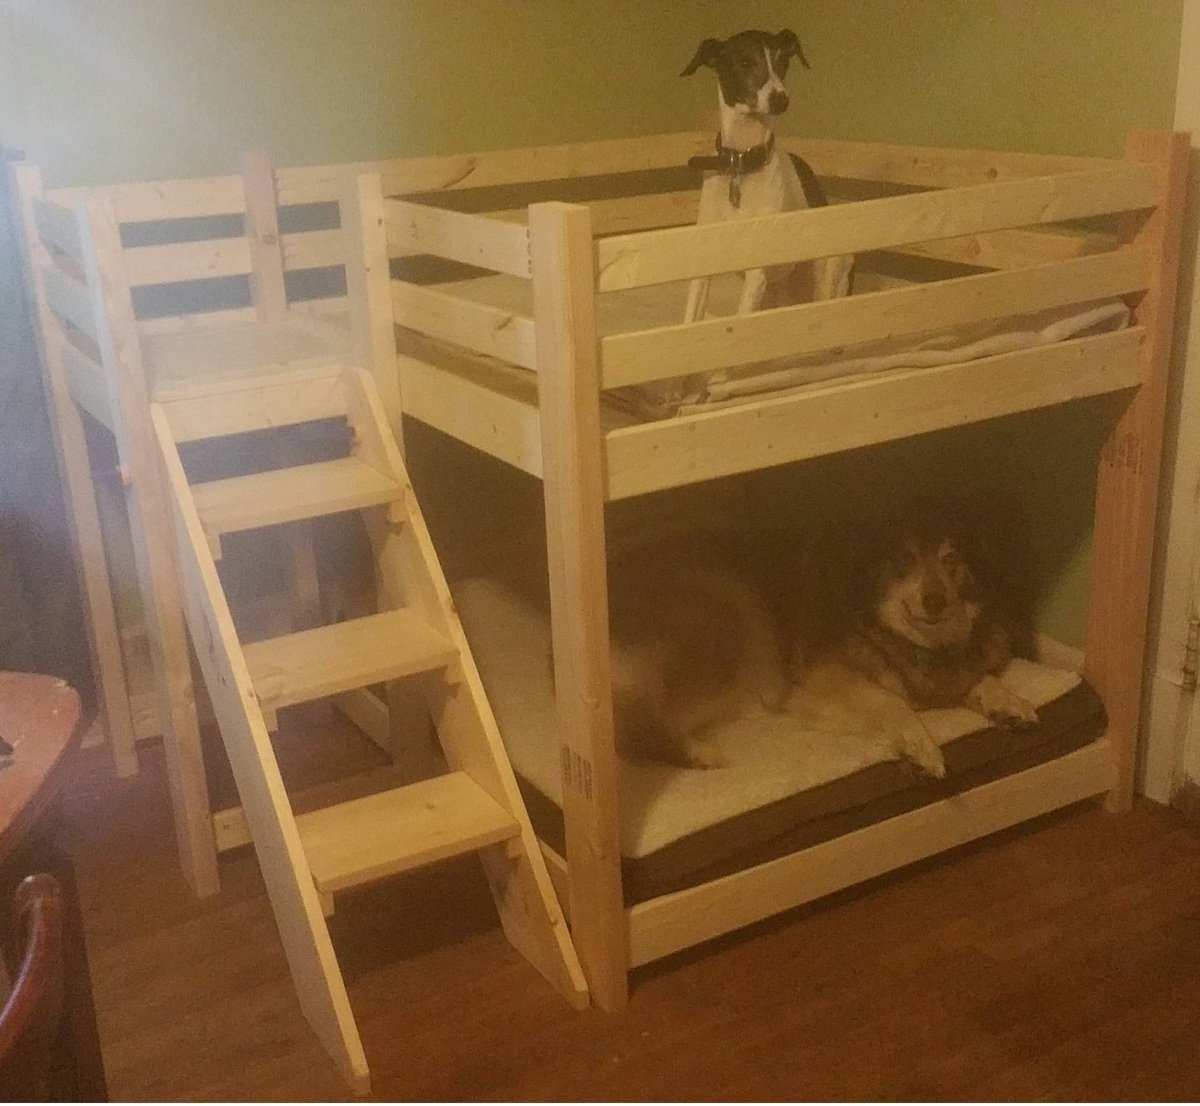
Twin Over Full Bunk Bed

Submitted by sapperstan on Mon, 04/01/2013 - 14:47

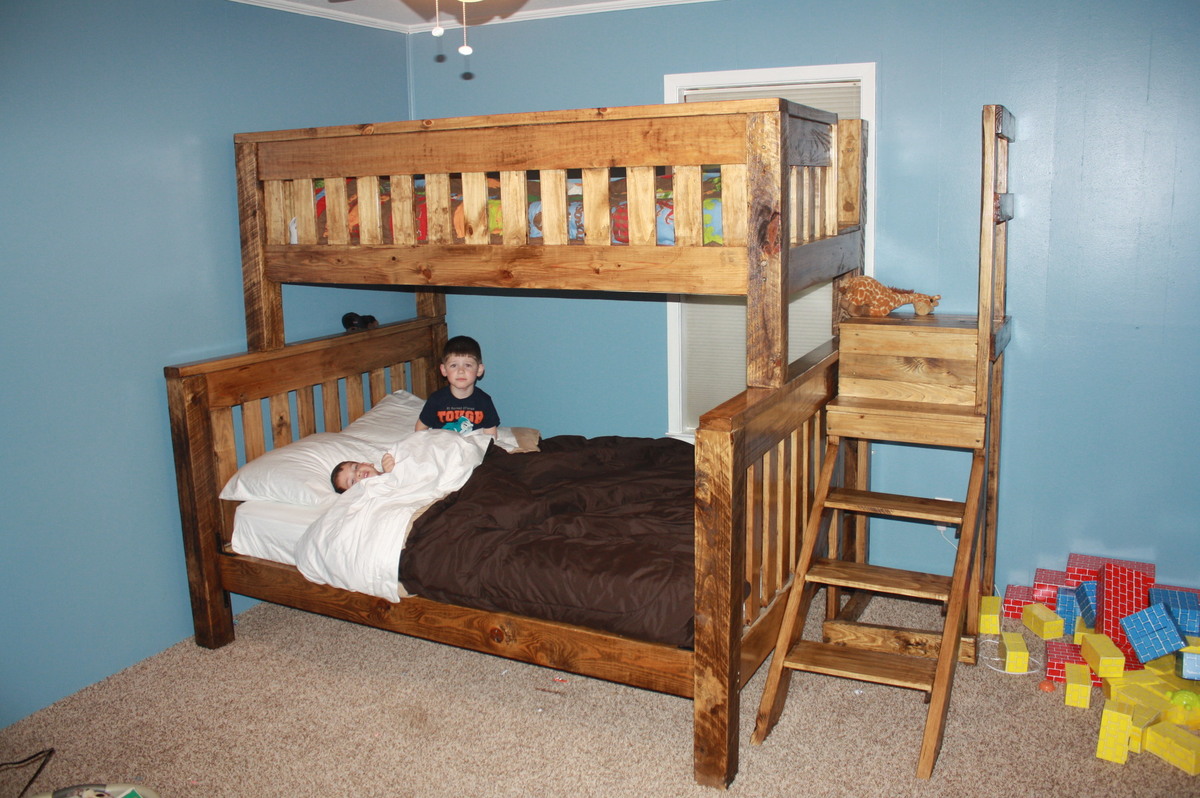
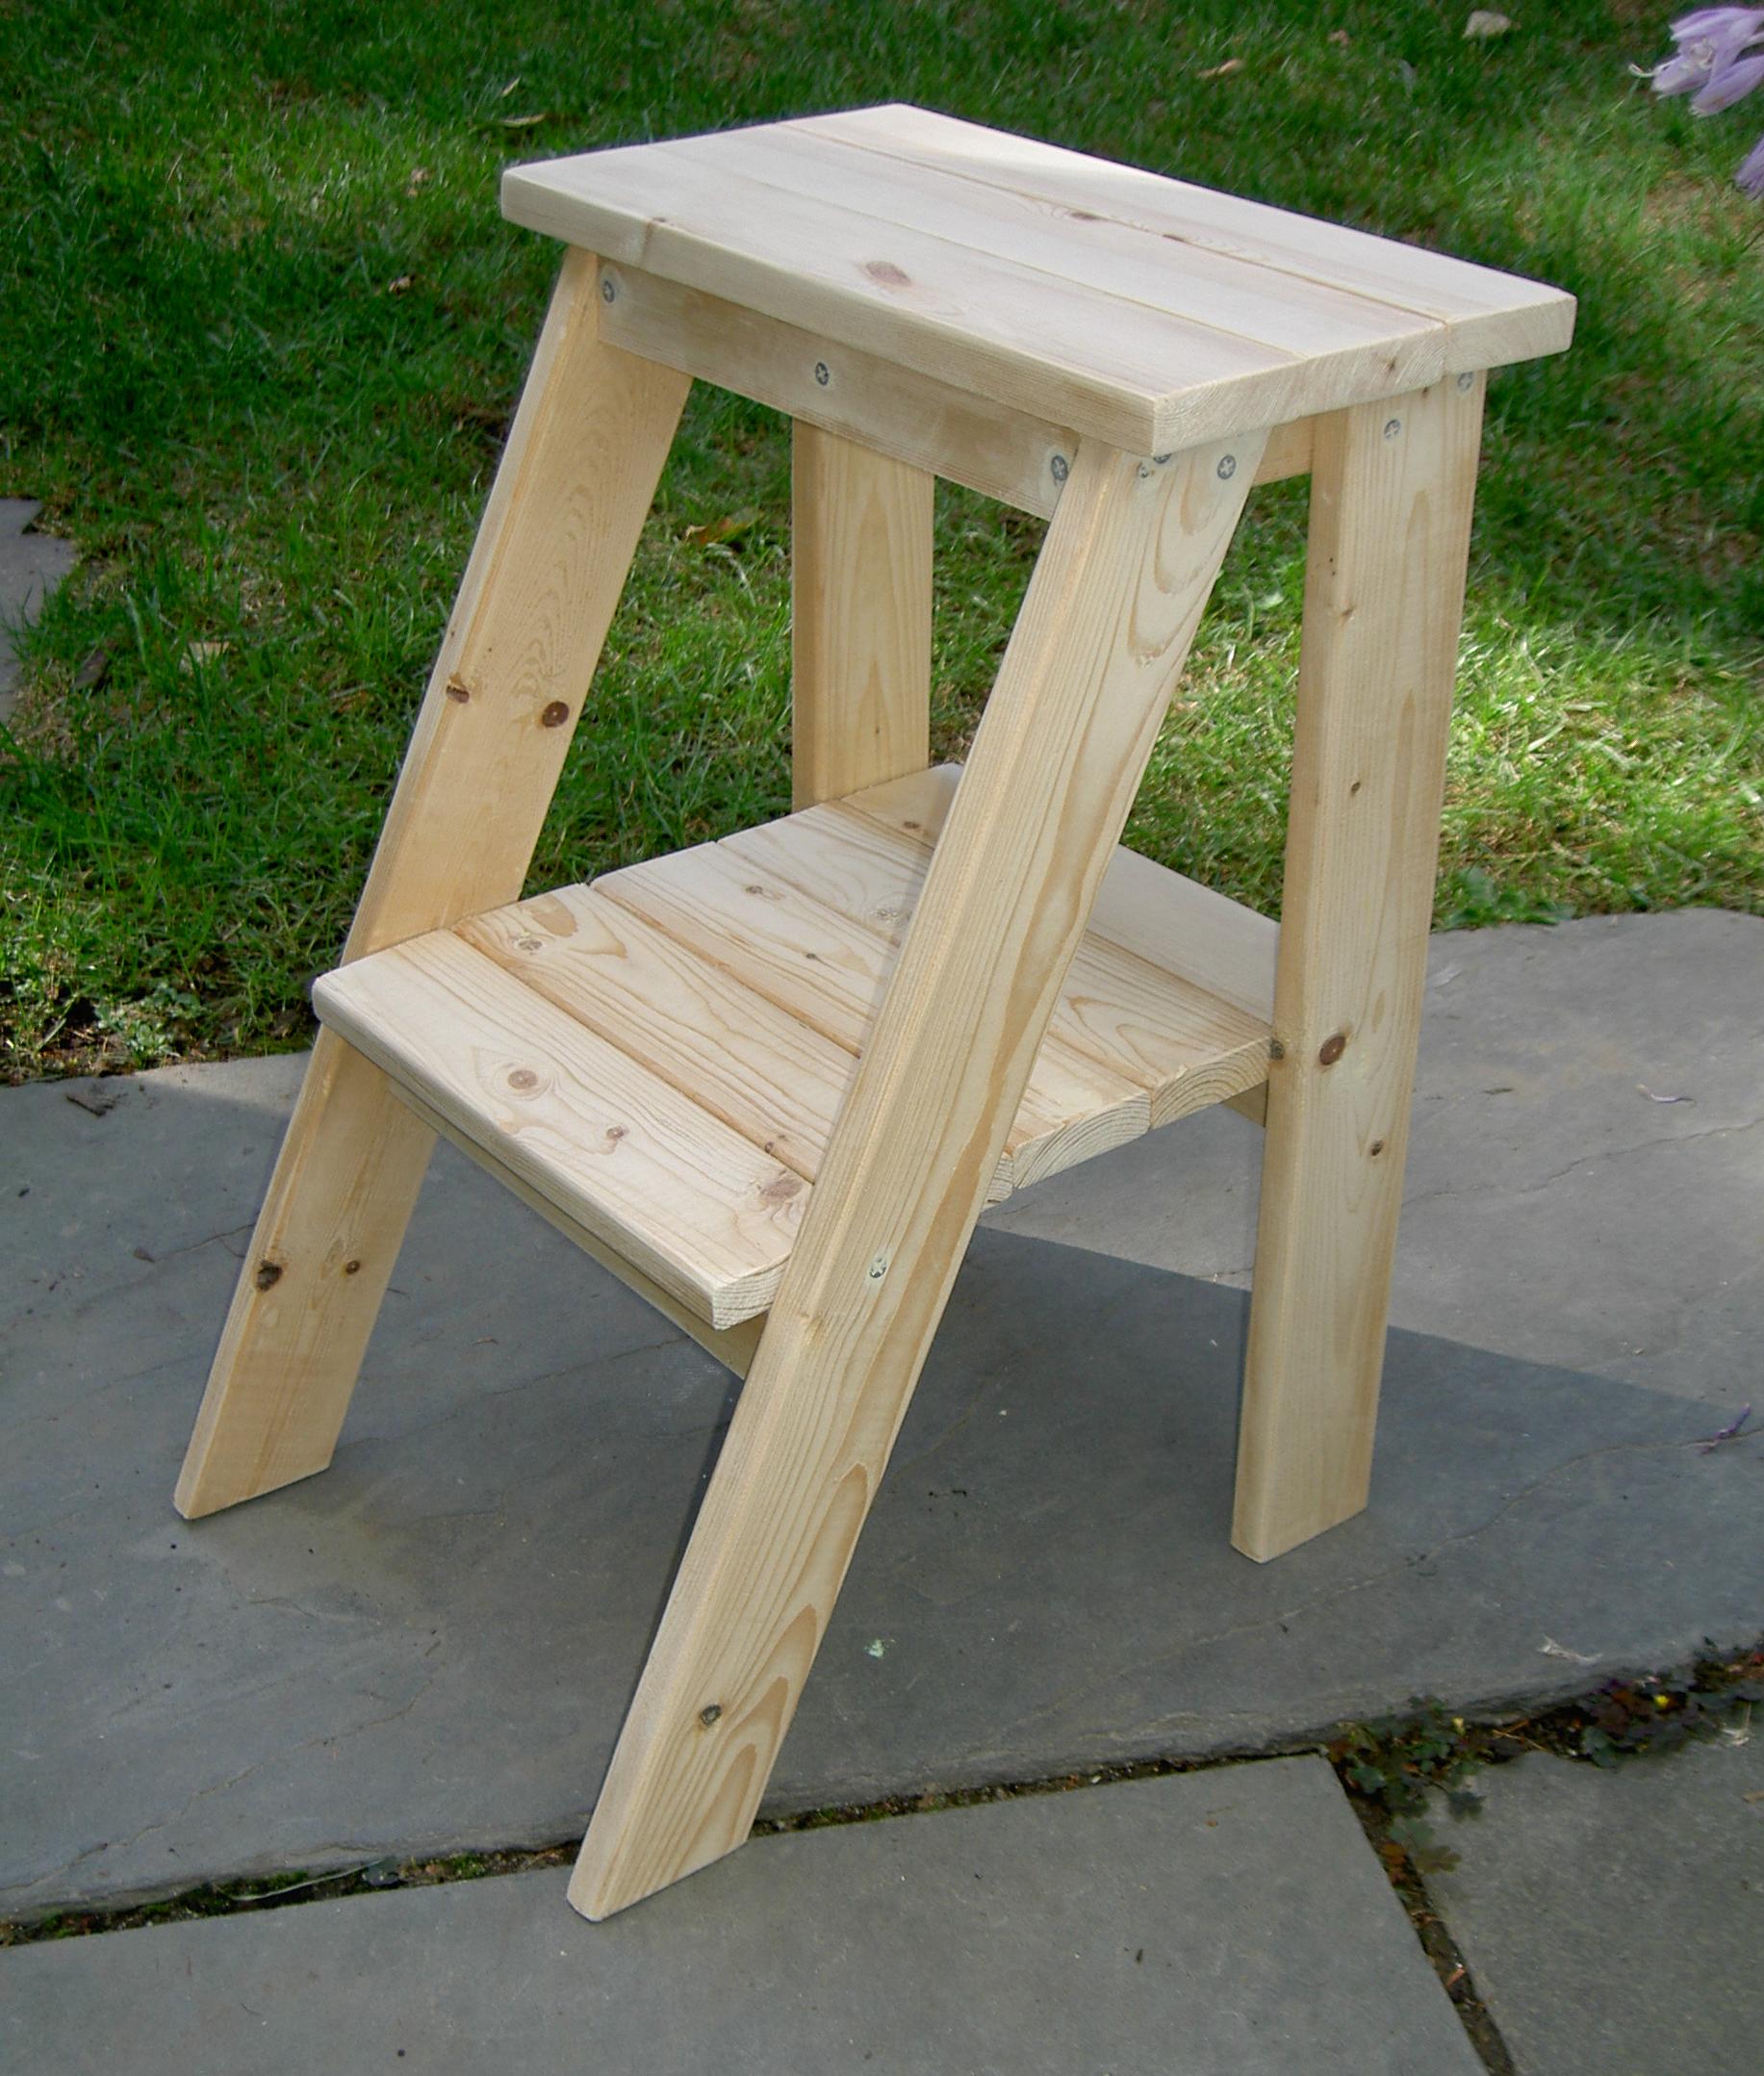
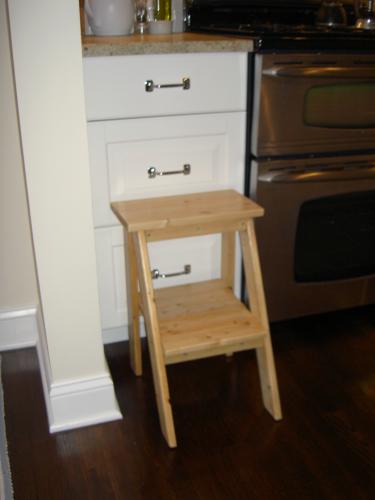
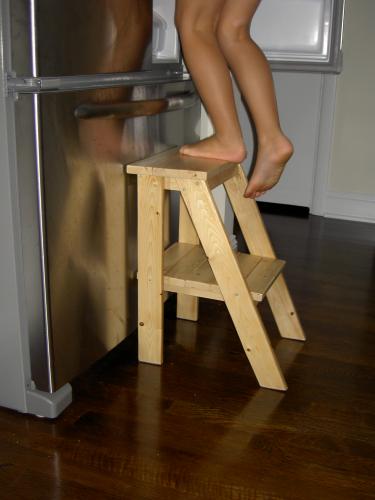
My 4 year old kept asking for a bunk bed, so my wife and I went to the furniture store and saw we would be paying close to $1000 for a junkie bunk bed. We told him it cost too much and left it at that. Then he started bringing us pennies, dimes and all the change he could find to pay for the bed. So I found this website and decided to attempt to build him one. I started building it after work on Monday, continued for a few hours every evening and finished Saturday morning. It turned out amazing, and both the boys love it. It is extremely sturdy, and will last beyond my lifetime. It's just a good quality design. Total Cost was about $300. Not bad for what we would have been paying for a lesser quality bed. Changes I made: I added the railing on the front of the upper bed to match the headboards and railing on the back side because my wife is a worrier. I also designed and built the stairway and bolted it to the lower bed. I am no professional carpenter, a novice at best. Most people with a little carpentry knowledge can build this. Thanks Ana, we all love it!

Estimated Time Investment
Weekend Project (10-20 Hours)
Finish Used
Sanded with 220 grit
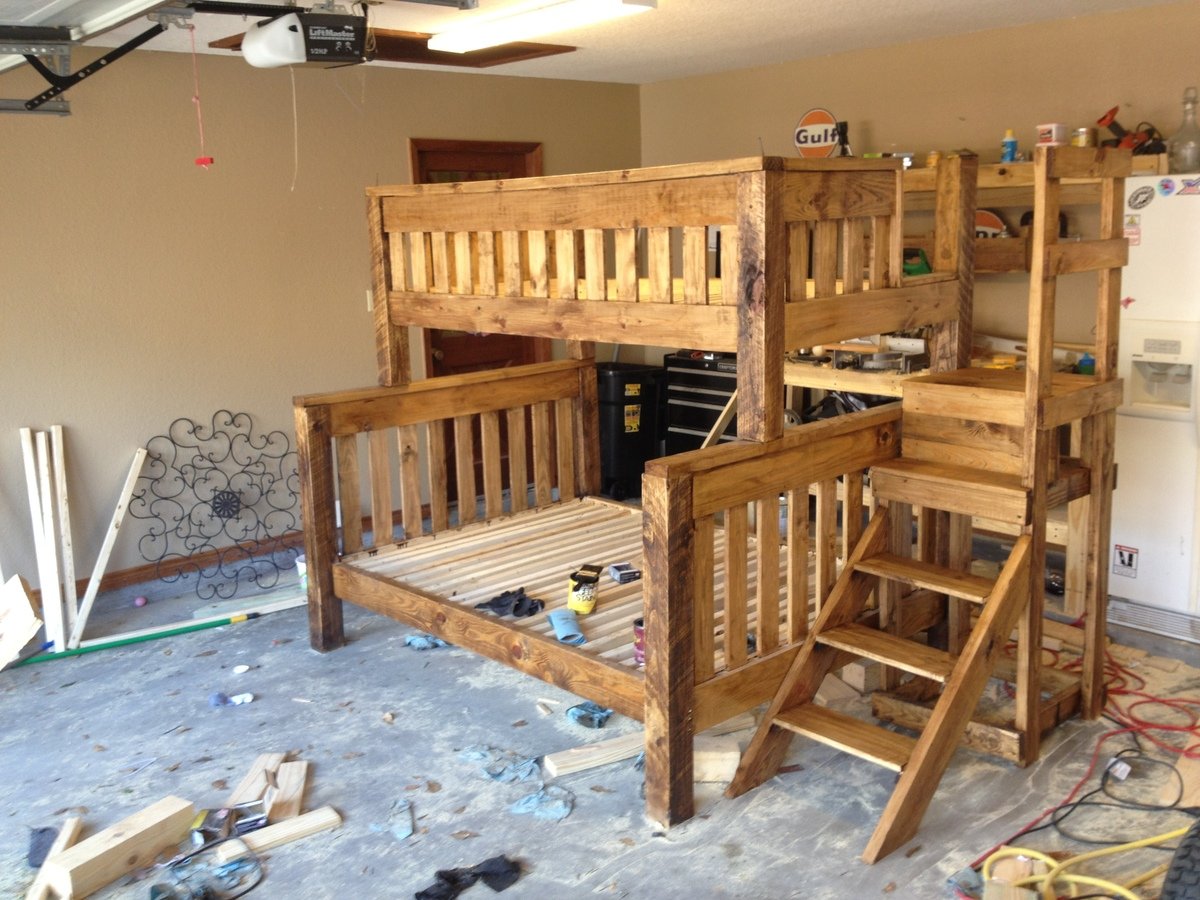
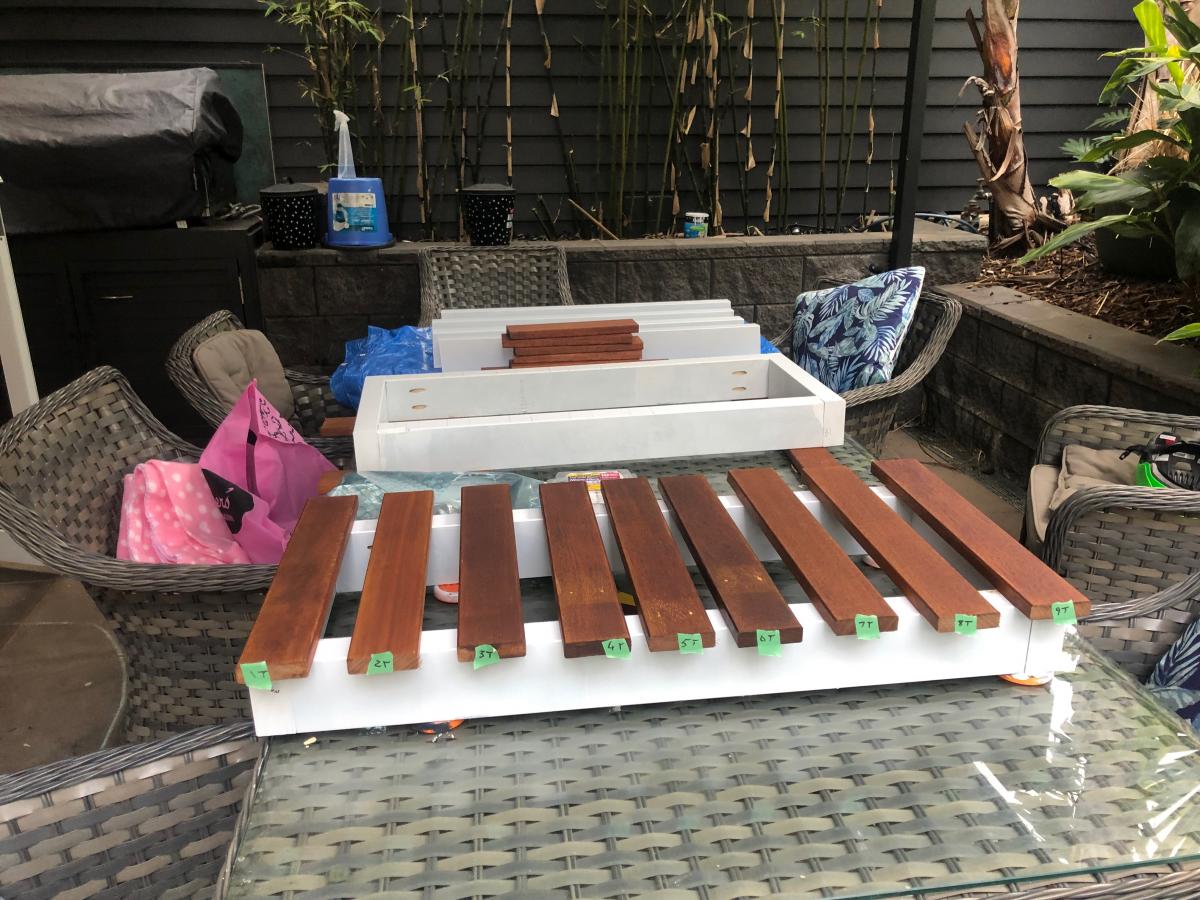
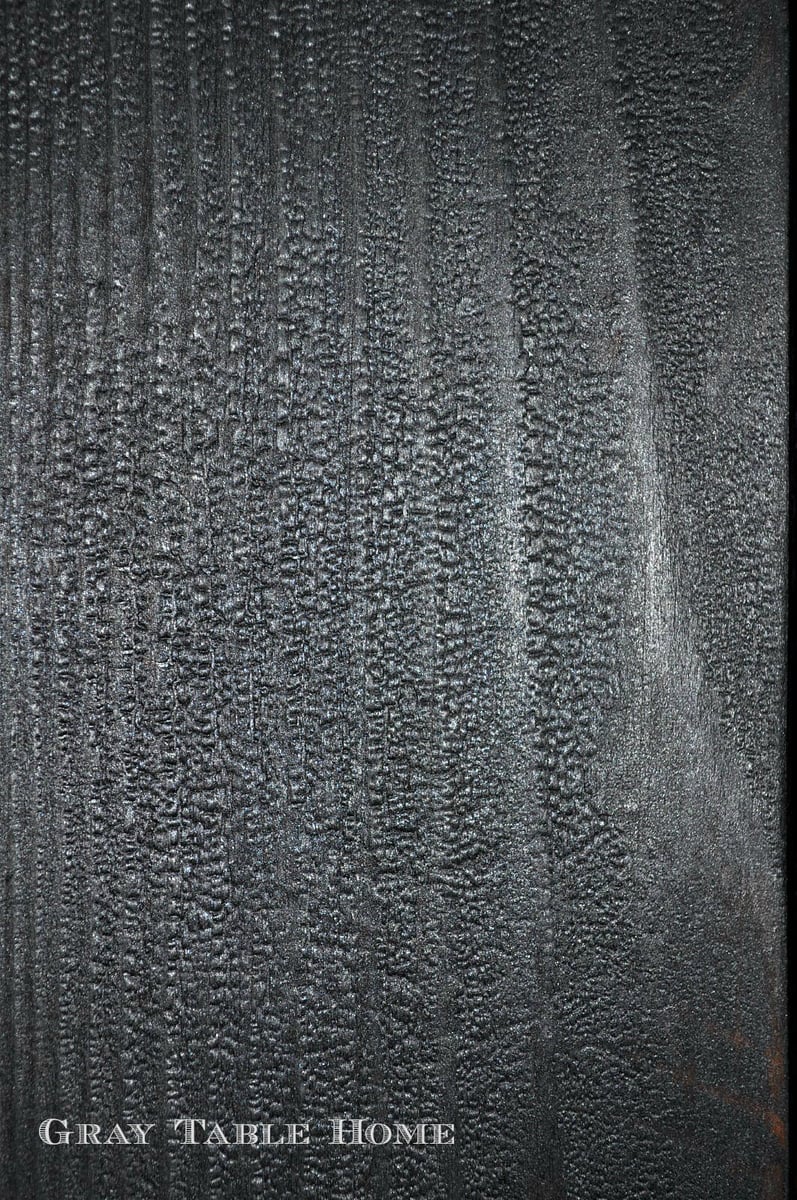
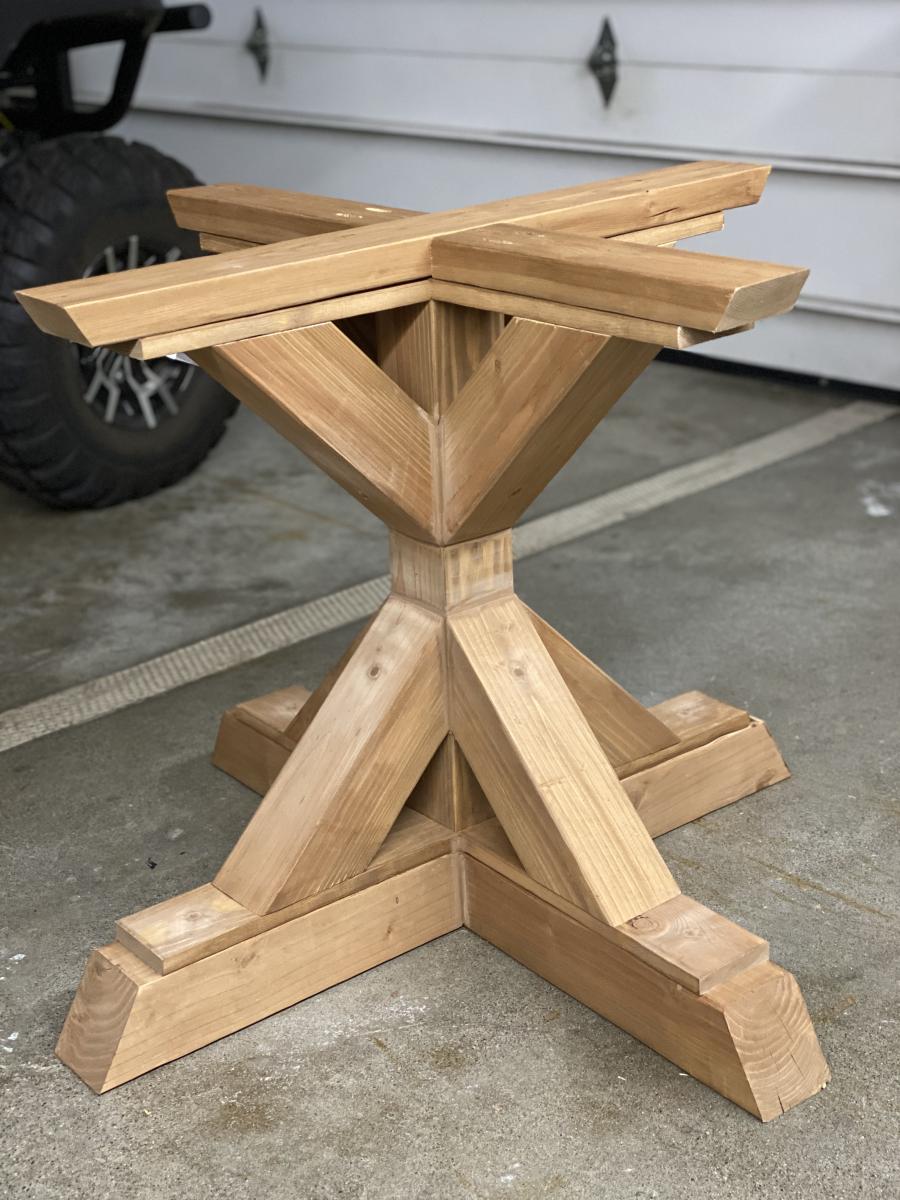
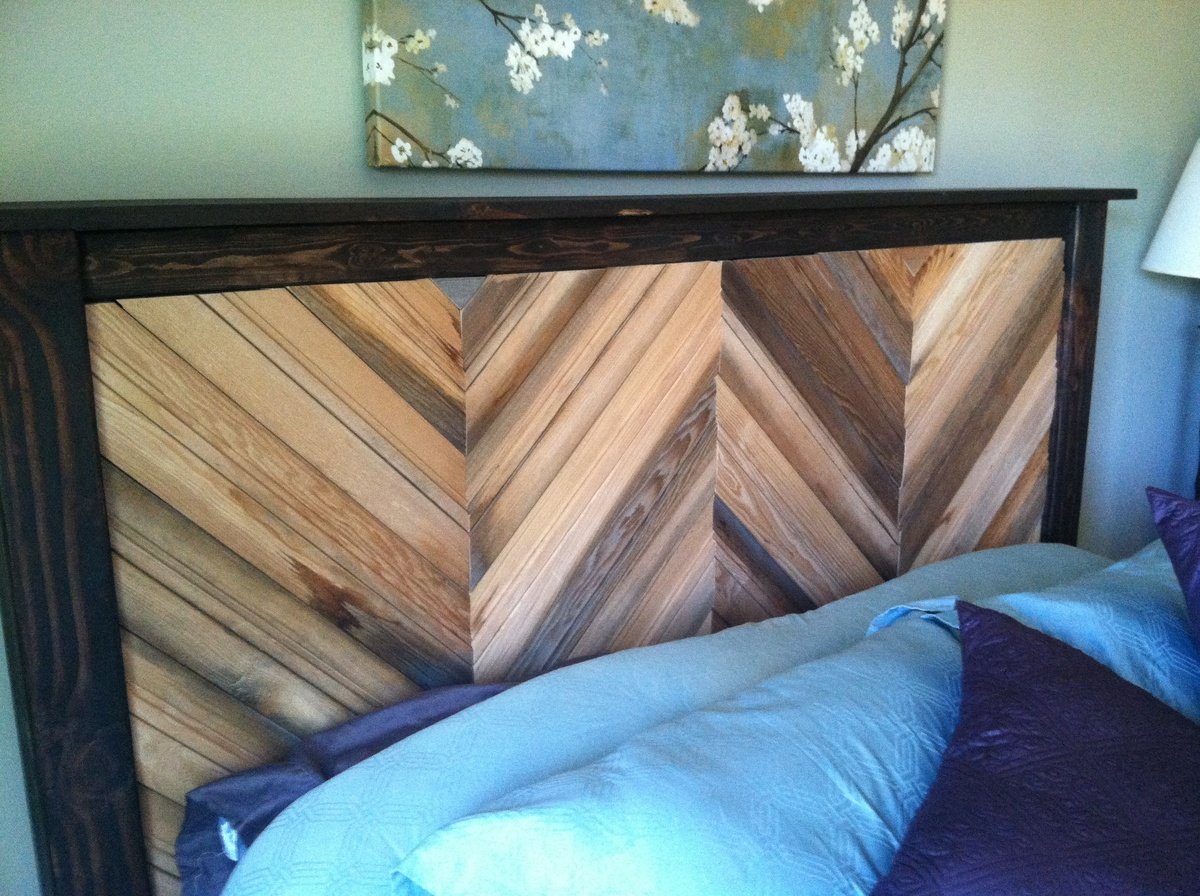
Applied wood conditioner
Applied Minwax Aged Oak gel stain
Applied Polyeurathane for protection
Recommended Skill Level
Intermediate

Comments

spiceylg

Tue, 04/02/2013 - 05:17

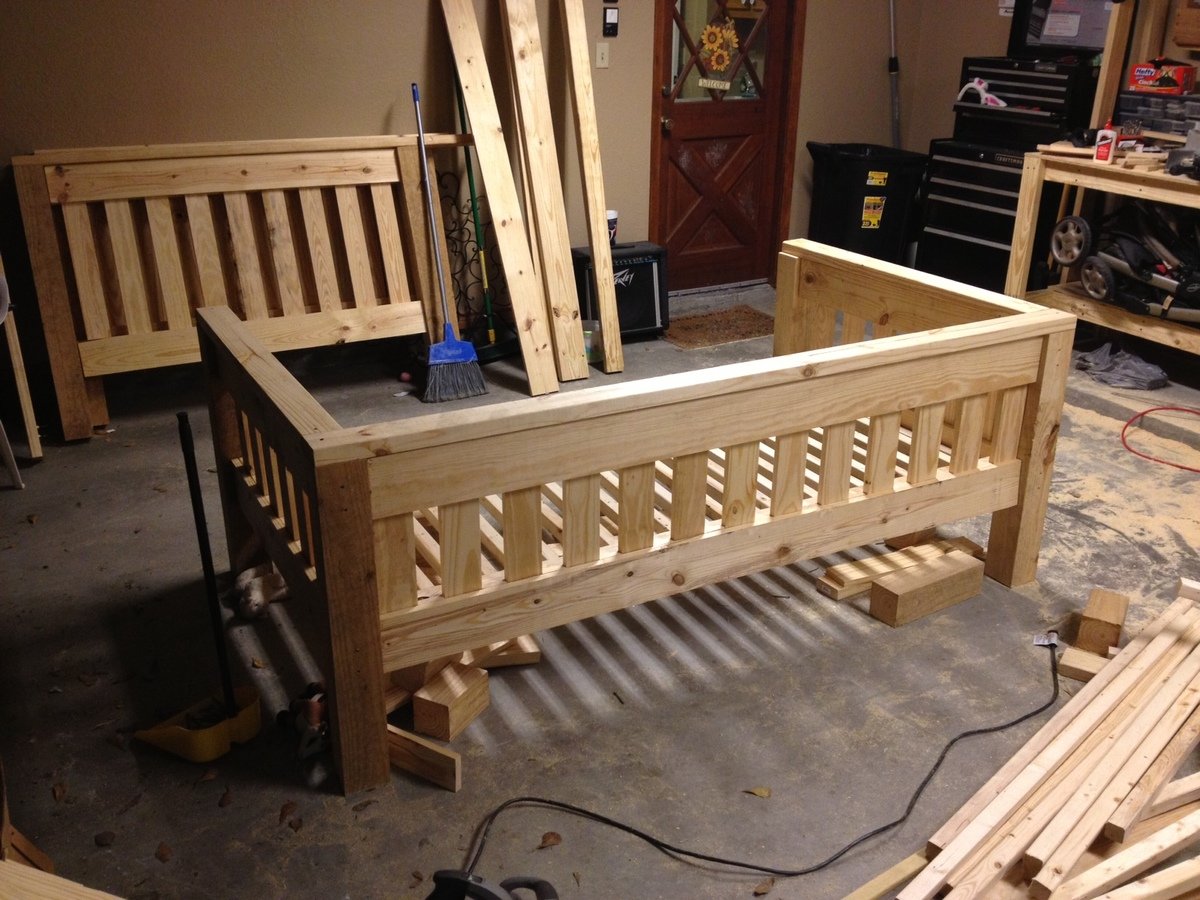
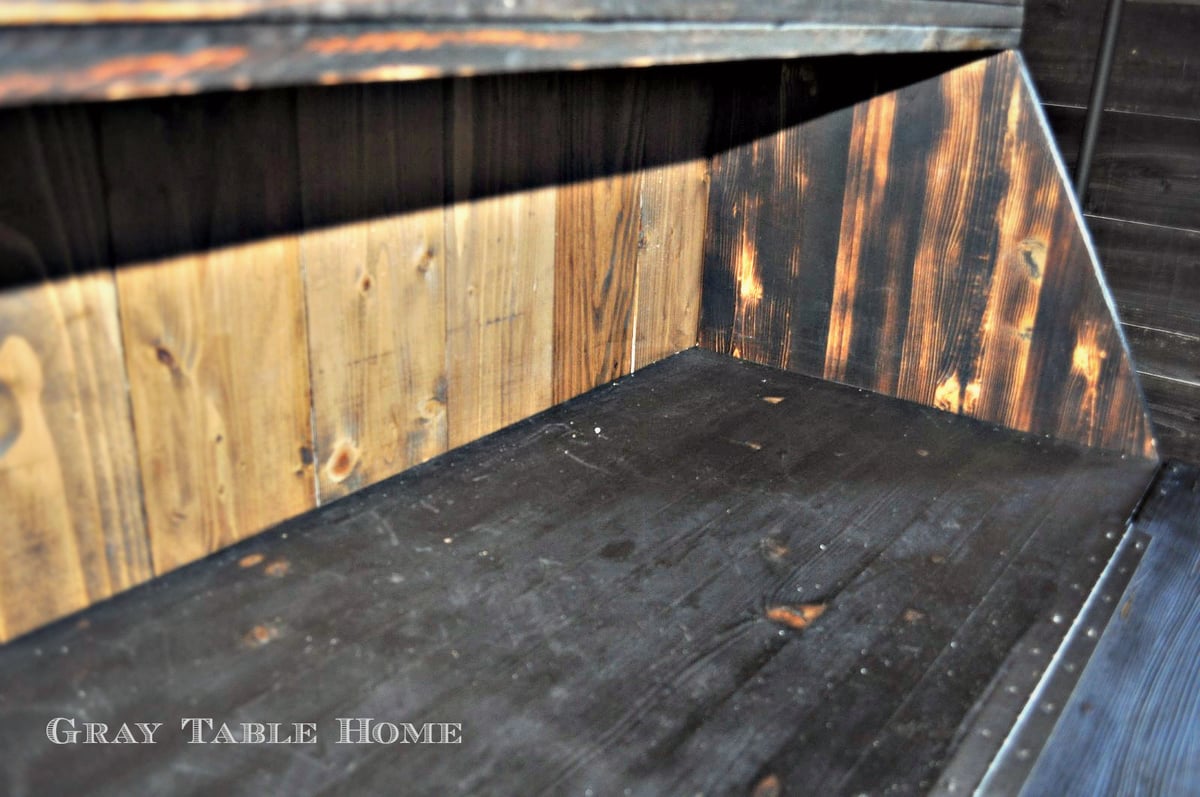
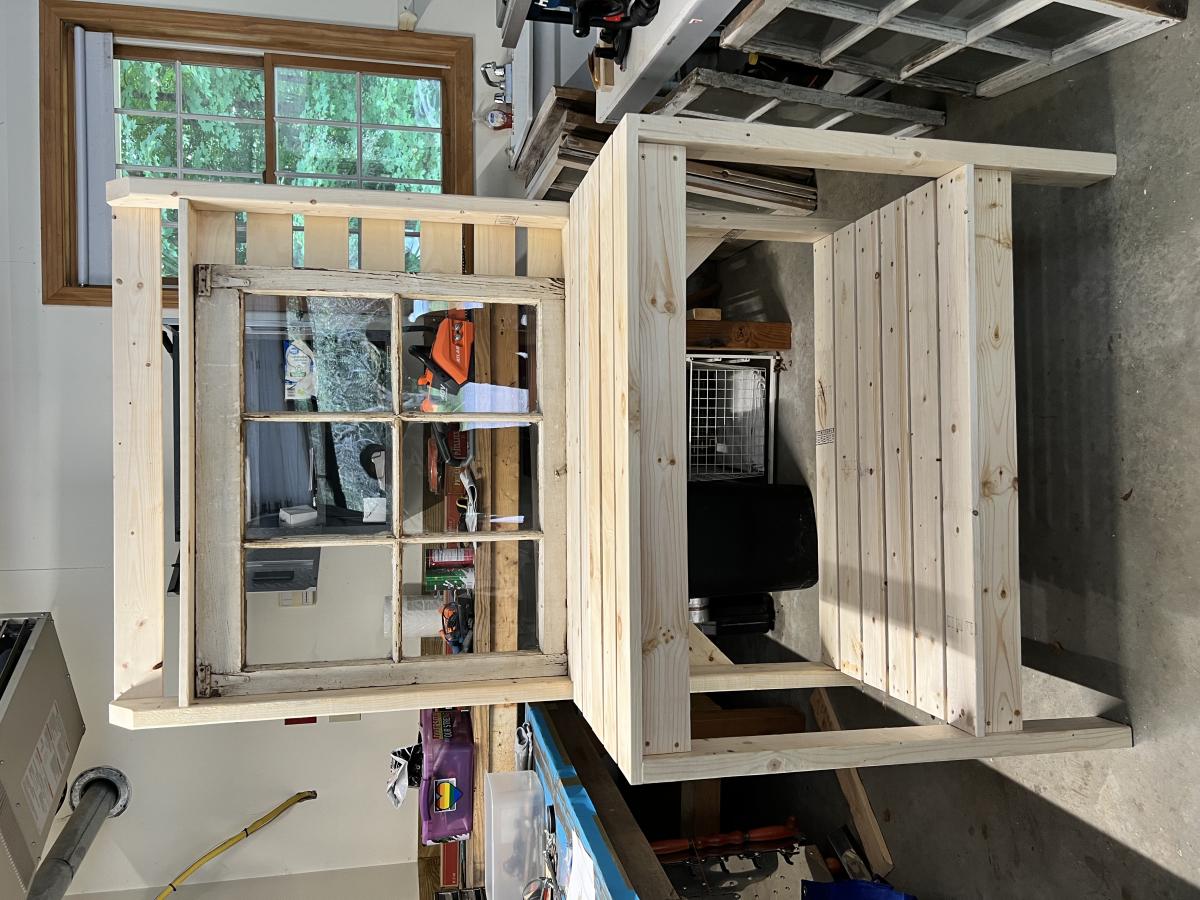
Wow, you did a wonderful job! What a sweet story with your son bringing you any change he found. Adorable. I'm sure your sons are so proud of you and it means so much more than just store bought. In looking at that first smaller picture of just the top part, it looks like a view from the back side of a day bed. You can take apart the bunk beds when they get older and you have one full bed and one day bed. Awesome!

Farmhouse Desk with Wormy Chestnut

Submitted by csolanzo on Mon, 05/17/2021 - 10:37

I just completed my first build (#AnaWhiteFarmhouseDesk). It has a ton of mistakes, but they are my mistakes to learn from.
1. Measure twice cut once not measure once cuss twice.
2. Cutting 2x4s in half does not make a store bought 2x2. Which is really 1 1/2 x 1 1/2. Who determined that we would measure wood (used in carpentry which requires very precise measurements) and just round up? Awwe, they'll figure it out!
3. Steelwool & vinegar stain with a black tea conditioner provide a beautiful aged wood appearance, but when using different types of wood it is nearly impossible to match (maybe even store bought stains are like that, too.)
4. When your 95 yr old grandfather (how freakin' cool is it that I have a 95 yr old grandfather... With a planer no less) tells you to catch the "wormy Chestnut planks" on the other side (okay... I'm bragging about getting my hands on wormy Chestnut for my desk top) remember to bring you own PPE because at 95 he doesn't require ear protection and doesn't give a frog's fat a$# if sawdust shoots in your eyes & nose... What's the problem???? He never had a new pair of shoes until he was in the military serving in world war 2 so what's a little sawdust?
5. Sometimes you just need to ask for help from your trusty uncle! Thanks to my uncle Nathan (Lord do I love this man!) I finally, with his help, completed the build by assembling the desk top yesterday. I was so afraid of screwing up my gold desk top (aka wormy Chestnut)
6. Mistakes... Do not fear them, but rather embrace them because that is life's playground where learning happens.
7. Learn from others. Thank you Ana White, Woodworking for beginners members FB group and YouTube!

Built from Plan(s)
Finish Used
Steelwool & vinegar stain with a black tea conditioner provide a beautiful aged wood appearance for the body.

Desktop and shelf hardwoods were given a few layers of had rubbed poly.

Reclaimed Wood Farm Table

I built this table for a friend a few weekends ago. The reclaimed top turned out amazing!

Built from Plan(s)
Estimated Cost
$60
Estimated Time Investment
Afternoon Project (3-6 Hours)
Finish Used
Polyurethane Satin
Recommended Skill Level
Beginner

Comments

outdoor sofa with one arm piece to make sectional

Submitted by Anonymous (not verified) on Tue, 06/27/2017 - 15:53

My husband and I built this on Sunday- I love how it turned out!  The hardest part was finding cushions, and carrying it up a flight of stairs!

Estimated Time Investment
Day Project (6-9 Hours)
Finish Used
this has not been sanded or stained yet
Recommended Skill Level
Beginner

Comments

Outdoor Sofa and Table

Submitted by Don Ellery on Wed, 07/19/2017 - 11:42

I enjoyed making this outdoor sofa and table combo from Ana's Ryobi series.  An inexpensive and easy project that we just love!  All construction grade 2x4.

Estimated Cost
$80
Estimated Time Investment
Afternoon Project (3-6 Hours)
Finish Used
Behr premium exterior "Slate"
Recommended Skill Level
Beginner

Airondeck Chairs and Bar

Submitted by Anonymous (not verified) on Mon, 10/04/2021 - 16:24

Lockdown here in Sydney has been going for over 100 days now, so in-between home school and quietly going insane, I thought I would make something for the house in the hopes that at some point we may be able to have people back in our home and enjoy entertaining again. The Deck chairs are to replace some horrible plastic ones we had on our balcony. Now my wife and I can enjoy a glass of wine while looking out over our bay in style! The bar was made from leftover timber I had and the deck chairs are made from 2x4 Treated pine (bits painted white) and NSW Spotted gum - which is a hardwood. The bar is also made from 2x4 treated pine and Merbau ( another hardwood) . I have put a few bronze hooks on the front to hold tea towels etc when entertaining. They are both fantastic additions and we love them. Thank you for saving my Sanity Anna!

Comments

The Shou Suga Ban Secretary Desk and Hutch

Submitted by susanshamp on Fri, 04/24/2015 - 10:25

This secretary desk and hutch was made using the Grant Secretary and Hutch plans, modified to be 48" wide. As a finish, I wanted to try out a new method - instead of staining, I decided to char the wood using a method known as Shou Sugi Ban. There are tons of You Tube how-to videos on how to do it, and it's actually pretty easy (as long as you are comfortable using a propane torch).


The project definitely took longer than I had originally anticipated, at least 40 hours. However I thought the end result was worth it.

Estimated Cost
$350
Estimated Time Investment
Week Long Project (20 Hours or More)
Finish Used
Wood charring method (shou sugi ban) and Cabot Aged Leather stain for back boards.
Recommended Skill Level
Intermediate

2x4 Leaning Hall Tree

Submitted by Anonymous (not verified) on Wed, 10/20/2021 - 14:13

I used this wonderful and easy plan to make a leaning hall tree for this awkward space in my dining room. Finally solved an 8 year old problem of what to put in this space! Thanks for the awesome plans!!

Built from Plan(s)

Comments

RH dupe Concrete Dining table

Submitted by Don710 on Tue, 11/02/2021 - 21:42

60” round 1.5” concrete top.
No modifications to the base.
Used Behr water based stain (Early American)and wood conditioner.
Beyond pleased with the results:)

Comments

Table turned cabinet

I had an old table that was in my basement.  I wanted to re-do my craft room.  I have been thinking and thinking about it.  So when I saw Ana’s link to her drawer organizer – and how to install drawer slides – I thought – ok – now it’s time to do it.


I spent about a week drafting plans, making measurements.  At first I was going to recycle the metal sliders I had left over from the kids dressers…but there wasn’t enough – and to do 12 drawers would be more money than I wanted to spend.


So – a trip to home depot – I was able to take this table that was just collecting junk – literally – to an organized and functional crafting cabinet – with huge deep drawers.  There are 12 drawers in total.  They are all 6 inch in height, 26 inches deep, and then there are 8 that are 16 inches wide, and 4 that are 12 inches wide.


Here are some before and after pictures – I have all the details on the build on my blog.  I wouldn’t have been able to do it without Ana.  Her plans and continual inspiration!

Estimated Cost
Around $80
Estimated Time Investment
Afternoon Project (3-6 Hours)
Finish Used
On the fronts of the drawers only. Sanded, primed and painted with high gloss white.
Recommended Skill Level
Intermediate

Fire Truck Bed

I started this project several weeks ago, and I am very happy with the outcome.  Please see my Blog since there is so much information.  www.atouchofarkansas.com


Estimated Cost
$500
Estimated Time Investment
Week Long Project (20 Hours or More)
Finish Used
I used red & white paint & primer in one.
Recommended Skill Level
Intermediate

Dog Bunk Bed

We’ve been looking around for some plans for a doggy bunk bed for a while now, but couldn’t find anything that we liked so I decided to build it from scratch. This is a huge bunk bed that was built based on the size of our larger dog’s bed which is 44 x 35. This was pretty simple to build although the stairs we’re quite challenging as I have never done them before so if I can make it, anybody can.

I must stress that before I found Ana’s website about 6 months ago I could barely cut a piece of wood straight. Over this time I have made several things based on the easy to follow plans on this website which ultimately gave me the confidence to go it alone and build this bunk bed. Friends and family are shocked at some of the furniture I’ve made and some don’t even believe I made them and think I’ve bought them from IKEA. My wife has got a list of furniture she wants to make now including a TV console, an armoire and a twin bed for one our daughters. Every spare second I have now is spent is making furniture and I LOVE it.

For anybody who has never built anything and is apprehensive to do so I would just say, do it. Grab what you need and dive right in. You may get frustrated and scream a bit at first, but the reward at the end is well worth it and each project you do will get easier and easier. Be warned though. The better you get, the more people will pester you to make things for them.

Thank you, Ana.

This was made using cheap 1 x 3 and 1 x 4 furring strips for the railings and bed slats, 2 x 4s for the posts and 1 x 10 board for the stairs.

Estimated Cost
$75 - $100
Estimated Time Investment
Weekend Project (10-20 Hours)
Finish Used
I haven't sanded or finished this yet as we are still deciding on what to do with it.
Recommended Skill Level
Beginner

Comments

2x4 Garden Beds

Submitted by binah06 on Wed, 05/18/2011 - 09:37

My husband and I were inspired by Ana's plans, but needed to use up some wood we had laying around the garage because it was starting to bend and warp. We made the large box 2x6 ft and the smaller one is made from scrap and is about 15in x 2.5 ft.

Estimated Cost
free
Estimated Time Investment
An Hour or Two (0-2 Hours)
Finish Used
none
Recommended Skill Level
Starter Project

An 'On Steroids' version of your idea

Submitted by Anonymous (not verified) on Mon, 01/24/2022 - 17:19

6 years into a complete rebuild of a neglected old farm house built in just 1948. Your website was found after looking for 'Modern Farmhouse' stair rails. The look plays off the original brick chimney stack & the Woodstove it serves. It has turned out to be quite the focal point, which was never it's purpose. Thanks for the inspiration!

Comments

Simplest Armoire as Kitchen Pantry

I ABSOLUTELY LOVE THIS CABINET! It's the perfect finishing touch to our kitchen remodel. We are still waiting on the finishing touch; a hand-polished Hoosier style latch for the doors. We found them at House of Antique Hardware. I will say that this cabinet required "non-mortising" hinges, ones that don't require you to dig out anything in the wood and that don't bulge up together in the space behind the door. These were nearly impossible to find in our town in a small enough size, even with the two big box stores and smaller hardware shops. We had to order them online HardwareSource. These were cheap at this source and we even ordered two styles in case we didn't like one of them. A local shop could order them for us @ 6 hinges for 48$!! The ones we found online came to $17 with shipping.

We modified our cabinet a bit because we wanted it to have feet that were different than the original plan. I have a thing about cabinetry that I can't see under! So, we just made the cabinet flat bottomed instead of having the bottom shelf sit higher and the facade on the bottom front. We also added I-frames to the interior of the doors because we have high humidity where we are and we thought it might help keep the doors keep their shape over time.

After building just the bookshelf part, we kept looking at it like we couldn't believe we built it. It's really beautiful. We do a lot of remodeling, demolition, and rebuilding in our home, but have always been intimidated by building furniture until finding this site.

My husband was so jazzed by our newfound furniture building skills that he built the planter/trellis for his mother last weekend for her birthday right after we finished this project. Pictures of that will be forthcoming as soon as we plant the rosebush in it. Thank you Ana White!!!!

Built from Plan(s)
Estimated Time Investment
Weekend Project (10-20 Hours)
Finish Used
A beautiful Minwax Waterbase Midnight Blue. Washed right off the brush and my hands and looks SOOO beautiful on this cabinet. It took two coats to look the way I wanted and I had to buy two quarts, but have about half a quart left.
Recommended Skill Level
Beginner

Comments

JES

Thu, 06/09/2011 - 03:35

This is lovely. The finish, shape and modifications you made are just wonderful. Congrats on a teriffic job! :)

Nicole S (not verified)

Wed, 06/29/2011 - 10:19

We are moving into a home that doesn't have alot of storage so I'm looking into building this. But depends on the cost. About how much would you estimate that this armoire pantry cost to build? PS- I love the look and color of yours! Awesome job!

In reply to by Nicole S (not verified)

mmhmakeover

Thu, 12/29/2011 - 20:14

Wow. Sorry I just realized your question was here! I would say we spent about 120$ on wood and finish products.

It was much less than buying the perfect piece of furniture somewhere else. For us, this piece, in this finish was THE perfect piece of furniture. I still love just looking at it in our space.

mmhmakeover

Tue, 07/12/2011 - 03:55

We used birch plywood for the back and the doors so it was a bit pricier because we wanted something that was already a smooth finish without much sanding. I would say all together with the stain and the Hoosier latch we ordered for it the cost totaled almost $150. The wood cost was about $90, plus we purchased feet, stain, hinges, and a latch.

We LOVE this pantry in our kitchen and although it took a week to build this and have it ready for use, it was worth it to take our time and put care into building something we love. It was our first project and it has inspired us to build a ton of stuff in just a few weeks since.

Good luck!

square planter

Submitted by gale on Thu, 08/01/2013 - 11:40

My first project! The legs are shorter than in the plans-my fault for not reading thoroughly before I printed just the cut list and headed to the store. Still, I love it. I used the Square Planters with Finials plan for this. Painted it with a stencil in place, then stained over that. Also used a kreg jig.

Estimated Time Investment
Afternoon Project (3-6 Hours)
Finish Used
paint: glidden, stain: minwax, clear coat: rustoleum water based spar varnish
Recommended Skill Level
Starter Project

Rustic Modern TV Console

Just finished up this unique TV console.  Built from reclaimed pallet wood. 

Estimated Cost
$150.00
Estimated Time Investment
Weekend Project (10-20 Hours)
Finish Used
Clear coat of wax
Recommended Skill Level
Advanced

Comments

Templar

Mon, 12/02/2019 - 22:10

Hi there Im new to site and also have the issue of not seeing the plans for this Rustic Modern TV Console. Are they available and Im doing something wrong or??

Simple 2x4 potting bench modified to include antique window.

Submitted by Anonymous (not verified) on Mon, 07/25/2022 - 17:10

I made this for my Mom as a birthday gift. I adjusted the dimensions a bit to accommodate the window, gave it a shabby chic look, and then added some decorative hardware. Very happy with the result!

Comments

Seasonal And Holiday

Chevron Cassidy Queen bed

Submitted by blpetrie on Wed, 09/04/2013 - 20:42

We took the general plan of the Cassidy wood shim bed but added some features of our own. Since my husband is in the military we knew we would be moving more than the average builder so we made the bed to be more durable for frequent disassemblies. Instead of screwing the frame to the head and foot board we used carriage bolts to secure the pieces.

We also wanted to add a reclaimed aspect to our bedroom. We bought some reclaim cedar siding from a local estate investor and decided to do a chevron pattern. After staining the whole frame, we applied the siding to both the head and the foot board since we bought basic plywood and wanted to cover both ends. Plus, we liked the look with both ends done better. We cut the siding at 45 degree angles and then custom cut each piece to fit. This was a time consuming area since, with reclaimed wood especially, each piece is unique. We then just used liquid nails to secure the pieces.

To finish we assembled the bed and applied a paste wax.

Built from Plan(s)
Estimated Cost
$200 (with cost of reclaimed wood)
Estimated Time Investment
Week Long Project (20 Hours or More)
Finish Used
We applied one coat of Rust-Oleum Kona with foam brushes then let it set for about one minute before wiping excess with a rag. We really wanted the wood grain to pop and this did the trick. We applied a coat of paste wax after stain was dry.
Recommended Skill Level
Intermediate

Comments

Matthew Martin

Wed, 09/04/2013 - 21:12

This bed sure looks amazing. I made a bed from the same design just a little more like the main shim bed with a tad bit of modifying. like you guys i was military and made the bed for easy take apart with 7in lag bolts vs nailing. Good luck with future builds.

jmorken

Tue, 05/13/2014 - 08:44

You guys did a fantastic job! My wife and i were looking to create a bed with a chevron or herring bone pattern, and this provides the perfect visual. Question about the foot board: It looks like there are varying thicknesses or some type of beading on the boards. Is there?
Thank you!
j

simmersjm

Sun, 11/06/2016 - 15:53

How did you place and secure the carraige bolts to the frame? I move around a bit too and would love to know how to do this. If there is anyway to upload a picture of what it looks like, that'd be great.