Community Brag Posts

King size Farmhouse Bed

Submitted by Anonymous (not verified) on Sun, 04/19/2020 - 15:59

This is a plan that My 16 year old son chose to do for a project to fulfill a goal to learn some woodworking skills during our unexpected downtime from School.
Mom is thrilled with the new space.
He adjusted different sizes based on what lumber we already had. He used 1x7’s and routed a 45deg on the edges to give the tongue and groove look. Posts are 4x5 and top railing is 2x7.

Estimated Cost
$40 in paint and supplies. Wood was free from a friend.
Estimated Time Investment
Weekend Project (10-20 Hours)
Finish Used
Valspar Furniture Enamel.
Color - Web Grey
Recommended Skill Level
Beginner

Comments

Small X End Table

This was a fun project spread out over 3 weeks to enjoy working on while quarantined at home. It was the first project I worked on featuring mitered corners. It took some practice and many "polishing" cuts to get everything to line up right, but in the end they looked great! I went with a Birch interior plywood instead of you typical (pine?) plywood because it looked a lot more furniture esque. I trick when using a circular saw to cut the plywood is to keep the desired side up when cutting in the direction with the grain and the desired side down when cutting across the grain. When cutting across the grain, the blade can fray the edge of the top ply. I also added braces attached to all 4 legs flush with the top of the legs using 1x2's. This allowed me to glue and screw (1" screws) the table top to the base from underneath so it was hidden rather than nail from the top. I didn't want to have nail holes on the table top because, even with wood filler, they would stand out from the rest of the wood.

I chose to go with the cheap pine that home depot sells instead of the Select Pine because the cheap pine has a lot more character and offers a more rustic look. The pine can be pretty beat up so it takes a while of digging to find the straight boards without any major defects or cracks. I just figure it's part of the experience. Once I have my straight boards I sand everything down so the boards are completely smooth and have softened edges. Clamps are a must and a HUGE help with getting everything lined up during the assembly. I neglected clamps in some of my first builds because I didn't have them and didn't want to invest. I had a real hard time getting things level and straight. Never again.

Other pieces I've build from Ana's plan include (in order of build):
Ana's Adirondack Chair (4x)
Reclaimed-Wood Look Headboard, King Size
Modern Outdoor Chair from 2x4s and 2x6s (2x)
Simple White Outdoor End Table
Rustic X End Table

Estimated Time Investment
Weekend Project (10-20 Hours)
Finish Used
One application of Varathane Early American Premium Wood Stain
Three applications of Varathane Crystal Clear Matte Water Based Ultimate Polyurethane

Patio Table

Submitted by Rennie82 on Wed, 06/13/2012 - 17:42

Project took a lot more time and patience than the last few little ones that I have done. I like the simple outdoor table but wanted a little bit more. I used the basic concept and mixed it with a patio table from PB that I really enjoyed but didnt want to pay $800 for. The table looks fantastic and am still debating on what type of finish, if any, to use. Hoping to make the matching bench soon for one of the sides of the table.

Built from Plan(s)
Estimated Cost
Around $120 including the carriage bolts so I can take off the legs.
Estimated Time Investment
Weekend Project (10-20 Hours)
Finish Used
None as of yet, leaning towards Thompsons clear waterproofer
Recommended Skill Level
Intermediate

Comments

We Built a Greenhouse!

Submitted by Anonymous (not verified) on Tue, 05/05/2020 - 15:28

When the Covid quarantine hit we decided to build a greenhouse - it's been on our To Do list for 9 years. The DIY Greenhouse was the first design I found via Google search and it looked so easy and has all the materials listed so we just had the materials delivered and dived right in! It took us 5 days, about 4 hours per day. The smartest thing we did was borrow a mitre chop-saw. There's a lot of 22 degree angles to cut. Other than that it was easy peasy as long as you follow directions. Also got a skill saw blade that cut both the plastic and the tin. It cost us about a grand Canadian, but the closest kit I found online was smaller and was $1500 US. I'm already growing stuff in it and the temperature here in Northern BC gets below freezing at night (around -1C) but everything is ok. The current temp outside is 15, but it's 30 in the greenhouse. We cut a few vents in the back wall panel to allow for airflow and I'm going to purchase a solar muffin fan to move the air a bit. Highly recommend this unit!

Built from Plan(s)
Estimated Cost
$1000 Canadian
Estimated Time Investment
Weekend Project (10-20 Hours)
Finish Used
None
Recommended Skill Level
Intermediate

Holiday Fence Picket Planters

Submitted by Anonymous (not verified) on Wed, 01/03/2024 - 07:36

I built these picket fence planters with my husband. They were very easy to build. I can use them all year around. I’ll add flowers in the spring and summer and mums in the fall and Christmas trees in the Winter. I’m definitely building more for my back porch. Happy building! - Celines

Seasonal And Holiday

Kitchen Island

We had an area in our kitchen where the washer and dryer use to be, and we wanted to build a cabinet that would fit in that spot. We took these plans and adjusted the sizes to fit the space we needed. We made the depth deeper and we cut off one of the side drawers and doors. We found a pre-made 1 1/2 inch butcher block counter top at a local wood supply warehouse that fit our needs perfectly. The countertop was about a quarter of the price of the whole cabinet, but it was worth it. In the drawers we used wrapping paper that we found at Cost Plus which fits us to a "T". We painted it with General Finish Milk Paint in Bayberry Green and used a clear coat with a satin finish. My biggest advice to someone making this cabinet is to take your time and make sure everything is square.

Built from Plan(s)
Estimated Cost
$600
Estimated Time Investment
Week Long Project (20 Hours or More)
Finish Used
General Finish Milk Paint Bayberry Green, Satin Clear Coat
Recommended Skill Level
Intermediate

Comments

vabvive

Mon, 07/02/2012 - 10:10

You've done a beautiful job! What did you find was key to getting everything square?

This is lovely & has inspired me to make my own. I need a piece for my master bedroom that I can use as a TV stand and also to conceal my laundry baskets. Originally I'd planned on adapting a sideboard and using a tip-out door like Ana's trash bin for the laundry -- but this piece is so beautiful I may just ensure that my laundry basket will fit inside and build as-is so that I can easily have the option to use it differently if I want to.

Schweizerfamily

Wed, 07/04/2012 - 06:59

Thank you so much. We purchased a couple of Clamp it Assemby Sqares from rockler.com. These helped a lot for getting everything square. We also took our time and did not rush.

Dustin (not verified)

Wed, 07/11/2012 - 19:42

Love your modified sideboard! The color is gorgeous and the butcher block is a great addition!

I was wondering what kind of hinges you used. I looked for flush mount hinges at Lowes today and they are not going to work. I want it to look like yours where you can barely see the hinge.

Do you remember the name of it? Where you got it? Pic? Any help would be appreciated!!

Dustin Roberts
[email protected]

Schweizerfamily

Wed, 07/11/2012 - 20:15

Thank you very much. We had a really hard time finding hinges also. We tried Home Depot and Lowes and came up empty. We finally went on to Hillary Louise's blog and follow the links to the website where she bought her hinges. http://www.cabinetparts.com

Here are the links that she posted.

http://www.cabinetparts.com/p/amerock-traditional-cabinet-hinges-AMCM31…

http://www.cabinetparts.com/p/amerock-traditional-cabinet-hinges-AMCM31…

We just bought ours in a different color.

Becka (not verified)

Sat, 09/08/2012 - 13:14

My husband & I are looking to build our own too but the dimensions of the original plan would make it too big for our dining area. Yours would be a perfect size though - would you mind posting the size adjustment for yours? Or could you email it to me? I would be forever grateful :)

Love the color you painted it too....very nice choice!

Becka Krikorian (not verified)

Sat, 09/08/2012 - 13:18

My husband & I are looking to build our own too but the dimensions of the original plan would make it too big for our dining area. Yours would be a perfect size though - would you mind posting the size adjustment for yours? Or could you email it to me? I would be forever grateful :)

Love the color you painted it too....very nice choice!

rhettar

Sat, 01/19/2013 - 11:37

This is exactly the size down I had in mind and was wondering how it would look with one door off by itself, it looks great! I even thought about incorporating one door to actually be a tilt or pull out for trash. You guys did a wonderful job and it looks like it was built in where you ended up putting it in your kitchen... Are you going to do a little something now to match on the other side of the stove?

Schweizerfamily

Fri, 01/25/2013 - 09:12

Thats a great idea. We were thinking one our next projects would be a mix between this and Ana's recycling center with the tilt out for dog food.

Simple 2x4 potting benxh

Submitted by Anonymous (not verified) on Sun, 05/24/2020 - 16:10

Loved this project! The plans were so easy to follow, even for a begginer. Thank you so much!

Estimated Cost
$55
Estimated Time Investment
An Hour or Two (0-2 Hours)
Finish Used
Walnut stain
Recommended Skill Level
Beginner
Seasonal And Holiday

Double Kayak Rack

Submitted by JamieLynn on Tue, 05/26/2020 - 09:44

I couldn't find a plan for this but found a picture of what I was looking for. It's a little too big but works. Took about 3 hours to make. Used mostly scrap wood.

Estimated Time Investment
Afternoon Project (3-6 Hours)
Recommended Skill Level
Beginner

Modern Adirondack

Submitted by Anonymous (not verified) on Mon, 06/01/2020 - 14:55

Lots of room for improvement but I'm pretty excited for my first time following plans.

Thanks, I love your videos and have learned a lot.

Estimated Time Investment
An Hour or Two (0-2 Hours)
Recommended Skill Level
Beginner

Rolling laundry cart

Submitted by smitcher on Wed, 06/03/2020 - 13:48

My husband and I have been inspired by your website and are getting started with wood working projects. We did this cart on the weekend. We used MDF board for the front, back and shelf bottoms because we had it laying around after replacing our garage shelving. I’m pleased with how it turned out given that we are just beginners. I do think we’ll have to invest in a table saw. Not a fan of working with MDF board. We used the example found on Infarrantlycreative.net but changed it up slightly. (Sorry about the first photo, I can’t seem to delete it)

Estimated Cost
Under


Approximately $35 CAD because we had the MDF, paint and nails
Estimated Time Investment
Afternoon Project (3-6 Hours)
Recommended Skill Level
Beginner

Comments

Work Bench

Submitted by vrsantana on Tue, 06/09/2020 - 16:09

I have been tinkering with a few projects for months doing most of my work on a foldout 6 foot table. Needless to say, this table was not the ideal work space or level surface for that matter. Decided to go ahead and make myself this work bench. I opted to use MDF rather than plywood for my top. All the plans were right on and everything came together without a hitch. The bench height is perfect and my back is thankful for it. Thank you and keep up the great work, Ana.

Estimated Cost
$65
Estimated Time Investment
Afternoon Project (3-6 Hours)
Finish Used
None
Recommended Skill Level
Beginner

Farmhouse Potting Bench

I haven't put the finish on it yet, gonna leave that up to the recipient. Added a couple of modifications, most noticeably the top shelf, grated workspace, and "side panels" for extra mounting /hanging space. Great design! She's sturdy.

Built from Plan(s)
Estimated Cost
$85
Estimated Time Investment
Day Project (6-9 Hours)
Finish Used
I think the plan is to put a nice stain on it and then I'd like to give it a few coats of spar varnish. I'll try to add a picture once it's complete.
Recommended Skill Level
Intermediate

six cubby shelf

Submitted by amyjeanae on Mon, 09/17/2012 - 09:45

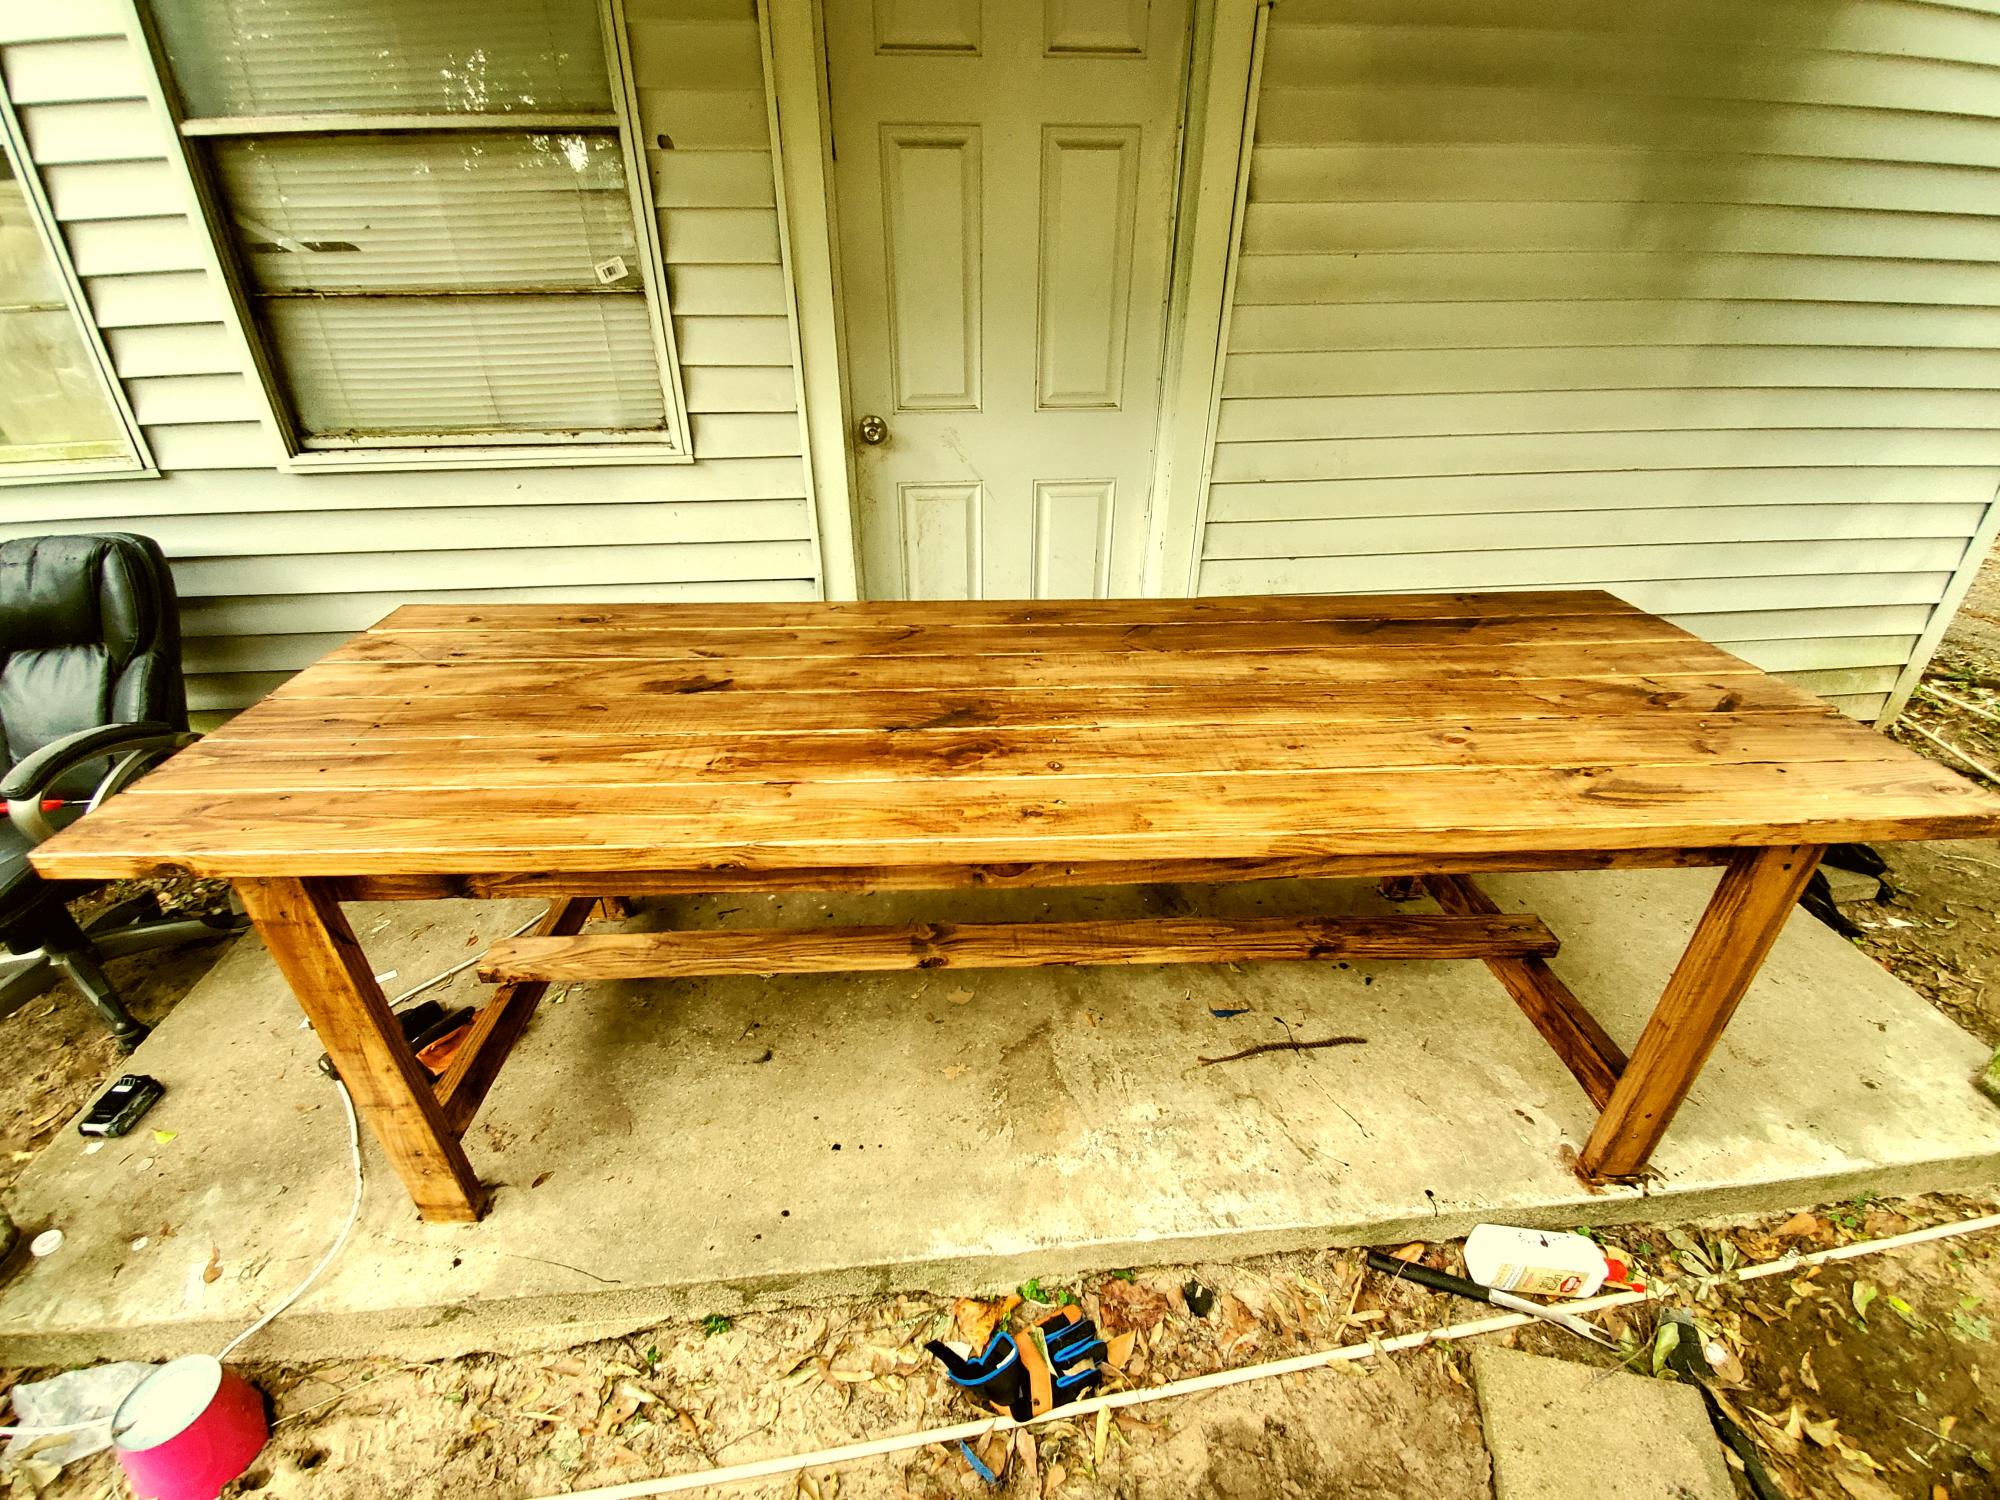
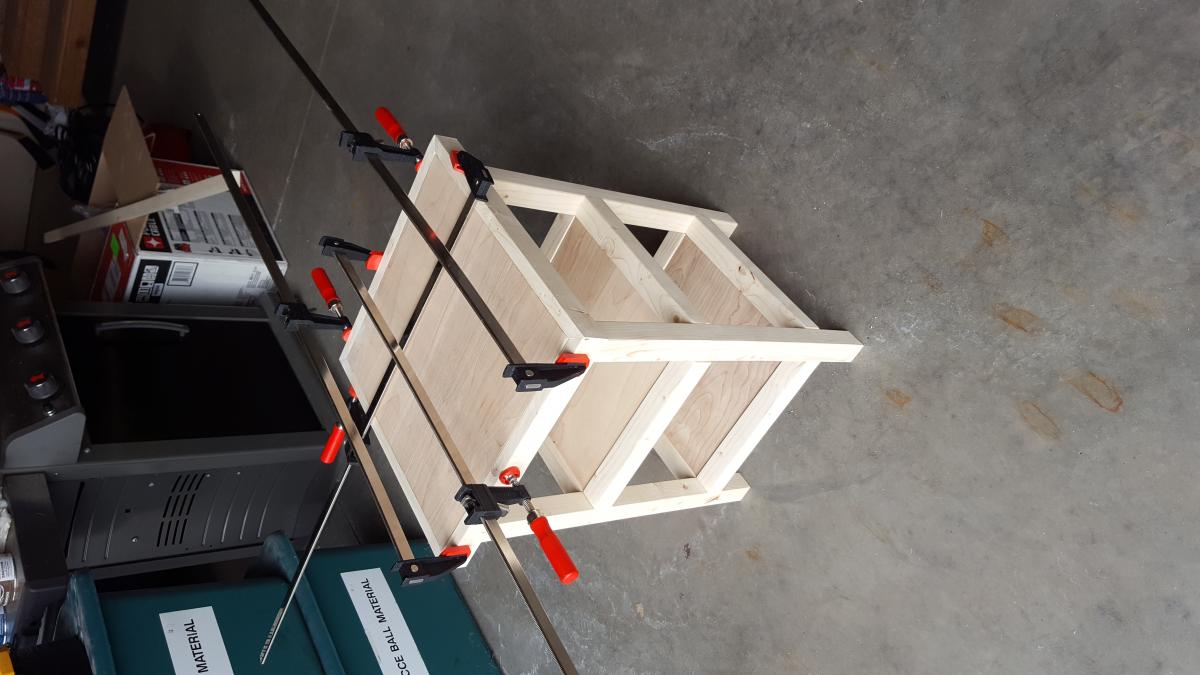
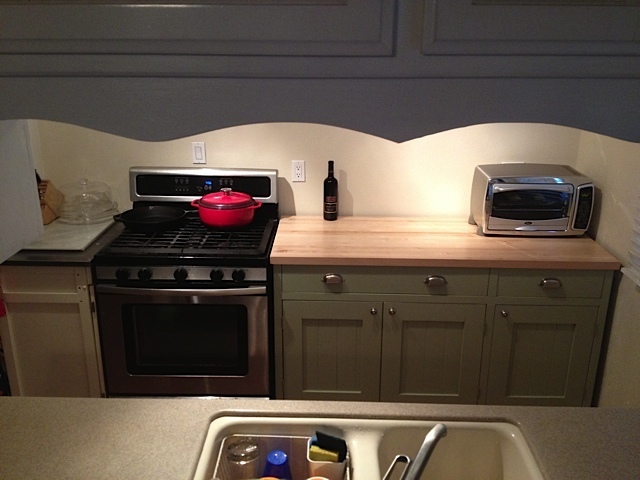
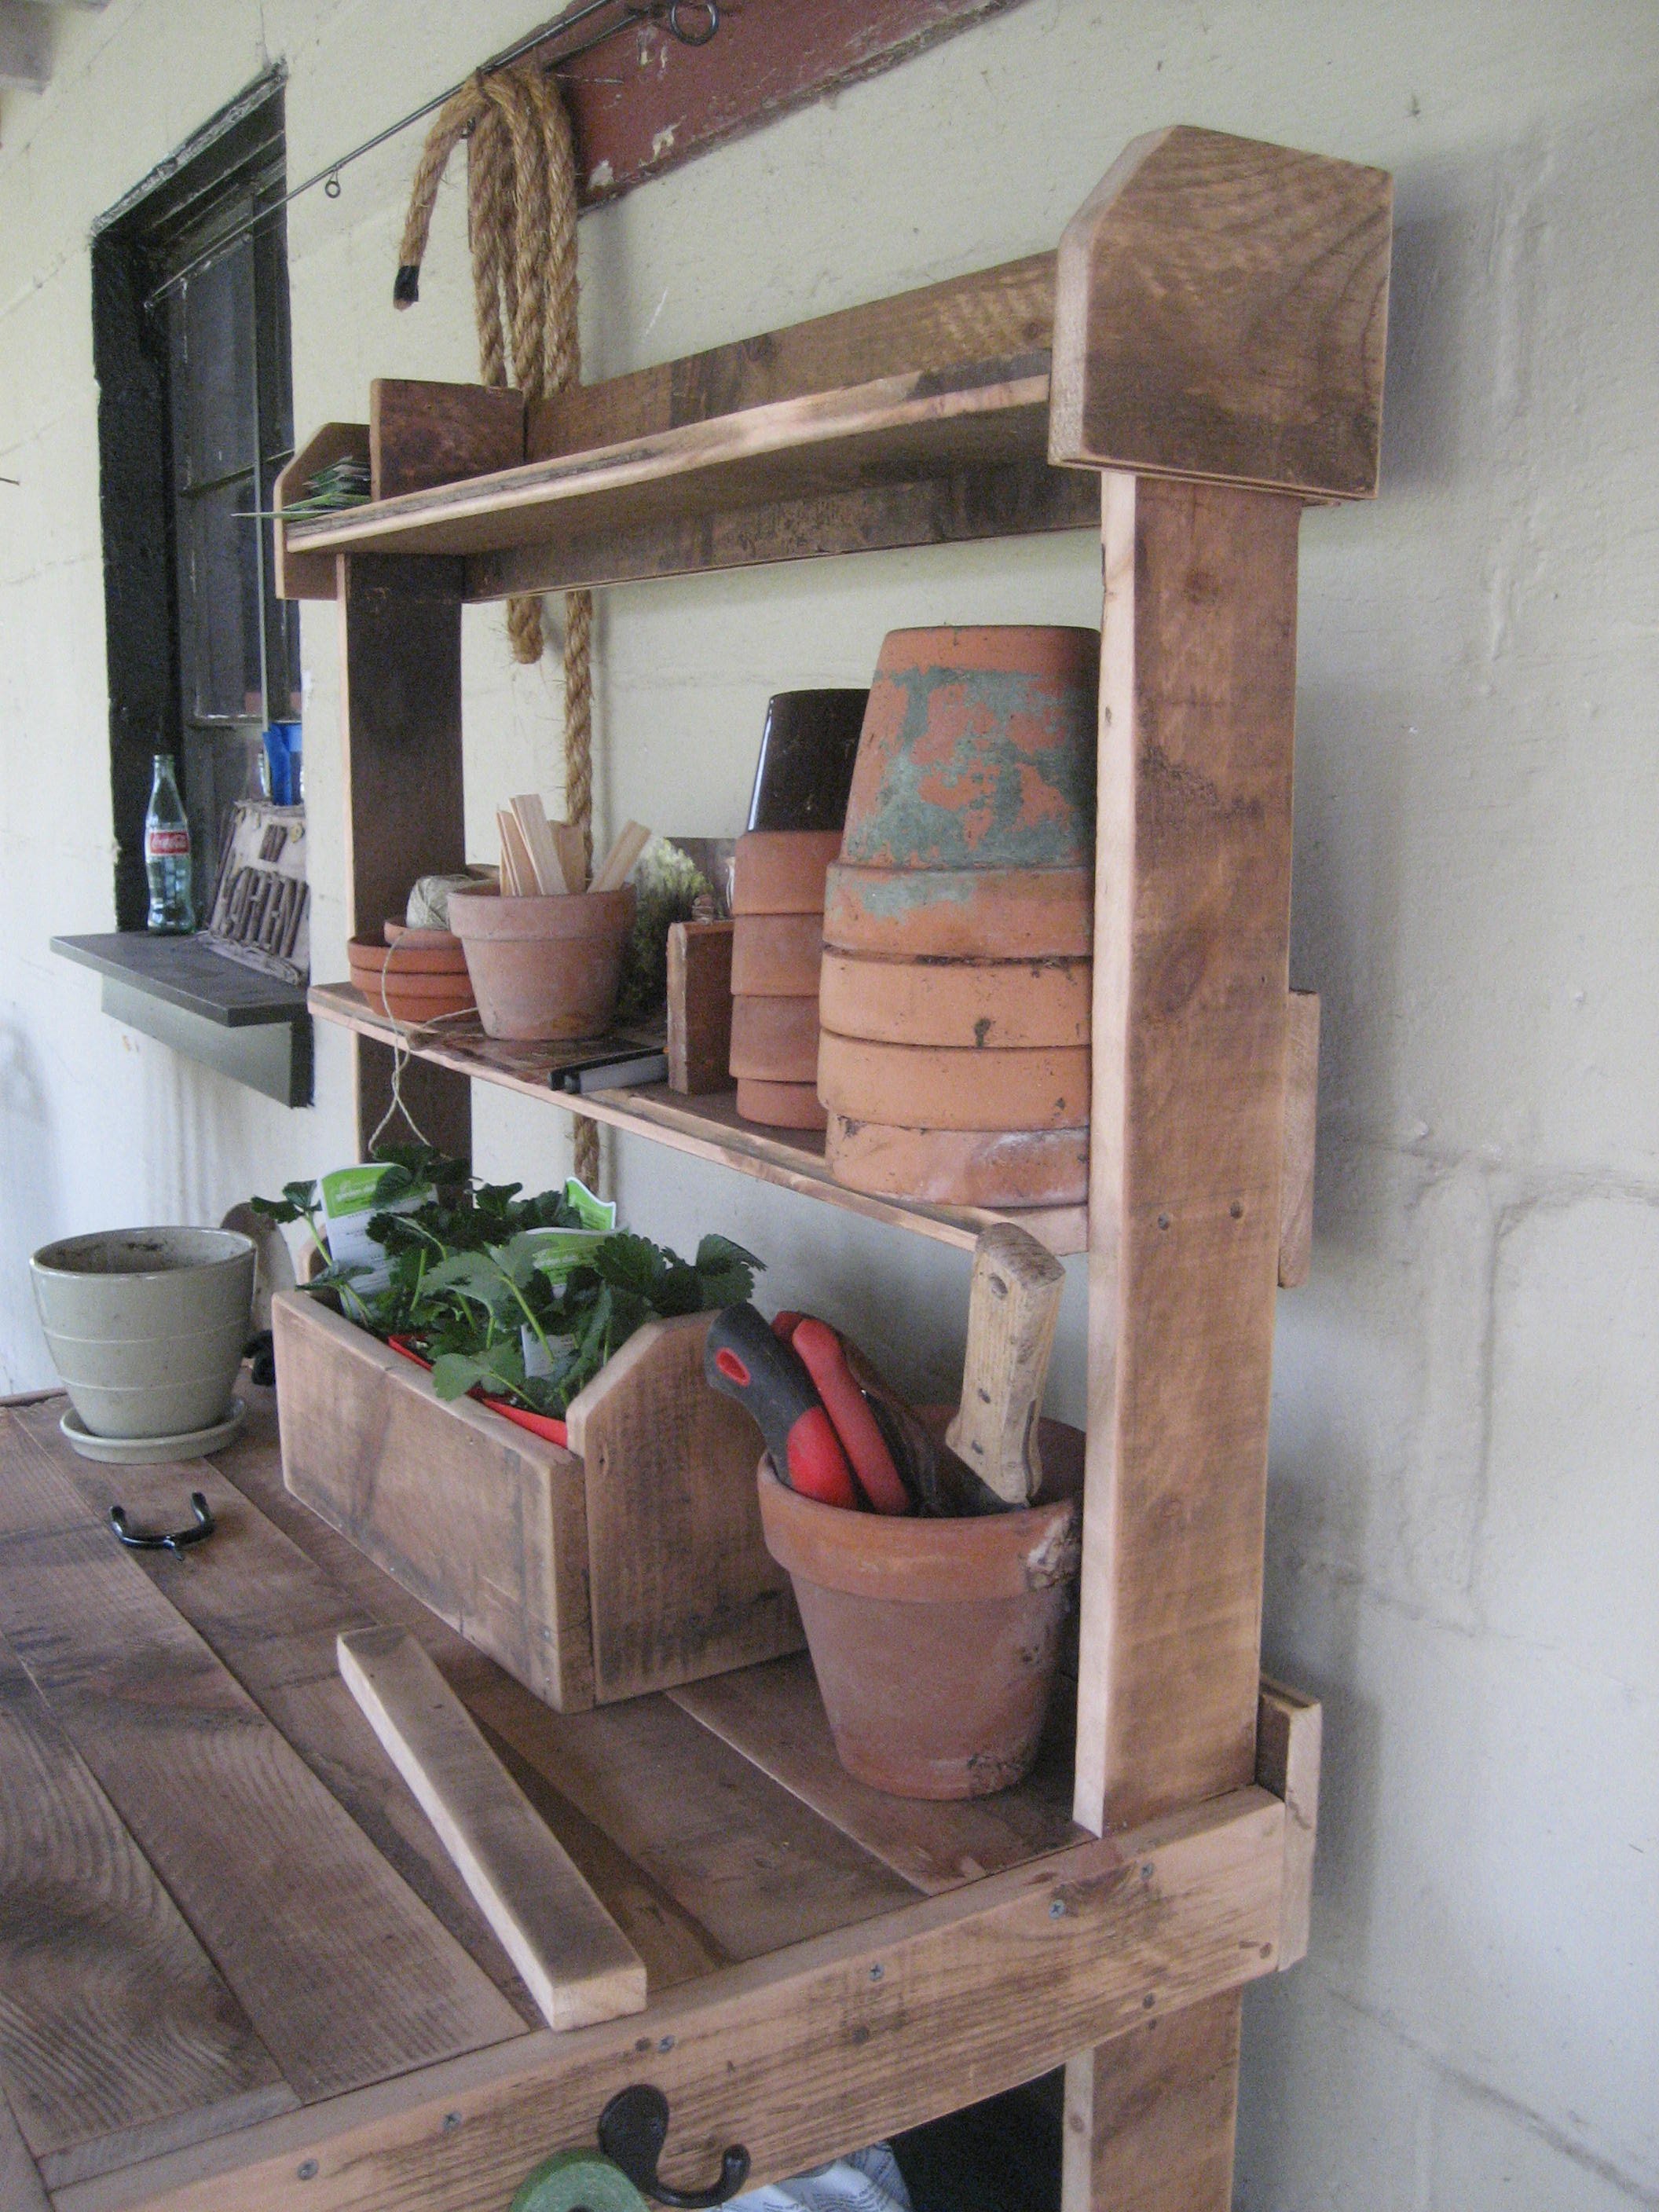
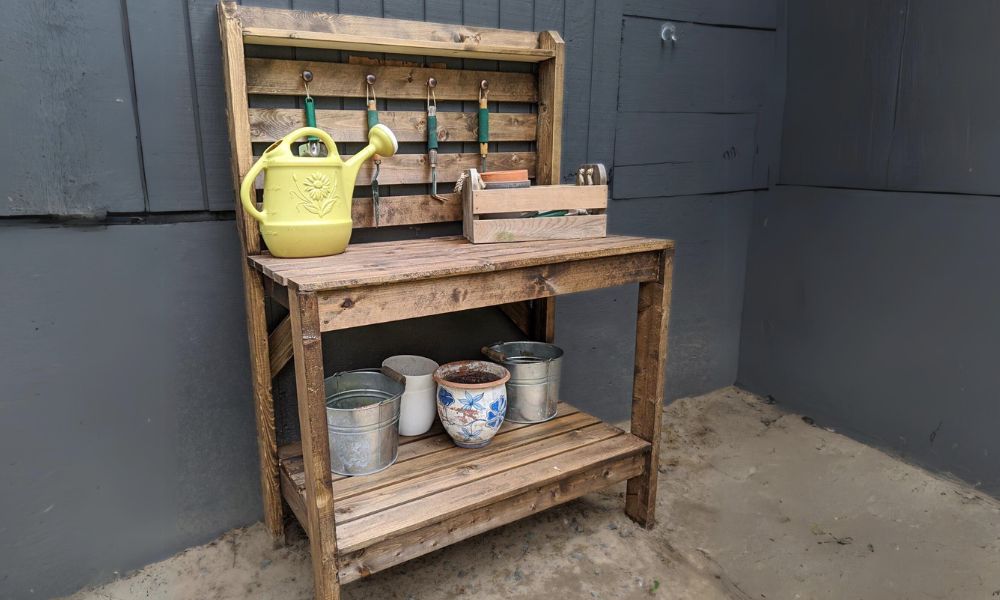
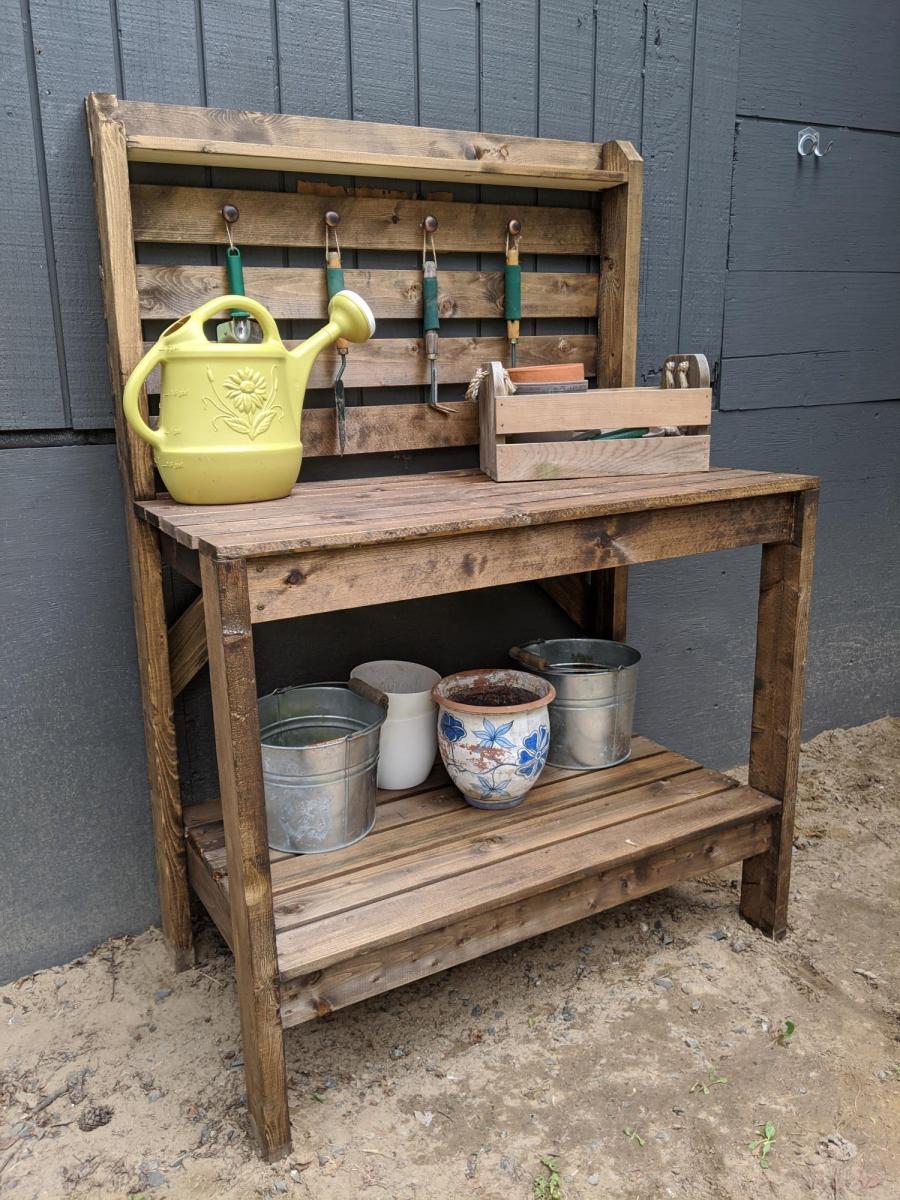
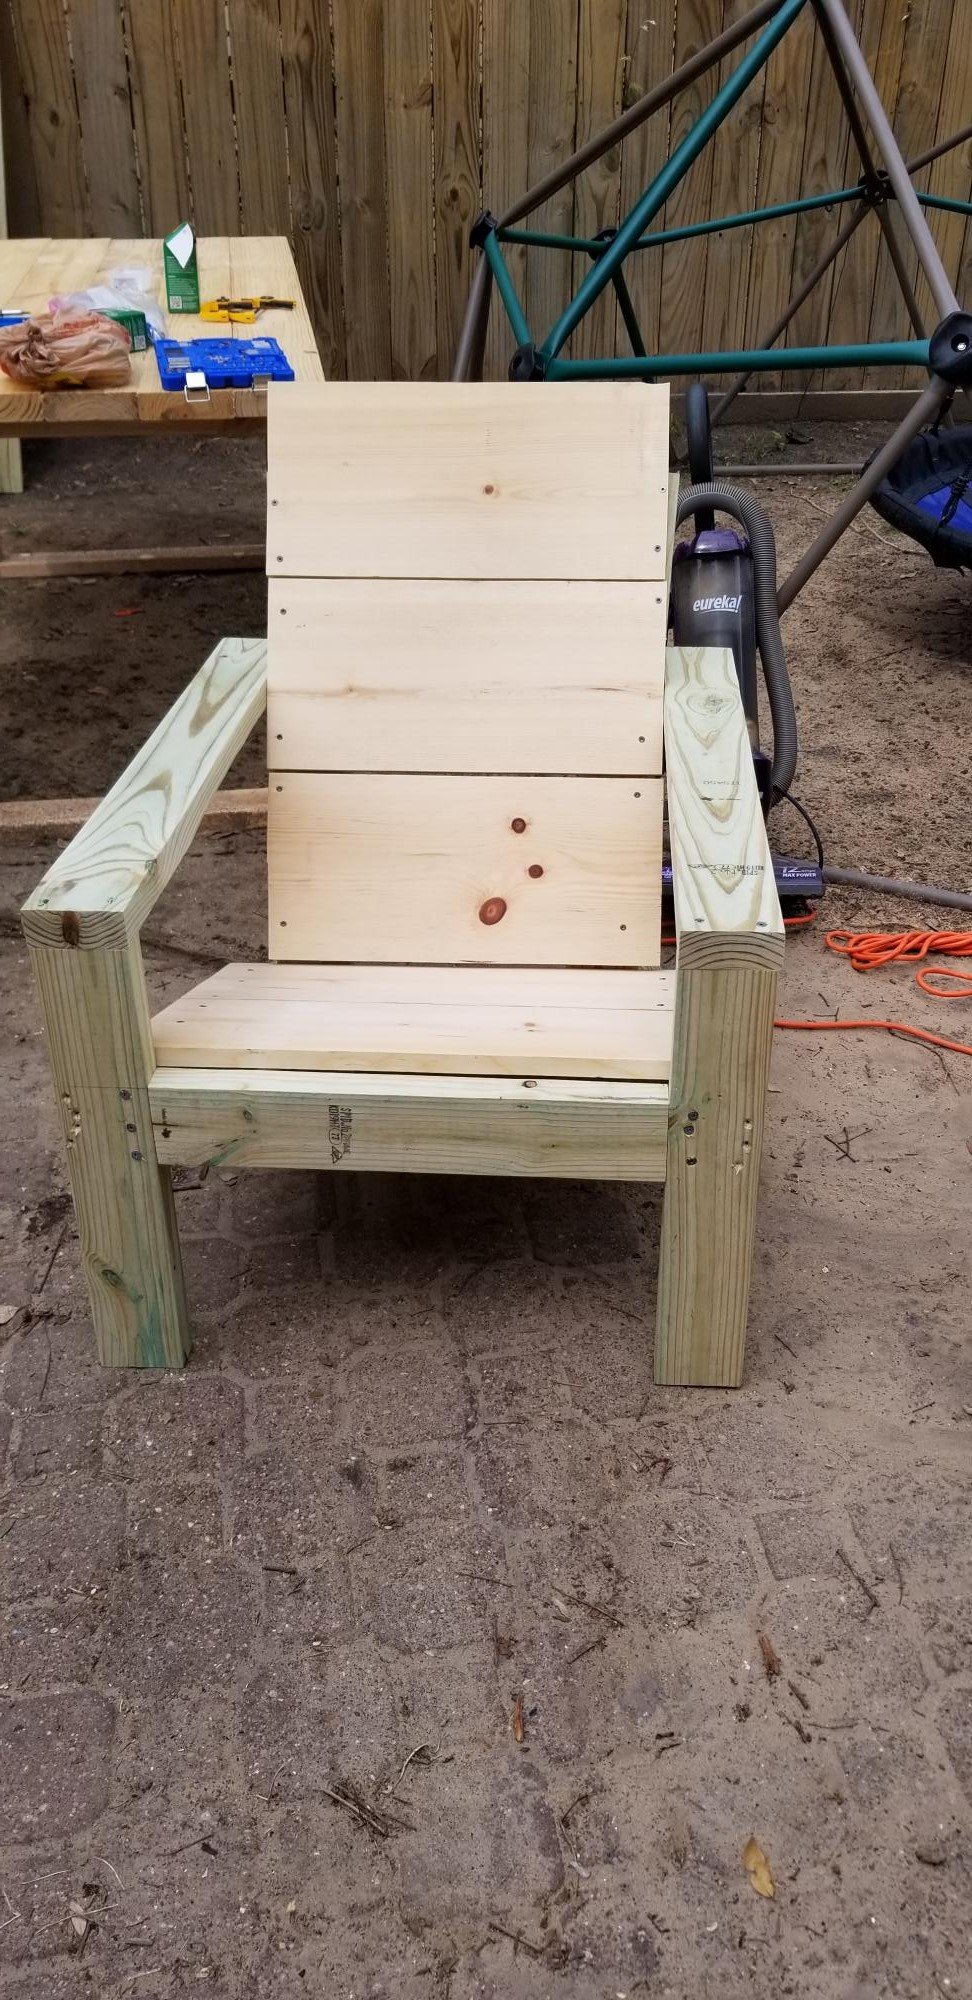
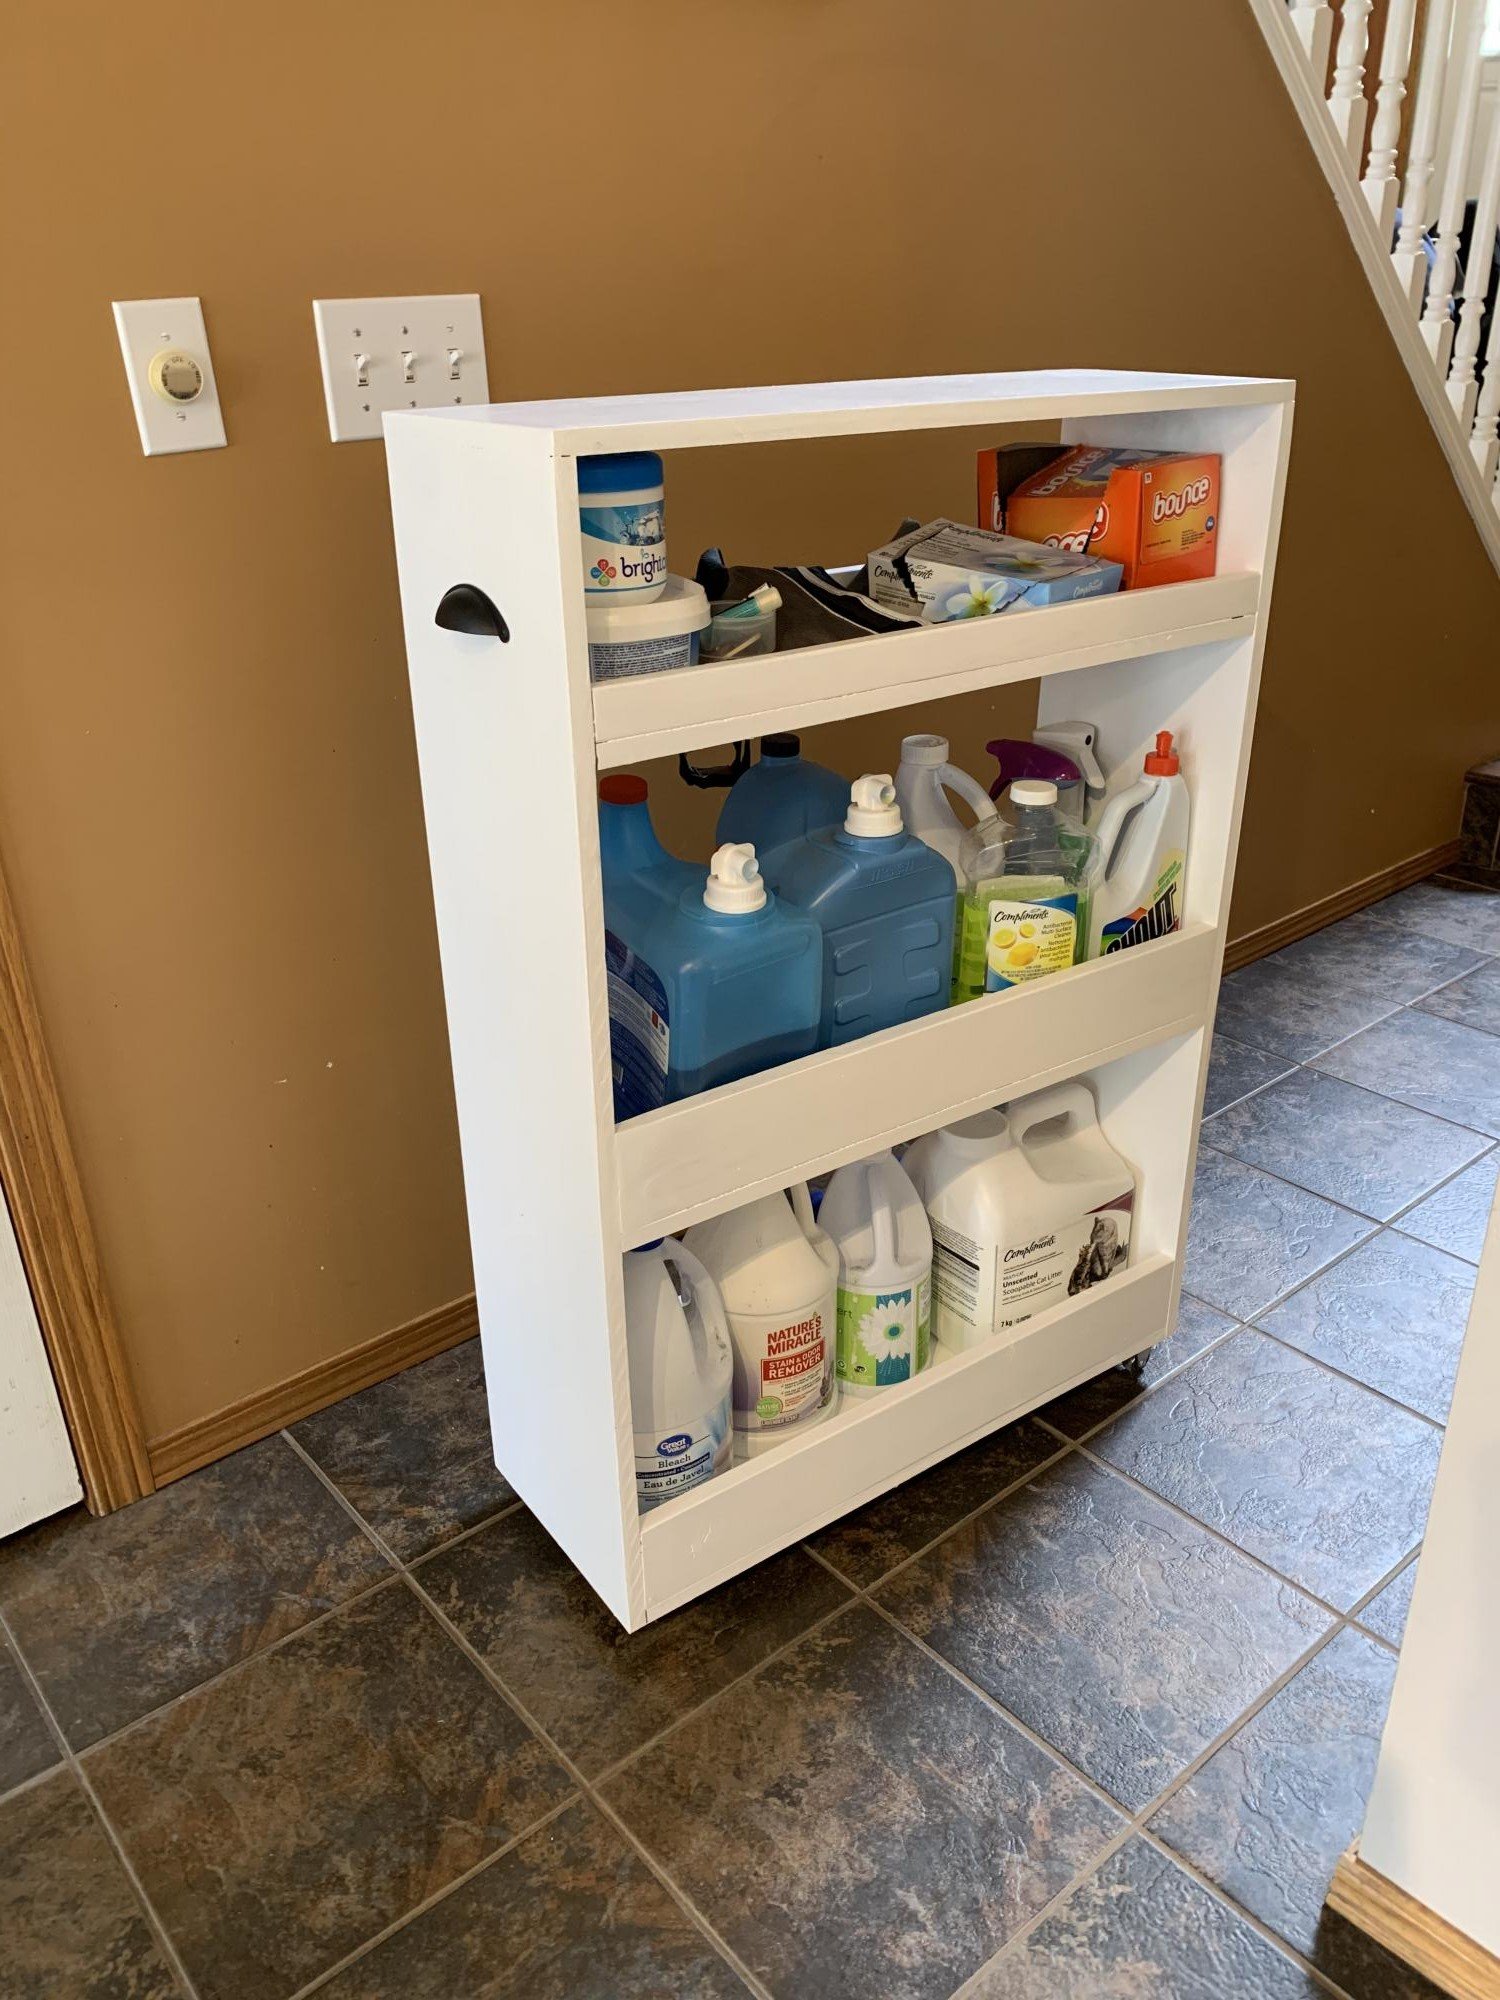
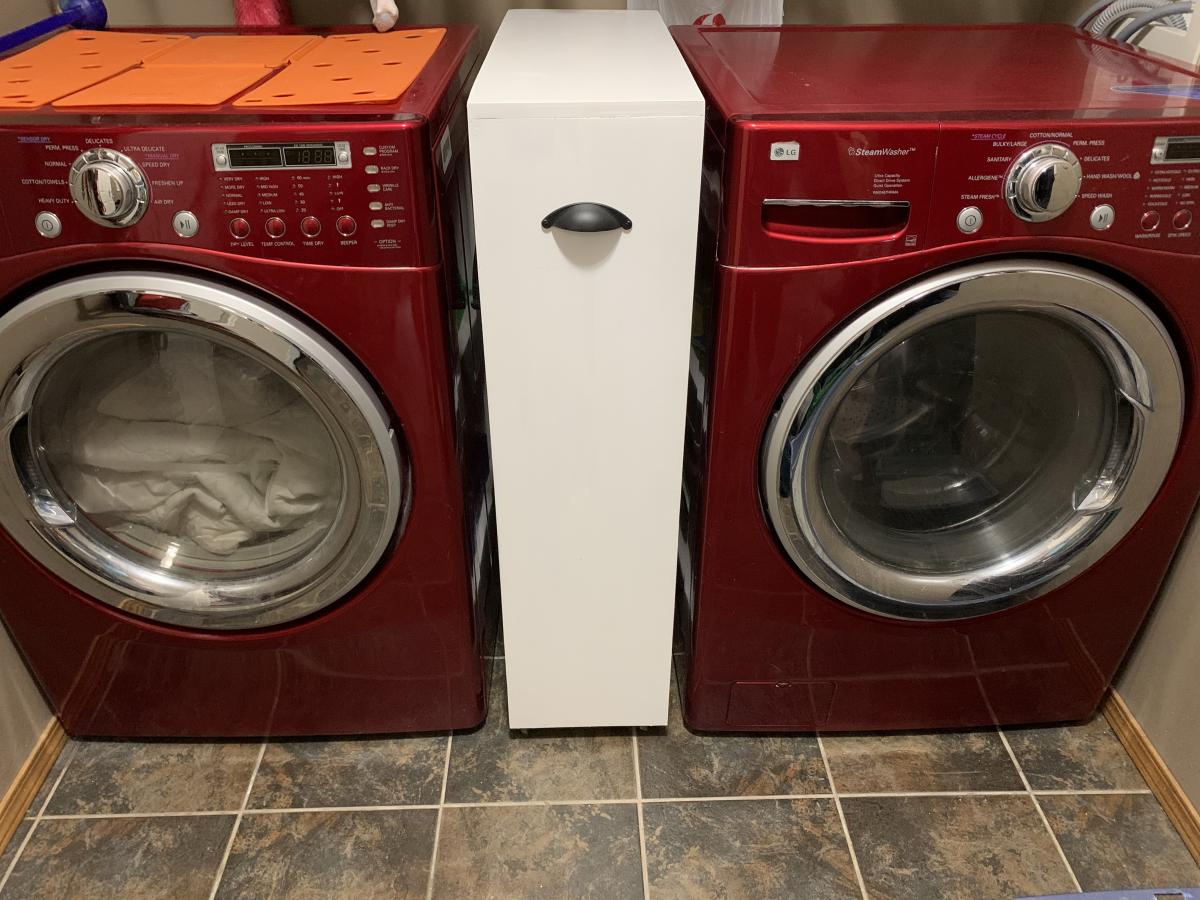
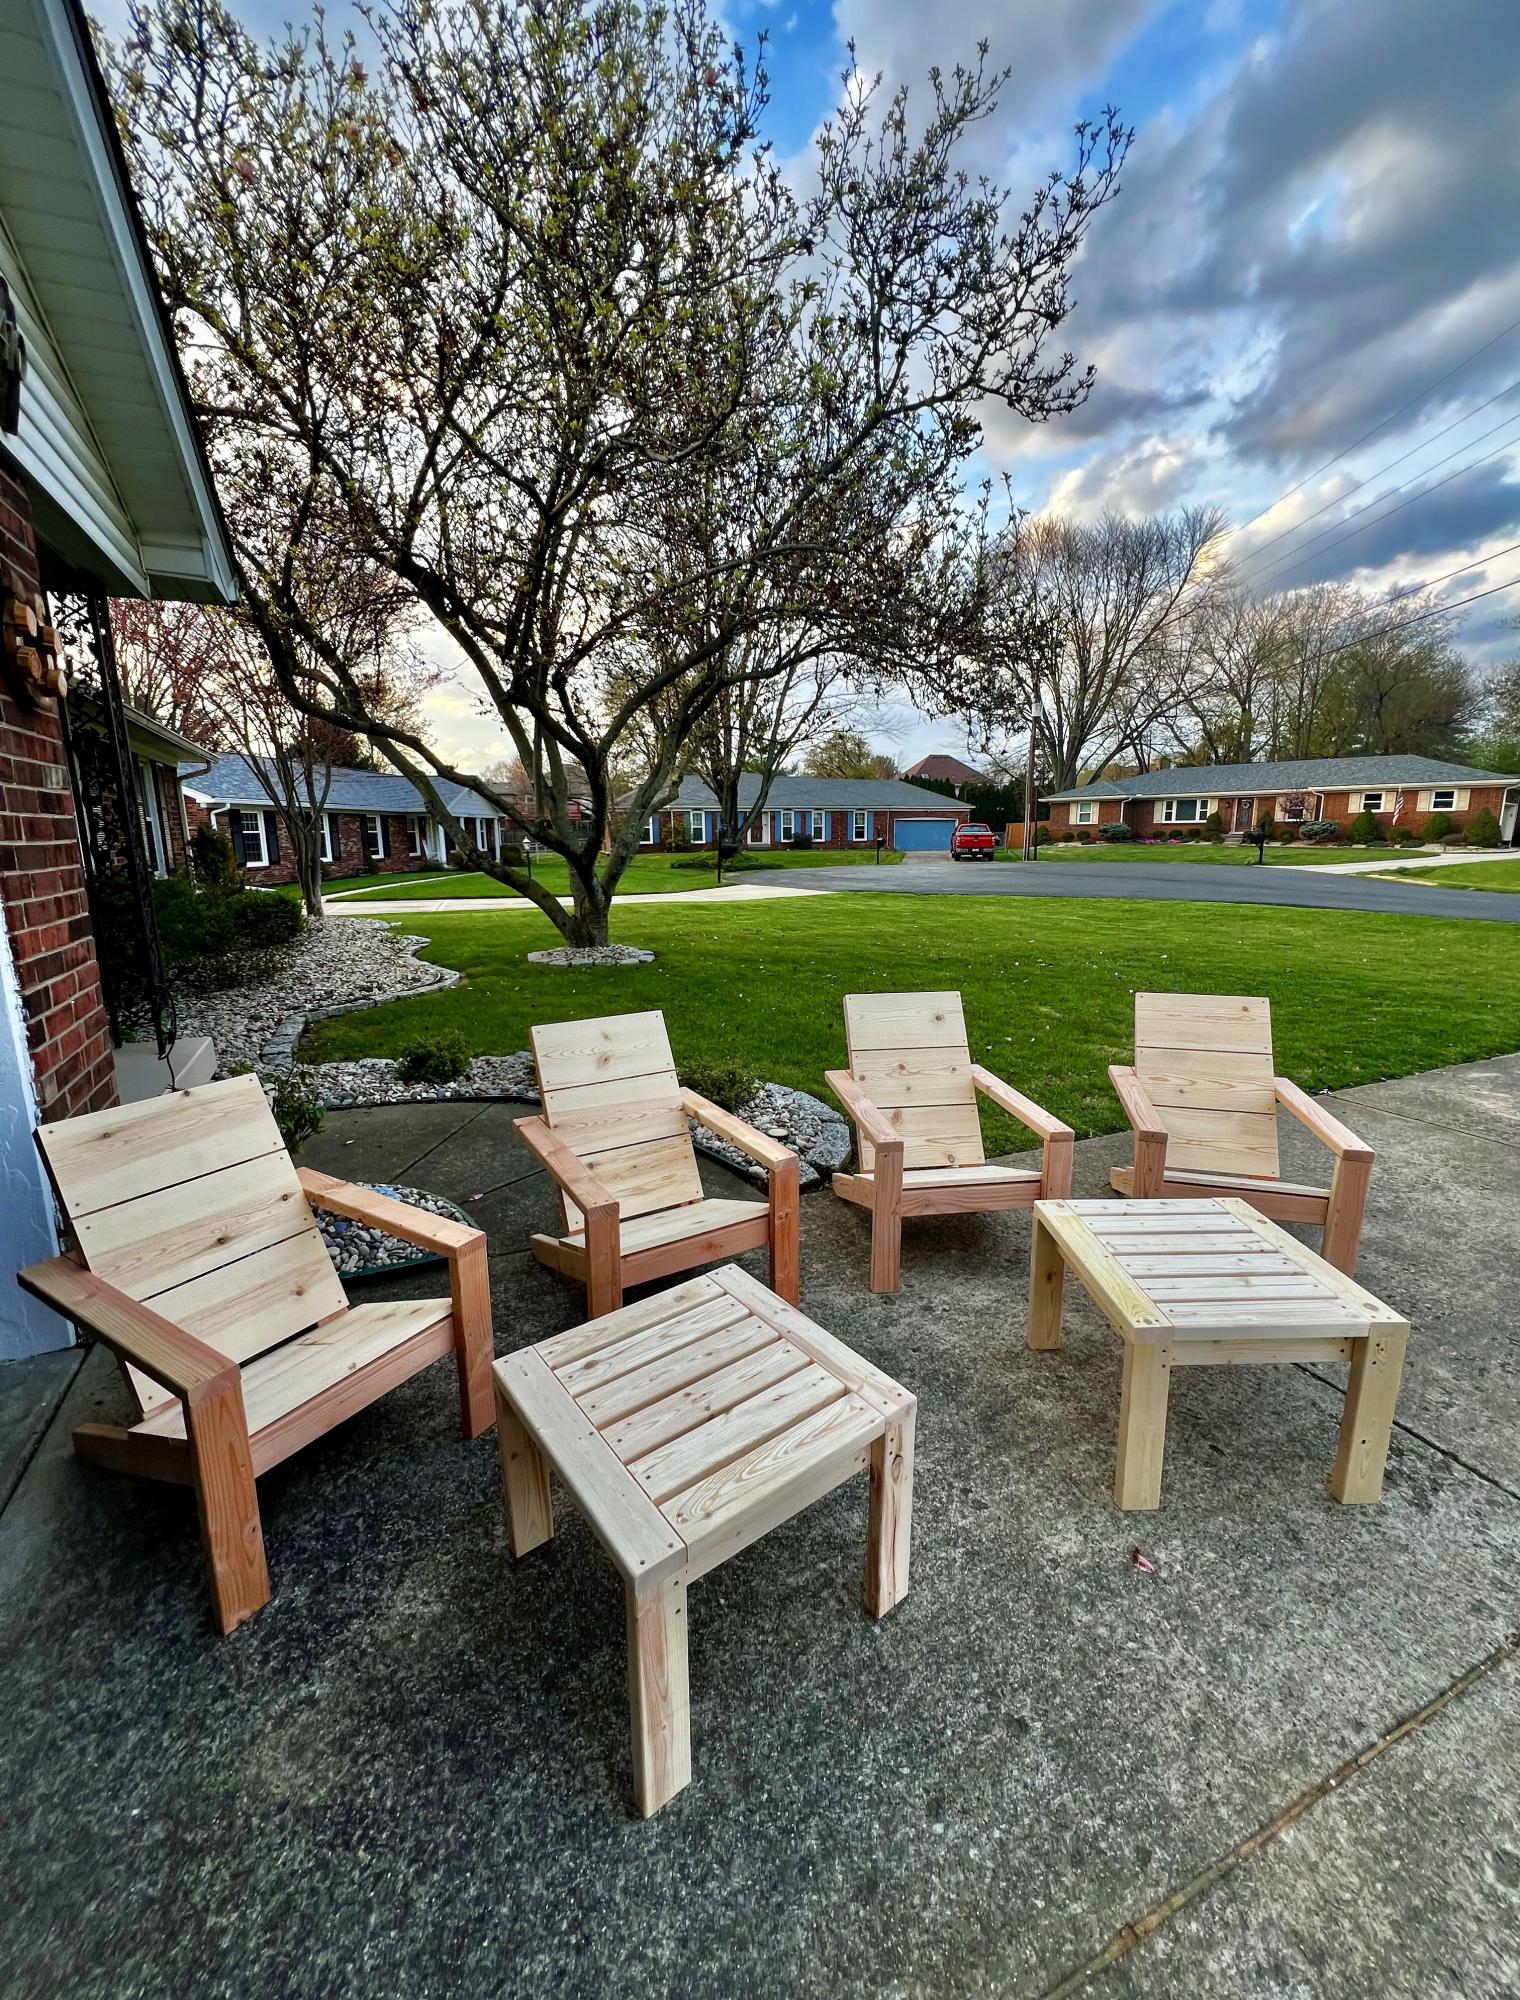
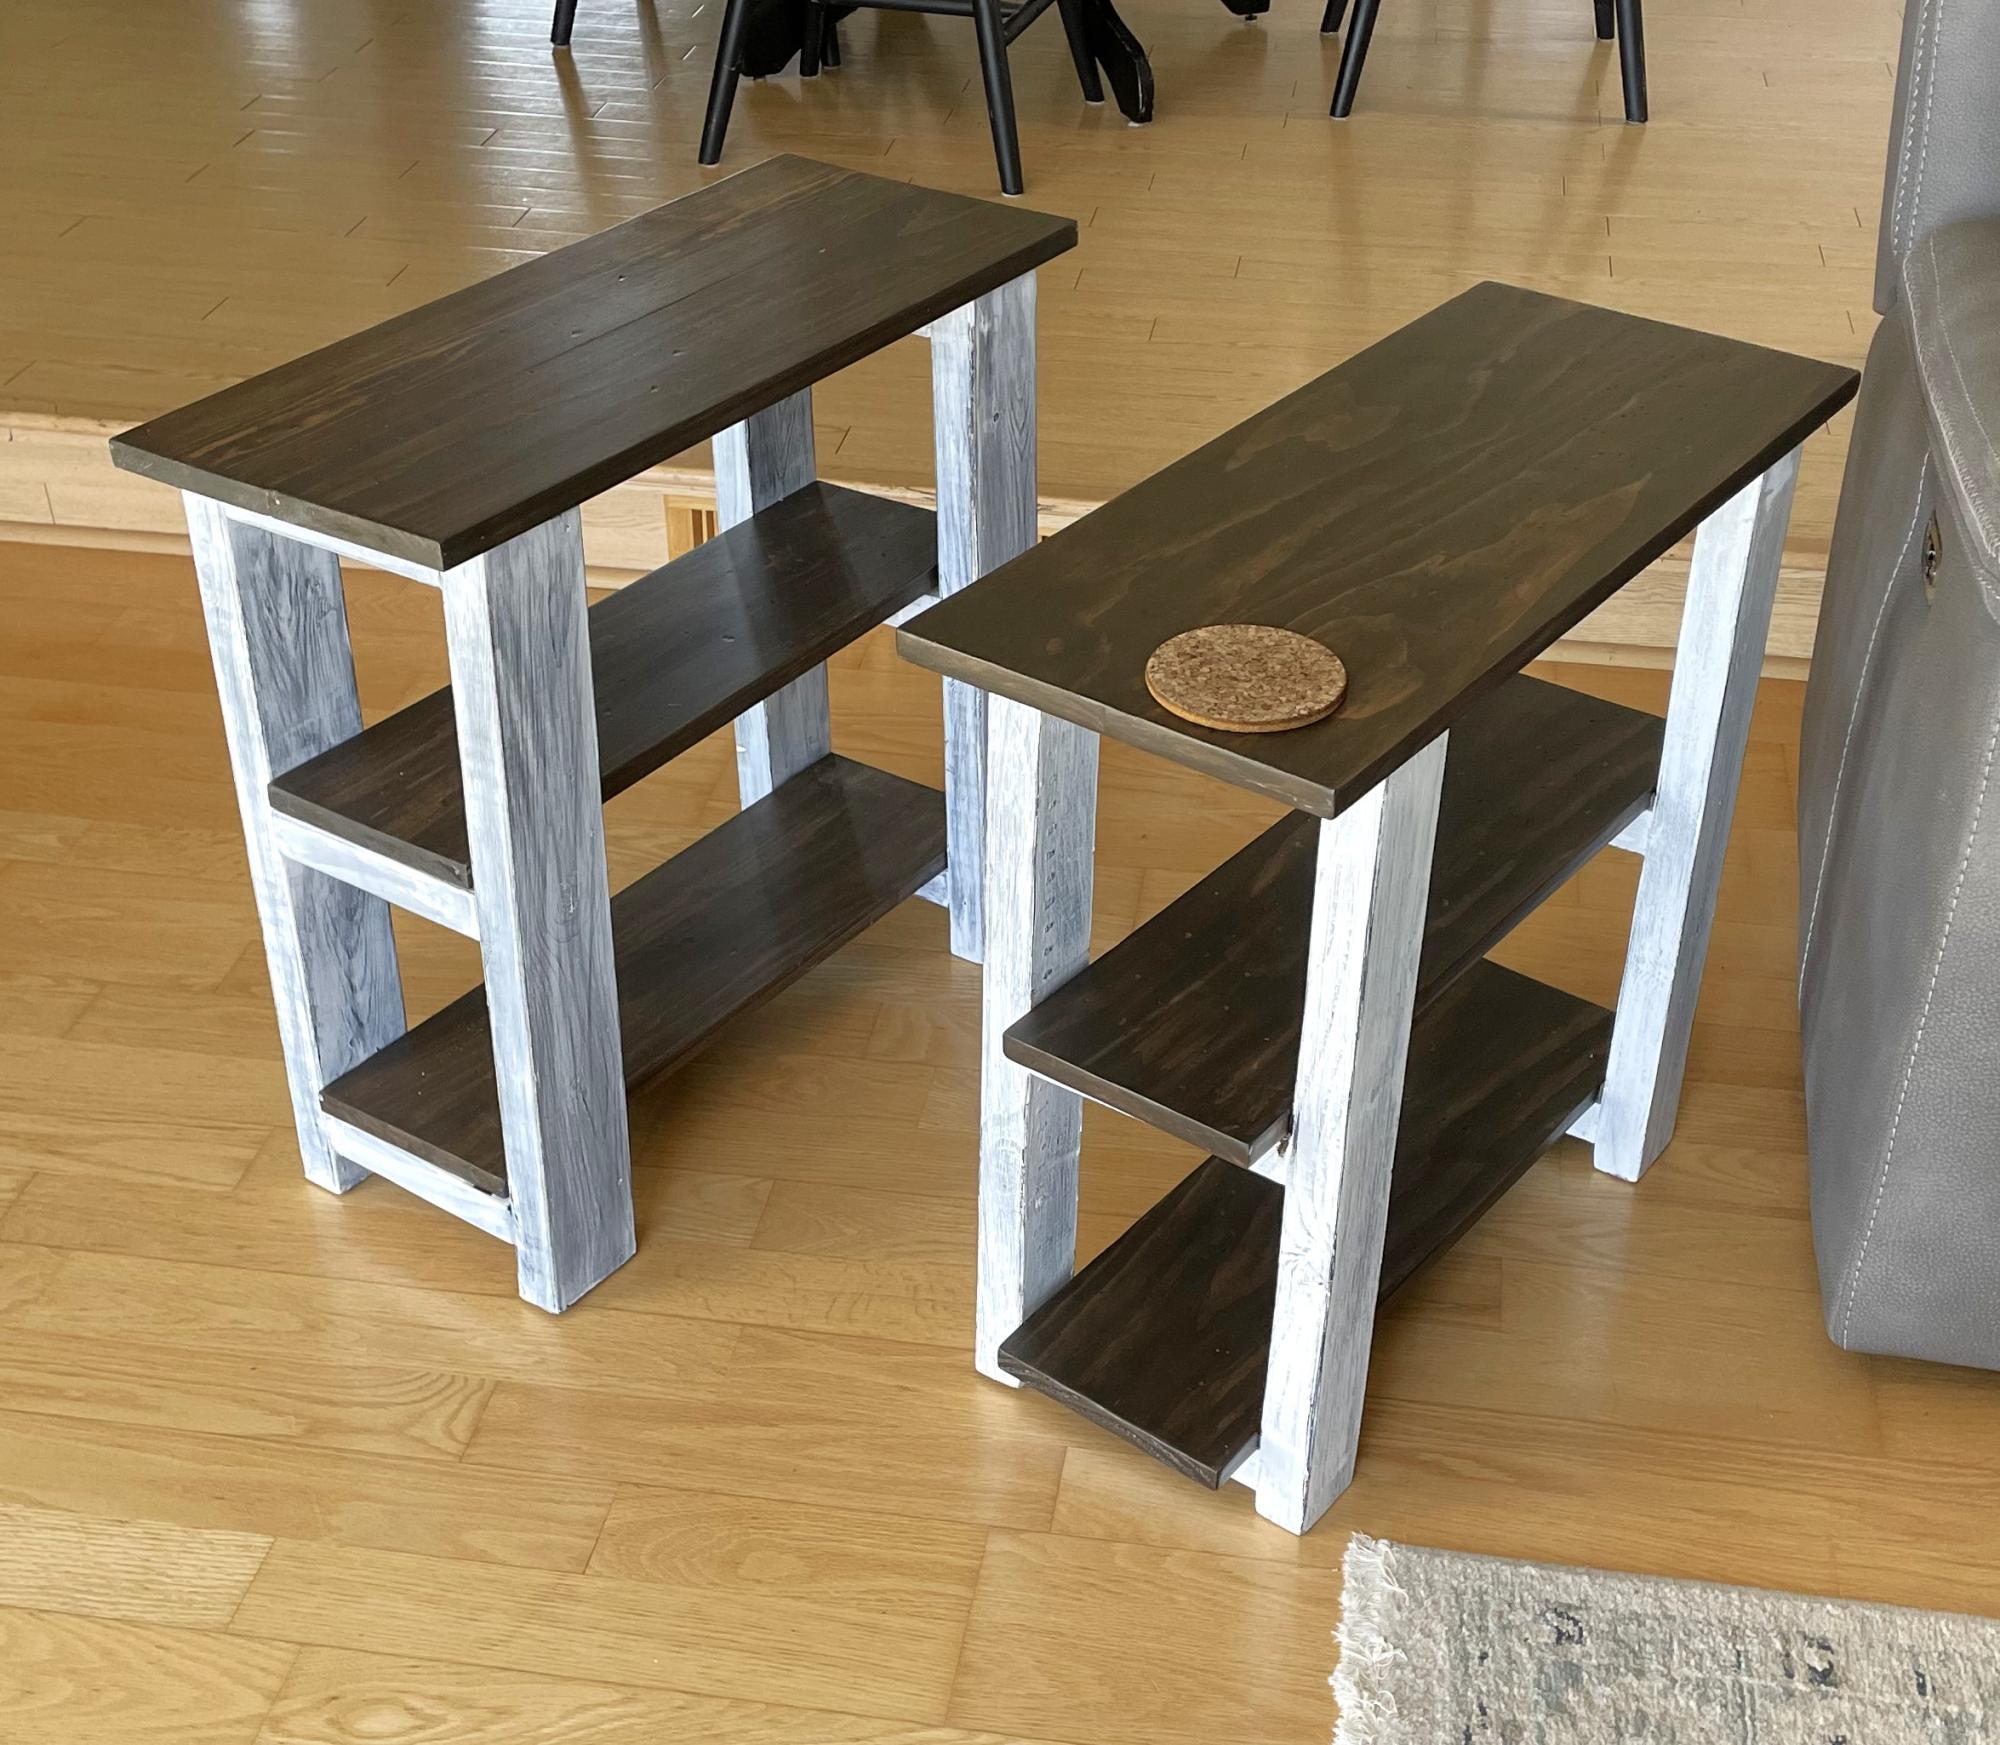
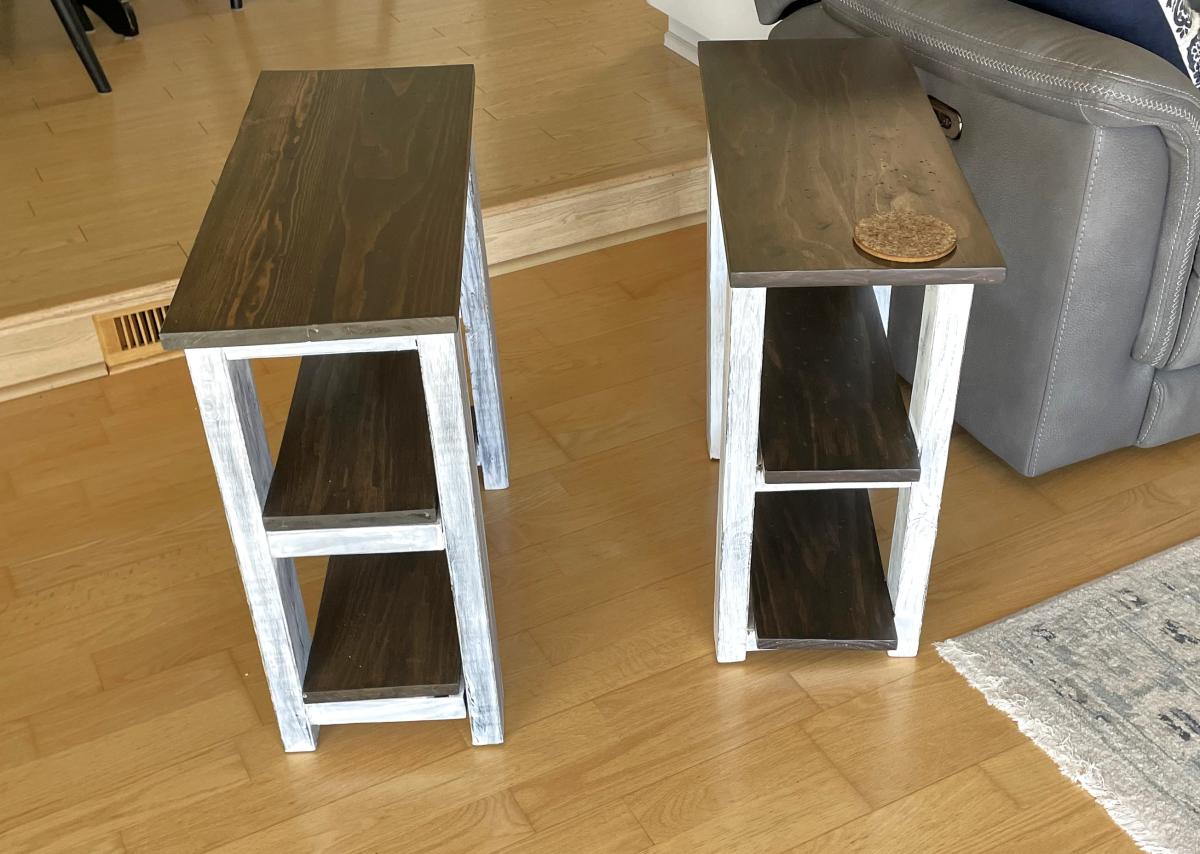
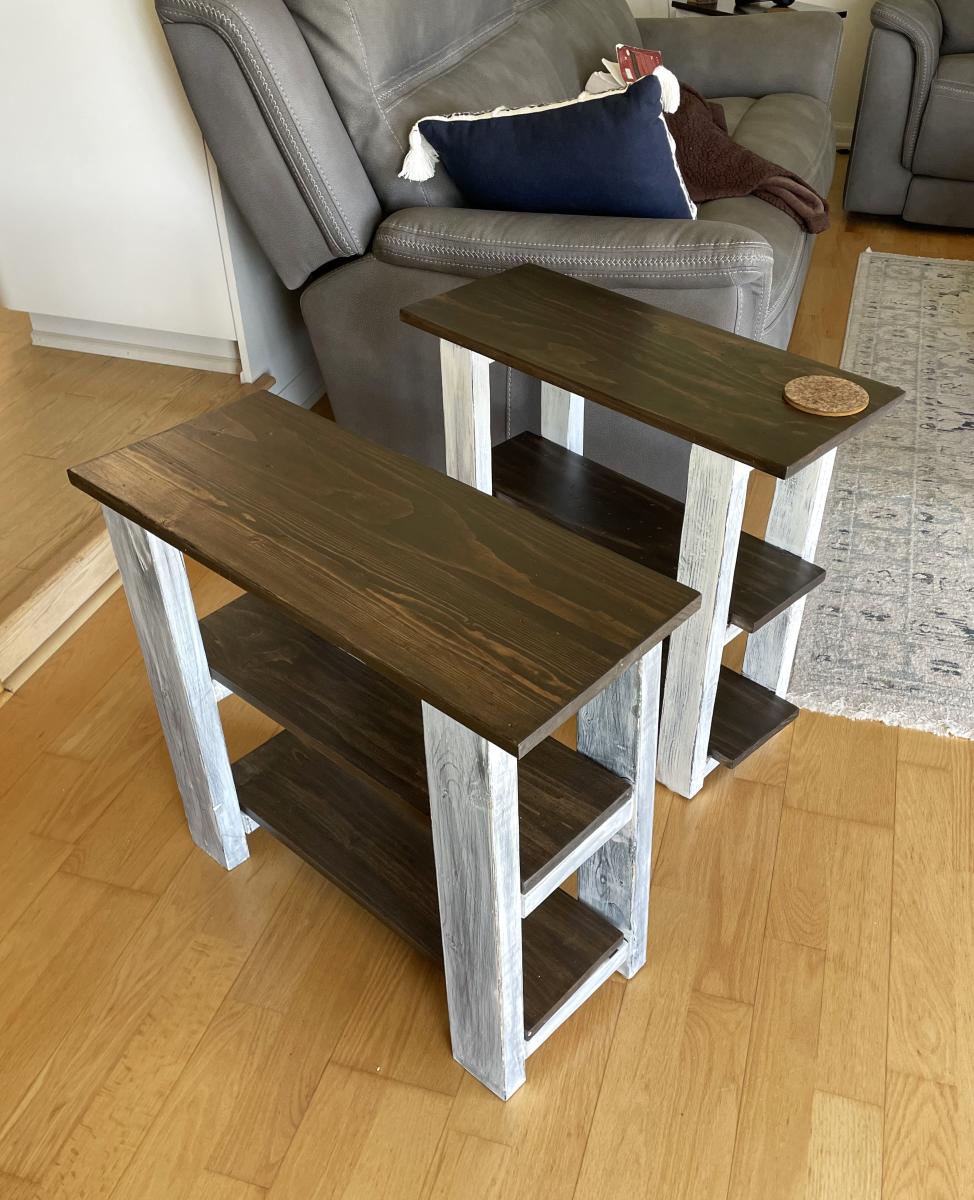
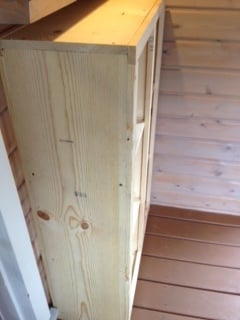
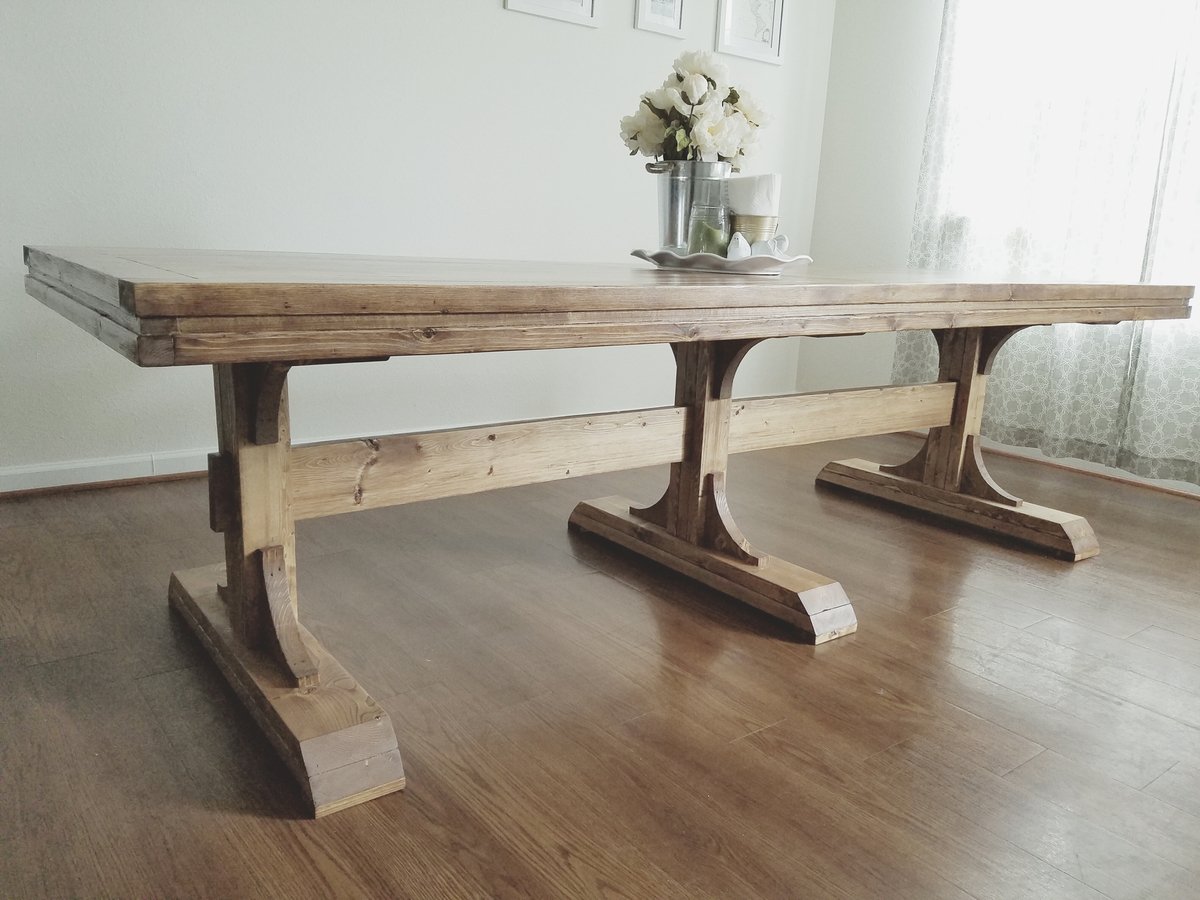
This goes into the mud room next to the recycling unit that I just completed the other day. My first project out there was a wooden bench with re-claimed wood. Very simple. I finished all three pieces similar. I painted grey paint on parts of the pieces (two coats) and then used a clear polyurethane (two coats with sanding before and in-between) on the rest of the projects.

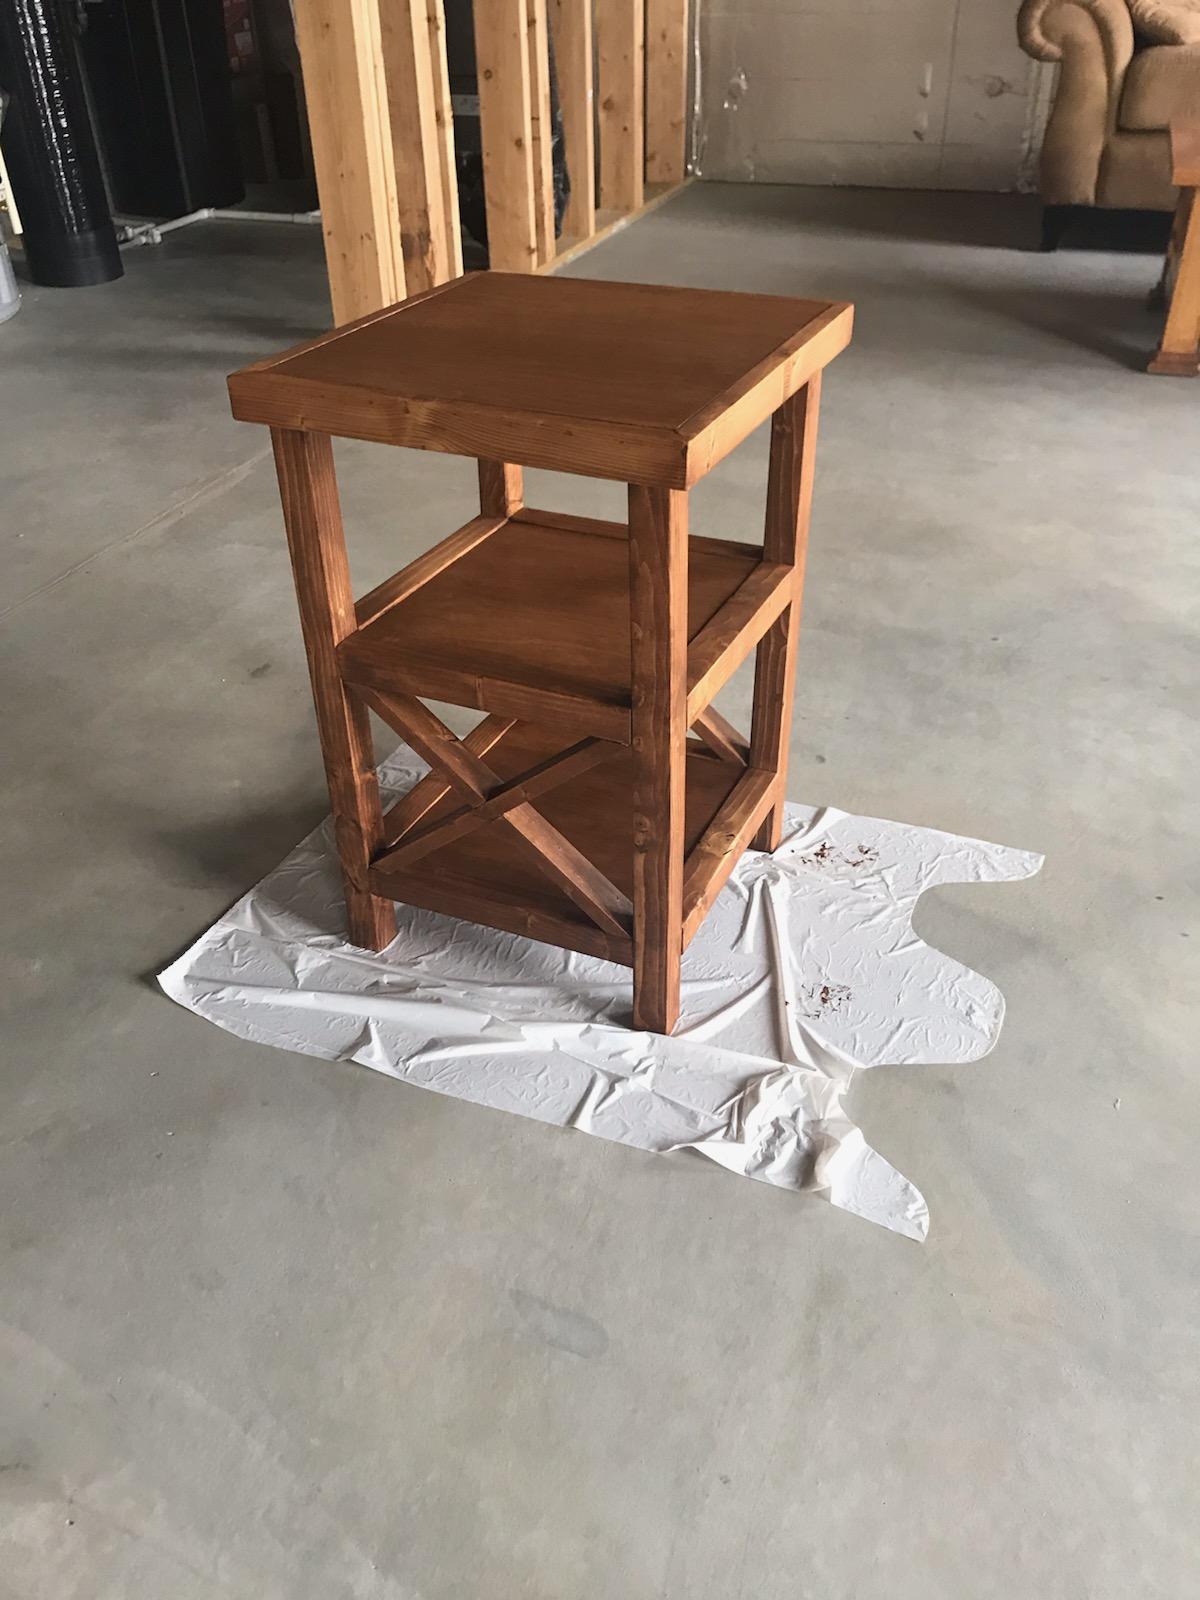
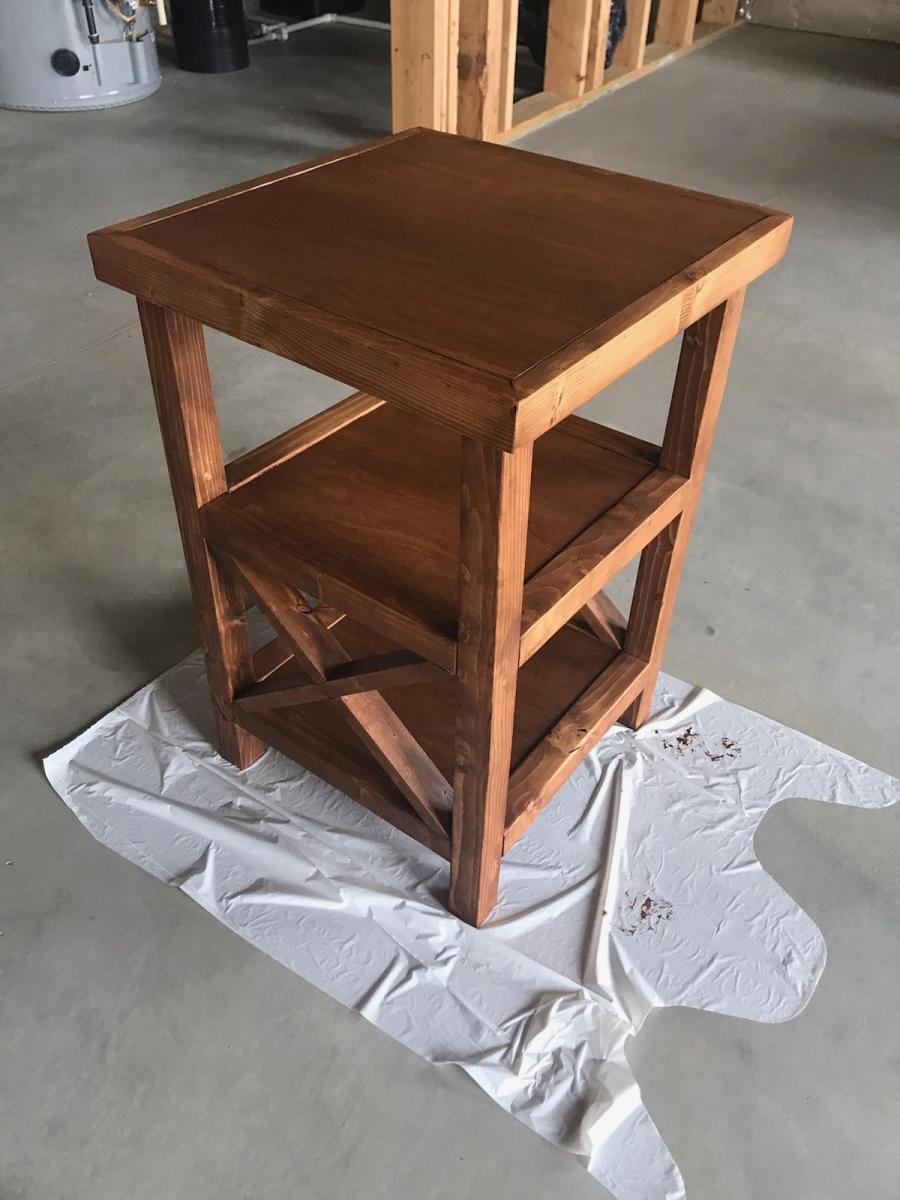
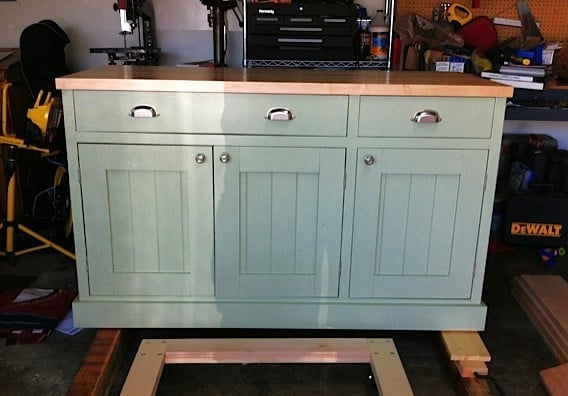
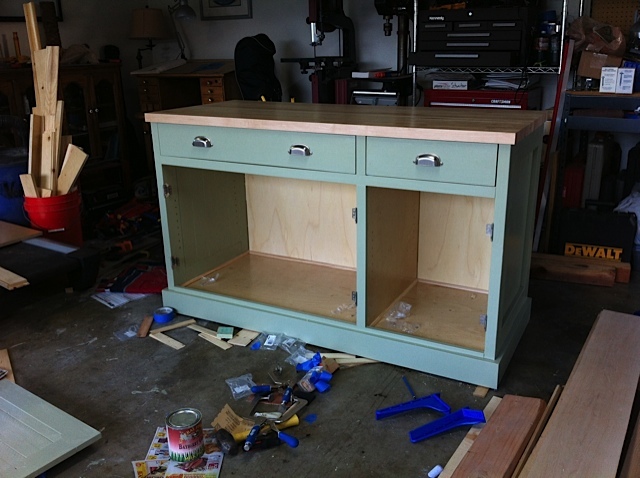
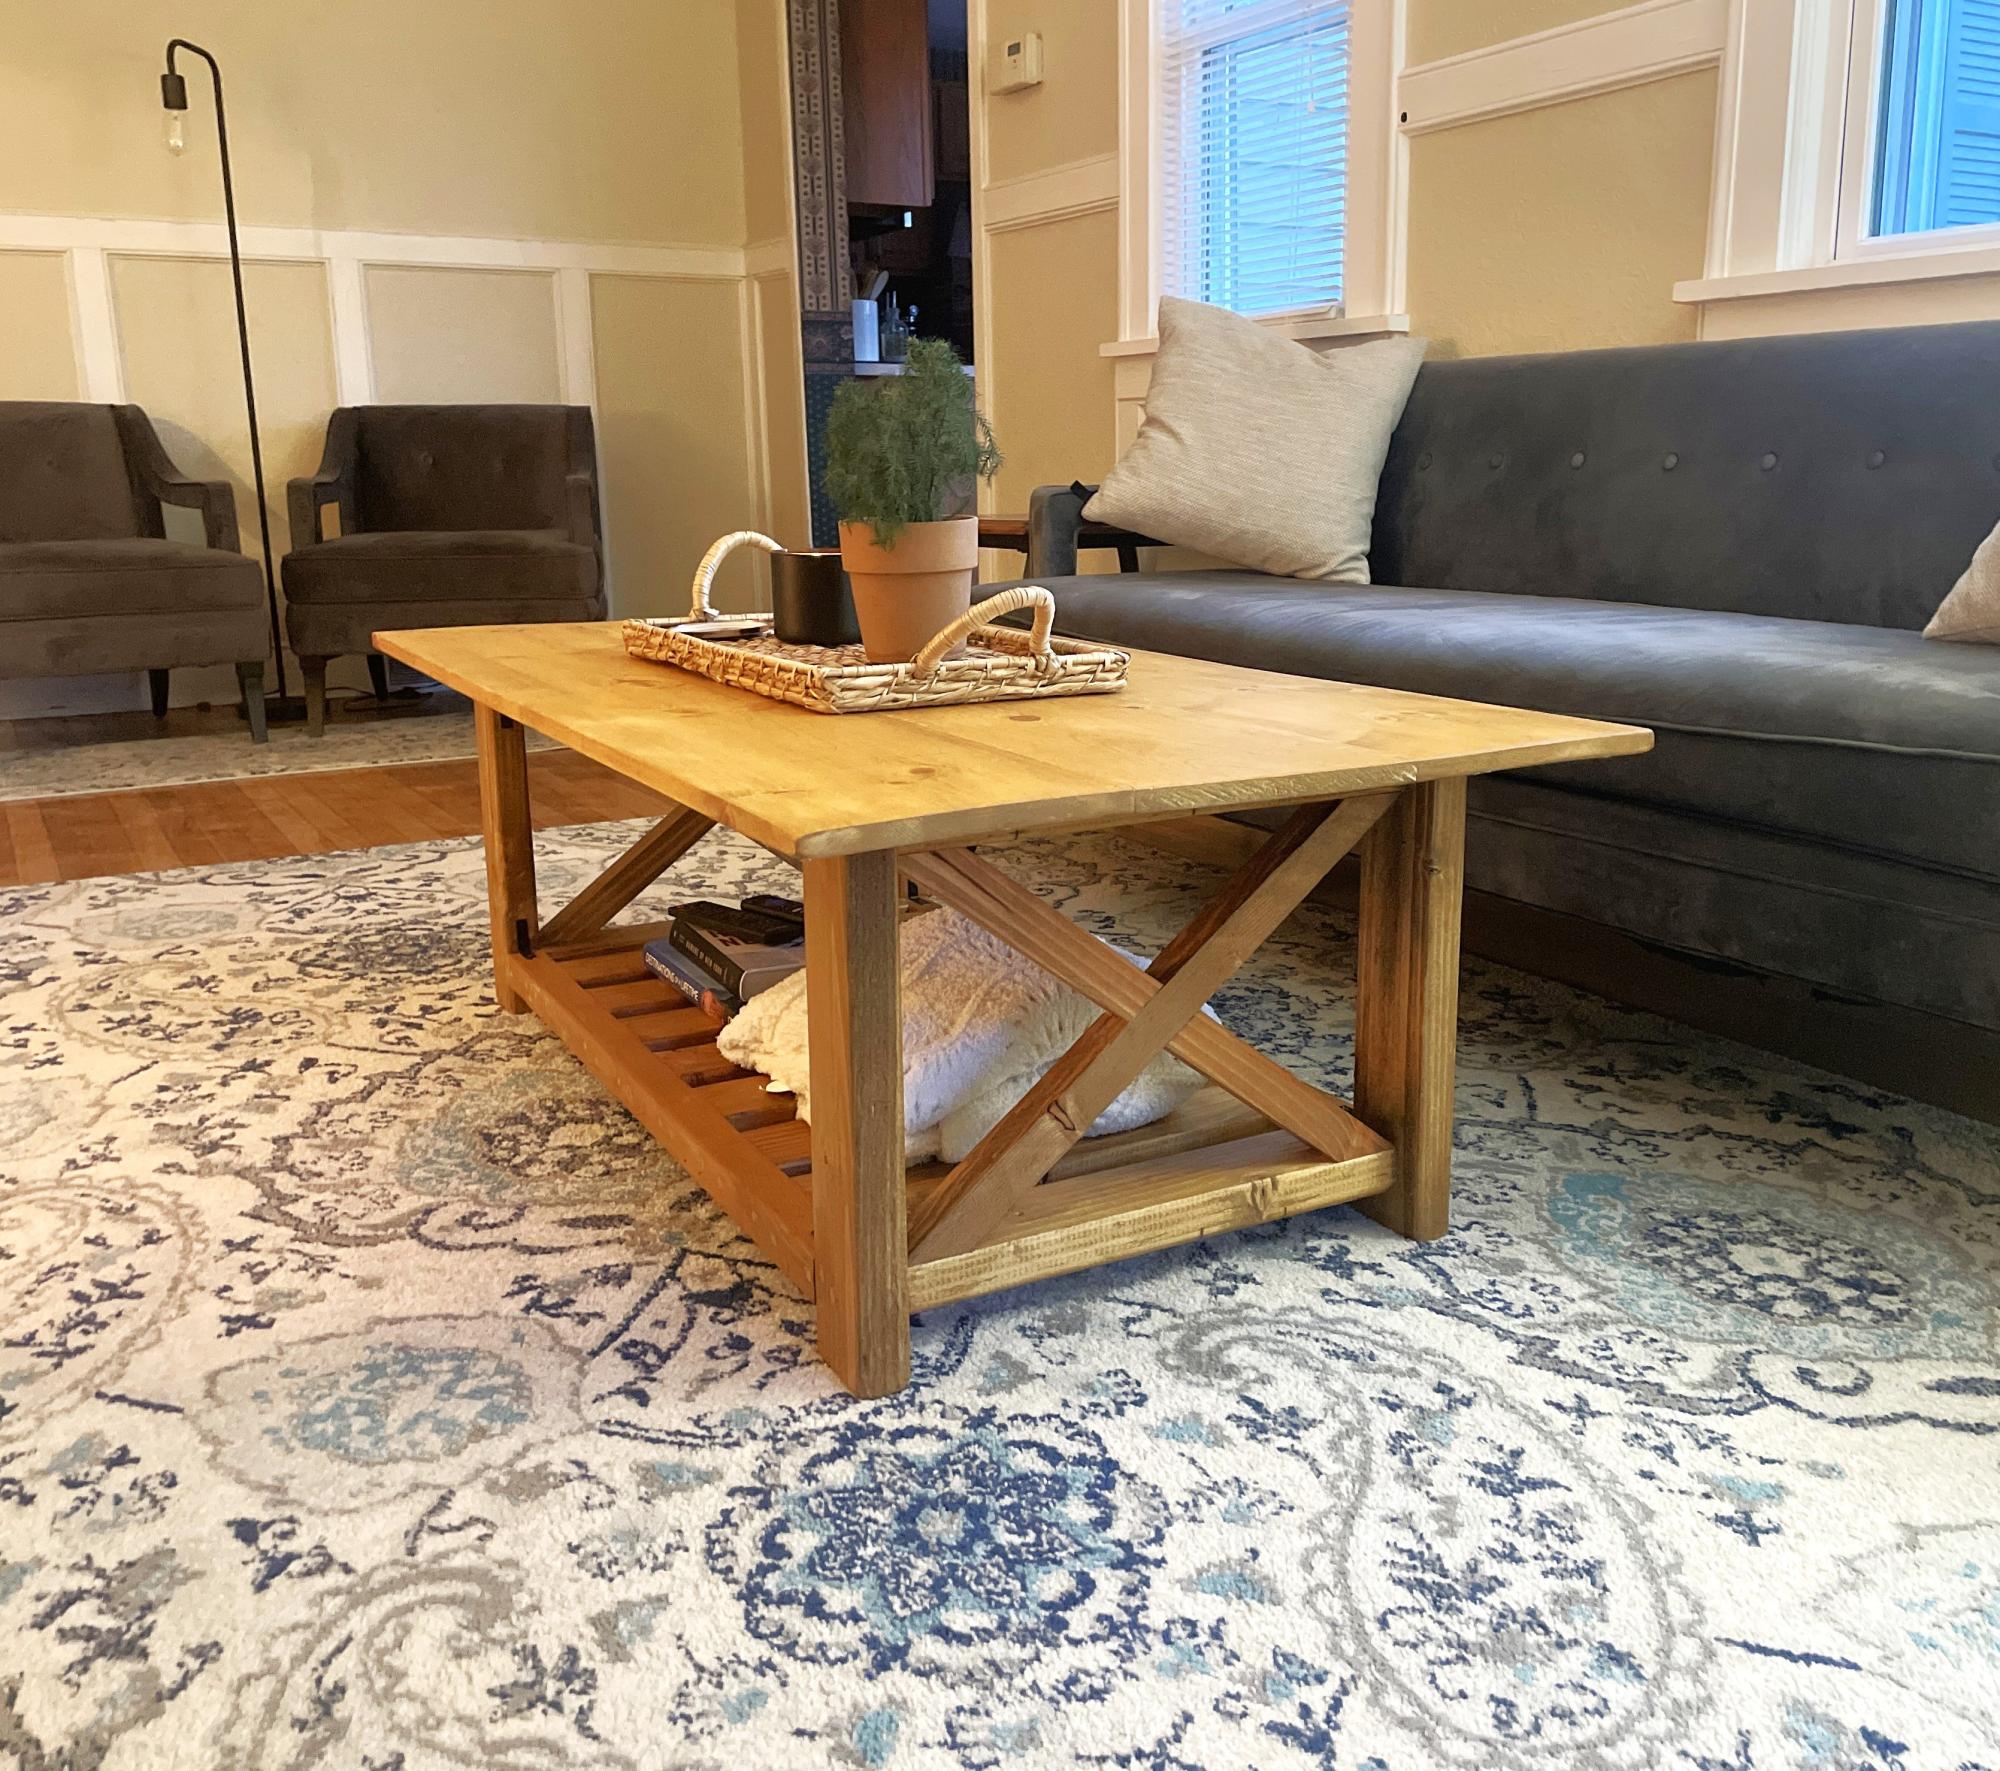
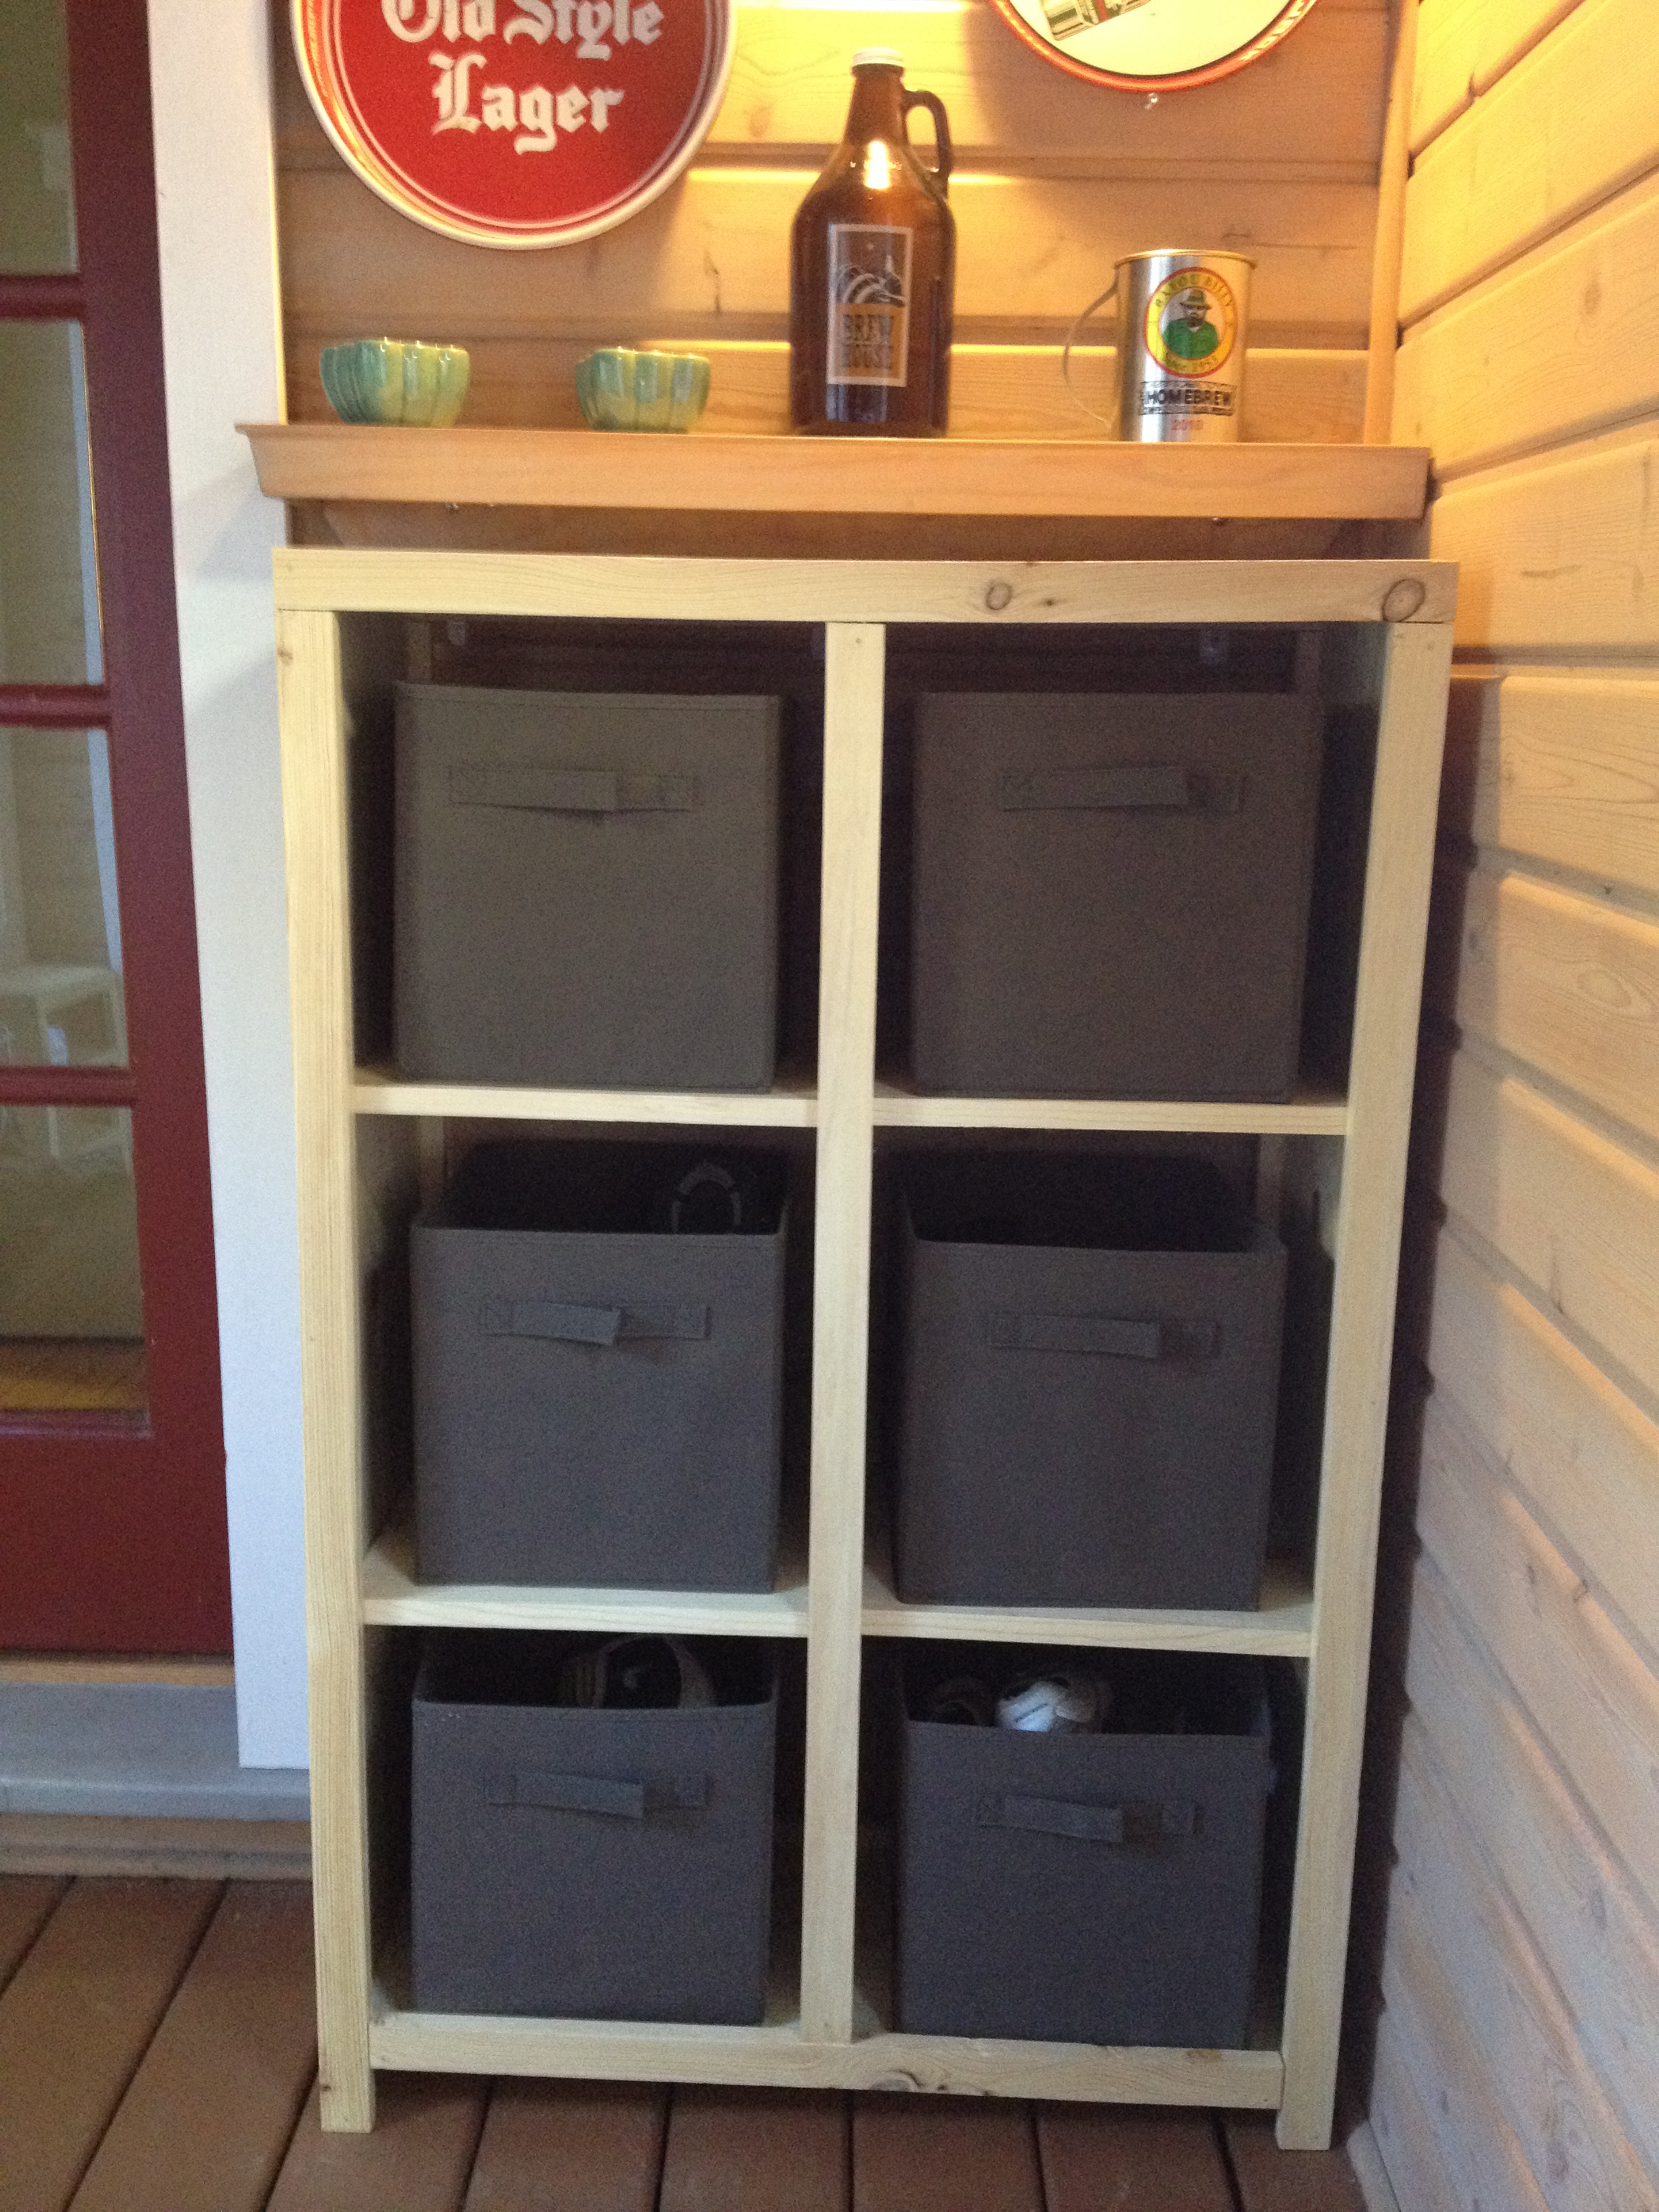
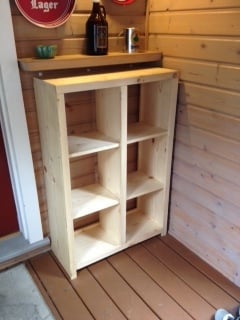
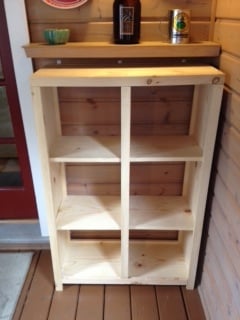
This project was easier then I expected, and I love the look. I almost bought one like this at Ikea last year. So glad I held off as this was way cheaper to build and now has more sentimental value instead!

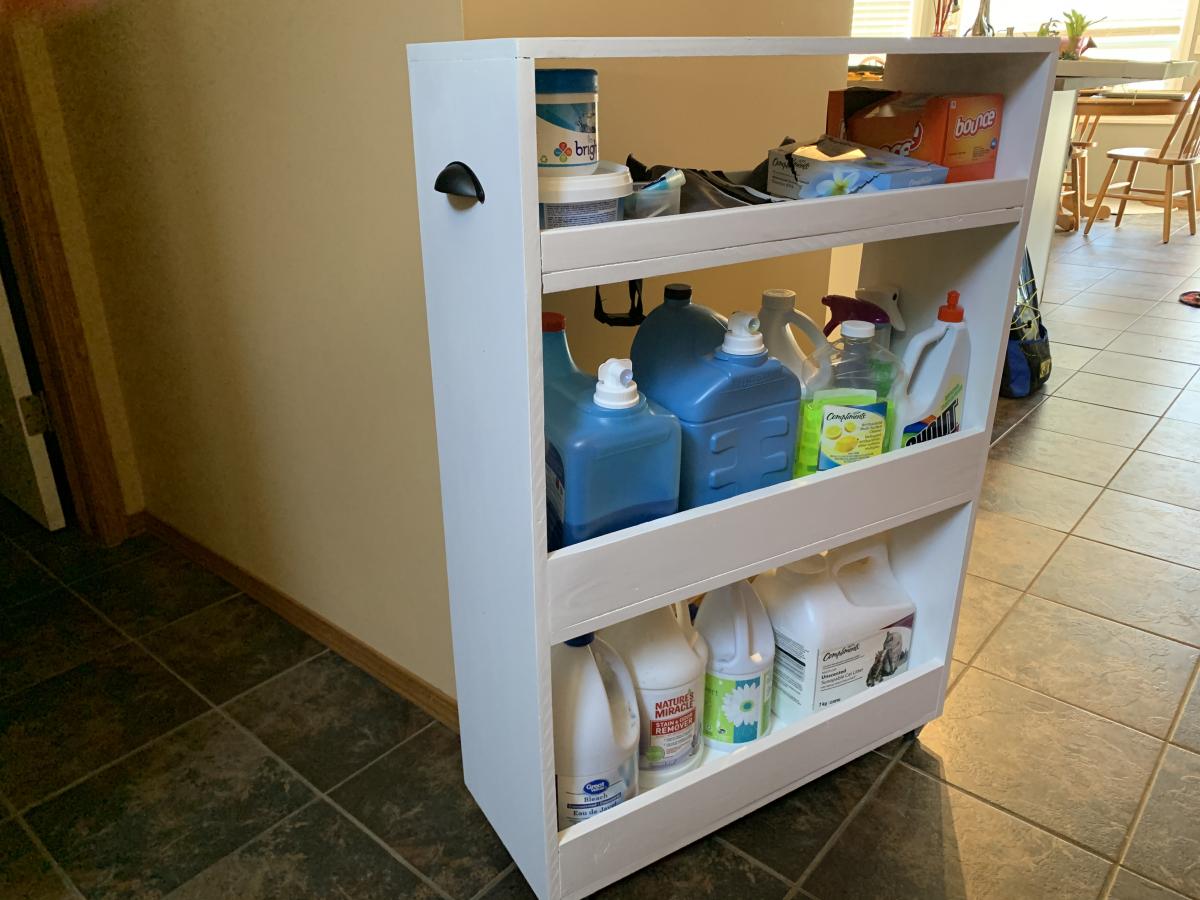
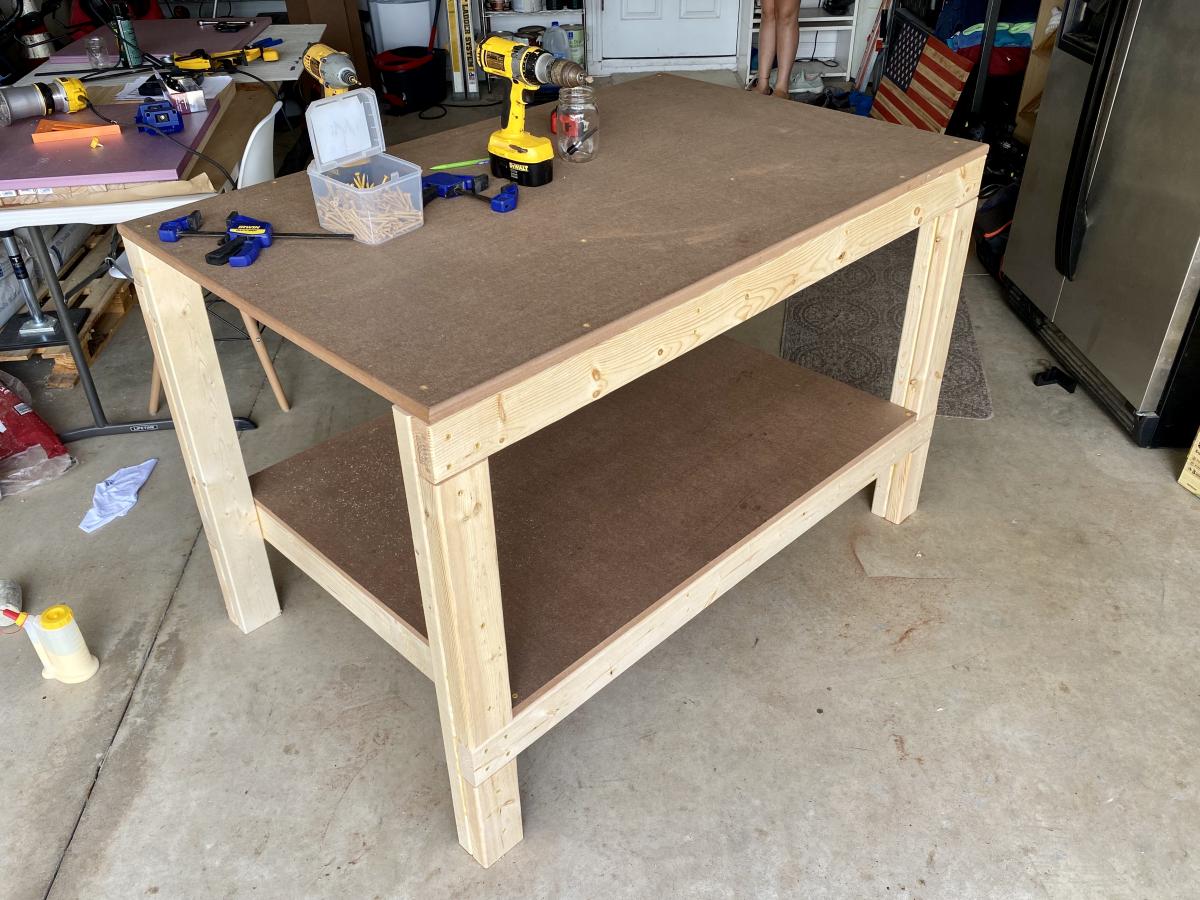
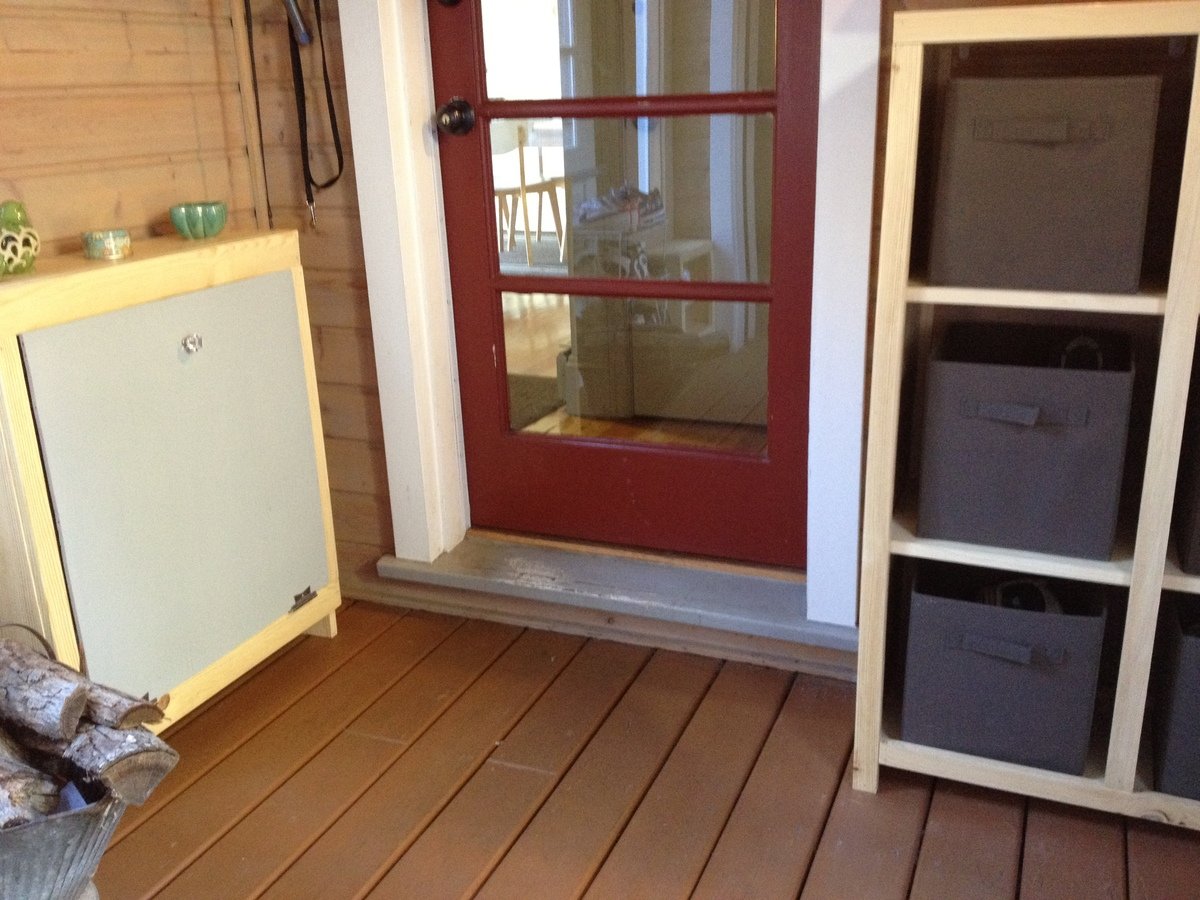
I was able to find brown bins to fit at target.com for $6.50 a piece, and can't wait for them to ship here. 4 of the 6 will be used for shoe bins, and the other 2 will be used for hats and mittens (live in Minnesota). So much neater looking than the plastic shoe shelves we had before.

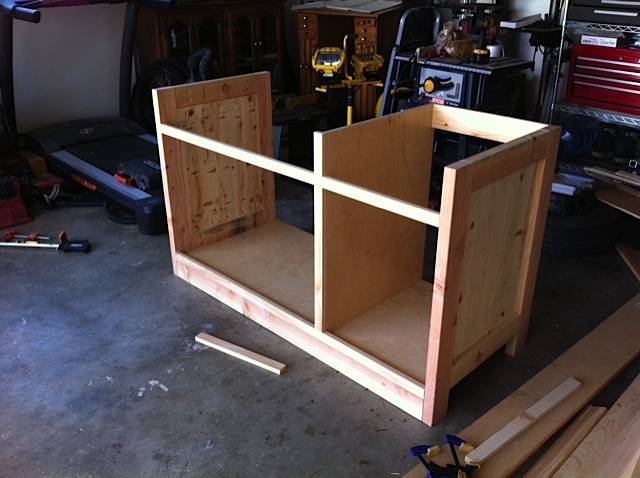
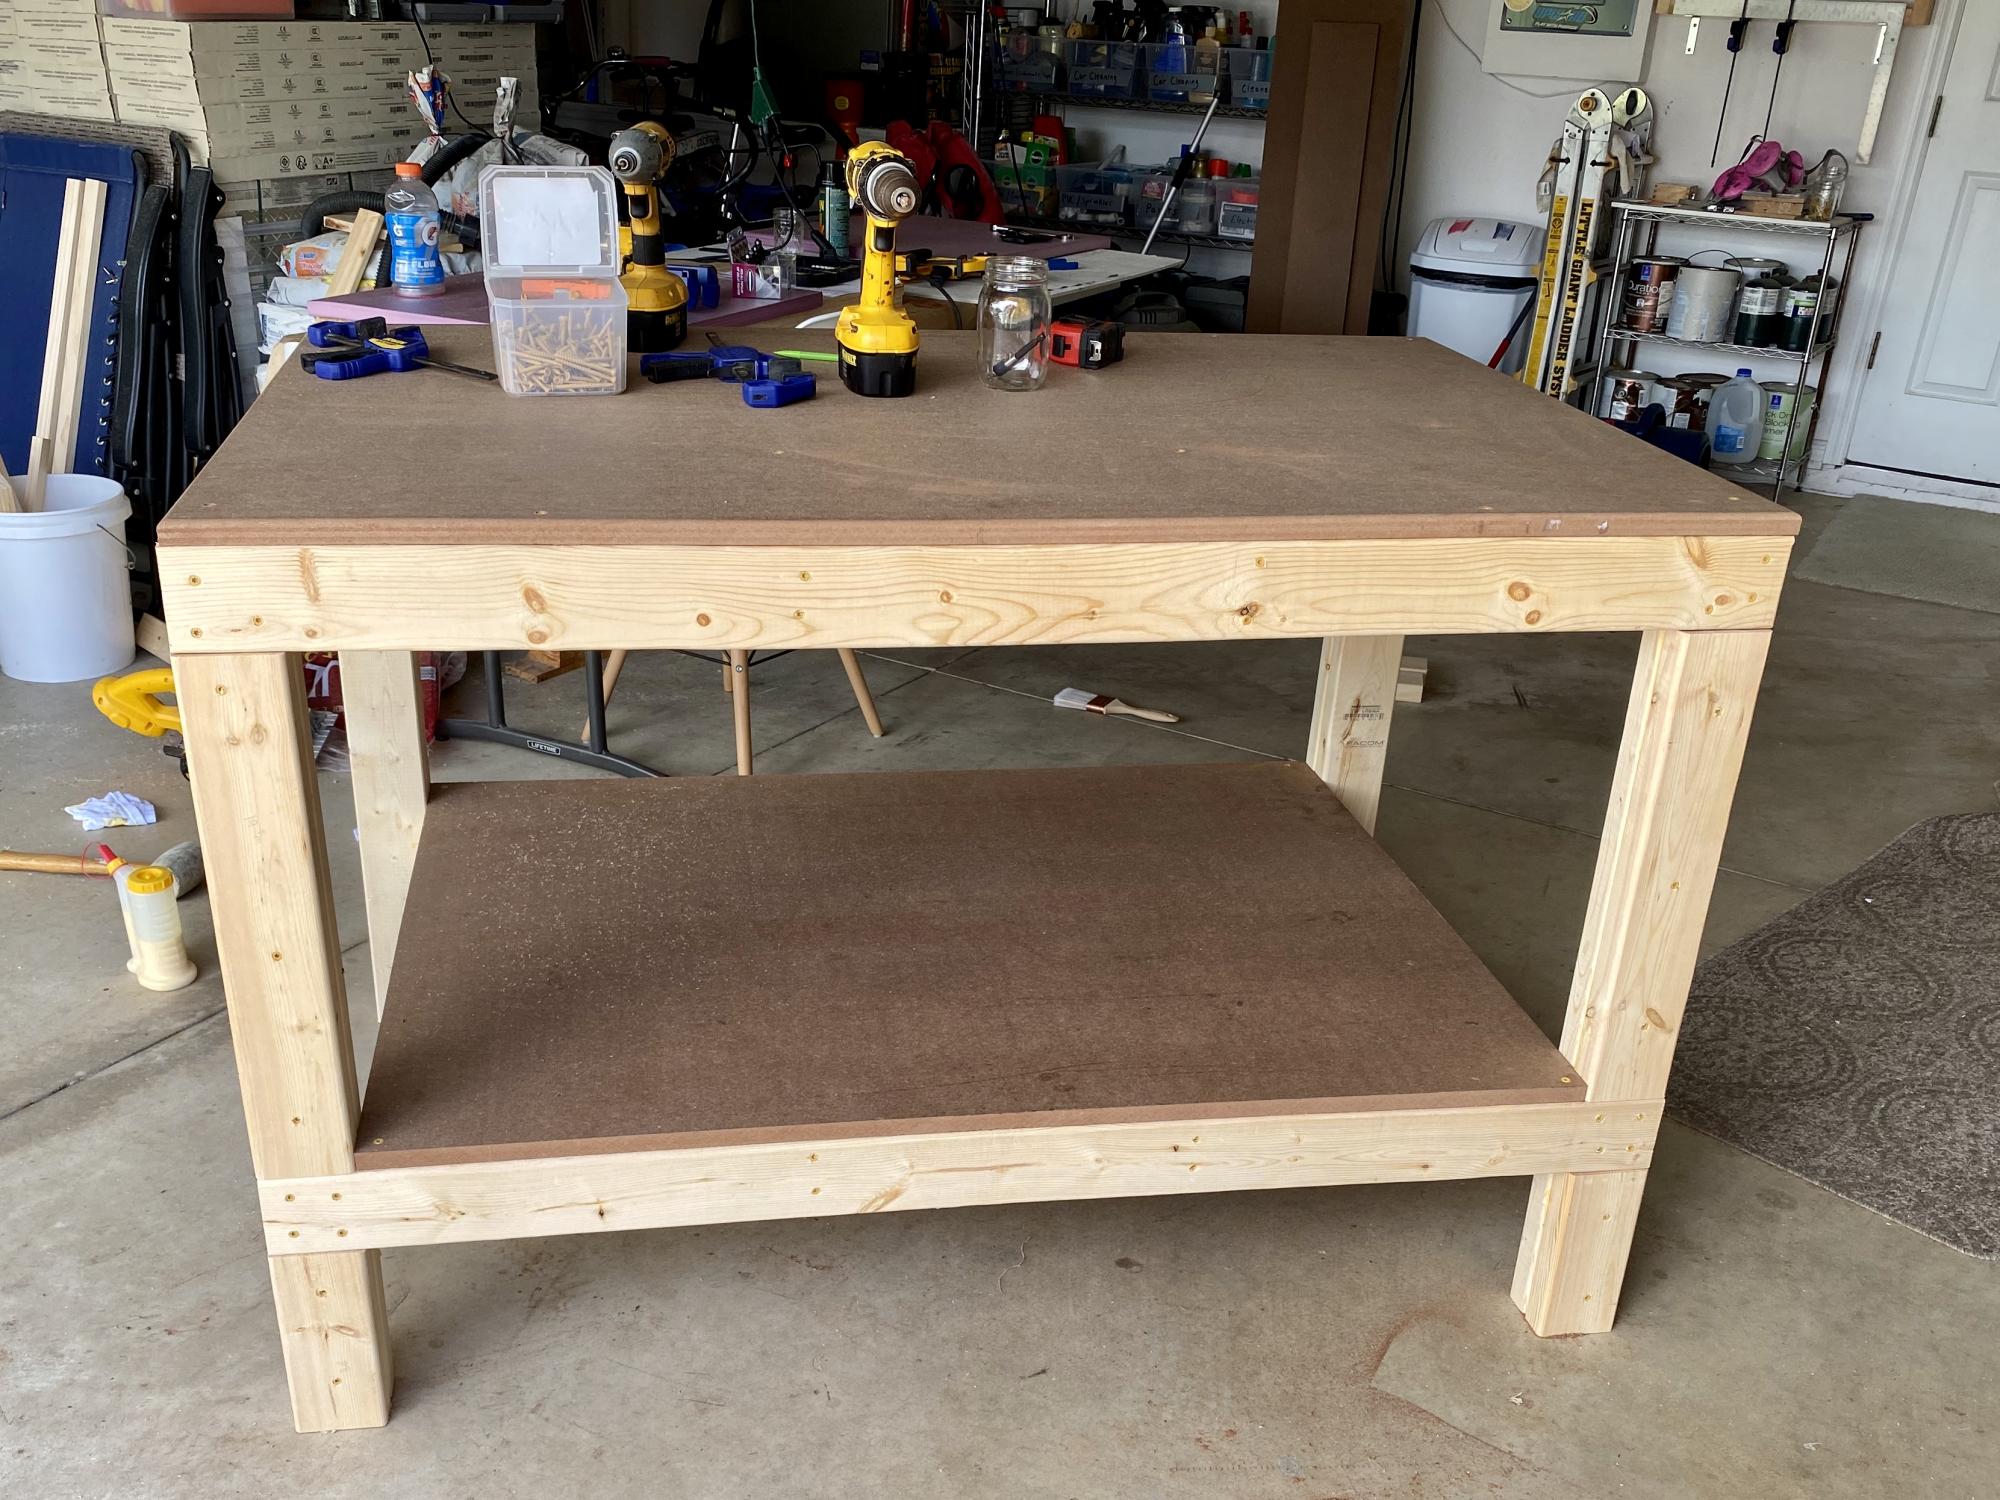
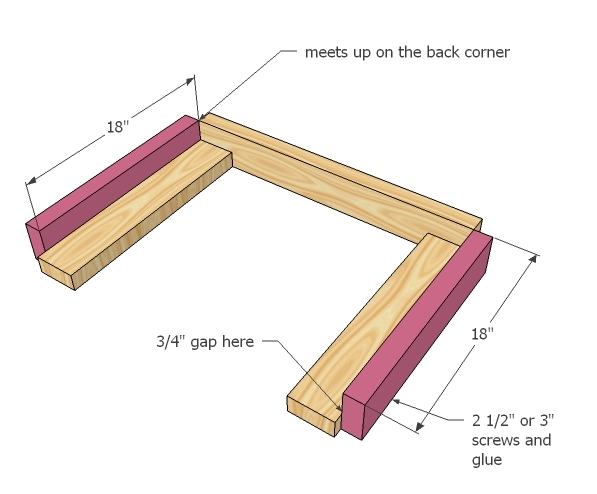
FYI: there is a cut missing on the cut list: It is the bottom piece. The cut is 28 3/4" and is not mentioned on the list or in the diagrams....

Built from Plan(s)
Estimated Time Investment
Afternoon Project (3-6 Hours)
Finish Used
clear polyurethane (2 coats) - sanding before and in-between.
Recommended Skill Level
Beginner

Comments

SarahAnne

Thu, 05/19/2016 - 15:33

Hello! I'm new to woodworking. I recently purchased an 8v lithium-ion drill by Ryobi. It's taking forever to build my cabinet with six cubbies. I keep having to stop to charge the drill. Do you think a 12v drill/driver would suffice? 

Thank you for your help! :)


JoanneS

Thu, 05/19/2016 - 16:33

Hi Suzanne - this is a great drill.  The ryobi One + drill/driver uses an 18v battery which fits interchangeably onto the other One+ tools.  This one is on sale as a set from Home depot, which comes with a battery and charger.  

http://www.homedepot.com/p/Ryobi-ONE-18-Volt-Lithium-Ion-Compact-Drill-Driver-Kit-P1811/205651590


Also you can get extra capacity spare batteries to switch out with:

http://www.homedepot.com/p/Ryobi-ONE-18-Volt-High-Capacity-LITHIUM-Battery-2-Pack-P122/204321540

I love mine and have purchased several other One+ tools and the extra batteries as well. (I especially love the AirStrike 18 gage finish nailer which doesn't need a compressor).    Happy building!

:)  Joanne

Pallet book holder

Very simple, very easy book holder. Come to find out, it makes a great wine bottle holder as well. The picture alone can suffice as the plans. Enjoy!!!

Estimated Time Investment
An Hour or Two (0-2 Hours)
Finish Used
none
Recommended Skill Level
Starter Project

Comments

Adam_Scheetz

Fri, 09/28/2012 - 12:19

This particular one is made of 1x4's (4) and 2x4's (2). The notches in the 2x4's were already there. Attach one 1x4 on the front and three evenly spaced on the back. And Done! Add stencils for creativity!

Dream Table!

Submitted by Anonymous (not verified) on Thu, 02/06/2020 - 11:44

Love love how this turned out! Great plans. We've been wanting to build this for years now. Works great for us...we are a military family and move every 3 years so being given able to break this down into pieces easily makes it easy on our moves! Thank you for the plans!


benches are next!

Built from Plan(s)
Estimated Cost
$126
Estimated Time Investment
Weekend Project (10-20 Hours)
Finish Used
Single coat Minwax early American
Varthane semi gloss poly
Recommended Skill Level
Intermediate

cubby seats

These are the cubby seats featured on Shanty 2 Chic's site along with Pottery Barn inspired Trestle table. This was a lot of fun to make because it was the first project I did using my hand saw. I normally have the wood cut at home depot. But now I can do it on my own!! you can check them out on my blog: goldhoopstochickencoops.blogspot.com

Built from Plan(s)
Estimated Cost
$25
Estimated Time Investment
Afternoon Project (3-6 Hours)
Finish Used
Rust-oleum aqua and lemon grass
Recommended Skill Level
Beginner
Back