Community Brag Posts

Loft Bed in a Day

Submitted by Anonymous (not verified) on Tue, 03/15/2016 - 06:21

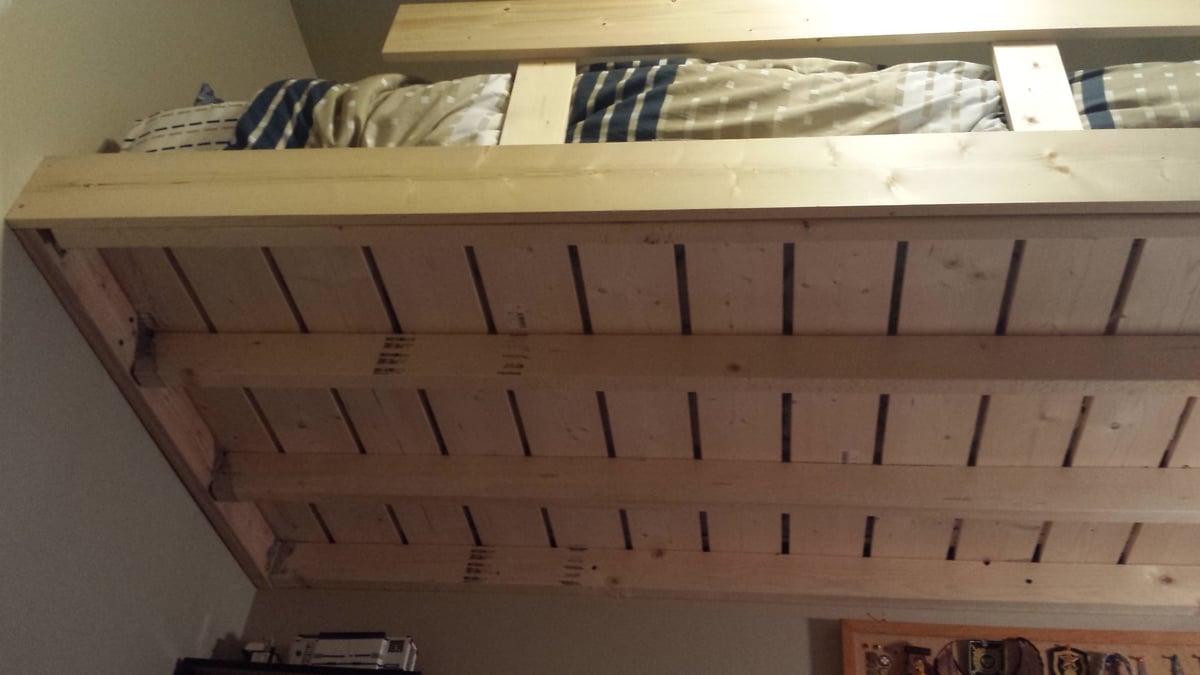
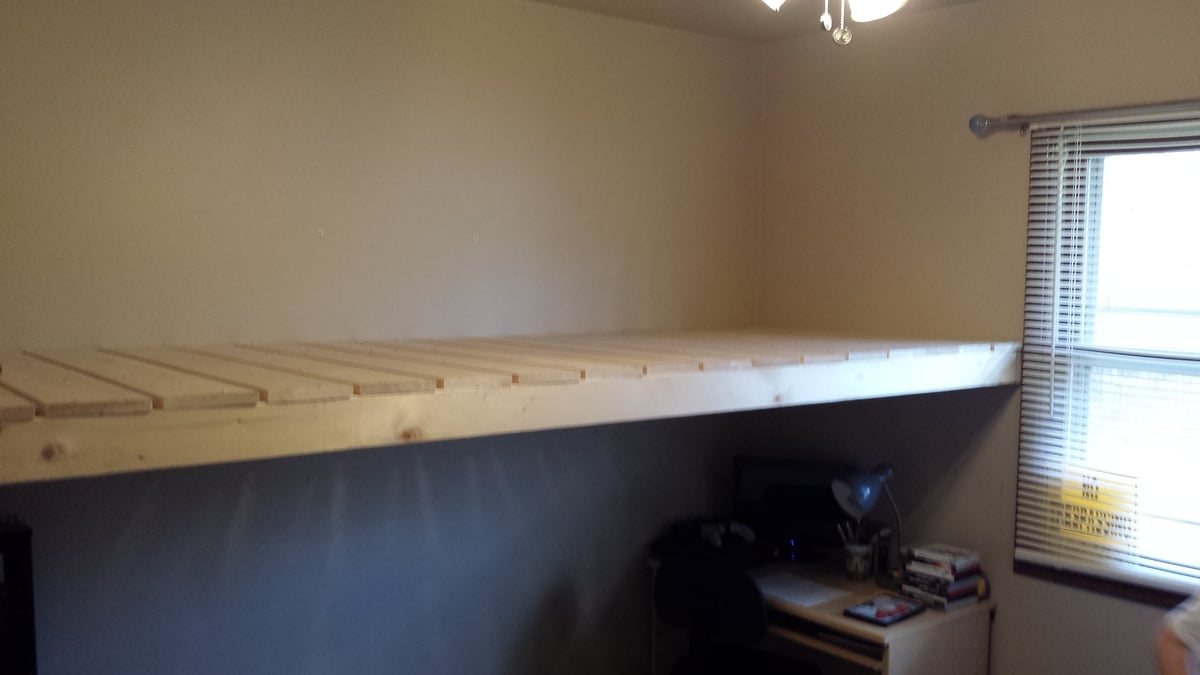
Yes, really a bed in a day! It took 24 hours from the time we bought our supplies to completion. So much nicer than any store bought we looked at, these plans are really a breeze even though I had never tackled a project like this before.

Estimated Cost
$100
Estimated Time Investment
Weekend Project (10-20 Hours)
Recommended Skill Level
Beginner

Closet Organized!

Submitted by anne_c on Fri, 03/18/2016 - 12:21

I love the look of a nicely organized closet, but after moving into new house where closets weren't as big, organization became an issue. I love the look of this plan. The modifications I made were making it nice and tall and still fitting a full shelf in at the very top. Also, I didn't want to have to worry about redoing bars when my daughter had adult sized hangers and clothes, so I made sure that my clothes would fit in the top and bottom levels. I love how it turned out. Now to make over all the other closets in the house...

Built from Plan(s)
Estimated Cost
$50-$70
Estimated Time Investment
Afternoon Project (3-6 Hours)
Finish Used
white chalk paint with wax finish
Recommended Skill Level
Beginner

Twin Loft Beds for Twins

Submitted by annierey on Thu, 10/31/2019 - 16:33

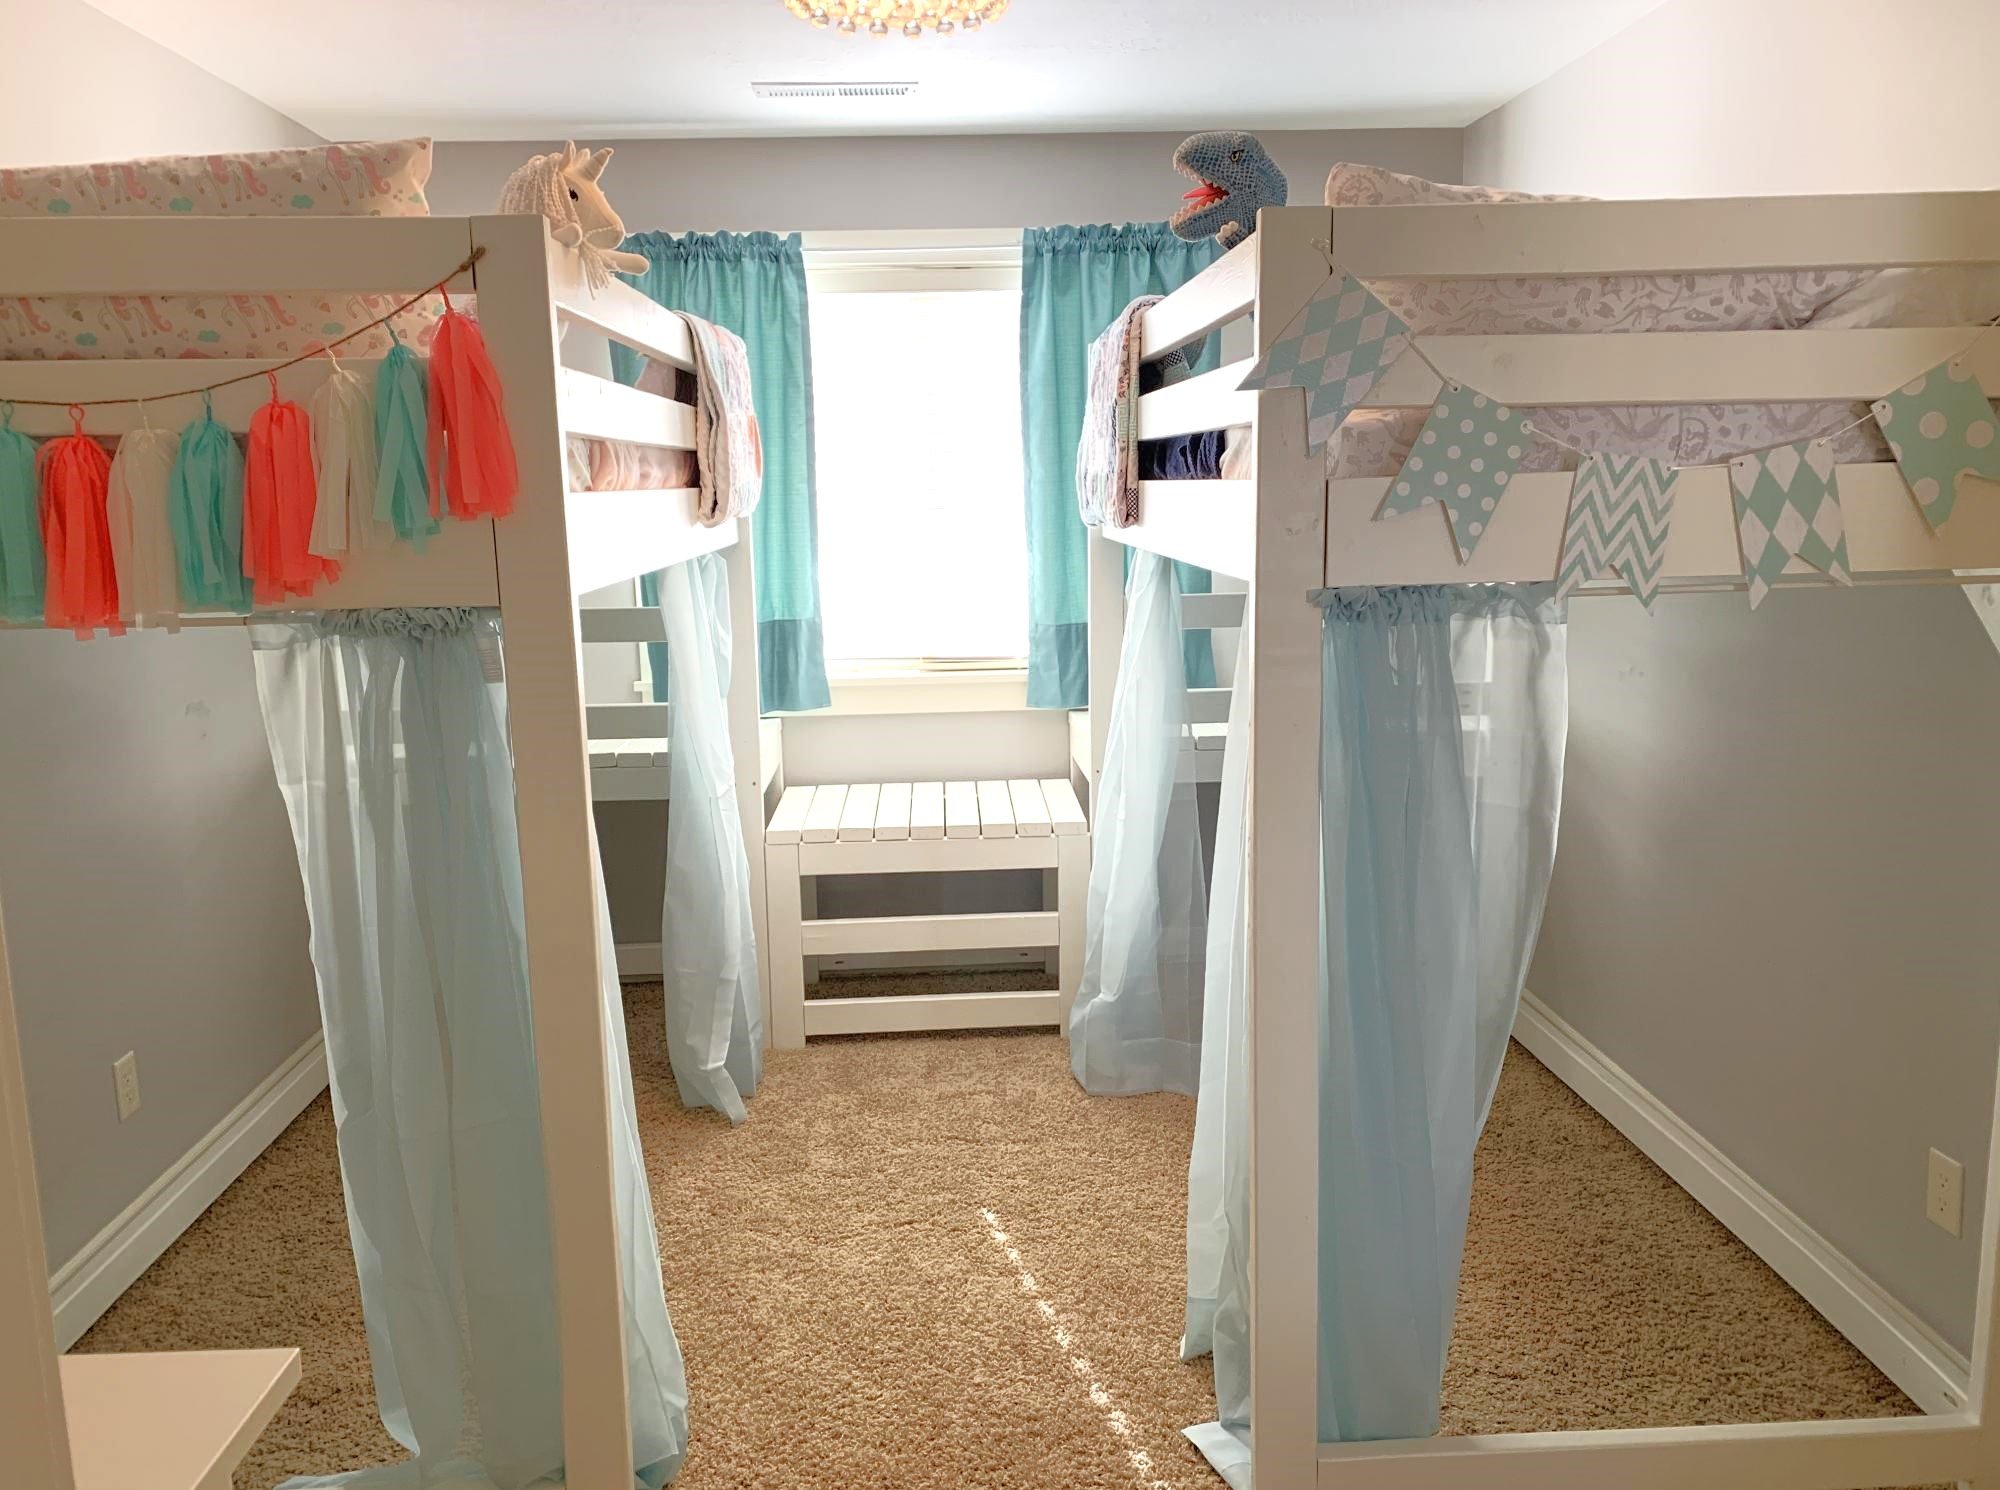
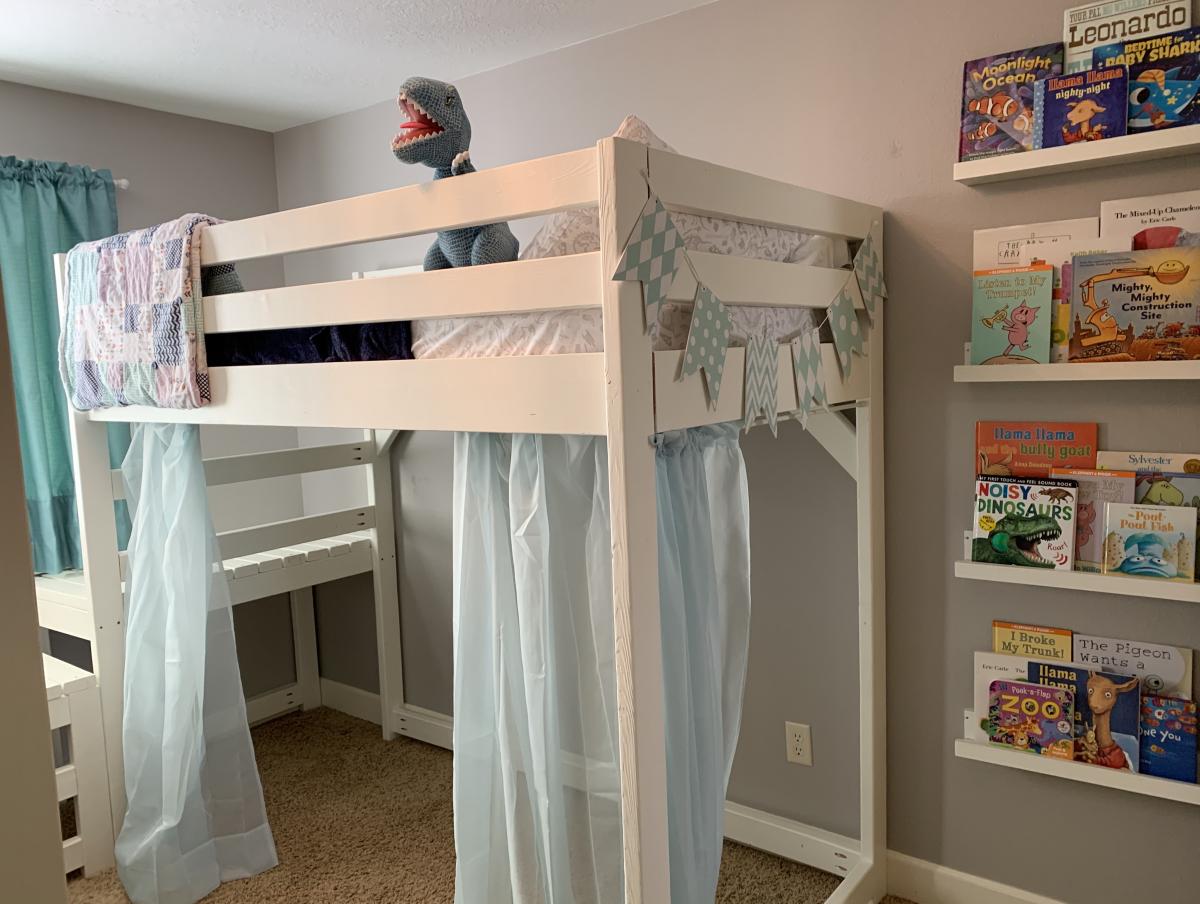
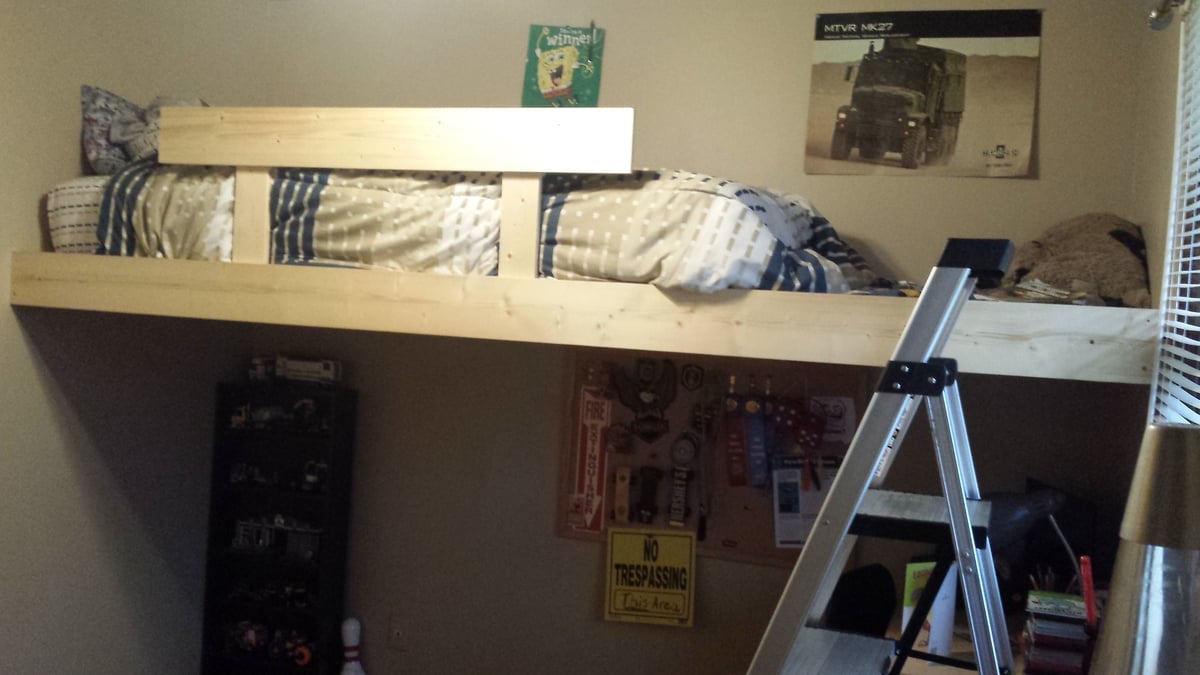
My twins just turned four and were still sleeping in their toddler beds, so it was time for an upgrade.  They still want to share a room so we knew we needed to maximize space and open up some room for them to play.  We chose the Camp Loft Bed but raised the height to 72" (with 53" of headspace) so we might be able to add a desk underneath when they get older. 

Essentially, we made two loft beds with the platforms but omitted the stairs.  Then we built a slightly lower platform to put between the two beds, which acts as a step down.  Then instead of making stairs that jut out into the room, we added two 2x4s as ladder rungs to the lower platform.  This also acts as a tunnel for the twins to crawl under to go between each other's play spaces.   This also makes it so the beds can be easily separated if we ever need to put them in separate rooms. 

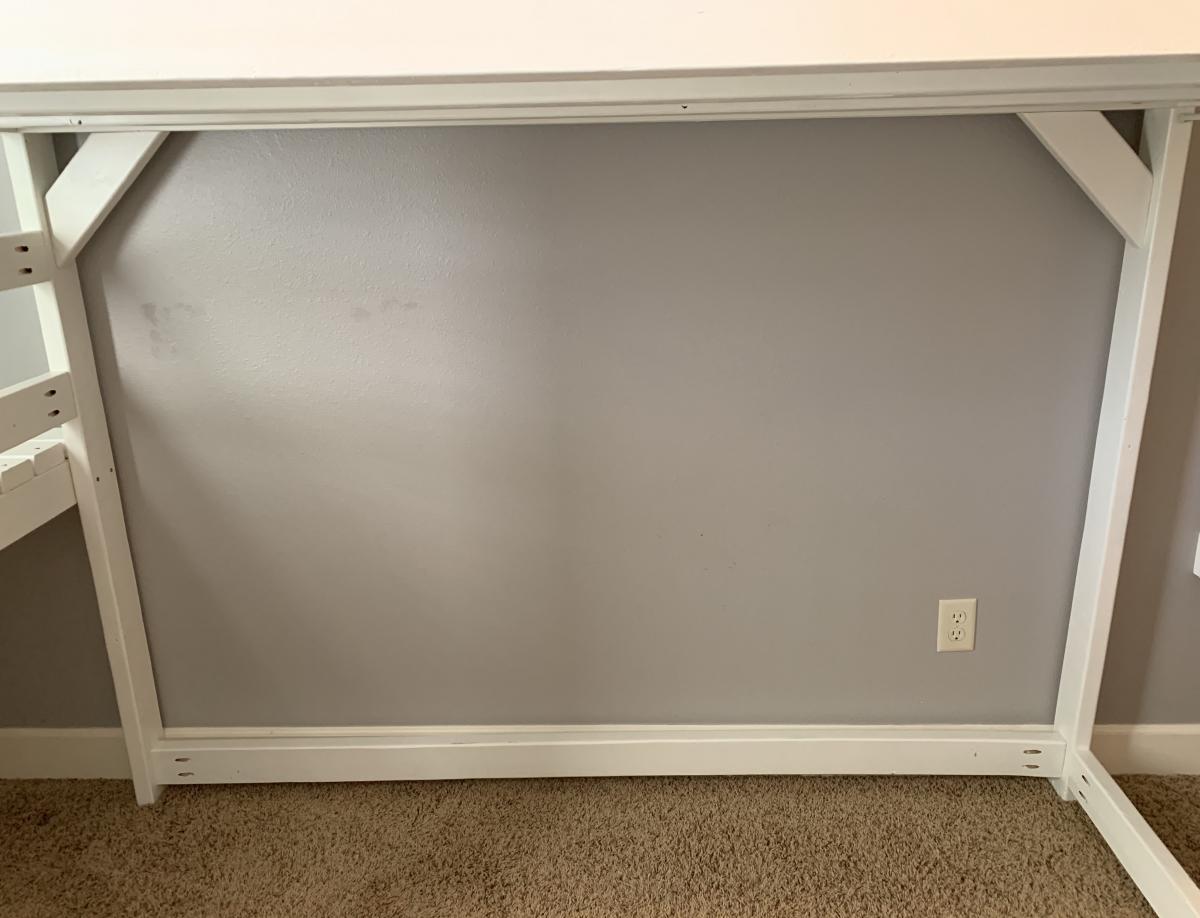
When it was complete we noticed one of the beds was a little wobbly, so we added diagonal braces in the corners and another 2x4 across the length of the bottom to help stabilize it.  We also chose to use 1x4 pieces of pine as the slats for the mattress to lay across, but they didn't feel like they would support our weight if we wanted to read to them in bed.  So we added two more 2x4s underneath the slats the entire length of the bed, which has added a ton of support. 

We stopped keeping track of exactly how much it cost, but it was close to $400 for both beds combined.  And it took most of my husband's free time for two weeks, but most of that was painting two coats of paint on every piece before assembling.  First he cut all the pieces to size, drilled the holes with a Kreg Jig, and then painted.  To make the painting more efficient, he put a bunch of screws into boards so he could paint all the exposed sides of the lumber, flip, and leave them to dry.  Then we assembled the beds in their room. 

The twins love their new beds, and we love how much more space they have to play in their room!  We were worried the room would feel too crowded but with the openness of the plan and the space that was opened up underneath, we think it turned out great!  Now we can move in a bunch of their toys and reclaim some of our house!  Thanks for the great plans!
Estimated Cost
$400
Estimated Time Investment
Week Long Project (20 Hours or More)
Finish Used
Two coats of white paint/primer
Recommended Skill Level
Beginner

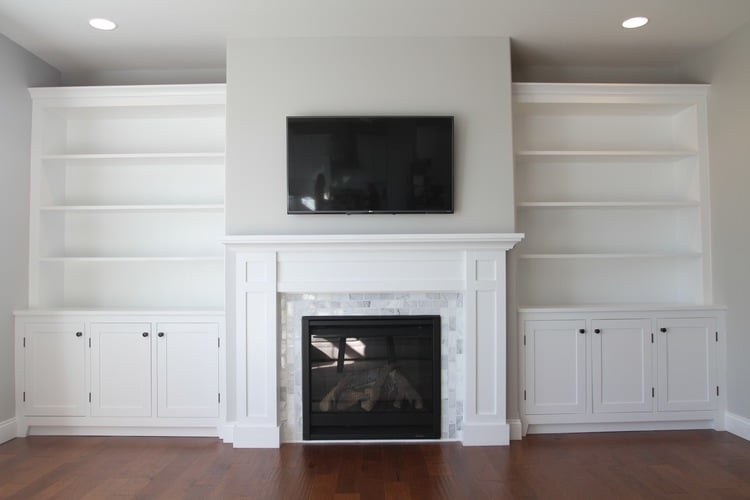
How to Build a Fireplace Mantel and Surround

Submitted by MillerMade on Thu, 03/24/2016 - 09:05

The Custom Built-ins started out with lots of research, and like many DIY project we looked to Pinterest and Houzz for inspiration. A lot of love and time went into this project. I can't stress enough how important research is. This process is often over looked because DIYers just want to get to the building process as quickly as possible, but trust me when I say doing solid research will save you a lot of stress and time when it comes to building.


Estimated Cost
$4,000-$6,000
Estimated Time Investment
Week Long Project (20 Hours or More)
Finish Used
White Paint
Recommended Skill Level
Advanced

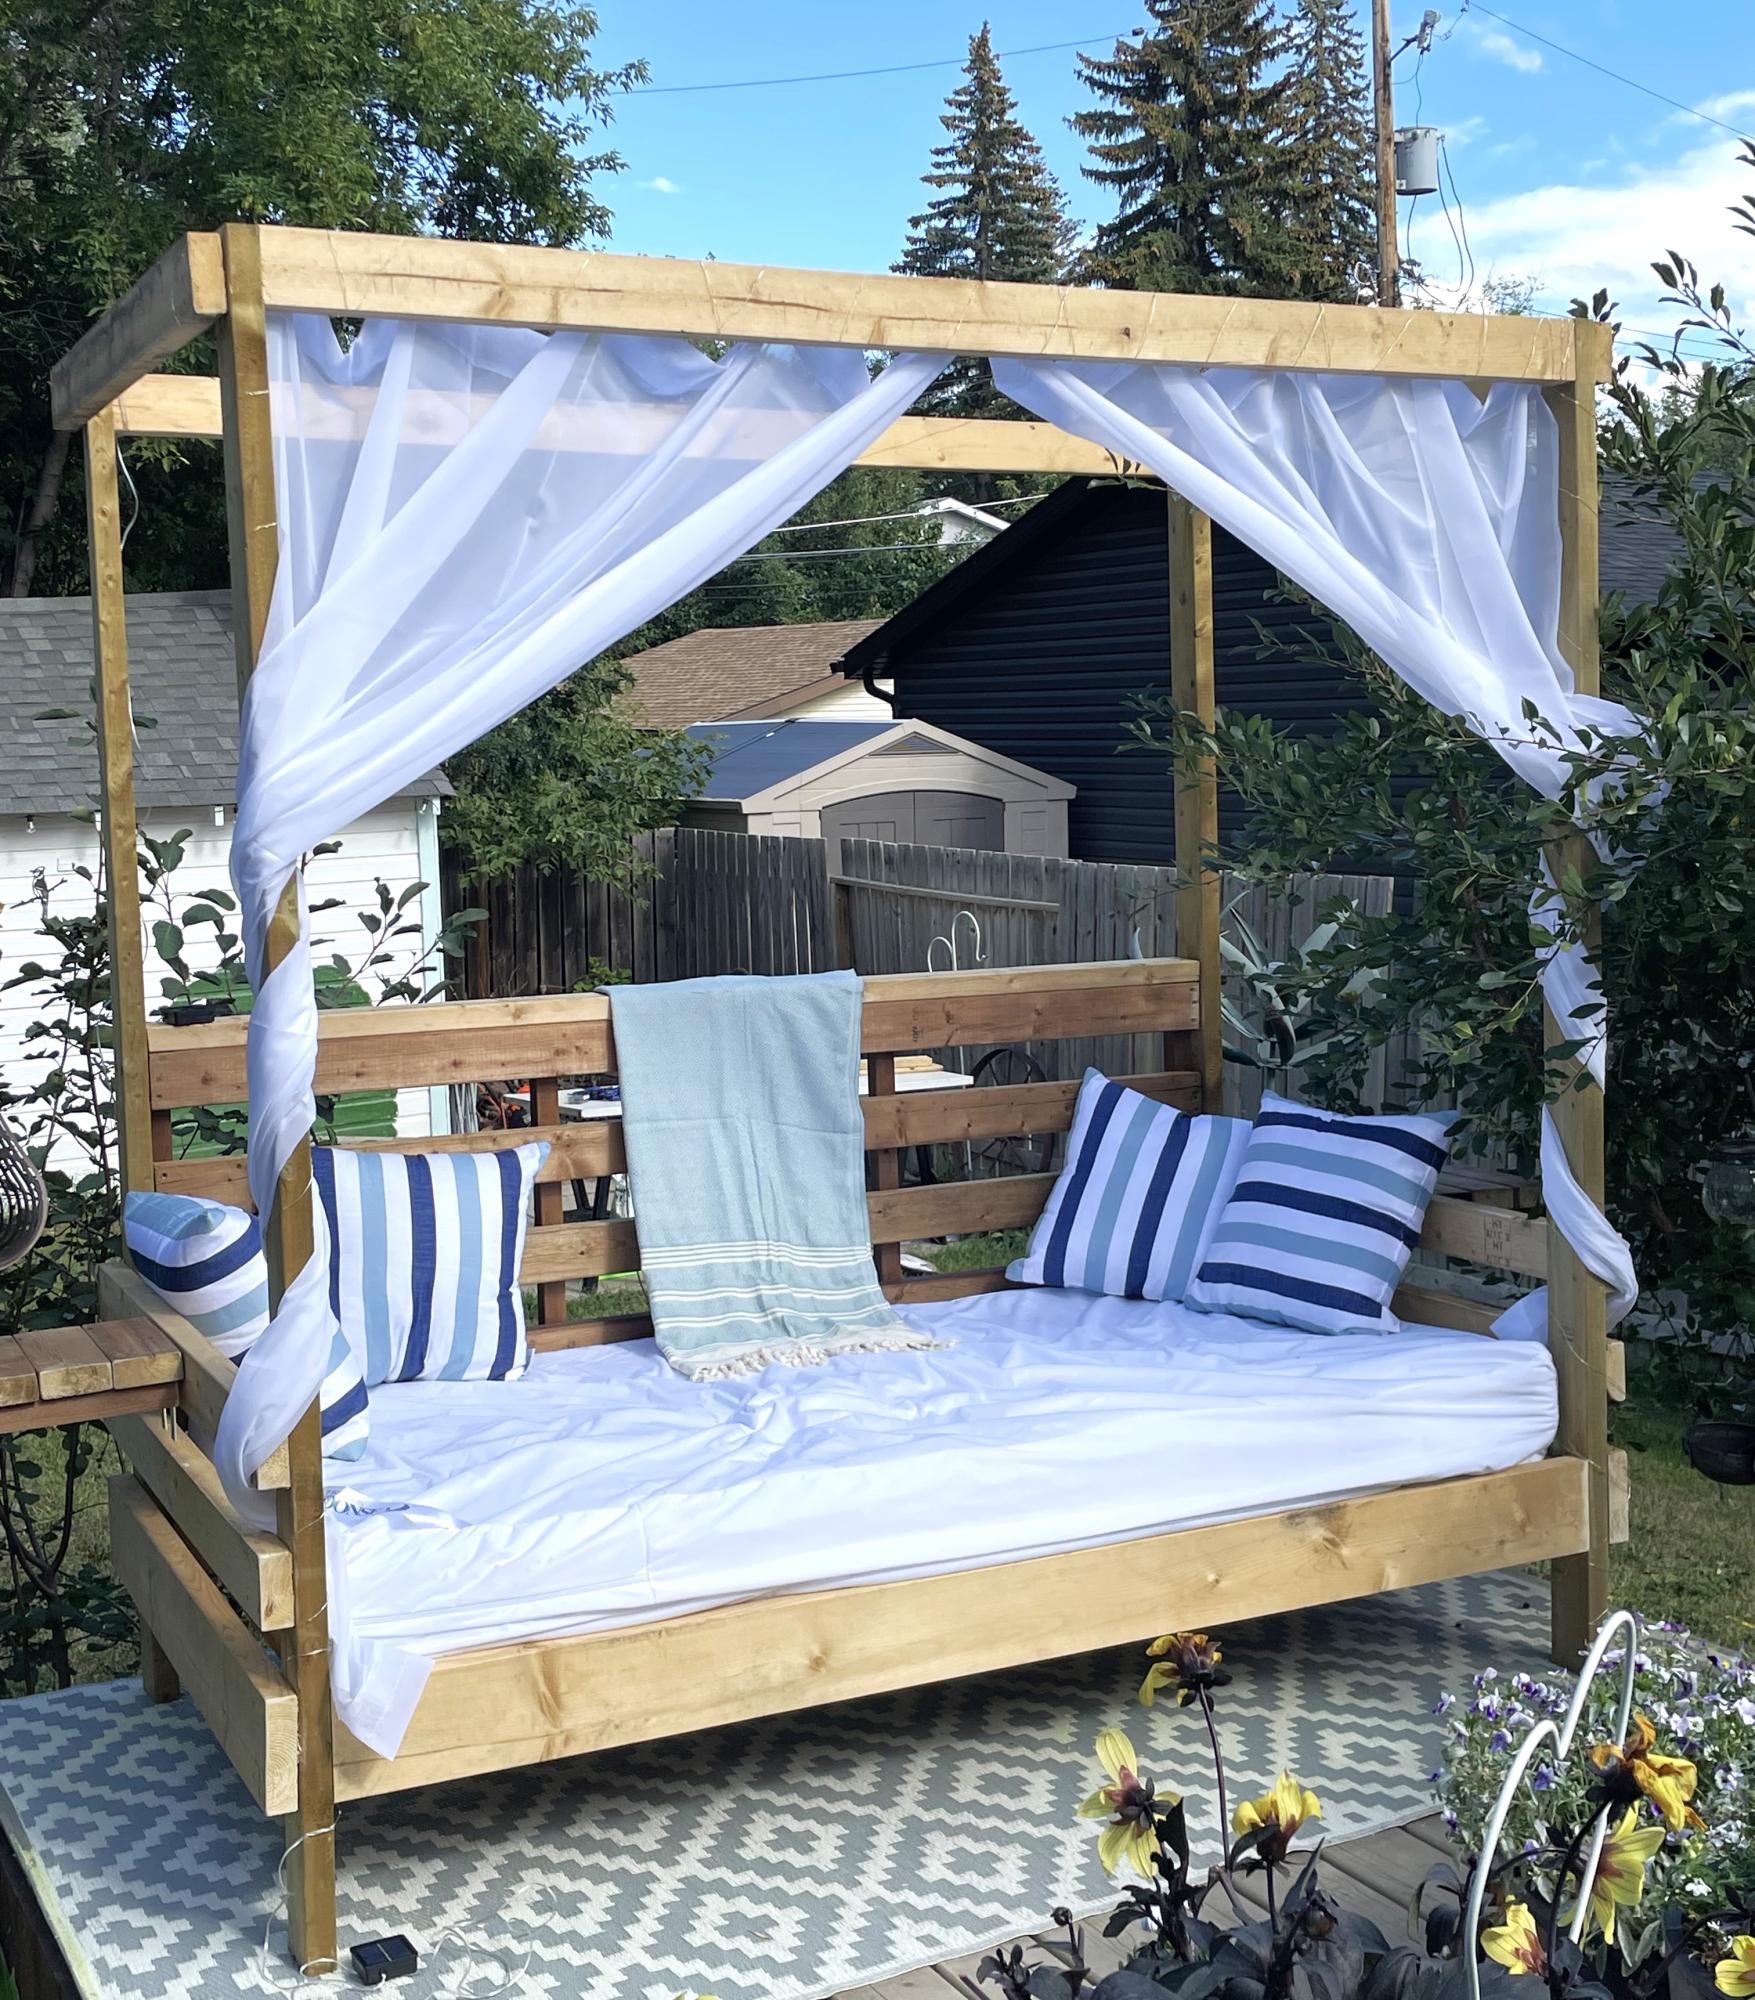
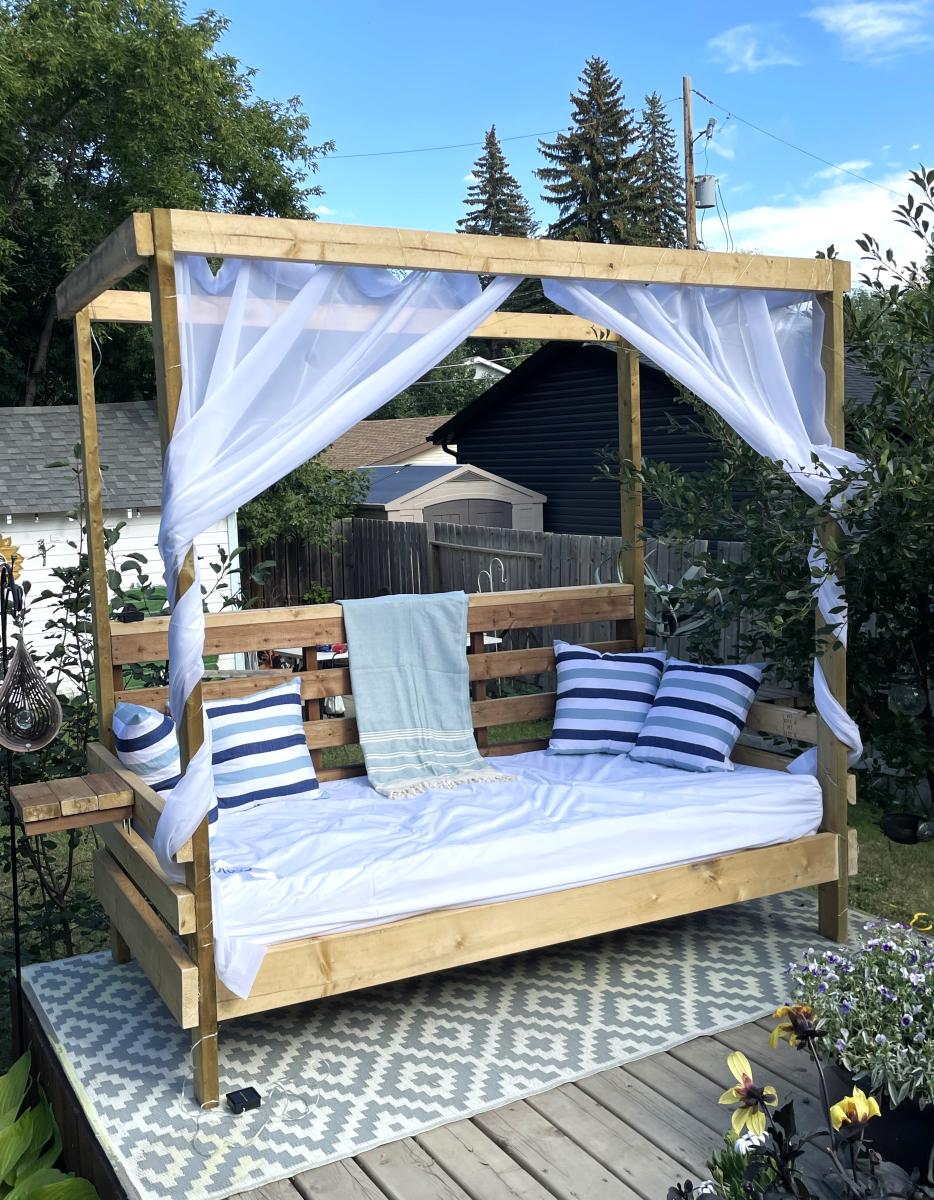
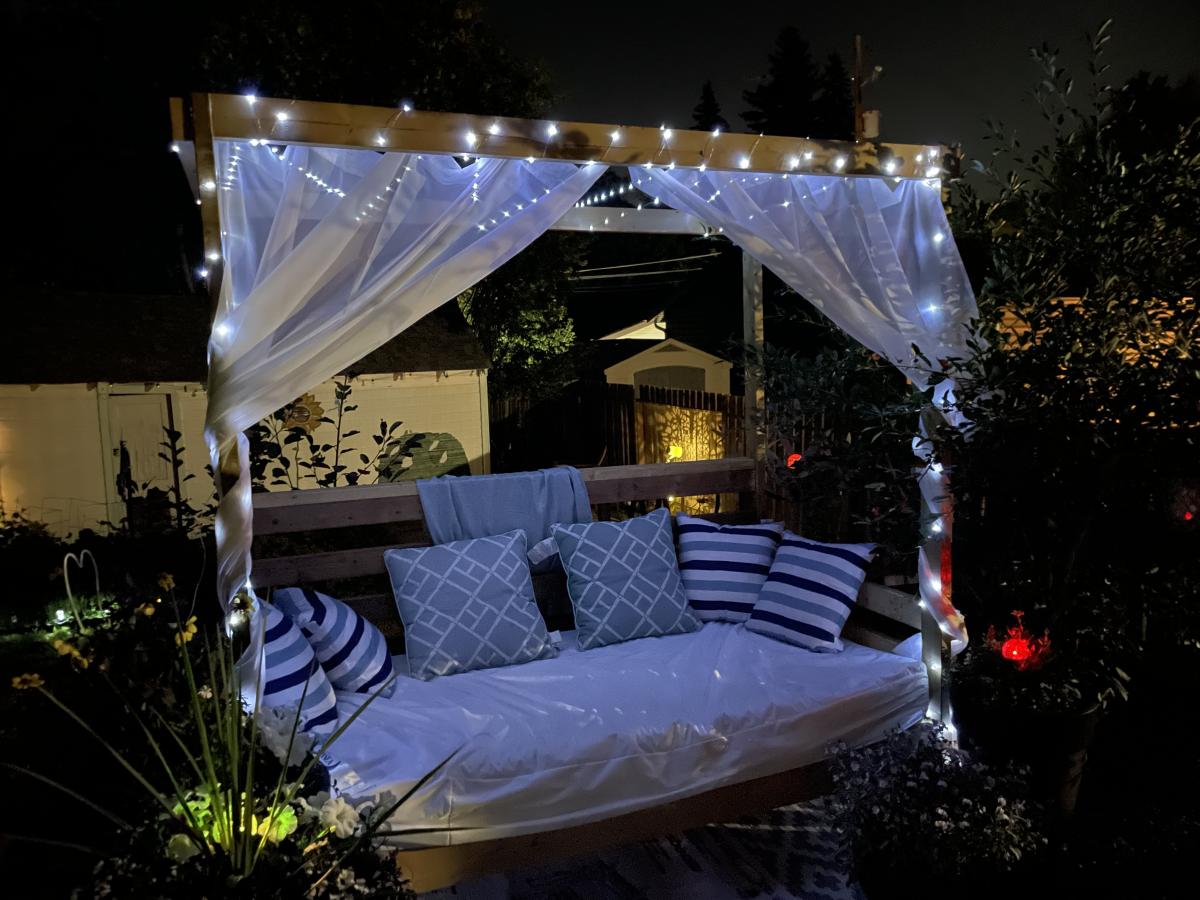
Outdoor Canopy Daybed - First Project!

Submitted by Anonymous (not verified) on Fri, 07/28/2023 - 14:16

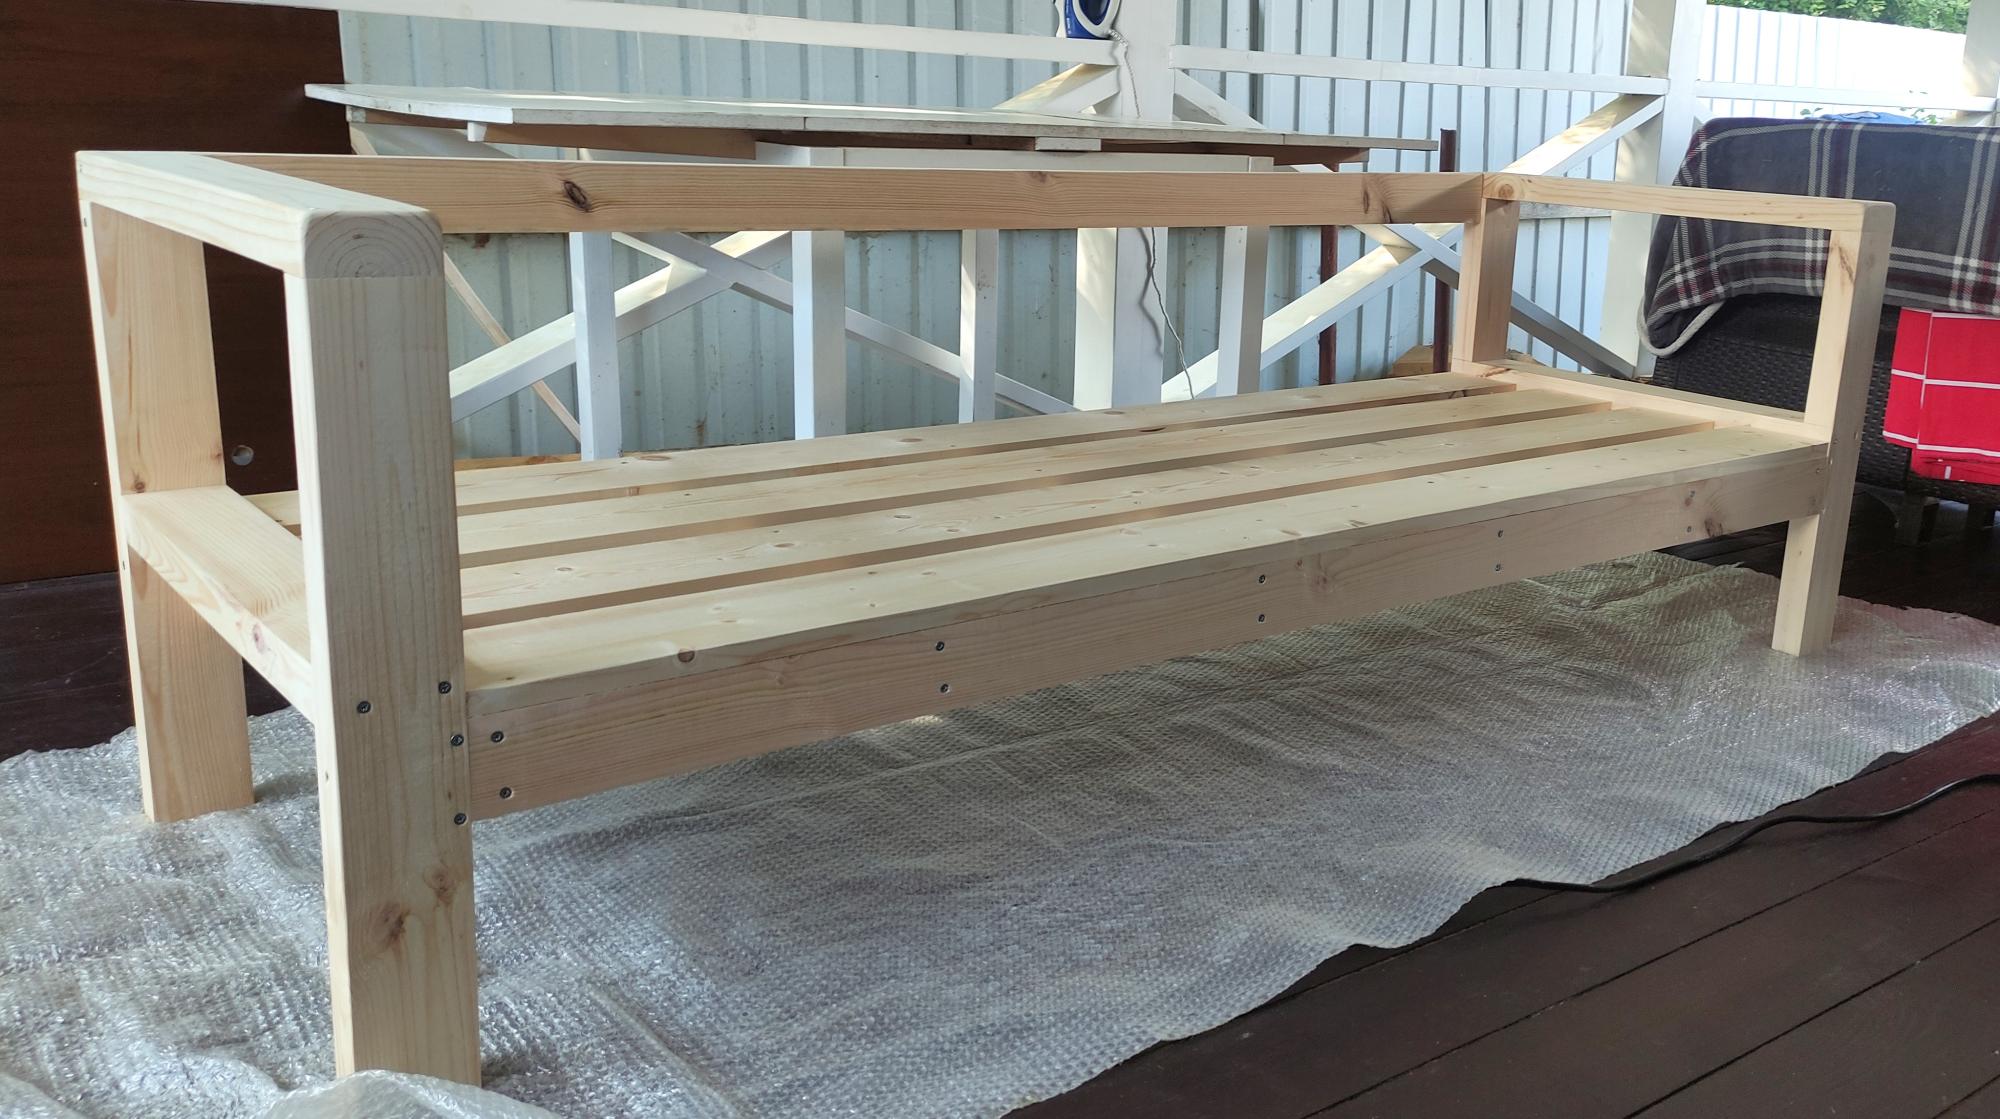
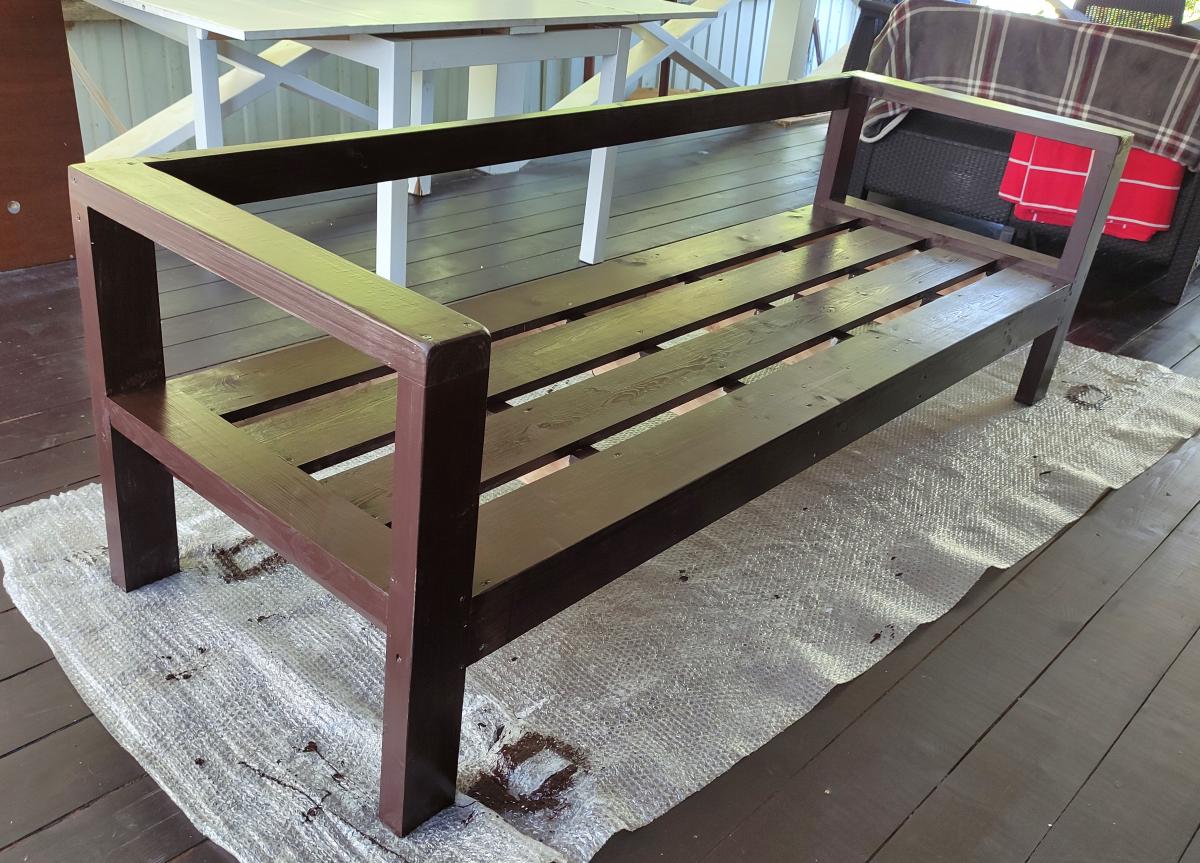
This was the first time I ever built anything - before this is hardly used a drill. It was big for a first build, and I did it entirely alone aside from a few text messages with questions. I added a couple little end tables to it for a book and a drink, and it’s now my favourite outside summer spot.

Facebook user @robyn.marie.3572

Built from Plan(s)

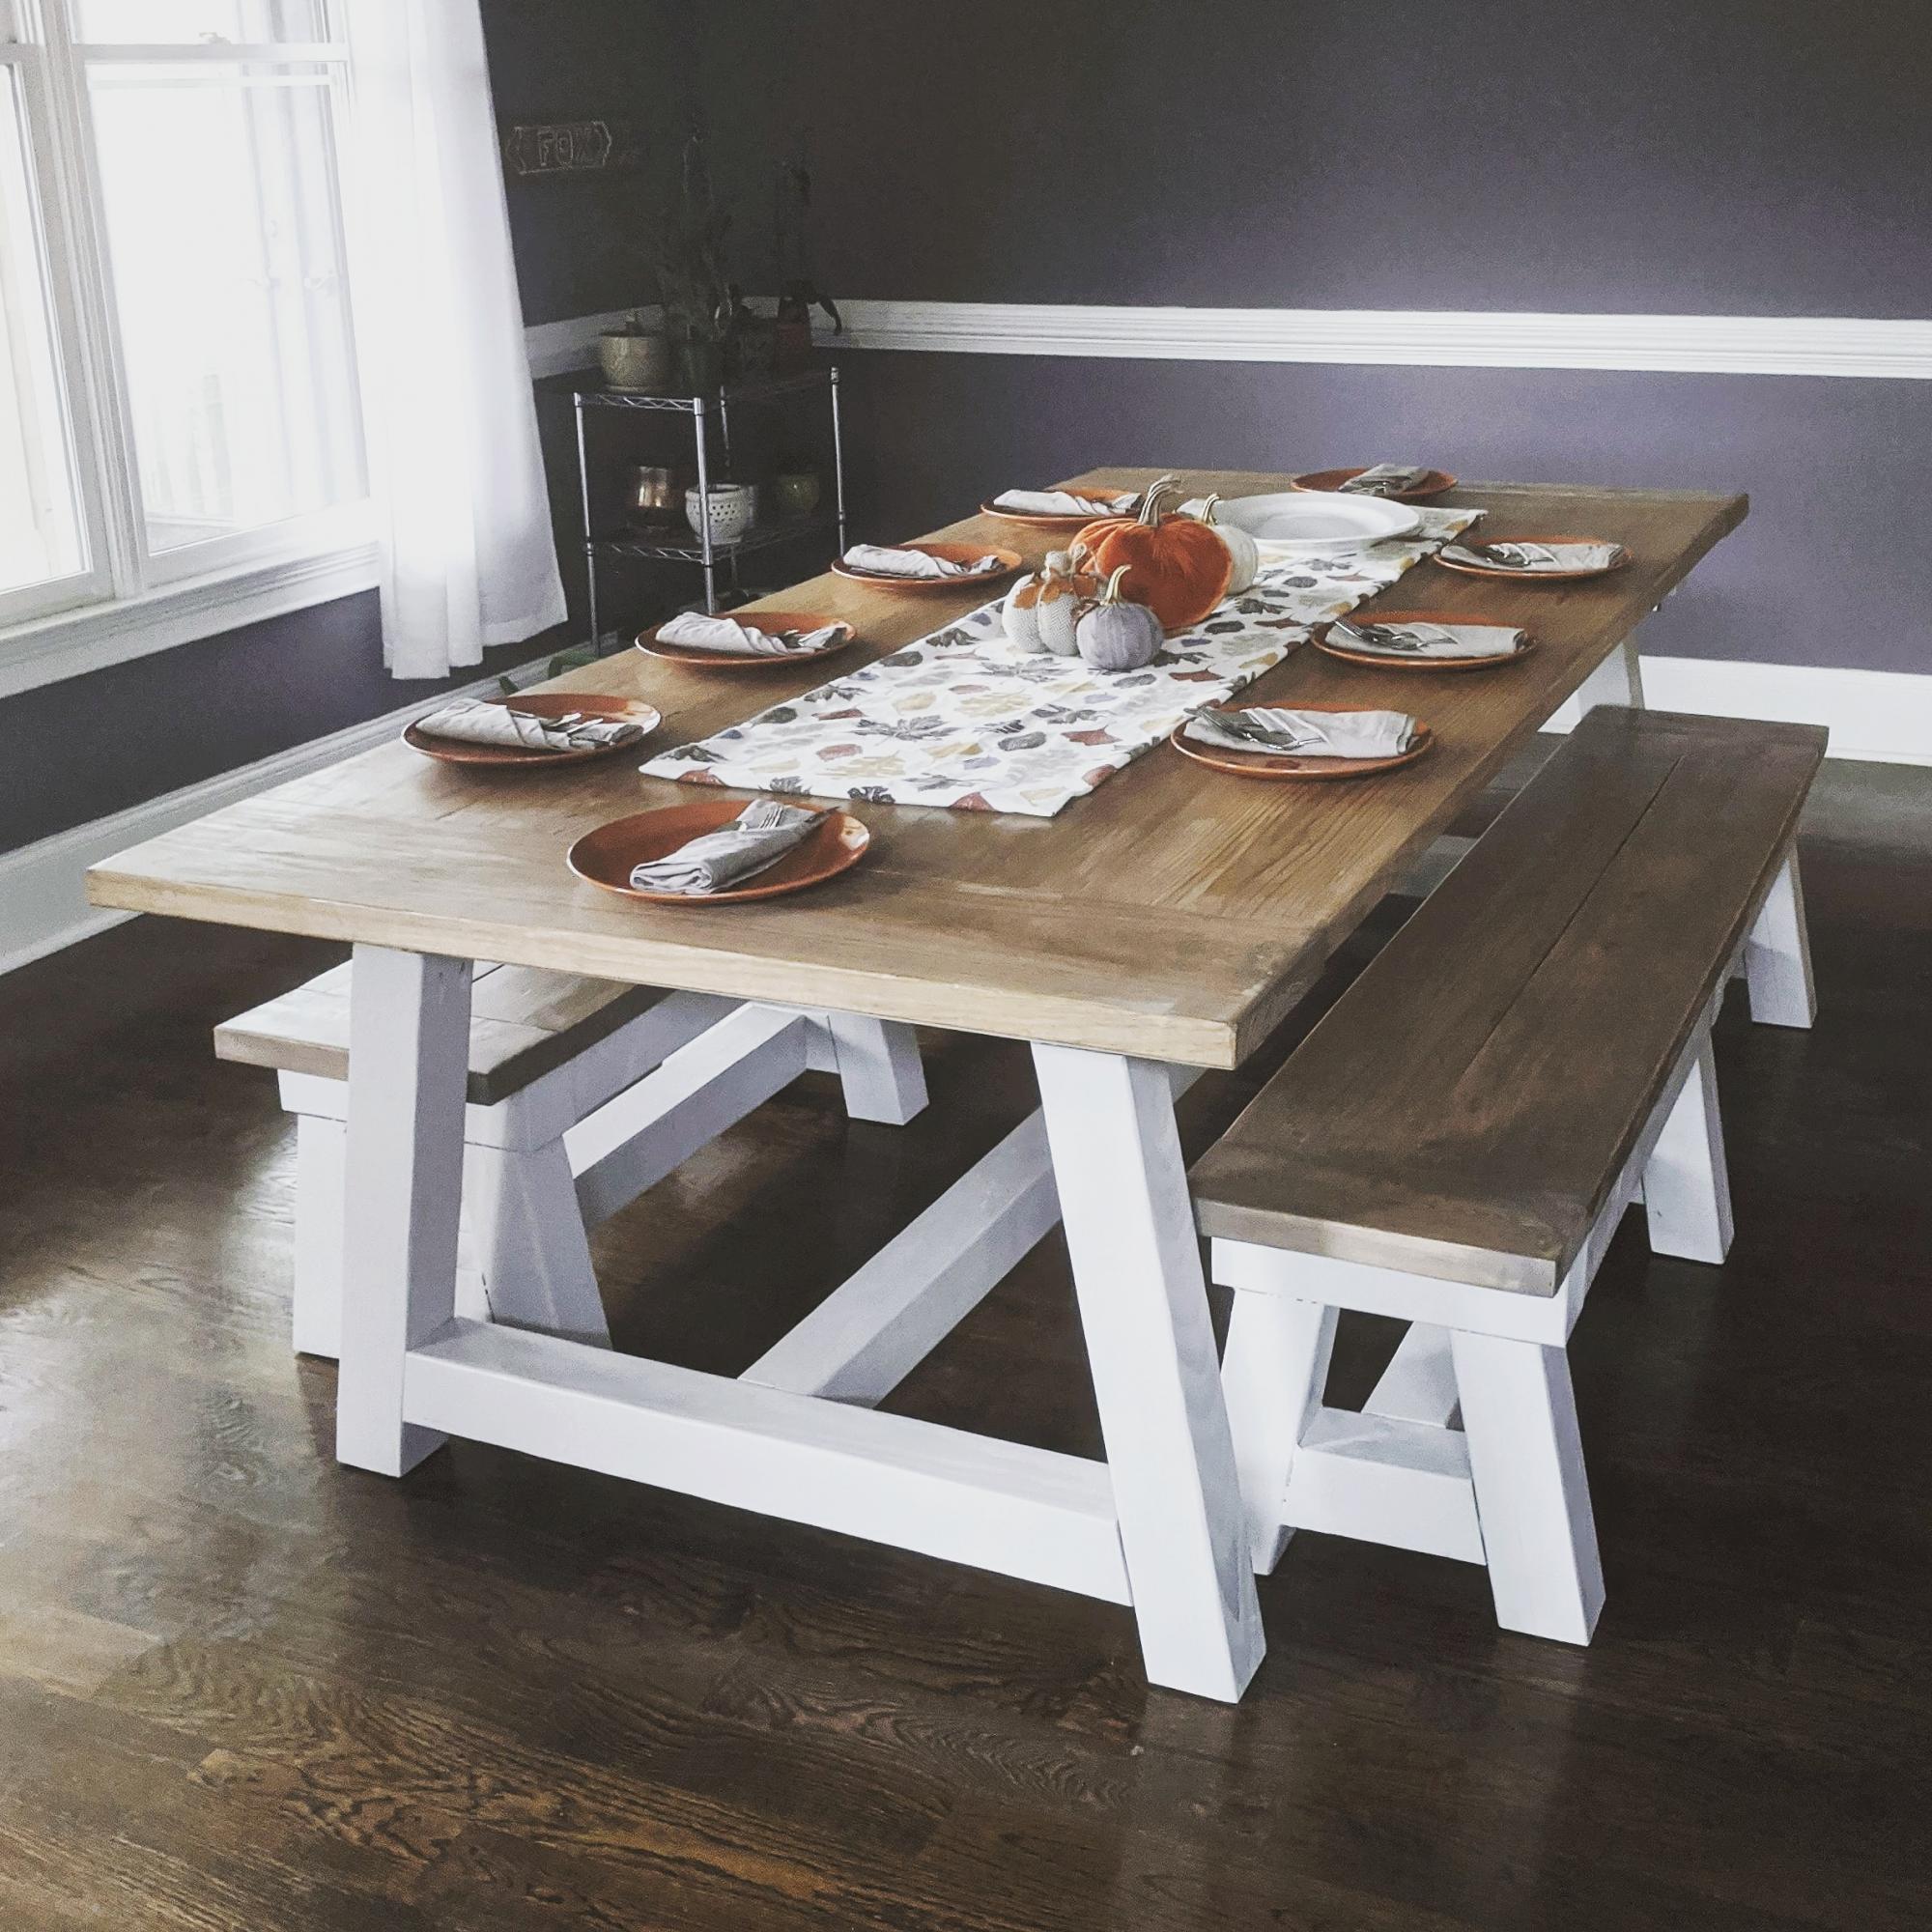
4x4 Truss Table and Benches

Submitted by Anonymous (not verified) on Sun, 11/24/2019 - 12:41

Modified so that it could fit 12 people comfortably.

Estimated Time Investment
Week Long Project (20 Hours or More)
Recommended Skill Level
Intermediate

Comments

Seasonal And Holiday

Bed with Storage for the Master Bedroom

I built the same bed as for my son for the master bedroom. A queen size bed with storage with paneled footboard and headboard. I love that style and I made board and batten too.
I am very happy and the bed is very sturdy. I didnt make drawers because it's too difficult for me. I am not ready to build drawers! Maybe next time!
Estimated Time Investment
Week Long Project (20 Hours or More)
Finish Used
white paint
Recommended Skill Level
Beginner

Comments

Stefanye Thurmond (not verified)

Fri, 05/04/2012 - 08:12

I share your fear of drawers! It still looks great with cubbies :)

Anelicia (not verified)

Sun, 11/25/2012 - 21:27

I love this bed but I am wondering since there is no edge if you have any issue with your mattress sliding side to side?

alamanda973

Thu, 12/13/2012 - 17:18

My mattress does not slide because it is heavy and it is a little wider that the bed thus there is no edge which exceeds. I hope to have answered the question.

Modified Adirondack Chair and Bench

Submitted by jont on Thu, 03/29/2012 - 19:11

Decided we needed some outdoor seating. Added a few modifications to make it more my own.

Built from Plan(s)
Estimated Cost
$100 for both including the paint
Estimated Time Investment
Week Long Project (20 Hours or More)
Finish Used
Exterior paint and primer mix - not sure what to call the color, maybe a neon green.
Recommended Skill Level
Intermediate

Comments

Leaning Shelf Project

Submitted by bknjohnson on Thu, 01/16/2014 - 10:17

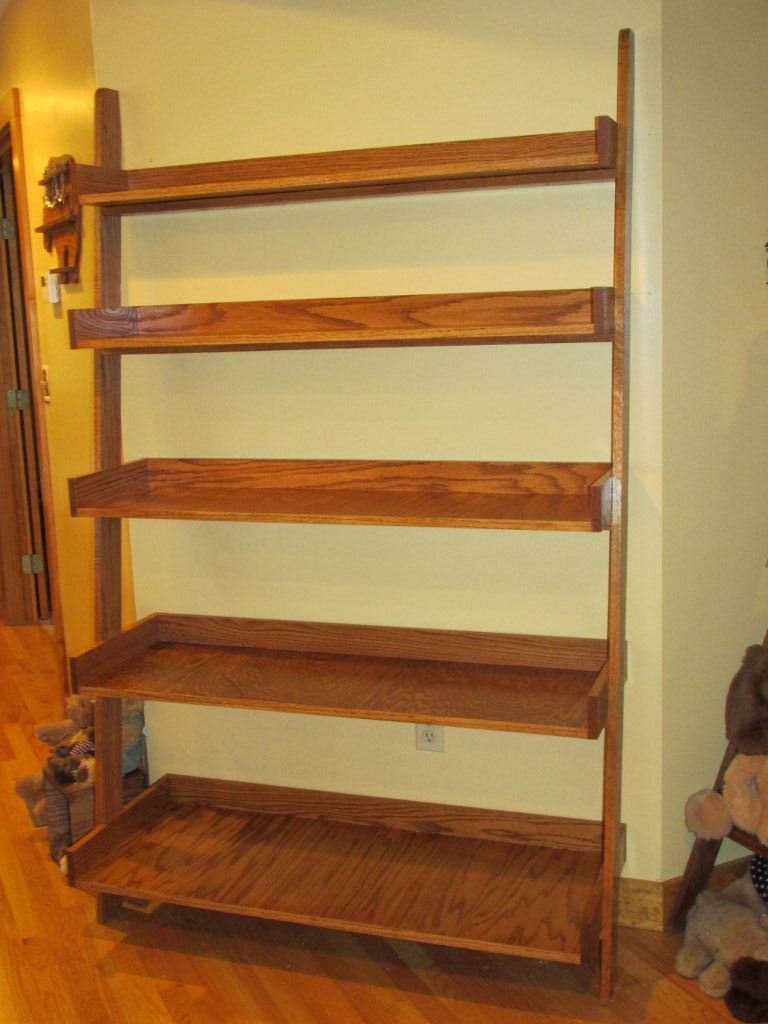
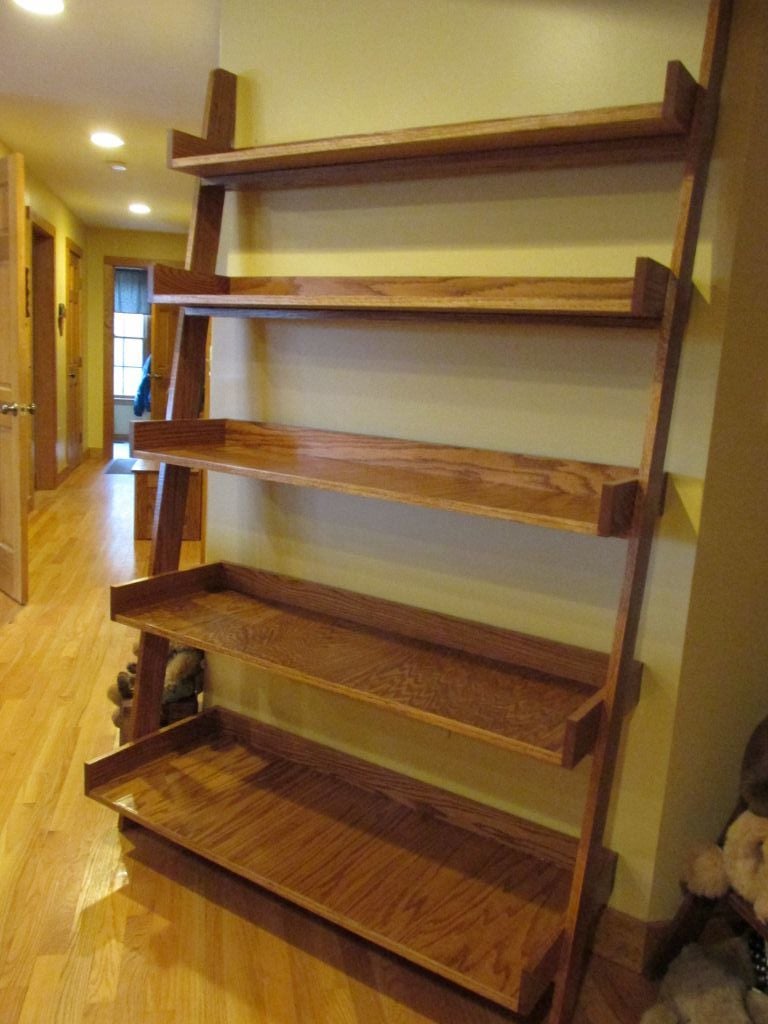
I started with Ana's plans and modified them for our specific needs.  We have a corner in our hallway very well suited for a shelf system like this, and my wife wanted to fill that area.  So, my finished project is 4 feet wide. Other than adjusting the plans for the width and then the lumber needs accordingly, all of the remaining dimensions and measurements in Ana's plan remained the same.  

I built everything using oak 1x4s and oak plywood, and pocket screws to build each shelf and the ladder portion.  

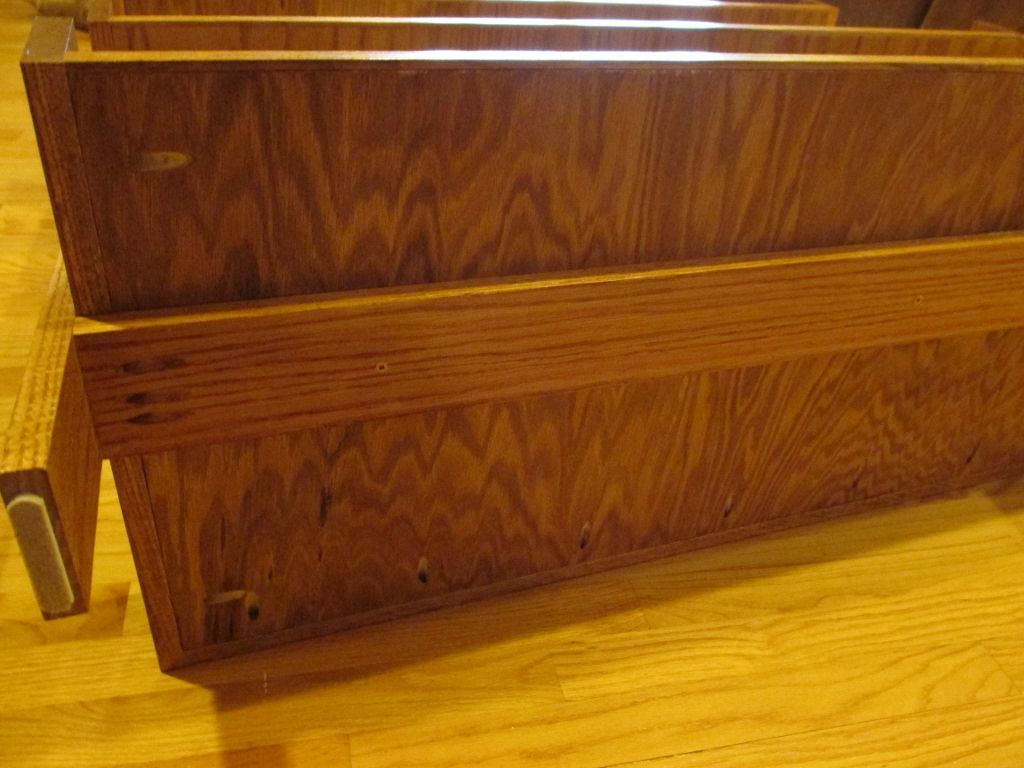
I read the comments here about attaching a piece of oak to the front of the shelves to hide the plywood layers, and wish I had read that before cutting all the pieces. I was able to make that modification without causing too much rework, I just had to cut the trim a little to match the new depth of each shelf.  

This piece is very heavy when fully assembled!  I decided to leave the ladder assembly separate from the shelves during the finishing process, and then carried everything to the living room.  I attached the bottom shelf first and worked my way up.

Each shelf is attached to it's respective support and to the ladder legs by wood screws, and each shelf is screwed to wall studs. Thanks for the plans Ana, this was a nice Christmas gift for my wife. :-)

I listed this project as Intermediate only because I modified the plans to fit our particular needs.  The measuring and cutting were relatively straight forward, attaching with the pocket screws took some time to get everything right.  Finishing took time to allow each coat to dry thoroughly.  Assembly also took me some time, just to make sure each shelf was level and ensuring I was drilling into studs and not sheetrock.

Built from Plan(s)
Estimated Time Investment
Weekend Project (10-20 Hours)
Finish Used
All Minwax products: 1 coat of Pre-conditioner, 2 coats of Golden Oak stain and then 3 coats of Polycrylic. I only put one coat of the Poly on the wood surfaces that I knew would be hidden such as the back of the trim against the wall, and the tops of the shelf supports.
Recommended Skill Level
Intermediate

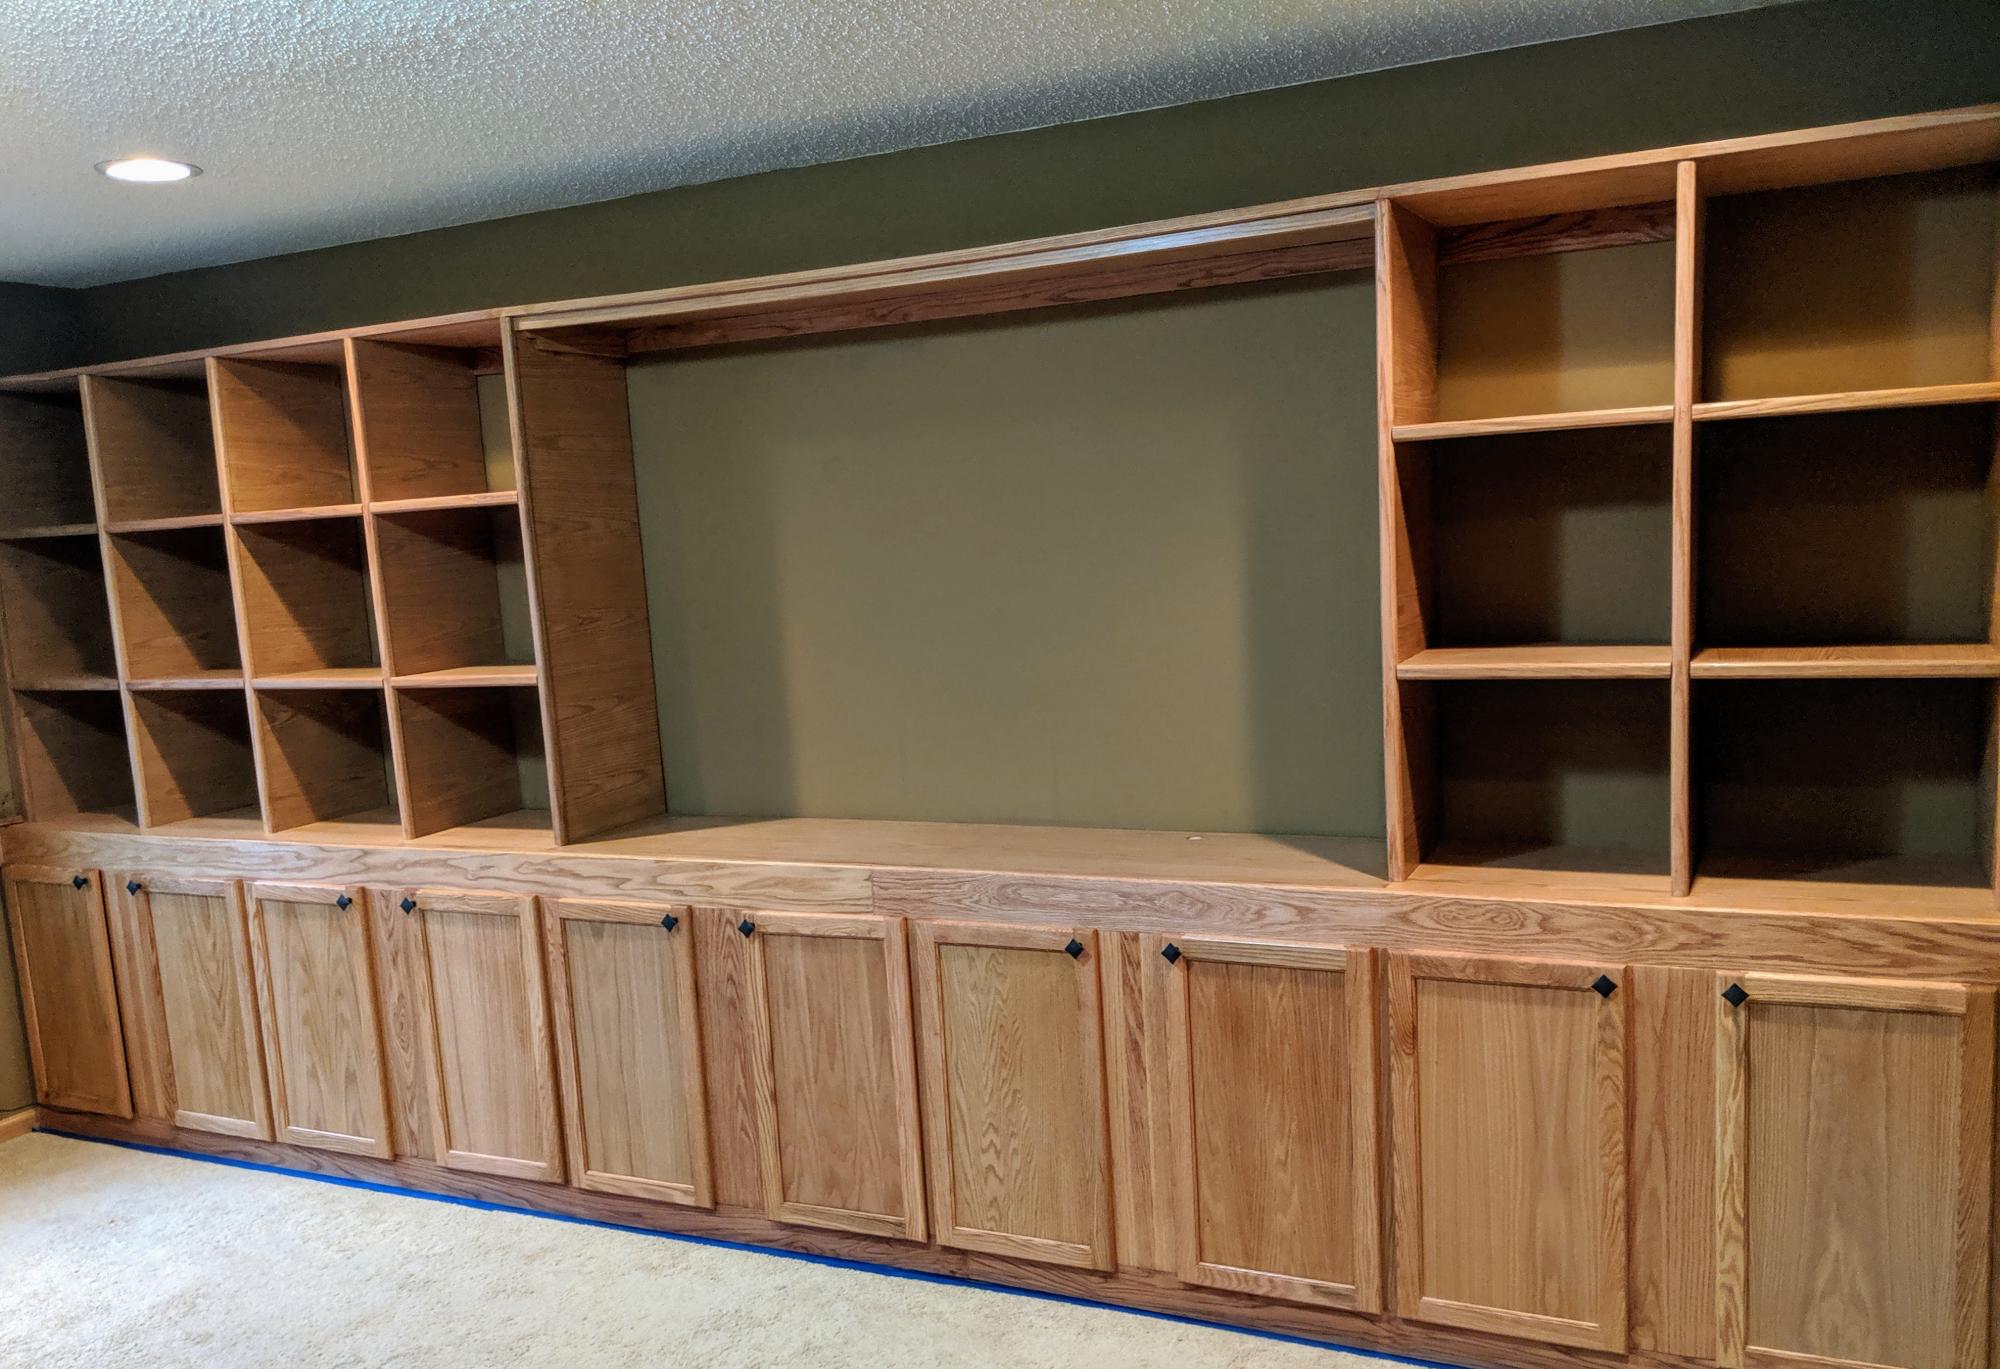
20' x 7' hand built oak entertainment/ bookcase built-in

Submitted by Anonymous (not verified) on Tue, 12/31/2019 - 08:36

A fun project I did for a homeowner in Rosemount Minnesota. I had 100 hours in it at the end but they were very happy with the end result!

Estimated Cost
2500.00
Estimated Time Investment
Week Long Project (20 Hours or More)
Finish Used
Golden oak stain with a semi gloss poly finish.
Recommended Skill Level
Advanced

Raised Cedar Beds

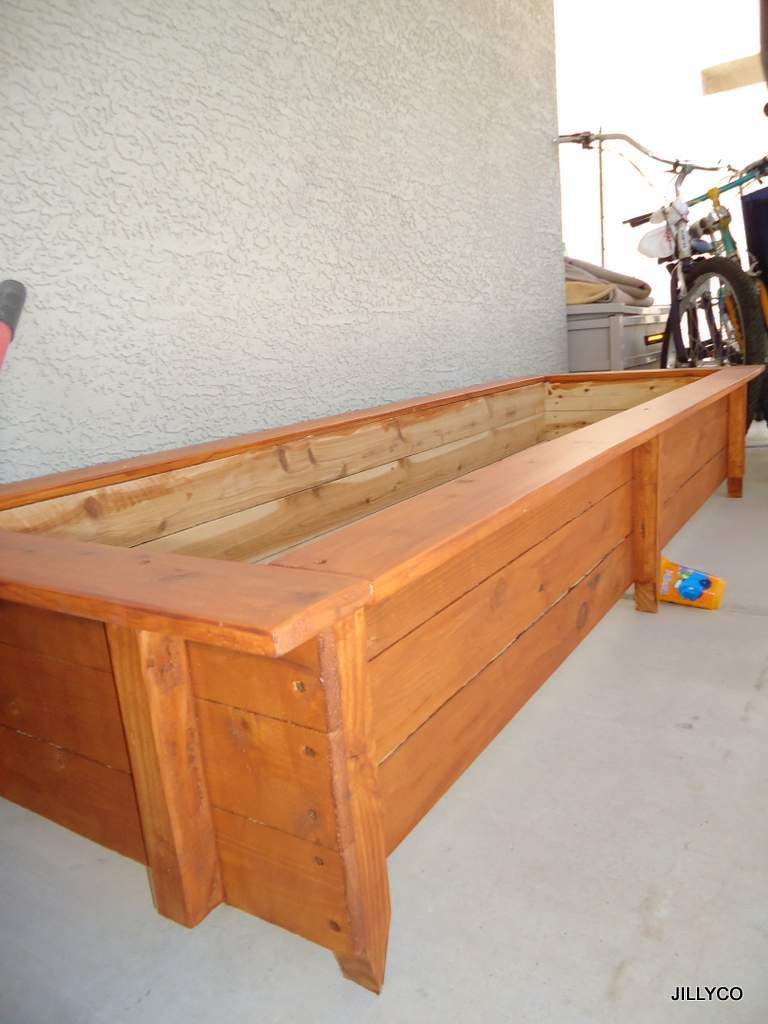
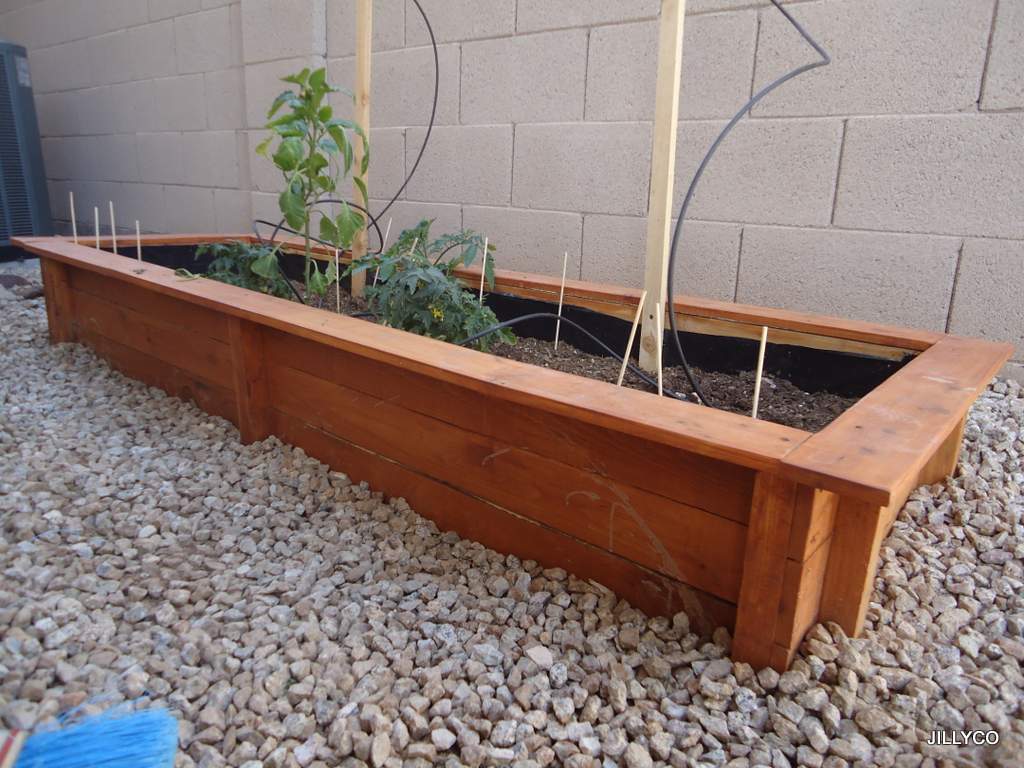
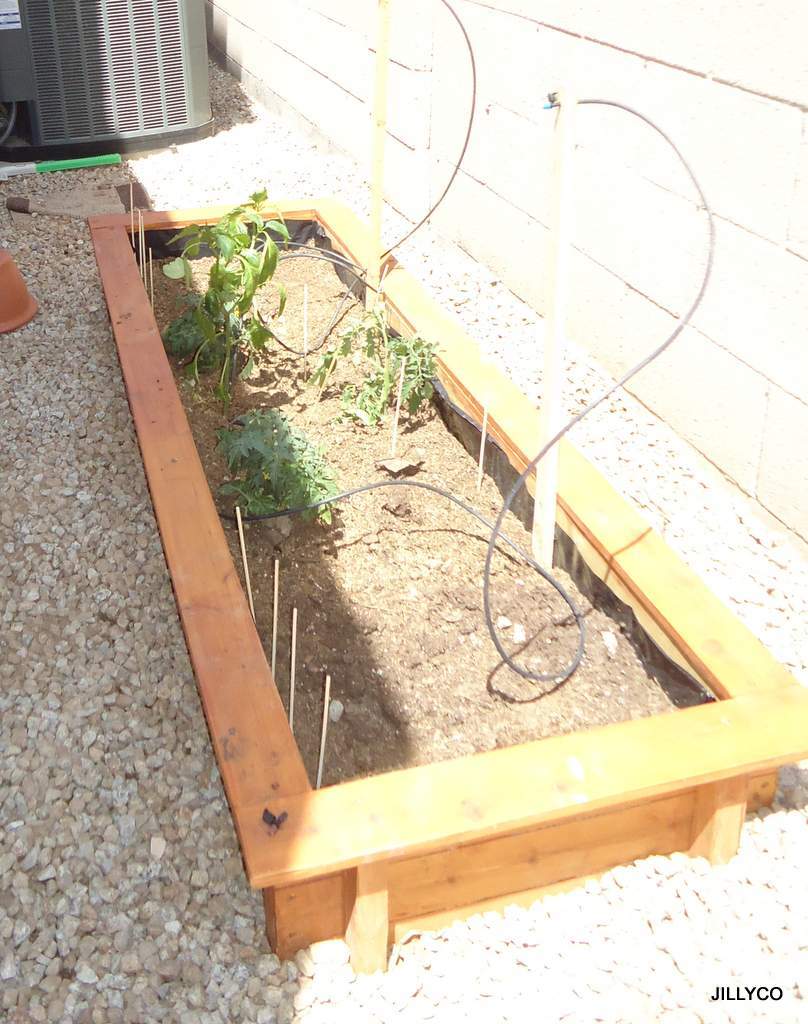
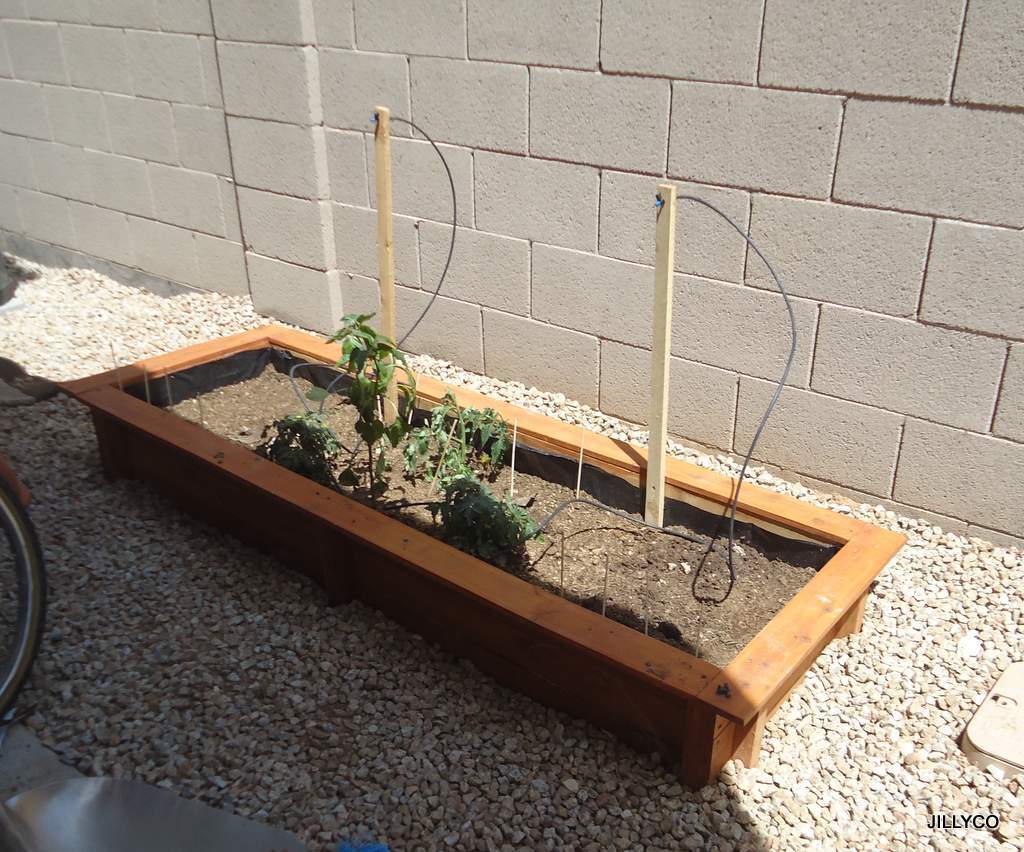
THANK YOU Ana's your plans are a life saver and pocket book saver as well. You make your plans so easy to follow and use. For my project I used the cedar fence pickets and redwood 2" x 2" stakes that where on sale at the orange box store for "6 pack bundle" for only $.50 each. All I can say is SCORE! ;') Since we live in Arizona I treated all the lumber with a outdoor weather proofing wood finish (Cedar Color), lined all the interior beds (only the Wood Sides) with 4 mil plastic to keep the cedar from absorbing all the water and wired mesh on the bottom of the garden prior to adding dirt. This keeps my local rabbits/other creatures from eating my roots from the bottom up. And I have my dog from the top side. We are already a 100 degrees here and we needed to get our seedlings in a garden asap. Thanks Again for the Plans, Ana! I will be making more of these garden boxes to come.

Estimated Cost
$15
Estimated Time Investment
An Hour or Two (0-2 Hours)
Finish Used
Behr Premium Transparent Weather Proofing Wood Finish (Cedar Color)
Recommended Skill Level
Starter Project

Comments

Mariel

Thu, 08/08/2013 - 09:39

Love this! We are new to Phoenix - originally from the Midwest - and I really would like to add some raised beds to our backyard. I appreciate your comments on how you adapted these for the desert! May I ask what side of your house they are on? I'm thinking to put mine on the east side so they get morning sun, but not the scorching afternoon rays. Thanks for your AZ advice!

Seasonal And Holiday

Childrens table and chairs

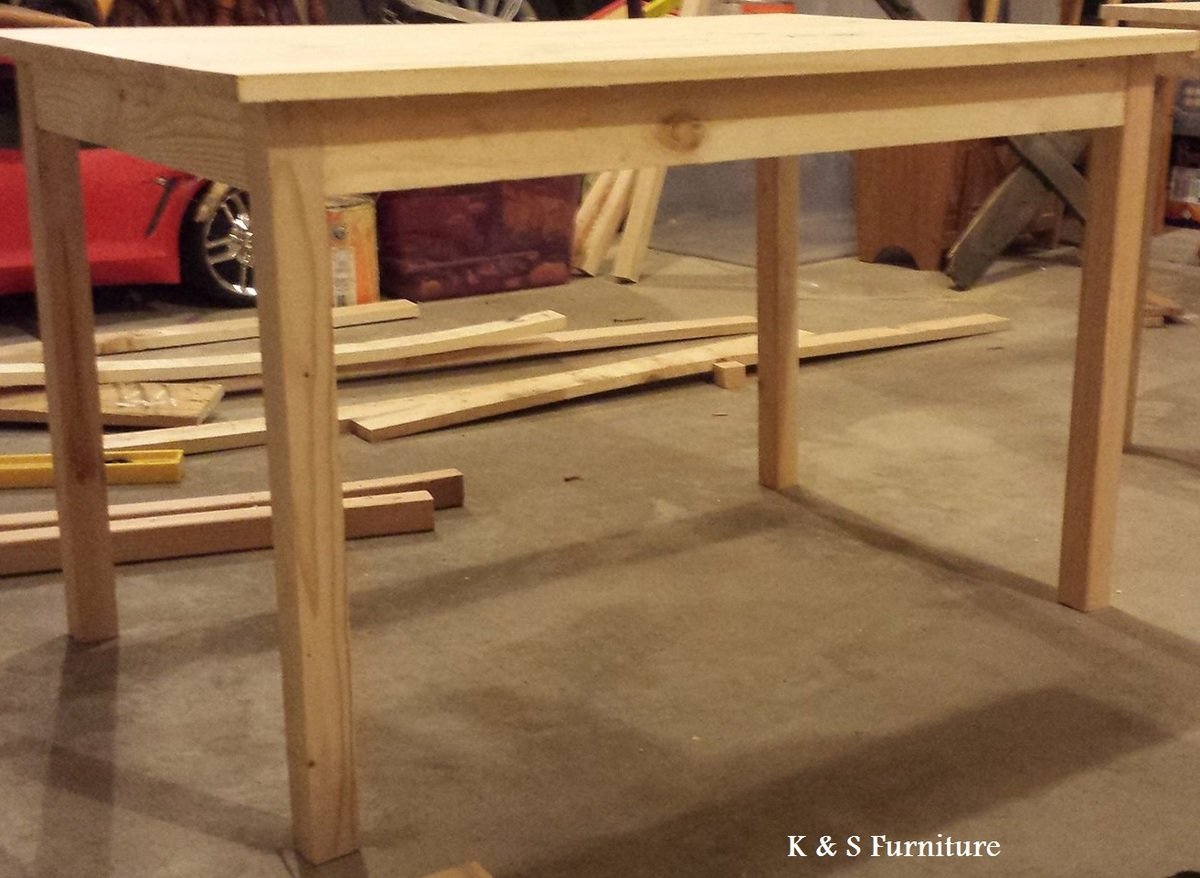
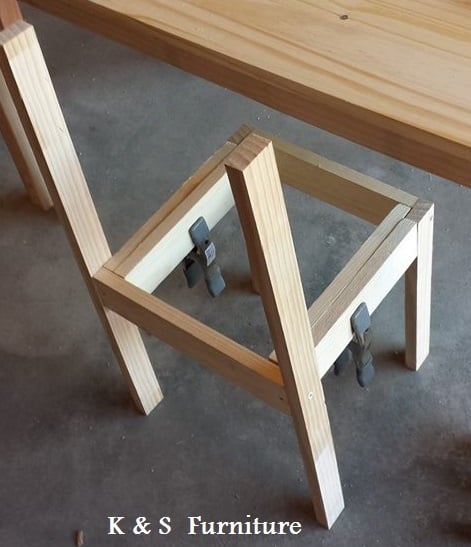
We built Two children's table and 8 stackable chairs for one of our daycare's. It took a lot of work but once we figured out the first chair it was a breeze for the other 7.

Estimated Cost
$30
Estimated Time Investment
Week Long Project (20 Hours or More)
Finish Used
We stained the wood in a Cherry Stain and finished with multiple coats of Poly.
Recommended Skill Level
Beginner

Comments

timh

Sat, 02/08/2014 - 15:54

Awesome! I built one for our homeschool and it works great. Yours look very nice.

Chestwick Platform Bed (King)

Submitted by ebfaulk on Fri, 04/27/2012 - 18:02

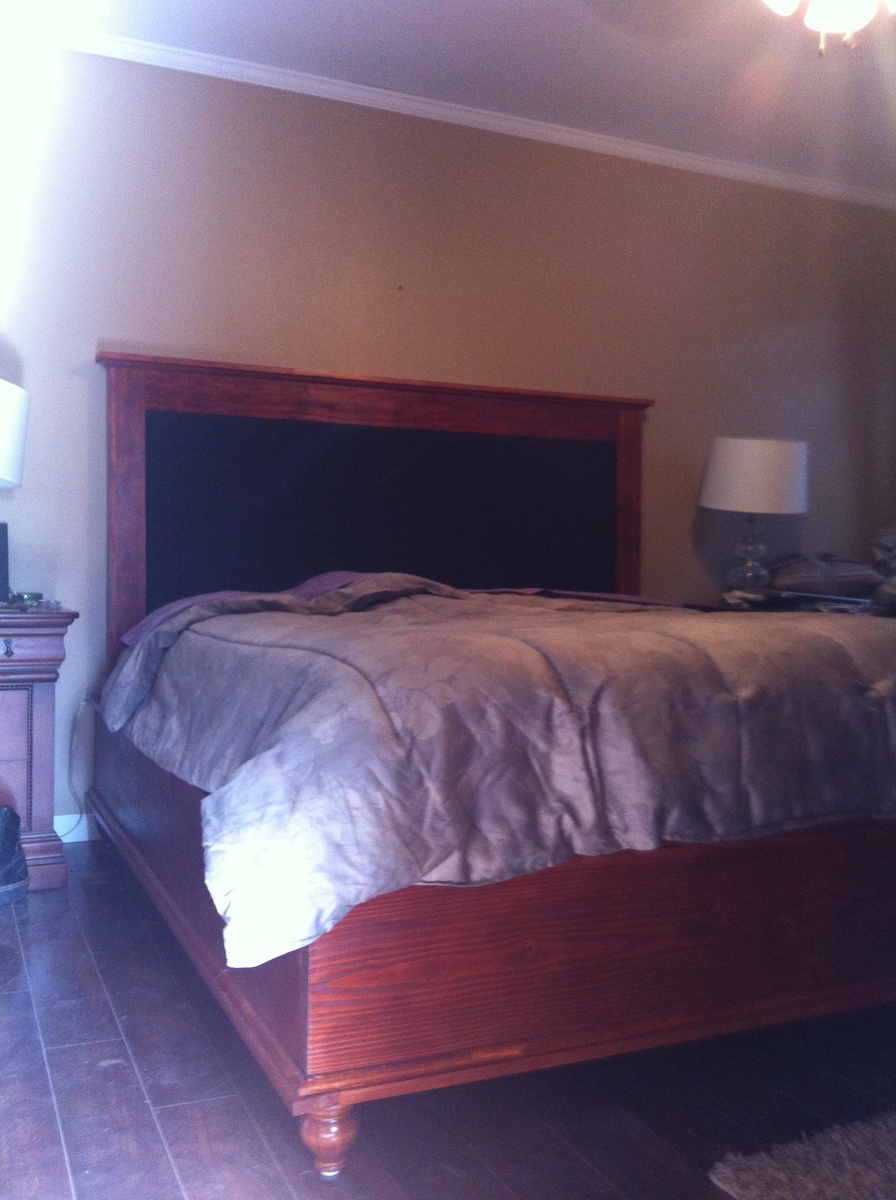
I took the plans from the Chestwick platform bed and headboard and built it using King size bed dimensions. For the box of the bed, I used 2 x 12's instead of 2x8's. It seemed more substantial for a king bed, and this way, I didn't need to use a box spring.

Estimated Cost
$300
Estimated Time Investment
Weekend Project (10-20 Hours)
Finish Used
Gunstock
Recommended Skill Level
Intermediate

Comments

birdsandsoap

Sat, 04/28/2012 - 22:17

I want to stain something that color just because it's called "Gunstock." This is such a neat bed, looks good with the heavier bottom, especially on a king size bed.

Vertical Herb Planter

Submitted by Anonymous (not verified) on Tue, 05/10/2016 - 20:04

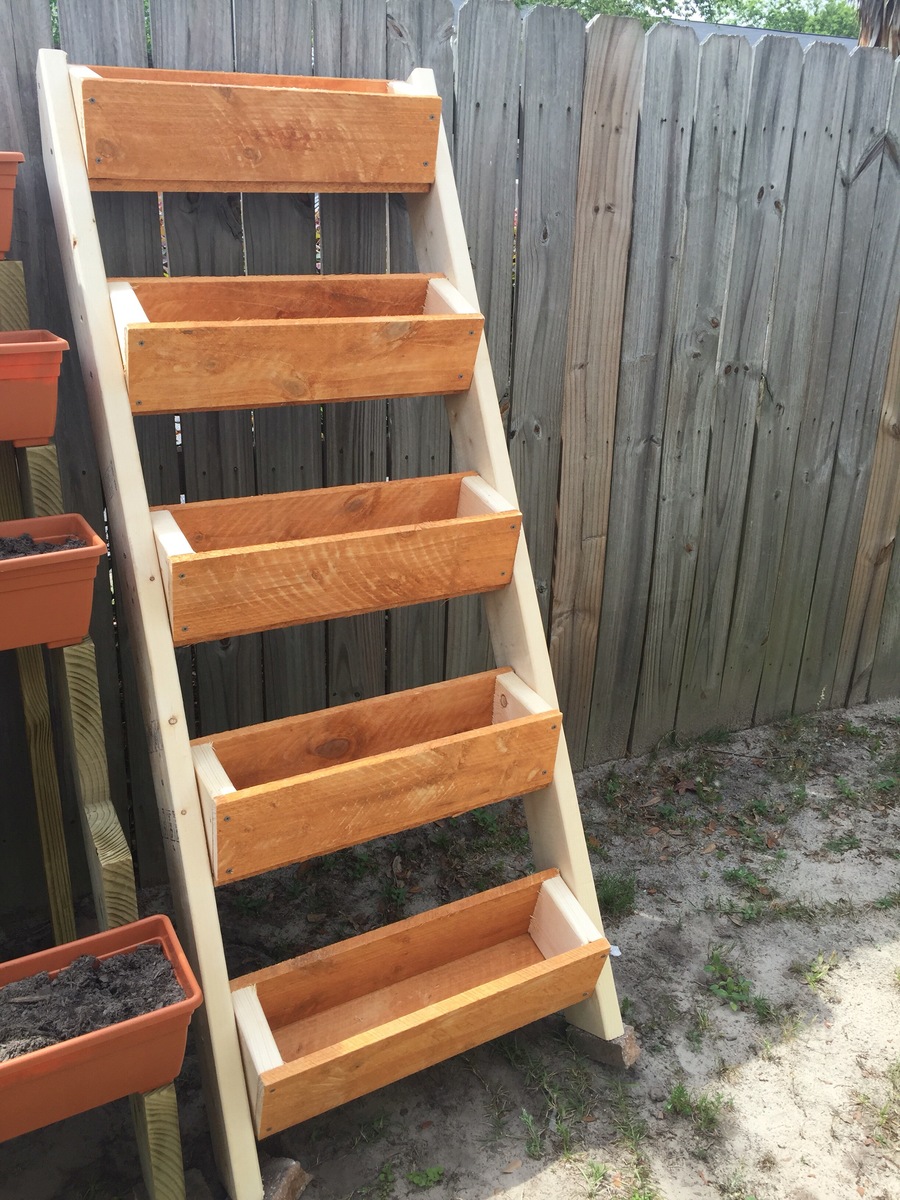
Used your plans but make changes to the planters since I do not own an angle machine.  They look great and the cost was less than $30

Estimated Cost
$28
Estimated Time Investment
Afternoon Project (3-6 Hours)
Finish Used
Deck screws
Recommended Skill Level
Starter Project

Comments

NextGreenLife

Tue, 05/30/2017 - 14:33

Can appreciate wanting to do projects but not having all the necessary fancy tools.  I need to make two of these anyway (one to give away), so going to steal this idea to make it a wham-bam quick job!

Back