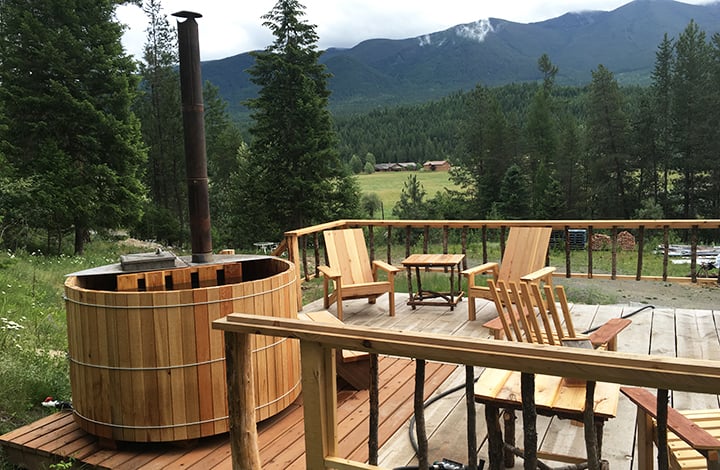
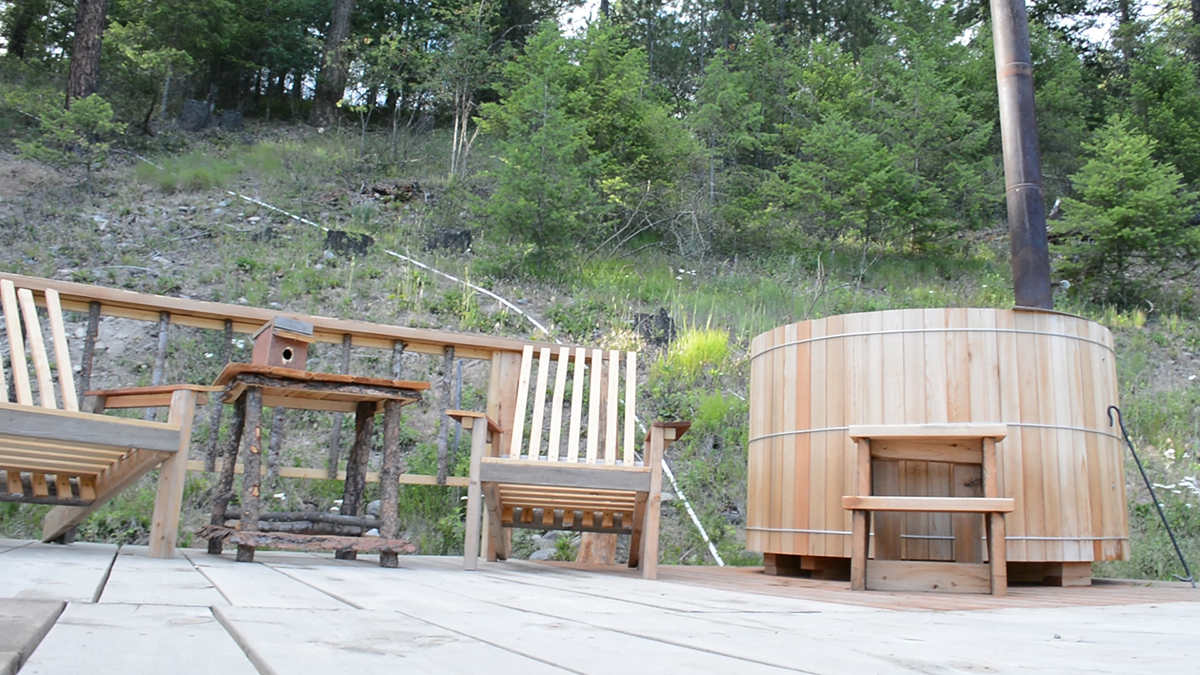
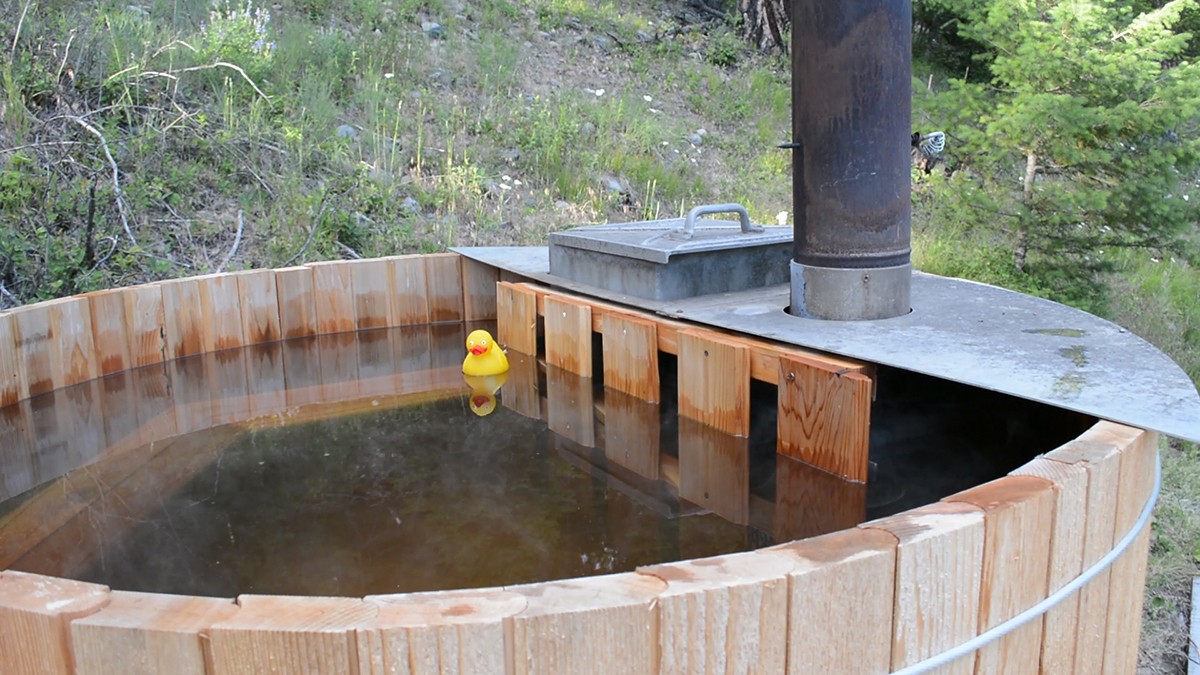
We are developing a completely off-grid property and before starting on construction of the house, we decided to start with a smaller project to get our feet wet (no pun intended!). We also wanted a place to soak our sore muscles while we build a house since we are restricted to taking 60-second hot showers, and so we came up with the idea of a wood-fired cedar hot tub.
Buying a cedar hot tub retail can cost anywhere from $3,000 to $7,000, but we were curious to see what we could build our own for and it turns out, we spent $850. Since there were no existing plans on the internet that we cound find for such a project, we decided to document the entire process and make our own! We struggled a bit with the build, but on our blog we documented what worked to save other people time who want to build something similar. In our post here, you will find a 9-part video series on how we put the hot tub together. Enjoy!

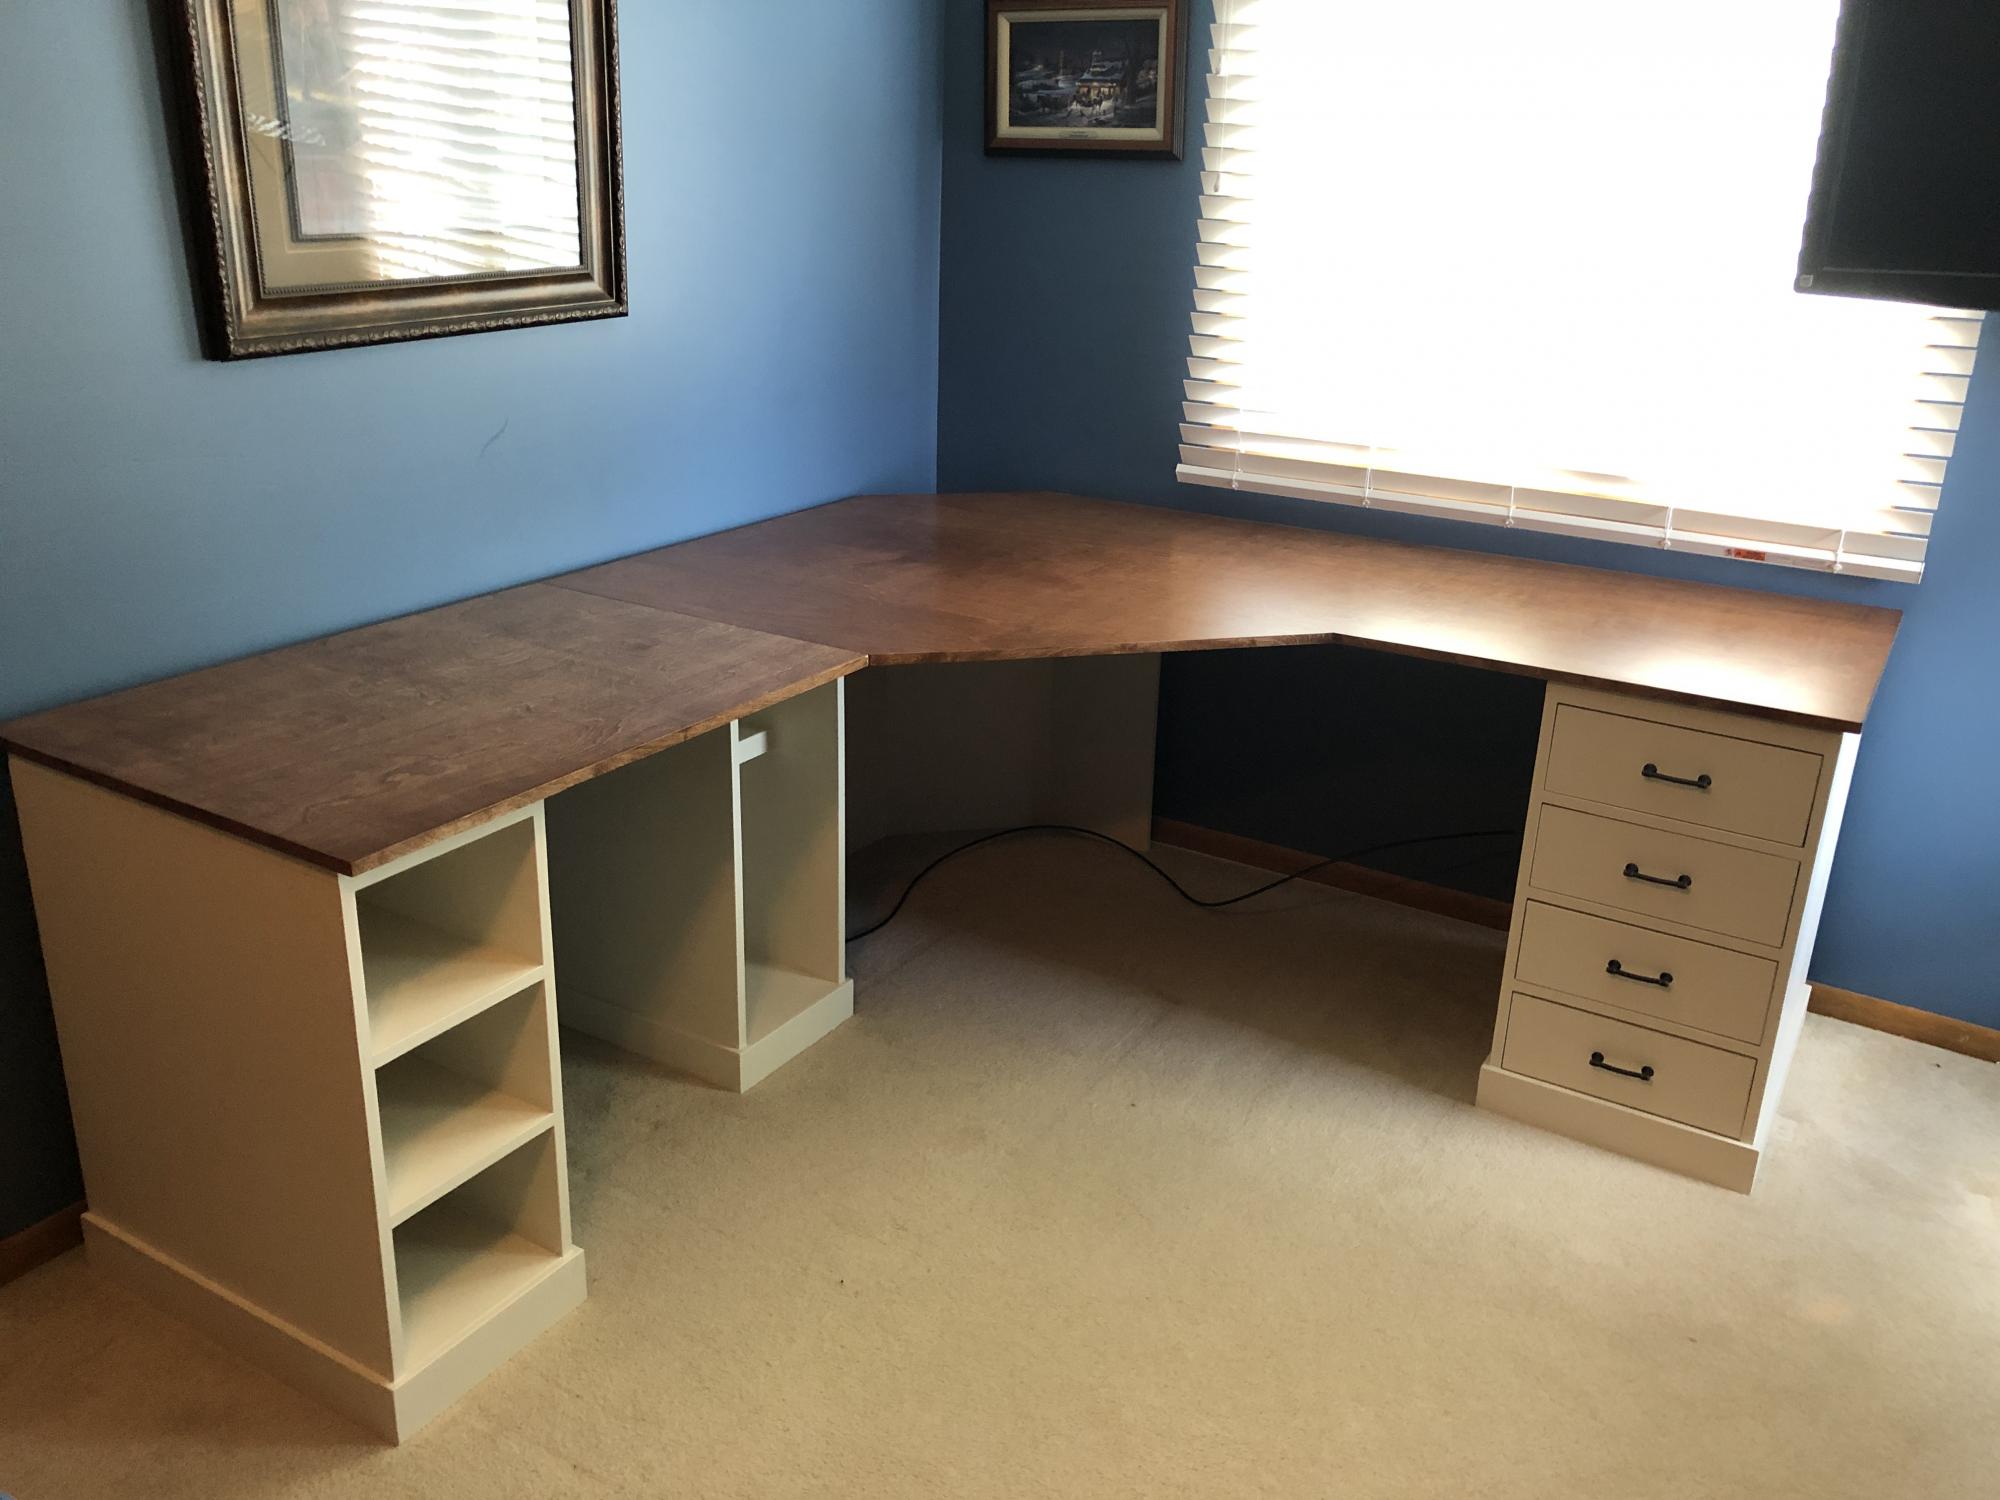

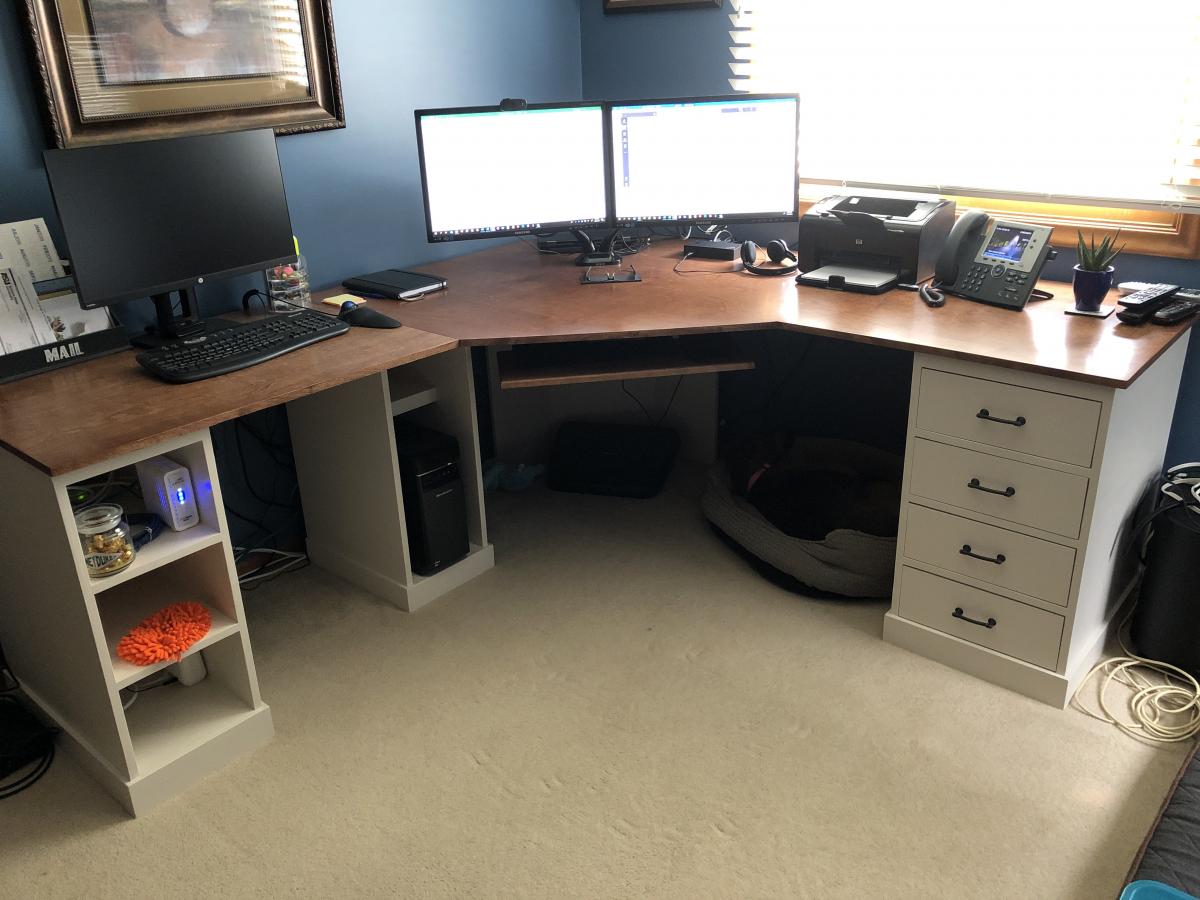


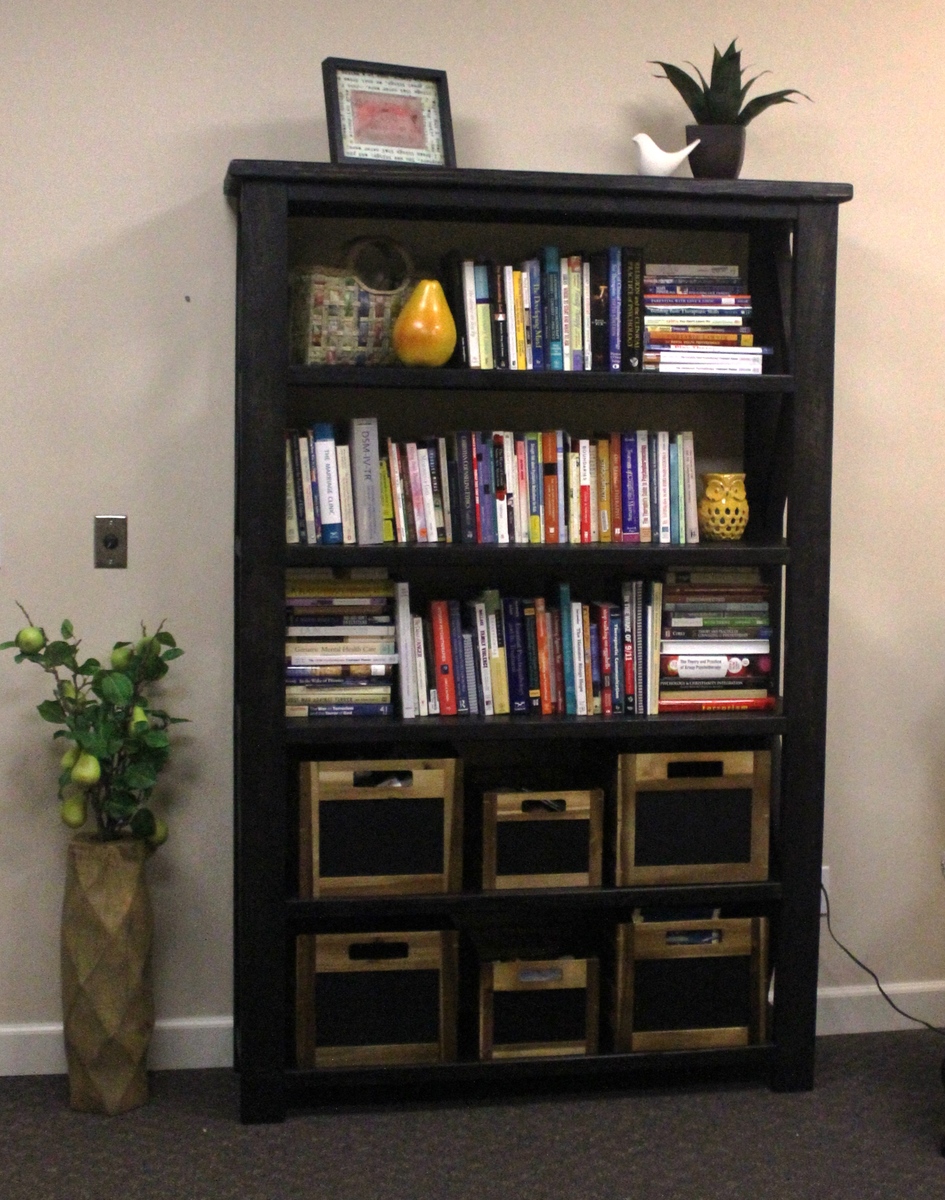
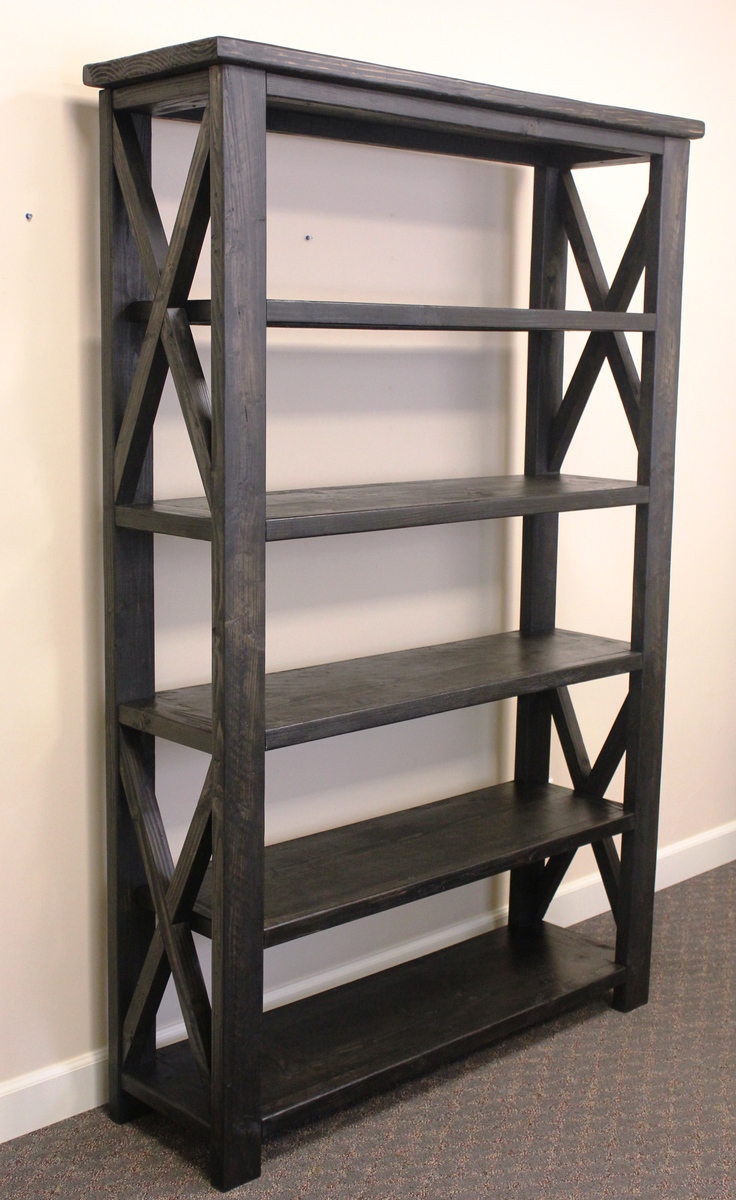
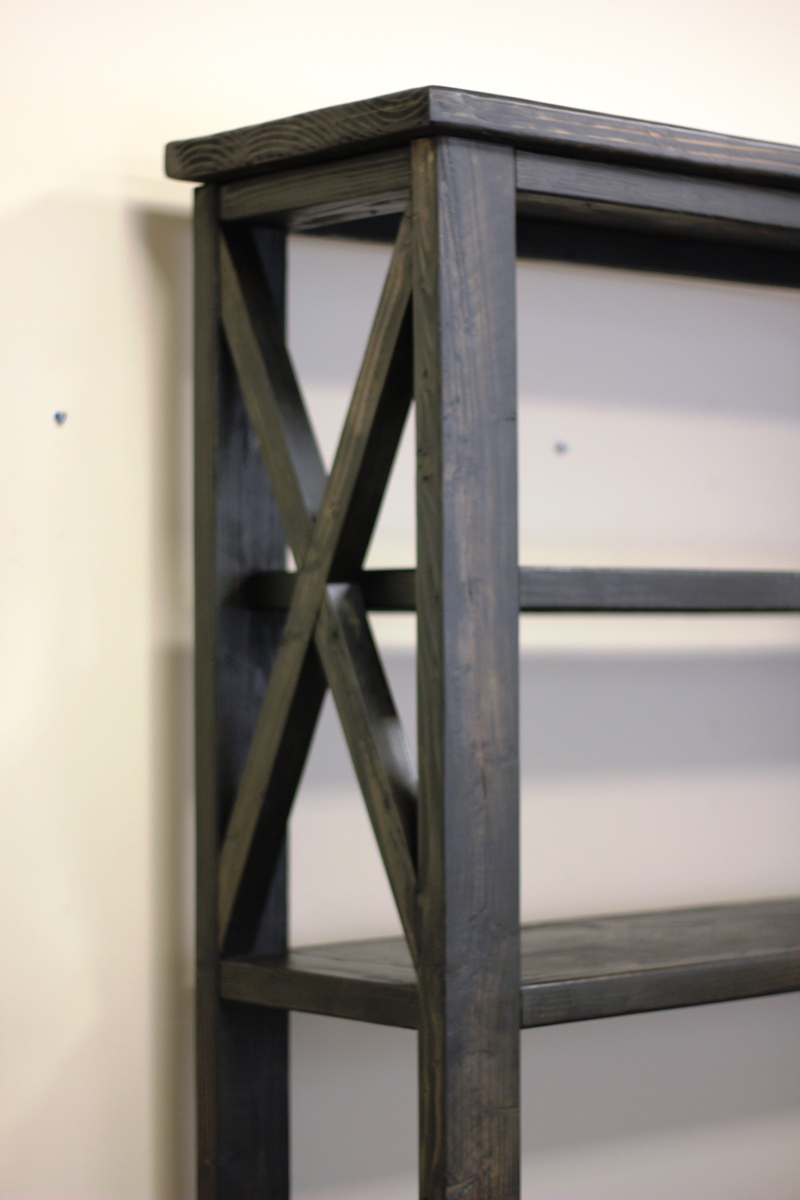
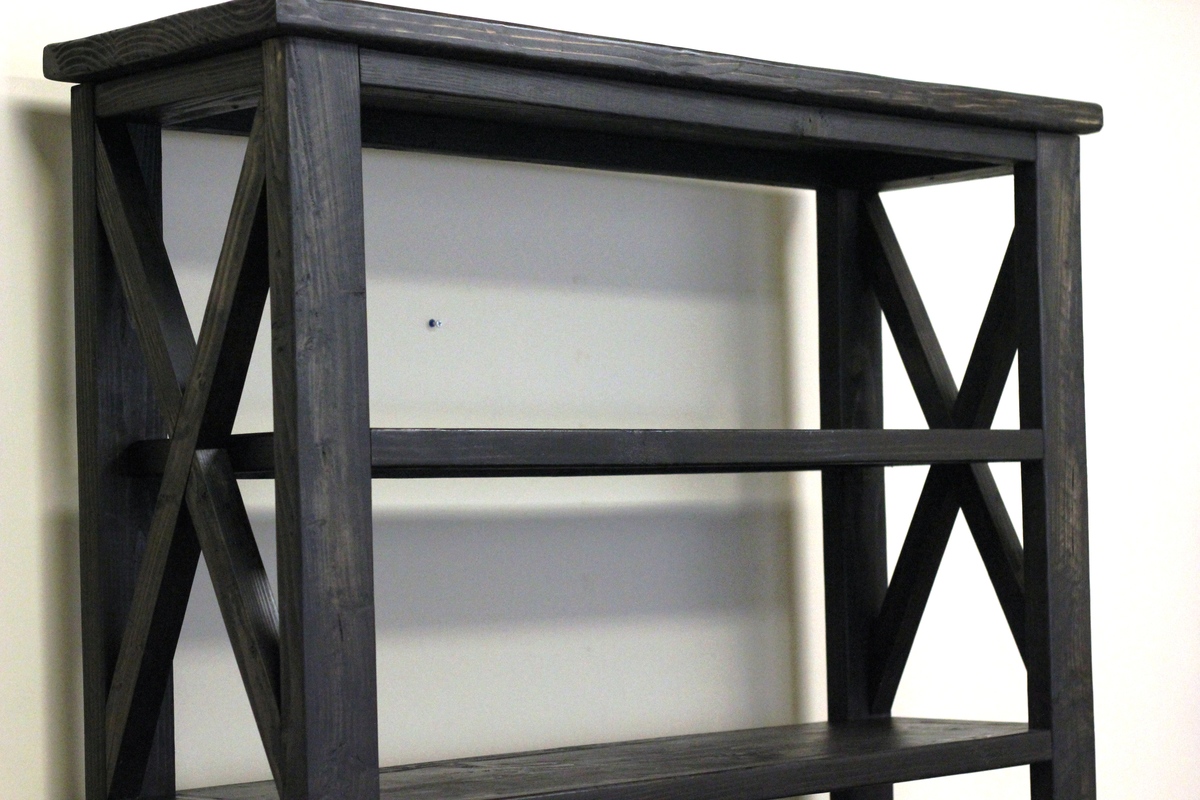
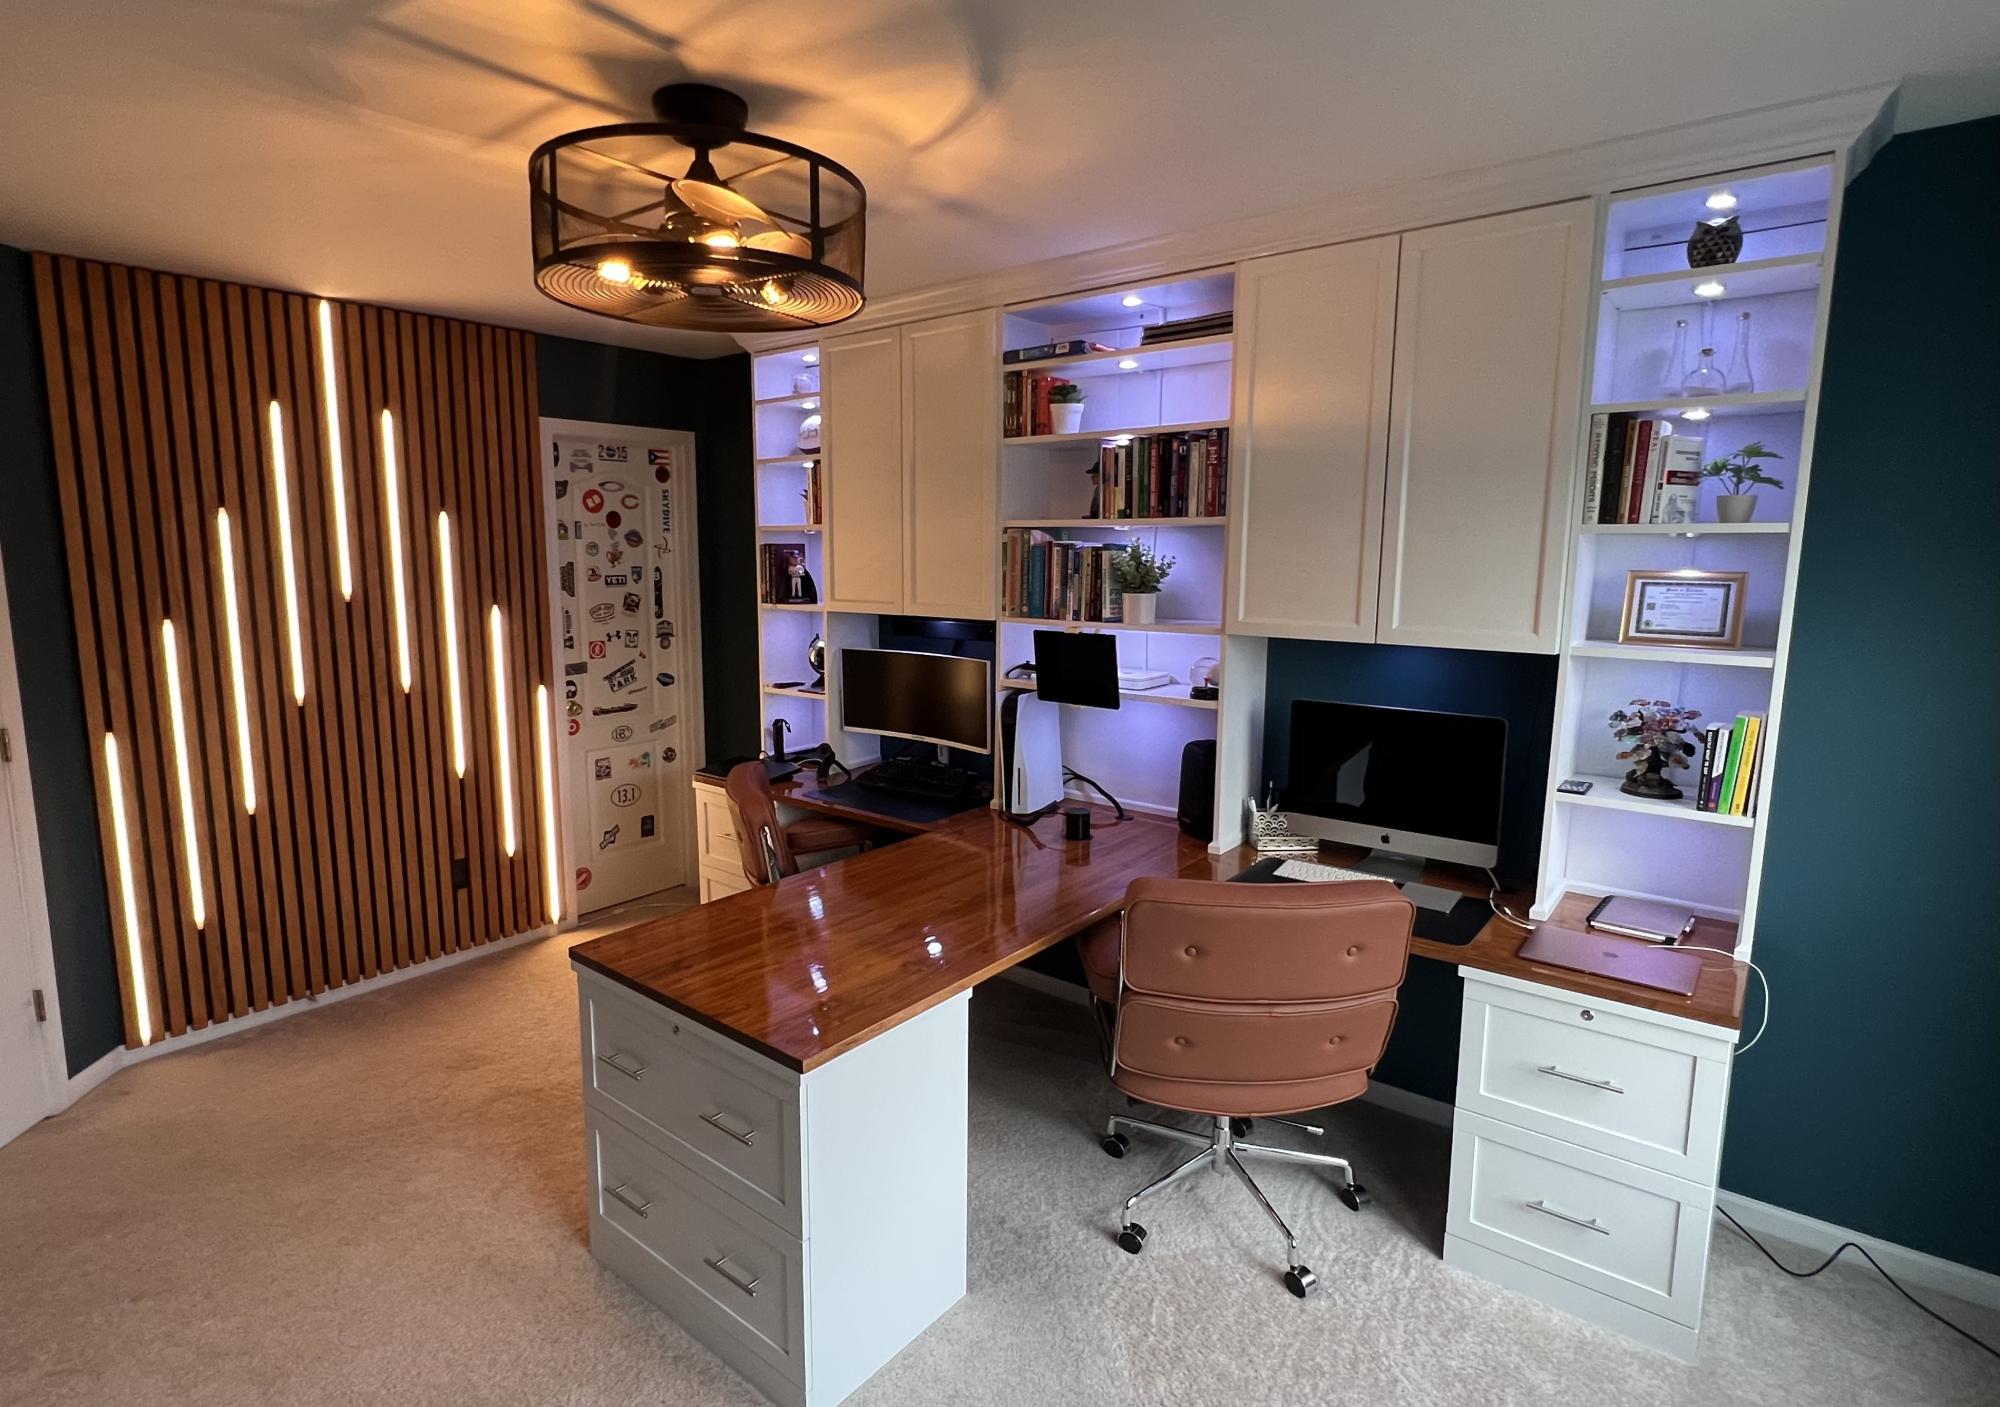
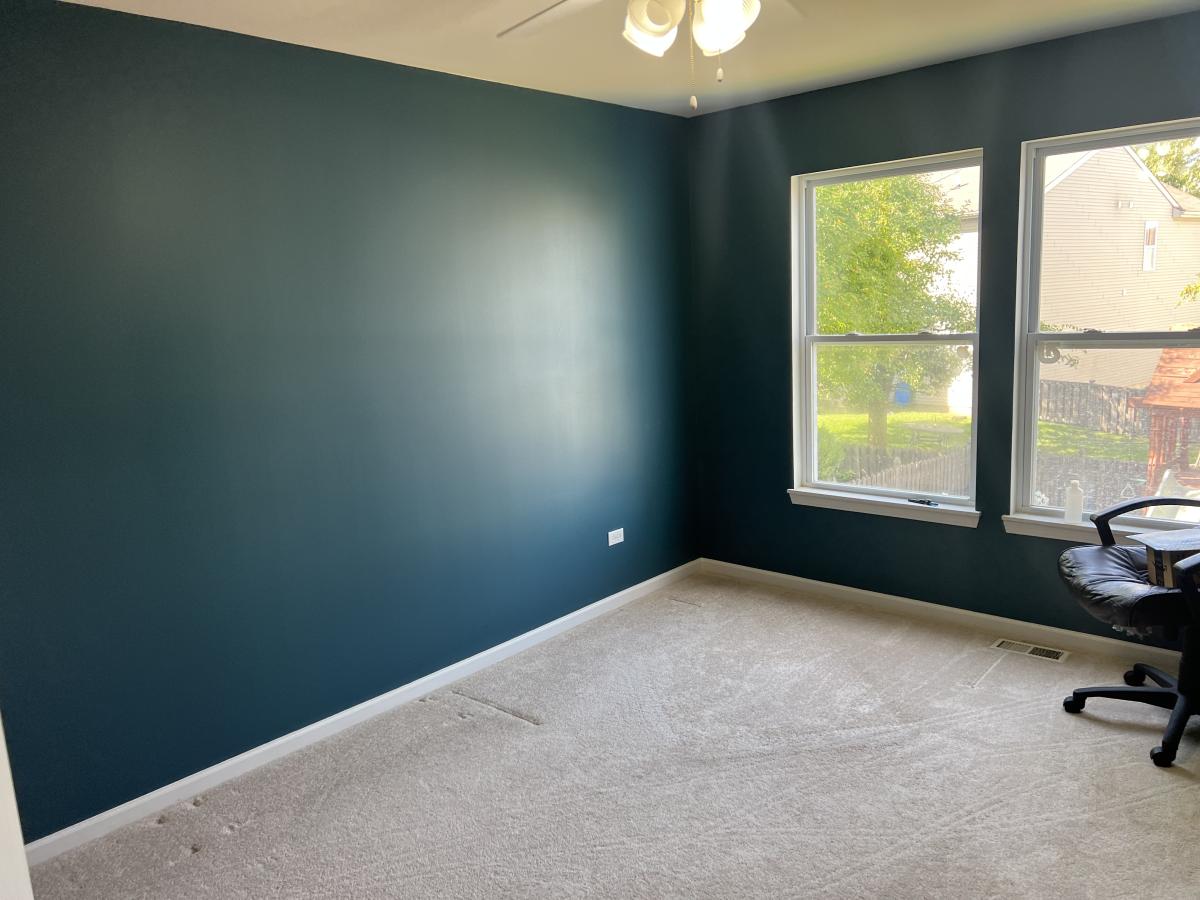
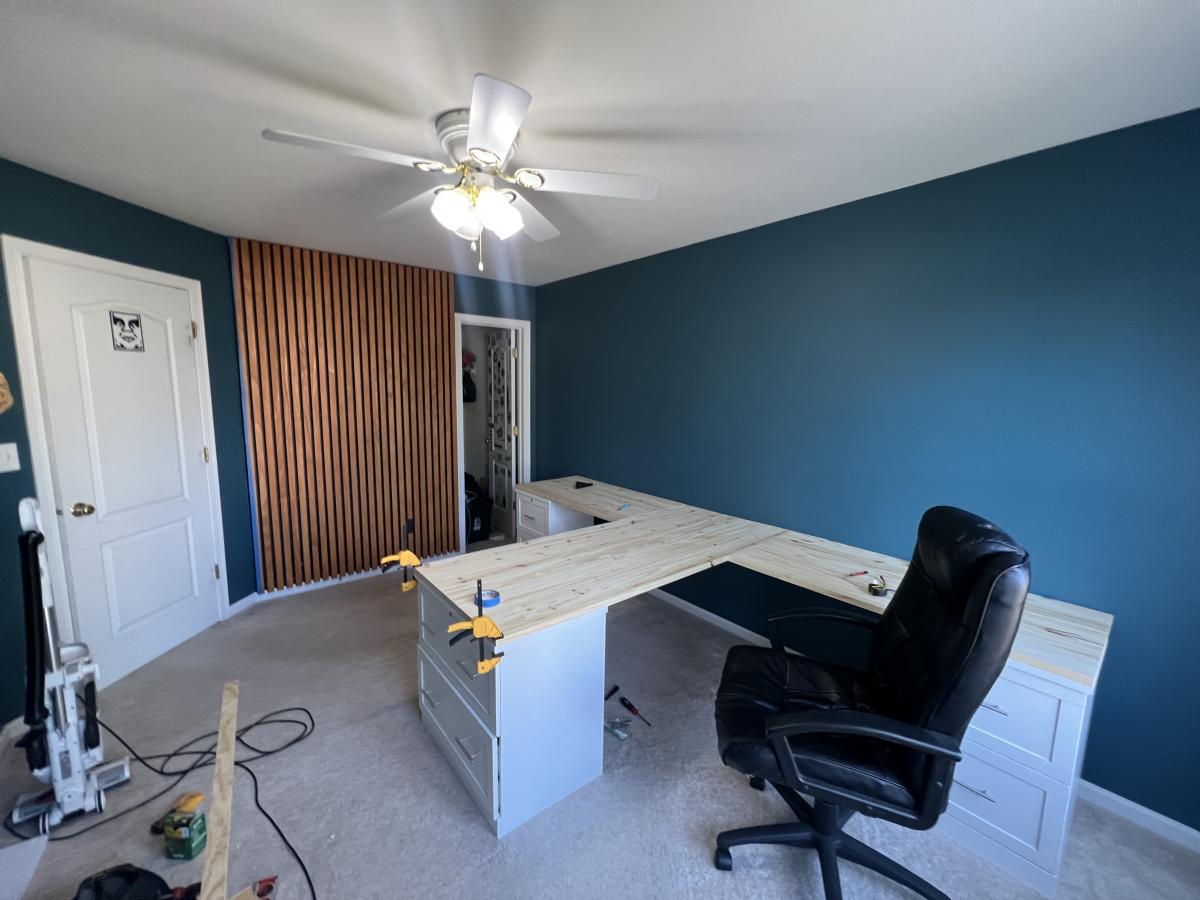
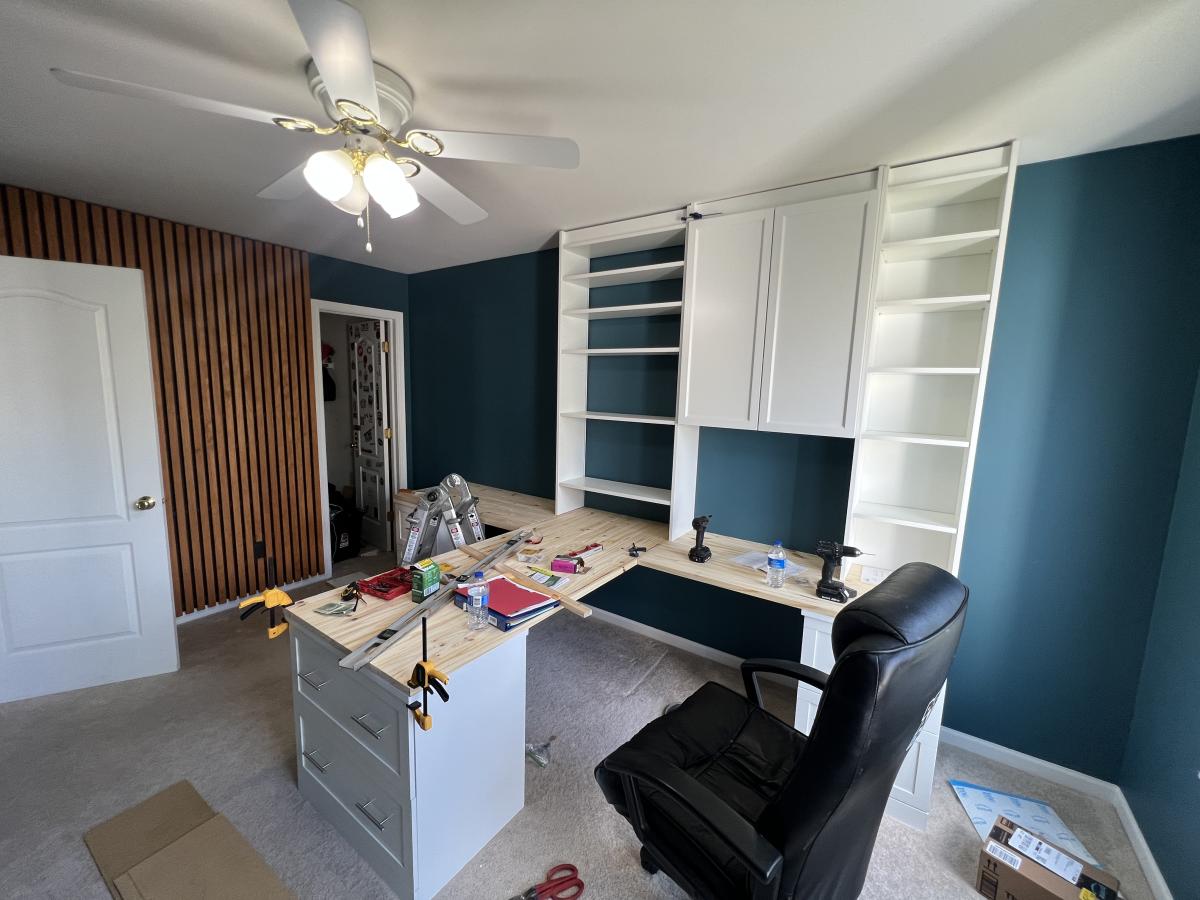
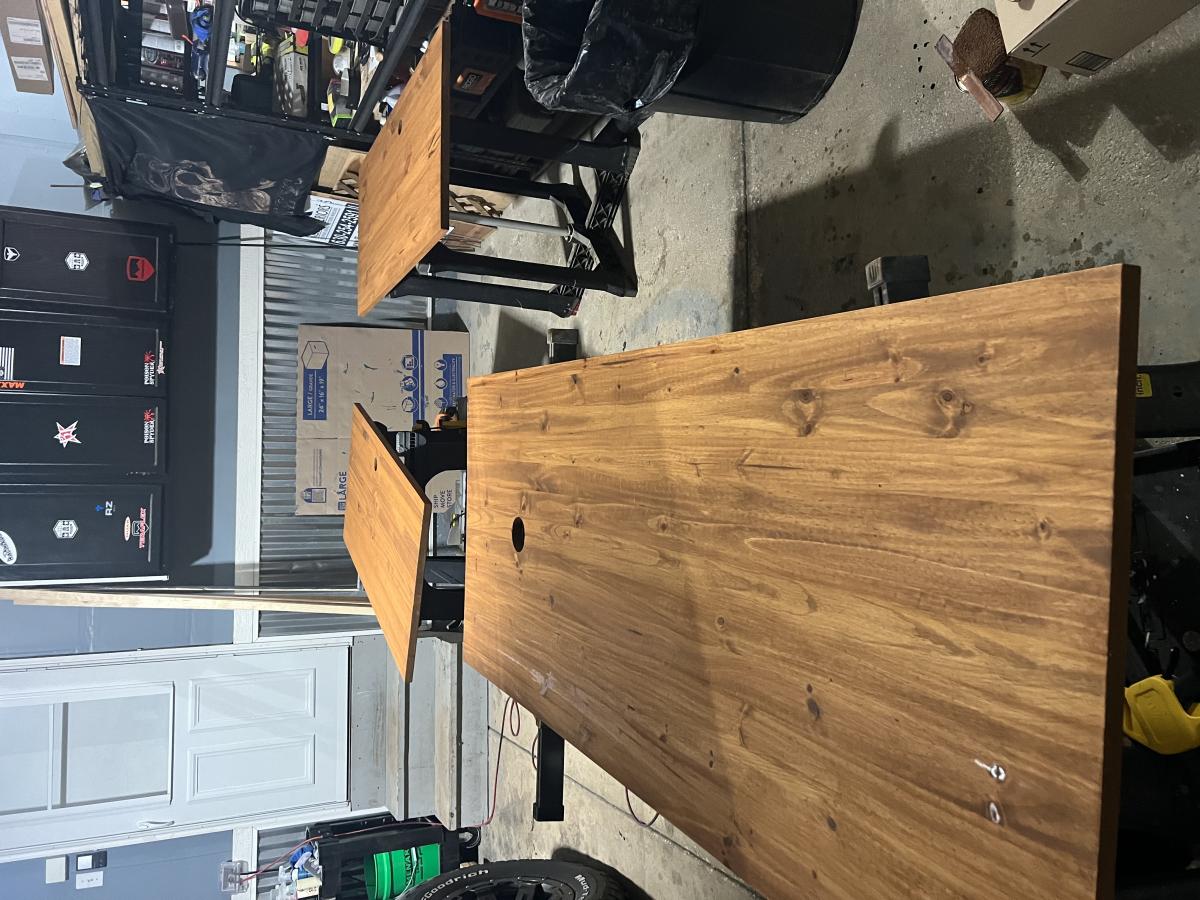
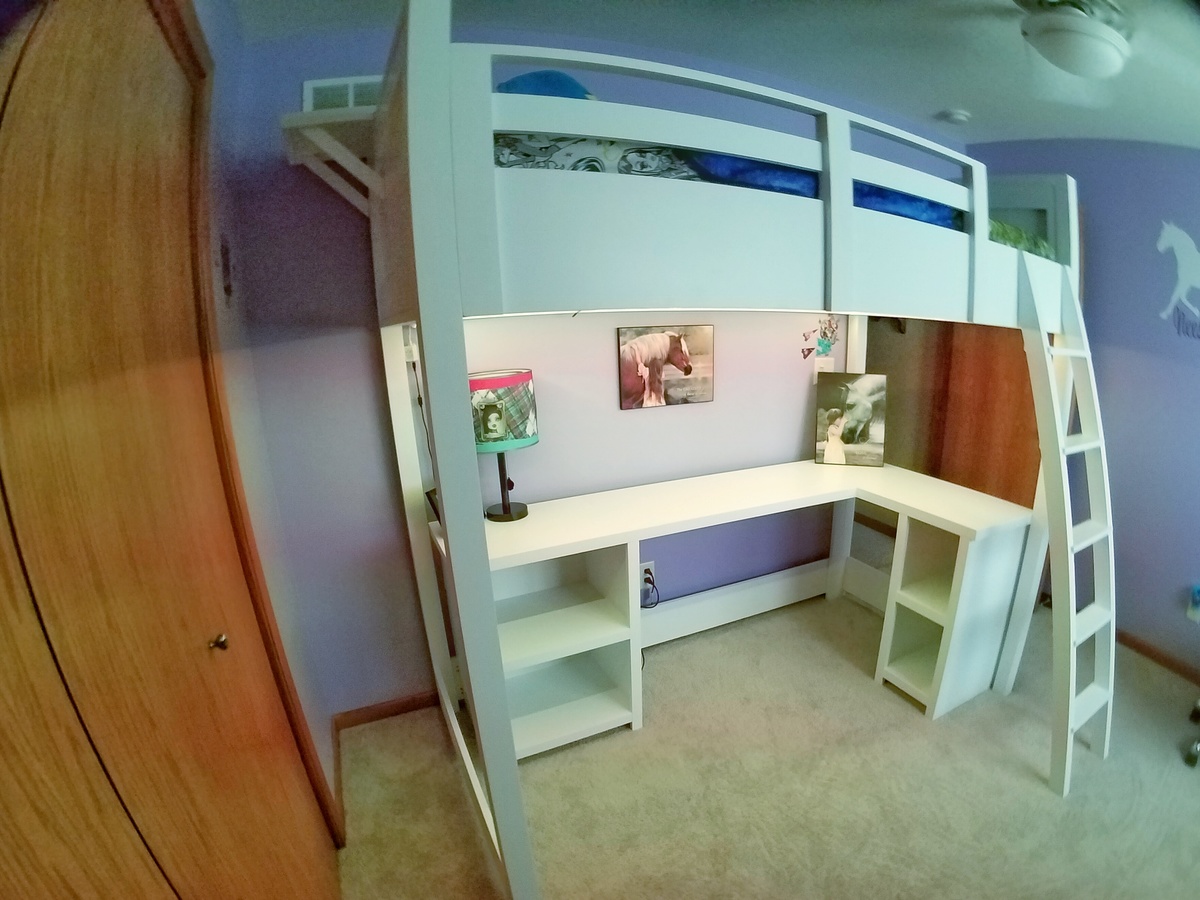
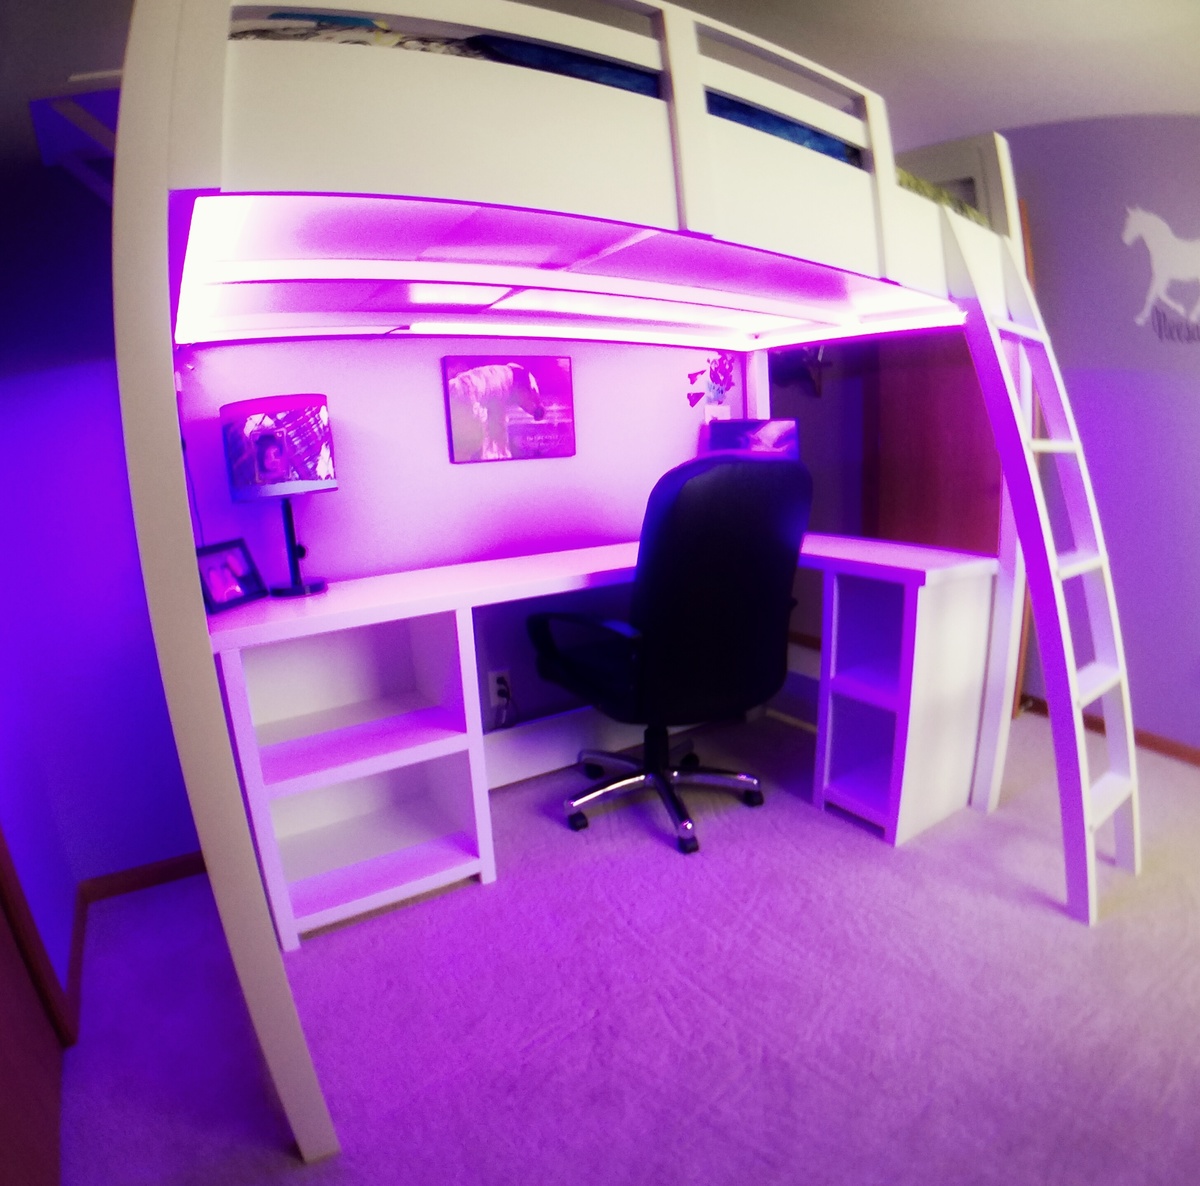
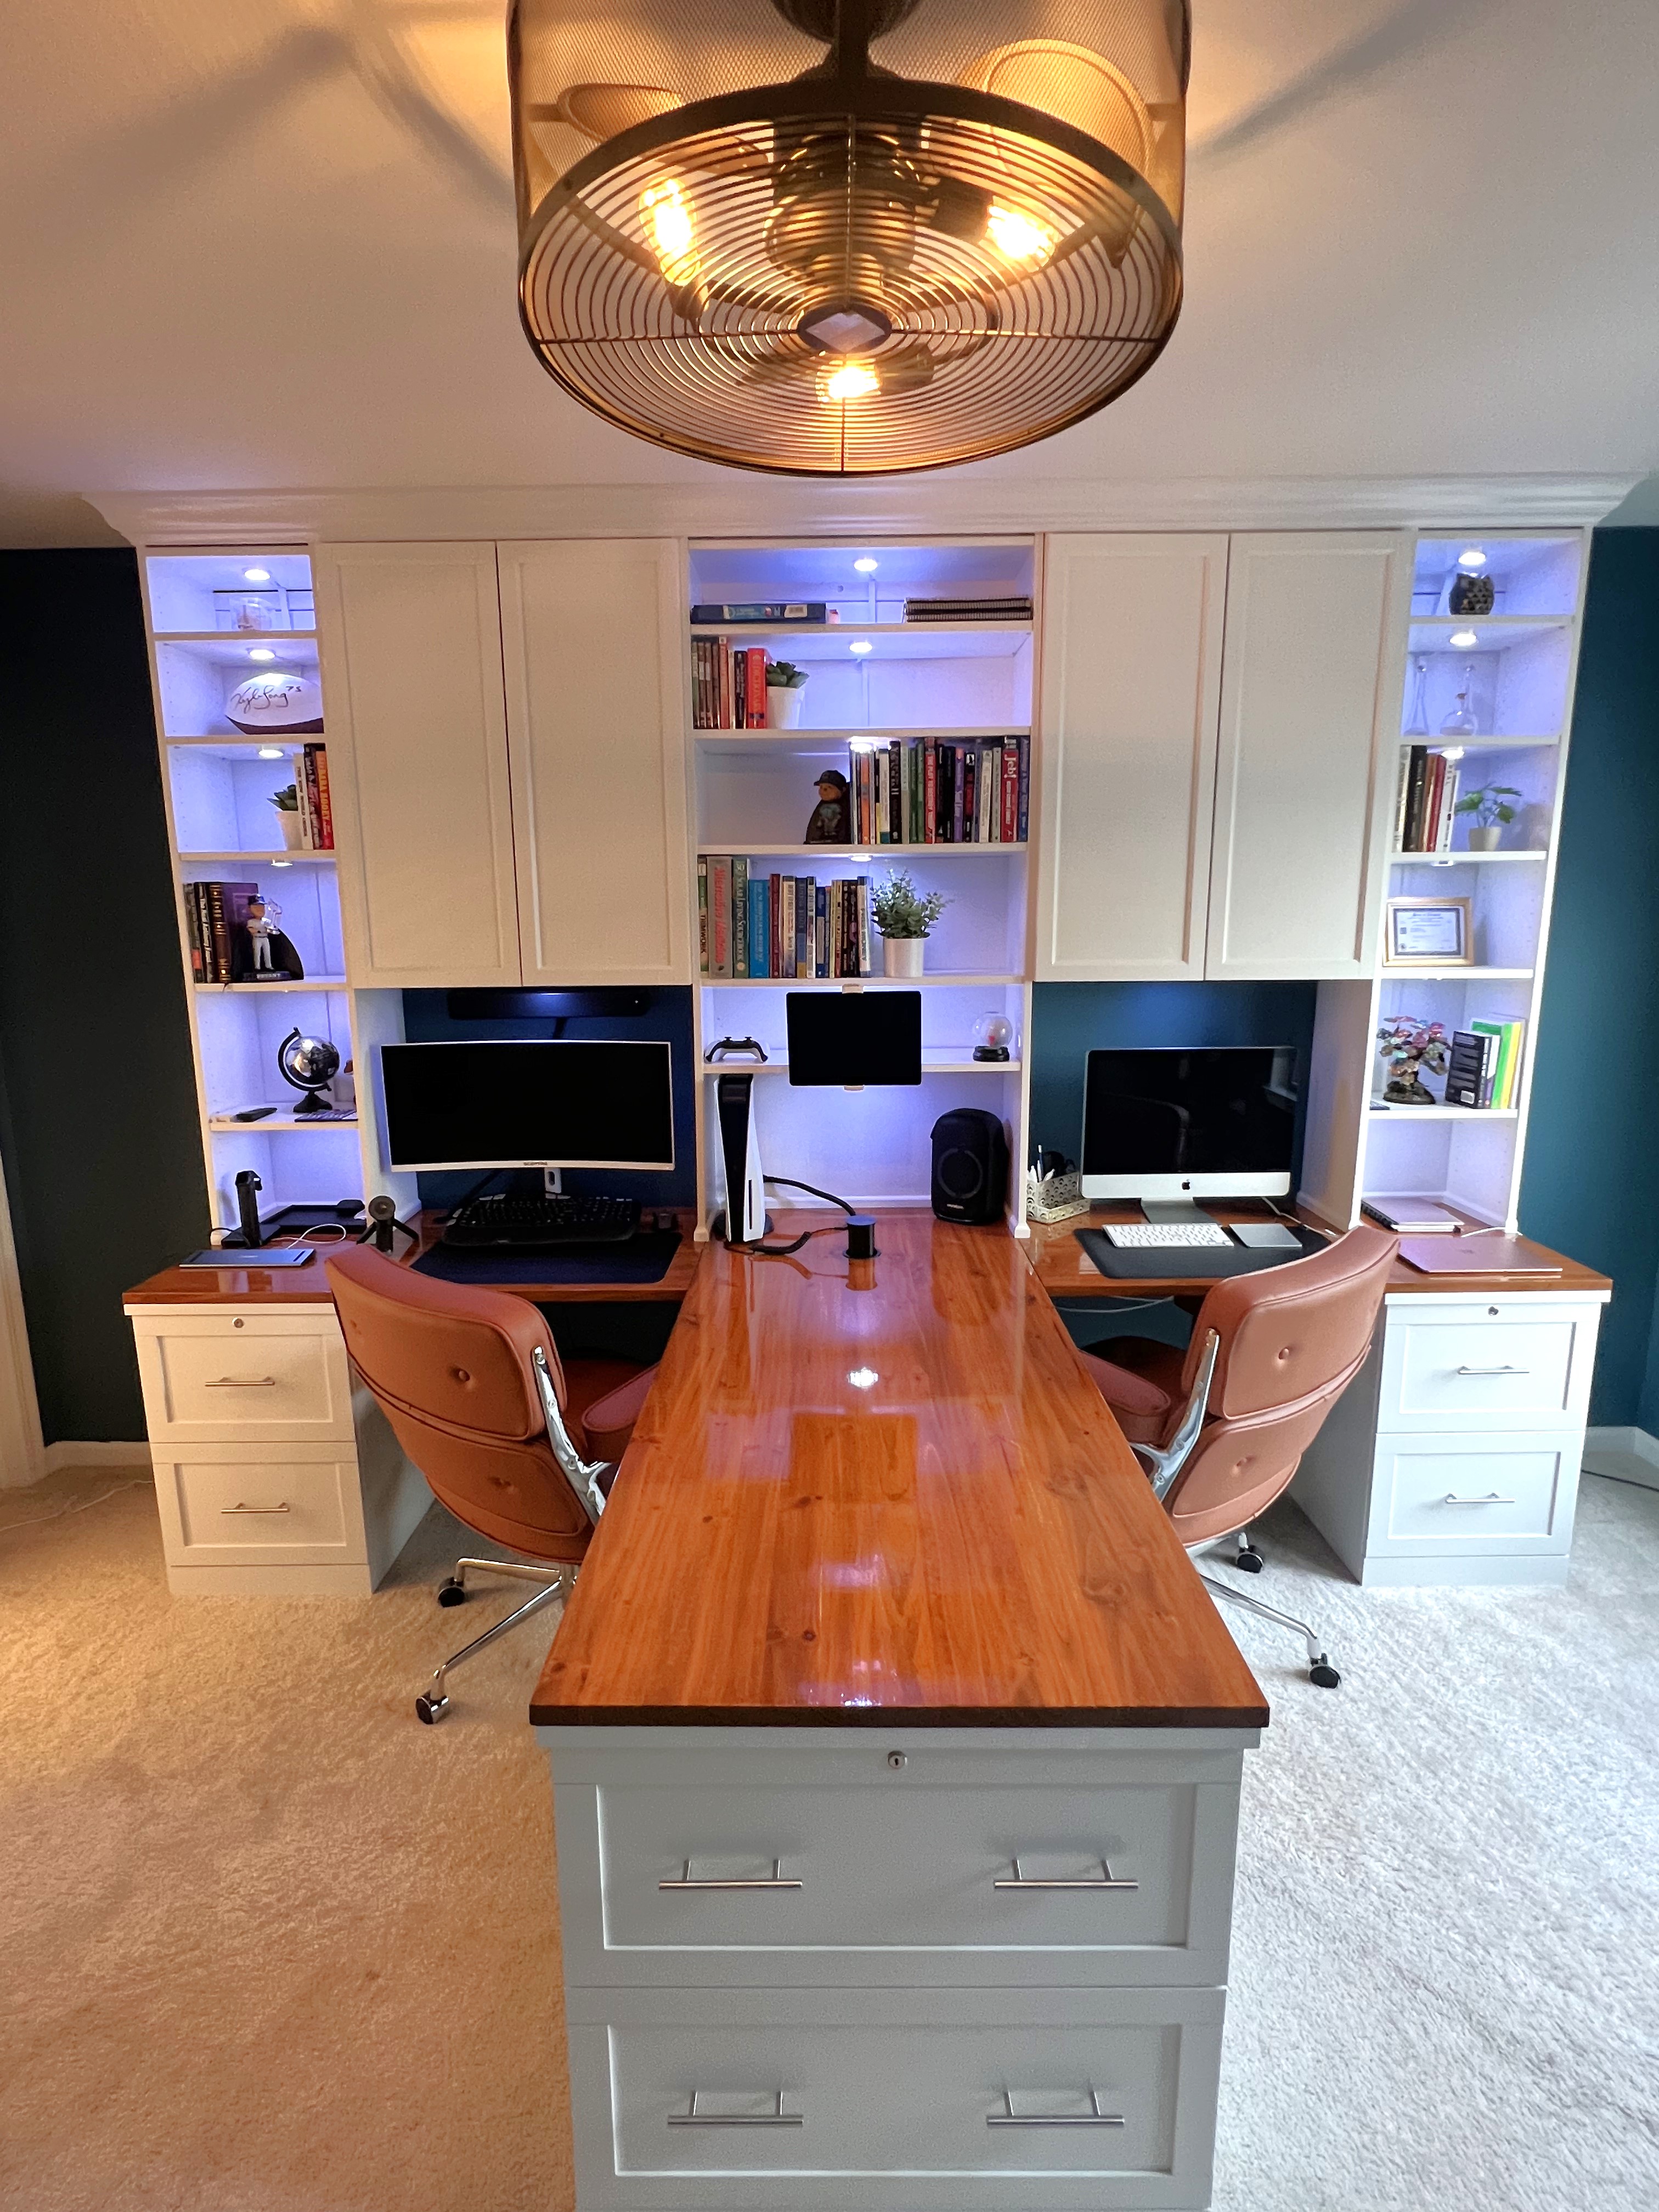 My home office remodel was inspired by a post from Ana White a few years ago. For this project I ended up using IKEA bookshelves and cutting the tops off and flipping them upside down. I used some crown mounding to cover the base of the cabinets on the tops. The desk top bases are file cabinets I found at the office supply store and the desk tops are edge glue pine. Overall I think I only had to make 8 cuts for the entire project. Saving me a ton of time and money. Thank you Ana for all of the wonderful post!
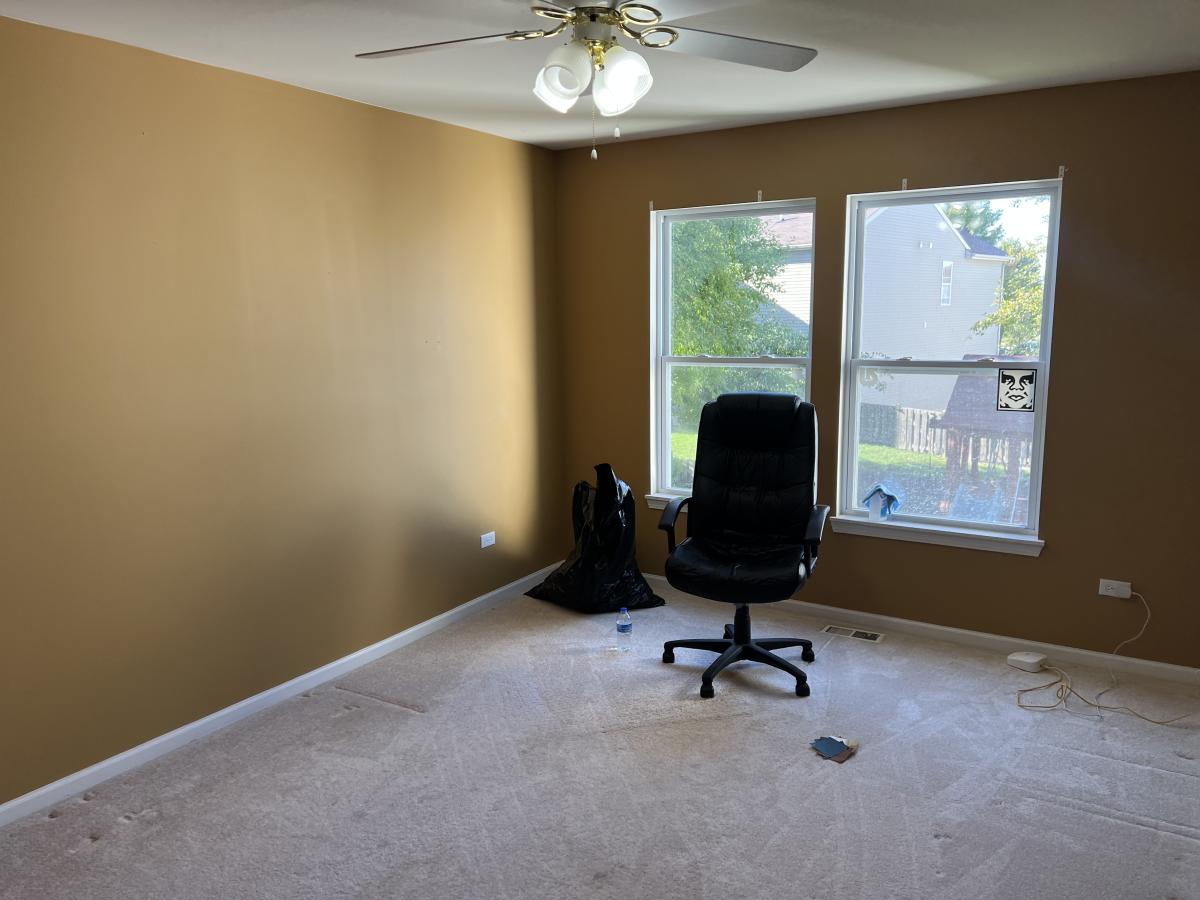
Comments
Ana White Admin
Tue, 04/18/2023 - 15:35
Awesome first build!
This looks so great! Thank you for sharing your first ever build, can't wait to see what's next.:)