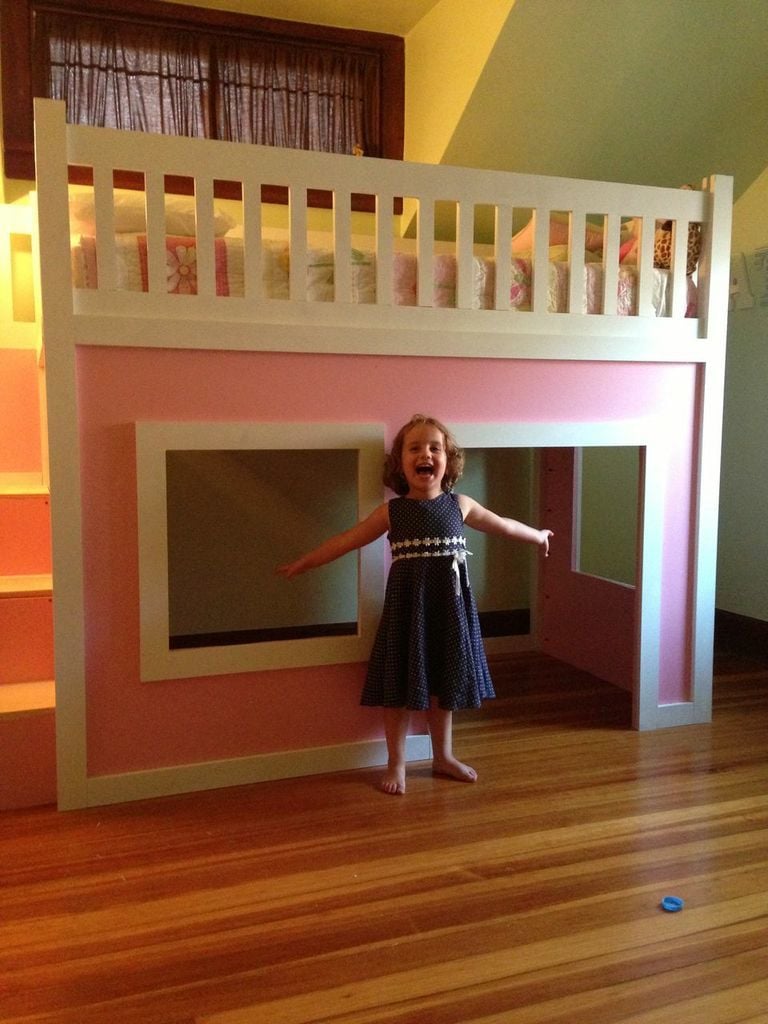
Clubhouse Fun!
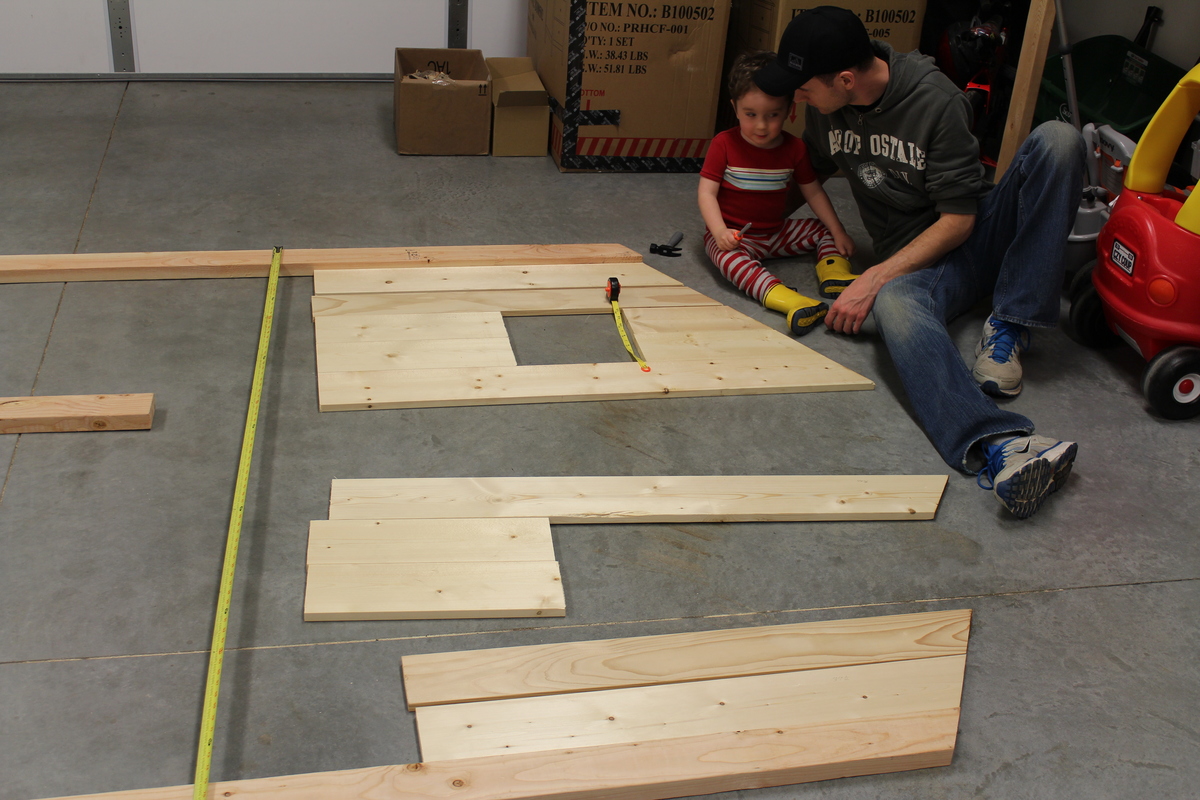
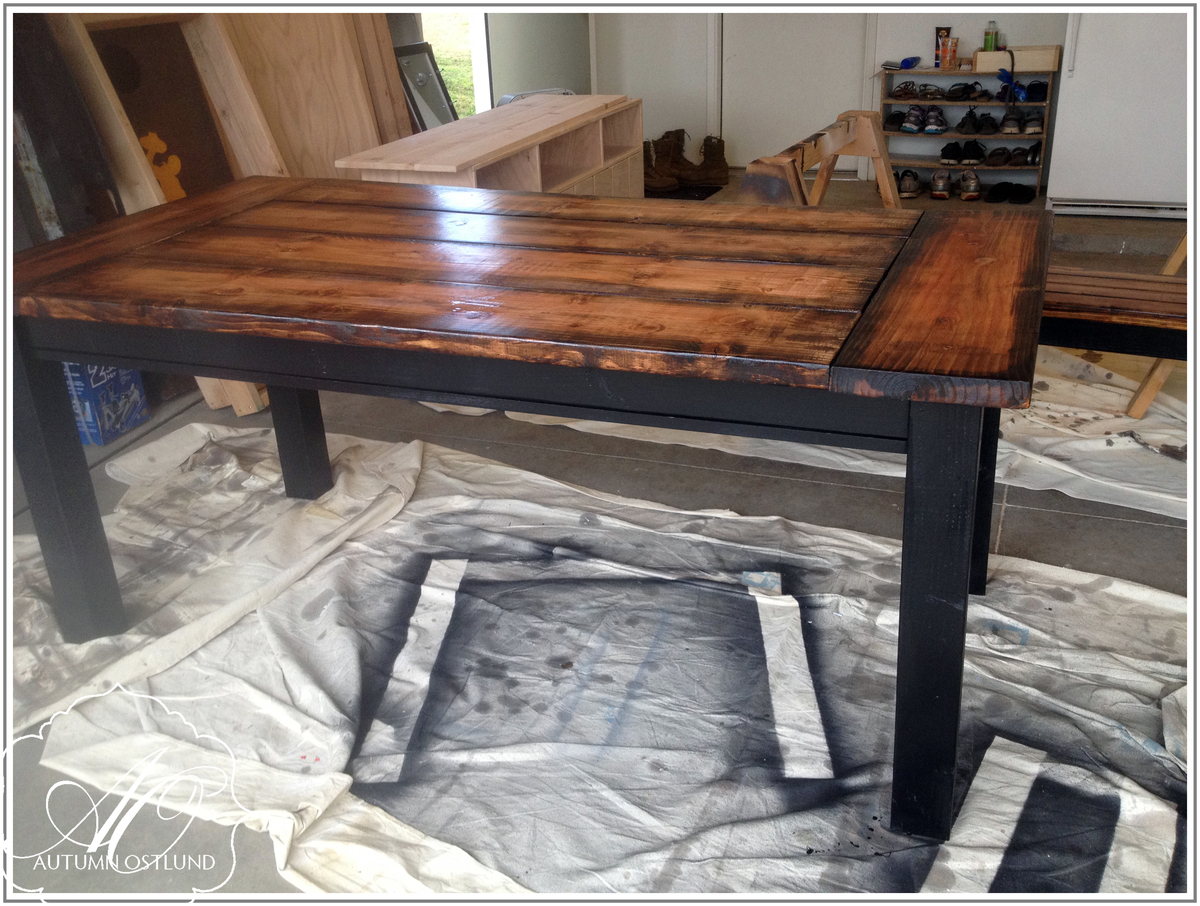
This project is fun and relatively quick for the end result. All together, it took just over 20 hours. For the most part I followed the instructions and wood cuts according to the plan. I ended up having to tweak some things and I'm not sure if the error was in the plans provided online or my own error. Probably mine!
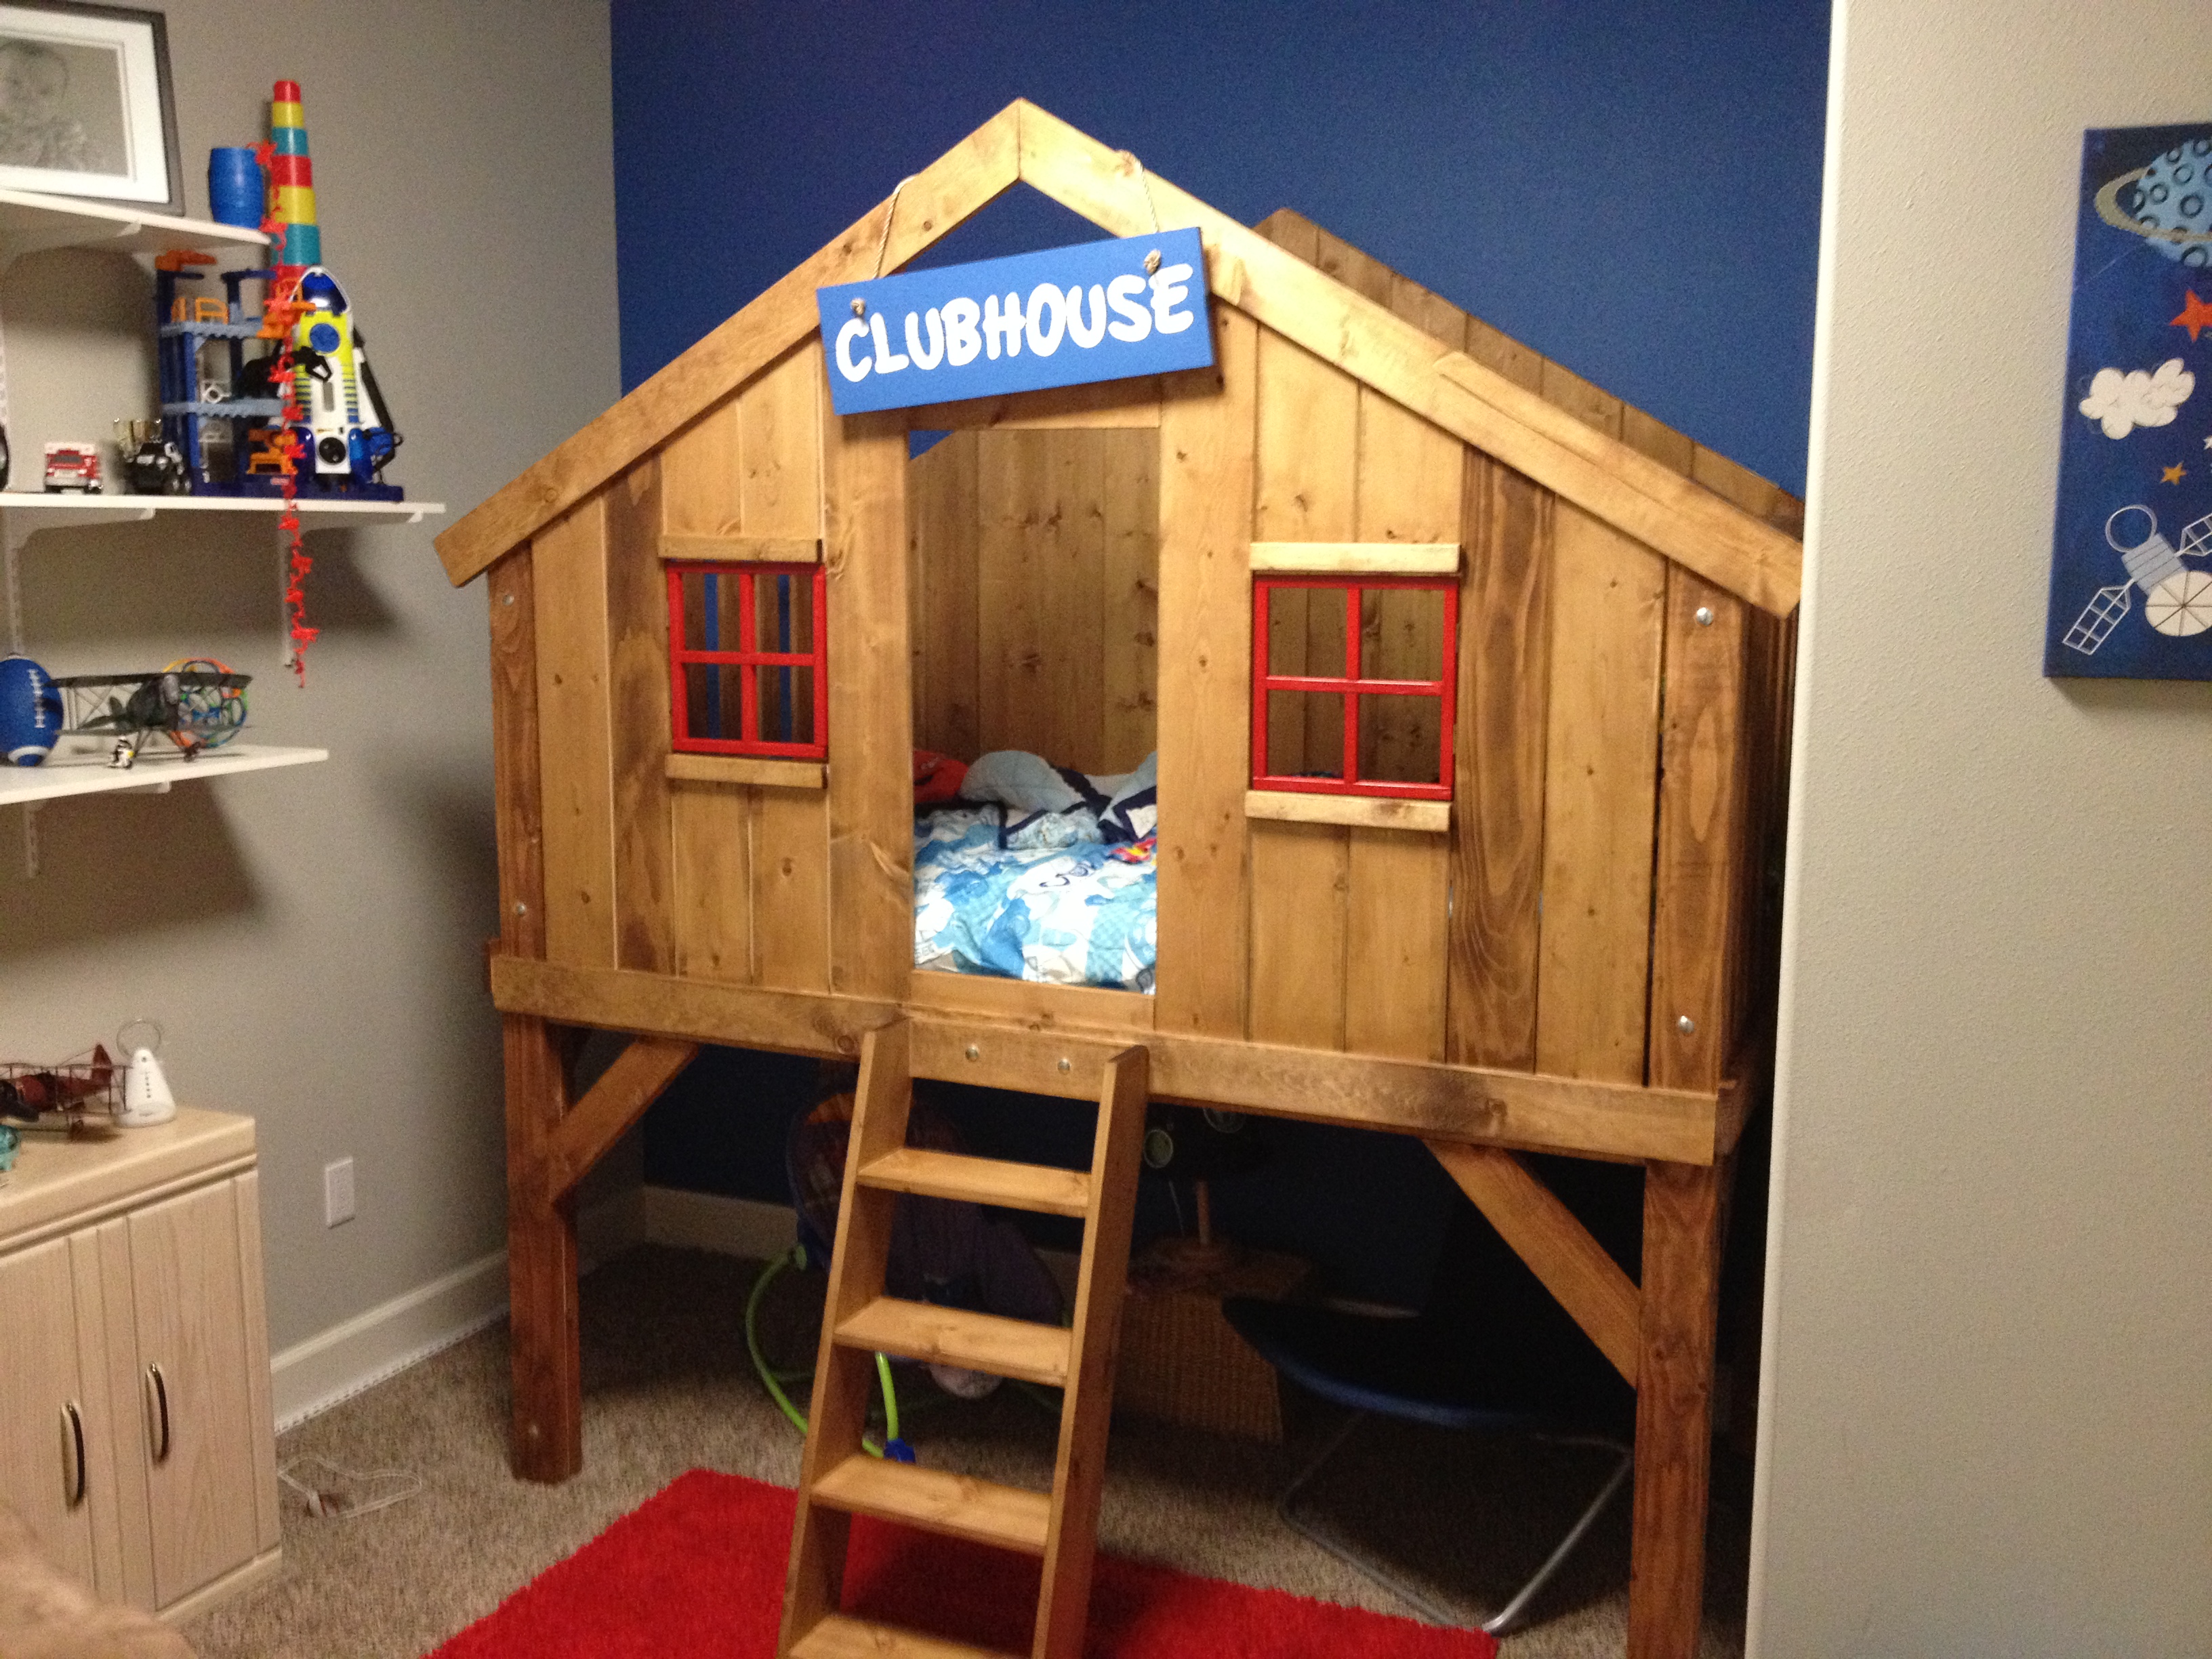
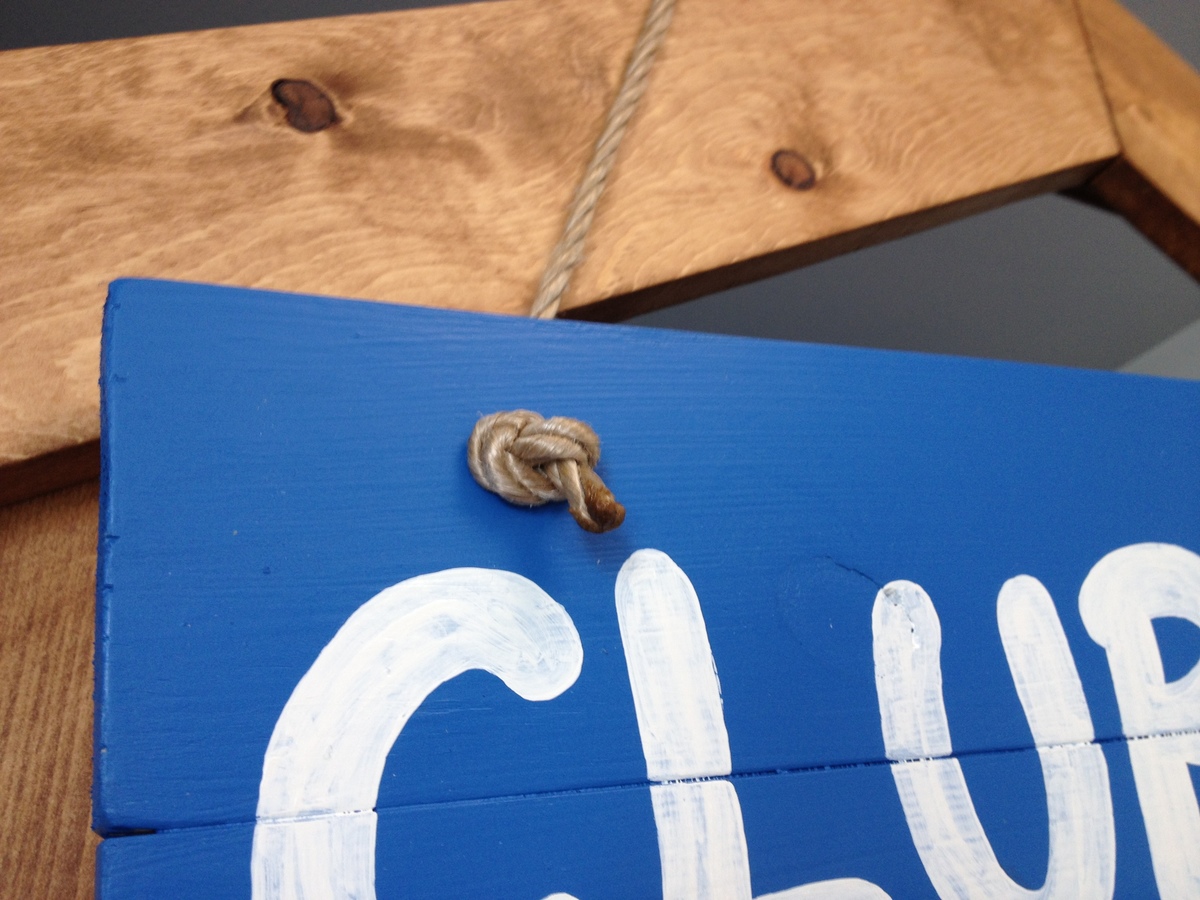
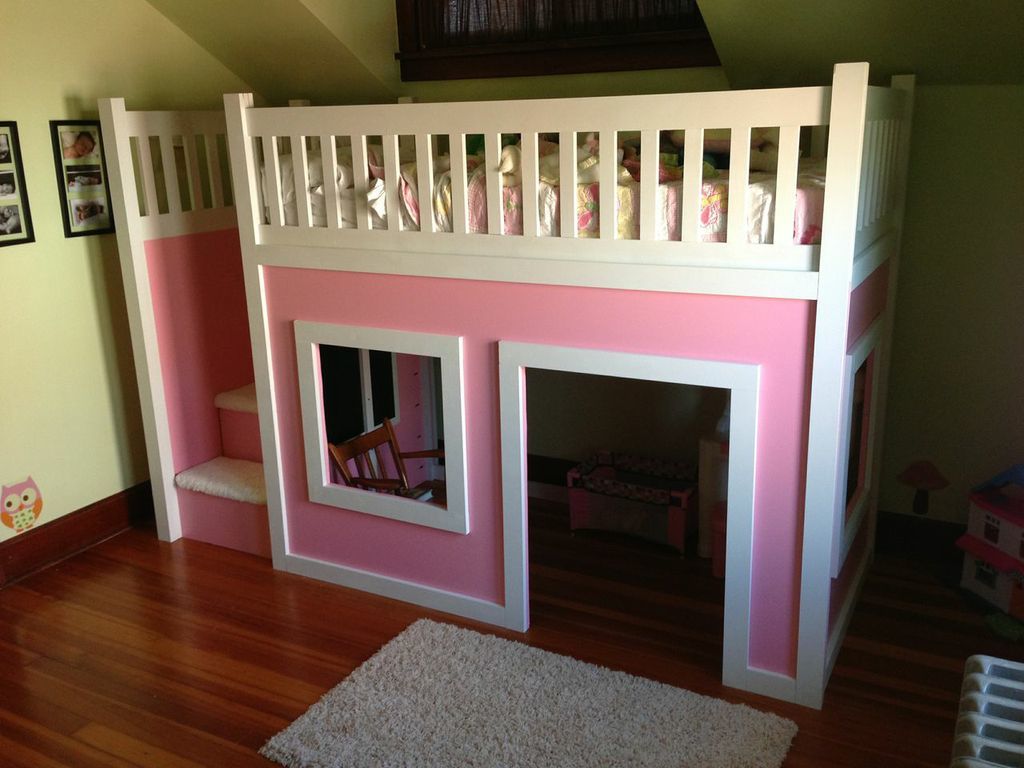
I thought I would add that, for the sign, I simply picked a font on the computer and printed out big letters (a size that would fit nicely on the sign) and then used those letters to trace out the border. Then I painted the letters by staying inside the lines! Easy Peasy. I used a small rustic rope and drilled holes in the sign to slip the rope through. I then tied knots so as to hold the sign in place. Works great and definitely completes the set. I thought about skipping the windows, but I'm so glad I did not. They really stand out and look amazing. My son loves to open them and just stare out (who knows what his imagination is making him see).
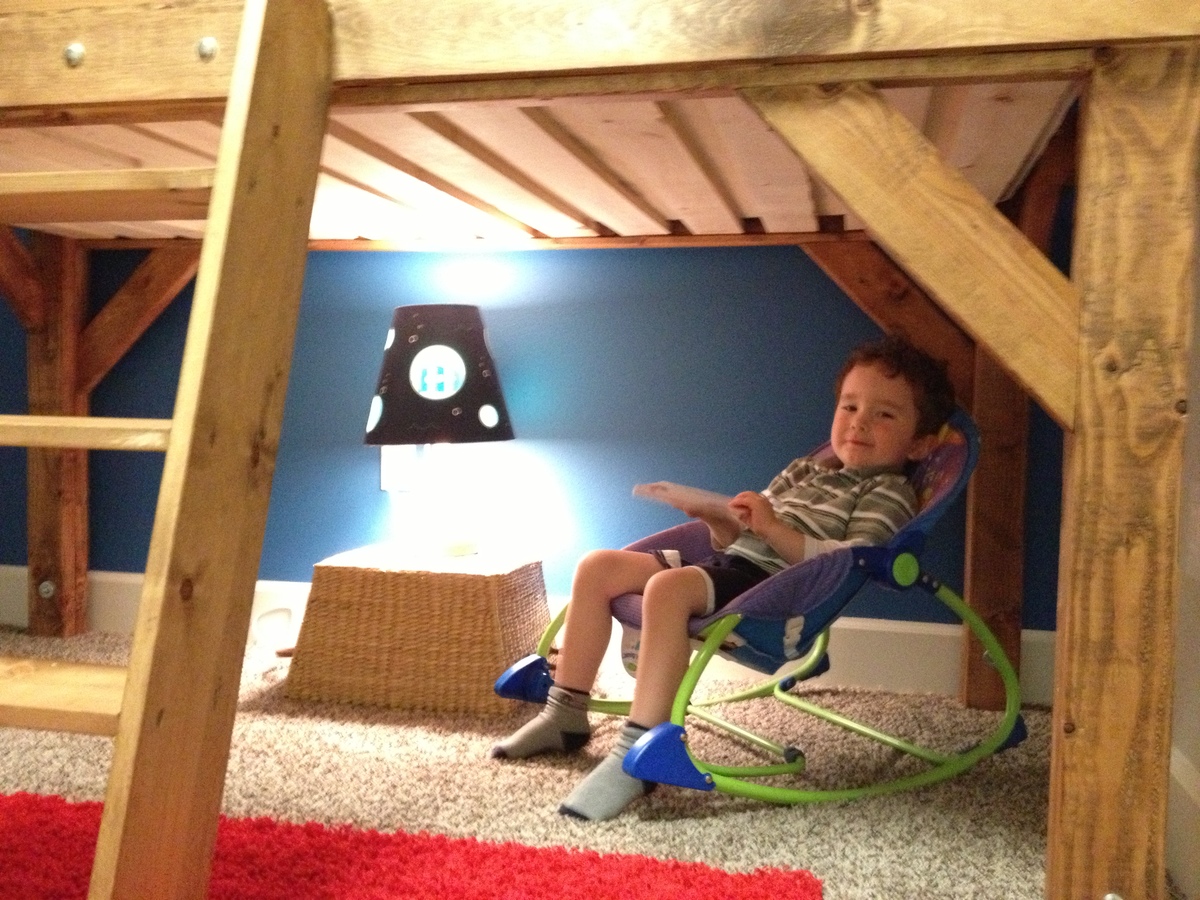
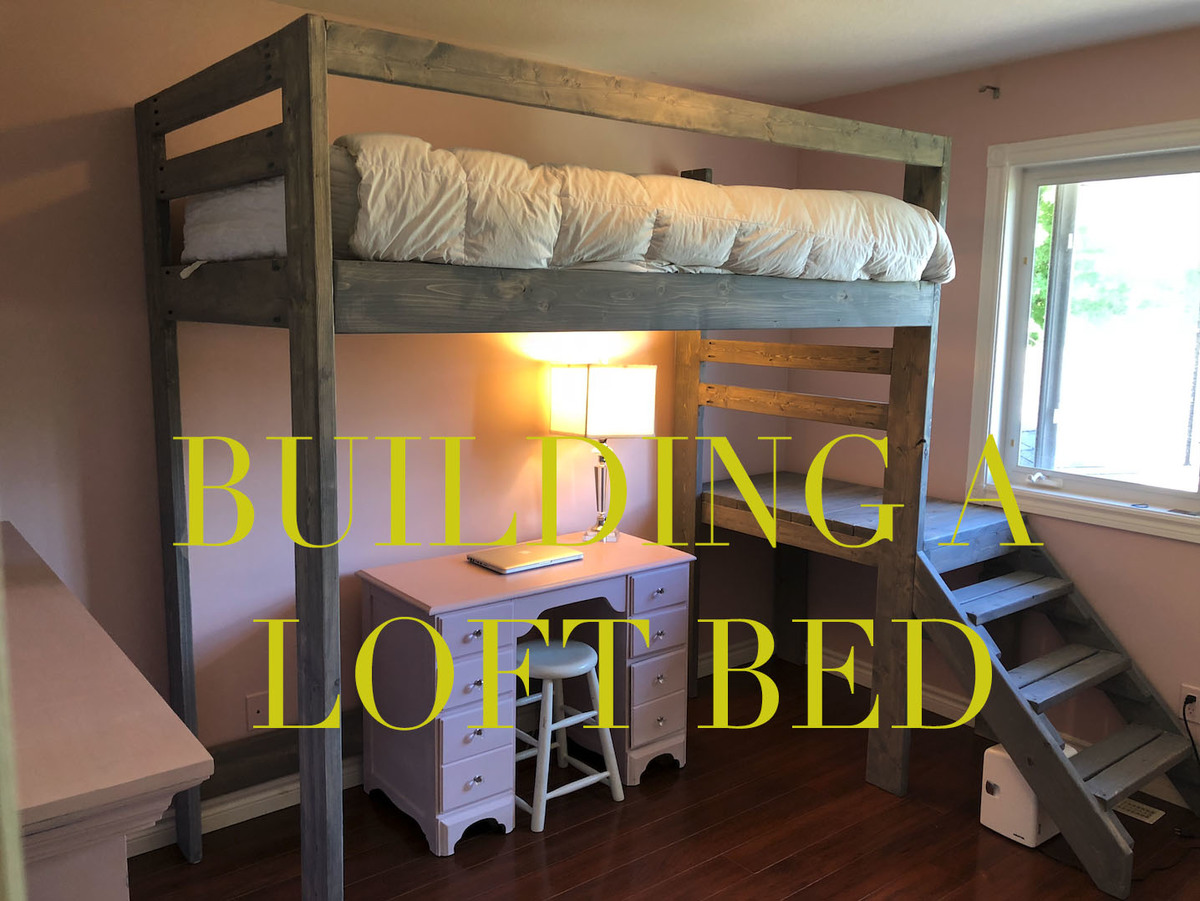
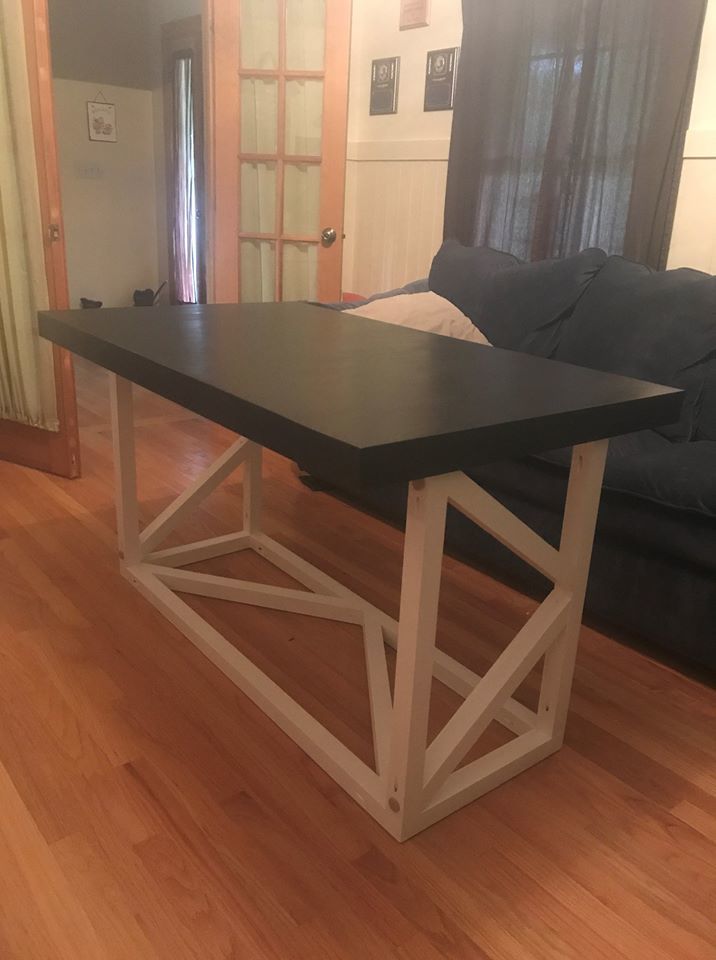
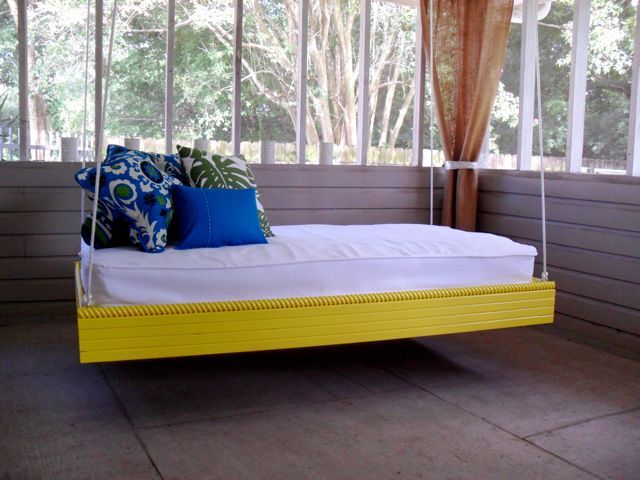
This bed is great because it allows for another area below. My son likes to turn on a lamp, sit in his chair and read. Thank you SO MUCH for this plan!!!


Comments
spiceylg
Wed, 08/14/2013 - 04:37
Nice job!
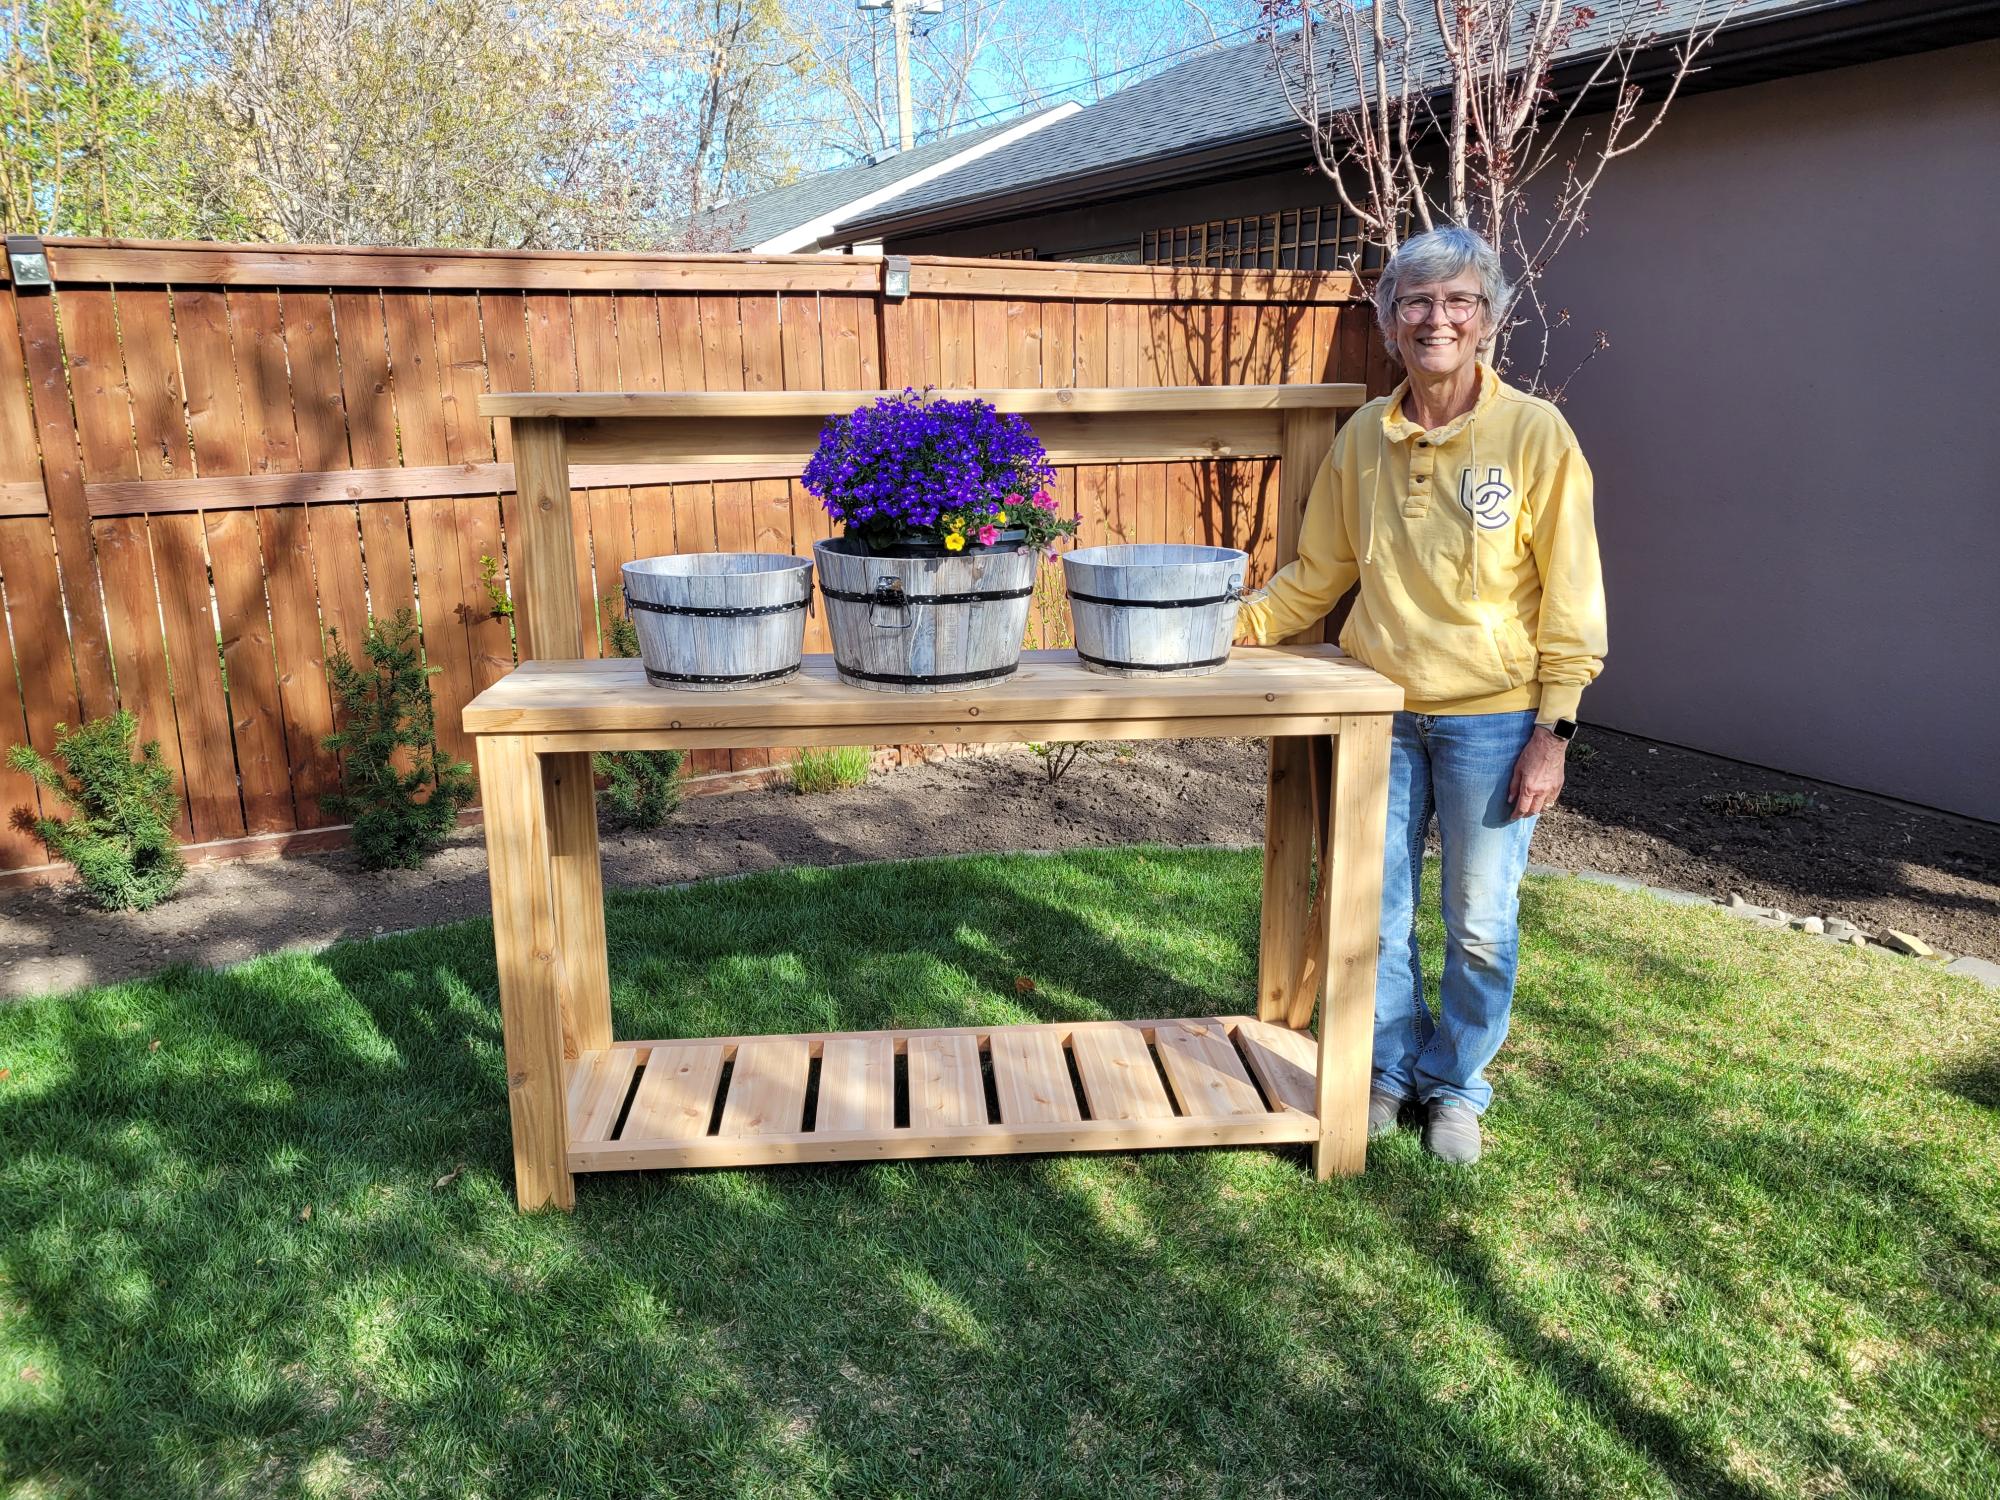
Looks great and your son is so adorable. He looks so happy in his element!
spiceylg
Wed, 08/14/2013 - 04:37
Nice job!
Looks great and your son is so adorable. He looks so happy in his element!
BrettPaPa
Thu, 08/15/2013 - 09:43
Super!!!
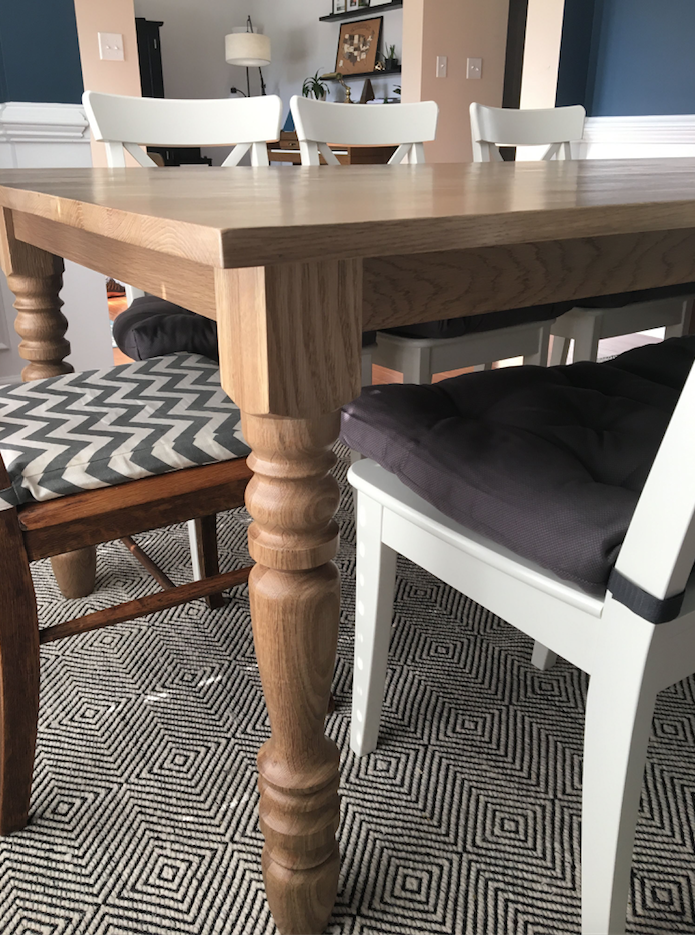
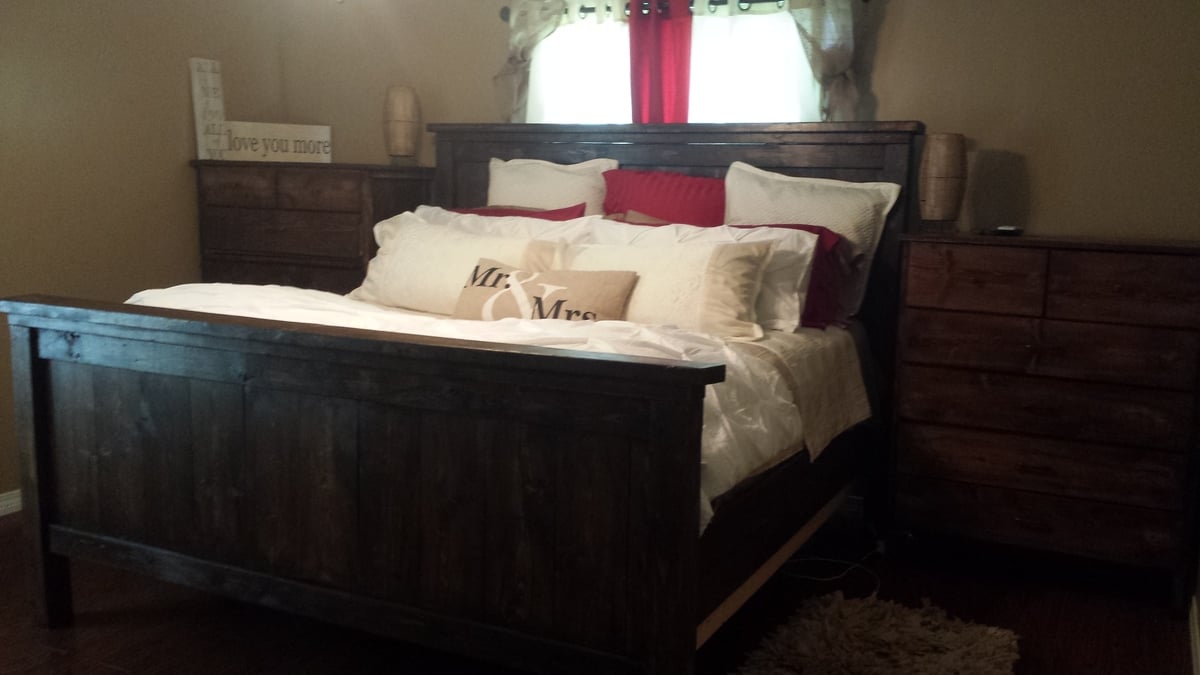
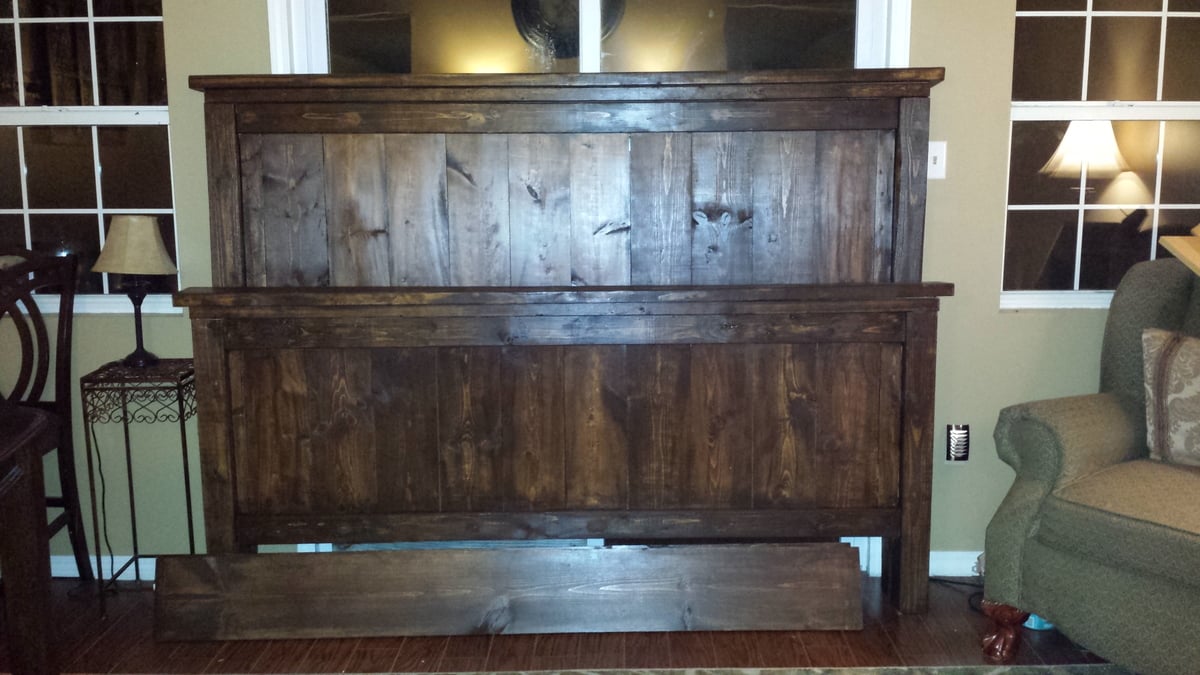
This is spot on! Great job! Your finish is just super! What stain and color did you use?
nleonard85
Thu, 08/15/2013 - 13:35
stain
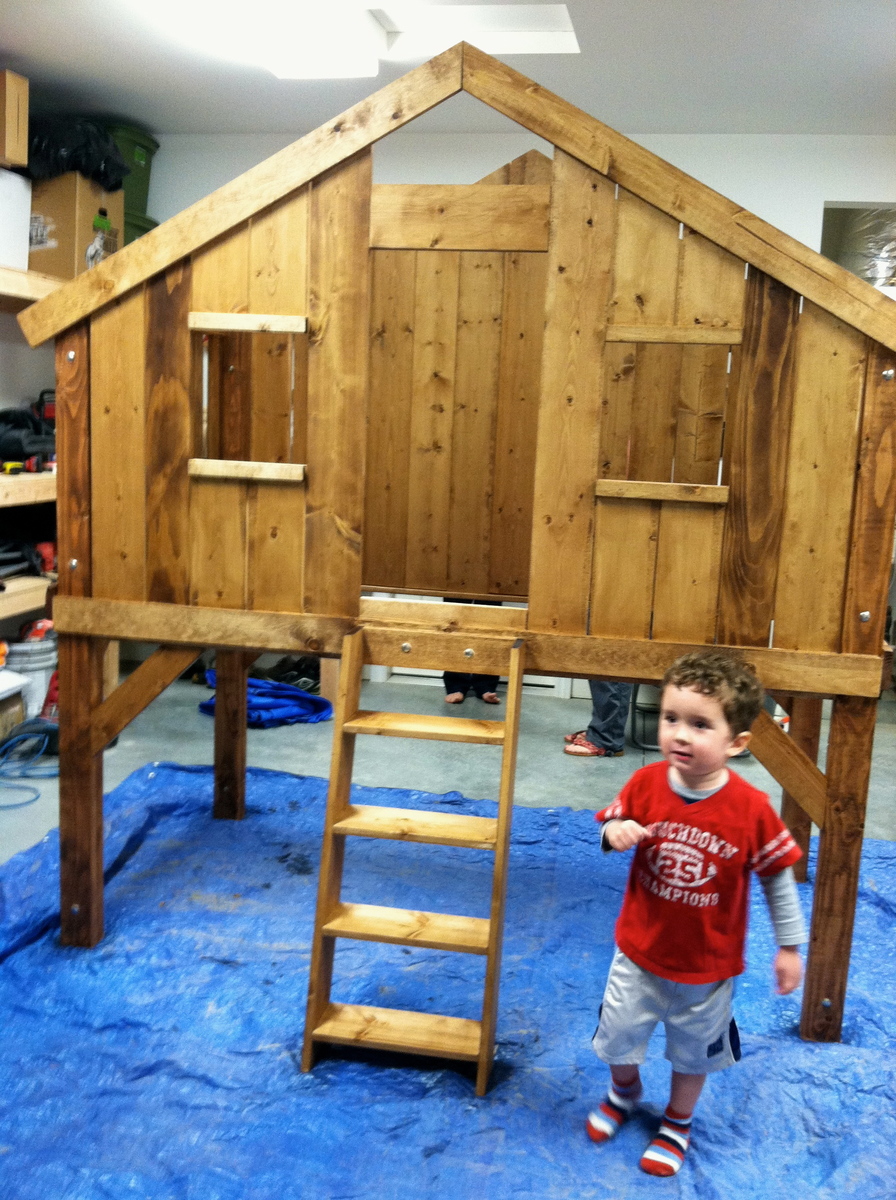
Thank you! I used a water-based Minwax stain from Sherwin Williams. The color is called "Early American" and the product number is 230. I applied it with a rag since it is easier and I think it actually looks the best.
Joana Nicole
Mon, 03/14/2016 - 19:00
MEASUREMENTS
May I ask which mattress size do you used? Looks small for me and I'm guessing you've used toddler bed?
nleonard85
Sun, 03/27/2016 - 09:53
I used a regular size Twin
I used a regular size Twin Mattress. I'm 6'2" and I've actually slept in this bed : )