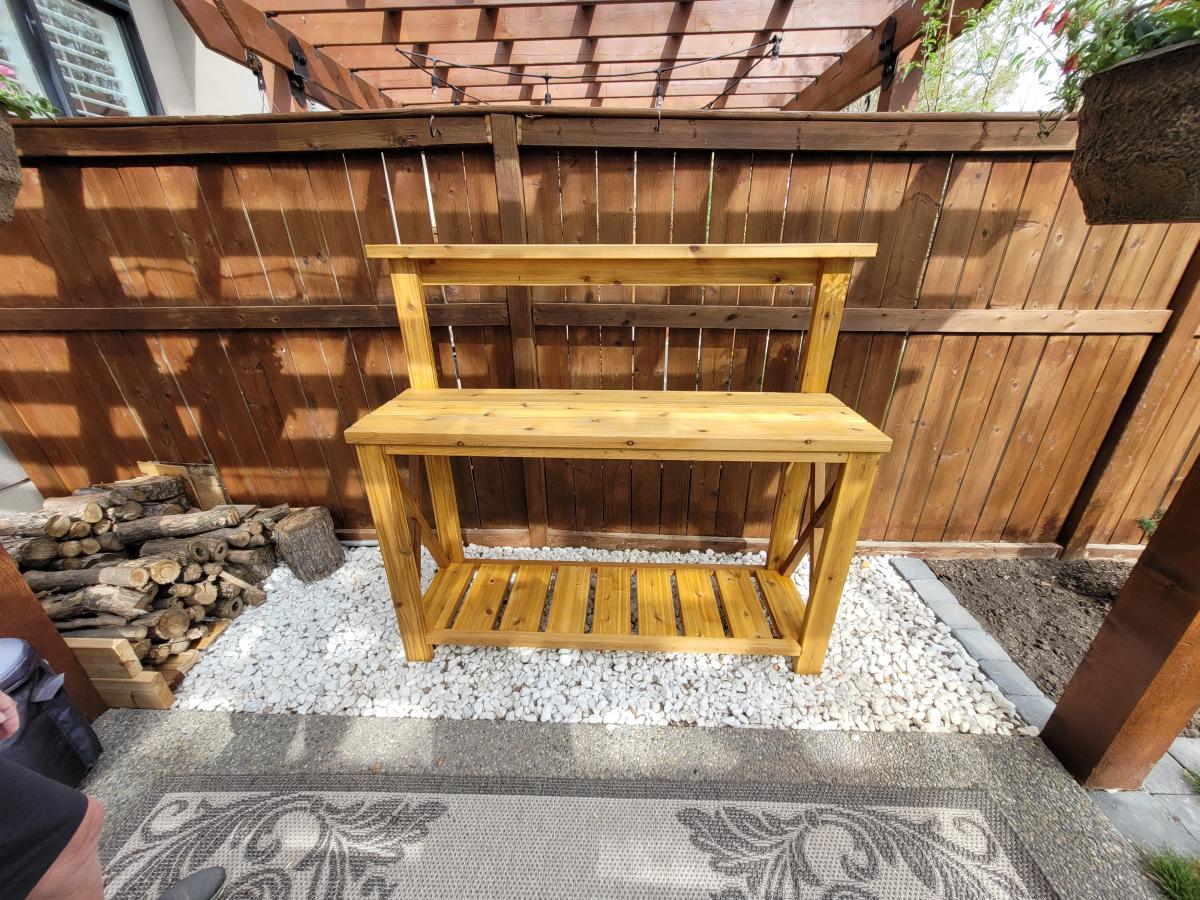
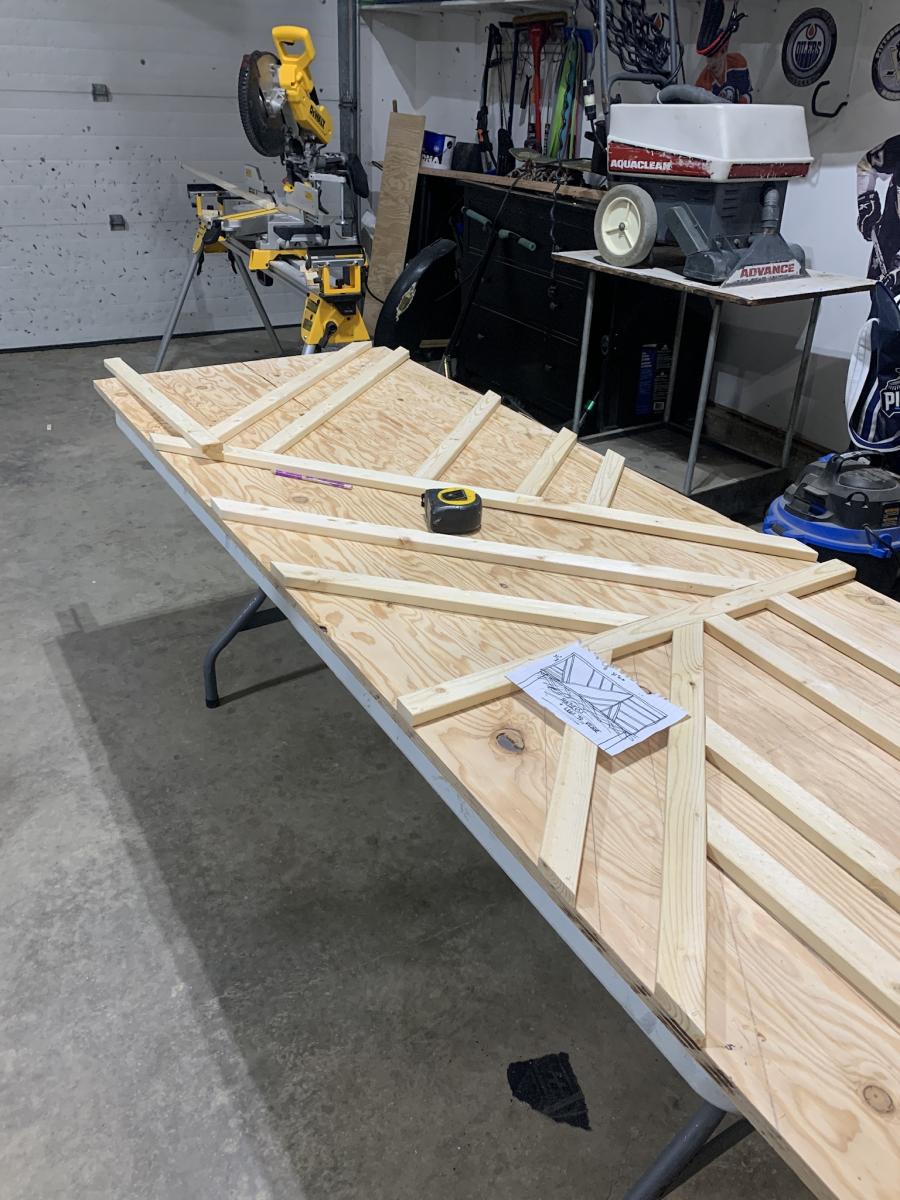
Potting Bench
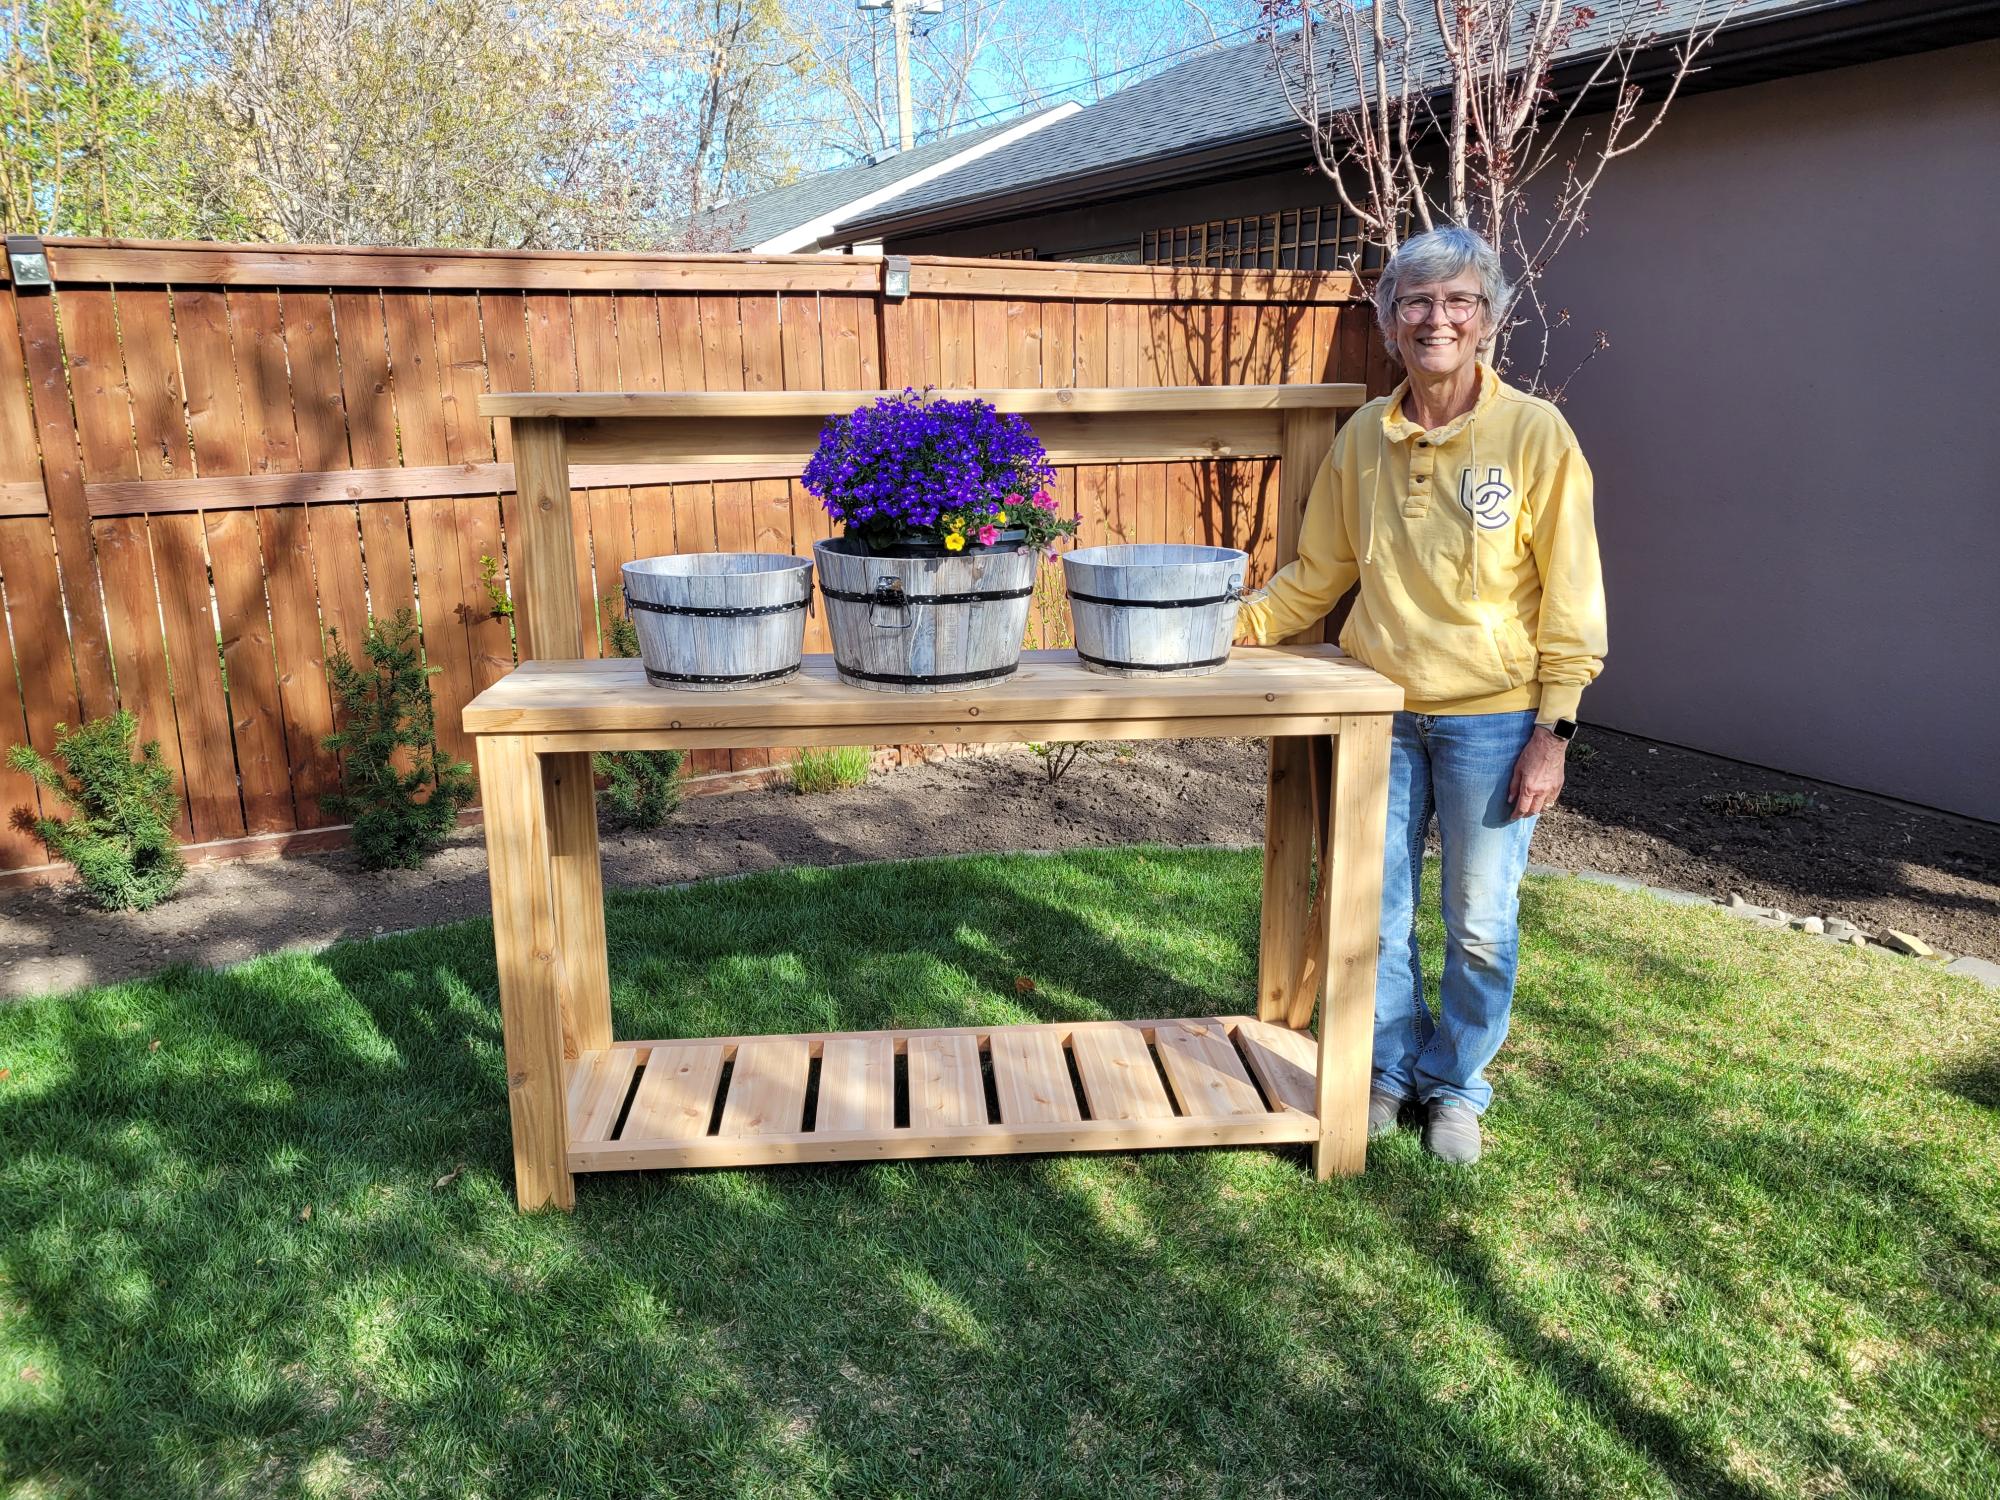
Used a light stain to feature the cedar.
by Lawrence and Pat!
Built from Plan(s)
Used a light stain to feature the cedar.
by Lawrence and Pat!
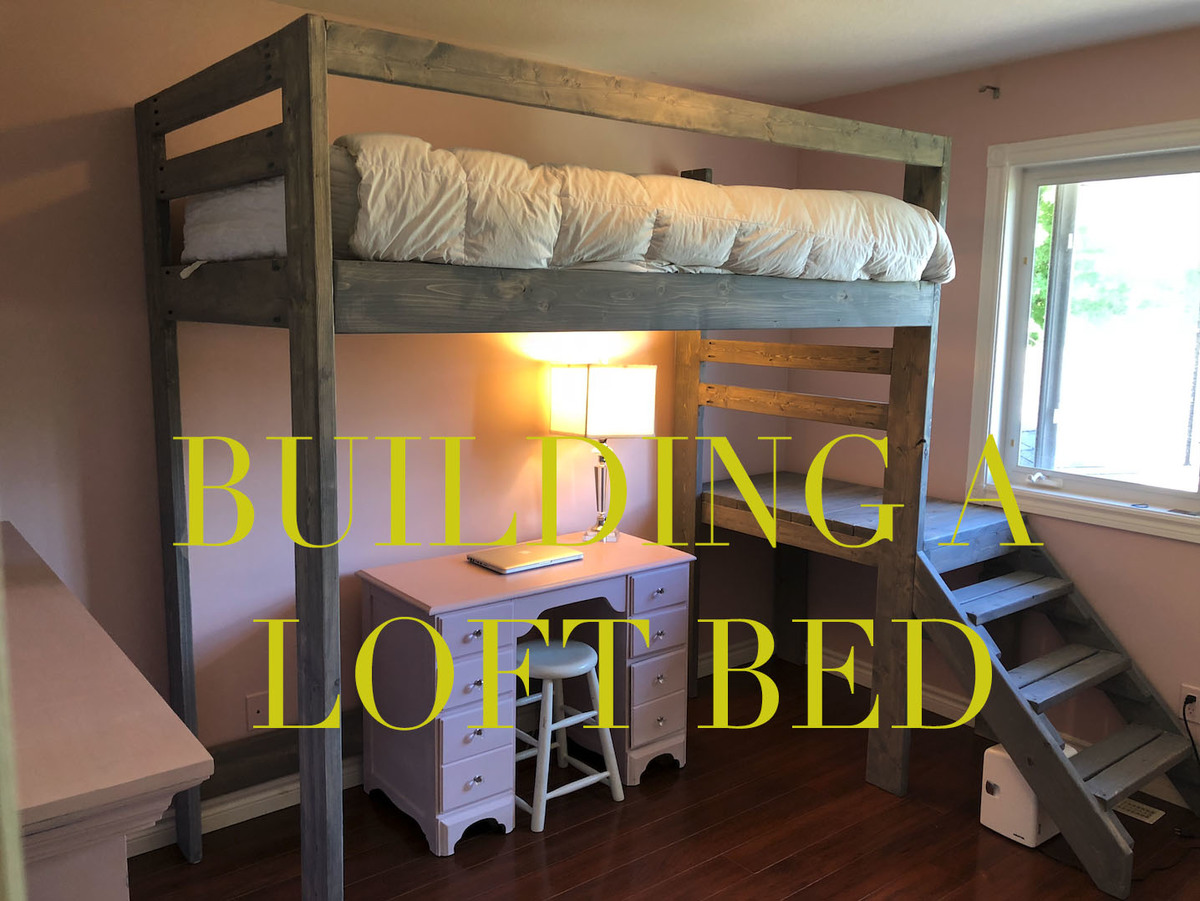
This is my youtube video of me building the loft bed.
Instagram: @gardners_garage
Thanks Ana for your plans. I used them but made just minor adjustments to the height to suit my daughter.
Having your website defenitly made things easier, from picking up the wood to the cuts!
Thanks!

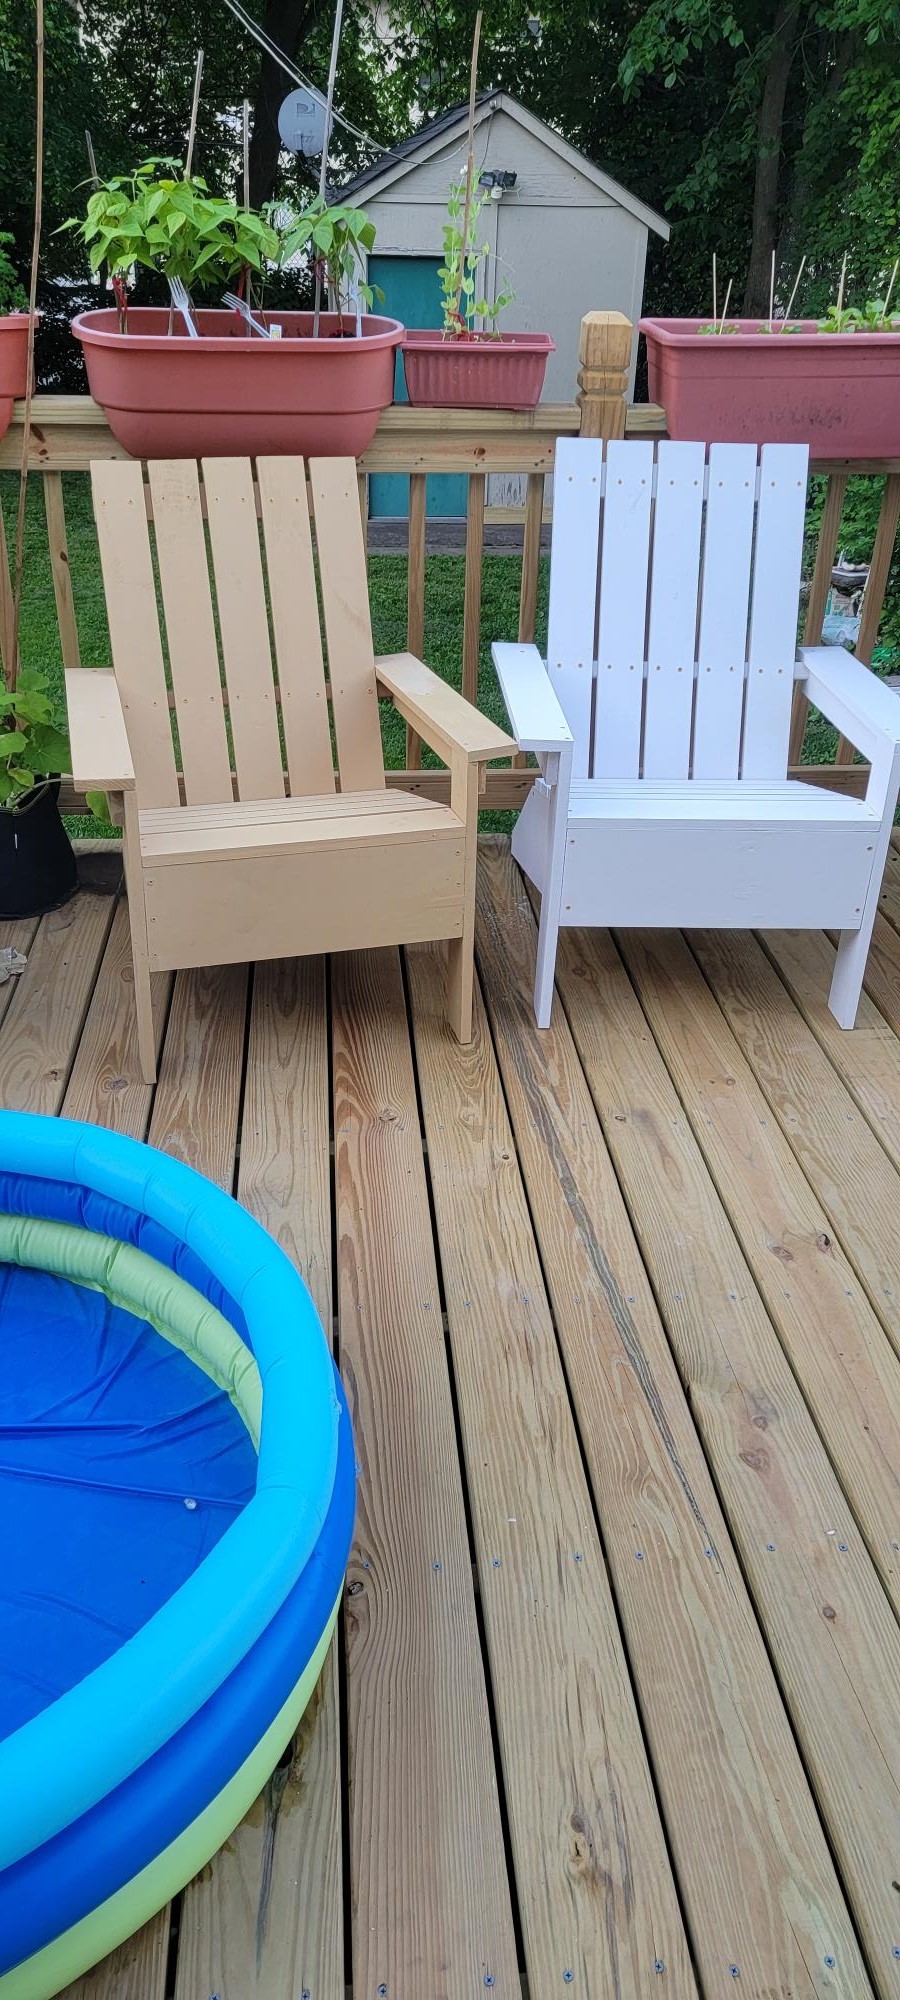
Loved building these chairs. Last year I built 5 of the smaller ones for my grandchildren.
Carol Schiffman from West Orange. NJ
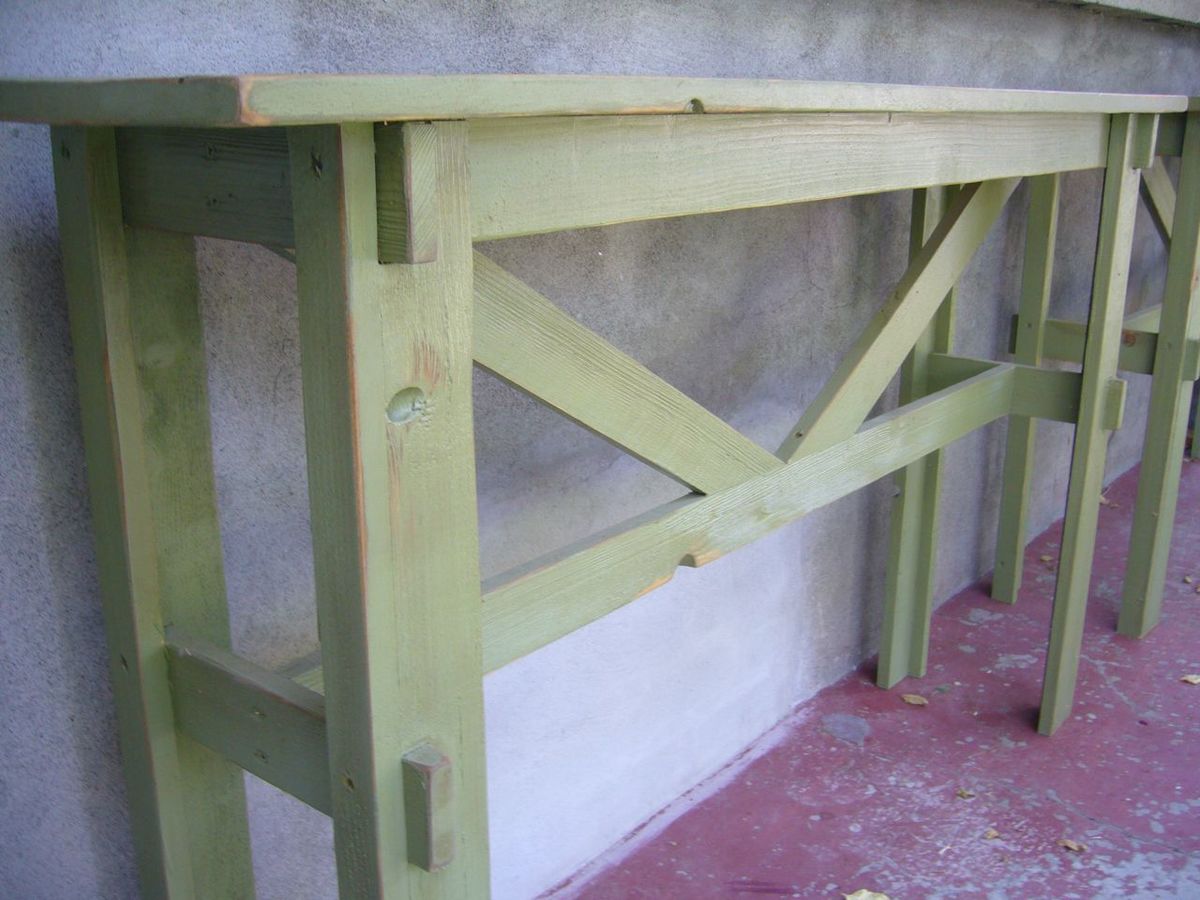
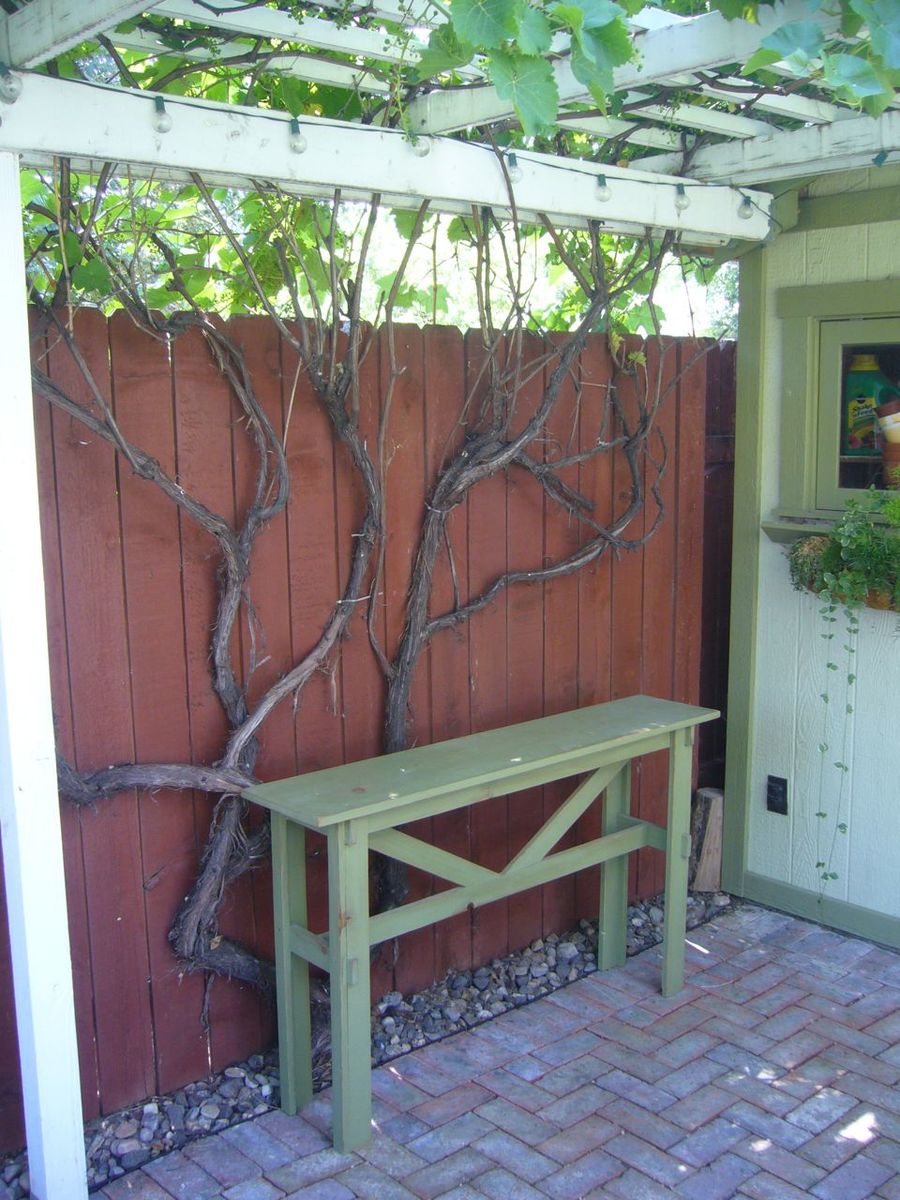
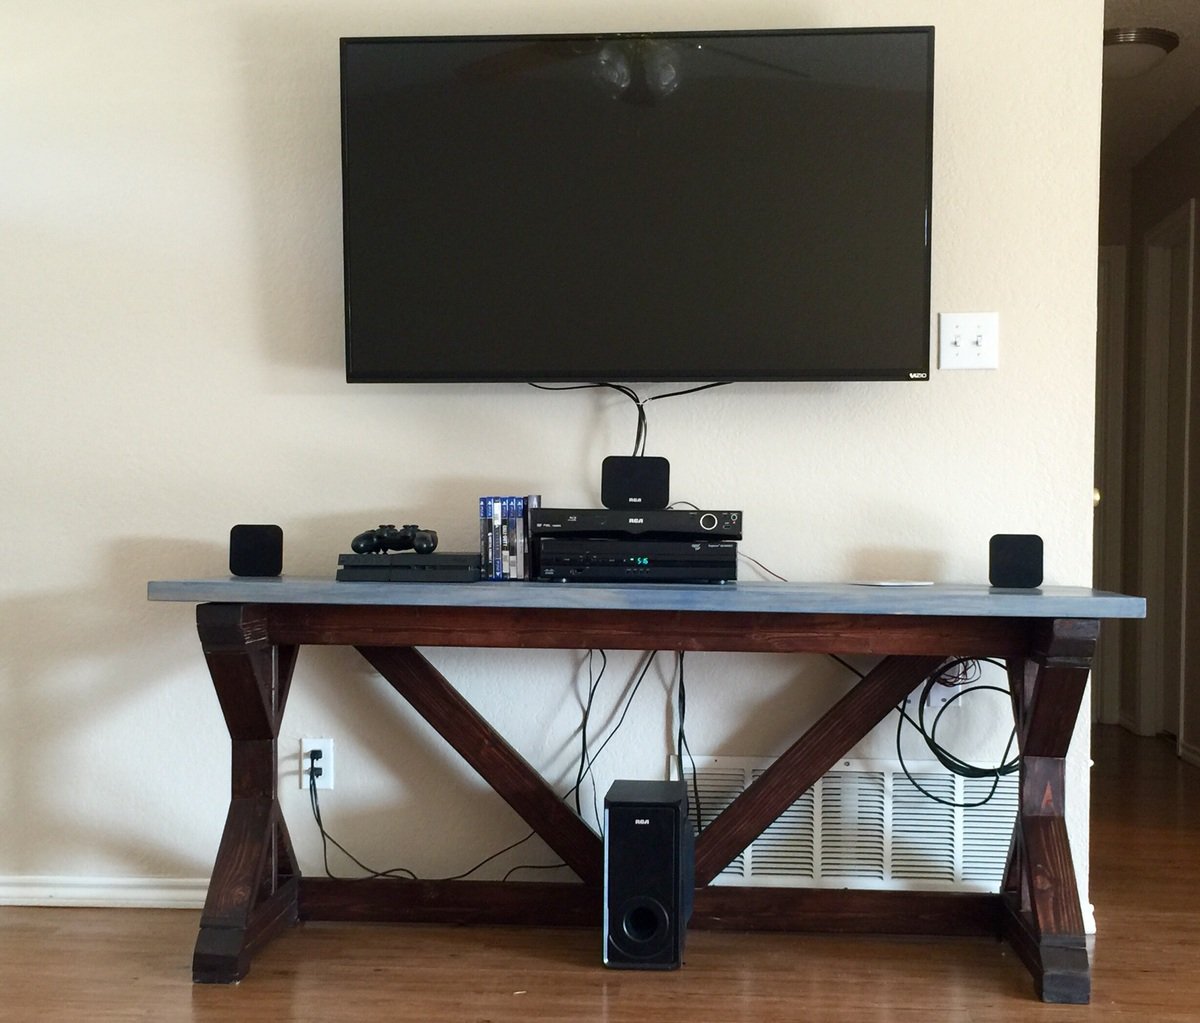
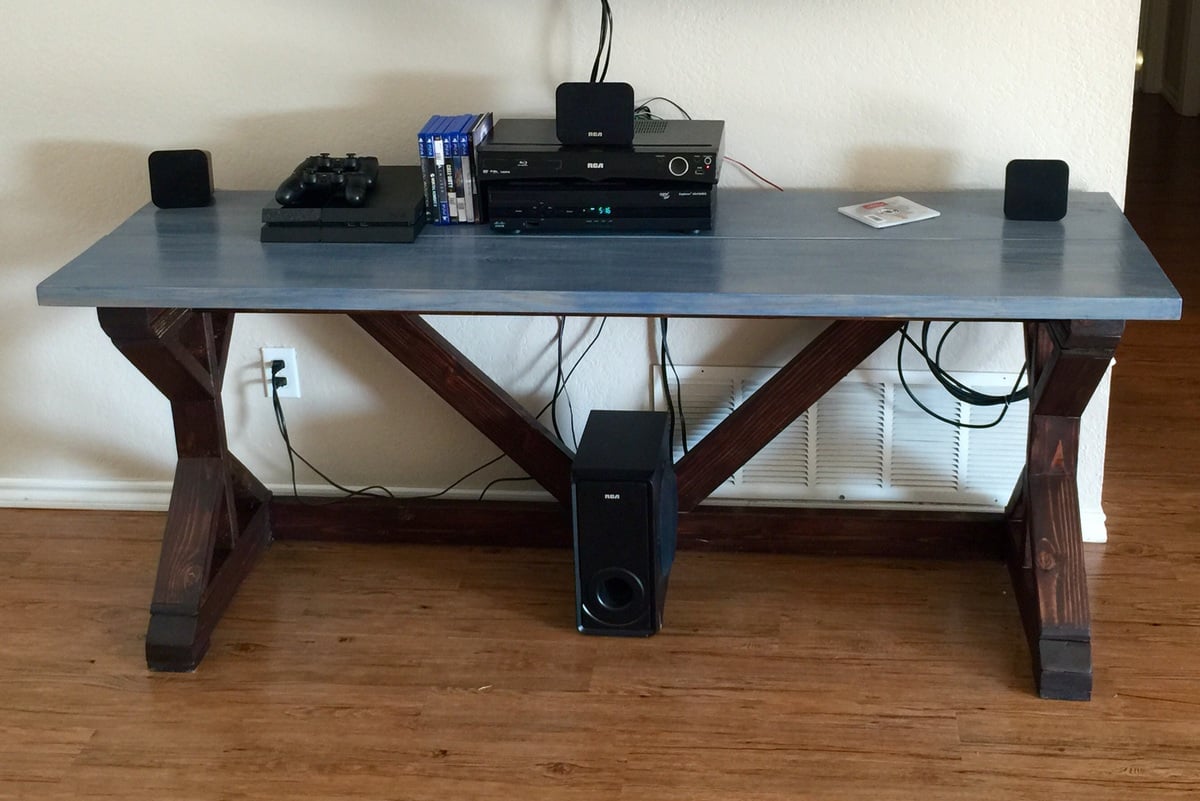
Problem: I want a serving table. I love the Rustic X Bench. Solution: Longer legs! This was made from the Rustic X Bench plans. We built two. And they serve us well. We love them. They are small enough to move around and use for all kinds of purposes from serving outdoor meals to holding the screw gun while I clamp the next ana-white inspired project (it was my tool holder/work bench when I built our chicken coop). Easy project made super cheap that works perfect for every outdoor serving table need.
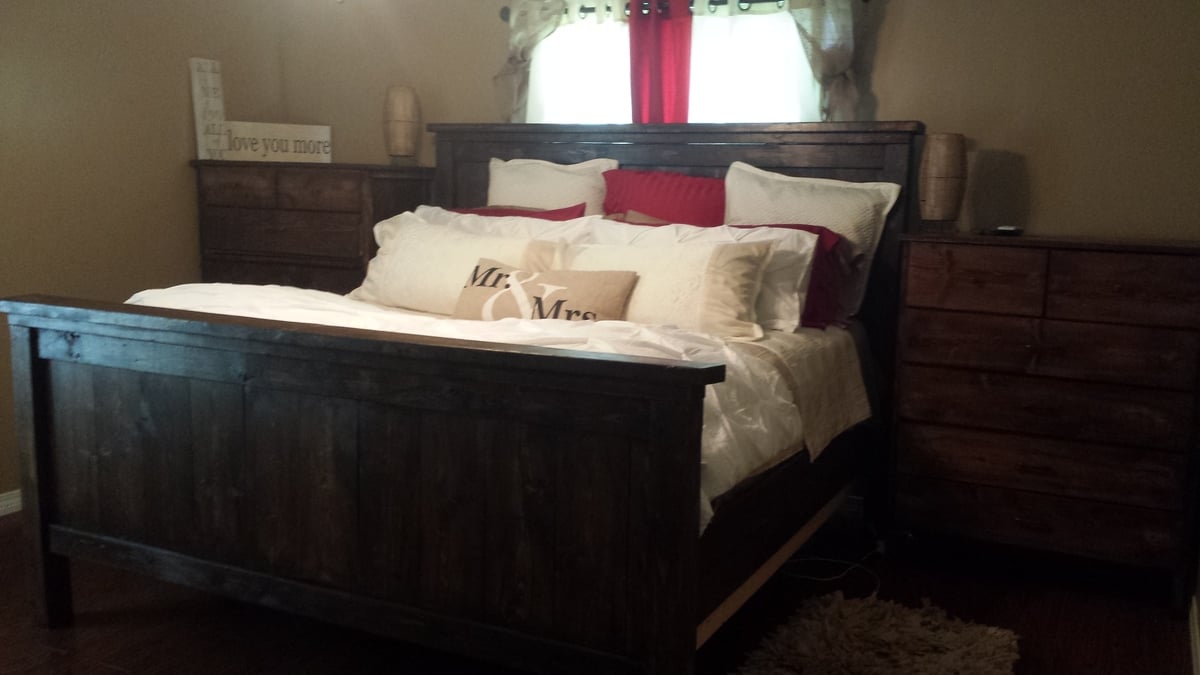
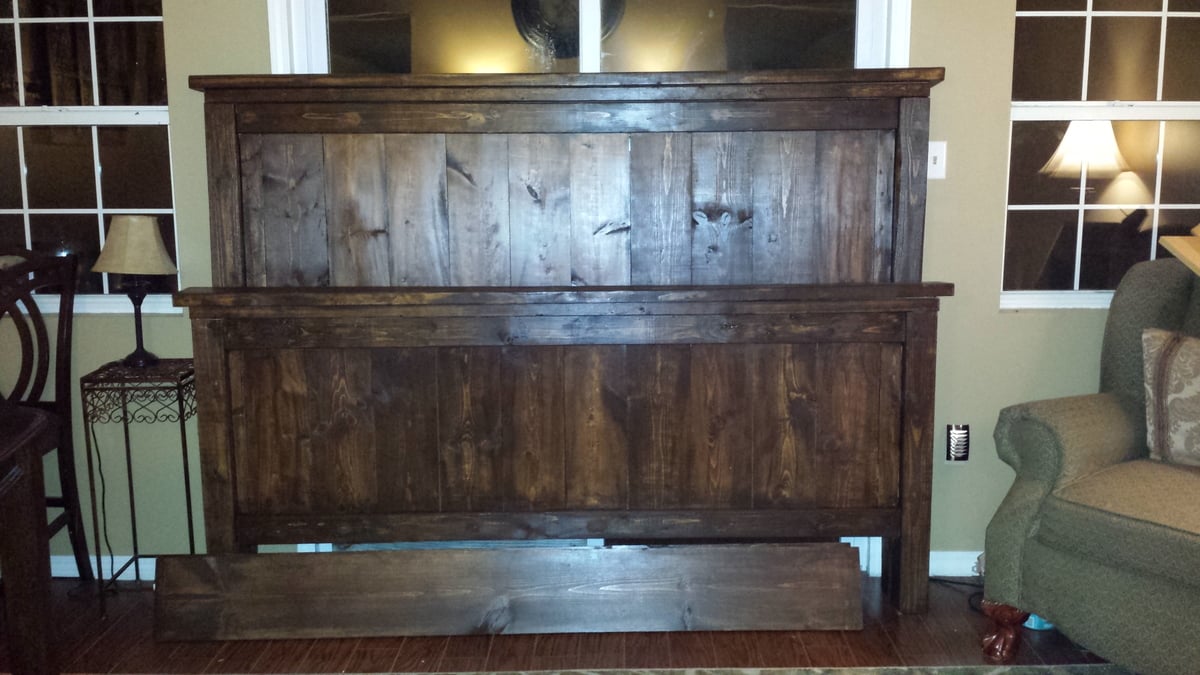
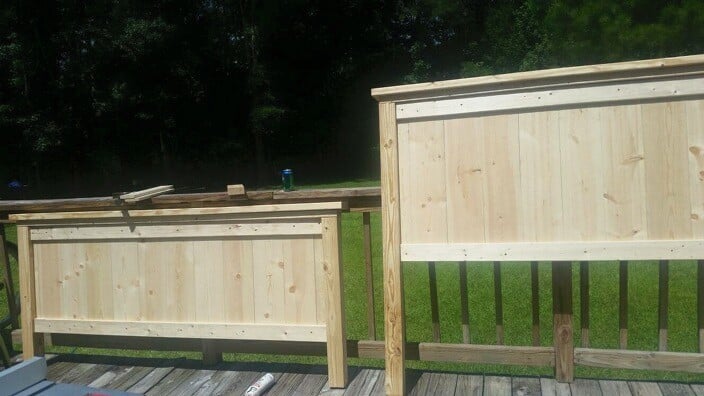
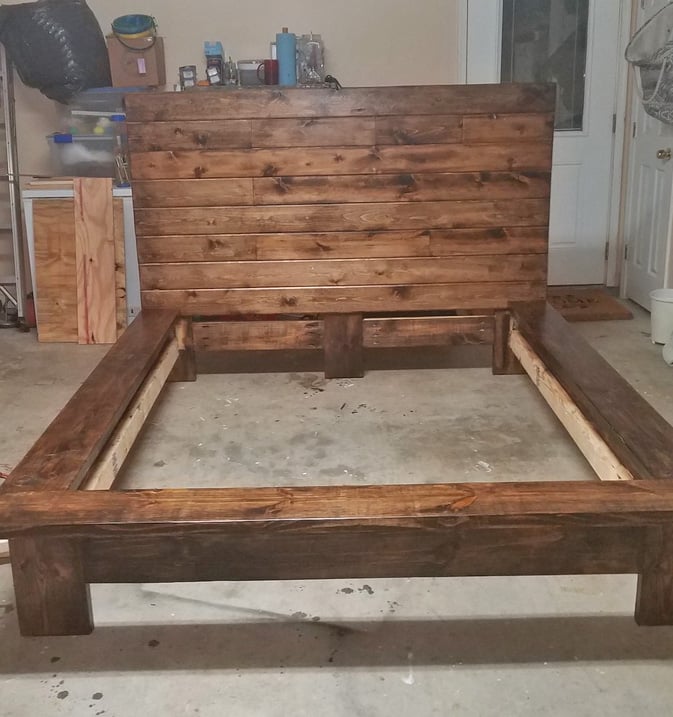
This was our first big DIY project and I absolutely LOVE the finished product. We now have a solid, sturdy king size bed that everyone loves. The plans were pretty easy to follow although I chose to make the headboard and footboard taller than mentioned on the original plans. The measurements came from another Ana White DIY-er http://diystinctlymade.com/2014/02/05/diy-pottery-barn-farmhouse-bed/ . For the bed frame, brackets and 2x4s were used. The stain use was dark walnut by Rust-o-leum and finished with minwax polyurethane semigloss. Working on and off, it took us approximately 2 weeks to finish the project; although, I'm pretty sure it could've been completed in a weekend.
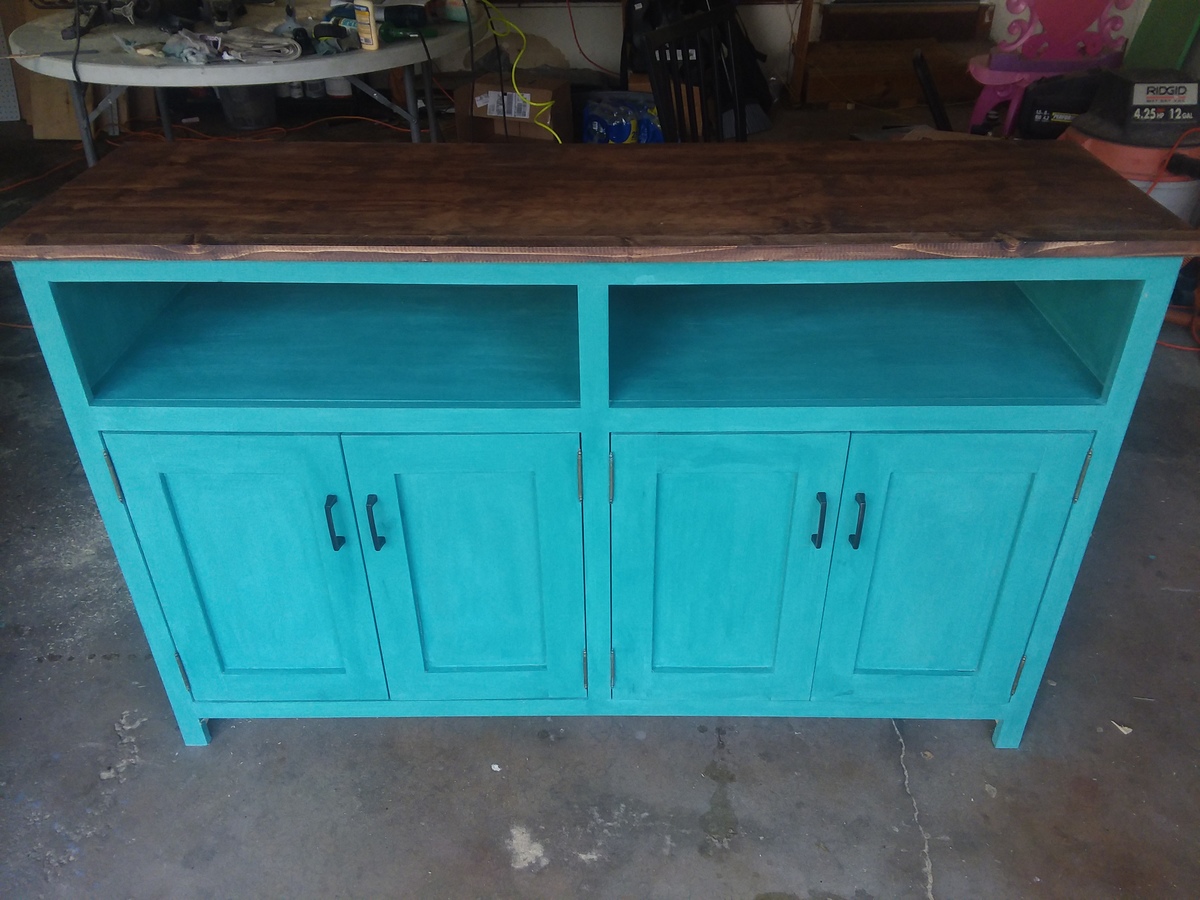
Entryway console without base pieces to more closely match my other furniture.
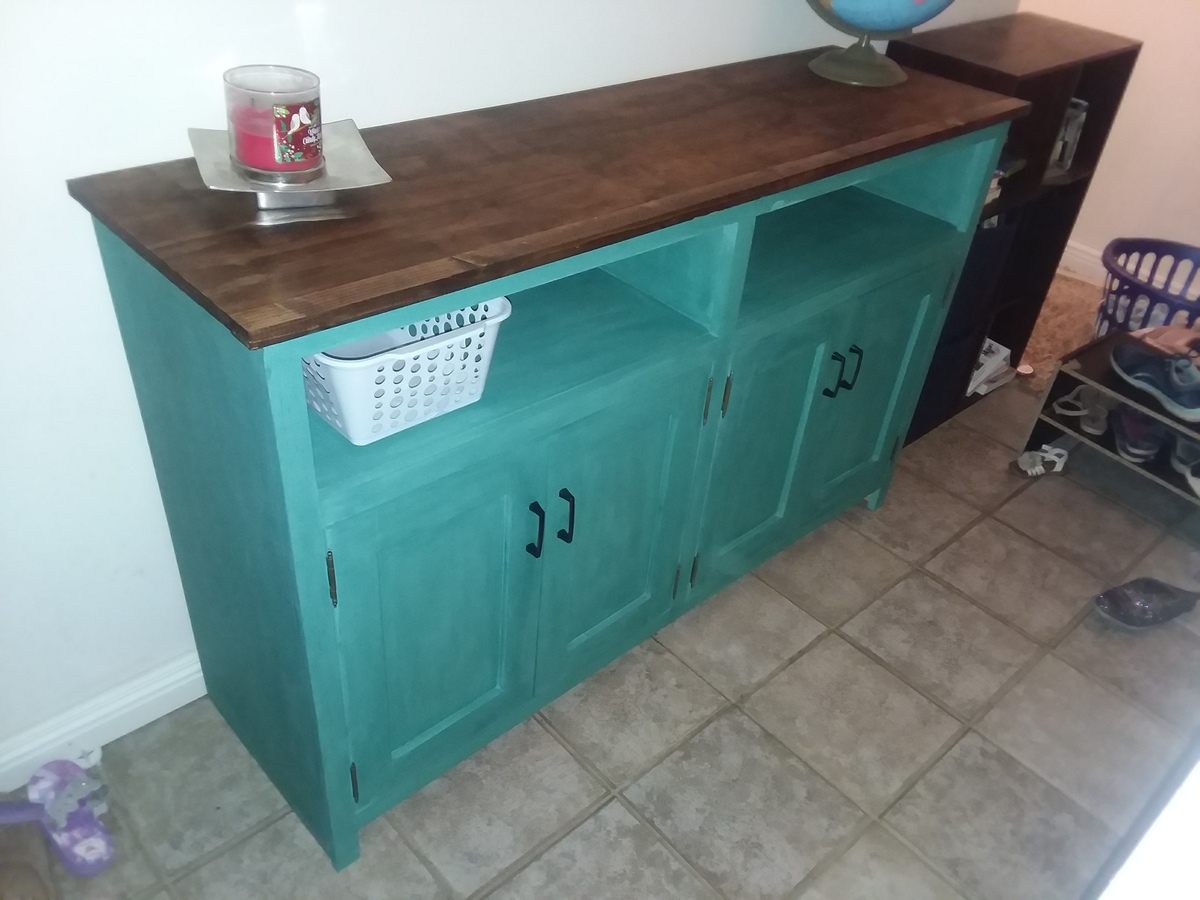
Love how this turned out! Thanks Ana!
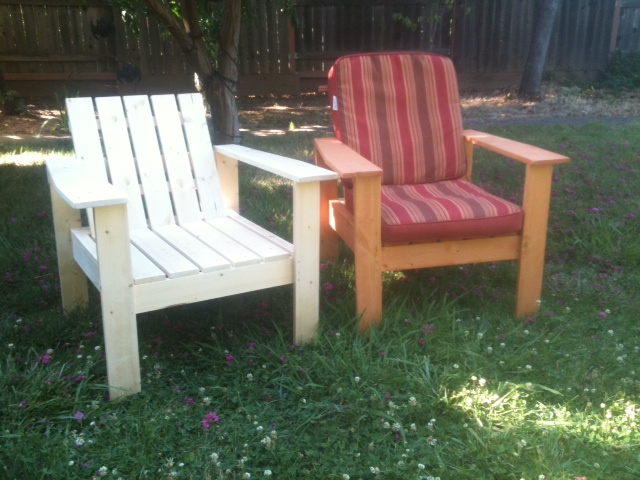
I've now made two Simple Outdoor Lounge Chairs and can't get over how sturdy they are! I also modified mine to have a 1x6 arm rest, but I ripped the back part of the arm rest so it tapered down to the 4" on the back side. I also made the chairs an inch taller on the legs since my family and I are tall.
Love how it turned out cost a little more if you count stain,wood conditioner..etc wasn't bad still.wood probably cost around 60-70 cheap and better then most anything you can buy.. Lots more to come
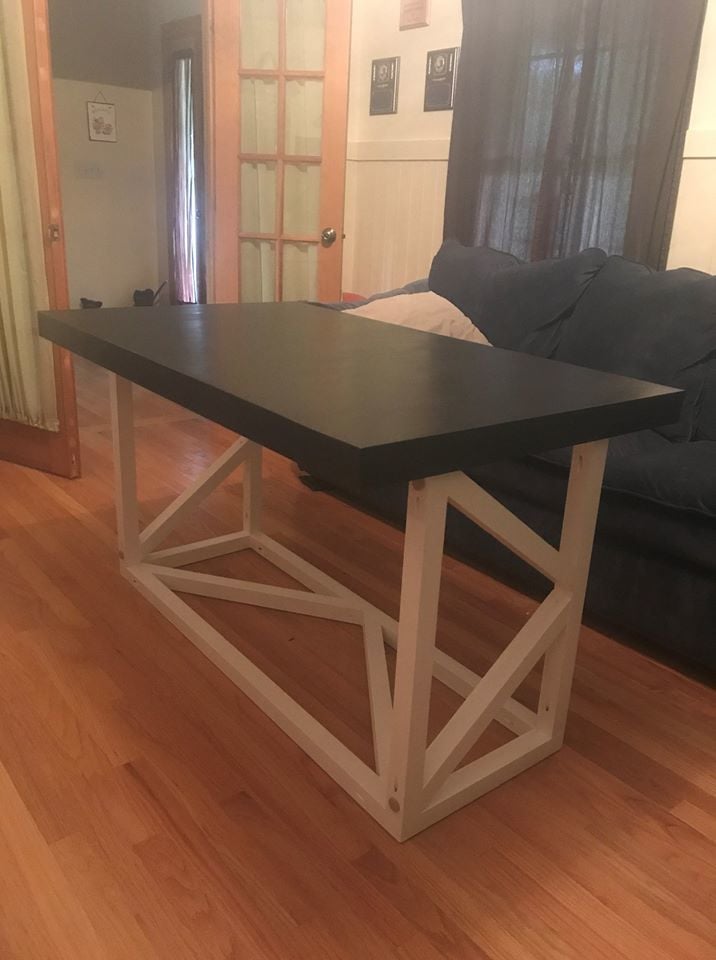
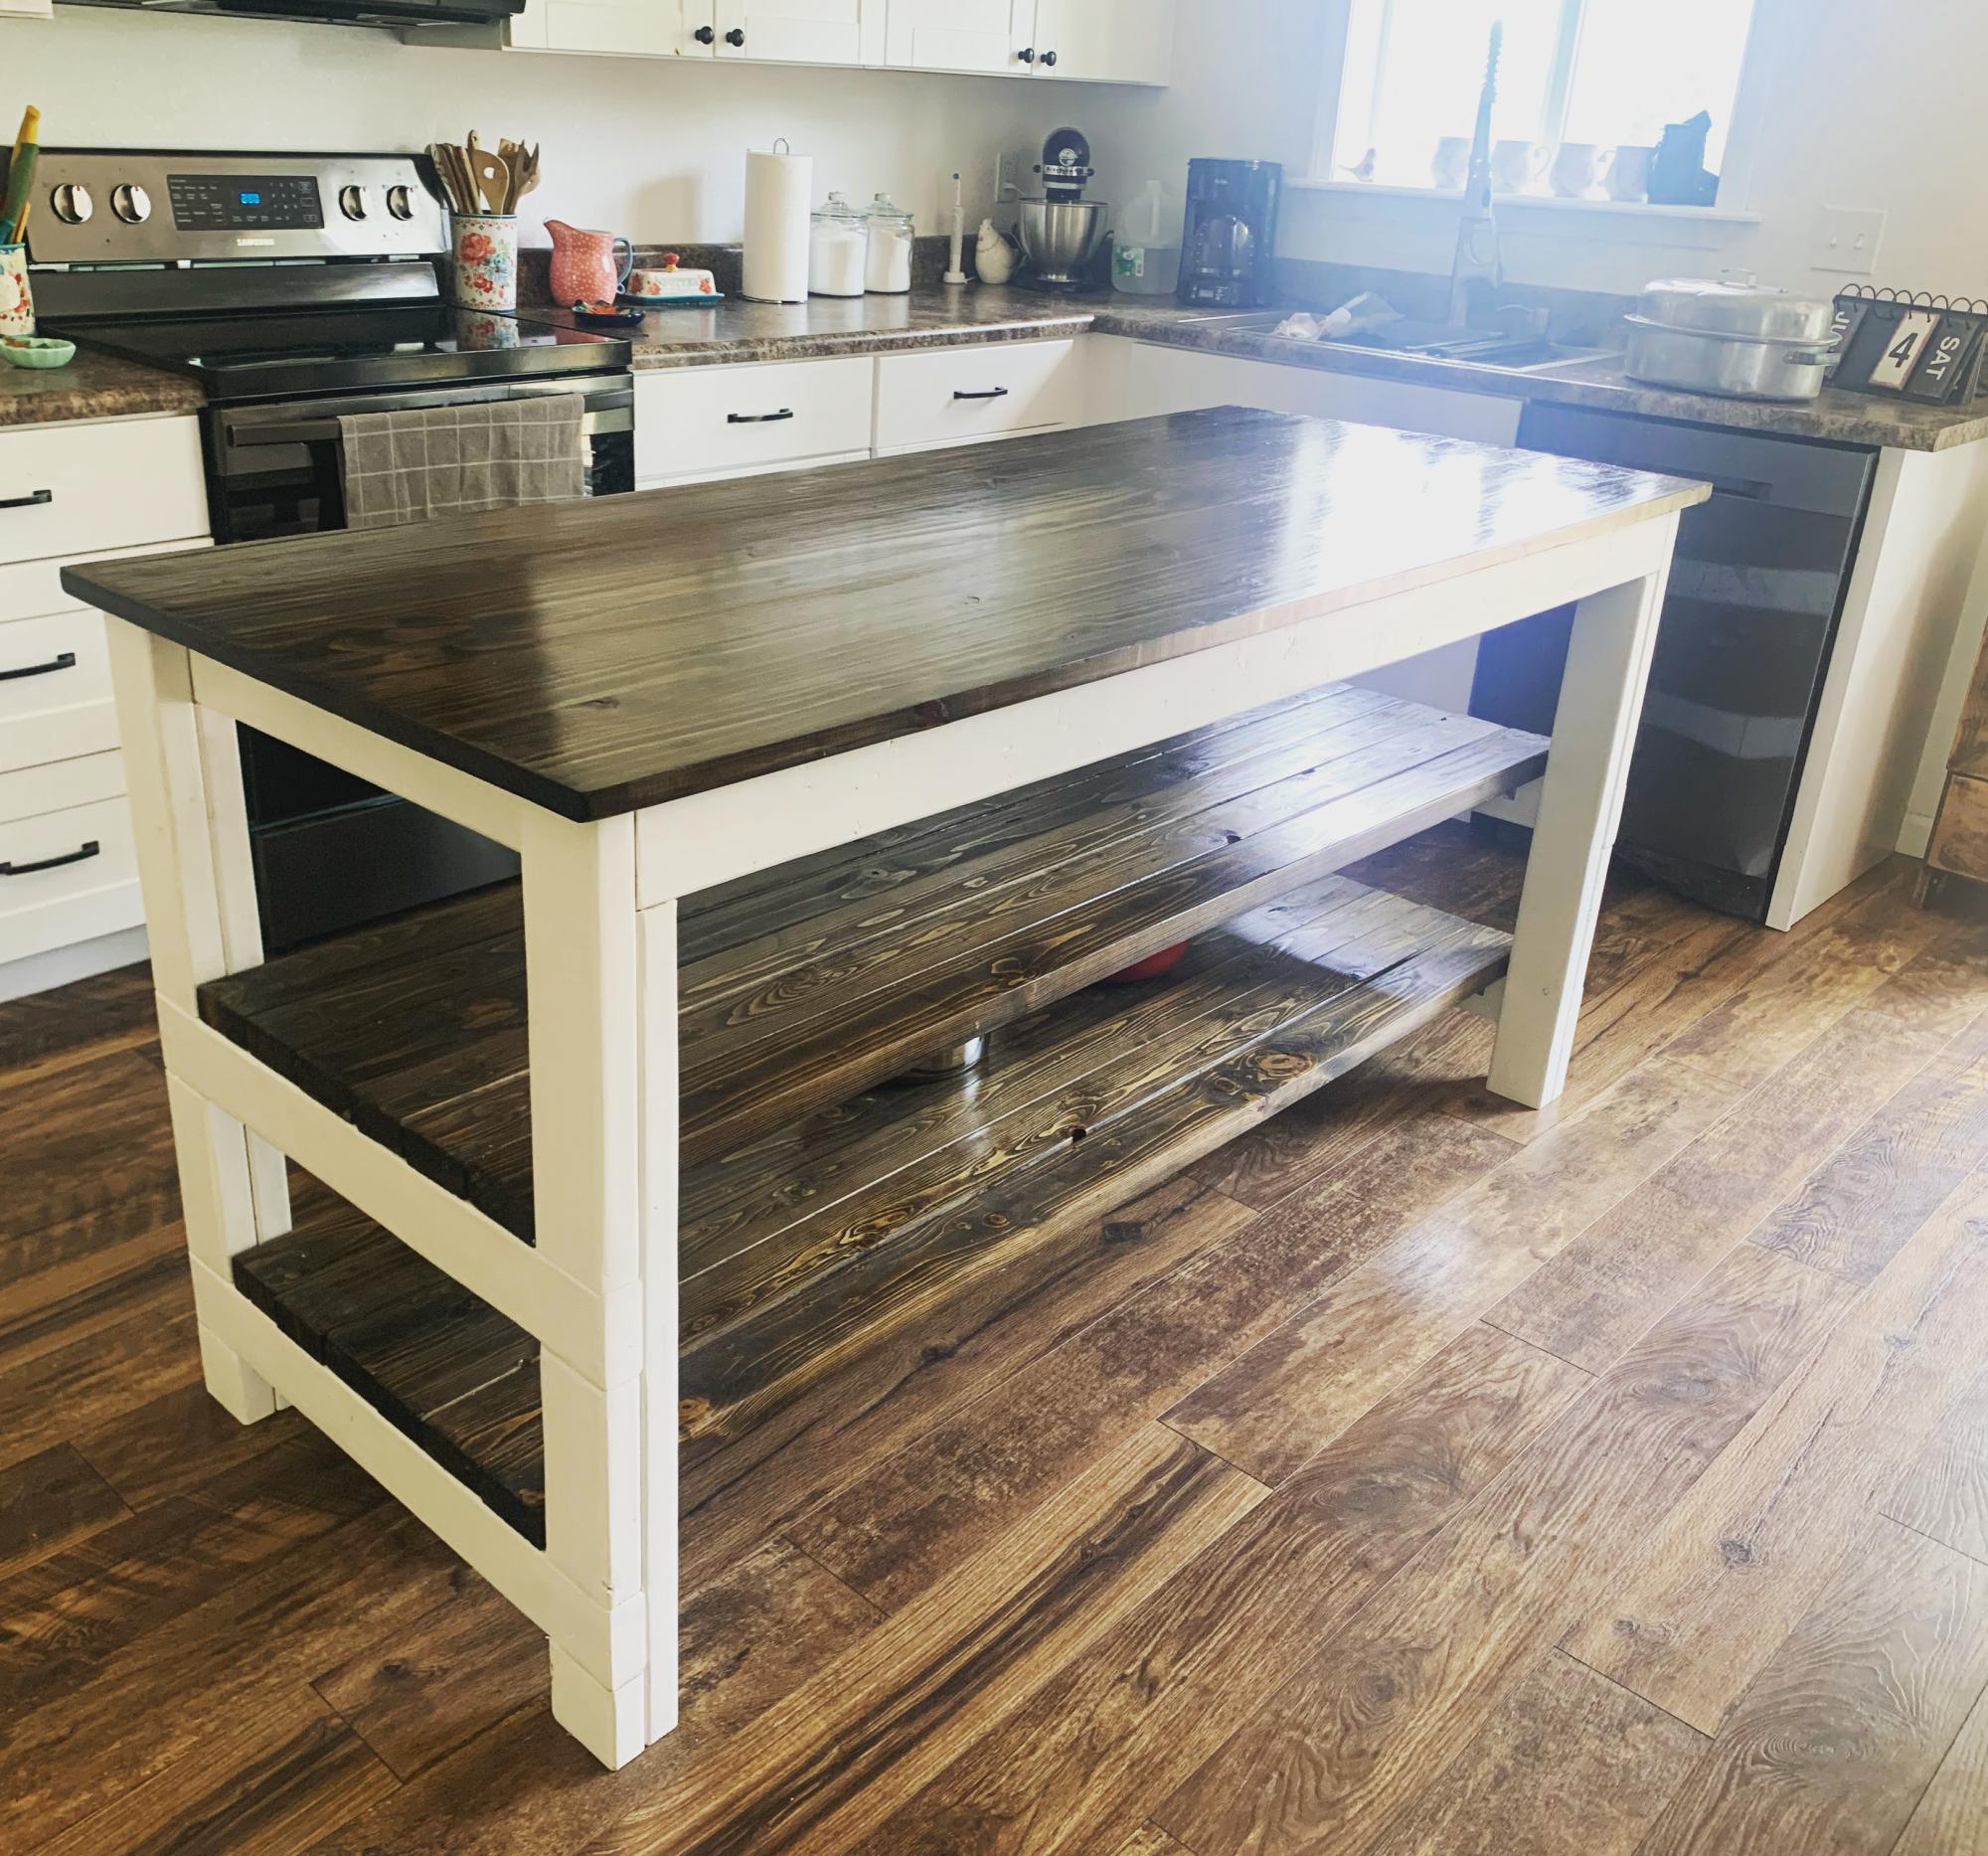
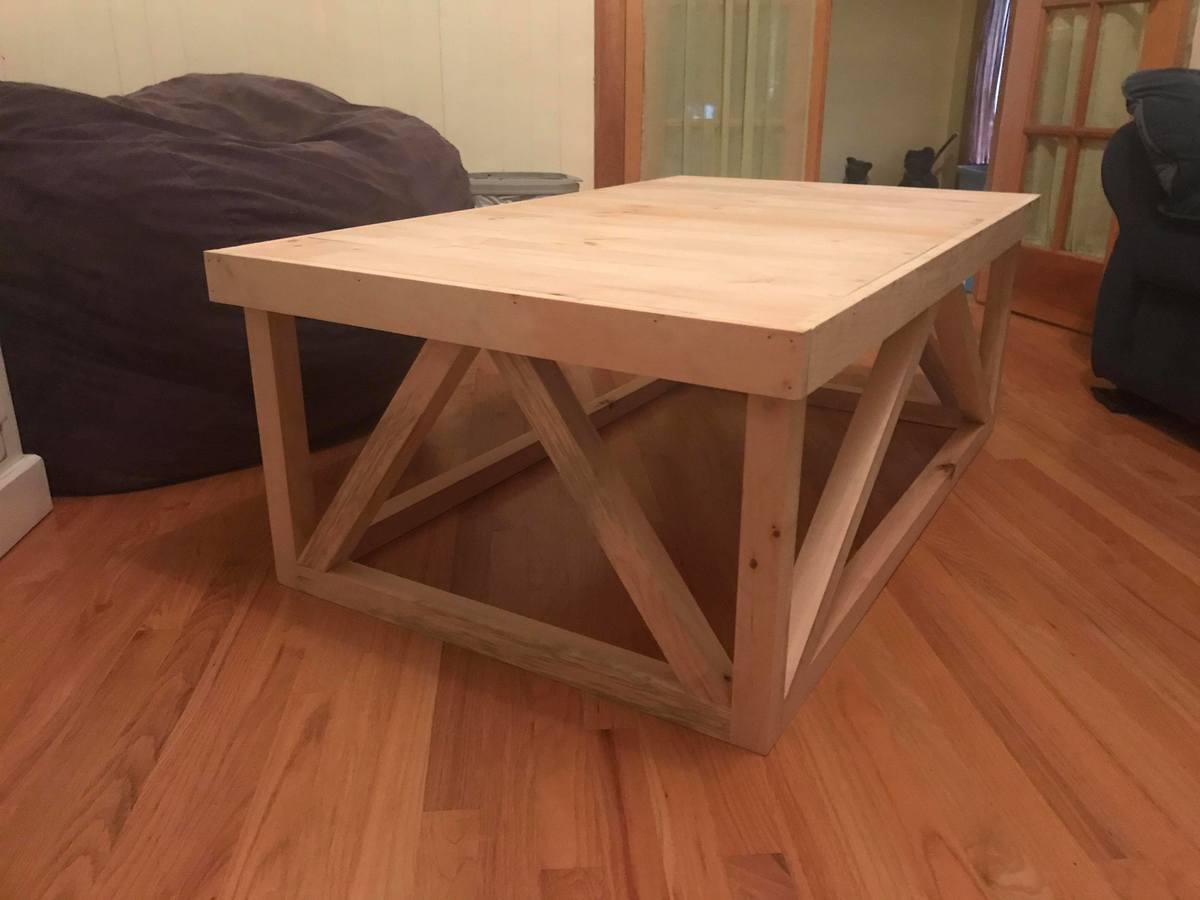
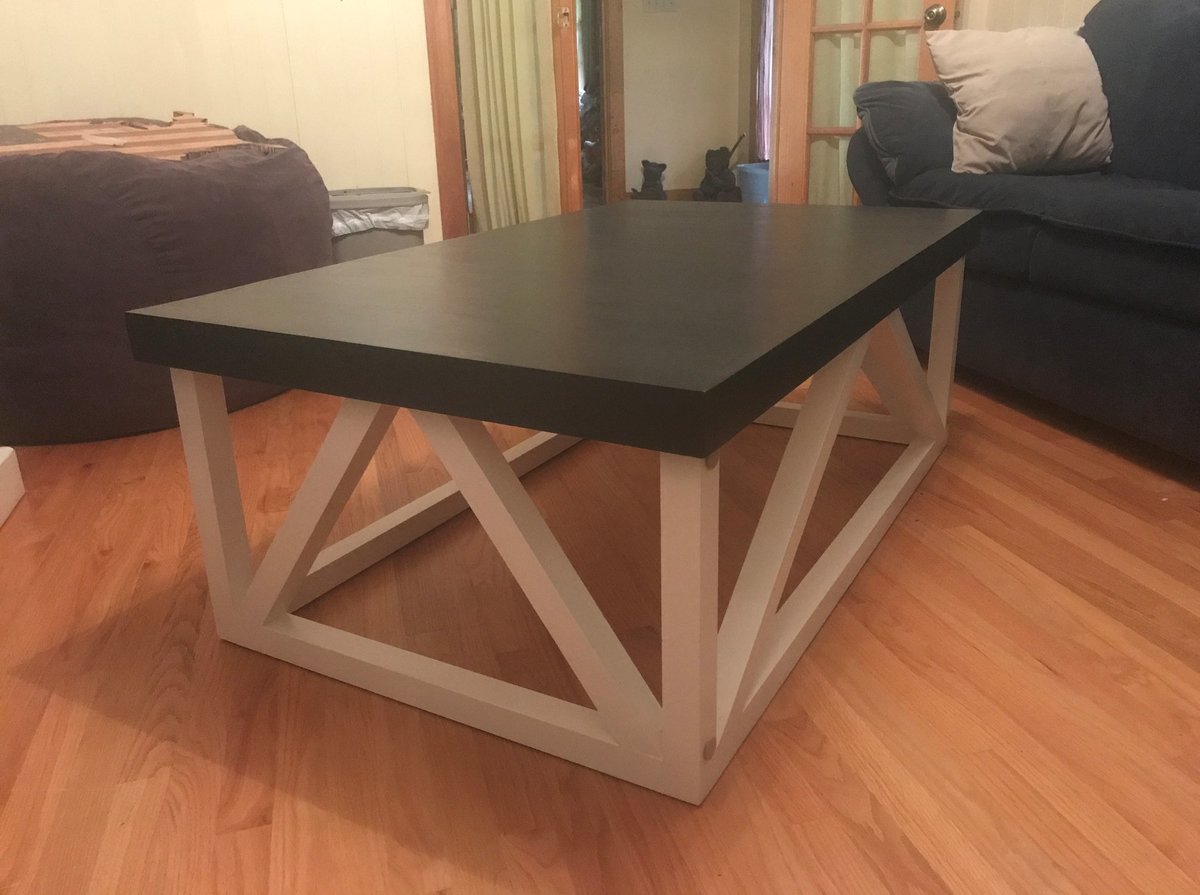
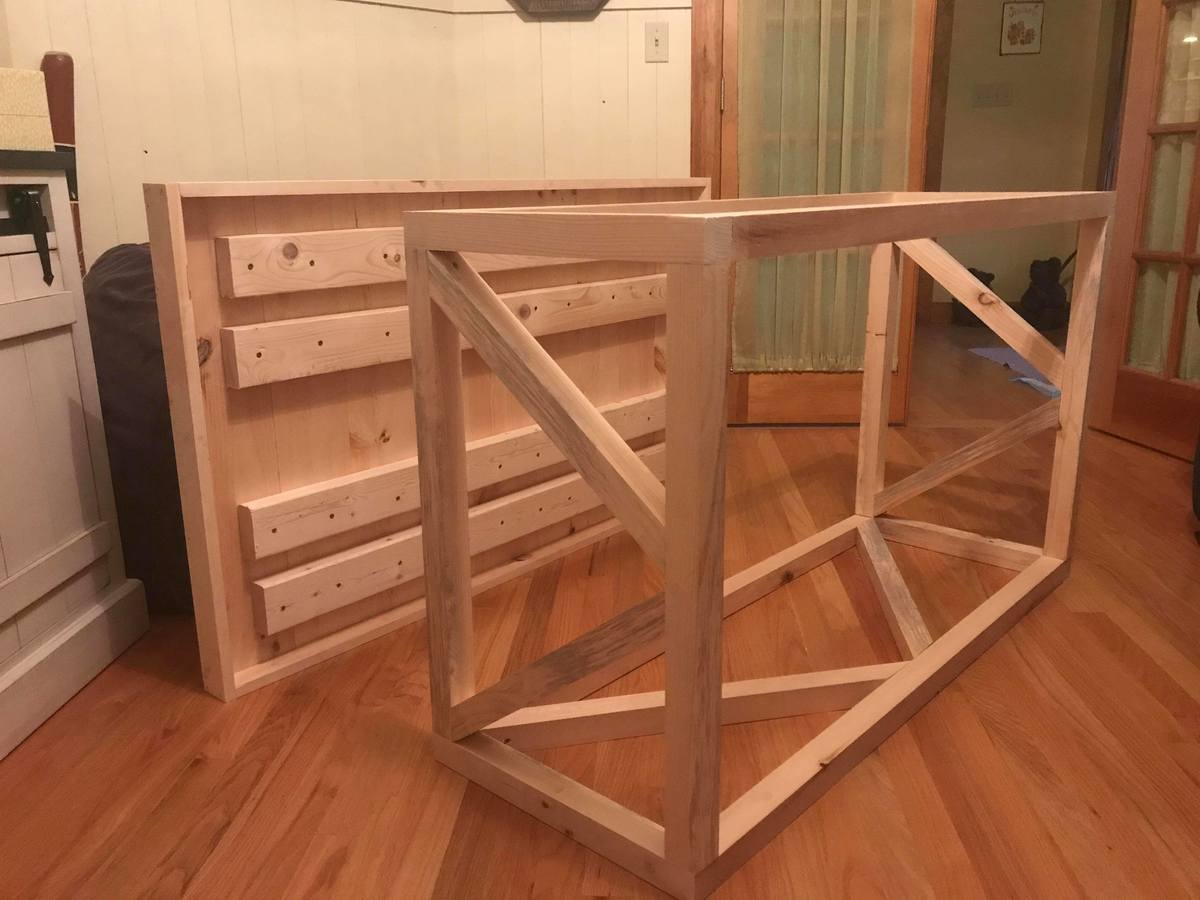
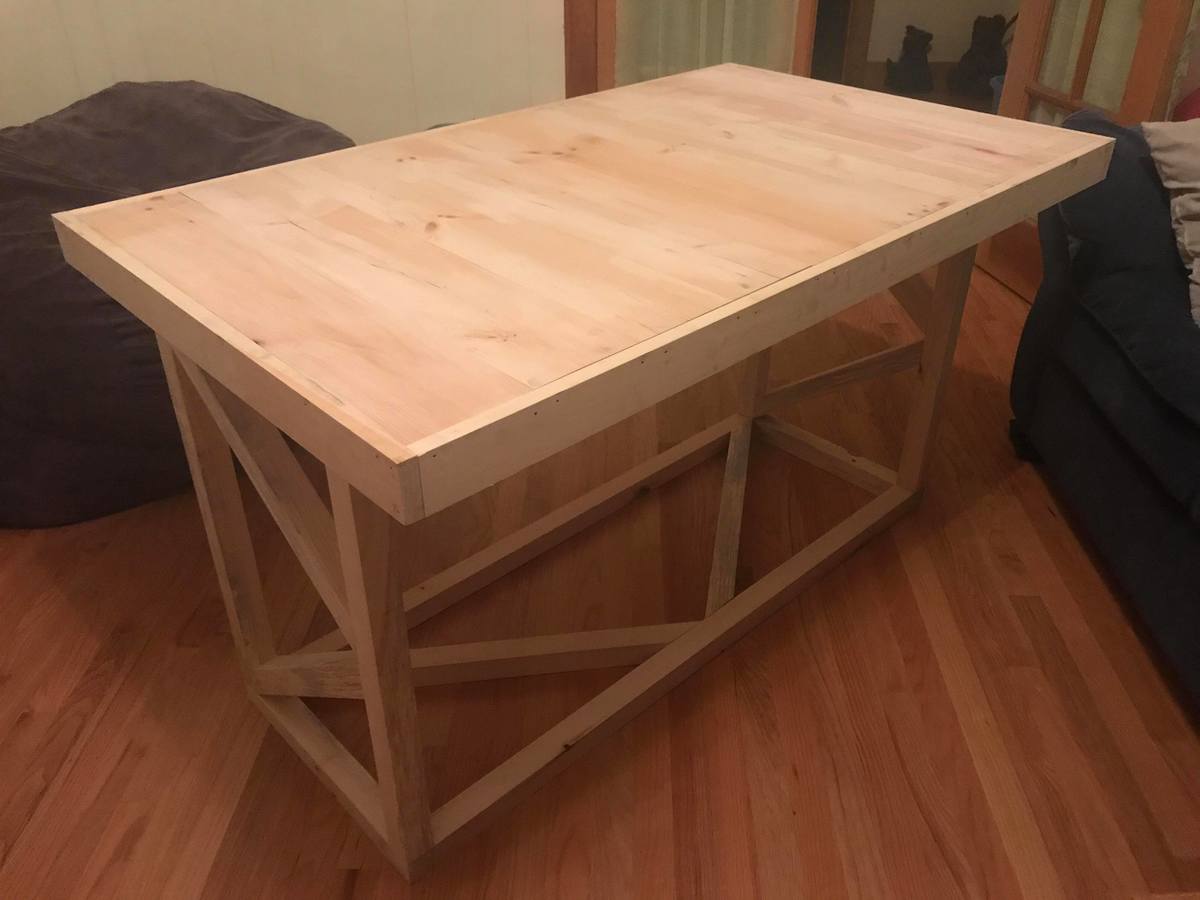
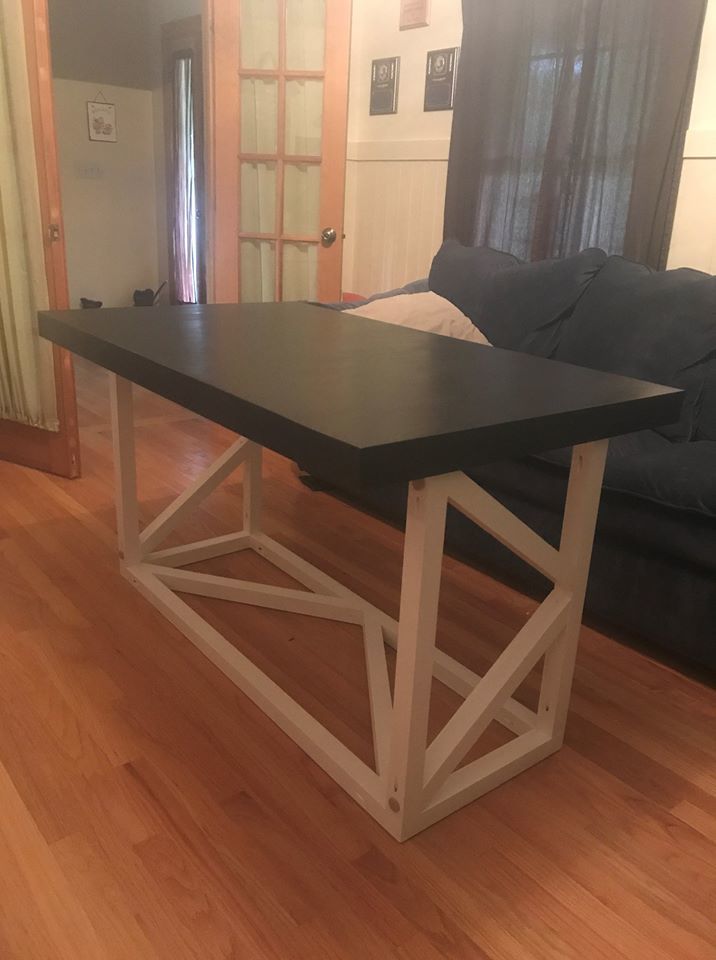
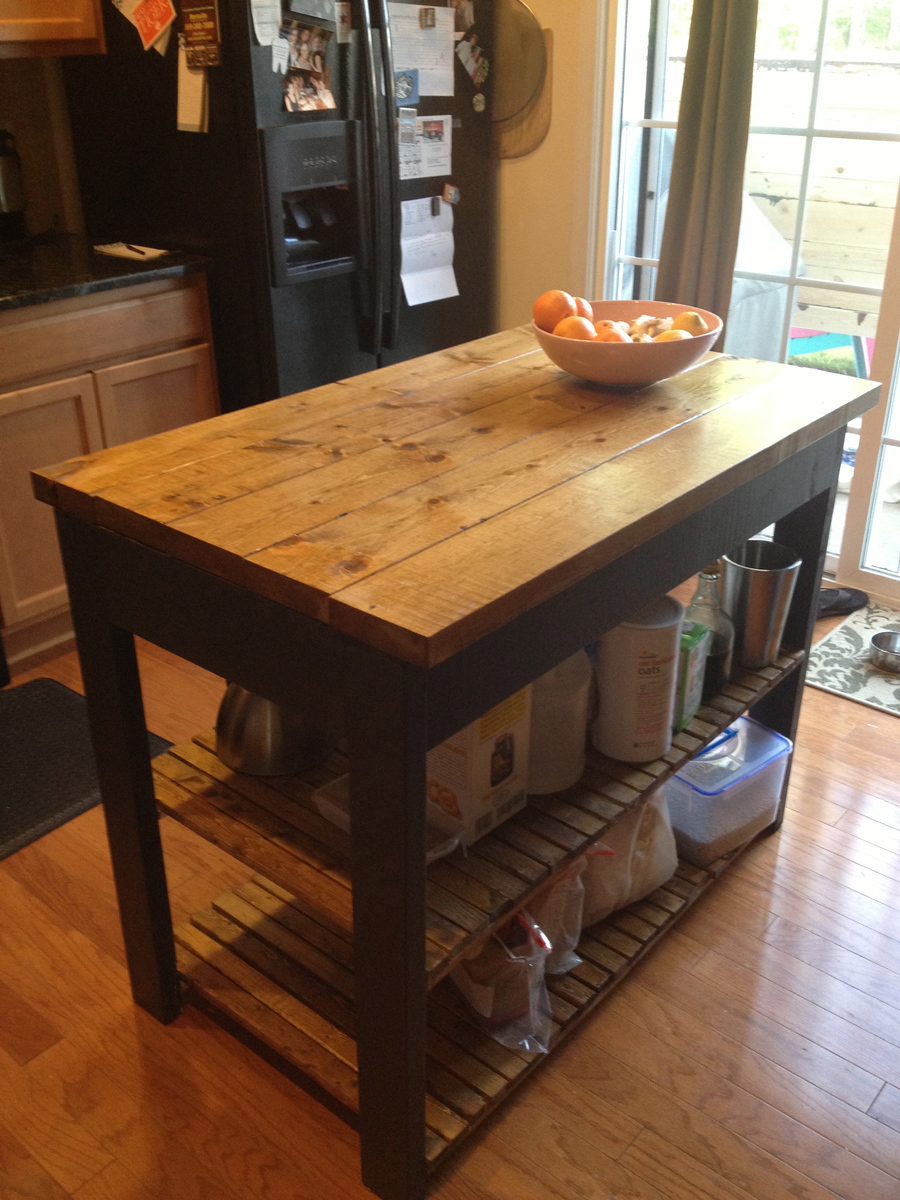
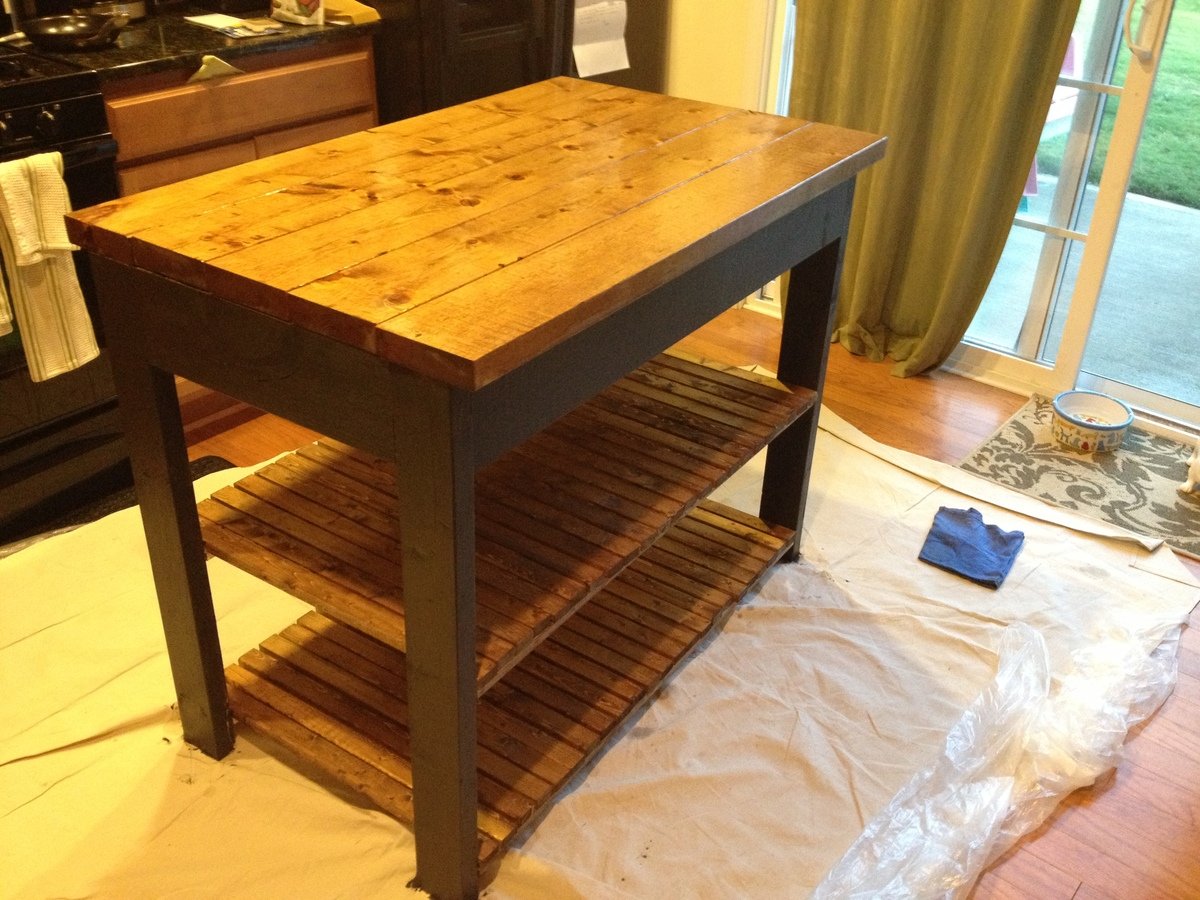
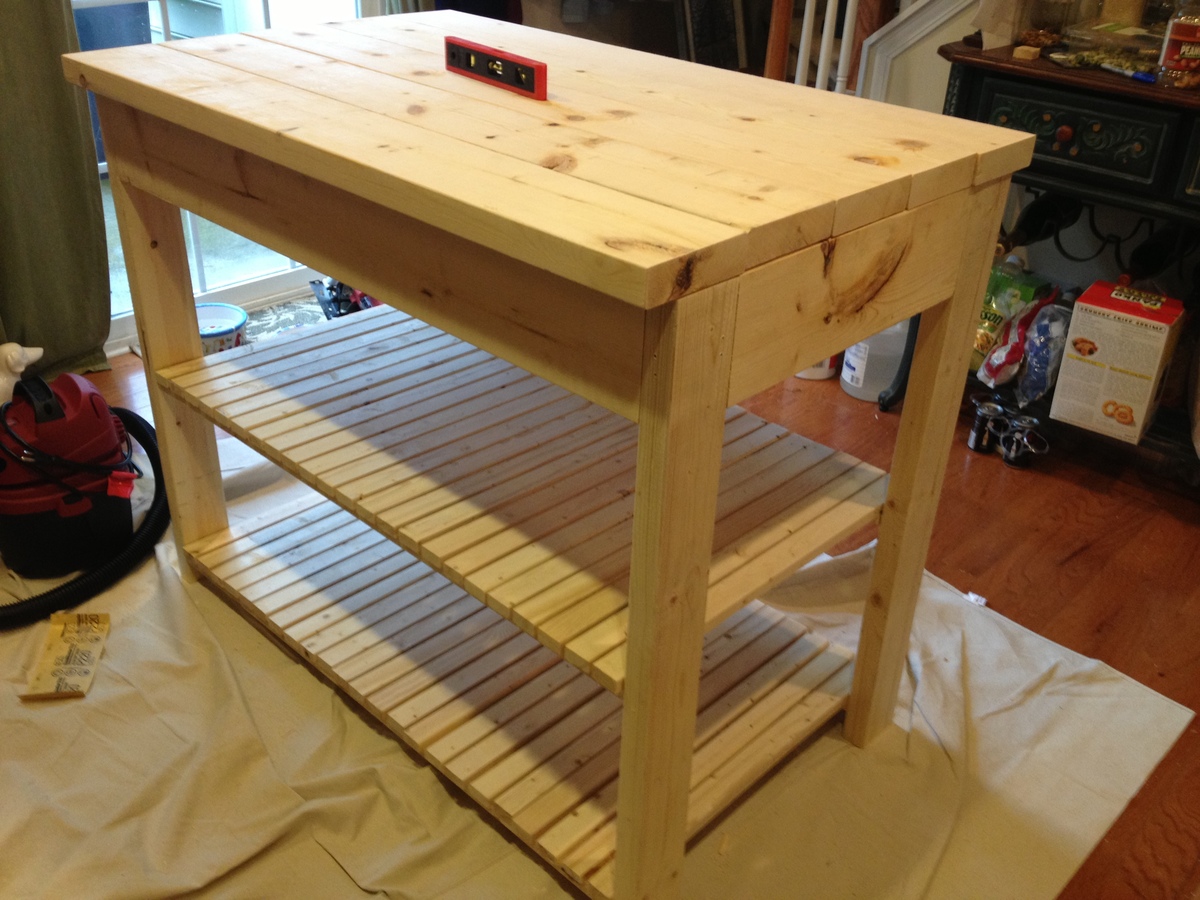
My wife was interested in a coffee table that we could also use for playing games or company for meals, and naturally we found just the thing on Ana White's website. I got some 2x2 pine from a lumberyard after not being happy with box store lumber. The table top is made of pine glued together. I decided to put the 2x4s underneath which gave some heft to the top so it does not wobble. It fits tighter than I would want, so lesson learned for me I should have paid more attention there. Since we wanted to paint the piece I went with the pine top. If it were going to be displayed somewhere else in the house, or stained, I would have chosen a harder wood for the top. The nice part of this plan, I could easily build another nicer top to go with the base if I wanted too.
Sun, 10/14/2018 - 15:15
Thanks Ana! What a great surprise hearing from you directly. I appreciate it. :-)
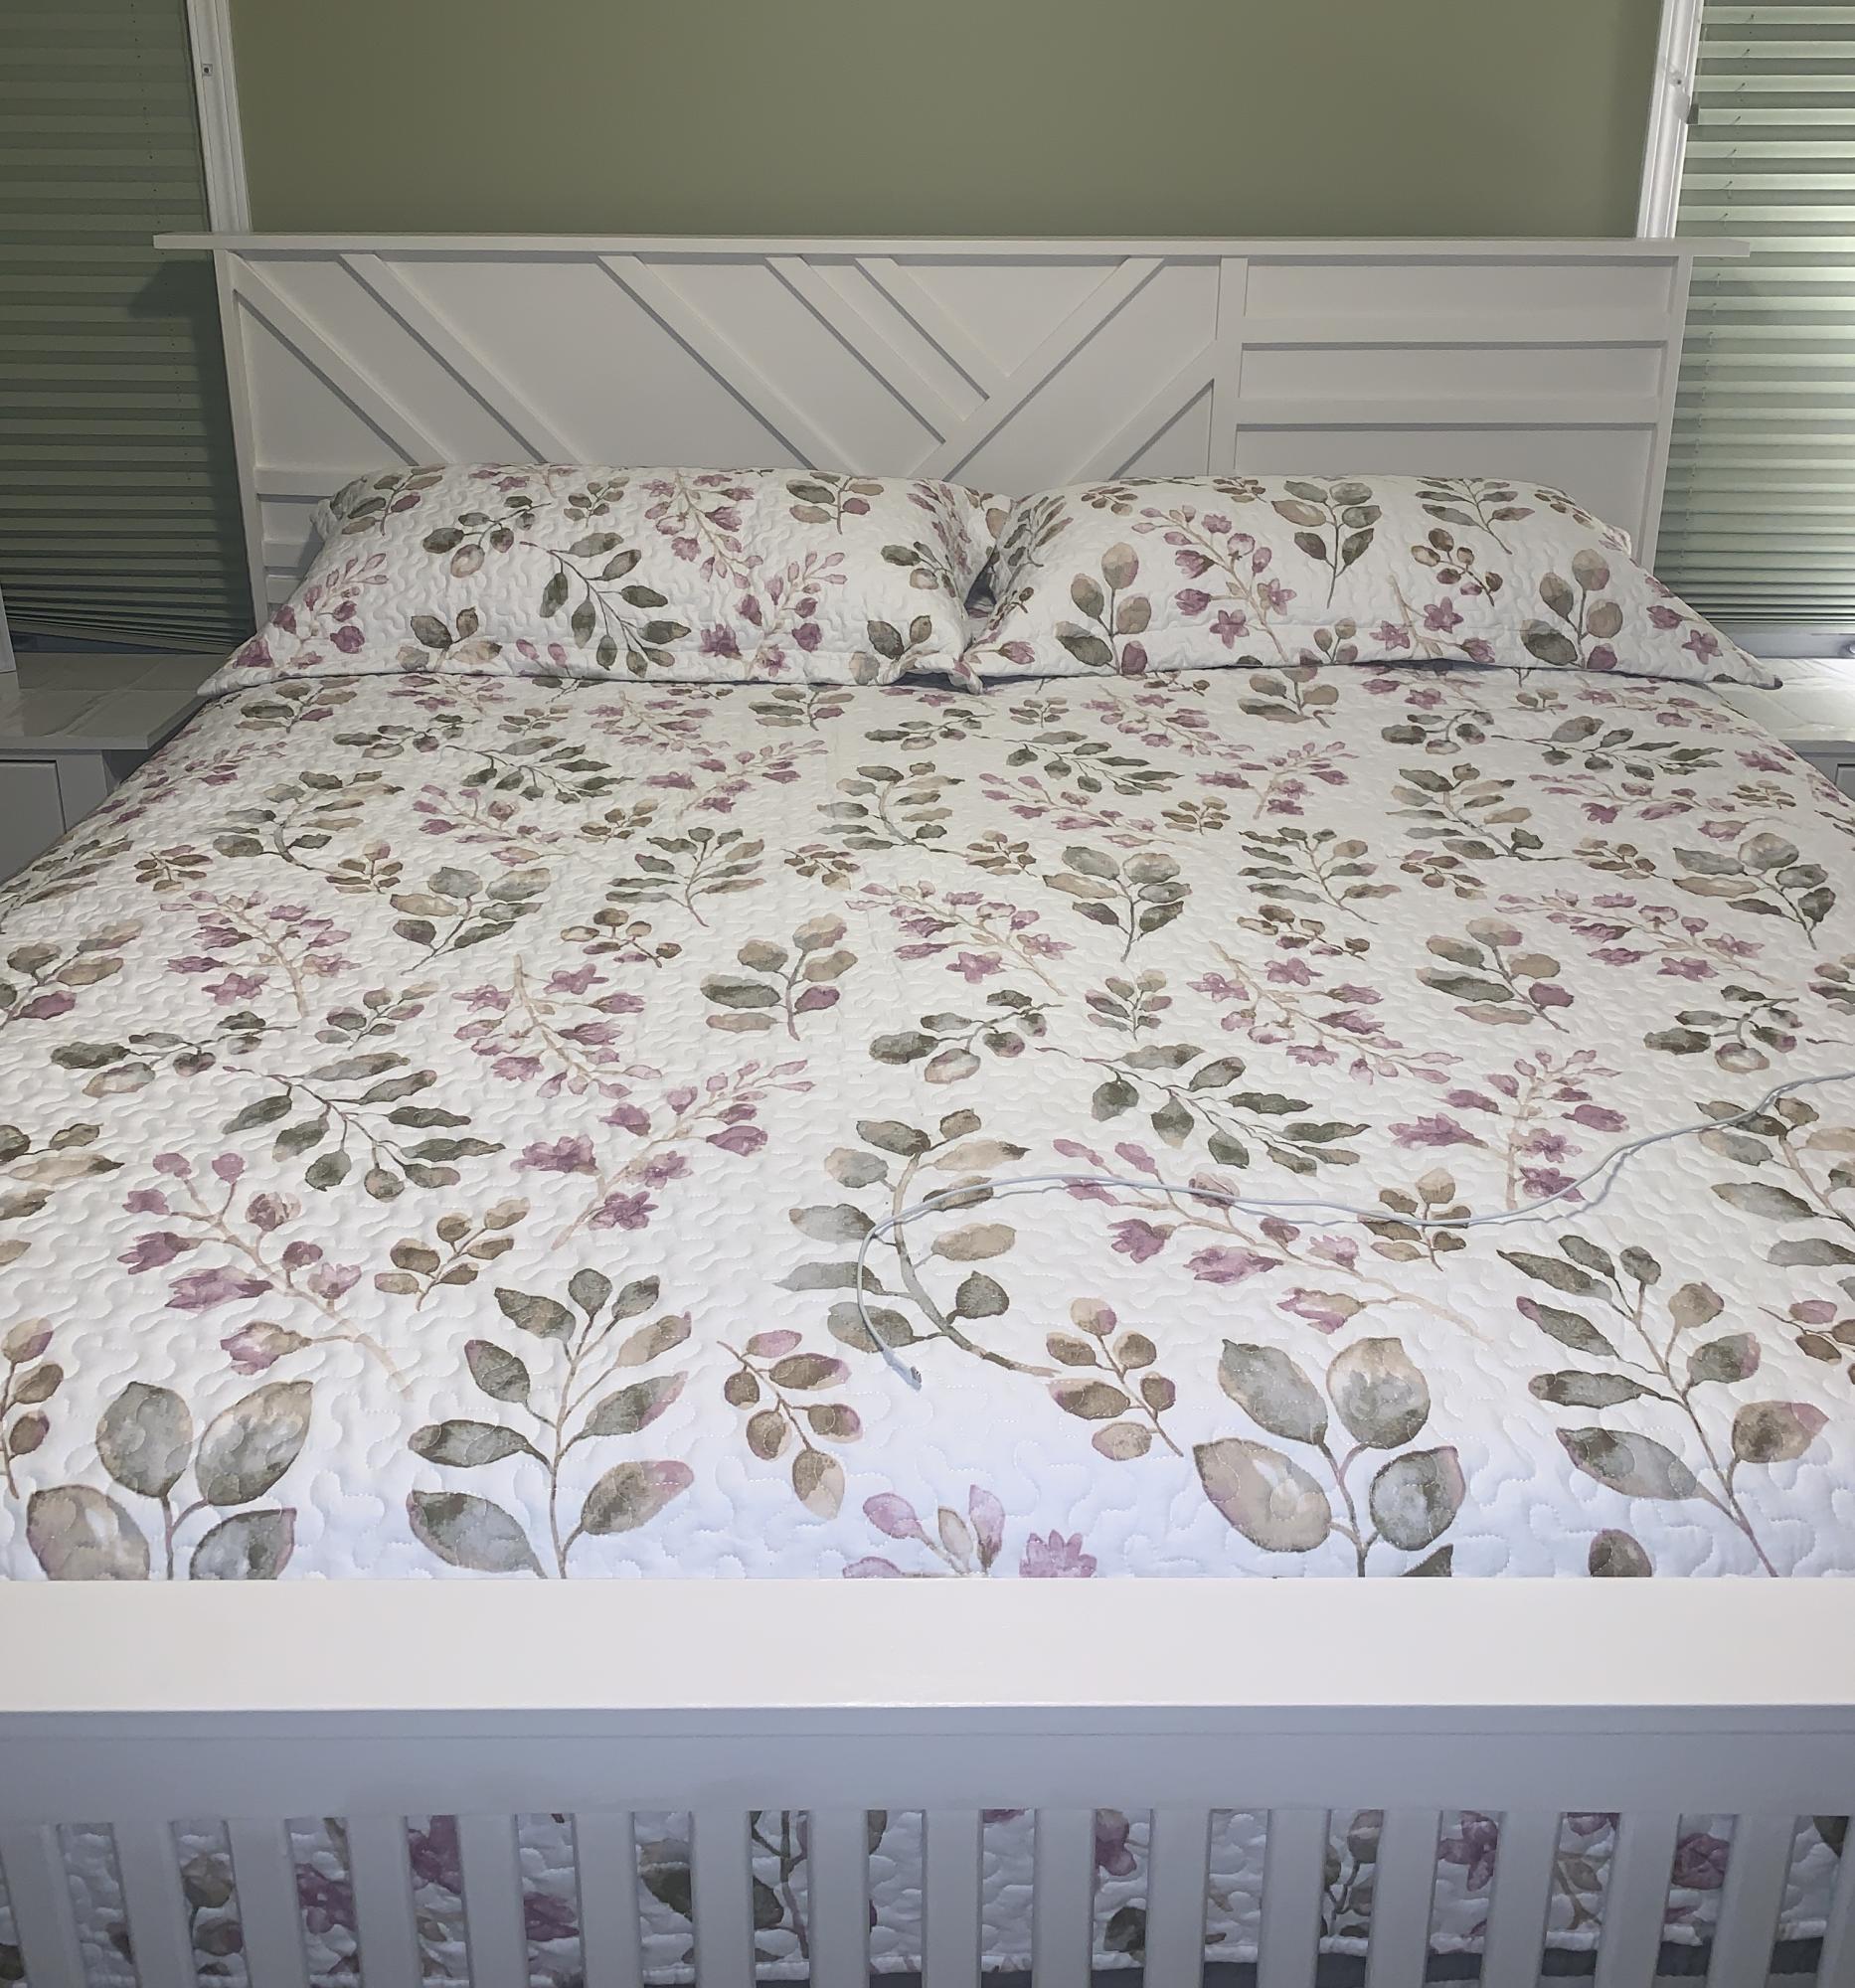
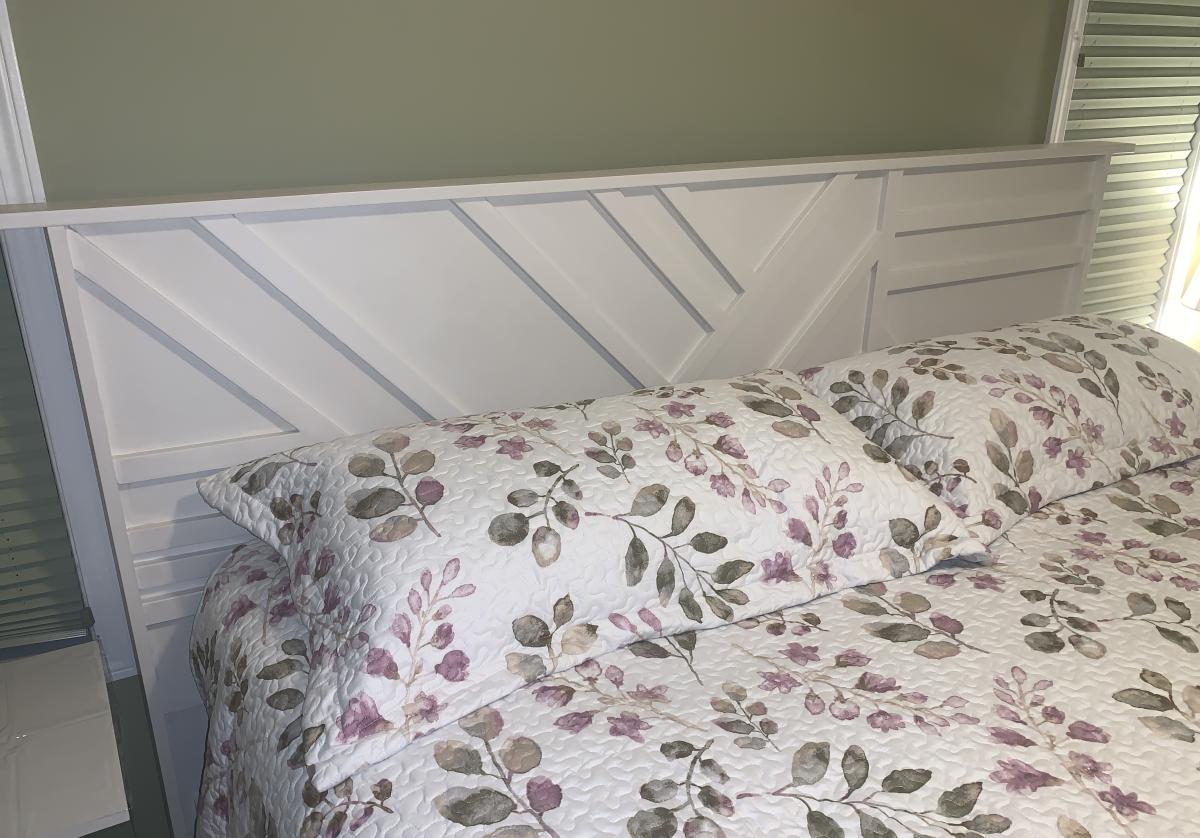
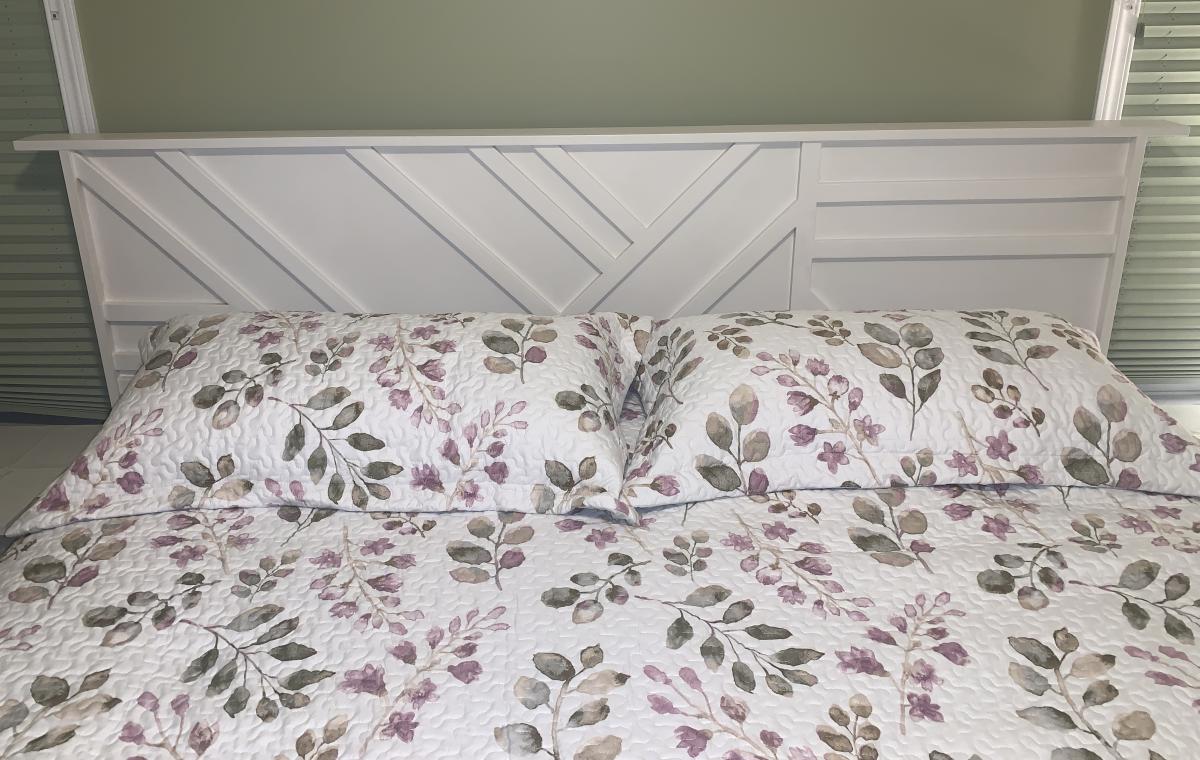
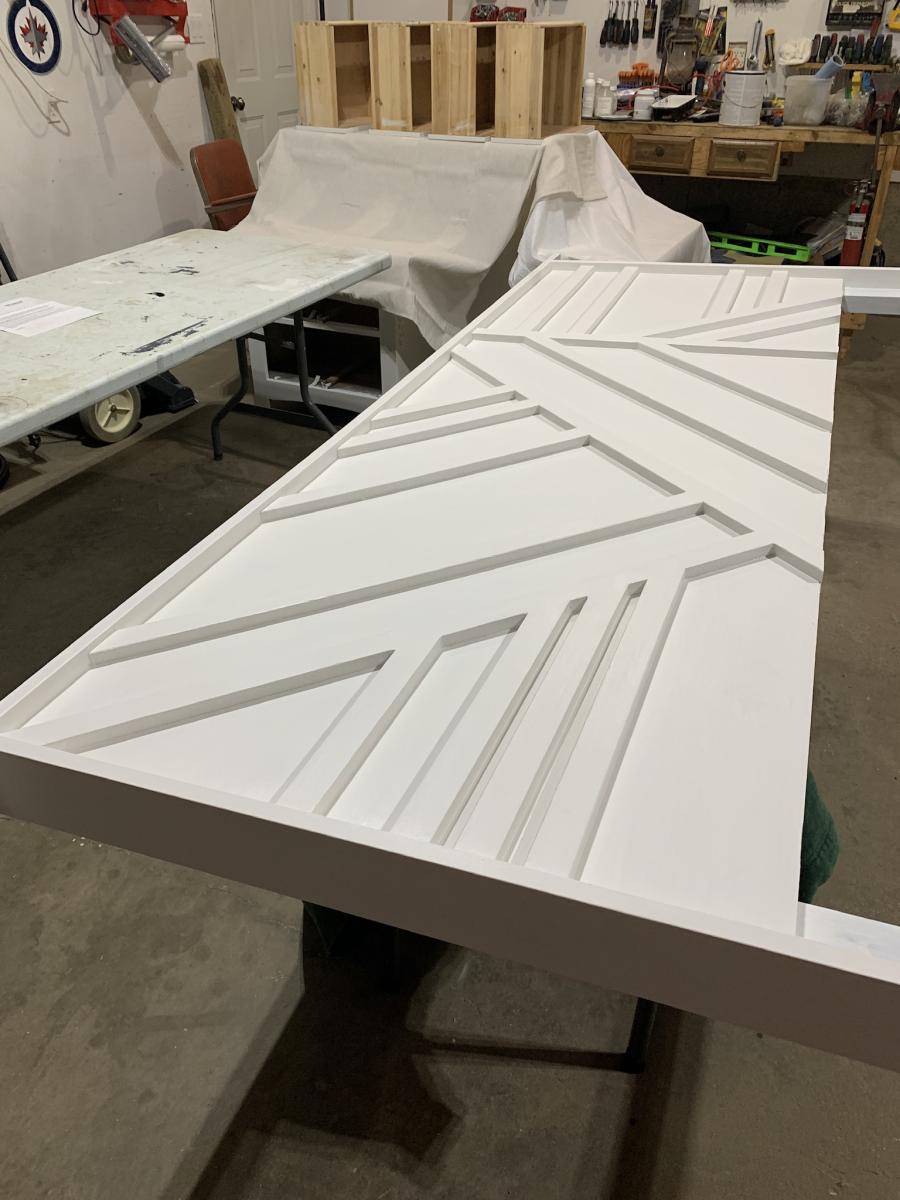
I followed the instructions for the Modern Geo Headboard but adjusted them to fit my bed frame because I don’t have a platform bed. I’ve refurbished pieces before but this is the first one I have actually built from scratch. It’s certainly not perfect but I’m so happy with how it turned out. Lots of satisfaction in knowing I built this and it cost a fraction of the similar one I wanted to buy in store. Thank you for the inspiration.
-Teena

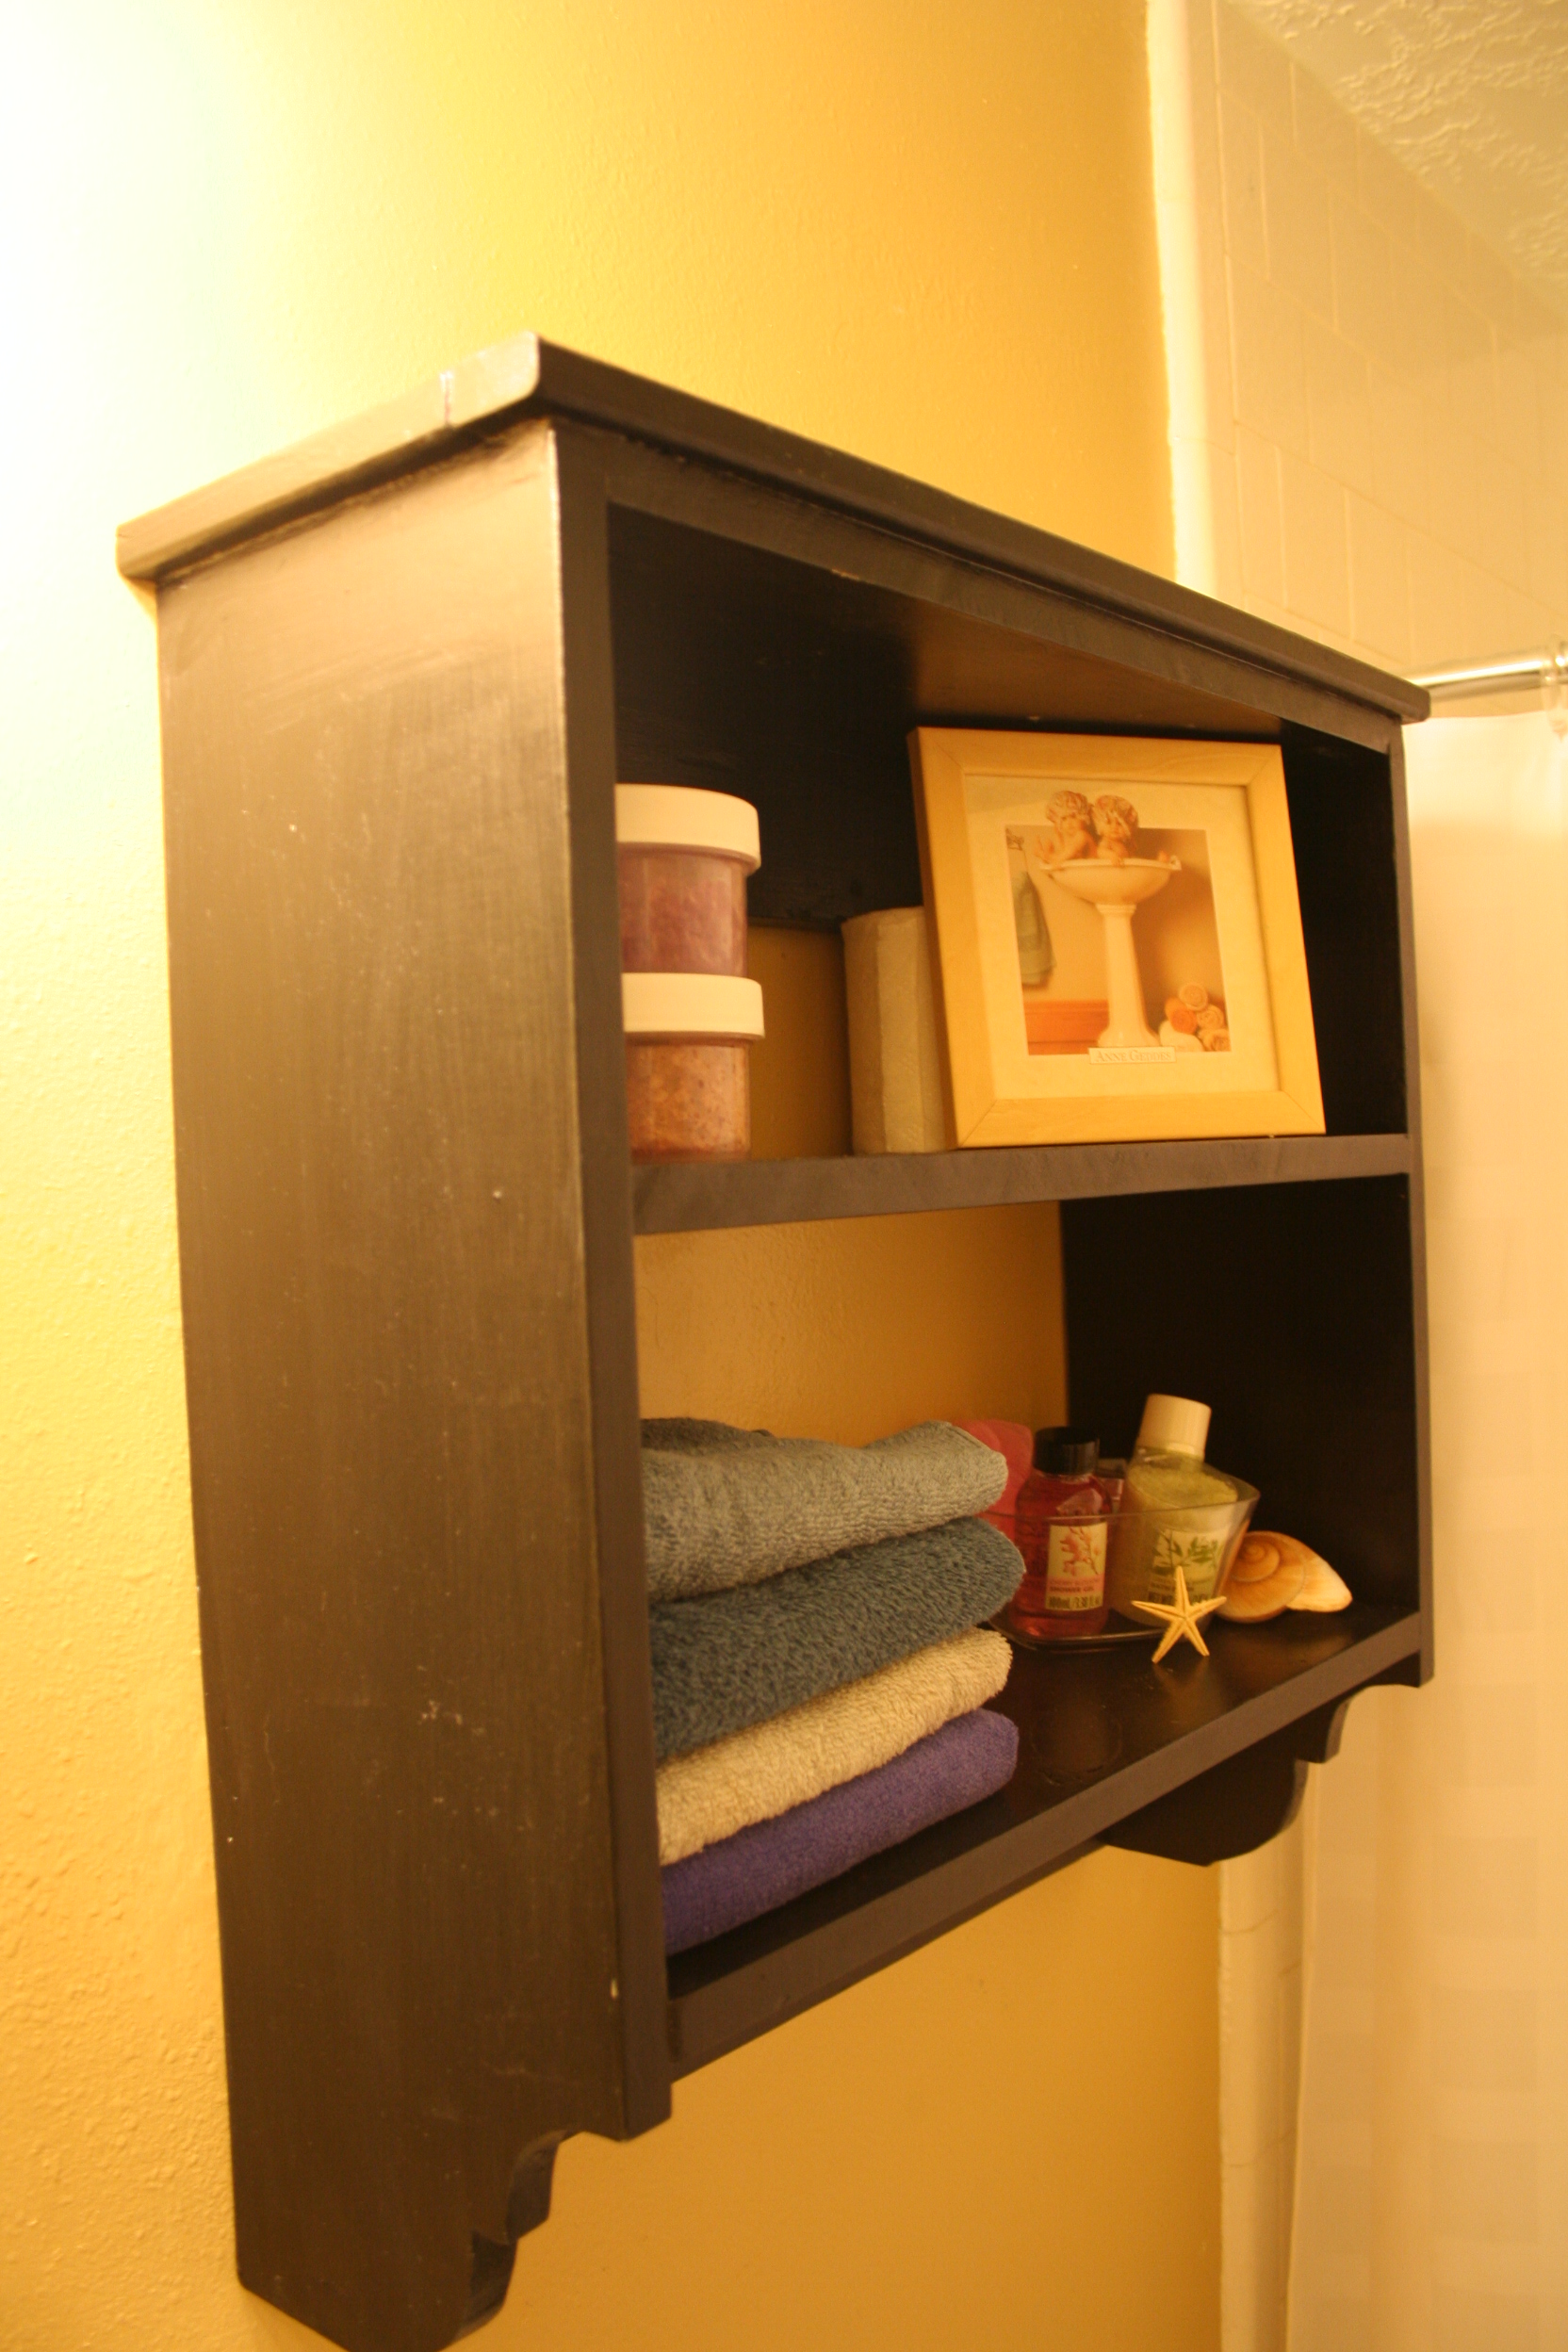
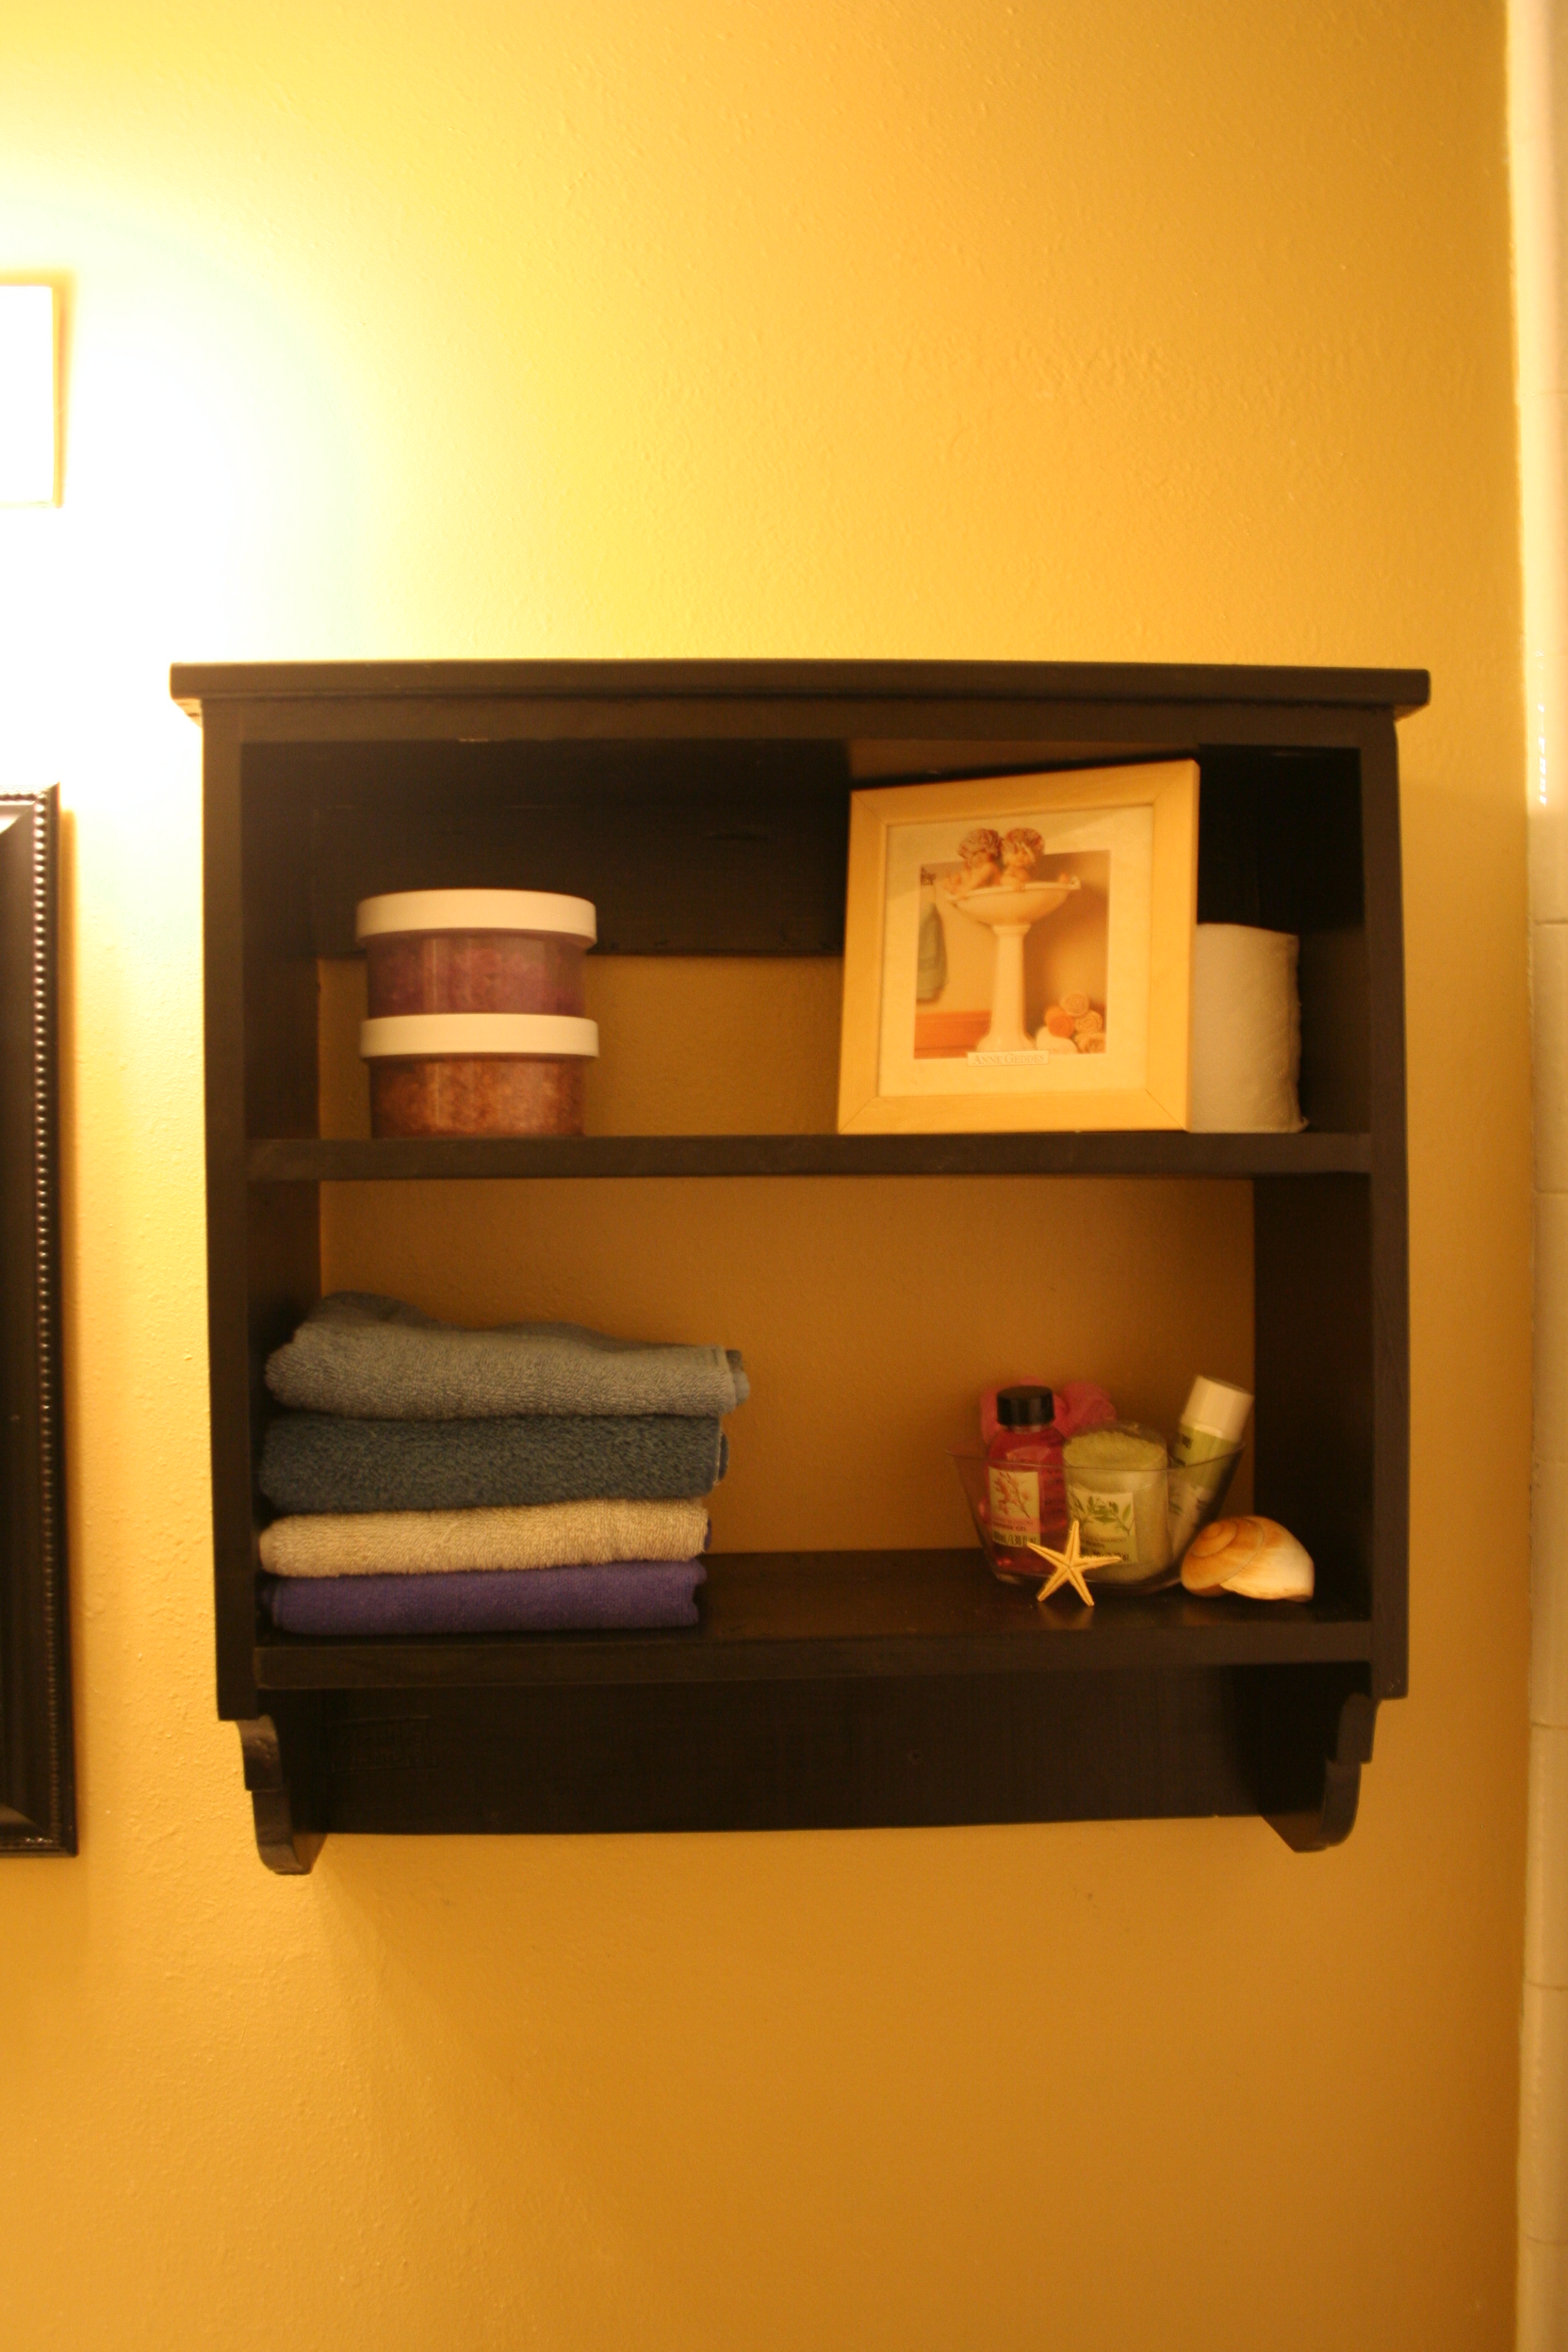
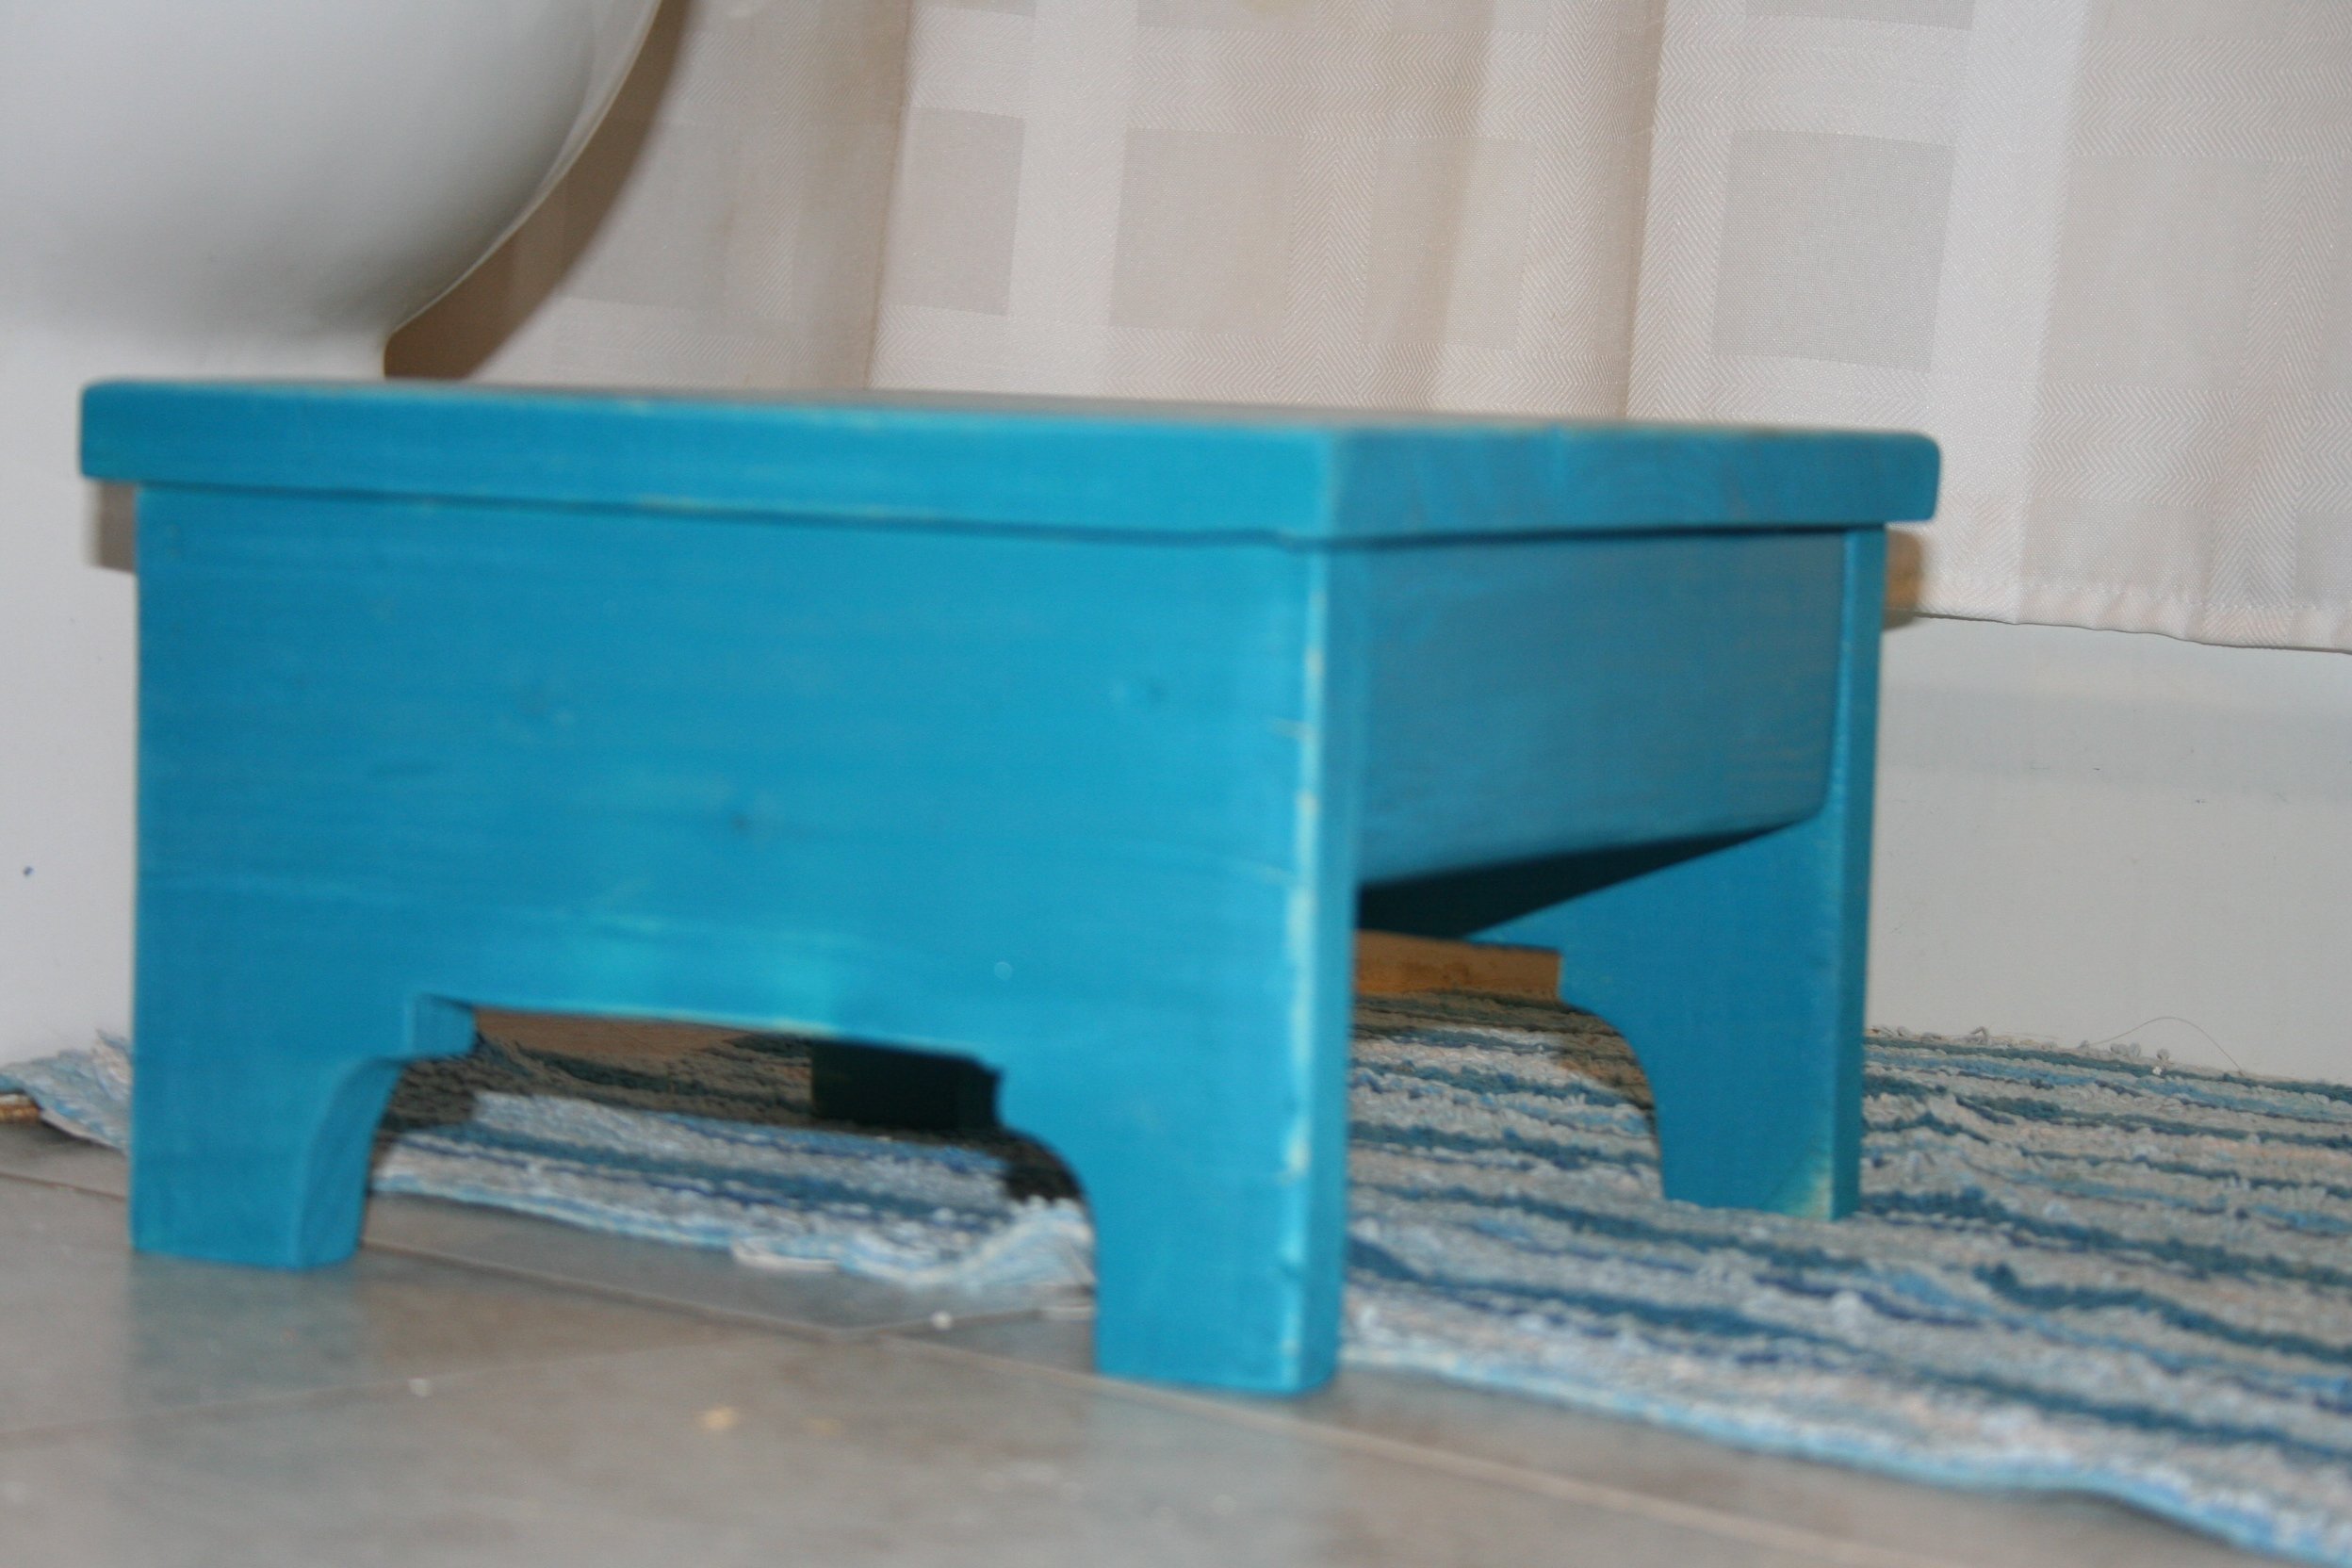
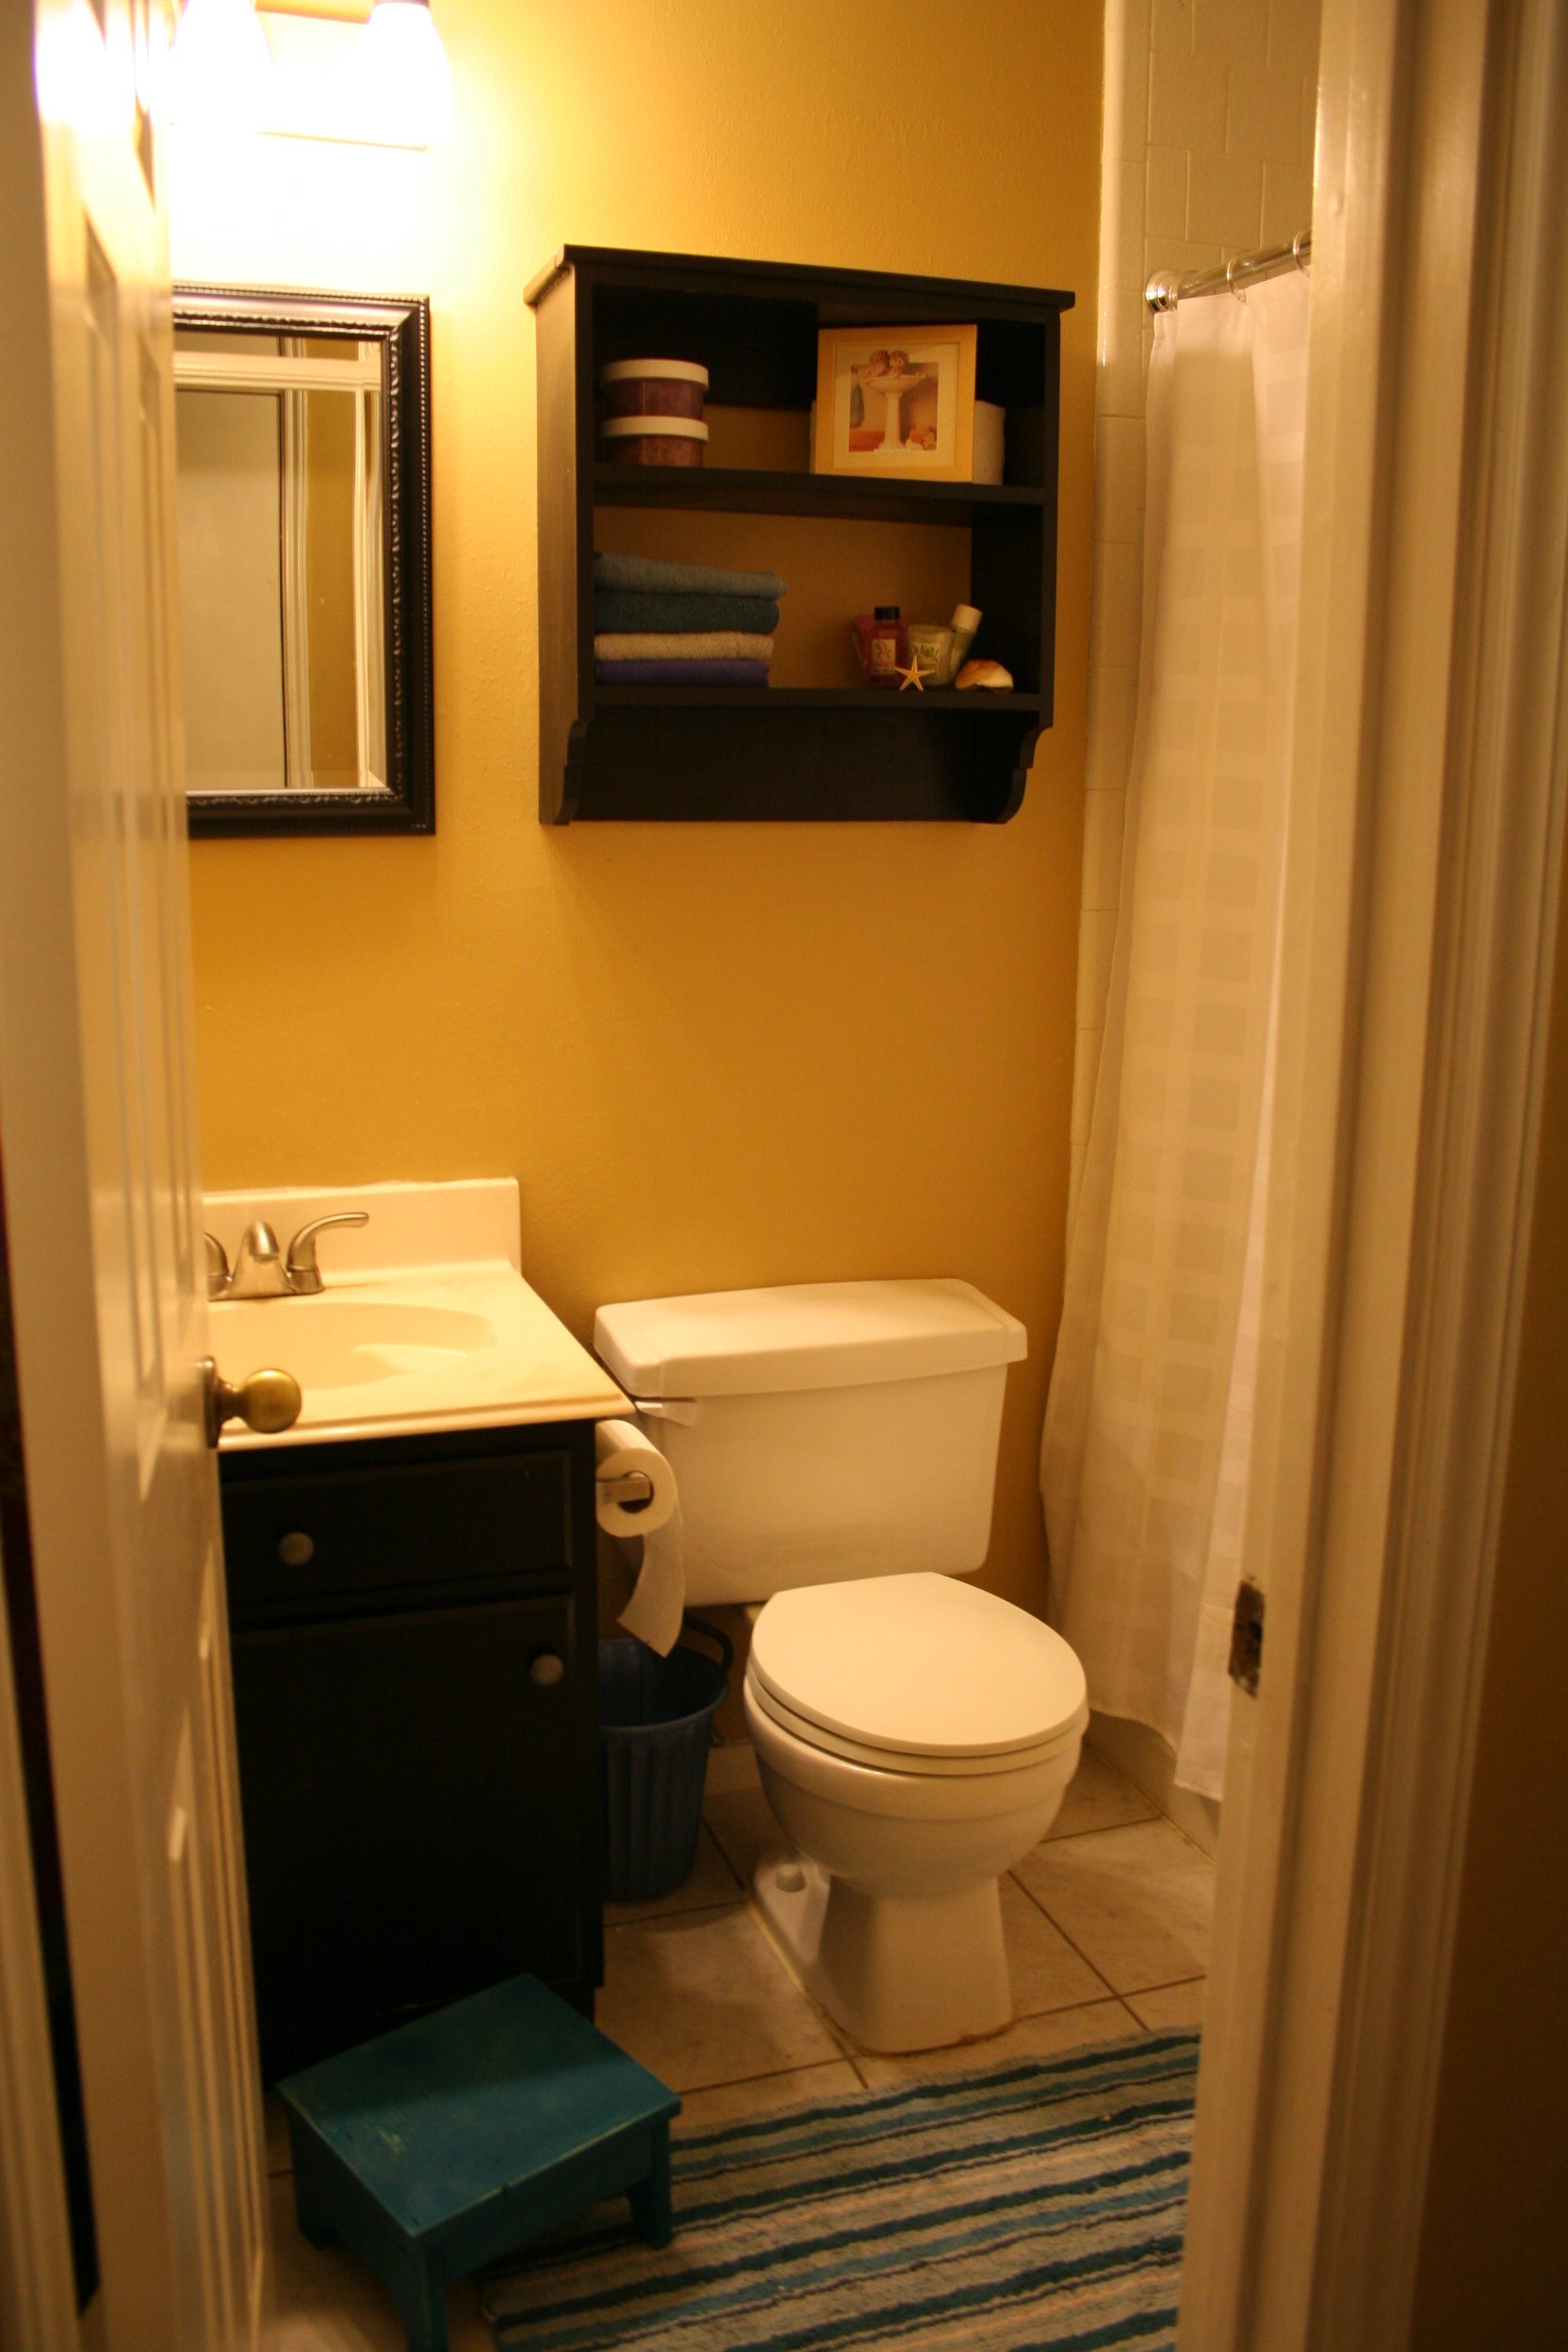
I so wish I had taken a before picture! Last summer we did a lot to make over this bathroom. Previously the cabinets were a birch color with a white door (gross). The faucet was one that came with the house, cheapo builder's grade, a tacky medicine cabinet, and that oh so attractive Hollywood lighting. So we painted the cabinet black, replaced the medicine cabinet with a nicer black mirror, replaced the faucet and lights. That had it looking pretty decent, but the wall above the toilet had 3 small pictures hung rather oddly to hide some poor patch jobs from a busted towel bar. So when I saw the plan for the bathroom shelf I was thrilled! I made a few adjustments to the size to meet what I wanted and got started. I also had an extra 30 minutes before a birthday party we were leaving for and had some scraps already the right size for a simple step stool.
Thu, 03/07/2013 - 23:28
Oh! Your bathroom re-do projects sounds cool and abrupt. Myself being a bathroom lover usually spend times in Bathrooms. Besides always avid to observe the interiors. As you have done up with the black fixtures and cabinet, I guess it looks pretty stunning. Your ideas and the layout looks good to me and for sure I'm going to utilize my next afternoon.
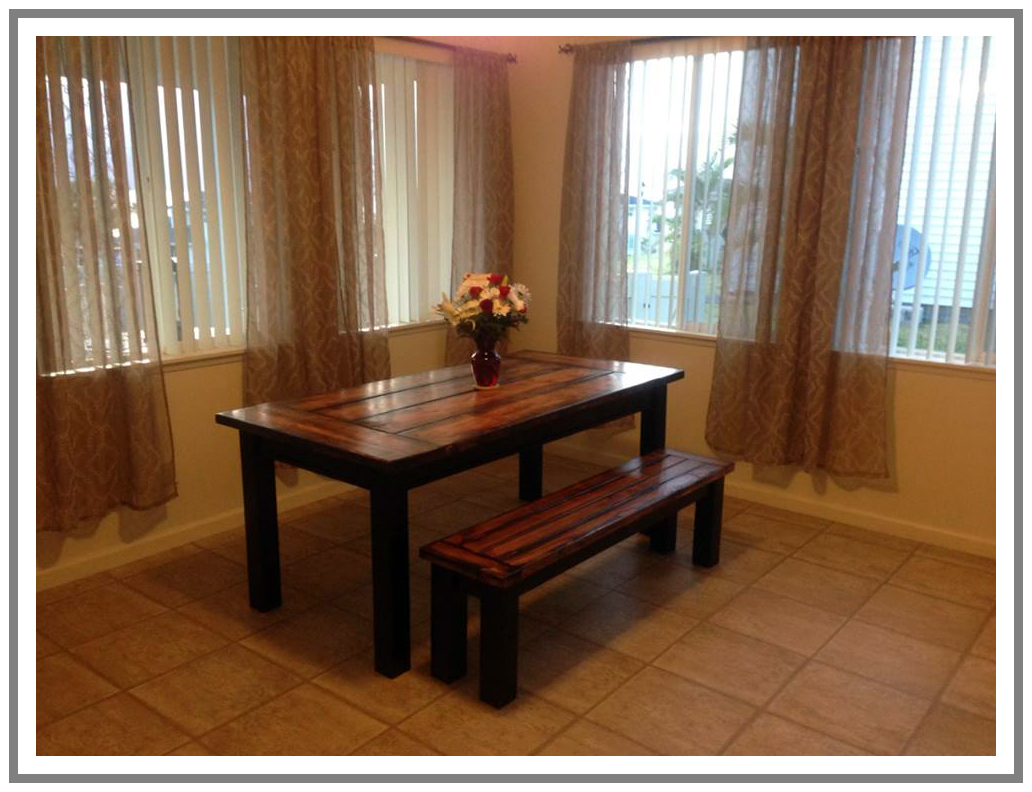
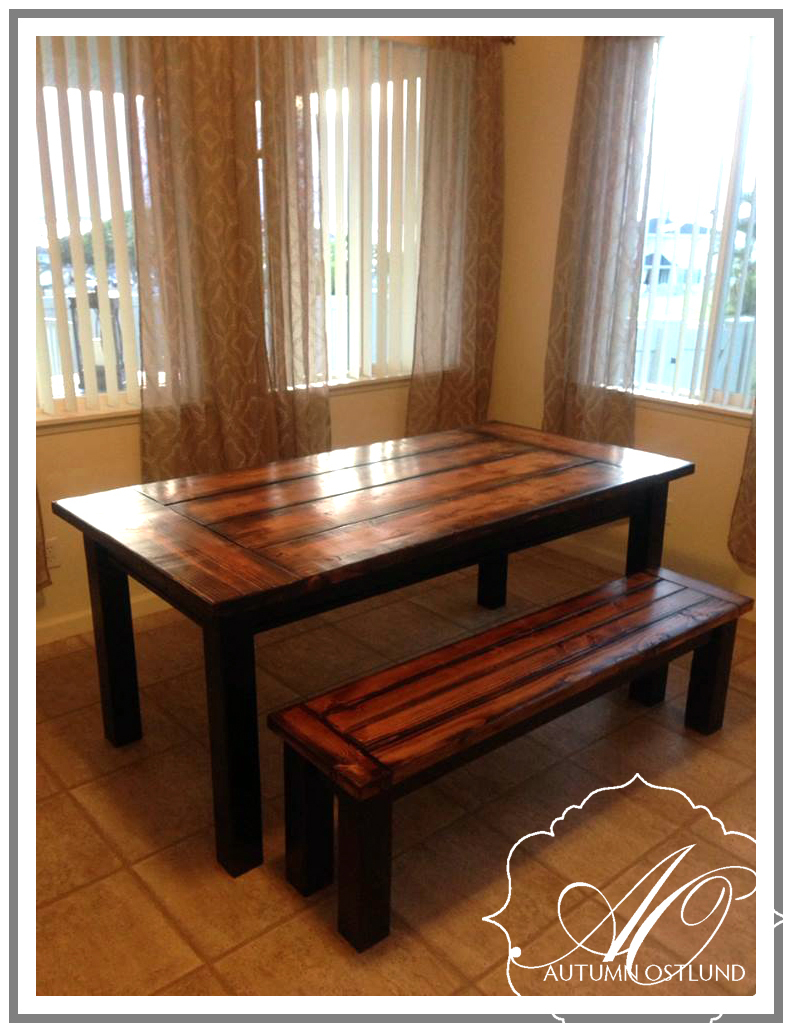
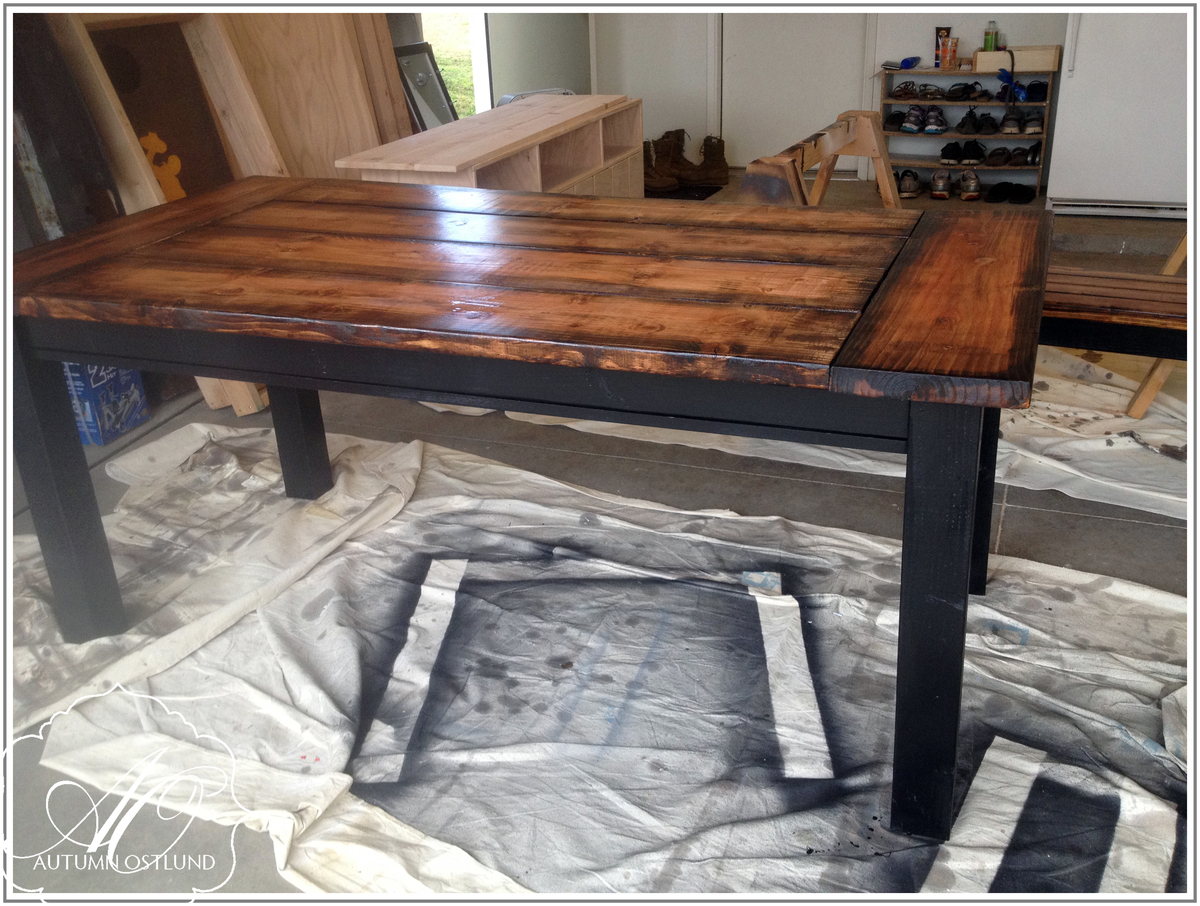
Slightly based on Ana White's husky farmhouse table, this table has 4x4s as legs and a nice, thick planked top with breadboard ends. It will easily seat 6 and will seat 8 in a pinch! I also build a bench to match, using the same concept, just smaller dimensions.

Fri, 08/23/2013 - 02:49
Love the stain you did on the top, looks awesome! It's a very beautiful set!
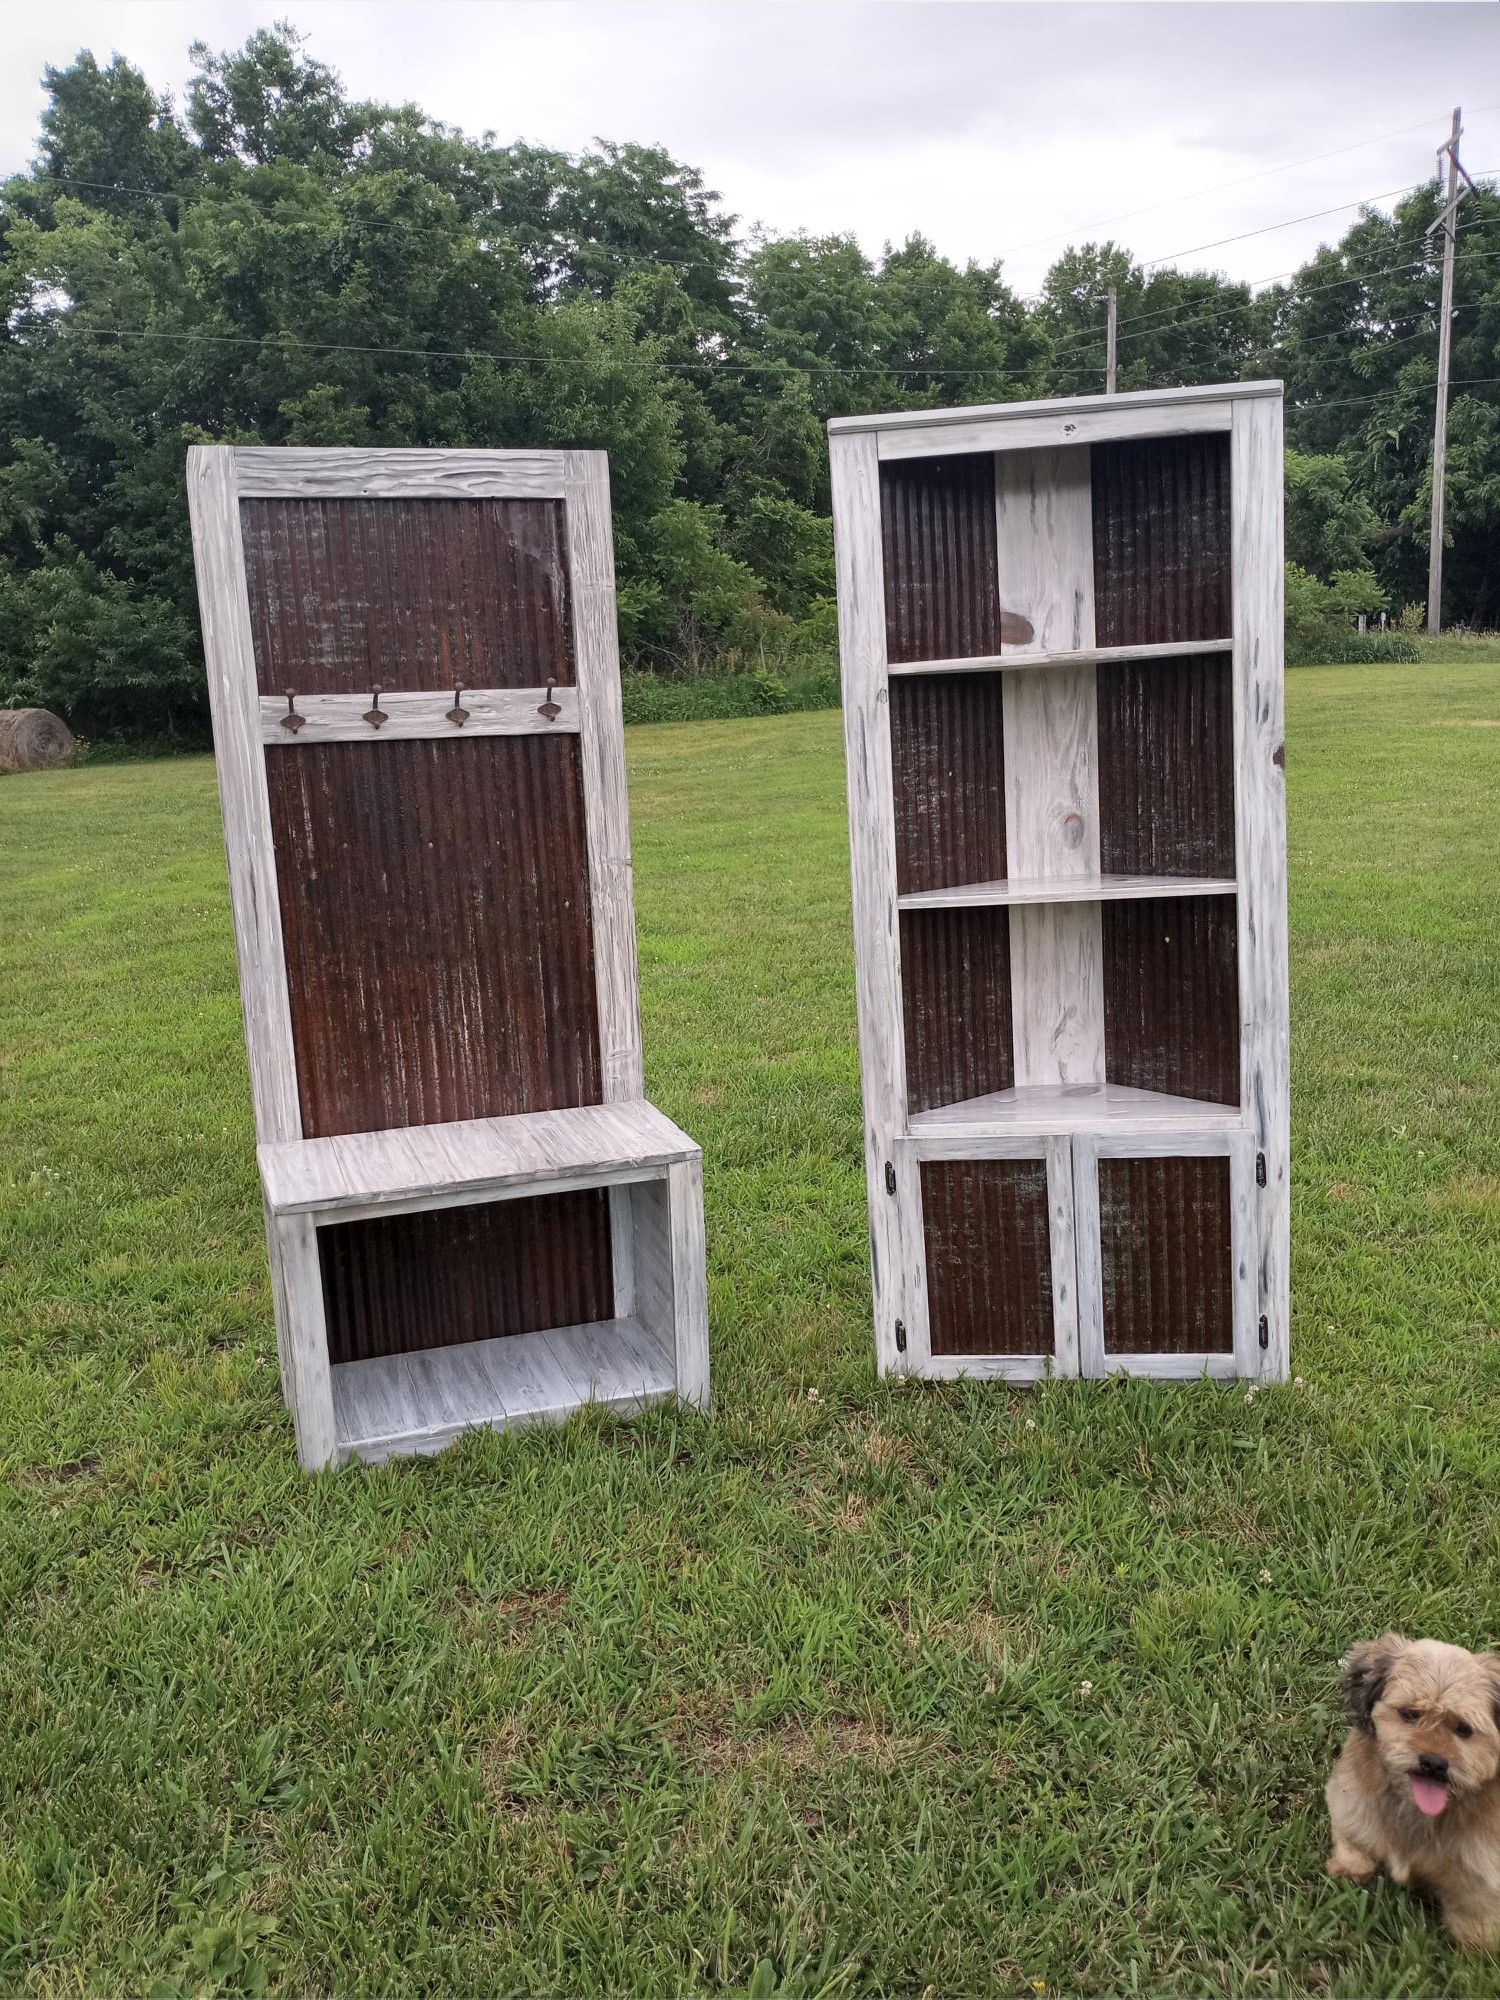
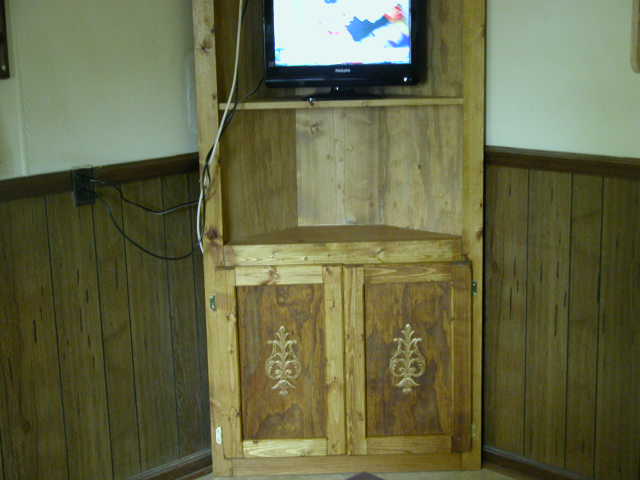
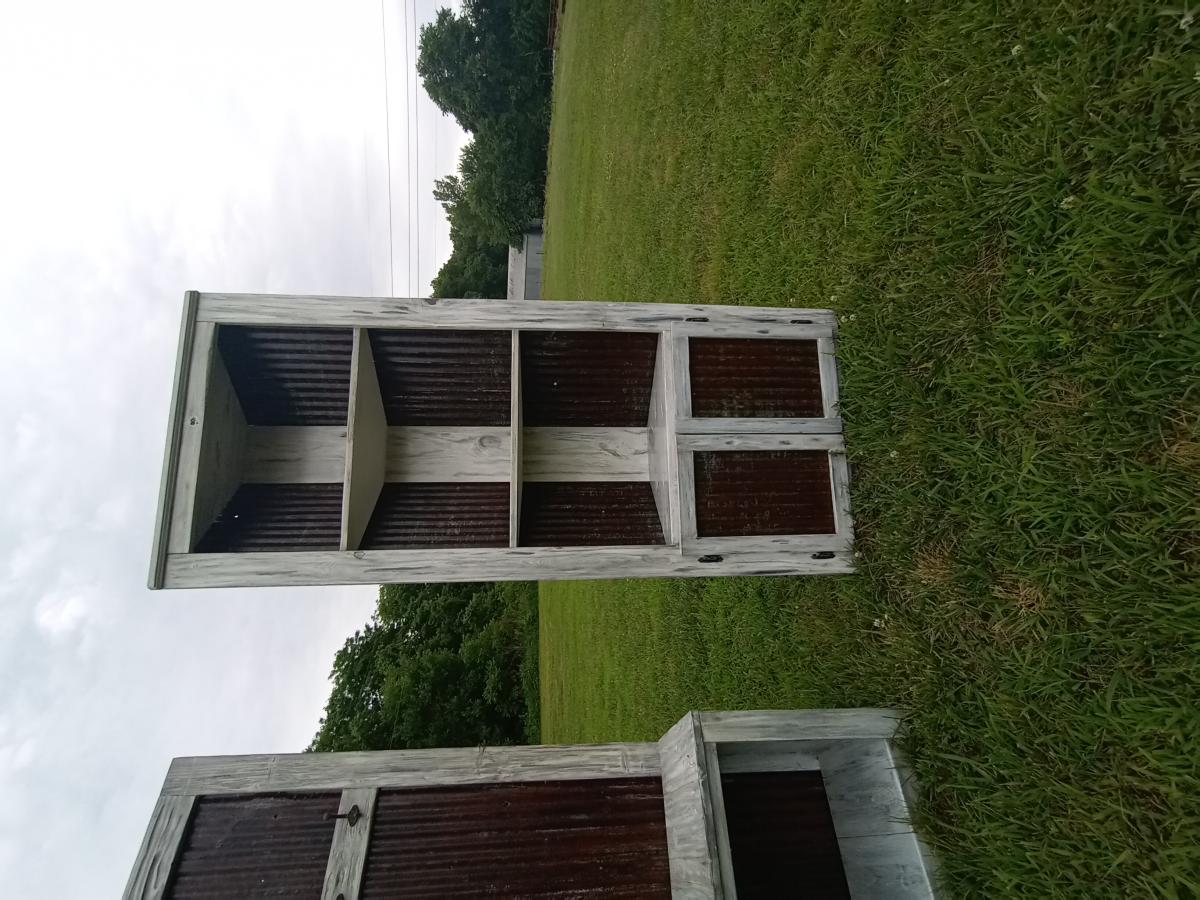
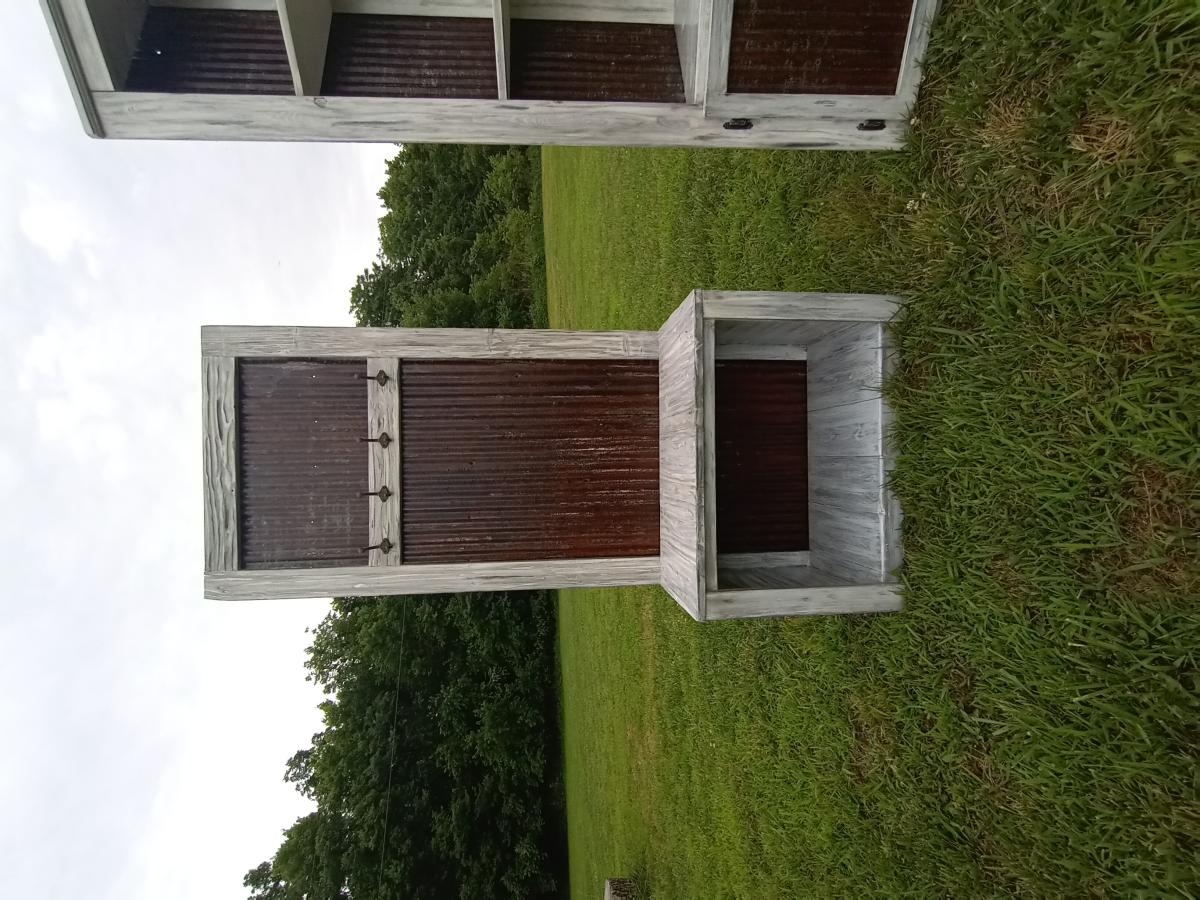
My take on a corner cupboard. I used old barn tim form backing and somewhat modified the plans. I actually made the hall tree first and then the matching cupboard. I finished it off with a custom distressed finish.
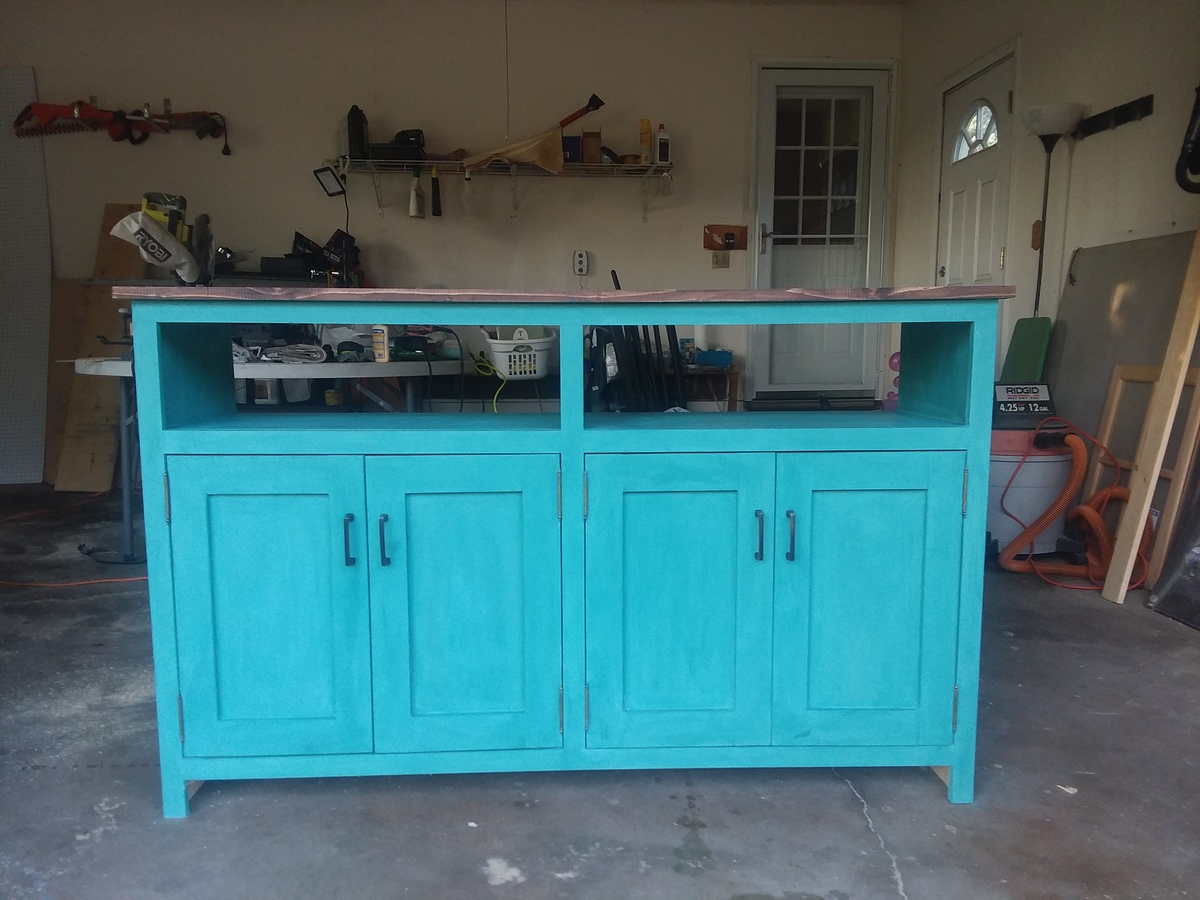
My husband and I built this as our first project & are thrilled with the way it turned out! We shortened it to 44" to fit our space. It took us a few hours but we got the Kreg Jig working the first try (though on a current project it is giving us some headaches). We really enjoyed building this on a rainy Saturday and received many compliments after posting the finished project on facebook. Looking forward to our next project - thanks so much for all your tutorials Ana & other submitters!
Tue, 08/27/2013 - 16:35
Fabulous job on this build! Looks awesome! The colors go so beautifully with your kitchen!
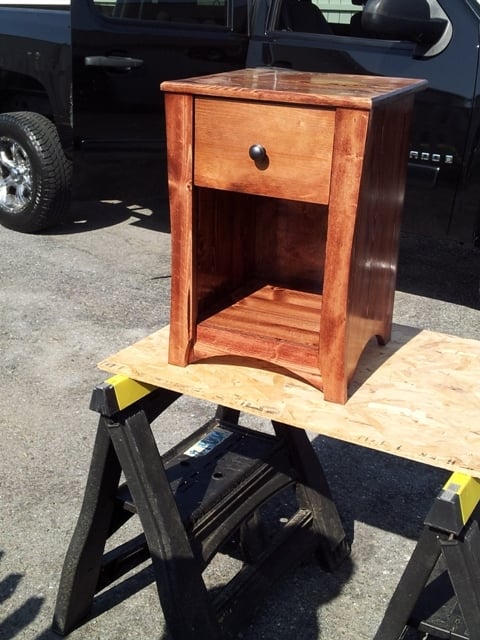
After I built the dresser for my son, he decided he needed a nightstand. This was his project, I only advised and offered assistance. He was 15 and he came up with the design and we glued up the panels. He cut, sanded and assembled himself. He stained and applied the shellac. I am very proud of him.

This bed is my first "for profit" bed. Took some design changes so it could be taken apart and put together easily with metal bed brackets.

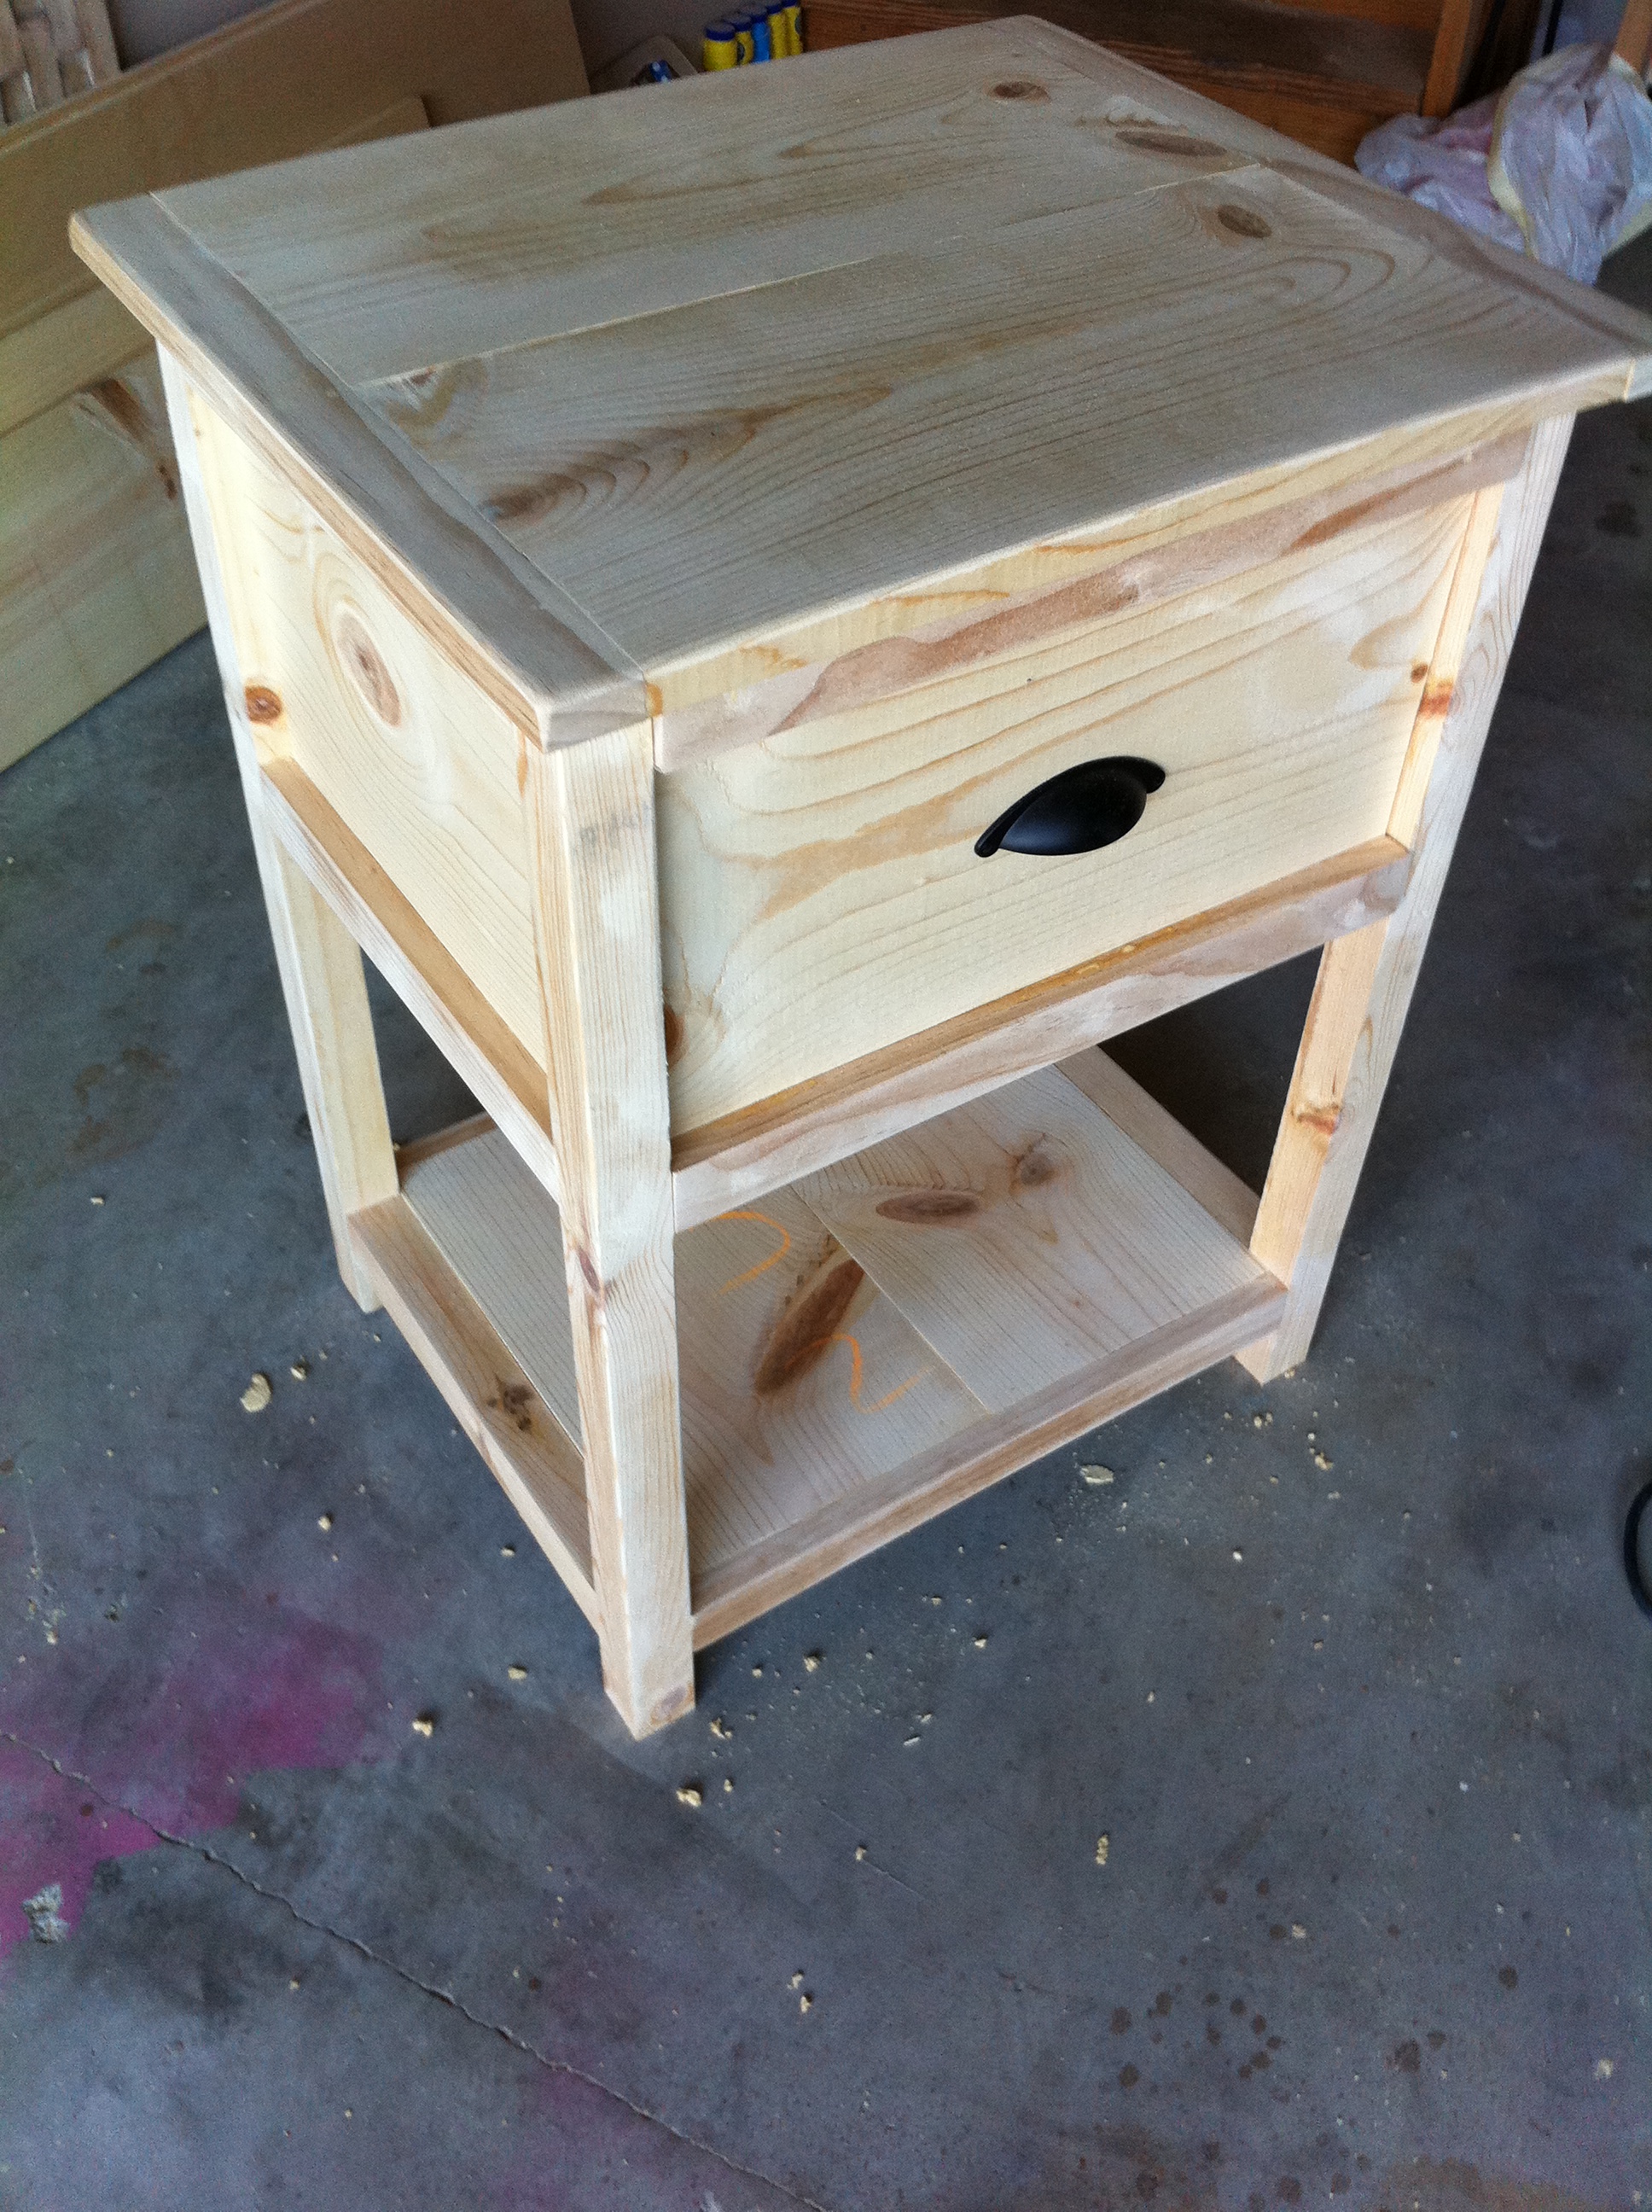
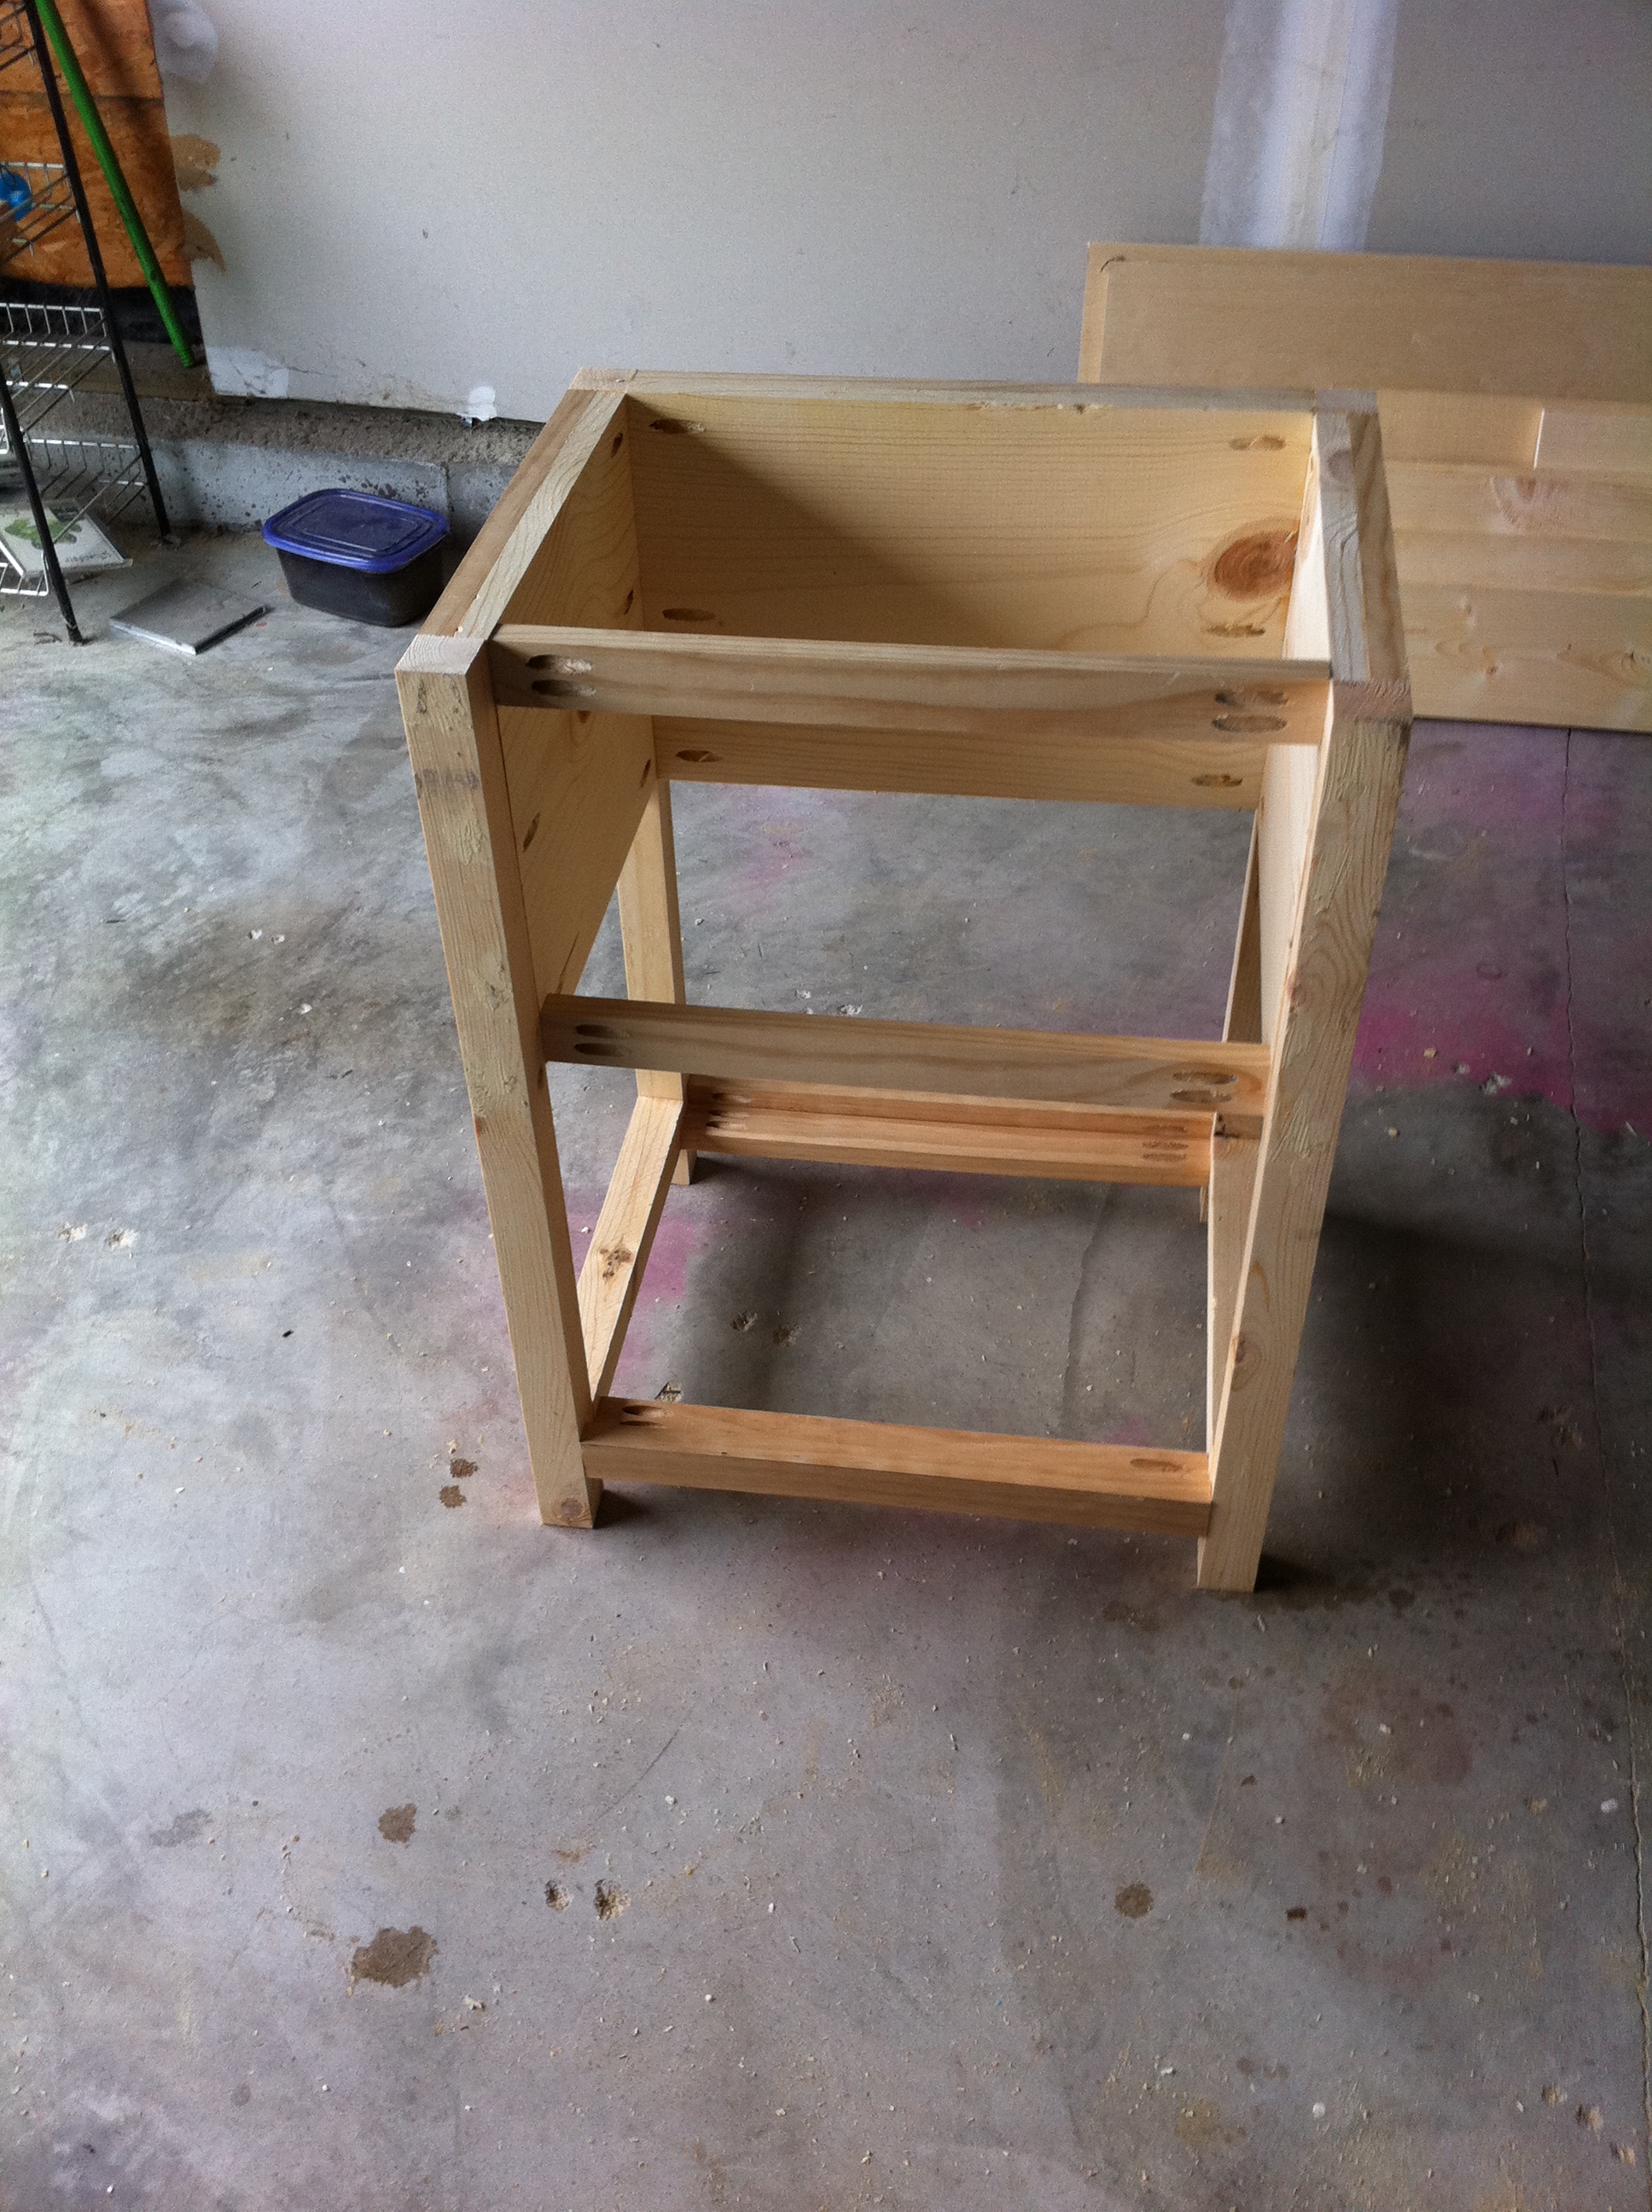
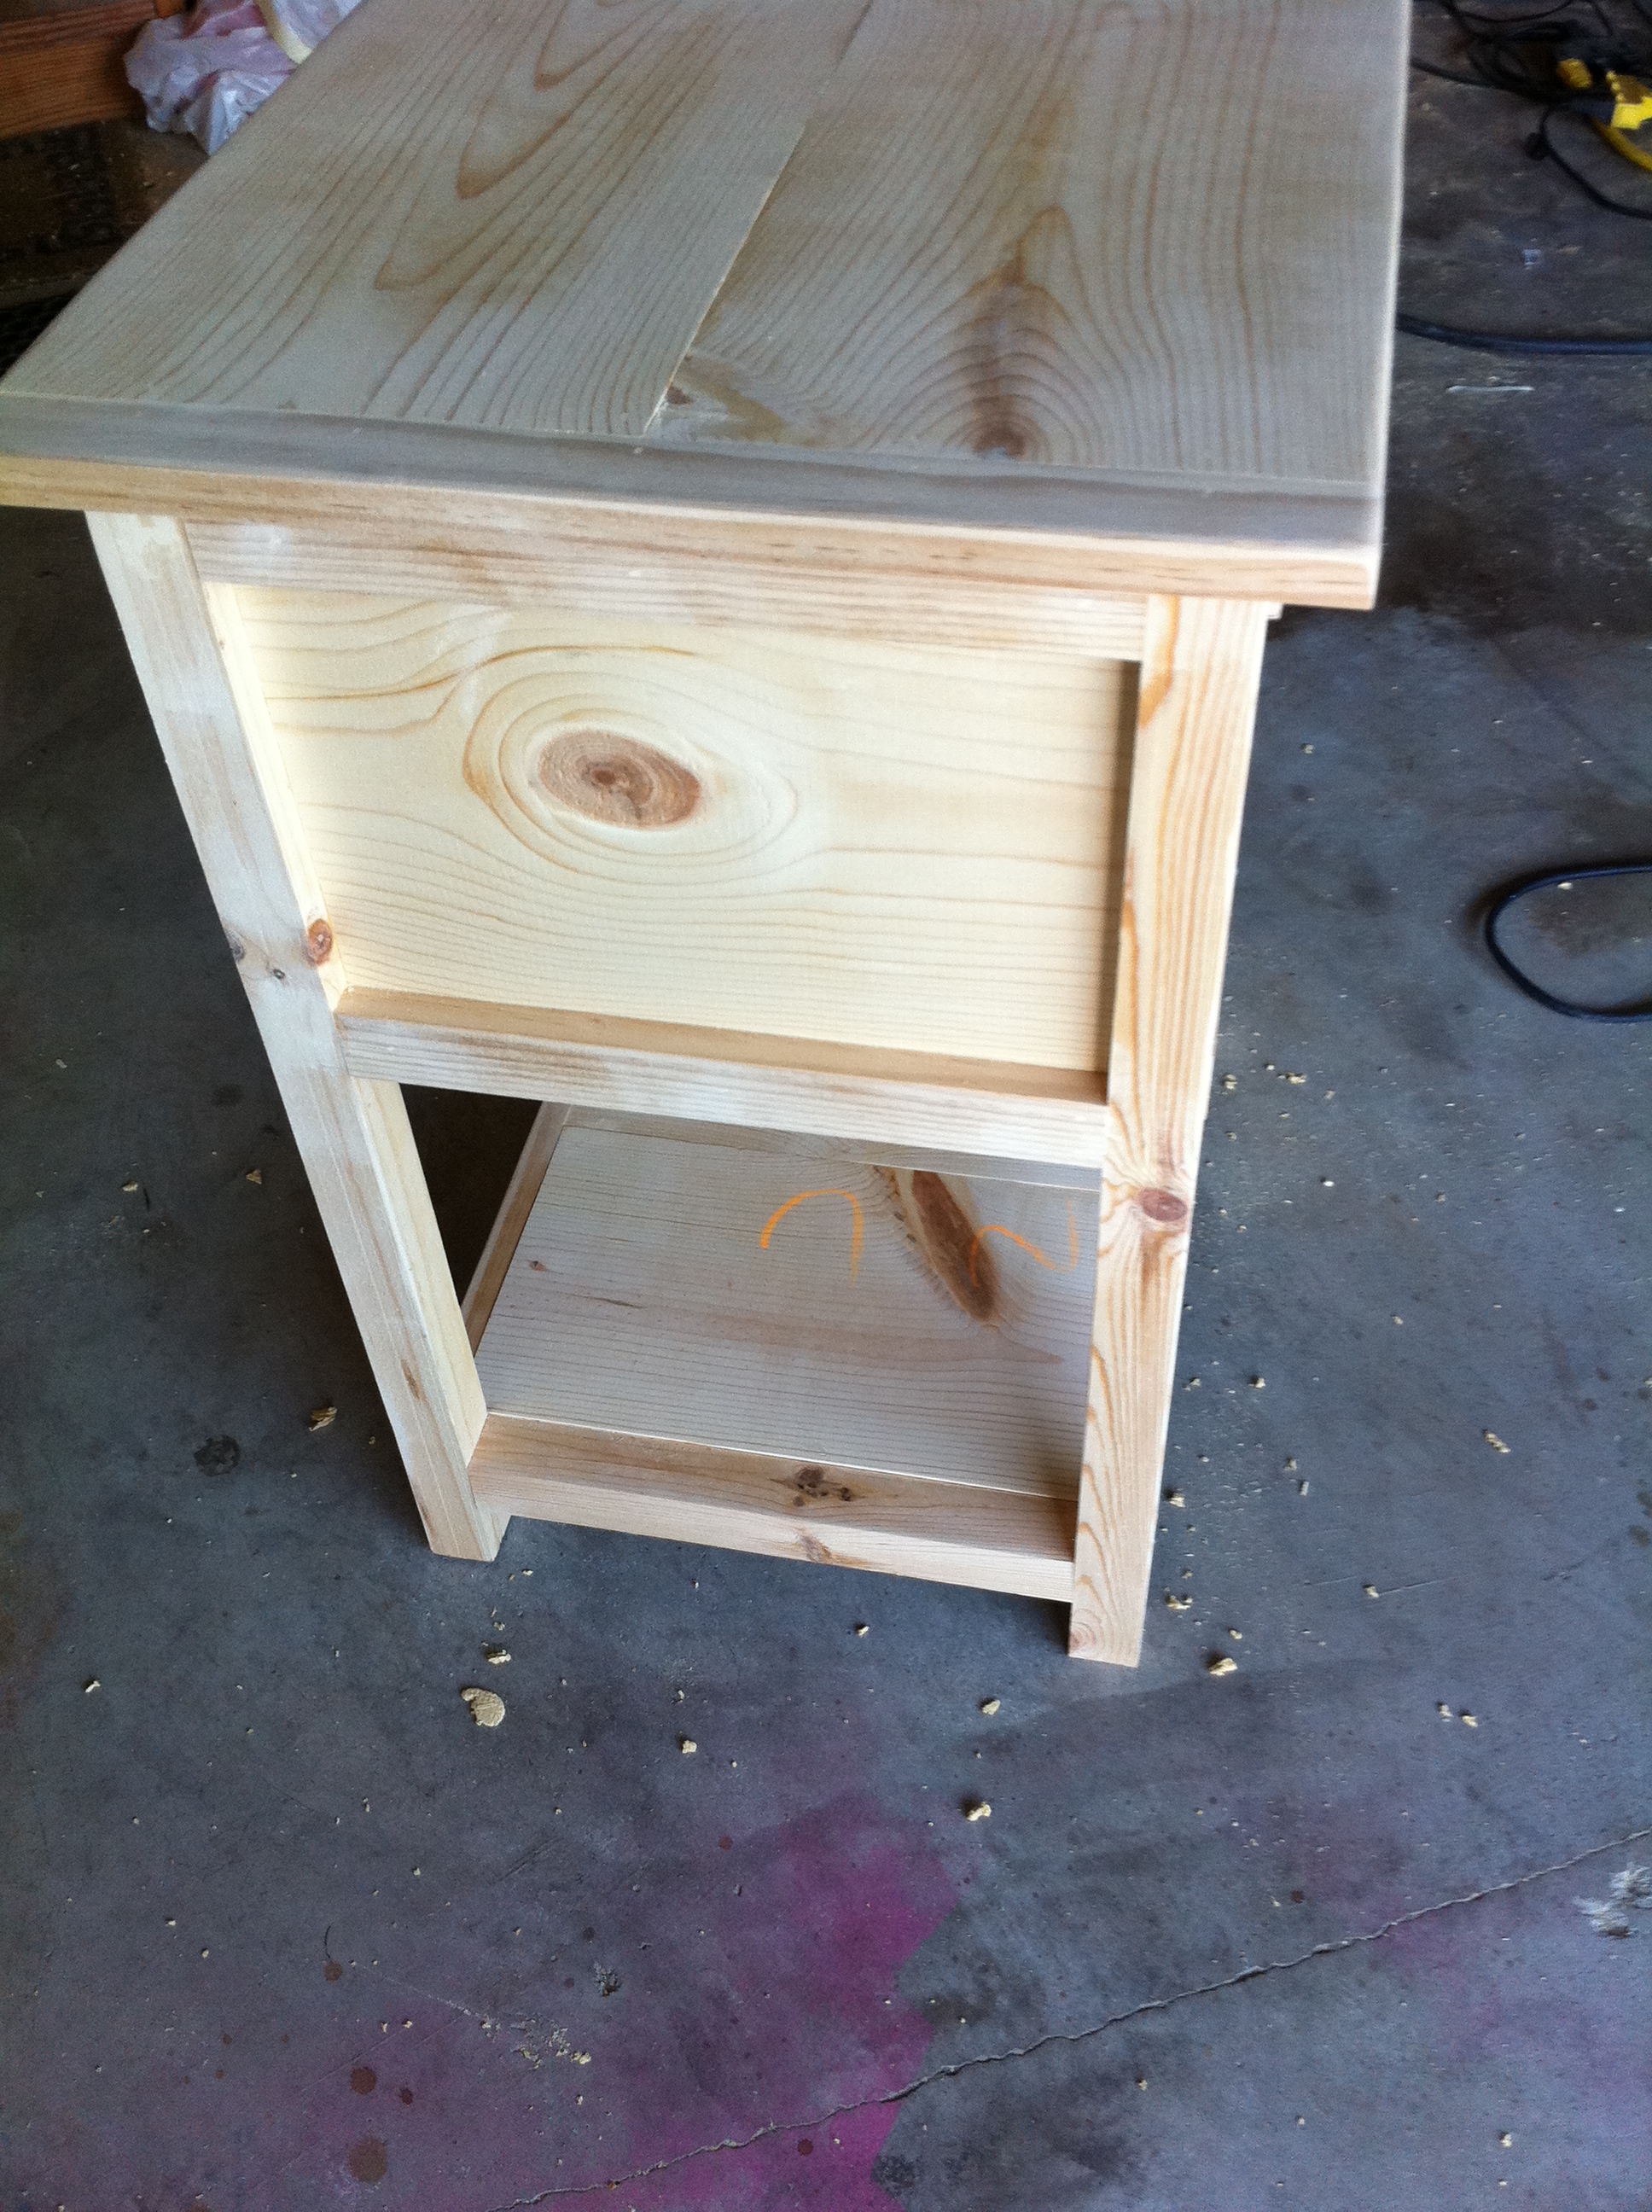
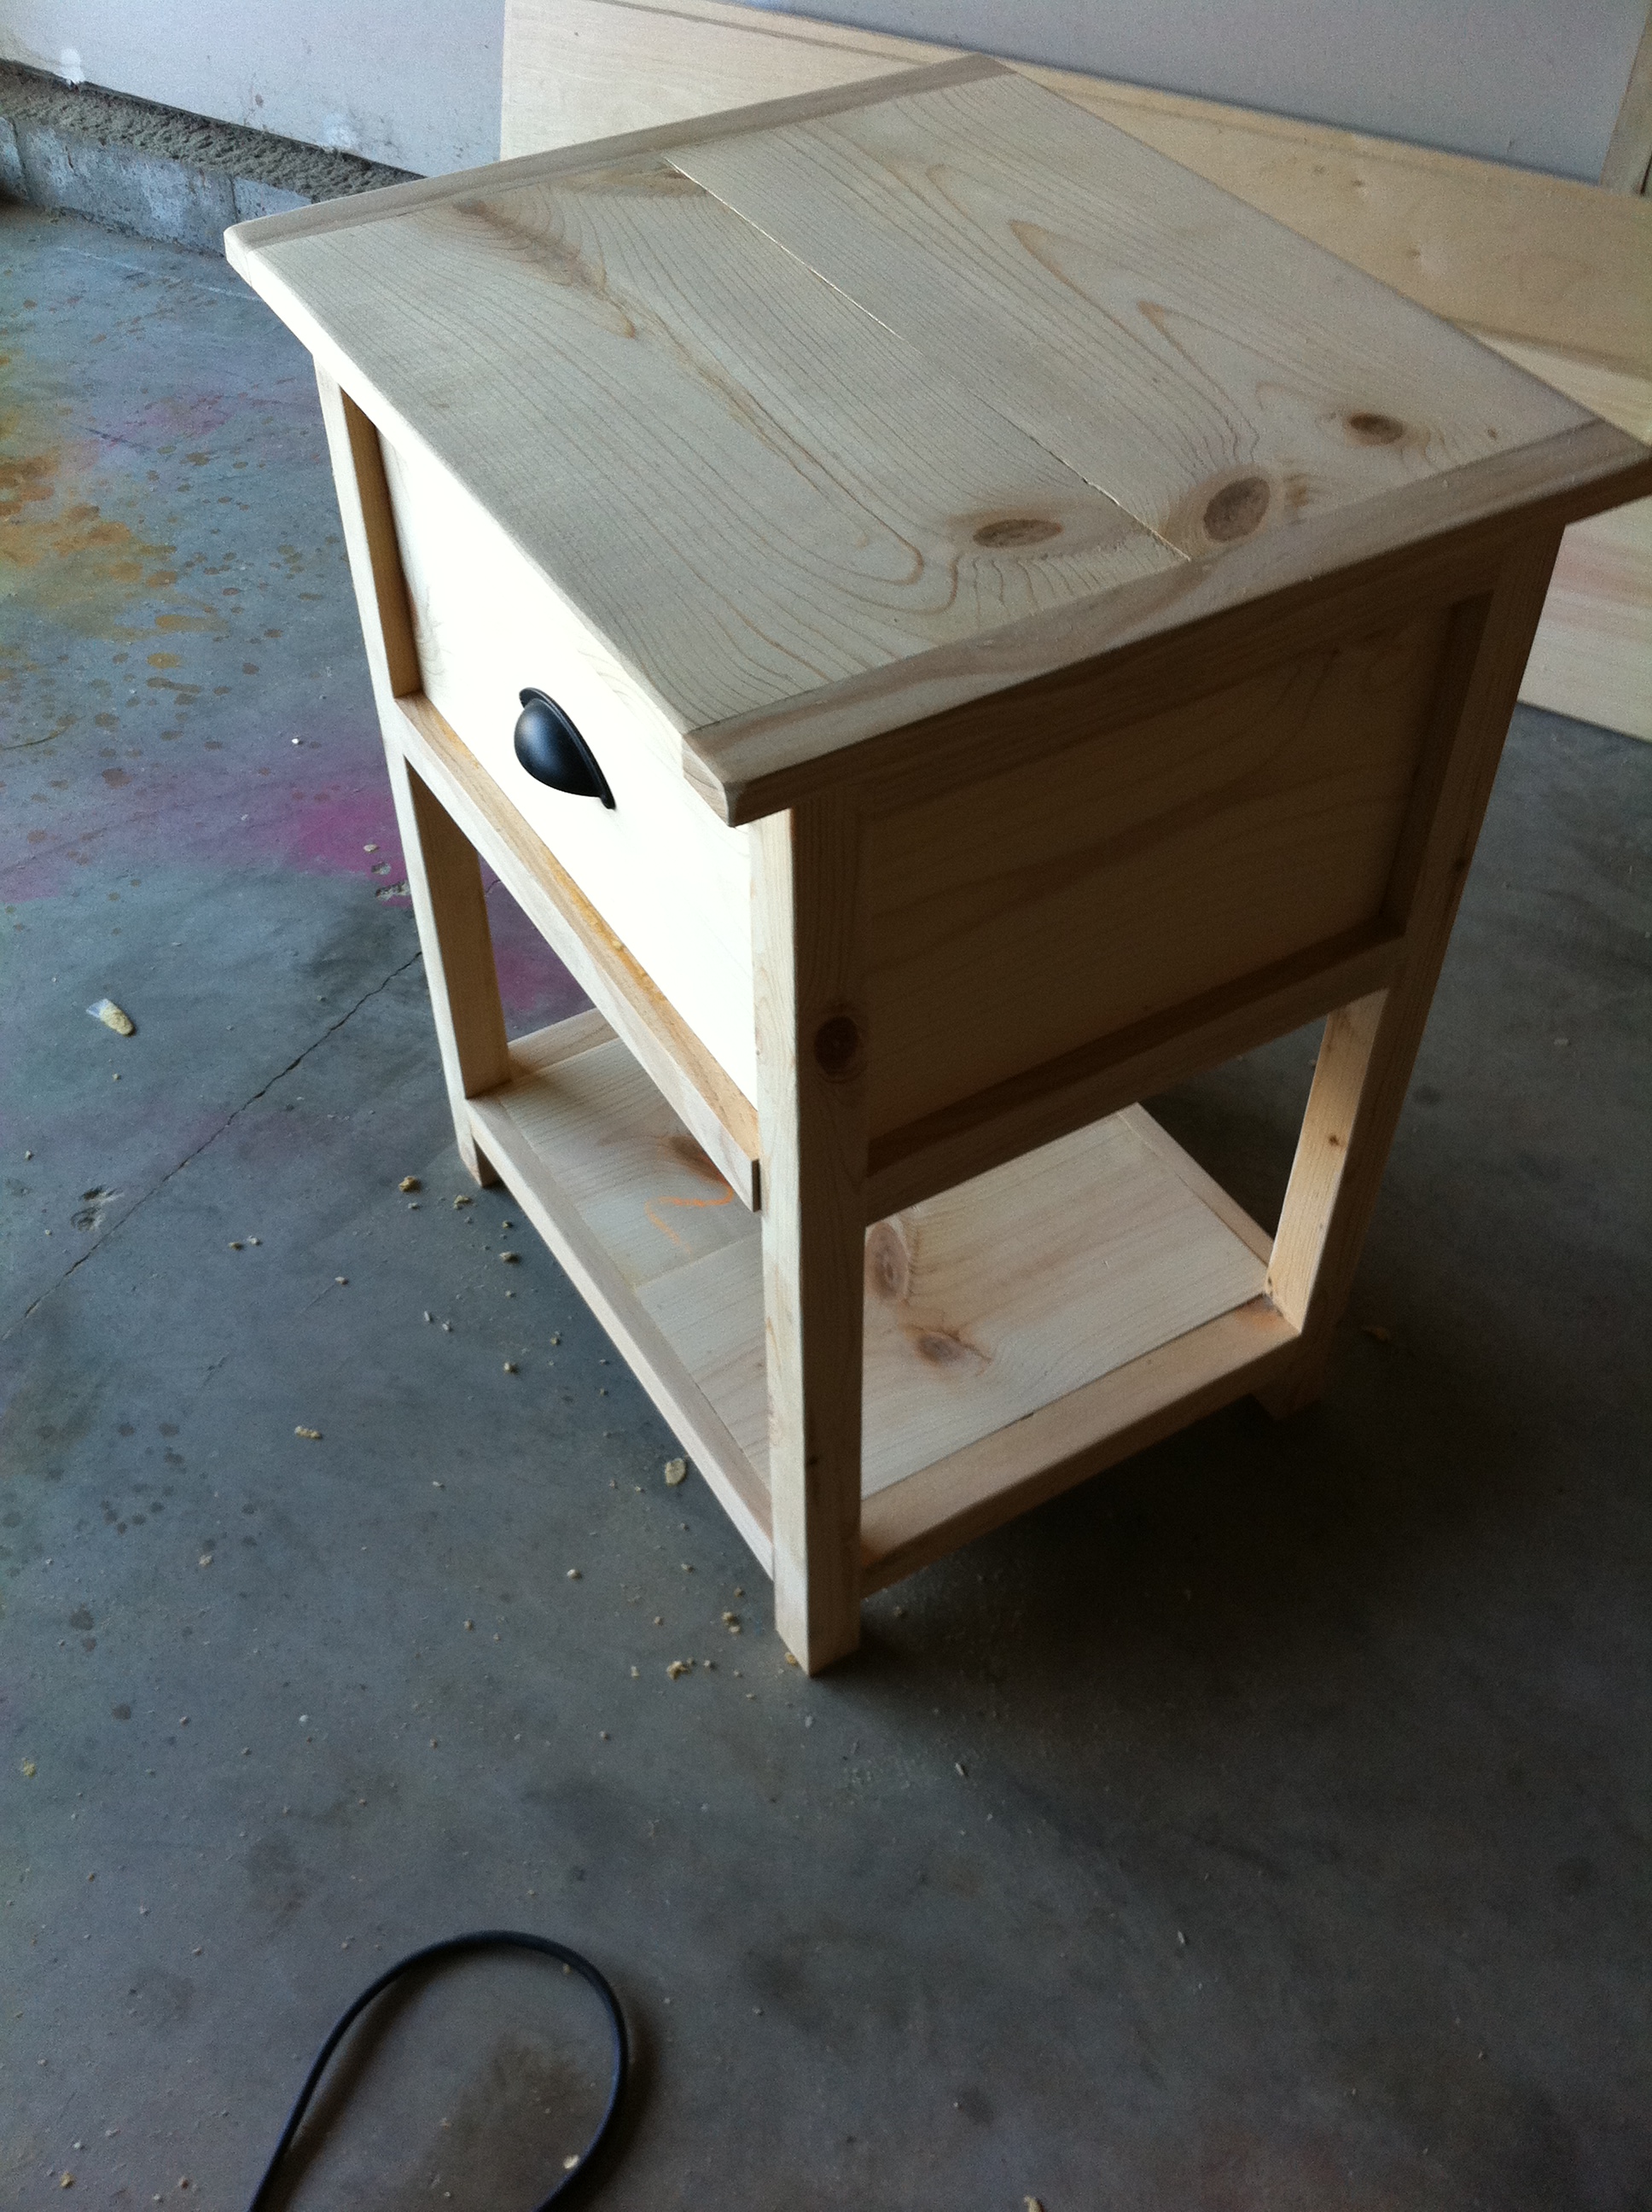
I needed new bedside tables to replace mine that were falling apart. I love the whole Stratton line at PB. I wanted to make something similar, but a bit more sturdy.
So, I made this table with a much more solid bottom shelf and a deep drawer with a full face to mimic the sides and the back panels.

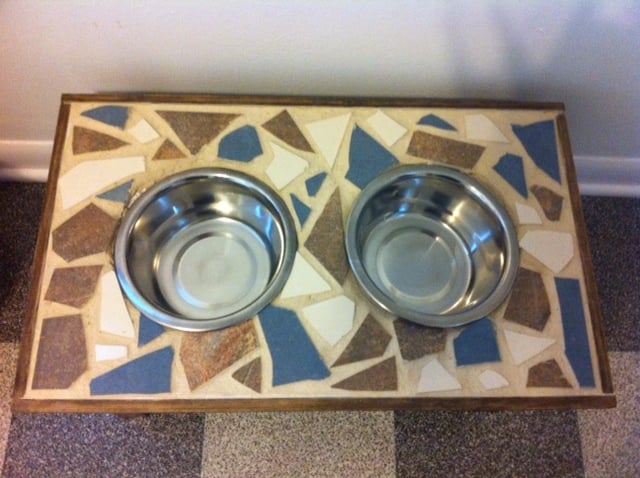
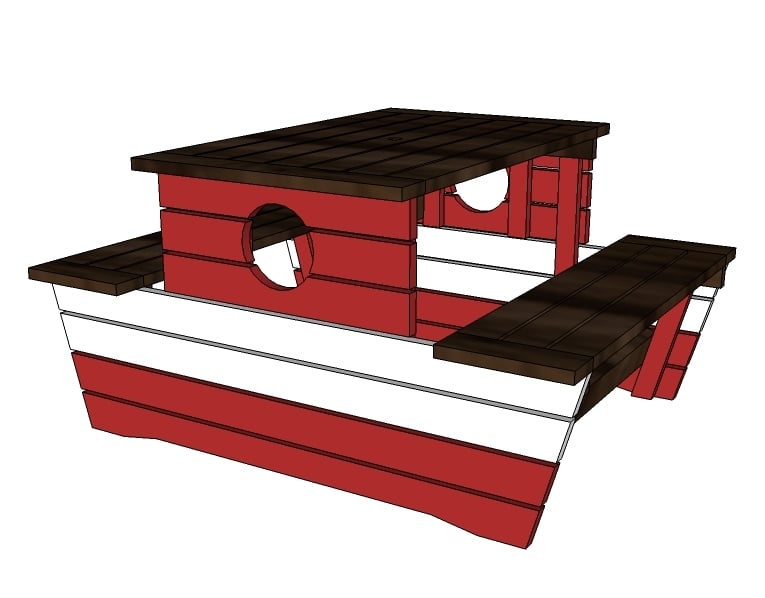
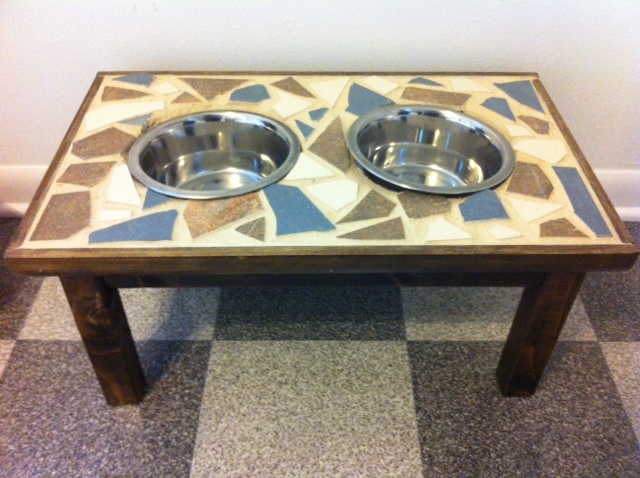
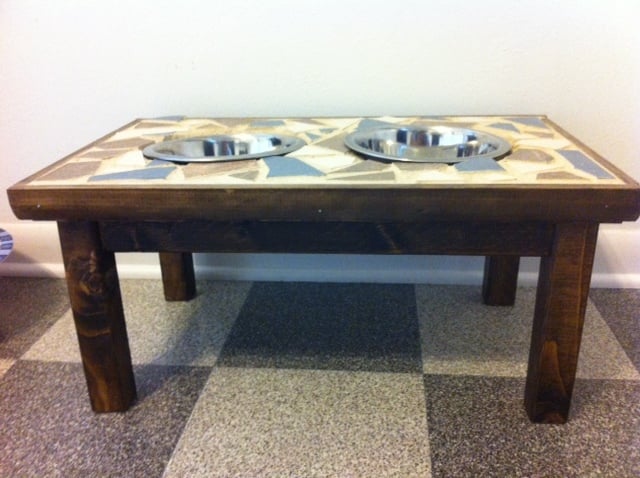
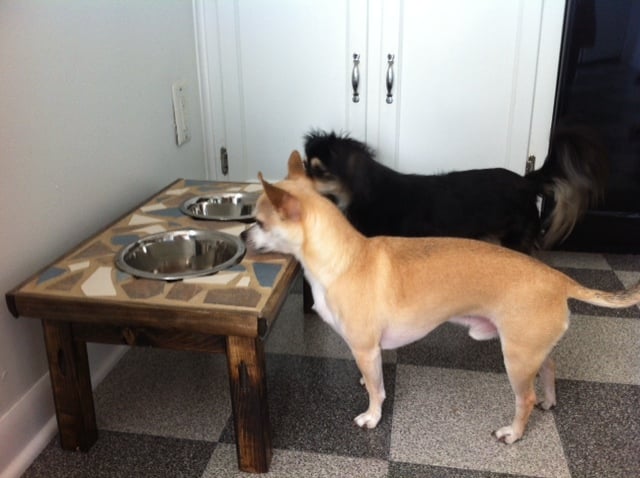
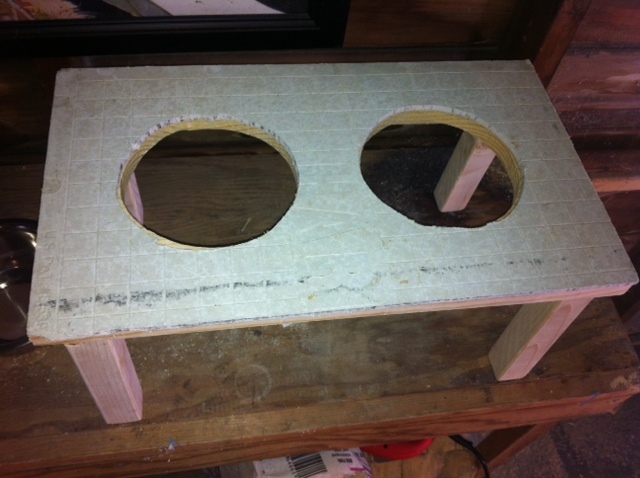
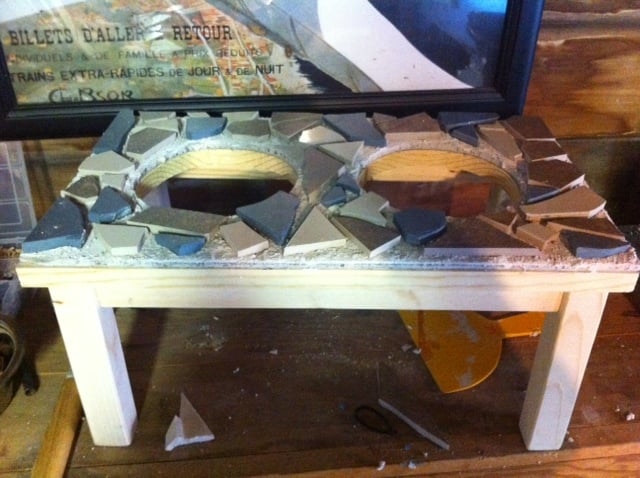
The design for this feeder came from Ana's raised feeder as well and the people who have made these feeders with tile. I had a lot of fun making this and I love how it turned out! I can see how they would be addicting to make. I constructed the wooden base (I just eyeballed how long to make it and how tall to make the legs based on the size of my bowls). I nailed hardibacker to the wooden top and applied the tile with thin set and mortar. This feeder is for my bigger dog, so disregard my small dogs checking it out:) The grout was a dark tan color before it dried, and I really like the color it ended up being. I bought the tile and grout from the habitat from humanity store, which had a big selection of miscellaneous tiles for basically free! Fun project!
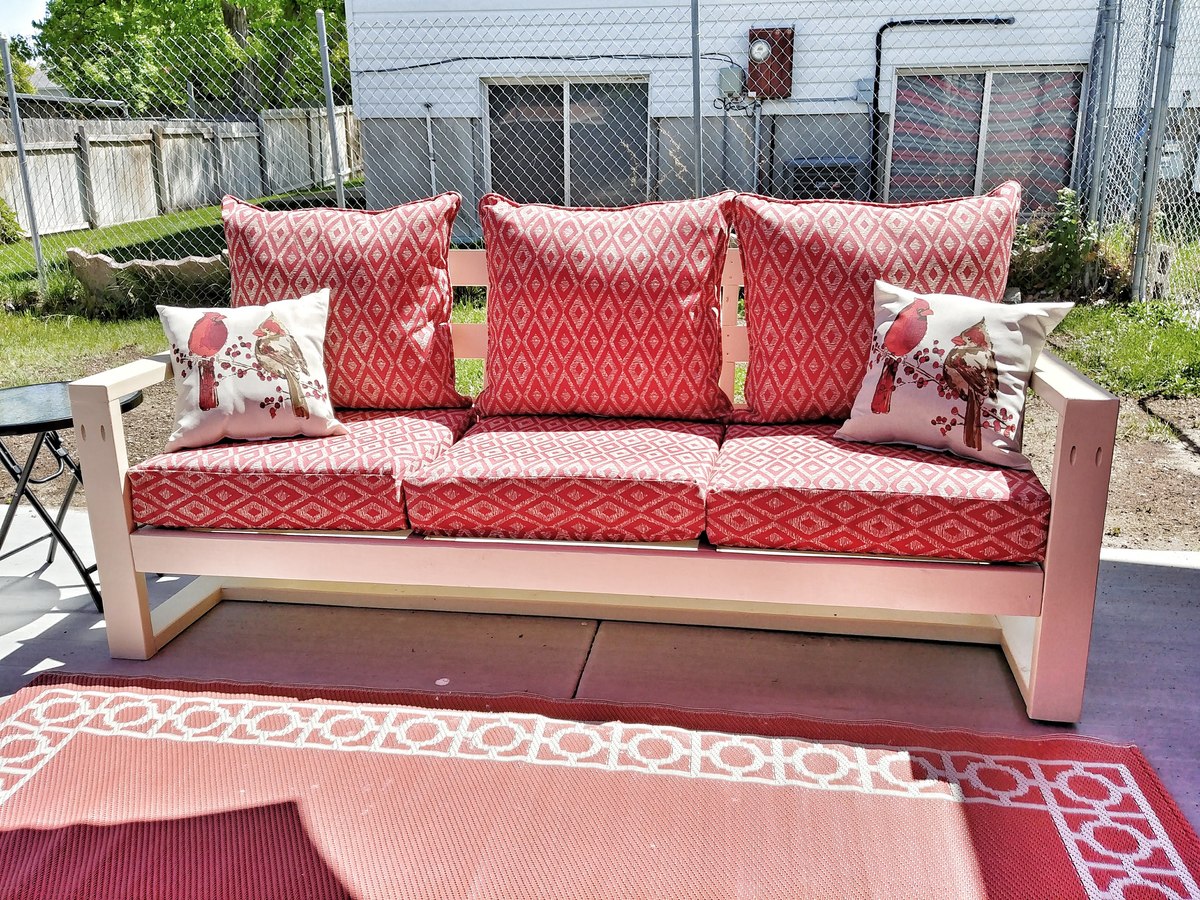
Very comfy outside sitting
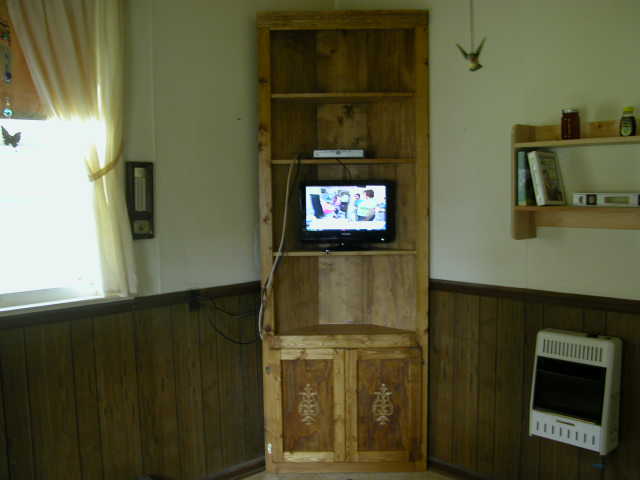
easy to follow instructions. I work in a hardwood sawmill as a sawfiler. I get a lot of wood from the mill. I bought a kreg pocket hole jig for the first time. Building the doors was easy. I'll never use mortise and tenon joints on small doors again. The door ornaments came from Lowes