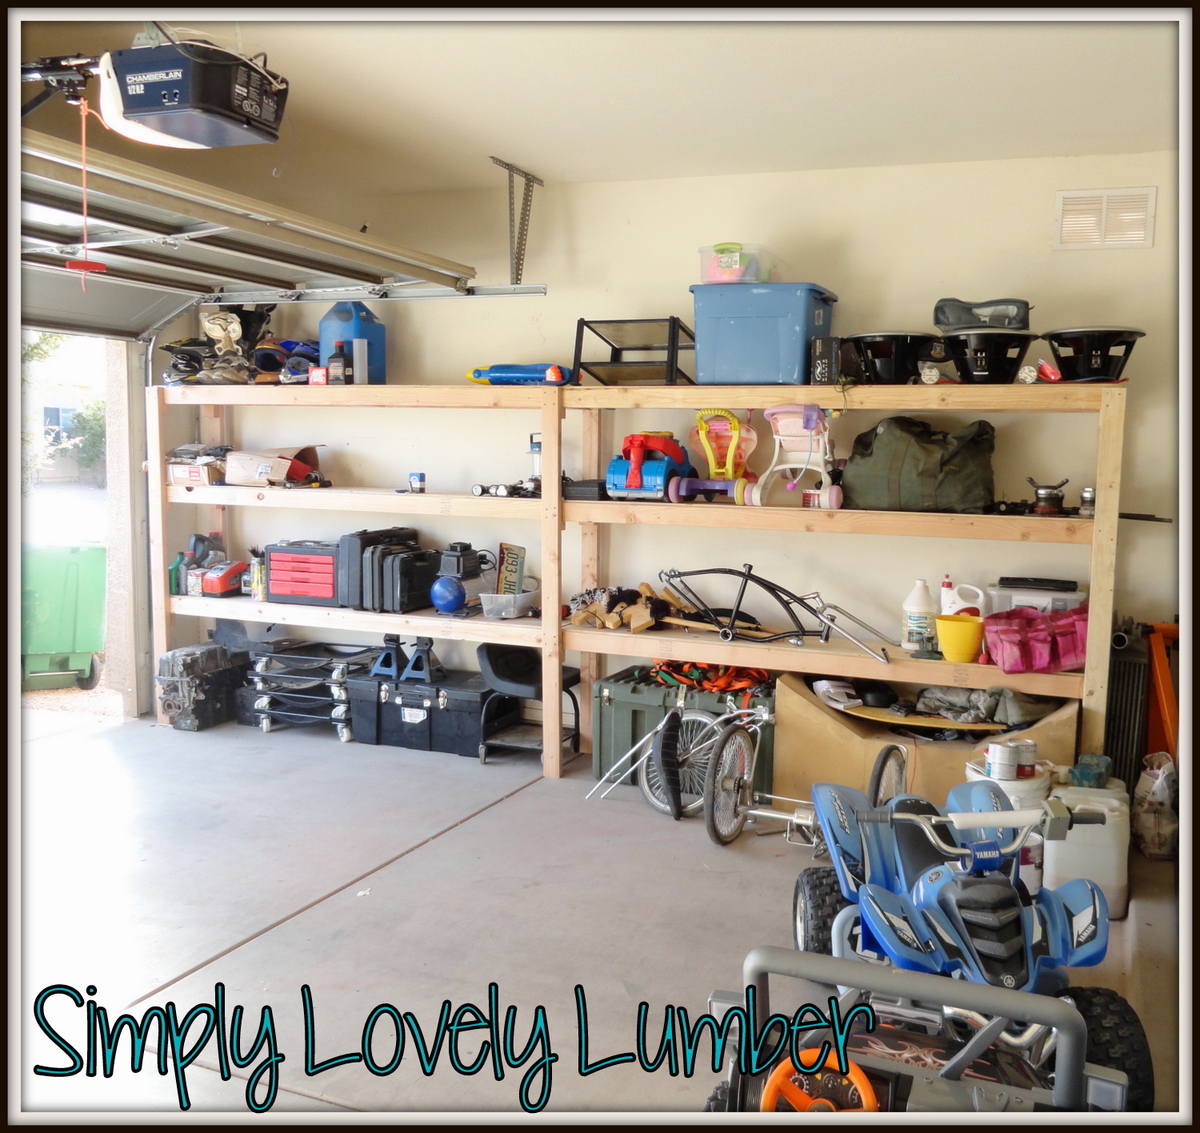
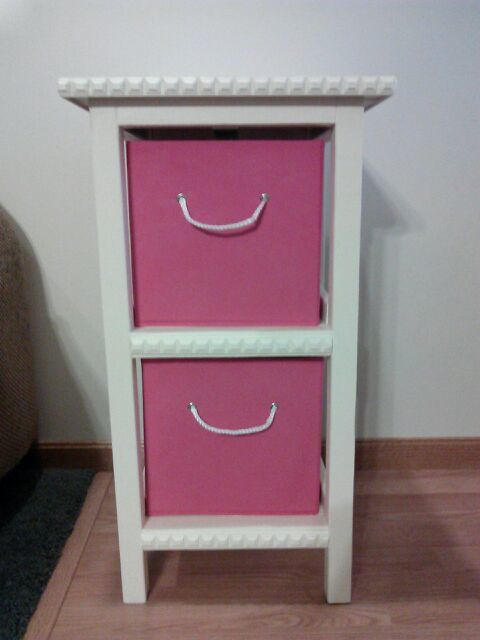
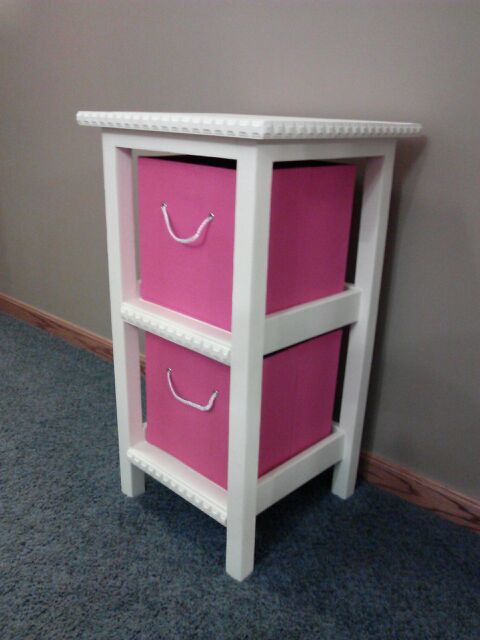
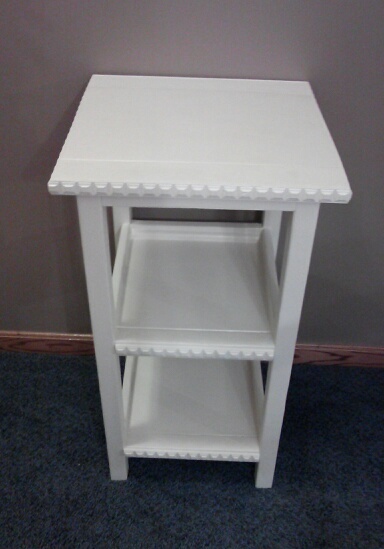
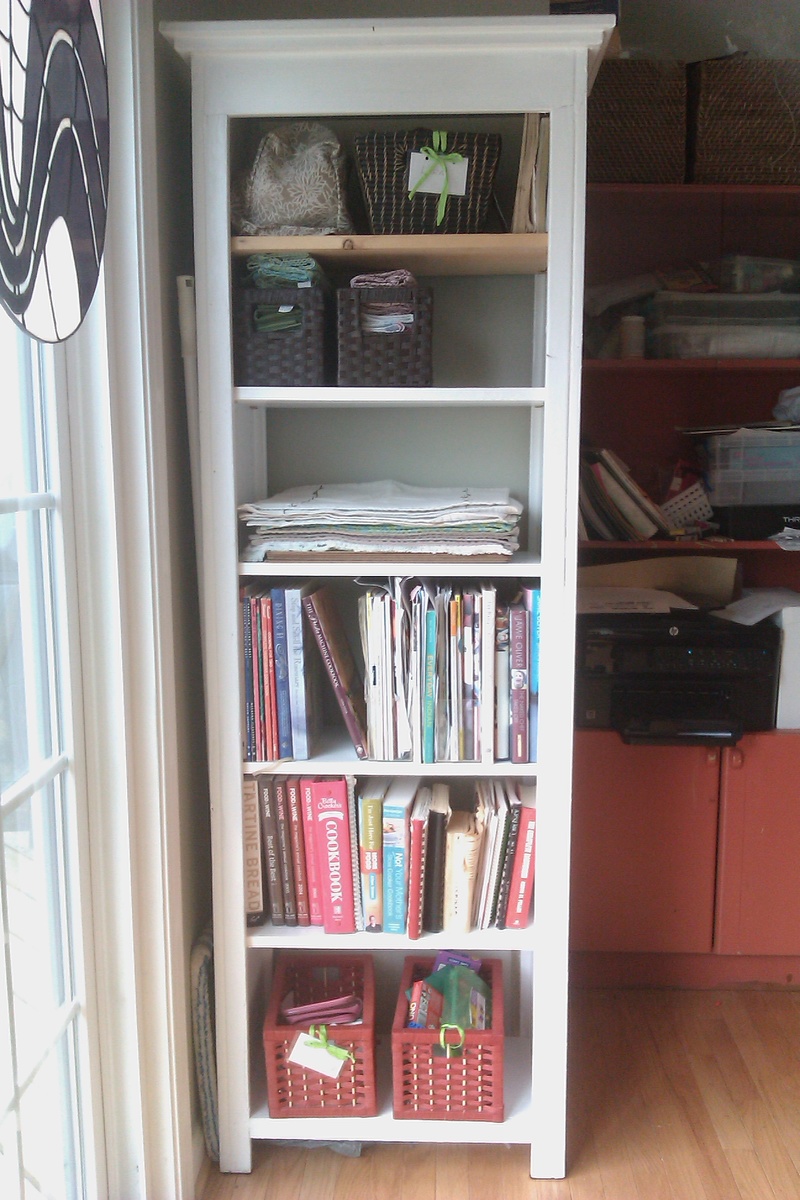
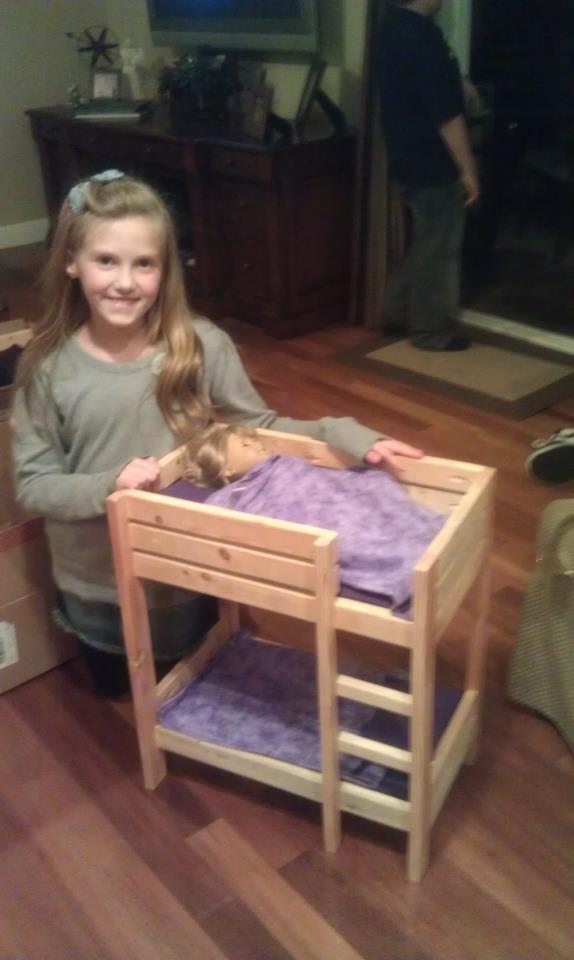
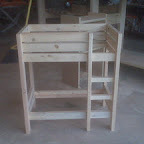
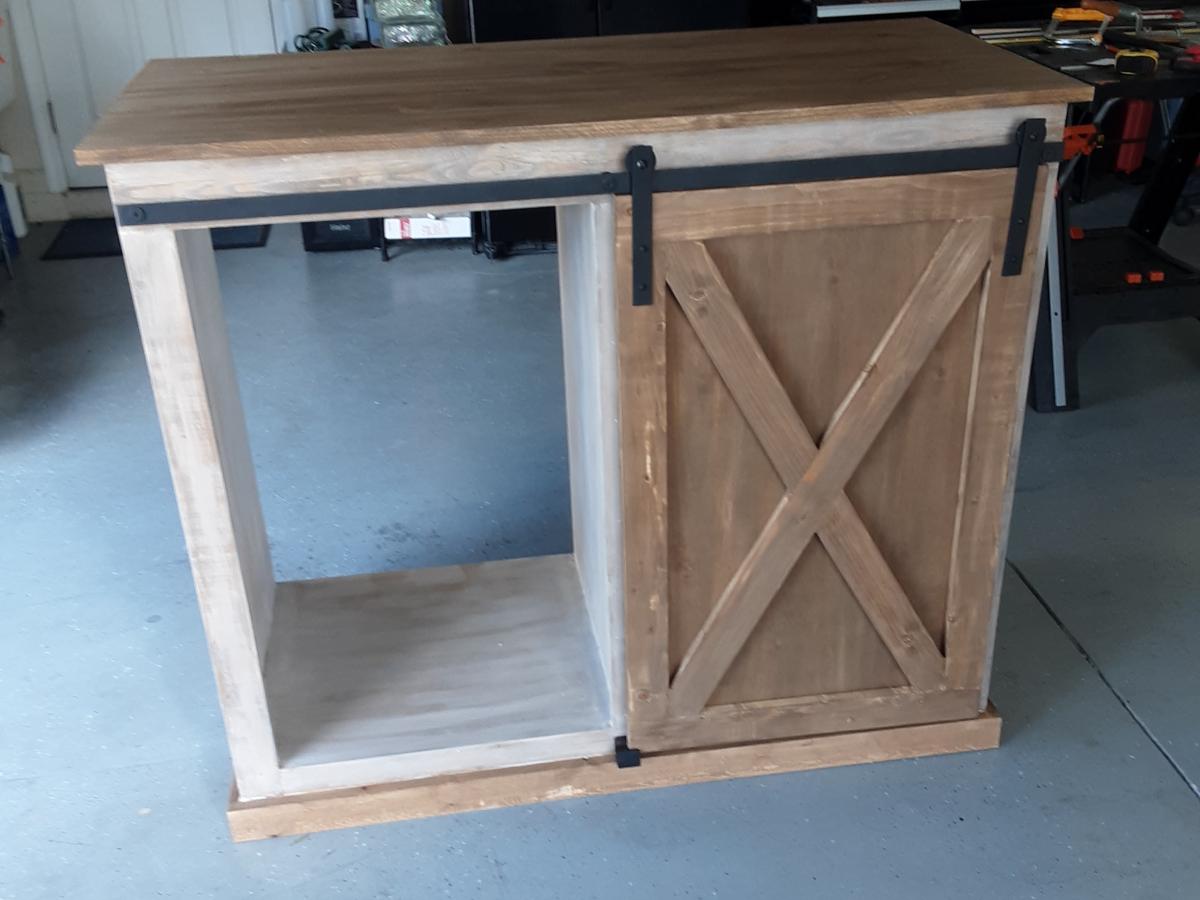
Built this over a couple of week nights. I used the basic bookshelf plans available on this site.
It was fun!
I do have a couple of observations though:
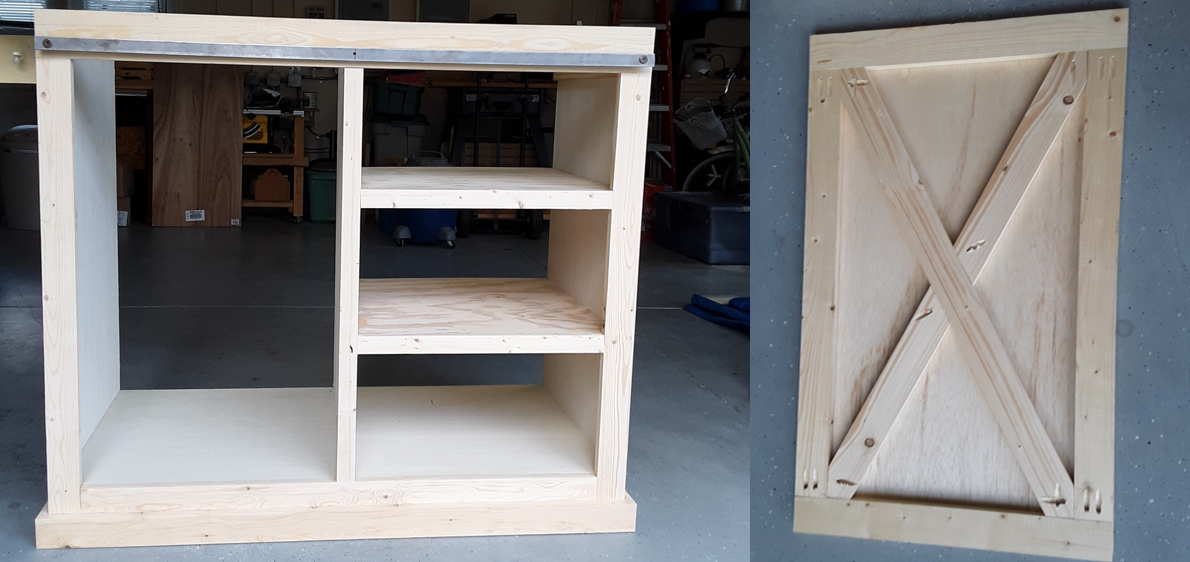
1- Sand all pieces of wood BEFORE you cut them, to the desired lengths! Make sure the wood is nice an smooth. So much easier to do with big pieces, that can be balanced on a good support! Especially important when using the cheapest pine available!
2- Take your time, double check measurements, and follow the assembly directions. (Yes.. I made a mistake on the assembly part... at least it's on the back, and no one can see it)
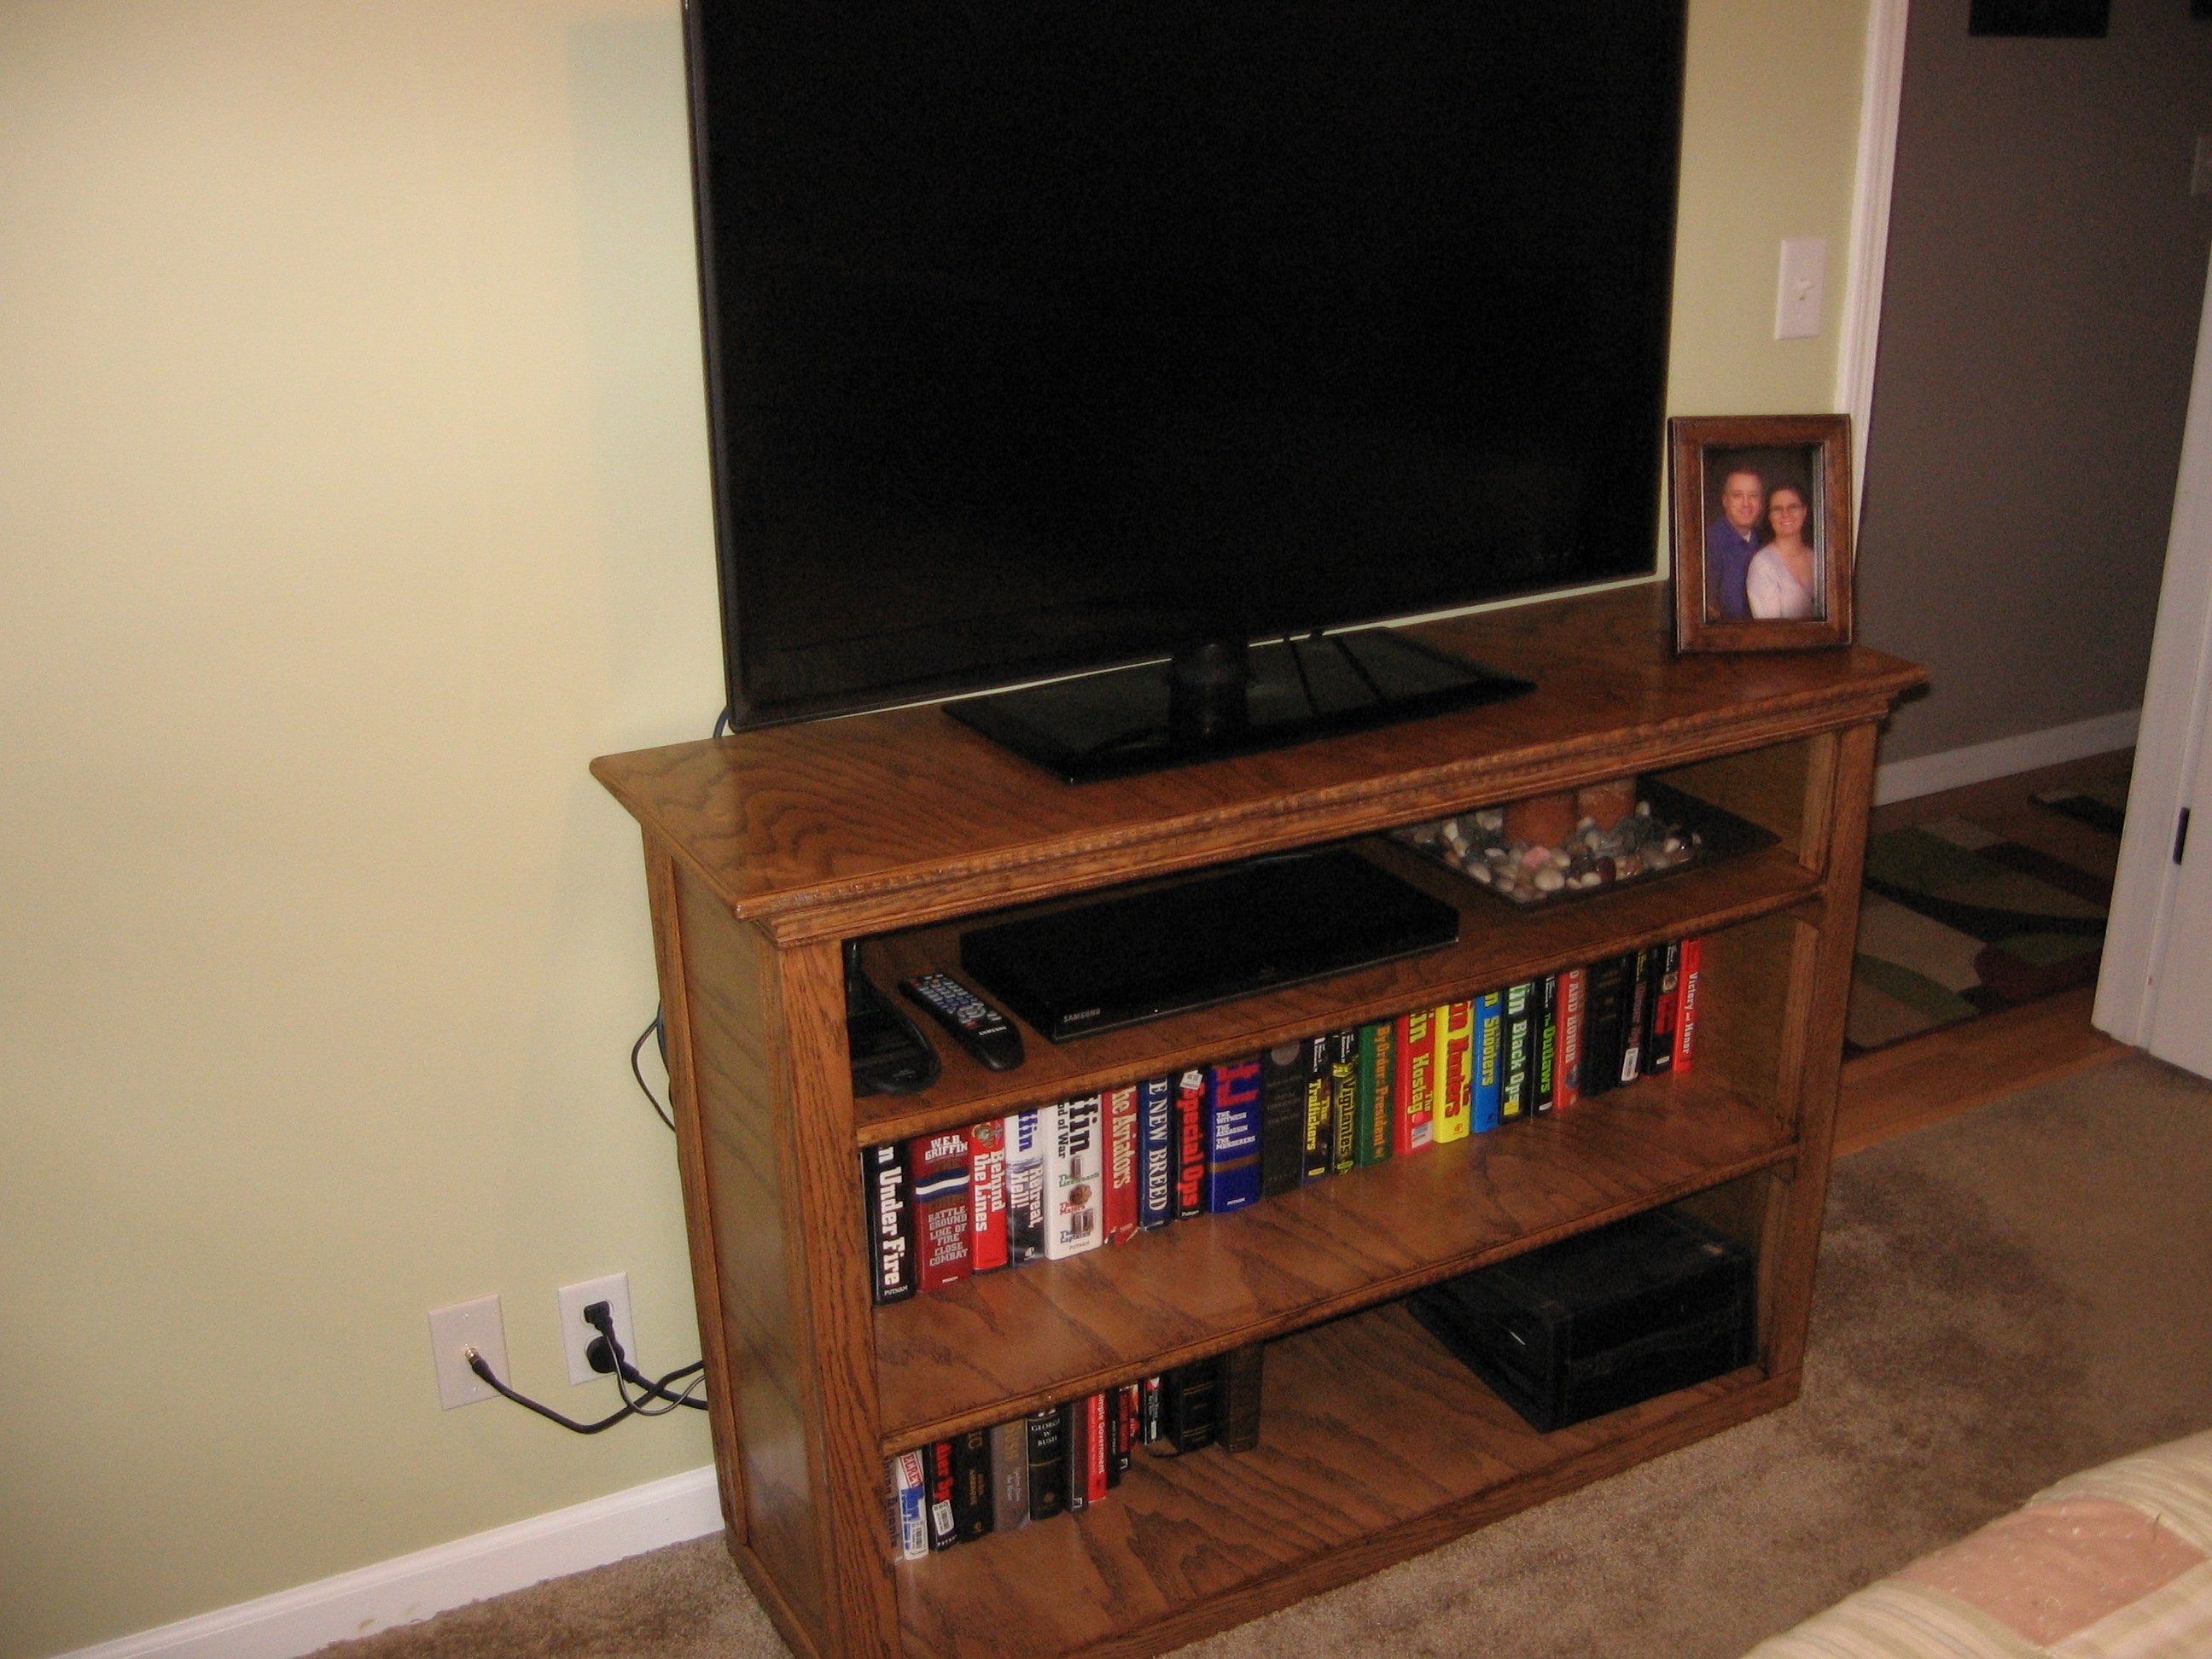
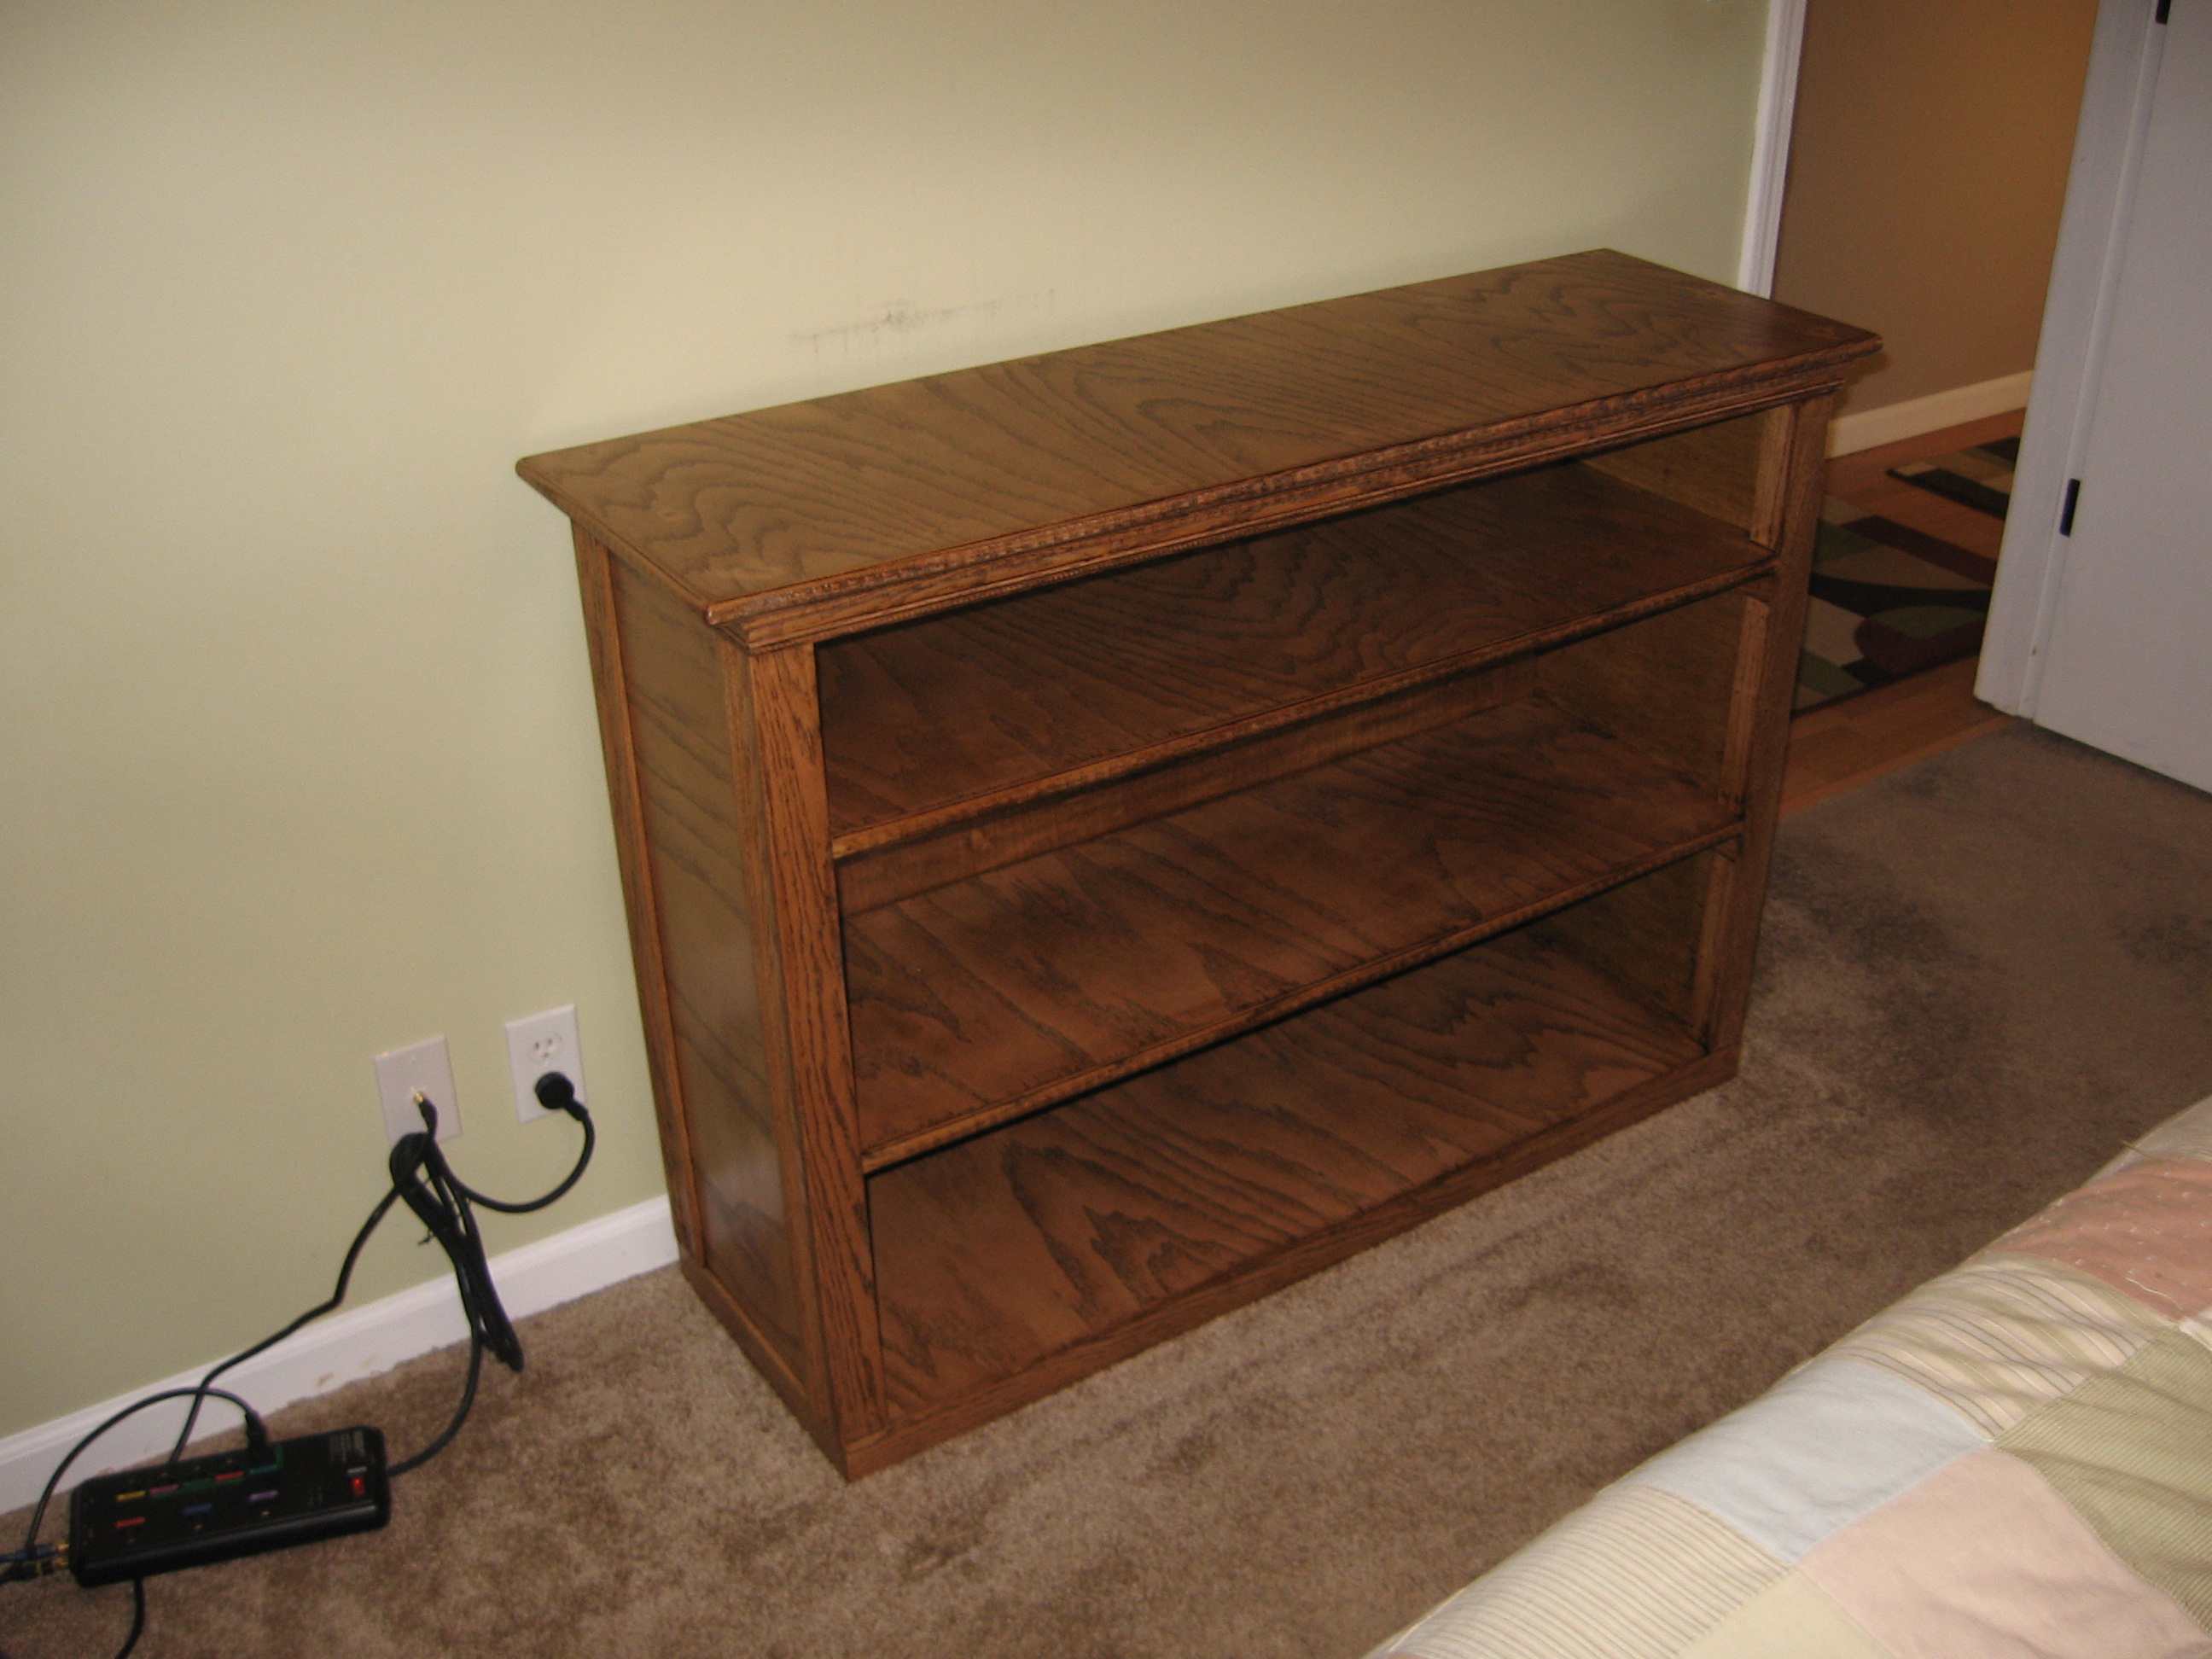
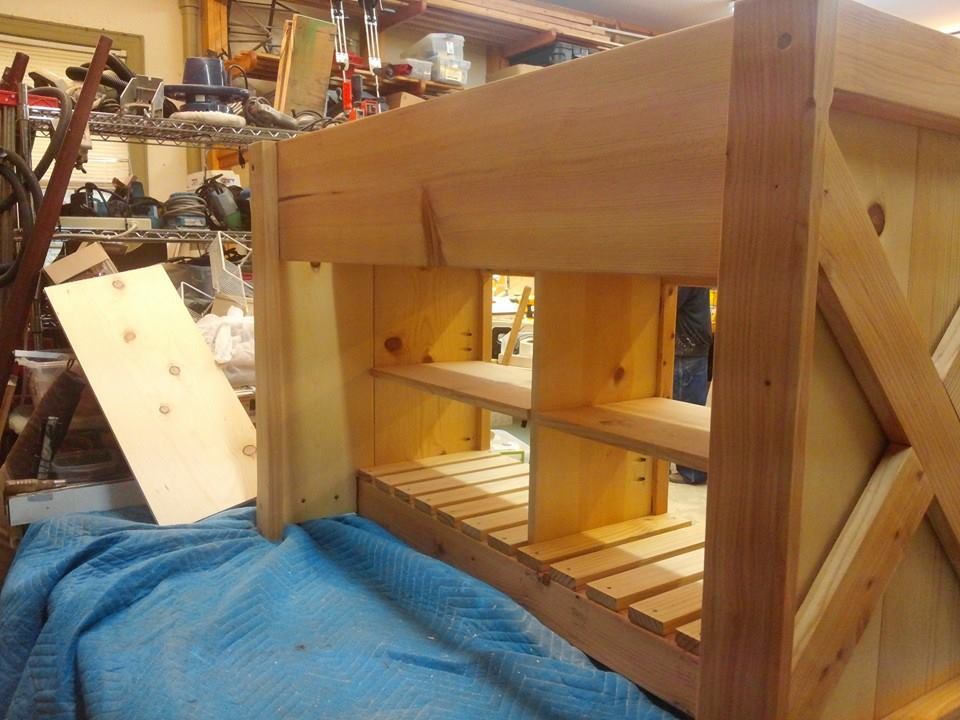
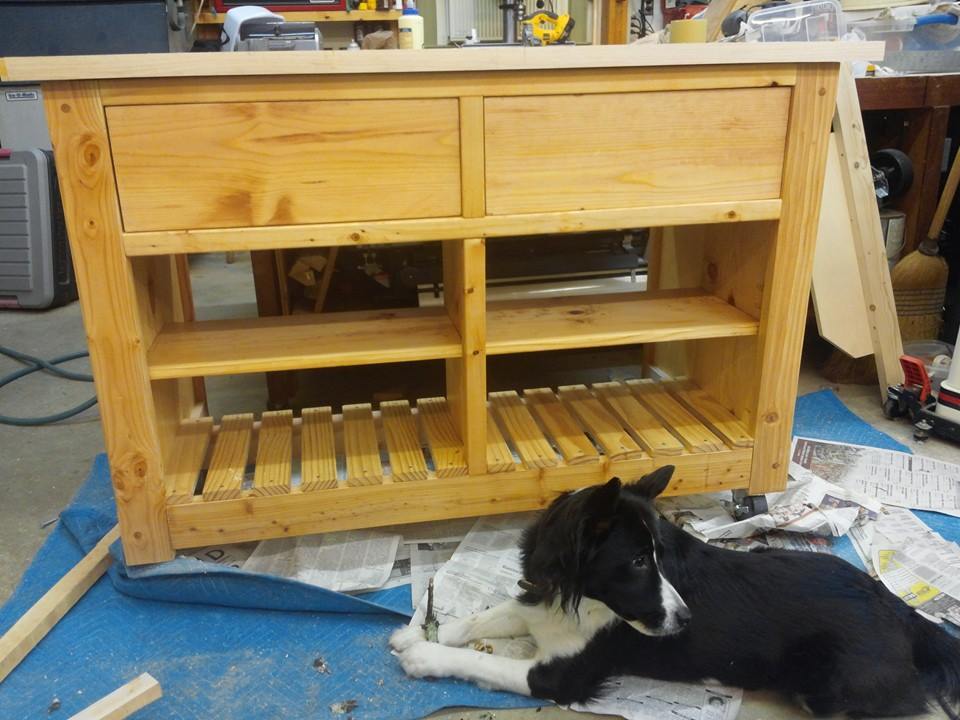
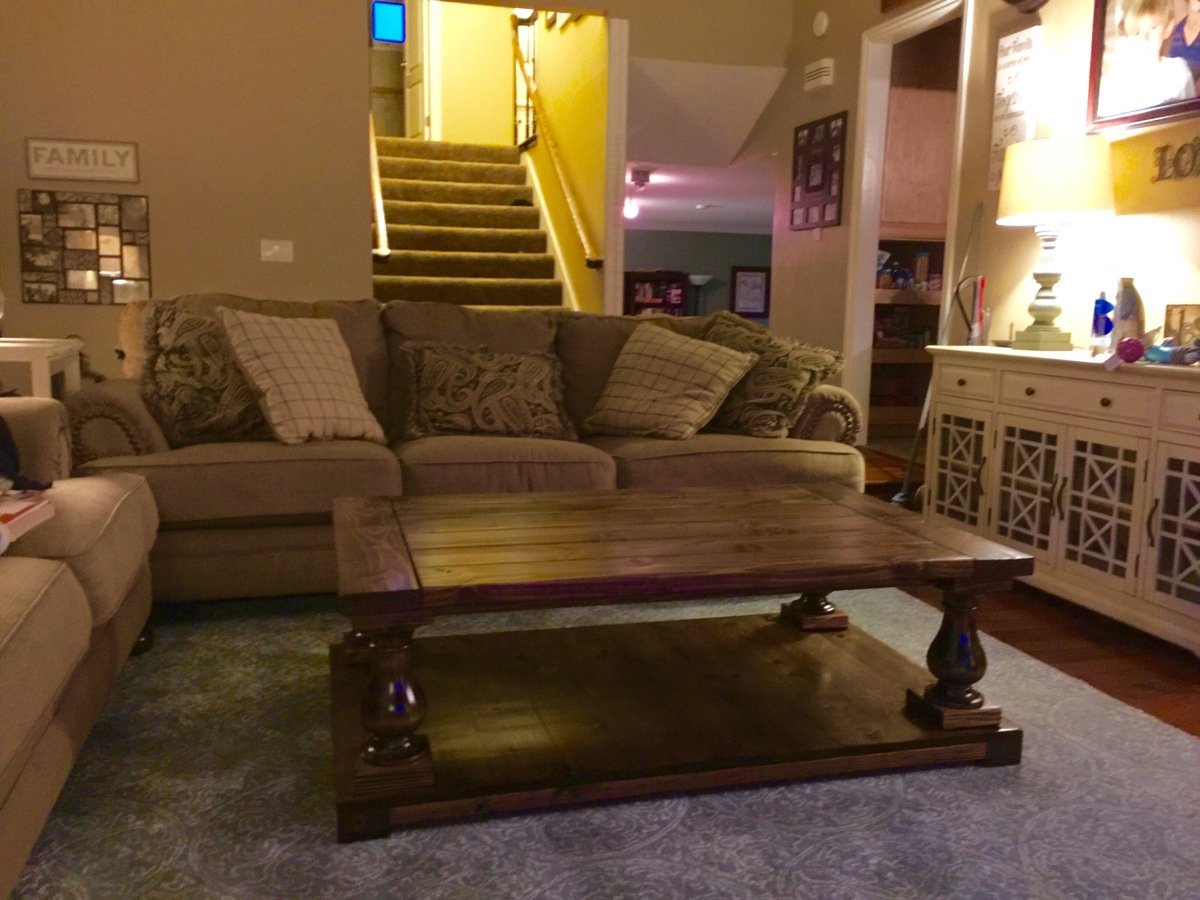
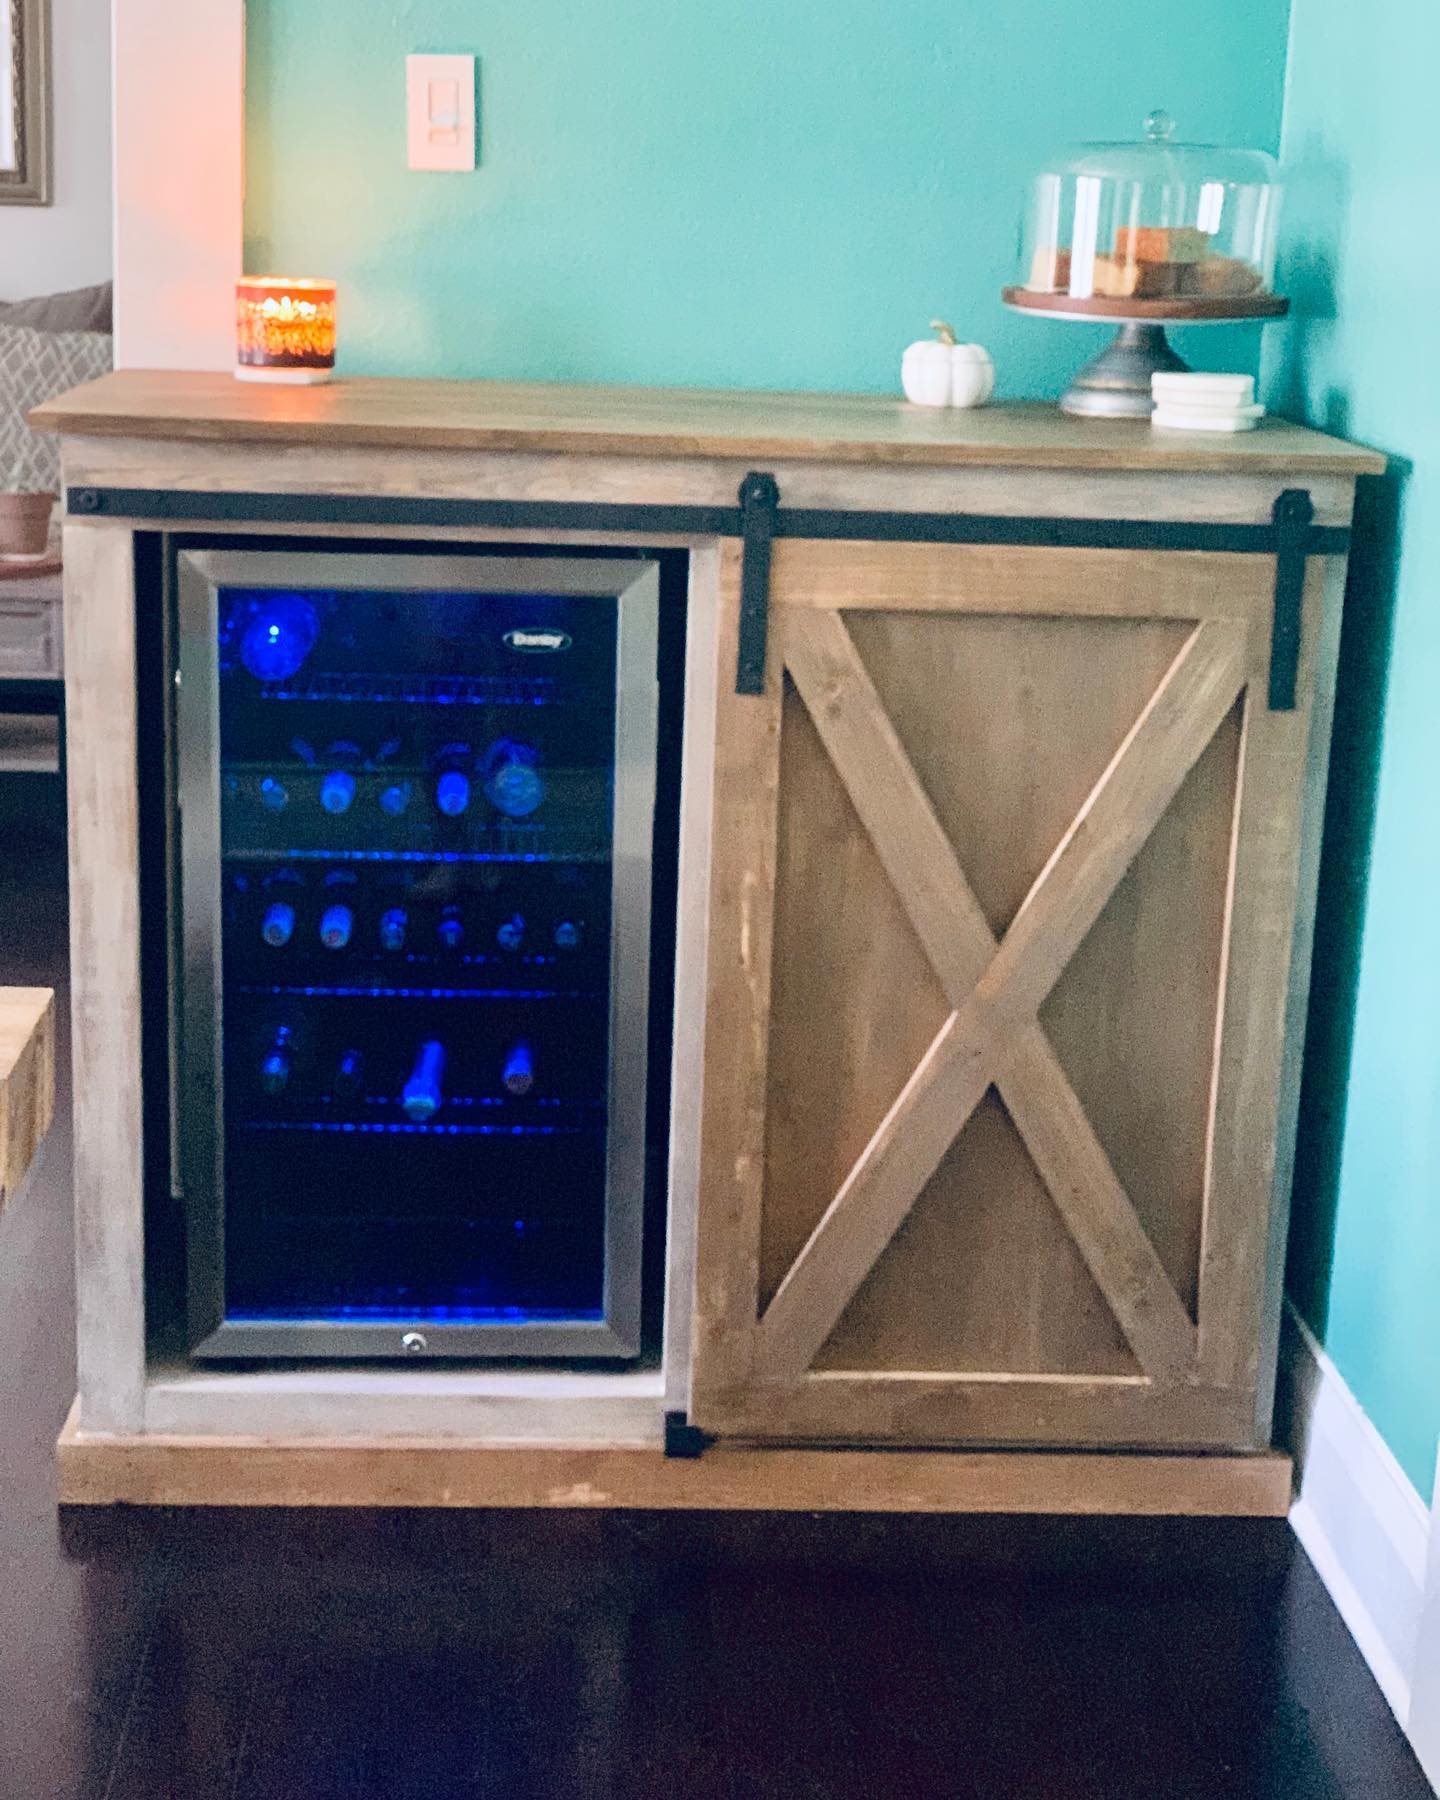
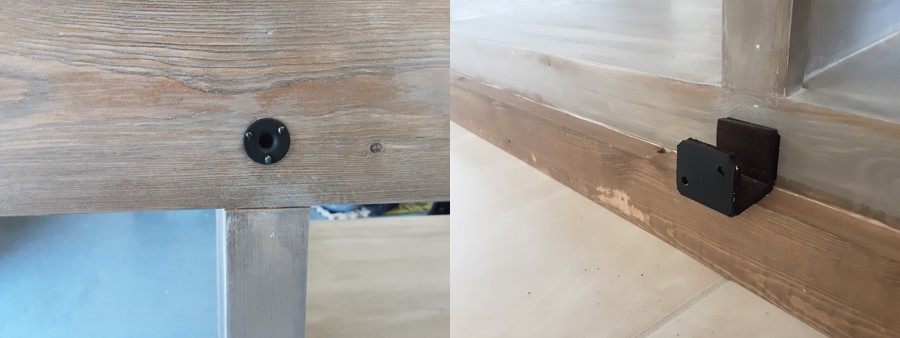
I did change the width to fit my wall space, and I did add adjustable shelves (1 fixed shelf, to help hold the whole thing square). (I used a piece of peg board to place the holes for the shelf supports). Pretty neat! I also added a couple of extra shelves. (I still needs some paint) I needed the extra storage for organizing the stuff we need in the family eating area.
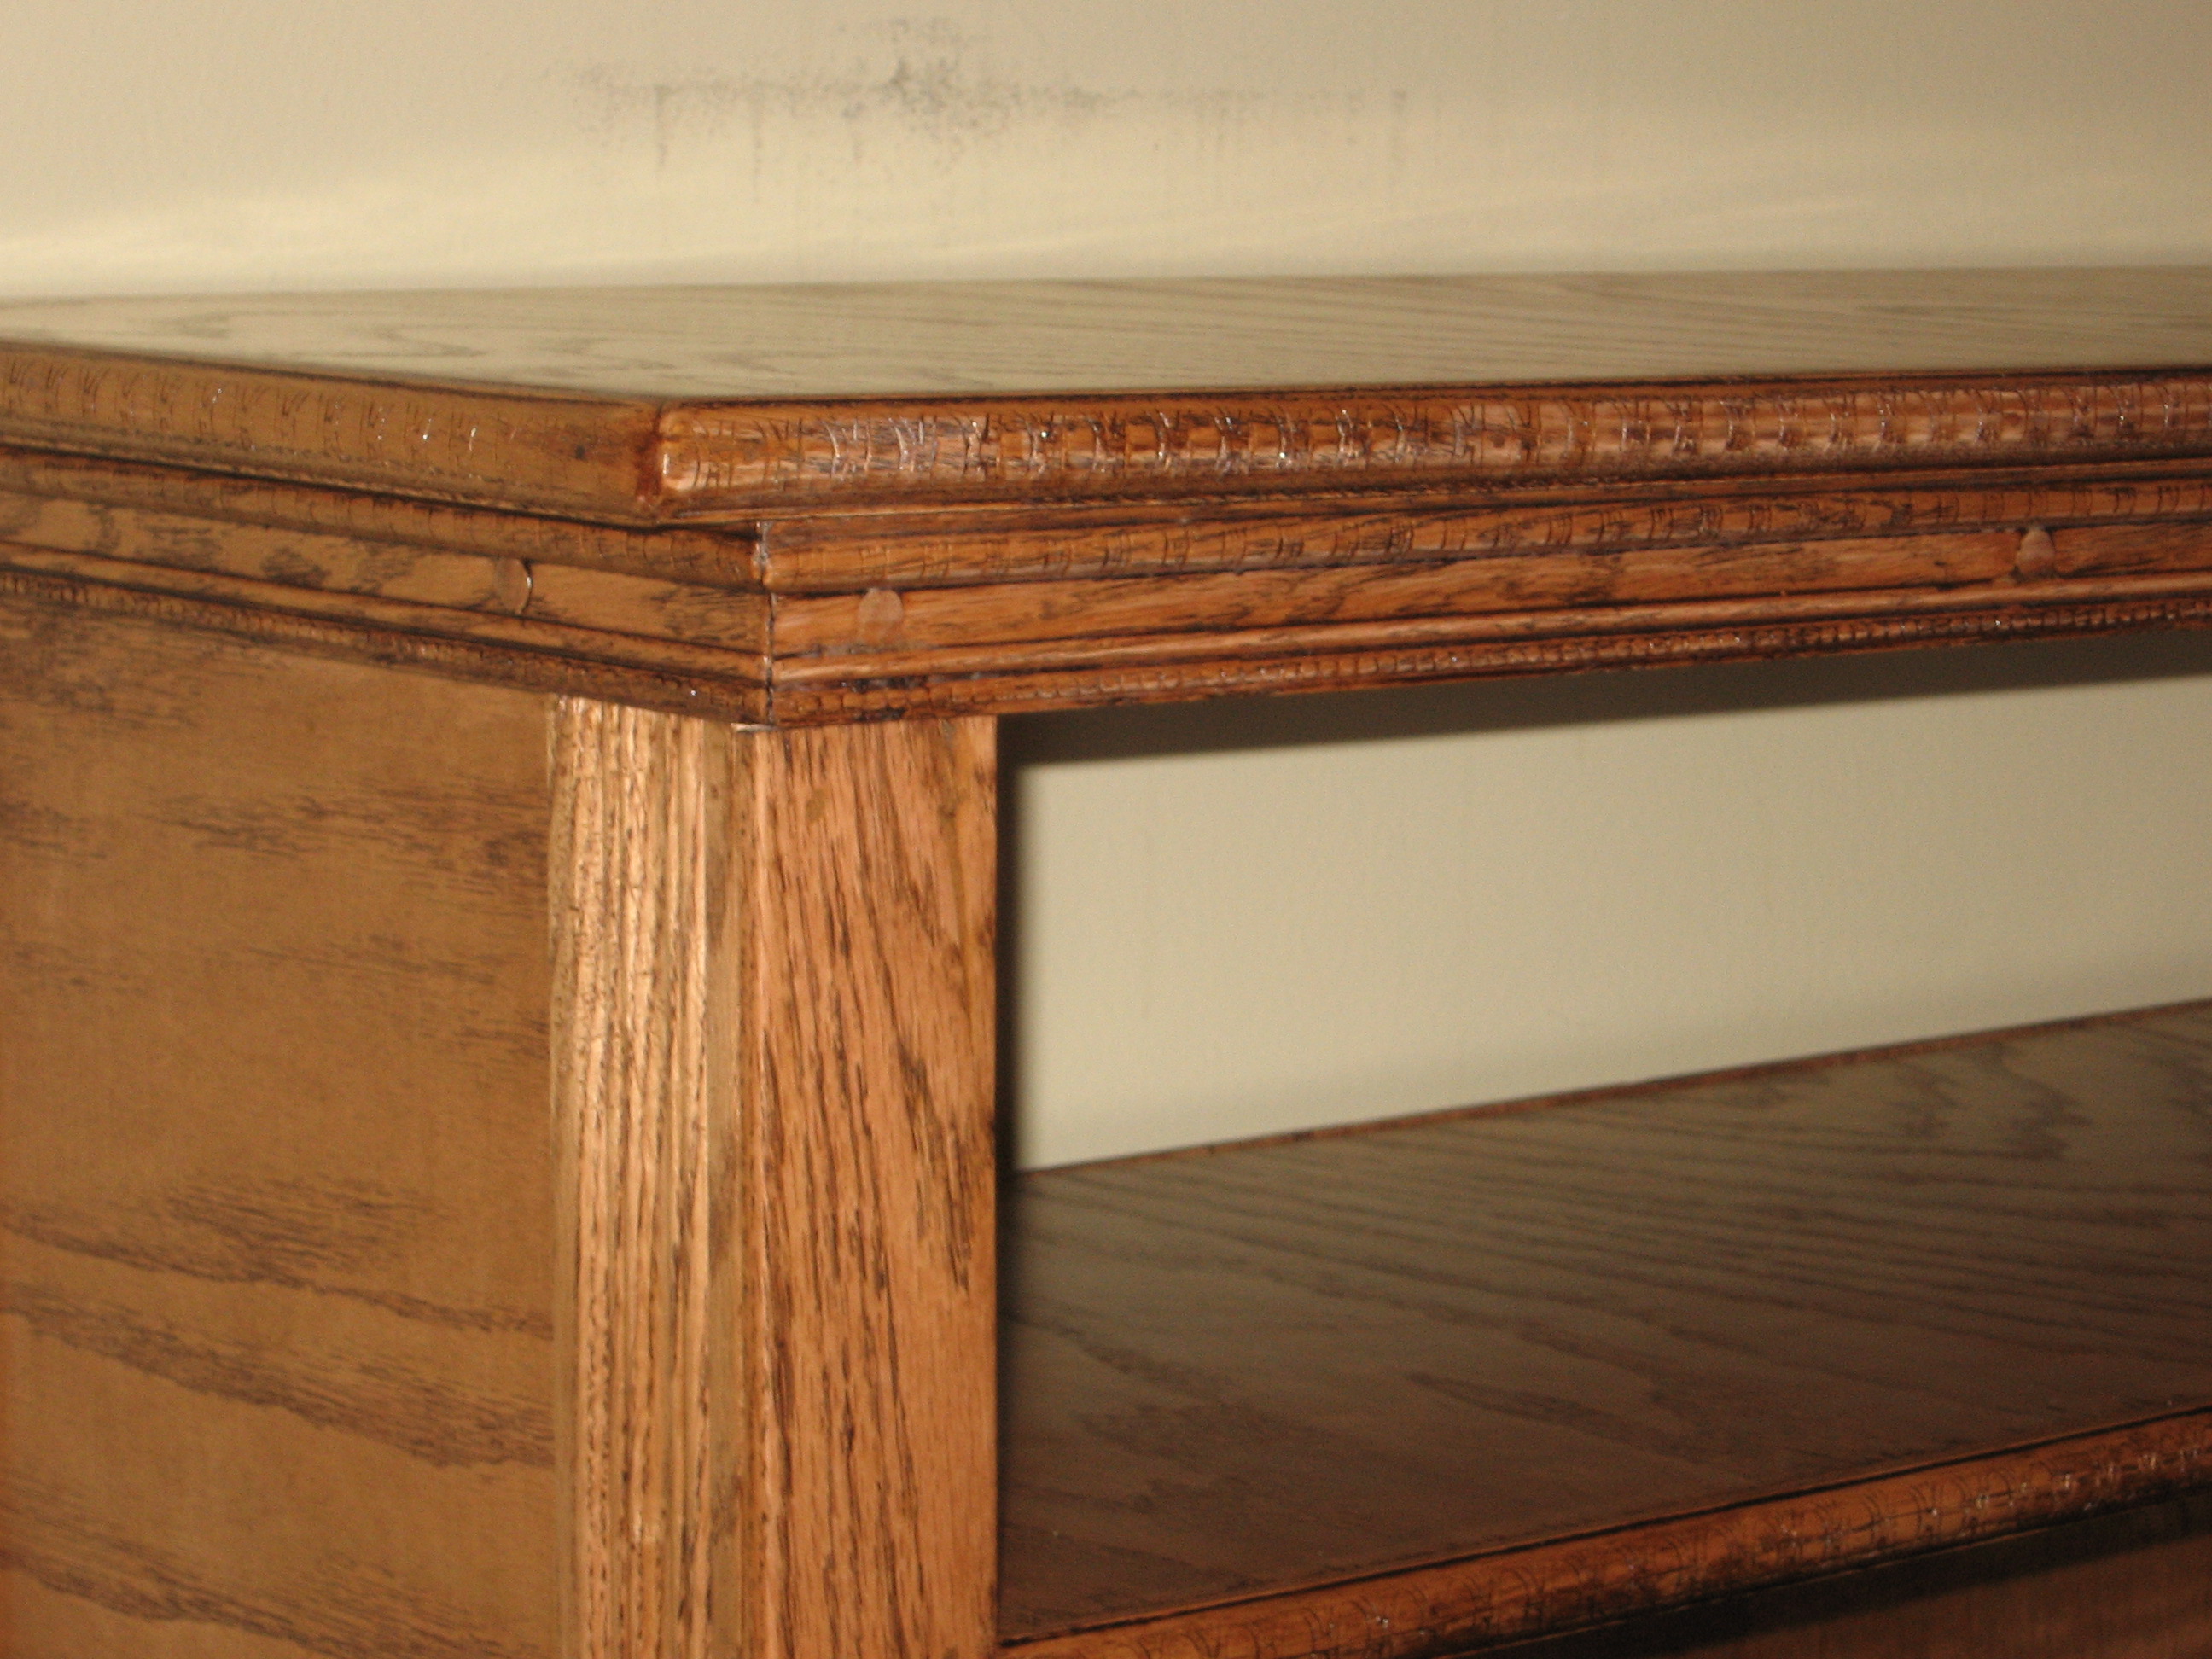
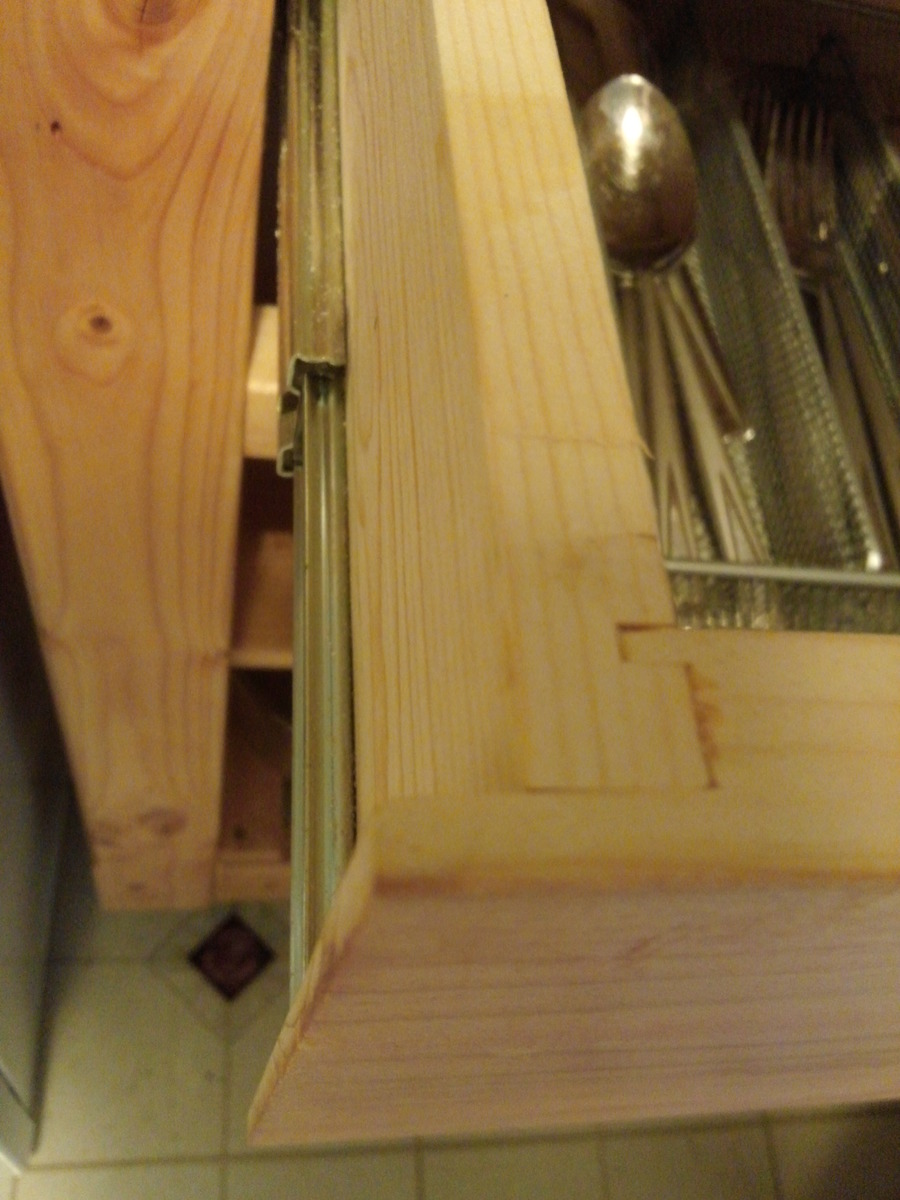
I also changed up the top finishing details. I mitered the corners, and layed the 1x2's flat, offset by .75 of an inch. It gives a nice look.


Comments
Ana White Admin
Fri, 06/23/2023 - 21:02
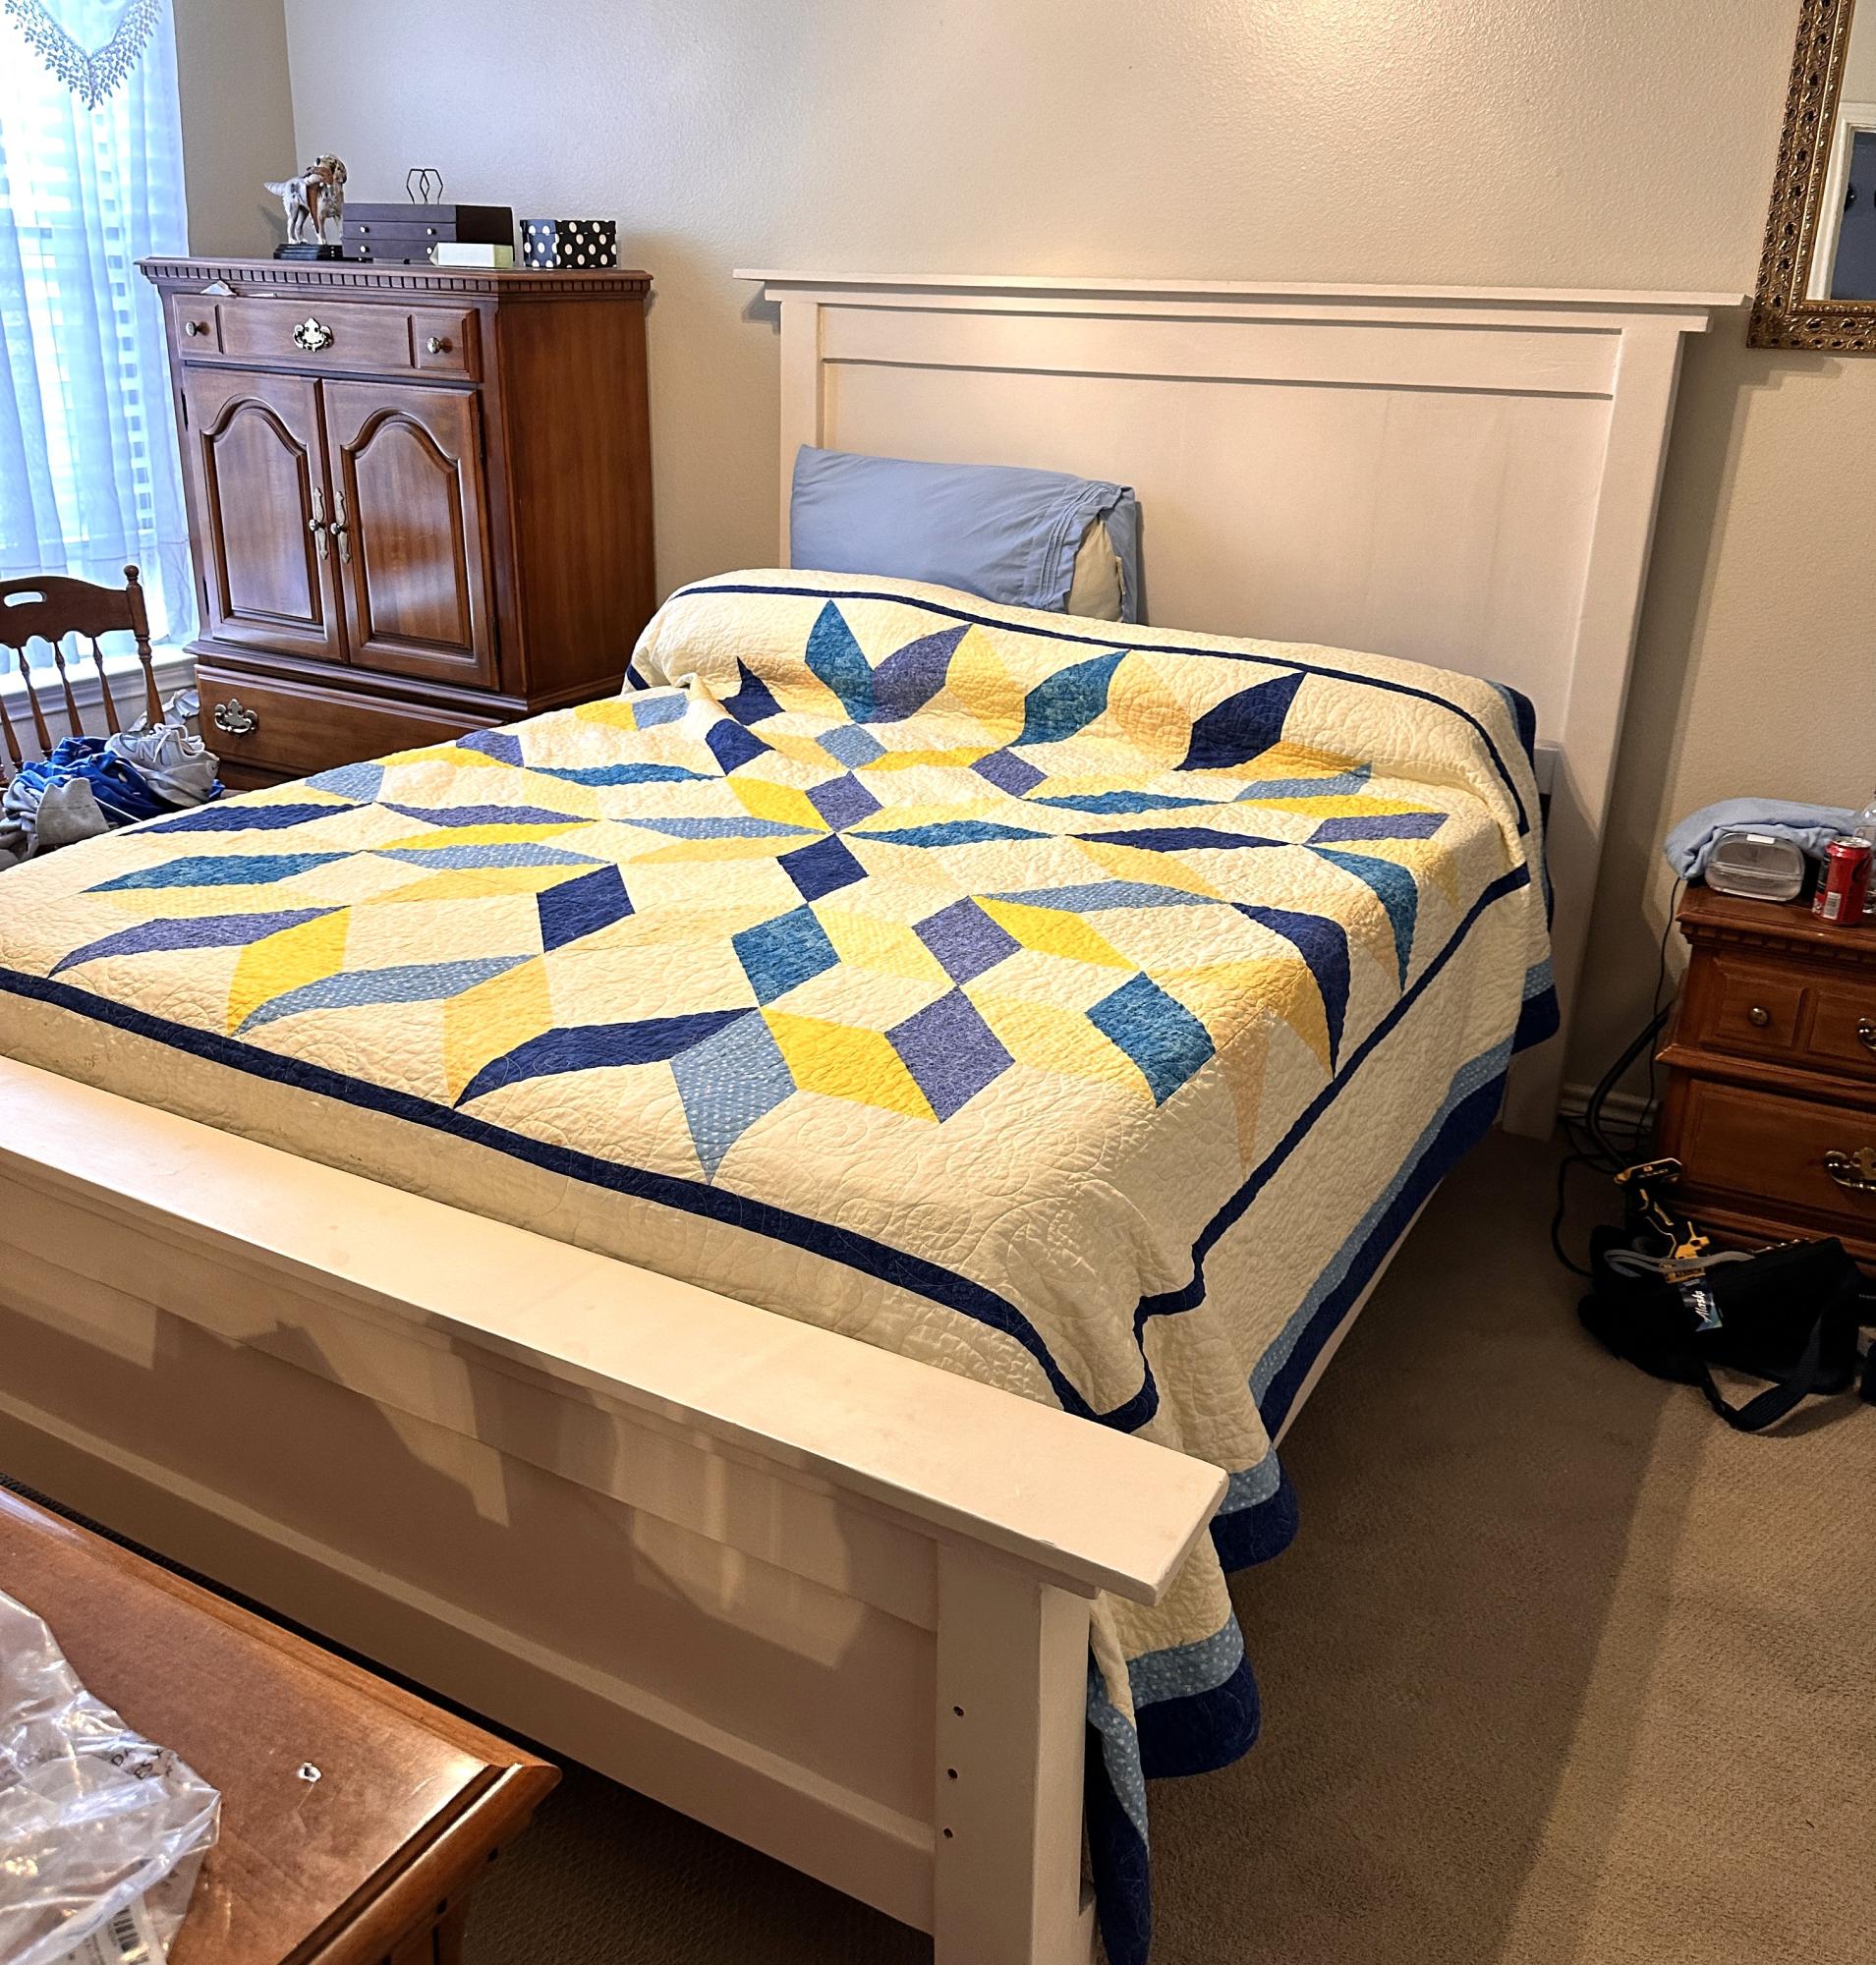
Great bed!
Way to go, this is fabulous! Thanks for sharing.