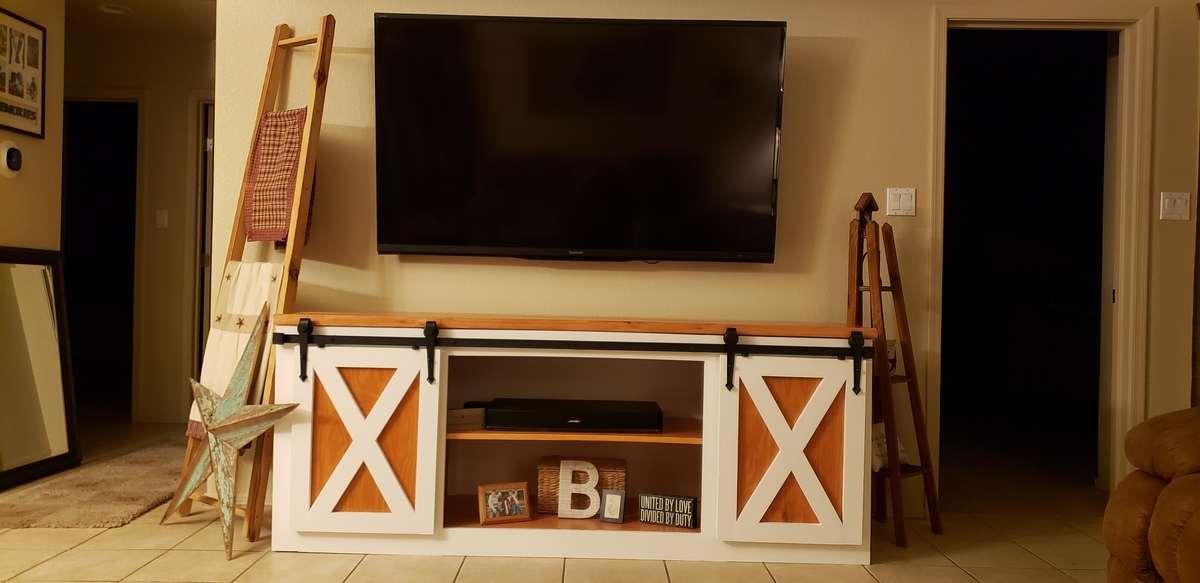
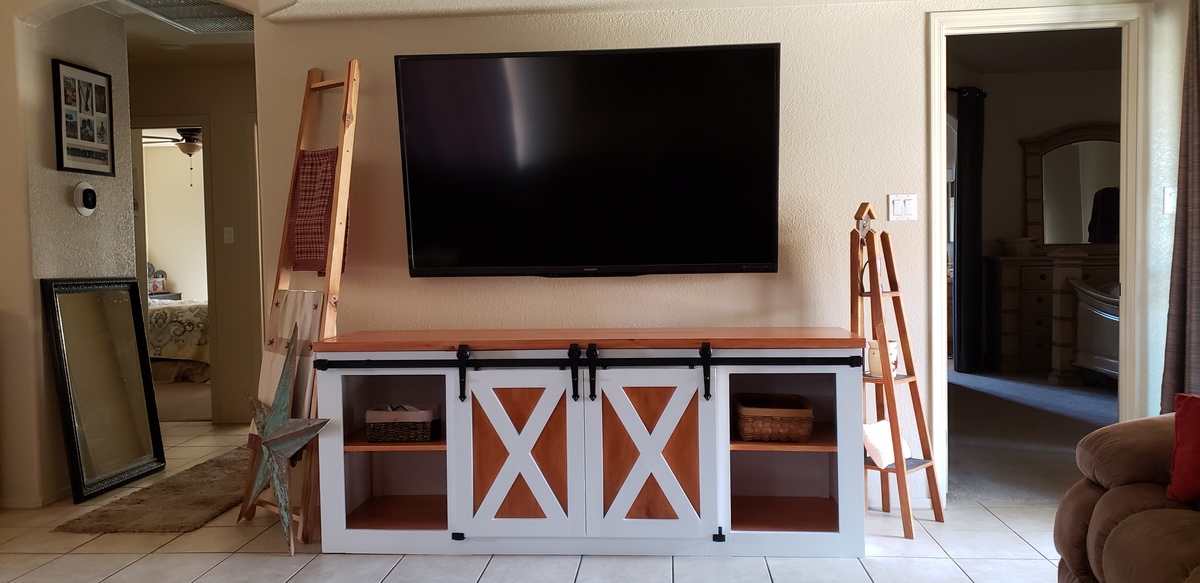
Storage Bench

Lessons learned.
Built from Plan(s)
Lessons learned.
Please forgive me for this for being a bit long....but i am excited!
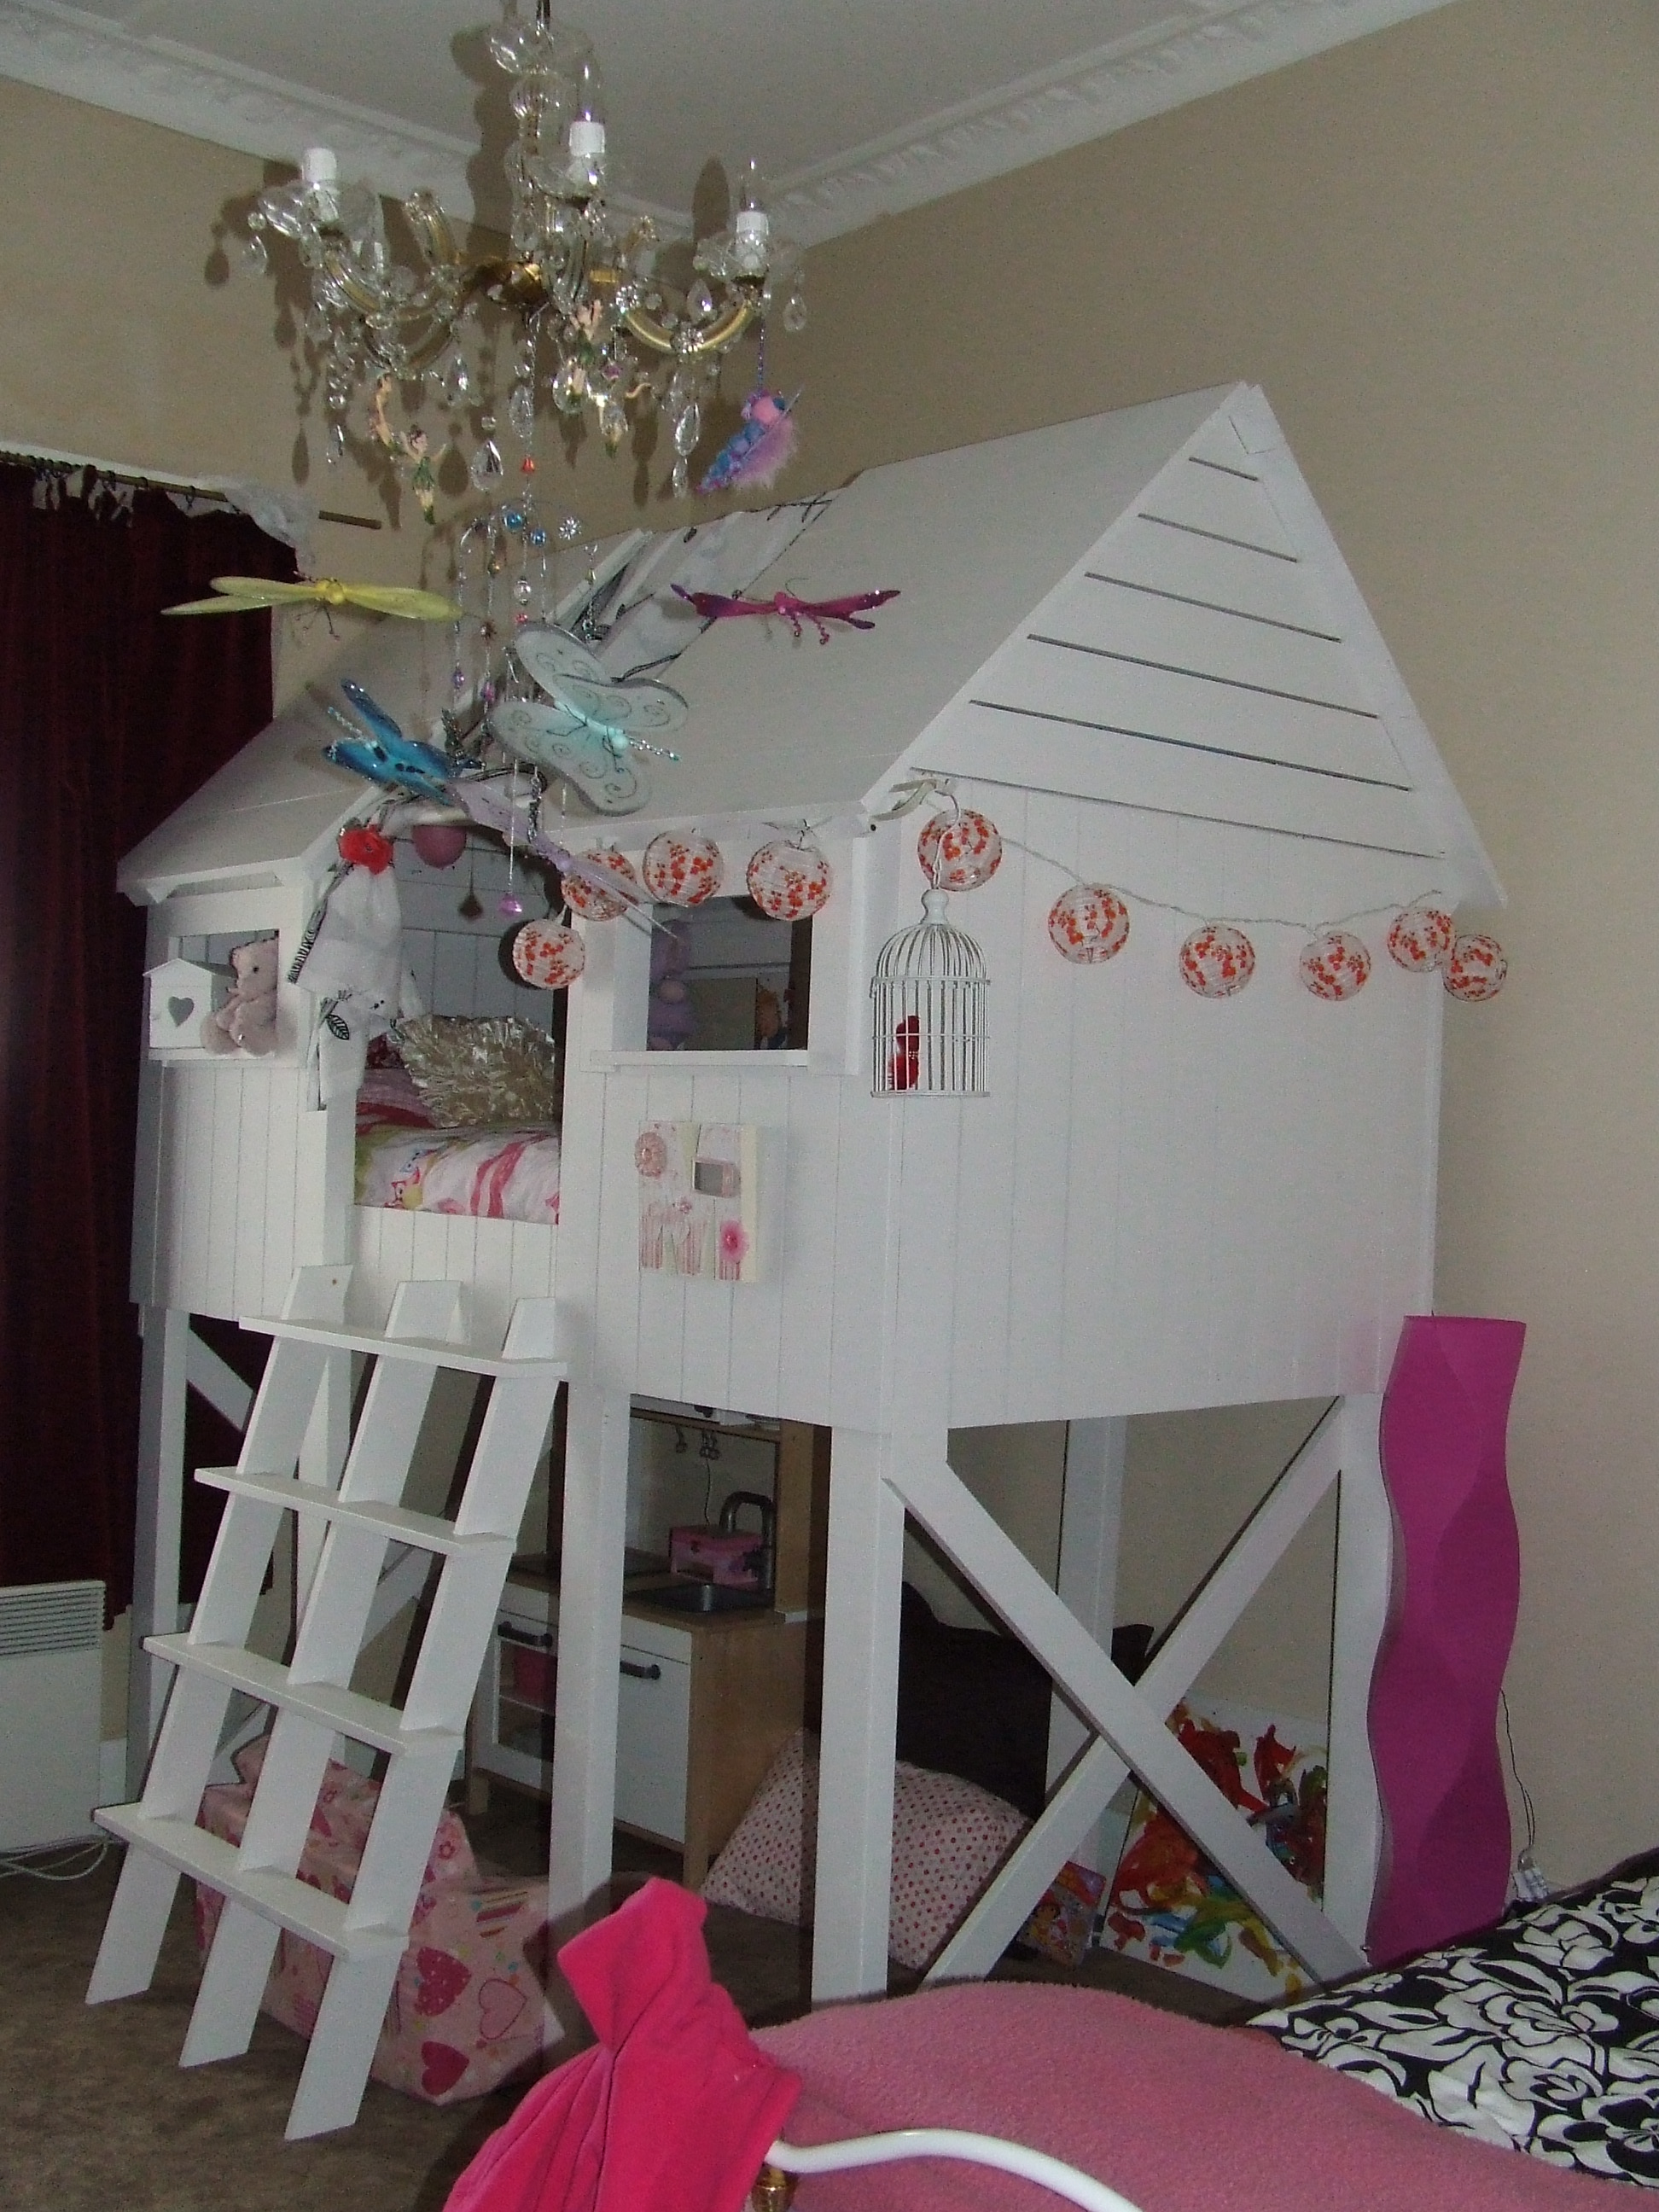
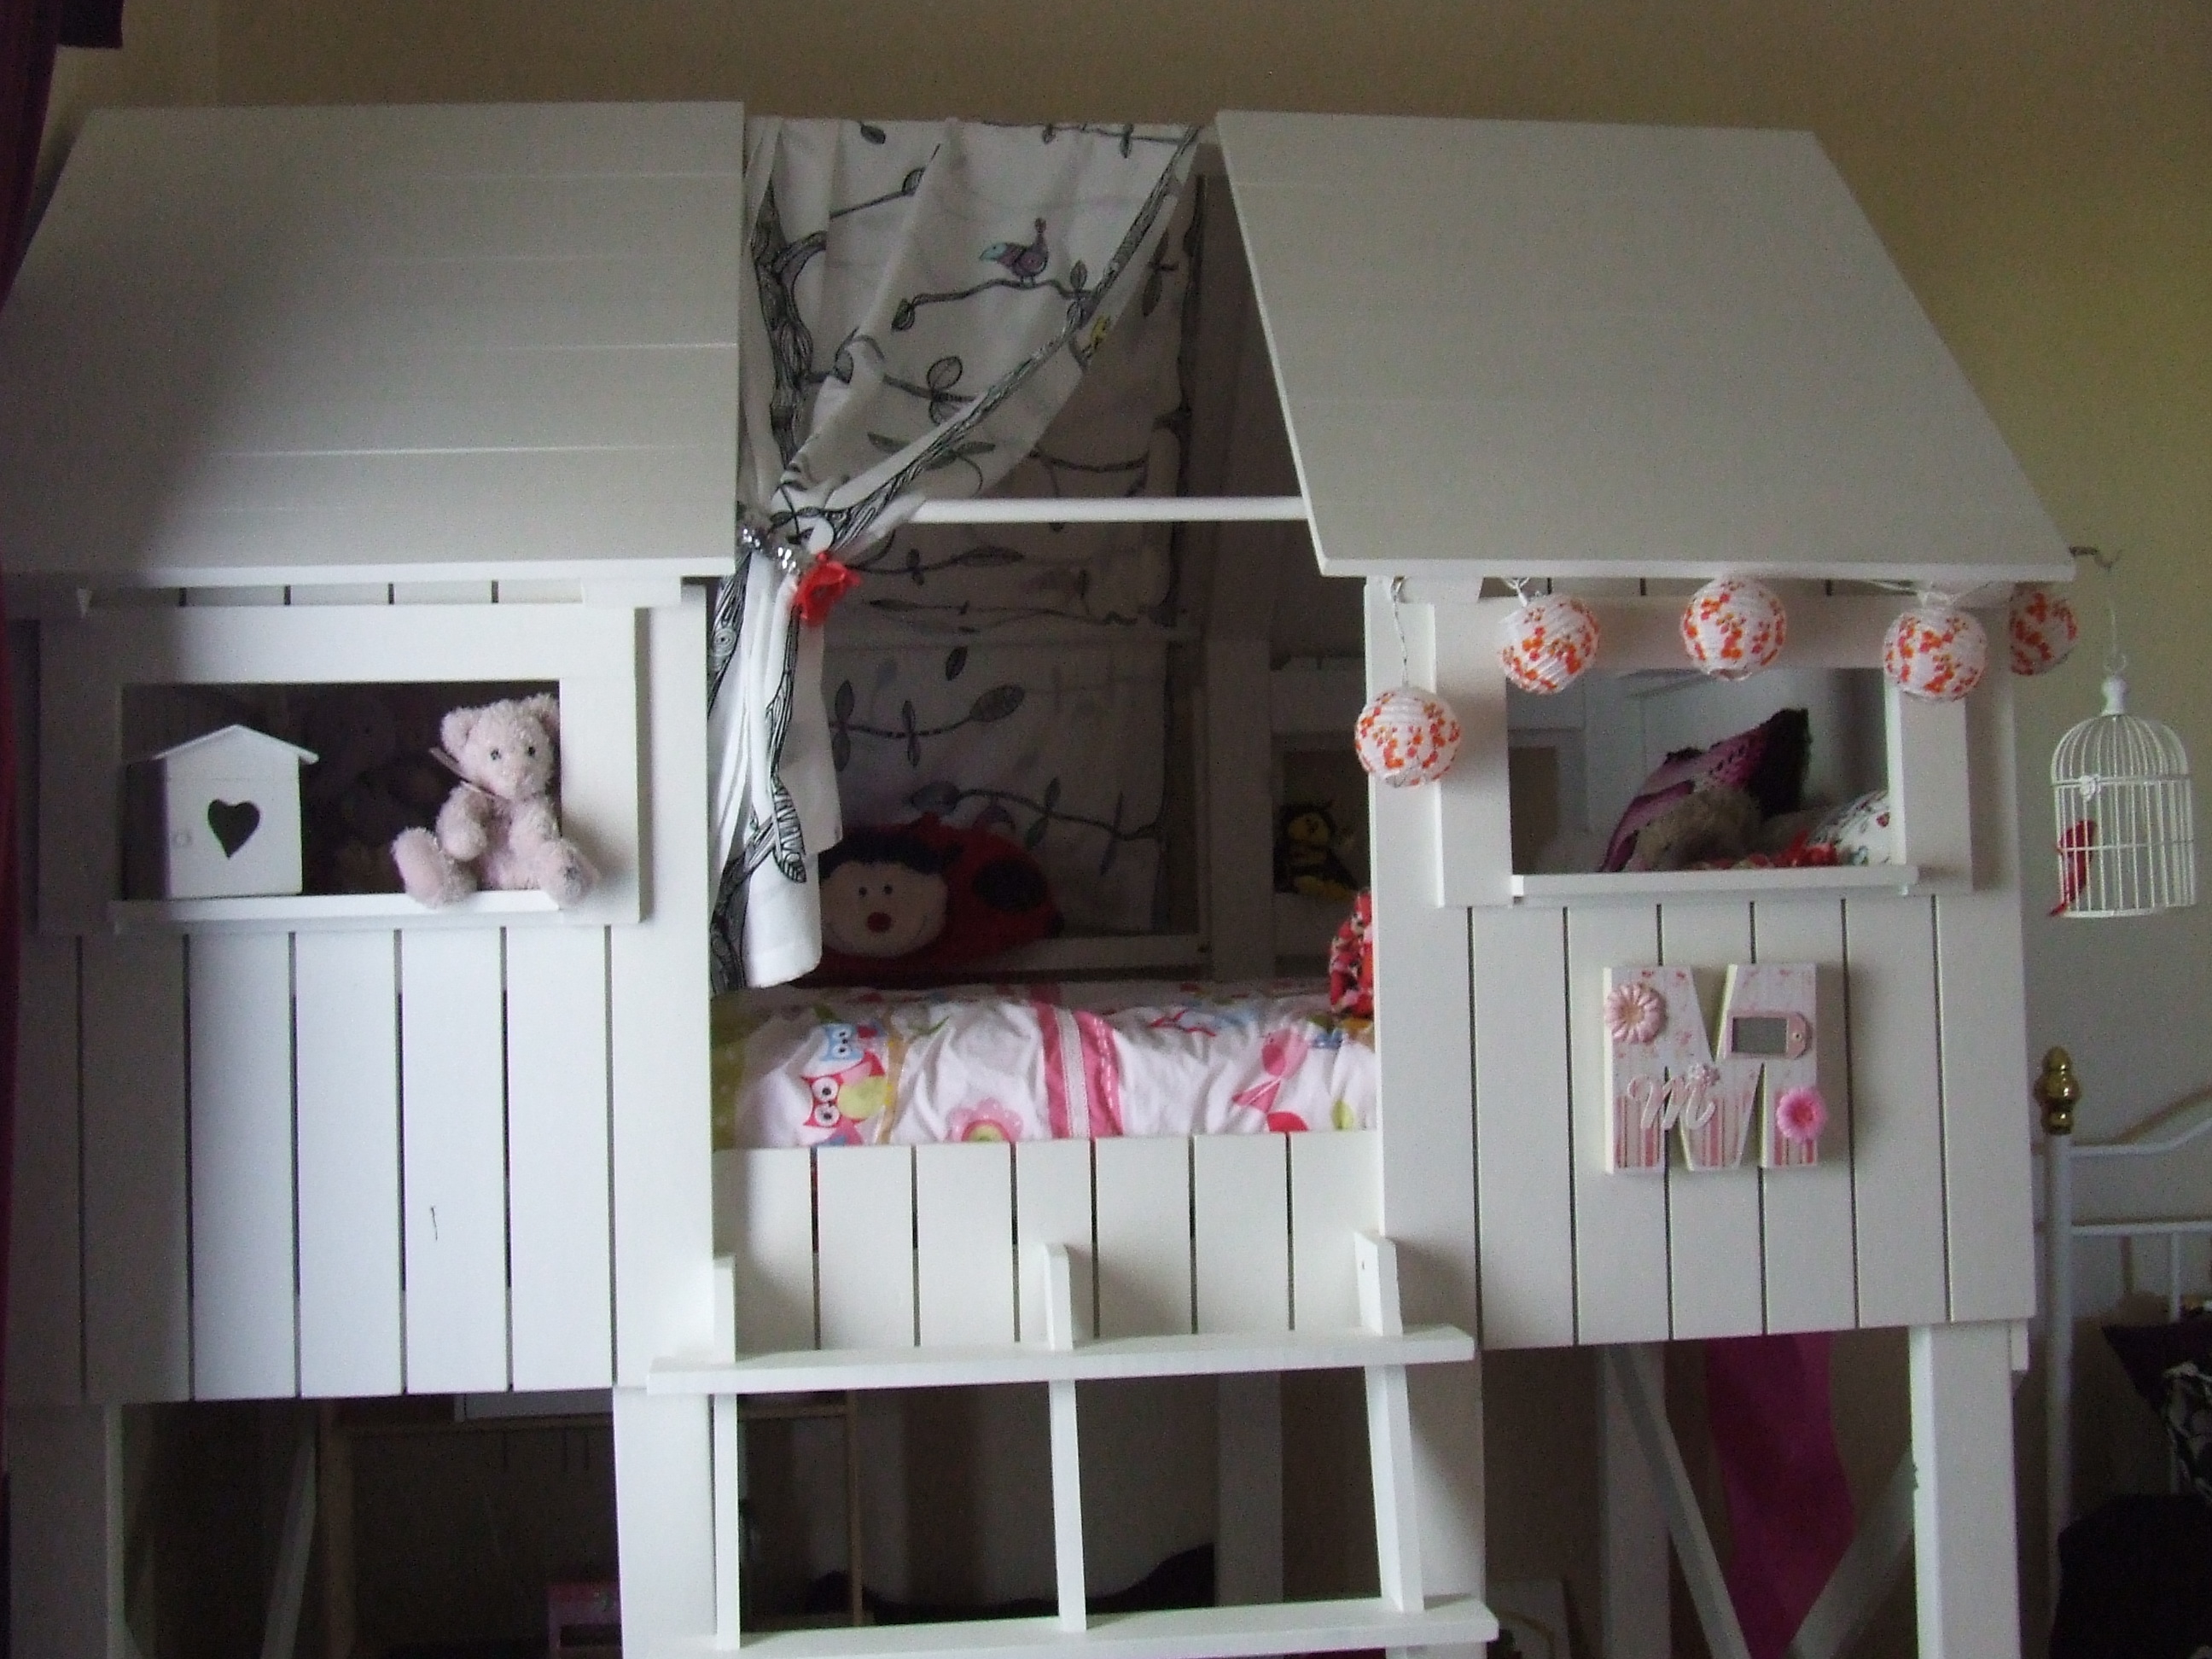
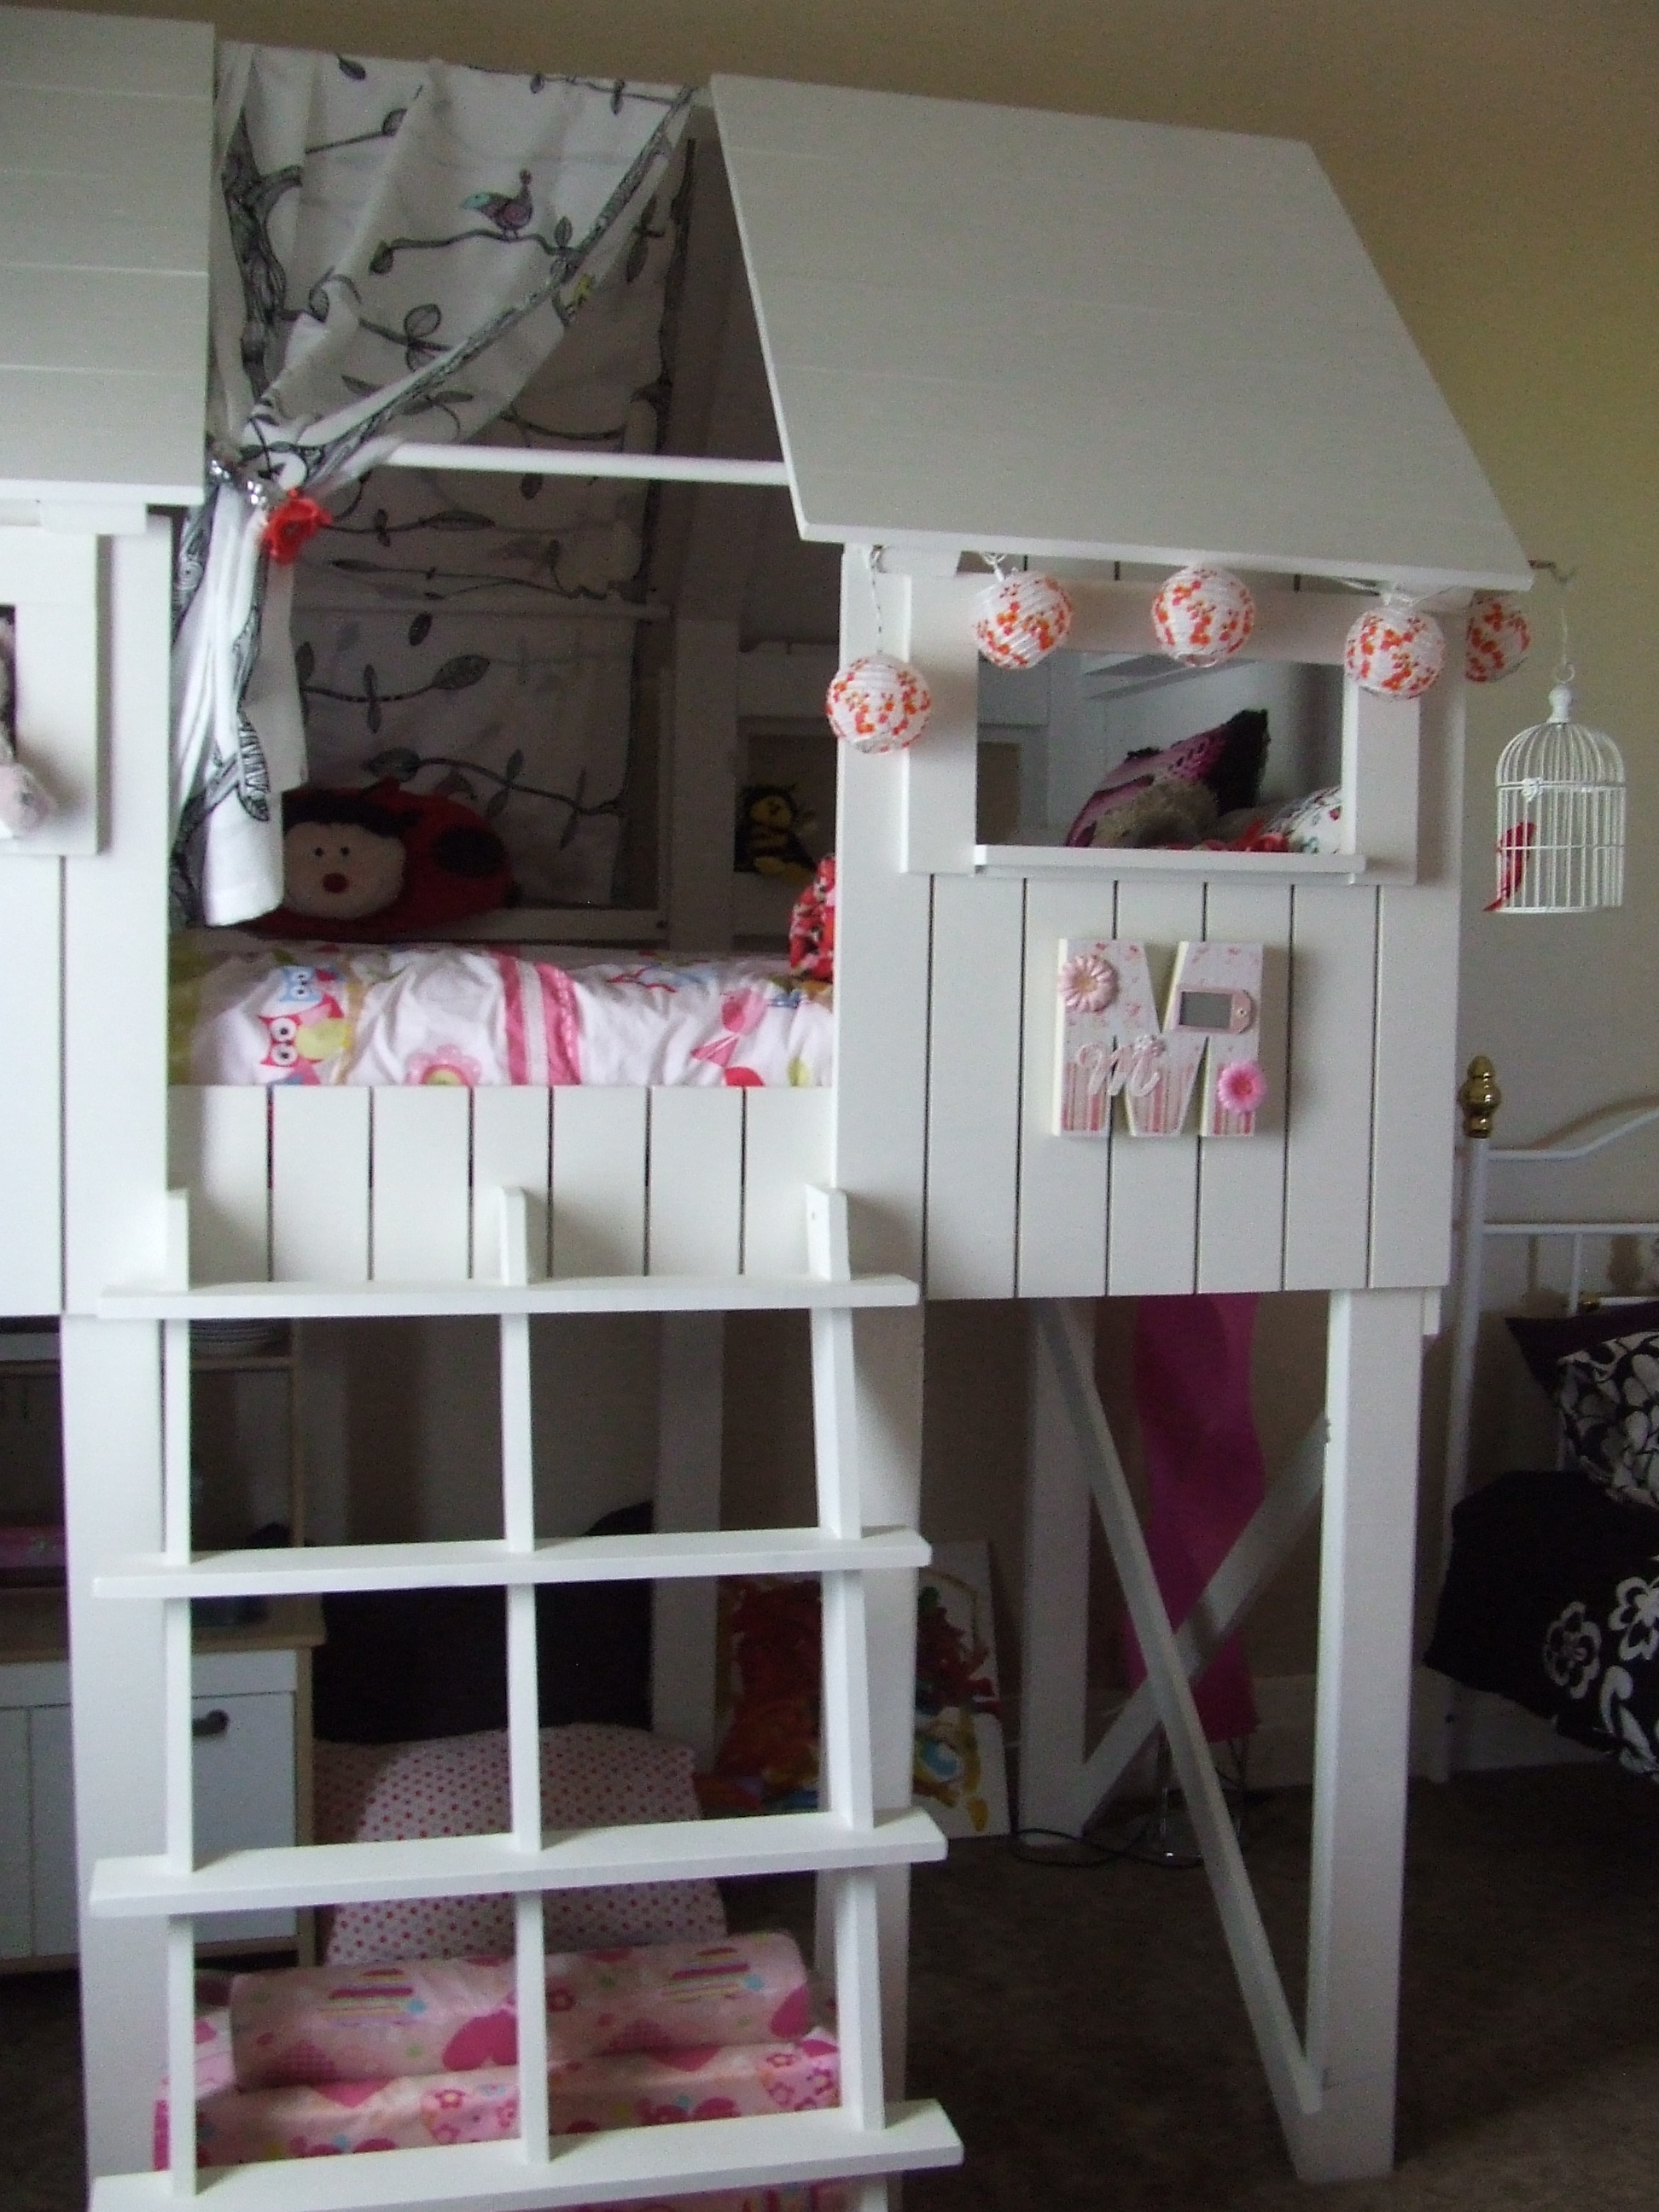
Our daughter picked this beach hut bed to be her new bed that she would be getting for her 3rd birthday. Her older sister has a loft bed and was always climbing up so we liked the idea of it being lower for her. I had saved some pics from other sites and then showed them to her, she didnt want the girly house one's :( no she wanted the one i had actually saved for her brother. lol...
Anyway then i went hunting and could not believe my luck when i came across this site with this bed and plans!
My husband...ye of little faith didnt think we could do it but was willing to follow my lead and have a go!
This was our 1st ever time for builing ANYTHING!
And what a undertaking, however it all came together very smoothly and we are both so very proud of what we have been able to achieve.
Things we did a little different...
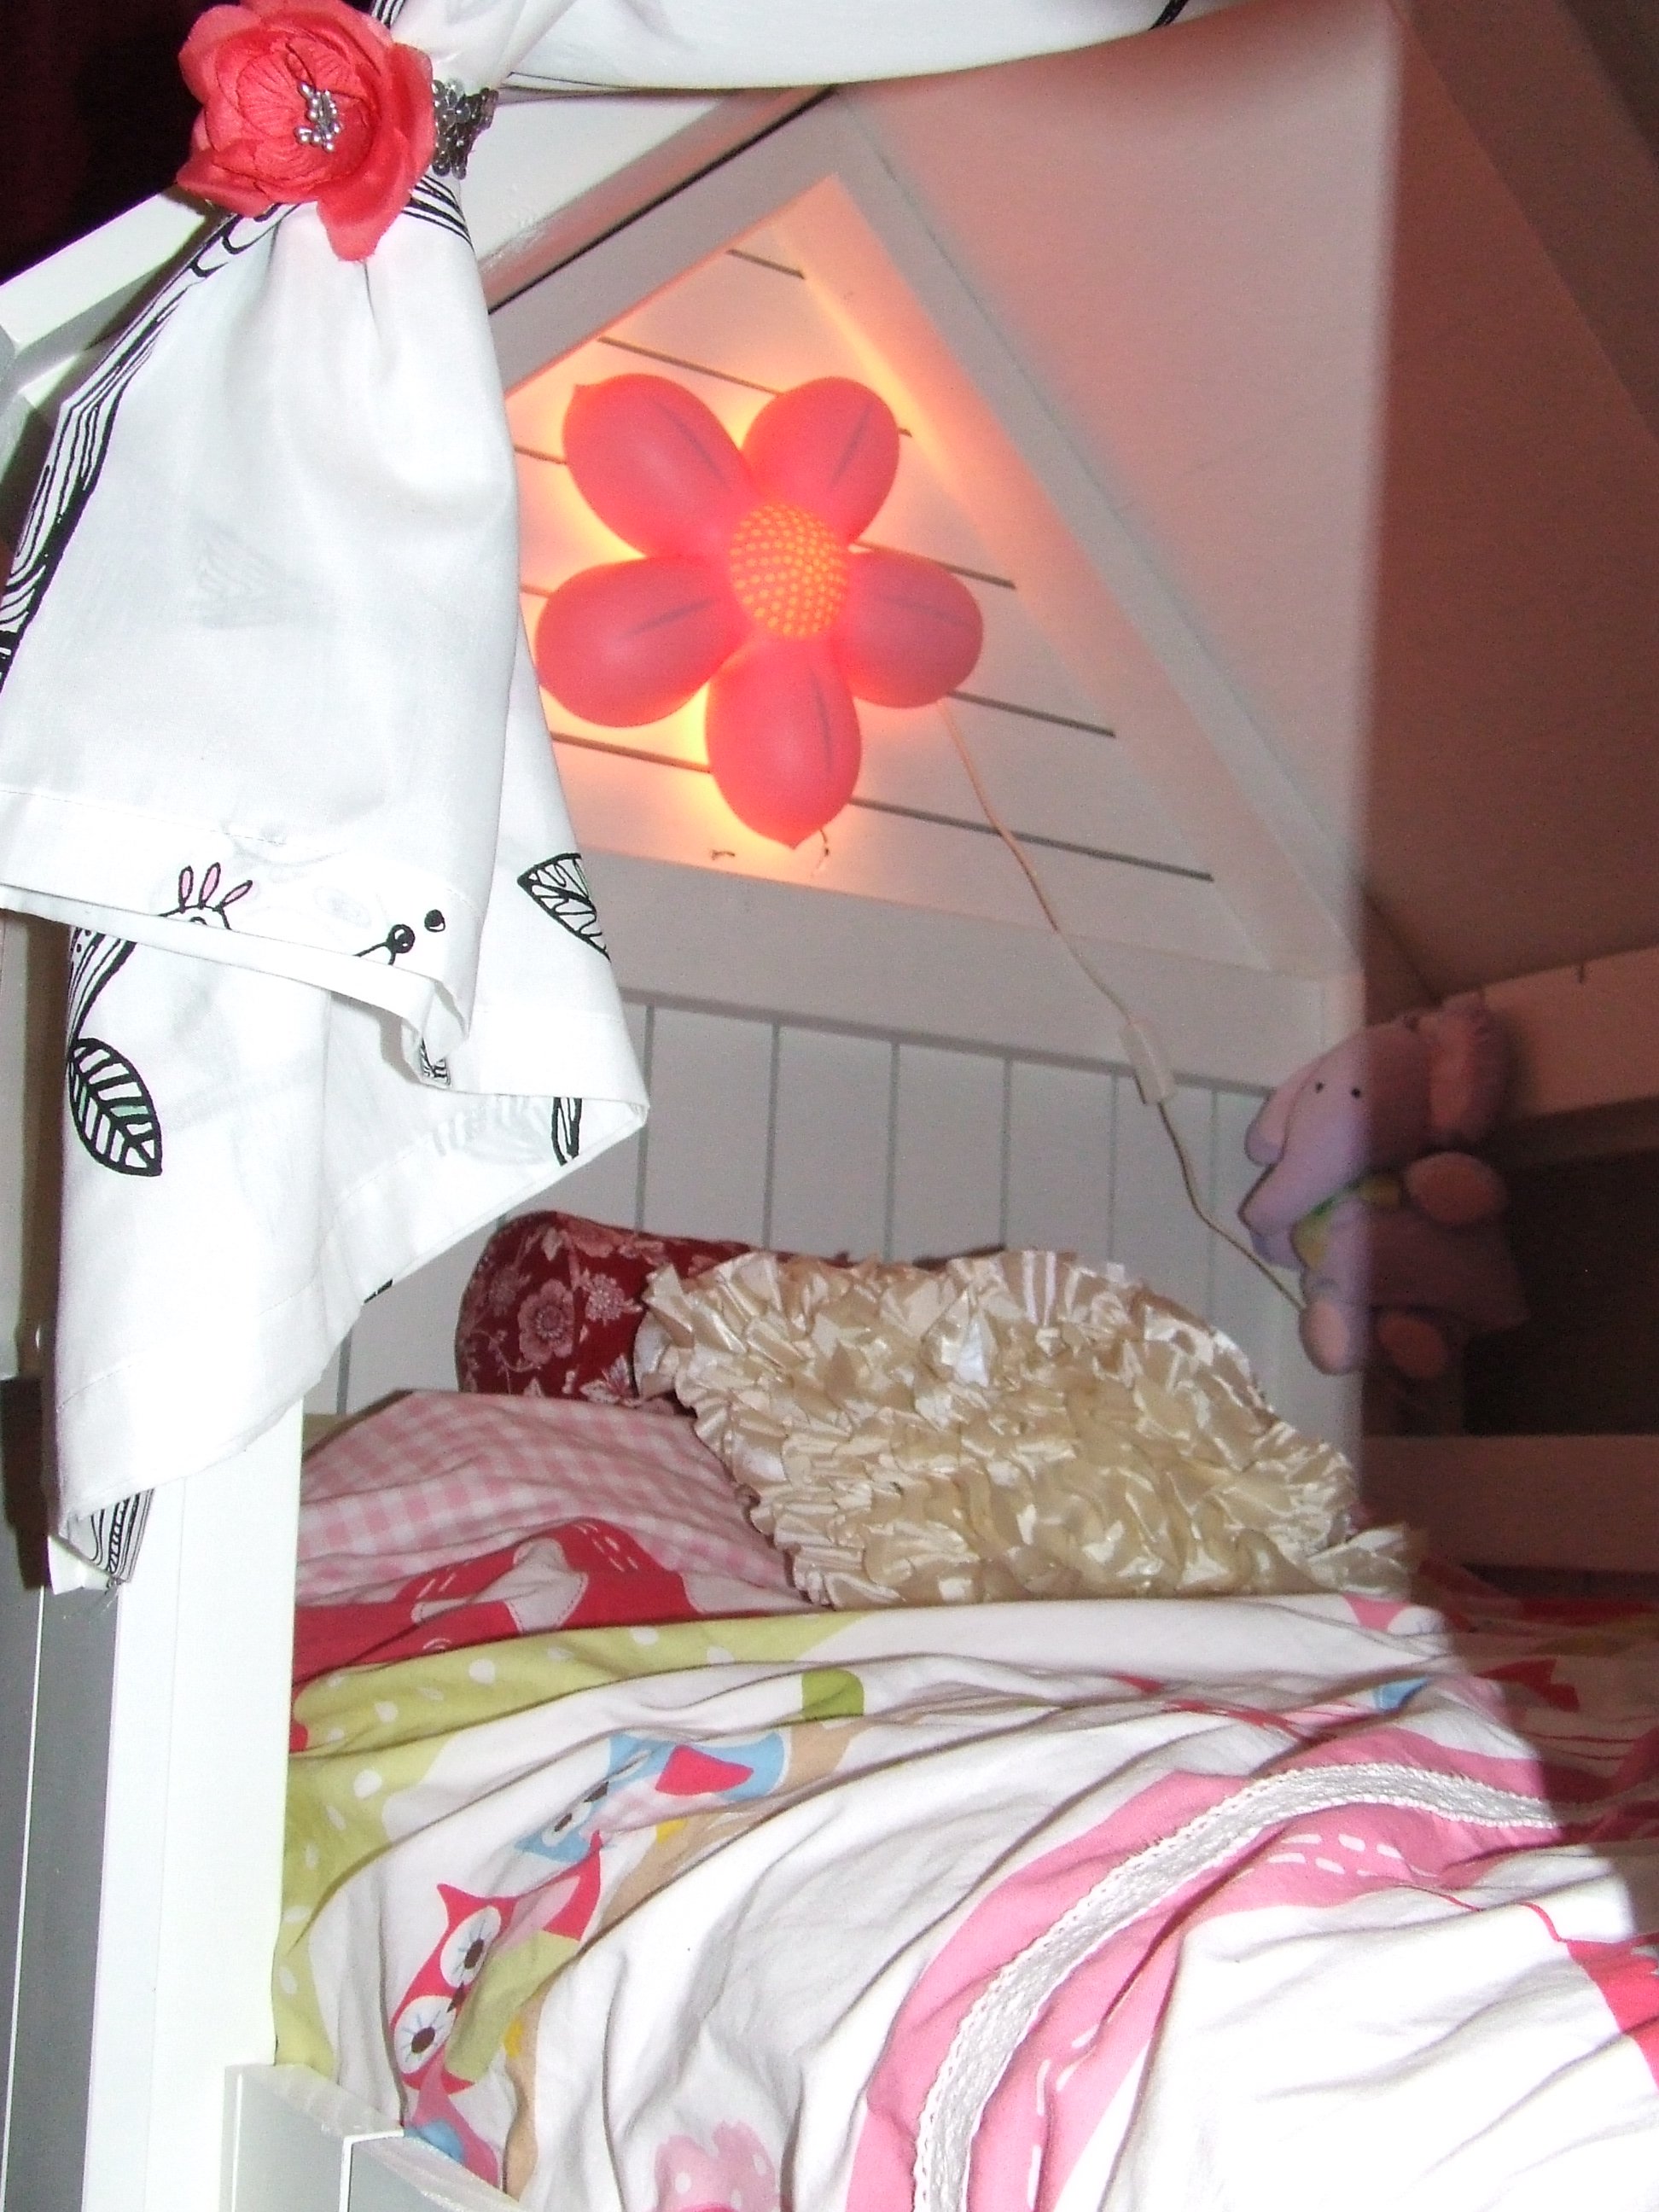
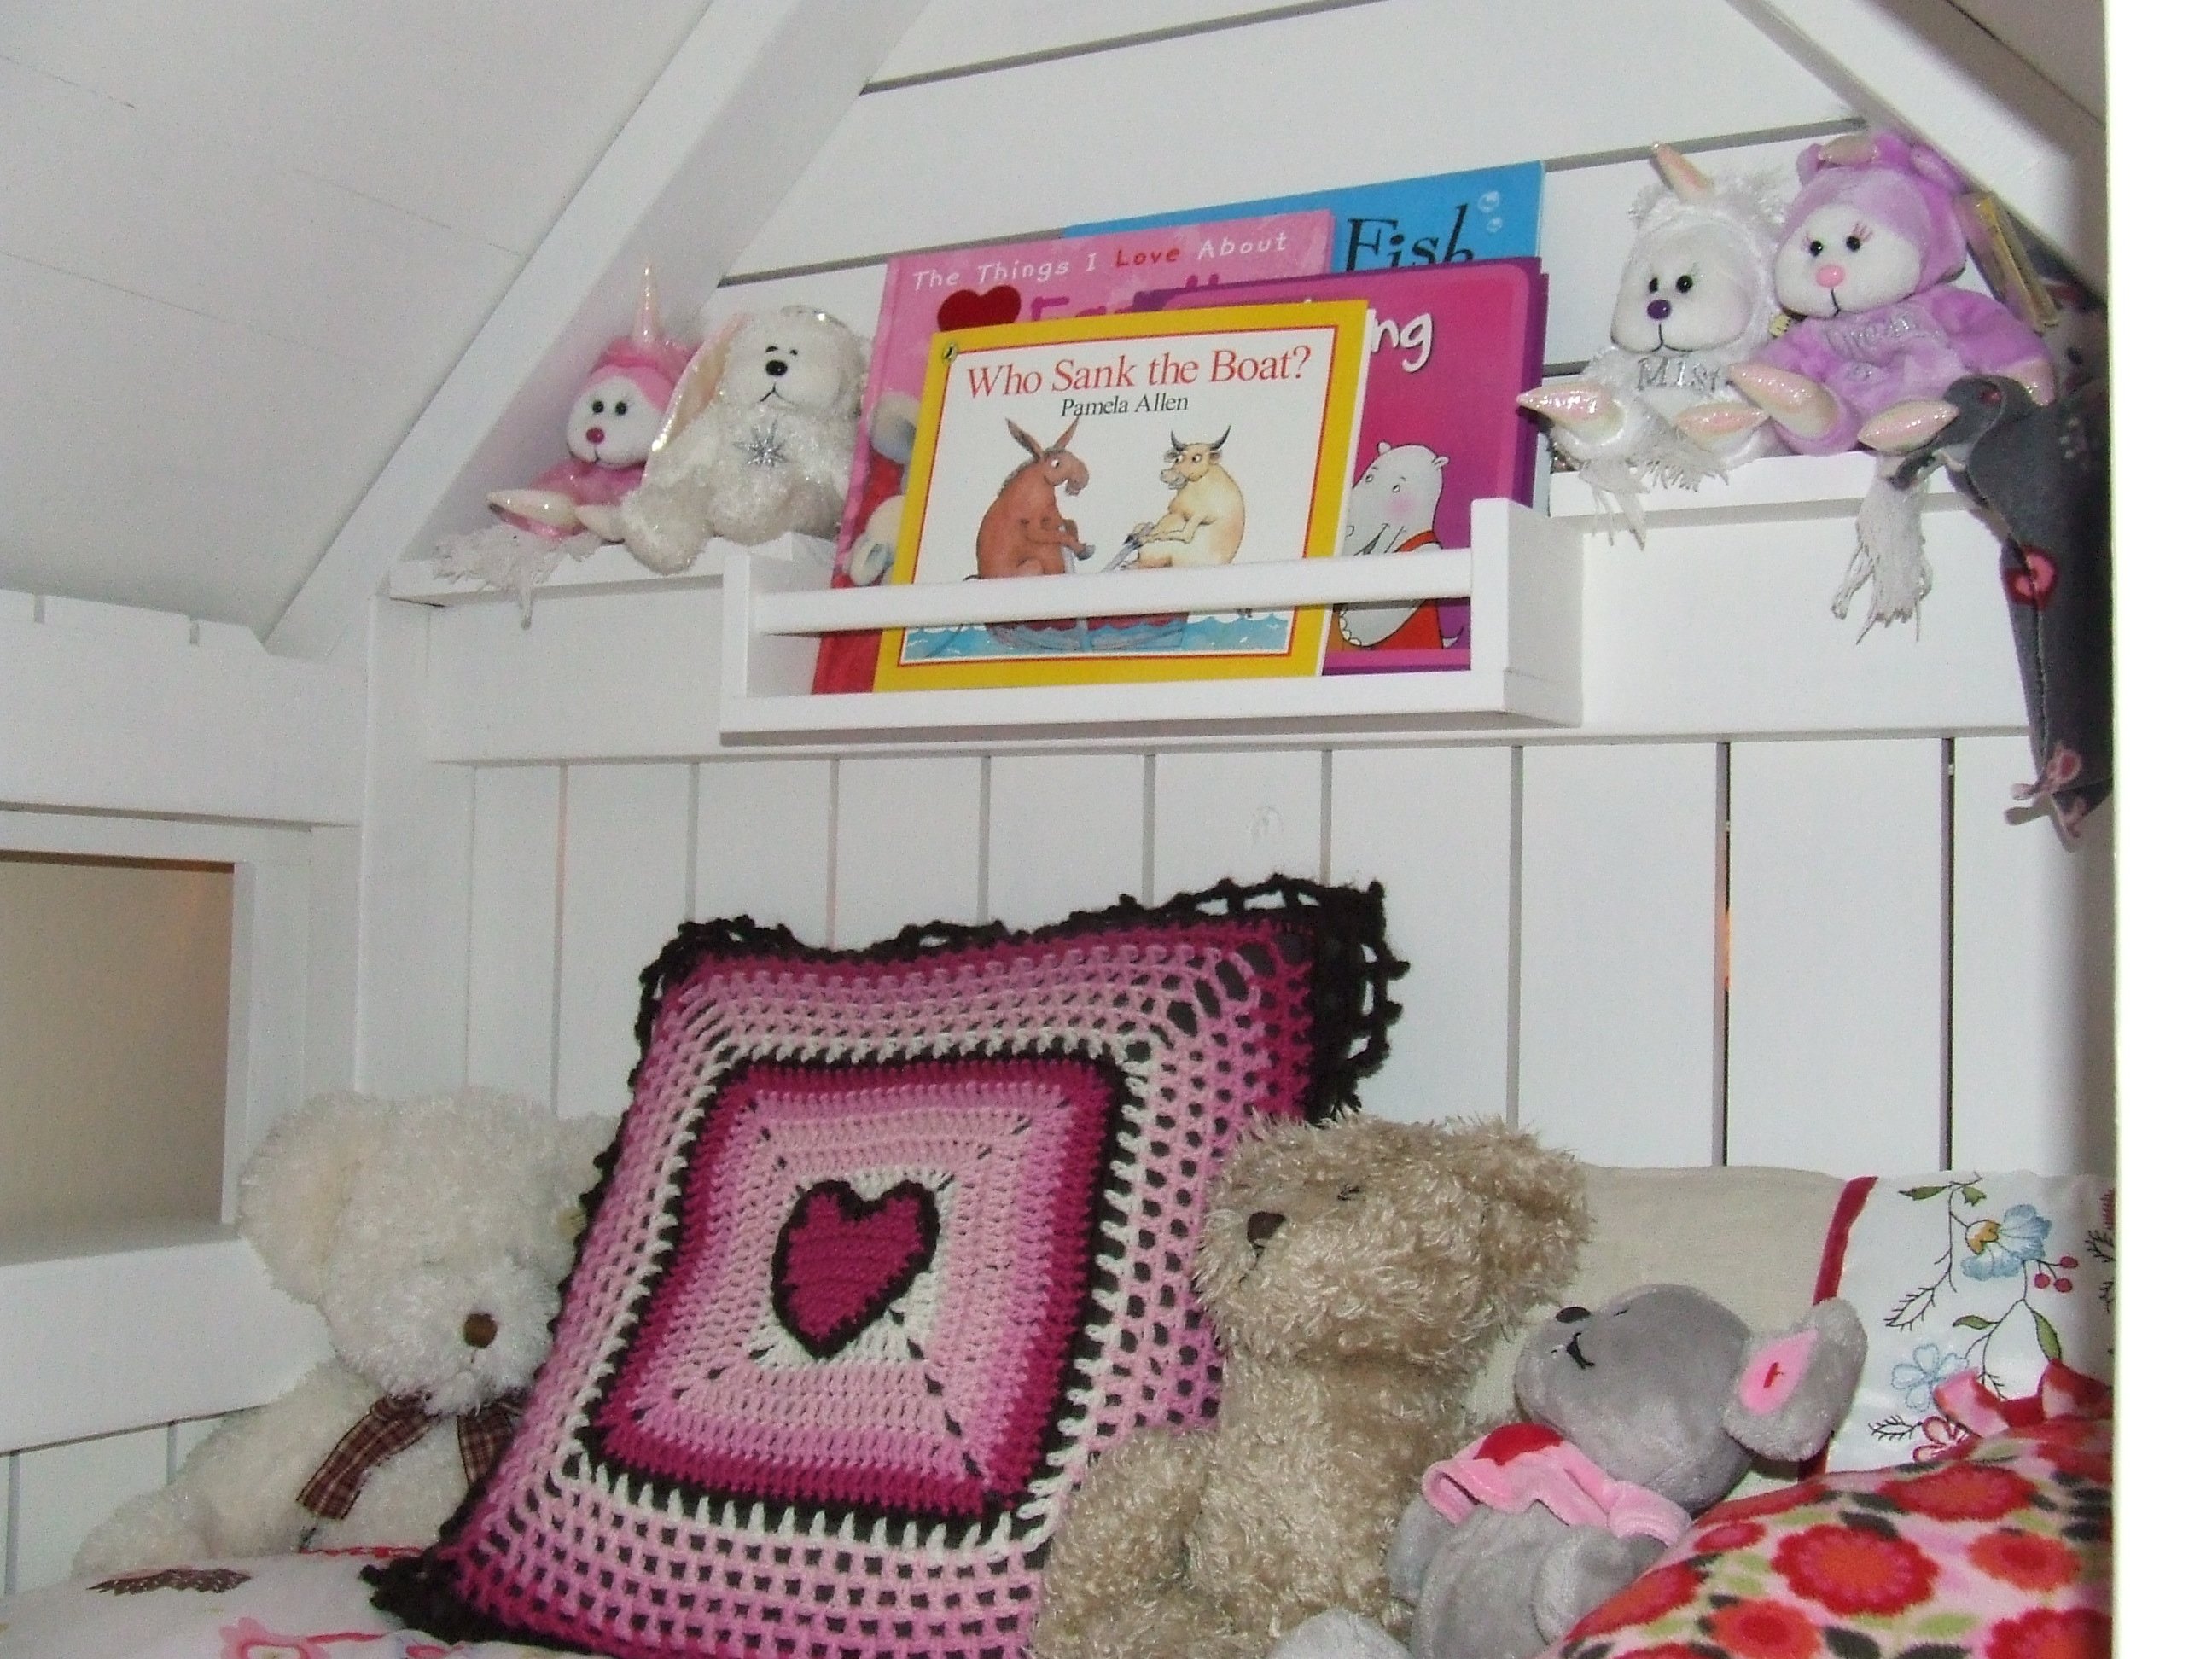
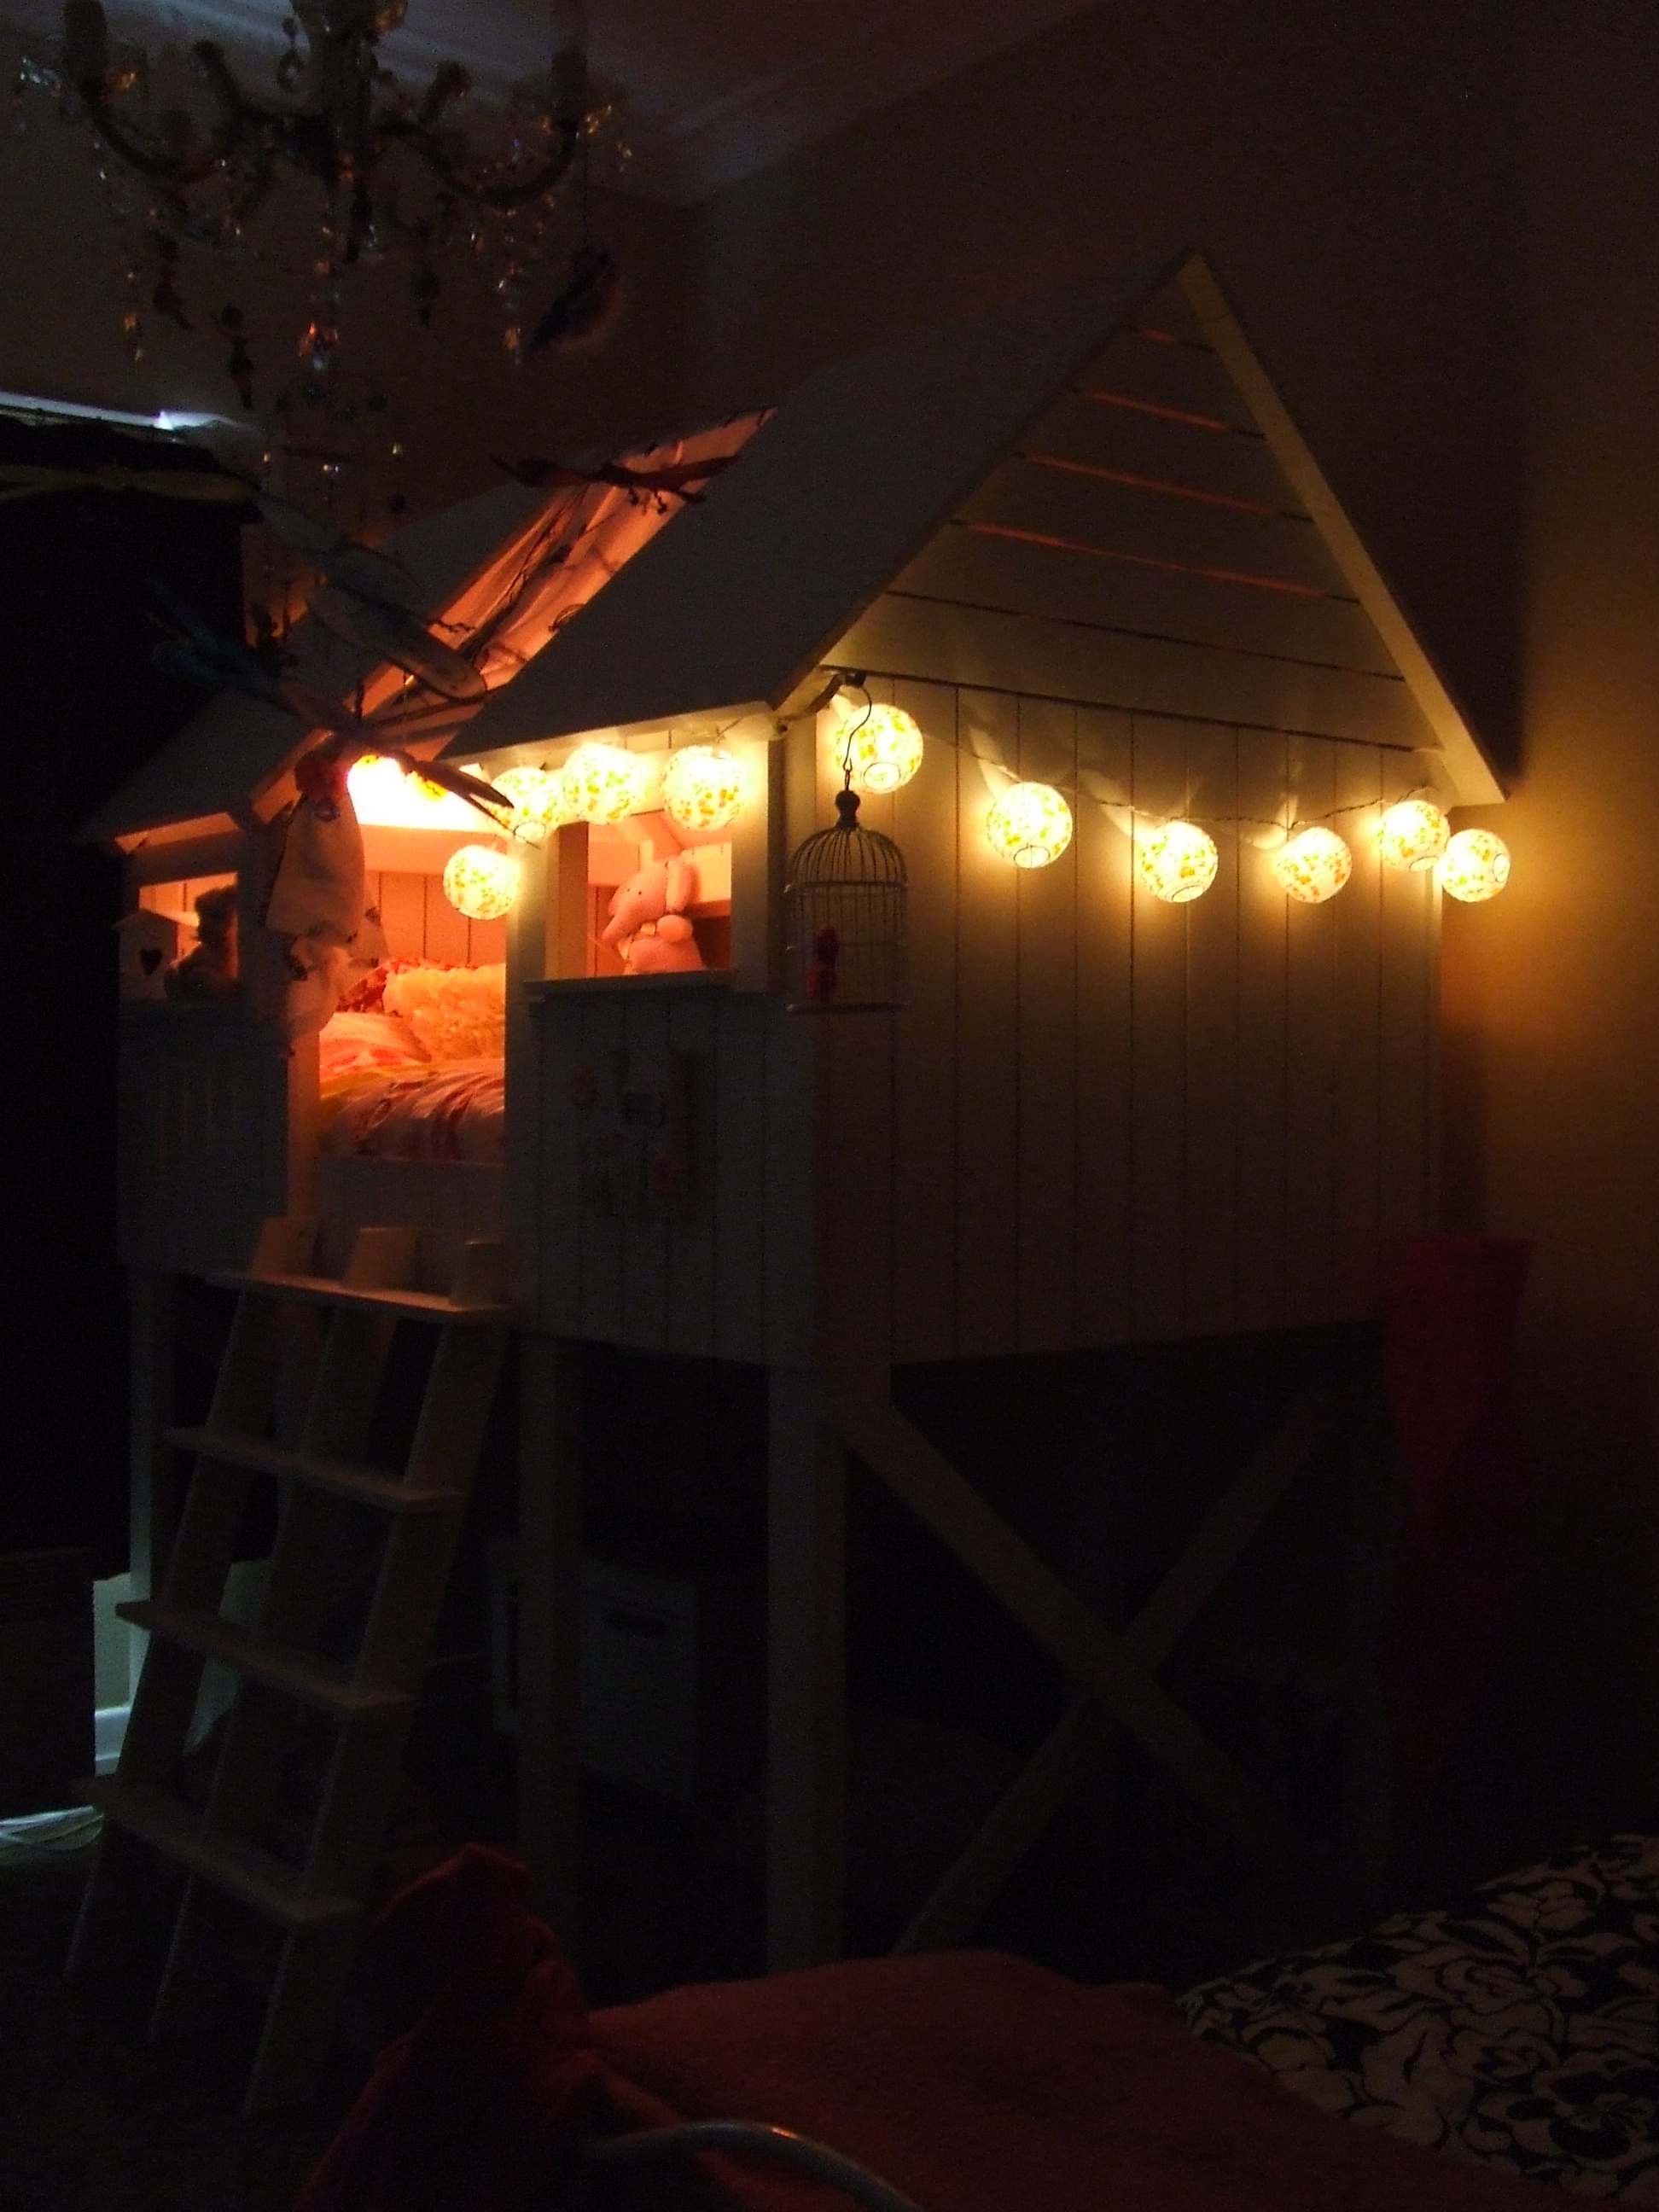
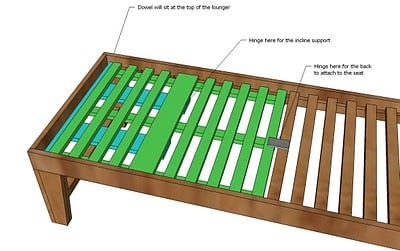
We altered the ladder on an angle to make it easier for her to climb (alas also for her 20mth old brother as well), also made the ladder upright supports x3 instead of x2, so the ladder now supports both our weights.(see pic) We made little window sills on each of the windows, added a book shelf inside as she is an avid 'reader' screwed in a light from you will know where. :) On the other 'open doorway' side which is against the wall we screwed on 2 x cross beams using 1x2 pine just for our own sakes to know that she cant fall from that side. We also added some dowell fixed with some saddle clips to hang the material from across the open section.
She has been using this bed for 2 weeks now with no problem.
You have made our daughter a very happy little girl,and parents (she is having day sleeps again now:)) because without your site we would not have known where to start. Thankyou very much.
Wed, 09/21/2011 - 09:27
Great job on your first build! We're in the process of picking a first bed for our daughter and this one is definitely in the running. It looks great!
Cindy from Indiana
Wed, 09/21/2011 - 21:39
Thankyou for your lovely comments. We are so very proud of how it turned out. Even better than we thought. Every time i look at it i think "wow, did we really do that" And yes it was our very 1st build. We now think that if we have done this as a 1st build then we can pretty much do anything....lol...and my to do list is filling up fast.

Thu, 09/22/2011 - 10:26
AMAZING!!!
I have been eyeing these plans for a very long time, unfortunately my kids are too small for this bed, I contemplated on making it for outside, as part of a tree house of some sort, but never got around to it. You did such an amazing job, I am truly jealous and hope one day I can have this at my house! Love it!!!!

Thu, 09/29/2011 - 09:58
Seriously, how cute is that!?!? I wish my girls were younger! Absolutely LOVE this! Great job!!!
Fri, 09/30/2011 - 05:11
Thankyou for your kind comments, little Madison is still loving her bed, sitting up in there during the day playing with her dolls and reading her books, and yes still having a day sleep...loving it....we are in the middle of a teenager loft bed with a mini robe walk-in underneath for one of our other daughters. Not as cute as this but will post pics when done. :)
Sun, 10/02/2011 - 04:33
What a nice job, i am jealous. Looking at the job you have done and you say it's your first job is unreal. Looking at your children please send me your husband and i will look after him. lol you are one lucky gal
Tue, 10/04/2011 - 03:35
Yes i agree with reno queen. Send me your hubby i will pay more haha.Where do i find one like that ? They don't make them anymore haha .What a nice job. This is the best i have seen so far. Would you build and send to New Zealand? How much? i am willing to pay freight etc. Regards Janelle
Sat, 10/08/2011 - 02:56
Great job and yes i second that, send him to me ,if he is the one in the pic he is rugged .lol top job
Thu, 10/13/2011 - 15:25
Yes ladies that is my husband in the pic and yes our children are simply gorgous....As far as builing this bed for you Janelle, customs would not allow it because of the wood. We sometimes race jet boats in NZ and the boats can not have 1 speck of mud, dirt or any natural by product on it anywhere. Yes they can spray it with chemicals but would you really want your child sleeping in it then?? So sorry about that. It really wasnt to hard, my hubby just followed my lead (re:I told him what to do! lol) at the time we only had very basic tools, and we managed great. It was more the hours it took, but also having said that we could only work after kids were in bed or weekends.
Sun, 02/26/2012 - 18:11
Hi my husband and I are about ready to start building. Our daughter is turning 6 in a few months- and saw someone made this 3 year old. We have 8 ft ceilings - but we are adding a slide out the one side (for fun) and would like to make the height of the loft bed a bit higher - anyone do that ?
How will plan change much?
Thu, 04/26/2012 - 13:11
Hello. I have printed out the plans for this beach hut and I plan on starting this weekend. This will be my first build. Something in the plans doesn't make sense to me. In Step 2, it shows the floor supports for each side of the hut being 20" long, but then in Step 3, it shows the length of the pieces for the windows as only 18" long. Wouldn't they need to be the same width?
Thu, 03/14/2013 - 15:54
Did you lower this bed and if so what was the total height. I love the adjustment made to the stairs. Great job!
This was my first in not just painting but actually building what I was about to craft!!!! I messed up a few times but had a blast and have already started my next build :)

Tue, 10/01/2013 - 12:28
This turned out great! I love it in your space!!! Thanks for sharing.
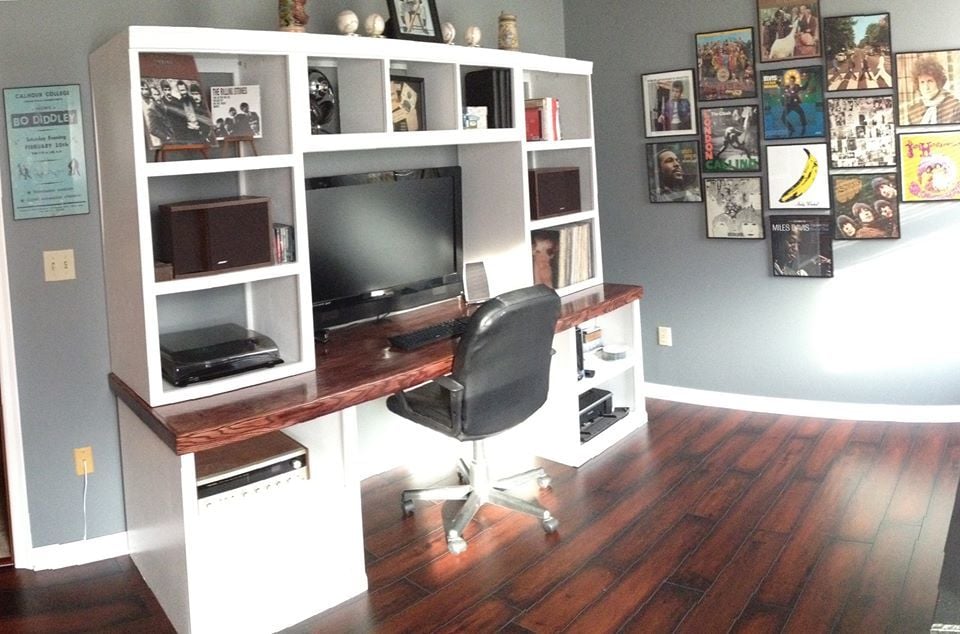
The Classic Collections was exactly what we were looking for when we decided to re-do our home office.
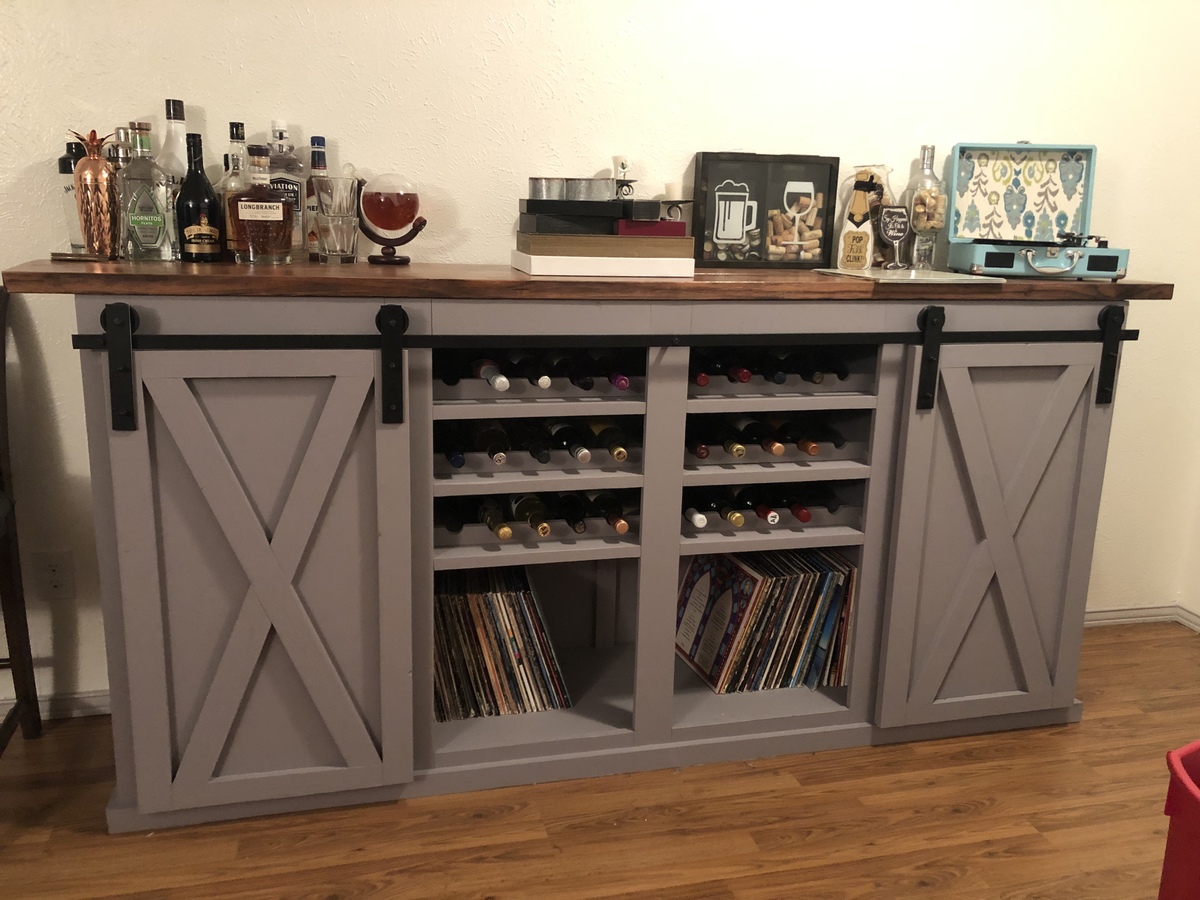
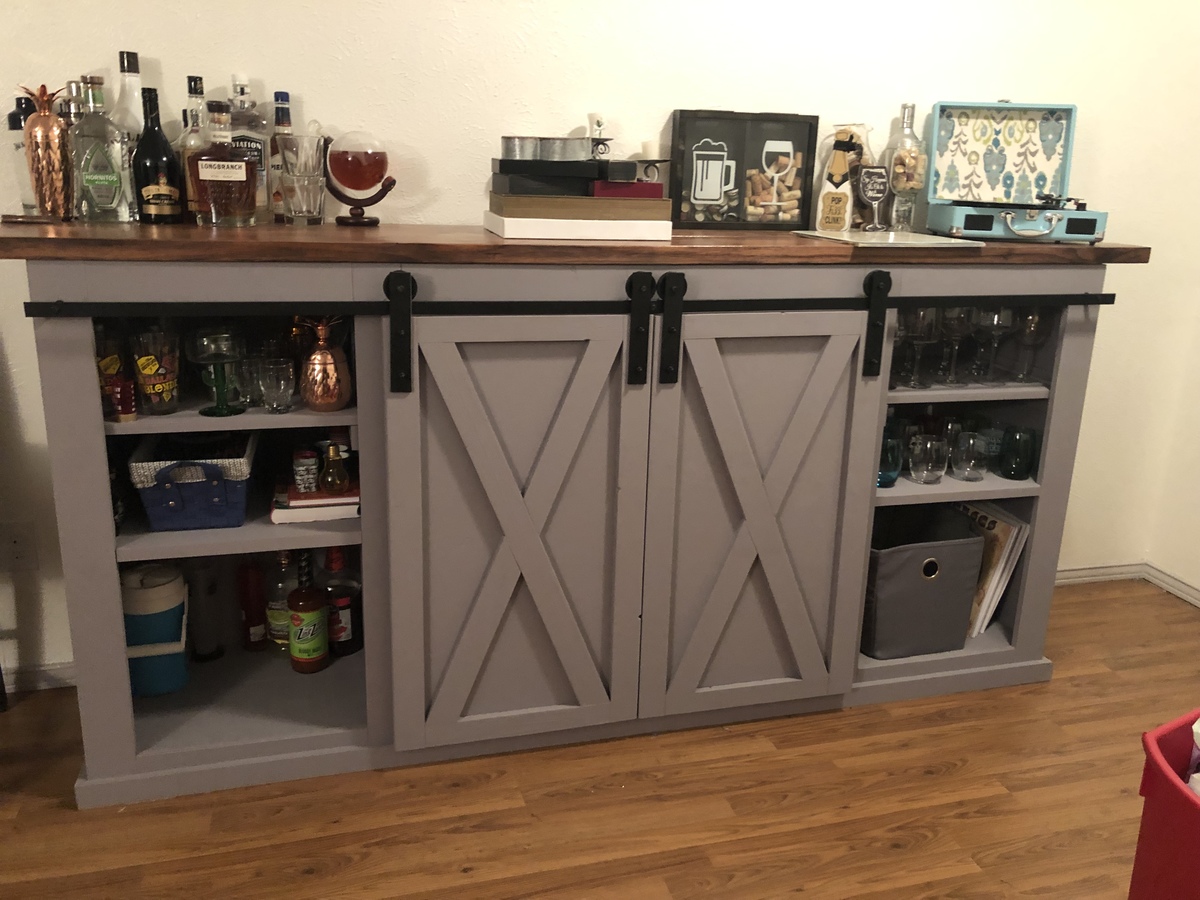
We needed a piece that served two purposes, a Wine bar and a record stand. I used a plan from the site and altered the dimensions to fit records and wine holders. I used thick wood up top and stained and lacquered it. I added a few extra shelves for glasses and so forth, and put in the wine holders. That ended up taking a little extra on this build but I had a great time doing it!
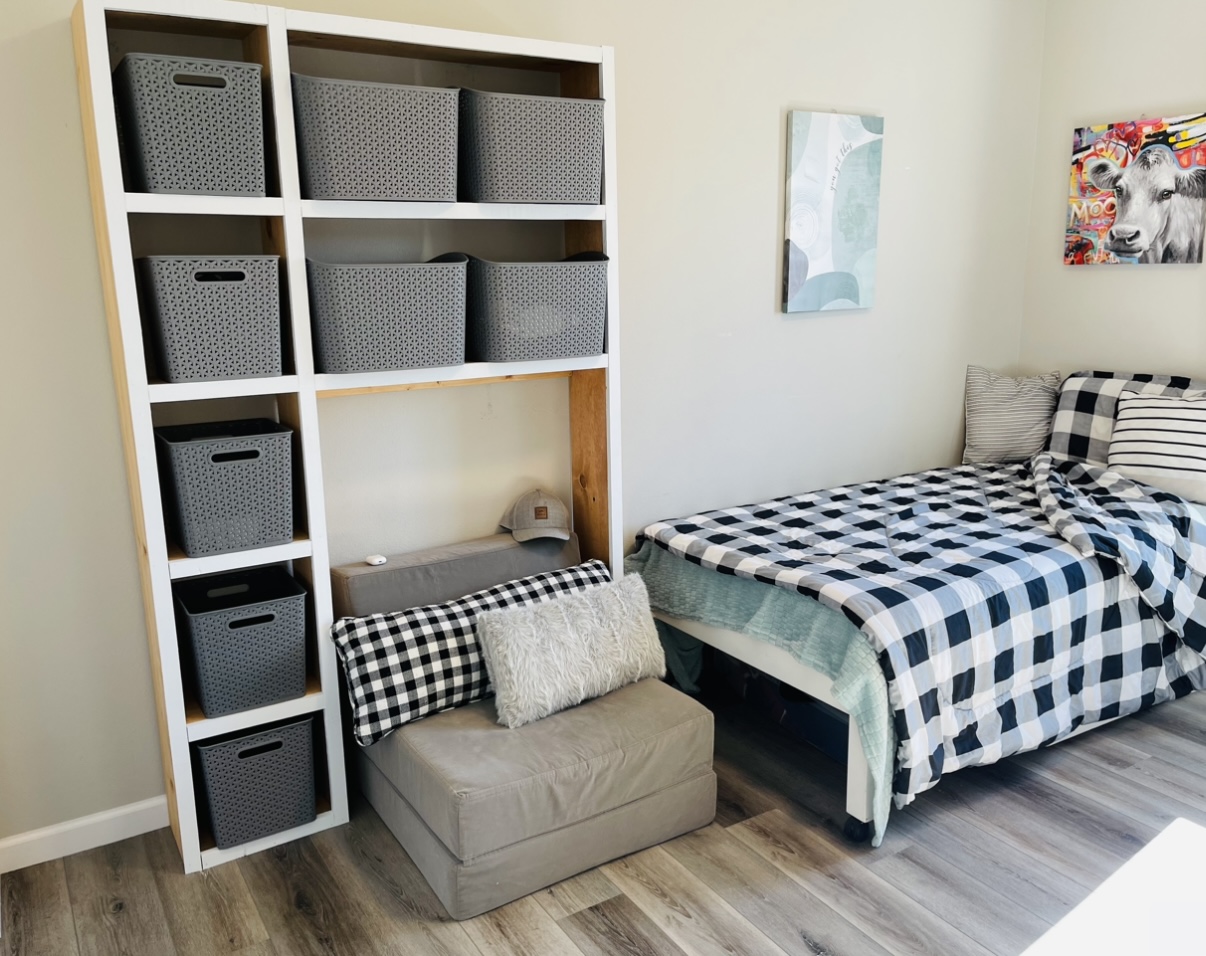
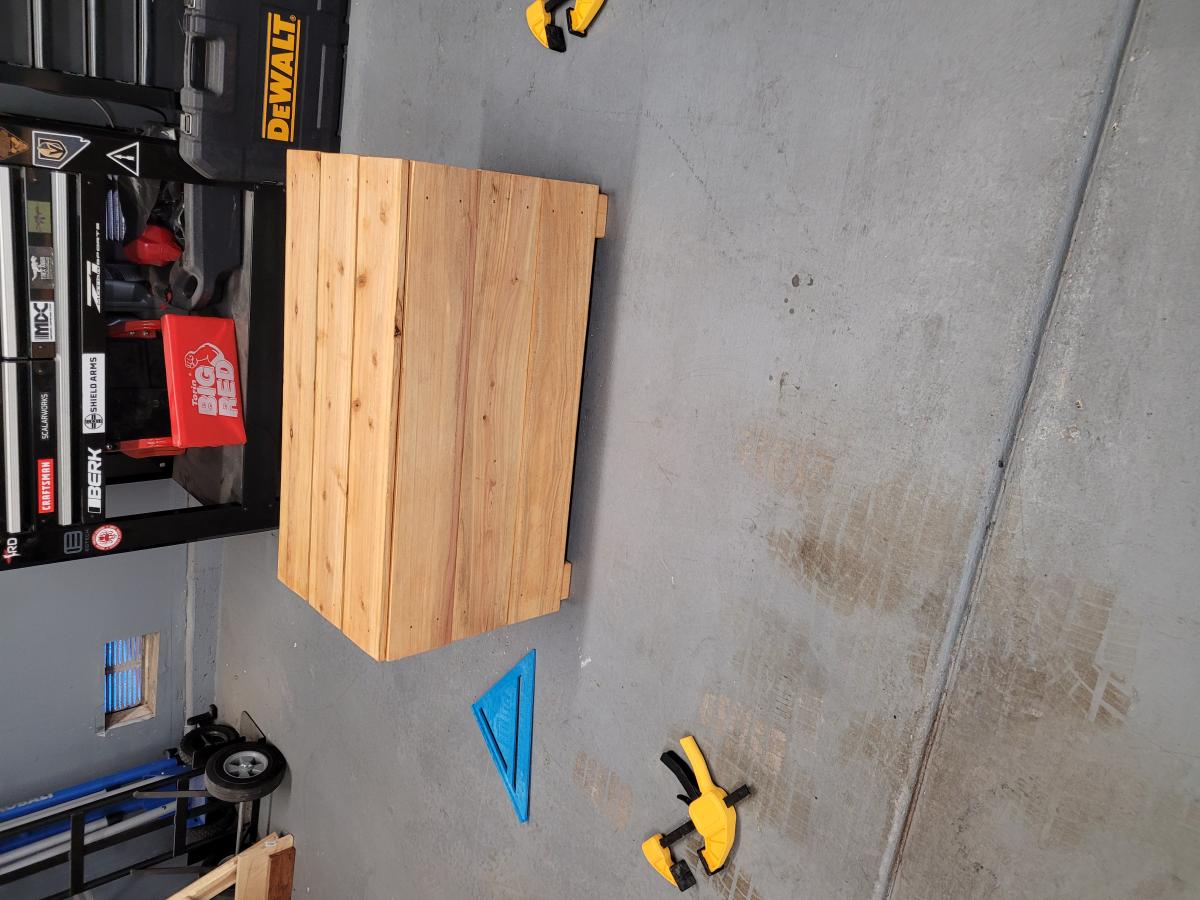
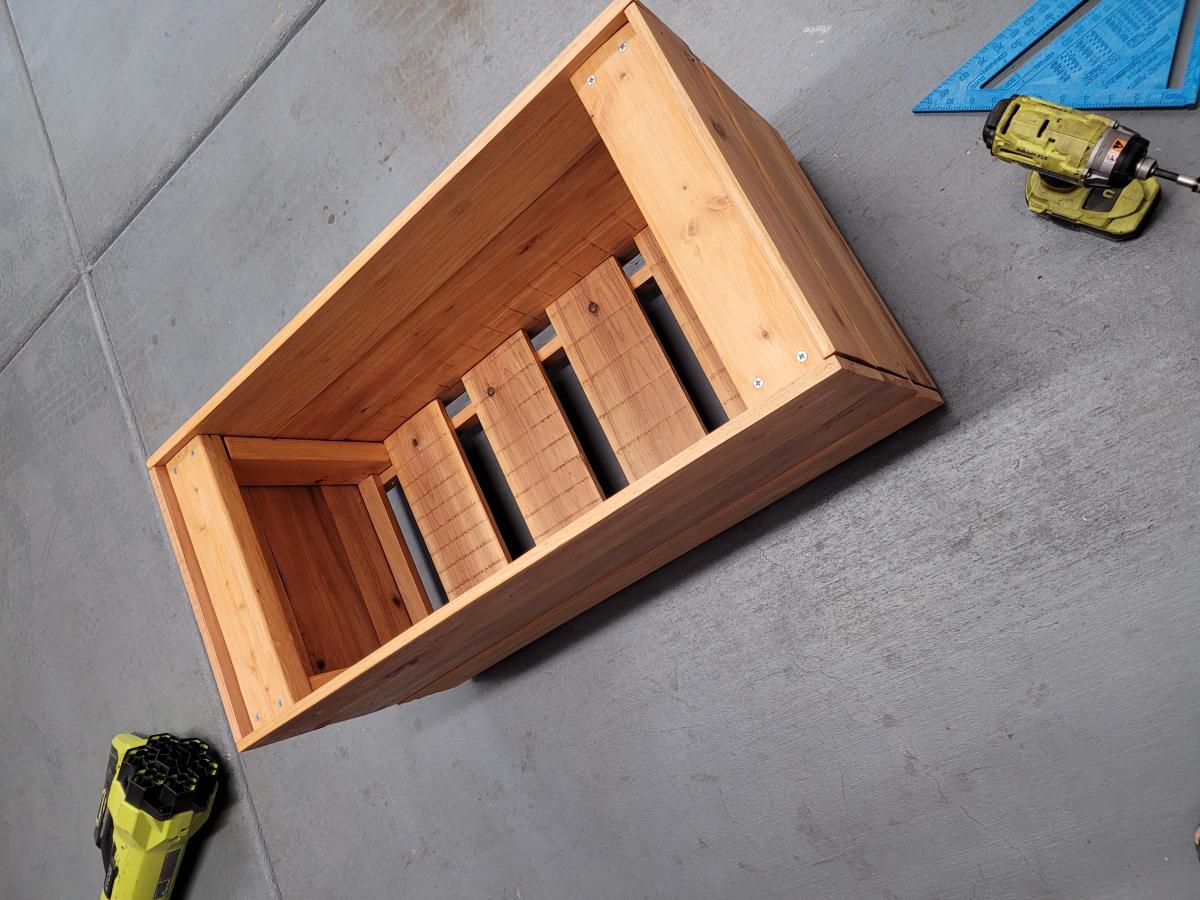
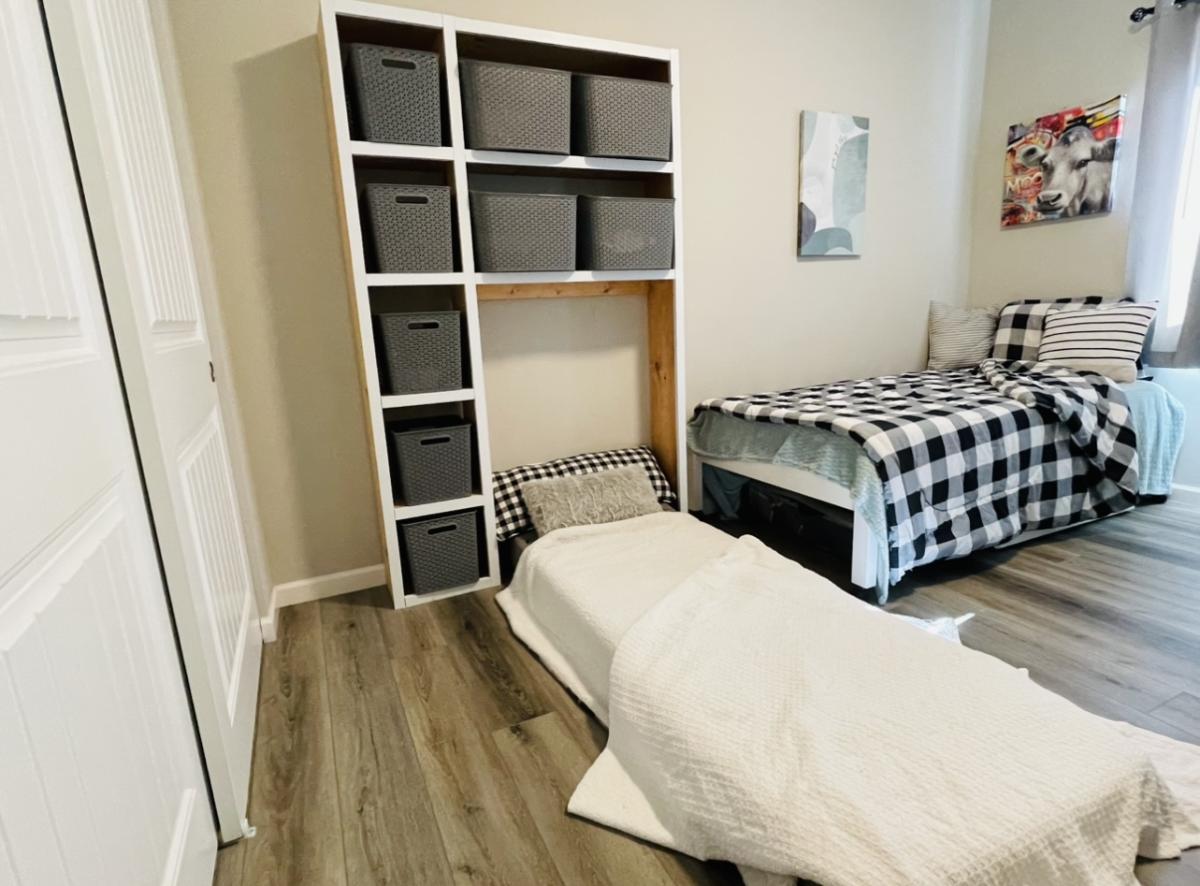
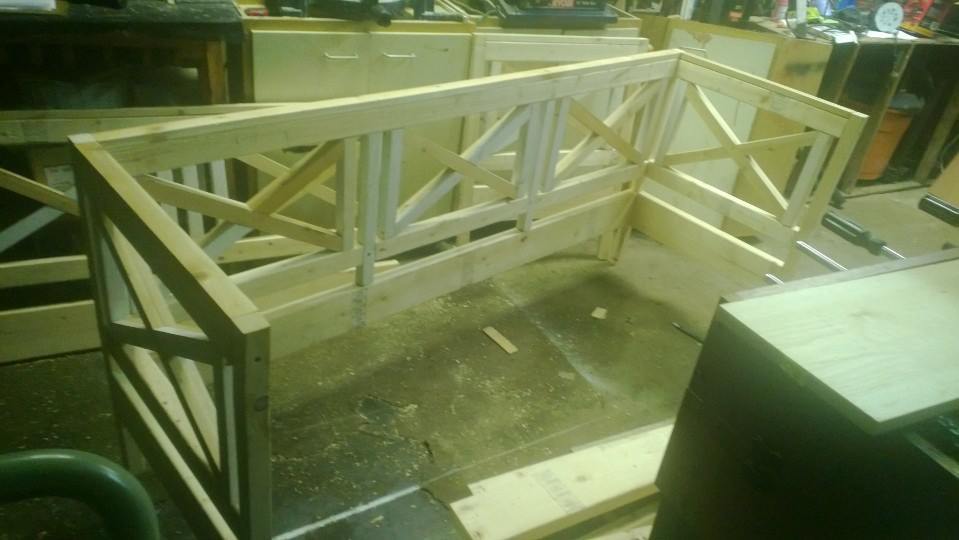
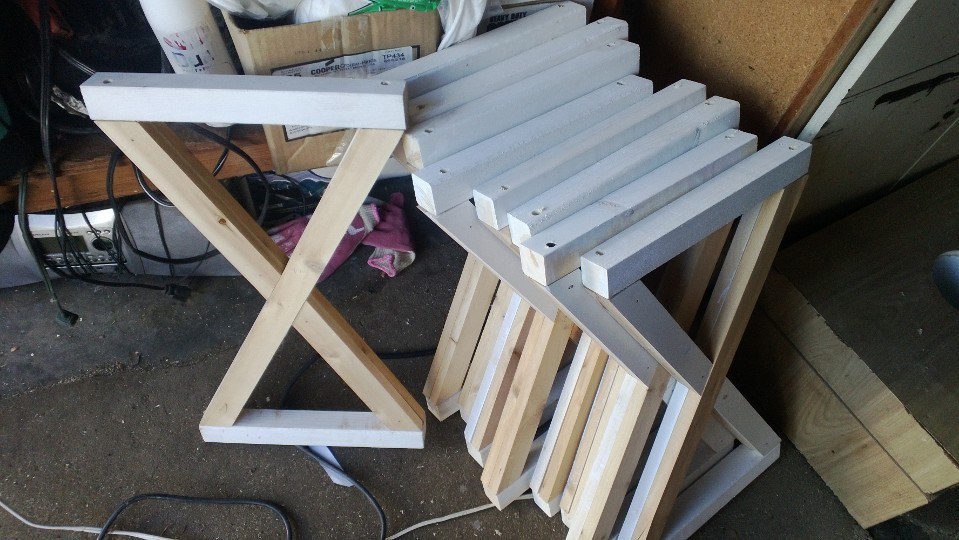
My step son, who is in college, comes to stay with us some weekends and we don't have a lot of room in the rental we are in. So I built a place for him to put his things and sleep, during his visit. This was an easy and quick build using 1x10's for the frame and 1x2's for the face frame. Being 1x10's it's super low profile and doesn't make the room feel much more crowded, so that is a huge bonus! I built it around the dimensions of this floor bed/sofa that I found on amazon.
Here's a Youtube Video of me building it, if you want to see how it went together.
I really like this design, because I feel it would make a great addition to a guest room, bonus room, dorm room, shared room and more. I ended up attaching it to the wall as you will see in the video because it will be tippy if not. Hope you like it!
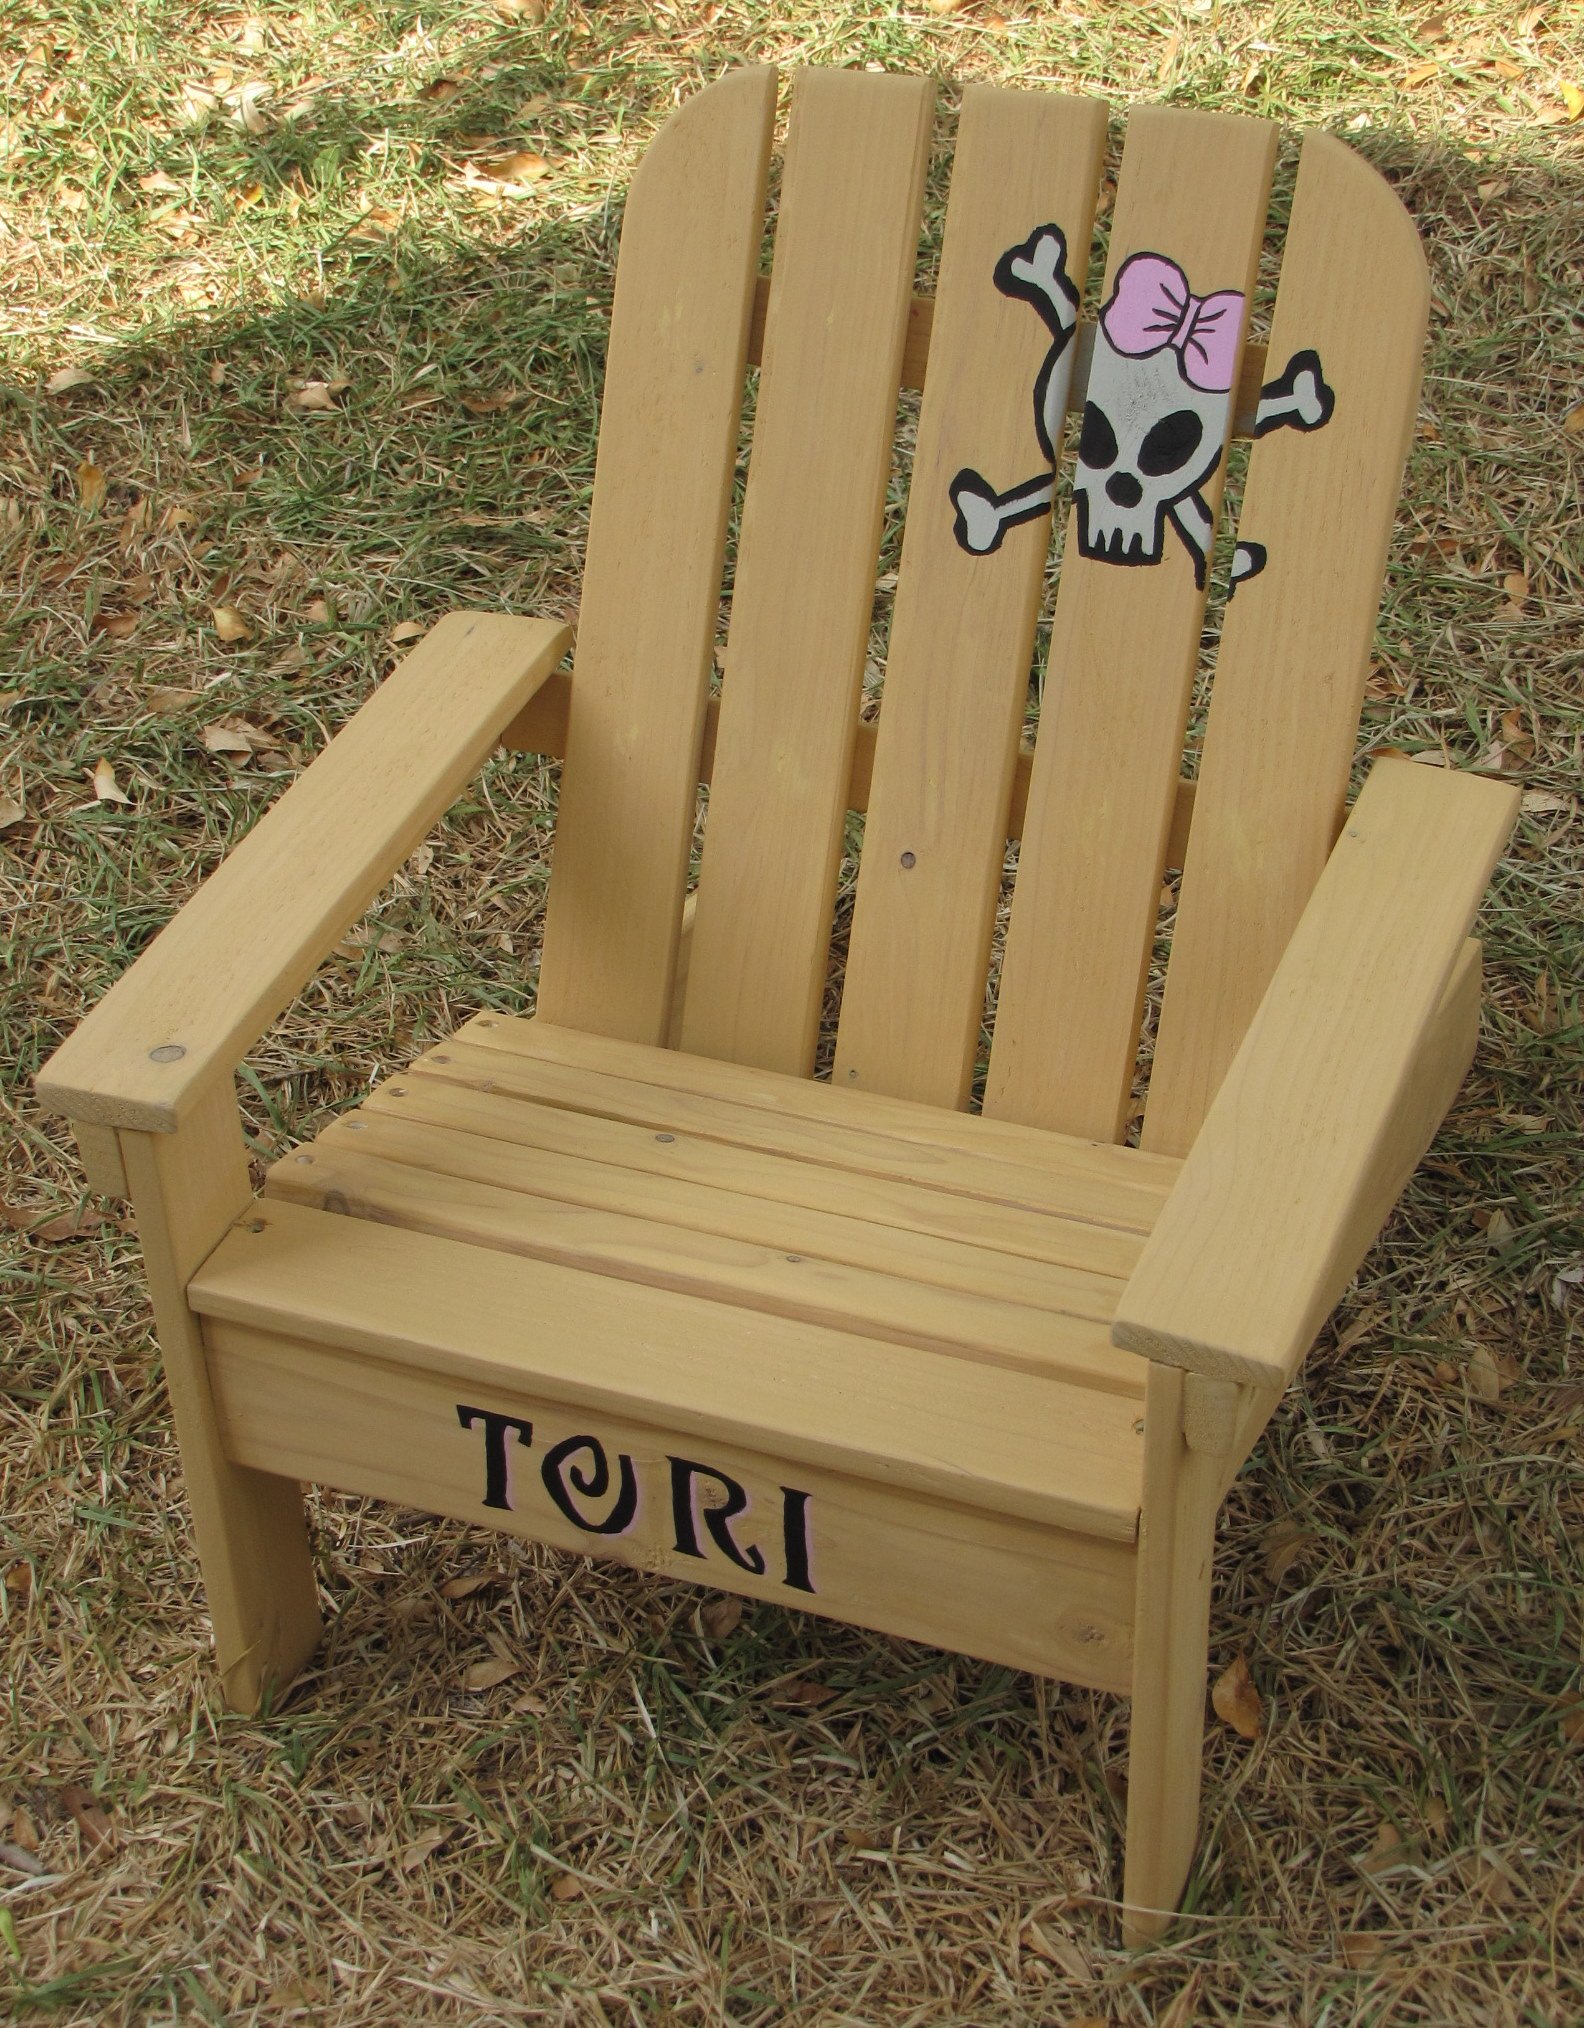
The Kids Adirondack Chair. I love these little chairs! Simple and easy to build. This one was a birthday present for my niece's daughter. Read more about this project on my blog.. Thanks Ana!!

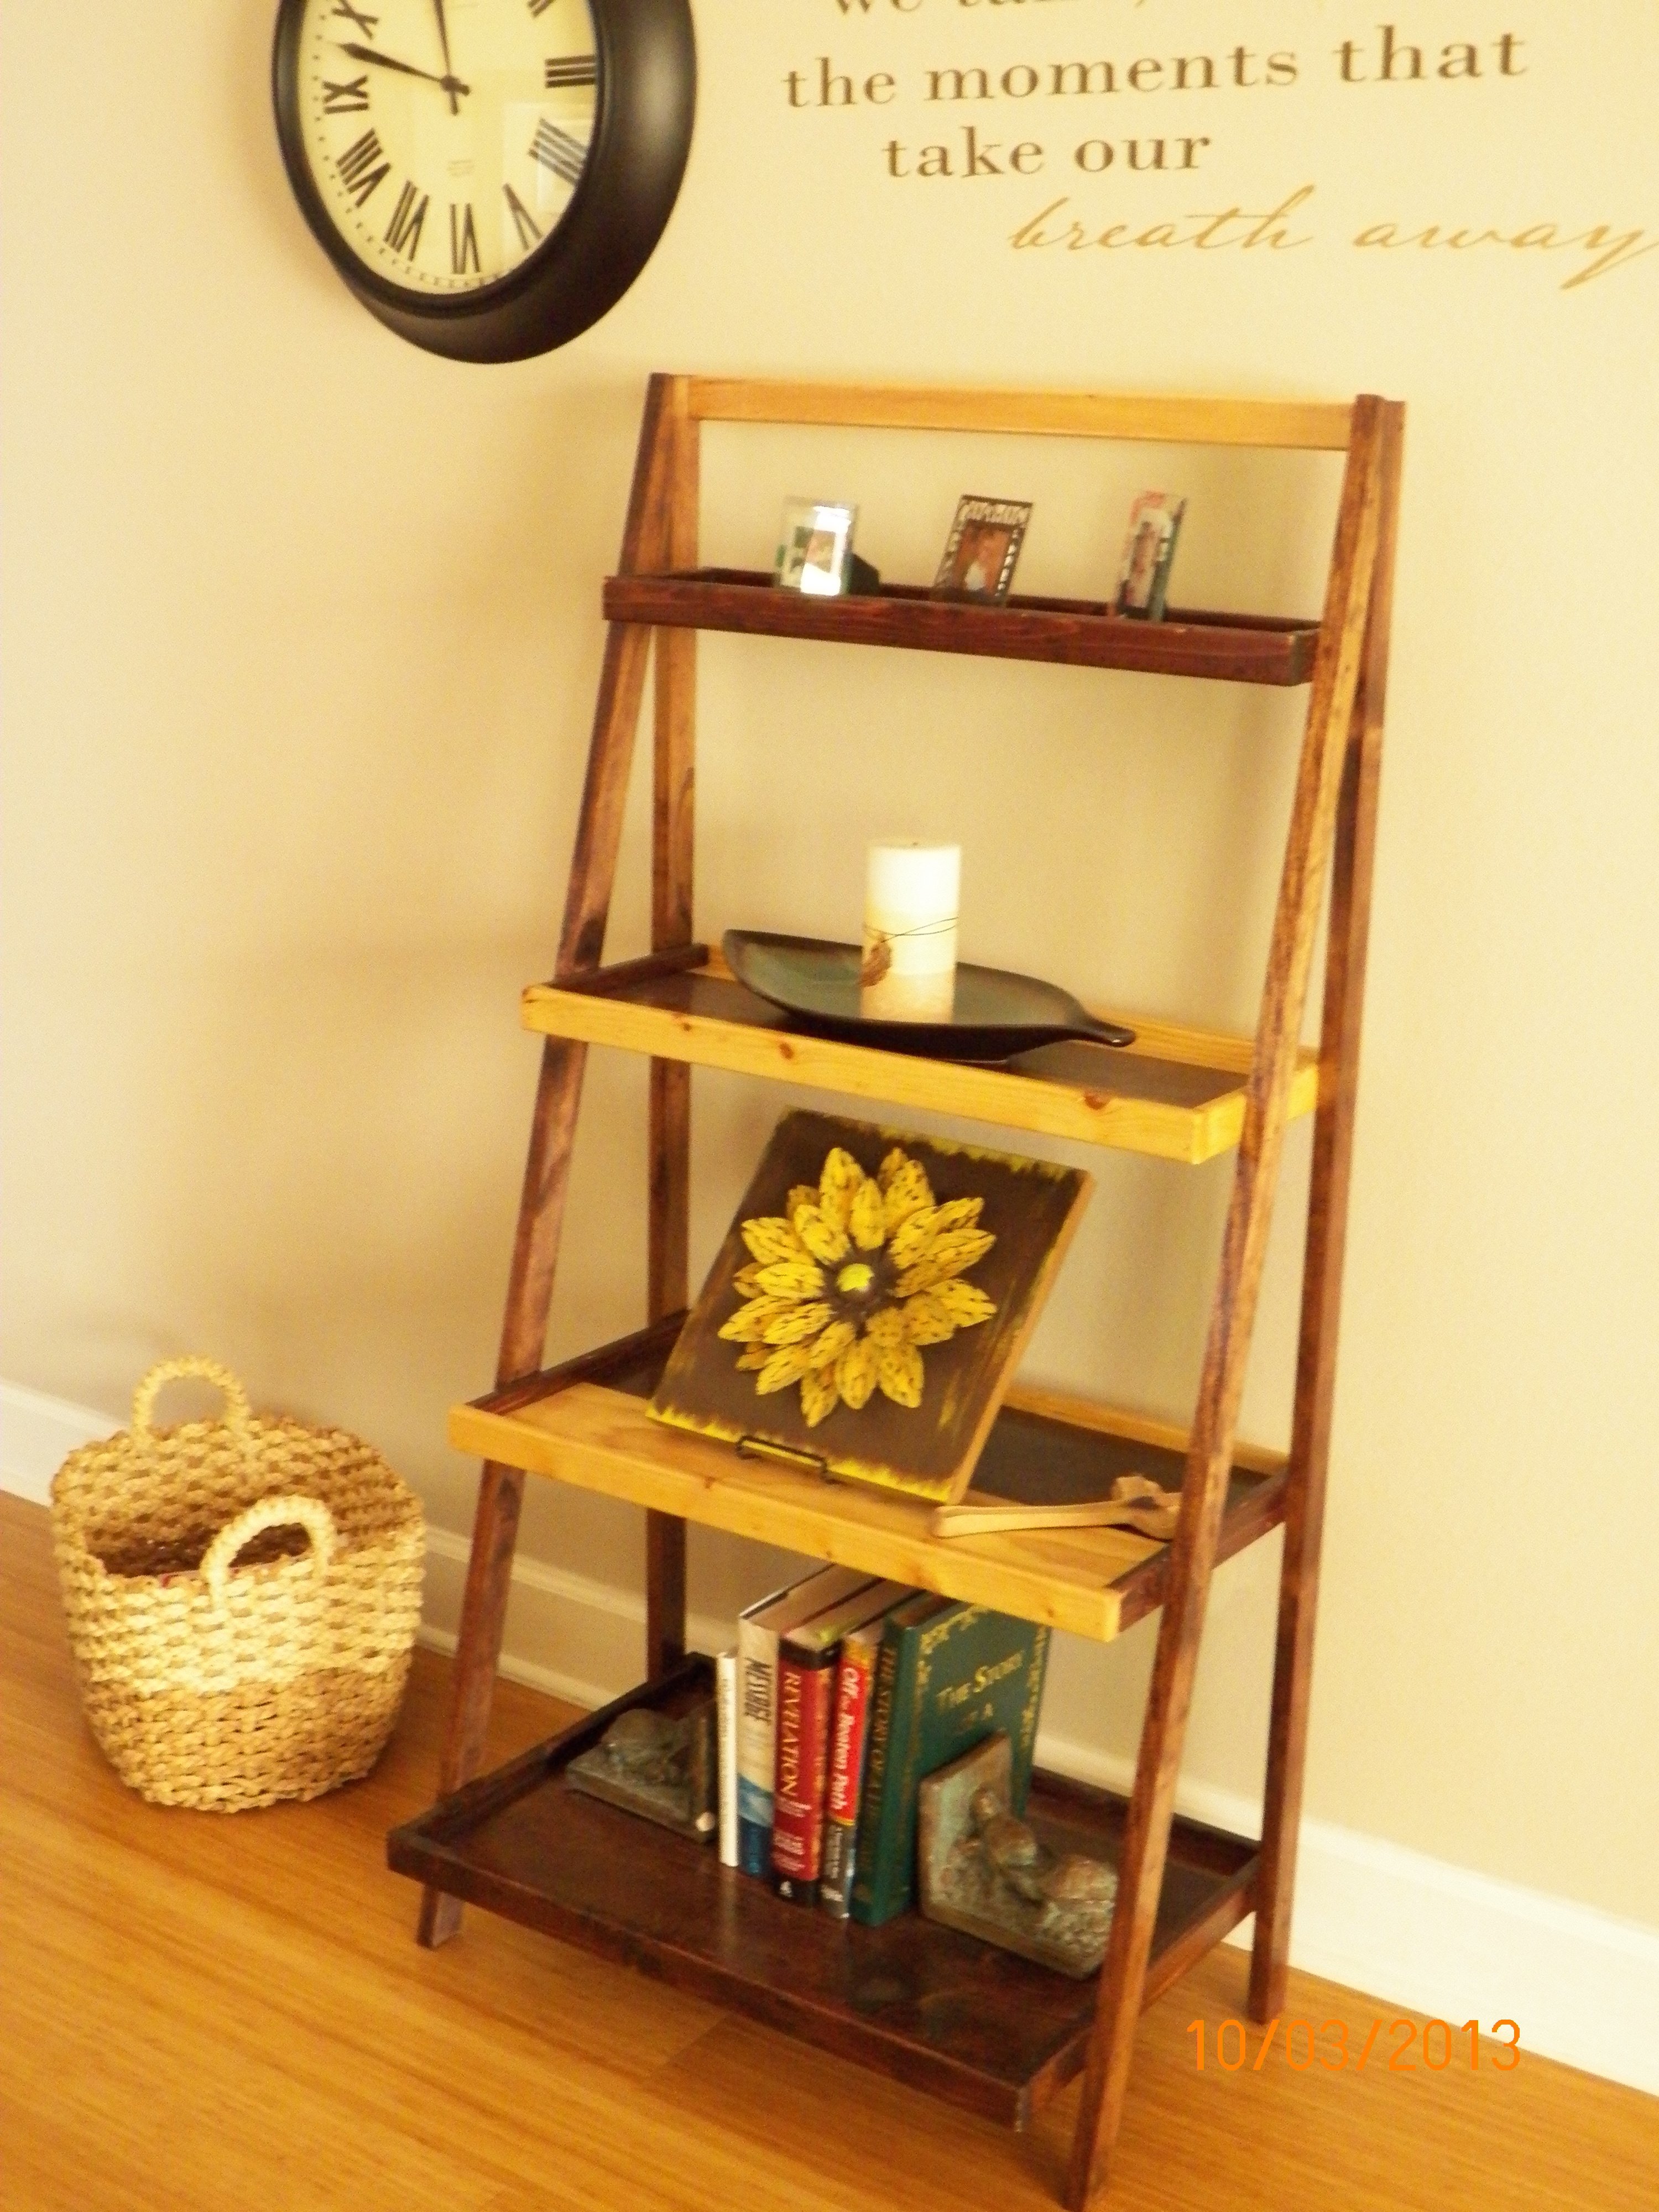
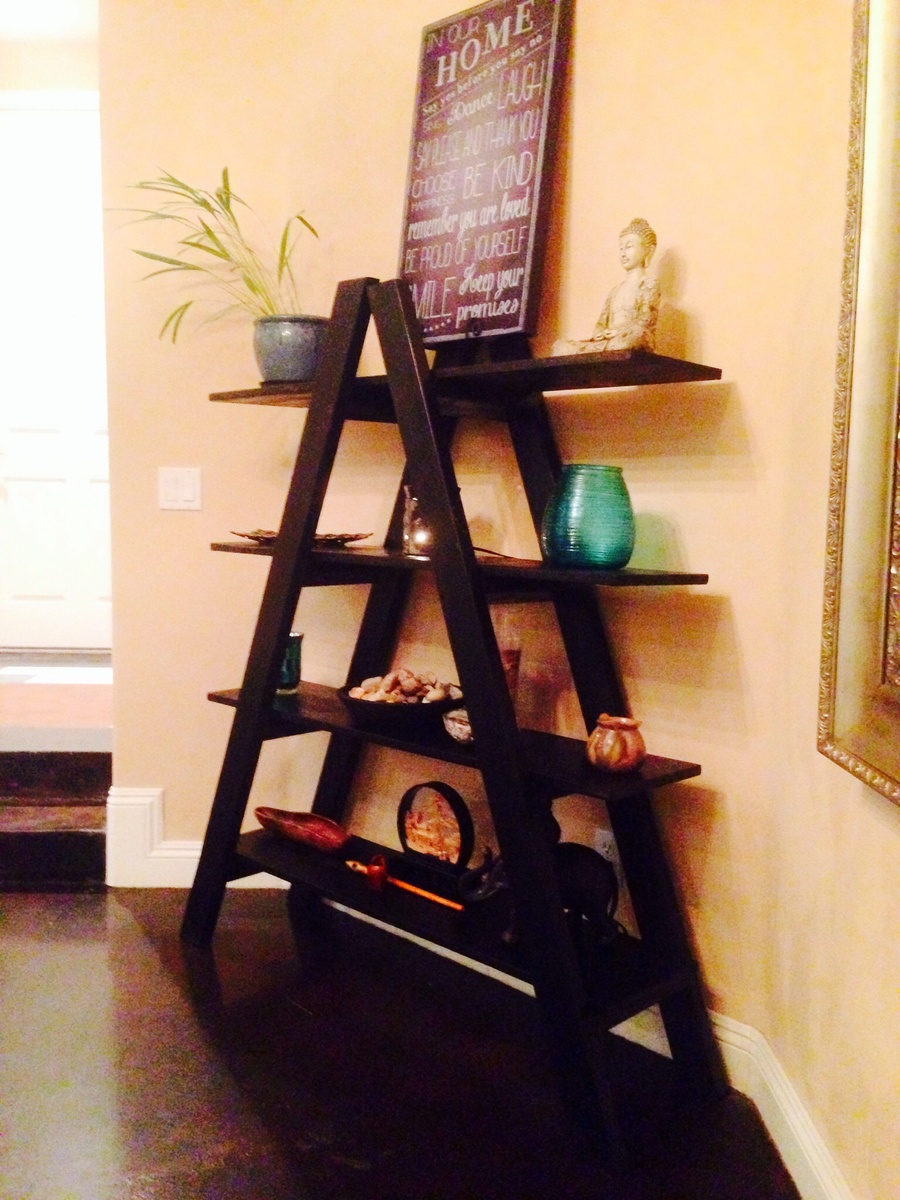
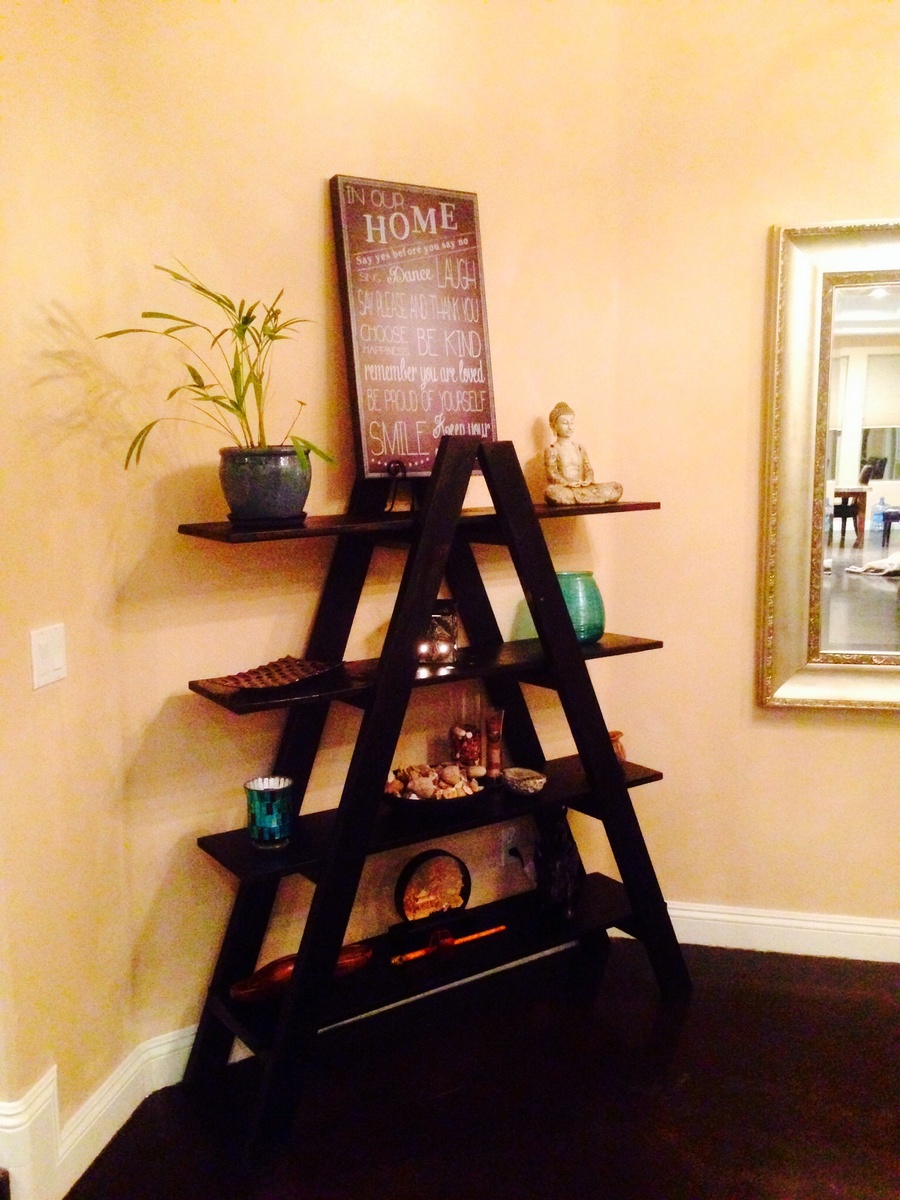
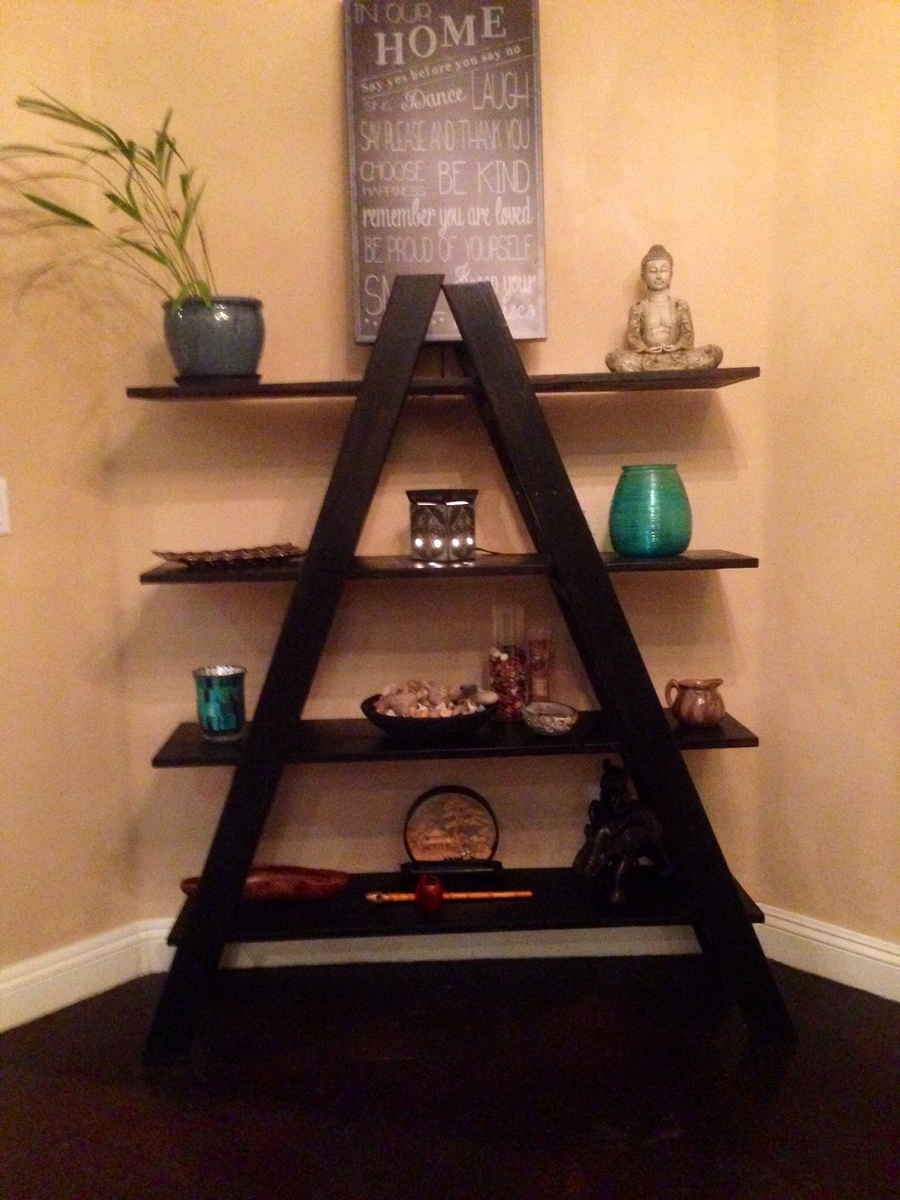
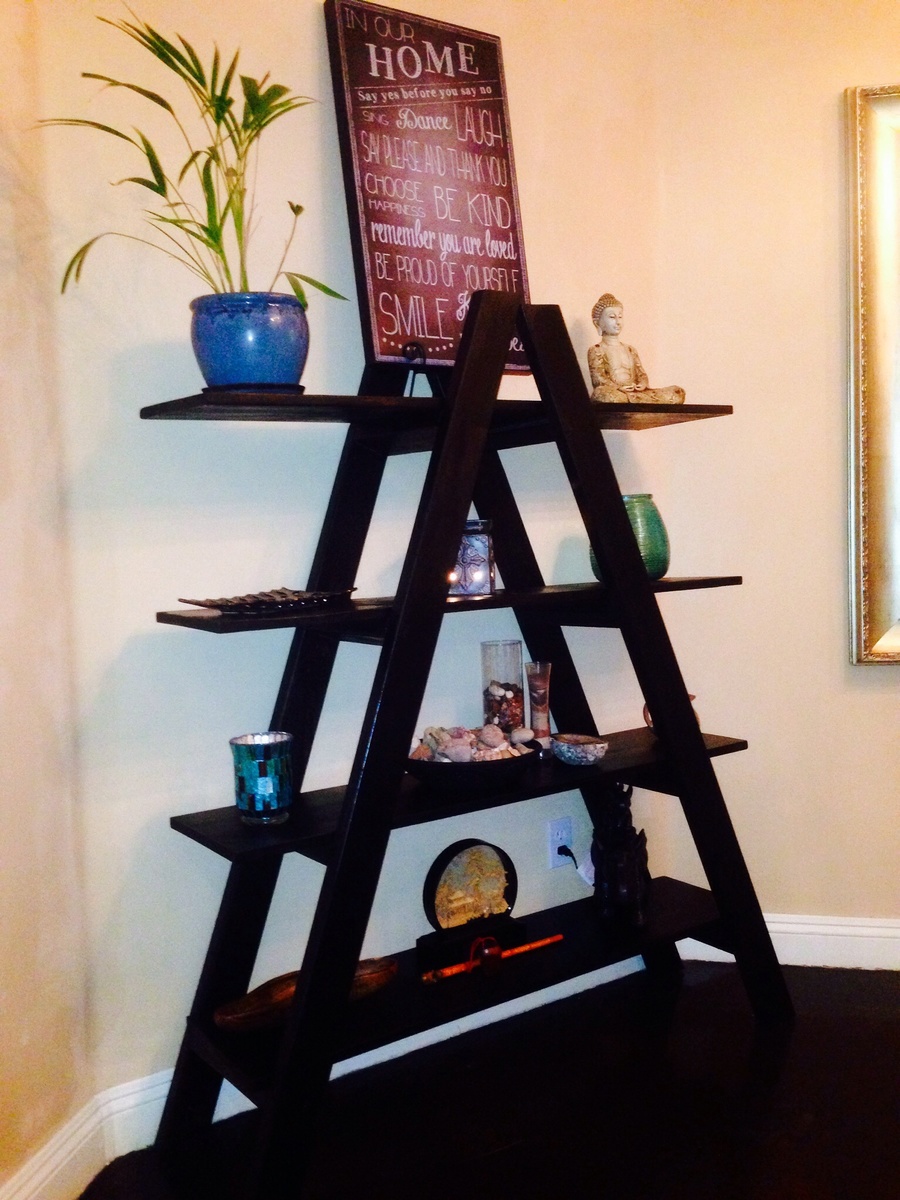
Easy to follow, we made in a weekend. We tweeked our dimensions a bit but otherwise pretty straight forward. We ended up staining half and leaving other half natural then put a varnish over the entire shelf. Turned out pretty neat with the two tones.
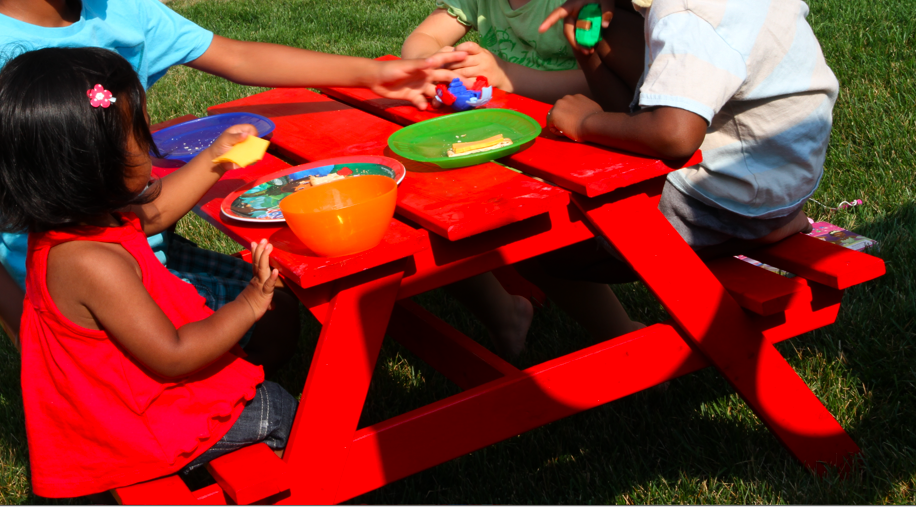
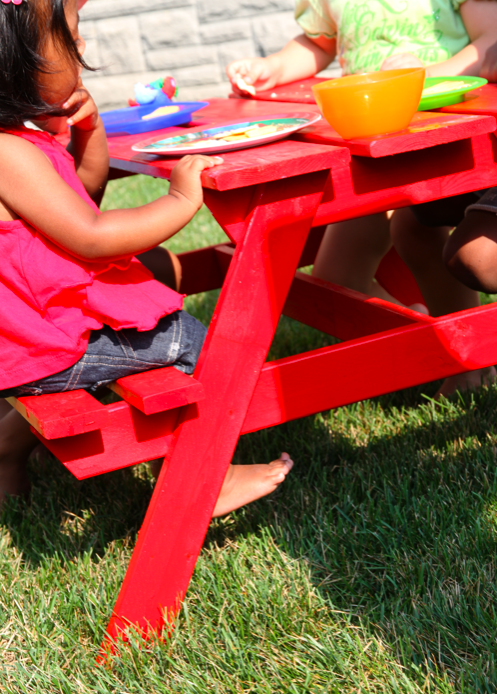
This was a fun cute project to start with. My husband assembled it (though I wanted to do it he didn't let me). I used spray paint. Though I wish I had made it with a bit sturdier wood or maybe used wider sizes. but overall this turned out well and the kids LOVE IT! thanks Ana!
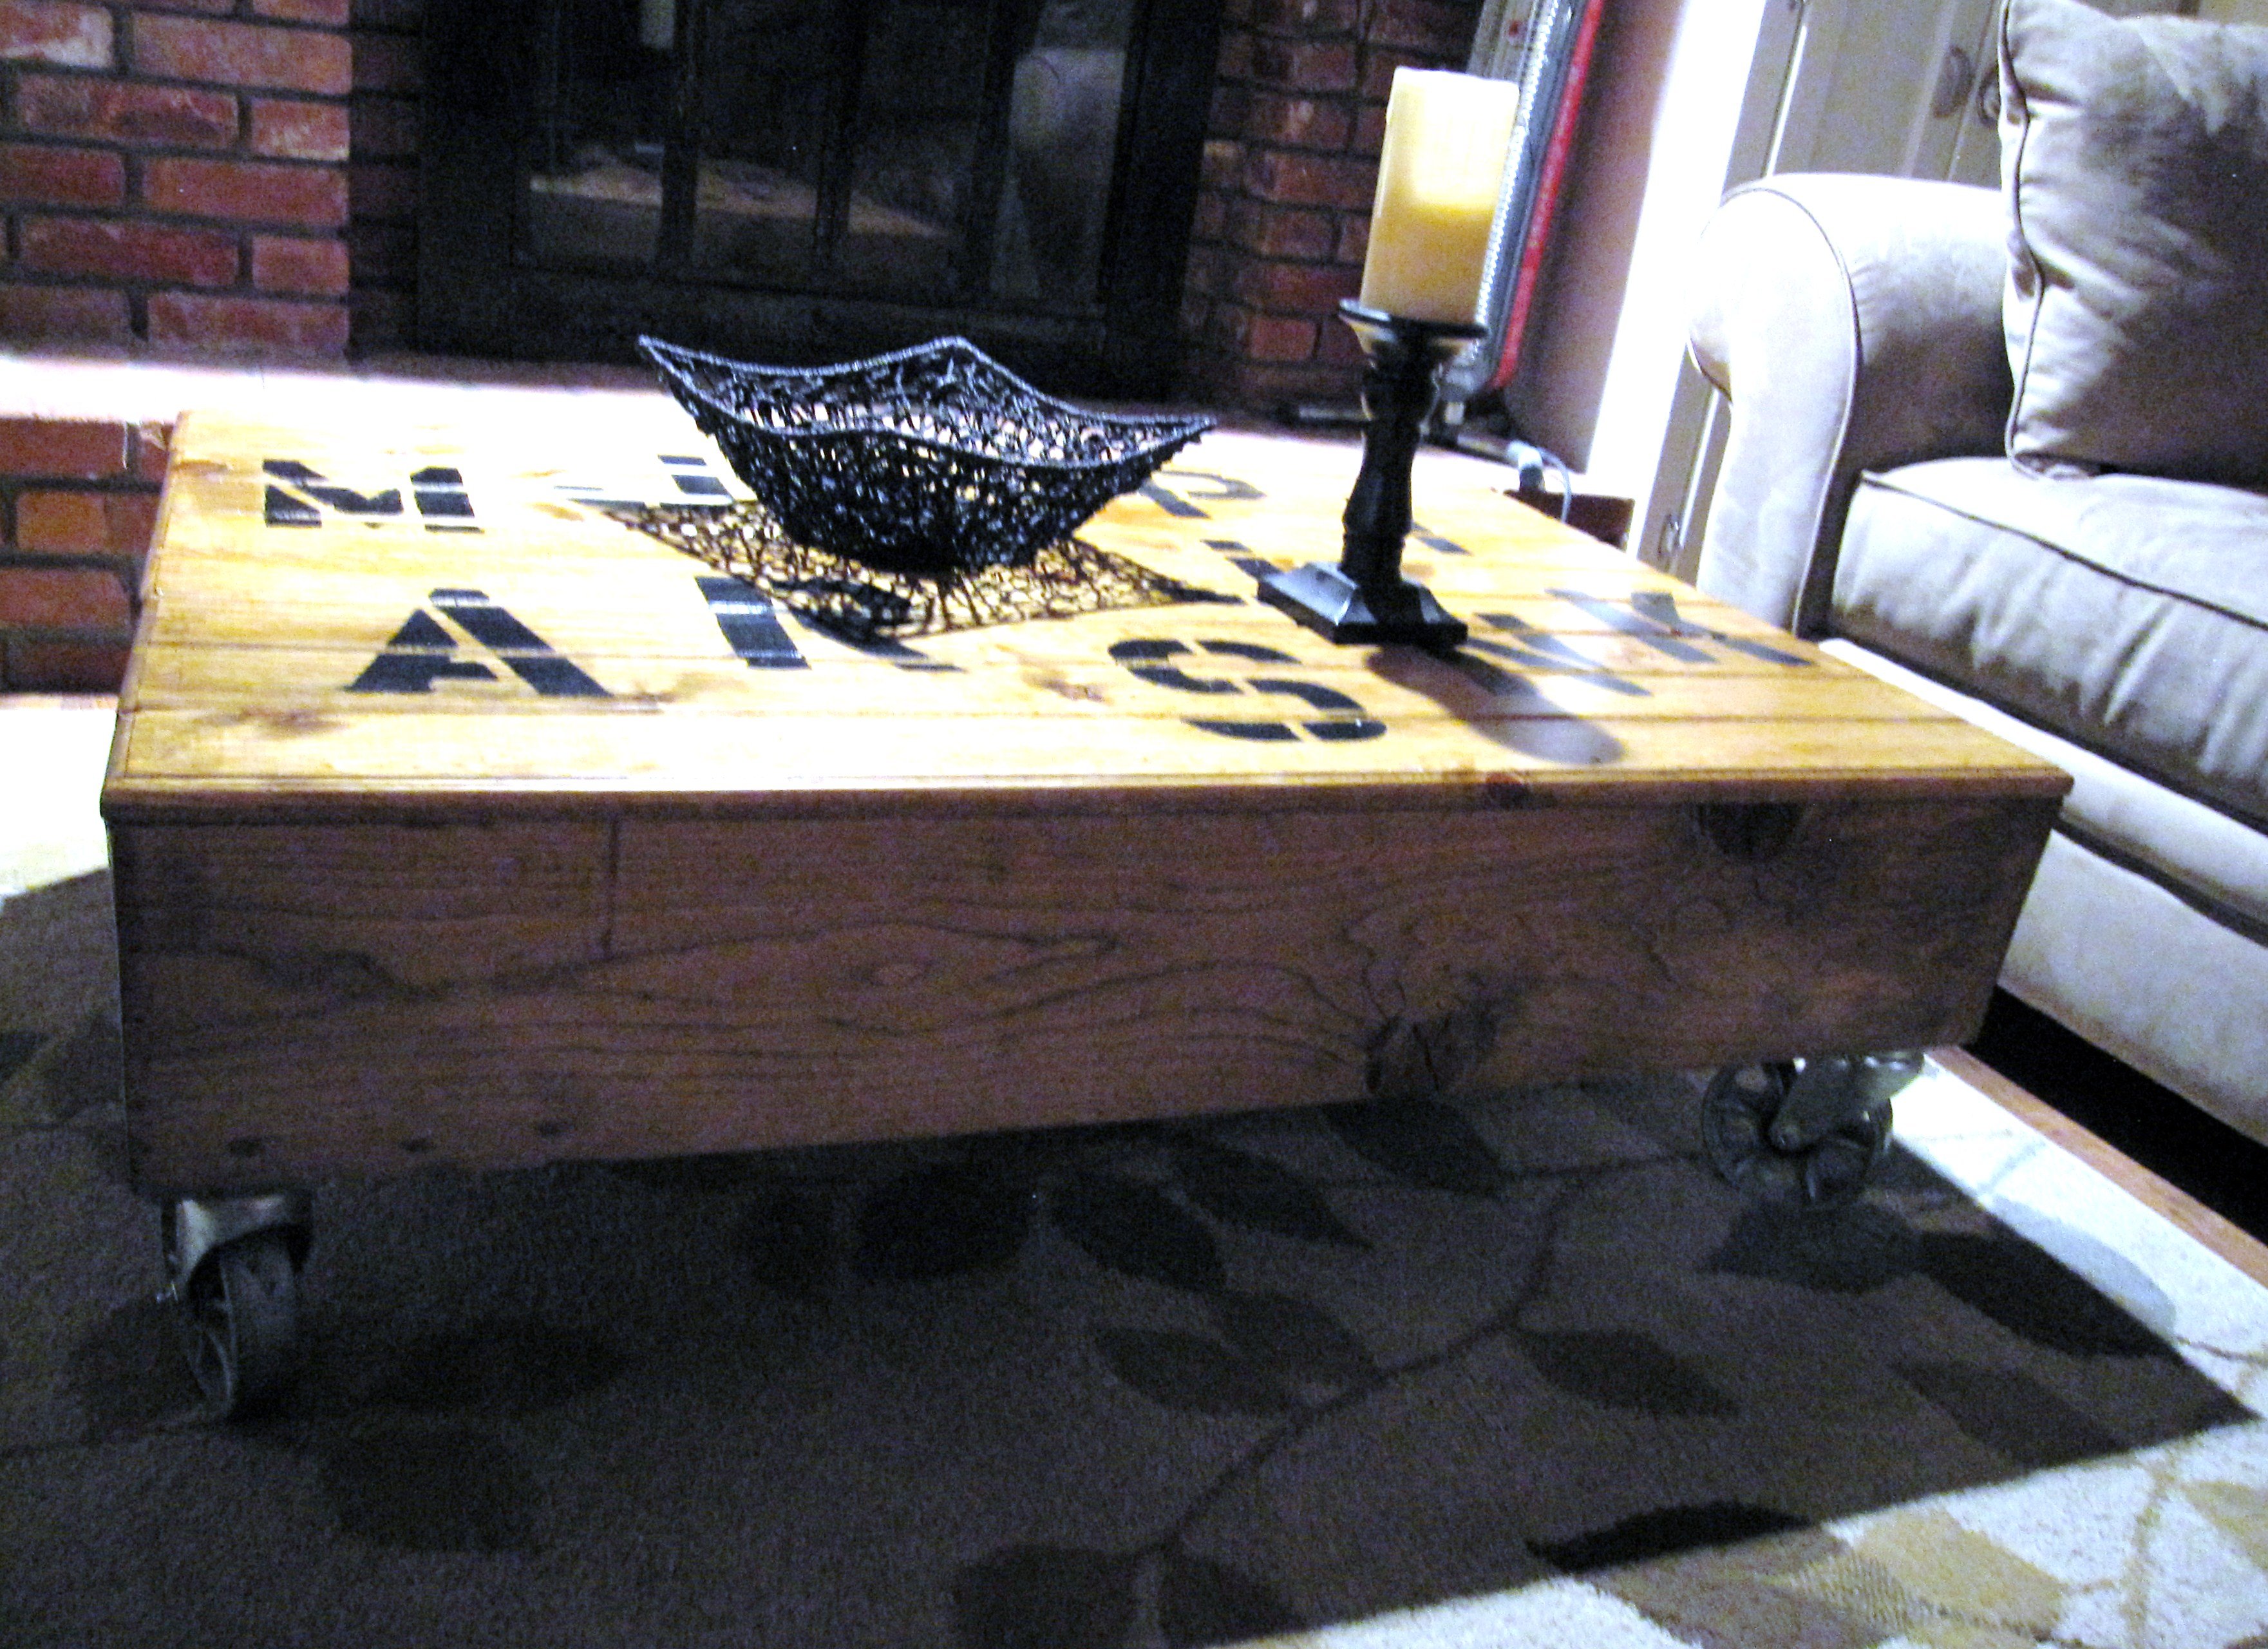
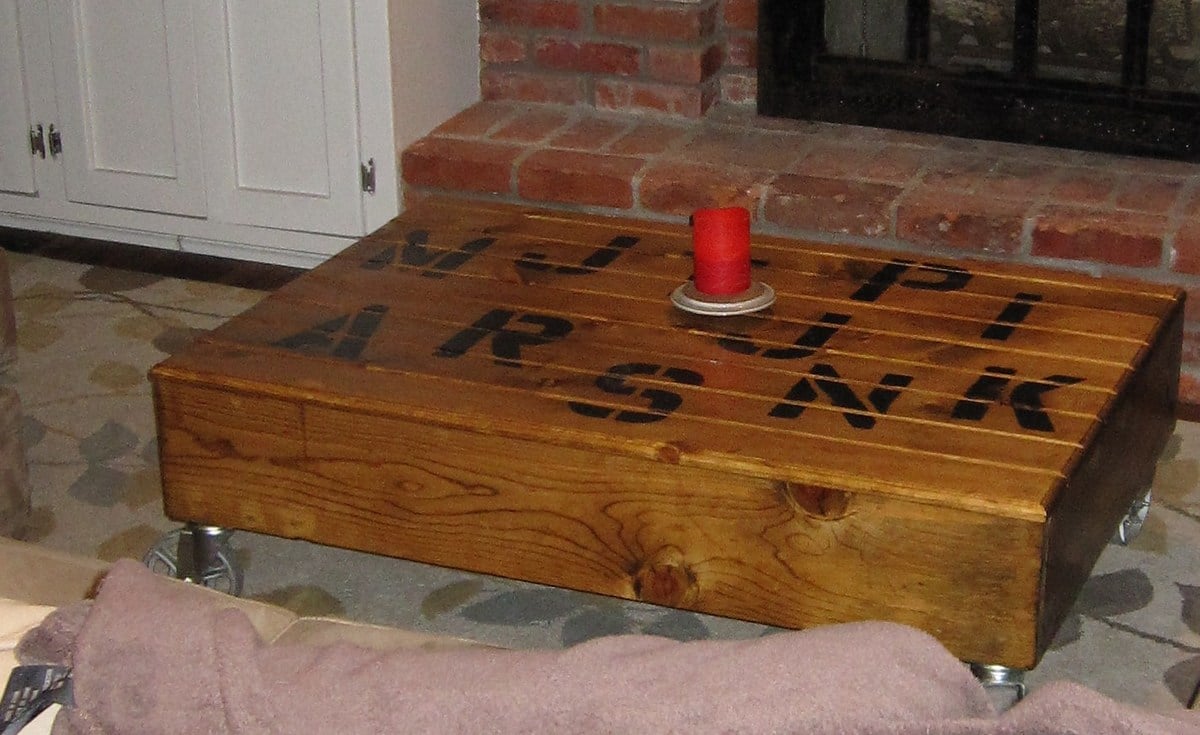
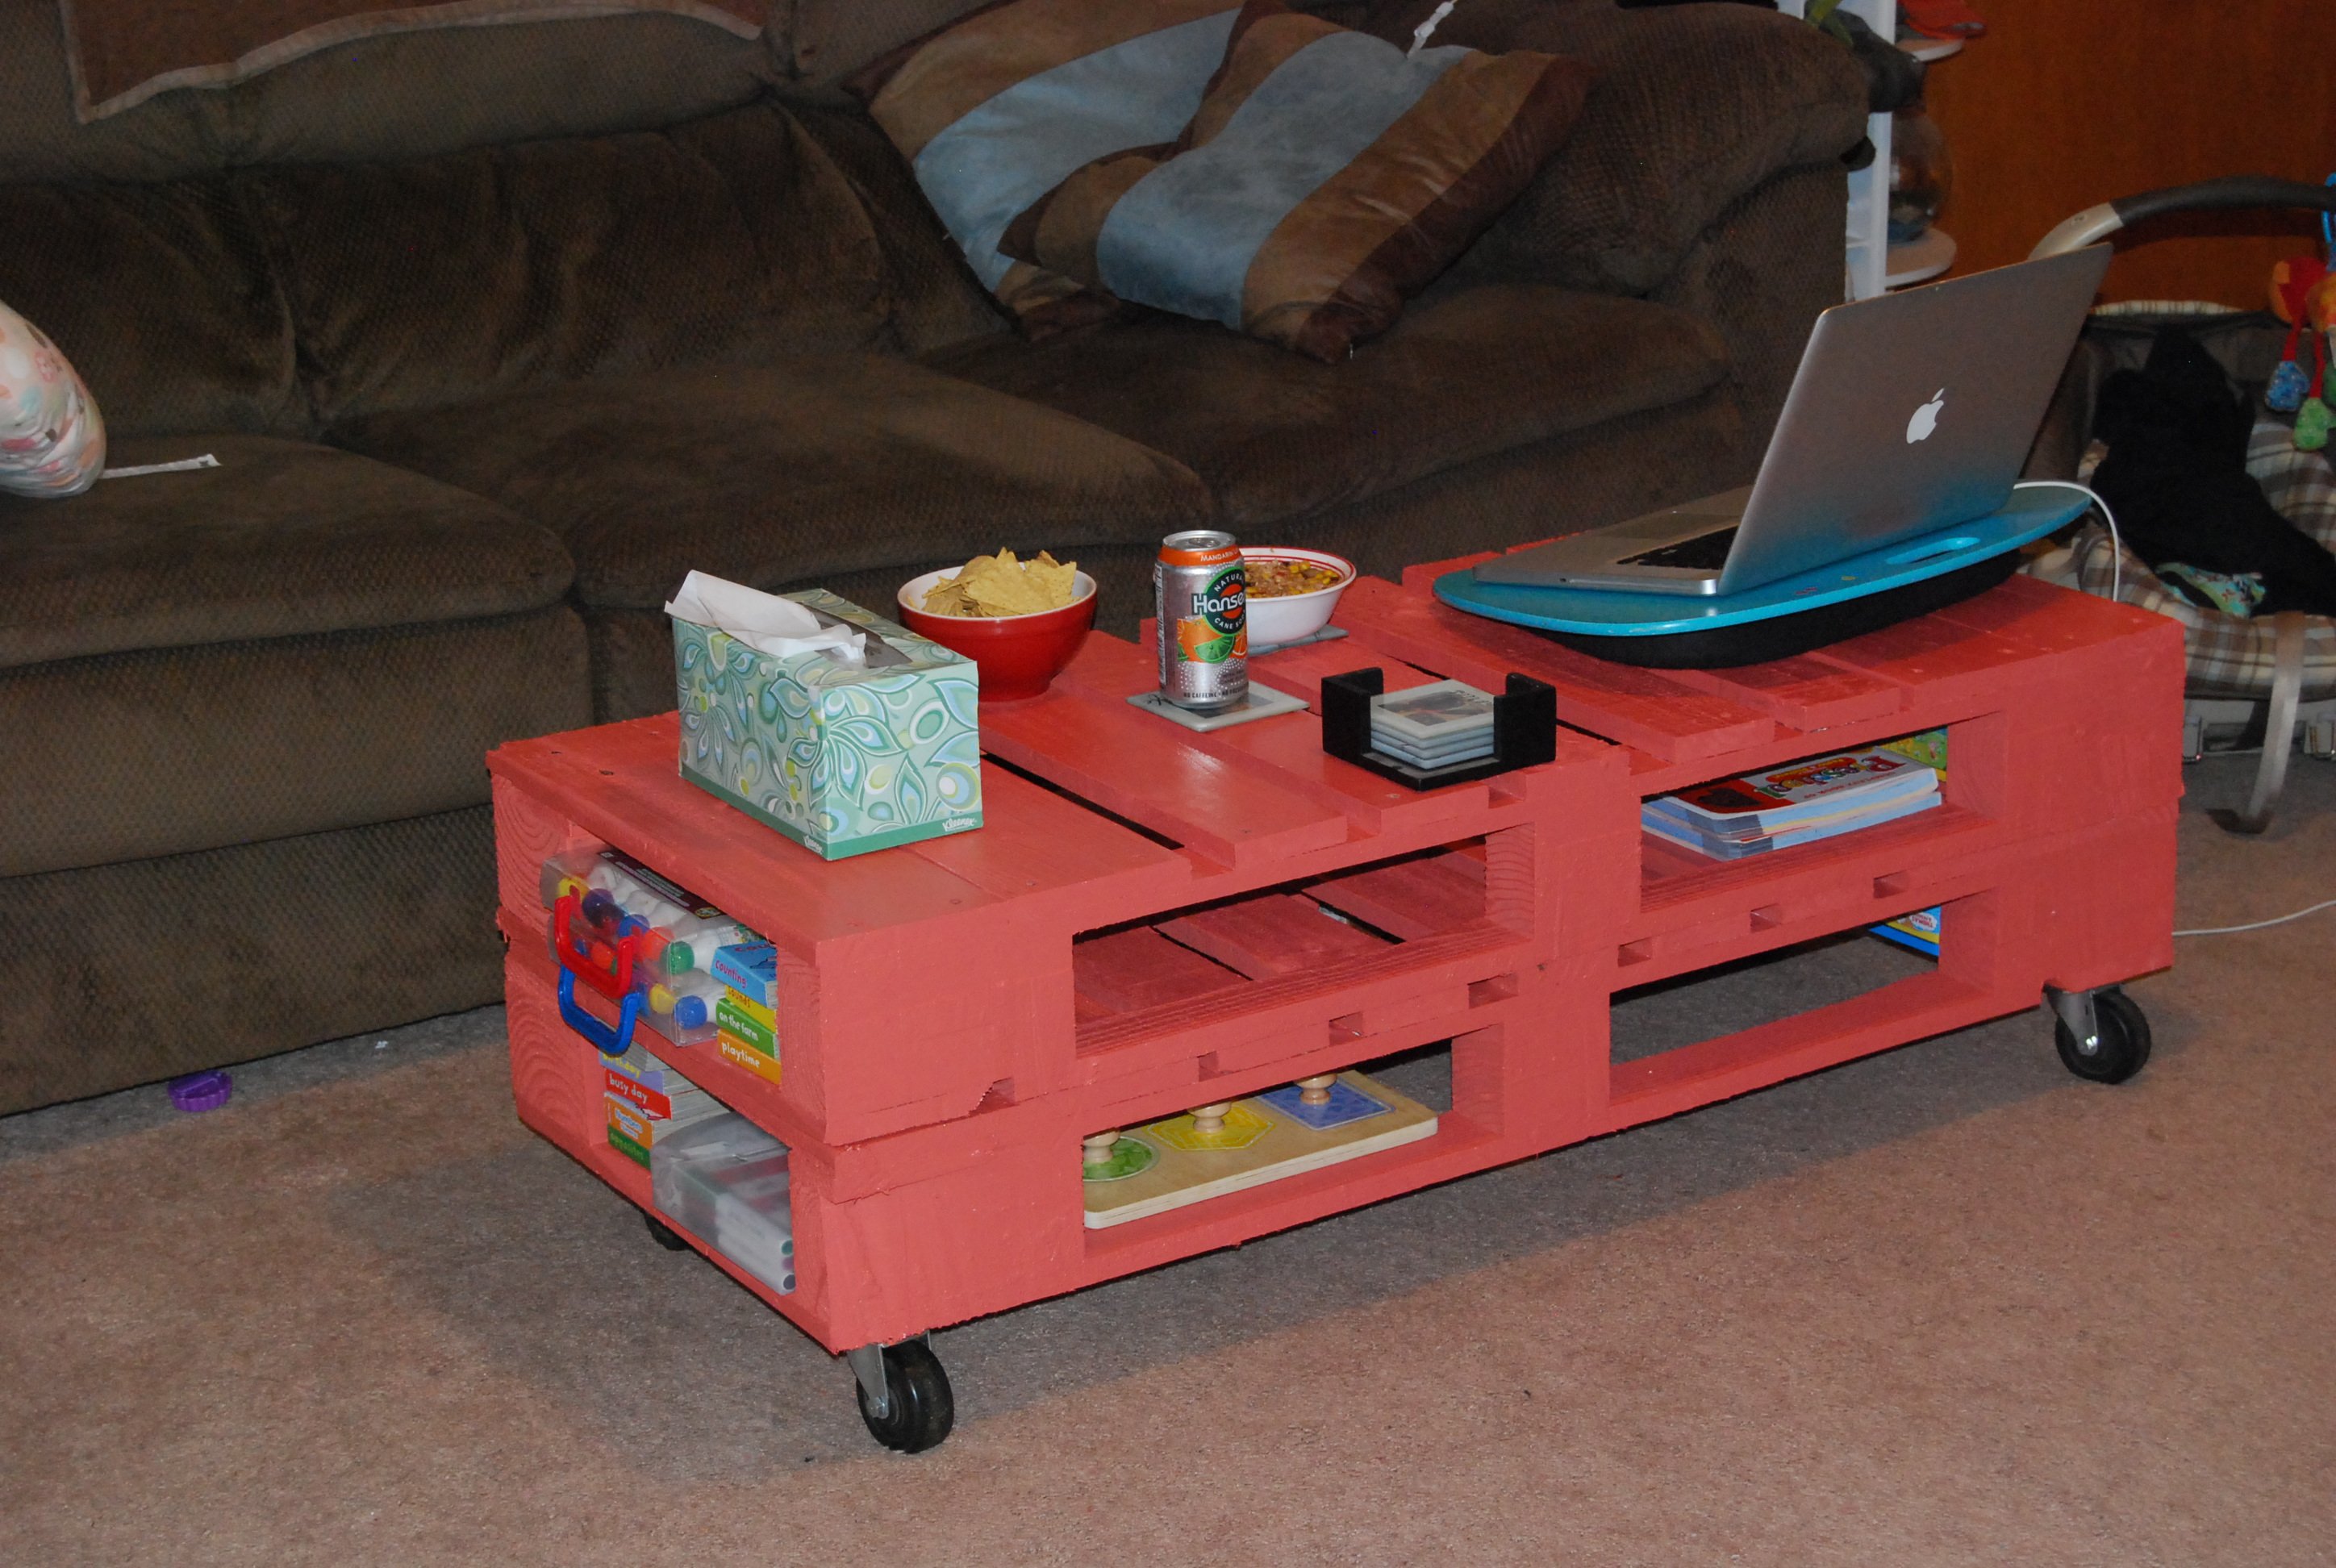
We modified our plan by use a router on the edges and stenciling the top. We used pine. We left our wheels the original industrial metal .
**This is one sturdy table and easily serves as an ottoman with large groups .

This was my first project ever! I was very happy with the way it came out! I just did a little adjusting to get it the size I wanted =) Cushions for a decent price was very hard to find, I ended up going to walmart and I actually really like them.
It took me a while to complete as I have a little one (turned a yr the wknd I finished) and only worked at night and during naps!


Tue, 10/08/2013 - 19:12
This looks really nice, good job. Isn't it fun to build just what you want!
My first woodworking project ! Already planning others from the ana white site.

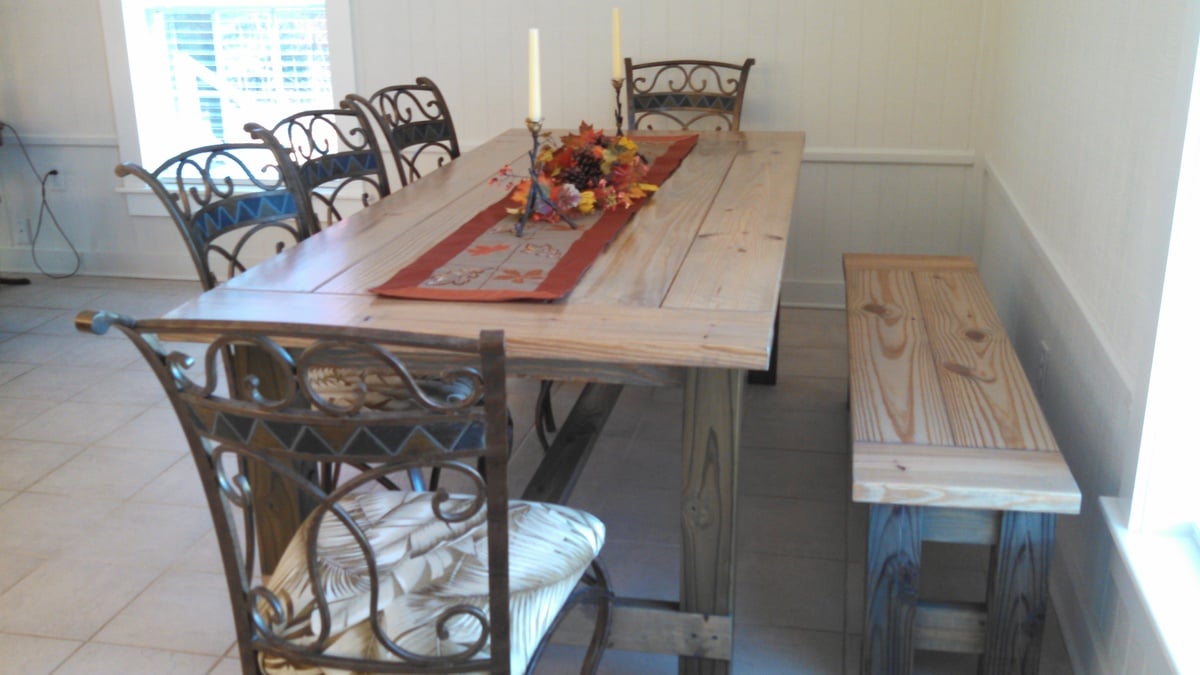
This King Size Farmhouse Bed turned out better than I could've imagined! It did take a lot of patience, time, and even left a few bruises but, a few months out, I think I would do it all over again!
We chose the Farmhouse King Bed Plans by Ana White and I read everything I could about it. This would be the biggest project I'd ever done. Through reading comments, I found the DIY Farmhouse Bed - King Version by Ed Hart. He had a few modifications I liked so I bought his plan.
Then, I set to work!
We have a Naturepedic mattress and built this bed to its specifications, including bed slats no more than two inches apart.
Check out this post to see the modifications we made to the Ana White Farmhouse Bed: https://sunshineandrainydays.com/king-size-farmhouse-bed/
Thank you, Ana, for the inspiration to build!
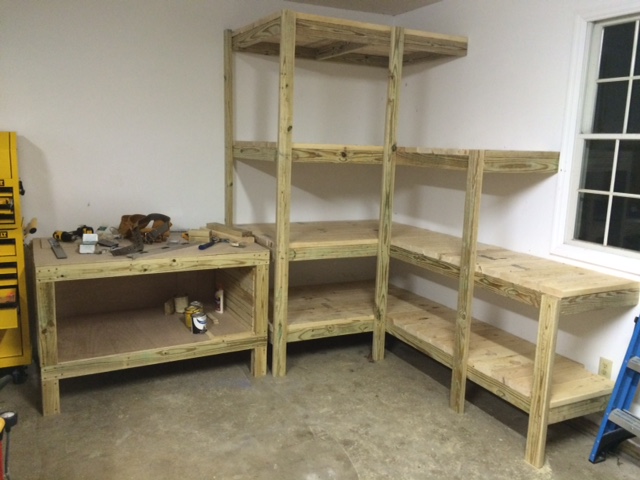
This was a fun easy to do project that can be done in a day.

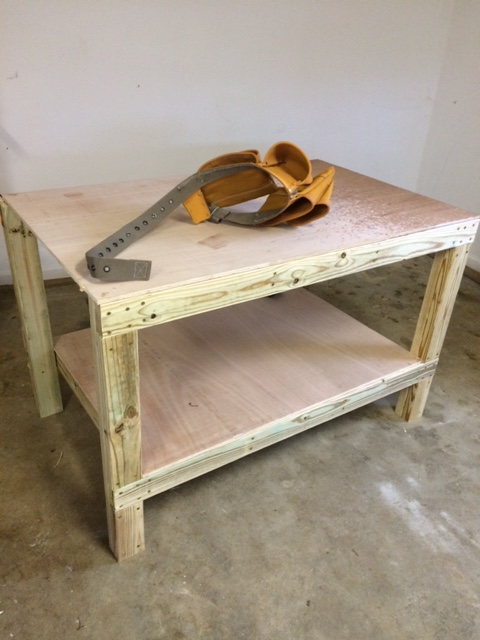
I saw the "Easy DIY Garage Workbench" plans and got motivated for a little garage organization.
Thu, 11/04/2021 - 07:08
This is great, love what you did here, thank you for sharing!
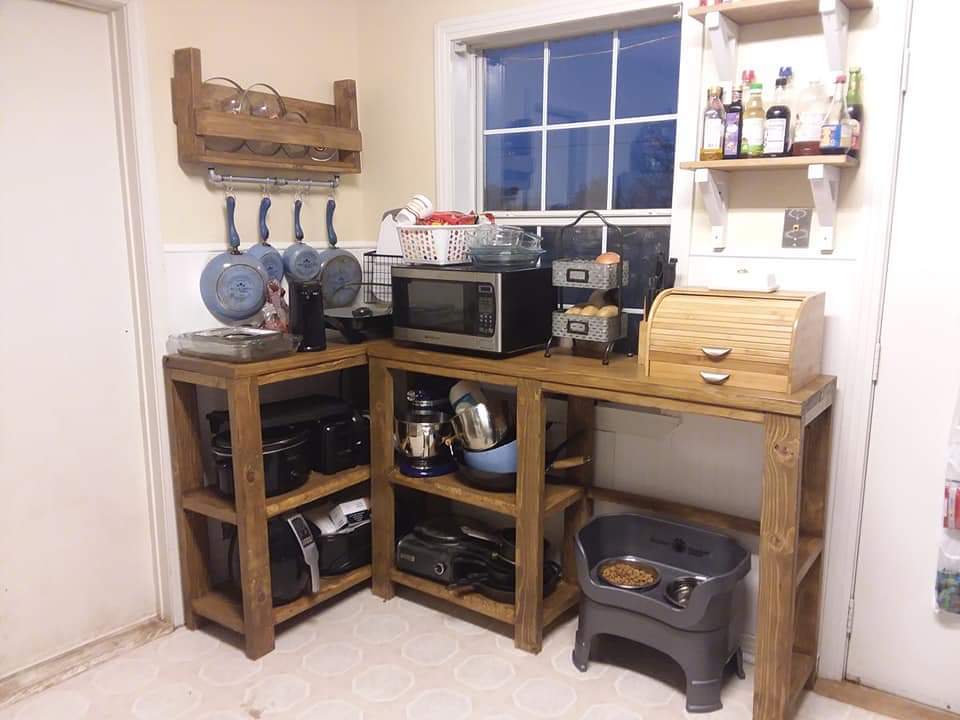
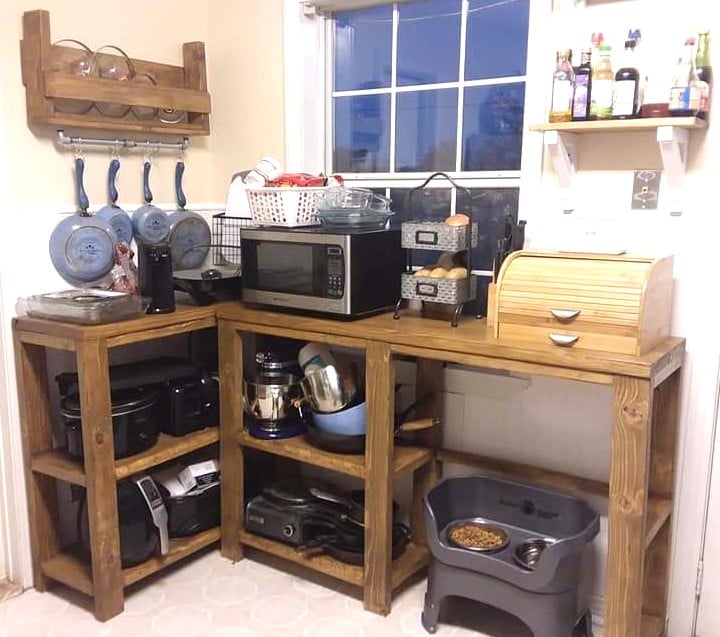
My husband and I redid my Aunt's kitchen. She has no storage, hardly any counter space and her kitchen was cluttered. So we painted, put up beadboard and trim, plus added storage. We took the console table plan and modified it to fit what she needed. We raised the height to 39" tall and made two tables for the "L" shape storage. She absolutely loves her kitchen!
Built-ins coming next! Such a great build!
Thu, 02/02/2023 - 15:45
Oh my goodness, this looks amazing! Thank you for sharing, can't wait to see the built-ins included.
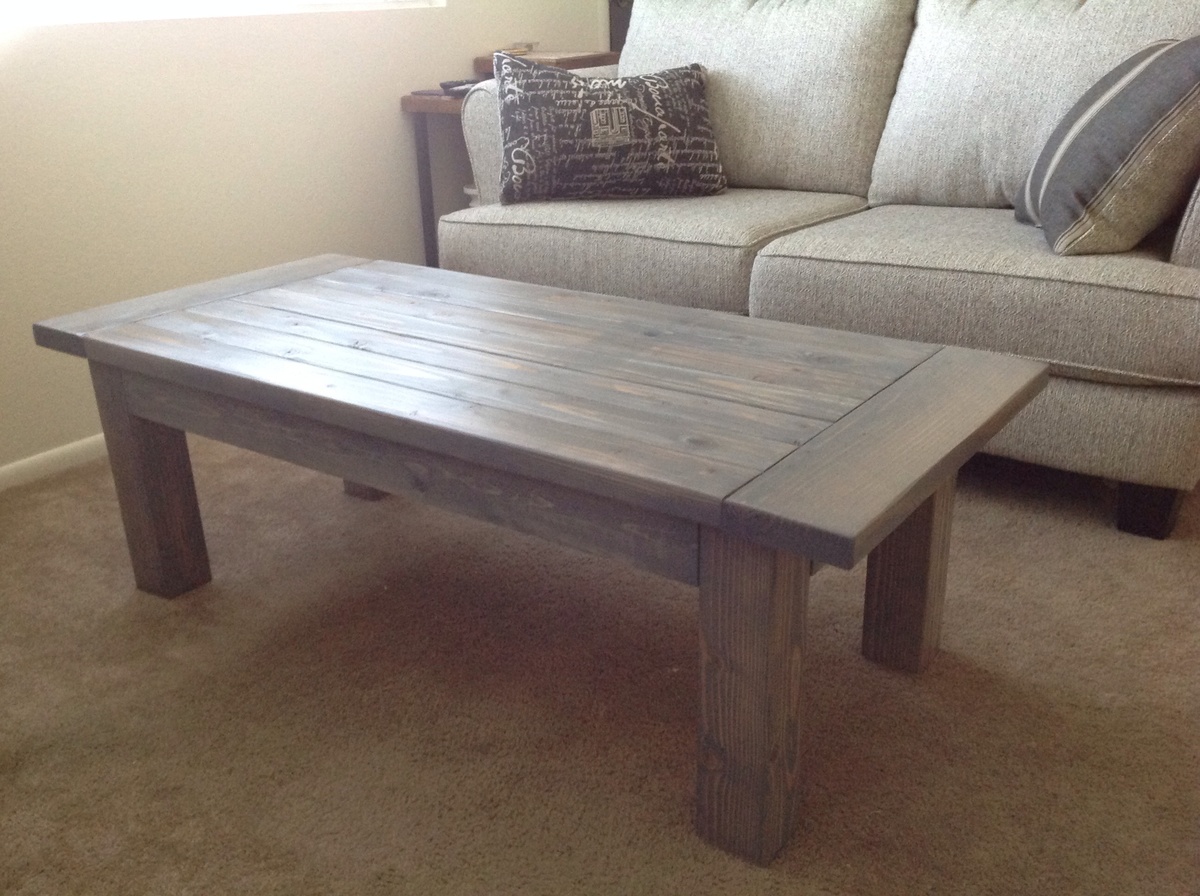
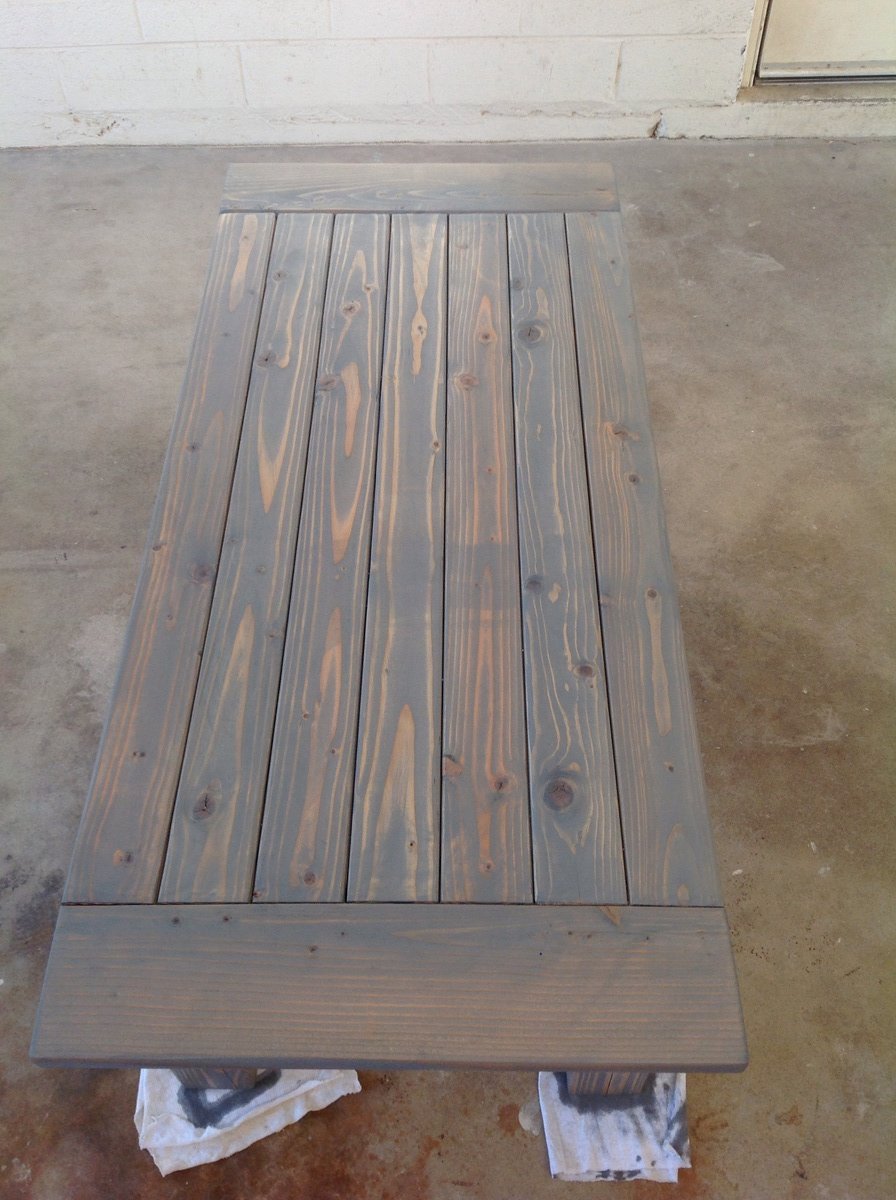
We love our new coffee table! Thanks for the idea!!
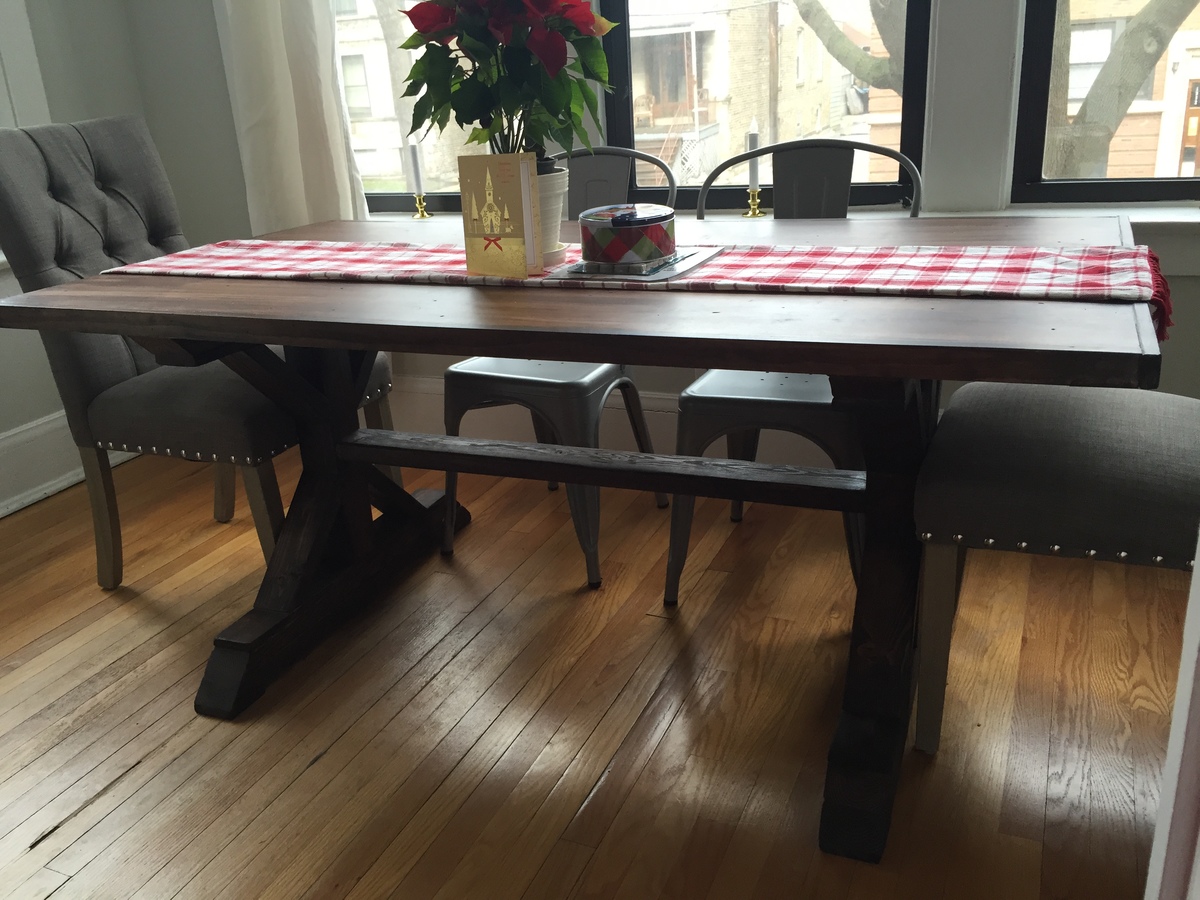
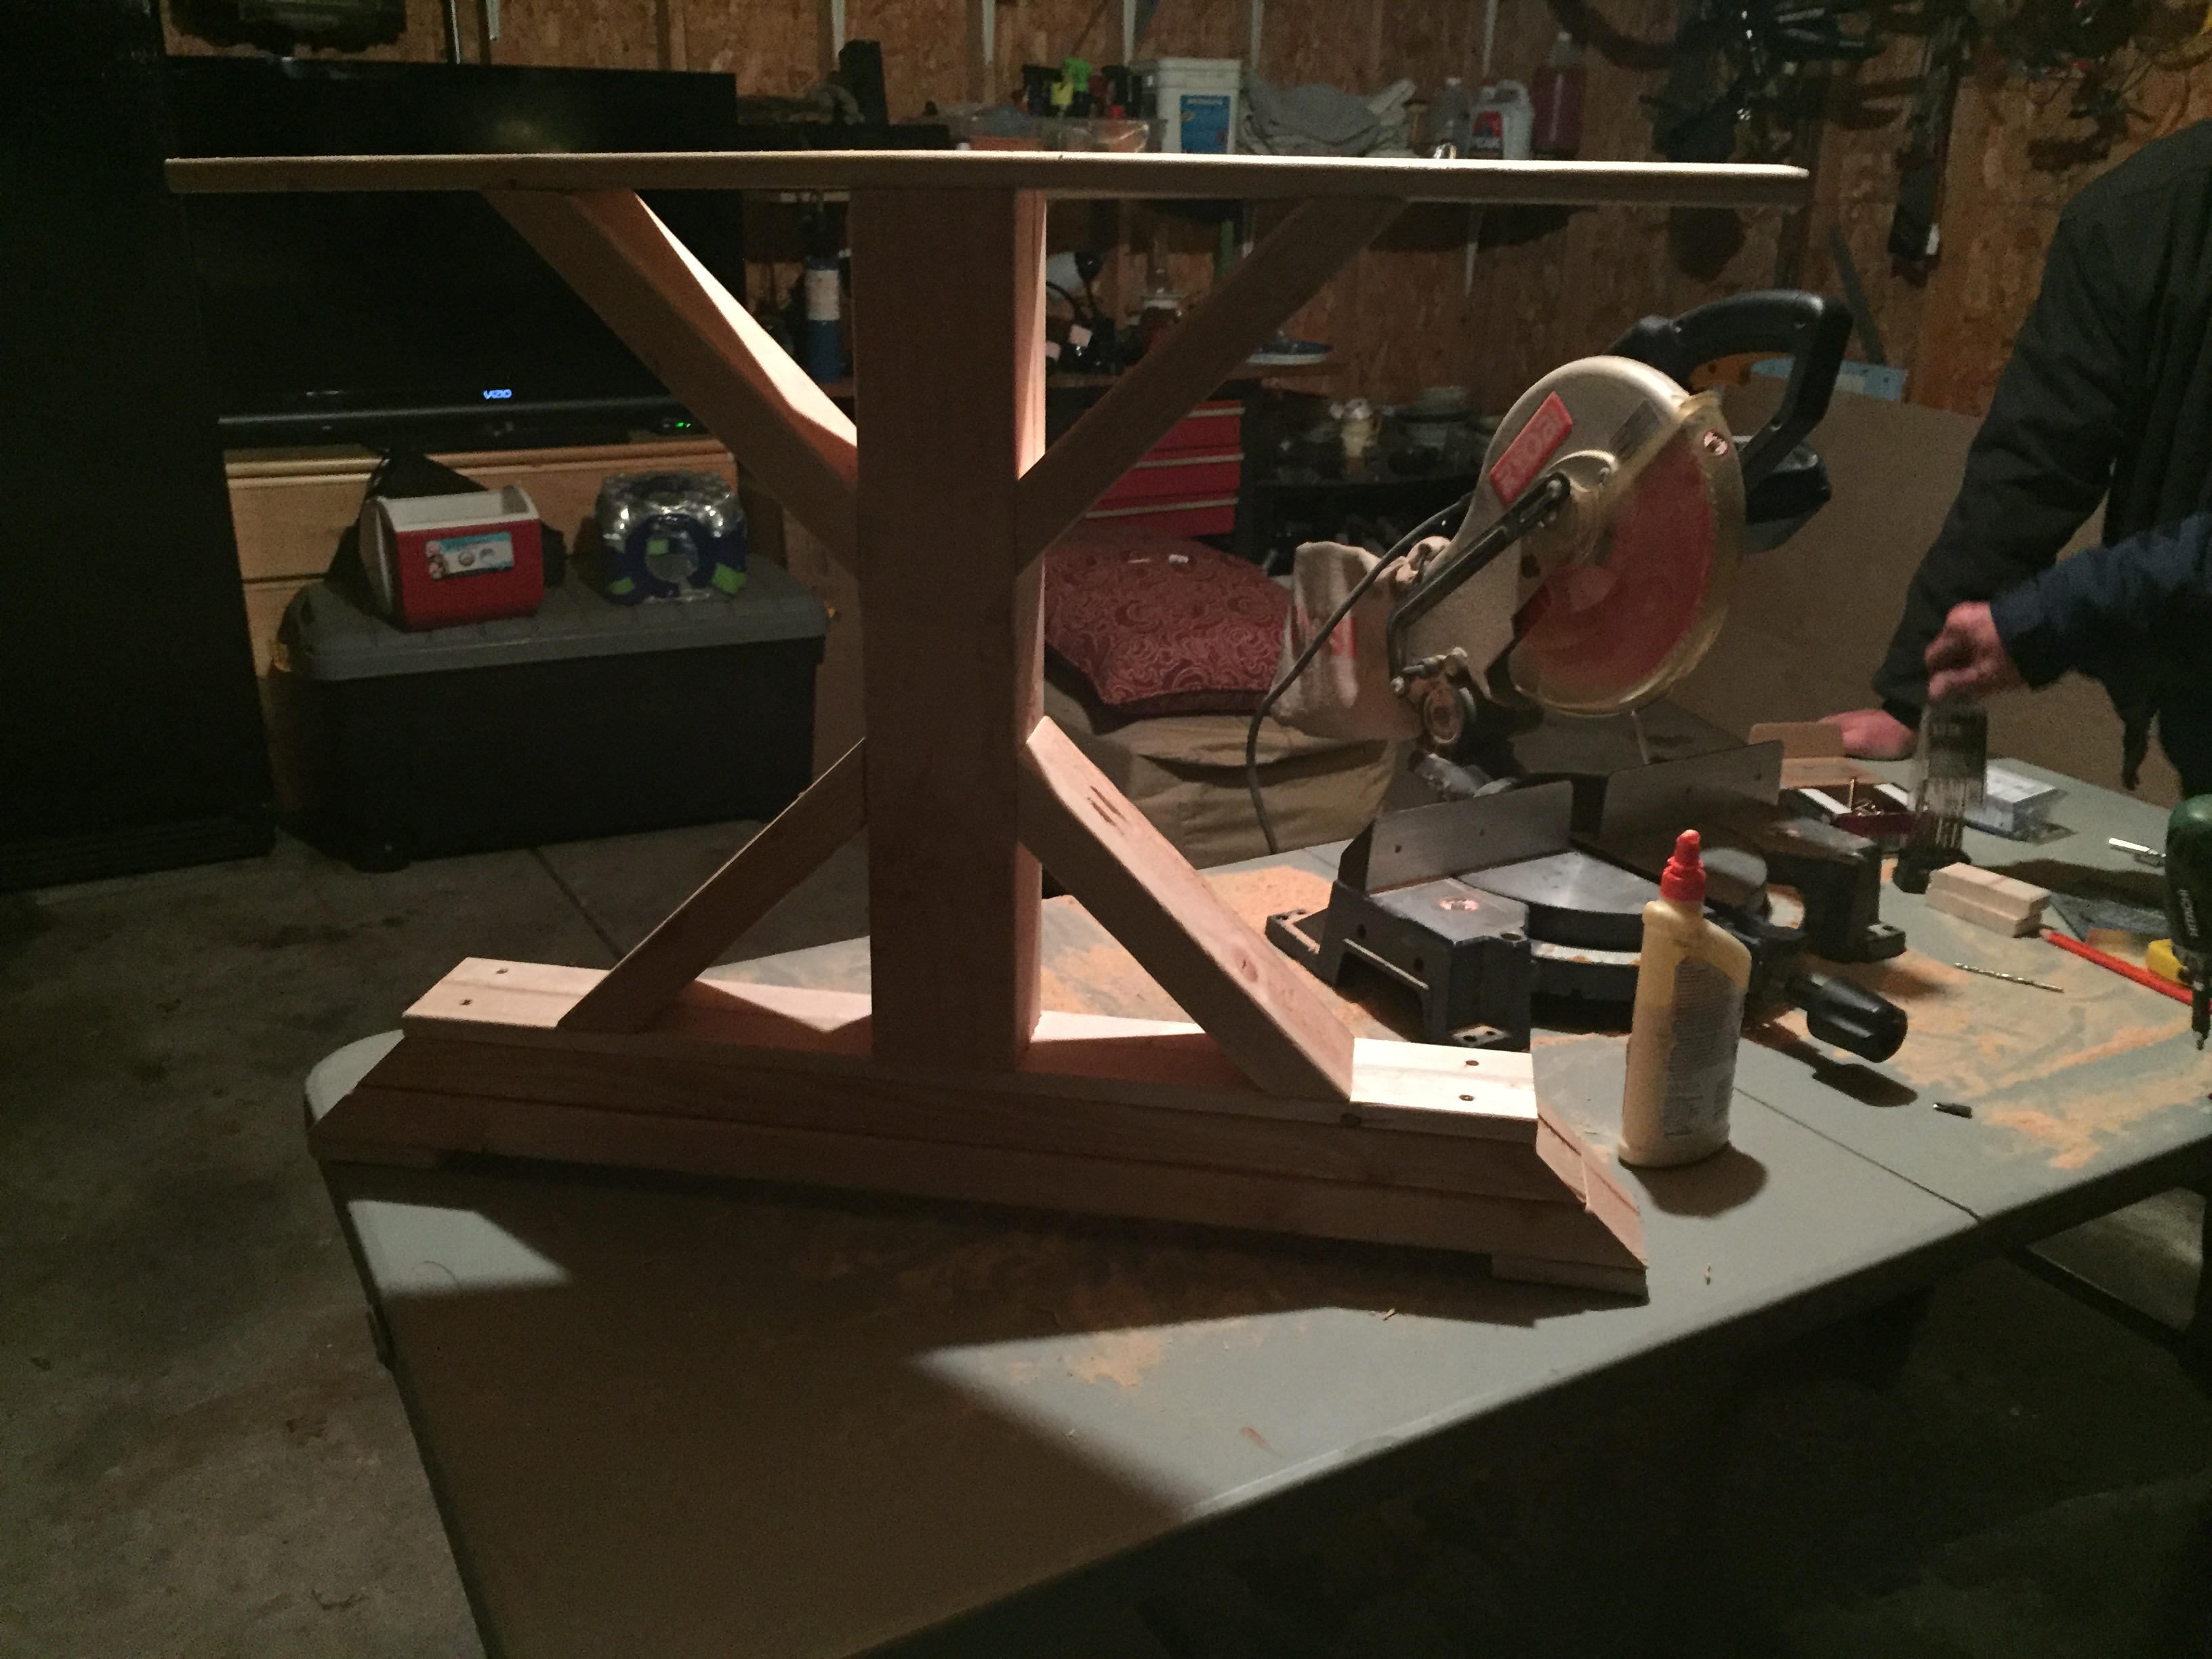
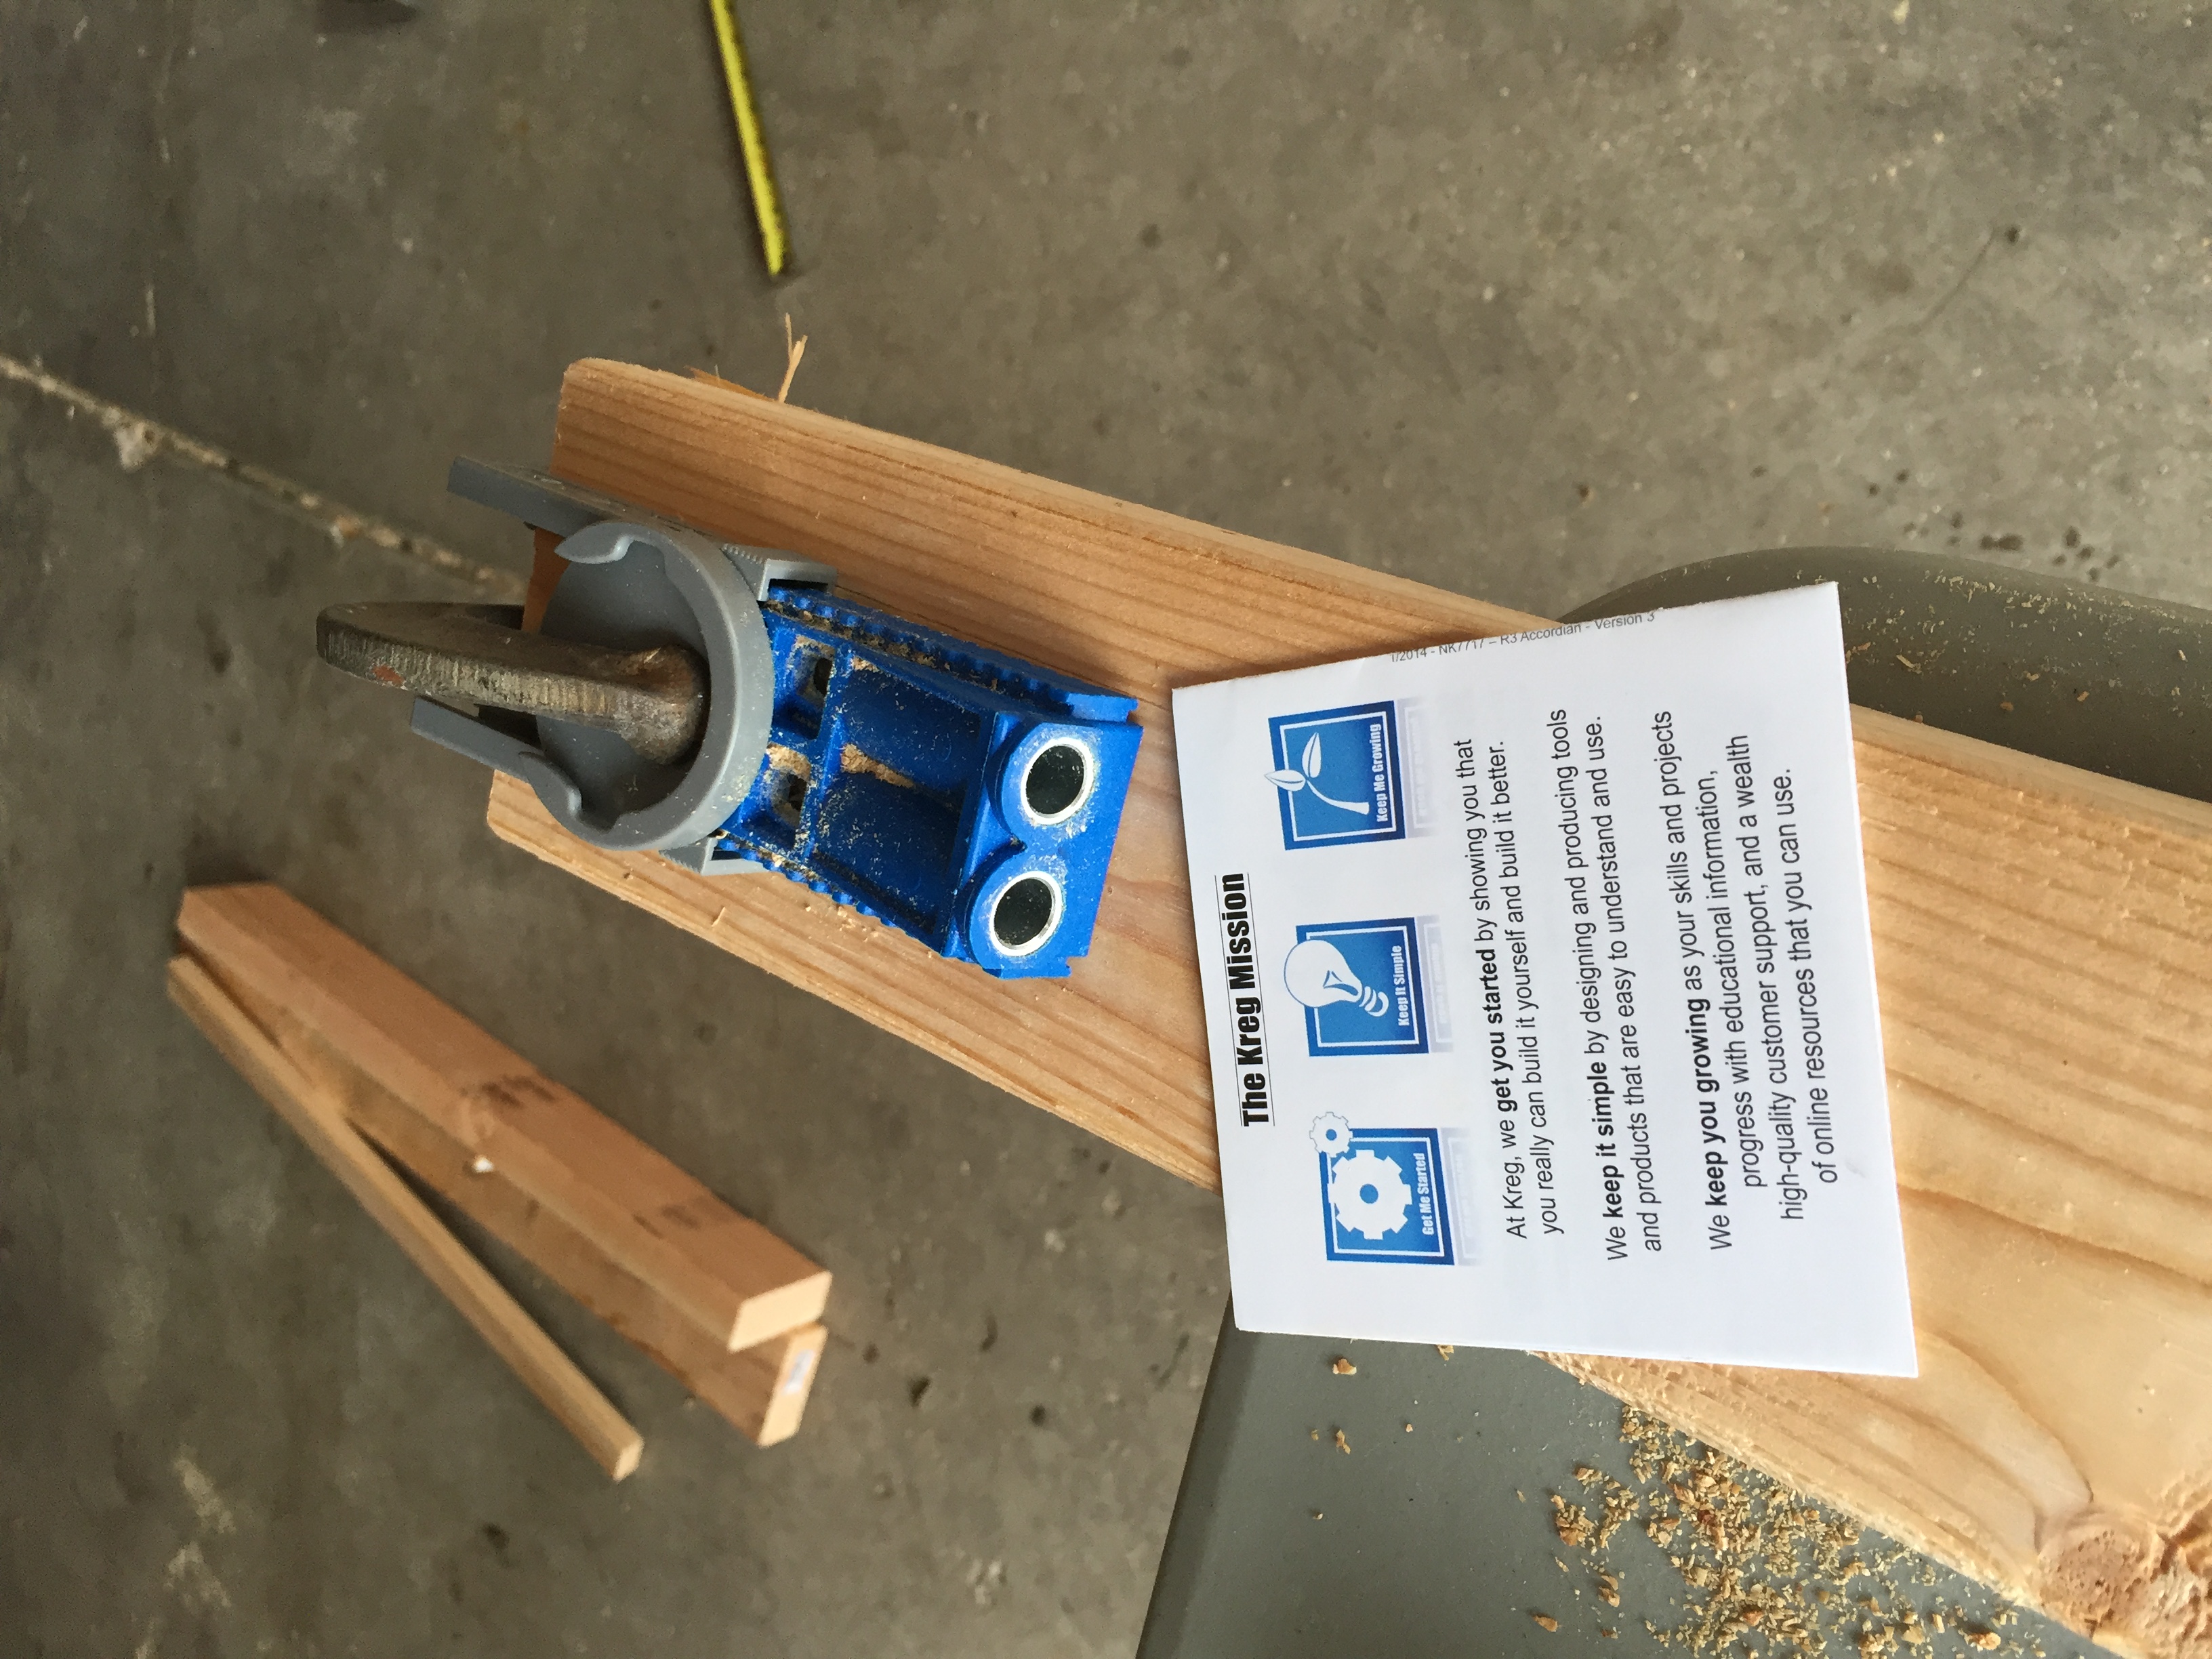
I wanted to make something for my daughter Jaclyn and her significant other Sam for their new condo that would bring memories to the table each and every time they sat at it with memories that would last a lifetime. This was perfect. I made it in a week and was ready just before they moved into their new condo. The top is a slab of maple and the frame is pine 2x4's. I deviated by using a 4x4 center post on each side of the pedestal. I used my keg jig to hide the hole in various places. I used chains, a hammer and nails to distress the top.
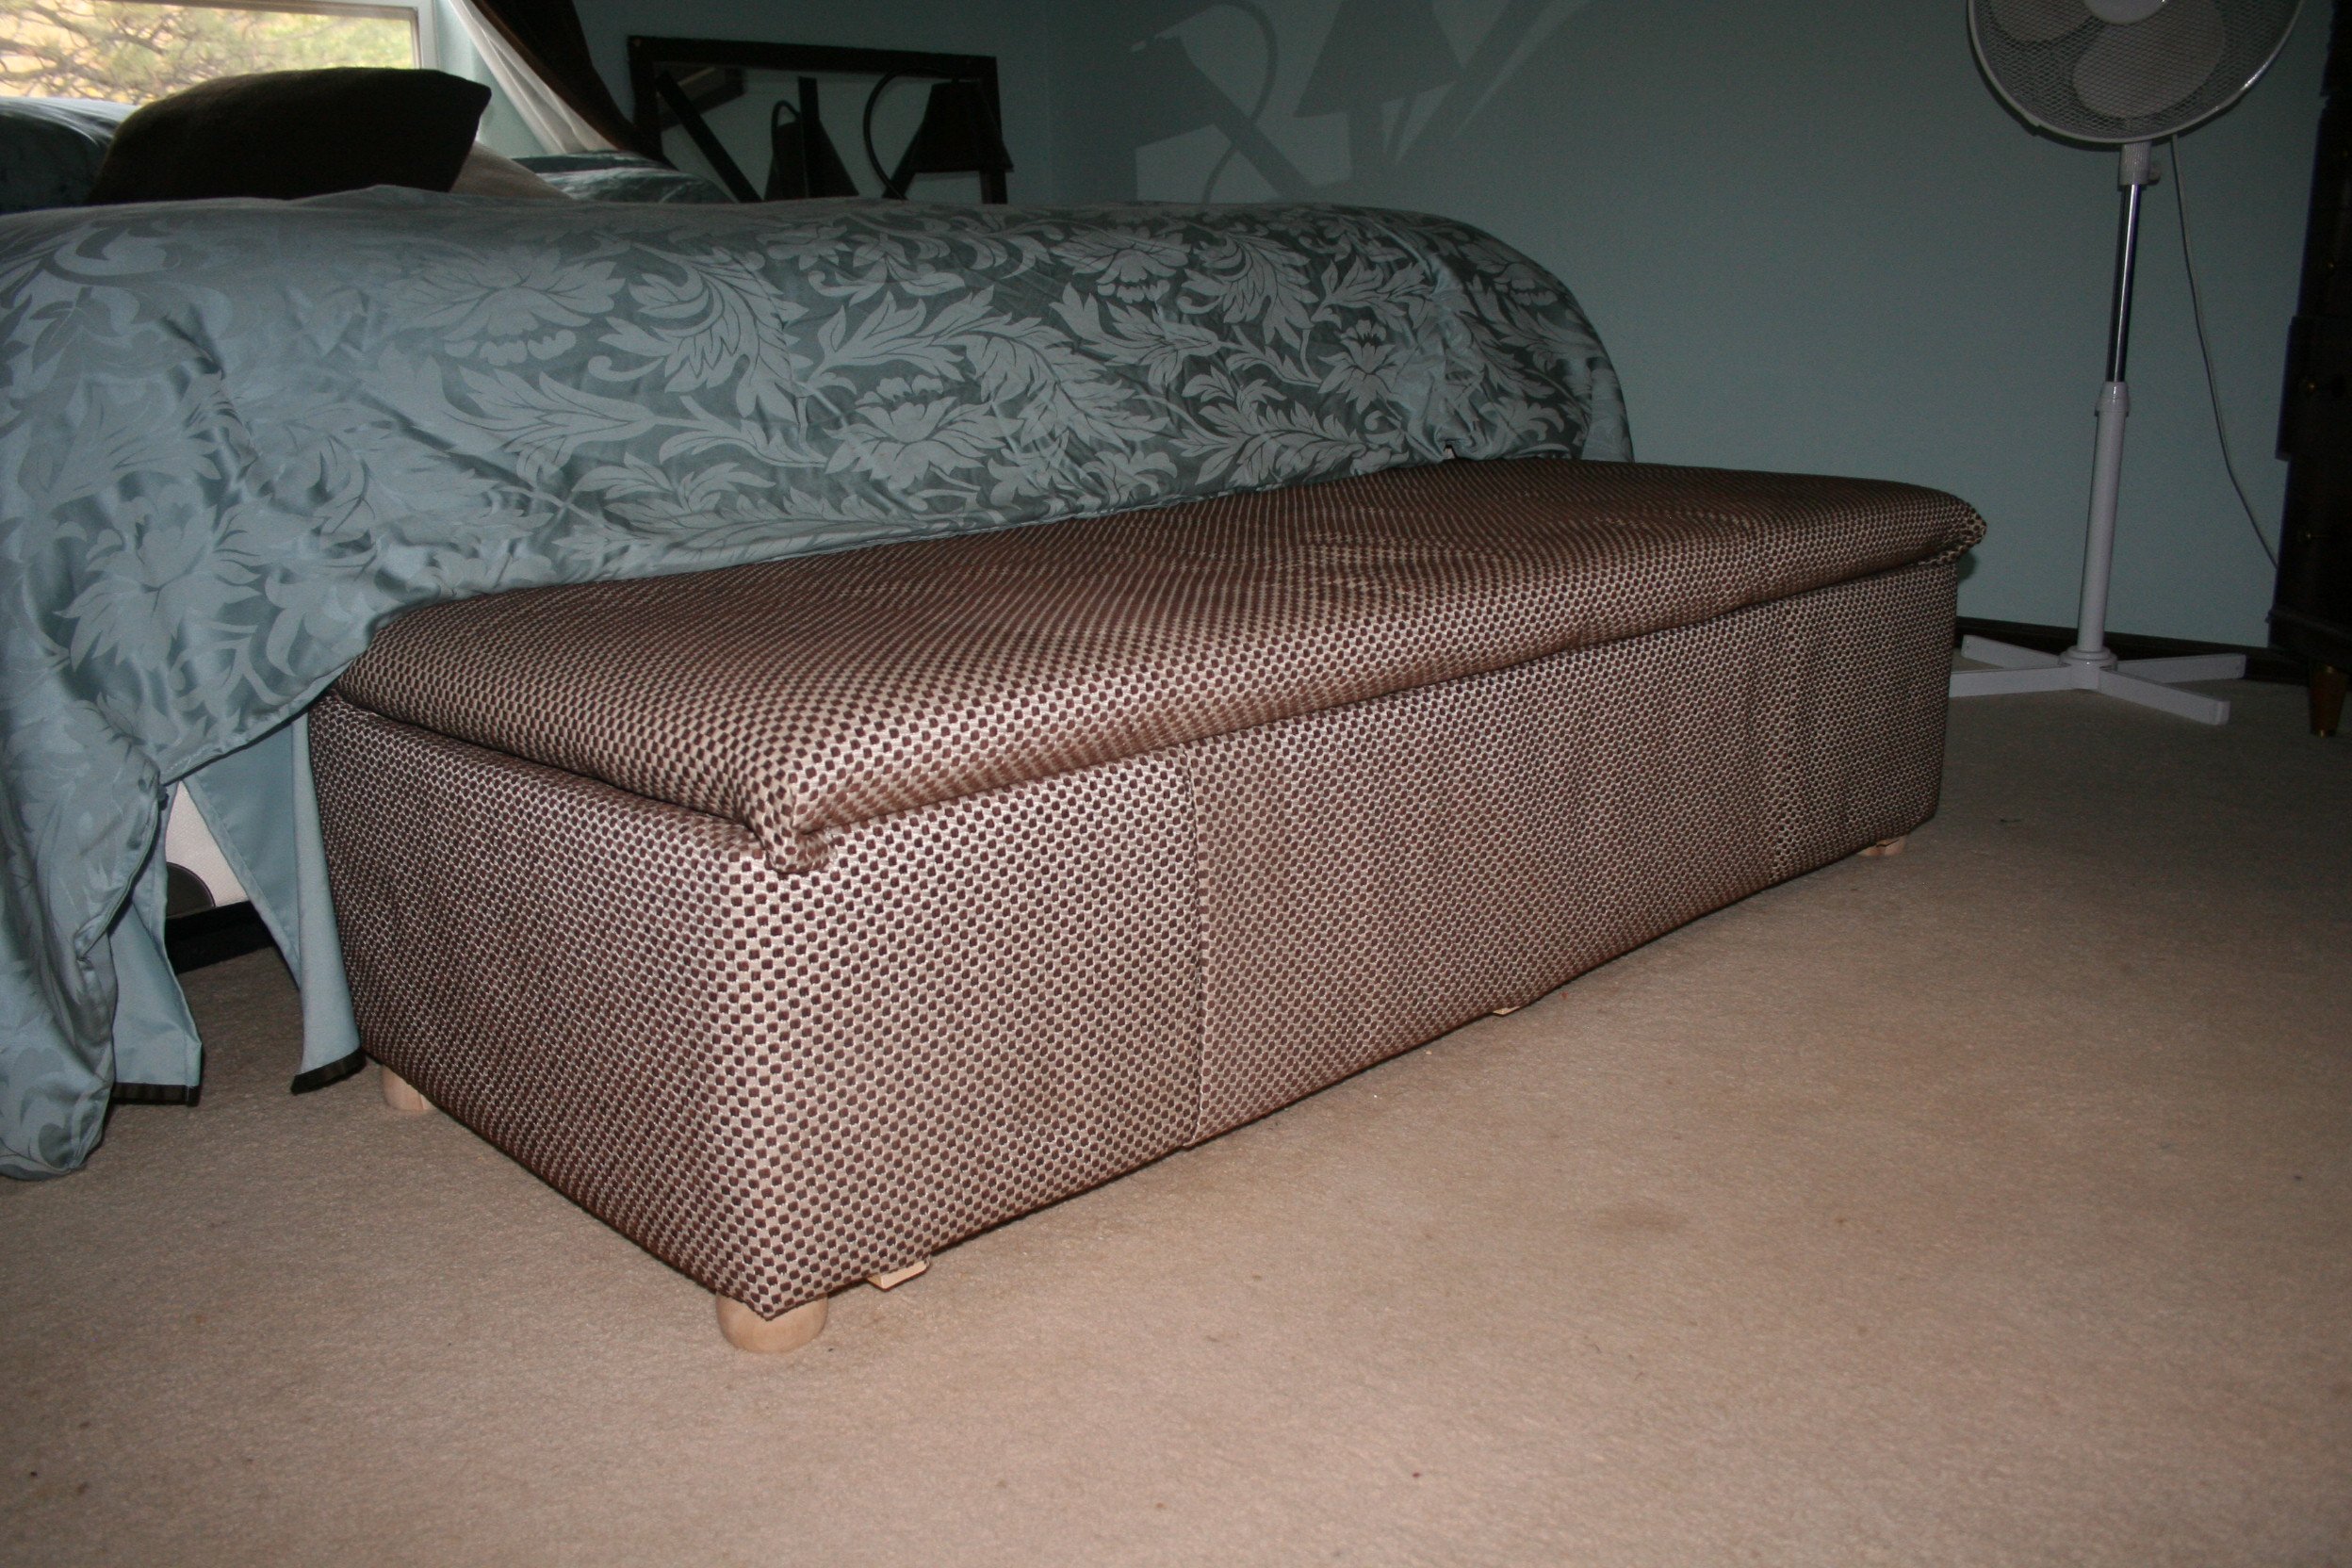
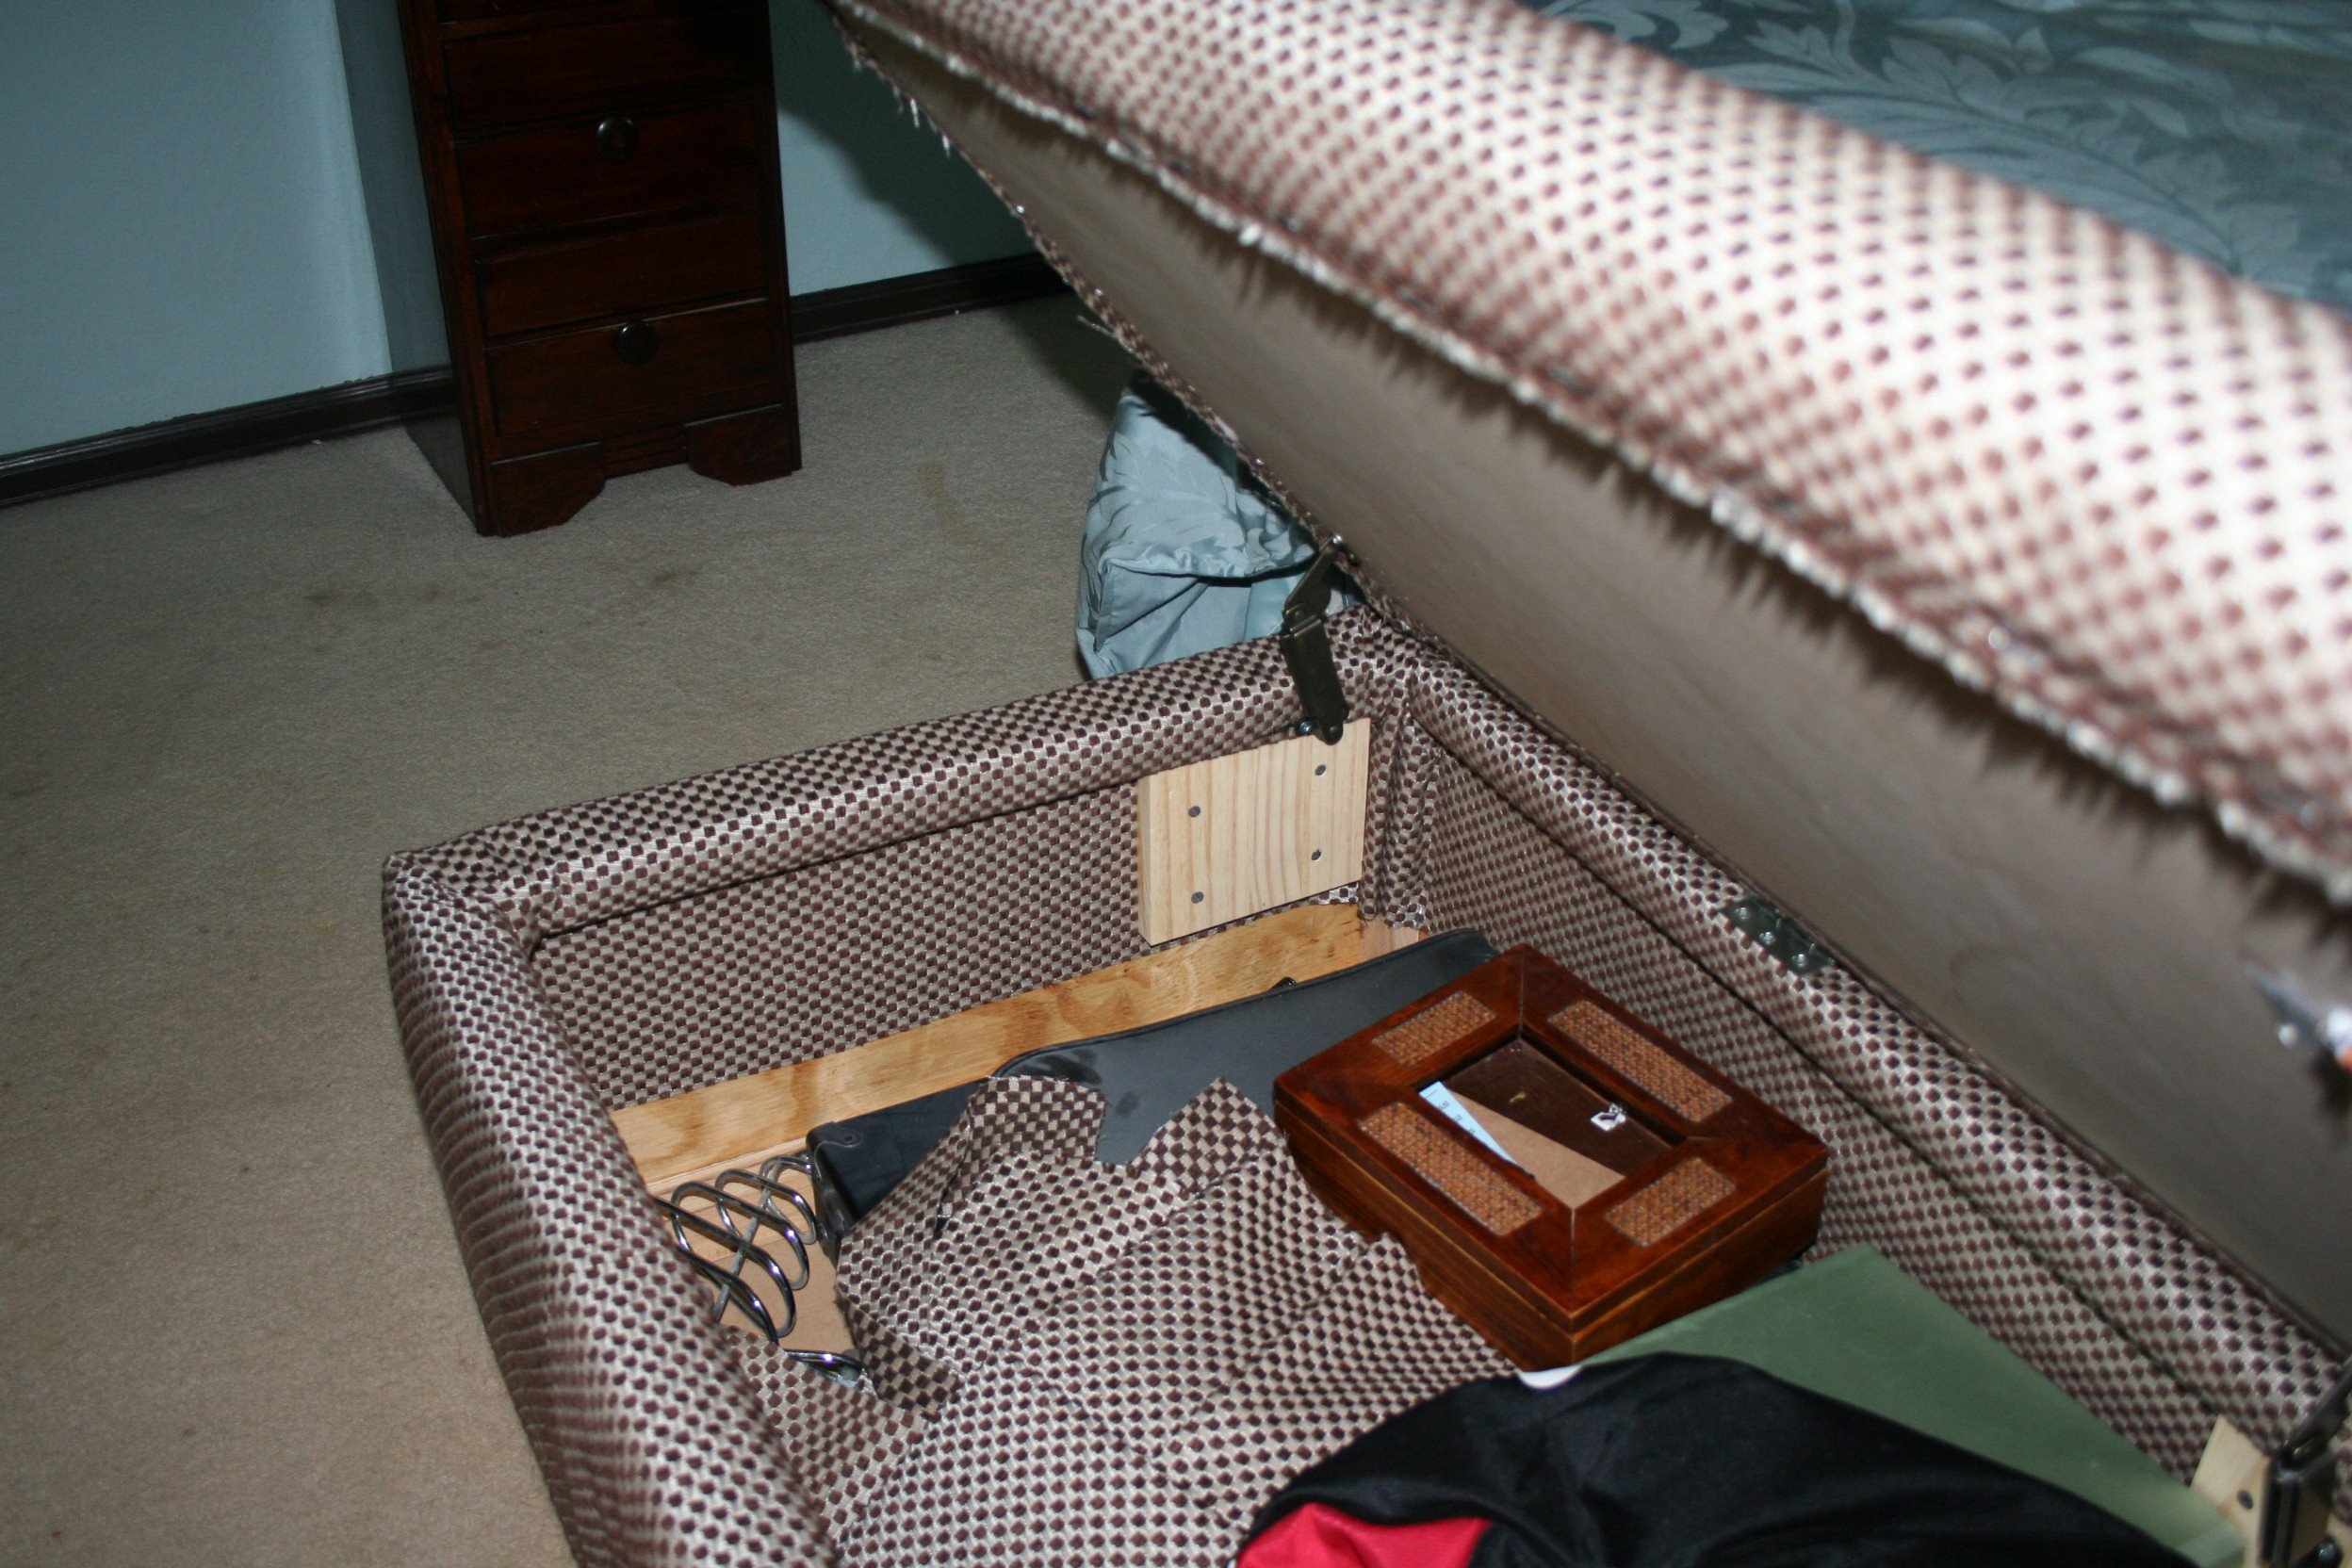
This was my first project. I already had a large ottoman, but it didn't hold anything. So I broke it apart for the box frame, added a bottom and hinged the lid. I was able to reuse the padding and upholster the pieces with sale fabric from Joann Fab ( love that store). Than I attached the fabric with a staple gun. Since it's in my bedroom, I like to keep wedding photos and such inside. Plus my 2 year old cannot open it!

Comments
Ana White Admin
Sat, 01/07/2023 - 10:27
Looks awesome!
Every project has opportunities to learn, way to go!