Community Brag Posts
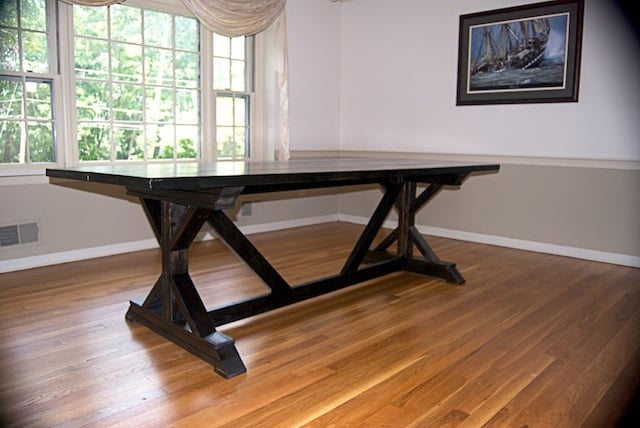
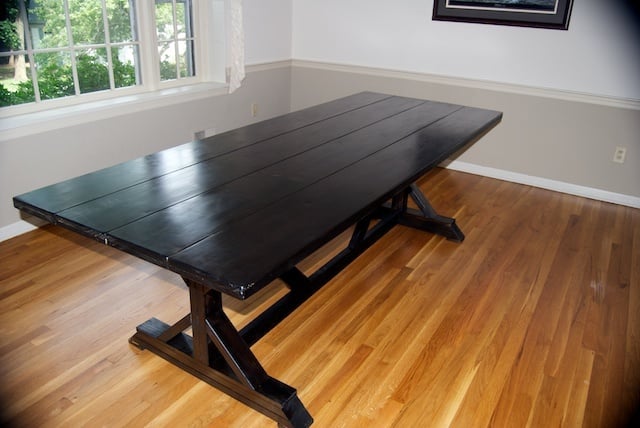
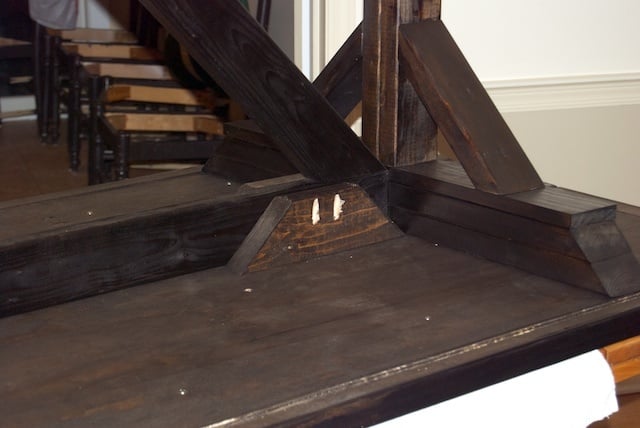
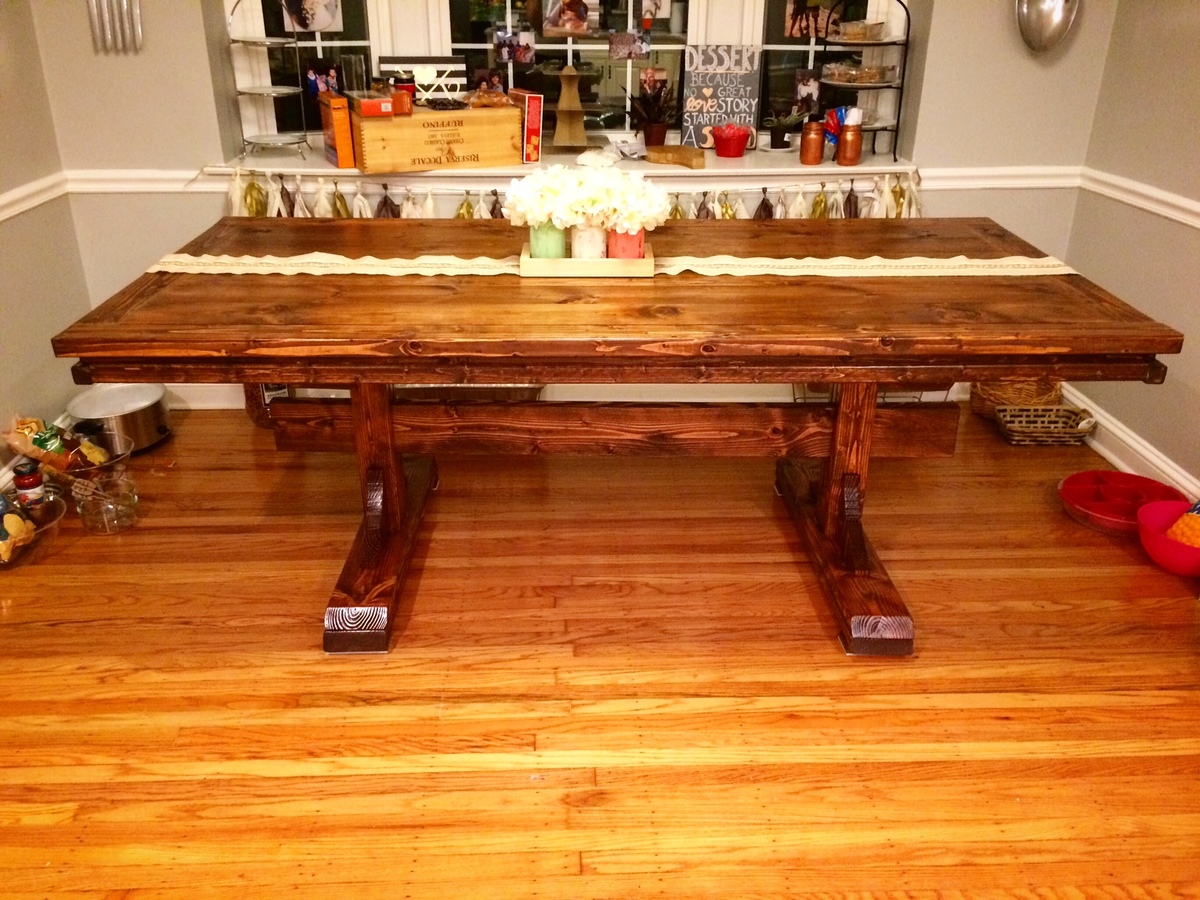
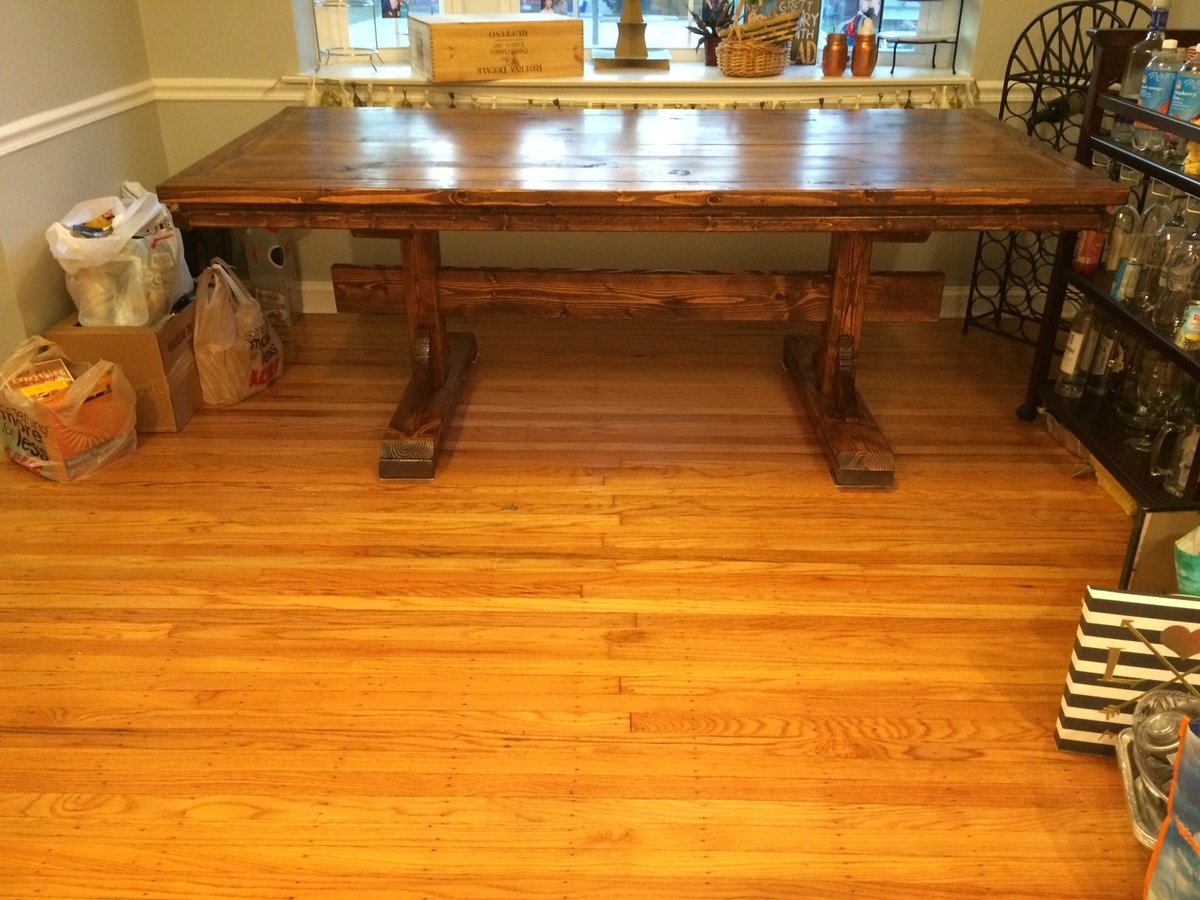
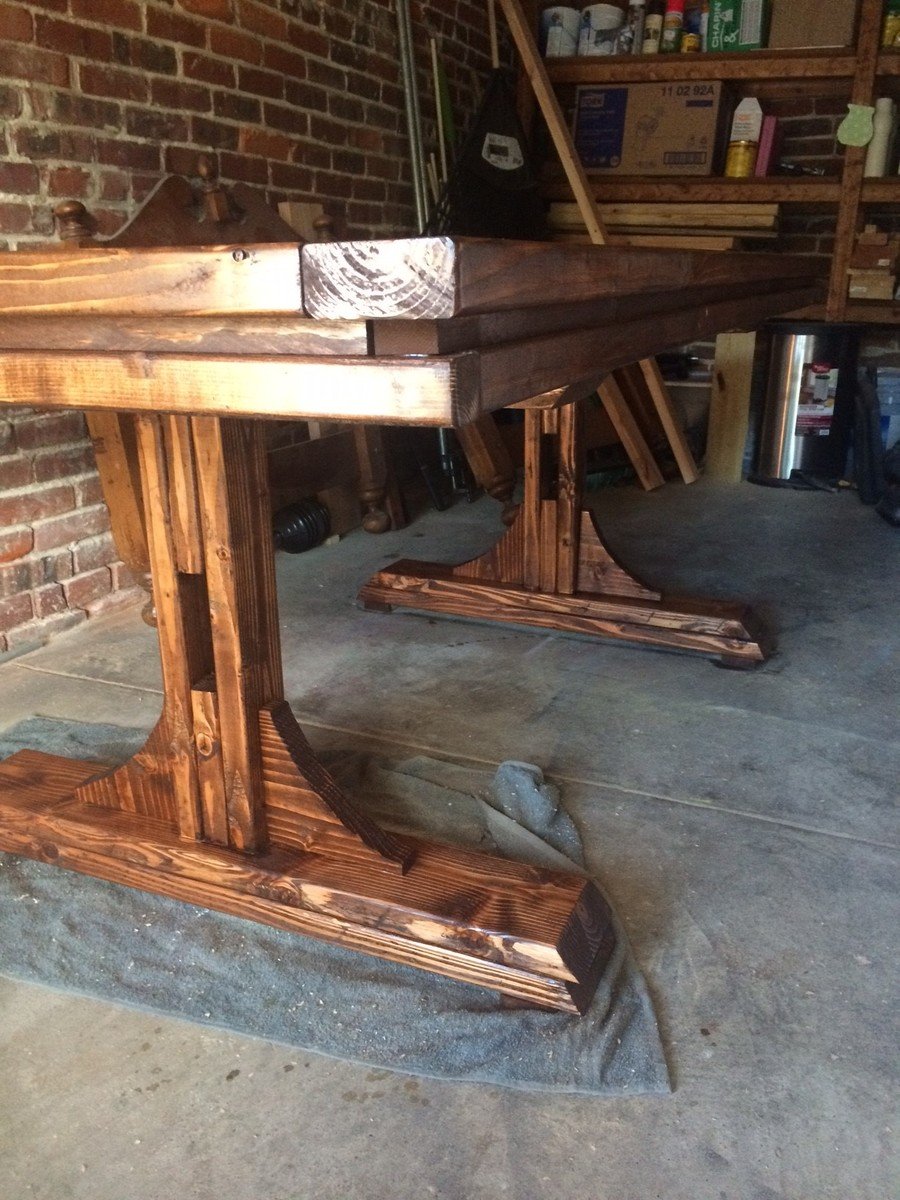
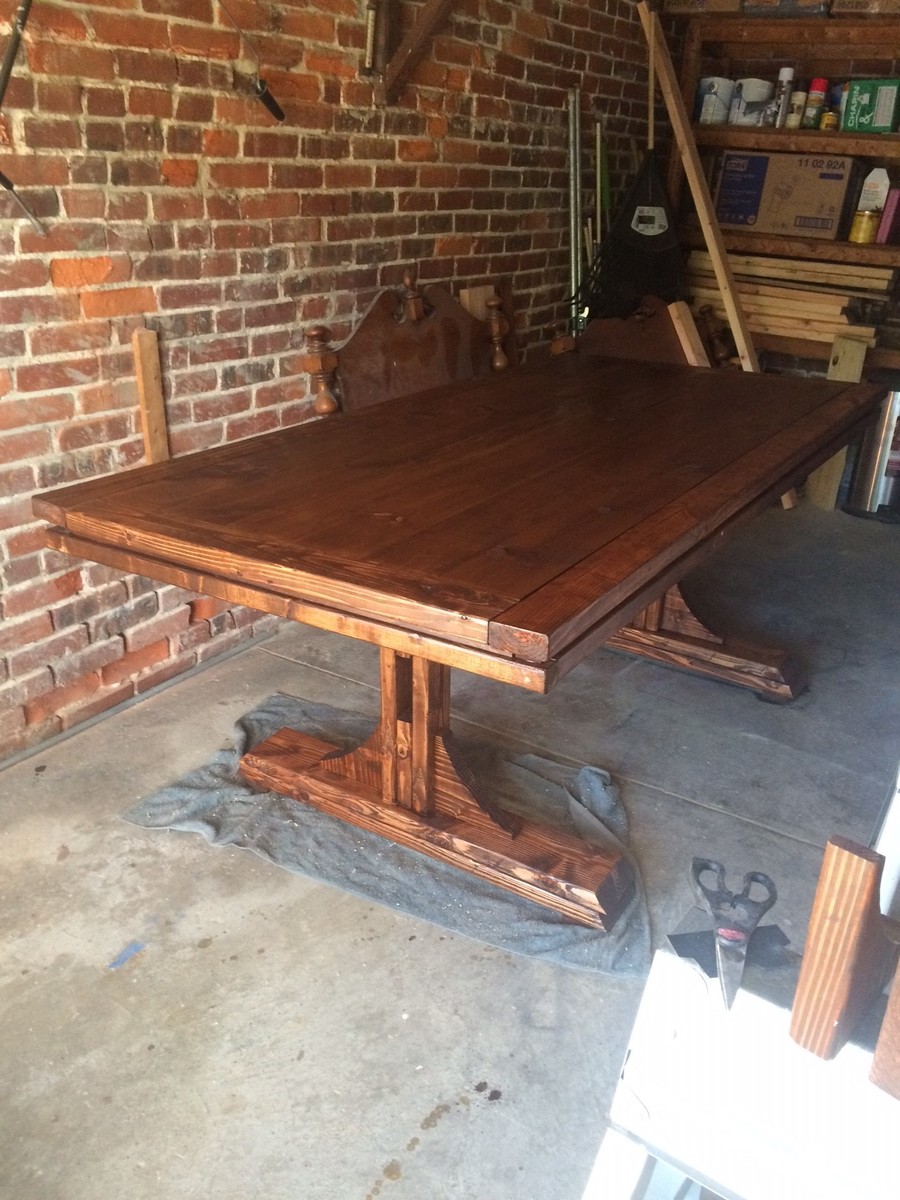
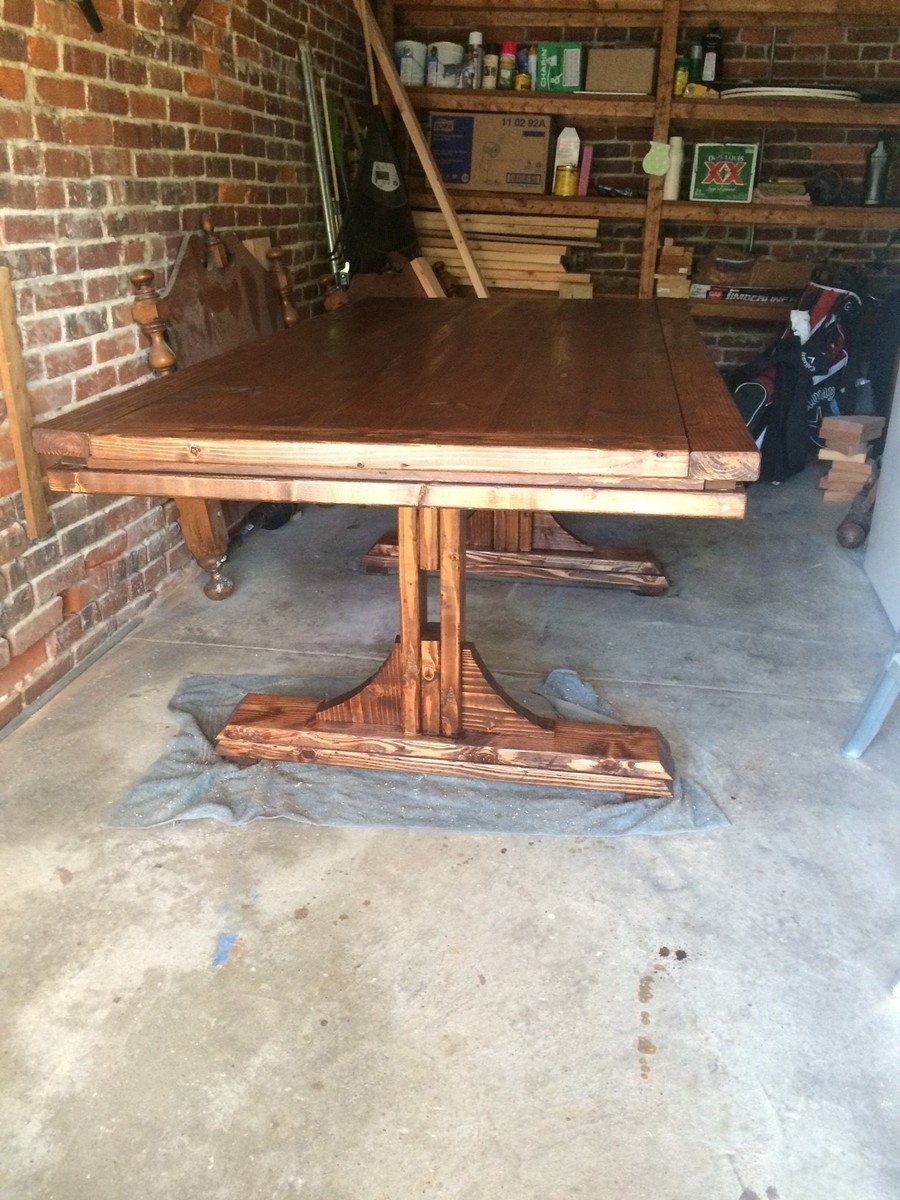
Fancy X Farmhouse Table

This is my first project and I am so happy with it! Thanks for the plans!
You can see my step by step process here:
http://ordinaryhappilyeverafter.com/blog/category/table/
I'm especially happy with how I was able to attach the top to the bottom without drilling through the top. I describe that here:
http://ordinaryhappilyeverafter.com/blog/2012/08/my-table-is-done/
Thanks for the inspiration!

Built from Plan(s)
Estimated Cost
< 150
Estimated Time Investment
Weekend Project (10-20 Hours)
Finish Used
Minwax Jacobean (2 coats)
1 coat polycrylic satin finish on top followed by 3 coats of wax
3 coats polycrilic high gloss finish on base
1 coat polycrylic satin finish on top followed by 3 coats of wax
3 coats polycrilic high gloss finish on base
Recommended Skill Level
Beginner
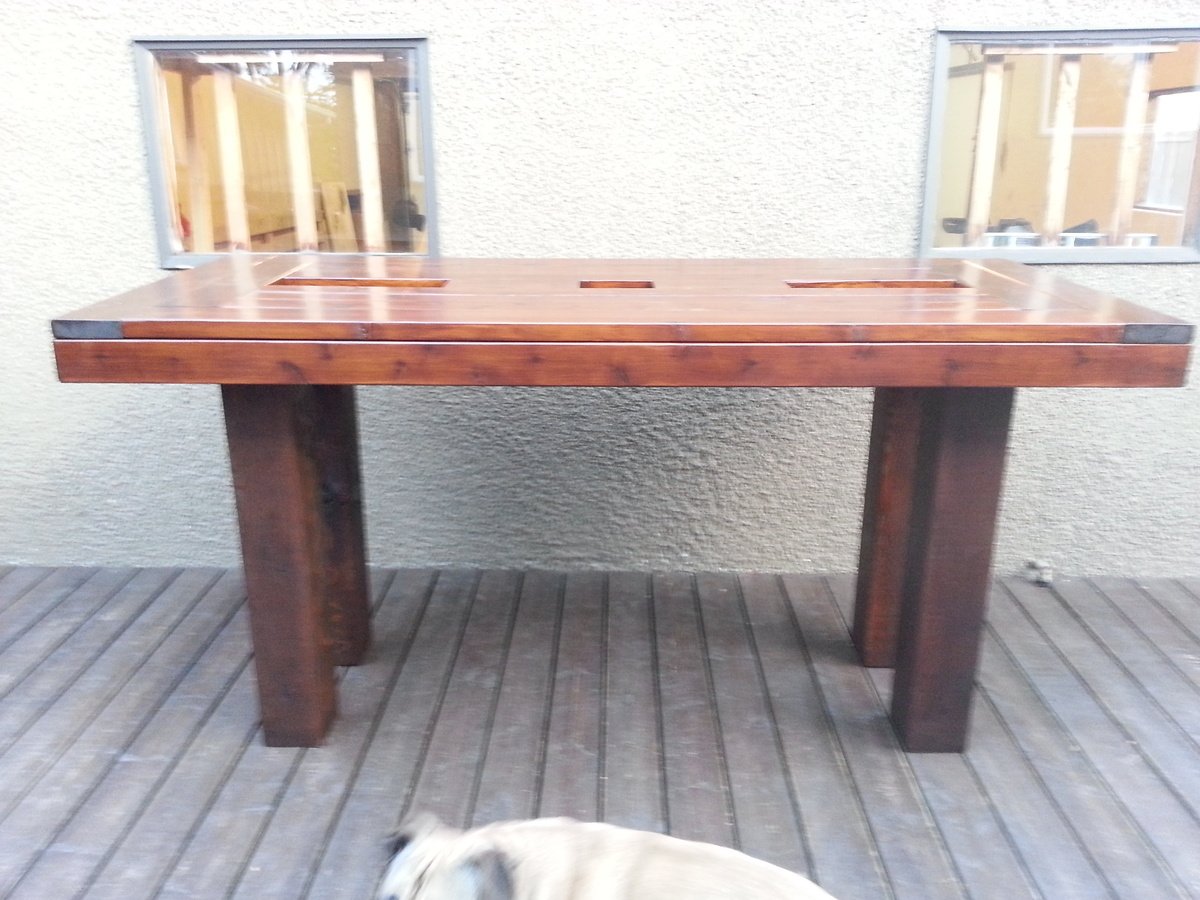
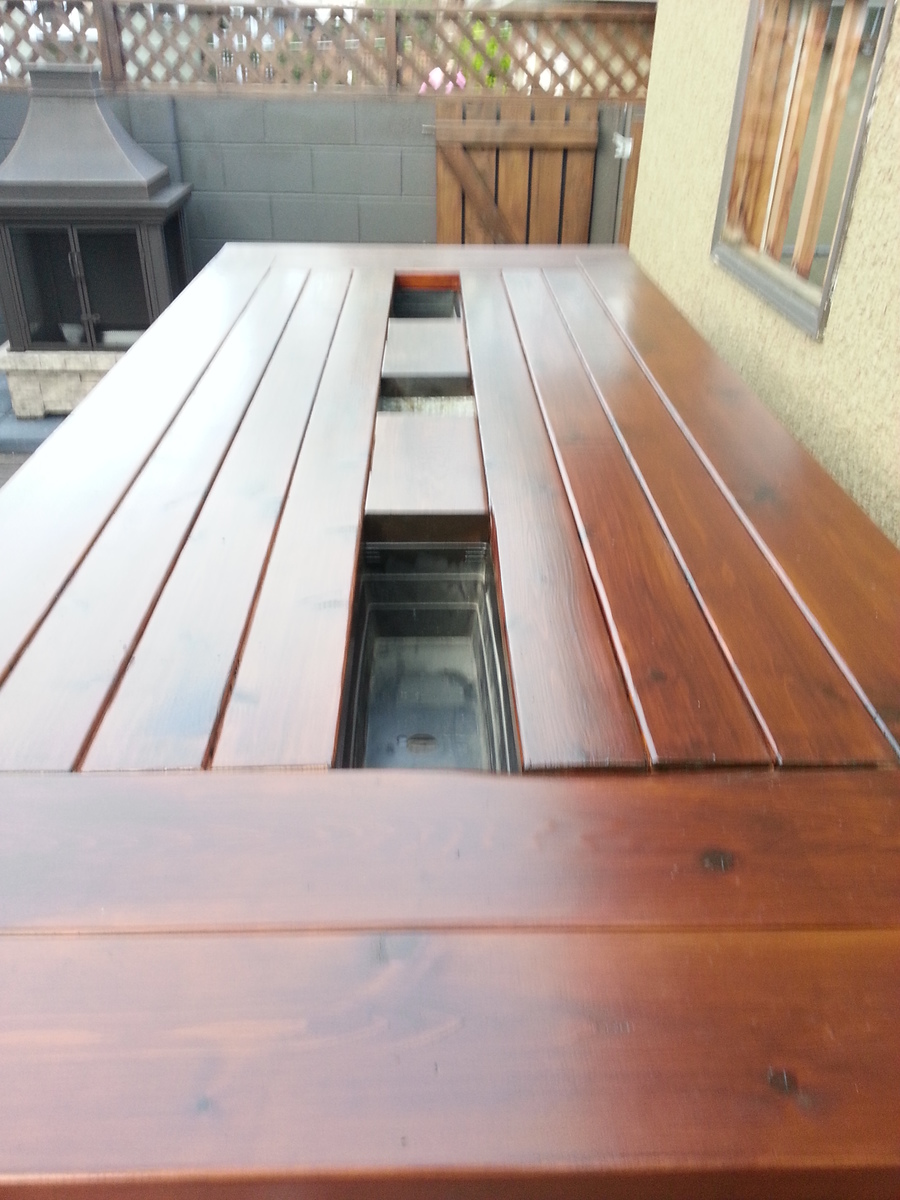
Bar Height Patio Table
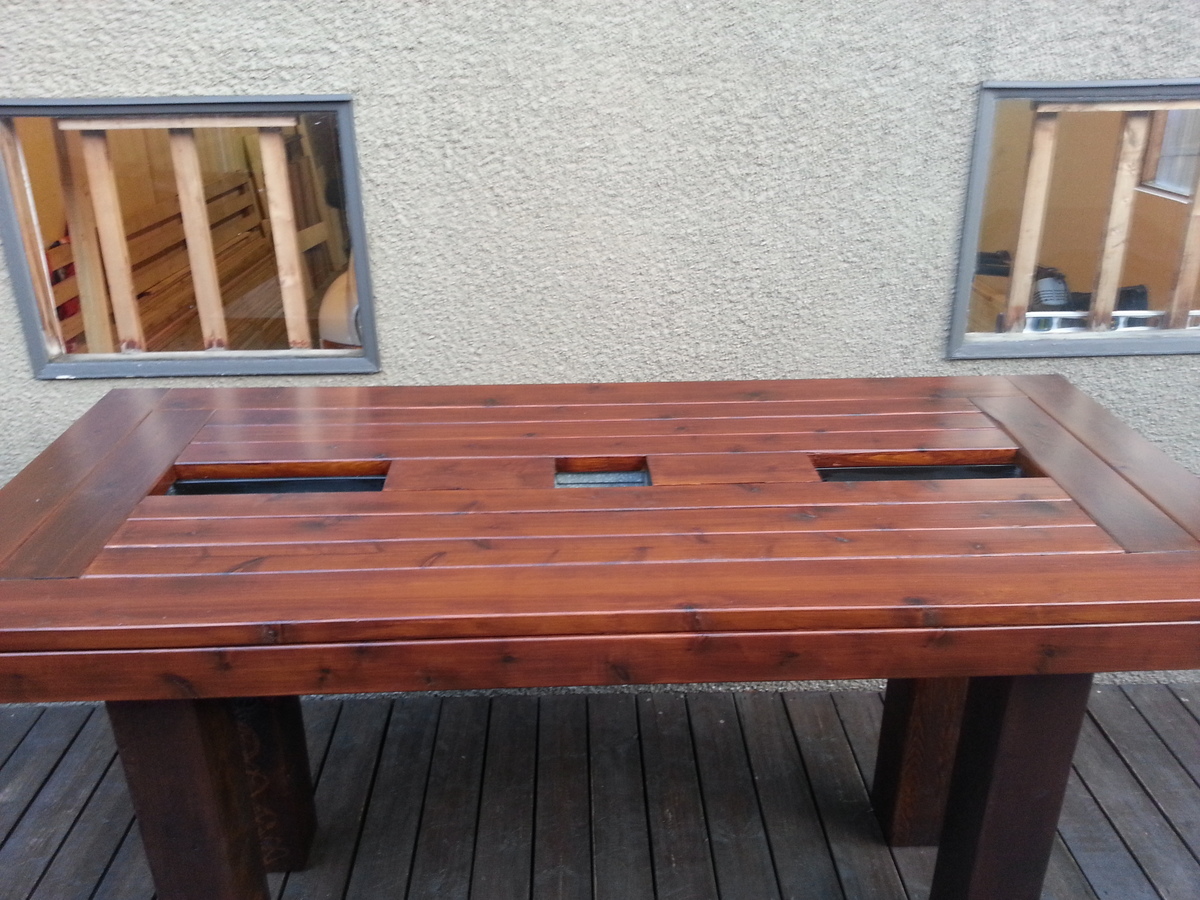
Built this from a couple of the plans on here and ideas I have seen around the web. This is the very first project I did and with plans from Ana White I found it pretty easy to get through the whole thing. I built this to be bar height and now that it is done I might cut it down to be regular table height just because I didn't realize how big it would actually be. But first I will build a couple chairs and a bench to go along with it.
Estimated Time Investment
Week Long Project (20 Hours or More)
Finish Used
I used Sikkens Cetol 123 system, 3 coats and the colour is dark oak.
Recommended Skill Level
Starter Project
Comments
 You really did a great job on this! Love it!
 Washer and Dryer Pedestal
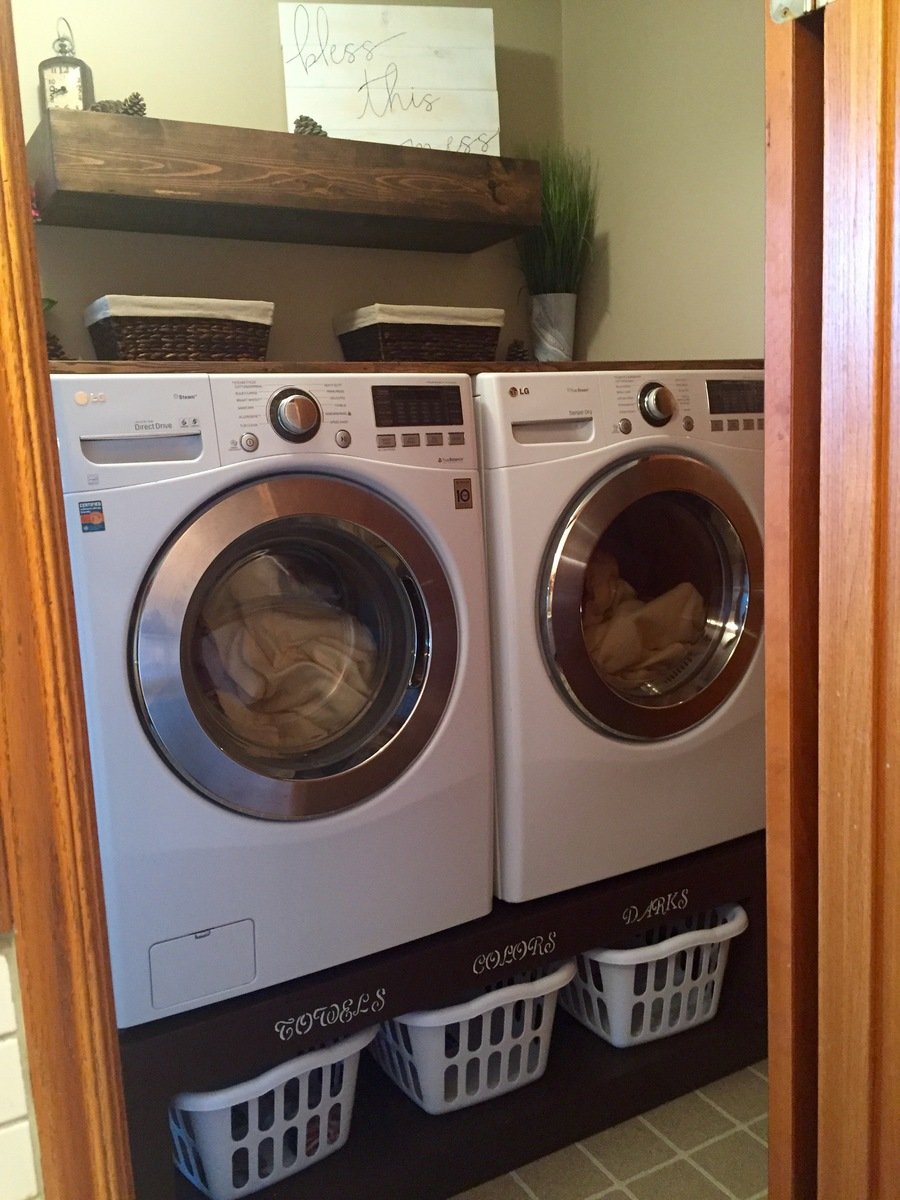
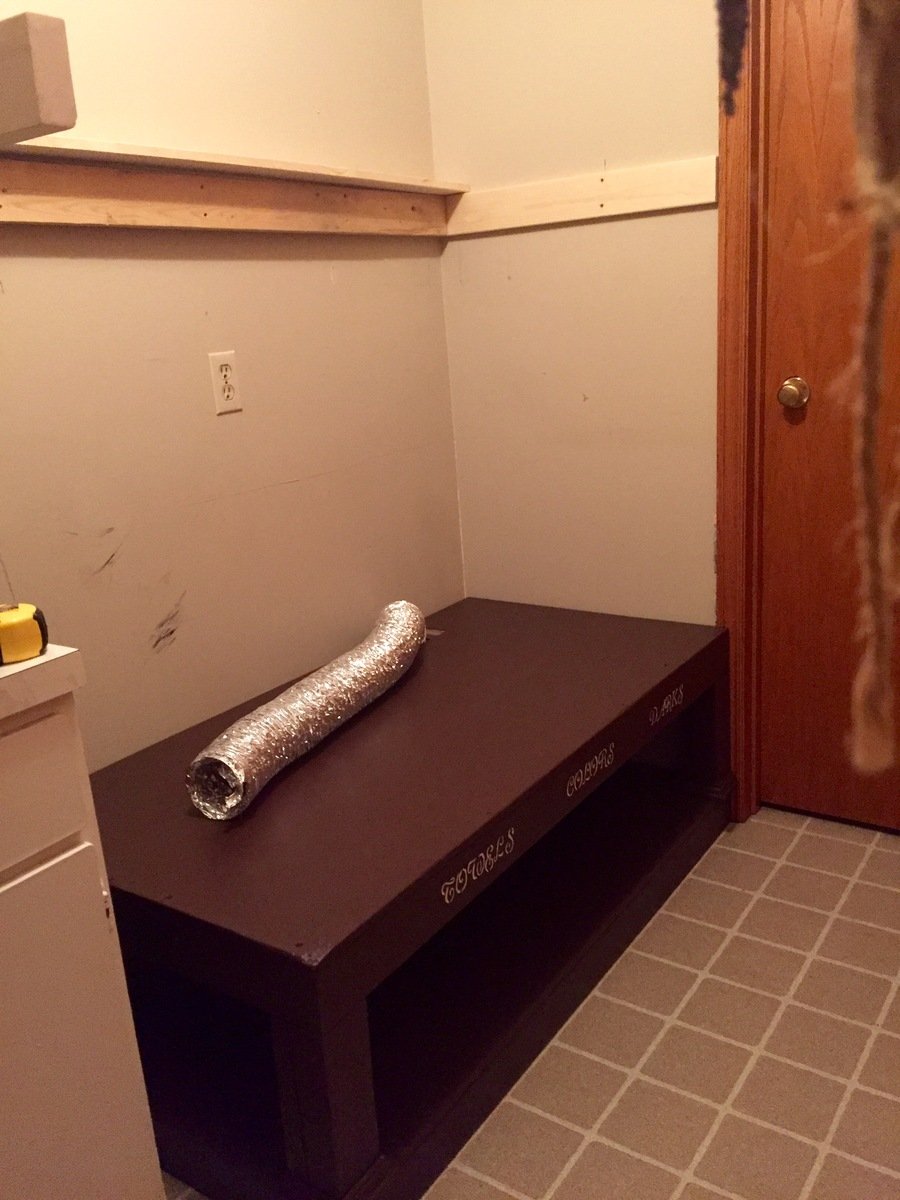
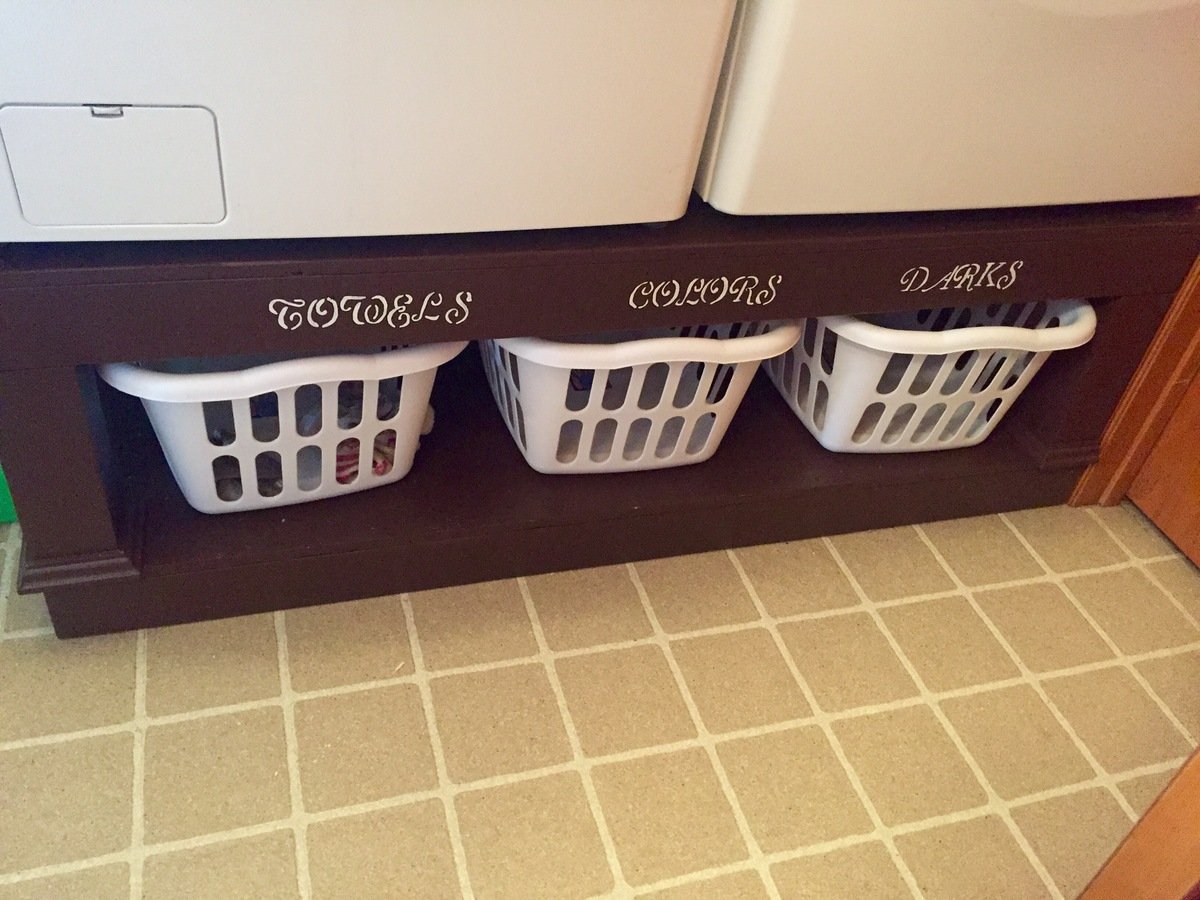
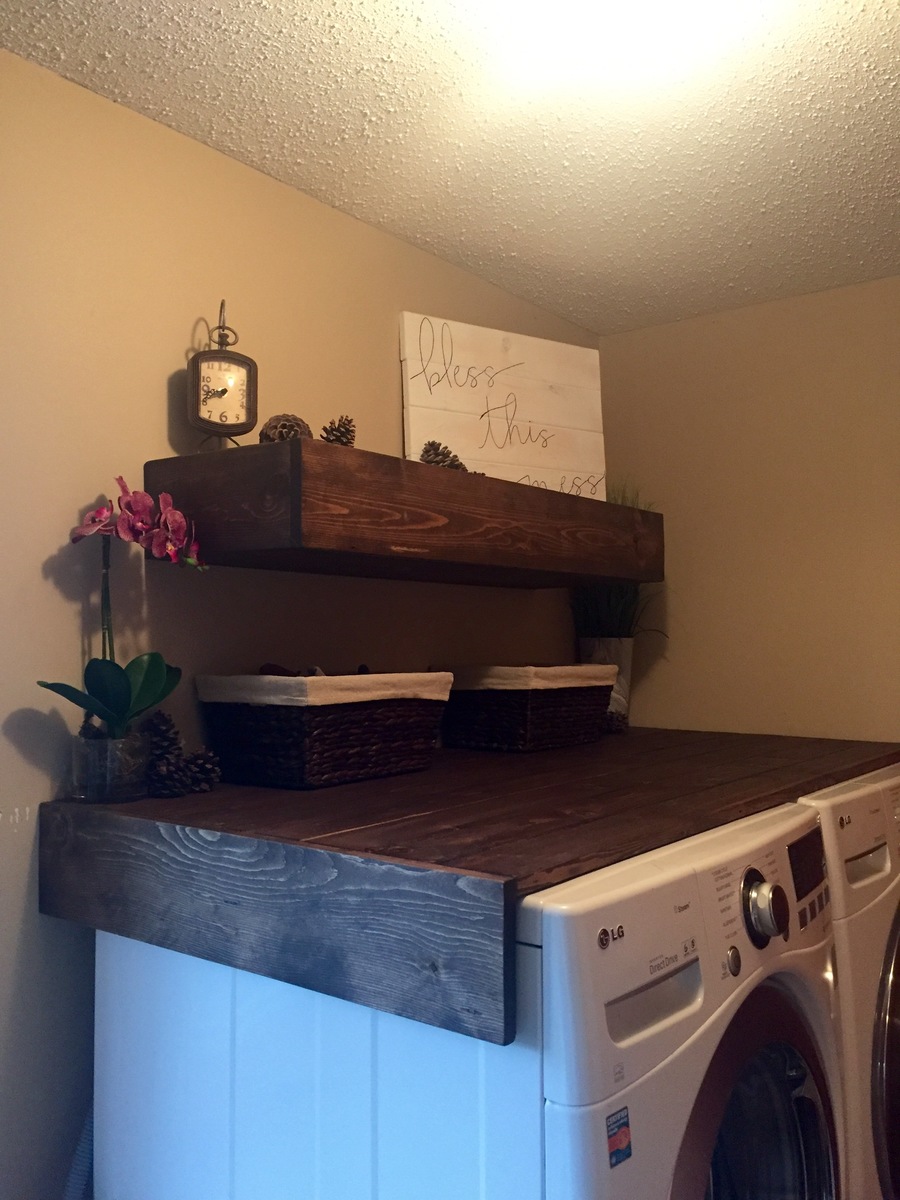
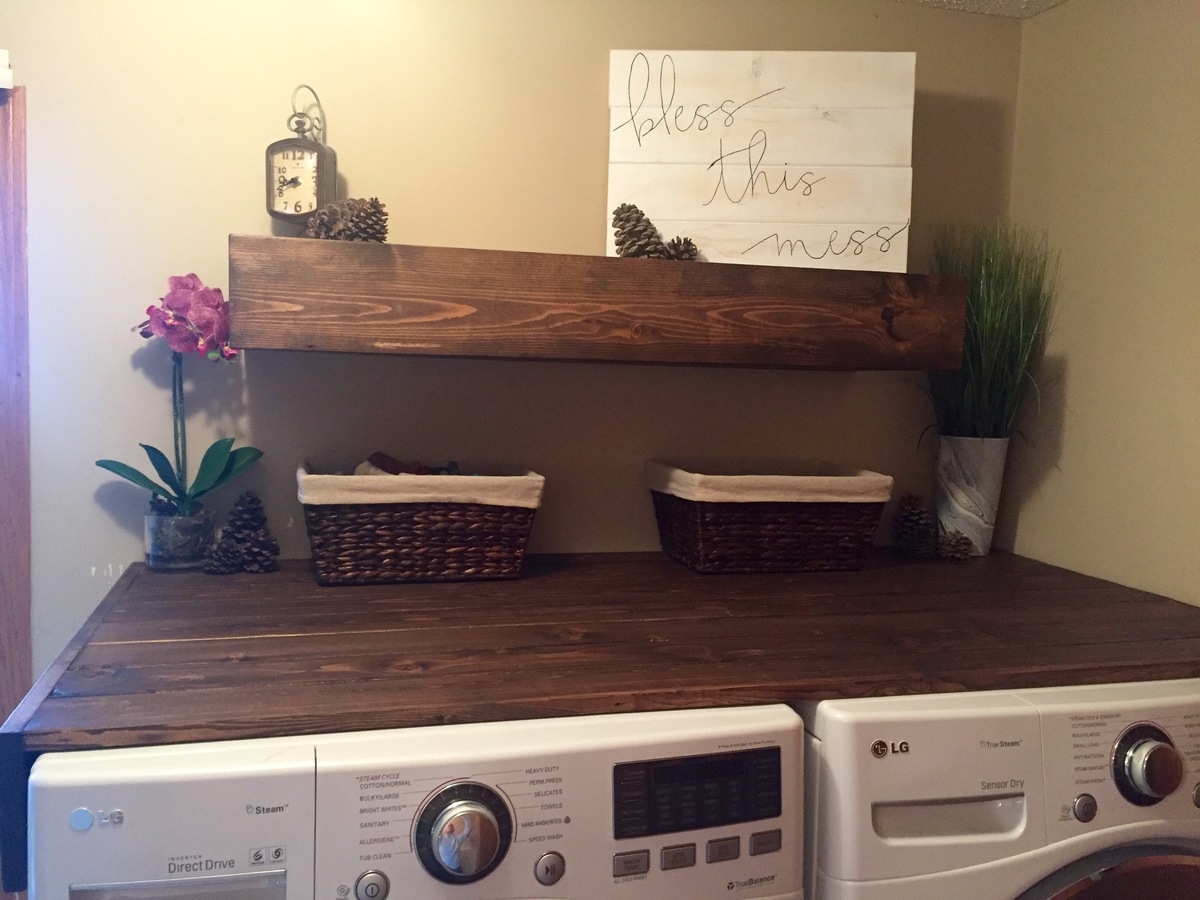
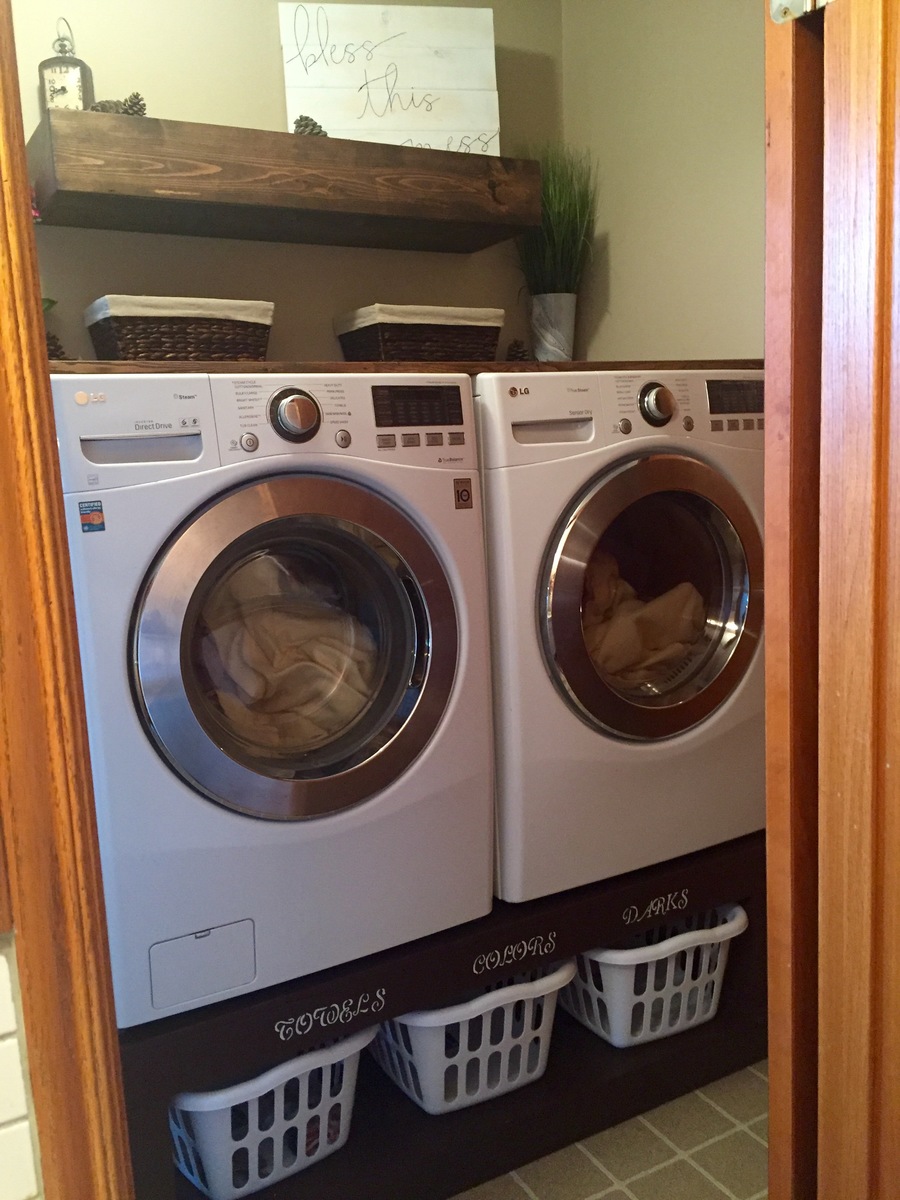
Found these awesome plans from Ana's site here and thought I could definitley make that! My mother needed a new laundry room makeover so it was the perfect opportunity. I made my stand only 56" long to fit perfectly into the spot. Which still allowed enough room for washer and dryer to be on there and enough room if they shook a little. I had to adjust my plans as I wanted it to fit snug against the wall but needed to allow for the dryer hose to connect to wall so I cut out a 4.5"x 5" spot on both the bottom and top platforms to allow for hose and cord to plug in. I put in extra supports going vertically and horizontally to replace the strength for the holes being cut. The result was perfect!
I got creative and added a floating rustic tabletop to the washer and dryer to make the space useful and also added a floating shelf above that. Both stained in a dark walnut.
Happy builder right here!!!
Built from Plan(s)
Estimated Cost
$150
Estimated Time Investment
Weekend Project (10-20 Hours)
Finish Used
Painted a dark chocolate brown and sealed with
Recommended Skill Level
Beginner
Adirondack Chair
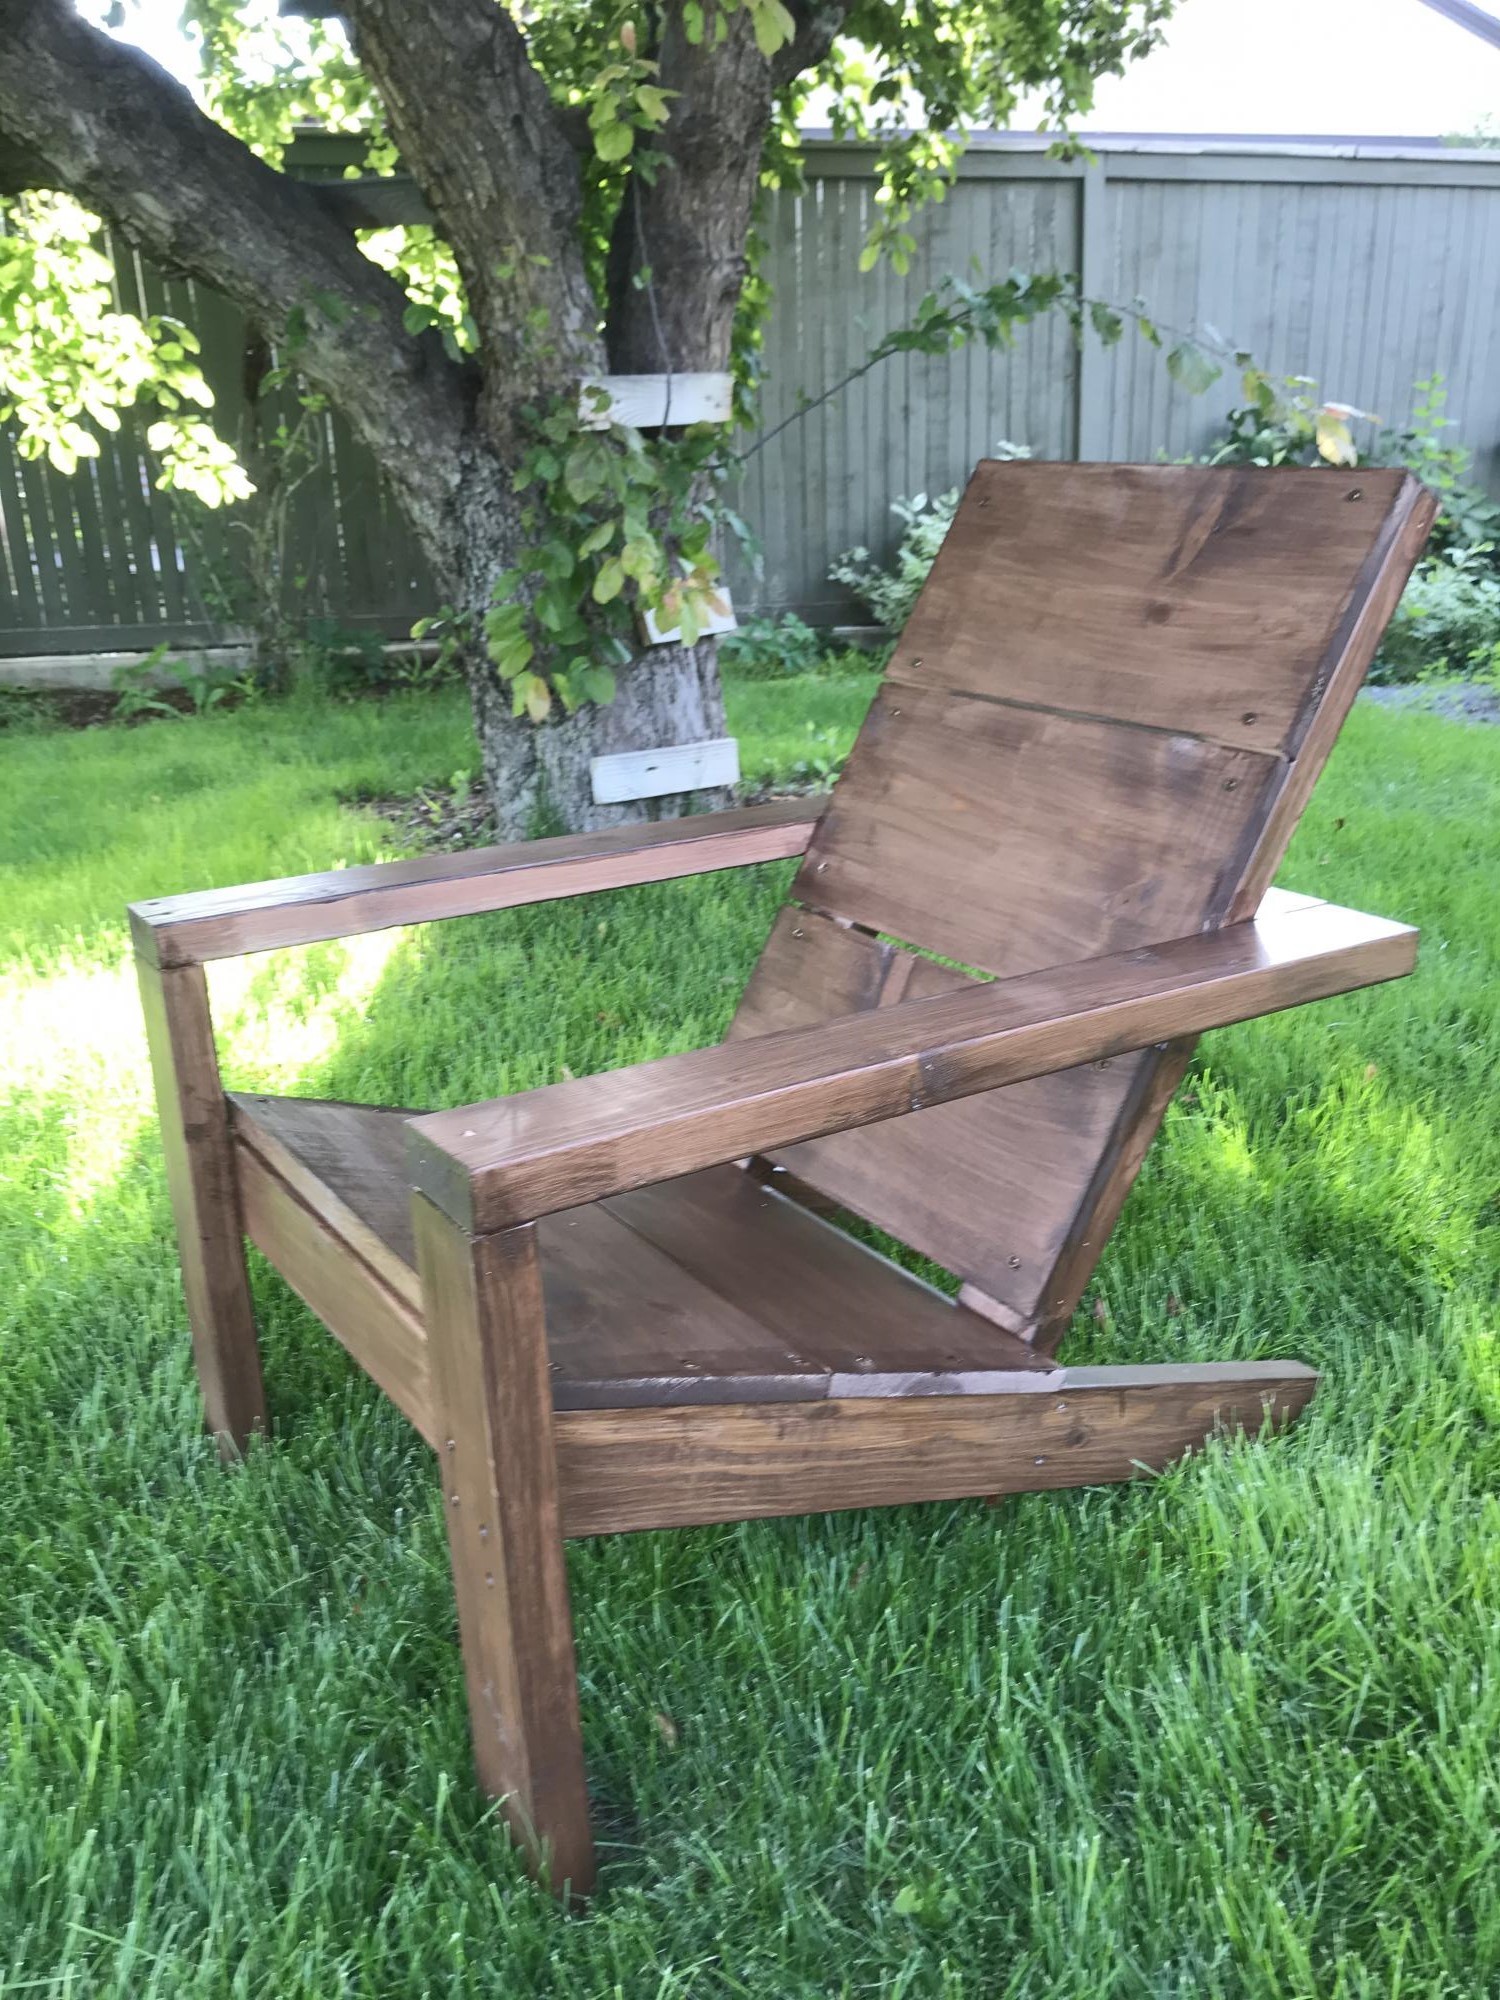
Followed Ana’s plans and turned out great. Stained it after it was assembled but would recommend doing that before assembly. Very comfy.
Built from Plan(s)
Estimated Cost
$35
Estimated Time Investment
Afternoon Project (3-6 Hours)
St. Patty's Day Cornhole Boards
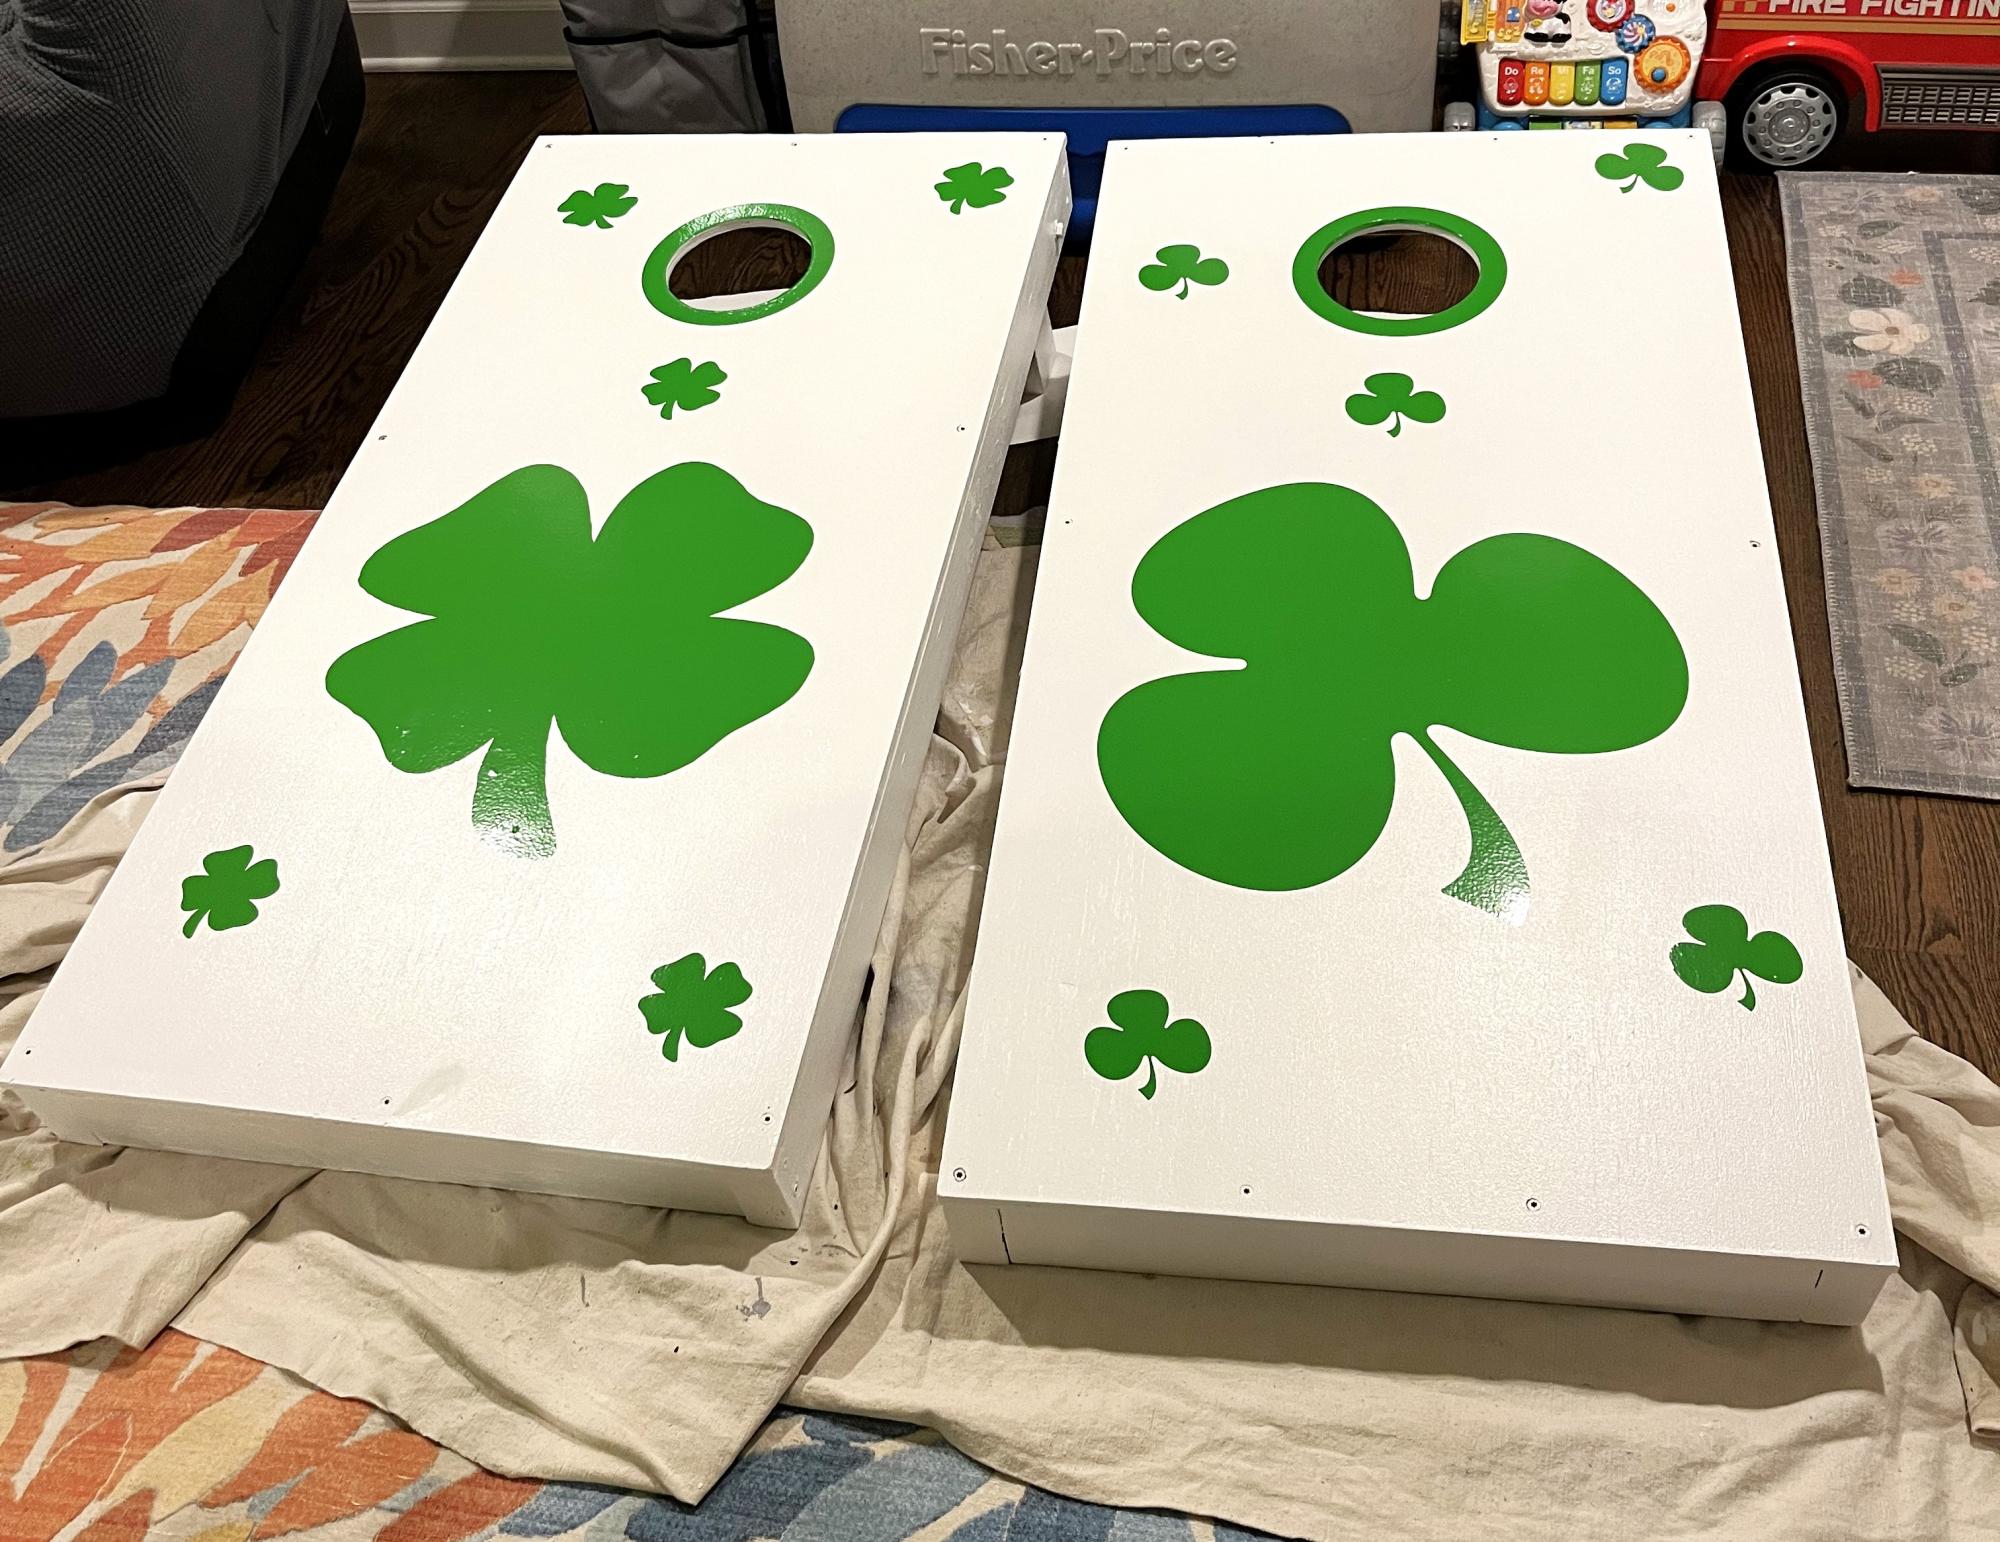
This was my second project and the step by step guide labs make everything doable. Ordered stickers and used them at a St Patrick’s Day party. Love
Built from Plan(s)
Hailey Storage Bed
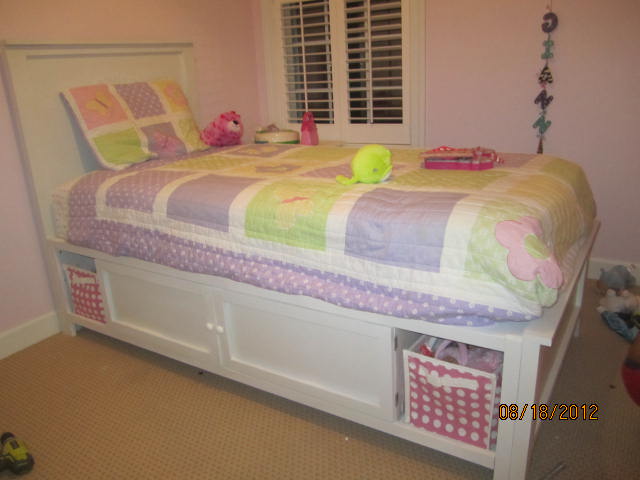
I think I Iove this bed more than my little girl. It's really a beautiful bed with lots of storage. I put magnetic closures on the insides of the cabinets to hold them closed. I also put the same applique on the headboard as Ana. I looked for a different one, but it's the girliest we could find at the time and my little princess loved it. It's a very sturdy bed. I put a week long project, but again, as I've stated before on other posts, it would probably not take nearly as long if you have help with the building or especially with the kids! When you have to stop every 5 minutes and take care of kids and home, it takes a little longer. All the building mommies out there know exactly what I'm talking about! Thank you so much, Ana, for all you do and for all of the empowerment and motivation.
Estimated Time Investment
Week Long Project (20 Hours or More)
Finish Used
Valspar White Spray Paint, 2-3 coats, sanding in between coats
Minwax Polycrylic Spray
Minwax Polycrylic Spray
Recommended Skill Level
Intermediate
Comments
Stone Bird House
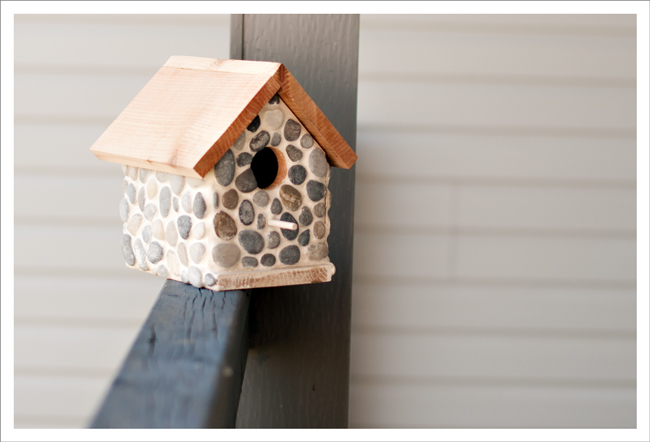
I've been collecting small flat rocks off the road every time I take the dog for a walk. Unfortunately my grout cracked, I probably used the wrong type. Anyone who can tell me what I should have used instead? Suggestions very welcome, as I might try this again.
Built from Plan(s)
Estimated Cost
$5.00
Estimated Time Investment
An Hour or Two (0-2 Hours)
Finish Used
Tiled road rocks. No finish.
Recommended Skill Level
Starter Project
Comments

Mon, 06/09/2014 - 14:28
Too cute!
I love this idea! What kind of grout did you use? I would imagine that for such large gaps between the rocks, you'd have to use a sanded grout (most state whether they're for indoor/outdoor use, but I've only seen ones that say both). But it could have cracked because the wood underneath expanded or contracted or the grout wasn't the right consistency.. Love, love, love!

In reply to Too cute! by Lady Goats
Wed, 06/18/2014 - 09:30
Thanks so much
Thank you for your comment on my birdhouse! I talked to a contractor who suggested that my grout was too watery when I started. I also used Polyblend non-sanded grout. I may use sanded next time. Trying to decide if I should give it another go, I kind of want to!
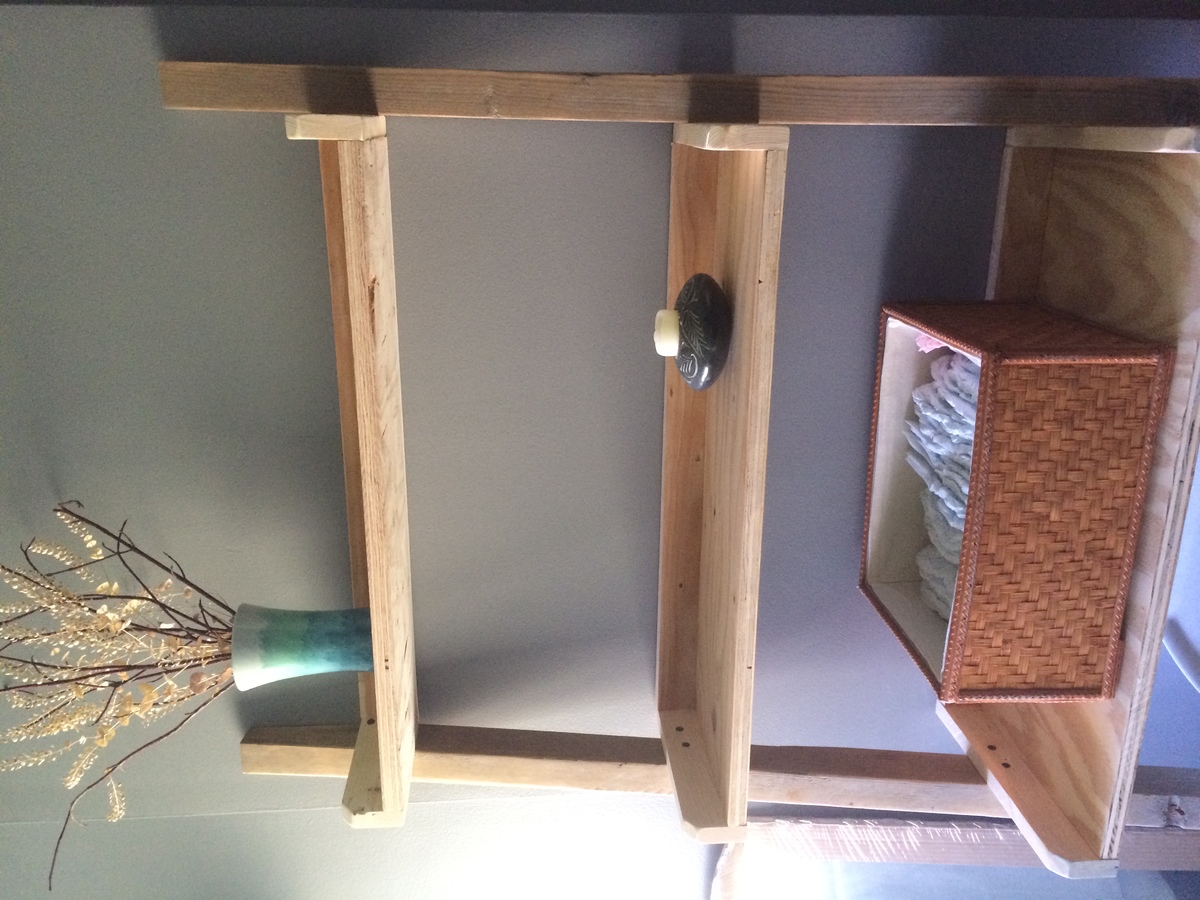
Ryobi Nation Bathroom Ladder
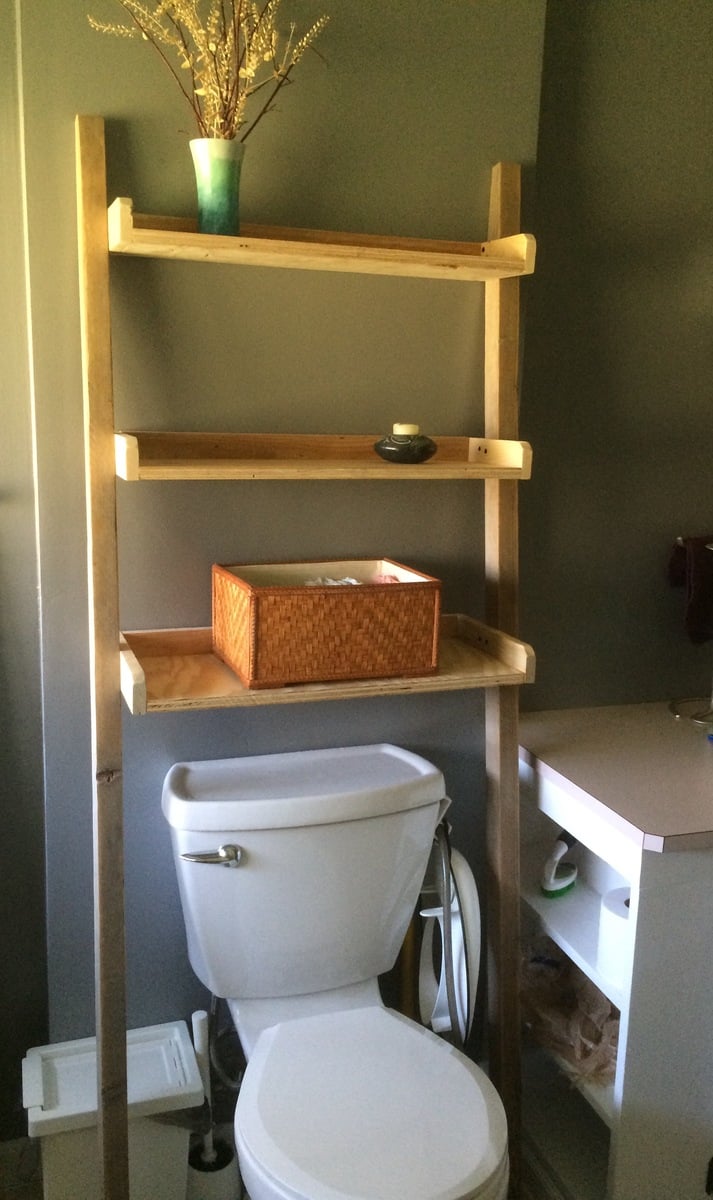
This leaning bathroom ladder was the perfect final touch to our budget bathroom re-do.
I used all reclaimed wood - old barn wood, pallet, and scraps - and had the nails/screws on hand. The only cost will be for stain, which the jury is still out on. Likely I will use the Danish oil in medium walnut. Loved doing this project and the result!
Built from Plan(s)
Estimated Cost
$10 (reclaimed wood and hardware was on hand)
Estimated Time Investment
Day Project (6-9 Hours)
Finish Used
I rounded off the edges of the shelves like the "tip" recommended so they weren't so sharp. I don't have a nail gun, so I pre drilled very small holes and hammered in the nails after the glue set for a bit. I also cut a 10degree angle off the bottoms of the sides (to match the leaning angle at the top) so they would sit flat.
Recommended Skill Level
Beginner
Comments

Fri, 09/09/2016 - 11:01
My first brag post!
I posted this brag post before registering with a user ID. I'm not sure how to "claim" my (first ever!) brag post. Anyone know if this can be done?

Fri, 09/09/2016 - 16:44
Thanks for adding! We fixed
Thanks for adding! We fixed it. Great job, love that most of the project is reclaimed!
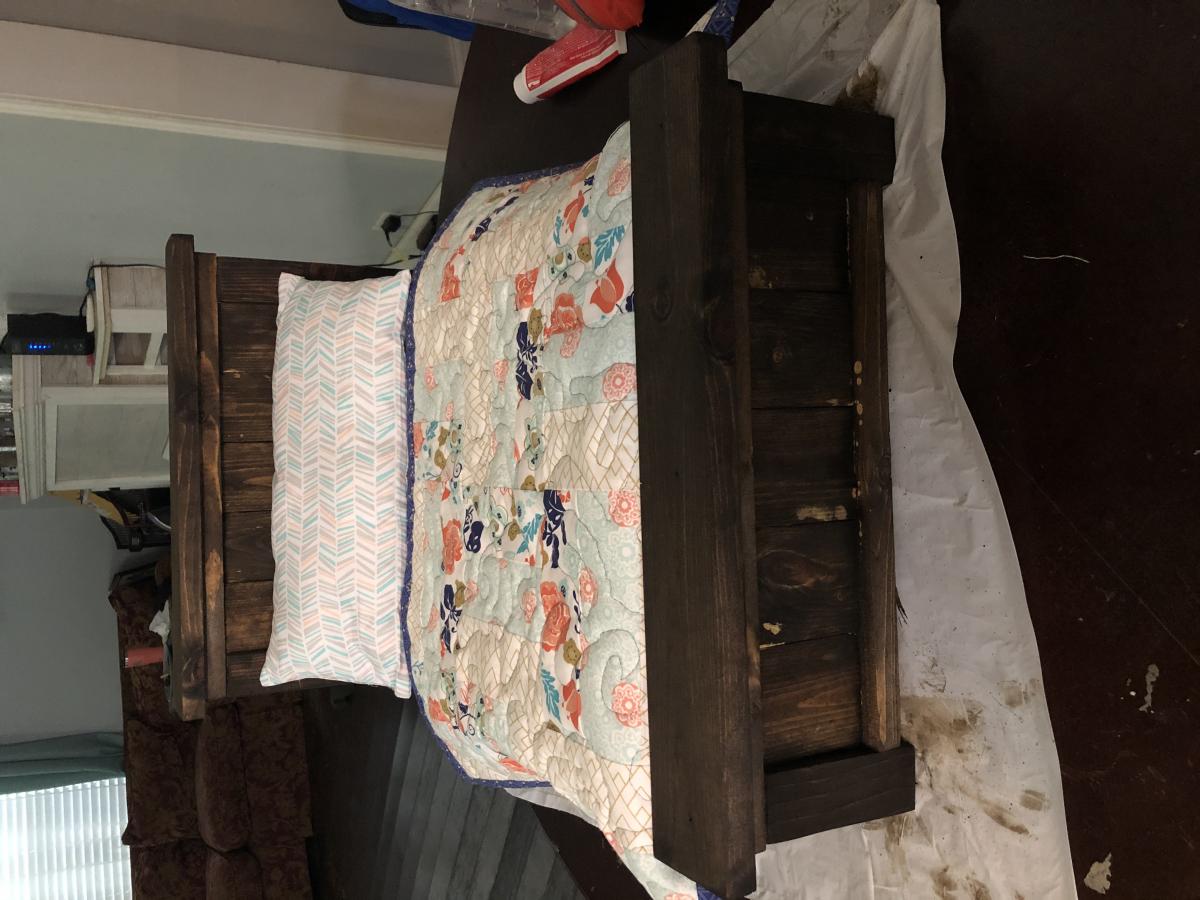
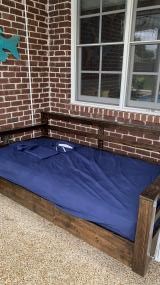
Farmhouse Dog Bed
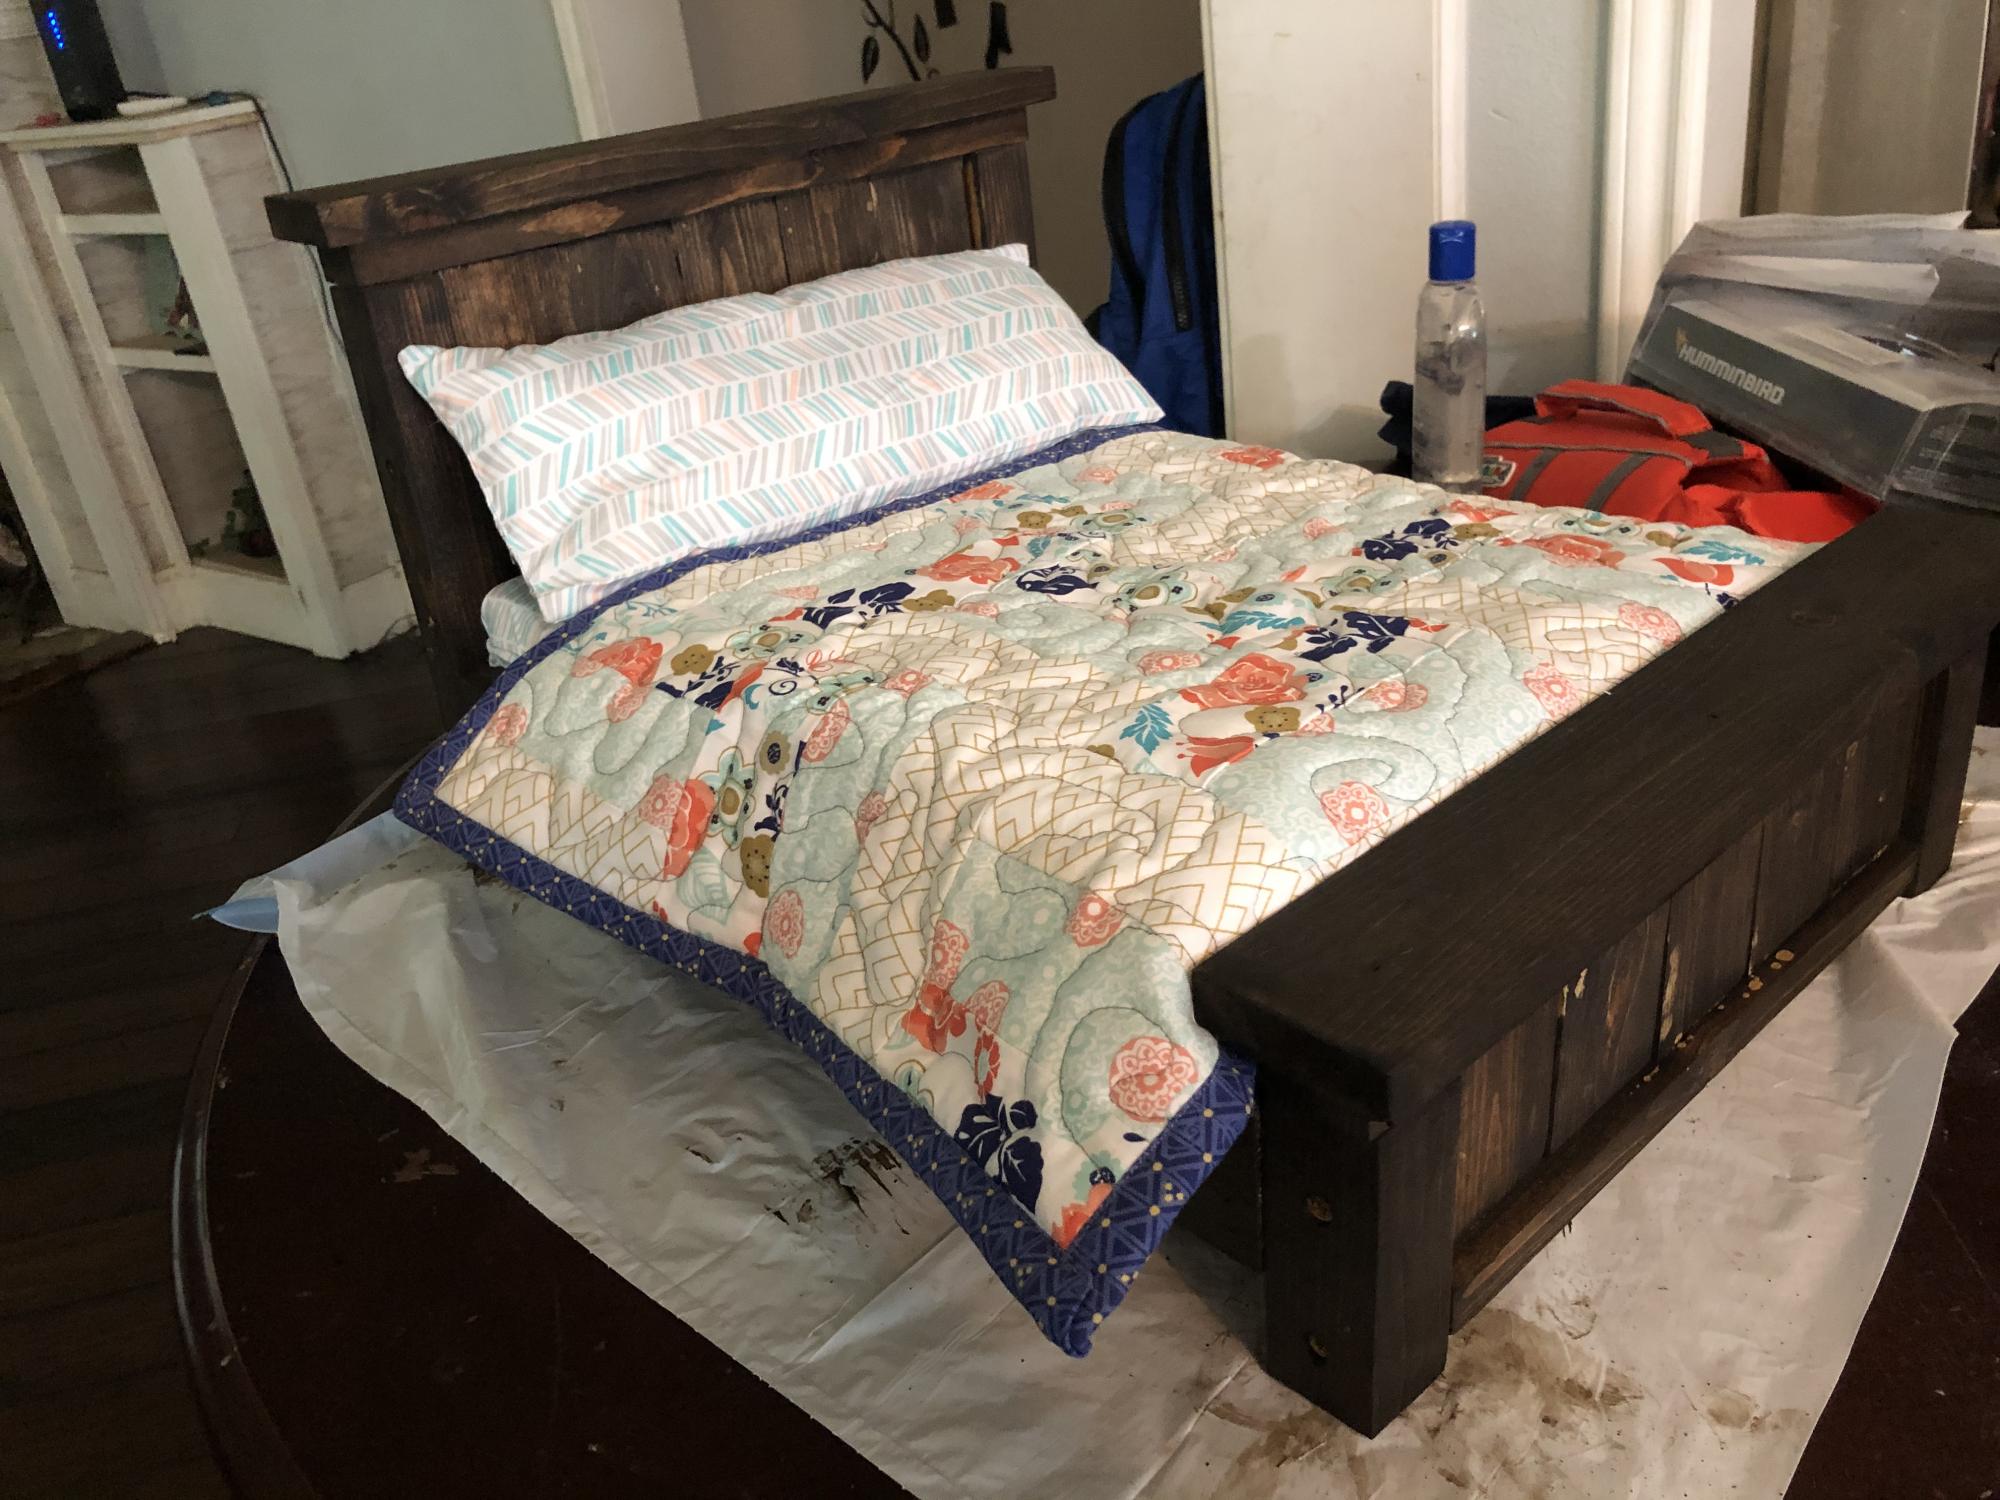
Followed the Farmhouse Doll Bed build! It worked out great! It’s the perfect size for my tiny pup. Cost and time to finish includes everything you see here. The bed frame, the sheets, pillow, and mini quilt all made by hand.
Estimated Cost
$65
Estimated Time Investment
Afternoon Project (3-6 Hours)
Finish Used
Minwax Dark Walnut
Recommended Skill Level
Beginner
Simple Wood Island
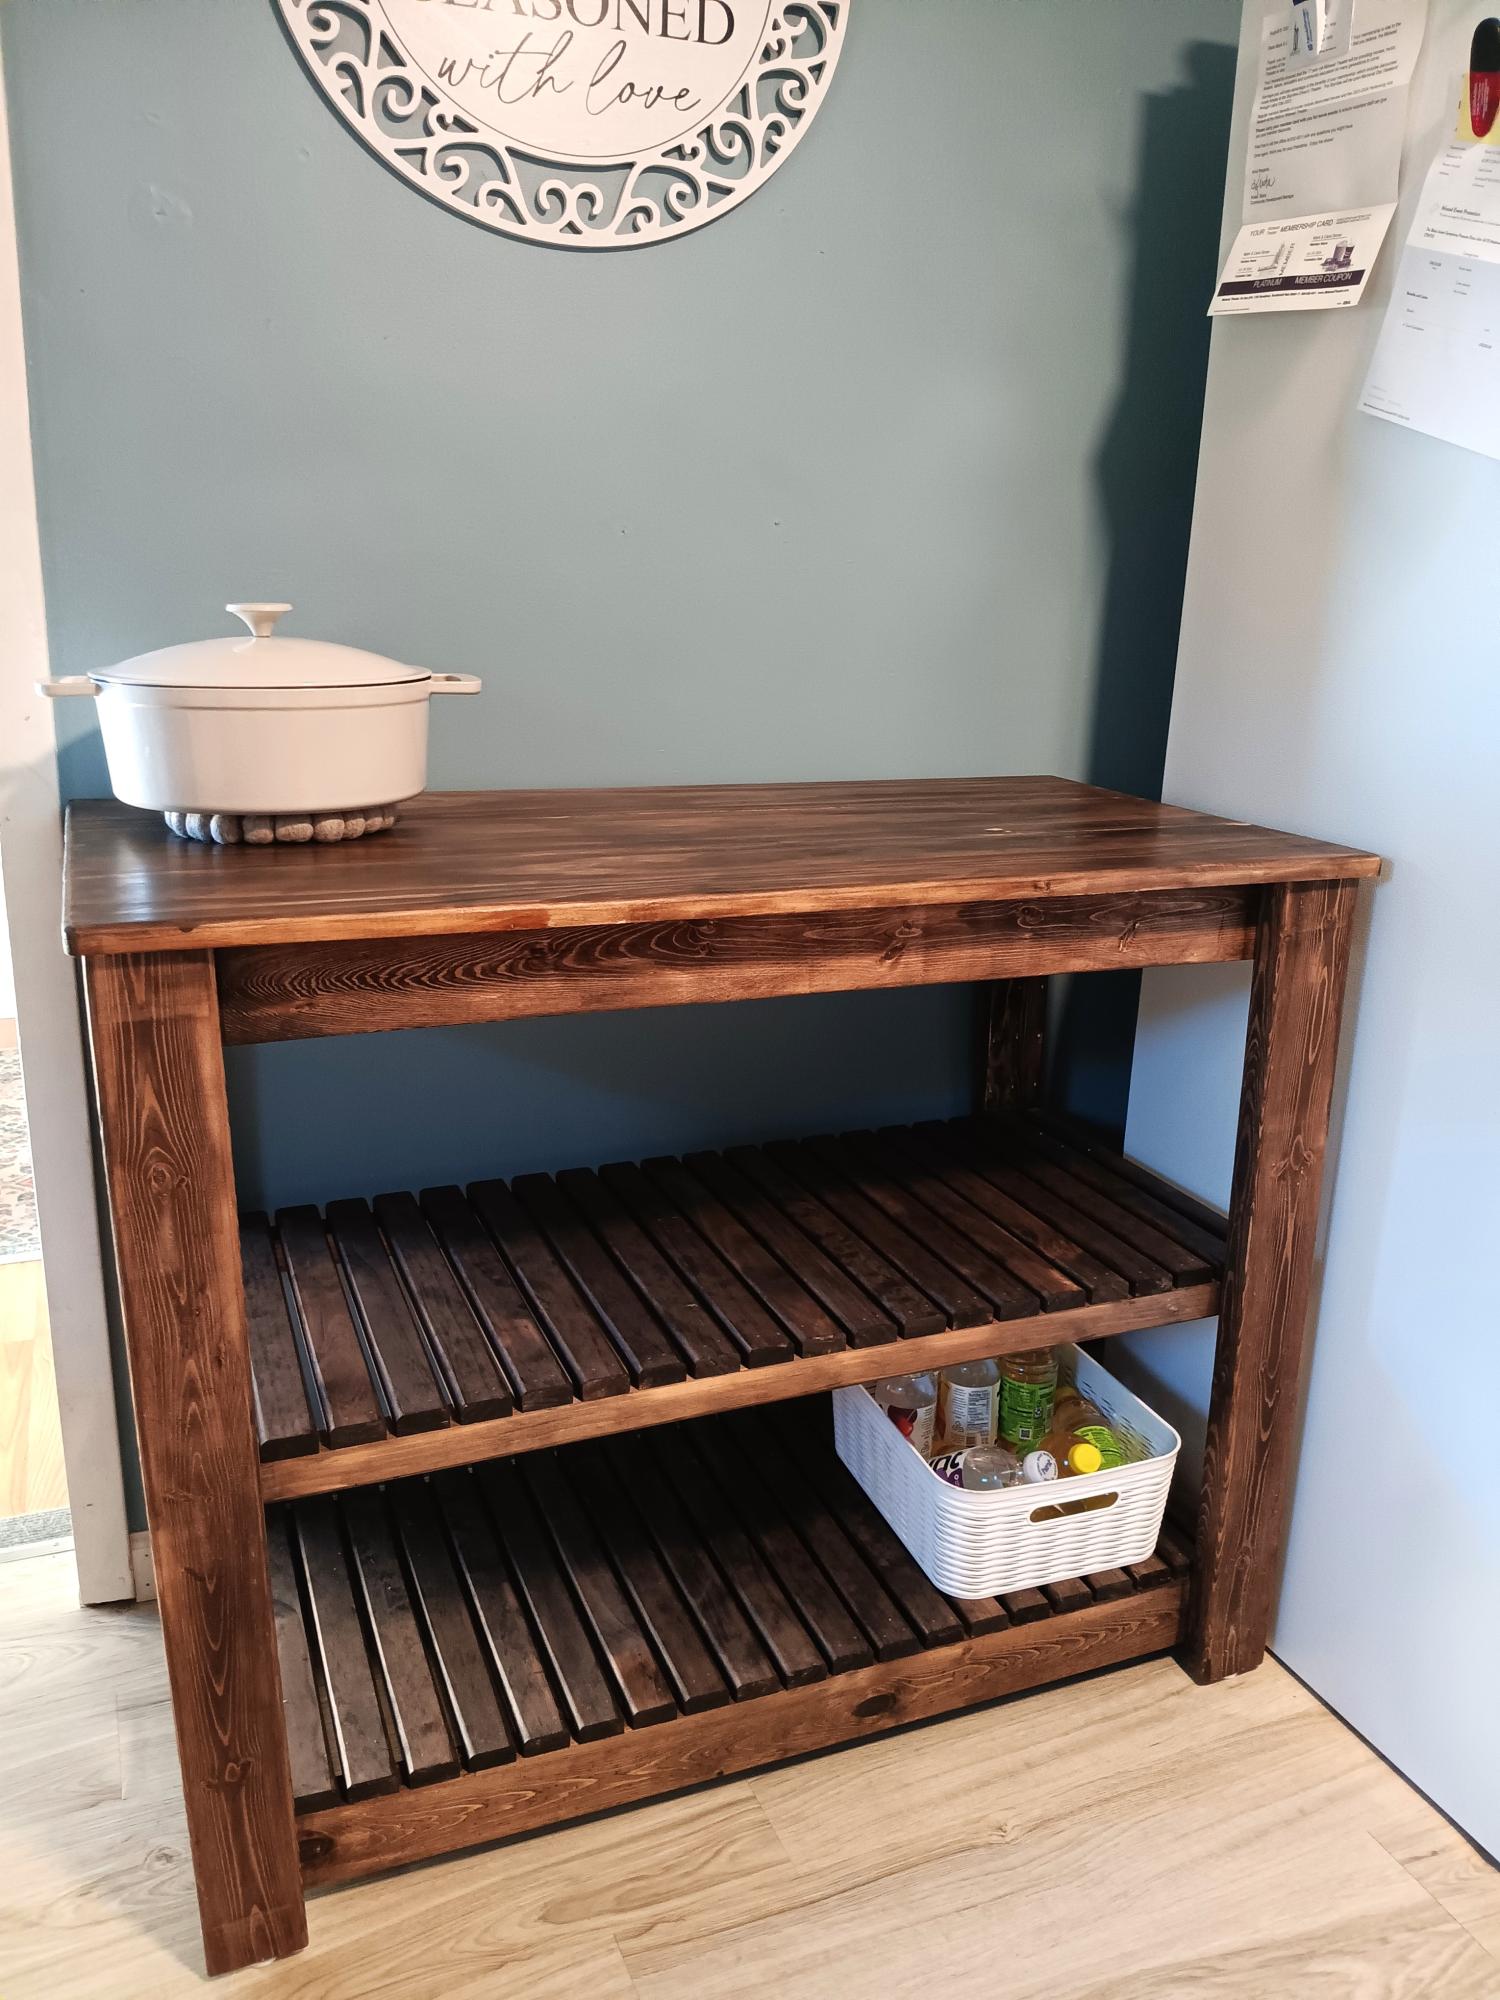
This was a fun project. Not difficult to build, just a lot of pieces. Added counter space near to the stove.
Built from Plan(s)
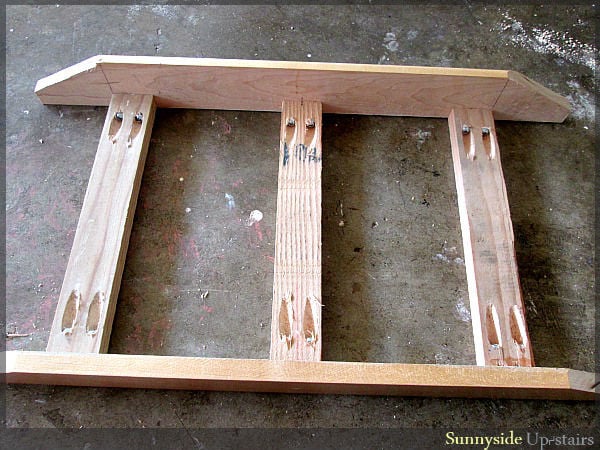
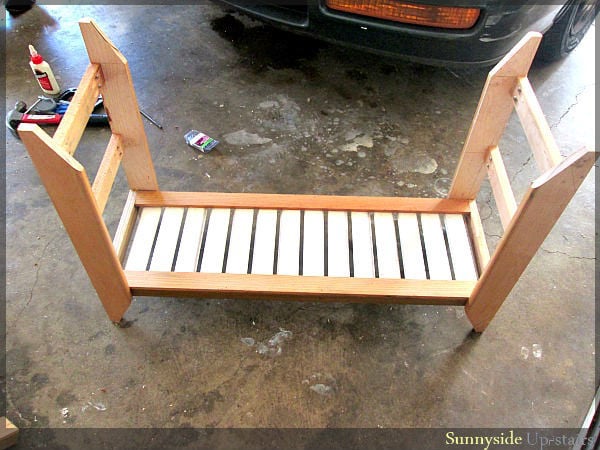
Boardwalk Shoe Bench
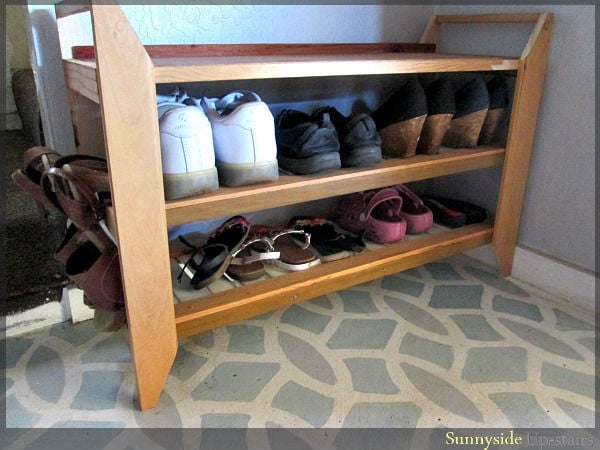
I love the legs on Crate&Barrel's Boardwalk Bench, but I was on a tight budget (under $10), so I needed to make many modifications so that I could use the random pieces of wood I had accumulated from my local deconstruction warehouse, including free wood louvers for the slatted shoe shelves. If you'd like to make your own, more photos of my process are on my little blog: http://sunnysideup-stairs.blogspot.com/2014/05/boardwalk-shoe-bench.html

Estimated Cost
$5
Estimated Time Investment
Afternoon Project (3-6 Hours)
Finish Used
None applied, yet. :)
Recommended Skill Level
Beginner
Comments

Tue, 06/10/2014 - 17:06
Great bench!
Great use of materials! The lines are elegant, it's a wonderful build! (Also, I love the floor!)
:)
Joanne

Mud room Lockers
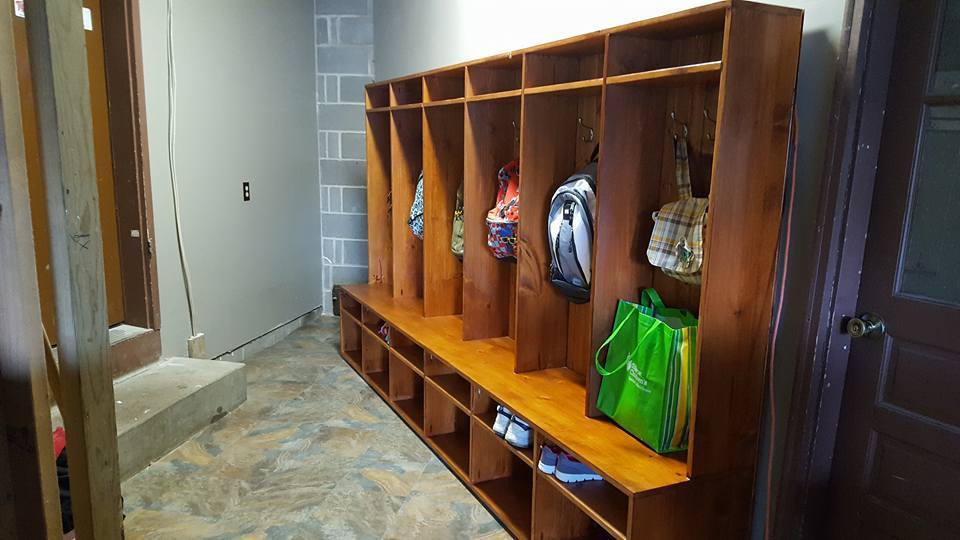
This is 10 feet long and 5 1/2 feet tall. Made using a Kreg Jig.
Estimated Time Investment
Week Long Project (20 Hours or More)
Recommended Skill Level
Beginner
Comments
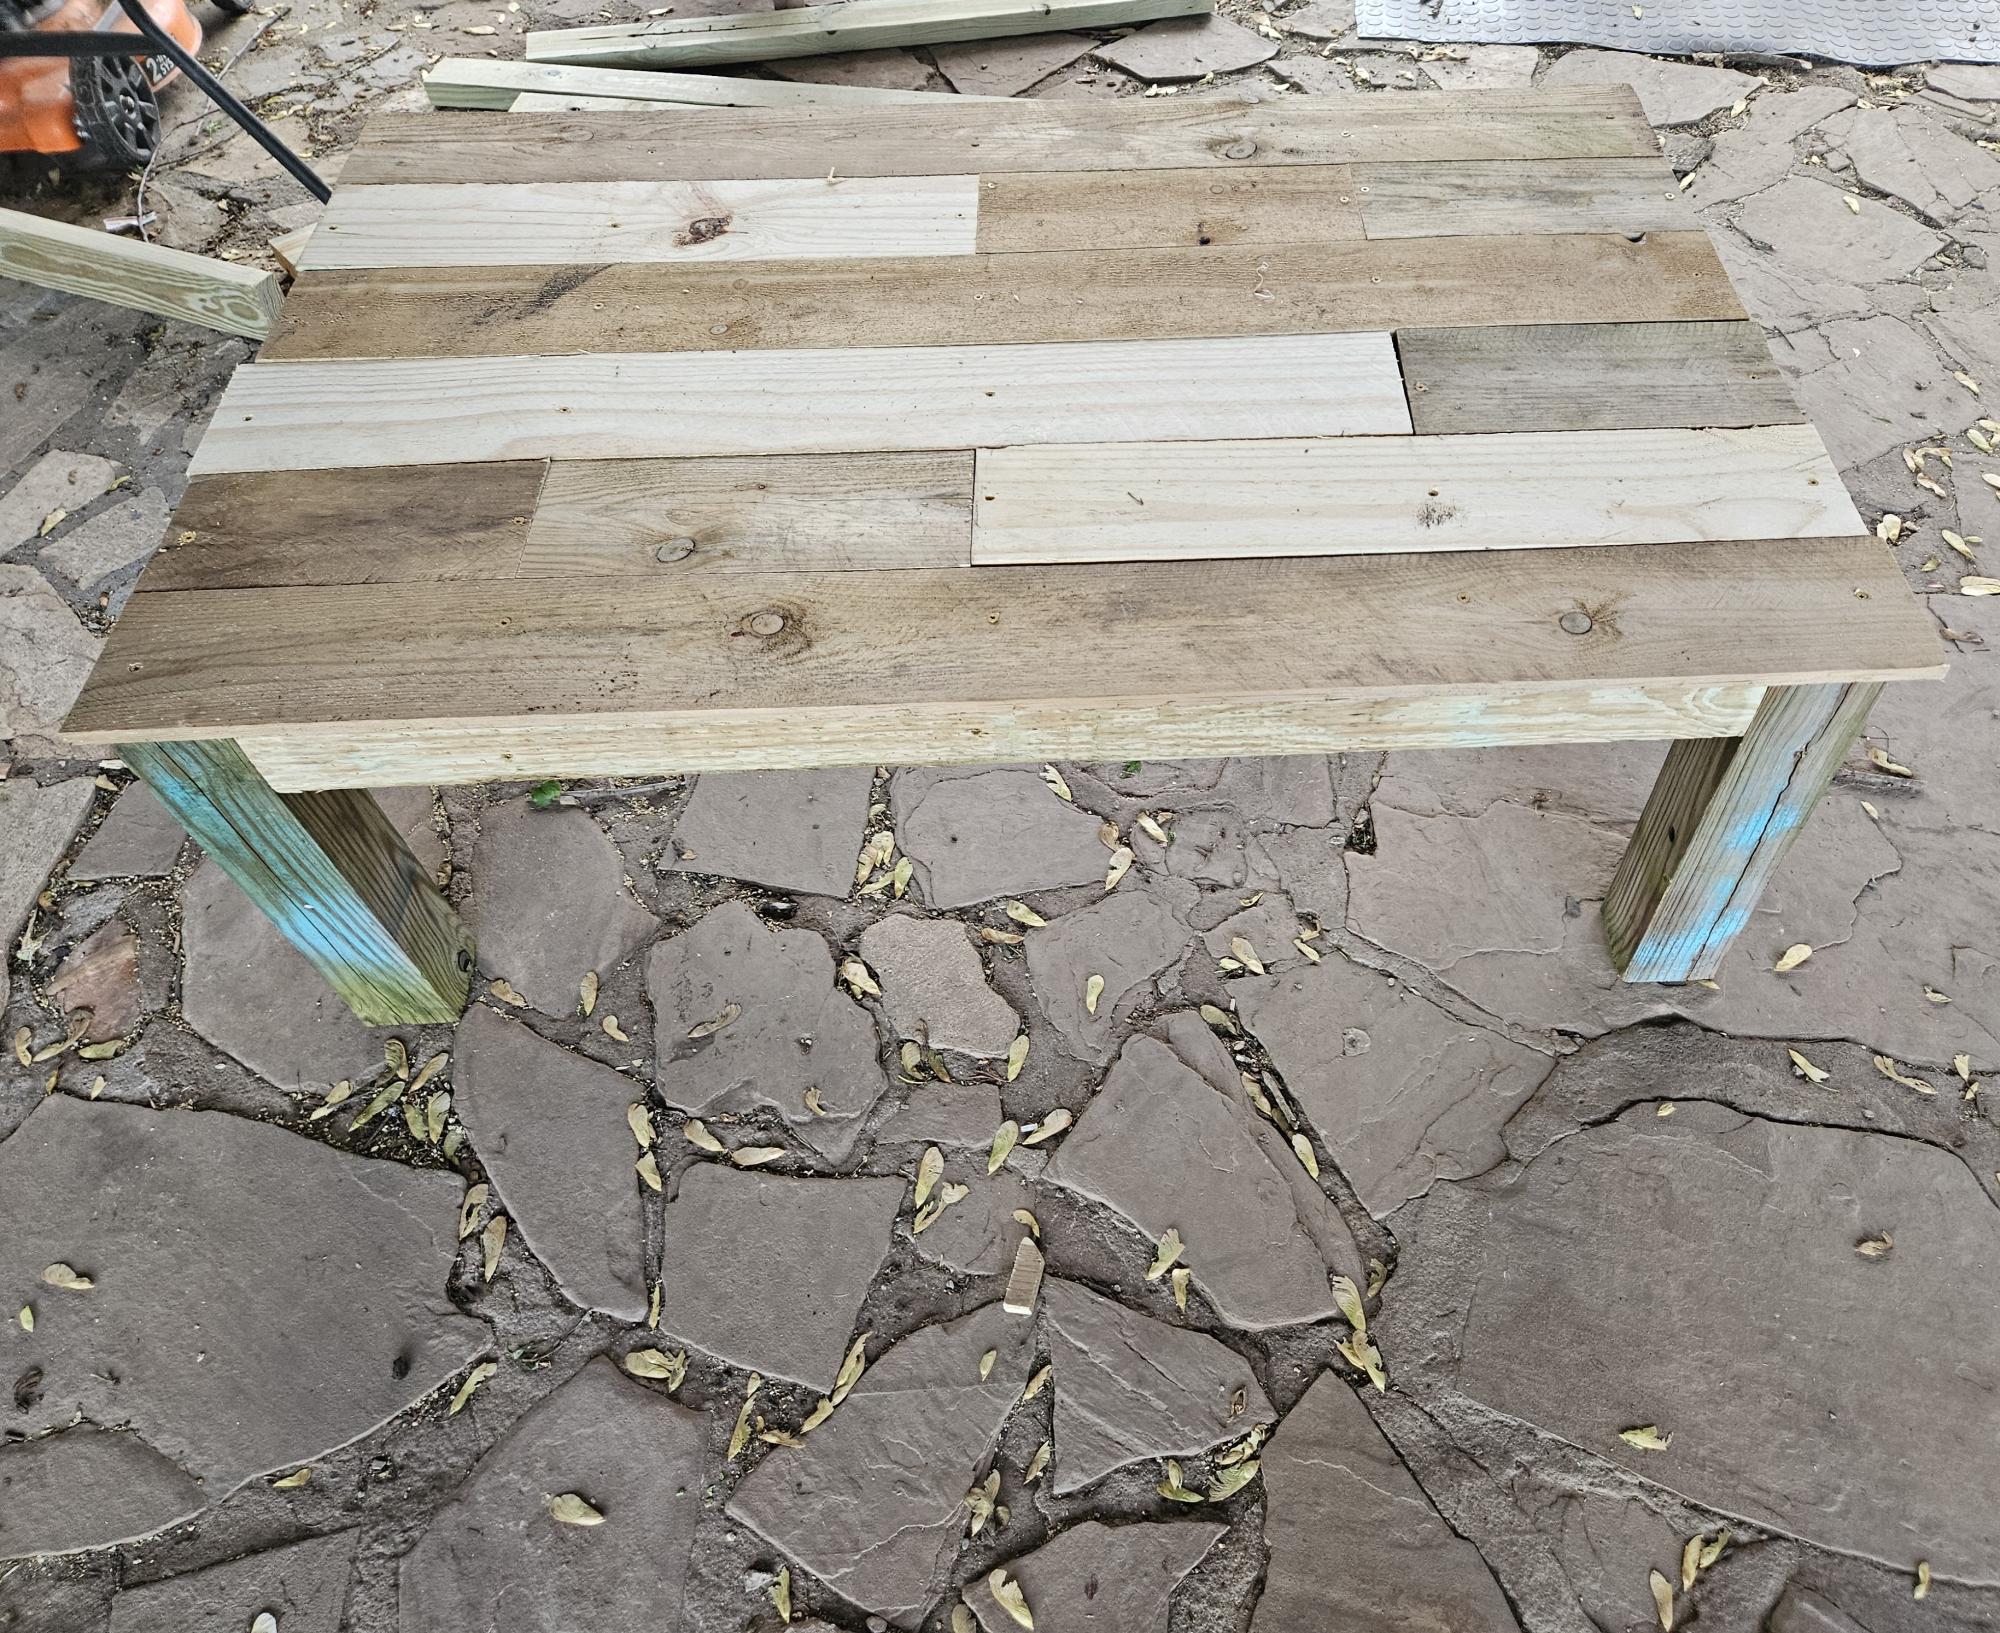
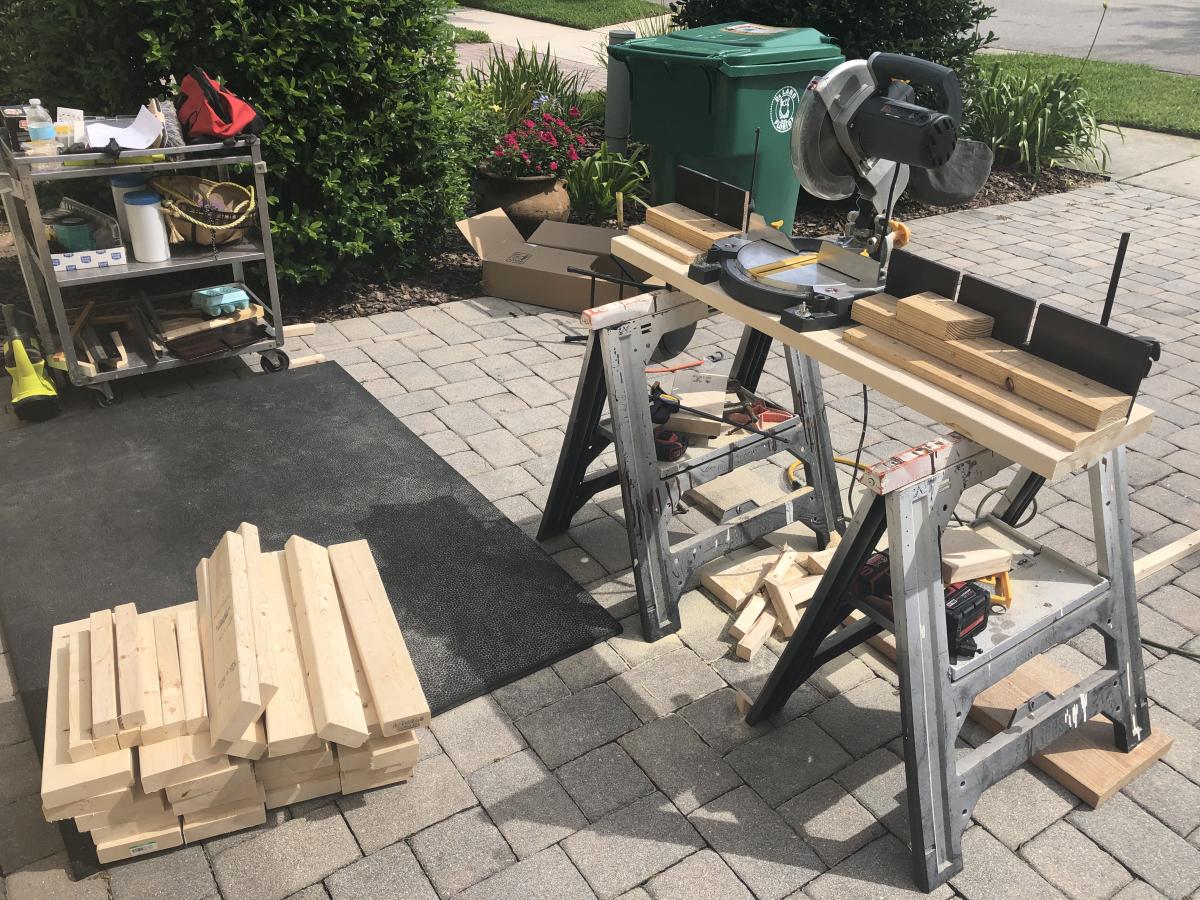
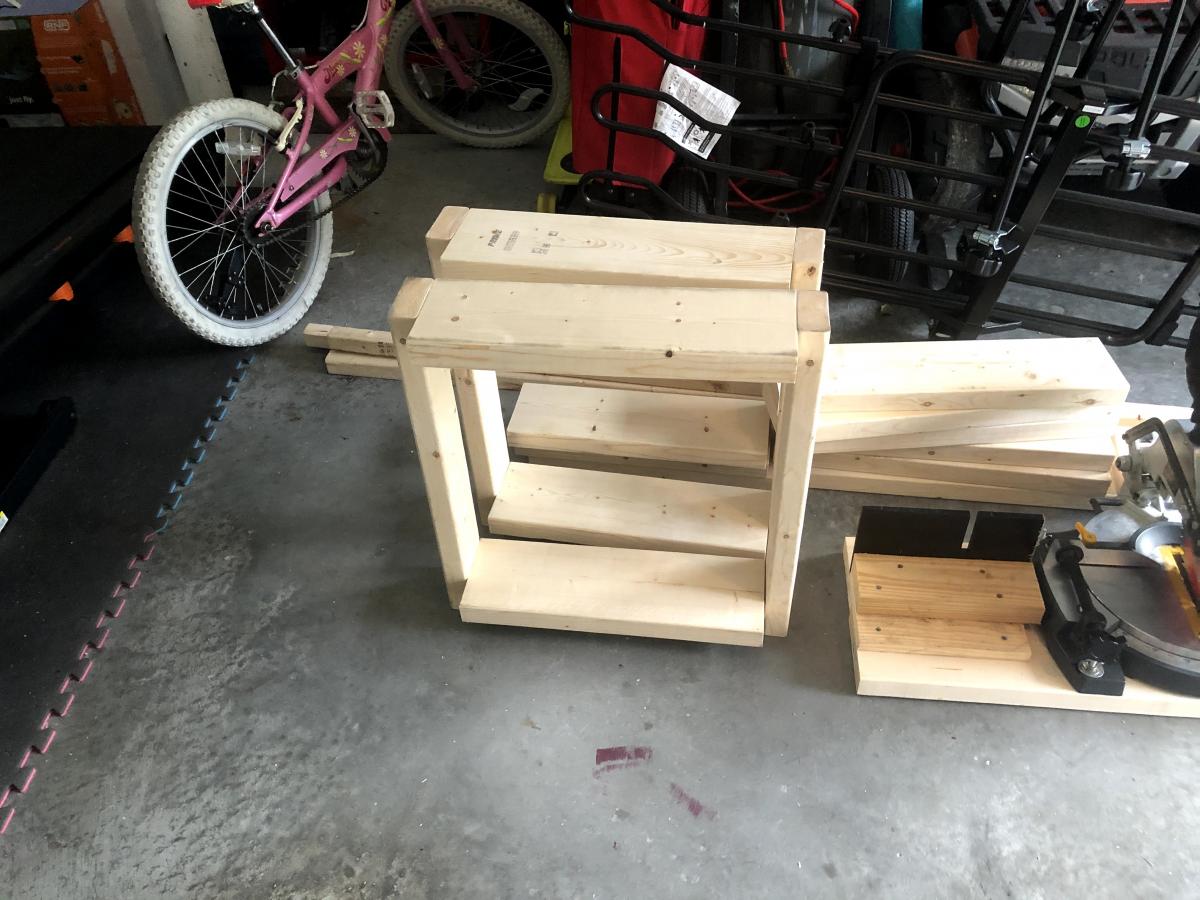
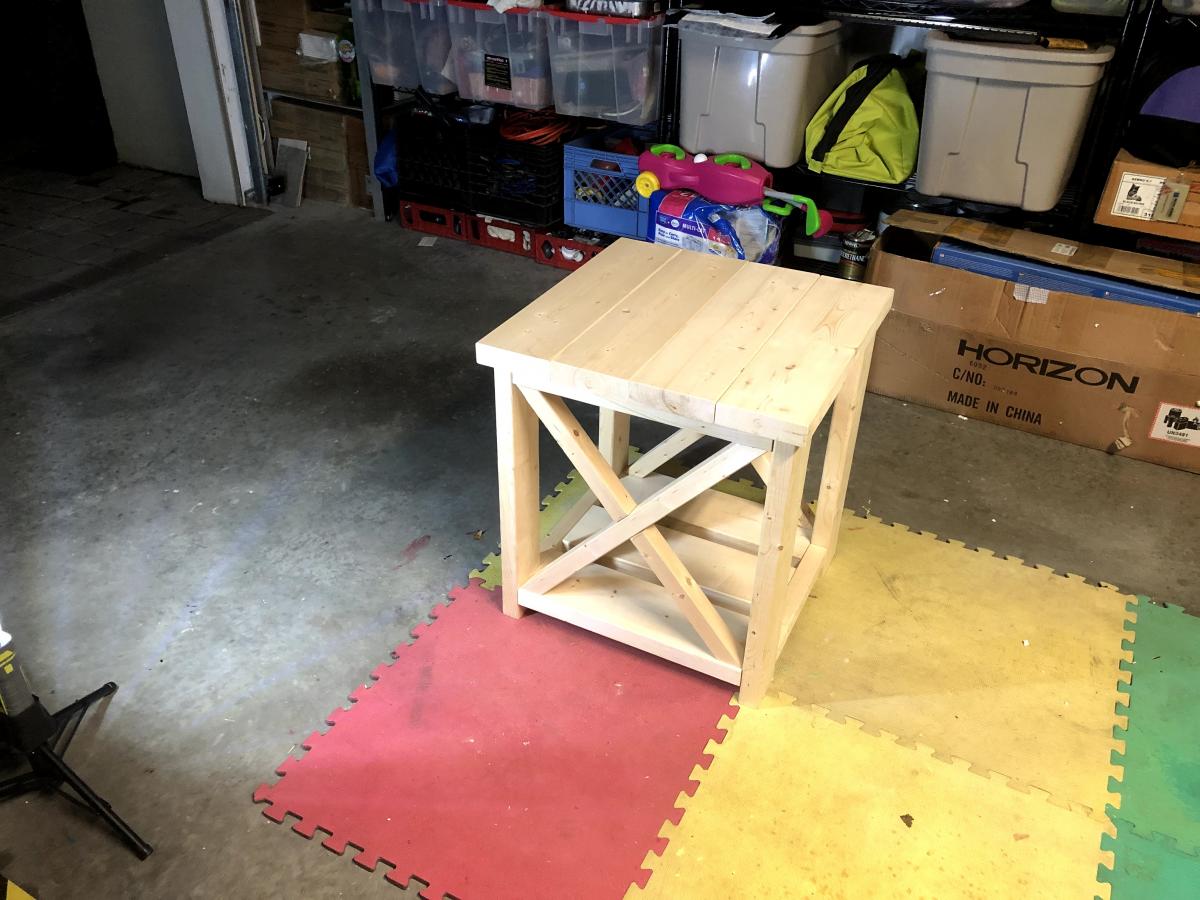
Farmhouse side tables to match the $40 Farmhouse Coffee Table
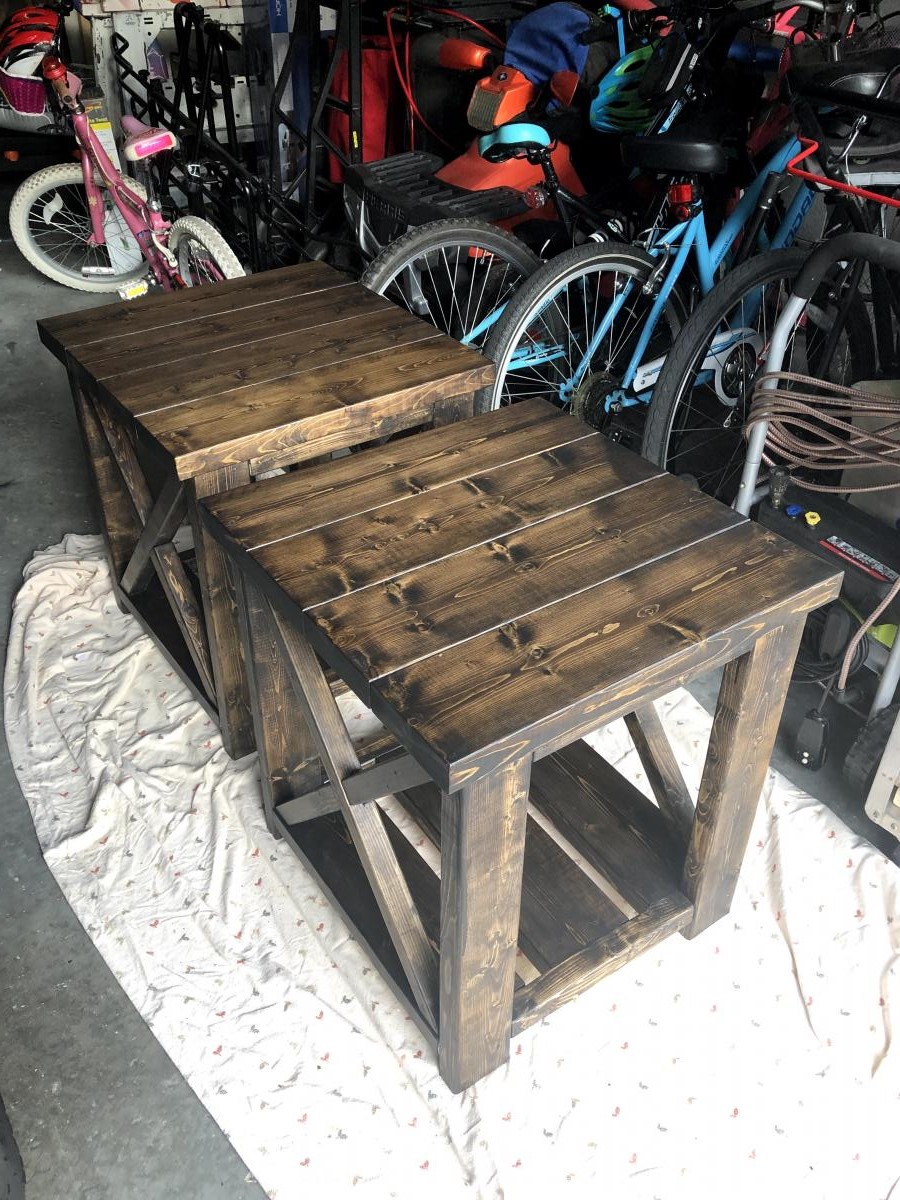
First it was the $40 Coffee Table, after it was finished my wife asked for the matching side tables see my other Brag Post. This time I built and used a proper miter saw stand, as well as purchased a new 60t saw blade for cleaner cuts. My wife didn't think they were tall enough so I increased the height by 2" with no need of additional wood. I took my time with these and even bought wood filler to even out and fill the knots. Ana does make it look easy having a workshop, but it wasn't that hard to build in my garage. I hated making the Xs on the Coffee Table and tried a different technique. I decided to notch them using my circular saw and my multi-tool as a plunge cutter. Sanded all the wood stained with Jacobean 2750 tint Minwax and sealed with Satin Polycrylic. See Photos for Details.
Built from Plan(s)
Estimated Cost
$60
Estimated Time Investment
Weekend Project (10-20 Hours)
Finish Used
Minwax Jacobean 2750 tint and sealed with Satin Polycrylic
Recommended Skill Level
Beginner
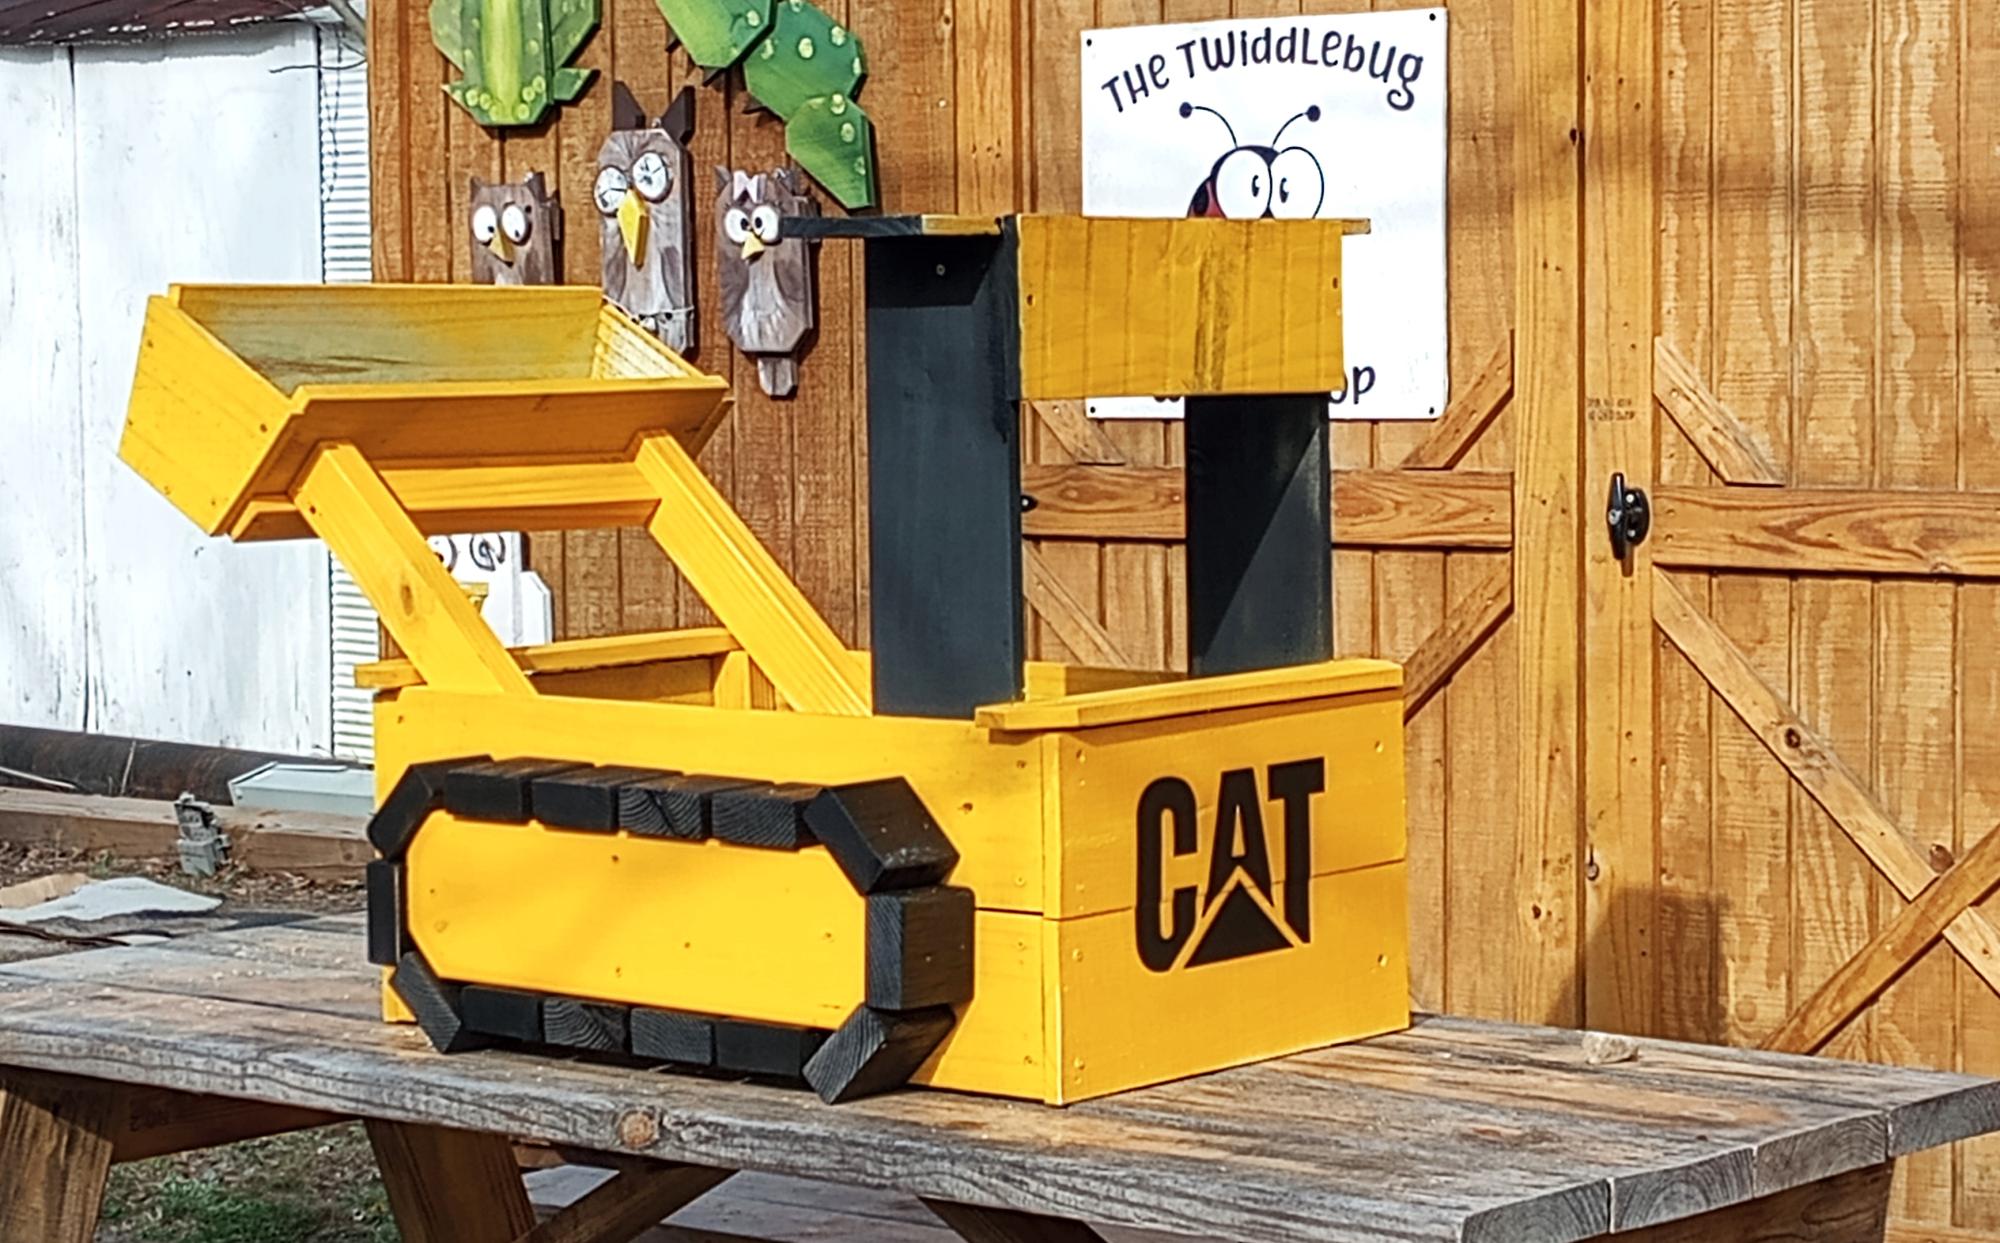
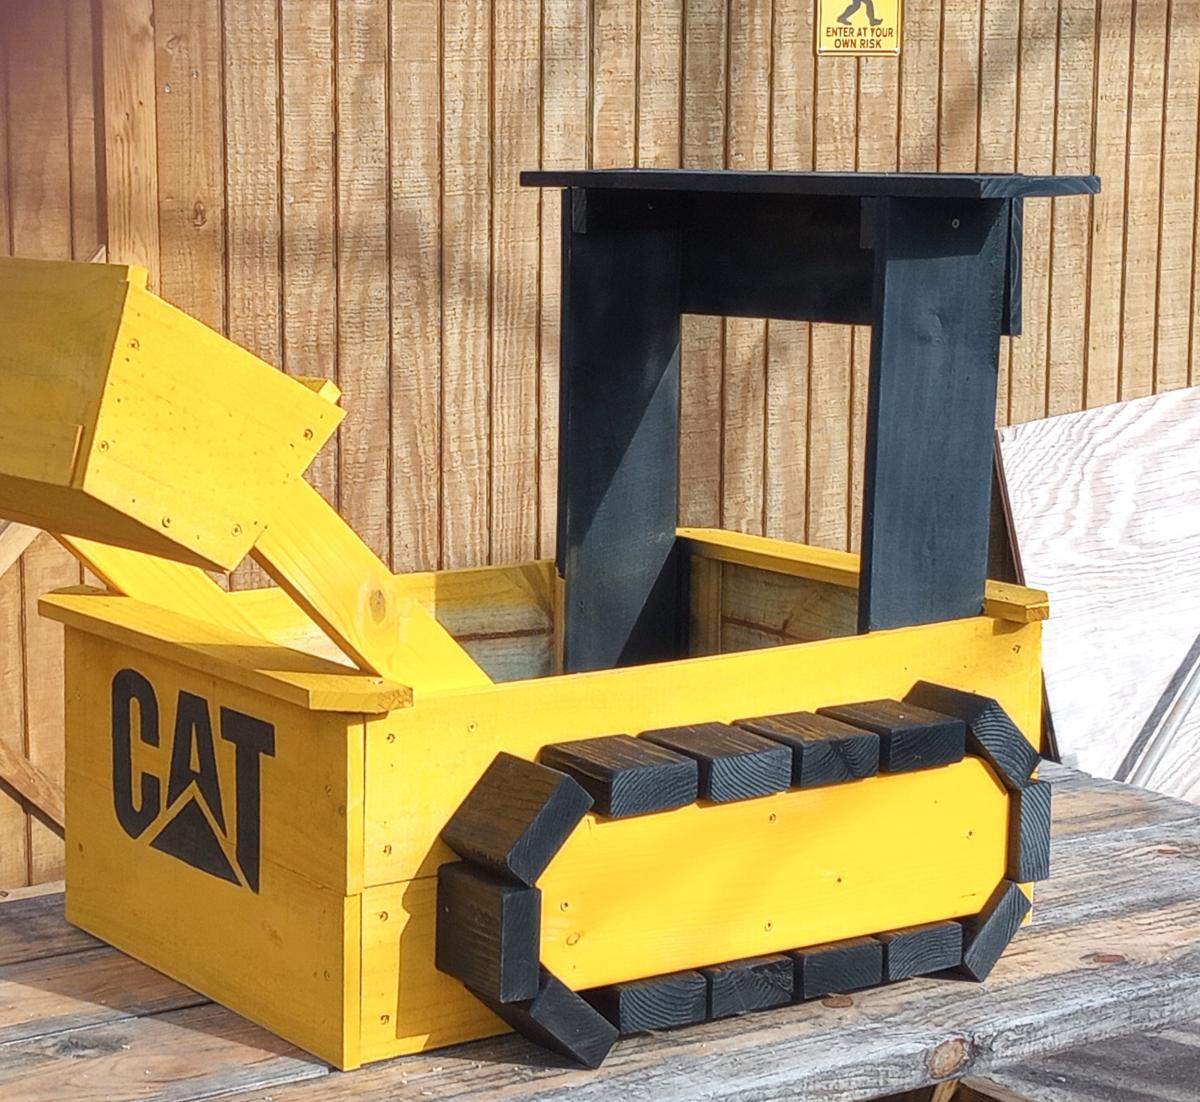
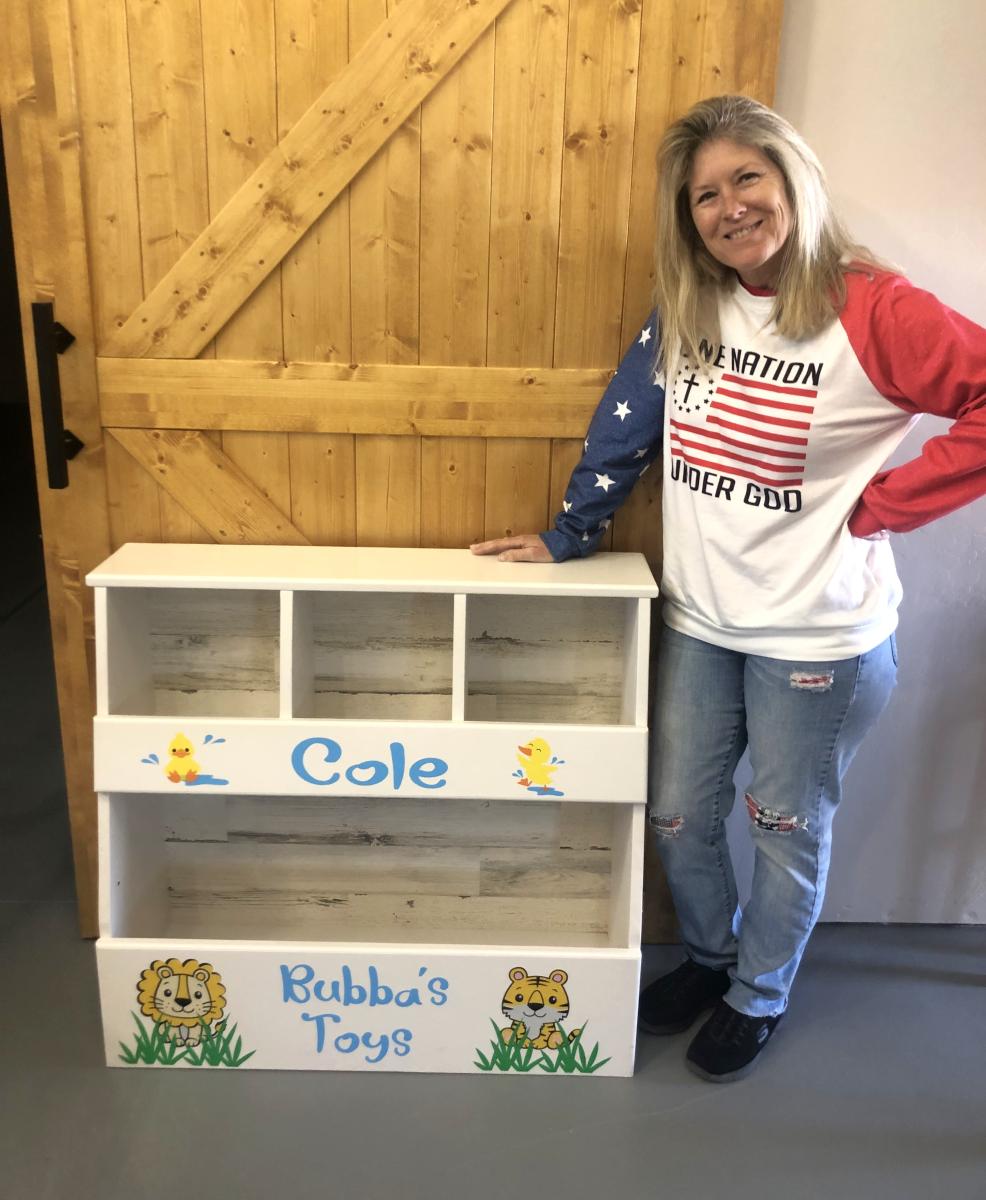
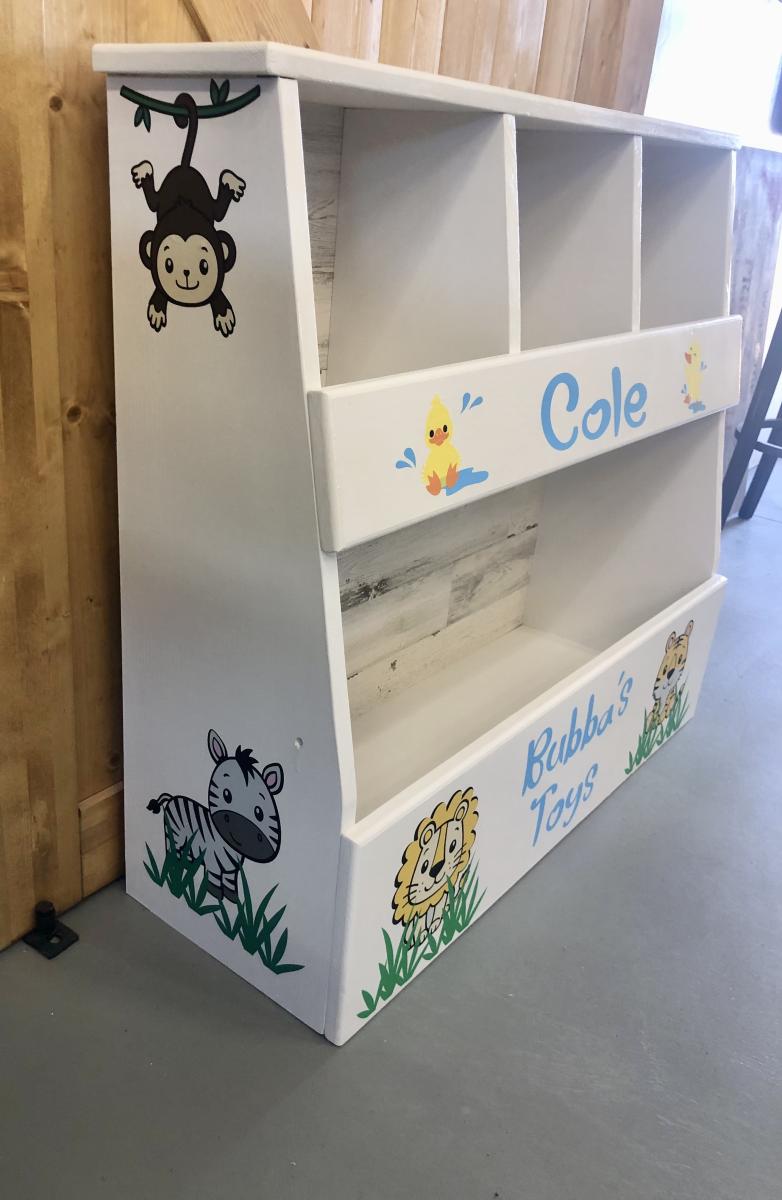
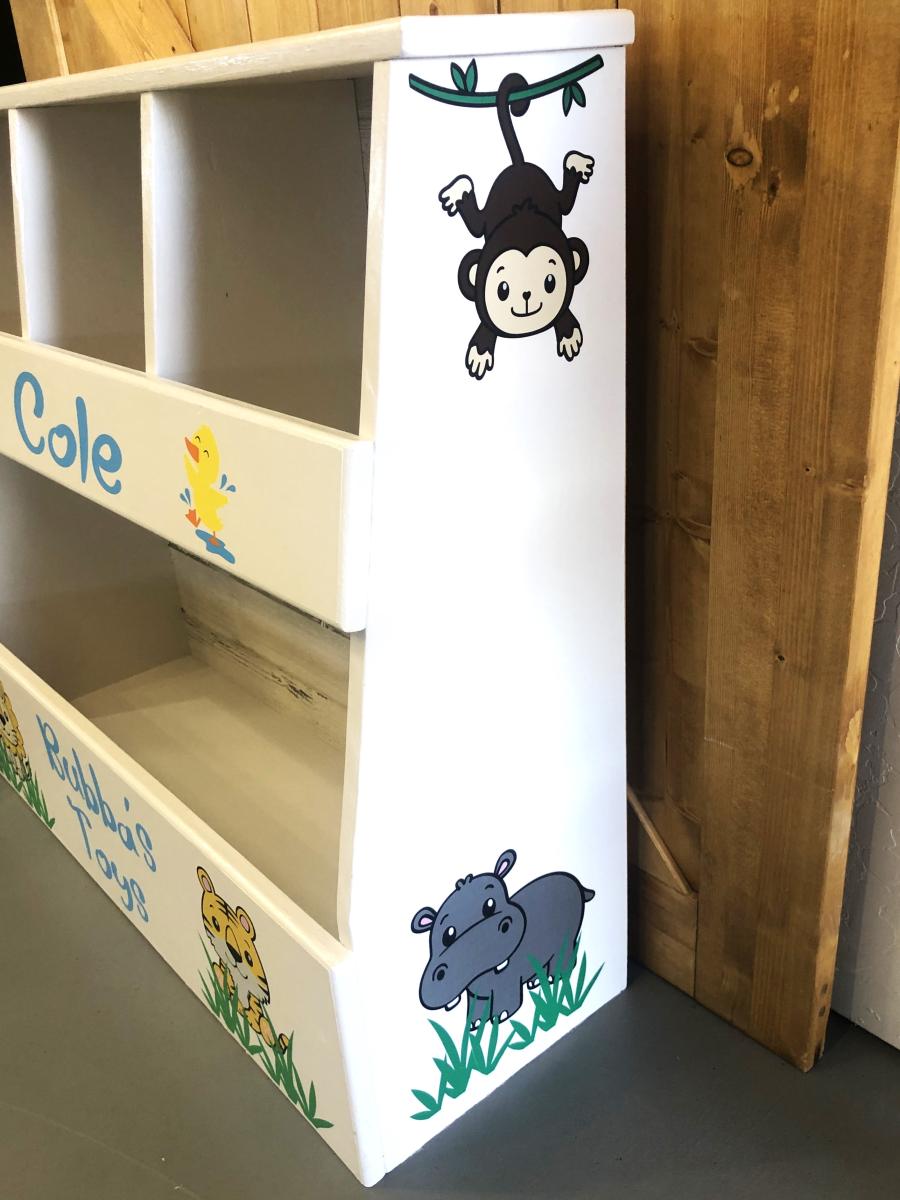
Vertical Toybox
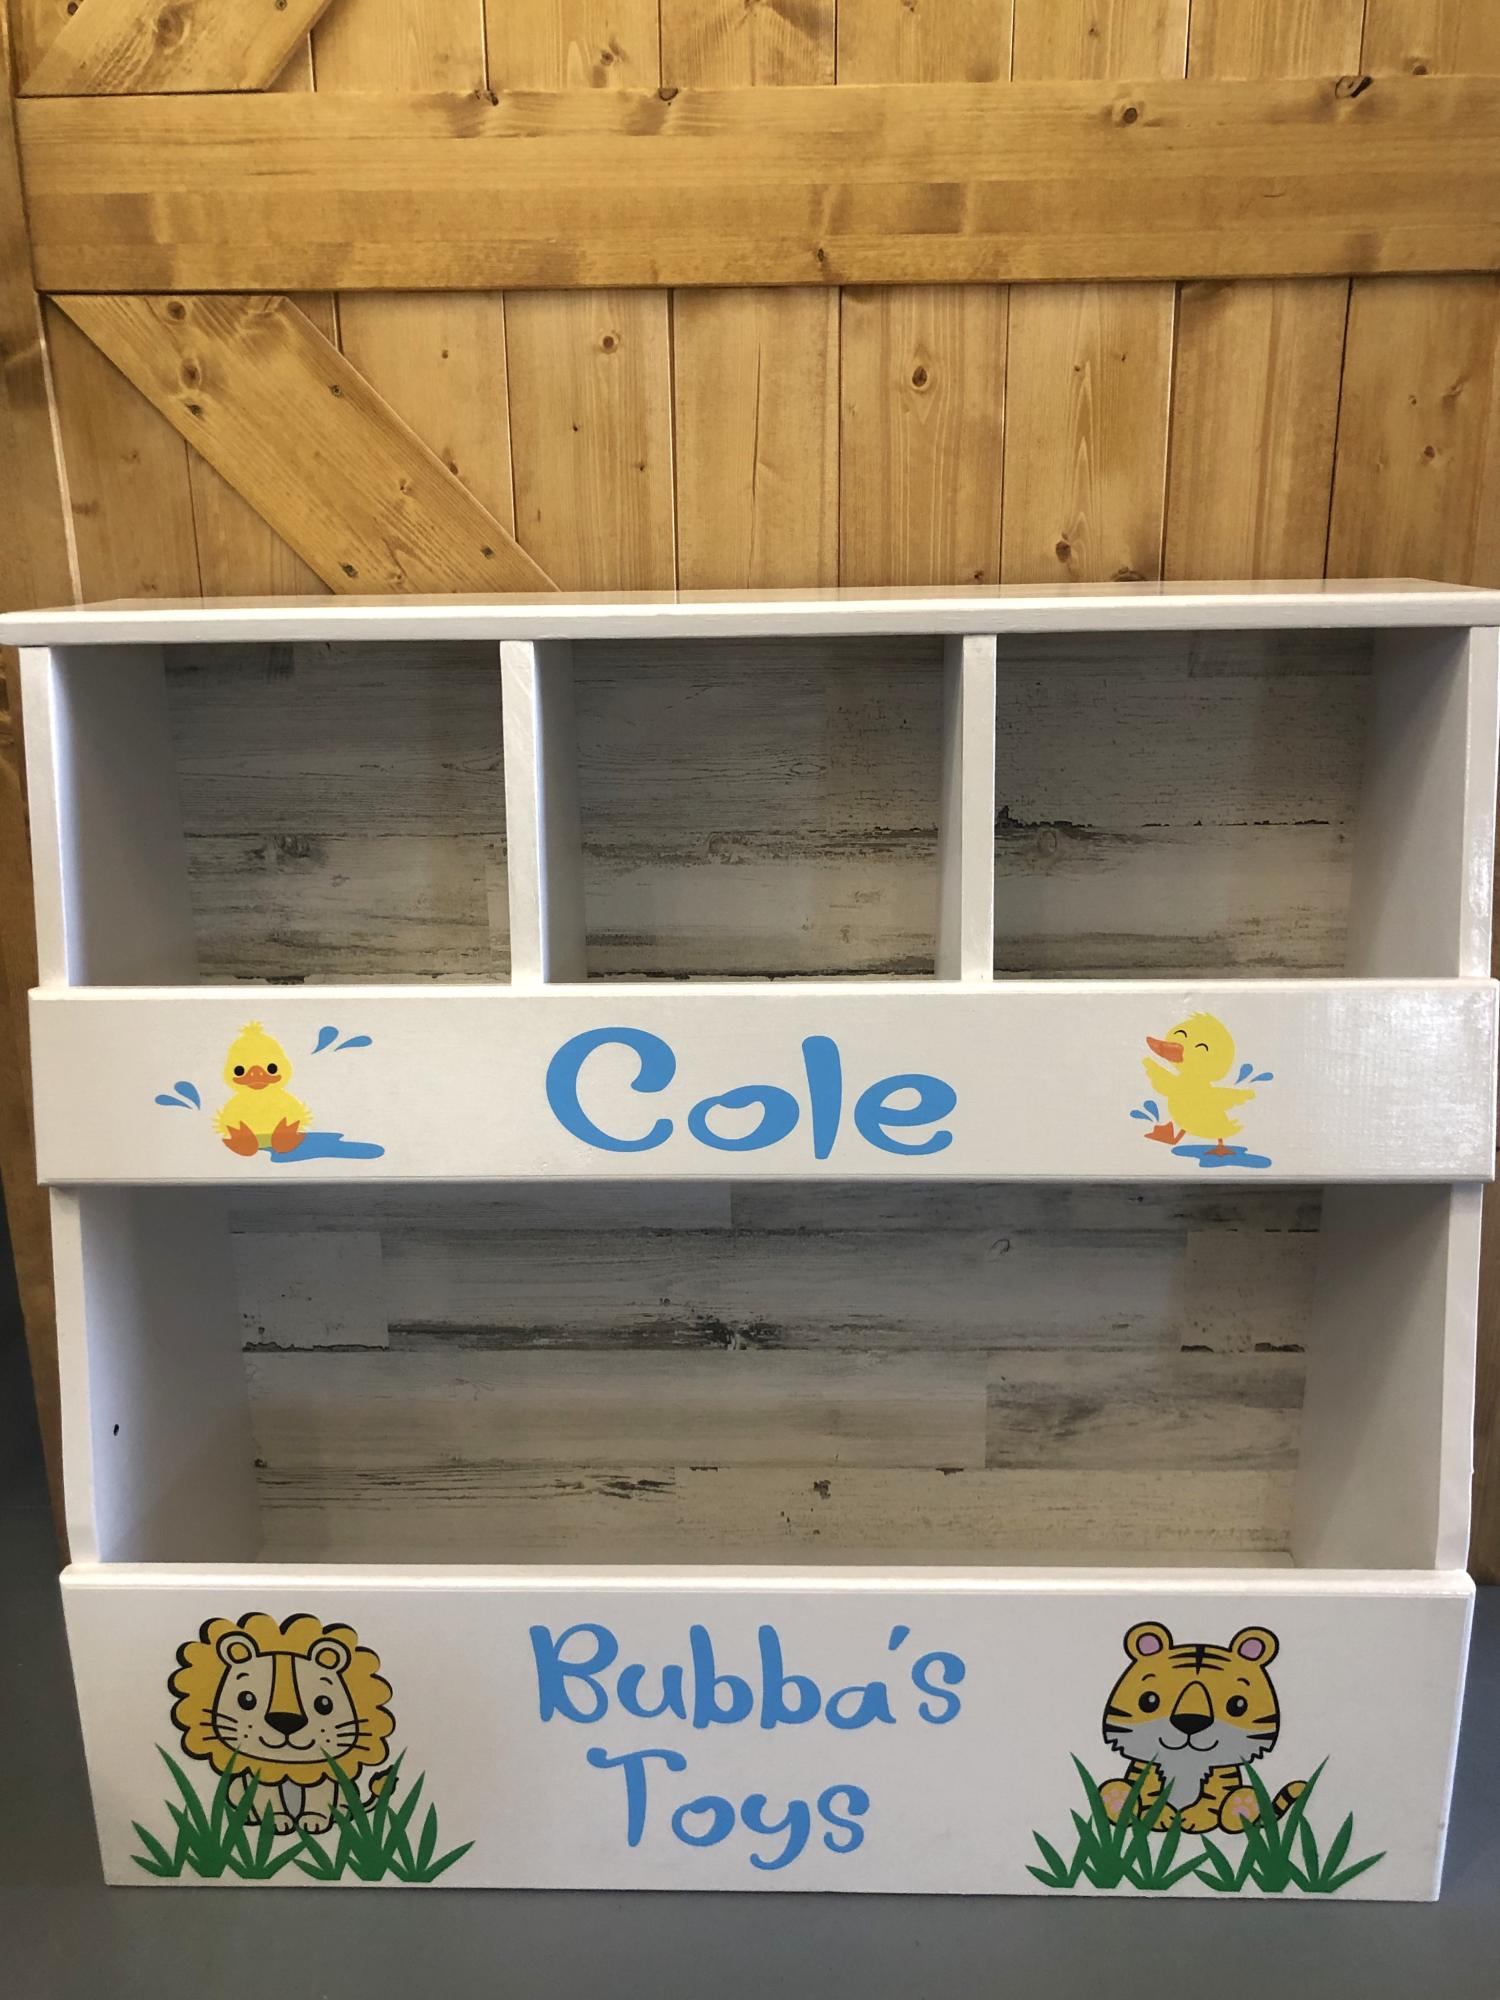
We loved making this easy and simple vertical toy box! Thanks Ana
Angie & Scott Proffer
Built from Plan(s)
Lego Table

Our two boys are really starting to get into Legos so we knew we needed a place for them to play (especially after repeatedly stepping on Legos--ouch!). My husband designed this simple plan after looking at some expensive designs online. He cut a small notch out of the top so legos can be pushed into the storage container. We just used a simple under bed storage box, which is great because it is large and holds a ton of legos.
Estimated Time Investment
Afternoon Project (3-6 Hours)
Recommended Skill Level
Beginner
Hailey Wall Magazine Rack
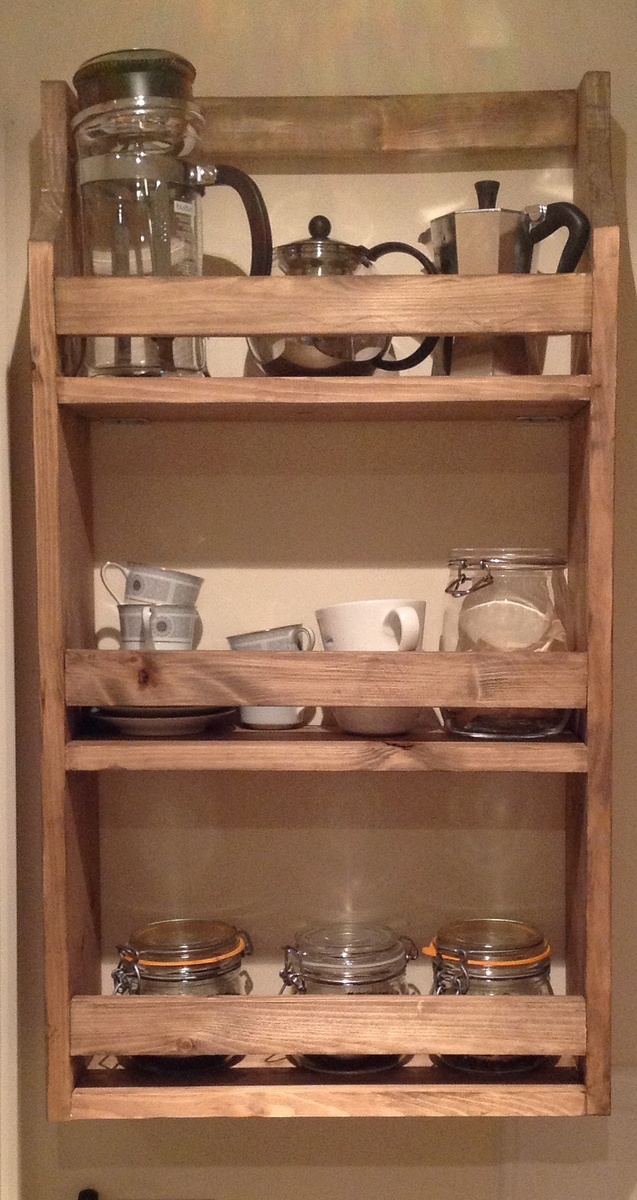
This was my first ever project. I initially intended to use it for office storage but it ended up taking its place in the kitchen - and proving most useful for storage there too!
Built from Plan(s)
Estimated Time Investment
Afternoon Project (3-6 Hours)
Finish Used
Colron wood dye - American Walnut
Recommended Skill Level
Starter Project
Comments
CaitCouch
We altered our plans as my dining room could only accomodate a 7 ft table! This was out first DIY that was this large of an undertaking and we love the way it came out. If we can do this as woodworking novices you can definately do it!
Estimated Cost
$150 in the philadelphia area including wood, screws, stain, and finish another $75 if you need to rent a mitre saw.
Estimated Time Investment
Week Long Project (20 Hours or More)
Finish Used
Sanded down the table starting with 150 grit, followed by 220, then 320. Next, MinWax English Chestnut (1 coat- painted on and sat for 5 mins and then wiped off with rags- we didnt time it just about 5 mins - did the top first- then sides- then the legs one at a time to make it more manageable) followed by MinWax Satin Matte polyurethane (2 coats- 5 hours between coats and then sit for 48 hours untouched)
It was suggested to us that before attaching we should sand, stain and seal the legs. We didn't follow this advice from a friend and we should have!! being down on the ground with the table is all together was very hard on our backs and bottoms (and were in our 20s!). that is the only thing i would have done differently.
It was suggested to us that before attaching we should sand, stain and seal the legs. We didn't follow this advice from a friend and we should have!! being down on the ground with the table is all together was very hard on our backs and bottoms (and were in our 20s!). that is the only thing i would have done differently.
Recommended Skill Level
Beginner
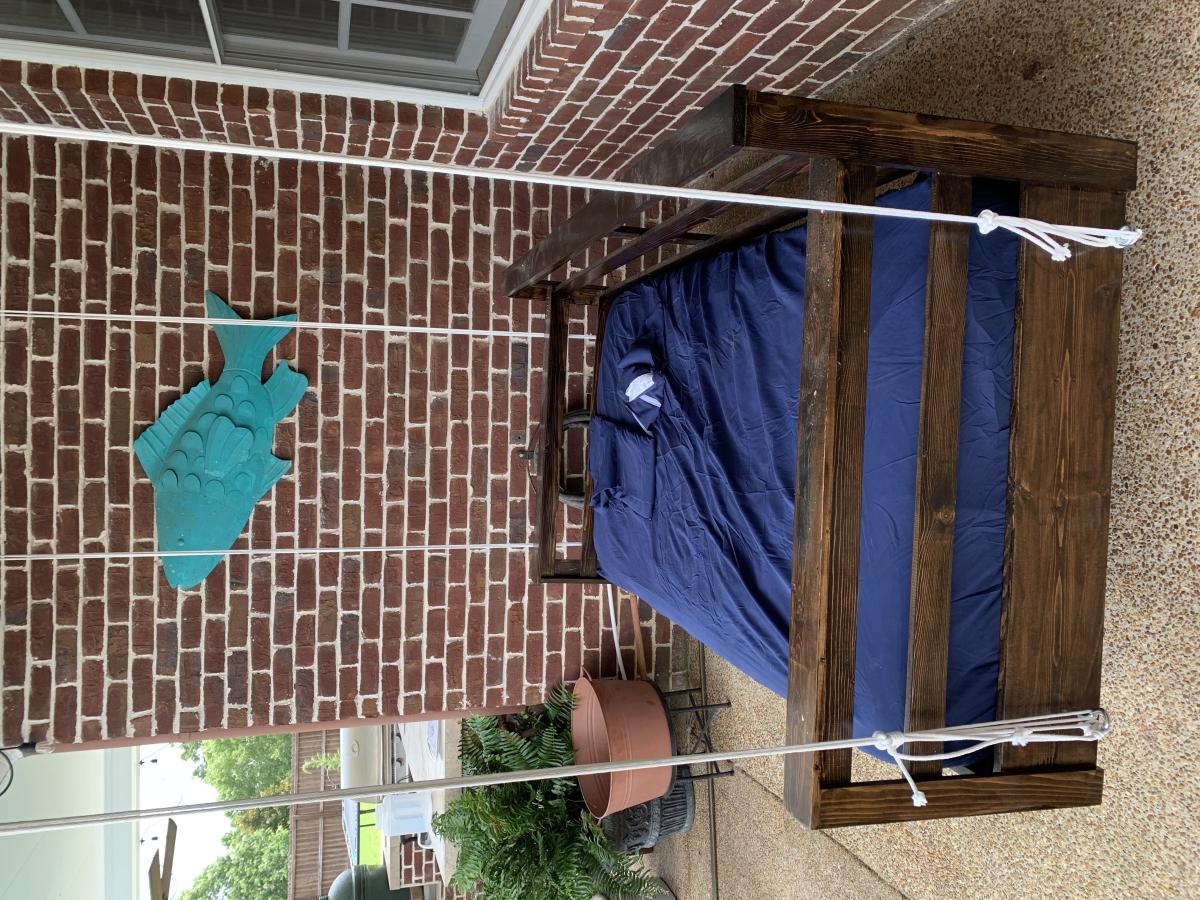
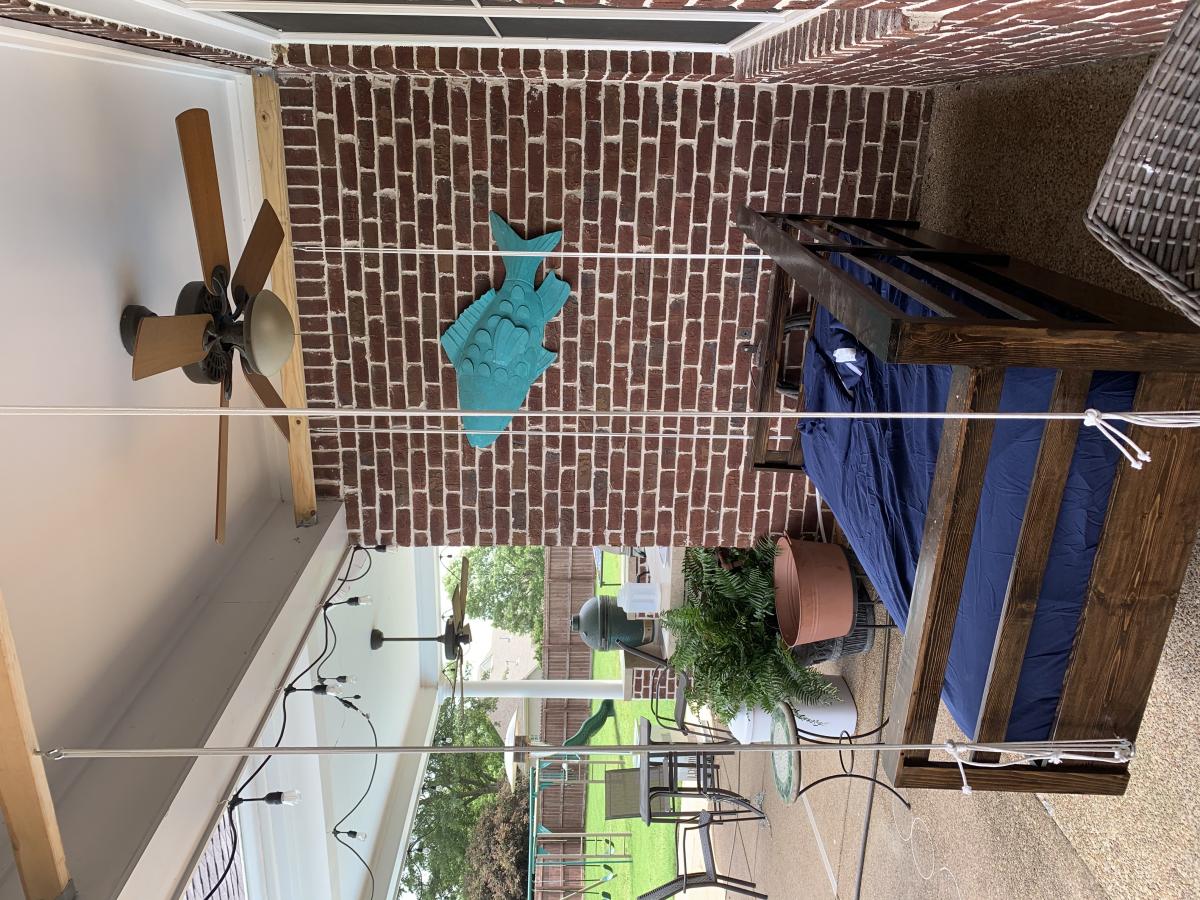
Bed porch swing
Utilized your plans for this porch bed swing! Looks great on the porch. Couldn’t find anything solid in the ceiling to hang it from so I installed my own joists with rafter hangers attached to the walls. Should hold long term.
Built from Plan(s)
Estimated Cost
$80 in Wood and $20 in stain and polyurethane
Estimated Time Investment
Weekend Project (10-20 Hours)
Finish Used
Spar Urethane
Mocha stain
Mocha stain
Recommended Skill Level
Beginner