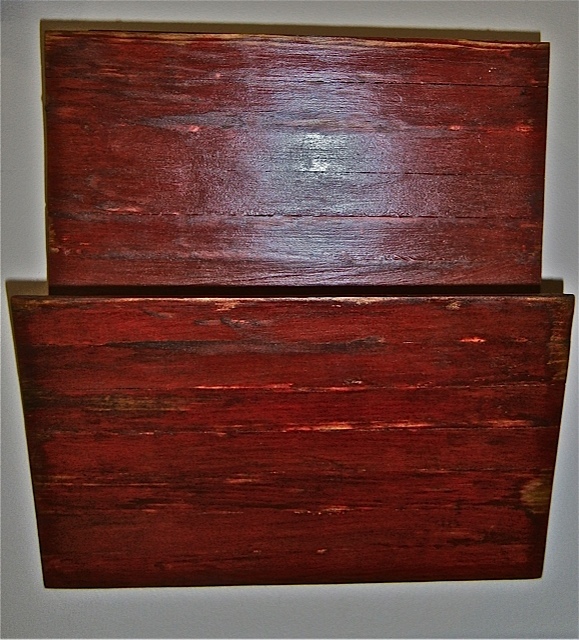
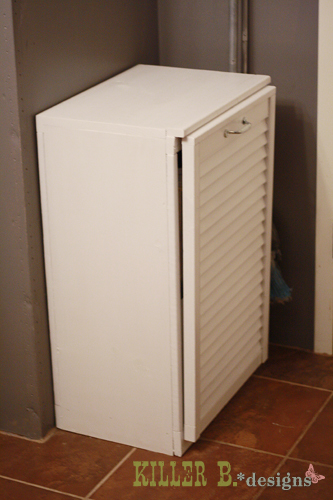
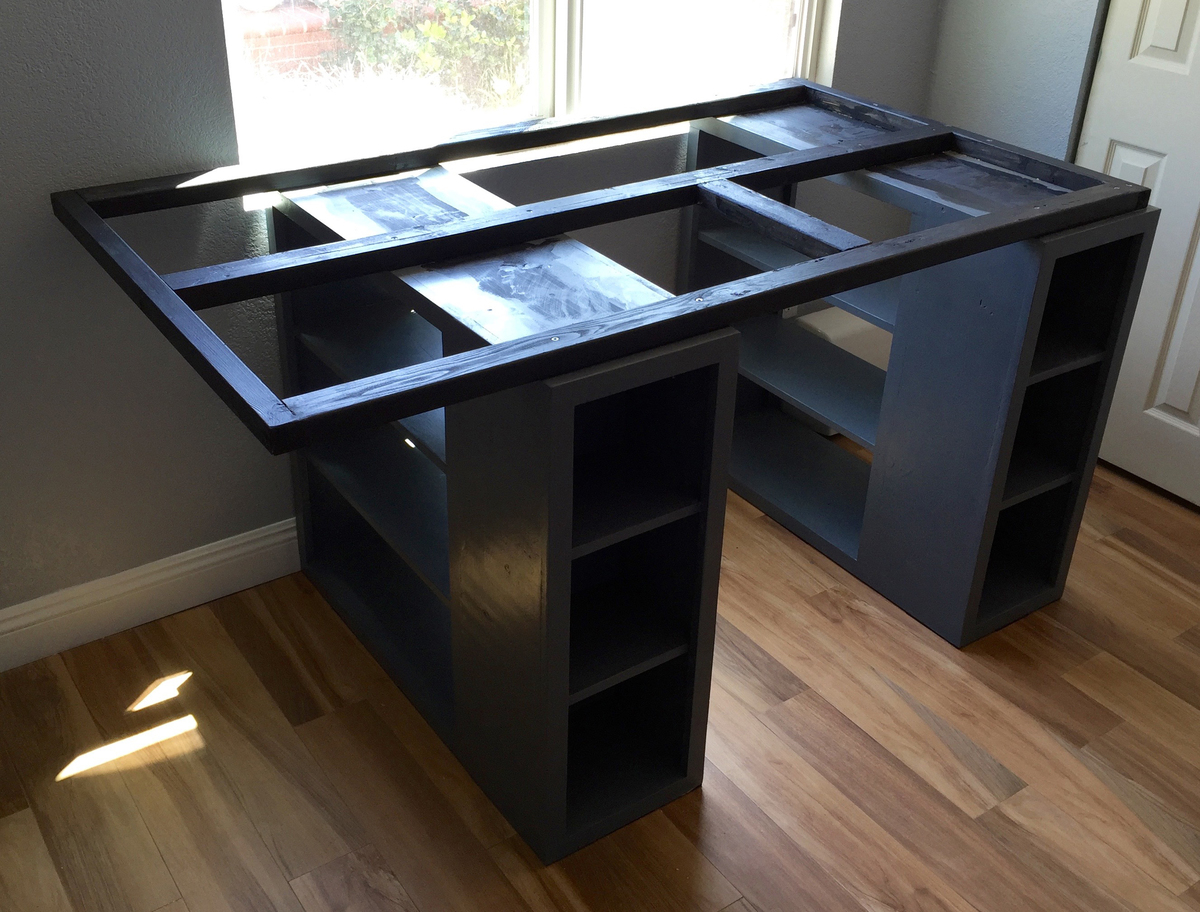
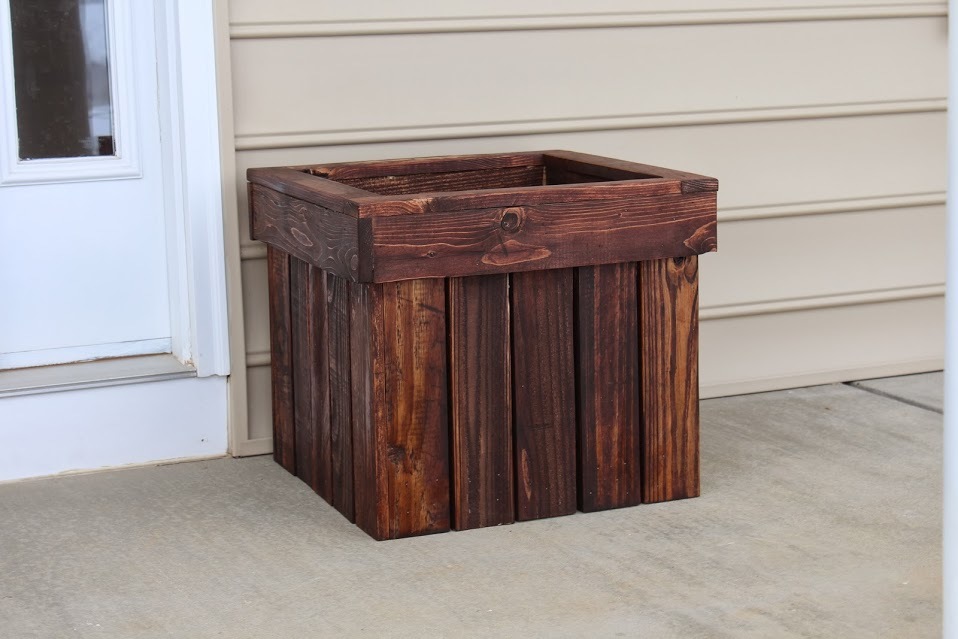
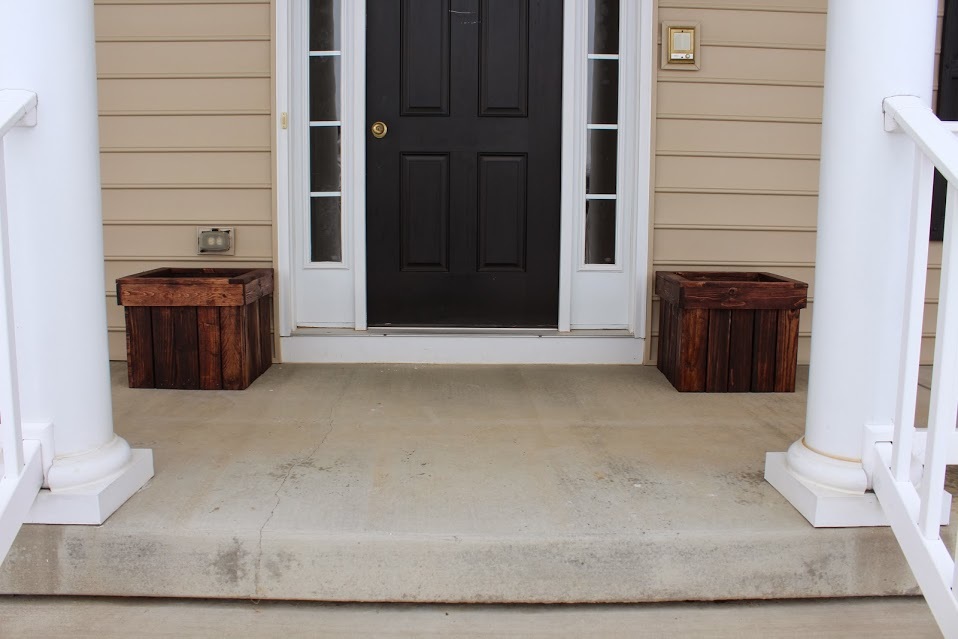
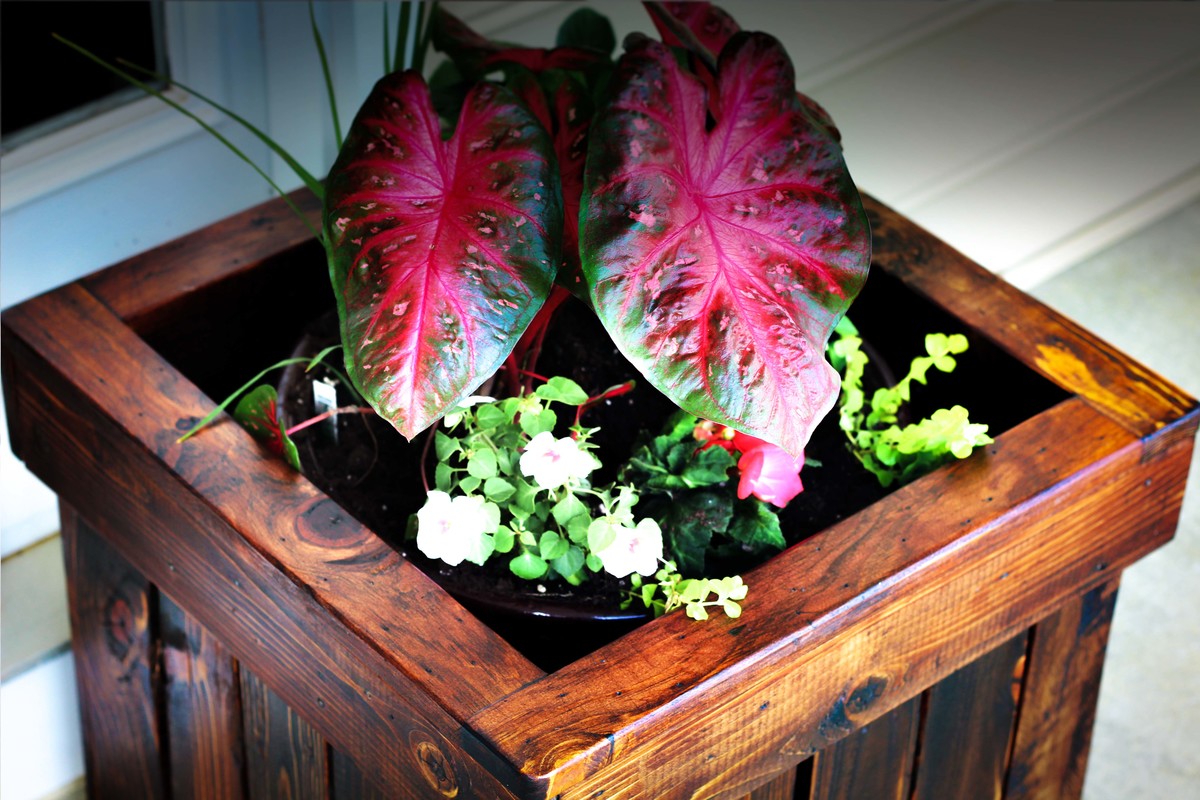
Planter Box from Pallets

Video of the build is here:
http://www.youtube.com/watch?v=9Vmjm2BS3xQ
Other projects
http://www.youtube.com/playlist?list=PLcLIJdluqiyiI7J9qp5VAXrALMOftr0RT
Planters from Pallets
Drawing File -- Plan 1
https://drive.google.com/file/d/0B21TbB8gGNQbMEl2WDBpU19semc/edit?usp=s…
Drawing File -- Plan 2
https://drive.google.com/file/d/0B21TbB8gGNQbUWUwNV9UNk9tTTQ/edit?usp=s…
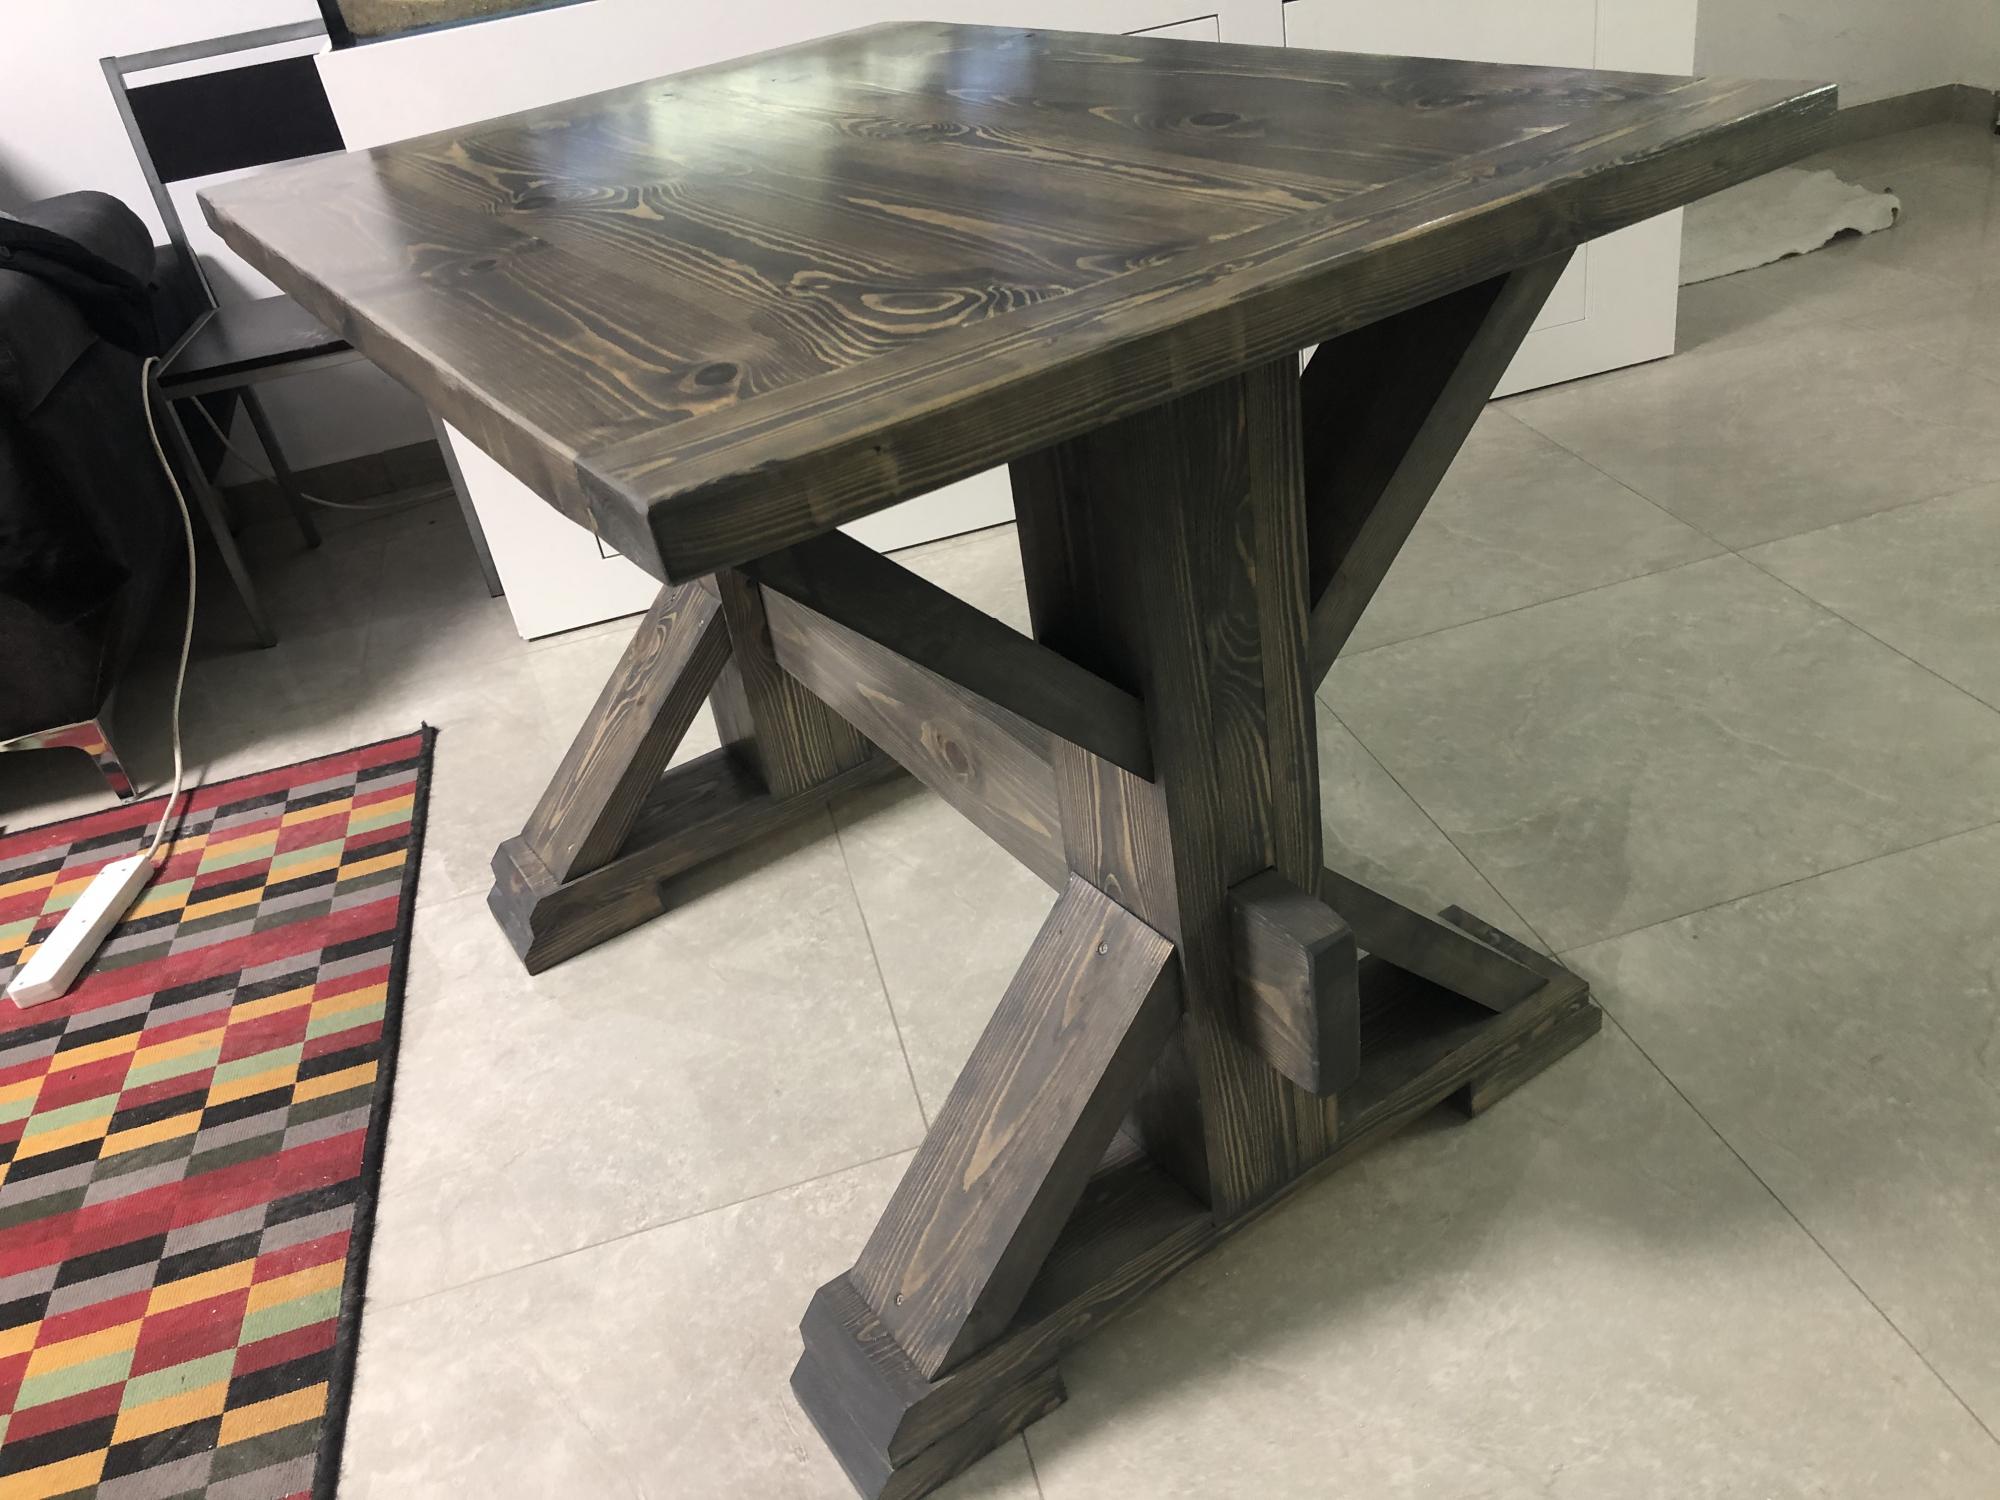
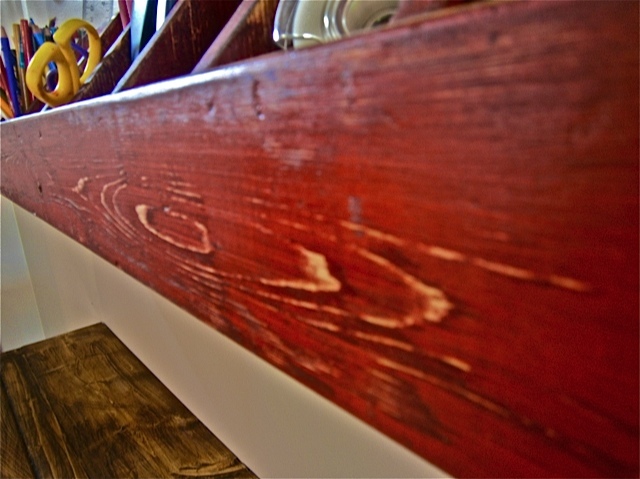
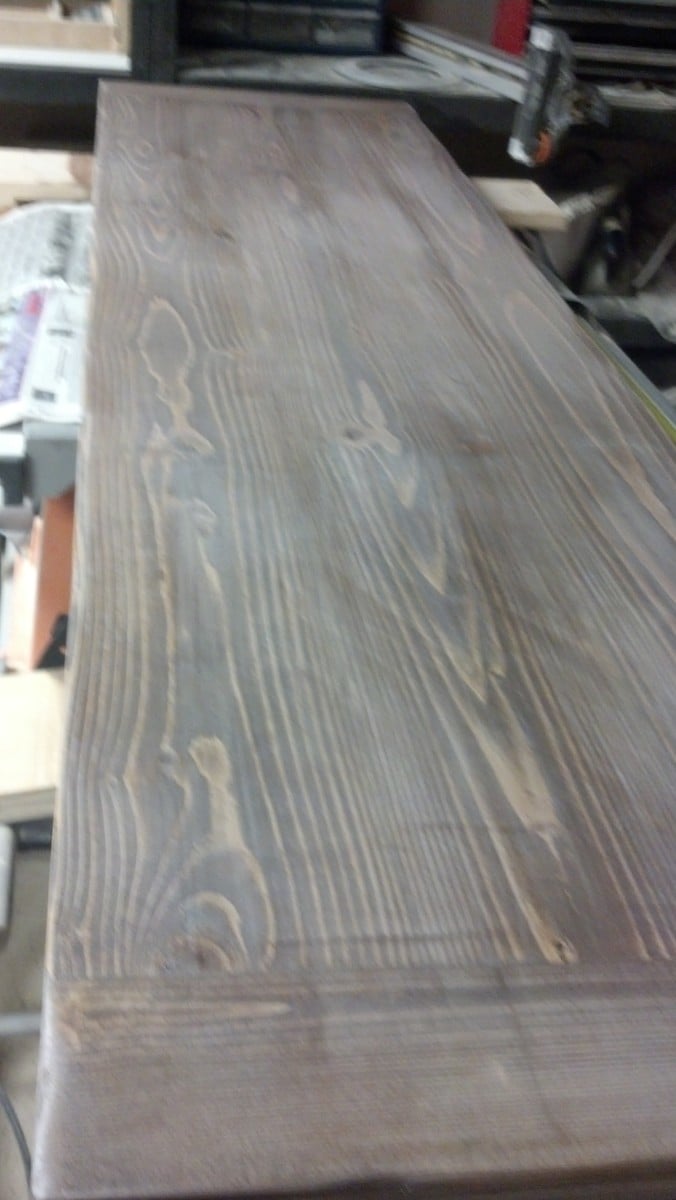
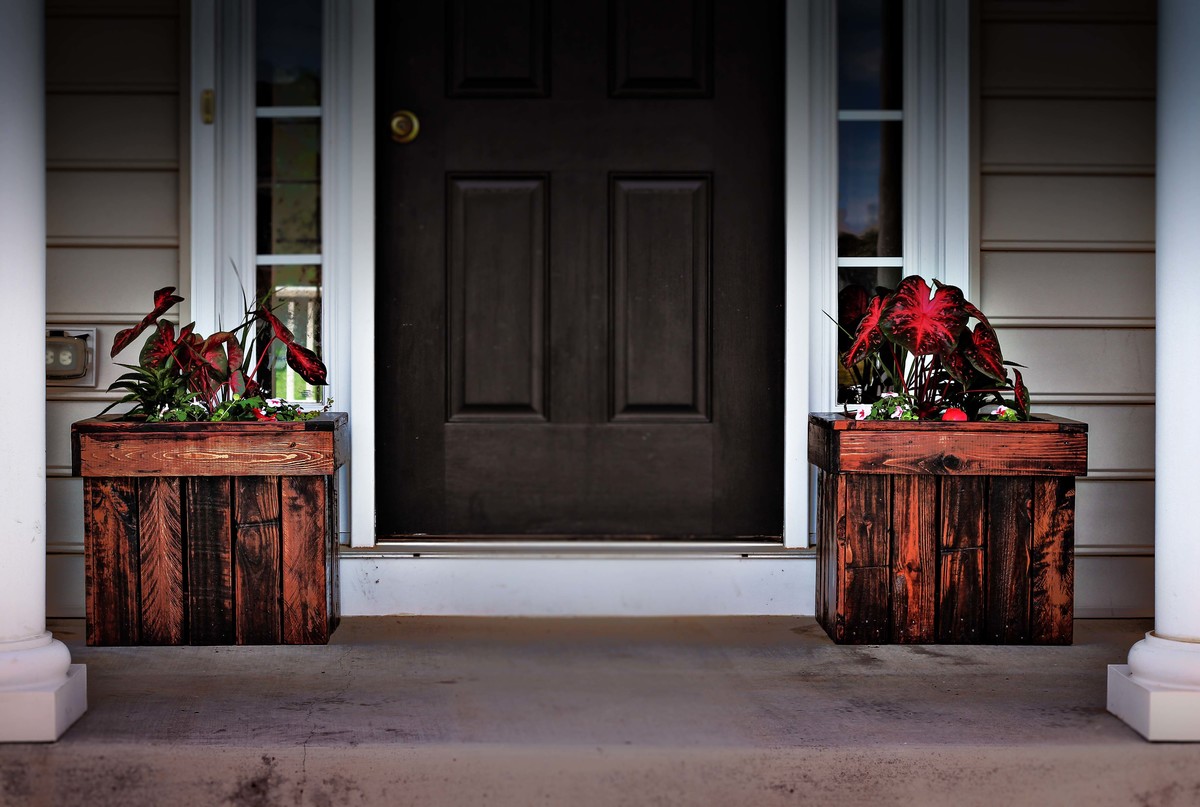
Image 1
https://drive.google.com/file/d/0B21TbB8gGNQbVzhRRGRDNS1KS1U/edit?usp=s…
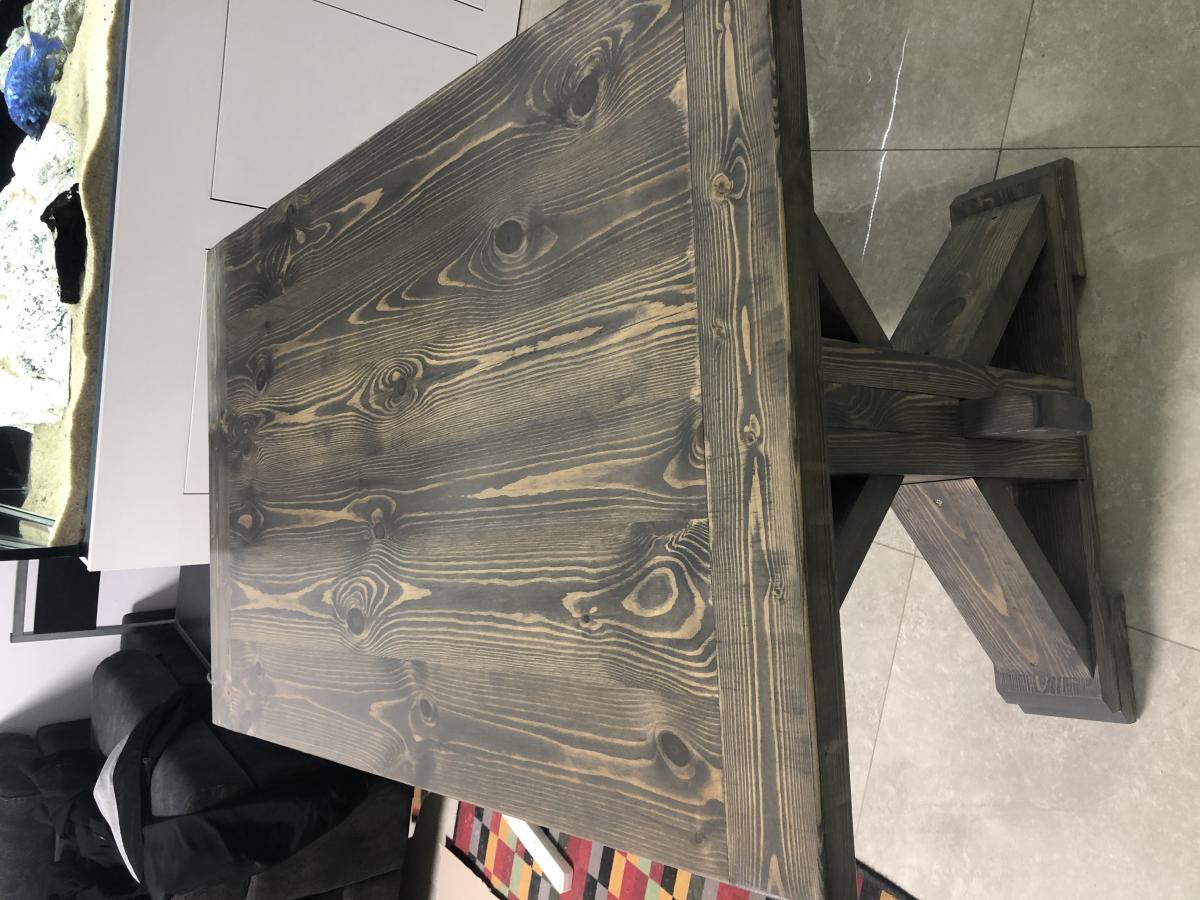
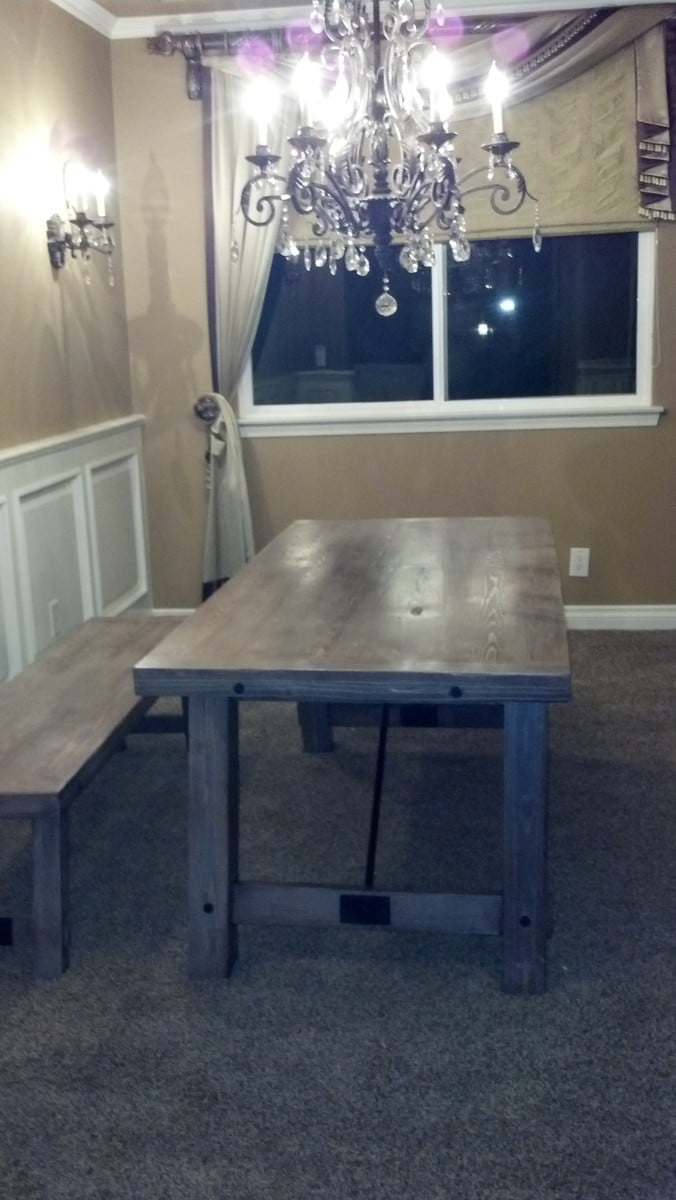
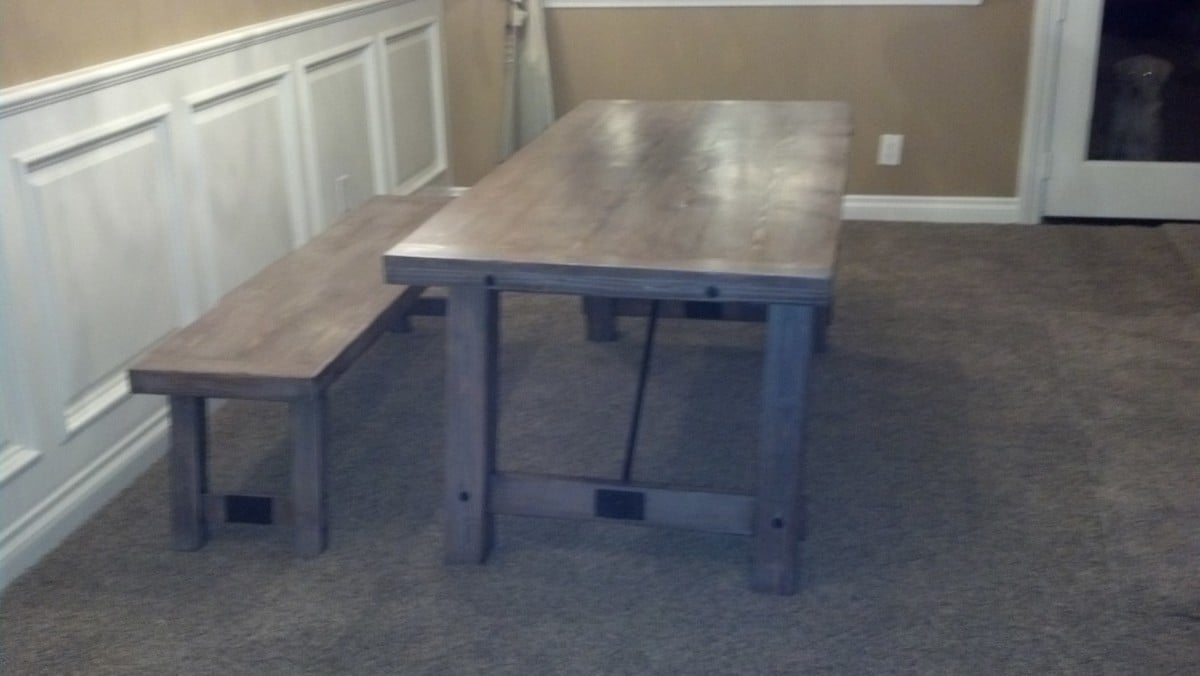
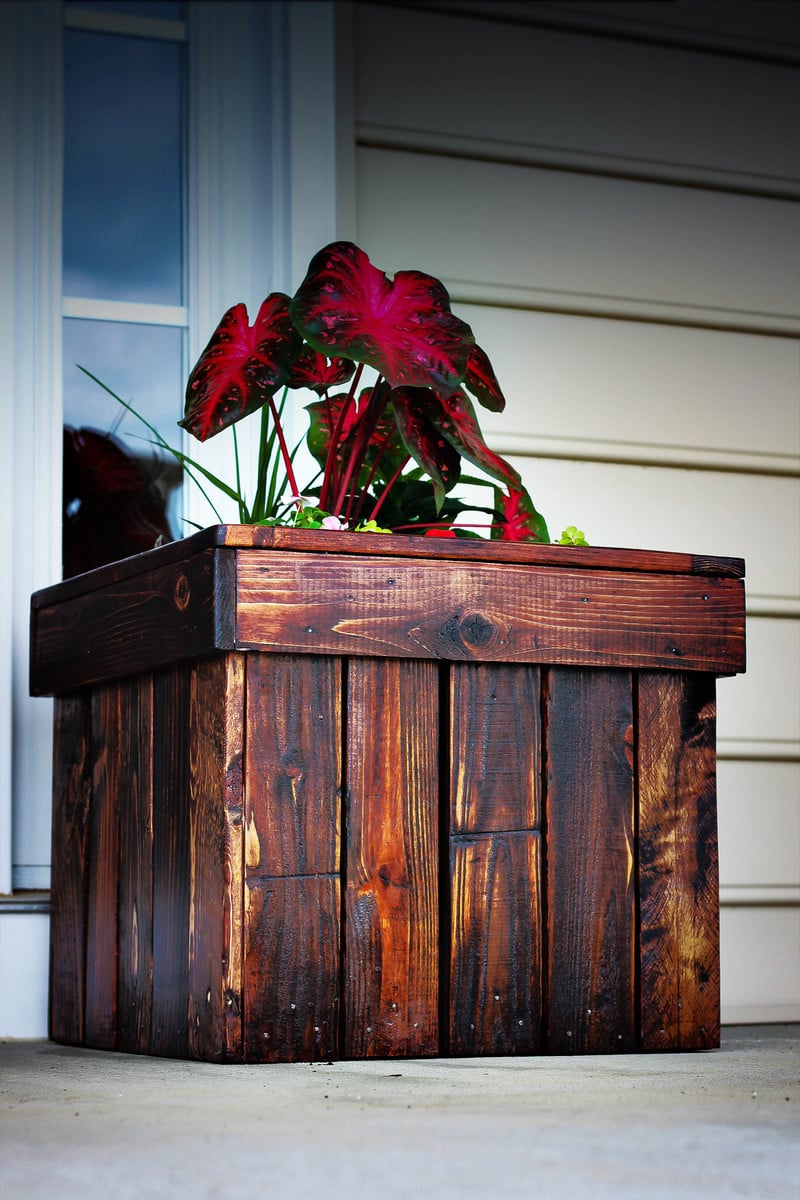
Image 2
https://drive.google.com/file/d/0B21TbB8gGNQbVGcxenVvRlZ4X0k/edit?usp=s…
STEP-BY-STEP INSTRUCTIONS
http://www.instructables.com/id/Planter-Box-from-Pallets/
Estimated Cost
$5 Stain & Nails - free pallet wood
Estimated Time Investment
Weekend Project (10-20 Hours)
Finish Used
Red Oak
Recommended Skill Level
Beginner