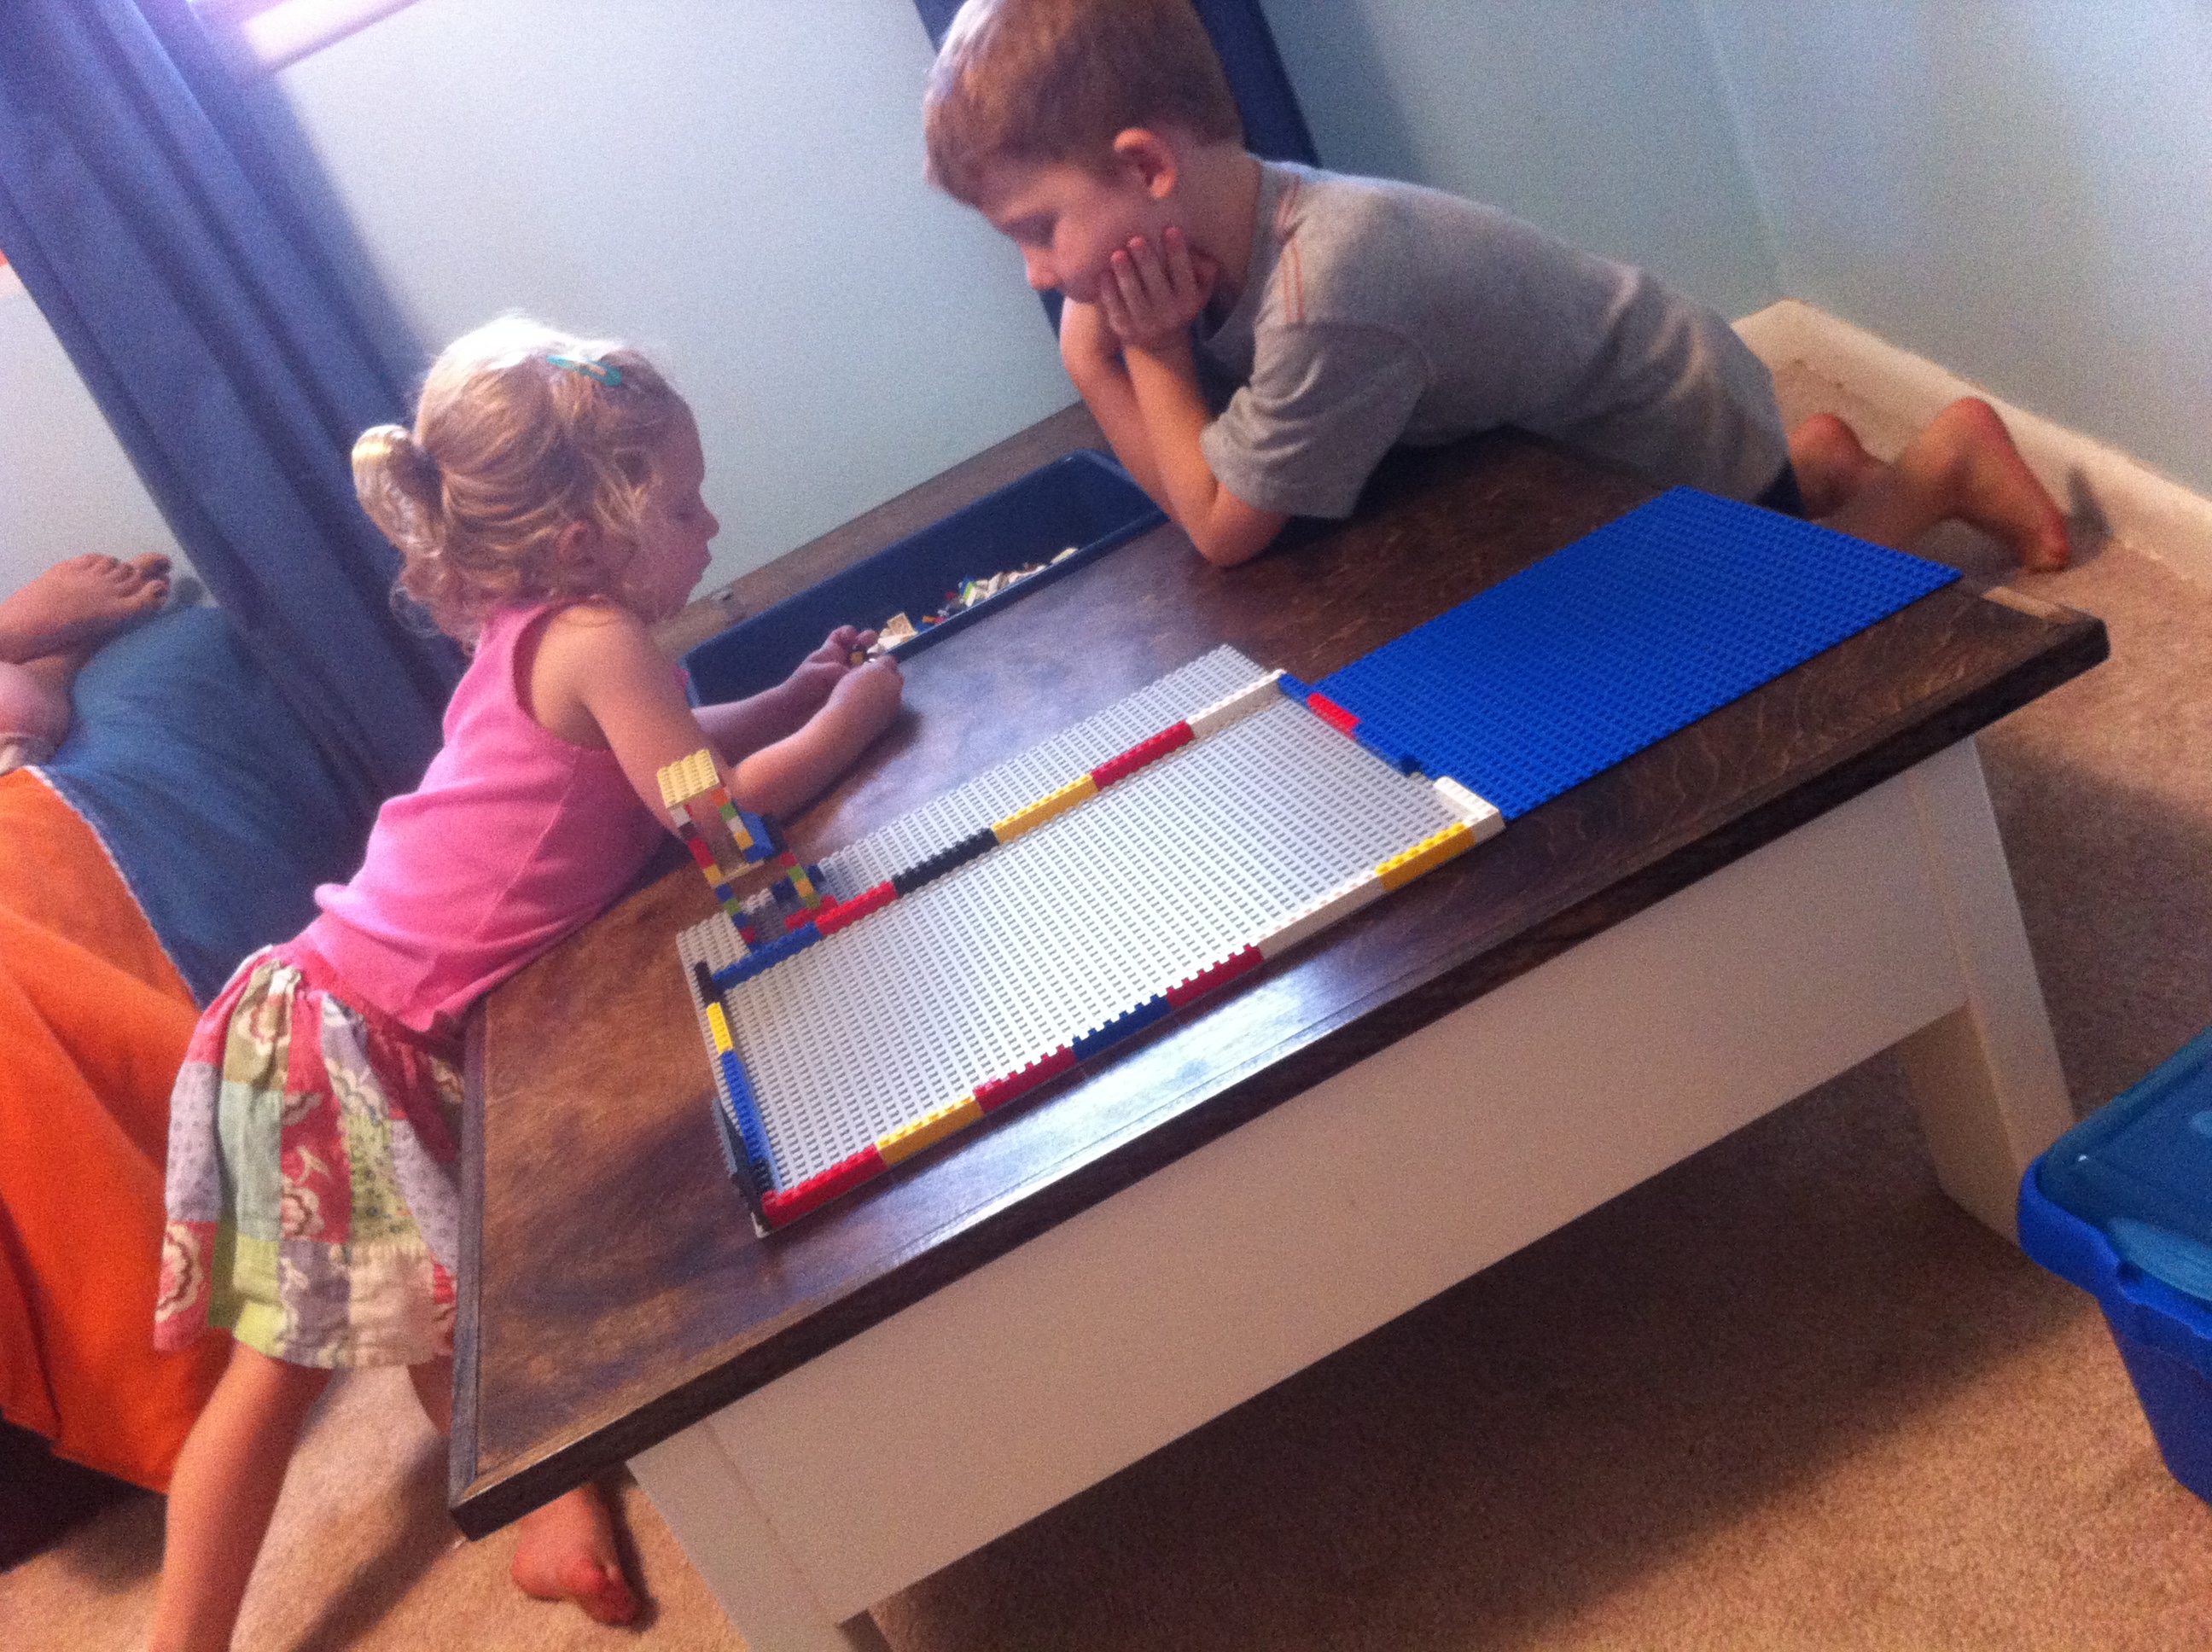
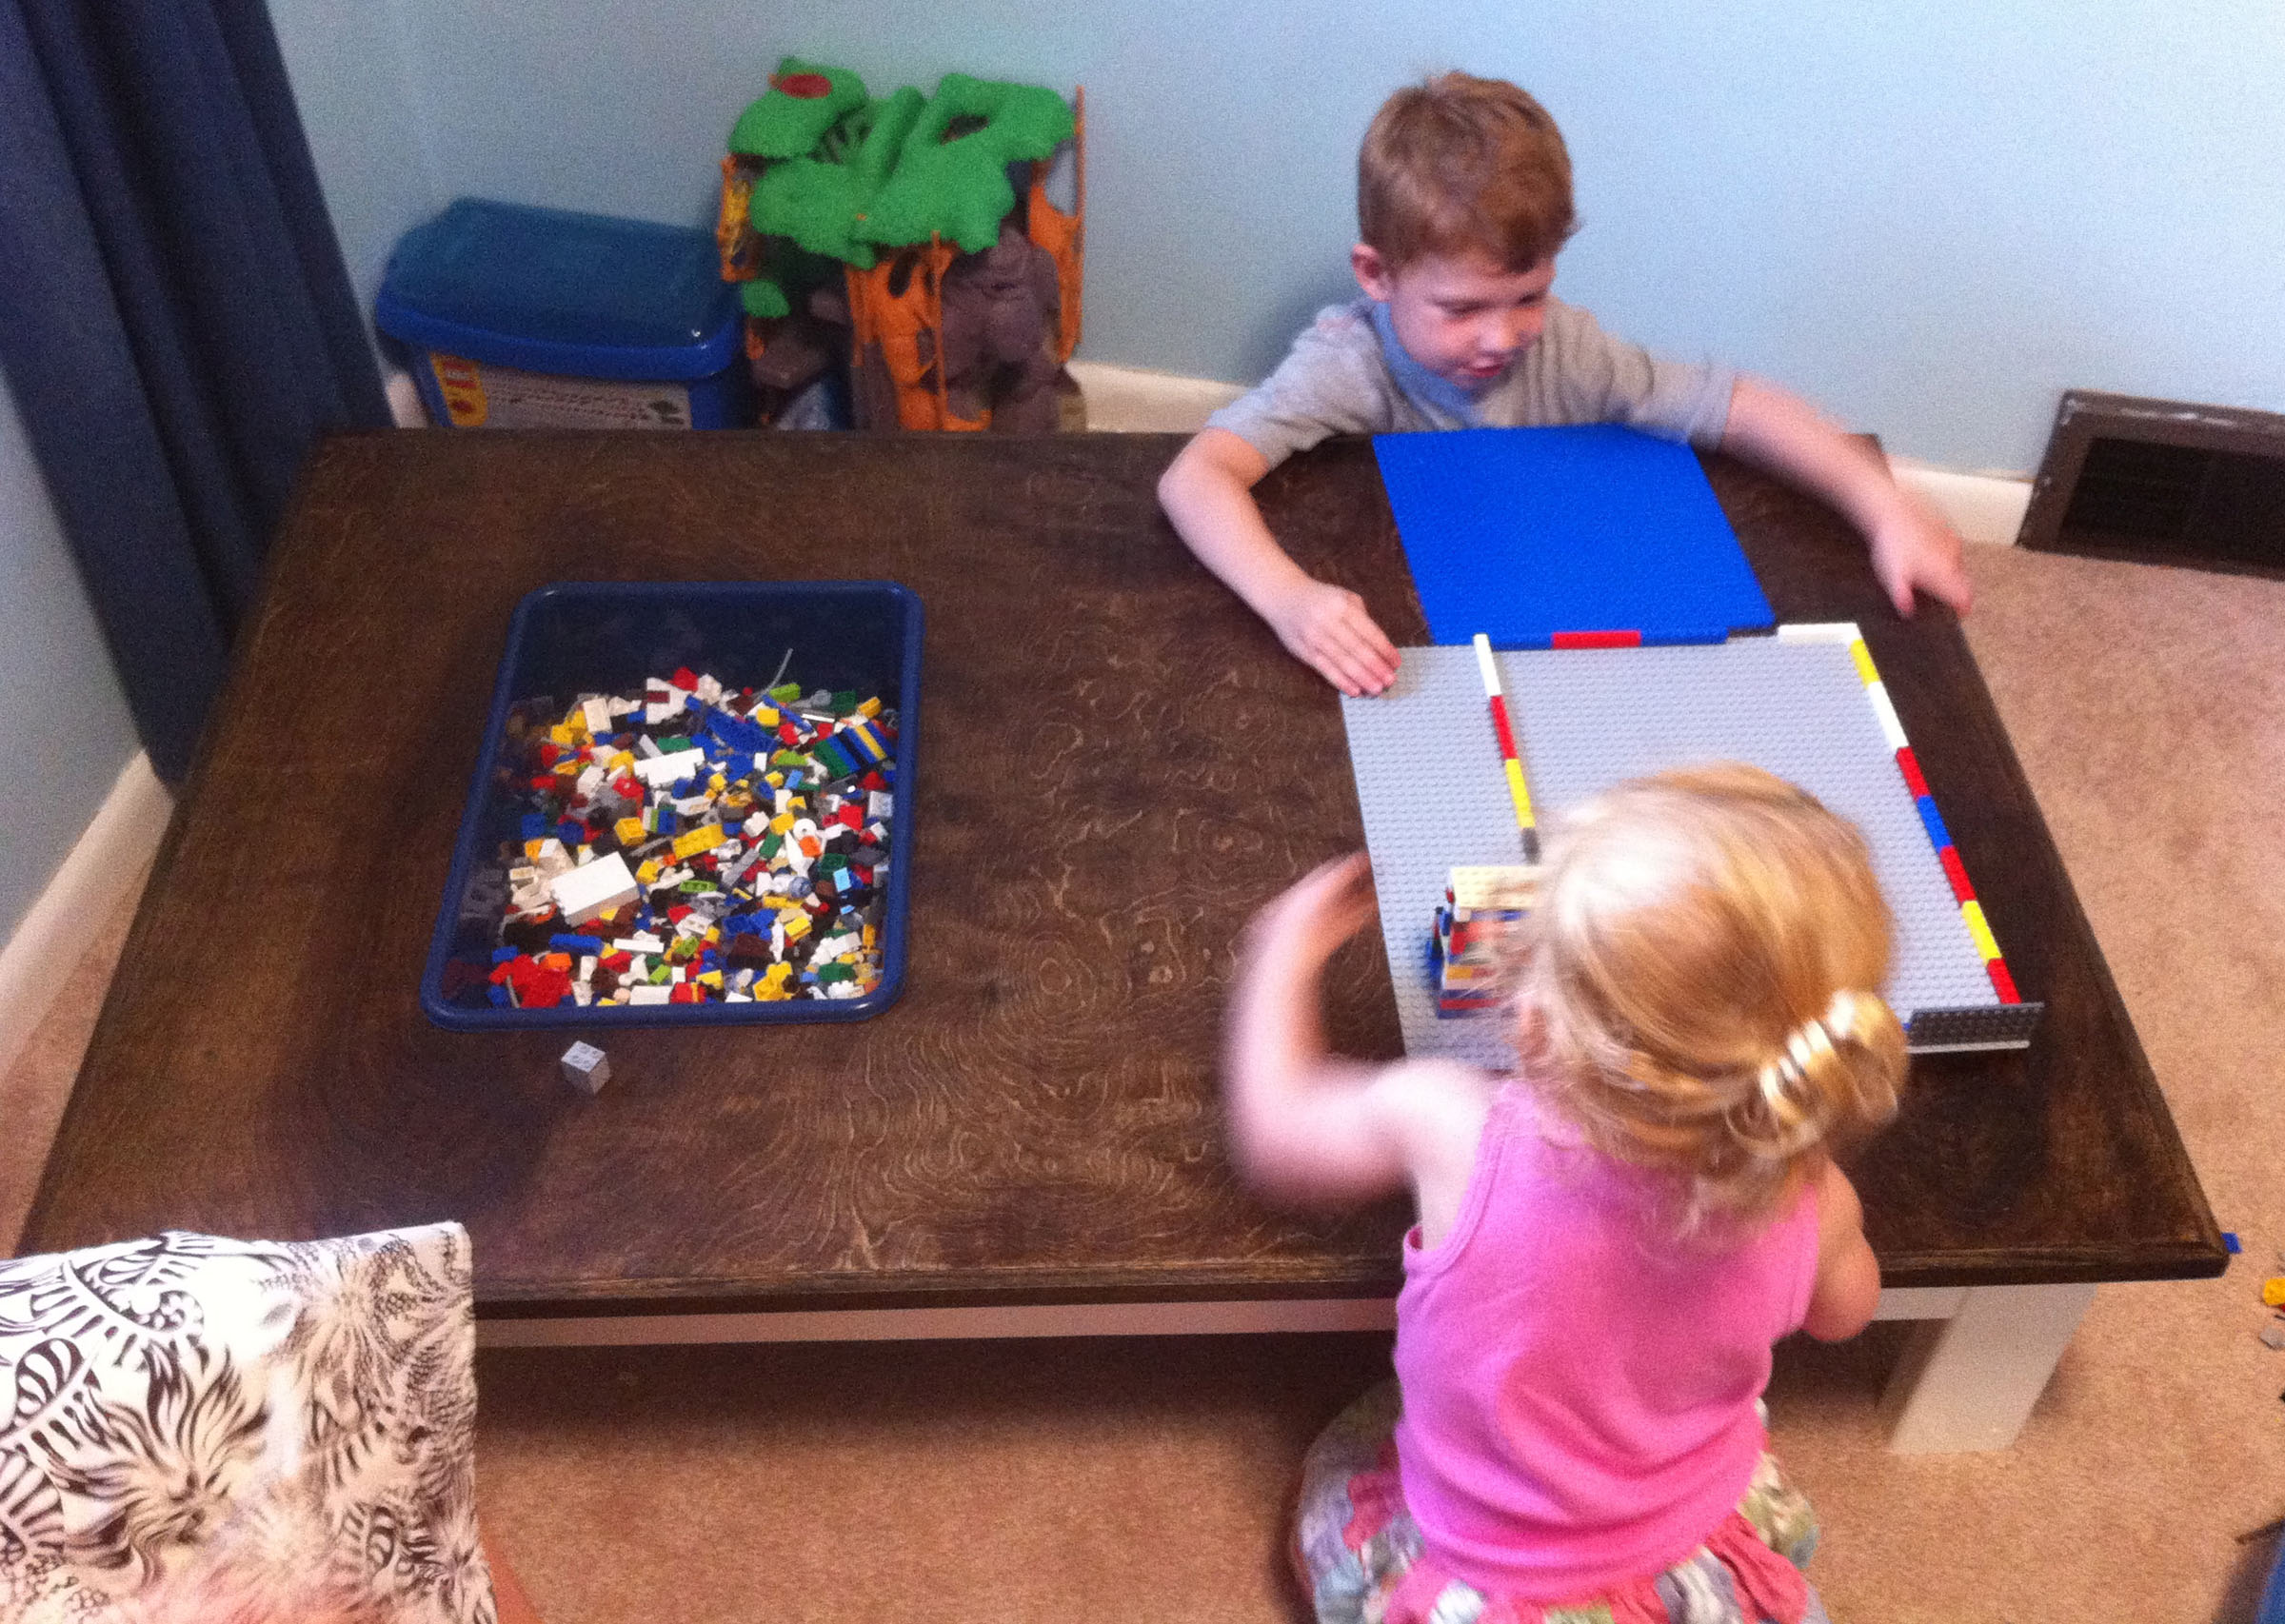
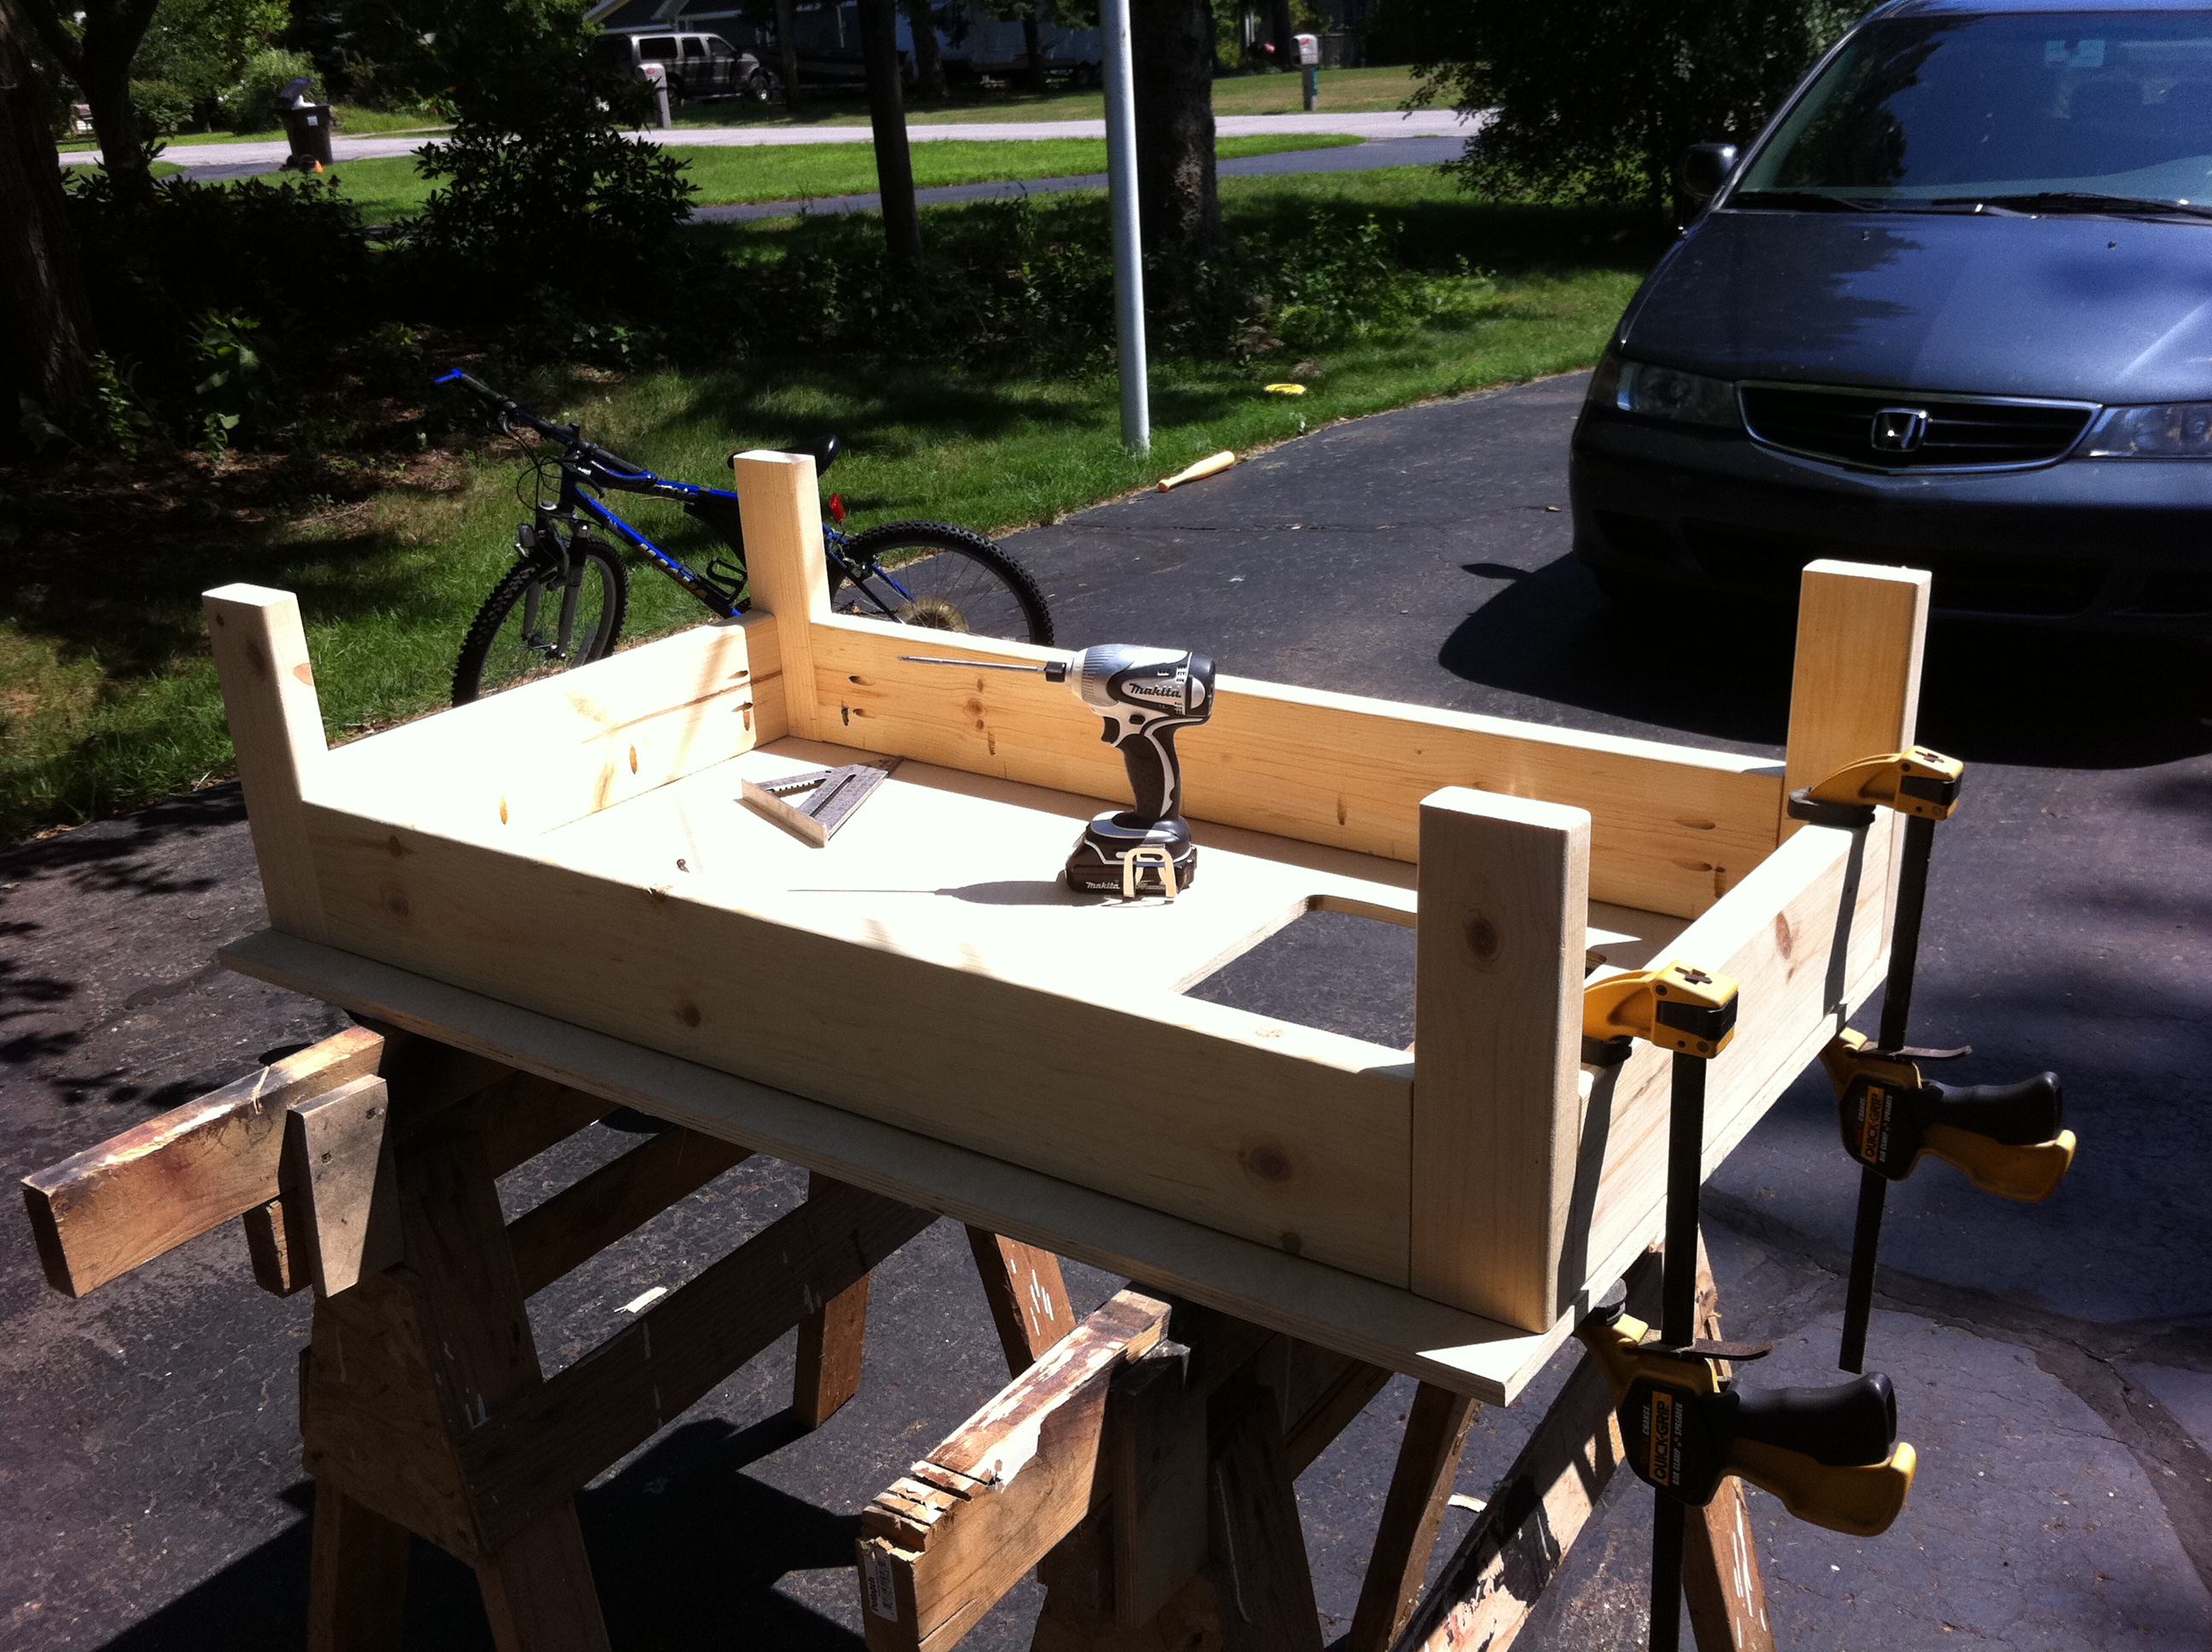
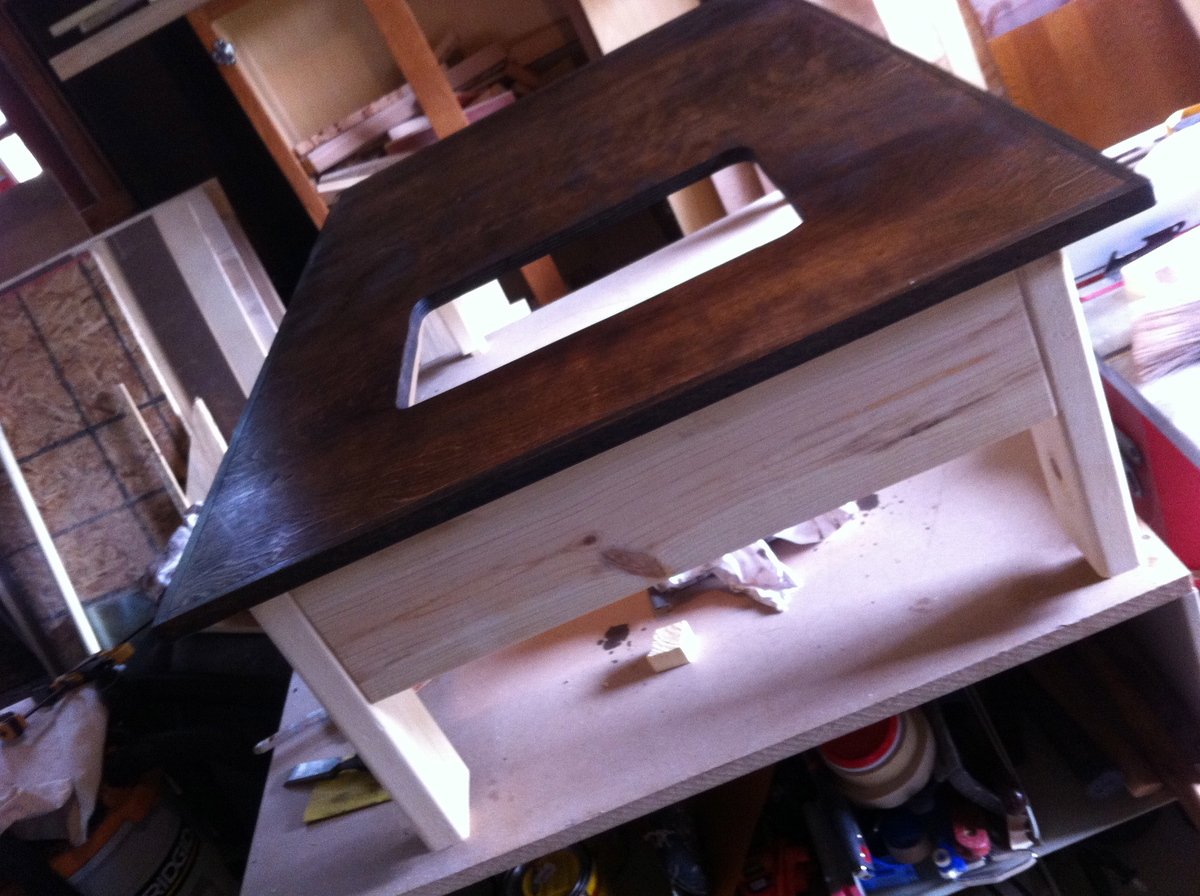
My wife and I desired to have a place to put my son's Legos other than on the floor. We were quite tired of walking out of his room with lacerated feet. So, I designed a basic Lego table to accomodate our needs. The frame was very simple to make, and the top wasn't much harder. I stained the top with Minwax Dark Walnut stain and sealed it with 3 coats of Minwax wipe-on Poly. The frame has been painted white with a semi-gloss paint that was left over from the Clara Table I made for our children earlier this summer.
For storage, I got a little creative. We had several plastic bins from a storage unit we were moving out of the room (my wife and I have seen similar ones at Ikea and Target), so I snatched one of these and cut out a recess in the table in which the bin now sits.
I've seen many versions of tables that have the storage hidden, but this didn't make much sense to us since our son is constantly looking for various pieces. This way, he can dig through the bin without having to move anything on the table. It also allows for quick clean up at the end of the day.
I just saw a table (much smaller, and felt very cheap) at a local toy company for $150. Total cost for our project was about $32, $20 of which was for the birch ply. Not bad!!! Several friends have already requested tables of their own.
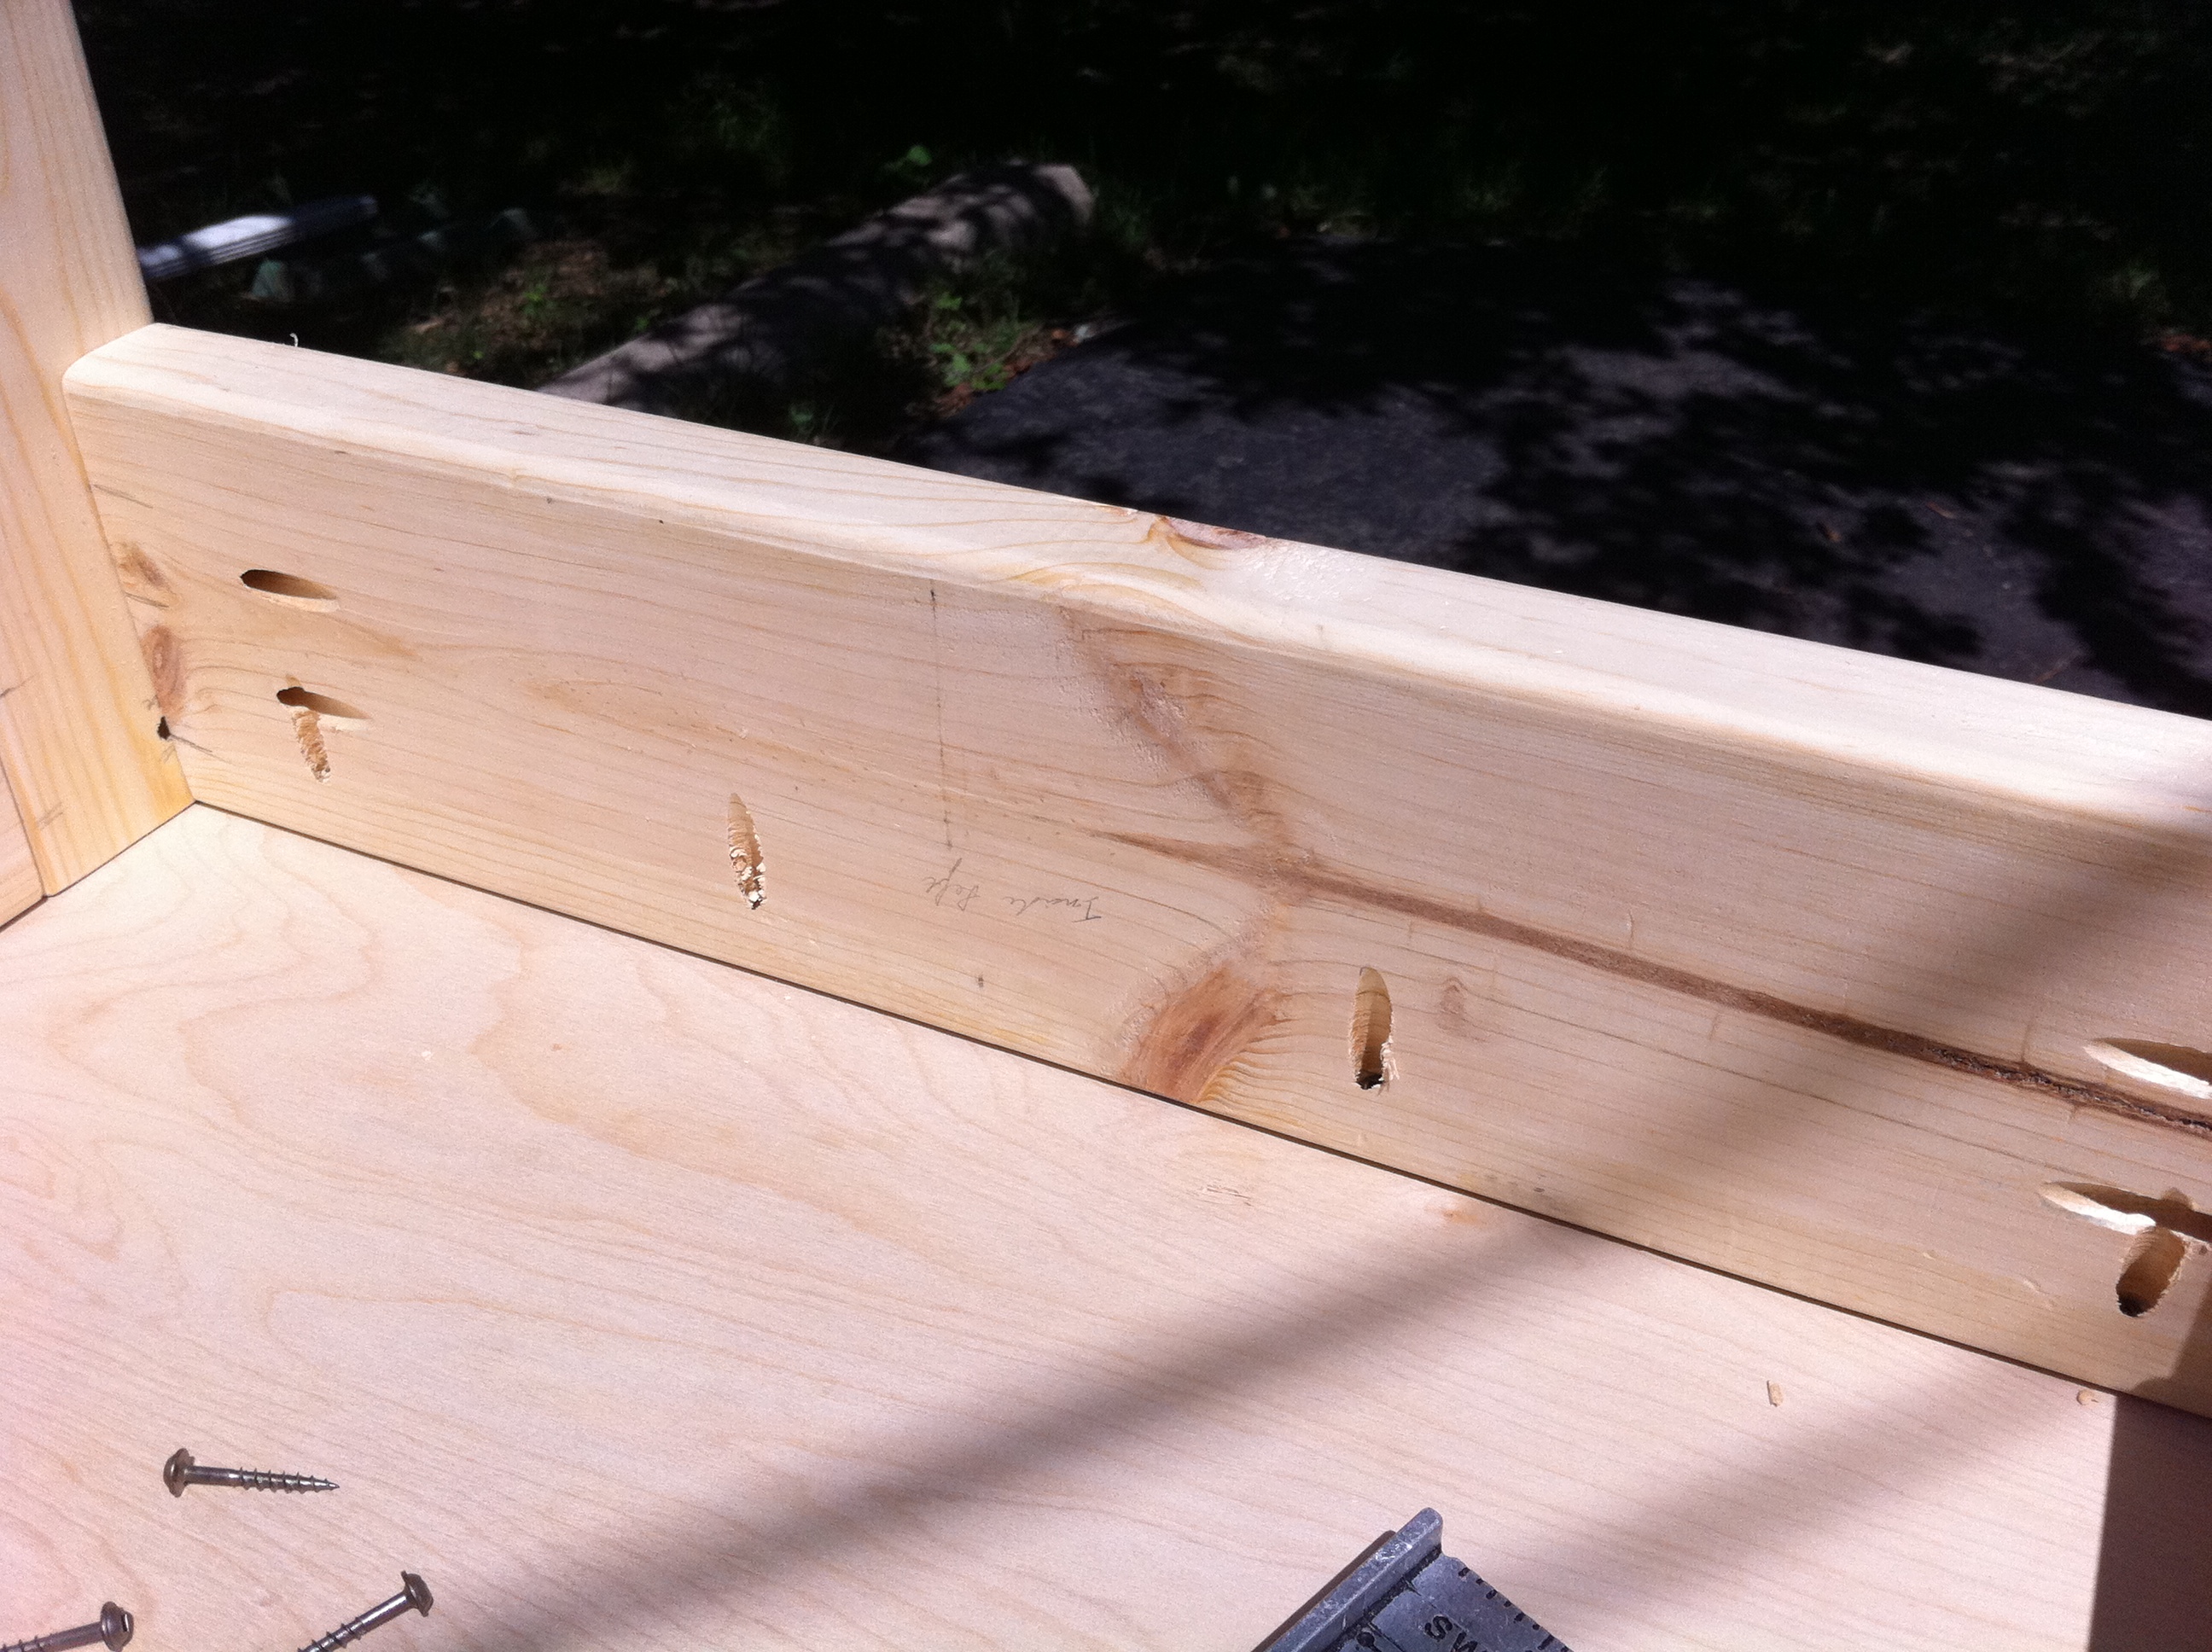
Material: 1, 2" x 4" x 8'; 2, 2" x 6" x 8"; 1 full sheet of 3/4" birch-veneer ply (I got the sheet at 60% off because it had some damage to one of its sides--but not a big deal since I only needed a 30" x 48" piece out of it!); 1, 3/4" x 4" x 8' piece of poplar for edging trim (ripped down to about 3/4" strips); about 25, 1 1/2" Kreg Pocket Hole Screws; wood glue; Minwax Walnut wood stain; Minwax wipe-on Poly.
Dimension can vary based upon personal preference, but our table top was 30" x 48", and the frame legs were 12" high. We wanted our children to be able to sit/kneel to work on the table (by the way, I've thought it might be a great table for putting together puzzles too!). The frame is not 30" x 48", though, because we wanted a bit of an overhang on the sides so that our children could get closer to the table.
If I get time here in the next week, I'll add this as an official Project Plan.
Blessings, and I hope you all enjoy!
JB
Comments
spiceylg
Fri, 08/12/2011 - 08:15
Impressive!
Really nice job! Innovative.
In reply to Impressive! by spiceylg
Arts and Crafts
Sat, 08/13/2011 - 06:14
Thanks!
I'm glad you liked it! Thanks for the encouragement!