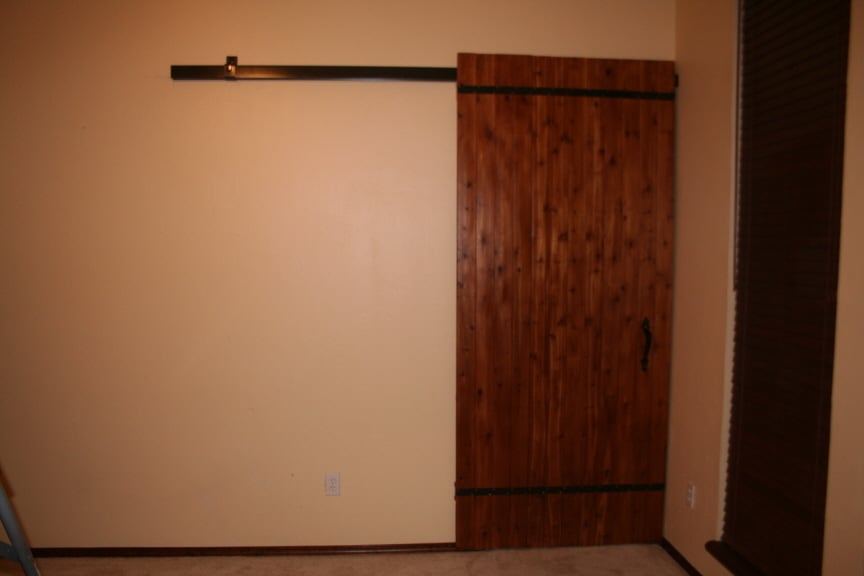
We turned a formal living into a bedroom so we needed a door to close off the kitchen/nook beyond. Since we were on a tight budget, we knew we could not afford the barn door hardware, so we found the next best thing:
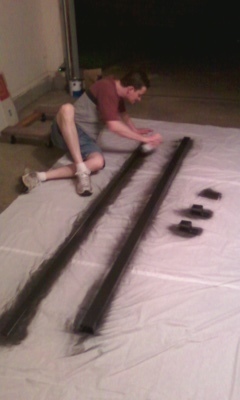
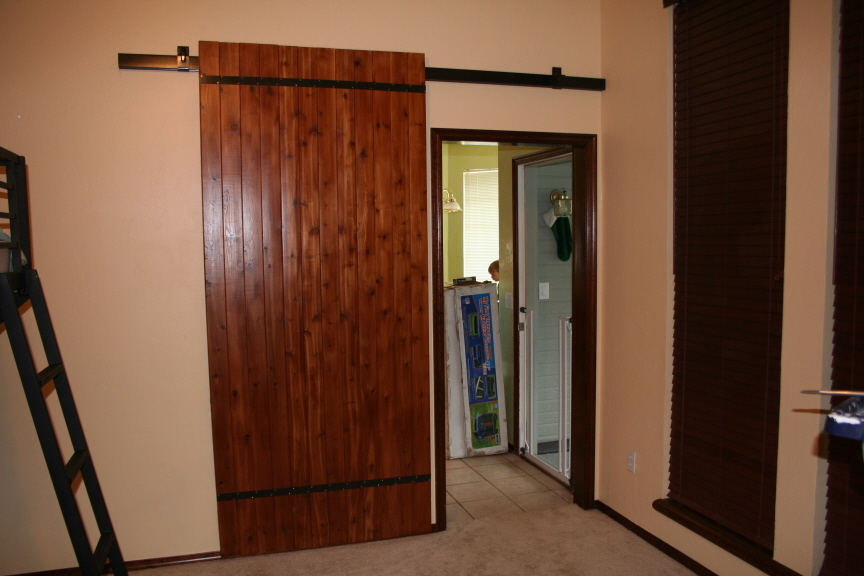
Stanley Trolley Box Track (from Lowe's). http://tinyurl.com/2z6wpn Yes, it's ugly looking, but we painted it black and modified how it was used. We got the 6' track with the box track hangers without apron. We bought the mount bracket, but that was a mistake. The door could not pass the mount on the right side and we ended up just attaching the track to the wall without the mount on that side (pic of door open shows both mounts before we were able to close the door and before we removed the mount on the right side). Had we known, both sides would have been attached to the wall without the mount. But, we went ahead and left the mount on the left side as we didn't think it hurt the look too much.
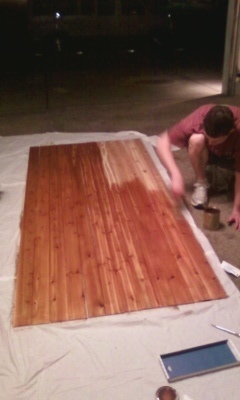
The door: We made another mistake. We meant to buy 1x tongue and groove wood (3/4" thick) to make our door and we somehow got 8' lengths of tongue and groove paneling 1/4" thick (OOPS): http://tinyurl.com/7ea6b3r It looks good, but it's ultra light weight (stain first, then put it together). We used a flat piece of aluminum to hold it together (also painted black - along with painted screws). Due to our mistake in depth, our screws were too long so we located a 2x4 directly behind the aluminum strip on the top and the bottom of the door for stability. It helped a lot. The location of the aluminum strip at the top is strategic because the 2x4 behind it is also what holds the box track hangers that roll on the track above. We put them a few inches in on each side from the edge of the door, drilled a hole vertical through the 2x4 (a little off center so the door wouldn't rub the track) where longer bolts were used to go all the way through the 2x4 and hold the door onto the track while being hidden behind the door. I also had to get smaller screws for my door handle to go on since the door was only 1/4" thick. But, it all worked out.
The backside: Due to the fact the door is so light, we added felt to the 2x4 at the bottom so it wouldn't damage the trim.
Comments
brookifer86
Wed, 06/13/2012 - 12:52
Looks great!
My mouth totally fell open when I recognized the door plan from my blog! Your door looks fantastic, even with the oopses ;) I'm glad it all worked out for you guys!
AmyRWilson
Thu, 06/14/2012 - 14:17
THANKS TO YOUR BLOG!
That's why I definitely wanted to link the blog post where the plan came from. It was a great idea and I'm thankful I found it. I don't think we would have been able to do the door without your blog. For one, they are too expensive and I wasn't sure how to do it without that expensive hardware. But, your blog helped us be able to do something nice and without spending too much money. It also functions perfect!!!