Ah the doors ... almost the last part of the Momplex not sealed in.
The doors should have been put in a long time ago.
But you see, we built out of ARXX blocks - Insulated Concrete Forms (ICFs) which are basically giant hollow foam legos that you fill with concrete. And the ICFs are much wider (11 1/2") than a standard 2x6 wood framed wall. So we will need a special door jamb to fit the wider walls.
The doors are late to go in because we wanted to DIY the door jambs themselves. To just order the door slab, and then hang the doors on our own jambs that are 11 1/2" wide to fit the ICFs. But after much much research, we could not find a threshold that was 11 1/2" wide to fit the wider jambs.
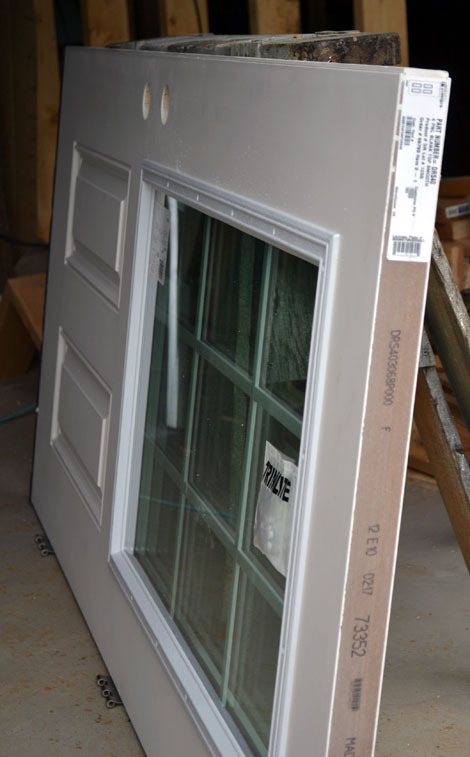
So finally we gave up and special ordered the entire prehung doors with a 11 1/2" jamb.
You don't know how sad I was to get a regular door with a jamb extension stapled on and a standard threshold. I think I love DIY so much because you are in control of everything. You aren't stuck with what you got. You are stuck with what you built yourself.
But this Momplex, it isn't about a door battle. It's about winning the war - getting two Moms moved into an energy efficient, nice, maintenance-free home, on a DIY budget before another winter sets in. And we aren't about to let a lost door battle determine the outcome of this war.

The doorways are already framed with a door buck in the ICF wall.
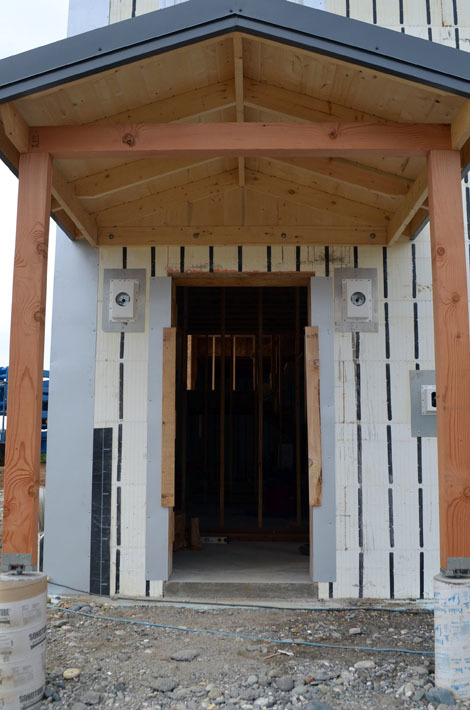
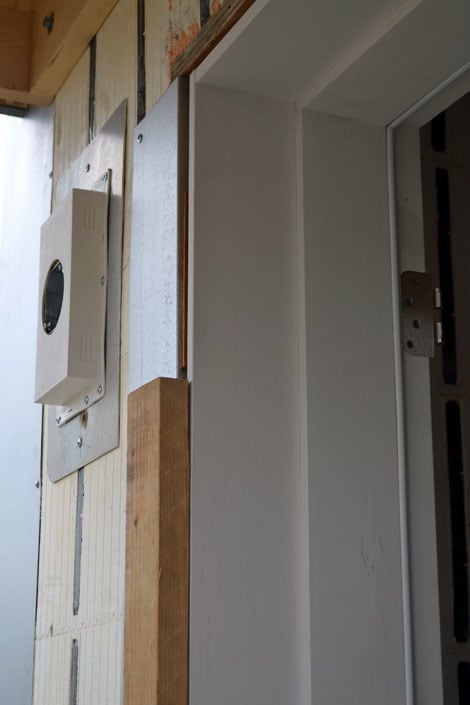
But we add metal flashing to the sides to give us something to attach trim to later on. You can't attach trim to the foam, there is nothing for the screws to bite into.
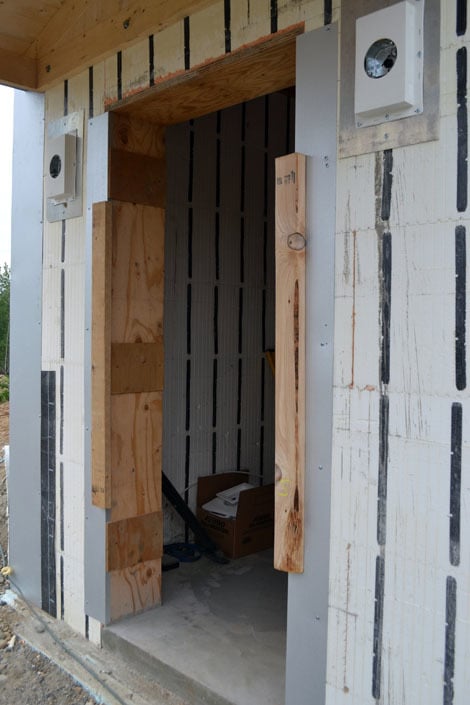
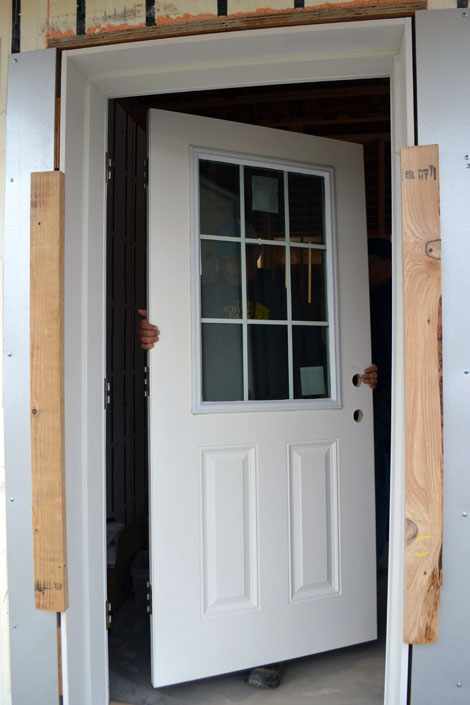
Over the metal flashing, we attach 2x4s to the door front, a stop block for when placing the doors in. This only works if you remove the brick molding from the doors - or in our case, ask for the doors without.
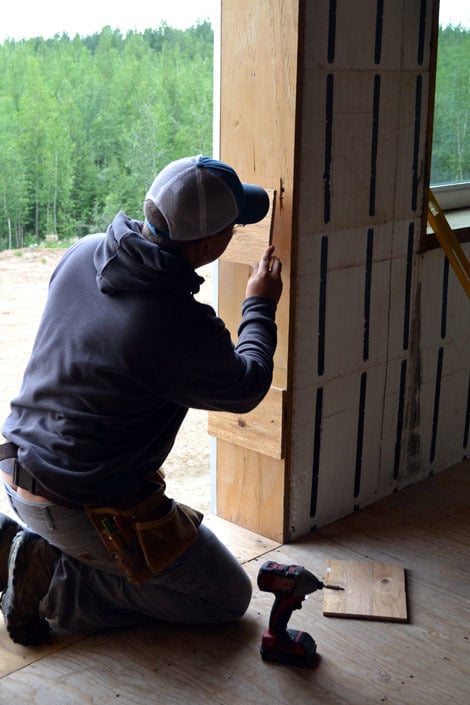
On the door hinge side, Jacob attaches plywood pieces cut to the width of the doorway to the wood bucks. The plywood pieces are attached at the same height of the door hinges.
We are ready for the door to be installed!
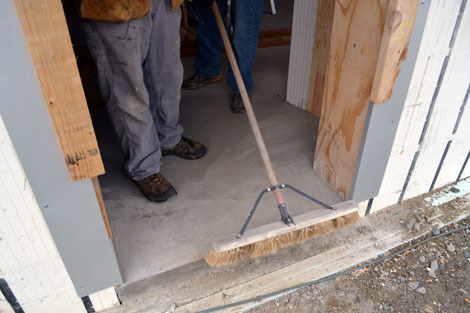
The doorway gets cleaned up.
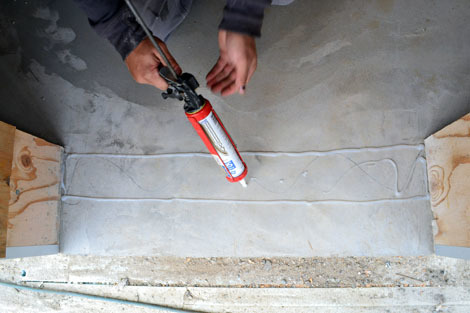
And silicone applied under the threshold area.
Then the door slab is removed from the jamb. We went with fiberglass fully insulated doors and they are heavy. It's better to do these things without the extra weight!
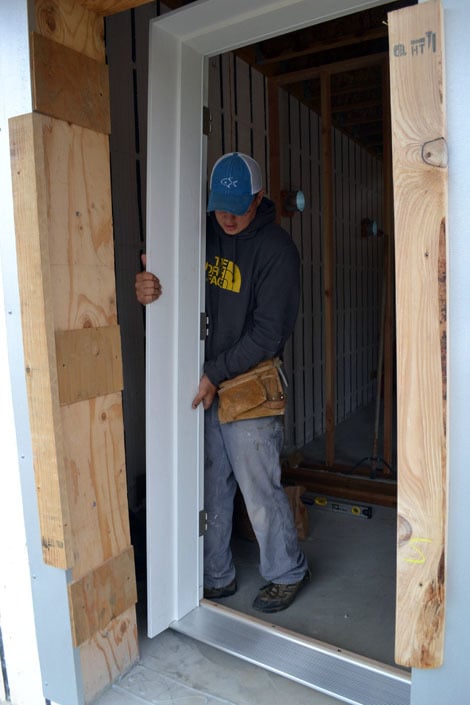
The door jamb is carefully moved into position.
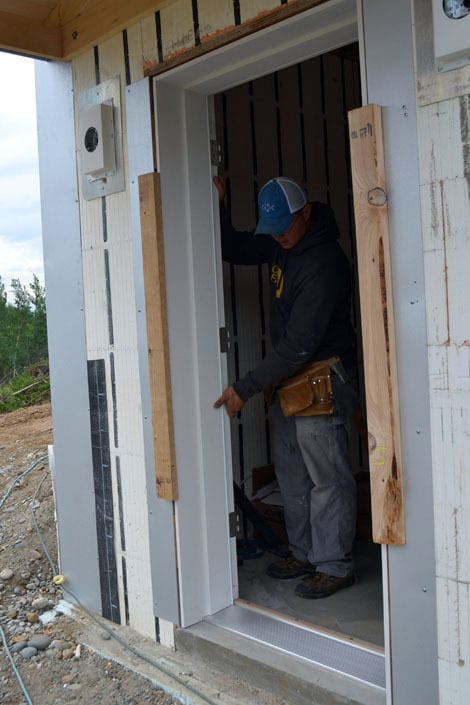
Pushed up flush with the 2x4 blocking on the outside.
If you were installing with brick moulding, you'd have to install the door from the outside.
But this method worked great for us.
Then the Ram showed me a trick.

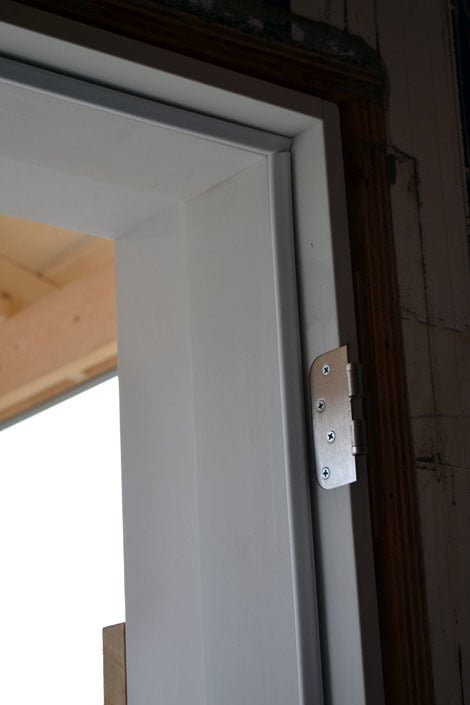
He removed a screw from each door hinge.
And replaced it with a longer screw, screwing right through the door hinge, jamb, and into the door buck! This way, the door is being attached to the building, without creating screw holes, and putting support right where you need it - at the hinge! So smart!
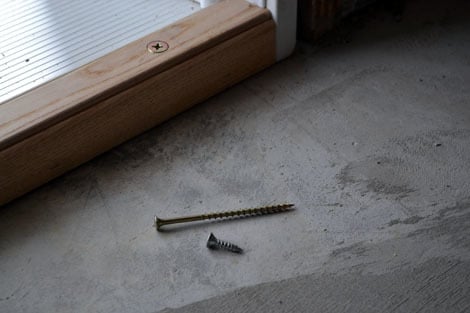
What would you rather have holding your hinged door in place? The short factory screw? Or the long one attached right to the building?
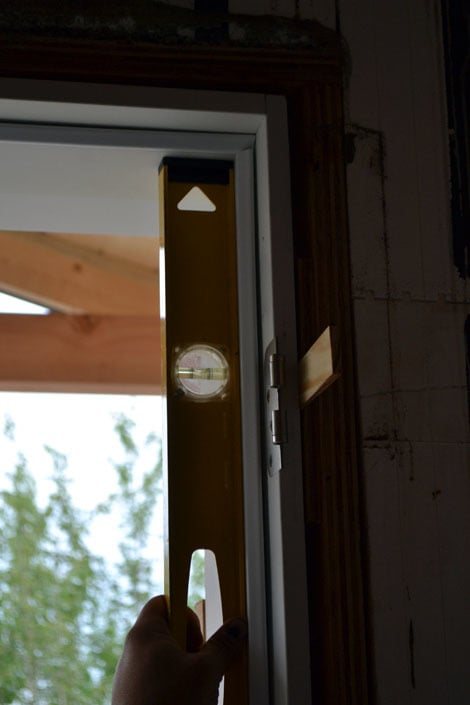
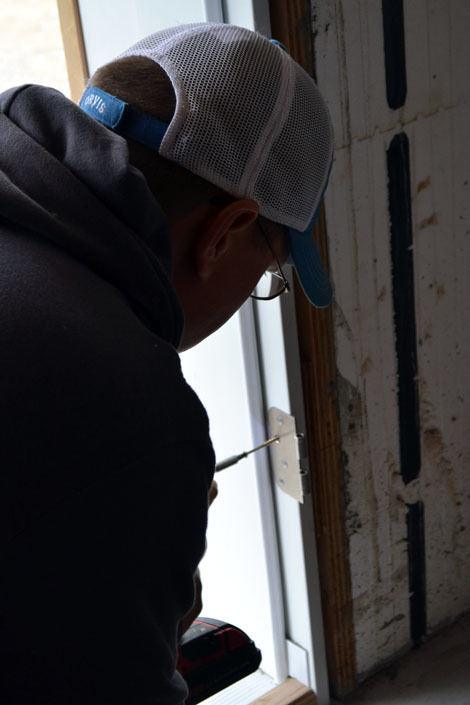
As the door is being installed, the jamb is continually checked for level. If not perfectly level, door shims are added to level out the door.

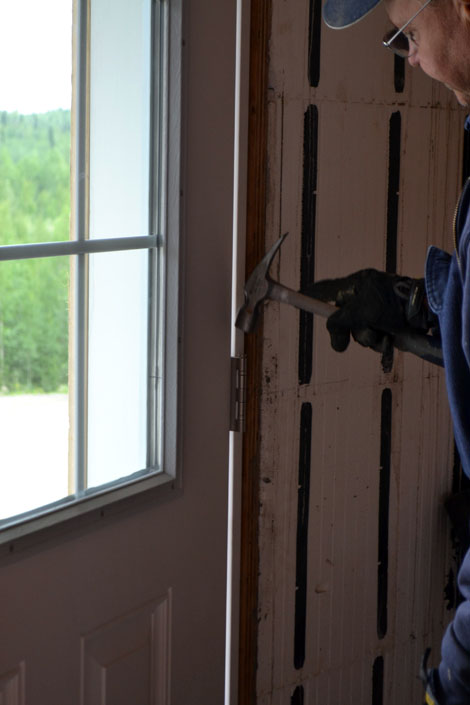
In addition, more screws are added behind the weatherstripping to hide screws holes.

All the way around the door jamb.

And excess pieces of shims are broken off.
Once we are happy with the jamb installation, it is time to test the door fit.

The door is placed back on its hinges.
And the pins are pounded back in.

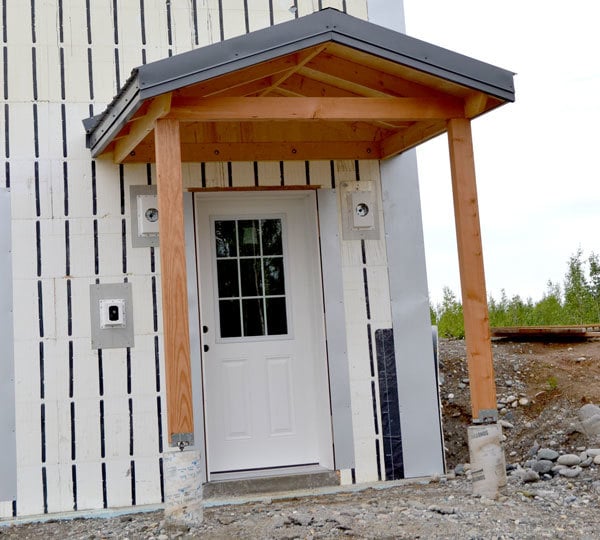
And the door is in!

The door is tested for fit, and if necessary, more shims are added until that door closes effortlessly.

Outside the 2x4 blocks are removed.

And inside more silicone ...

Then the side doors are installed

And the deck doors. Living up here in Alaska, it's a constant battle between design and functionality. We'd love to have put full glass patio doors in. But anyone in the Interior of Alaska will tell you, you are going to pay for it in lost heat.

And besides, if there's a door out there that we'll still like in 40 or 50 years, it's going to be this one.
One more battle won!
Comments
annalea
Tue, 07/31/2012 - 15:54
Hooray for Doors!
sgilly02 (not verified)
Tue, 07/31/2012 - 16:19
Yea!
Whitney Smith (not verified)
Tue, 07/31/2012 - 16:42
I REALLY love how the super
Brian Forbes Colgate (not verified)
Tue, 07/31/2012 - 19:22
Long screws - what a great tip!
Guerrina
Wed, 08/01/2012 - 10:54
Toasty Inside, Cold Outside
Amanda BW (not verified)
Wed, 08/01/2012 - 11:31
Looks great! I'm dying to see
Quintin79
Wed, 08/01/2012 - 19:14
Great job!!
cbeach1717
Sat, 08/04/2012 - 22:29
AMAZING!