
Today is that day we answer the biggest question of building with ARXX ICF blocks.
From the moment we started thinking of building the Momplex with Insulated Concrete Forms, the first question was, what about electrical in the ICF walls?
For those of you new to the Momplex, we are building our mothers DIY style a duplex up here in Alaska. We've been at it for about a year and a half, doing it all ourselves, one step at a time. We choose to build with ARXX ICF blocks because the Momplex is on a windy hill, and the poured in place concrete resist wind and will give us a much greener and more efficient home for our mothers.
ICF construction has been pretty easy so far, kind of like stacking hollow legos up and then pouring the center hollow part with concrete. I love that with ICF construction, most any DIYer can build their own home by simply stacking up foam blocks. And once you have the walls poured, you've got a fully insulated and vapor barrier-ed wall - five steps done in one! That's why we went straight from putting a roof on (and insulating it) to putting heat inside the Momplex!
But the big question has always been the electrical. How do you do it and how easy is it to do? Today, we find out!
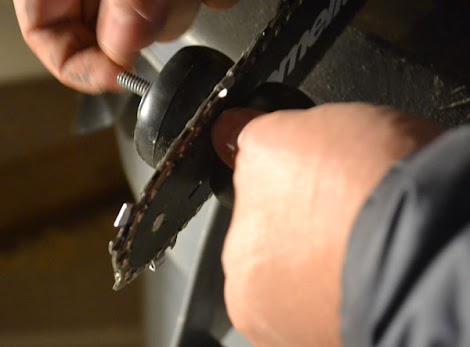
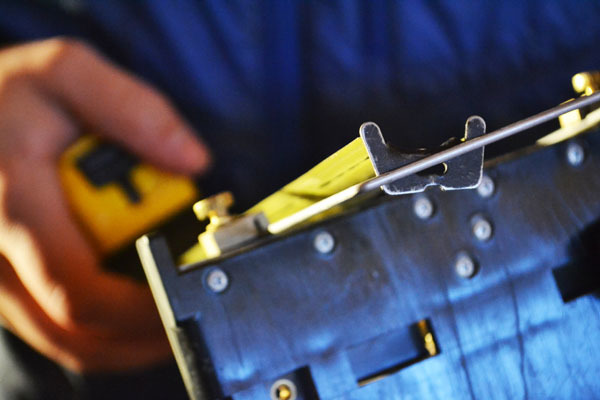
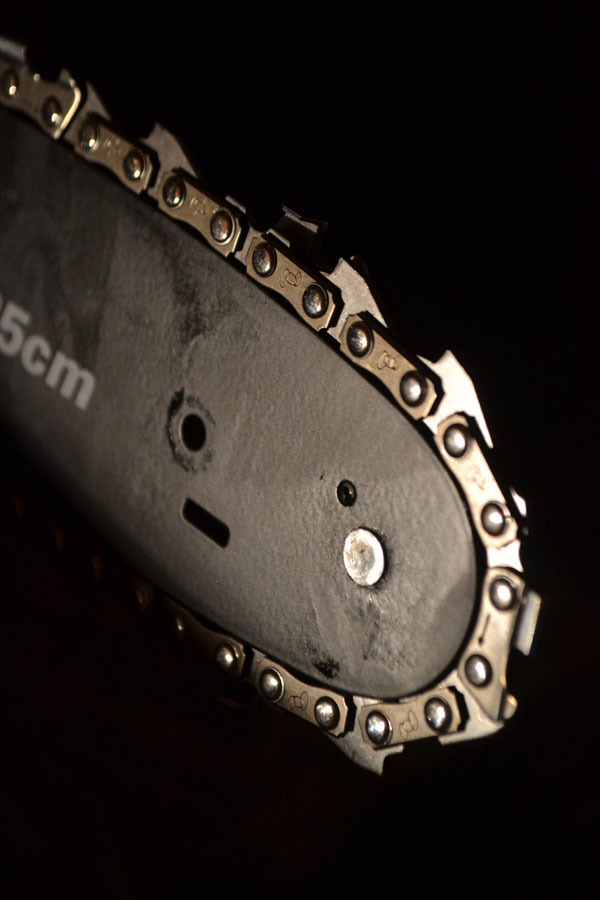
The Ram has hole drilled through the chain saw bar and puts two caster wheels on either side of the bar.

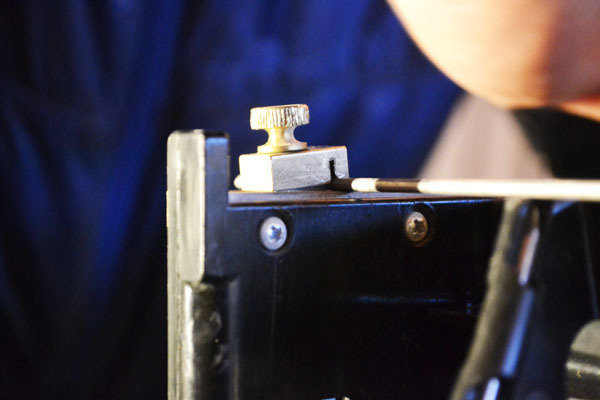
Adds a few washers and nuts,
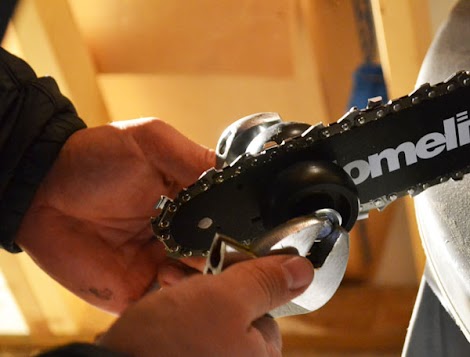
And tightens things up and

He's got himself a channel cutting machine complete with a guide.
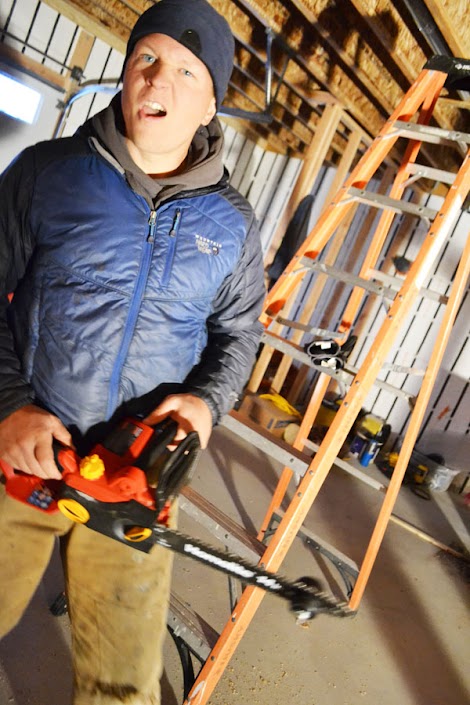
A chainsaw is to a real Alaska man what a guitar is to a rock star.
Let's rock!

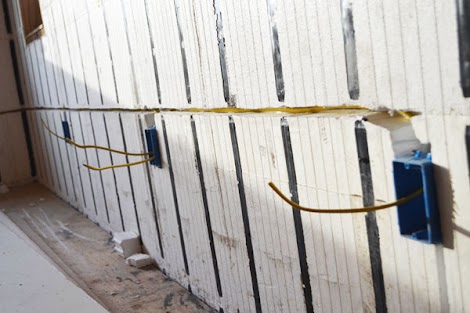
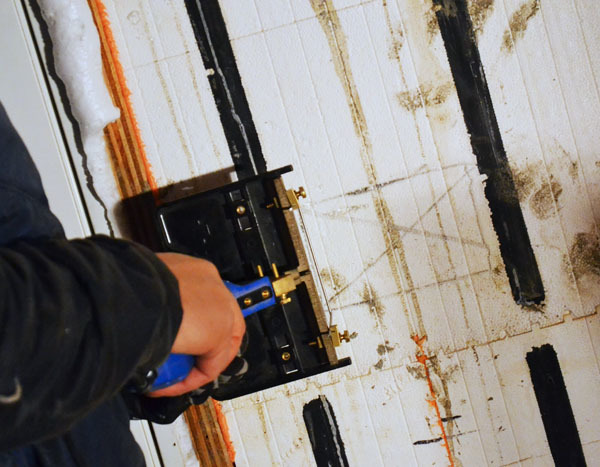
Using the casters to guide, the chain saw quickly cuts a channel down from the box.

And then down the seams

Running a channel from box to box for the wires.

It took longer to drill a hole in the chain saw bar than it did to run a channel around the two floors of the Momplex exterior walls!
Now that we have all the boxes in the walls, we can run wire between the boxes. But that's a whole 'nother post and a few days of work. It feels good to be getting so close to finishing up the electrical!
Once we have electrical done, we'll finish up a little plumbing, and take care of some miscellaneous stuff like thermostat boxes and phone jacks, and I can hardly believe it, we'll be drywalling!!!! Yep, ordered it yesterday!
Thanks for keeping us encouraged and inspired!

Now keep in mind as we go through this step that you run as much of your utilities as possible on the interior walls that make up at least two - if not three - walls of every room. The entire kitchen and bath walls are all interior, so things like plumbing and supply lines, washer and dryer hook-ups, oven/range box etc are all on the interior walls. For the exterior walls, we just need to put electrical outlets and switches in.
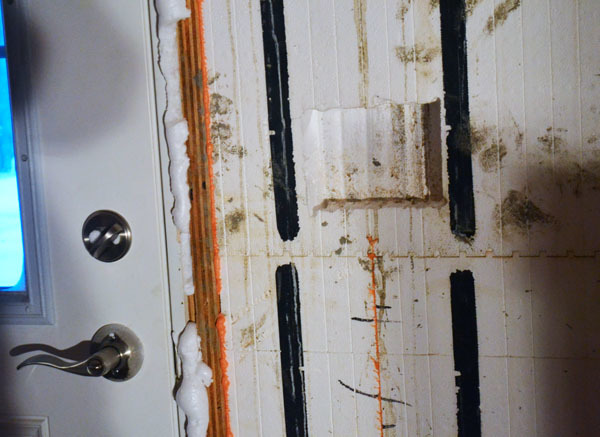
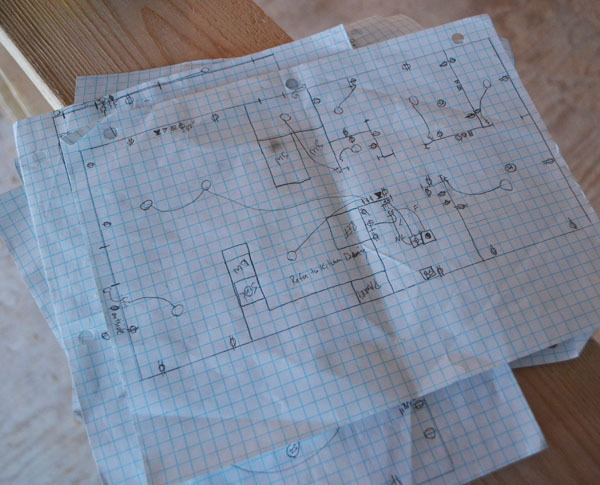
We start by tracking out a level pattern of the box on the wall.
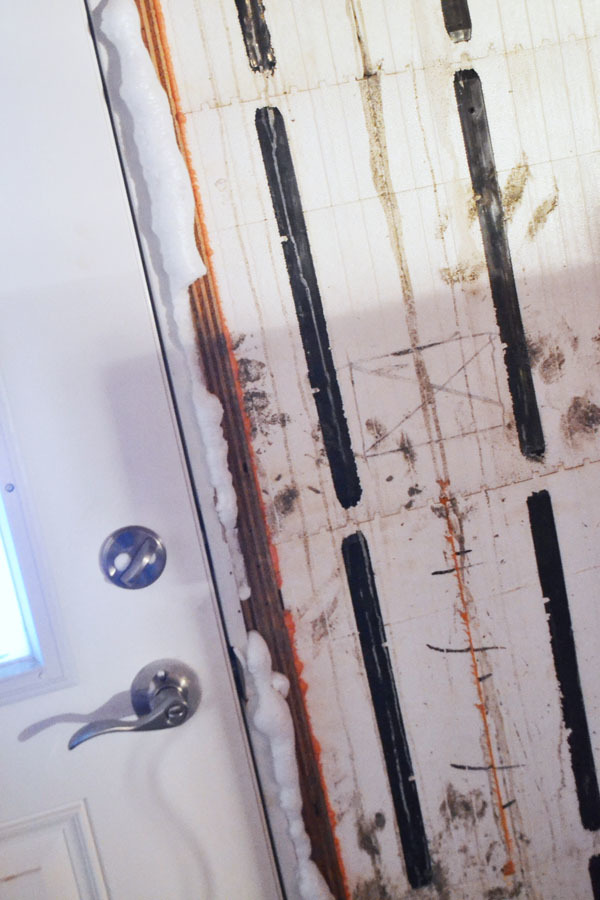
This one is a switch at the garage door for controlling outside lights and the garage lights. All boxes in the exterior walls are marked.
We've rented what is called a hot knife and it comes with wire "blades" that are sized the width of the electrical box. The Ram adjusts the depth of the blade so that the boxes will sit out 1/2" to accommodate drywall *eeeek!!!* NEXT WEEK!
Just tighten up the screws ...
And insert the blade into the wall at the start of the box.
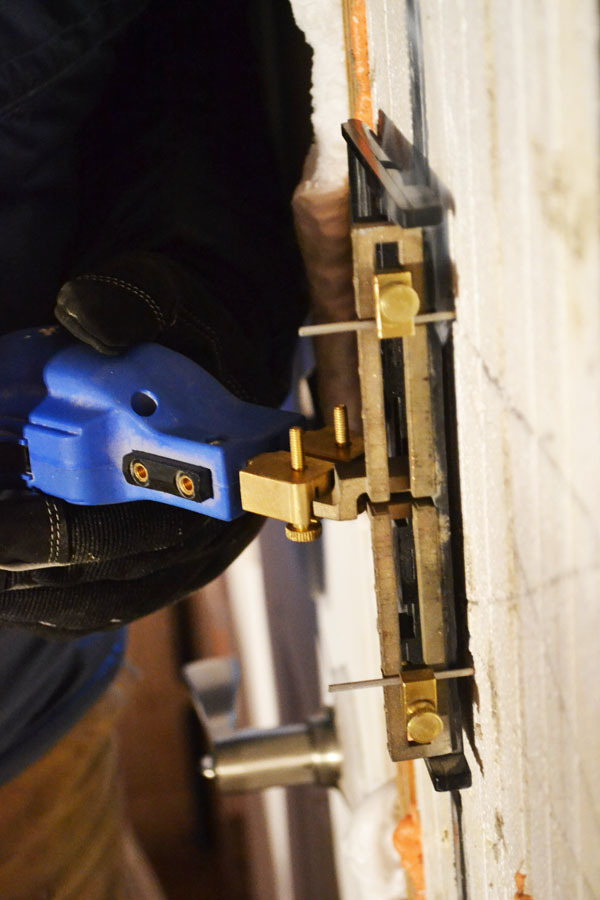
Then just move the knife slowly (this is actually very very easy - kinda like cutting through soft butter) down the width of the box, and then pull it out. You don't have to be exact here, you can always go back and foam around the box.
Because the hot knife is the height of all the boxes, single, double or triple, we can easily cut out all the boxes by just making longer or shorter cuts without changing blades.
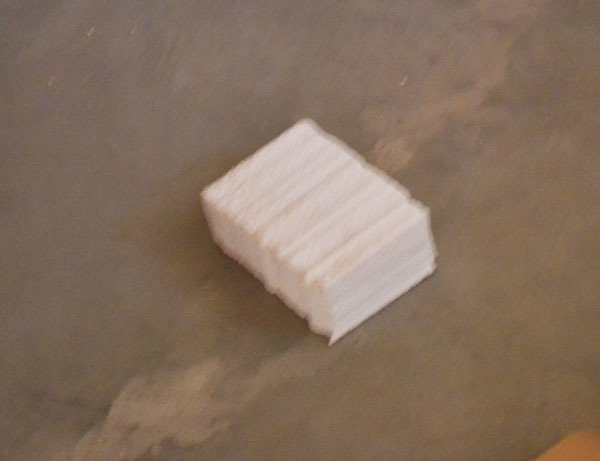
Out from every cutout pops a neat block of foam.
Cutting the boxes was as fast as I could pull extension cords around, trying to keep up with the Ram. Remember, we don't have electrical hooked up yet inside the boxes (expect for one central box) so half the work is getting the power to the hot knife. Can't wait to have power to the outlets!

Then the boxes are simply placed in the openings.
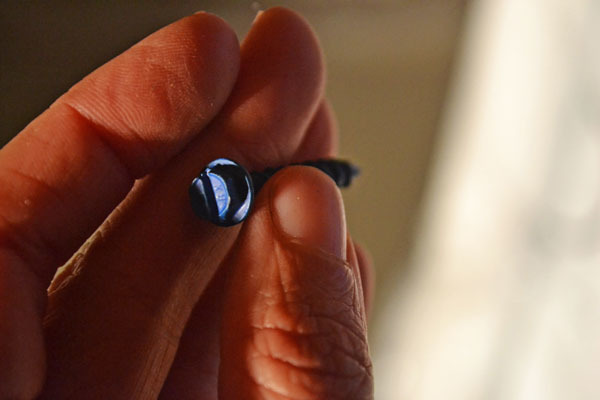
And we use concrete anchor screws

To attach to the boxes to the actual poured concrete inside the foam walls.
But before we actually put all the boxes in, we have to connect the dots!
Each box has to be connected with a channel cut into the foam to run wiring. The channel goes at the seam between layers of blocks, and the recommendation is to use the hot knife with a channel blade to cut the channel.
The reality is with our blocks, quite a bit of concrete ended up seeping into the seam between the rows of blocks, and when we went to use the hot knife, well, it doesn't cut through pockets of concrete.
So the Ram had an idea.
That involves a chainsaw.
I have to admit, I was pretty skeptical about all this.

He measure in the distance the channel needs to be run.

And then drills a hole in the bar.
Now let me tell you, we picked up the cheapest possible electric chain saw for this job, and we were shocked at how tough that bar was to drill a hole through!!!! Two drill bits later ....
Comments
birdsandsoap
Tue, 02/05/2013 - 15:15
That is pretty ingenious!
CassieD
Tue, 02/05/2013 - 16:35
We're considering ICF's for a
romanweel
Tue, 02/05/2013 - 18:55
Wow!
Quintin79
Tue, 02/05/2013 - 23:37
Nice idea
bhoppy
Wed, 02/06/2013 - 10:17
McGuyver!
bmunsell
Thu, 02/07/2013 - 11:39
putting grooves in foam
annalea
Fri, 02/08/2013 - 17:56
Awesome how straightforward that is.