

hanging clipper planes
Please read through the entire plan and all comments before beginning this project. It is also advisable to review the Getting Started Section. Take all necessary precautions to build safely and smartly. Work on a clean level surface, free of imperfections or debris. Always use straight boards. Check for square after each step. Always predrill holes before attaching with screws. Use glue with finish nails for a stronger hold. Wipe excess glue off bare wood for stained projects, as dried glue will not take stain. Be safe, have fun, and ask for help if you need it. Good luck!
Instructions
Step 1
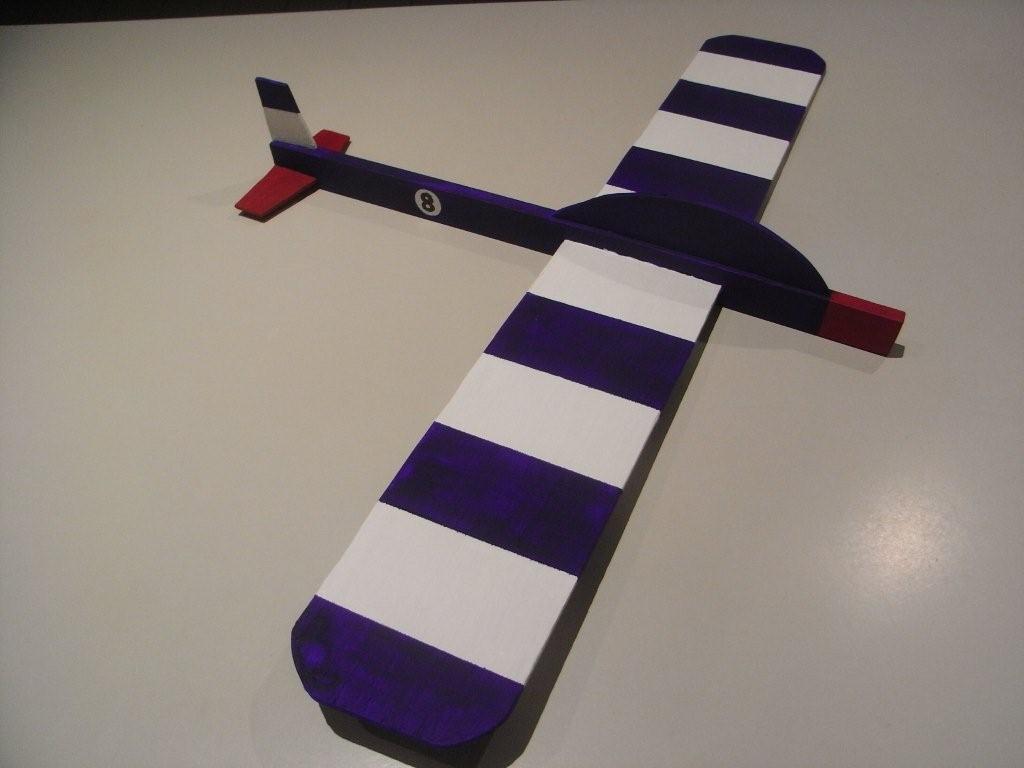
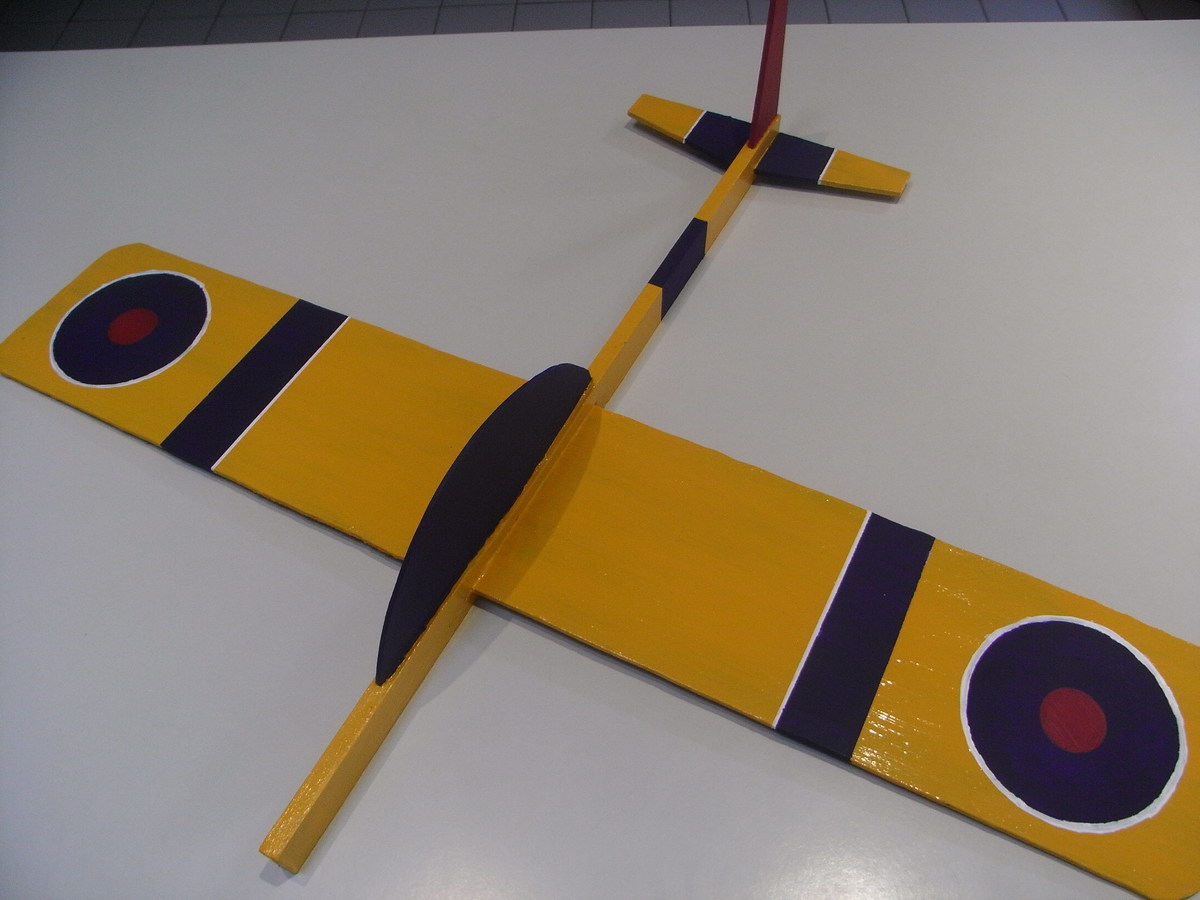
This is how I made the small clipper plane
I first cut a piece of 10mm x 30mm timber to 46cm in length. This became the body of the plane.
Step 2
The wings (well one wing really as it is in one piece) are out of ply cut to 68cm x 11cm with the corners rounded.
Step 3
The tail pieces are 6.5cm straight side, 4cm short straight side (attached to plane) top side 2.5cm, with the remaining side at an angle between.
Step 4
The cockpit on top measures 19cm long and 4 cm high, rounded on one side.
Step 5
Then it was just a matter of pushing the wings through to the centre and gluing it and the other pieces on.
Step 6
Sand and paint, and it was done. Oh and attach hooks onto the body (as it's the strongest part) and hang.
It is always recommended to apply a test coat on a hidden area or scrap piece to ensure color evenness and adhesion. Use primer or wood conditioner as needed.

Comments
YankeeBelle
Thu, 05/02/2013 - 17:53
Cute!
These are really cute! Thanks for sharing....wish I saw these plans when my grandson was little!!
vic b
Sat, 05/04/2013 - 12:20
Thankyou
Thankyou
jessleenewhouse
Wed, 01/04/2017 - 13:30
Plans?
These planes are wonderful. Well done! I would love to gain access to the plans posted on your blog. Would you mind giving me access or sending to me please? I'd greatly appreciate it. Well done!
In reply to Plans? by jessleenewhouse
Ana White
Thu, 01/05/2017 - 15:00
All of our plans are free
All of our plans are free