
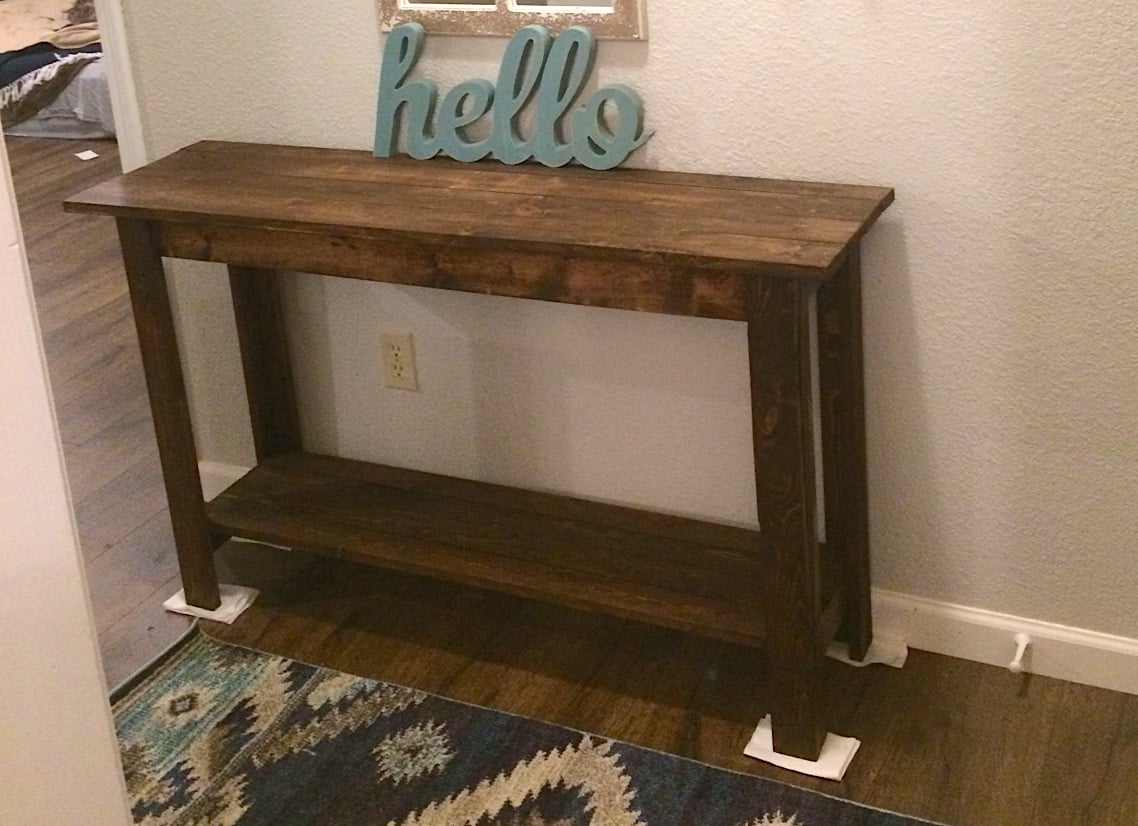

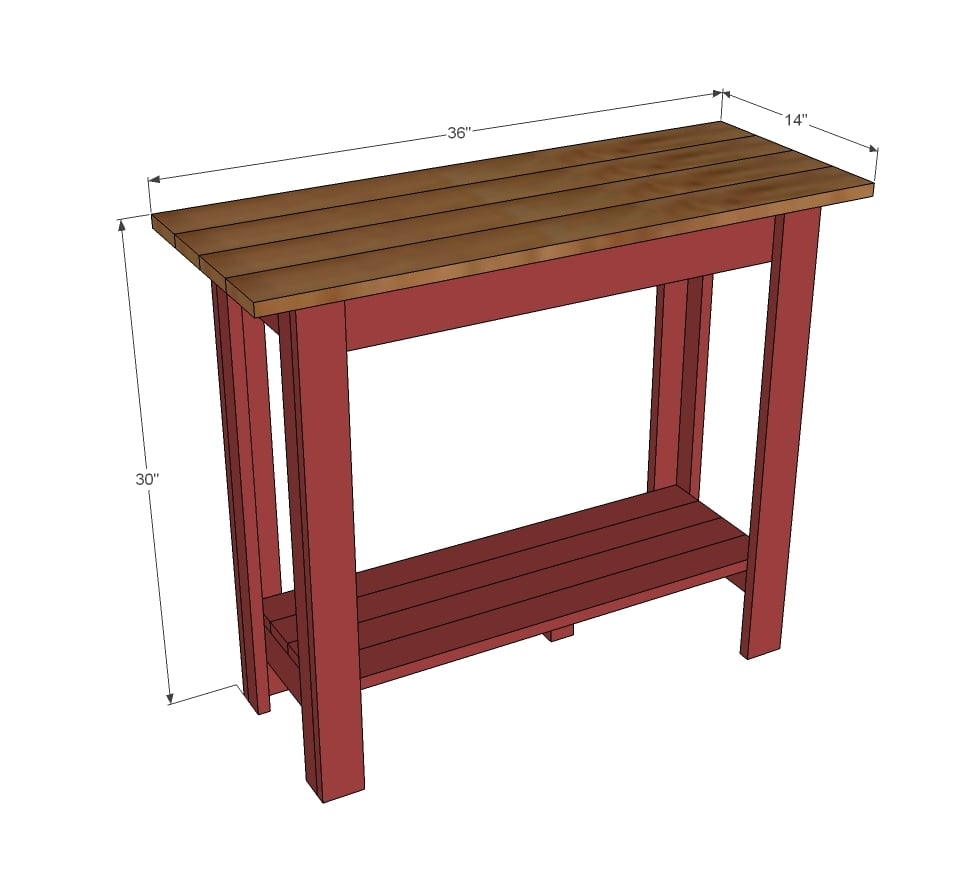
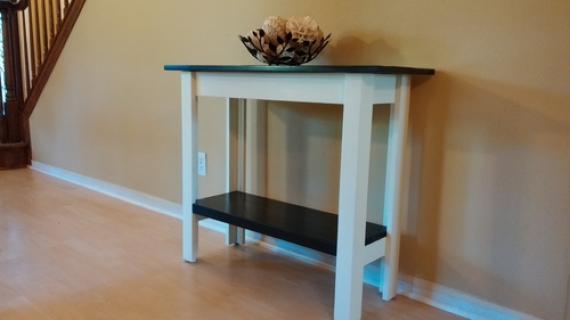
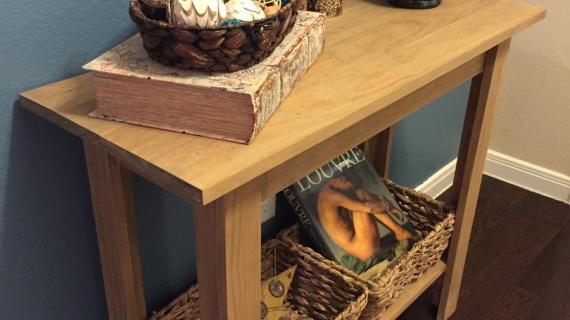
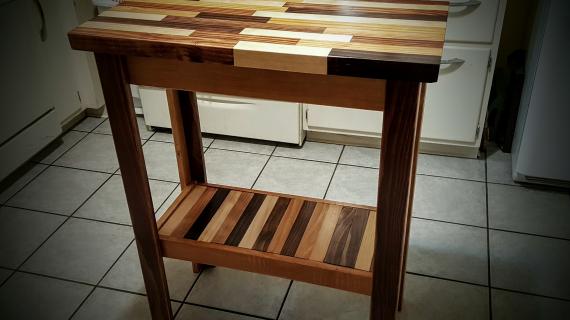
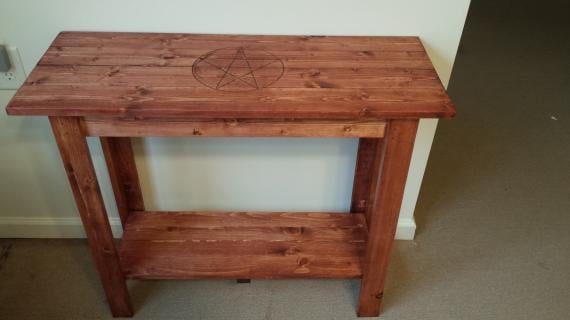
Do you need a console table? Almost every room needs one! In this simple plan, build your own with basic tools and simple techniques. Customize the size and stain any color. Free step by step plans from Ana-White.com
Preparation
- 3 - 1x3 @ 8 feet long
- 2 - 1x2 @ 8 feet long
- 3 - 1x4 @ 8 feet long
- 1 1/4" and 2" brad nails (can also use screws or pocket hole screws)
- 4 - 1x3 @ 29 1/4" (legs)
- 4 - 1x2 @ 29 1/4" (legs)
- 2 - 1x4 @ 10" (top aprons - ends)
- 2 - 1x3 @ 10" (bottom aprons - ends)
- 2 - 1x4 @ 28" (top aprons - front/back)
- 4 - 1x3 @ 29 1/2" (bottom shelf)
- 1 - 1x2 @ 10" (bottom shelf support)
- 3 - 1x2 @ 8 1/2" (top support)
- 4 - 1x4 @ 36" (top)


Please read through the entire plan and all comments before beginning this project. It is also advisable to review the Getting Started Section. Take all necessary precautions to build safely and smartly. Work on a clean level surface, free of imperfections or debris. Always use straight boards. Check for square after each step. Always predrill holes before attaching with screws. Use glue with finish nails for a stronger hold. Wipe excess glue off bare wood for stained projects, as dried glue will not take stain. Be safe, have fun, and ask for help if you need it. Good luck!
Instructions
Step 1

Start by building the four legs. Keep the outside edges as flush as possilbe as you nail the 1x3 to the 1x2.
TIP: I place a 1 1/2" thick block under the 1x3 to help support the 1x3 as I nail to the 1x2, and will use clamps to hold everything in place. Wood will move as you go down the joint - make it do what you tell it to!
Step 2

With the legs done, position them so the 1x3s are to the front and back, and the 1x2s are to the ends. Then attach aprons and bottom stretcher to the legs.
Step 3

Next, add the top aprons. Remember, when you use nails, you MUST use glue.
Step 4

Postition your 1x3 bottoms helf boards on the bottom shelf and nail to the bottom stretcher. Apply glue between each of the bottom shelf boards and clamp or hurry up and do step 5.
NOTE: Pocket hole users will want to build the bottom shelf first with pocket holes and then attach the completed shelf to the bottom.
Step 5

Step 6

These supports will help you attach the top. Nail in place with 1 1/4" finish nails and glue.
Step 7

Start with the center 1x4s and attach from underneath, with equal overhangs on the ends. Then work outsare and attach the outer 1x4s, keeping ends flush. Flip console over and nail through top into legs and aprons. Make sure you apply glue to all joints if using nails.
Pocket hole users: build top first with 3/4" pocket holes and 1 1/4" pocket hole screws.
It is always recommended to apply a test coat on a hidden area or scrap piece to ensure color evenness and adhesion. Use primer or wood conditioner as needed.


Comments
DIY Megan
Tue, 09/24/2013 - 14:37
wow!
I love this, it's wonderful! Great plan, thank you. It's on my list!
tannisg
Tue, 09/16/2014 - 15:06
modify to make a larger, mission style table with two shelves
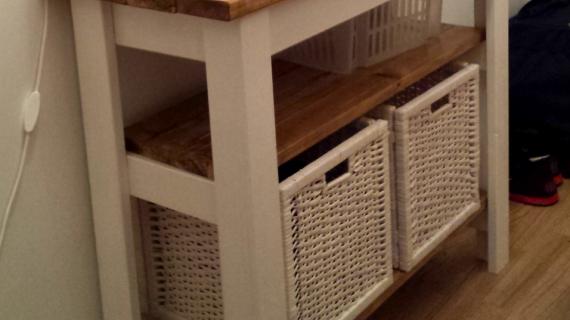
I'm trying to make an entry table for my long entry hallway. the idea in my head is somewhere between the rustic X console and this one - I like the size of the rustic X and the style of this one, and my husband likes the look of a mission style table. I plan to make two shelves and use baskets for storage, probably filling the shelf space. Is there any reason (in terms of sturdiness, load-bearing, etc) that I can't make the following mods to this plan (can't figure out sketchup to show visually - sorry!):
1 - total length to 72" adding two legs in the middle like the rustic X table - I was planning to use 1x3 boards to match the legs, attaching it to the outside of the apron on top and to a board under the shelf.
2 - add a combination of 1x2 and 1x3 boards vertically between the side apron and bottom stretcher for visual interest, attached with pocket holes
3 - add a second shelf about 2/3 of the way up with pocket holes into all 6 legs
Style wise, will it look weird to have two different heights on the shelves? I already have baskets and plans for each one, one set is 7" high and the other 12" high, and I don't really want it to be easy to see into them, just easy to pull out.
Also style wise, would the shelves look better with a piece of trim similar to the apron at the top?
Here is a similar mission table, it seems the apron on the top and sides don't match? and the bottom shelf has trim but not the middle. The asymmetry of that bugs me for some reason! :)
Thanks in advance for any advice!
Tannis
tannisg
Tue, 09/16/2014 - 15:07
oops! link missing
the mission table I mentioned:
http://www.llbean.com/llb/shop/13930?feat=504183-GN3&page=mission-under-window-bookshelf
(didn't even know LLBean made furniture? found it here in a brag post..)