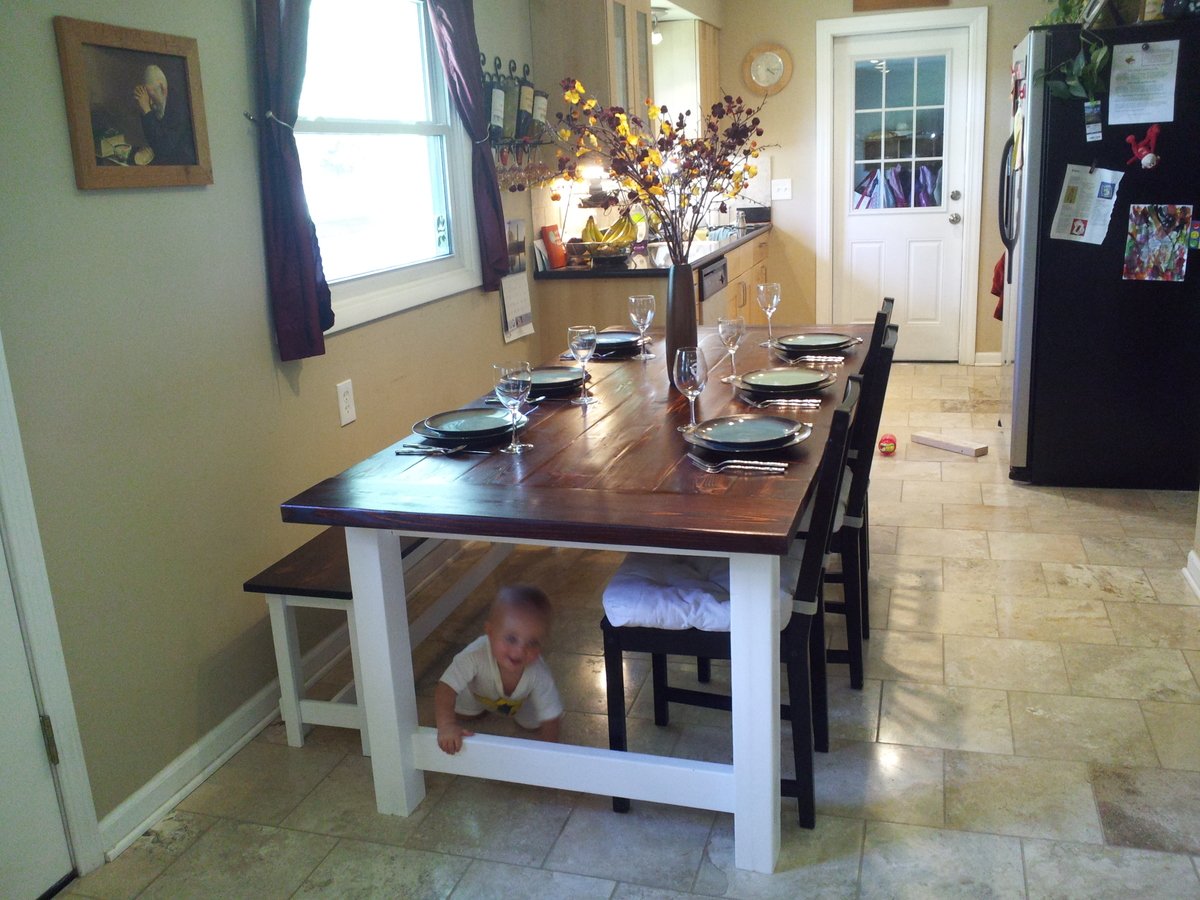
I followed the plan exactly except that I left out the stretcher. It turned out beautifully and fits our kitchen perfectly. I wanted to complete the building in a weekend, but even with a helpful husband the kids distracted me. It ended up taking me three weeks working during naptimes and after bedtime.
My recommendations:
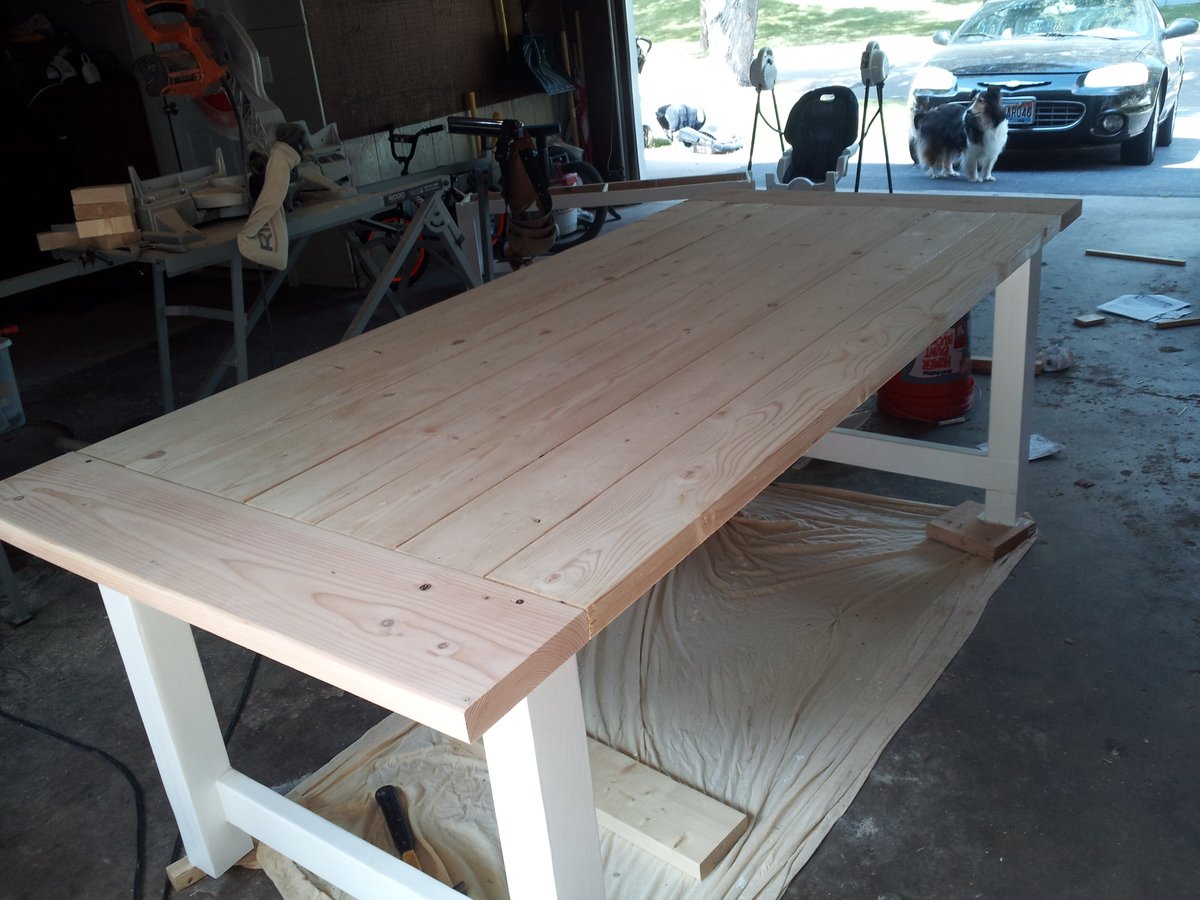
-I used 2x4s for the legs, but if I had to do it over again, I'd just buy 4x4s and use those. I did my best to fill in the seams in the legs, but I still notice them from certain angles.
-Sand, sand, and sand again. I hate spending time sanding, but this is a project where it's totally worth it. I sanded everything really aggressively with 60 or 80 grit paper and after I filled in screw holes and cracks, sanded again with 120. Then I hand sanded with 220. I'm really glad I did.
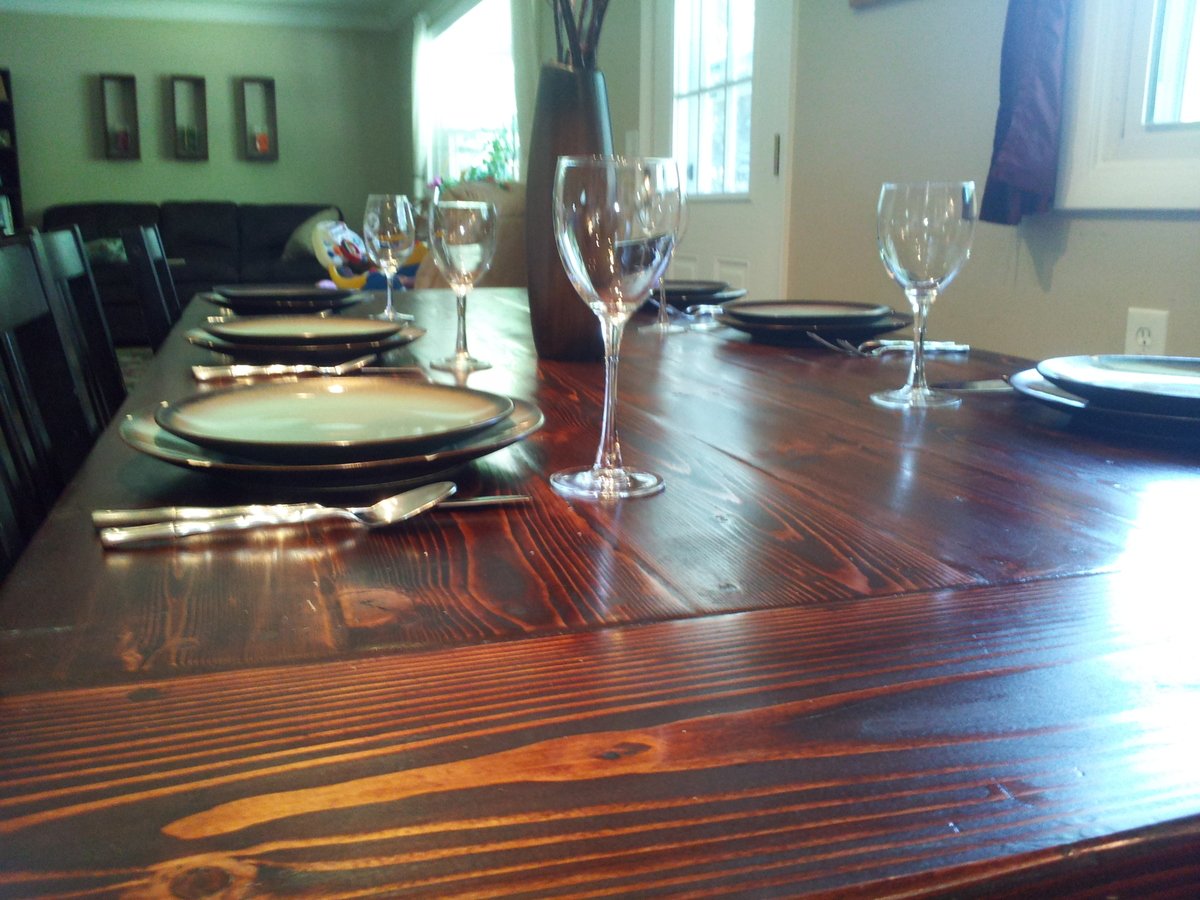
-Don't cut the table top boards (2x6s) till you are ready to place them. You want to make sure you have a really tight fit here.
-Because I didn't want any cracks on the table top, I filled in the seams between the boards with Elmer's wood filler. I was really nervous about how it would stain, but I just was super careful to sand any excess wood filler off the boards before staining. The wood filler appears a bit darker than the wood, but I think it looks ok. Better than cracks.
-I notched out the table legs with the skill saw and I thought they looked pretty rough and it was a long process. When I made the bench legs, I used my table saw to notch. I'm not sure if this is recommended or not, but the notches were much cleaner looking and it was a lot easier.
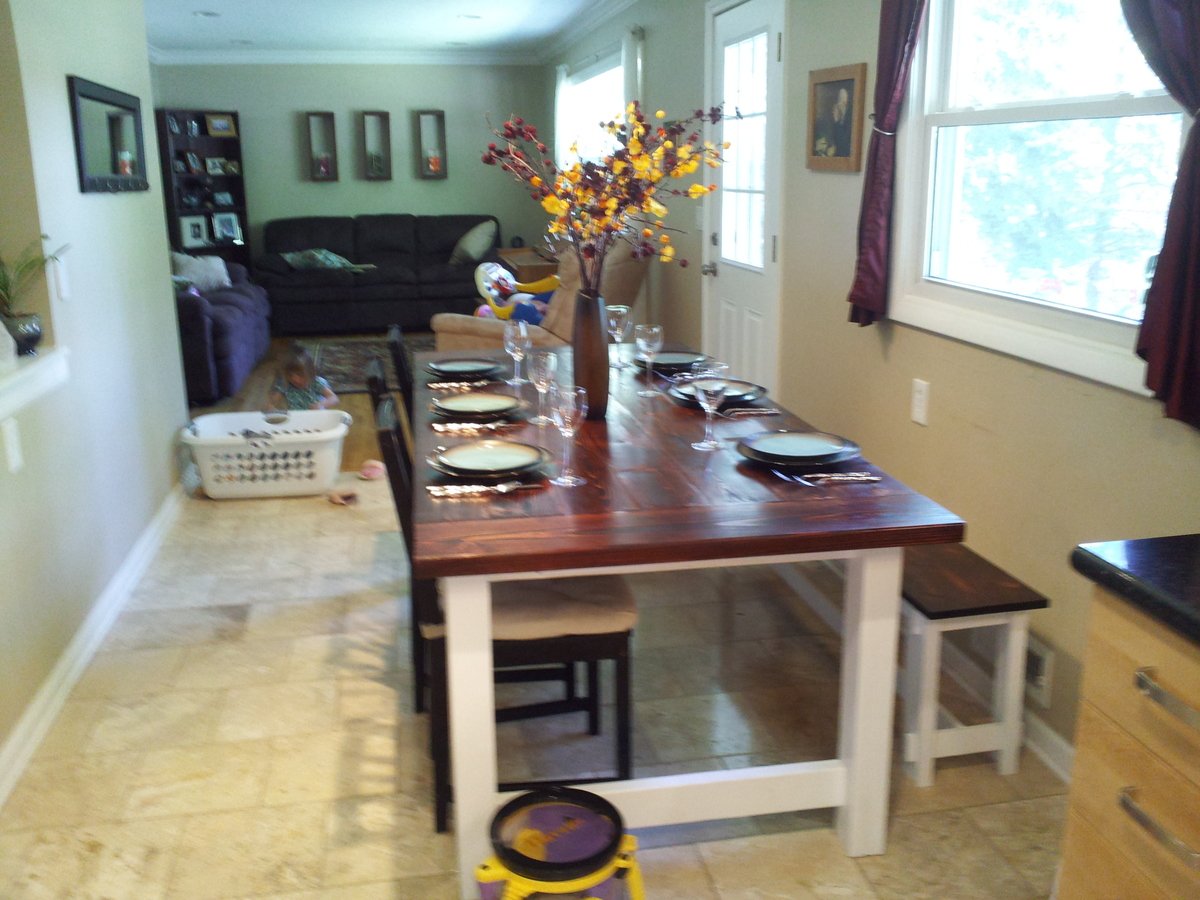
White paint on the legs.