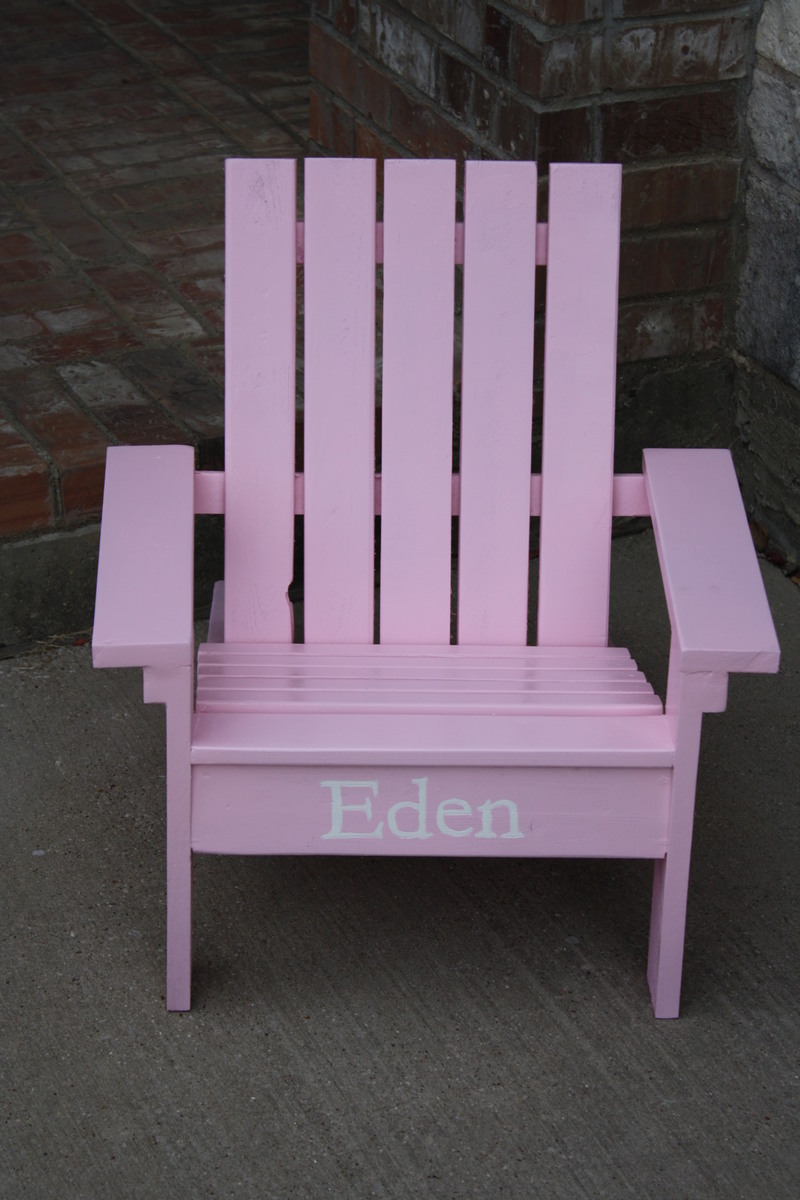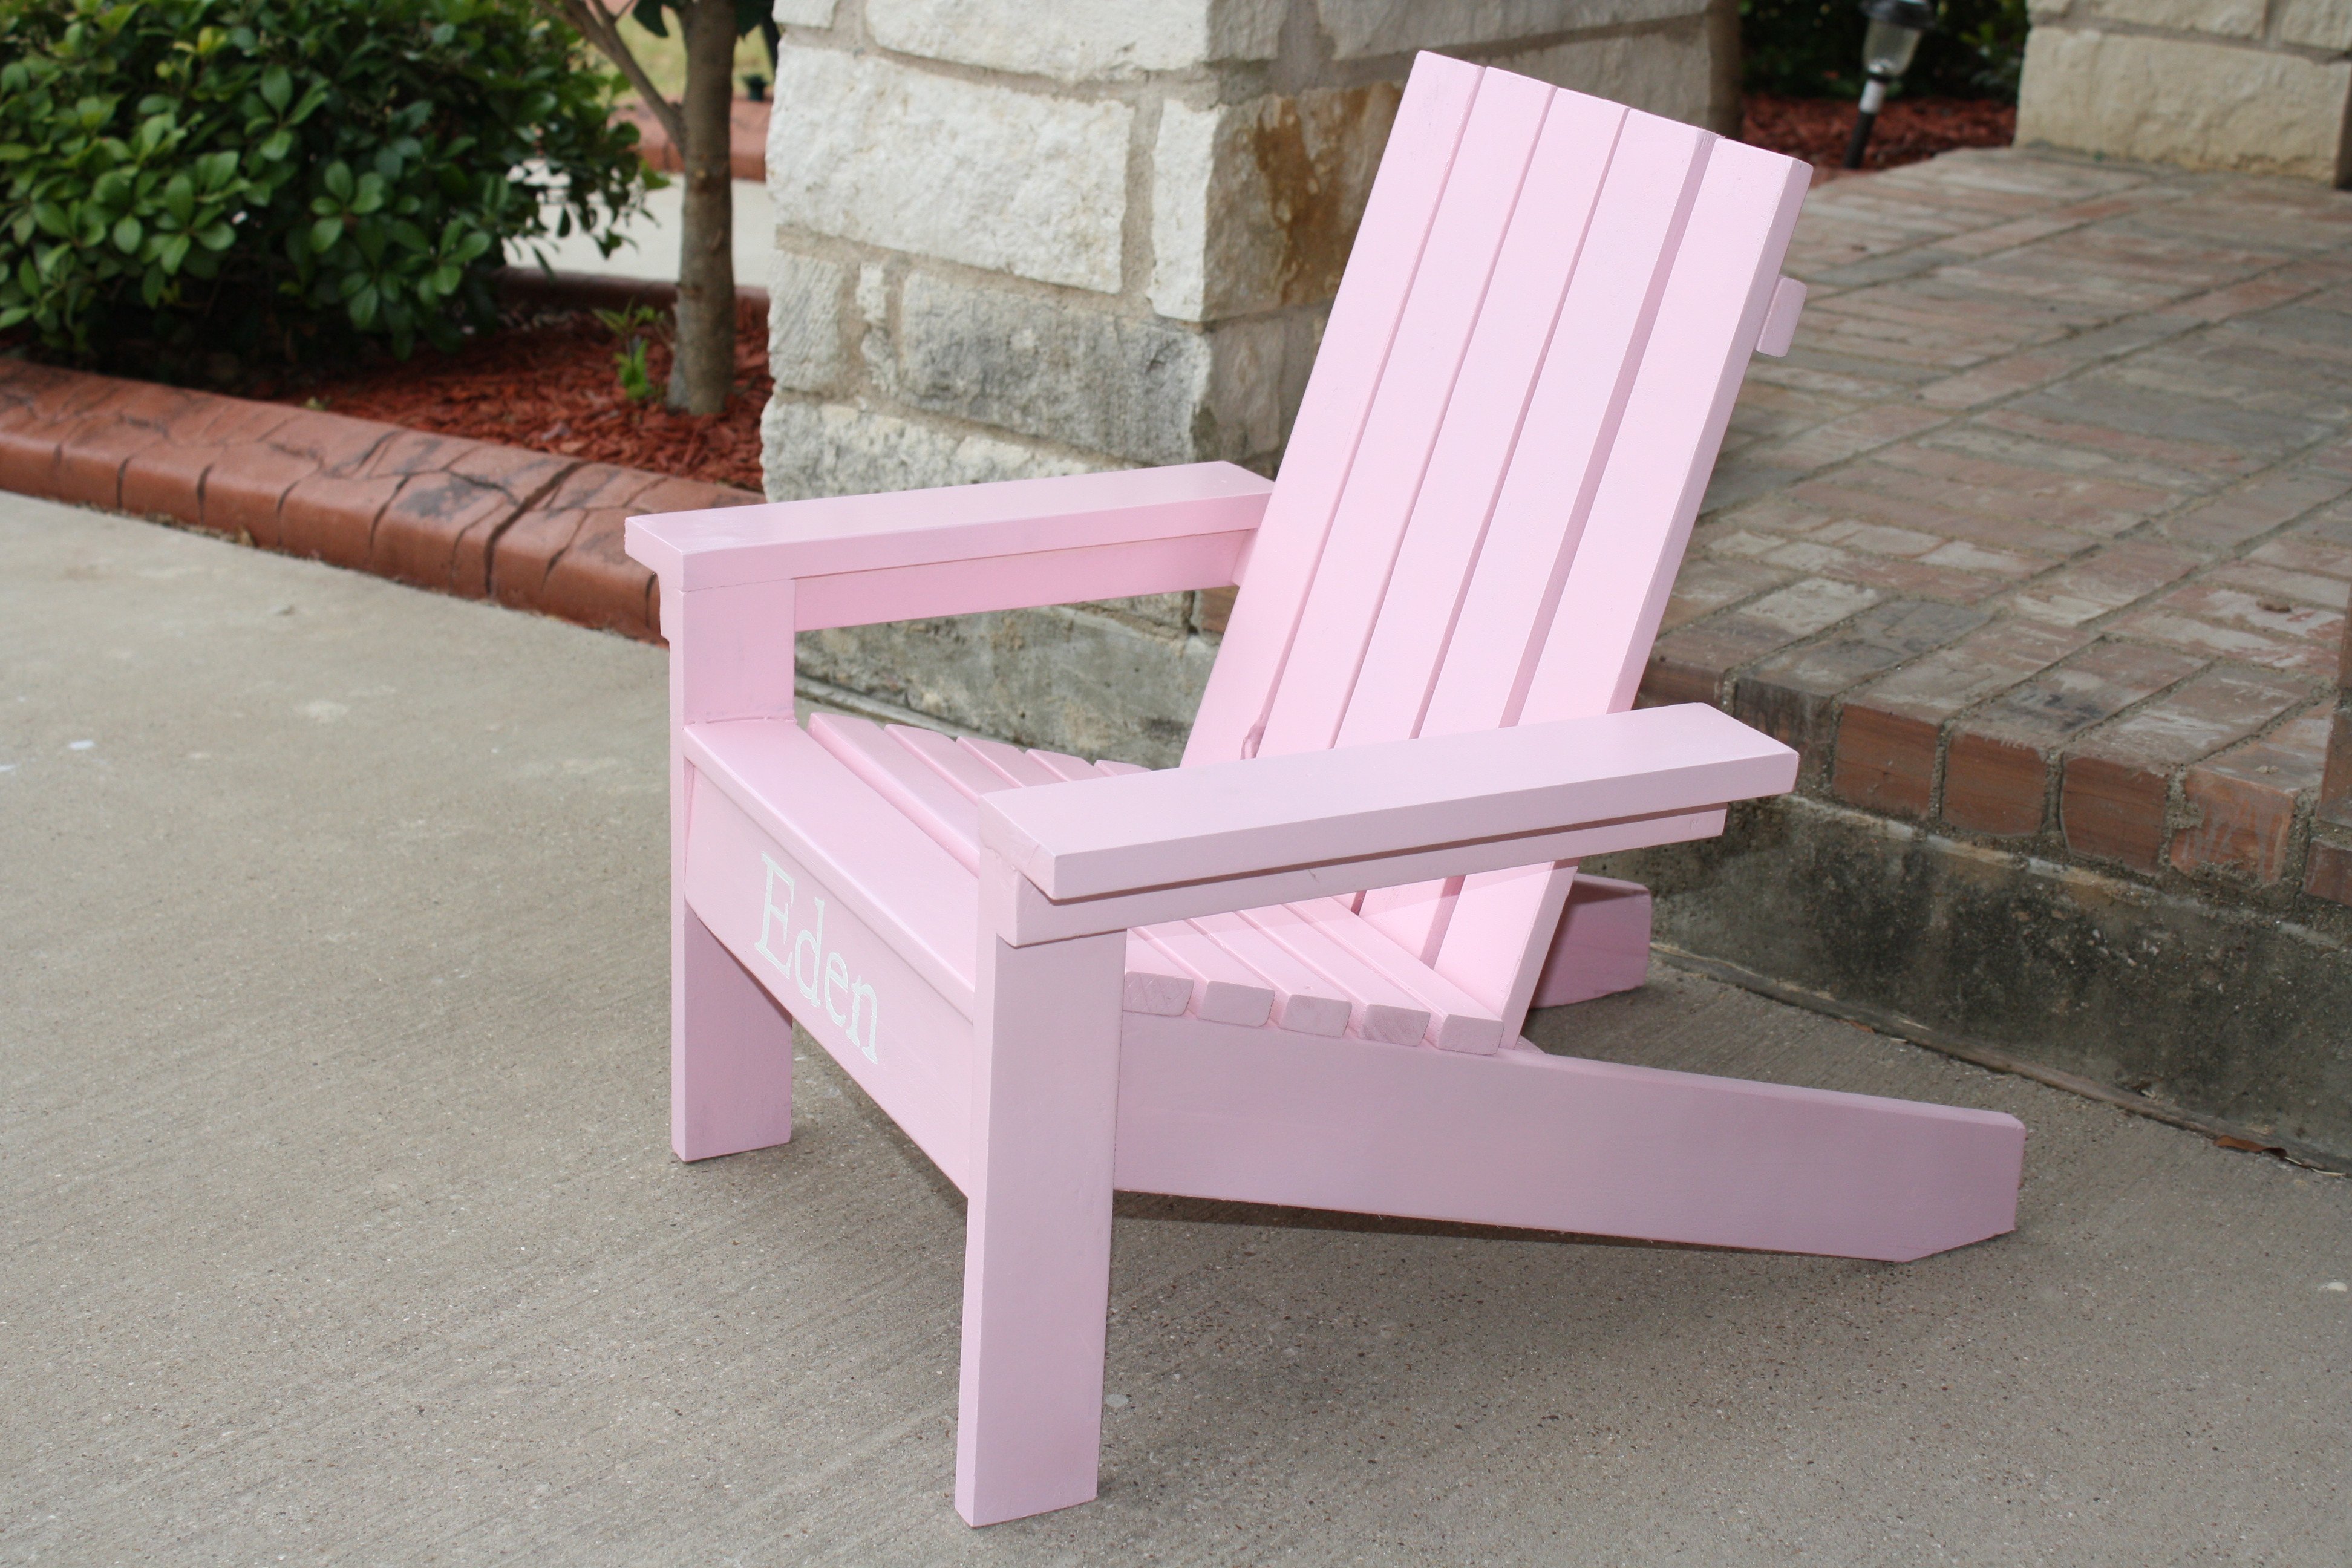
I built this sweet adirondack chair for a friend's 1st birthday. The plans are simple and easy to follow and we already have added at least two more of these to our to-do list! The angled cuts on the stringers were intimidating, but I just took my time with a hand saw and am happy with the results.
The use of furring strips meant tons of sanding and wood filler which added a lot of time to the project. All of the screws were countersunk and filled. I sprayed the sides of the boards before assembly for good coverage, but not the face of the boards because I had planned on using the wood filler. If leaving your screws exposed (or if you aren't as sloppy with filler as I am - seriously I have a love/hate relationship with the stuff!), painting first would make things much simpler.
To paint her name, I printed it out then pressed the paper over the apron of the chair and used a pen to write over the outline of the name. This left an indent which I was able to brush inside of with a white glossy interior/exterior paint we had on hand.