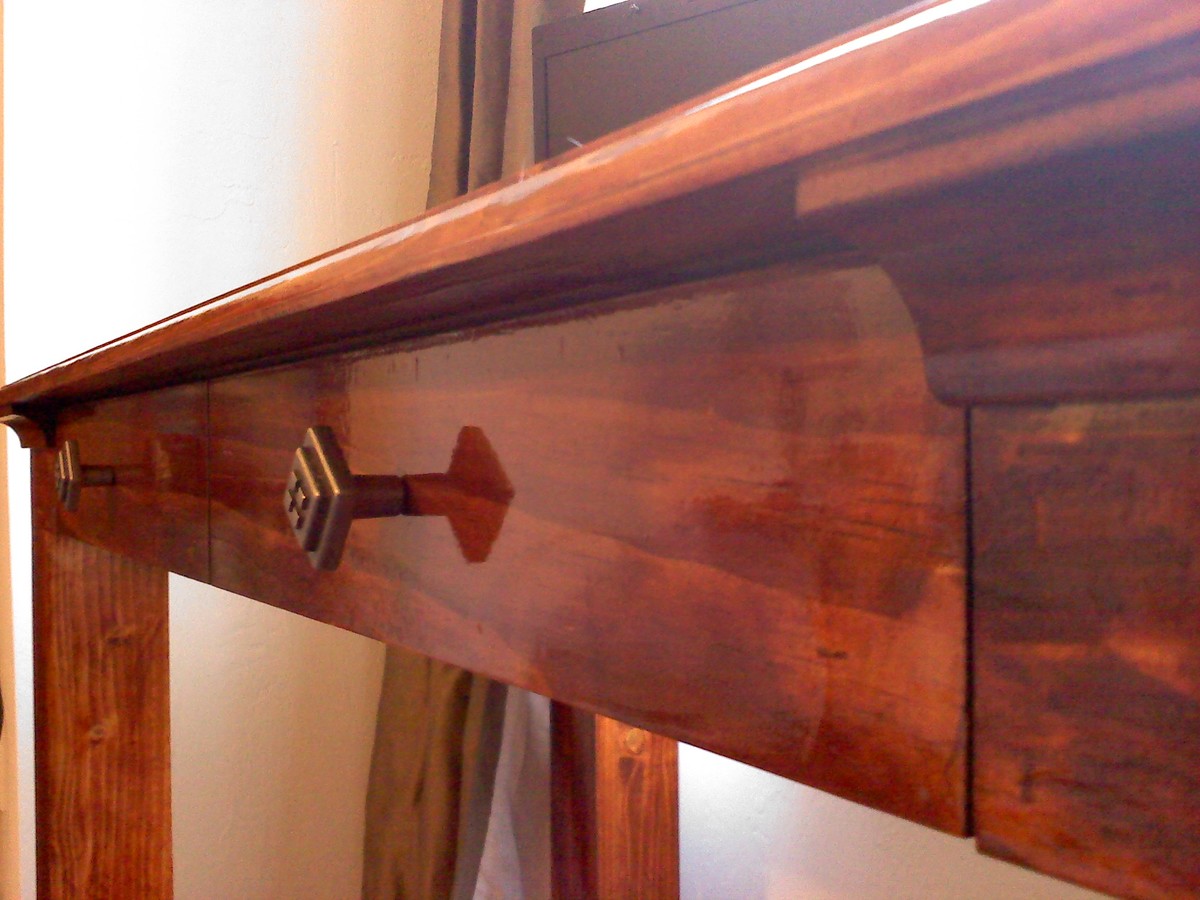
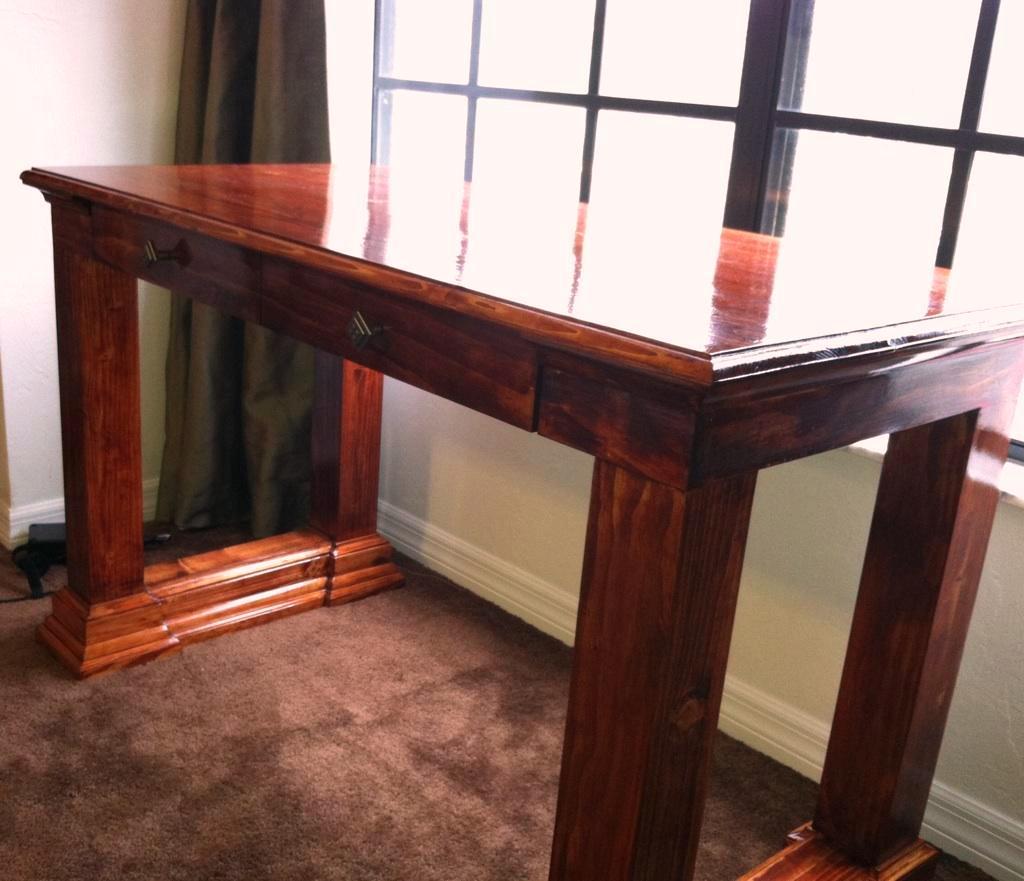
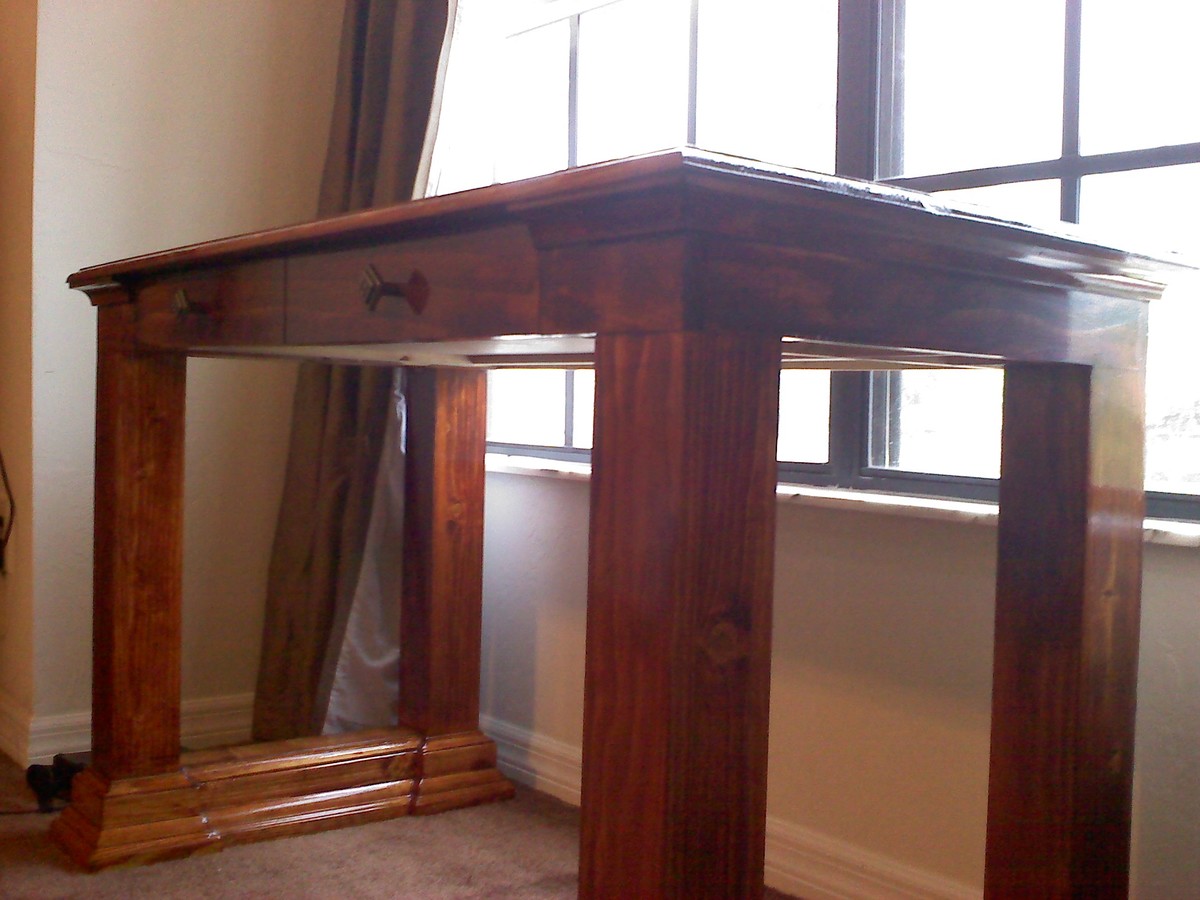
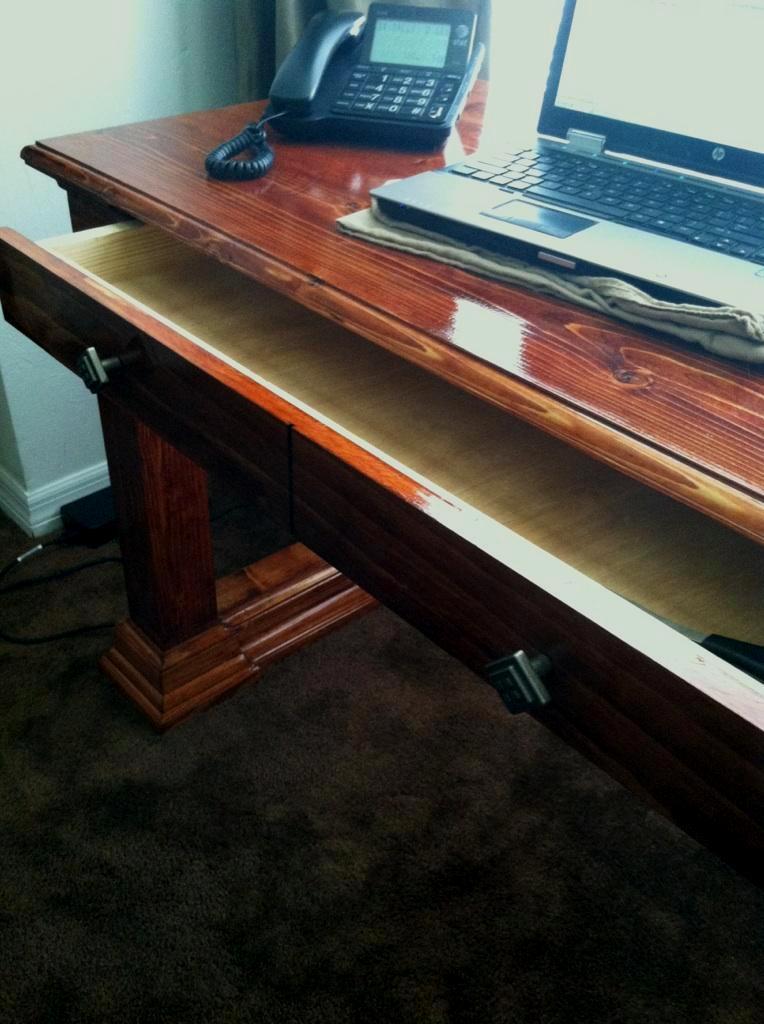
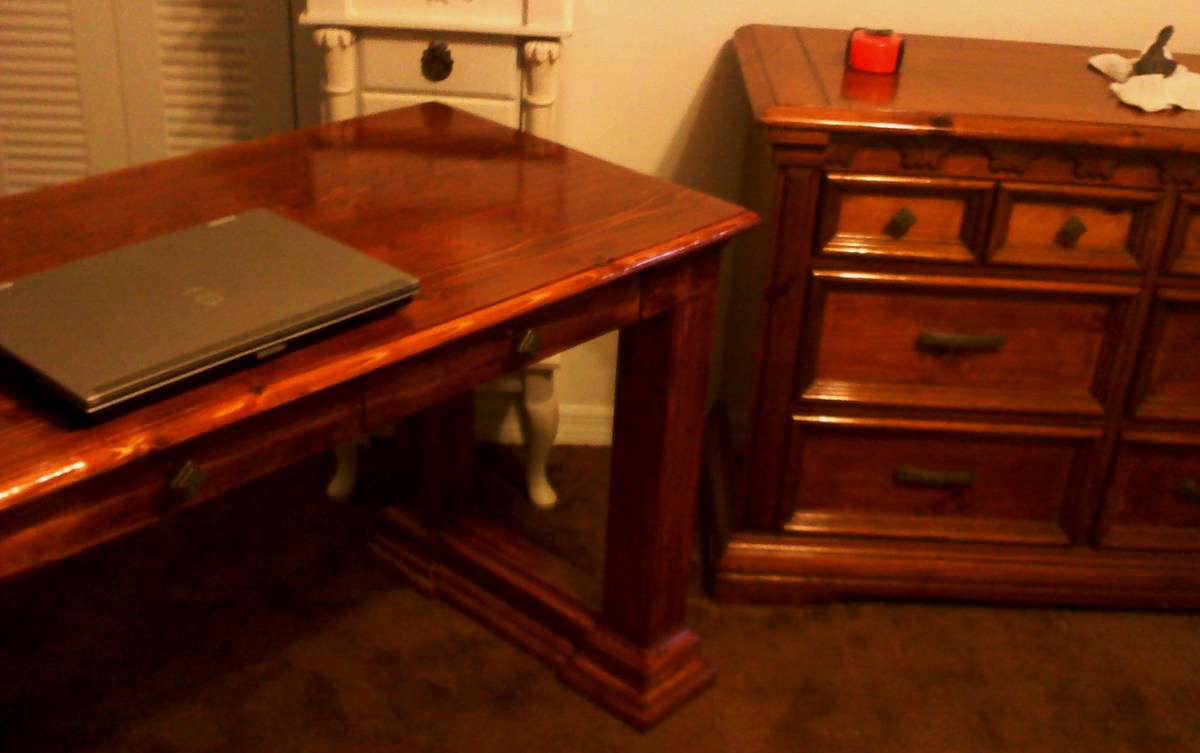
A friend contacted me about building a custom sized desk to coordinate with a set of dressers that she purchased used (I refinished them years before). We started with the Simple Modern desk (more in overall look), but made some changes away from "Modern" such as the bases, overhanging and routed top and trim on the side aprons. The legs of the desk aren't solid 4x4, but1x4s and 1x3 furring strips kreg jig'd and sanded till nearly seamless. The support under the desktop was redesigned to create a large, single drawer faced as two. The top is made from pine boards edge joined together. The two "bases" combined, have 96 pieces of trim to create this look. It was alot of work to get some tiny pieces just right, but well worth it in the end.
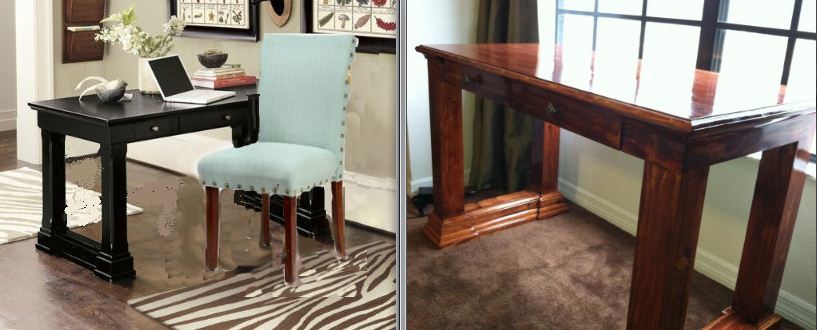
There are two comparison pictures uploaded. the photoshopped photo is the inspirational photo that came with the "Can you build me one of these?" and the second is the side by side with one of the dressers I was asked to compliment.
At 4 ft by 2 ft, she says its the perfect size for her home office laptop.
Overall, I was pretty surprised about how different of a turn this desk could take in style as I went from bare to adding the trim. Perhaps it can inspire others as well.
Comments
washington4x4
Tue, 05/08/2012 - 12:49
Love the details!!!!
I have been looking at some different design ideas for a desk. I love what touches you put on the table legs. I might have to try something like this when I start building.
Patrick Hosey (not verified)
Tue, 05/08/2012 - 17:13
Finishing
Gorgeous finish. What's your method? Pine has been killing me. I put 6 coats on my last table top or polyurethane. Time after time the wood just soaked up the finish. I could never get a smooth surface. Maybe if I would have applied 10 more coats...
BJ D
Wed, 05/09/2012 - 05:22
thanks !
Washington- keep in mind the size of the trim pieces if you do a base like this. Some of those trim pieces are 1/2 wide and angled... not the easiest to get to fit right. If I were to do it again, I would cut in more to make the cuts a little easier. However, I loved this result.
These legs are hollow also, a definite idea to keep in mind for anyone wanting to do a 4x4 leg project but unable to find treated 4x4's.
Patrick- everything was well sanded in advance. then a coat of wood conditioner. Then the stain (2 coats of the gunstock and 2 coats of the Golden Oak). With the Poly, In between coats, I buff with 0000 Steel Wool then wipe clean. That surface, minus the places where I left the charachter in the wood on purpose, is VERY smooth.
spiceylg
Wed, 05/09/2012 - 06:31
You did a really beautiful
You did a really beautiful job and it does match the dresser so nicely.
Patrick Hosey (not verified)
Thu, 05/10/2012 - 19:15
Ahh poly in between coats.
Ahh poly in between coats. What a great method. Will try that.
BJ D
Wed, 05/16/2012 - 05:40
between coats
Patrick.. you apply poly, give a very light sand with the 0000 steel wool (A little more than running over the surface with minimal pressure) until the surface feels smooth with no drag. Then wipe down with tack cloth and apply a new layers of poly.
Keep in mind that with polyacrylic.. the water based stuff, you can't use the steel wool. I'm told it will rust. This is strictly for polyurethane.
BJ D
Wed, 05/16/2012 - 05:42
raised trim
Washington- the middle layer of trim is on top of spacer to raise it up. It provided a great look.
s2miller123
Wed, 03/27/2013 - 21:25
How did you build the legs?
The desk looks great. I was trying to figure out how you attached the four pieces of wood that make the legs. You indicated a Kreg jig, but it would seem that there would need to be some pocket screws on the outside. I don't see any...what am I missing here?
henryholub
Wed, 08/14/2013 - 13:30
Wow...
Wow...just wow. Thats absolutely beautiful