Community Brag Posts
Finally finished my 2x4 modern adirondack chairs!
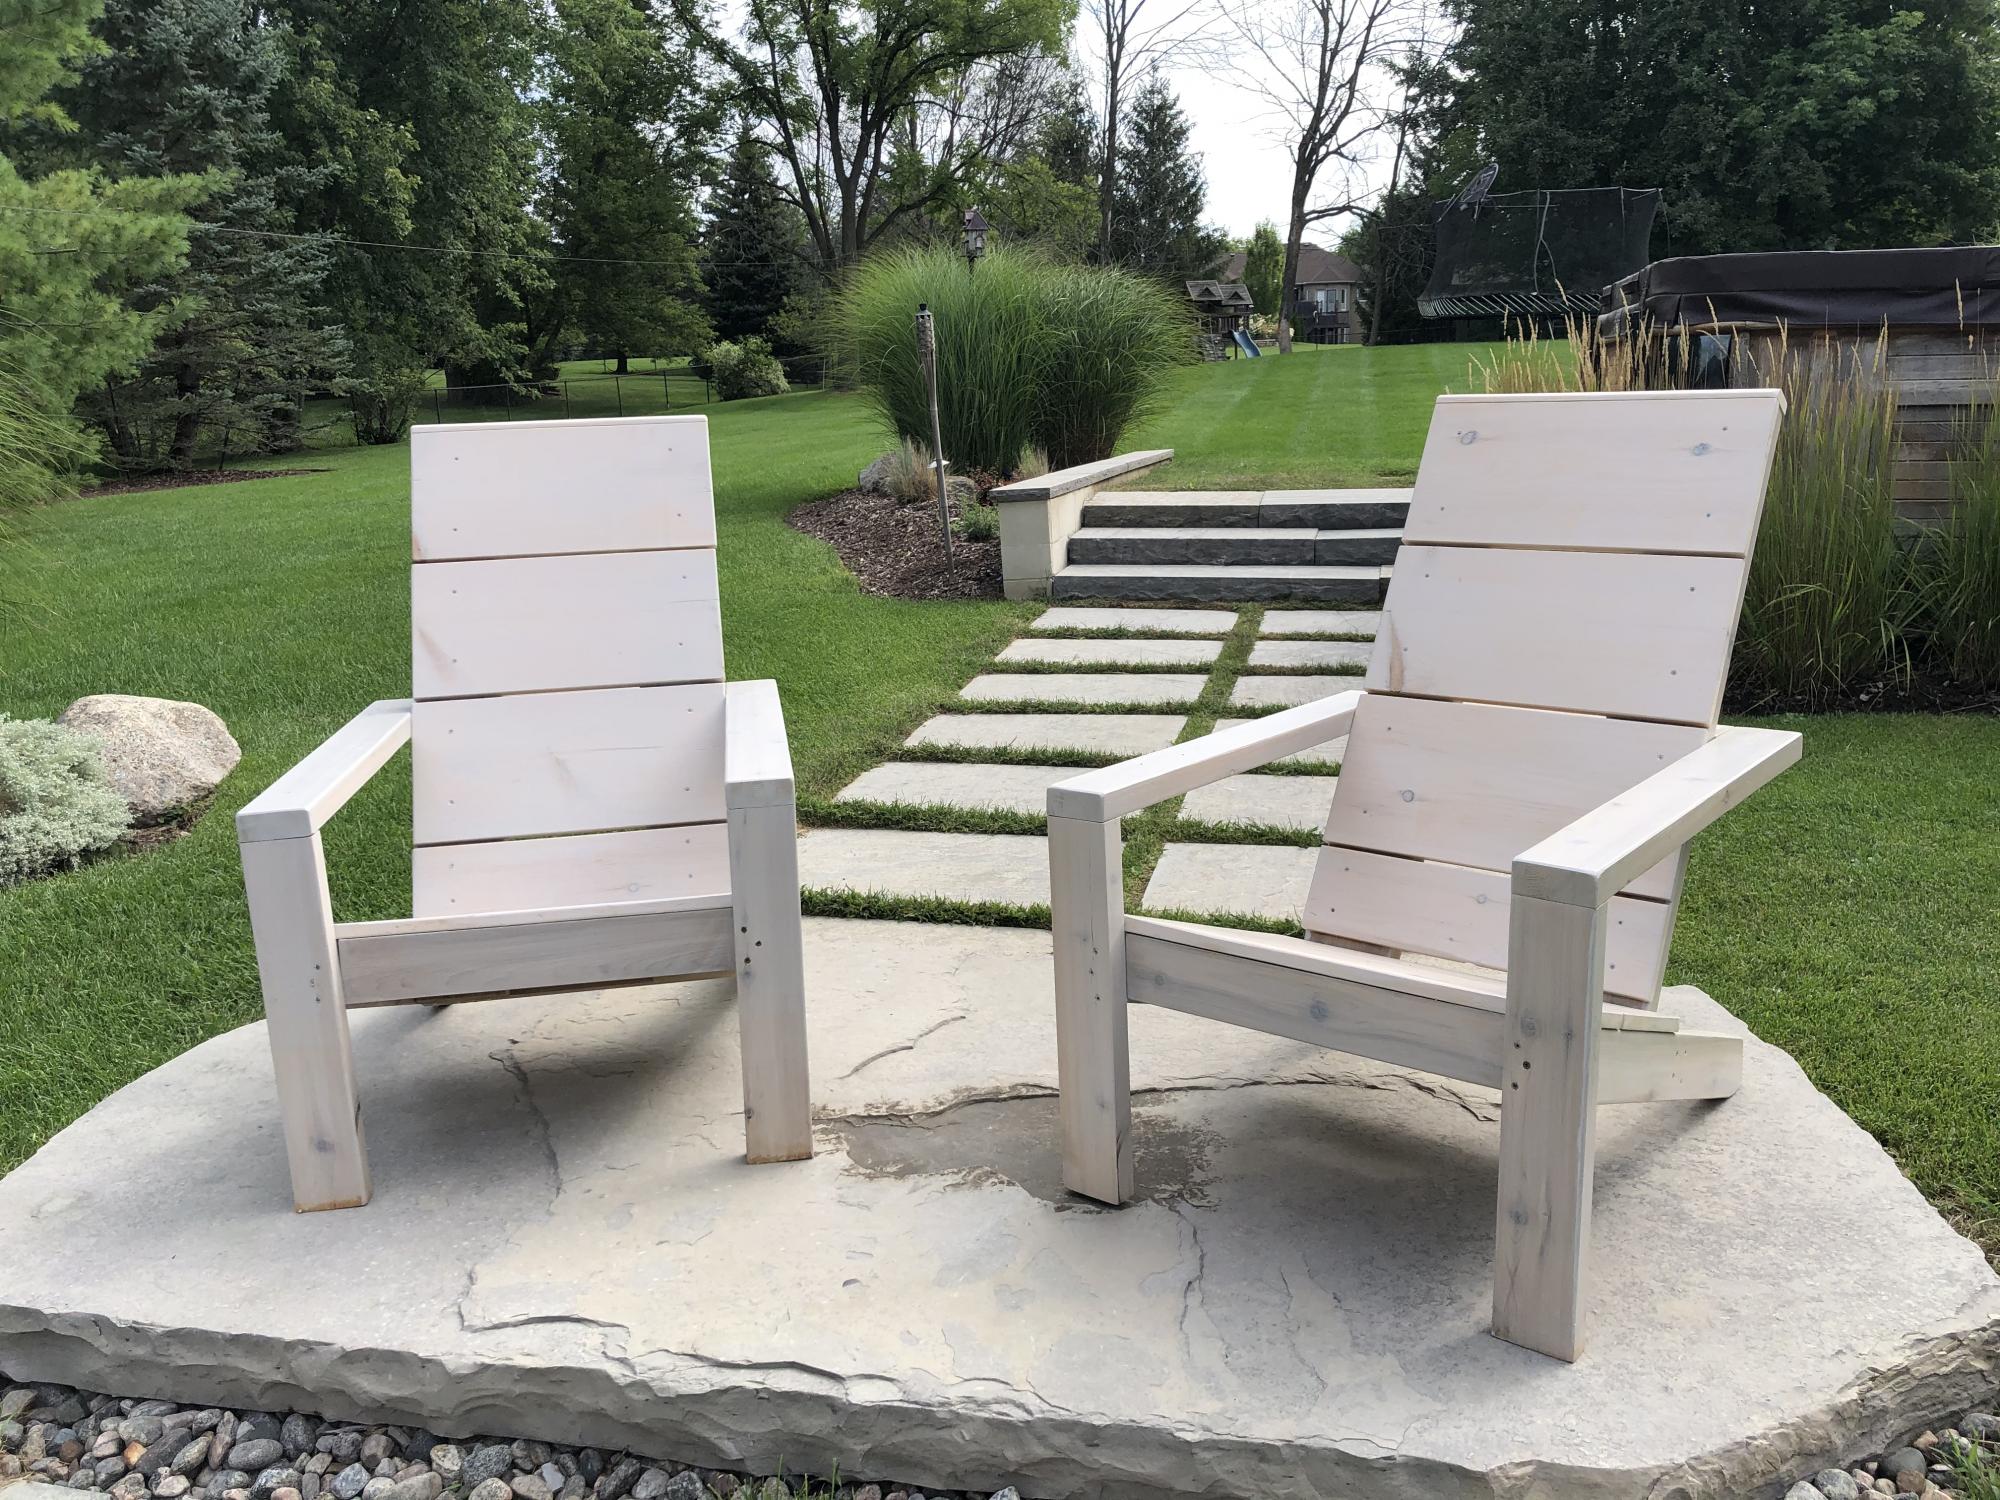
I finally finished my DIY Modern Adirondack Chairs! Frame made with 2x4 cedar lumber and seat and backs with 1x10 pine planks. Stained with Benjamin Moore Aborcoat silver grey semi-transparent stain with a clear coat. Used a free diy plan by Ana White with some slight modifications to make the chair back higher. Cost was a bit higher than expected but lumber has gotten more expensive during the Covid time.
Thanks Ana for the design and the YouTube video. I watched it at least 20 times!
Built from Plan(s)
Estimated Cost
About $100/chair
Estimated Time Investment
Weekend Project (10-20 Hours)
Finish Used
Benjamin Moore Arborcoat Silver-Grey semi-transparent again, Arborcoat Clearcoat
Recommended Skill Level
Beginner
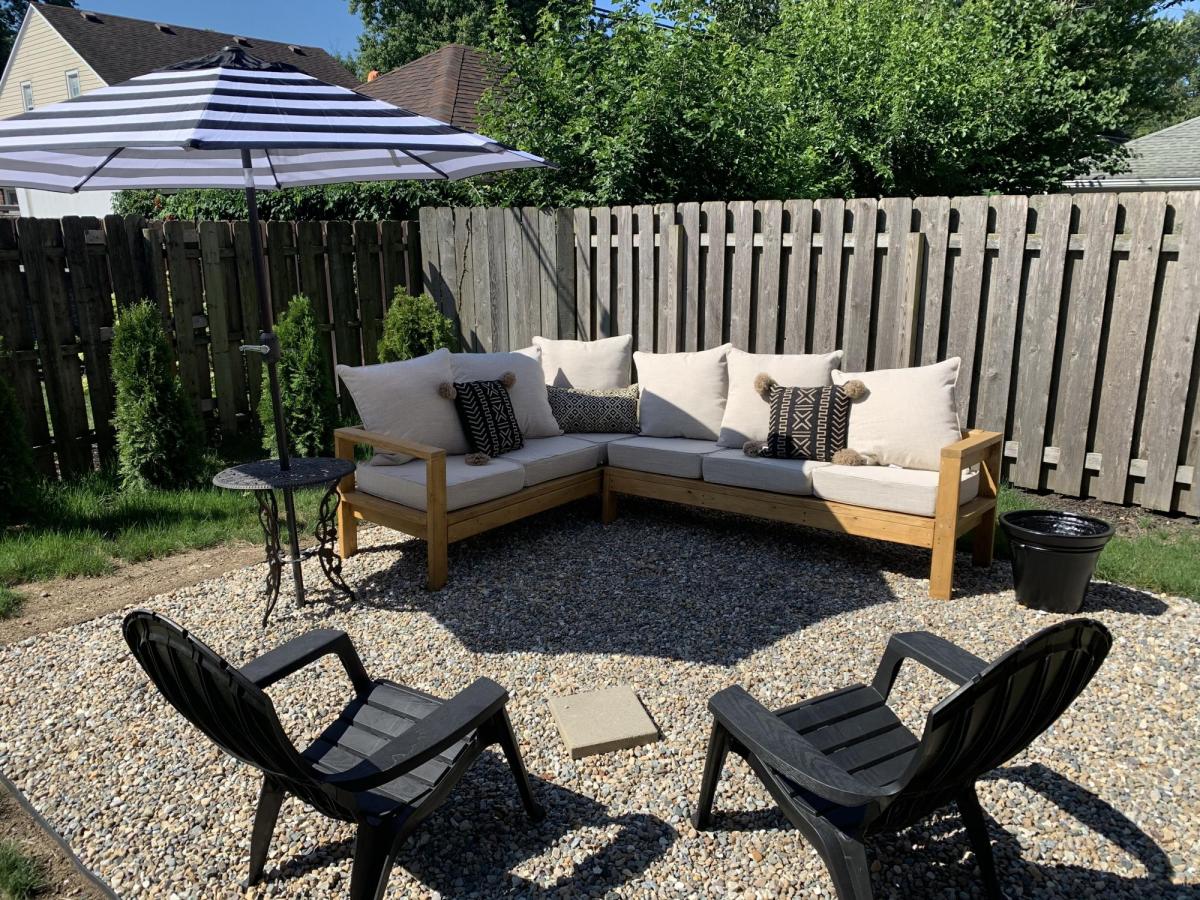
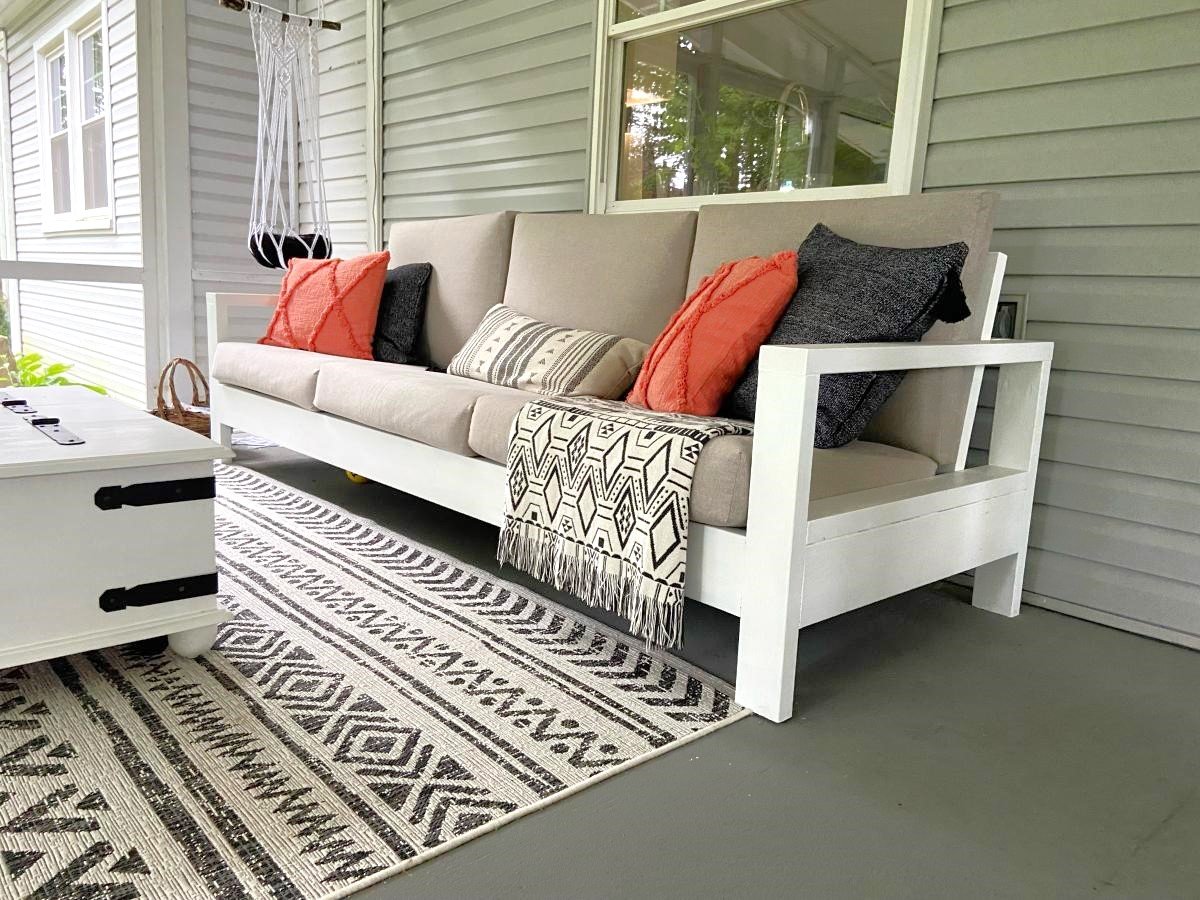
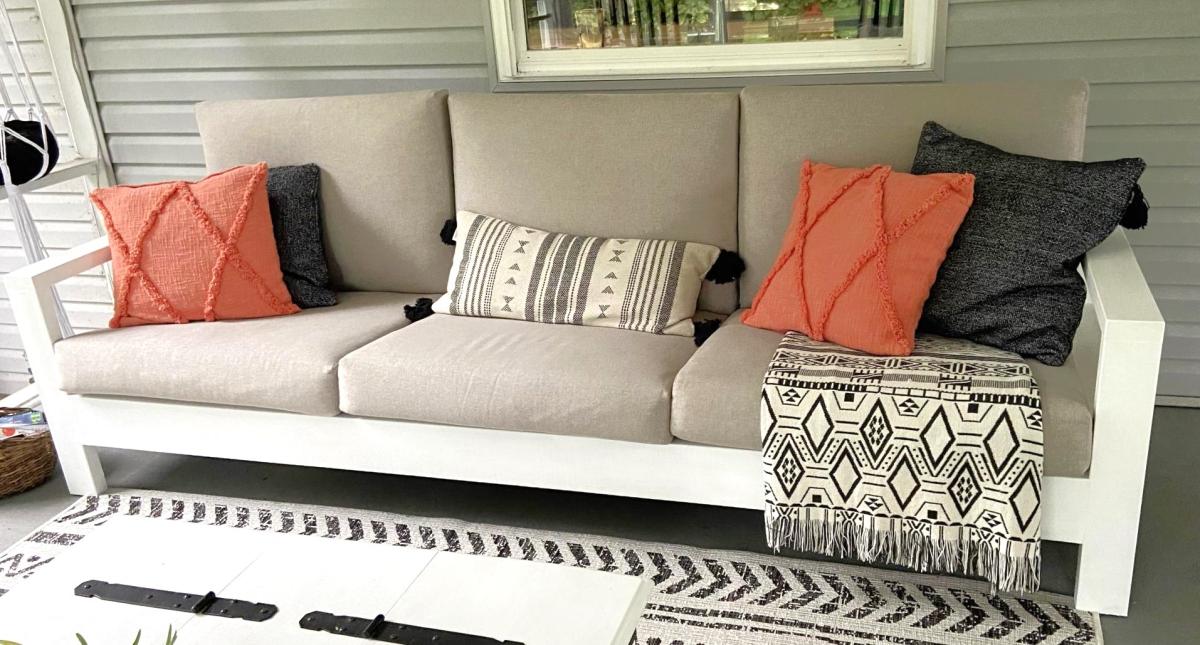
Outdoor sectional
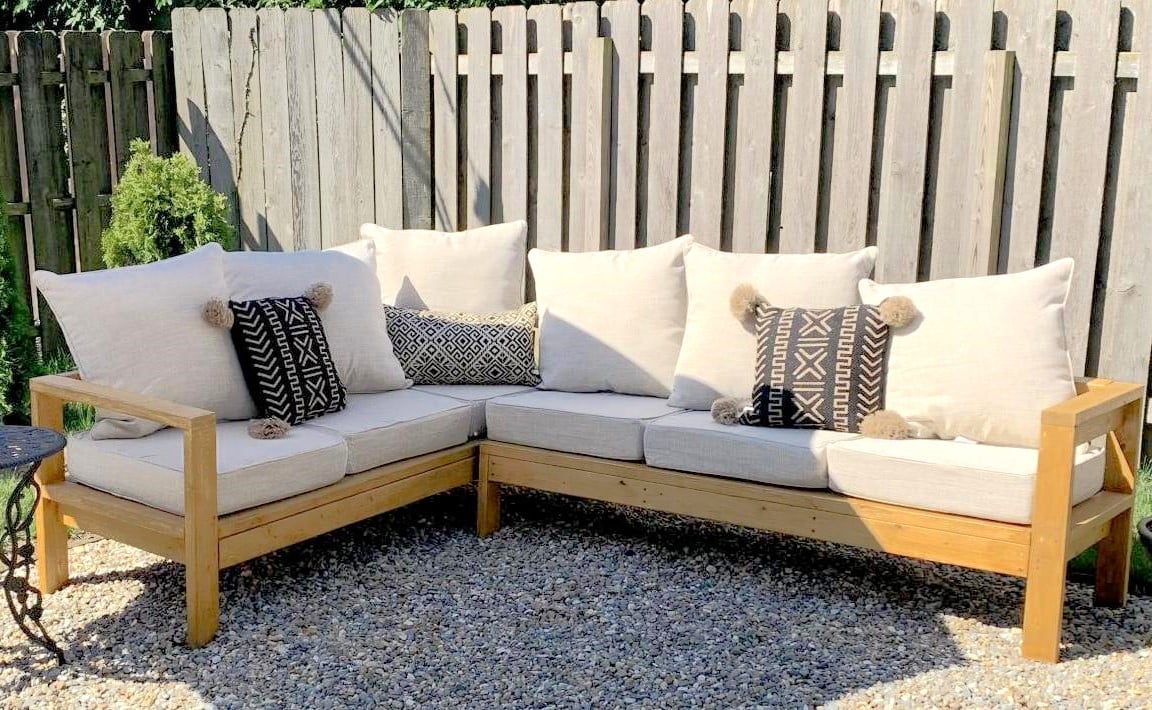
Loved these easy to follow plans and love our outdoor living room!
Built from Plan(s)
Estimated Cost
$100 plus cushions
Estimated Time Investment
Afternoon Project (3-6 Hours)
Recommended Skill Level
Beginner
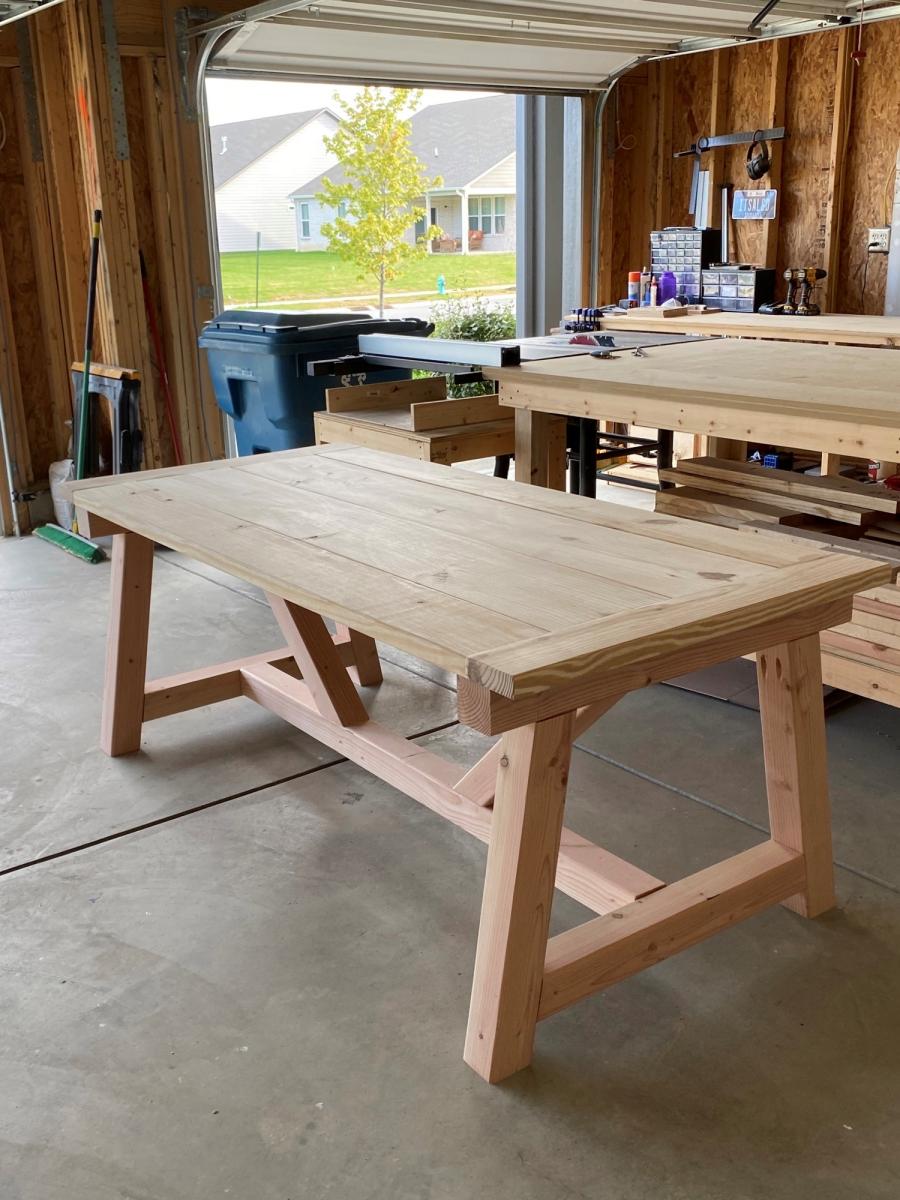
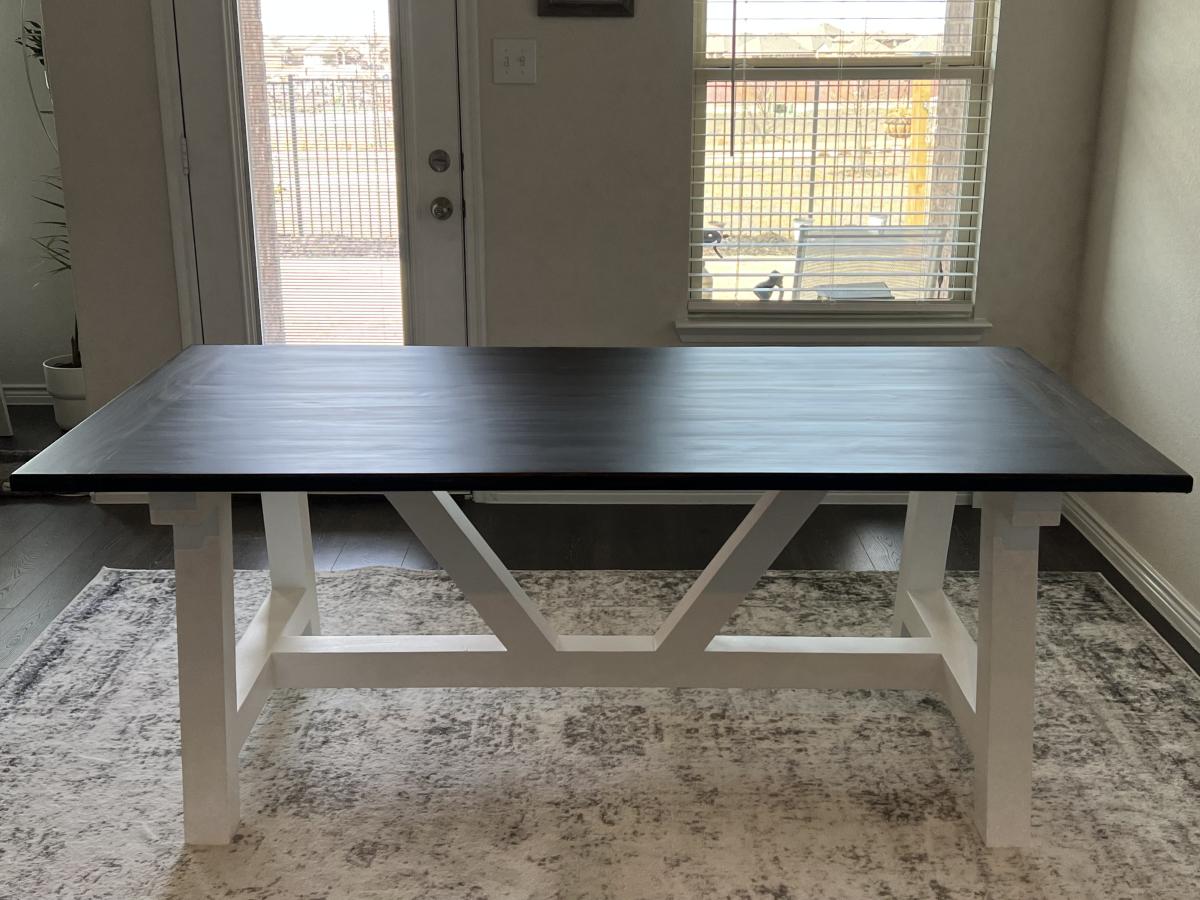
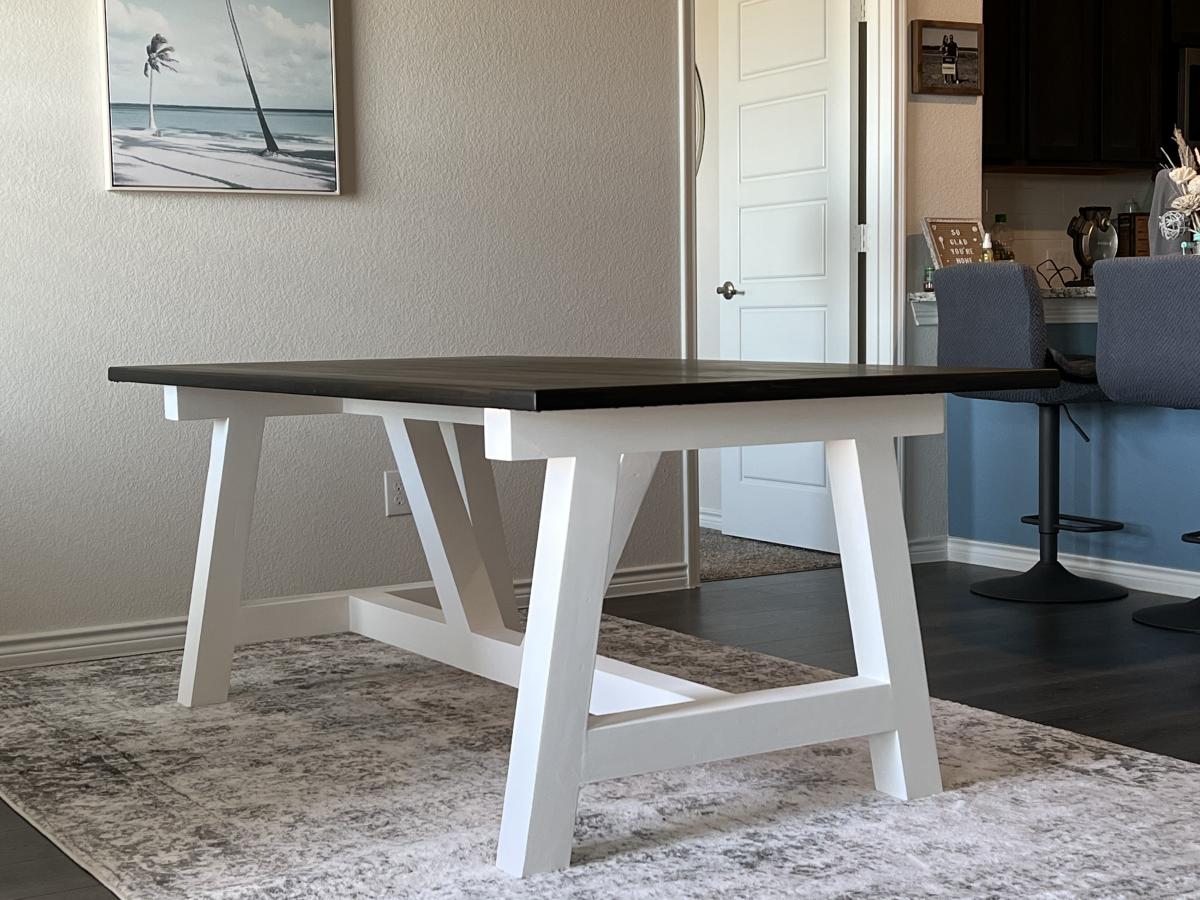
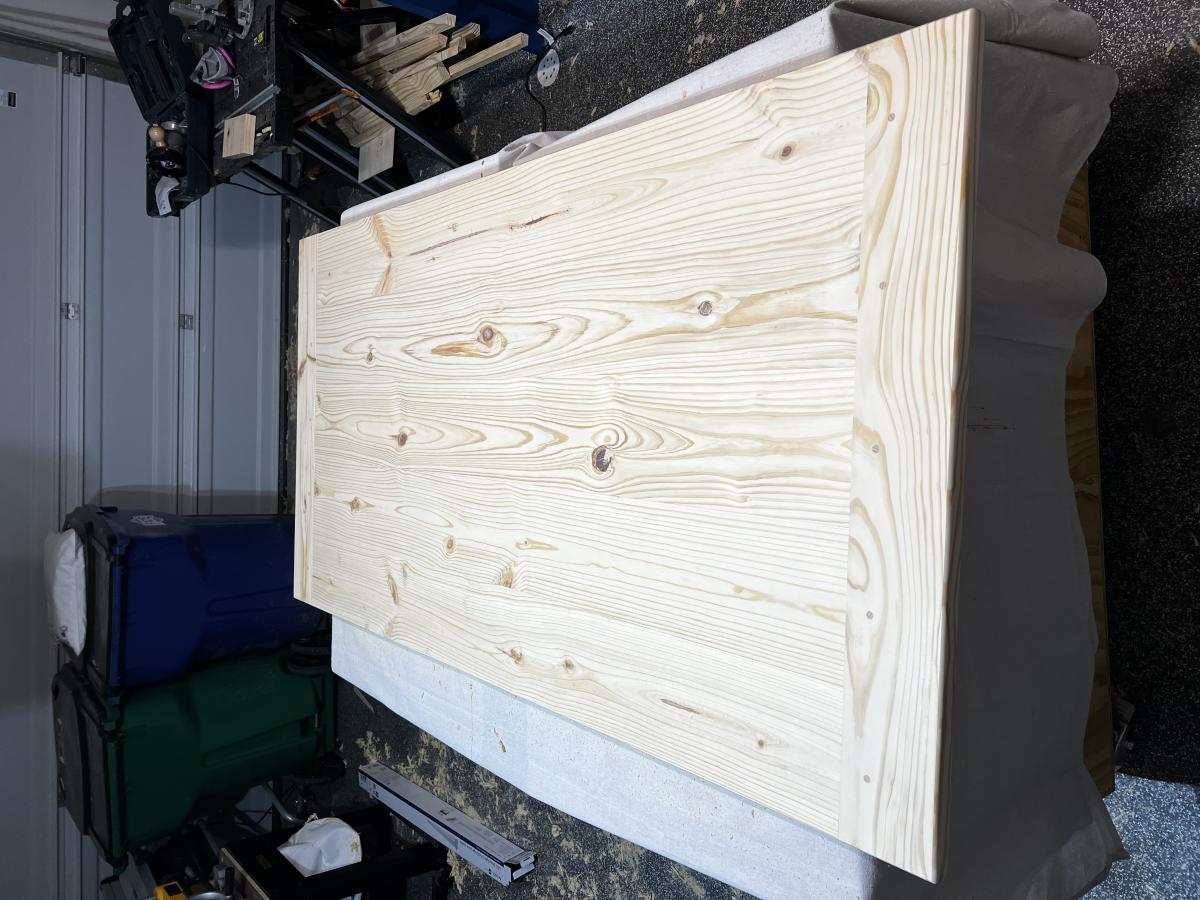
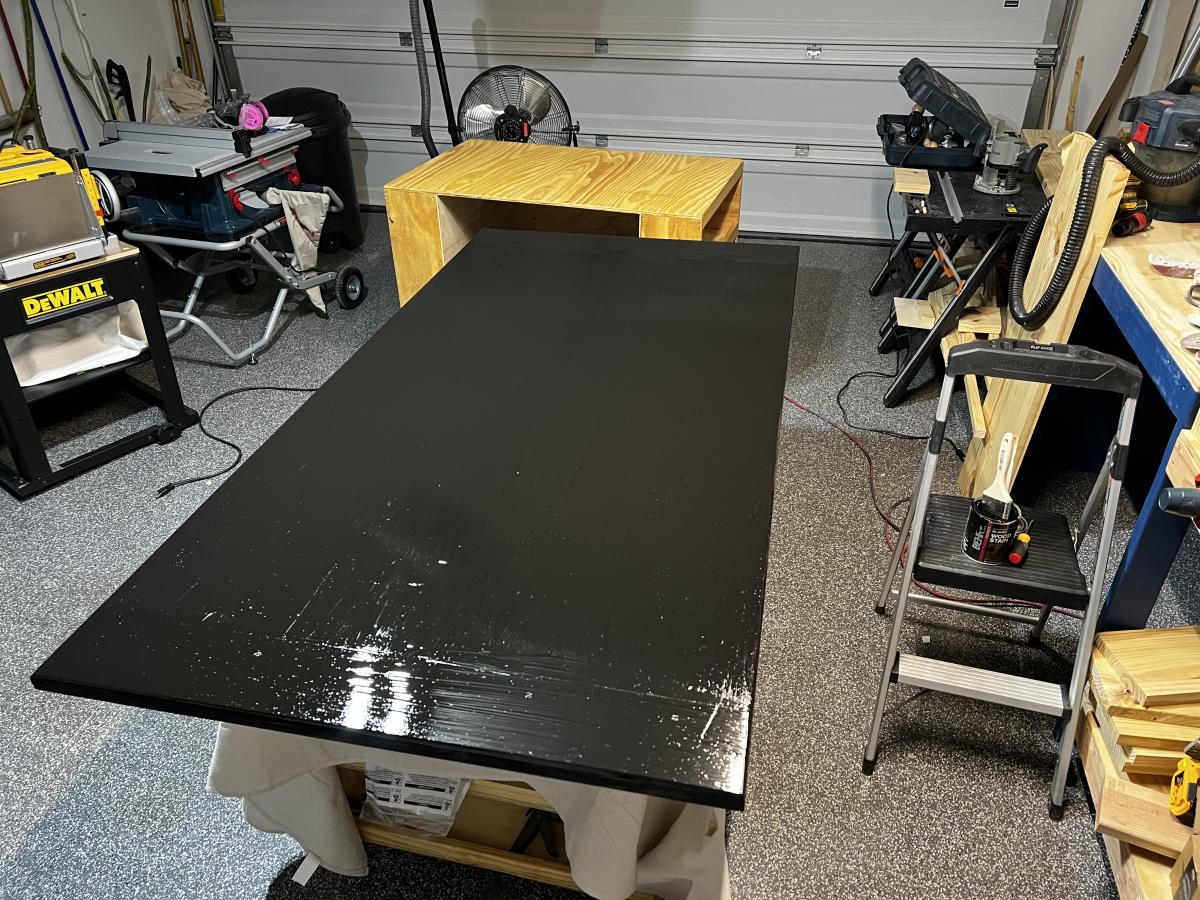
4x4 Truss Beam Table
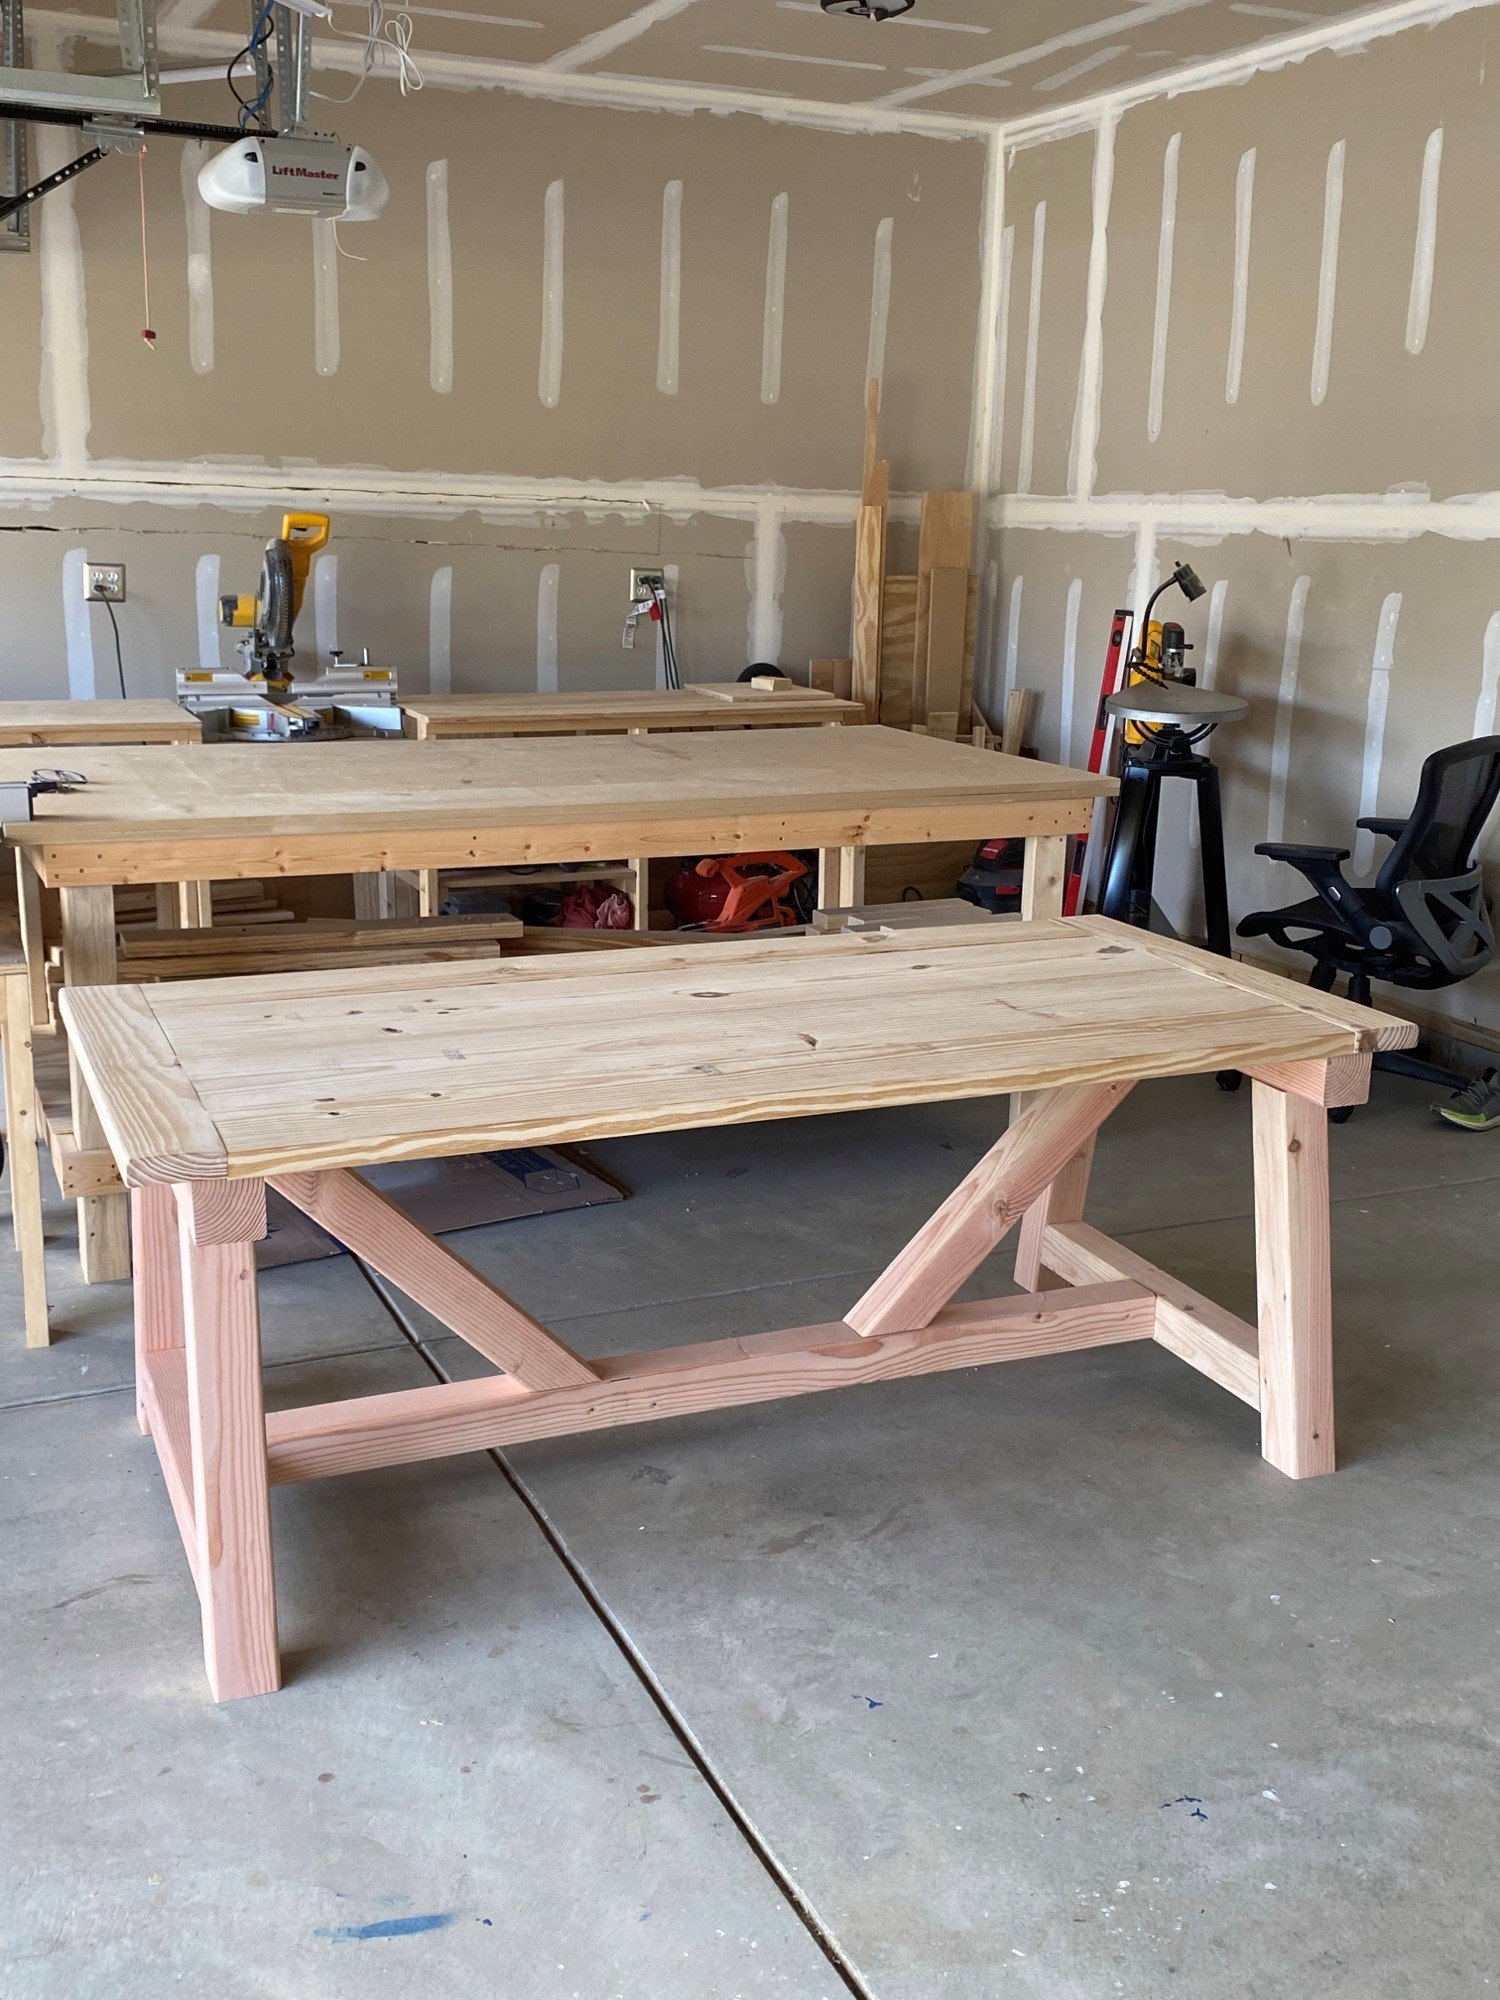
I followed the plans for the 4x4 Truss Beam Table and it turned it out great! I definitely recommend the Kreg Jig HD for the 4x4's. I used non HD Kreg screws for the table top.
It's much easier to build it upside down to ensure you get all your pocket holes underneath. Also, use duct tape to keep the 45 degree angle posts clamped as it's much easier when screwing together.
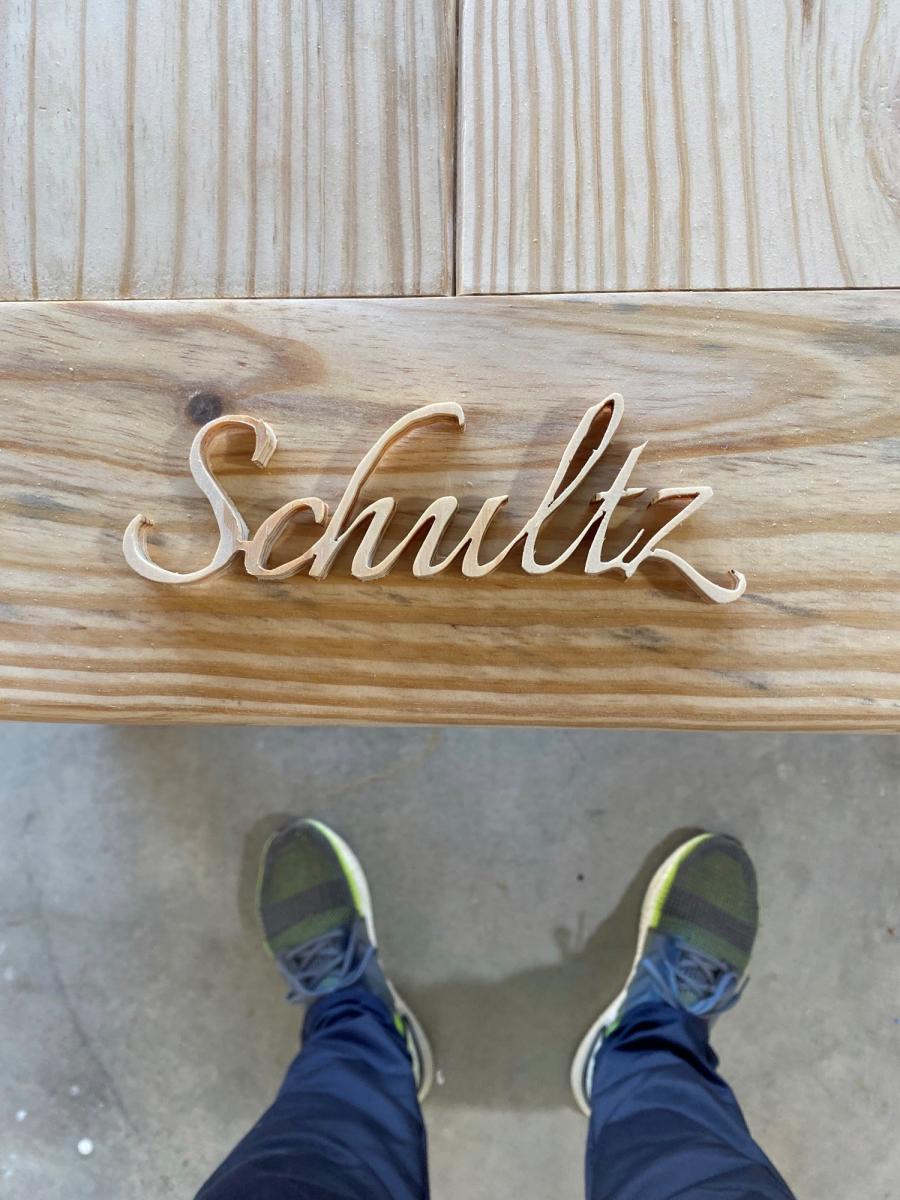
As a bonus for the family I built it for, I cut their name out with my scroll saw and added as a personal touch for the piece.
Built from Plan(s)
Comments
L Shaped Patio Couch

One day project with hubby! Wanted a wood set, but couldn’t find a reasonable price. Bought tools, wood, supplies, and cushions for under the cost of one online!
Built from Plan(s)
Storage Bin
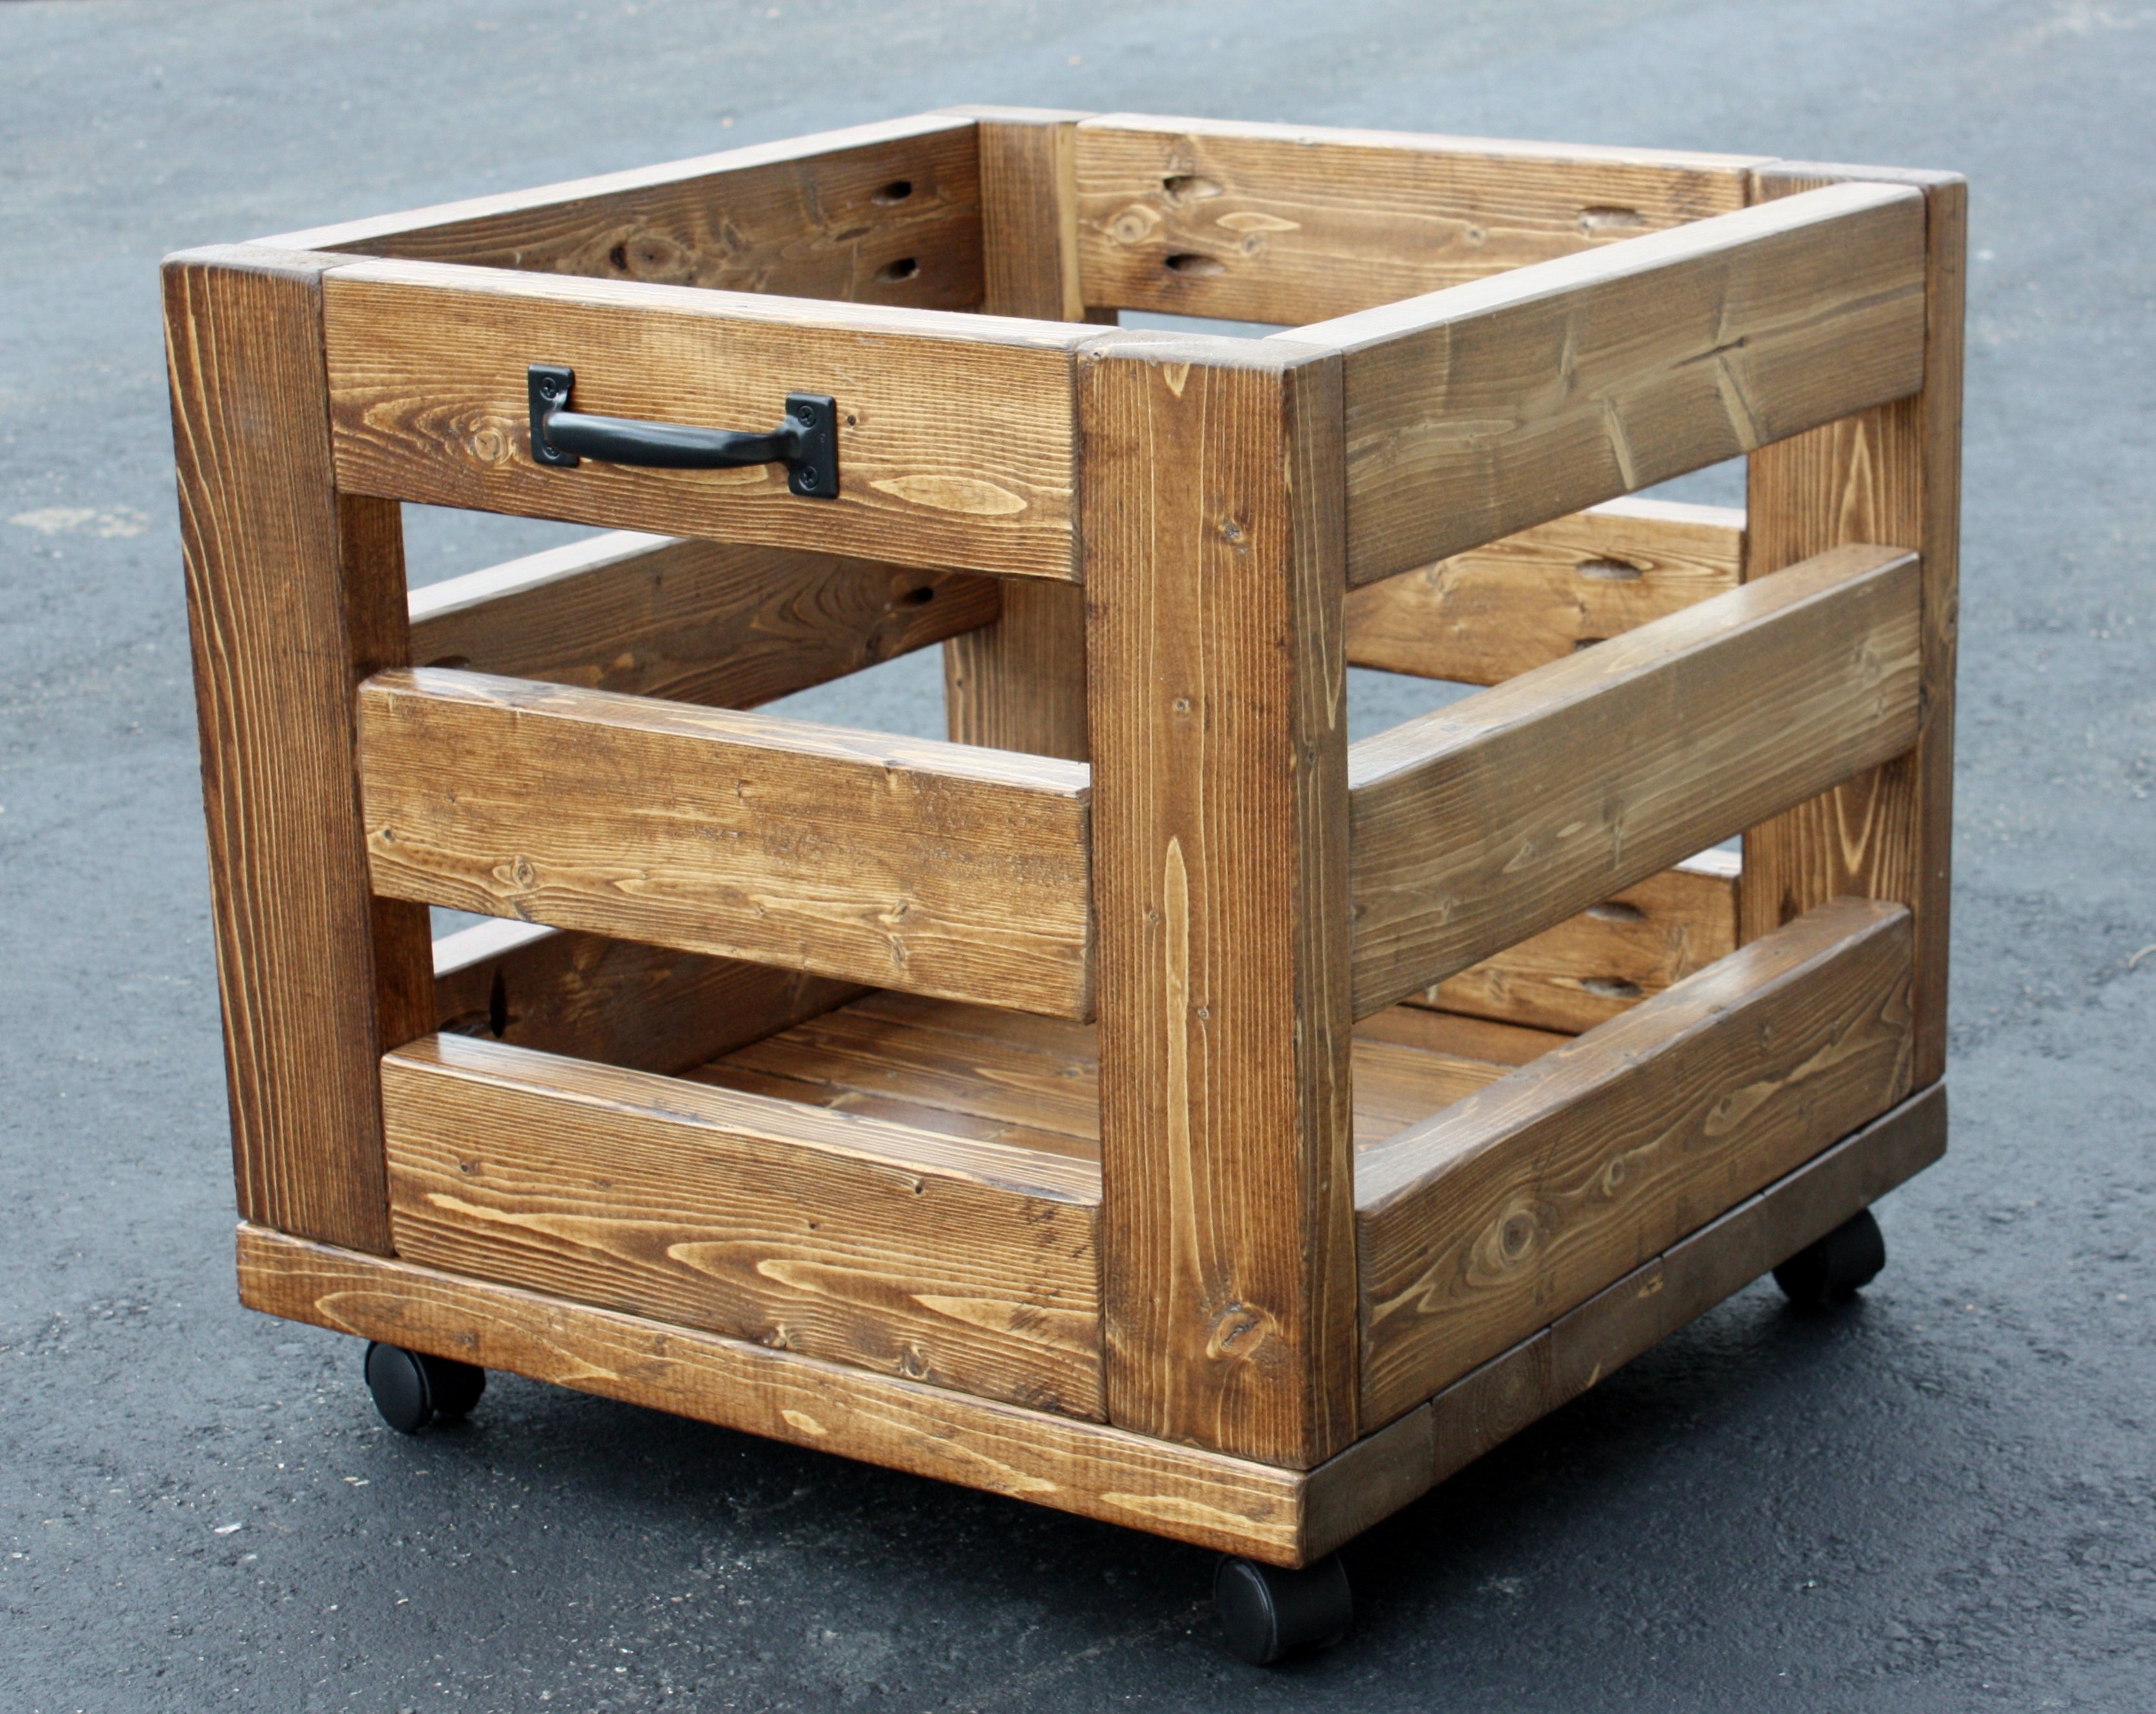
I love this storage bin from plans at morelikehome.net, and it was easy to build, too! It's nice and big, about 21"W x 21"D x 18"H. I selected 3-6 hours as the time spent, but to say closer to six would be about right. I need a large work surface in my sewing room (I'll be building the storage table as well),and a place to store my "stuff".This should be a pretty good start!
Built from Plan(s)
Estimated Cost
About $20
Estimated Time Investment
Afternoon Project (3-6 Hours)
Finish Used
Two coats of Early American by Minwax, and one of Varathane's Diamond Finish topcoat, all applied with a rag.
Recommended Skill Level
Beginner
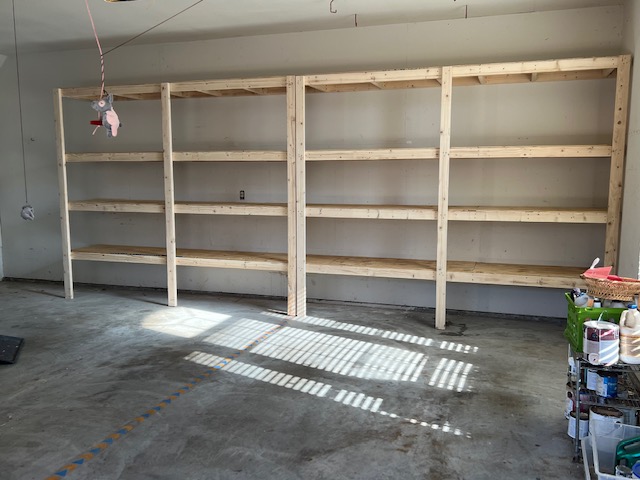
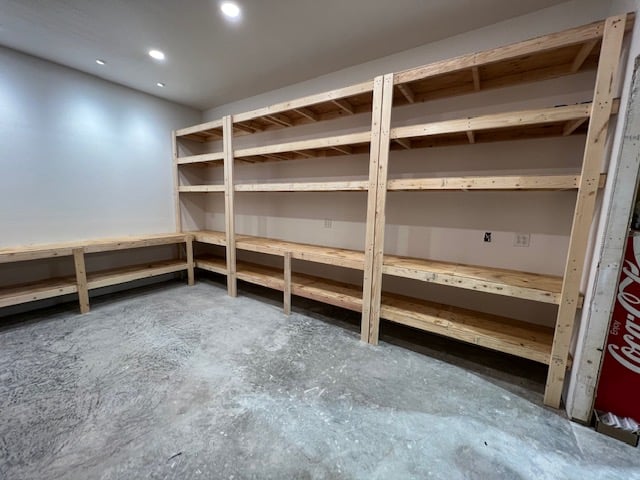
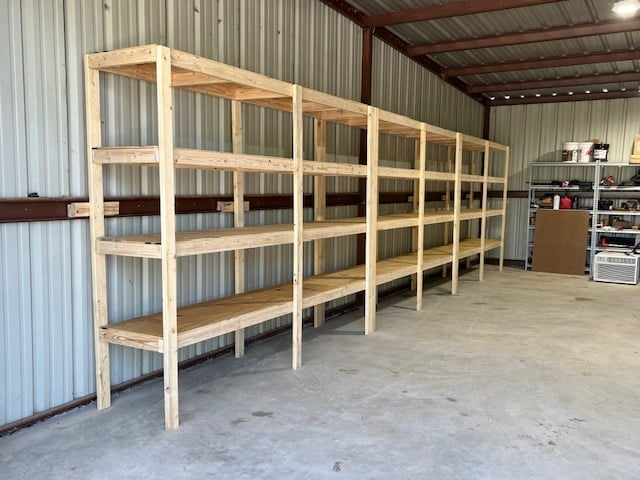
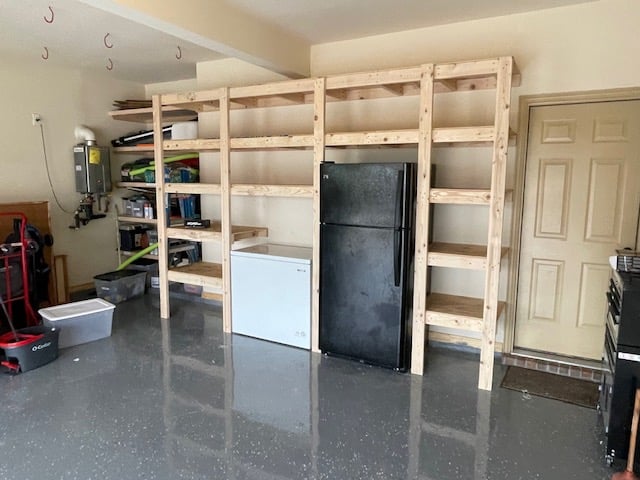
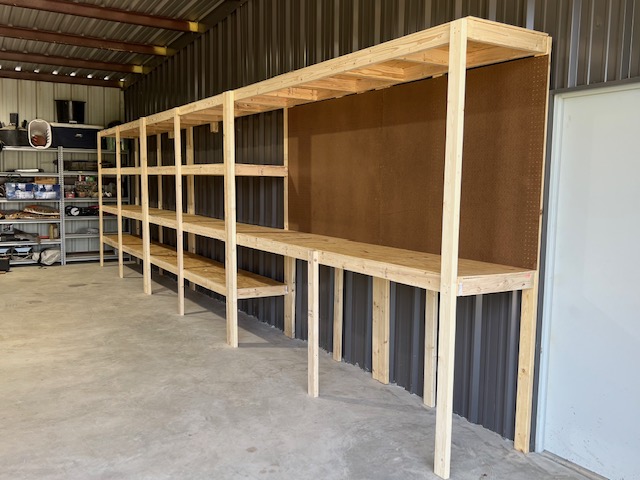
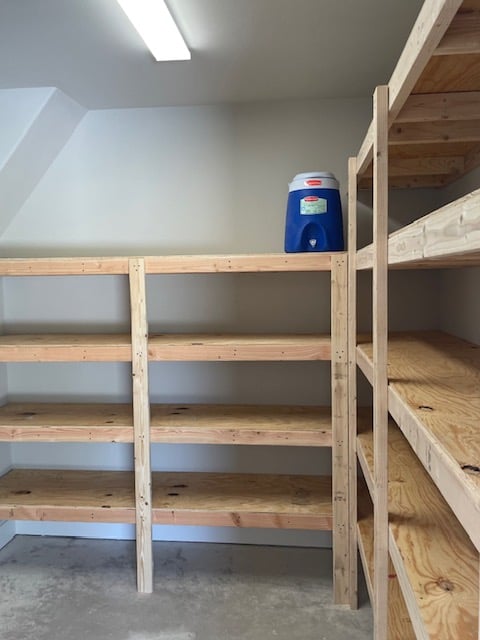
Garage Shelves Galore - by Jared Starky
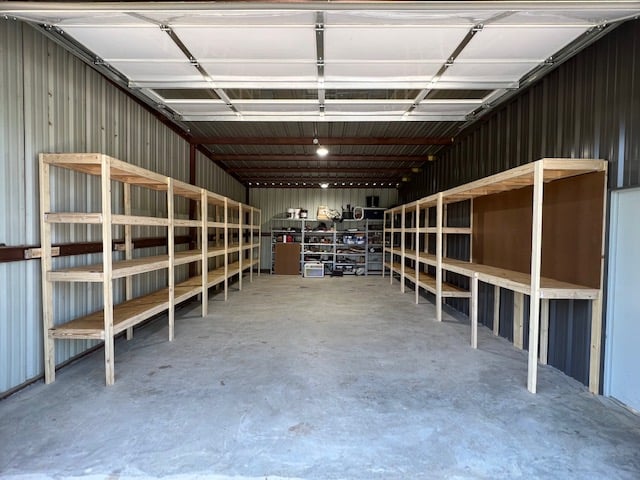
This one plan can facilitate many outcomes.
Built and shared by Jared Starkey
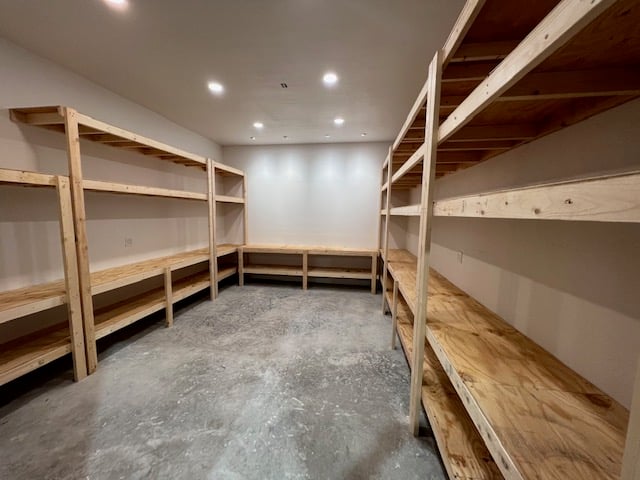
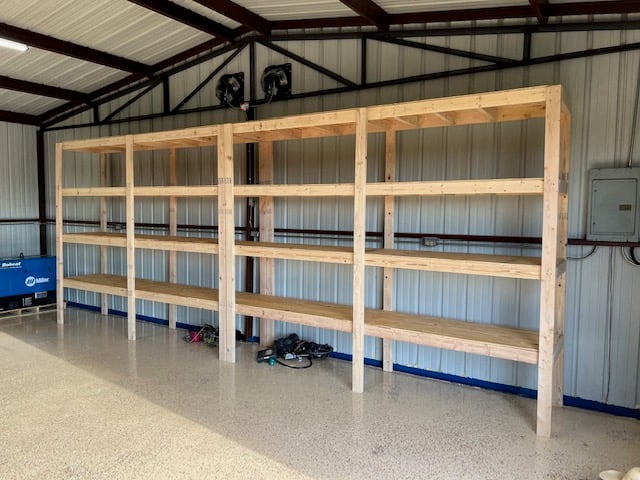
Built from Plan(s)
Outdoor end tables

I made these two Ana White outdoor end tables for my patio. Next up will be the matching coffee table

Built from Plan(s)
Comments
Sun, 01/29/2023 - 16:04
Great little side tables!
Thanks for sharing, they will be a nice outdoor additon!
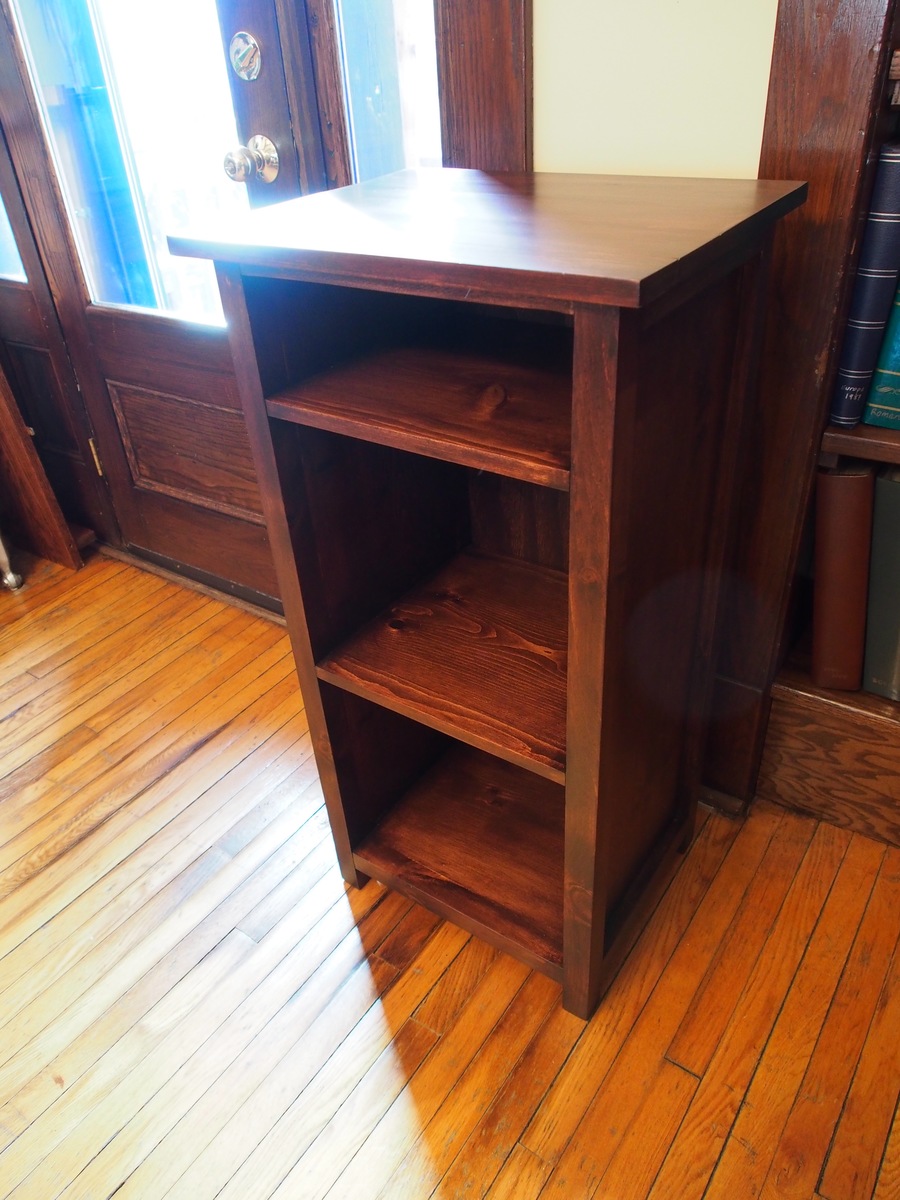
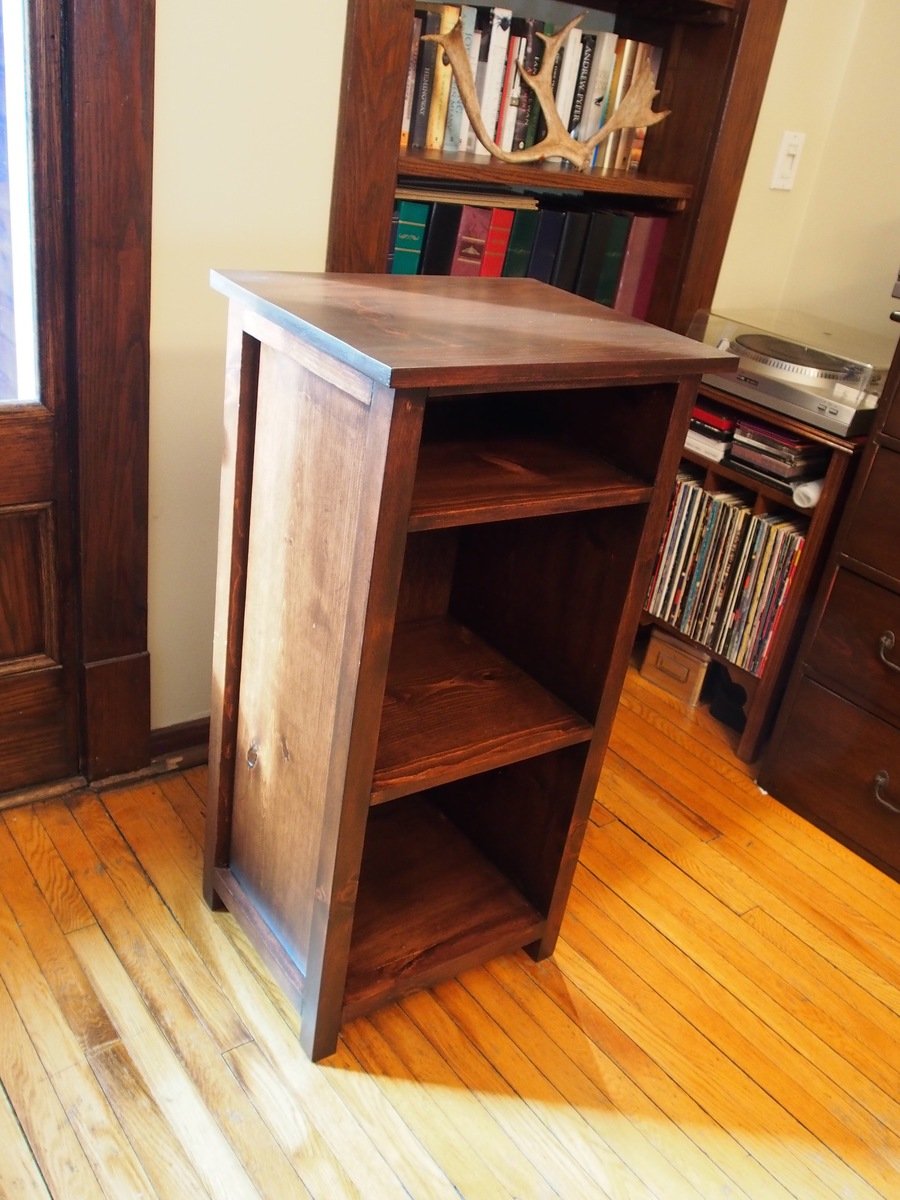
Turntable/Vinyl Stand
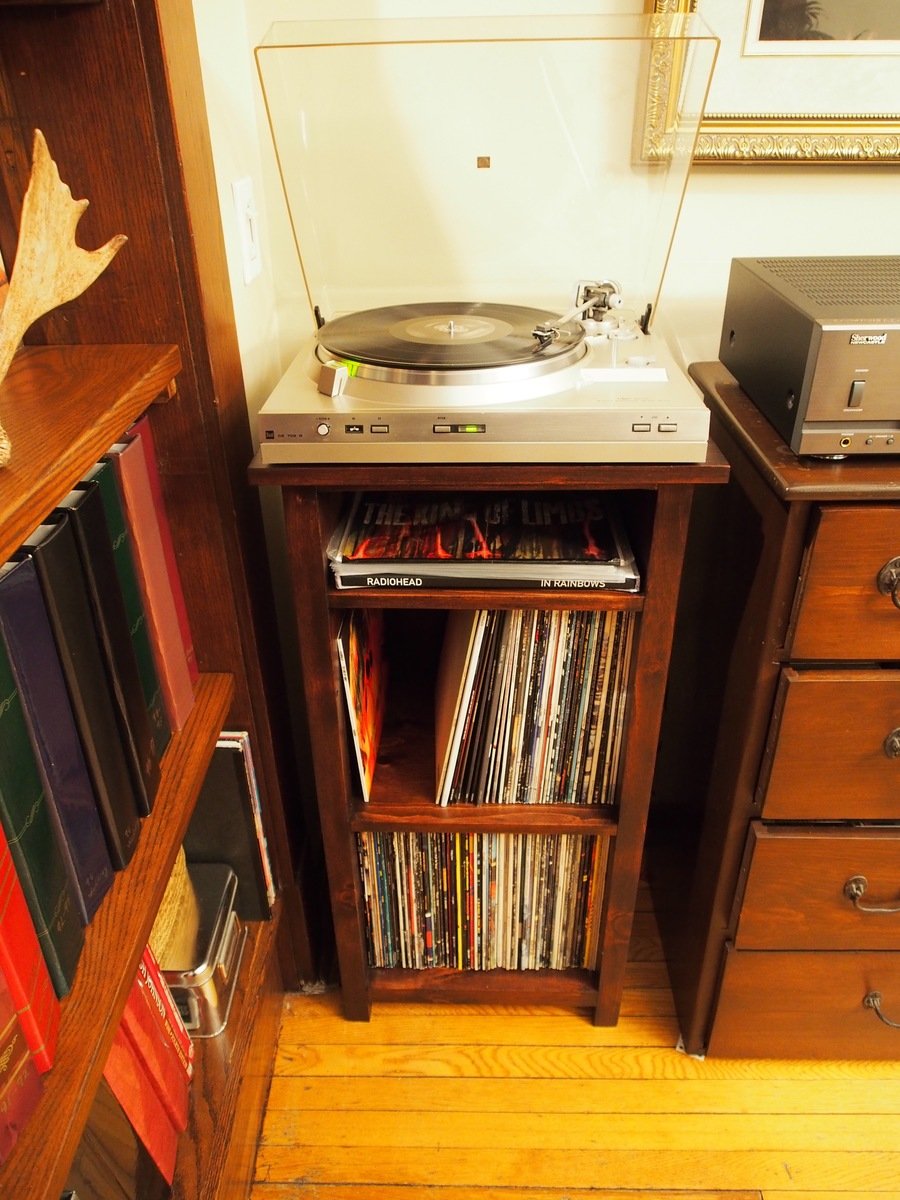
This was a Christmas gift for my husband, who has resurrected his old turntable. I wanted the stand to be the same height as the chest I had previously refinished to house our stereo and cds. I also wanted to have two shelves for vinyl, so I modified the Channing bookcase to fit.
Built from Plan(s)
Estimated Cost
$80
Estimated Time Investment
Weekend Project (10-20 Hours)
Finish Used
Goudey stain in Rosewood, shellac wash coat, Goudey glaze in Van Dyke Brown, shellac again, then Deft satin polyurethane.
Recommended Skill Level
Beginner
Comments
Mon, 02/26/2018 - 20:53
Adjusted measurements?
My husband has been looking for a stand for his turn table and this one looks perfect! Do you mind my asking for the adjusted measurements? I’d love to see if we could make one for him, if you don’t mind sharing. It looks fantastic!
Sat, 12/01/2018 - 12:11
measurements
Apologies, I have not checked the site in almost a year. The height of the unit is 37,3/4' tall, the shelf widths are 14" inner width, and the spacing between shelves is 13" between the lower 2 shelves for vinyl, and 5" for the top shelf (for brushes or an occasional CD. Hope that helps.
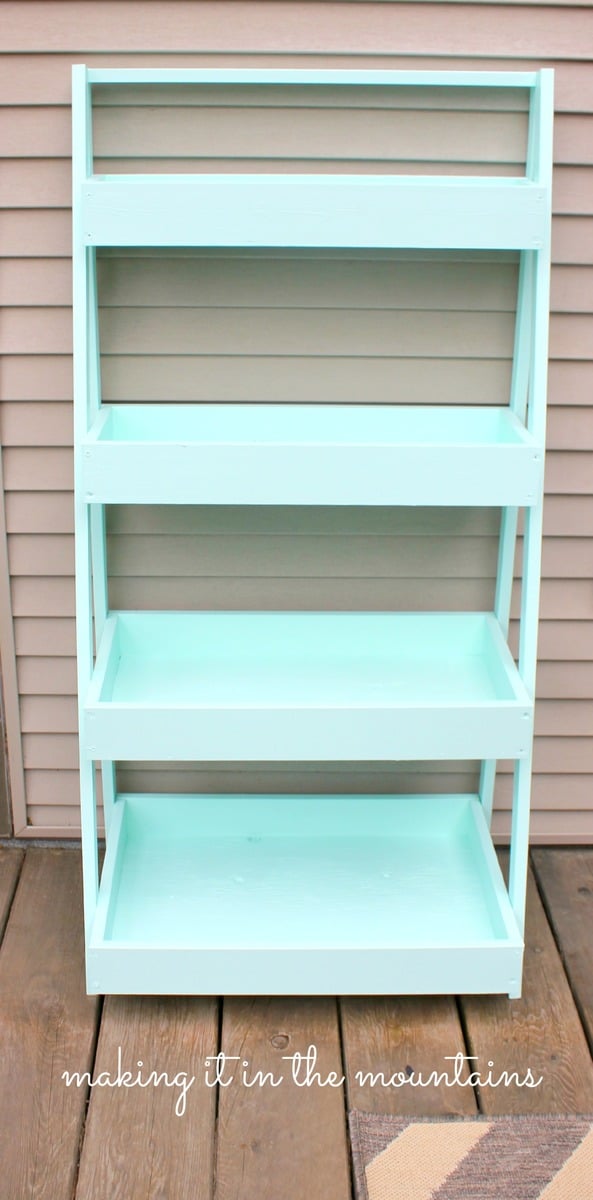
DIY Ladder Shelf
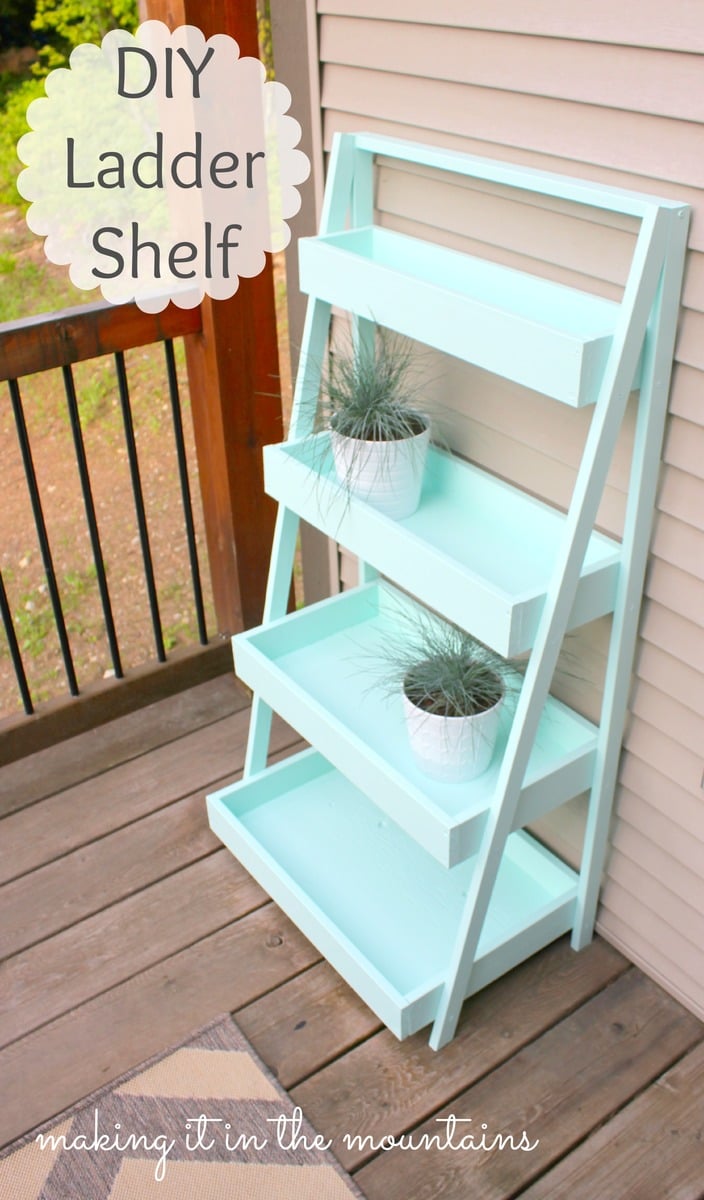
DIY Ladder Shelf to use as a plant stand on our courtyard deck.
Built from Plan(s)
Estimated Cost
$35
Estimated Time Investment
Afternoon Project (3-6 Hours)
Finish Used
Benjamin Moore Paint: OR-368
Recommended Skill Level
Beginner
First Project

Well, I started with one chair and finished with a full set. Not bad for a first timer. Definitely room to improve. Little tip if you're going to make this amazing set... raise the backs as they are too low with thicker cushions. I built a casing to go on top after the fact. Pretty happy with how it all turned out. Thanks Ana for the plans... now onto the next project!


Comments

Fri, 04/28/2023 - 08:41
2X4 & 2X6 starting set
Very nice workmanship. I'm curious as to how comfortable they are with the straight 90* backs? Let me know please at [email protected]. Again nice workmanship.
Fri, 04/28/2023 - 08:41
2X4 & 2X6 starting set
Very nice workmanship. I'm curious as to how comfortable they are with the straight 90* backs? Let me know please at [email protected]. Again nice workmanship.
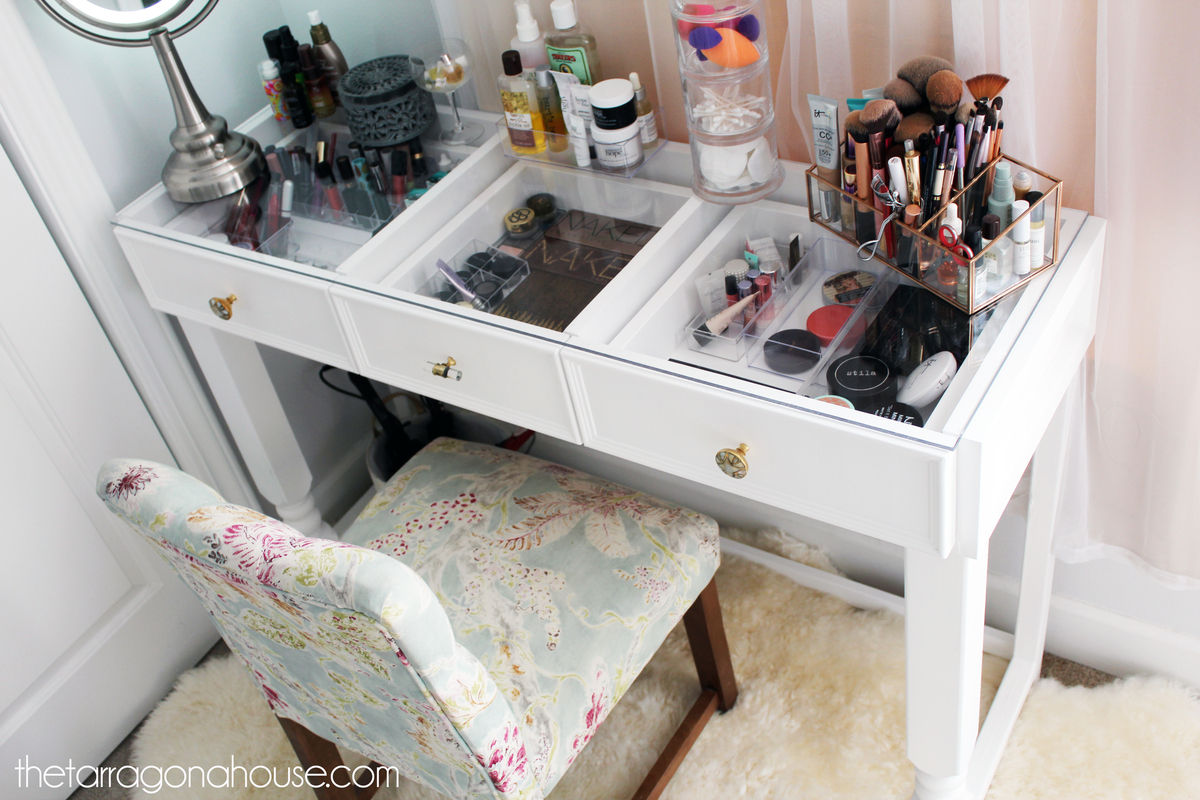
DIY Glass Top Vanity

For anyone who is interested in building their own glass-top vanity with pull-out drawers :)
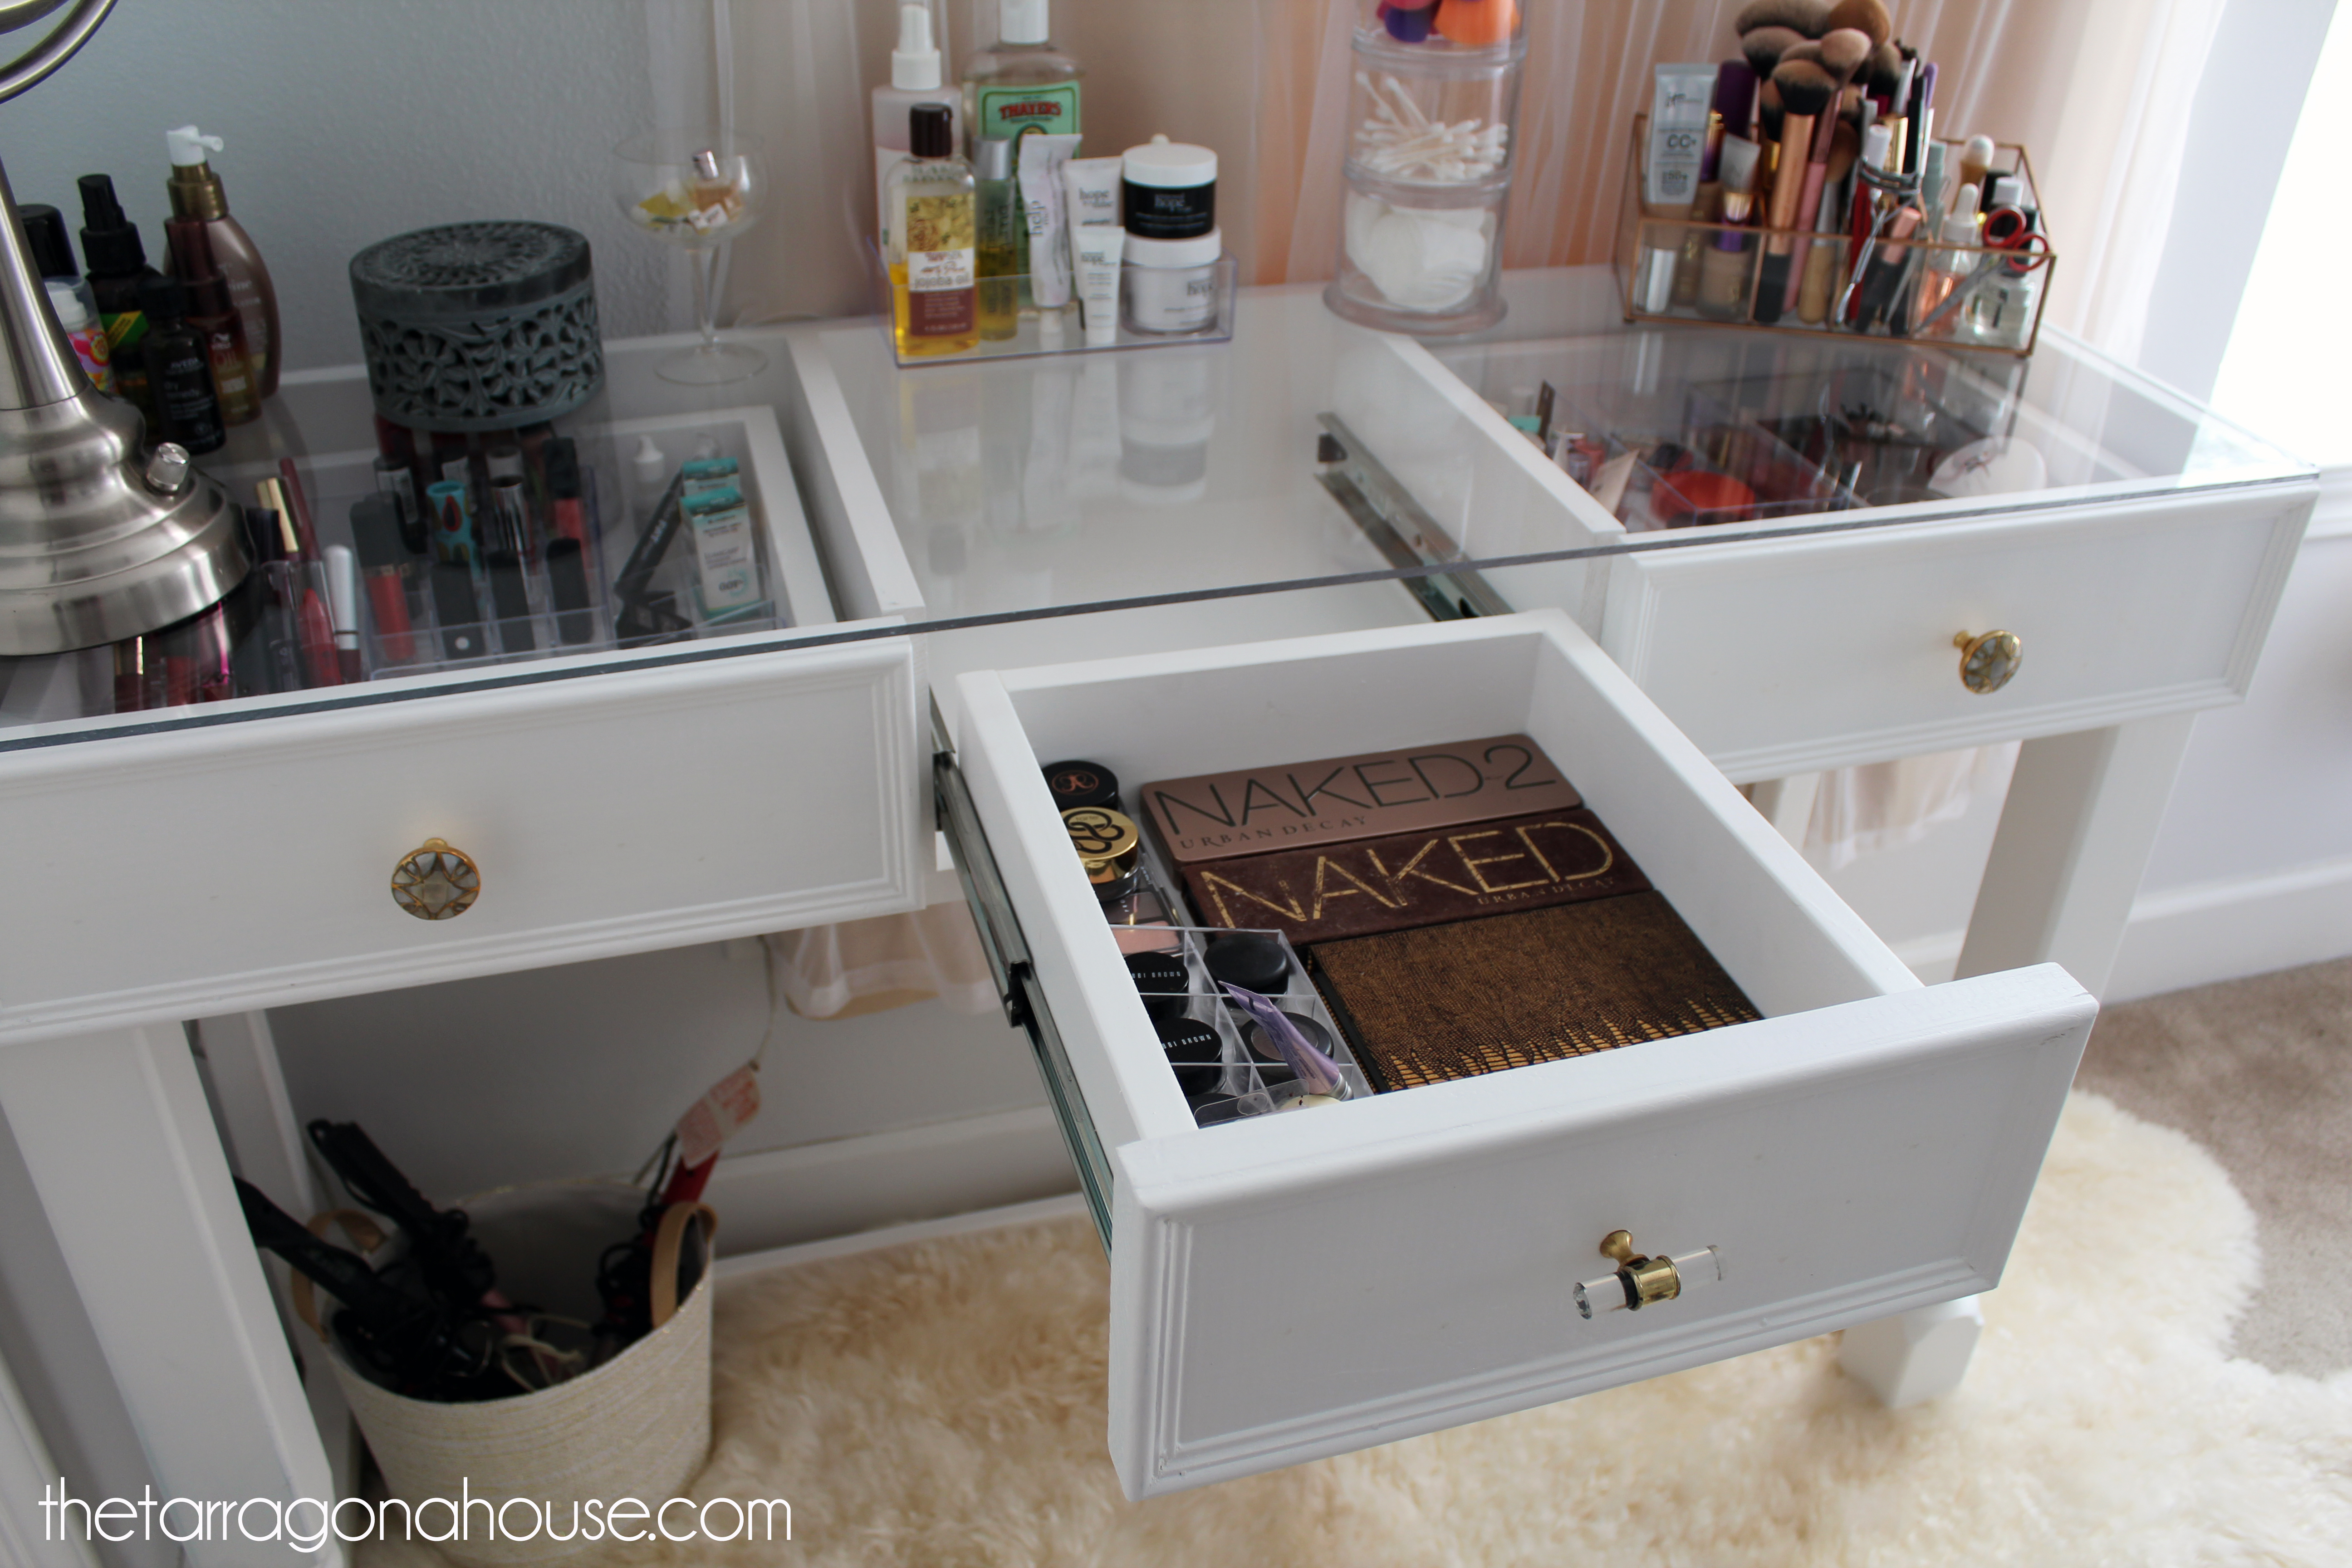
Estimated Cost
$150
Estimated Time Investment
Weekend Project (10-20 Hours)
Finish Used
Valspar Ultra White
Recommended Skill Level
Intermediate
Comments
Sun, 11/29/2020 - 01:27
Hi Ana, where can I find the…
Hi Ana, where can I find the instructions for this project?
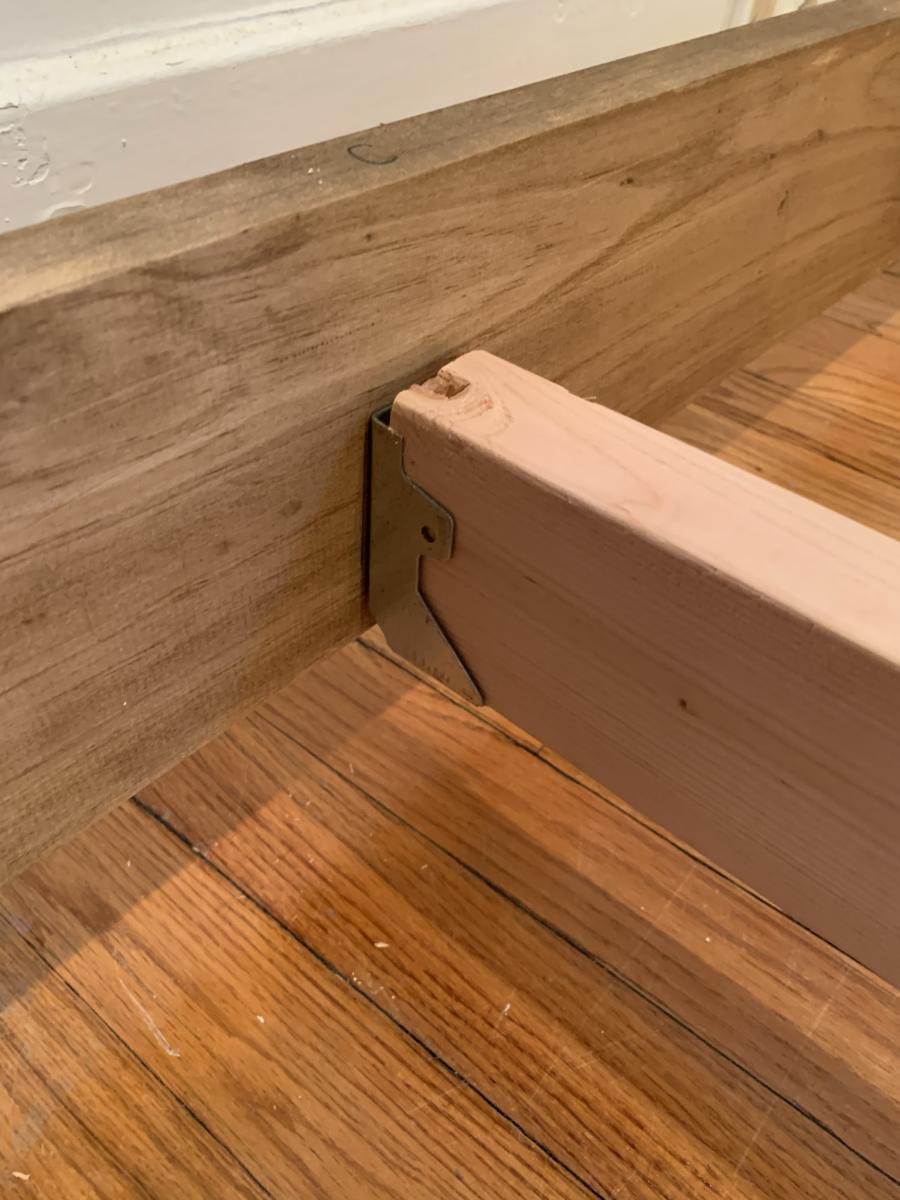
Hailey Platform Bed Frame with aMiter
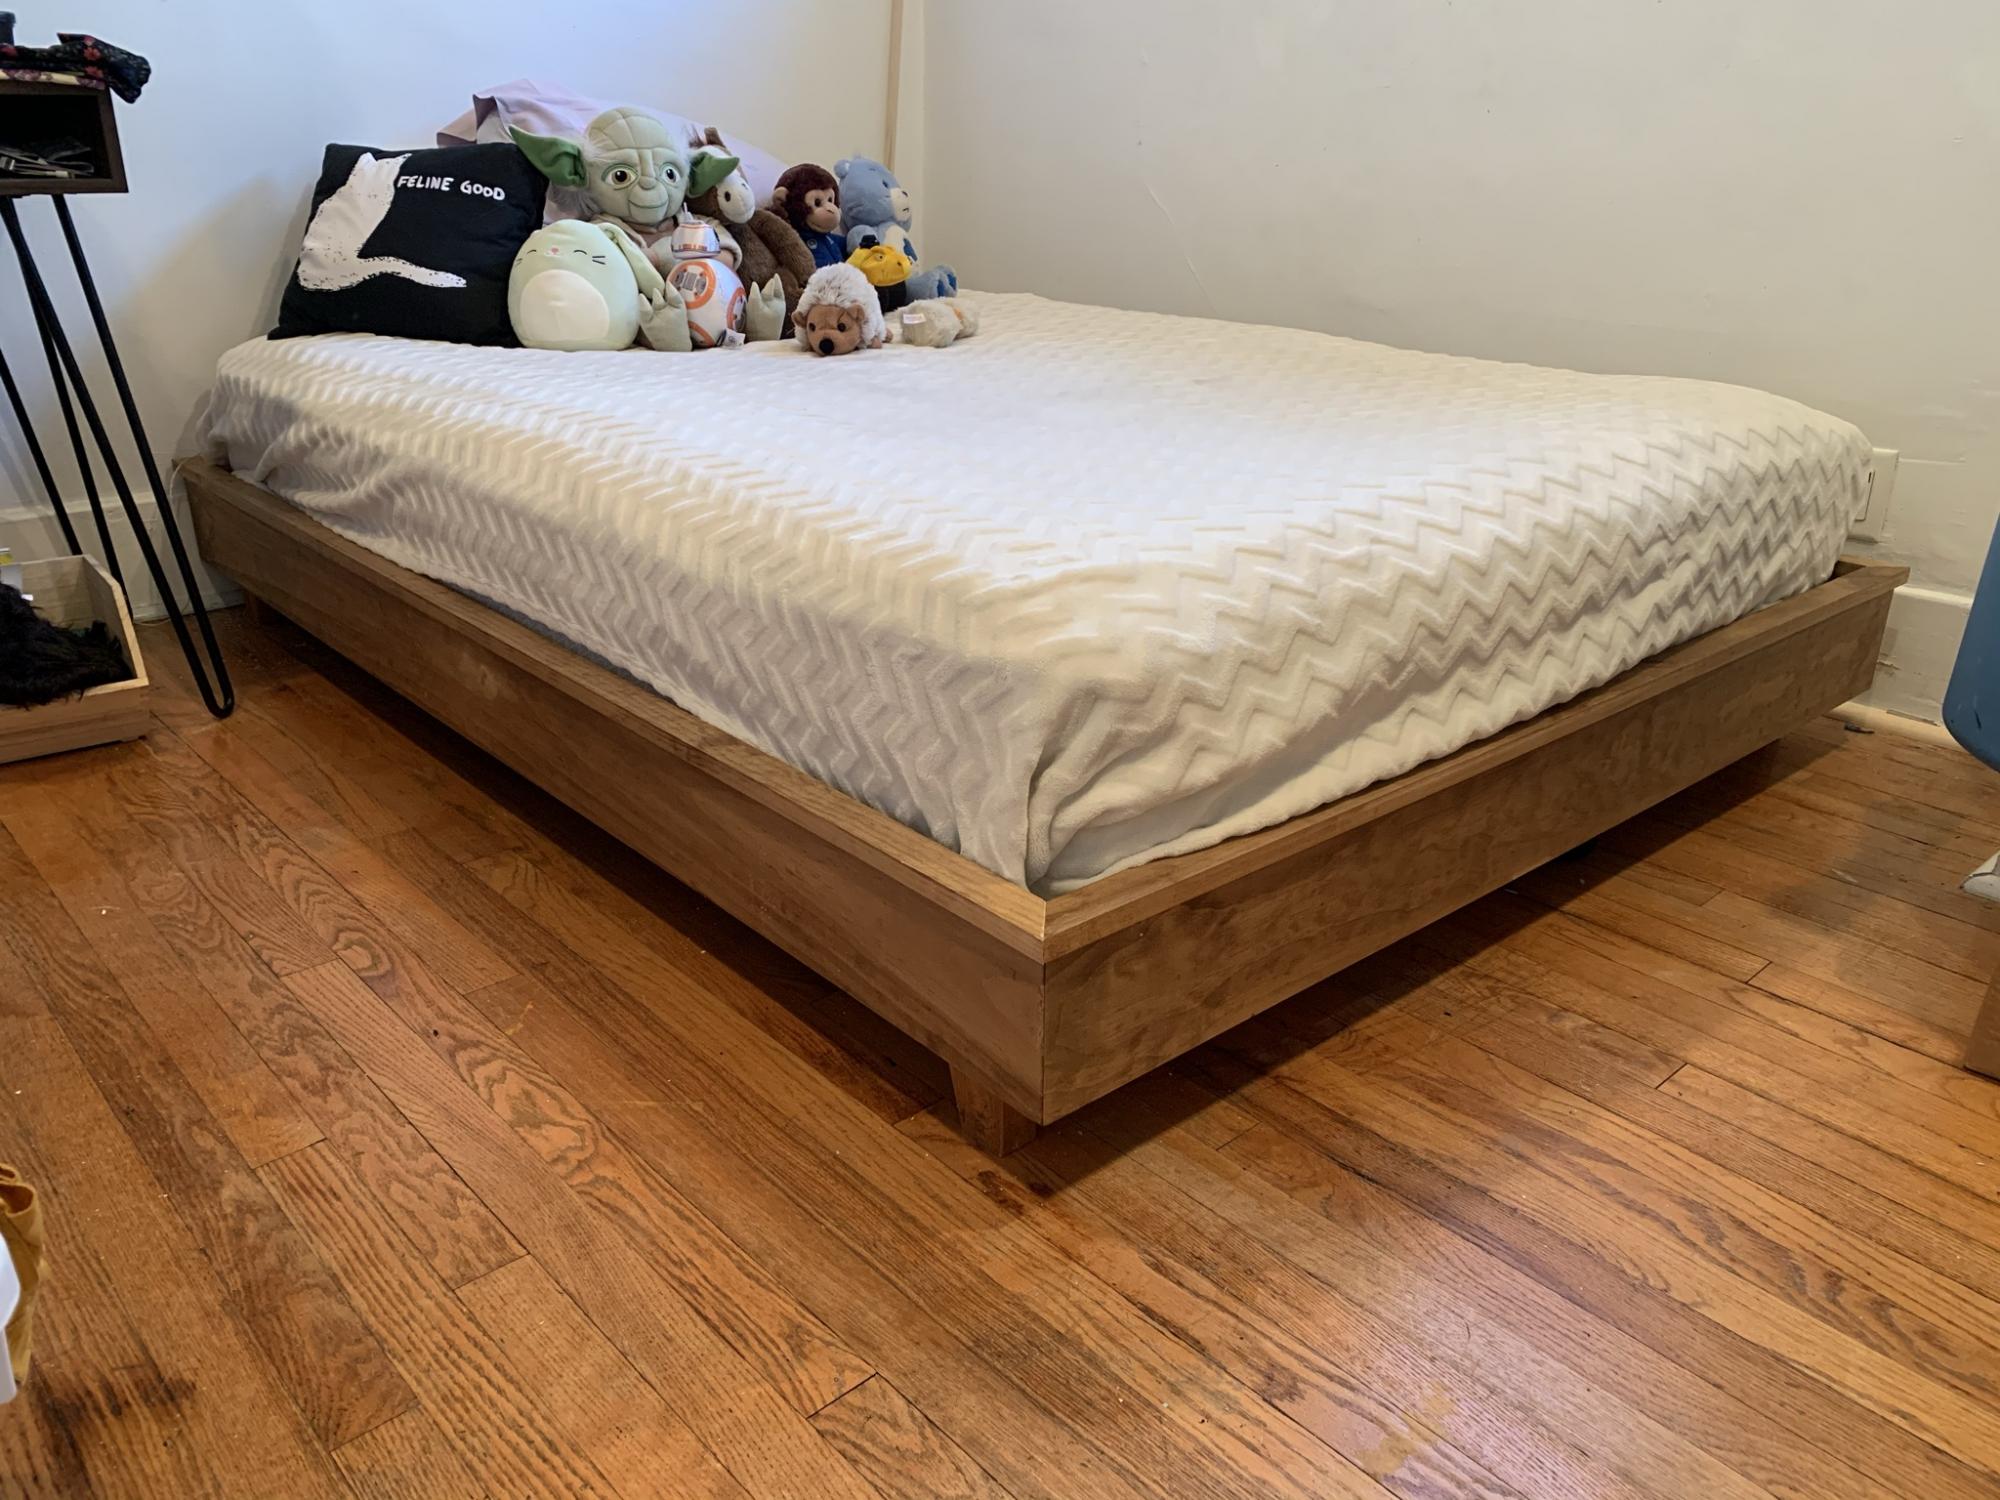
We have built this plan twice for our two daughters (Full size mattresses). A similar bed frame at Pottery Barn Teen would have easily set us back about $1500 so these bed plans are truly a blessing! After no luck with a Wayfair wrought iron knockoff bed frame (loud and squeaky!!) we decided to give an Ana White plan a go. So glad we did! We did modify the plans slightly. We mitered all corners and stained all components with a Varathane Golden Oak before final assembly. Although I own and use a Kreg Jig, we wanted the frame to be easily disassembled. We opted for corner braces secured with 6, 1" cap head wood screws per corner (3 per side). Keep in mind miter corners can be a bit tricky but definitely possible with a little patience. PLEASE NOTE: when cutting miters, you will need to account for an additional 4" OD from Ana's written plans. Each 90 degree angle is approximately 2" long. So, if cutting the 75" length( for the mattress length) the miters will be 2" long on each end making the OD length 79". Whether you are going with Miters or butt joints, I would also highly recommend a right angle clamp (Top/Bottom) used during assembly. It is extra expense but so worth the investment!
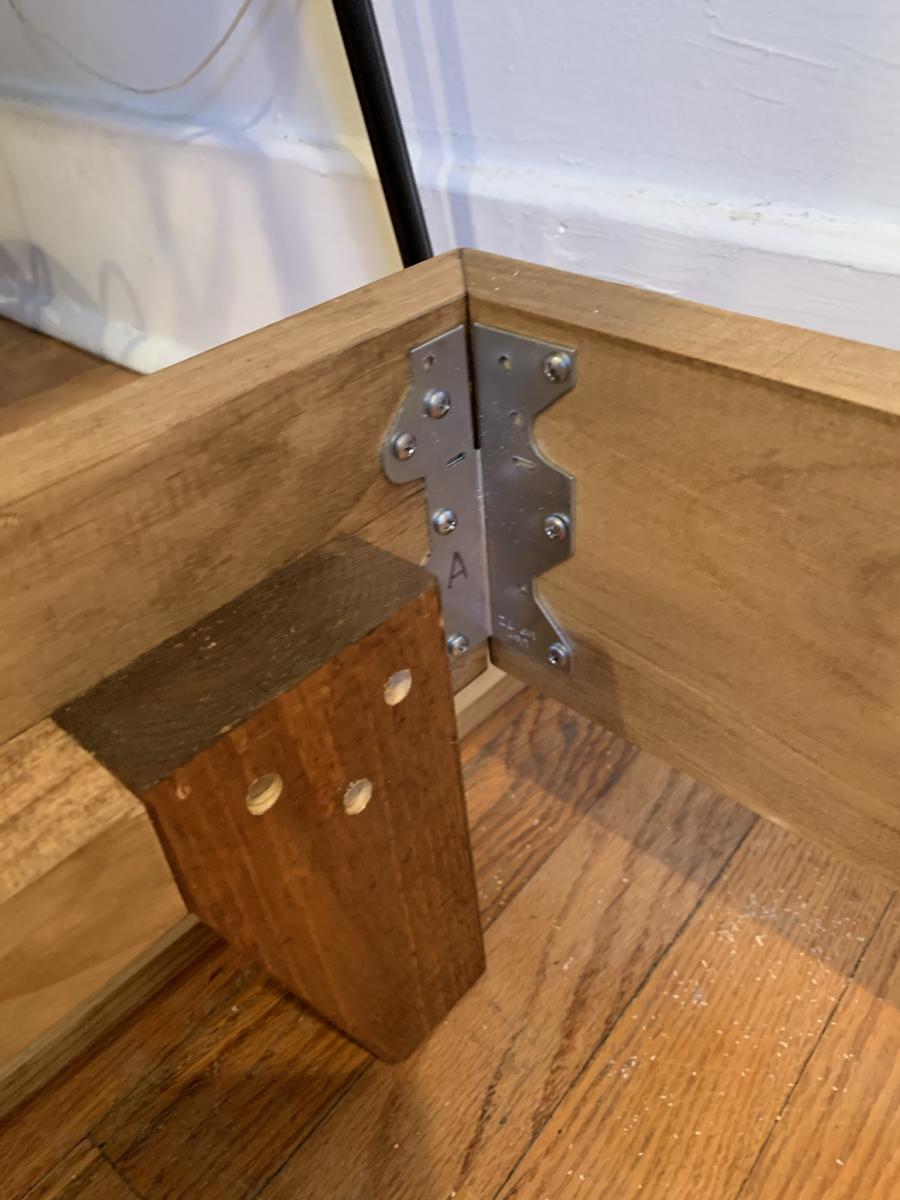
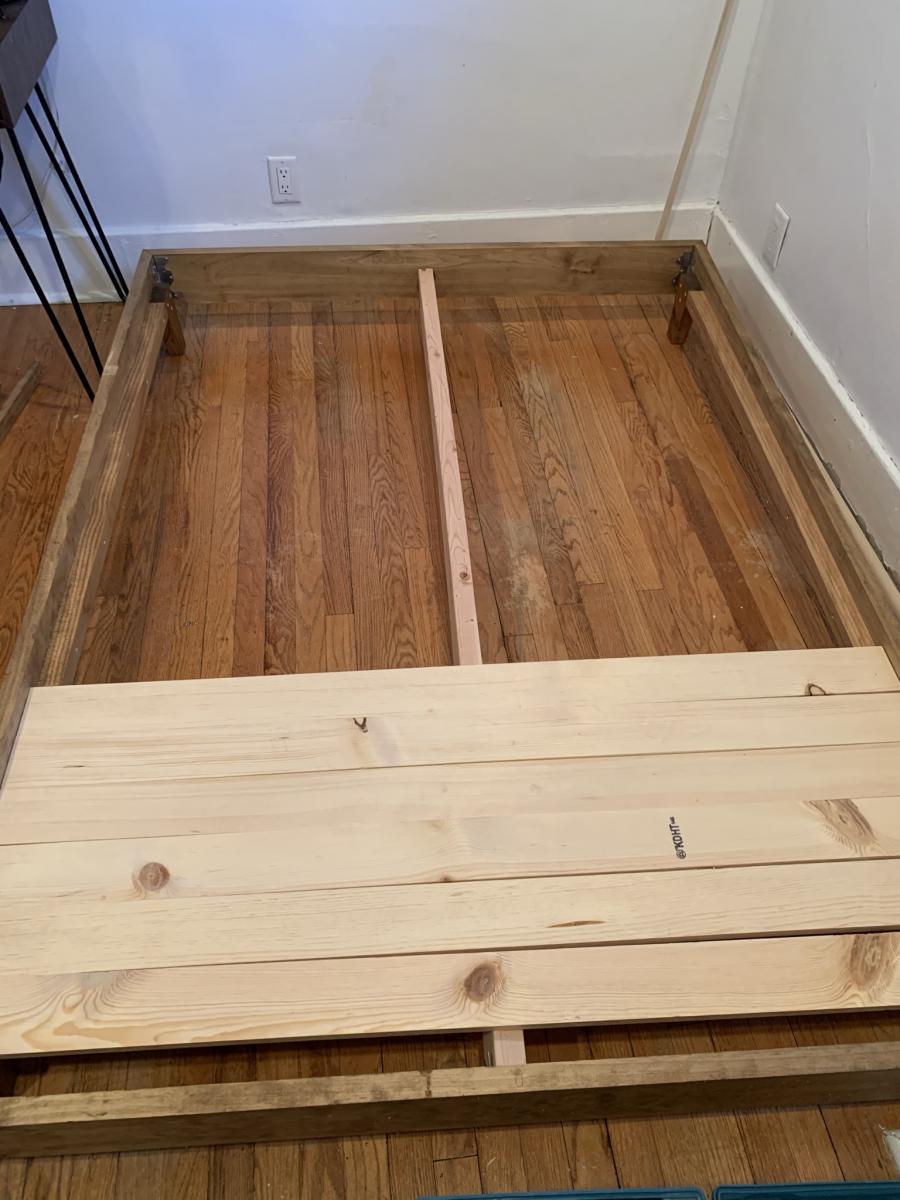


Built from Plan(s)
Estimated Cost
$150
Estimated Time Investment
Day Project (6-9 Hours)
Finish Used
Varathane Golden Oak #227. Applied 2 rubbed coats for a deeper grain finish.
Recommended Skill Level
Intermediate
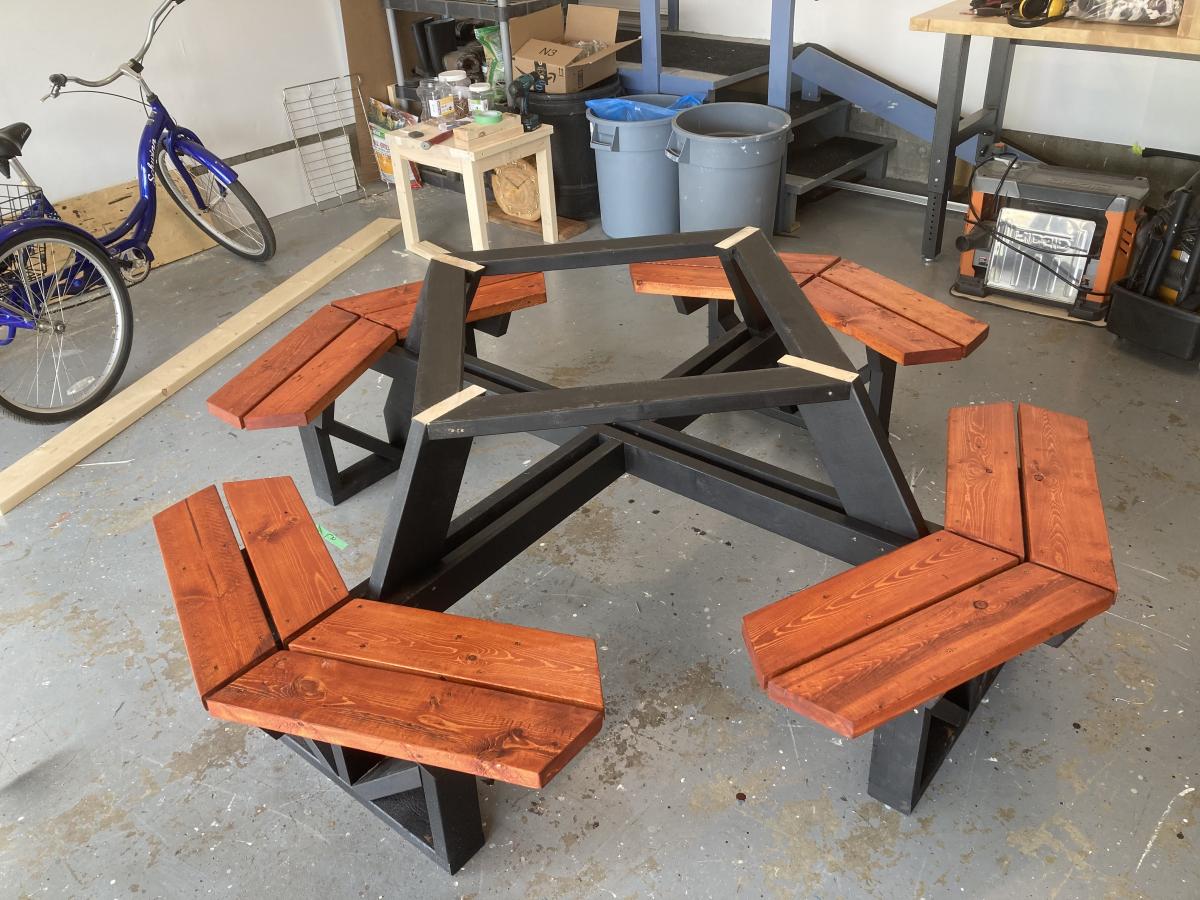
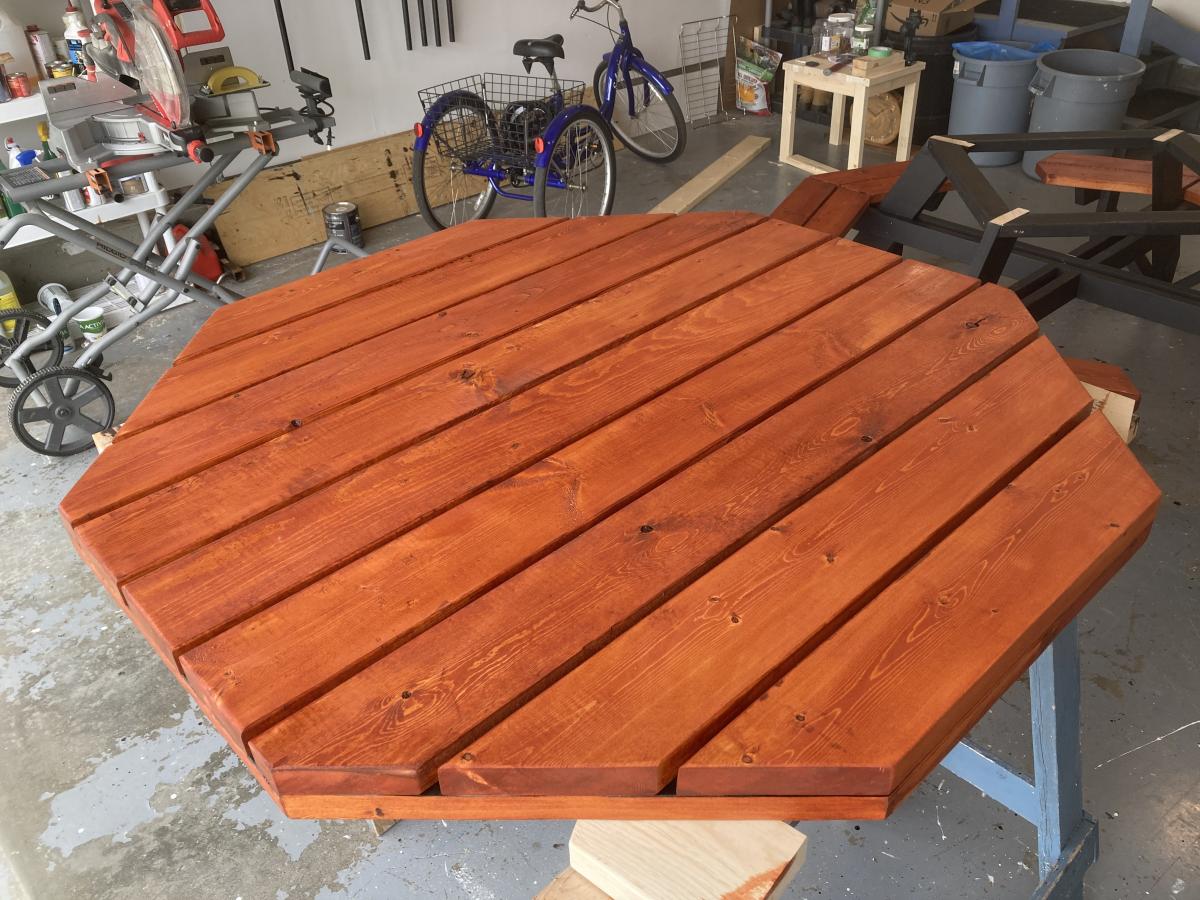
Octagonal Picnic Table
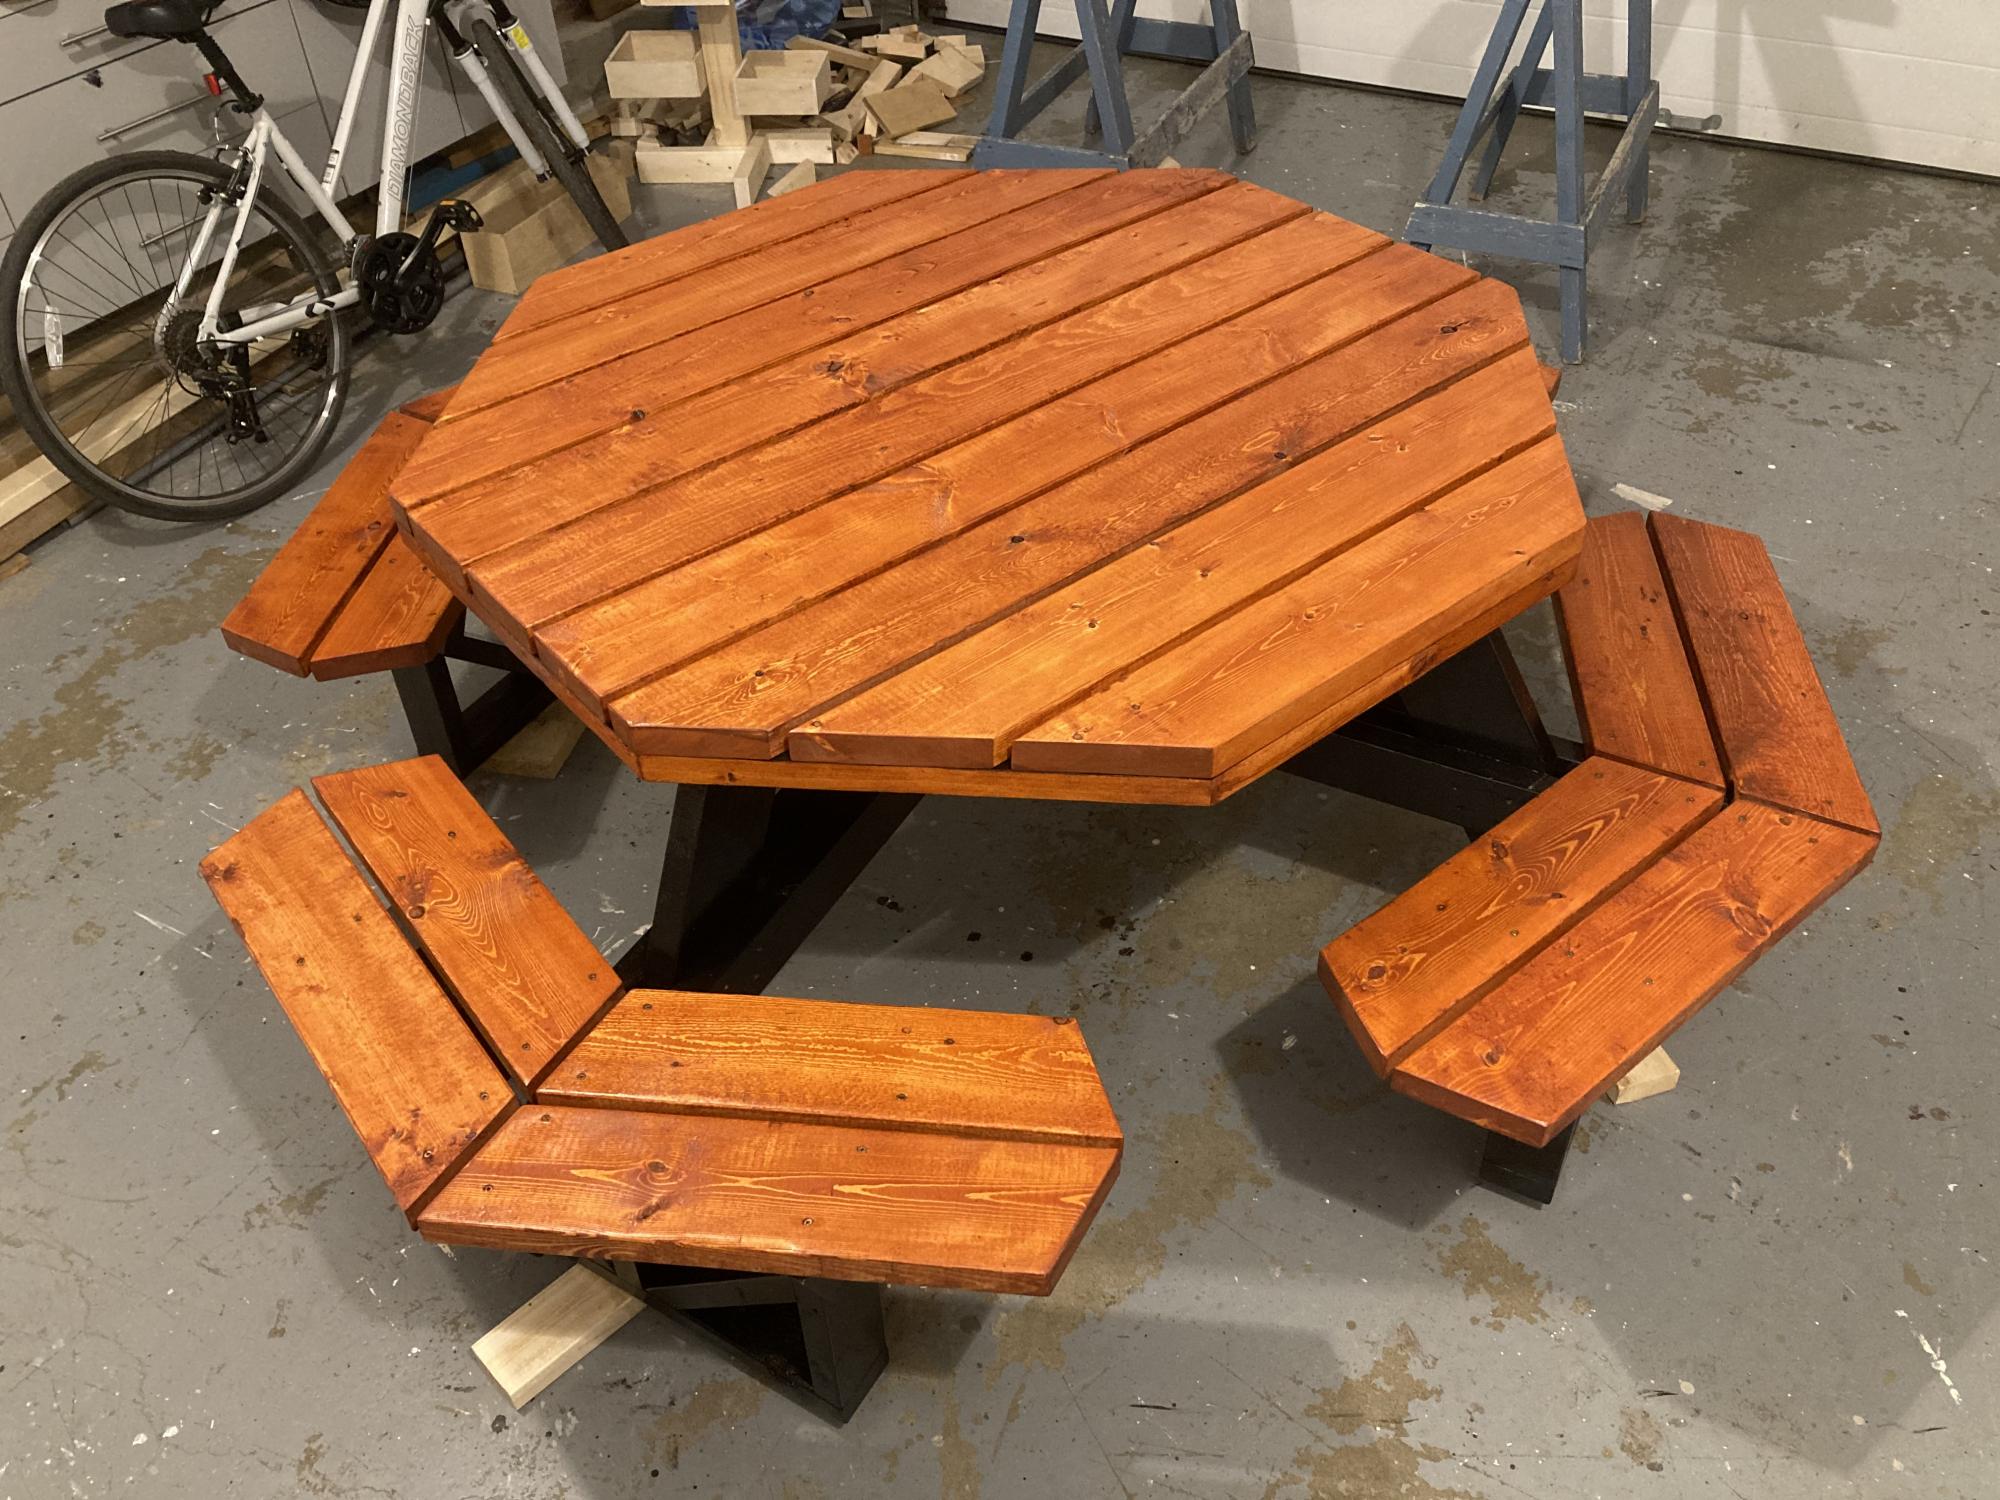
To say this was a complicated build is an understatement. Lots of pieces, lots of different angles and lots of screwing it together. It was really tough to keep everything perfectly square but in the end it turned out well. It is a very heavy table. I want to get it outside on a sunny day for some photos.
Built from Plan(s)
Estimated Cost
The price of lumber is ridiculous right now. Last summer this would have cost me about $200 in materials but I spent about $450 on wood, finish and screws. 2 x 4 x 8's right now are about $10.40 CAD$ and 2 x 4 x 6's are about $15.00
Estimated Time Investment
Weekend Project (10-20 Hours)
Finish Used
I first painted all black parts with Wood Shield Oil Deck & Siding solid stain. I used two coats. I painted most of the boards prior to cutting to save time. The top and seats were stained with MinWax Gunstock Stain. Once everything was together I put on two coats of Helmsman outdoor polyurethane.
Recommended Skill Level
Advanced
Comments
Sat, 05/29/2021 - 10:33
Great job!
A picnic table that will last! Love your finish choices, thank you for sharing:)
Outdoor Sofa
This was our first big project with our Kreg Jig. We adapted the plans to make the sofa 8' long. On Friday night, my husband did all the cuts and I pre-painted everything. With the help of our son, we had the whole sofa built in a few hours on Saturday morning. I puttied the visible holes, did a second coat of paint, and made custom cushions. The plans were very easy to follow. I followed the others' advice about pre-painting and assembling the back on a perfectly level surface. It came out better than I expected and it's super comfortable!
Built from Plan(s)
Comments
Sun, 04/10/2022 - 10:33
WOW Gorgeous!
Thank you for sharing, it looks amazing! Would love to hear how you made the cushions.:)
Mon, 04/11/2022 - 07:44
I want this one
I want the plans for this one! I like this style a lot better. I really like how the bottom cushions are at a slant. I suck at modifying plans.
Seasonal And Holiday
Farmhouse 4x4 Truss Table & Benches (Glue & Dowels)
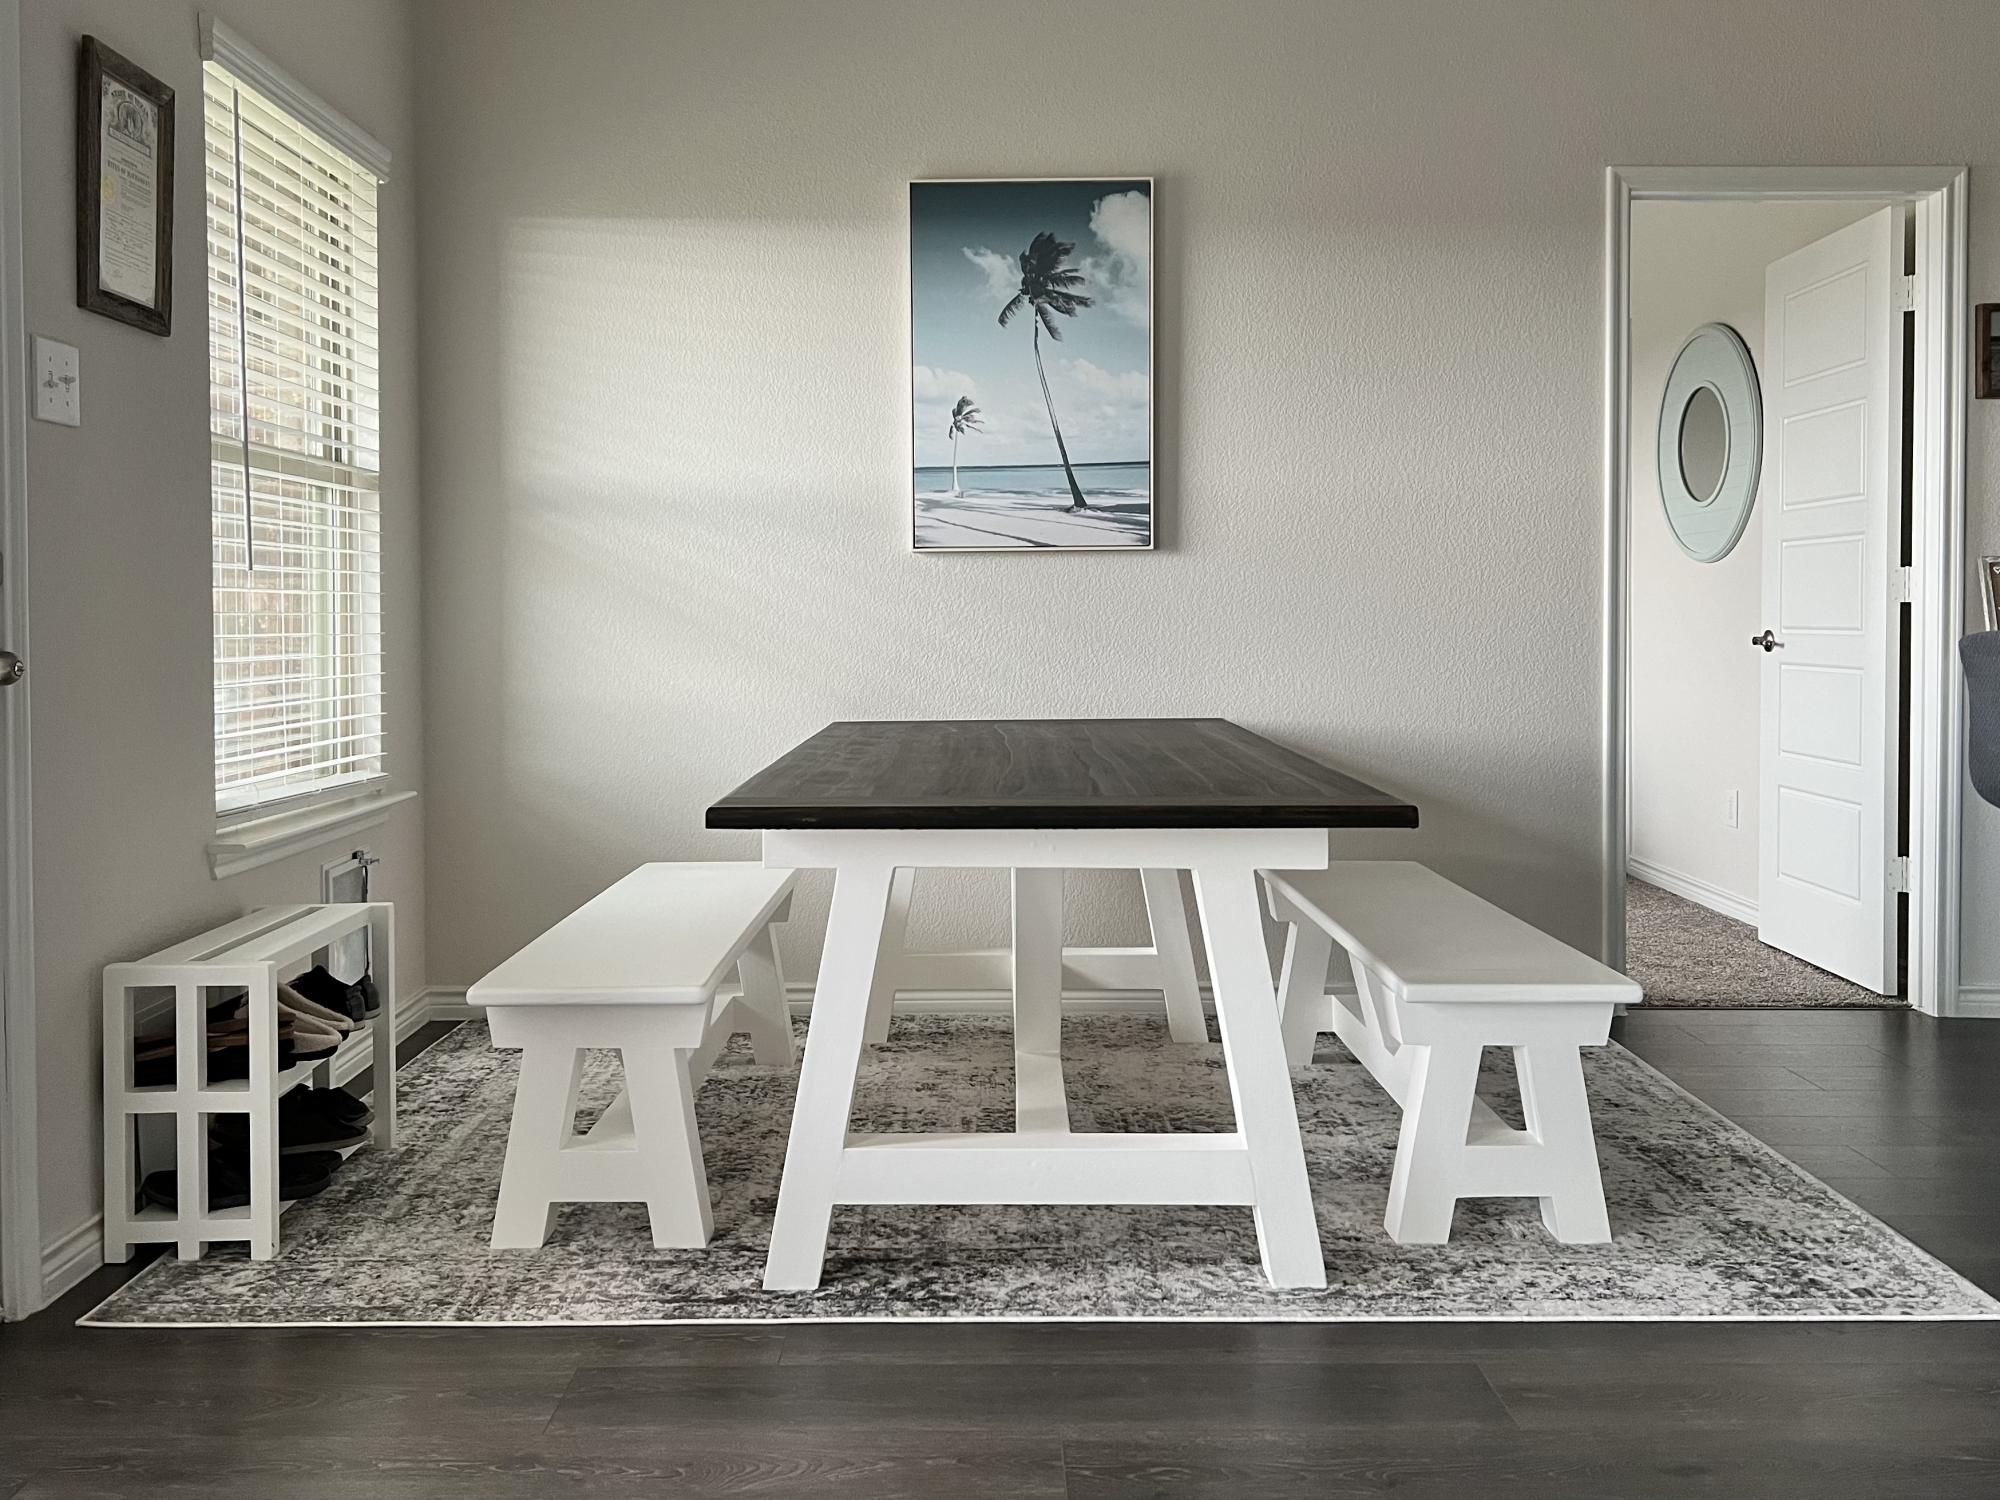
Built this from the plans and customized so it was a finer finish. No pocket holes, went with dowels and glue. Some screws in base for added strength.
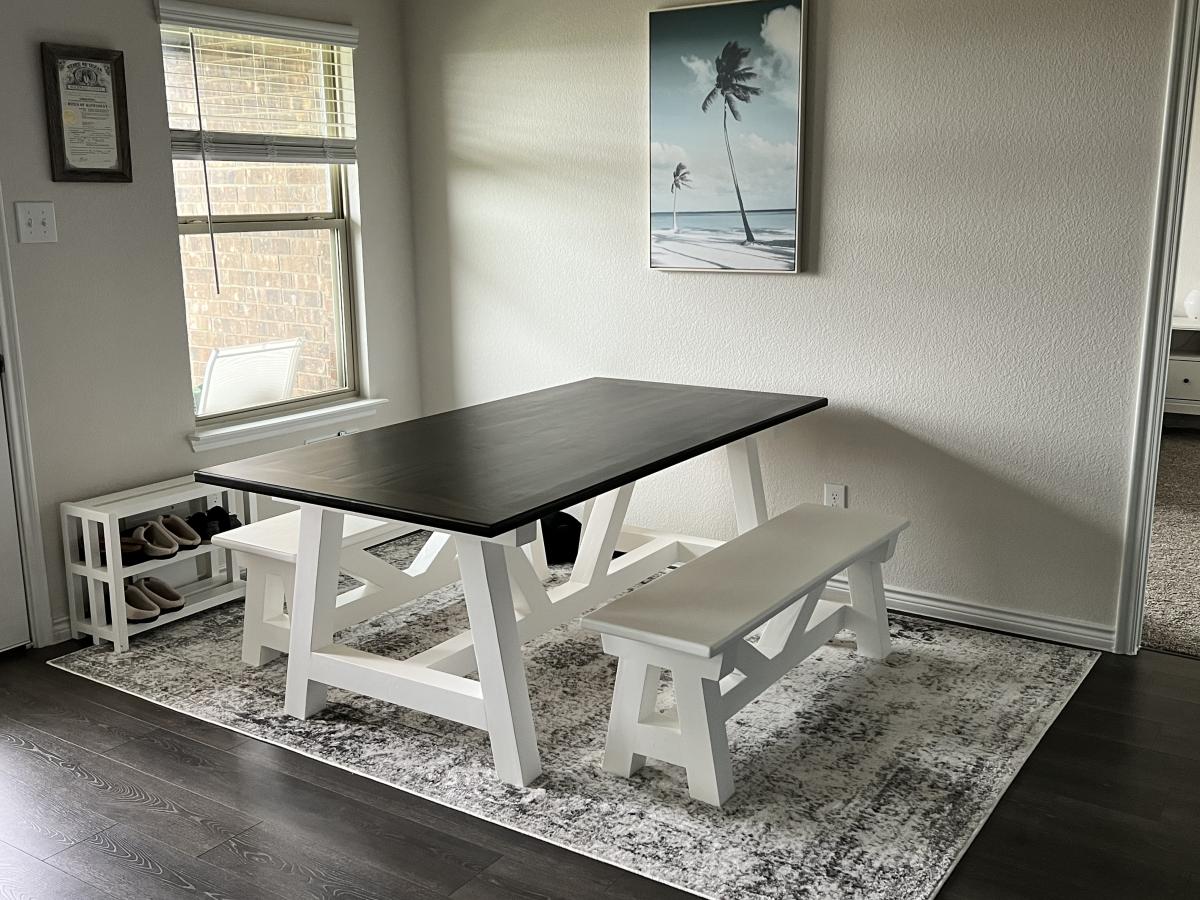
Built from Plan(s)
Comments
Loft House Bed
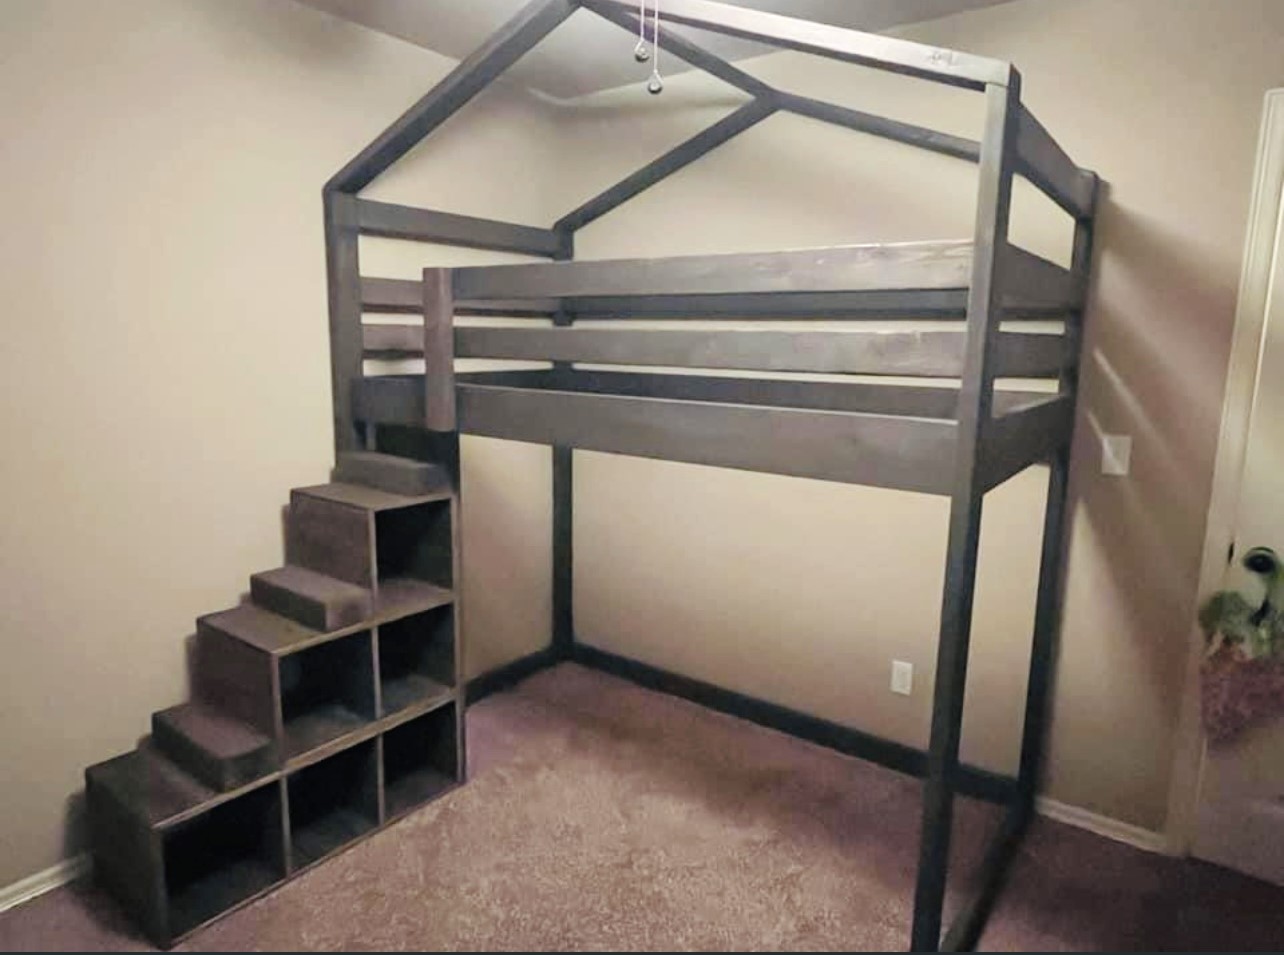
Modified the junior loft plan to add a house design element and storage stairs, by Amy Mott
Built from Plan(s)
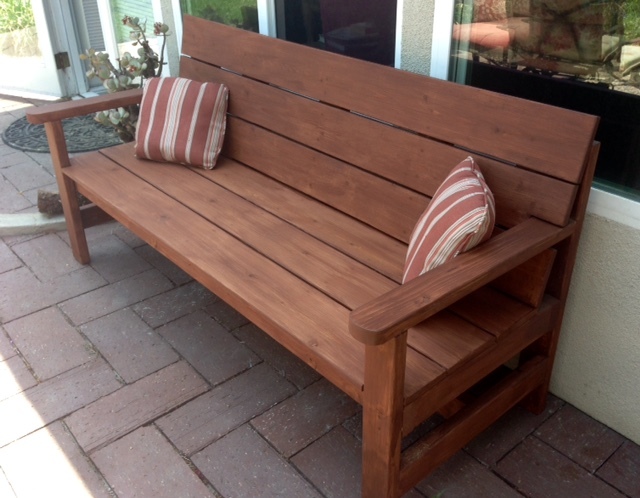
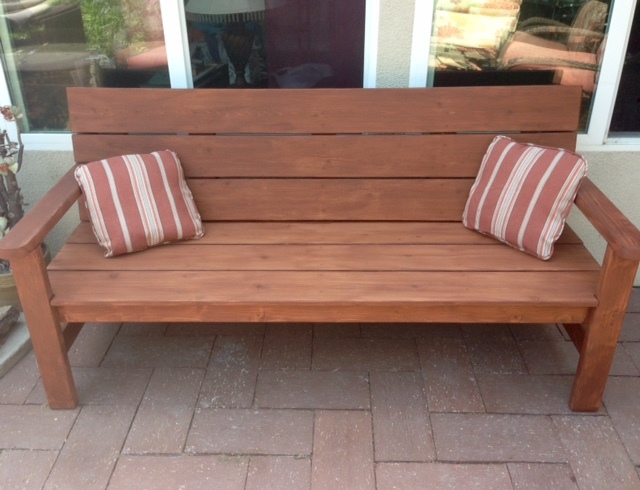
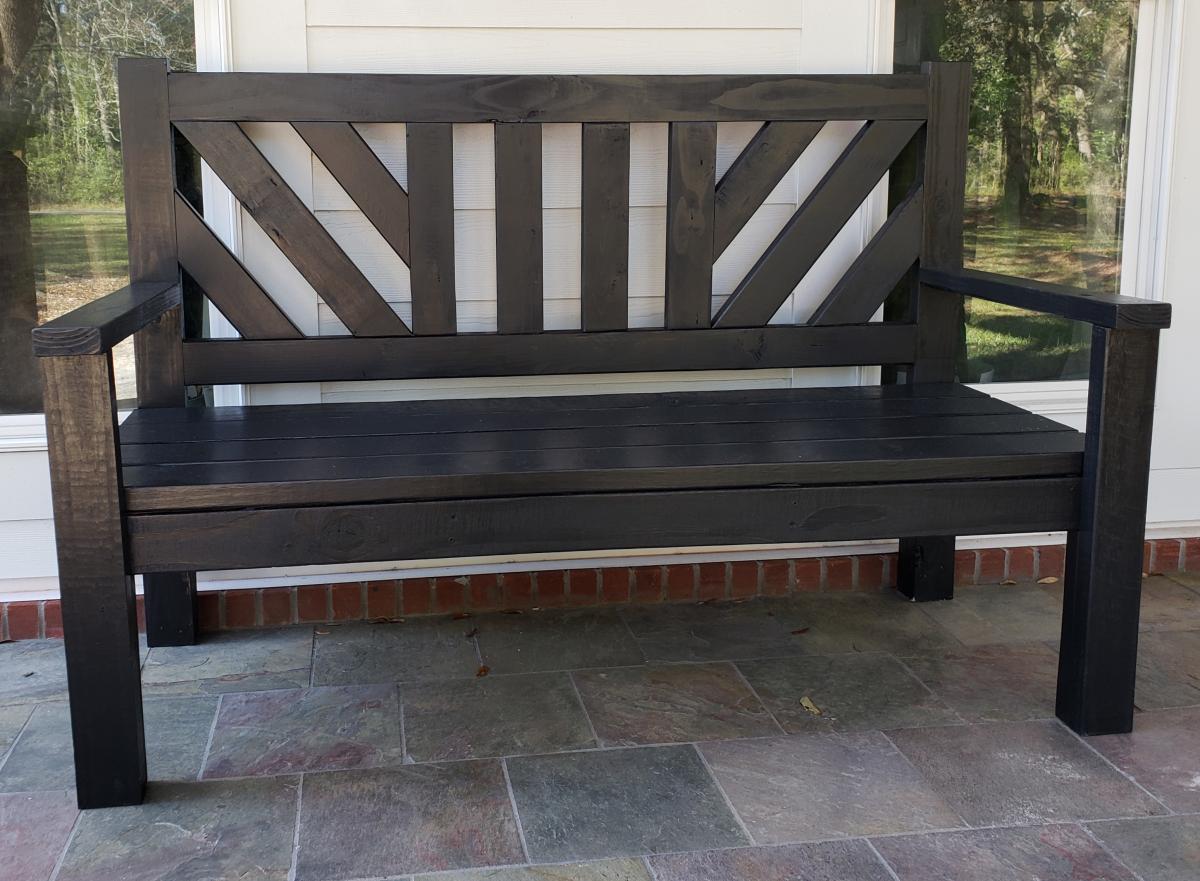
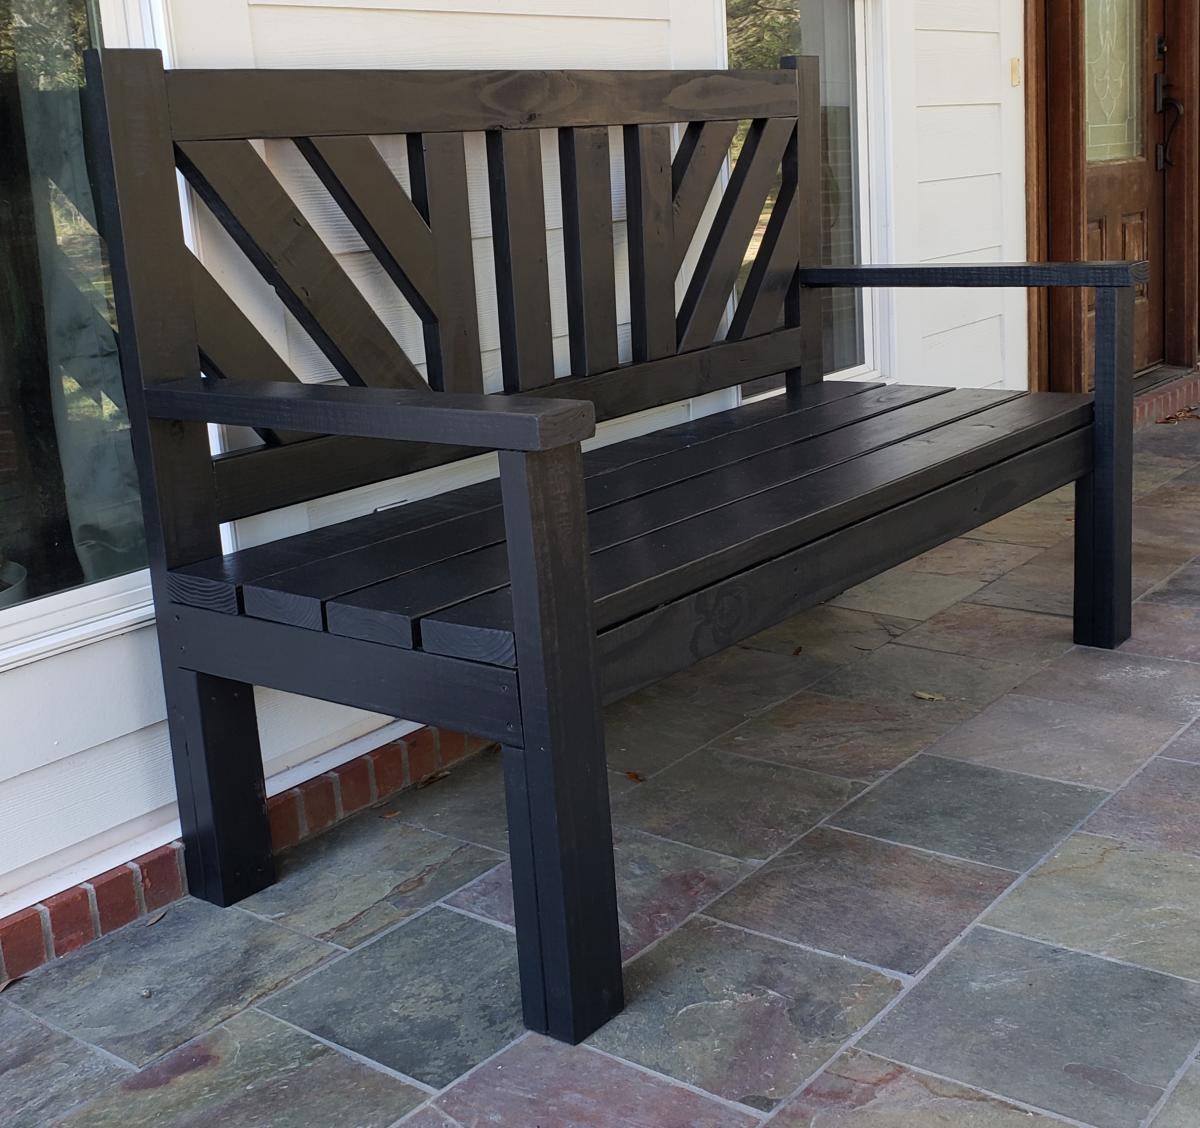
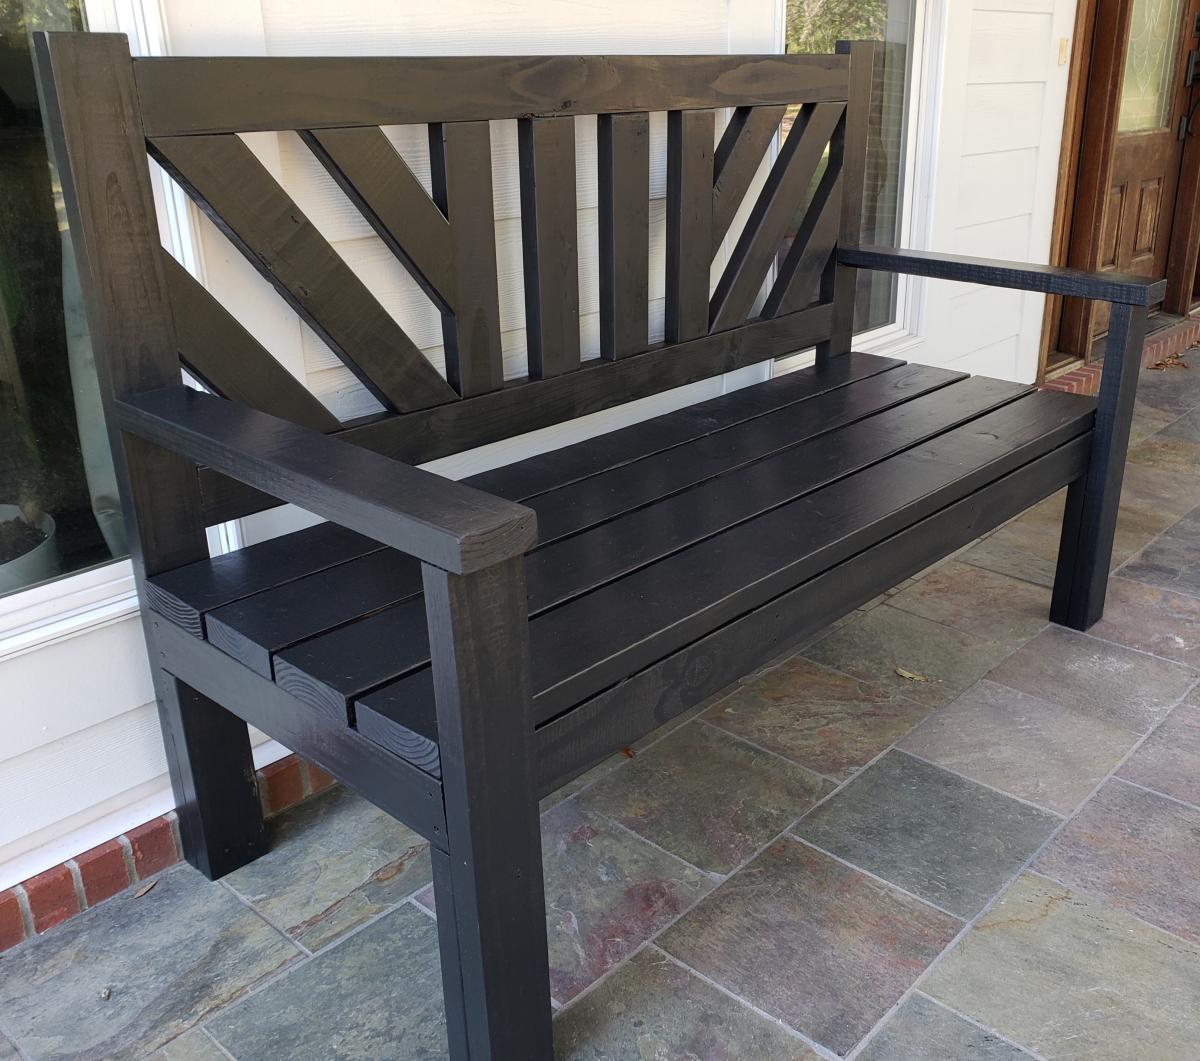
Large Porch Bench
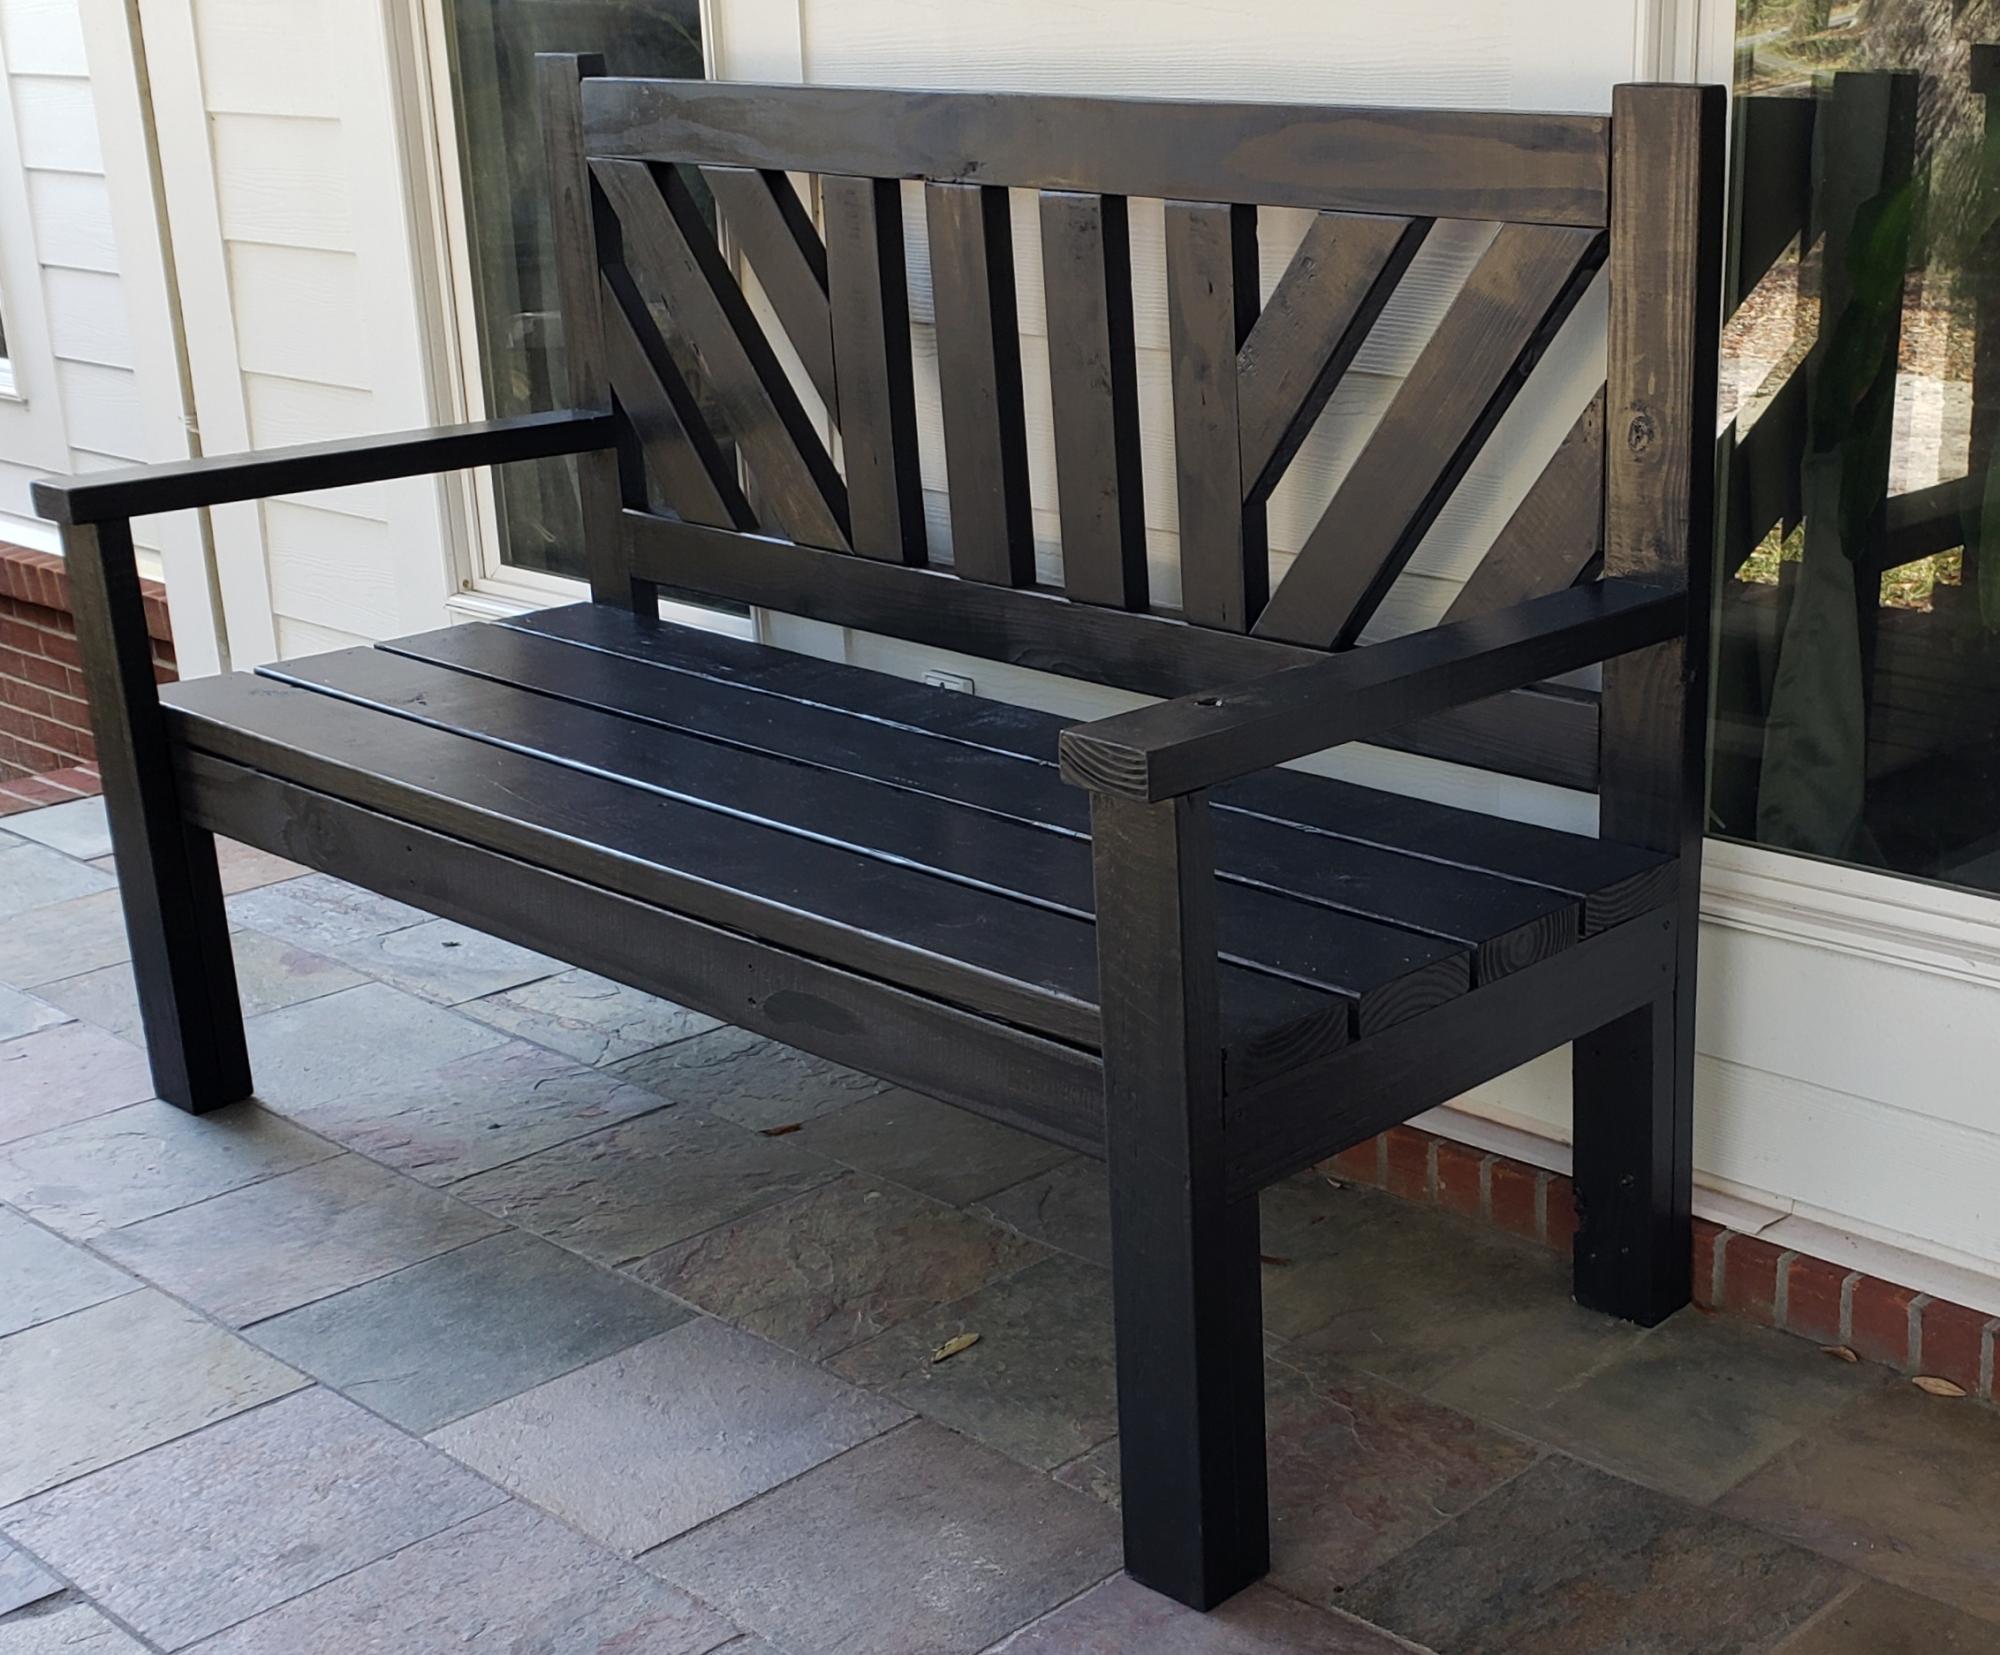
I used untreated pine for this project and painted with benjamin moore exterior paint.
I modified the back a little and I love how it turned out. I also added an extra brace against the back of each leg that fits under the seat for more support.
Very easy to build. I love the plan.
Built from Plan(s)
Estimated Cost
75
Estimated Time Investment
Weekend Project (10-20 Hours)
Finish Used
Black exterior paint
Recommended Skill Level
Intermediate
Comments
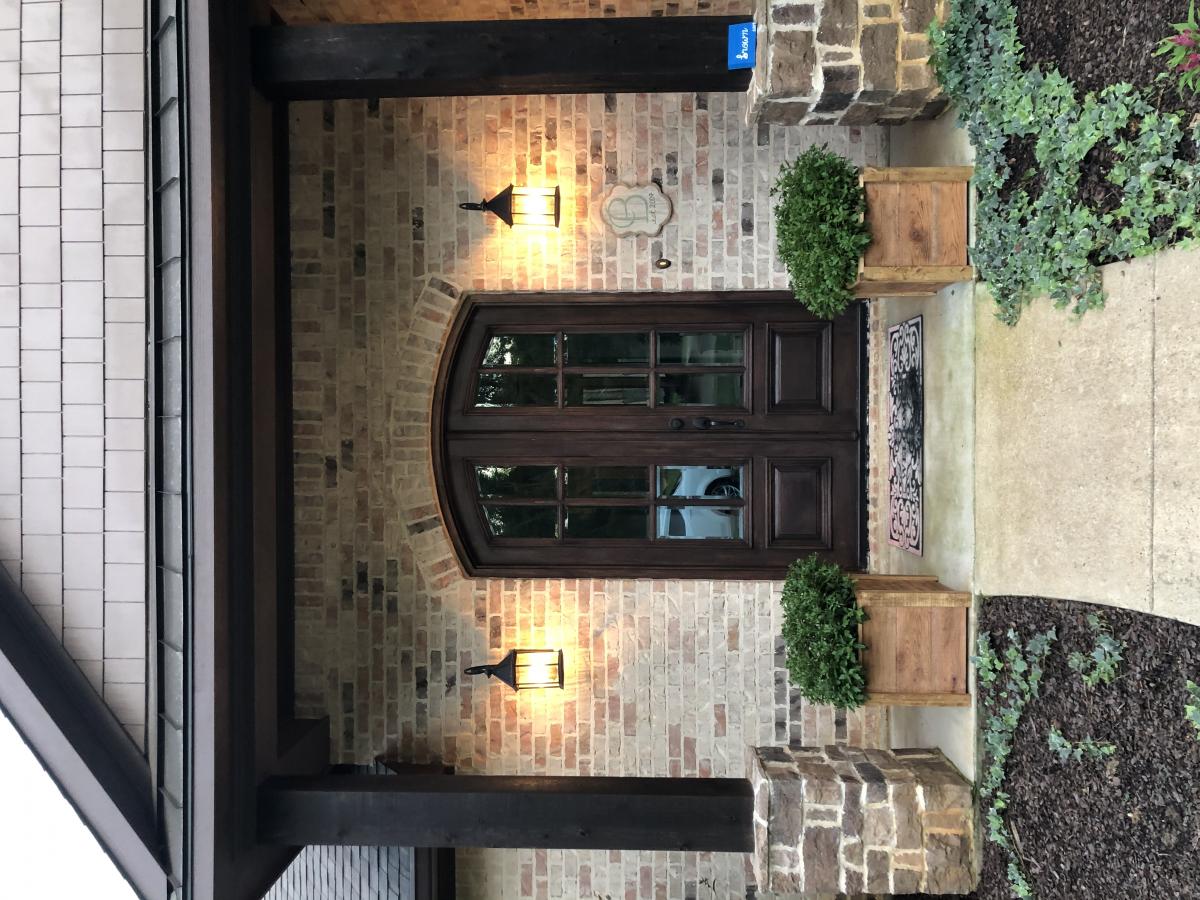
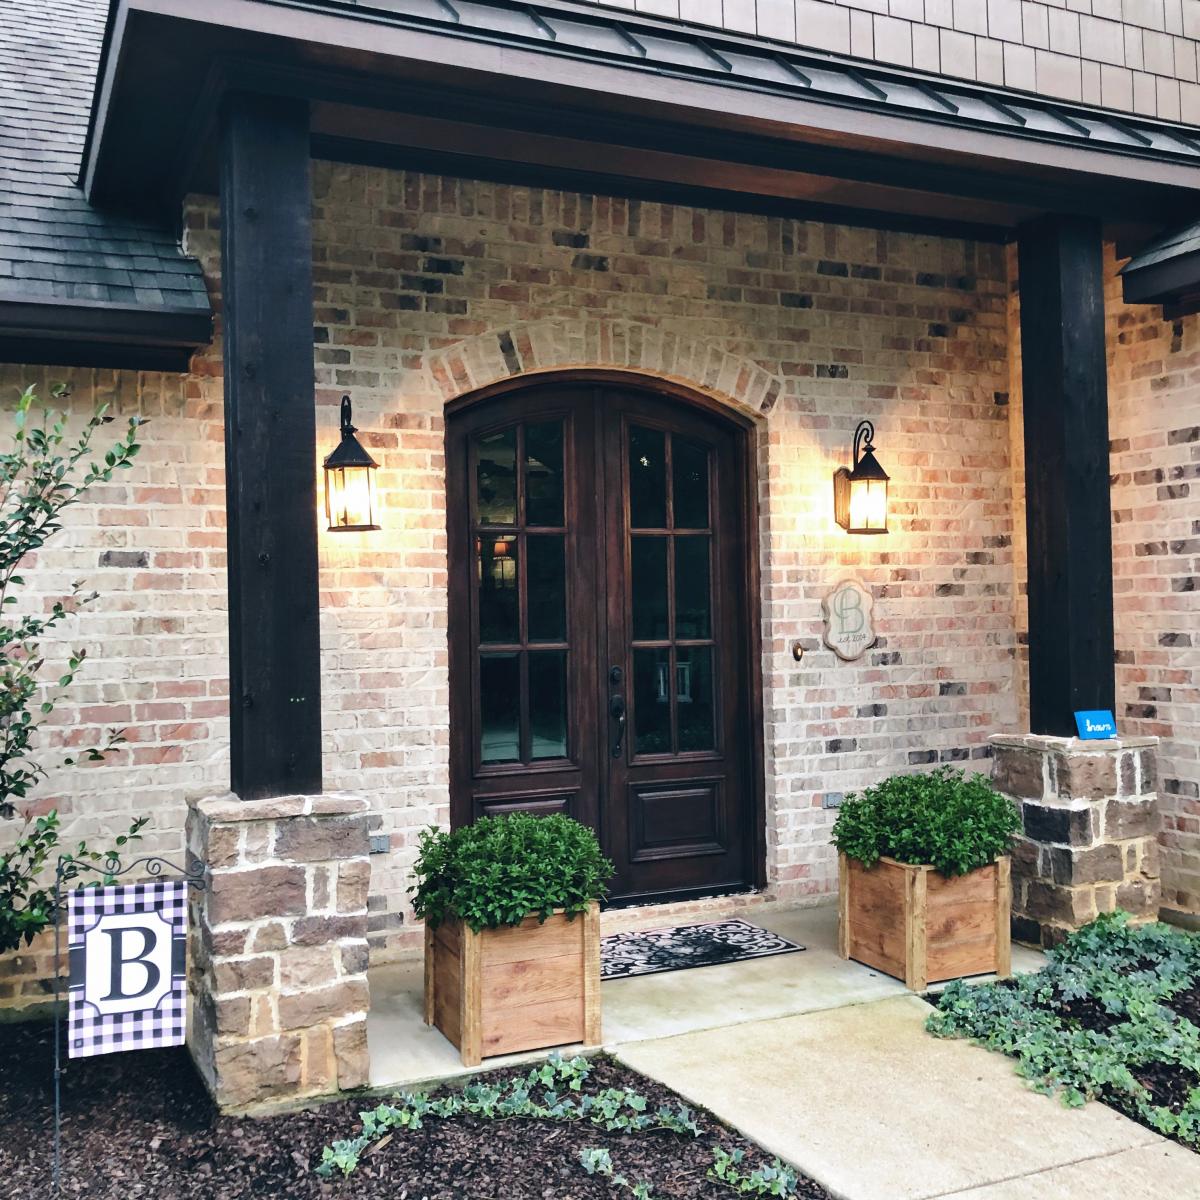
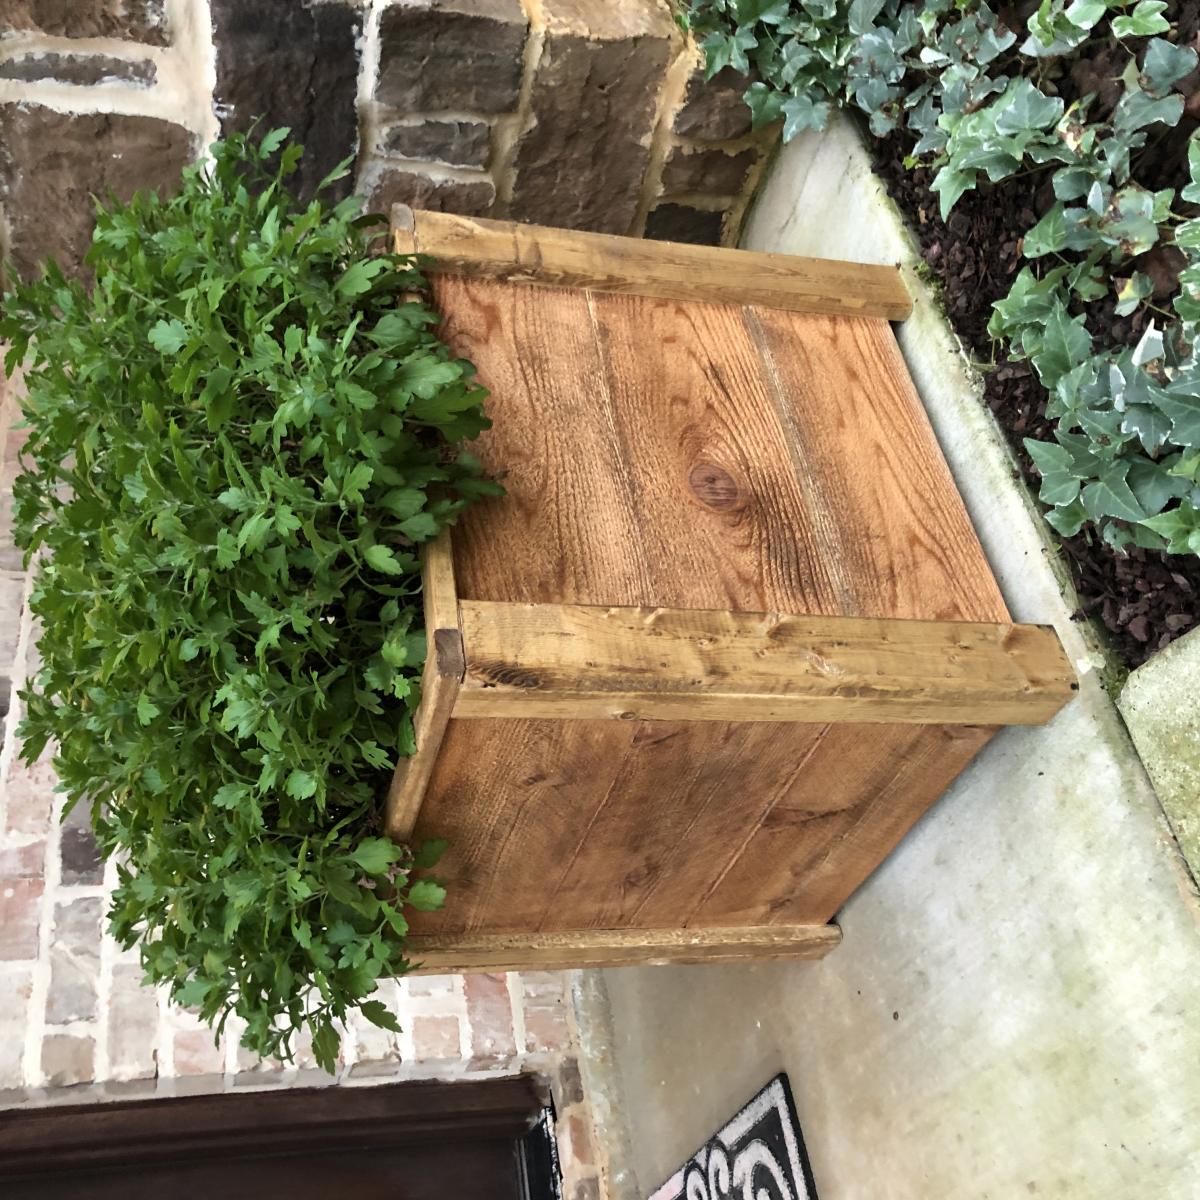
DIY Planter Boxes
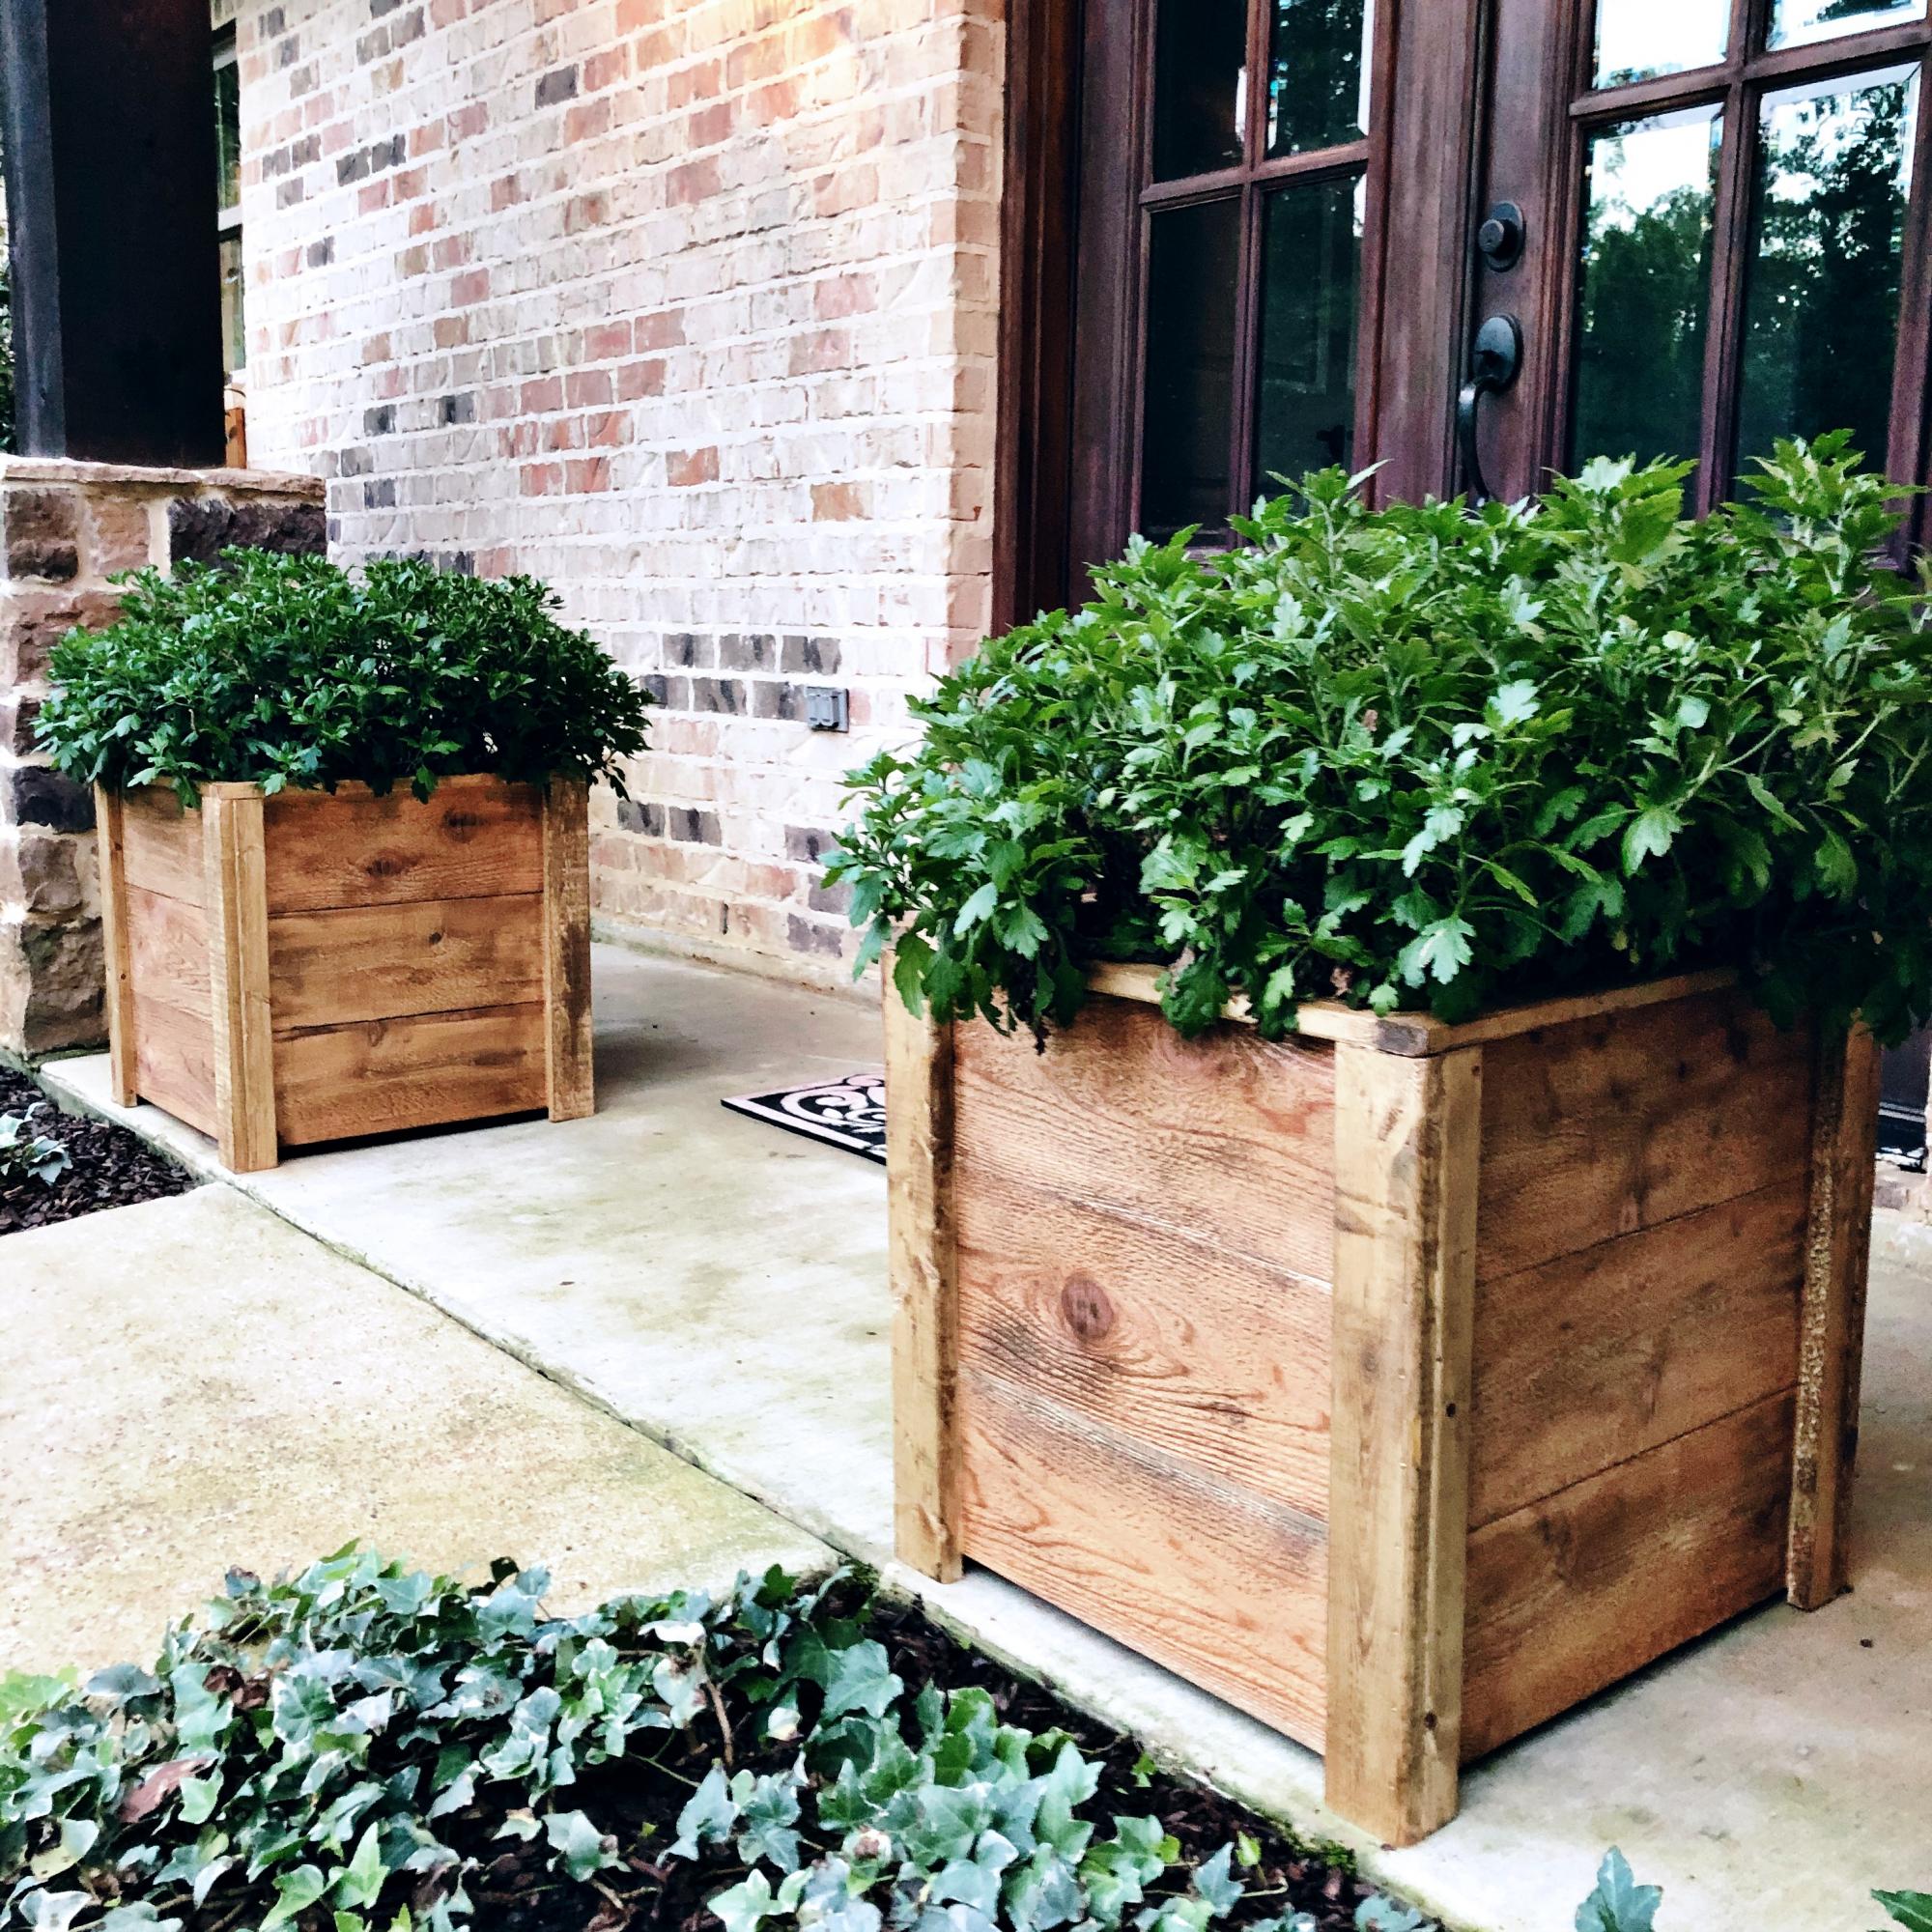
These were a quick weeknight build! And.... My very first “all by myself” build! I’m really proud of how they turned out and love how much style they add to my front porch!

Built from Plan(s)
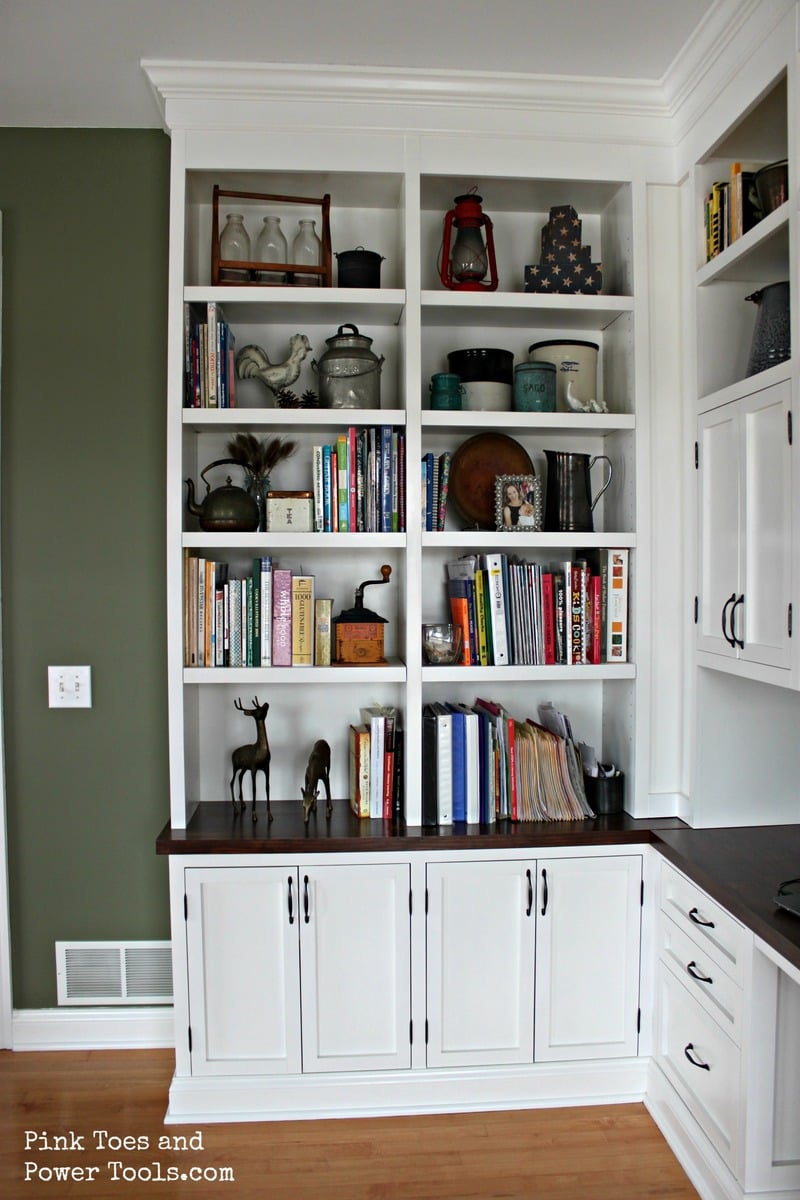
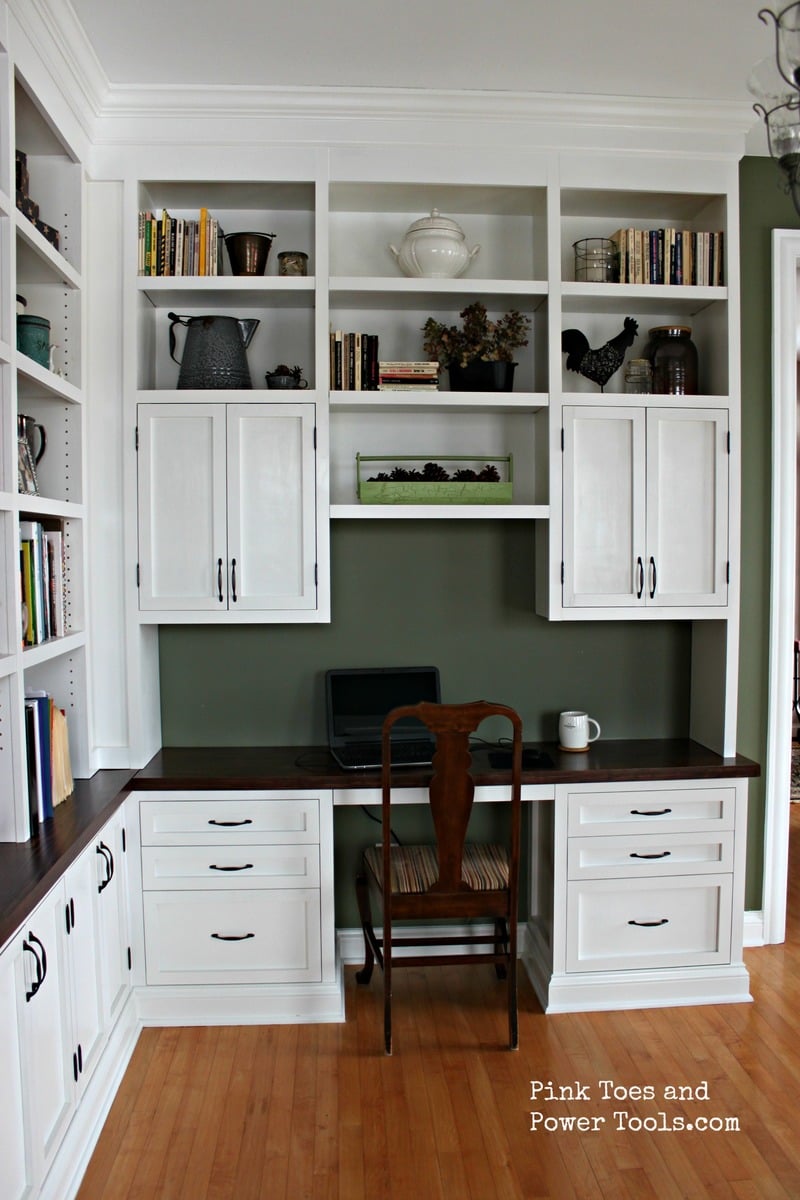
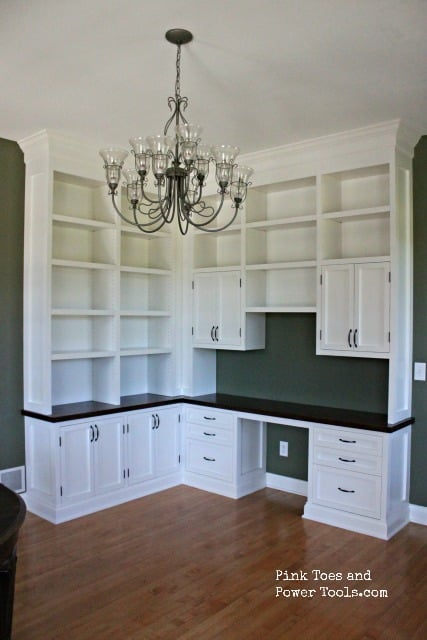
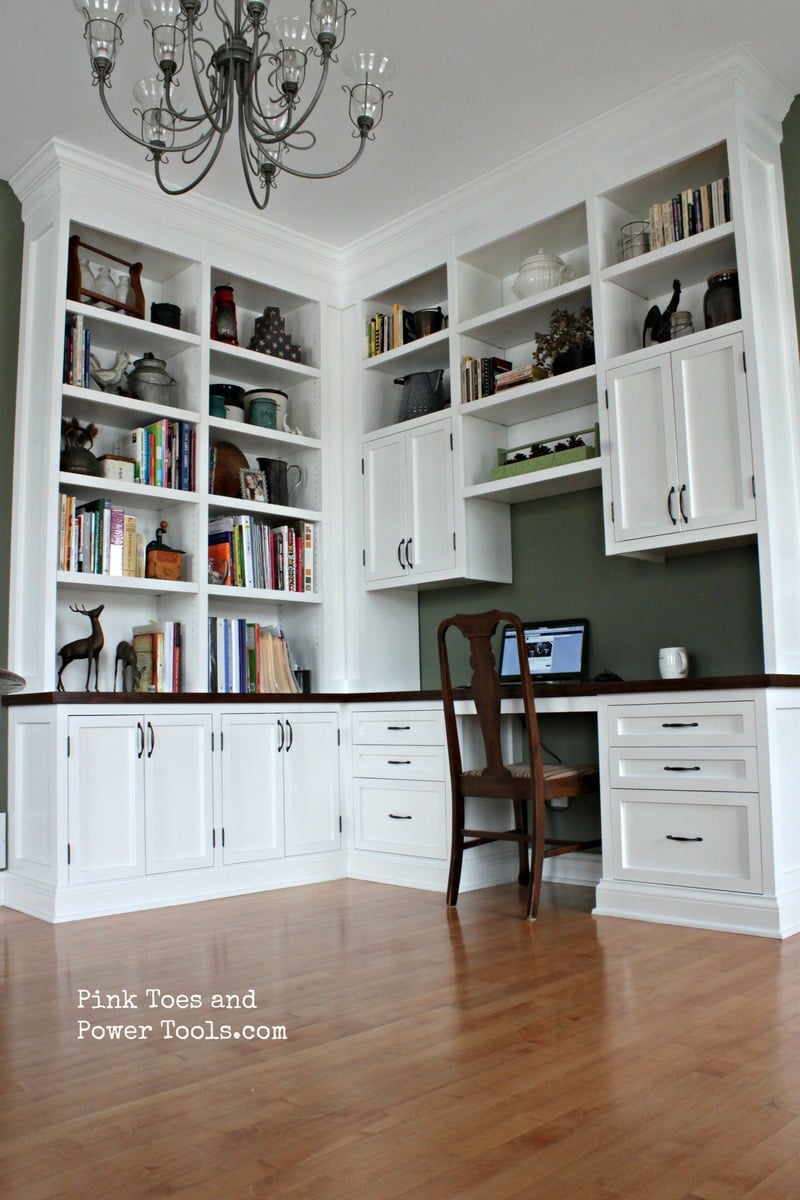
Dining Room/ Home Office
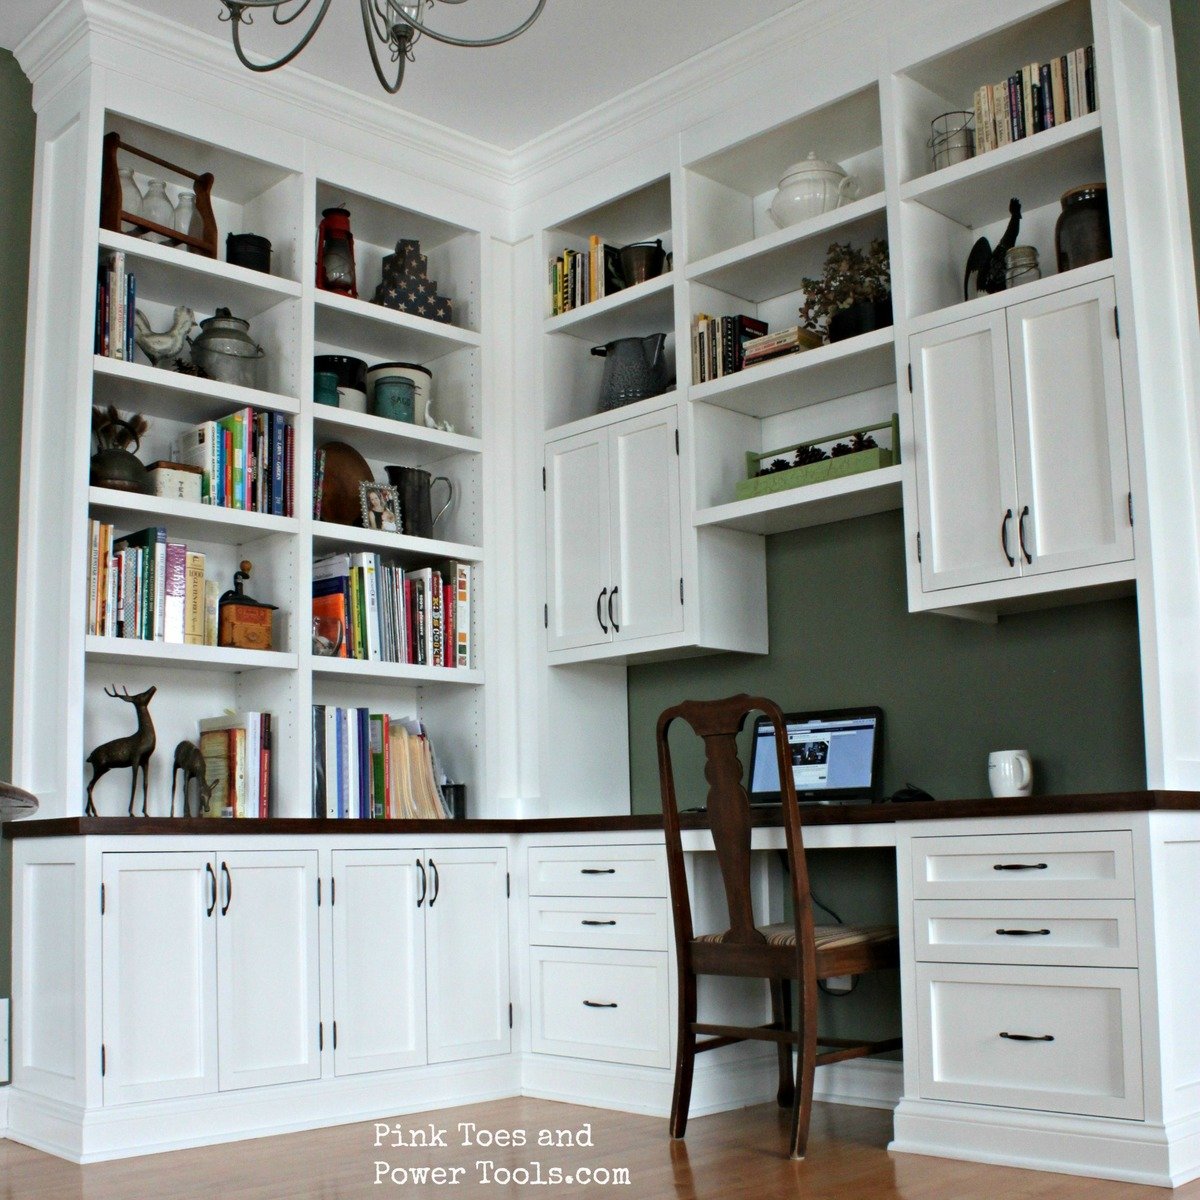
I didn't really follow any specific plan from Ana to build this project (I've become better at creating my own plans after putting together several of Ana's project plans--I owe Ana big time for getting me started in building!), but I did study her kitchen cabinet plans in order to put this together. Up until now I've done mostly stand-alone projects and this was more like a small kitchen plan than anything I've done before. This took a LOT of time to complete, but it has been a fantastic addition to our home for organization and aesthetic appeal.
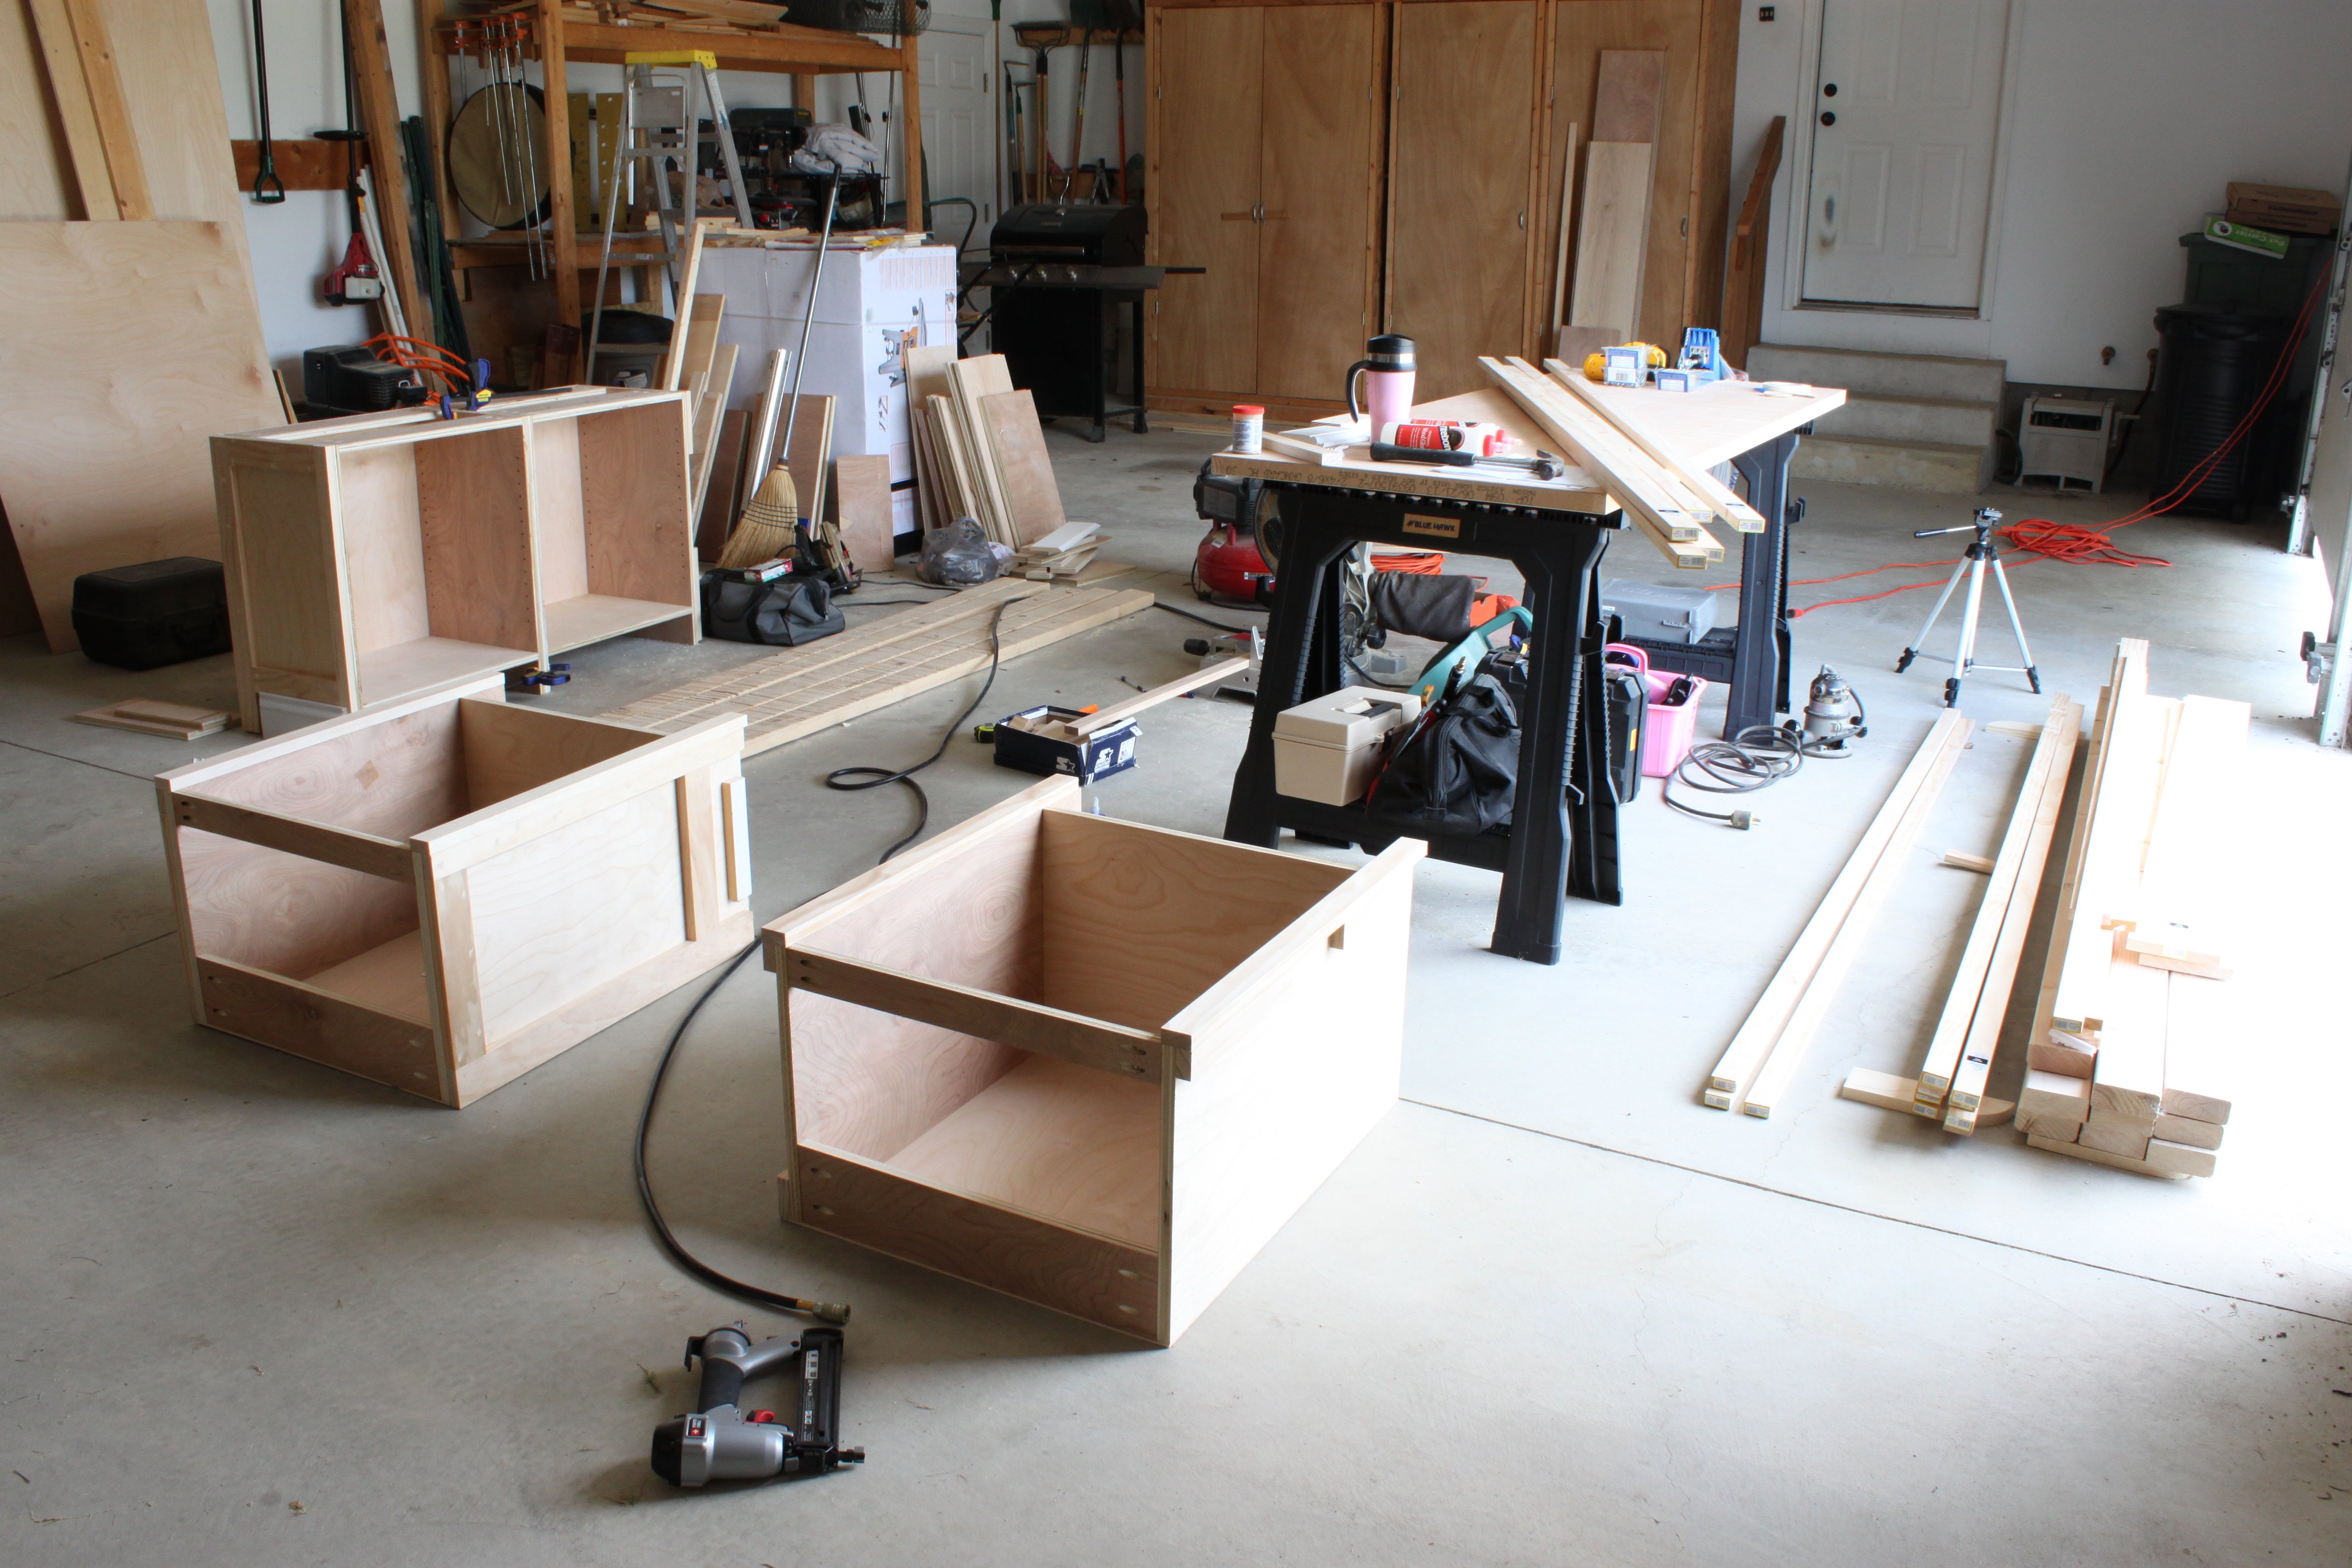
It is constructed of plywood and pine faceframes. I used a Kreg Jig to construct most of it, including the drawer and door fronts. The desktop has a 3/4" plywood base with a pine edge-glued panel on top of that with a pine edging.
The estimated time investment was way more than 20 hours! It took every minute of free time for 2.5 months to complete this. But I was working alone, so you can cut that down significantly with help ;)
The link to my blog about this project contains links to all the posts I wrote up during this build.
Built from Plan(s)
Estimated Cost
Approximately $900
Estimated Time Investment
Week Long Project (20 Hours or More)
Finish Used
White paint with a satin polycrylic topcoat. Sand well before the first coat and then with 220 grit sandpaper between each coat of paint (1 coat primer, 2 coats white paint). Sand with 320 grit between each coat of topcoat for 3 coats. I did use a HVLP sprayer (Woodcraft's $35 version with a large air compressor) but I have finished other projects using a foam roller and foam brush that gets really close to the spray finish--it just takes longer.
Recommended Skill Level
Advanced
Comments


Wine Cabinet

I took what was a single cabinet and doubled it.

Built from Plan(s)
Estimated Cost
500+
Estimated Time Investment
Week Long Project (20 Hours or More)
Finish Used
Destressed
Recommended Skill Level
Intermediate
Comments
Steve.Denoon
Sun, 04/25/2021 - 06:18
Plans
Are there plans available for this bench? It looks great