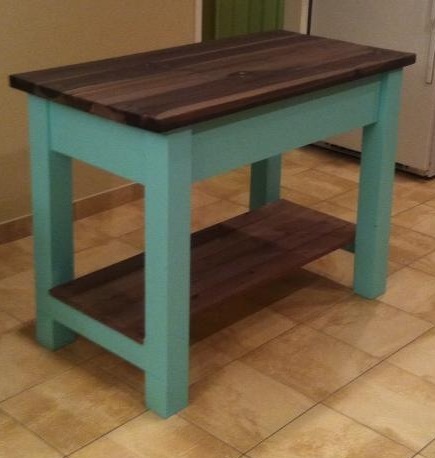
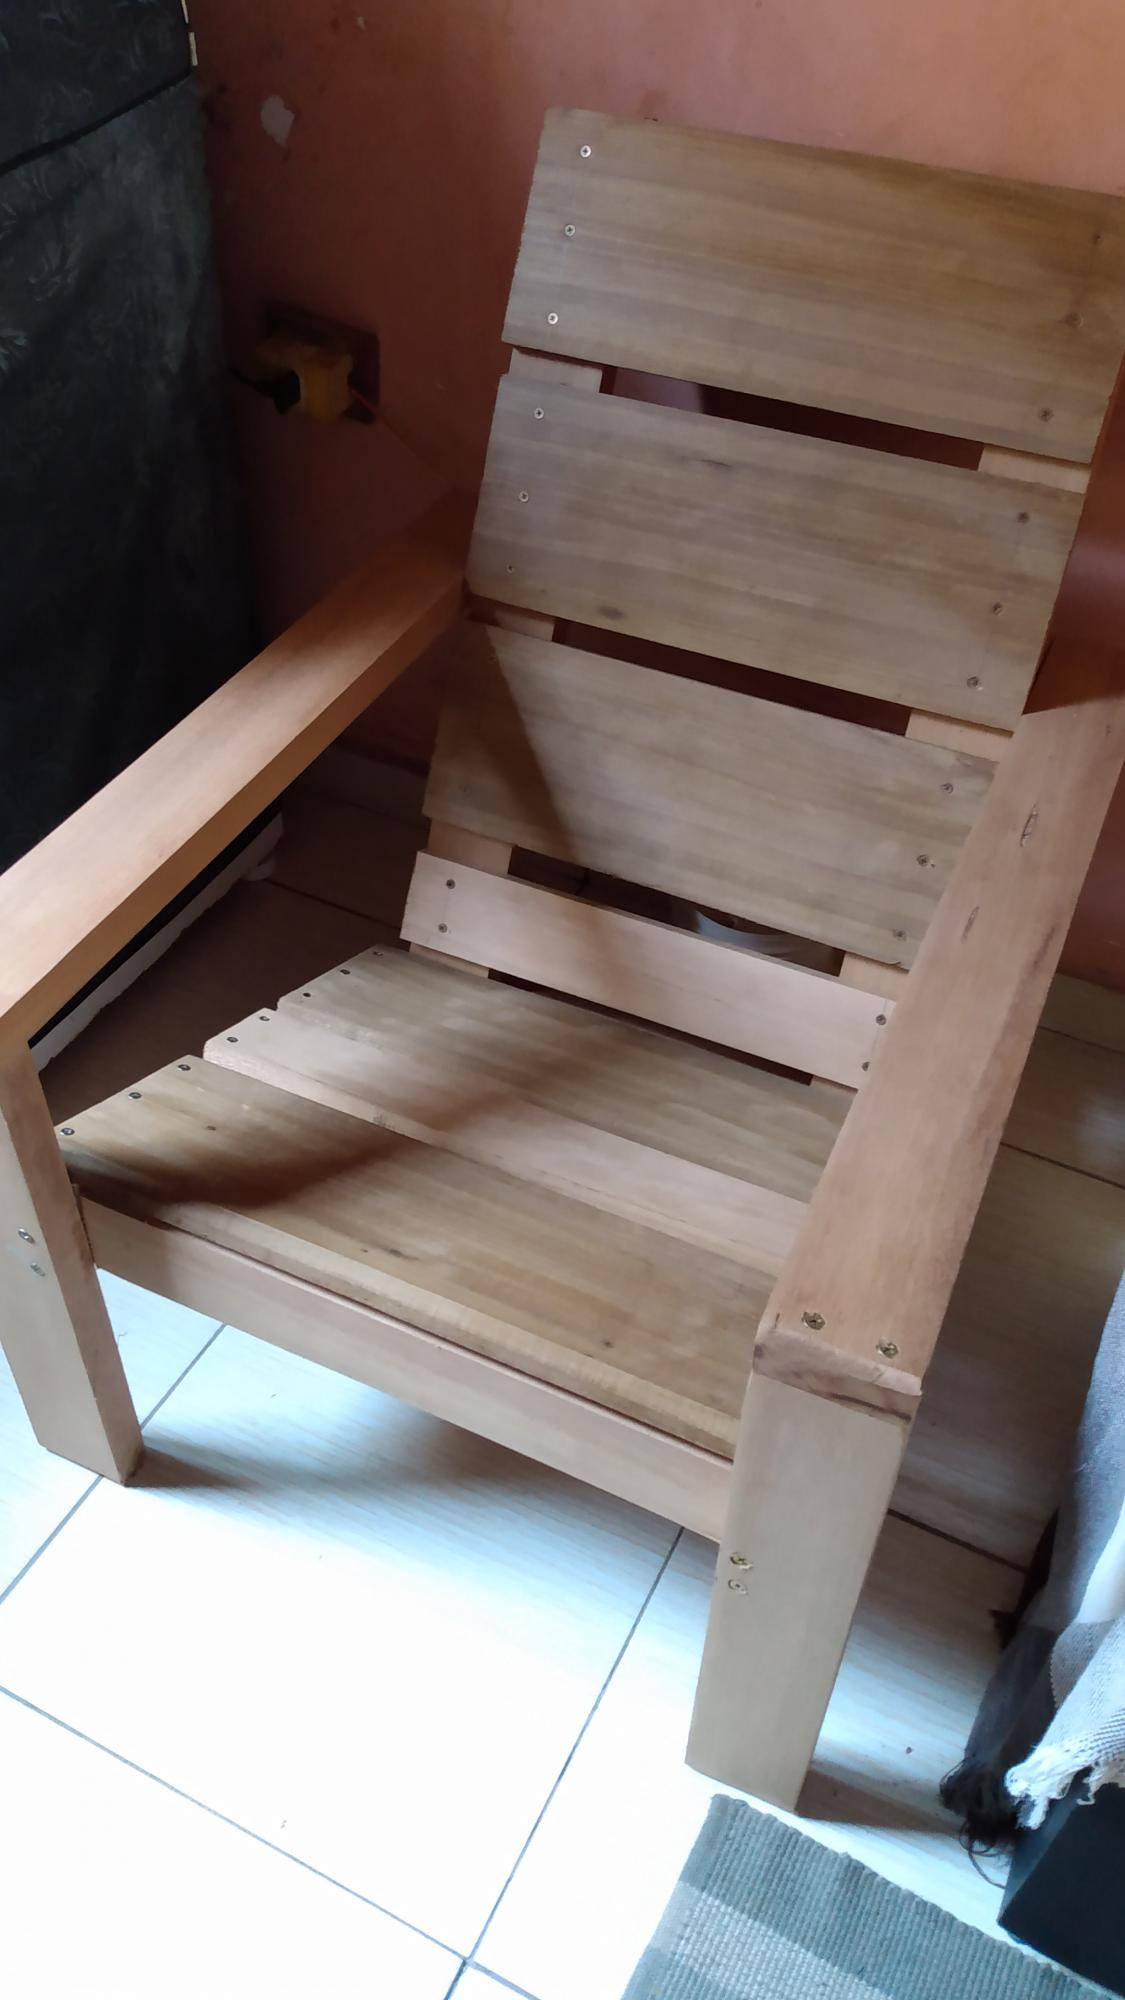
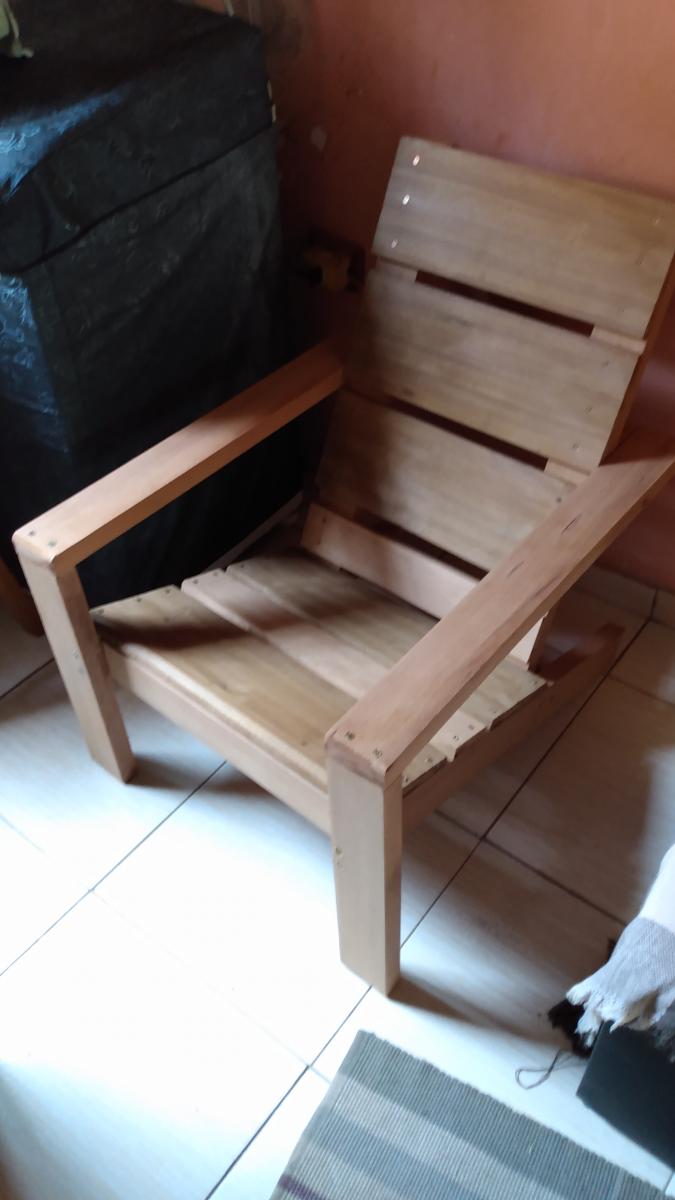
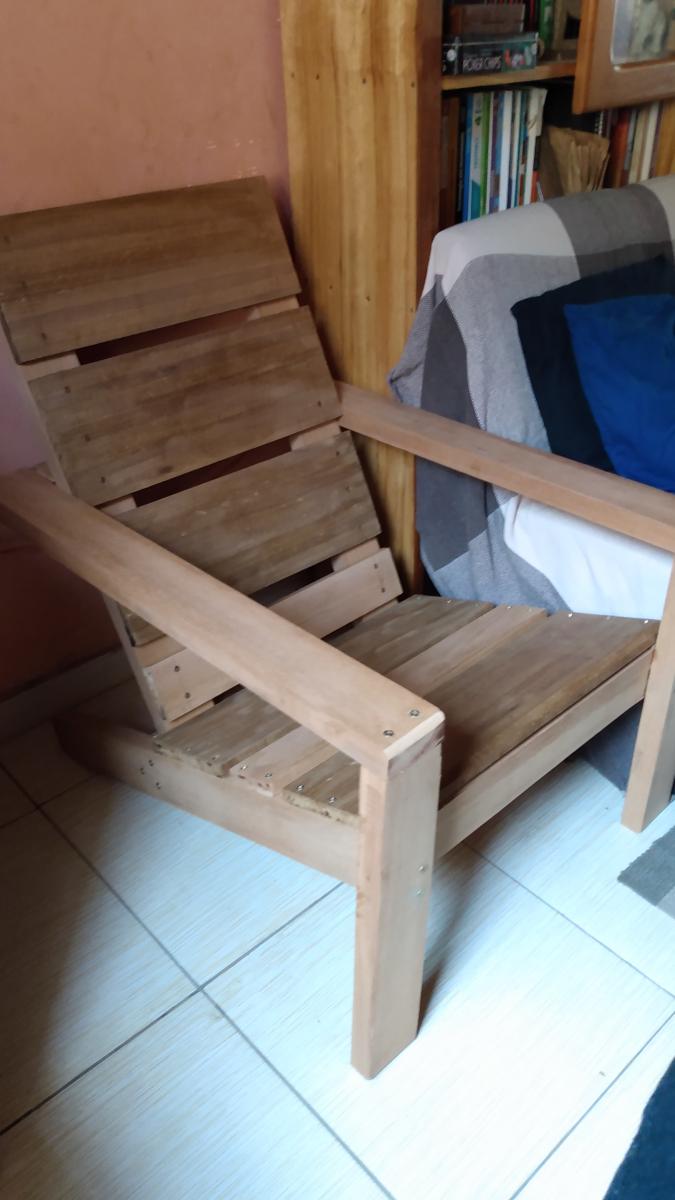
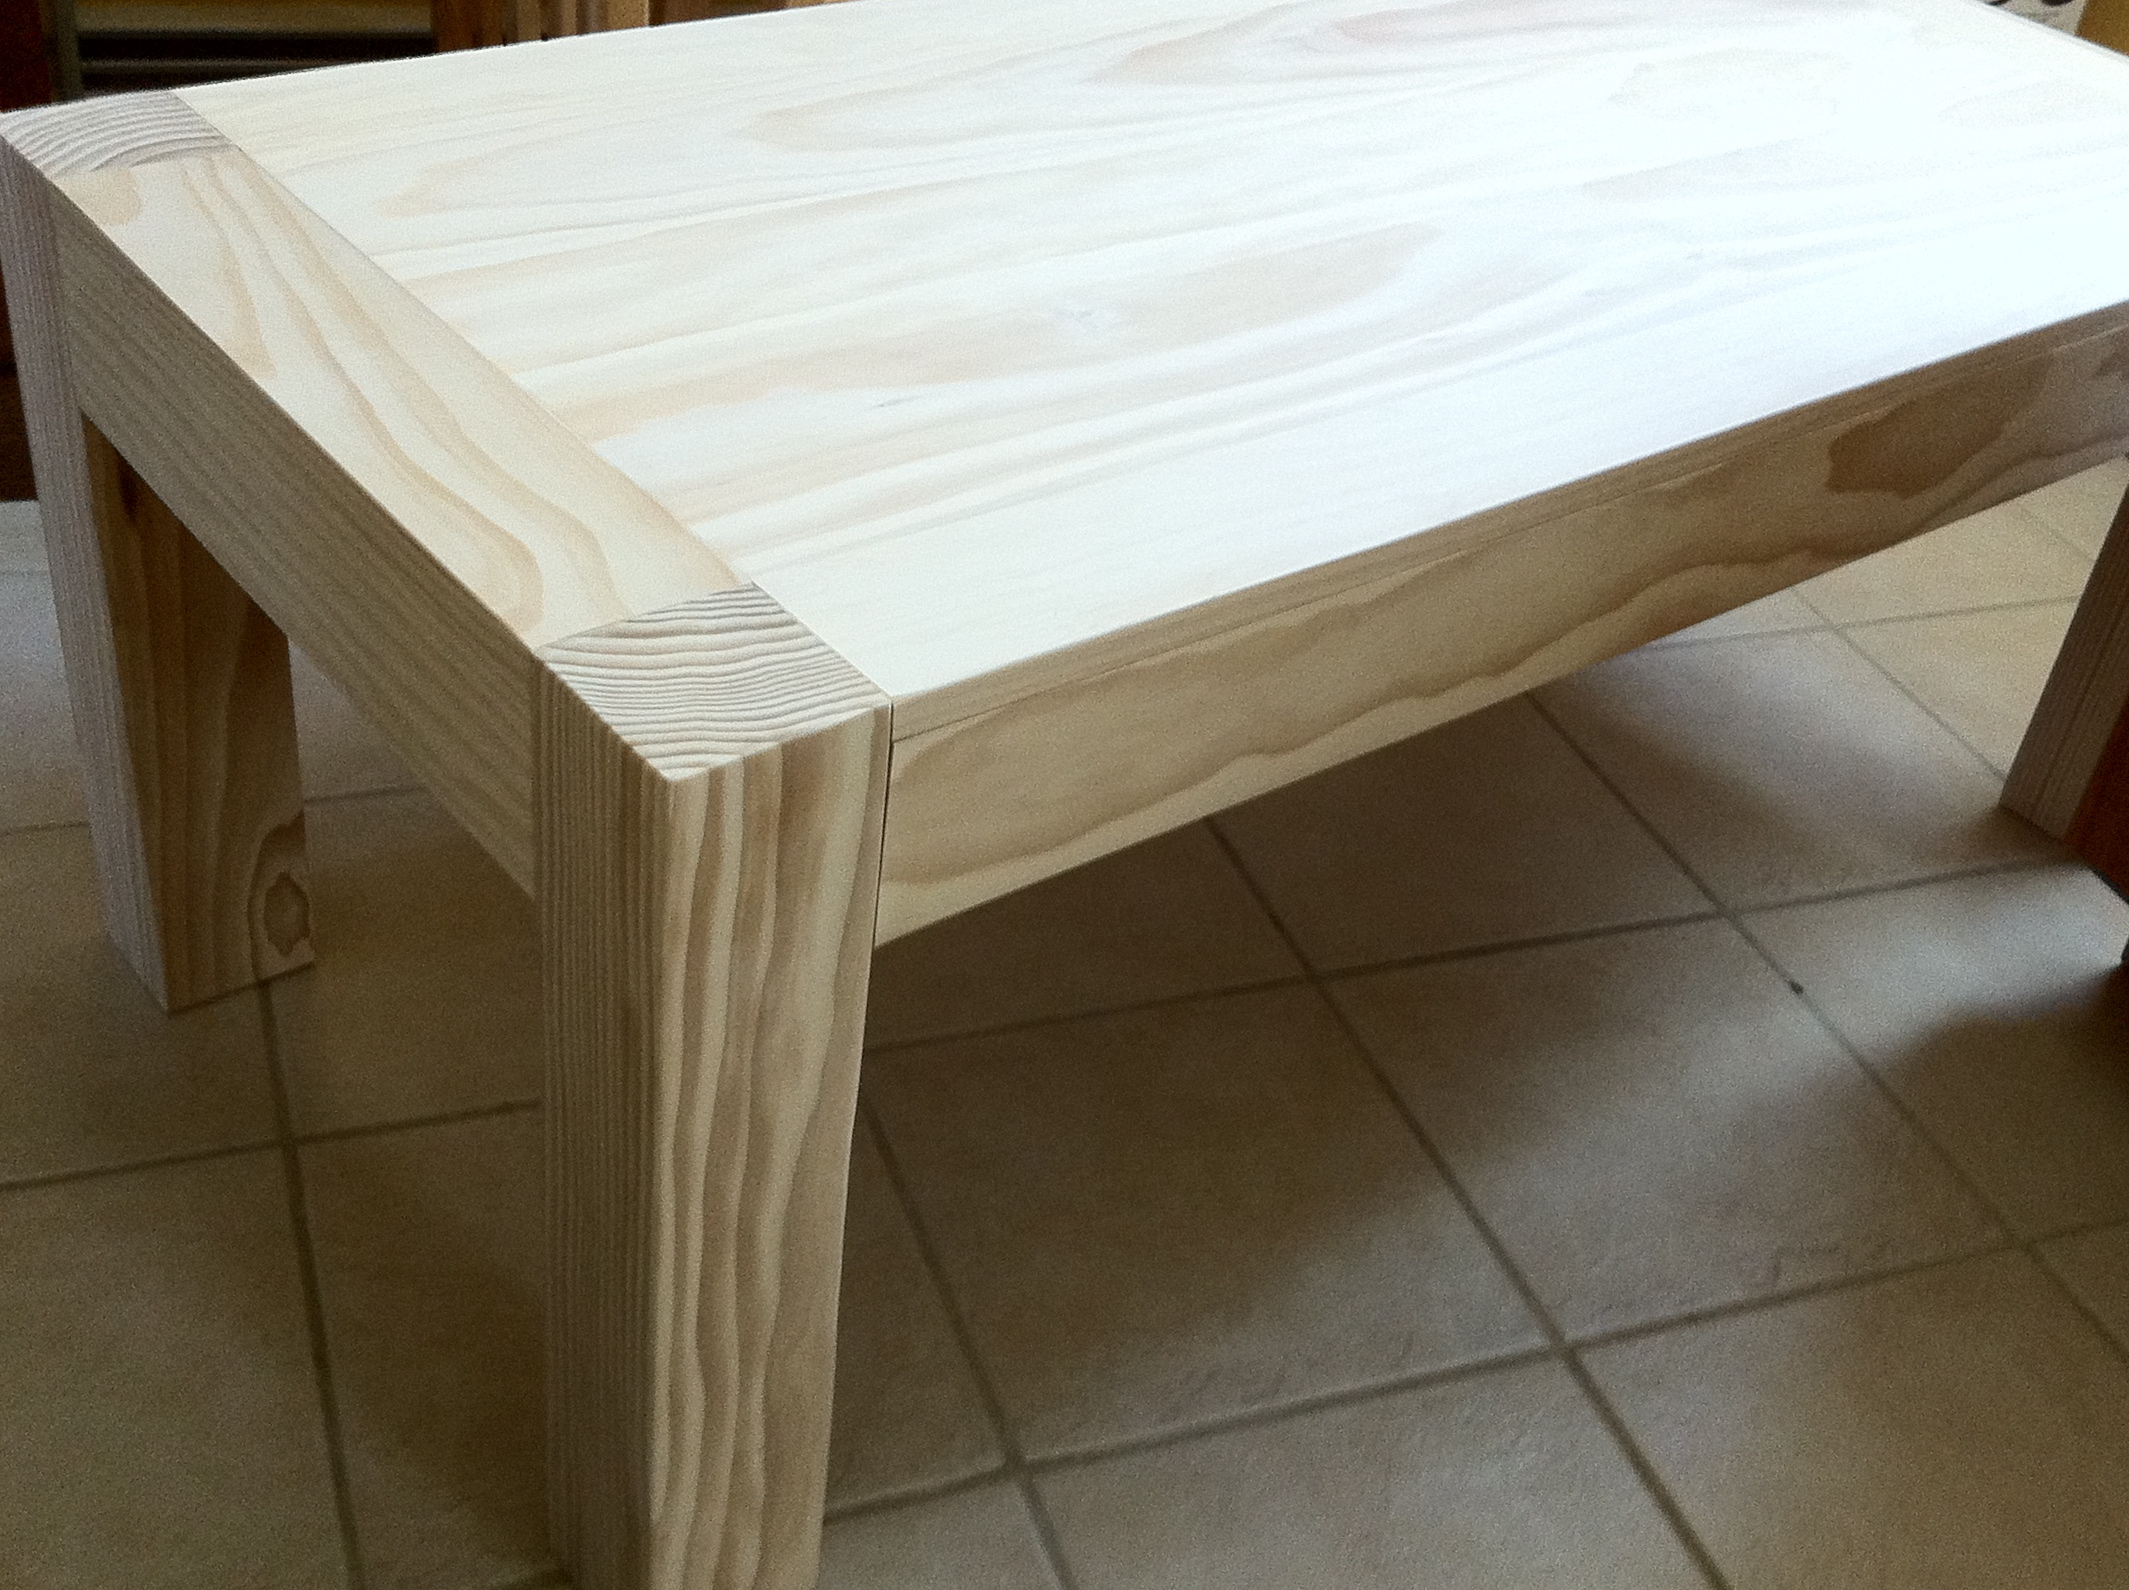
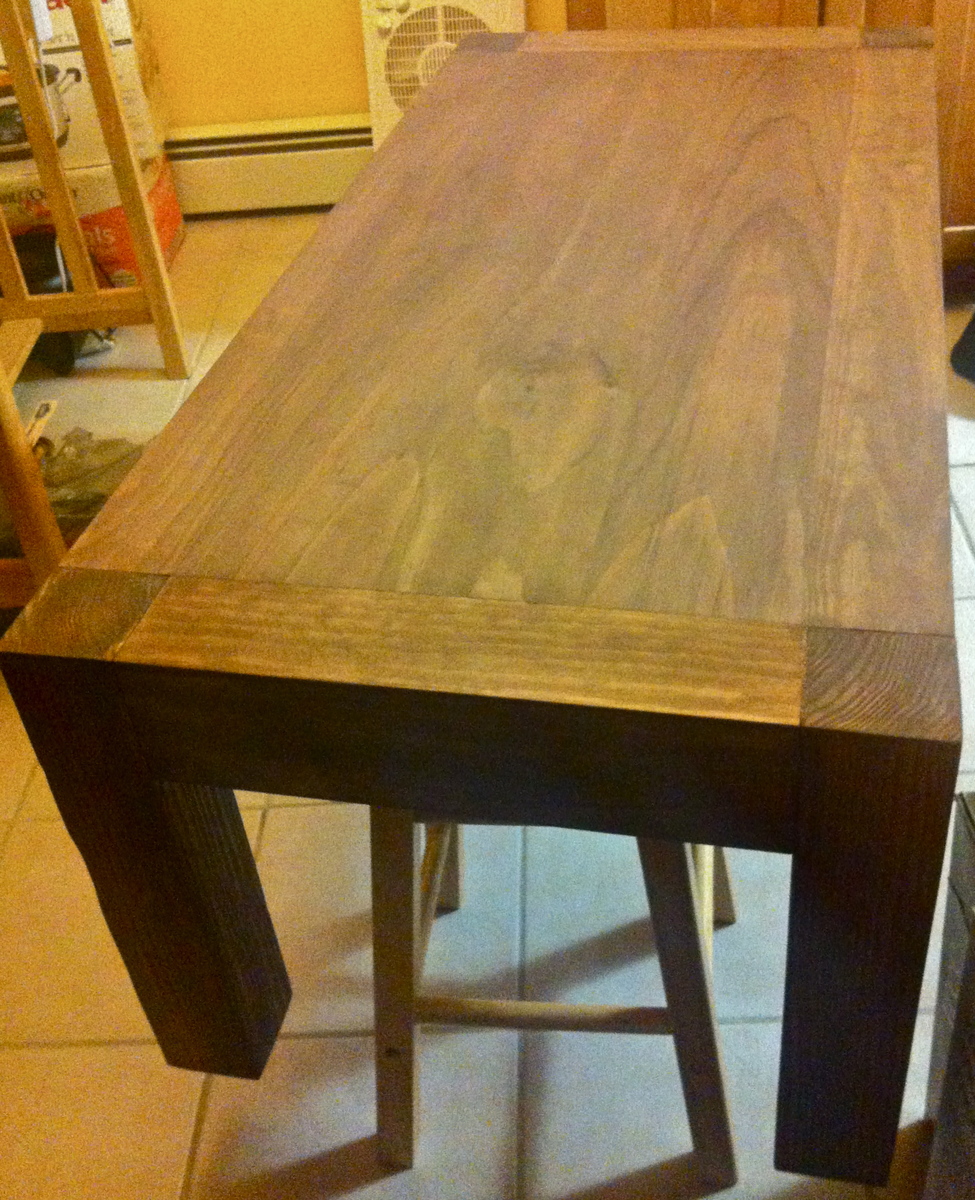
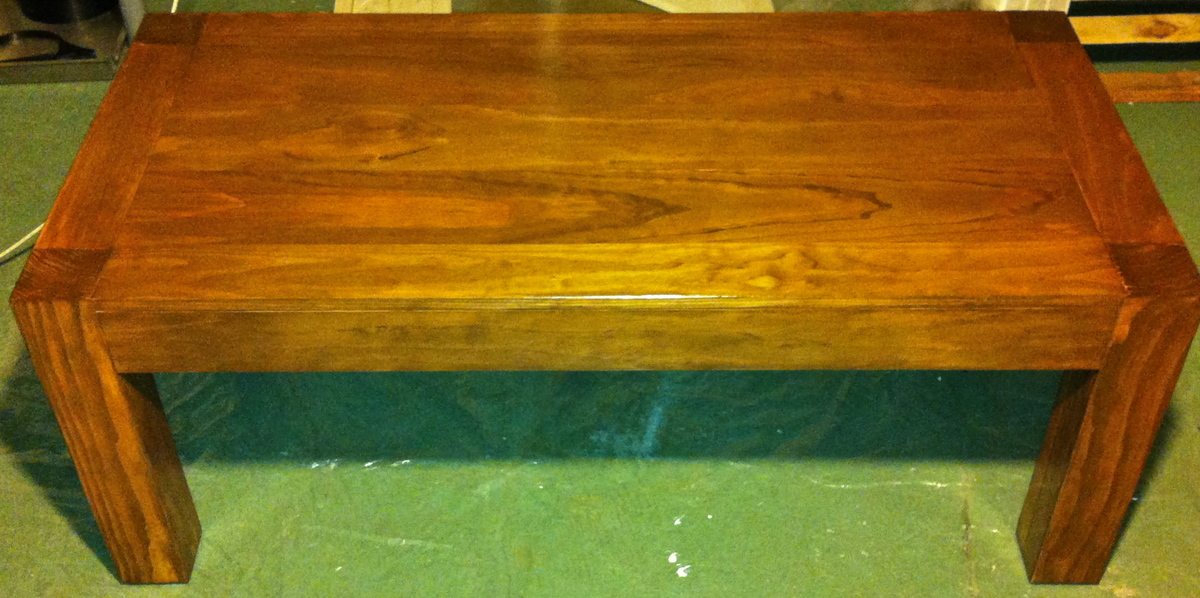
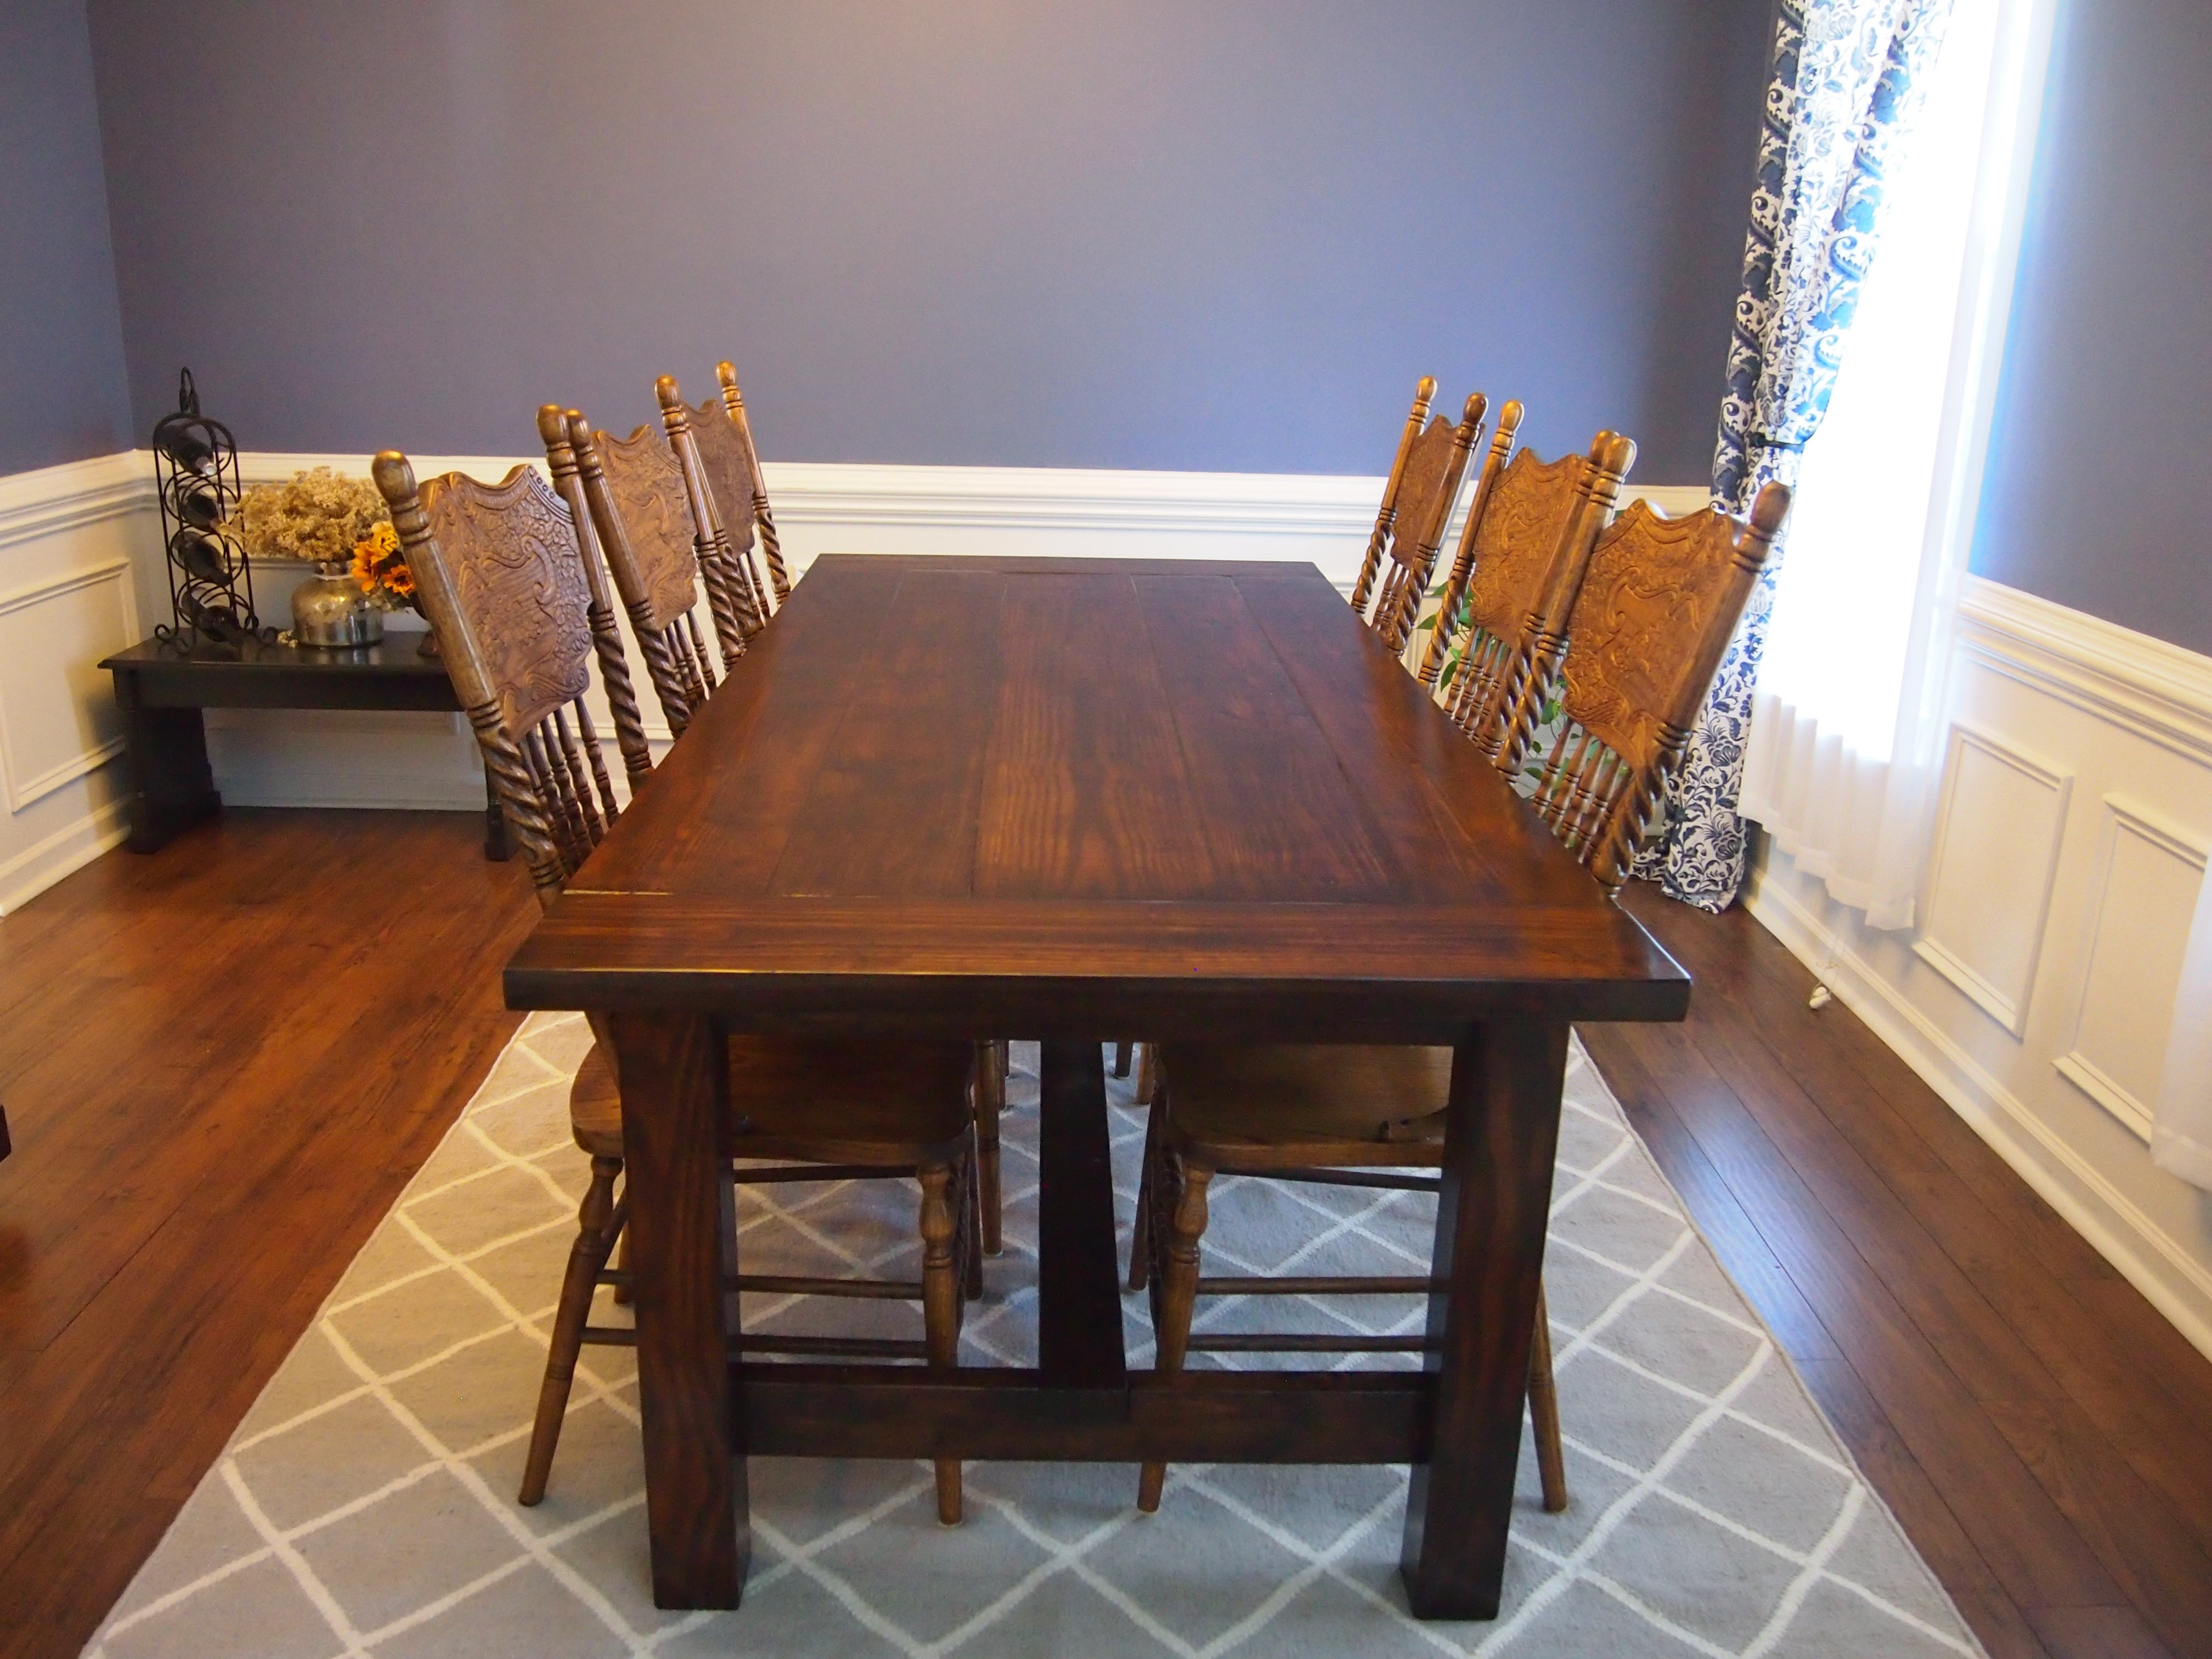
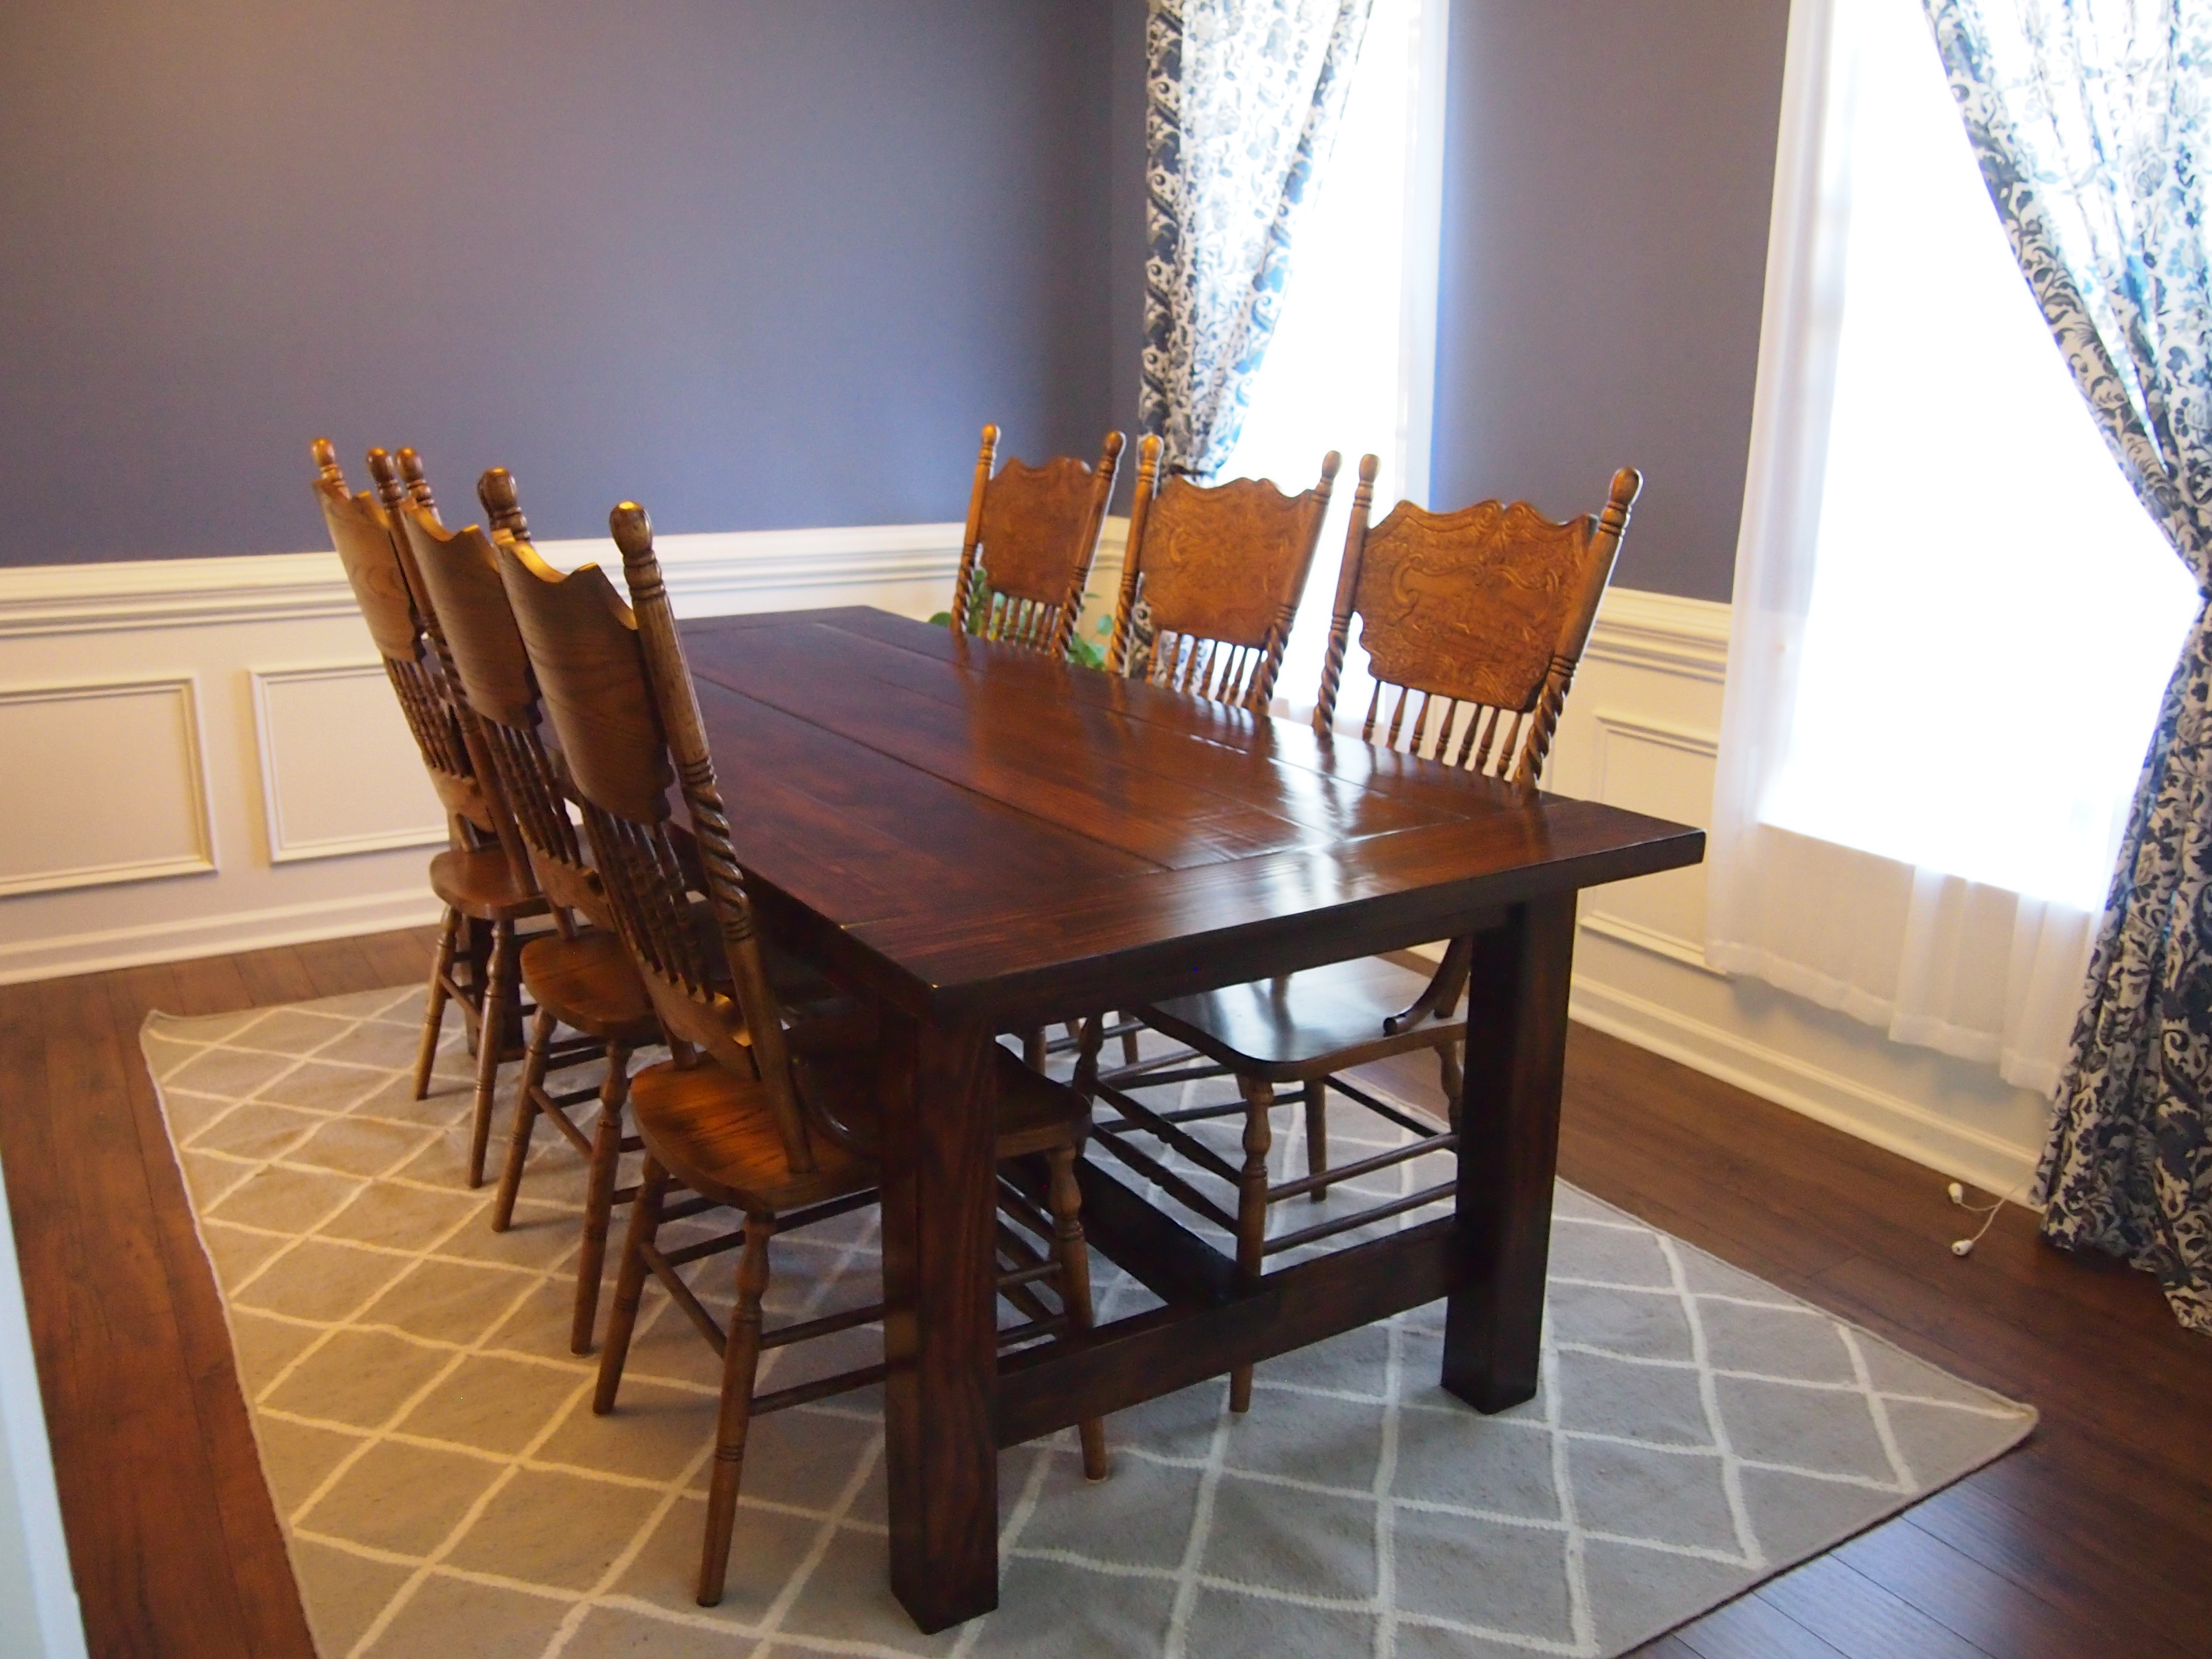
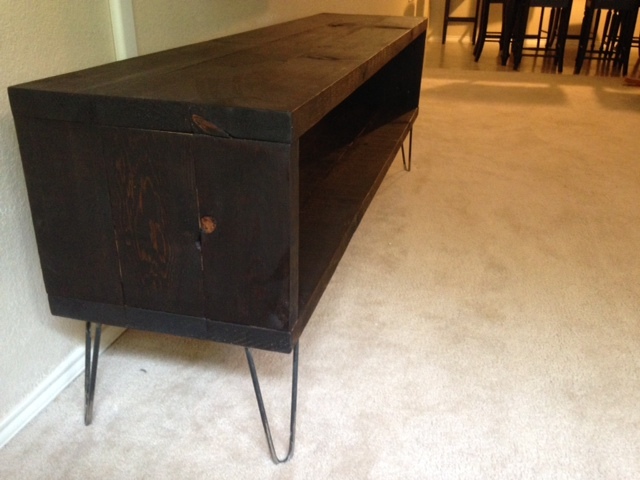
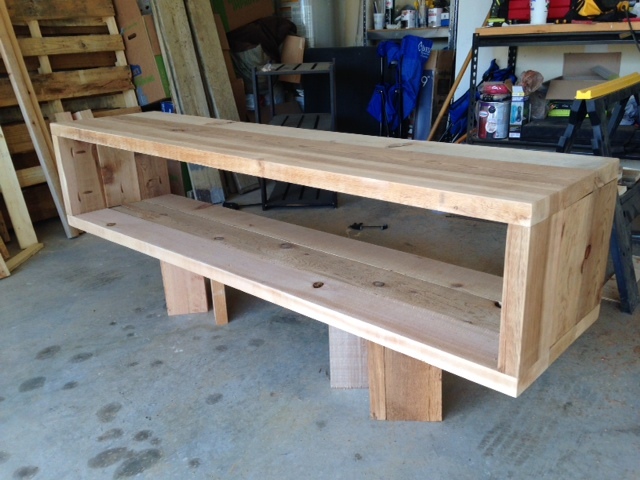
Community Brag Posts

Work Bench

Submitted by Anonymous (not verified) on Sun, 10/04/2020 - 05:40

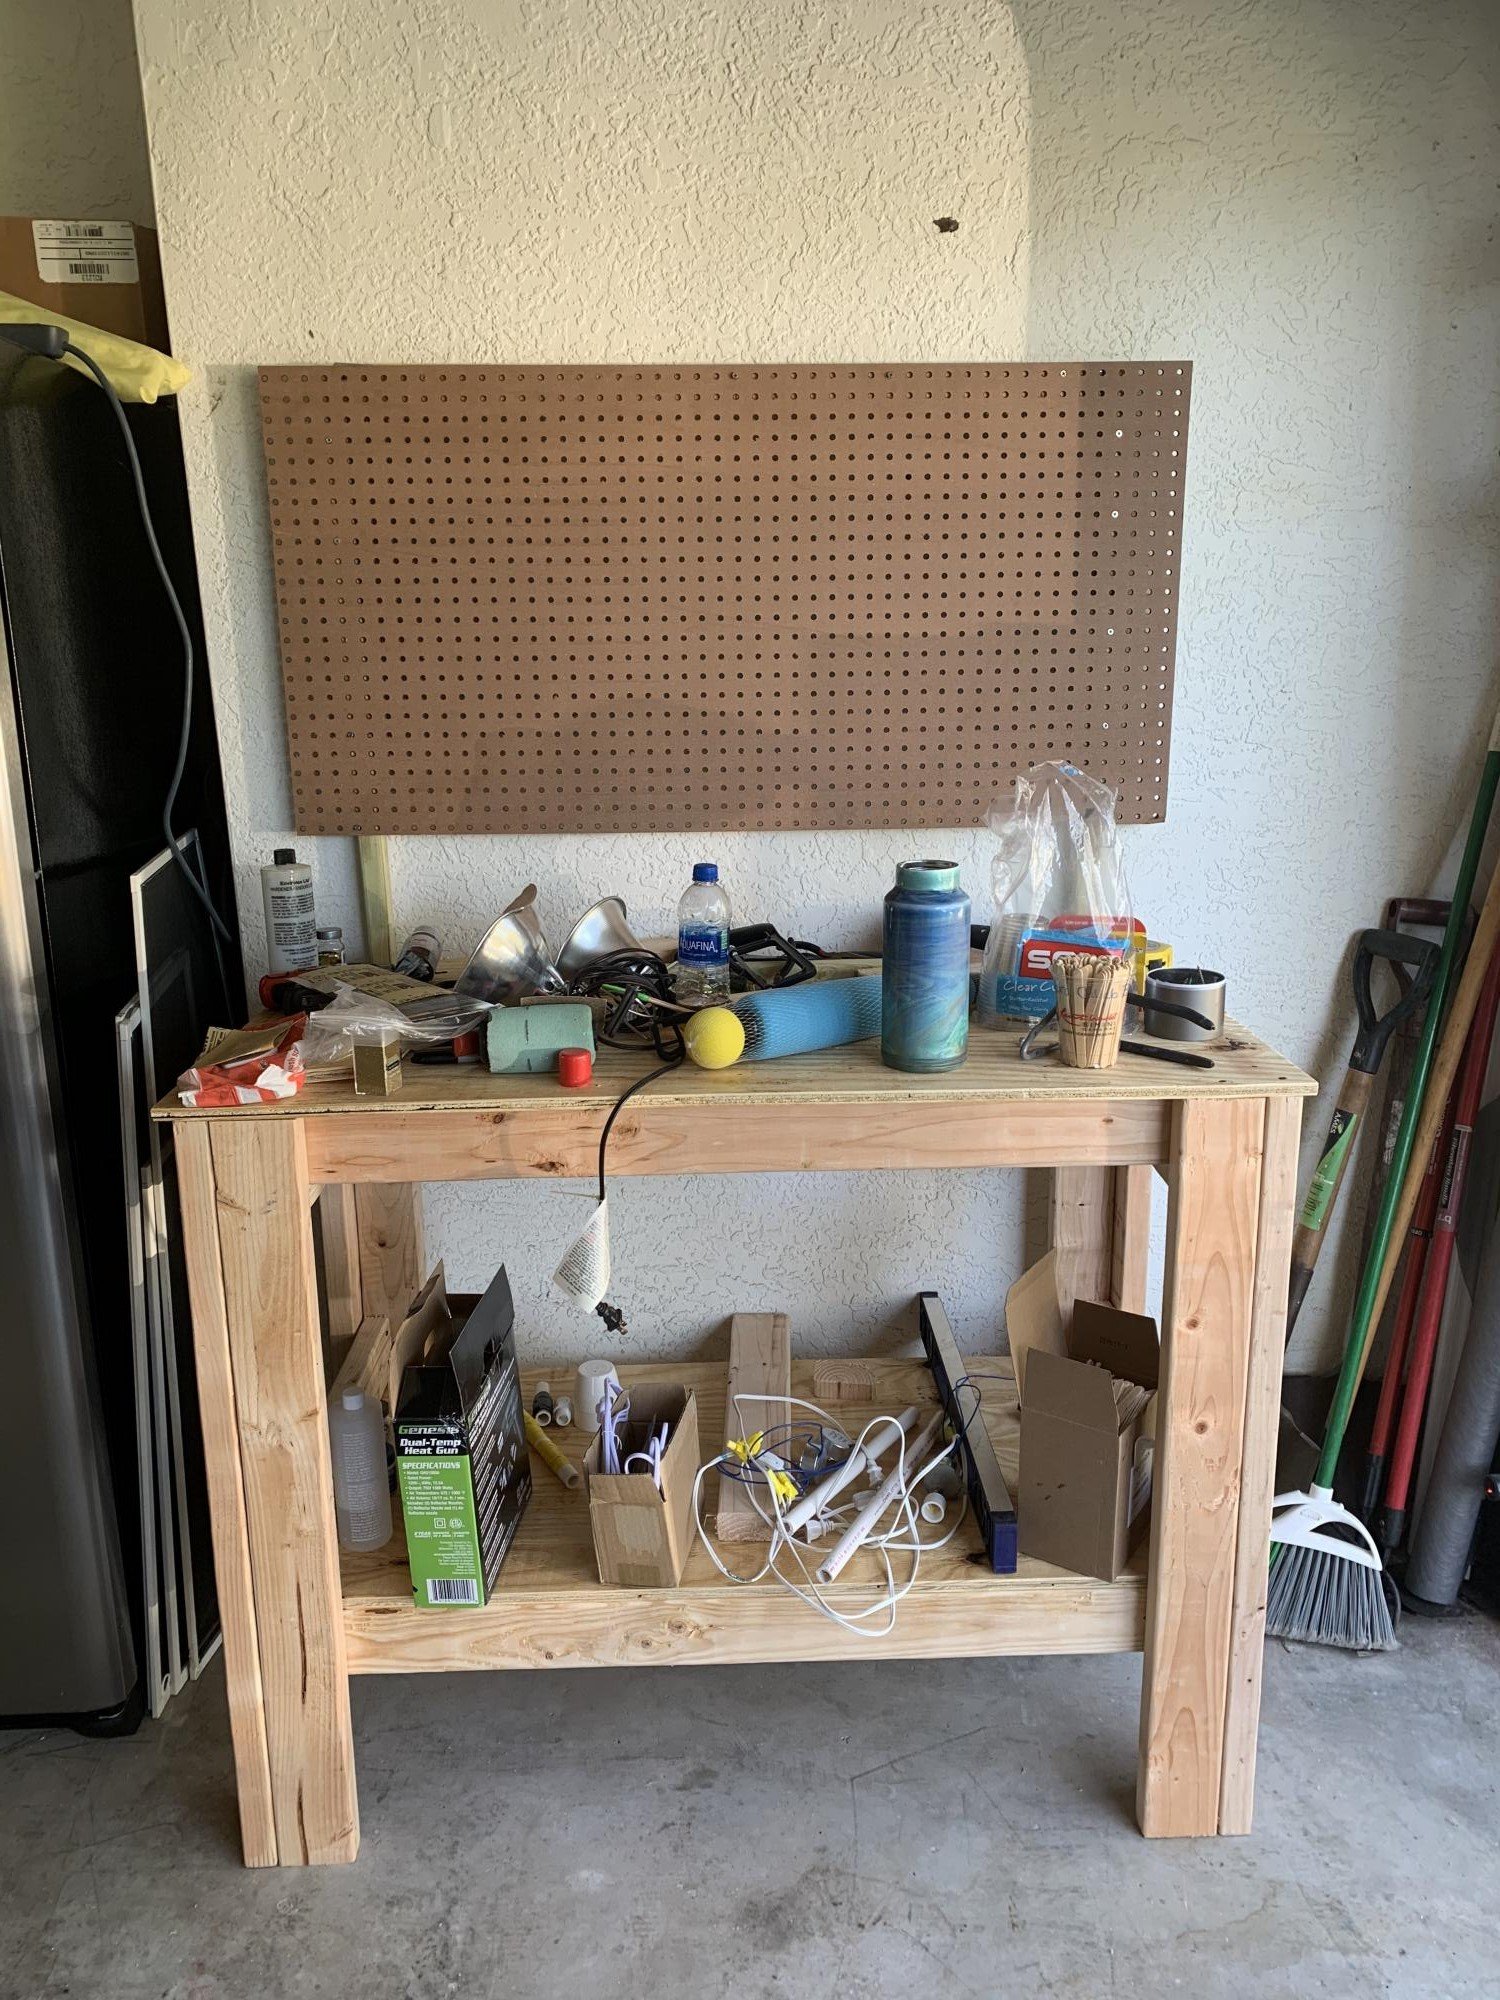
I tried to post photos of my progression of work, but couldn't get them to post. The instructions to build this were simple and easy to follow. I was able to construct this by myself in about 4 hours total. I am getting ready to make a 2nd for my craft shed. Thank you for sharing this!

Estimated Cost
$65
Estimated Time Investment
Afternoon Project (3-6 Hours)
Finish Used
none
Recommended Skill Level
Beginner

Comments

Built In Cabinet and Bookshelf

Submitted by kristen on Wed, 12/26/2012 - 21:54

I didn't really follow any of Ana's plans for this build, but it is a result of using her plans up to this point in my woodworking journey that enabled me to complete this one! I don't own a table saw, so this was constructed using a circular saw, miter saw, Kreg jig, and a nail gun. It was the first time I've had to cut and attach crown molding, and I also learned how to cope baseboard trim using a Dremel. Another first was using a router to rabbet out the back so the plywood back wasn't visible from the sides. I learn something new every build :)

I'm thrilled with the change in the room with this new project. We had two narrower bookcases side-by-side in there before, and they were about the height of the windows with a stain color that didn't match any of the other wood pieces in the rooms. This cabinet looks like it belongs in the room.

Estimated Cost
around $200
Estimated Time Investment
Week Long Project (20 Hours or More)
Finish Used
Primer, off-white paint in satin, Polycrylic topcoat in satin. 320 grit sanding in between all paint and topcoat coats.
Recommended Skill Level
Intermediate

Comments

moosmani

Thu, 12/27/2012 - 07:54

Very well done. It fits right in and looks absolutely beautiful. I am working and practicing to reach your skill level so I can do amazing things too!

Cindy from Indiana (not verified)

Thu, 12/27/2012 - 09:14

Love this! Really great job!

Tuscan Turquoise Farm Table and Rustic Benches

Submitted by LisaM1216 on Wed, 10/08/2014 - 21:32

I had a lot of fun building this table and these benches for our Tuscan-themed kitchen. The weathered turquoise gives the surroundings a pop! Thanks, Ana, for the inspiration and for sharing the plans! The benches were built according to the plan, but I did modify the table without the runner underneath so that side chairs could be pushed in.

Estimated Time Investment
Weekend Project (10-20 Hours)
Finish Used
Tan chalk paint as base, then two more coats of turquoise mix colors. Sanded gently on the edges to get weathered look. Then three coats of polyurethane.
Recommended Skill Level
Intermediate

storage bed toychest conversion

Submitted by hkingman on Fri, 01/20/2017 - 19:24

A few years back, I built a twin version of Ana's Farmhouse Storage Bed for my step-daughter. After she moved out, I converted it to a huge toychest for my three-year-old.

I would have left it as a bed, but with a quality mattress it was so high I was afraid he could get hurt if he fell out.

The conversion is simple. Remove 24 screws, reconfigure, add back the screws in different places. The support blocks become feet for the chest, and the slats become spacers under the top part. 

He loves being able to get his toys out himself, and I love that he can put them away by himself. A big upgrade over plastic storage boxes on high clost shelves!

Once he's a bit older, I'll probably turn it into a bad again. 

Estimated Cost
Zero!
Estimated Time Investment
An Hour or Two (0-2 Hours)
Finish Used
Linen white
Recommended Skill Level
Starter Project

4x4 Truss Beam Table & Benches

Submitted by FSClarke on Wed, 10/07/2020 - 13:14

My first woodworking project ever. Used spruce dimensional lumber from the hardware store, some Minwax Red Oak Stain and Minwax Satin Polyurethane to finish.

Awesome learning experience, and looking forward to my next project.

Estimated Cost
400
Estimated Time Investment
Weekend Project (10-20 Hours)
Finish Used
1 Coat of Minwax Red Oak
2 Coats of Minwax Polyurethane Sealant, Satin Finish
Recommended Skill Level
Beginner

Large Cubby Bookshelf With Adjustable Shelves

This was my second project that I completed to go along with the Daybed With Three Trundle Drawers For Storage that I made for my son.

The original plans for this bed state that you need three 1 x 12 x 8's, but you actually need 4. The two middle 42 3/4" boards on the inside are missing from the cut list, but you can see them in the diagram.

I am so happy with the way this turned out! It was a little more challenging with the wider width boards--I had to force them on the line because they weren't perfectly straight. But overall, I am very happy with this.

When I drilled the holes for the shelf pins using the Kreg shelf pin jig, I used the 1" inset on the outside 2 columns, and the 2" inset on the center column. This way I avoided have holes that were drilled all the way through the board.

Between this and the storage daybed, I have really freed up so much space in my son's small bedroom! Happy building!

Built from Plan(s)
Estimated Cost
$70
Estimated Time Investment
Weekend Project (10-20 Hours)
Finish Used
First, I used Minwax's water-based pre-stain wood conditioner. After waiting about 15 minutes, I sanded the wood again using 220 grit sandpaper. Then I used about four coats of Minwax's water-based "Sangria," to get the darkest color with that particular stain that I could possibly get. You have to allow 2 hours drying time between coats, and 3 hours after the final coat. Finally, I used 3 coats of Minwax's water-based polycrylic, again allowing to dry two hours between coats. I also lightly sanded with 220 grit sandpaper between coats of the polycrylic.
Recommended Skill Level
Intermediate

Comments

Jake

Tue, 01/01/2013 - 18:13

Your first two projects are very professionally done. KUDOS for such a great job. Keep it up and your kids will soon be in the shop with you and it will become a family affair.

Two tone rustic table

Submitted by ChicGeek on Sun, 10/12/2014 - 16:35

I used three 2x12s for the top and 4x4s for the legs. Everything else pretty much the same.  Final table size 36"x60". Longest/hardest part was sanding and staining

Built from Plan(s)
Estimated Cost
Under $100
Estimated Time Investment
Weekend Project (10-20 Hours)
Finish Used
Legs: Rust-Oleum Heirloom White
Top: Rust-Oleum Stain Kona
Recommended Skill Level
Beginner

Barn Door Console

Submitted by Anonymous (not verified) on Mon, 01/23/2017 - 19:01

made from poplar and pine.  Painted with a coat of black paint then painted with 3 coats of valspar furniture paint in white.  I then sanded all the edges to bring the black thru.  The hardware is made from a metal bar and wheels made with pulleys from home depot.  I even weaved the baskets myself! 


Just kidding about that last part.

Built from Plan(s)
Estimated Cost
275-300
Estimated Time Investment
Day Project (6-9 Hours)
Finish Used
valspar furniture paint
Recommended Skill Level
Beginner

Comments

Christmas Tree Shelf

Submitted by klesosky on Sun, 10/11/2020 - 17:28

I am new to woodworking and saw your plans for this Christmas tree shelf and I had to try it! I made a few with ash and maple wood, but then I came across some barn wood and loved how much it resembled natural tree bark. I decided that it would look even better with snow accents. I thought you would enjoy seeing a twist on the original plans.

Built from Plan(s)
Estimated Time Investment
An Hour or Two (0-2 Hours)
Finish Used
Barn wood is natural. Snow accents are done with white chalk paint. White tree is primed and painted with chalk paint and sprayed with a clear sealer.
Recommended Skill Level
Intermediate

Comments

Modified kitchen island off Michaela's kitchen island

Submitted by Jessjeeper on Mon, 12/31/2012 - 22:51

My husband and I built this counter height with specs of 351/2" high x 25" wide x 48" long. We are using it in our kitchen as a prep island.

Estimated Time Investment
Weekend Project (10-20 Hours)
Finish Used
We made our own stain with vinegar and steel wool for the top and shelf, painted the body with Valspar Mermaid's Song. Poly over the stain to protect it from water and heat.
Recommended Skill Level
Beginner

Comments

Jake

Tue, 01/01/2013 - 05:09

I think you guys did a wonderful job on the kitchen island. I like the fat legs and the 1x4 aprons. Did you consider adding a drawer since you have deep aprons? Is the top a butcher block or did you construct the top yourself? If you did build the top is it suitable for use as a cutting board?

Boys Chrismukkah Tool Trugs

Submitted by brickton on Fri, 10/17/2014 - 05:32

I did a near direct copy of the tool trugs from Jamie and Ana using some 1/2" birch plywood and 1/2" craft wood from Home Depot. I was really happy with the ipswich pine stain that darkened the wood and gave it less of an unfinished look. 

Built from Plan(s)
Estimated Cost
Maybe $20 total for both trugs. I bought some little stain and sample paints when I could have just used what I had laying around, and some of the wood was scrap from other projects so it's hard to say.
Estimated Time Investment
Afternoon Project (3-6 Hours)
Finish Used
Minwax Ipswich Pine stain on the main body, Minwax Provincial on the bottoms. The paint colors are mostly Martha Stewart Living from Home Depot samples, the only two names I remember are Cornbread and Barn Red.
Recommended Skill Level
Beginner

Barn Sliding Door Console with Hardware plans

Submitted by Doomwerk on Wed, 01/25/2017 - 07:47

Followed the plans to build this.


I used the following pully from McMaster (if you don't have an account, you might know a friend or someone who does):

https://www.mcmaster.com/#3434t116/=162dxqq


I've attached prints for the barn door stuff I made and thought it would be nice to share. 


Thanks!

Built from Plan(s)
Recommended Skill Level
Intermediate

2x4 modern adirondack chair (I managed to do)

Submitted by Albertino on Fri, 10/16/2020 - 11:17

I am Brazilian and I admire your work a lot. I used wood from the Amazon (certified) and was surprised by the result. Strong, resistant, comfortable and my grandchildren will have an inheritance. I had to adapt to the metric system and made the back a little higher (85cm). Thank you!

Estimated Cost
U$50
Estimated Time Investment
Day Project (6-9 Hours)
Finish Used
Stain
Recommended Skill Level
Starter Project

Comments

iTable

Submitted by Ice Man on Tue, 01/01/2013 - 19:51

My first ever project. Gave it to my parents as Christmas gift. I had a lot of fun building it. Next time I will go easier on wood glue, because some areas that glue got squeezed out did not get stained.
Next project - corner cupboard.

Built from Plan(s)
Estimated Time Investment
Day Project (6-9 Hours)
Finish Used
Rust-oleum early american stain, and 4 coats of Minwax® Polycrylic® Protective Finish
Recommended Skill Level
Beginner

DIY Farmhouse Table

Based on Ana White's Instructions and Cut List, here was our purchase list:
(figures are rounded)
 
Heat Treated Wood:
$12 (4) 2x4@ 8 feet
$9 (2) 2x8 @ 12 feet
$6 (1) 2x8 @ 8 feet
$8 (1) 2x10 @ 8 feet
$55 | (1) 4x4 @ 10 feet **
**This was difficult to find.  We couldn't get it at Lowe's or Home Depot,
but found a small local wood yard.
 
Other Materials:
$9 | Rust-oleum Kona Wood Stain
$18 | Minwax Polycrylic
$10 | (2) Pocket Hole Plugs
$4 | 3" Foam Trim Roller
$8 | (2) 2.5" Pocket Hole Screws
$6 | 3" Wood Screws
 
Total Cost - $145
Estimated Cost
$145
Estimated Time Investment
Weekend Project (10-20 Hours)
Finish Used
MinWax Polycrylic 3 coats - Semi Gloss, but will be finishing it again in Satin (Maybe).
Rust-oleum Kona stain.
Recommended Skill Level
Beginner

Comments

Farmhouse faux reclaimed lumber headboard

Submitted by wacman on Sun, 01/29/2017 - 12:31

A simple headboard with new pine, distressed to resemble worn barn wood or other reclaimed lumber.  I used a wire brush drill bit to eat away at the soft wood of the outside frame, raising the grain and adding a tremendous amount of texture.  The inside planks are full-width boards that I scored with a circular saw to create false joints.  Each section was stained with a different hue to emulate individual reclaimed planks.  I coated with a layer of semi-gloss polycrylic and then a coat of clear cream wax.

Estimated Cost
$100
Estimated Time Investment
Day Project (6-9 Hours)
Finish Used
Minwax stains (espresso, classic grey, mahogany & ebony), Minwax semi-gloss polycrylic, American Decor Clear Cream Wax
Recommended Skill Level
Beginner

Balustrade Square Coffee Table

Submitted by Ruthiep on Mon, 10/19/2020 - 14:54

Instead of a rectangle, I adjusted the plans to make it a square. It worked out great. As you can see, my pup feels it's her own place. I went with a gray stain on the bottom and Dixie Belle's Caviar for the top. I absolutely love it.

Built from Plan(s)
Estimated Time Investment
Day Project (6-9 Hours)
Finish Used
Minwax Classic Gray stain
Dixie Belle's Caviar
Satin polyurethene
Recommended Skill Level
Intermediate

Wood Sleigh

Submitted by DMax2010 on Thu, 01/03/2013 - 08:50

I thought this wood sleigh was so cute, I made it for my mom for Christmas! It turned out cute, it was a good jigsaw exercise! I made it smaller, would probably make it bigger next time, but it's a good size for a table top. She loved it!

Built from Plan(s)
Estimated Cost
nothing-from scraps
Estimated Time Investment
Afternoon Project (3-6 Hours)
Finish Used
Rustoleum spray paint, minwax soft touch poly. I painted pieces prior to assembly
Recommended Skill Level
Beginner

Comments

Open Concept TV Stand

Submitted by zjlawlor on Wed, 10/22/2014 - 16:22

Saw a bunch of TV stands in this style on Etsy but they are just WAY too expensive. Found out I could simply order the hairpin legs from Etsy and build one myself. Much cheaper! I chose cedar. It allowed me to go the extra width I wanted (6 foot) and keep the project lightweight. It is a soft wood and prone to scratches and dents, but most of our other furniture is reclaimed and upcycled so I'm not worried about wear and tear. 

Estimated Cost
115$
Estimated Time Investment
Day Project (6-9 Hours)
Finish Used
Kona color stain with poly protective coat.
Recommended Skill Level
Beginner

Comments

Poker table

Submitted by Trishalado on Wed, 02/01/2017 - 07:27

Using the Benchmark Octagon table plans found here for the inspiration for our poker table we completely customized the top and modified the base to suit our needs! The dining top cover is yet to be finished but we are definitely thrilled with the result thus far especially seeing as though it was our first ever build! 

Estimated Cost
$500+
Estimated Time Investment
Week Long Project (20 Hours or More)
Recommended Skill Level
Intermediate

Comments

Inspired by your Barn Door Console - Barn Door Kitchen Cabinets

Submitted by bsawyer58 on Fri, 10/23/2020 - 17:48

We've struggled with deciding on a design for new cabinets in our farmhouse. Seeing your Barn Door Console plans inspired me. The doors can slide from end to end, be added or removed as desired. The drawers and the dishwasher are inset so the doors slide past or cover them. Than you for sharing your work. It's one of my favorite sites.

Comments