Community Brag Posts
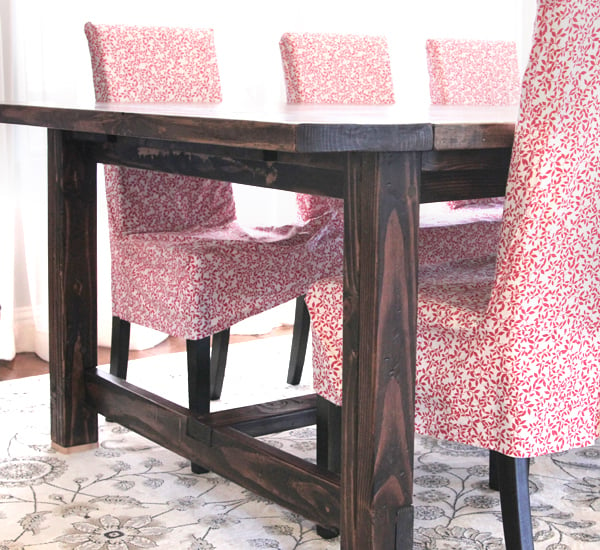
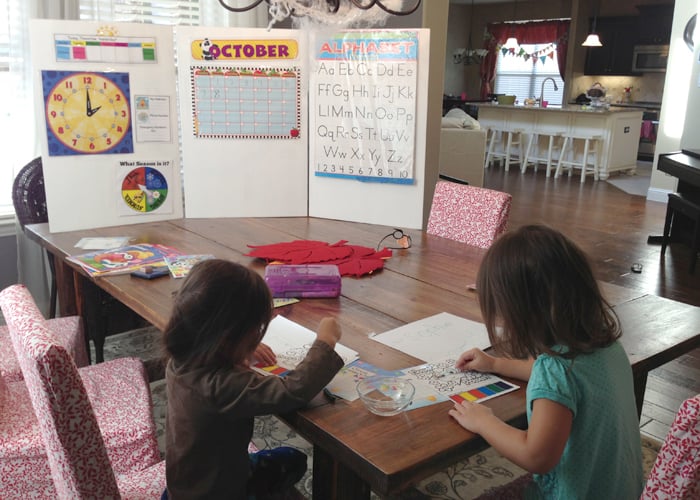
Farmhouse Table

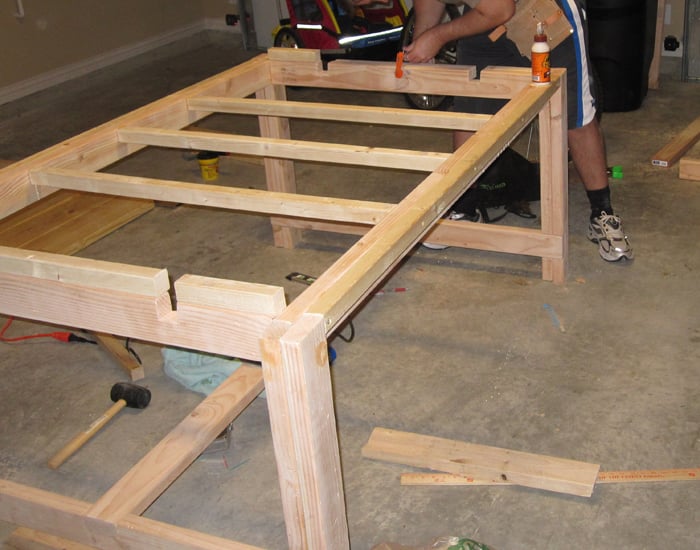
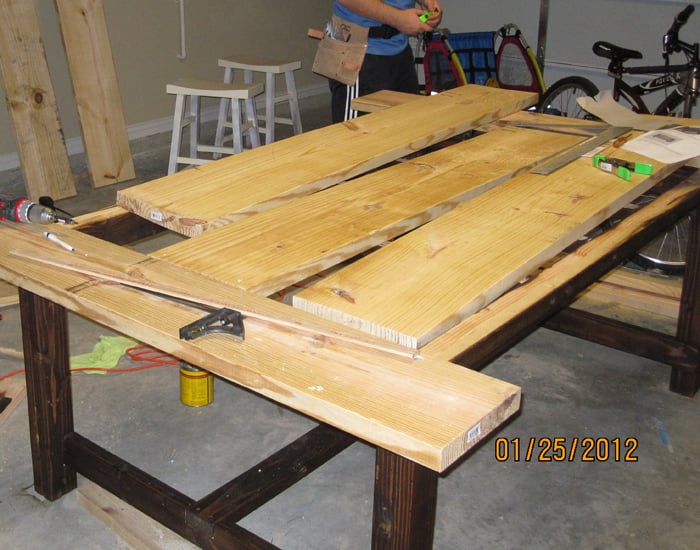
My brother-and-law has been building a TON of projects from Ana's site. After comparing prices of farmhouse tables online, my husband and I decided to try building our own. I measured our dining room, modified the plans (to make the table slightly shorter and slightly wider), then we picked up some basic tools and lumber, setup a little shop in our garage, and went to work. It took us a whole week (of after-work and after-the-kids-are-down nights) plus maybe a weekend to complete this project.
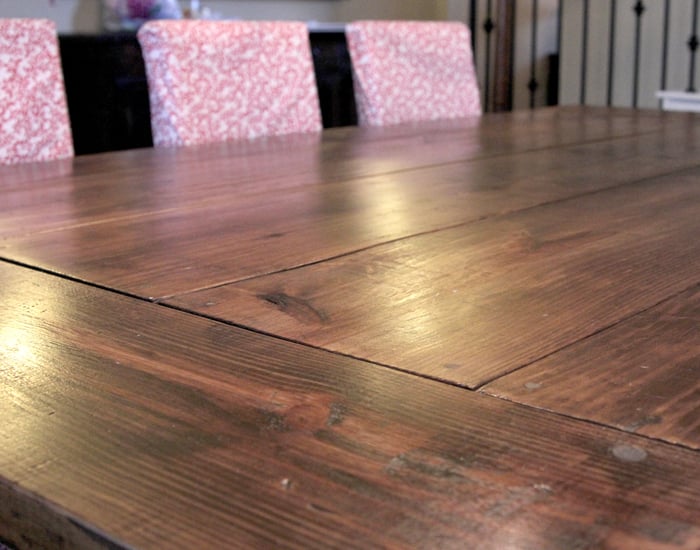
We started staining the legs of the table with a minwax stain in Dark Walnut, but it left it looking very contrasty/zebra-like. An employee at the hardware store recommended Rust-o-Leum, so we finished up the top with it. Added a clear satin varnish on top (Deft), then moved it inside. We love it!!! (We stained it after distressing it, then added 5-6 coats of varnish).
Things we'd do differently:
1. Invest early in a Pocket Hole Jig (like the Kreg Jig) to piece your wood together. We actually bought one for our second wood project (which I was able to screw together pretty much the entire thing myself...whereas, both my hub and I had to work together to get this table put together...it was a pain!), and wished we had purchased this earlier.
2. Check your wood and get it as straight (not bowed) as possible. Then don't let the sprinklers or rain get on it. :) Don't worry about knots, holes, or other things that could give your table character.
3. You can stain the wood using paper towels. (I did this on the second project...worked great, and easy clean up).
4. Make sure you square up your wood every step of the way. We THOUGHT we did this...but with trying to screw pieces together, and making them fit... now we've got an extra piece of wood underneath one of our legs. :P
Built from Plan(s)
Estimated Cost
$500, lumber and power tools
Estimated Time Investment
Week Long Project (20 Hours or More)
Finish Used
Rustoleum Dark Walnut
Deft Clear Satin
Deft Clear Satin
Recommended Skill Level
Beginner
Comments
Fri, 02/08/2013 - 09:36
Oh, my goodness!
This is a gorgeous build! The table top finish is just outstanding. You all did a marvelous job (even without the kreg jig)!
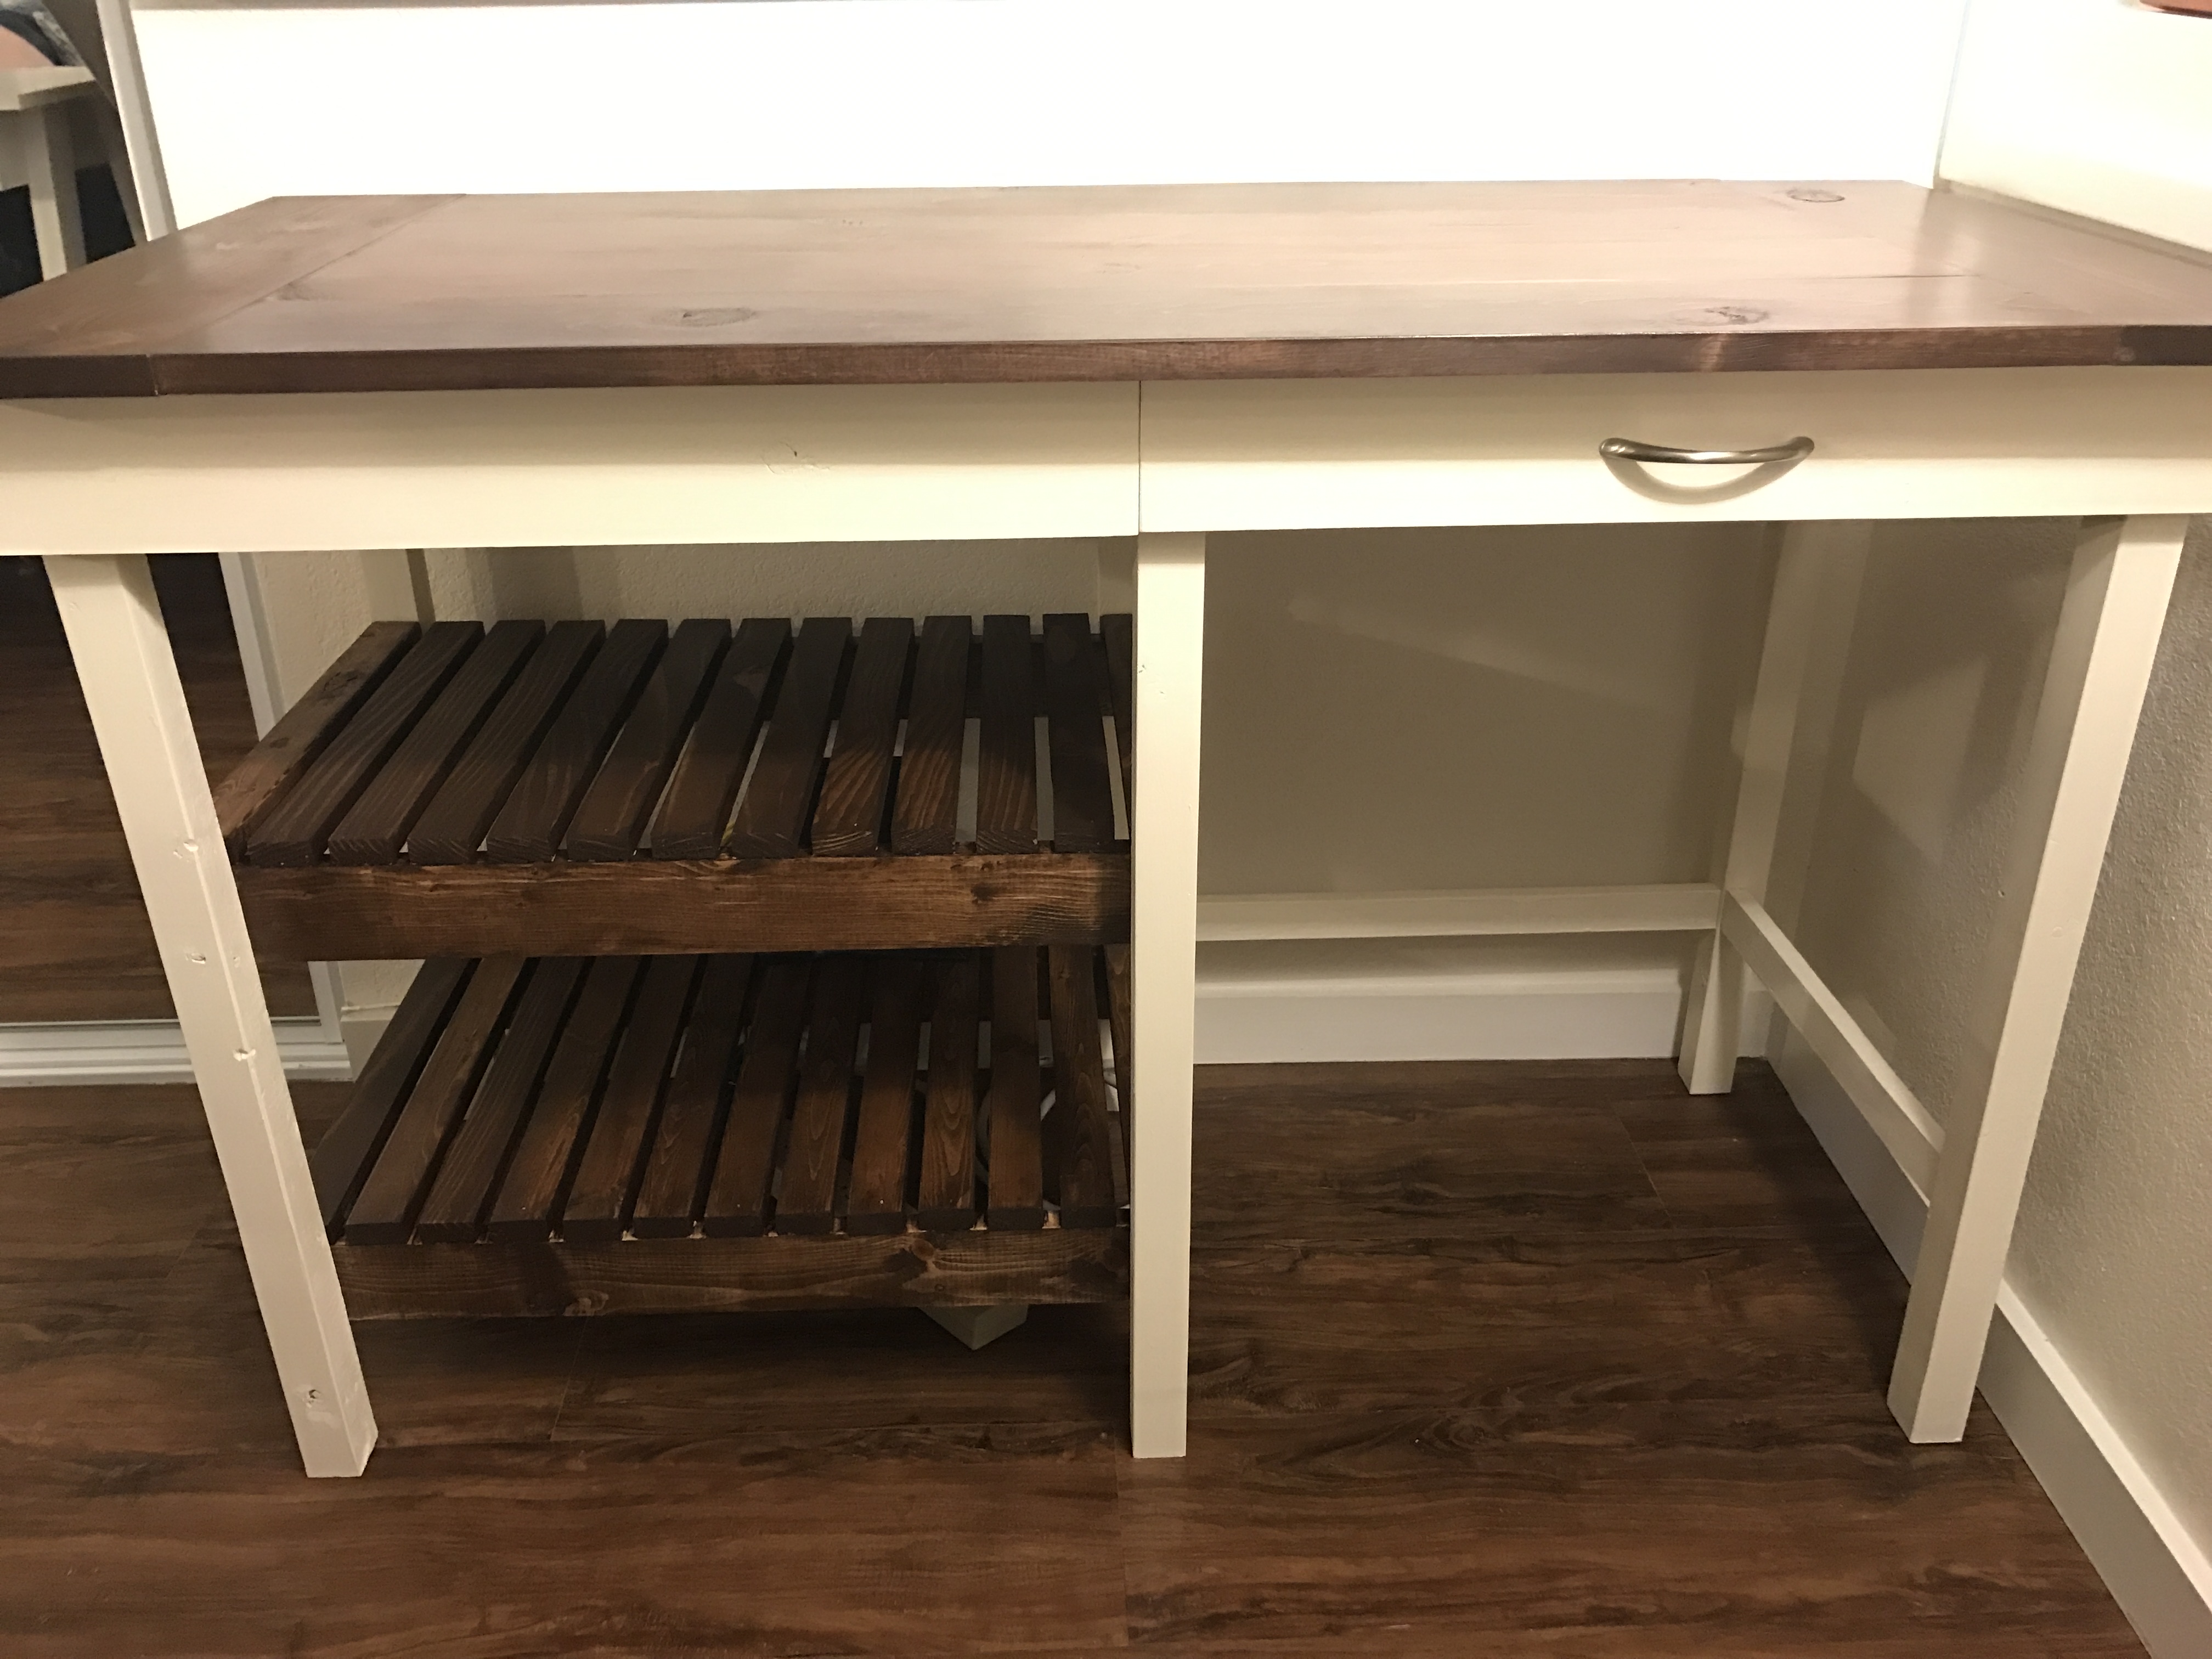
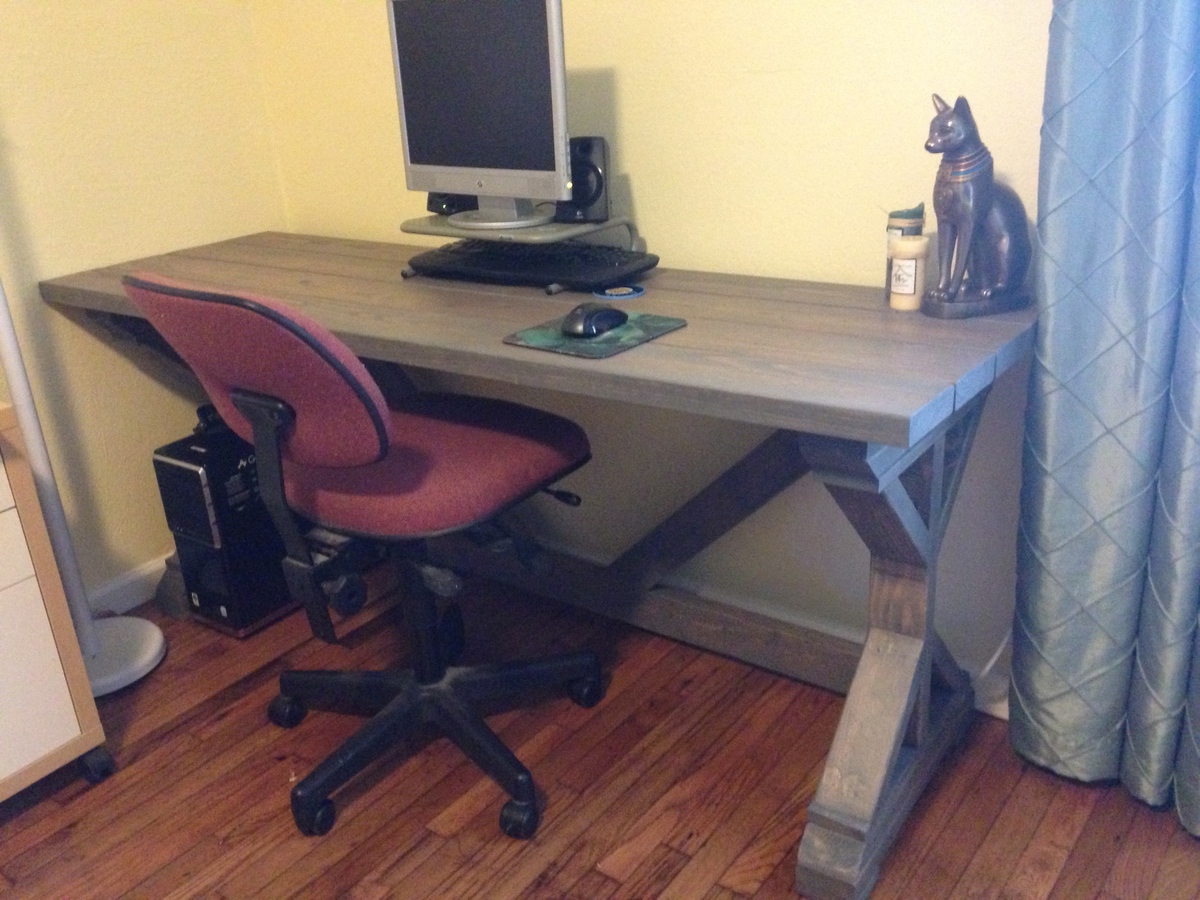
First Build: Two of them!
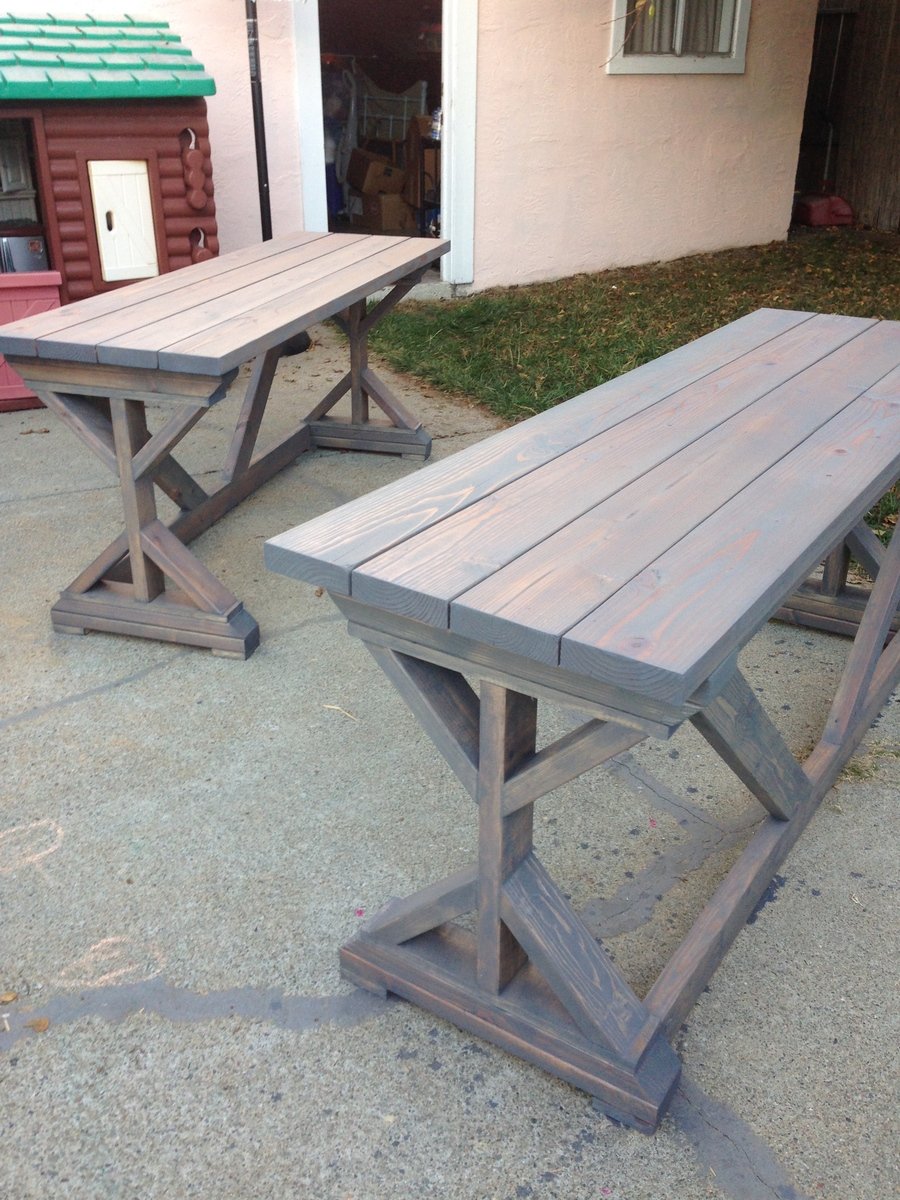
I wanted a project to build with my husband, and his desk was falling apart. Mine was old and tiny so we made two of these side by side. I did all my own work with some instruction from him, and it was pretty easy! It was also really fast: I think the total time spent was under 8 hours!
Built from Plan(s)
Estimated Cost
$70
Estimated Time Investment
Day Project (6-9 Hours)
Finish Used
Minwax Stain in Gray, with 4 coats of Matte finish Varathane sealer.
Recommended Skill Level
Beginner
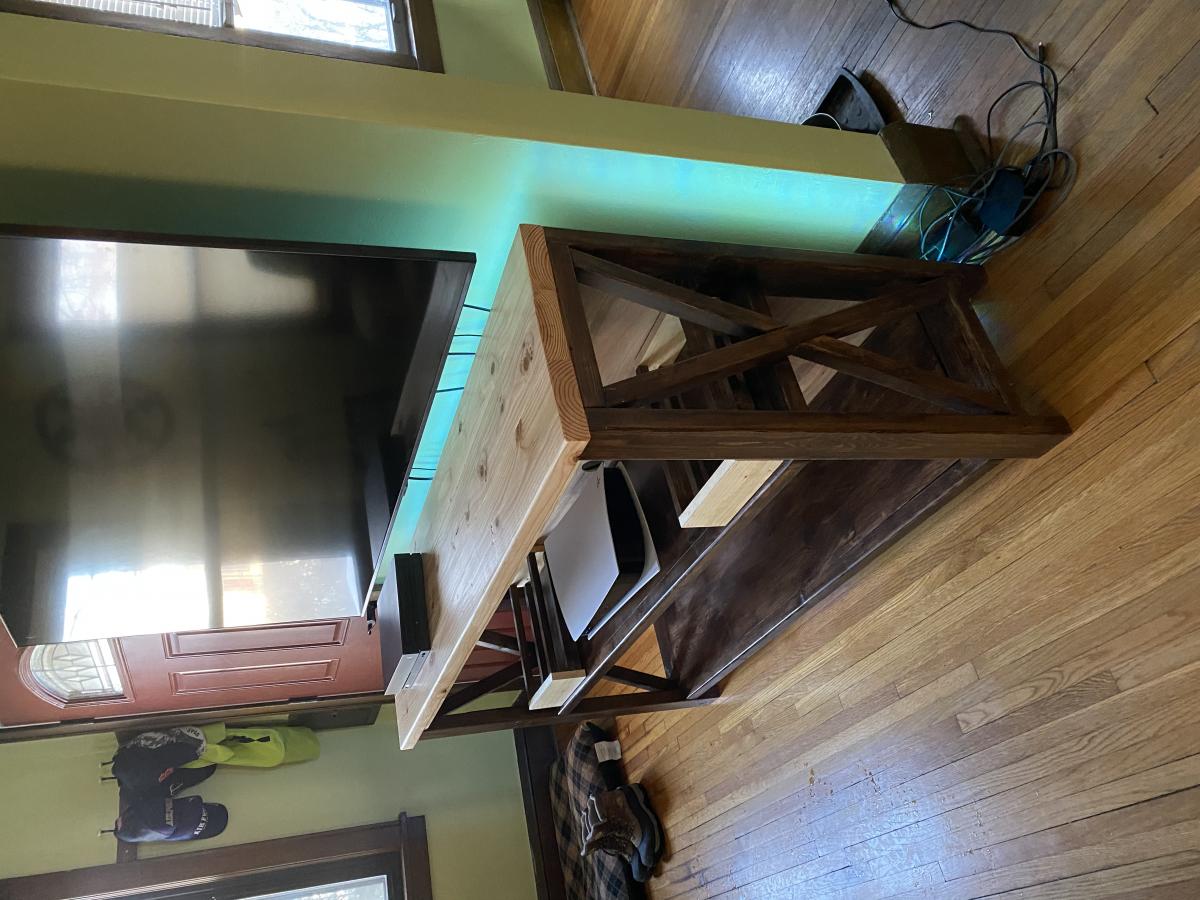
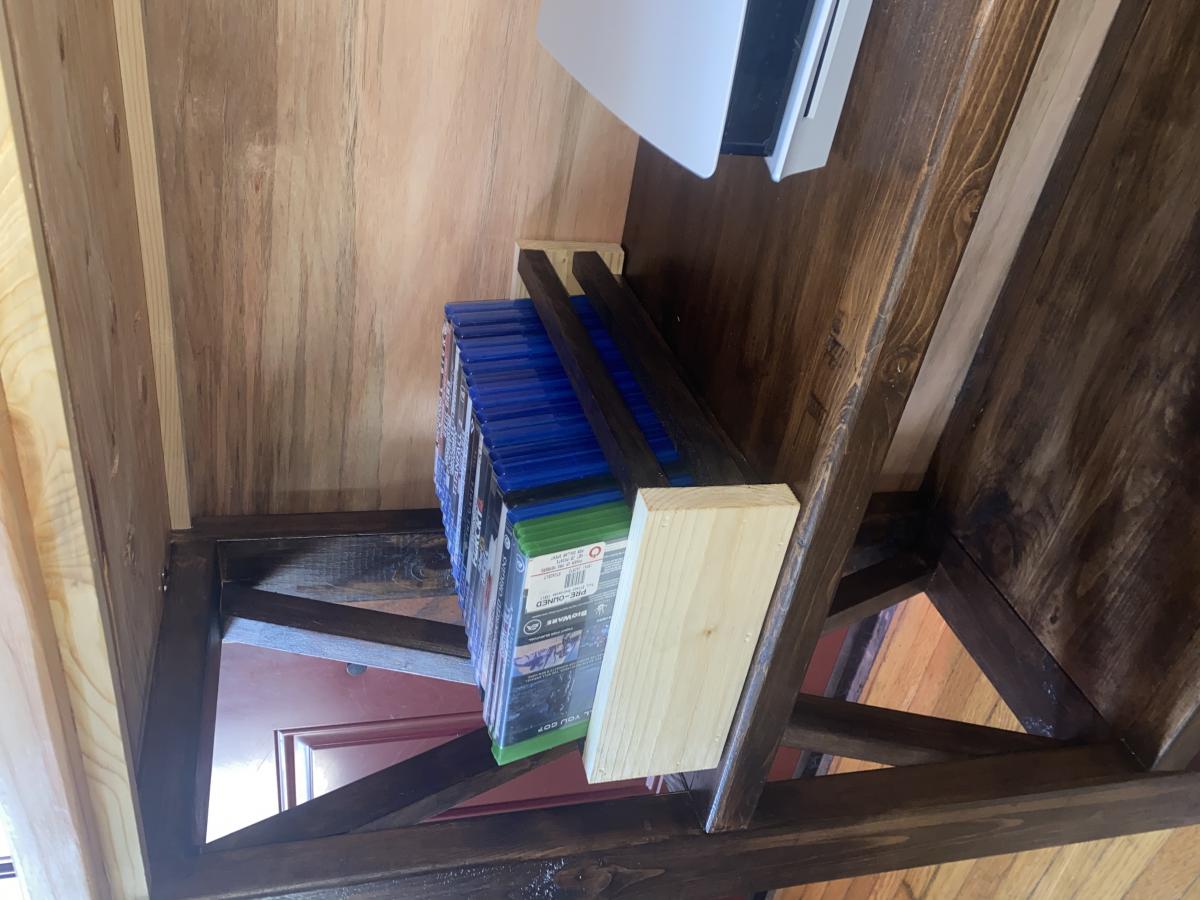
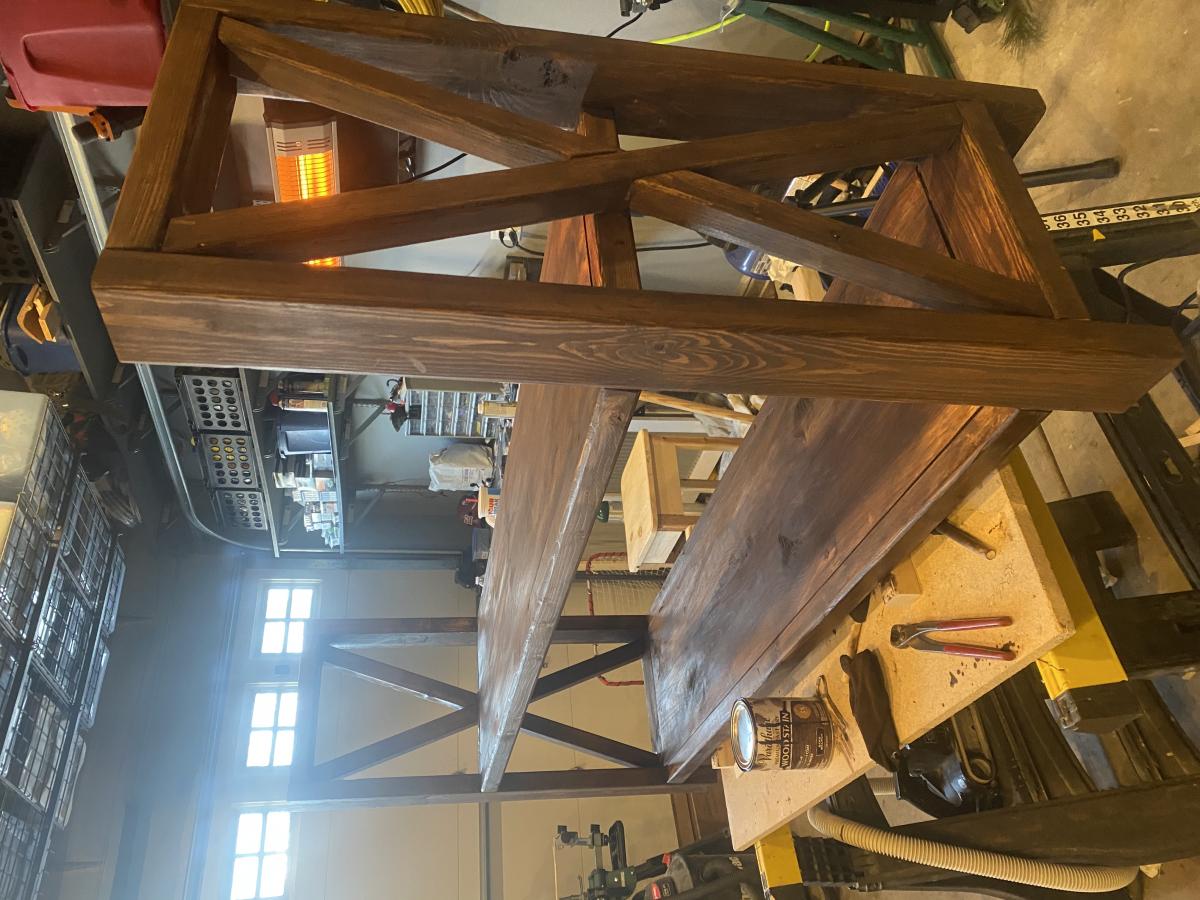
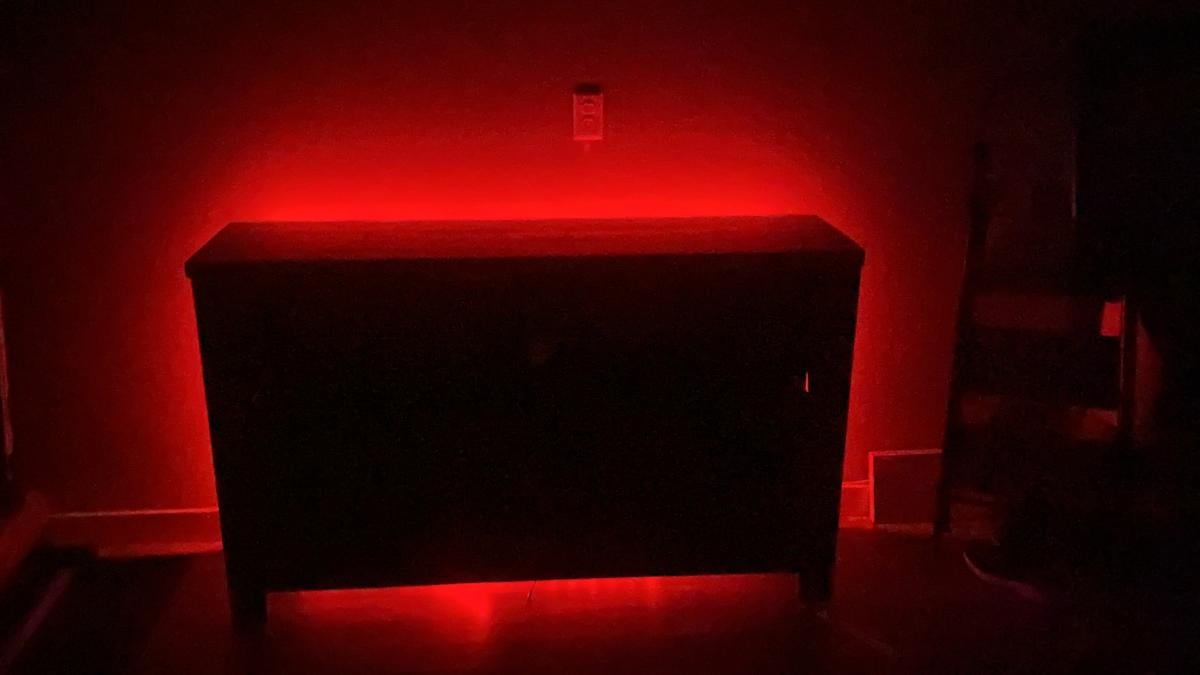
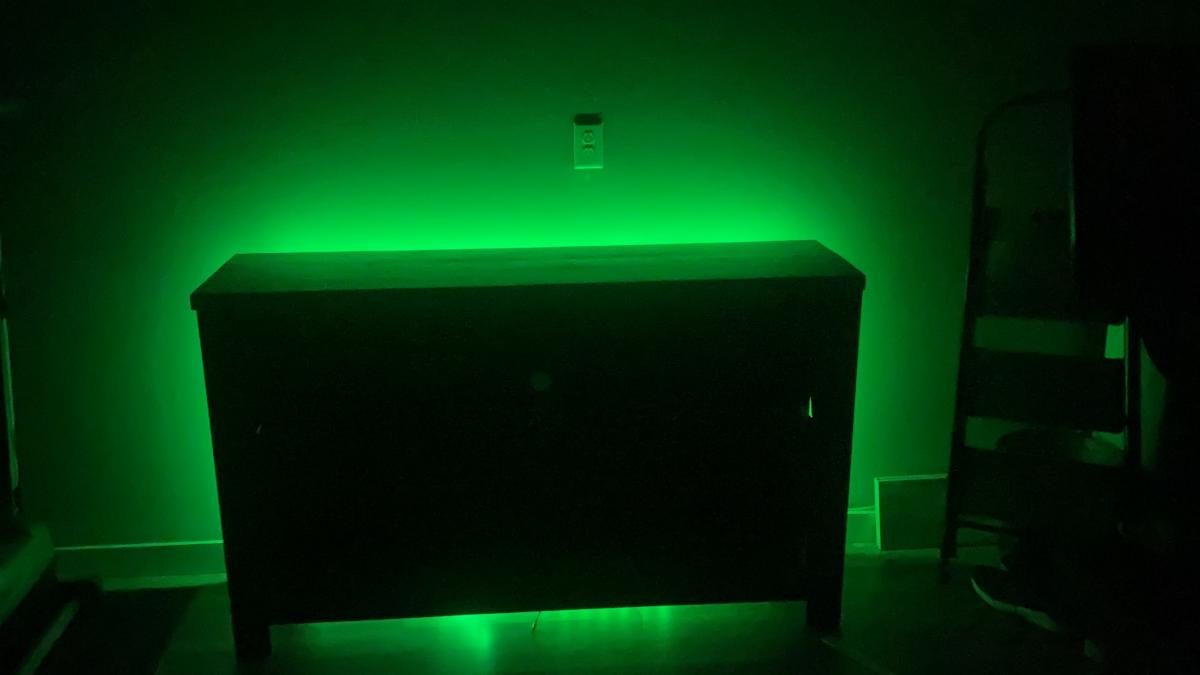
Rustic X Counsel table/ entertainment stand
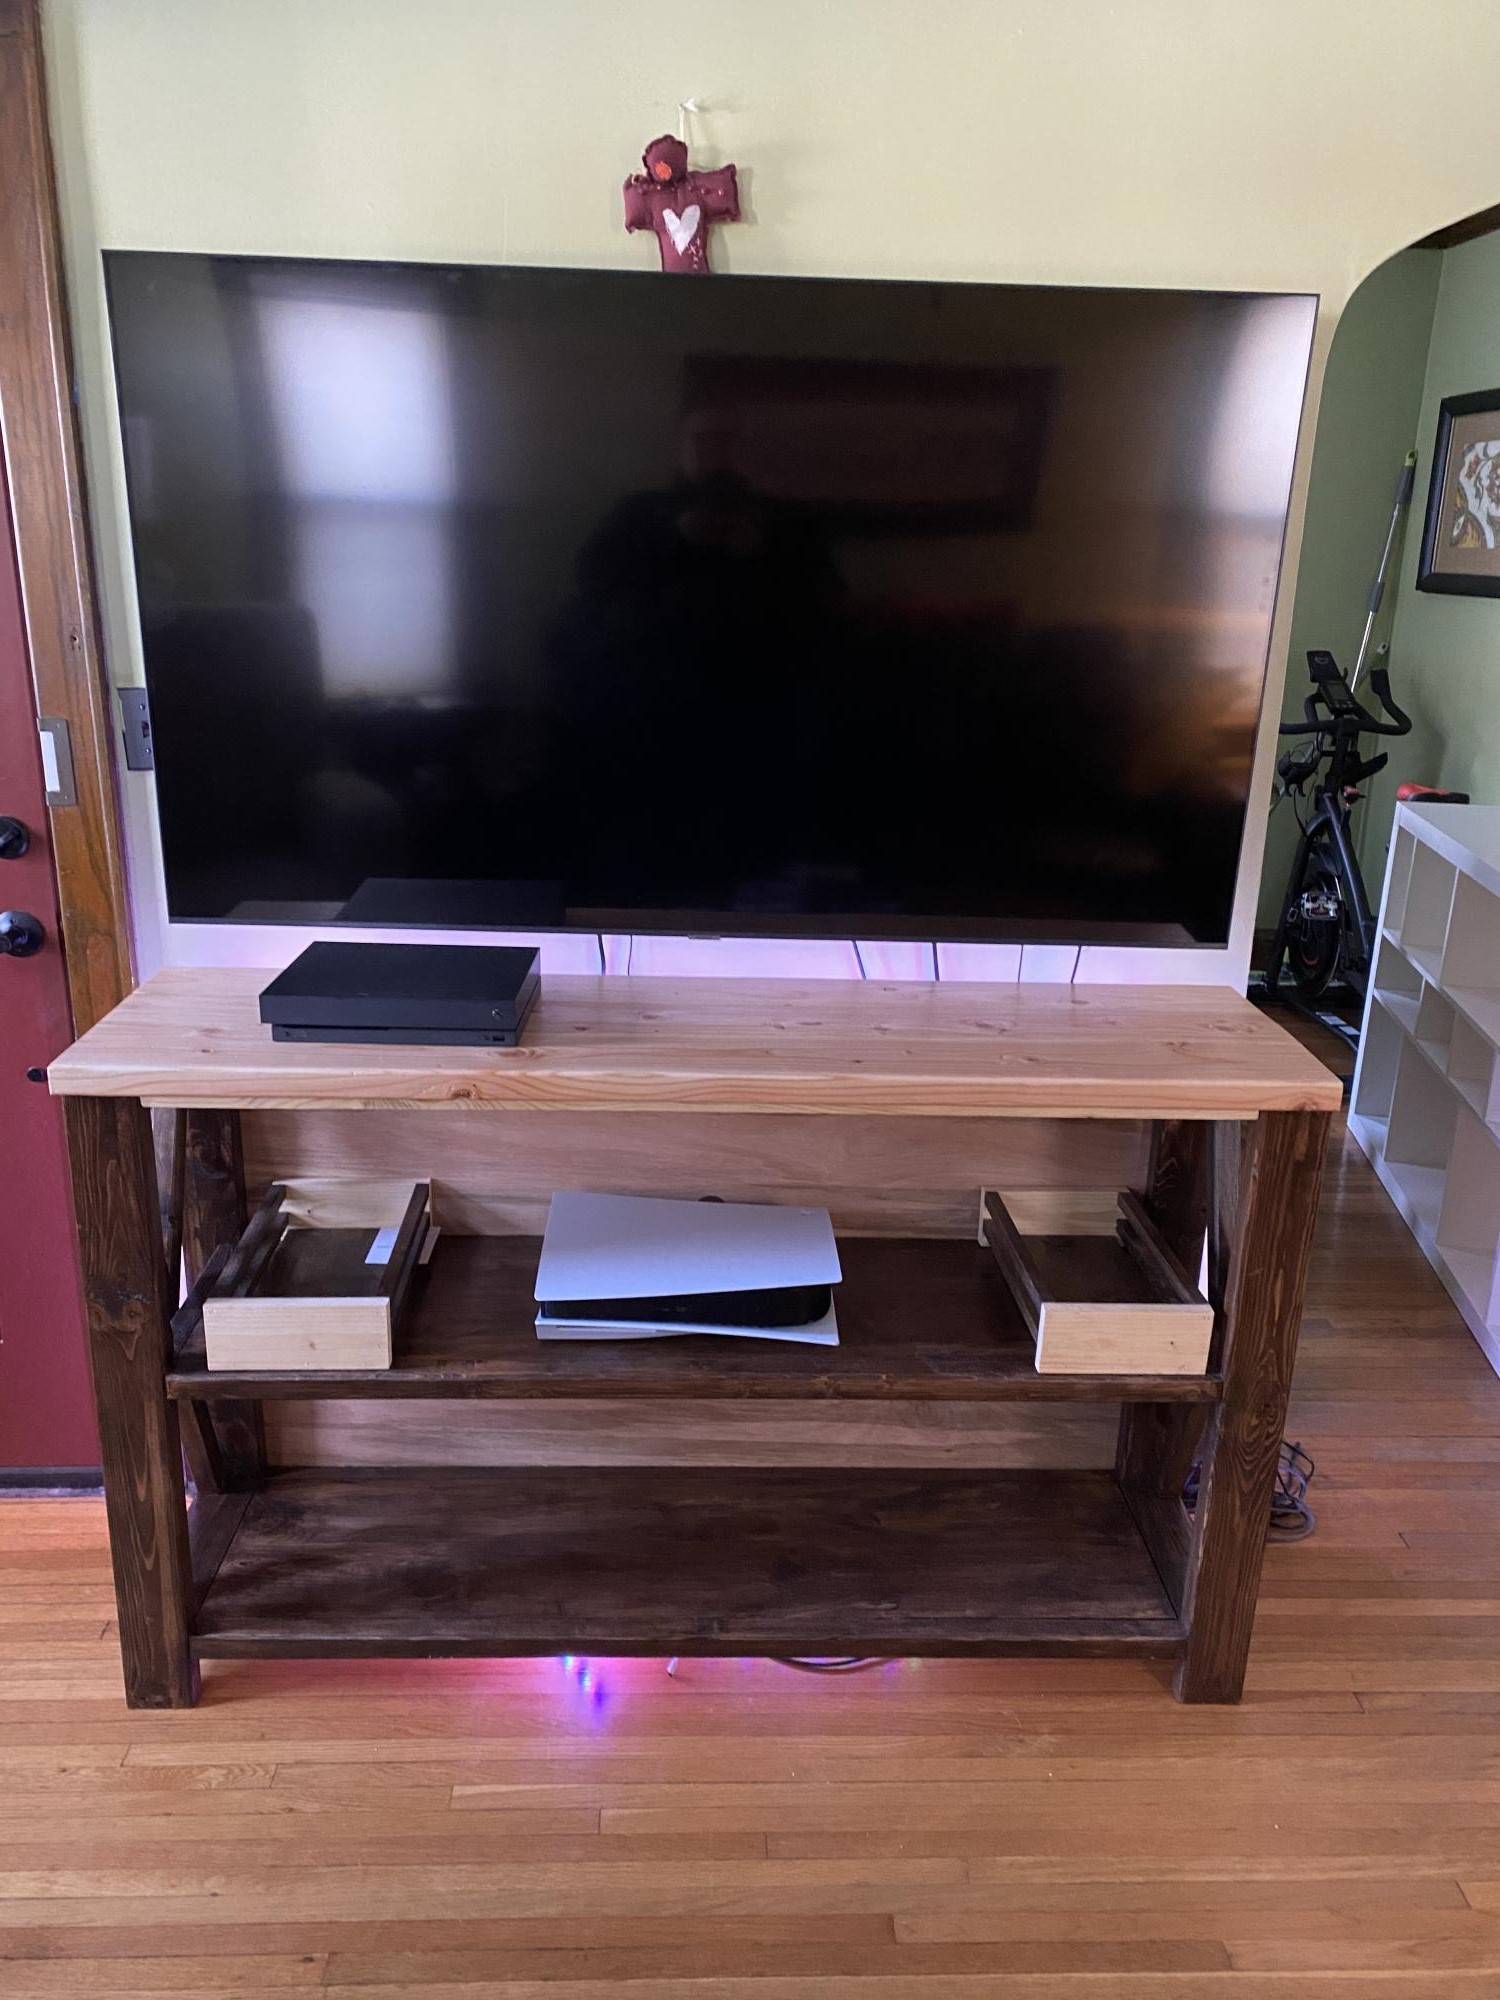
Rustic X Entertainment Stand. 55” long x 36” tall. 3 shelves. Natural top with dark walnut bottom. Custom made game crates and LED back lights to finish the look.
Built from Plan(s)
Estimated Cost
$135
Estimated Time Investment
Weekend Project (10-20 Hours)
Finish Used
Varathane dark walnut.
Minwax Natural
Minwax 3x polyurethane
Minwax Natural
Minwax 3x polyurethane
Recommended Skill Level
Intermediate
Comments
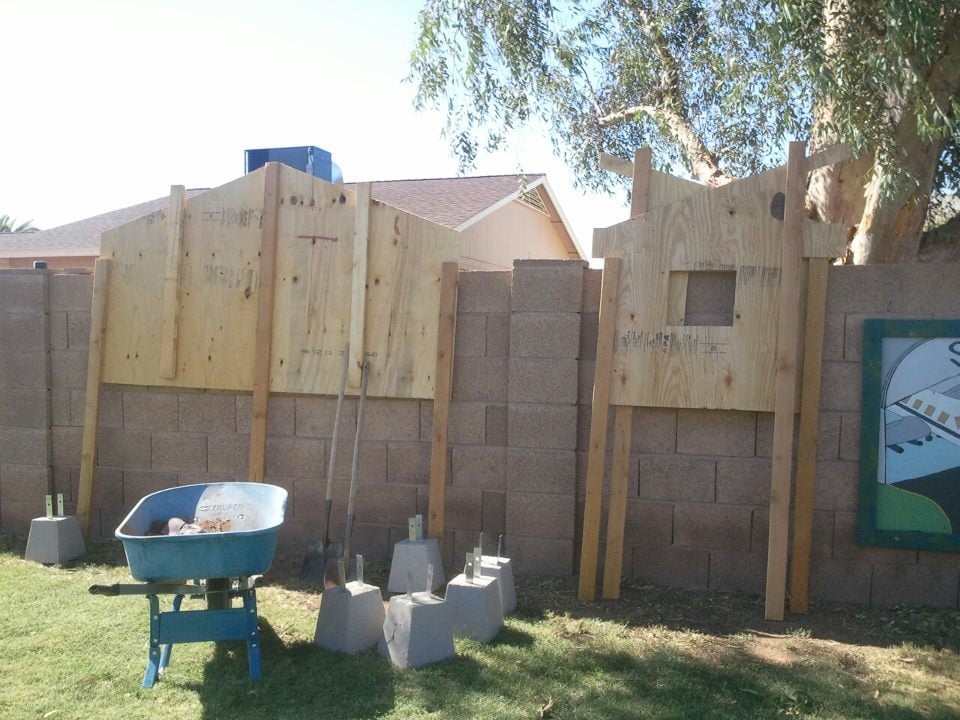
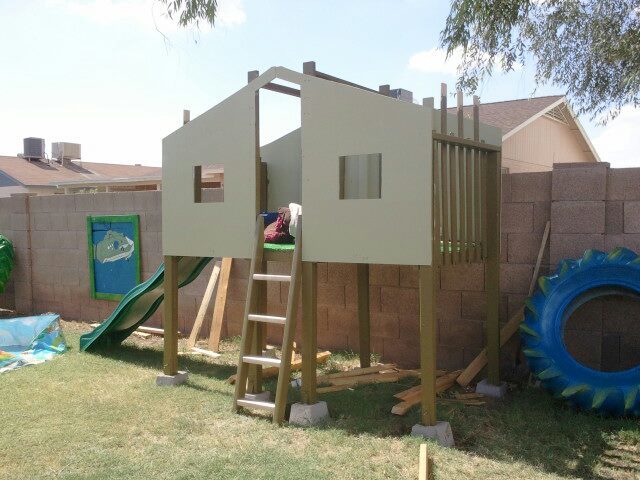
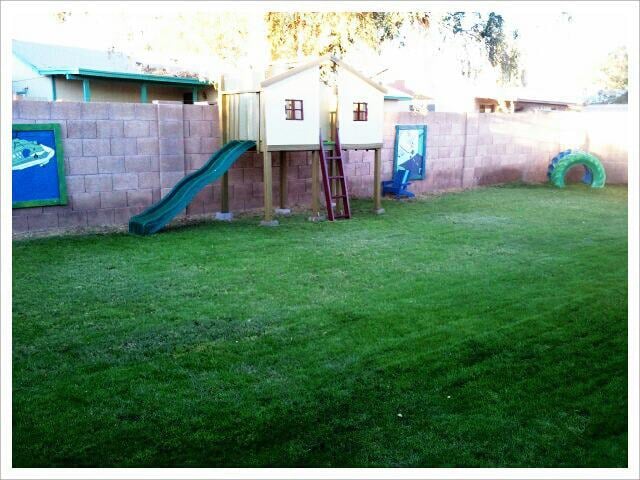
ClubHouse FORT
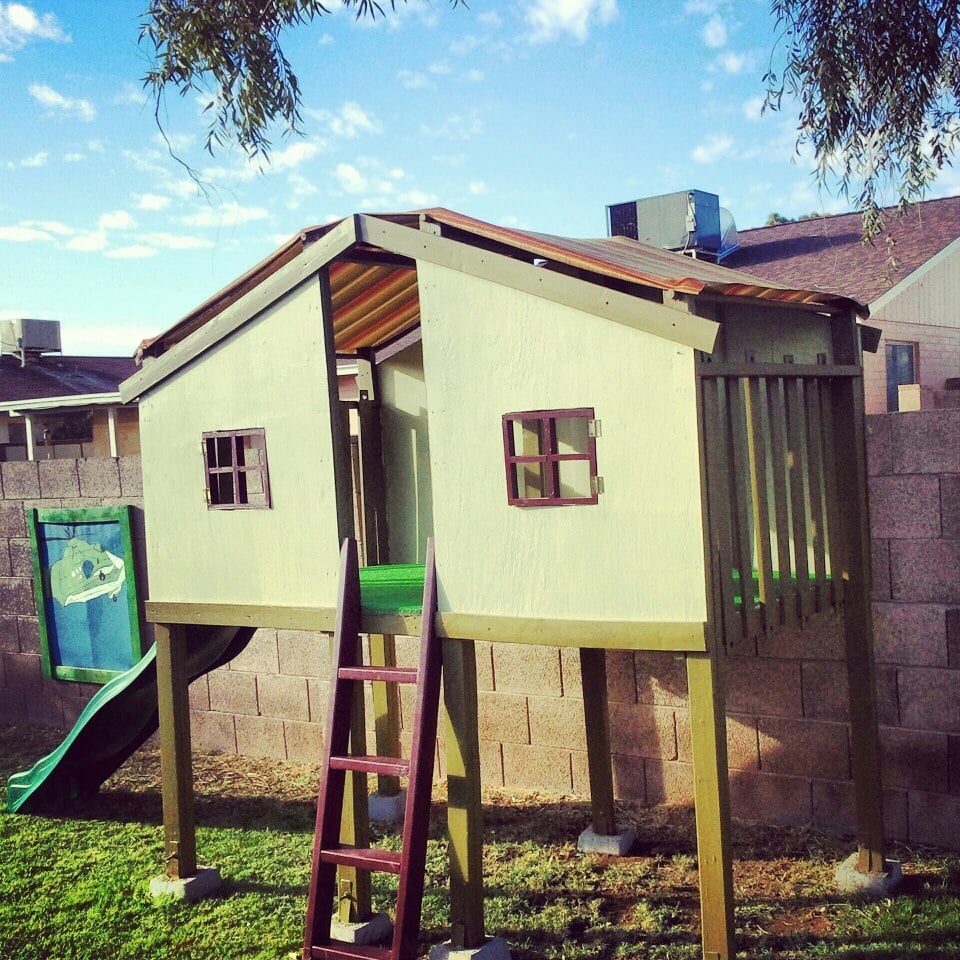
My sons awesome fort. It took some time to complete, as I was doing it on my own. The balancing and juggling act when attaching a few pieces would of made some priceless videos. I used plans from " Clubhouse Bed" as a general guide.


Built from Plan(s)
Estimated Cost
400.00
Estimated Time Investment
Week Long Project (20 Hours or More)
Finish Used
Outdoor Paint
Recommended Skill Level
Beginner
Comments
Fri, 02/08/2013 - 17:39
Fantastic!!
You did this all by yourself??? This is just fantastic...lucky little boy!!
In reply to Fantastic!! by Linda7
Sat, 02/09/2013 - 07:55
I did.. Thank you so much
I did.. Thank you so much

Mon, 02/11/2013 - 06:28
Wowsa!
I'm seriously impressed you did this by yourself. Not that you aren't able, but the fact that there are so many big pieces which would have been really awkward and cumbersome with just one person. Beautiful job! Love the screen name, too, definitely fits!
Mon, 02/11/2013 - 06:28
Wowsa!
I'm seriously impressed you did this by yourself. Not that you aren't able, but the fact that there are so many big pieces which would have been really awkward and cumbersome with just one person. Beautiful job! Love the screen name, too, definitely fits!
Tue, 02/12/2013 - 08:05
thank you so much.. thank
thank you so much.. thank goodness I had a toddler trampoline to help hold at times as well as a ladder that allows me to pick its height and hold the floor up for me to at least get the bottom on
Ashley Makes: Rustic X Console (Minus the X)
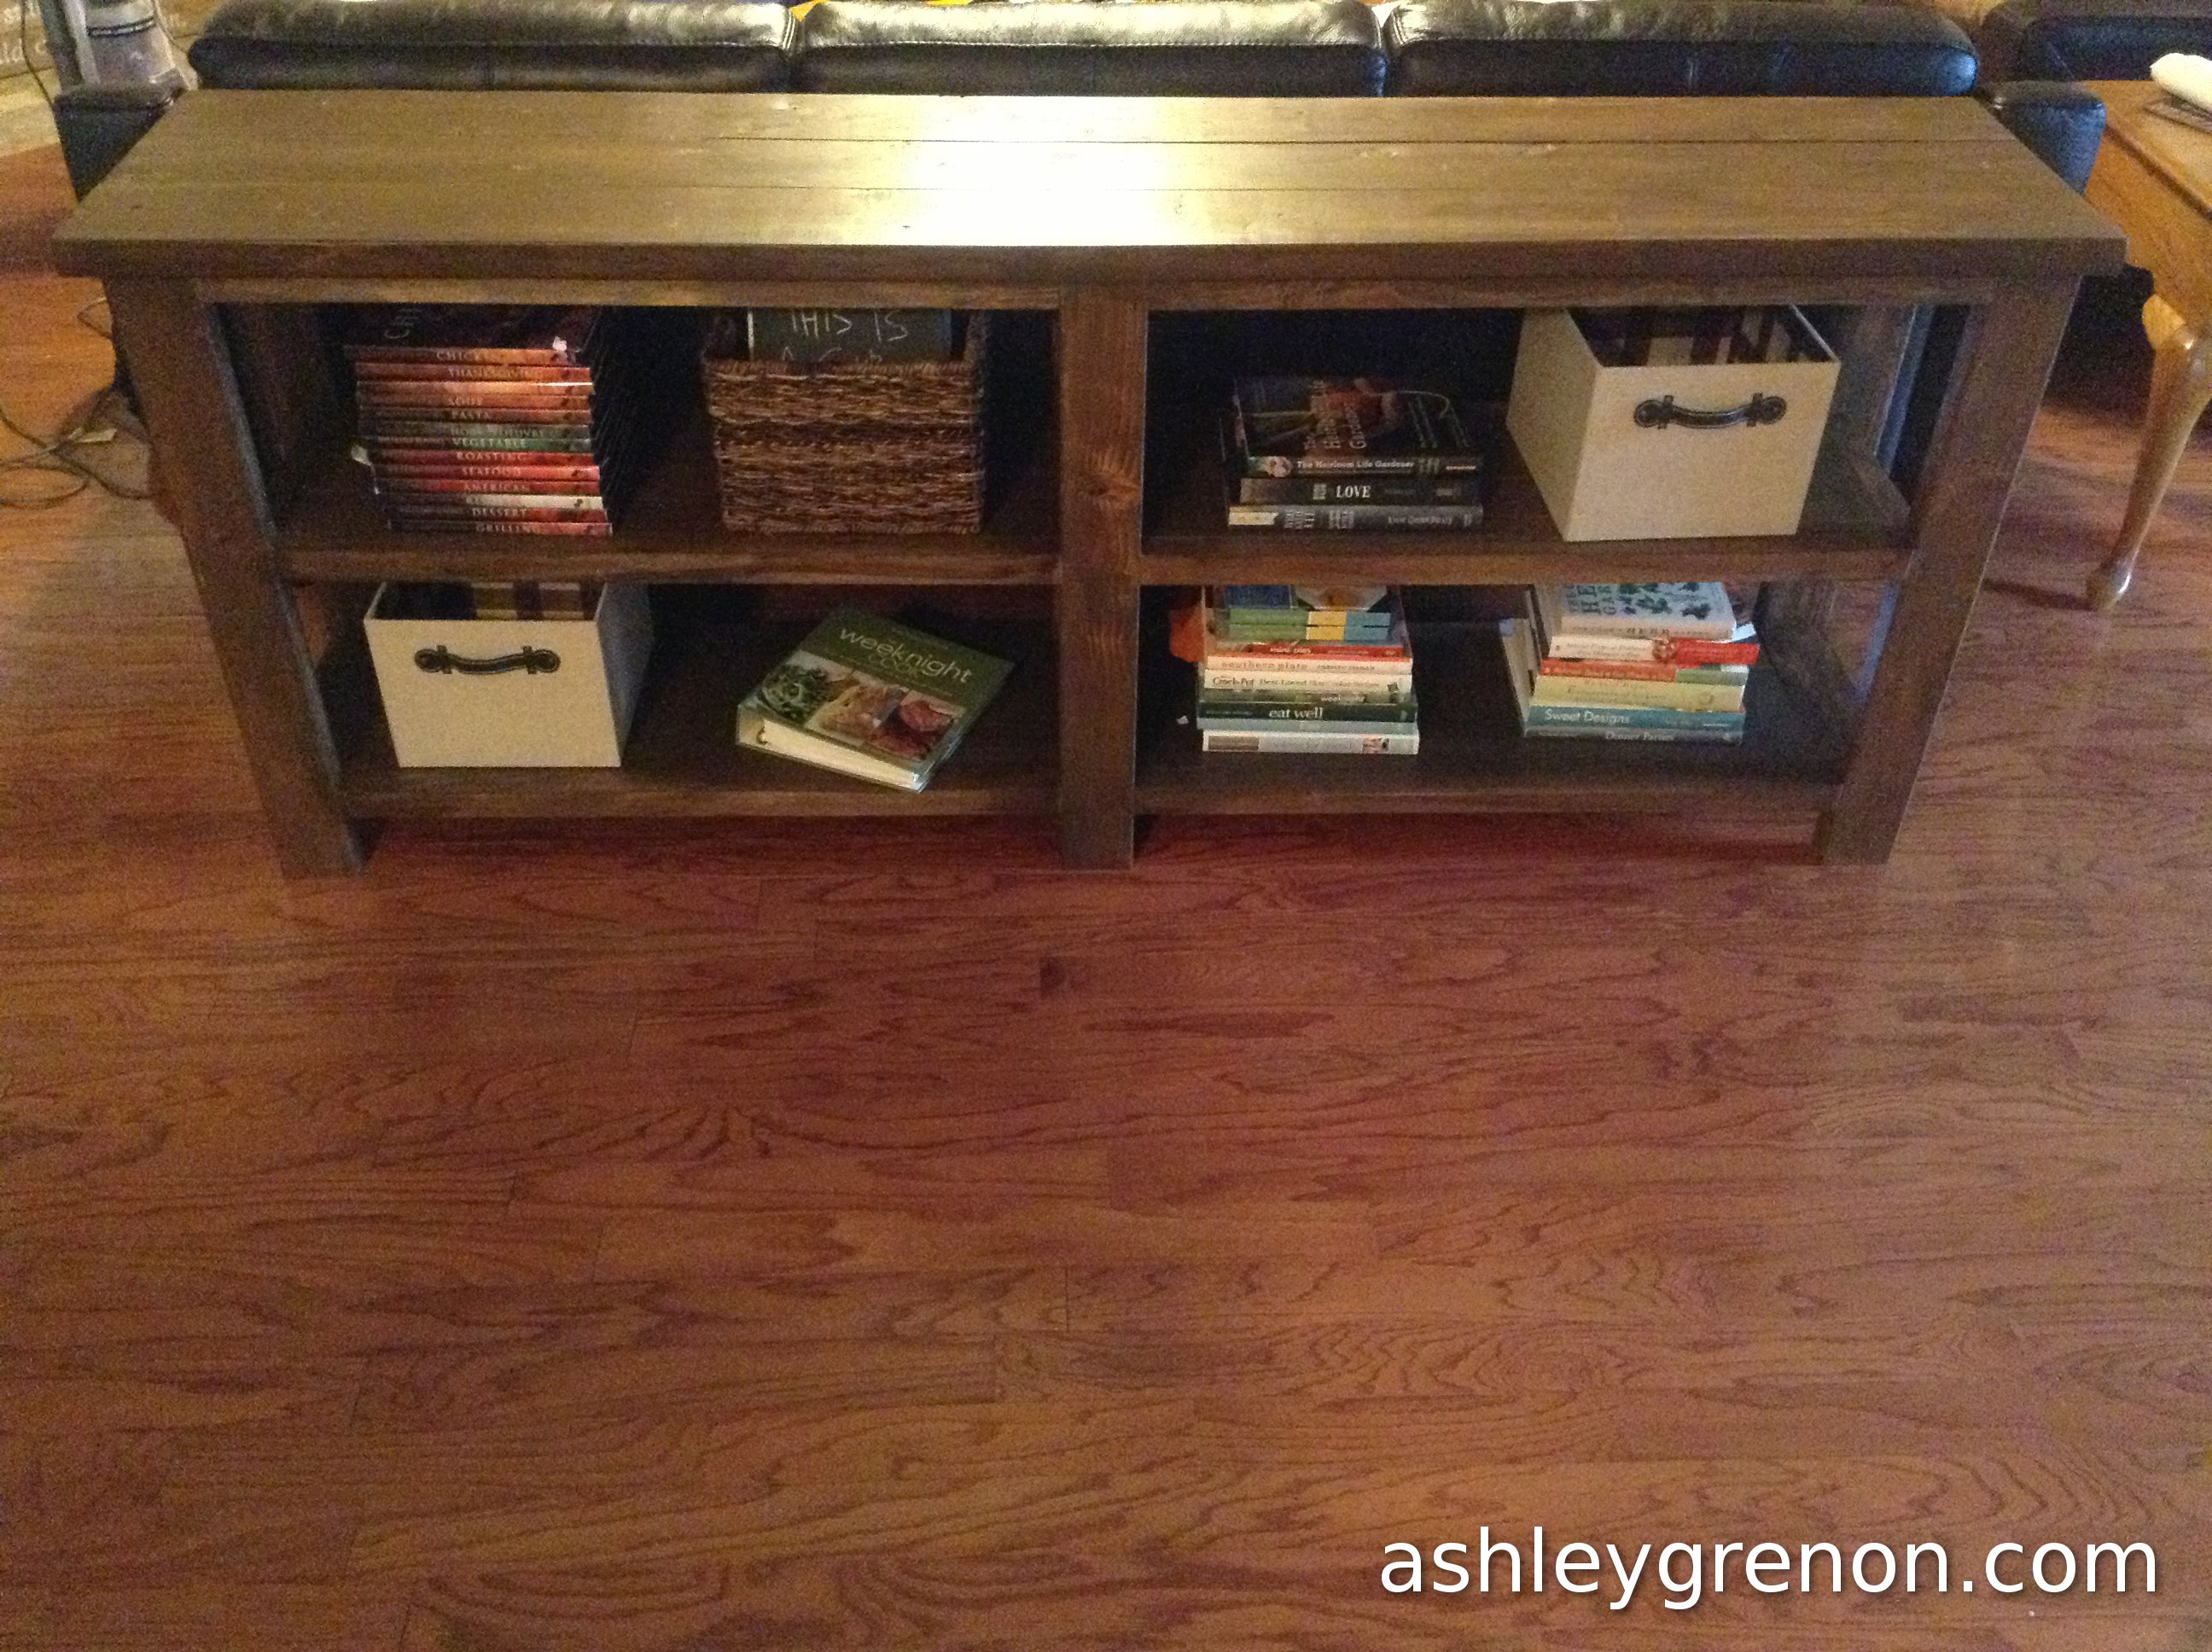
I built the Rustic X Console to store my growing collection of cookbooks. The plans were pretty easy to follow. I really struggled with warped boards!
You can check out my blog entry for more photos and details.
Built from Plan(s)
Estimated Time Investment
Week Long Project (20 Hours or More)
Finish Used
Rust-Oleum's Early American and Vermont Natural Coating PolyWhey Stain
Recommended Skill Level
Intermediate
First piece!
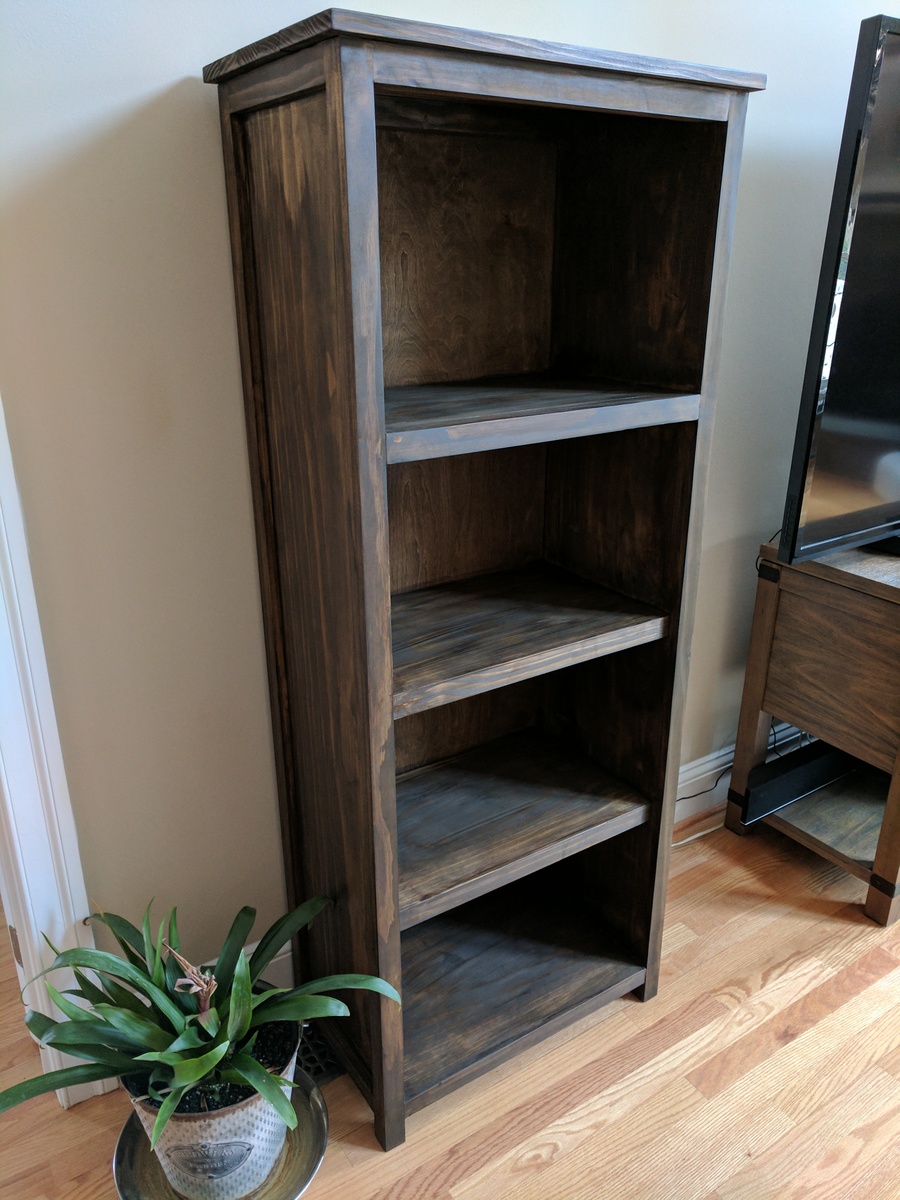
Used this plan as a "practice" platform for a larger version in the future. Very simple yet nice design. I would prefer to hide some pocket holes on the sides to avoid the extra work of plugging them next time. Also, Lauan plywood panels are cost effective way of finishing the back.
Estimated Cost
150
Estimated Time Investment
Day Project (6-9 Hours)
Finish Used
Wenge semi transparent
Recommended Skill Level
Beginner

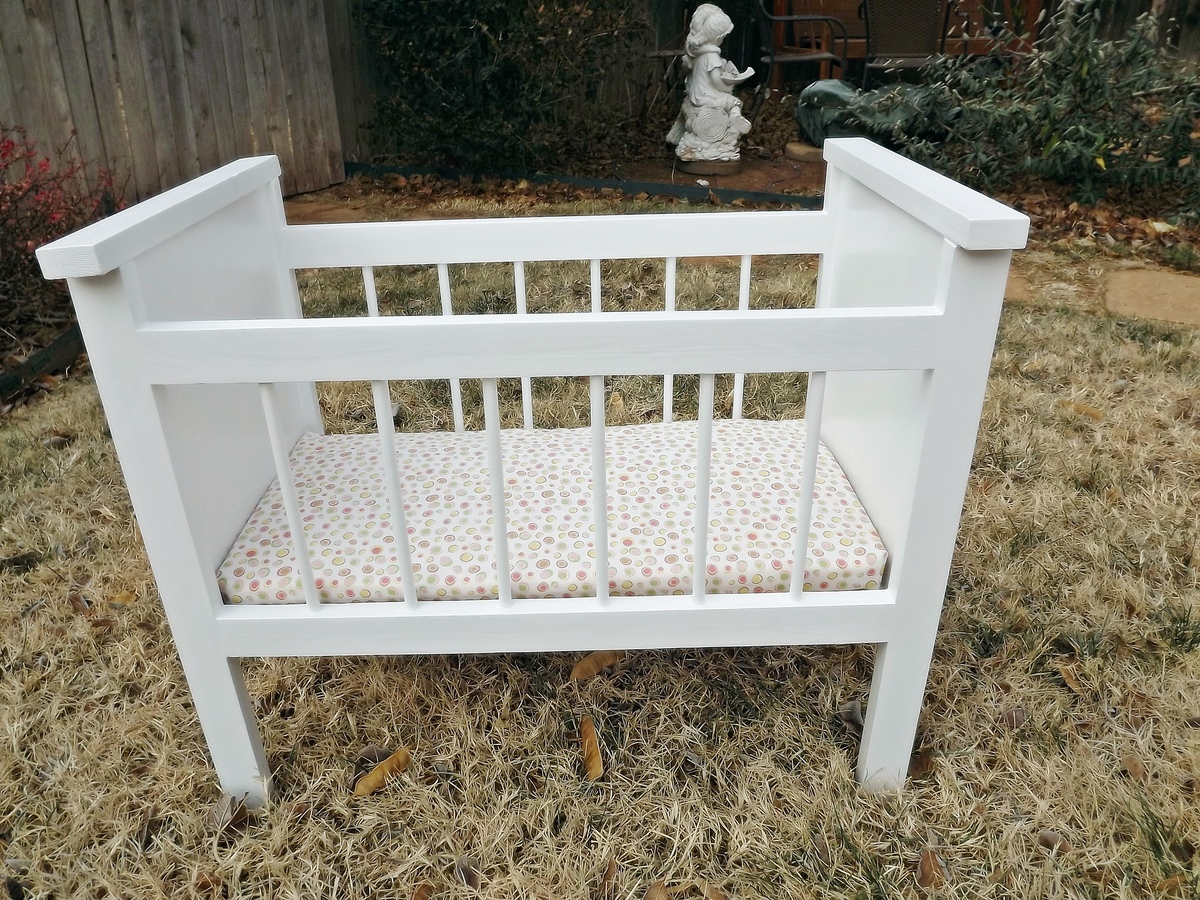
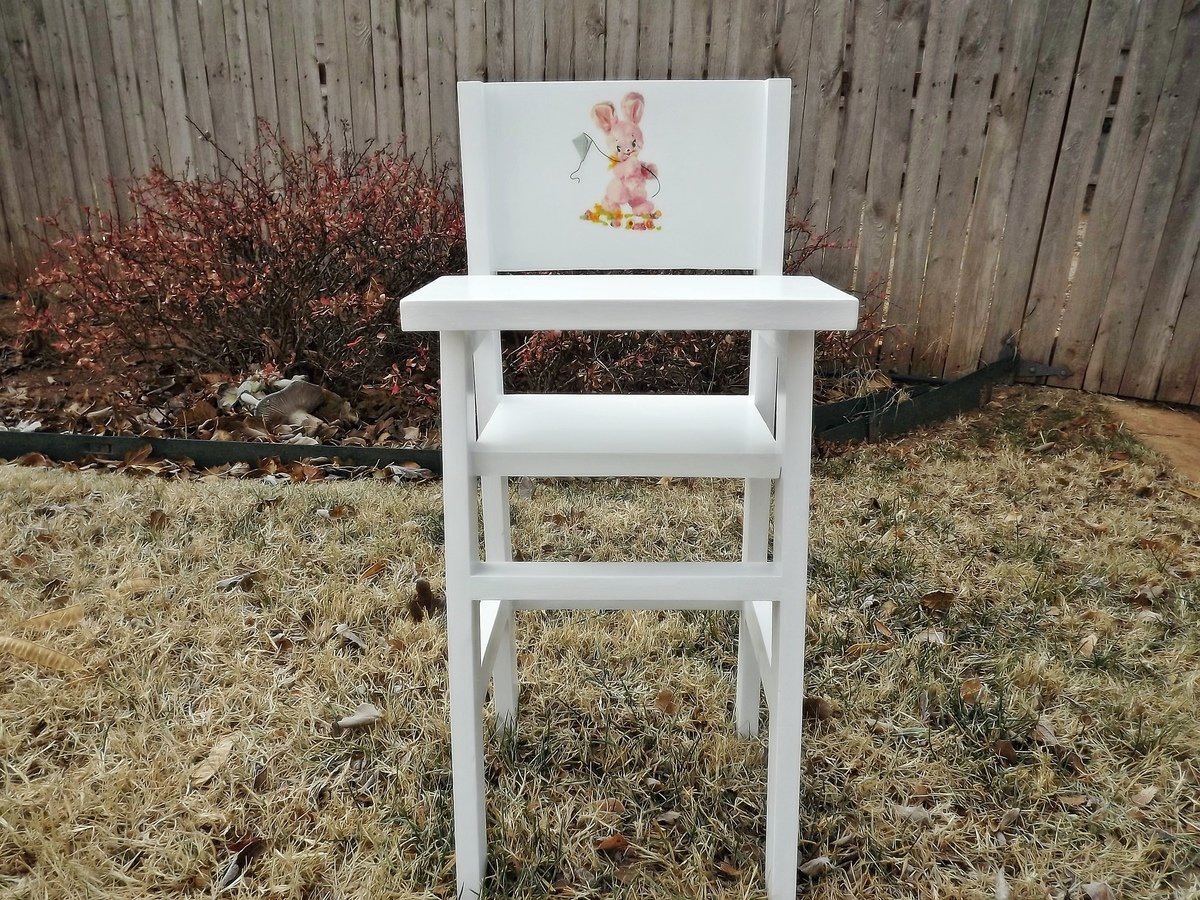
Fancy Baby Doll Crib and High Chair
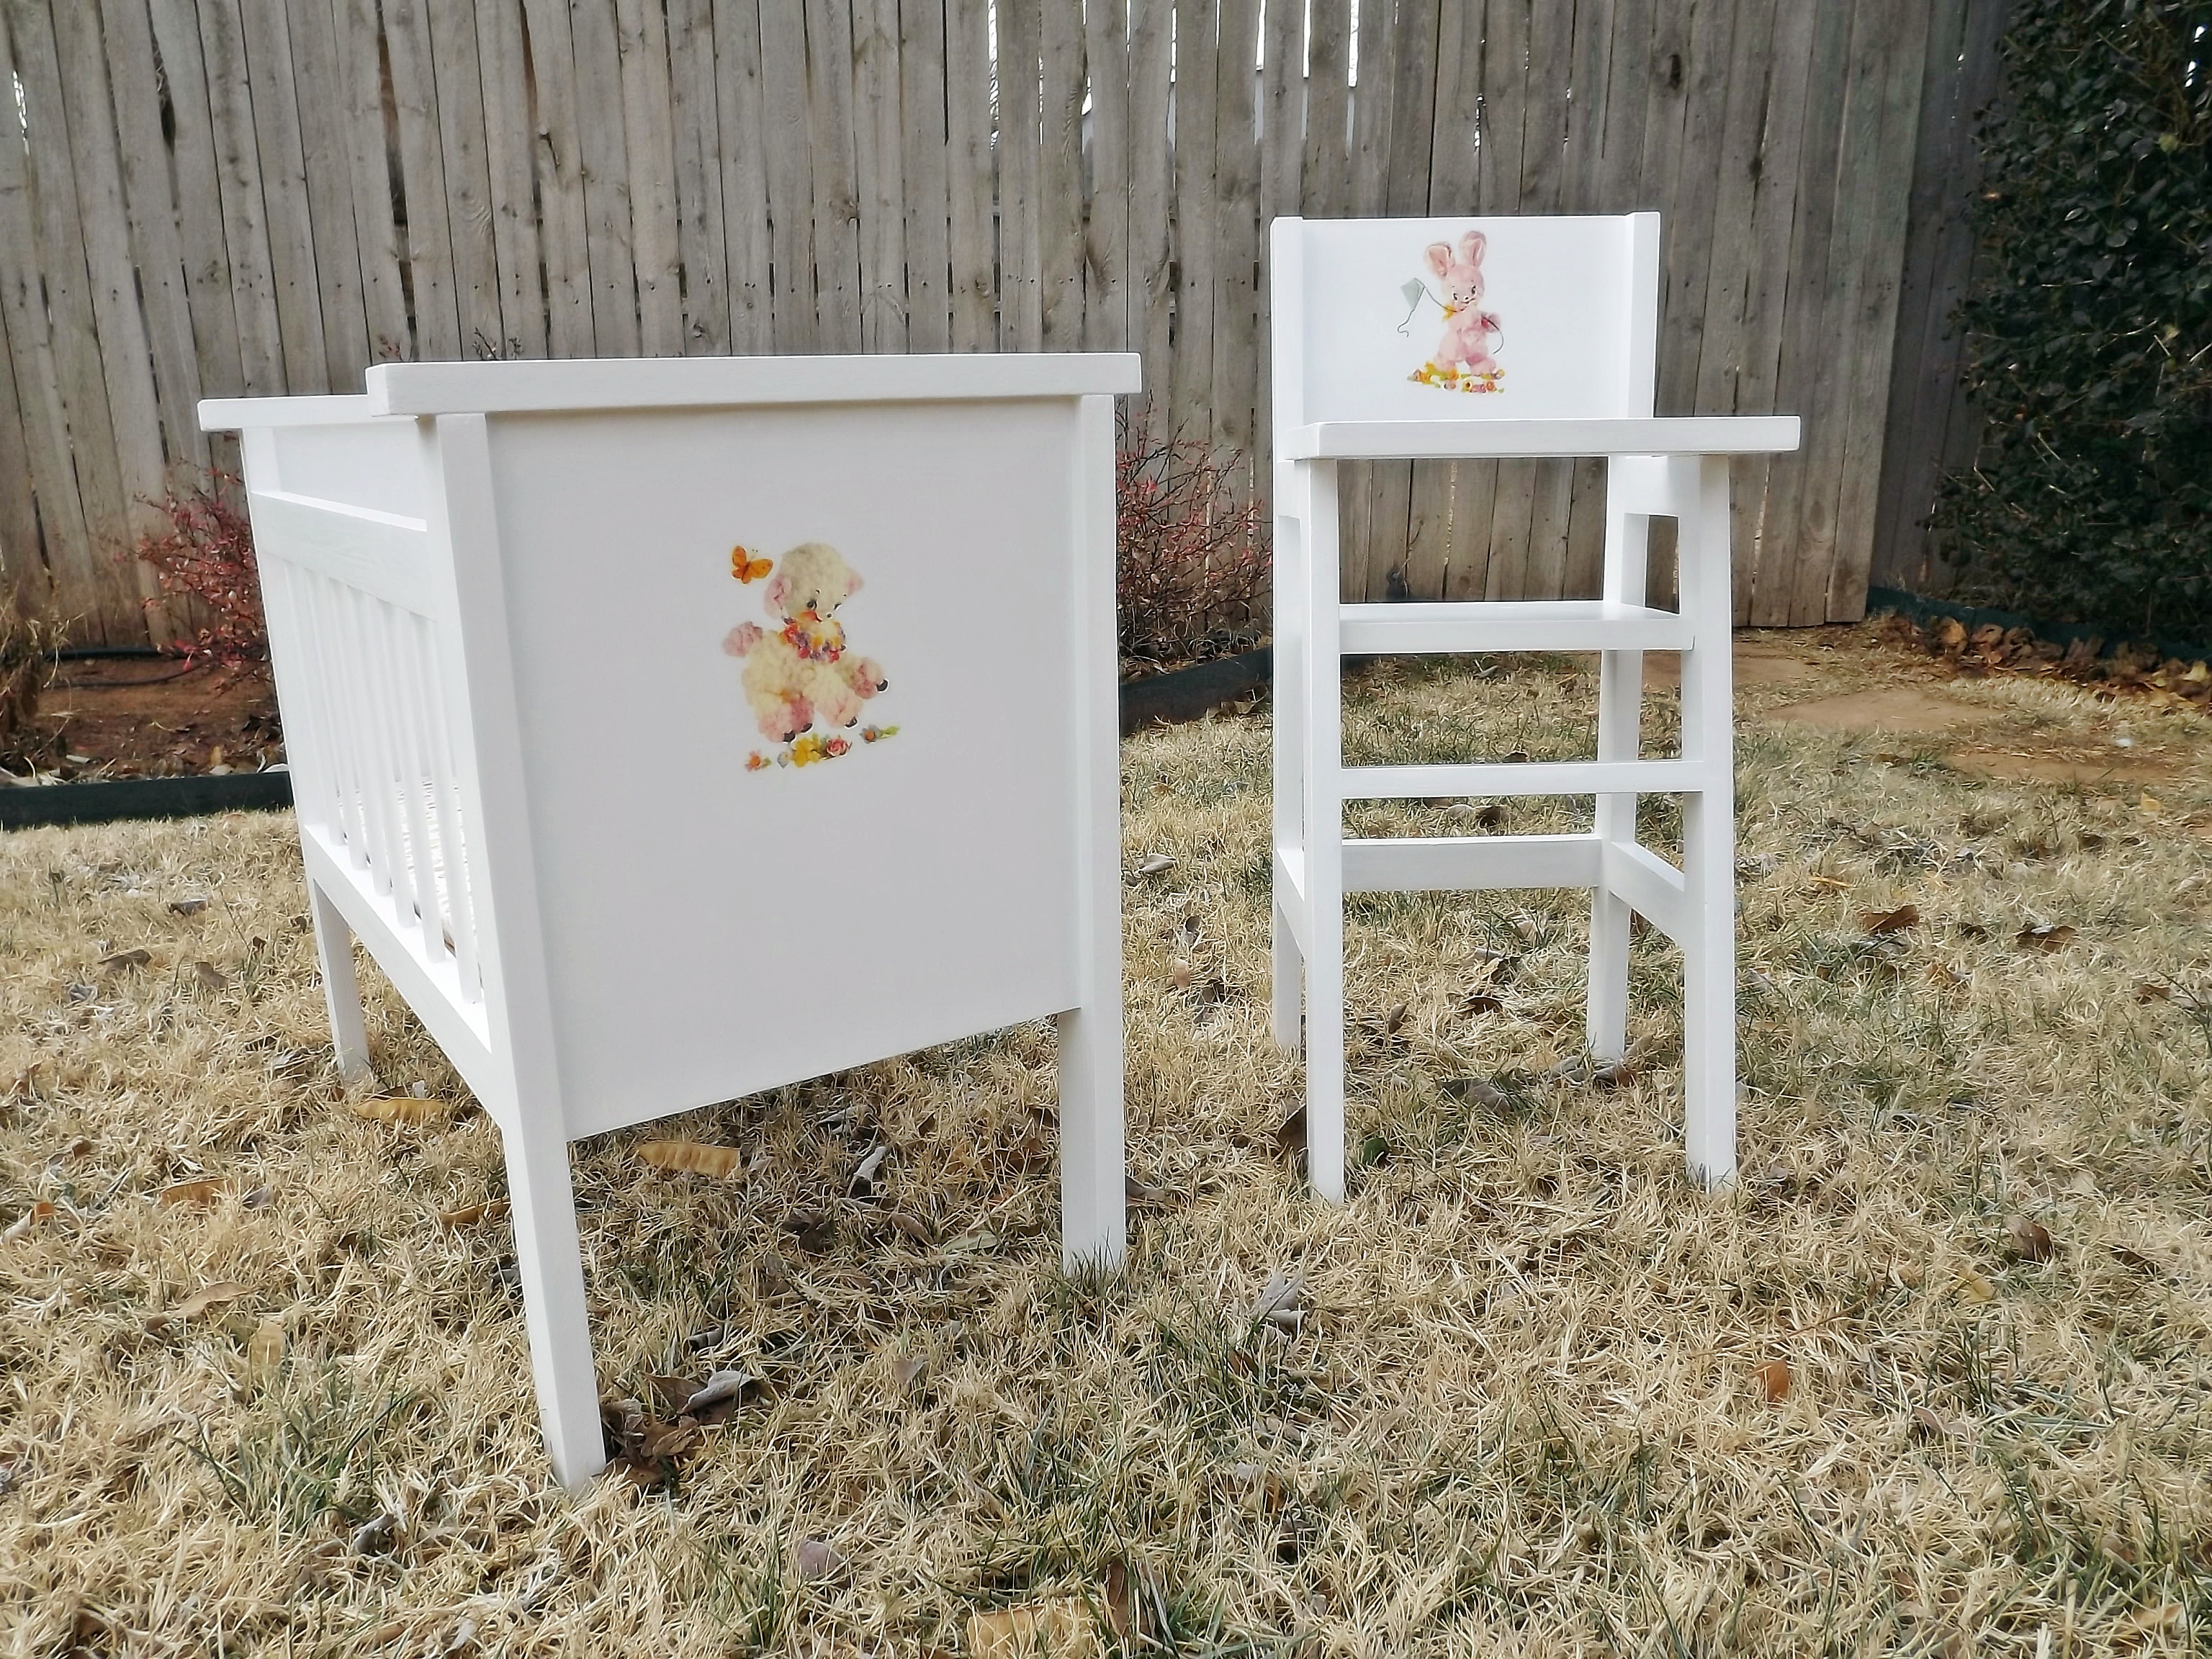
This is the final installment (#6) in the doll bed and high chair sets I've been building my great nieces. Each set was decorated with a lamb water-slip decal on the end of the bed (kind of a little theme going). This is the second crib I've built with dowels - I usually use 1" x 2"s - and I learned to use a spade drill bit rather than a regular drill bit. It doesn't split the wood around the holes. I've had a lot of fun building these for my nieces, and now I may have to start building them for my friends' children and grandchildren. :-)

Built from Plan(s)
Estimated Cost
$20.00-$25.00 not including paint which I had on hand
Estimated Time Investment
Afternoon Project (3-6 Hours)
Finish Used
Kills primer; Olympic bright white interior wall paint, semi-gloss
Recommended Skill Level
Beginner
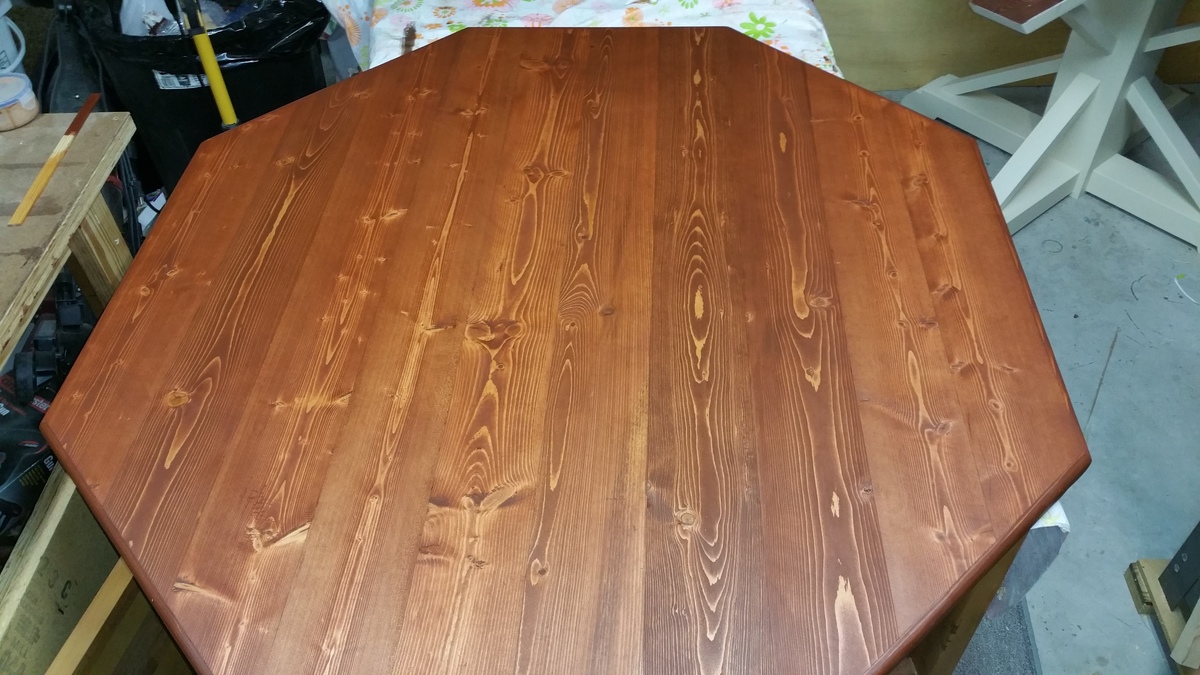
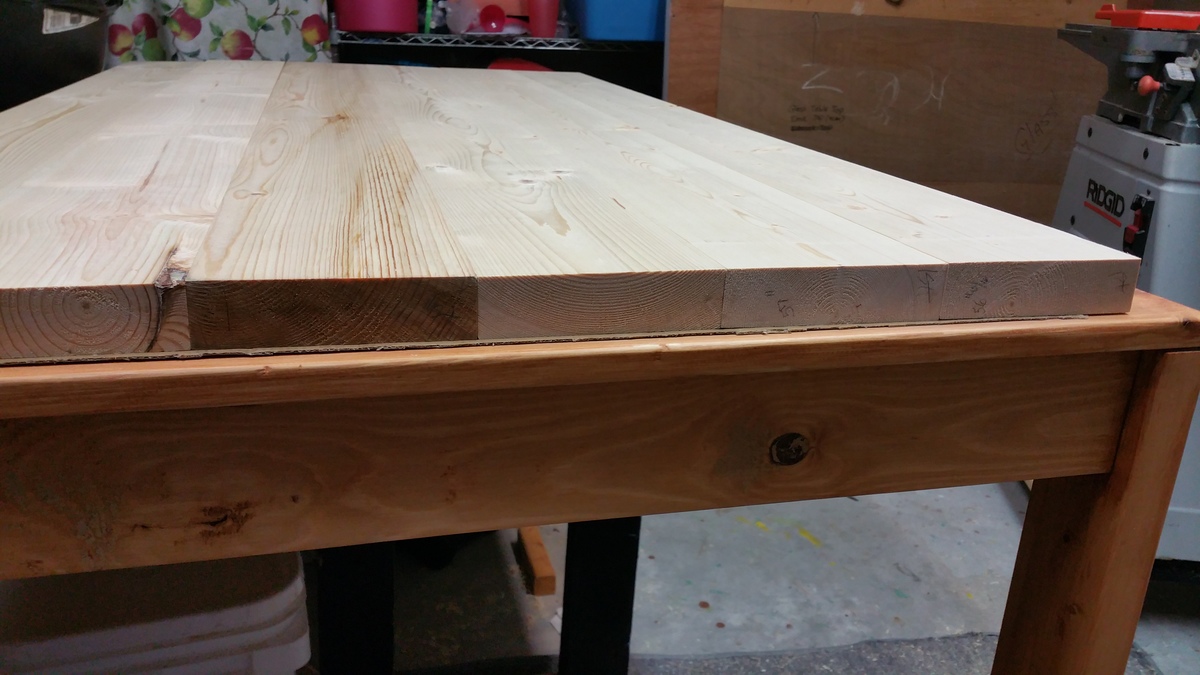
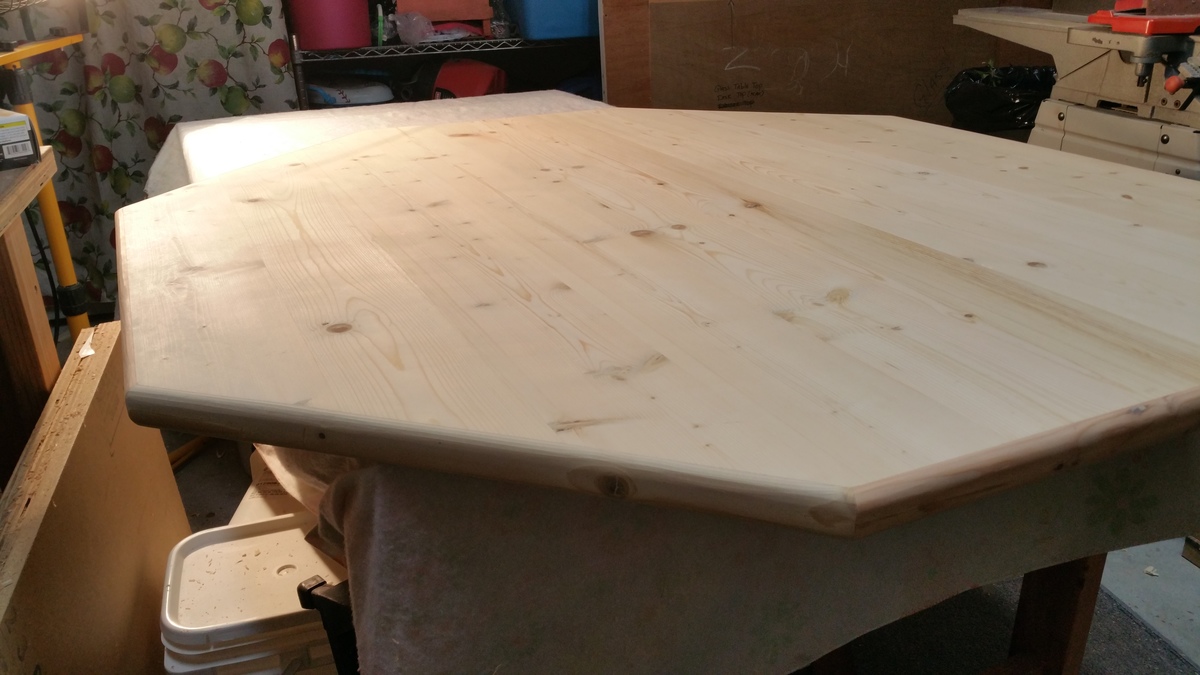
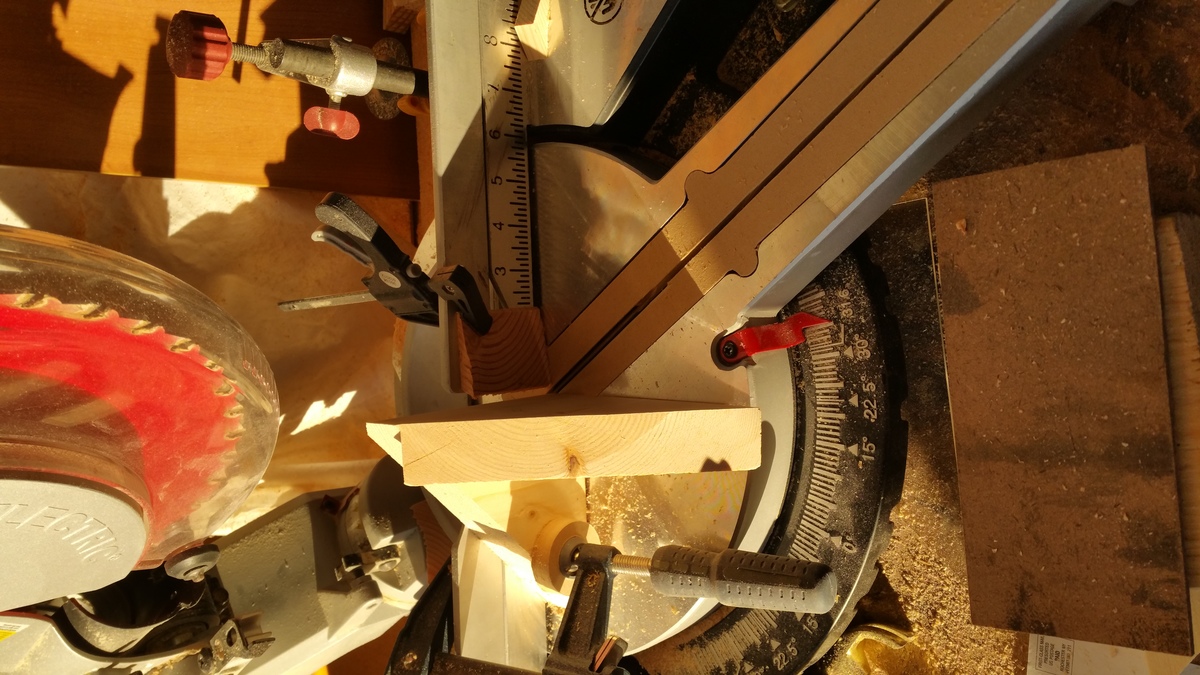
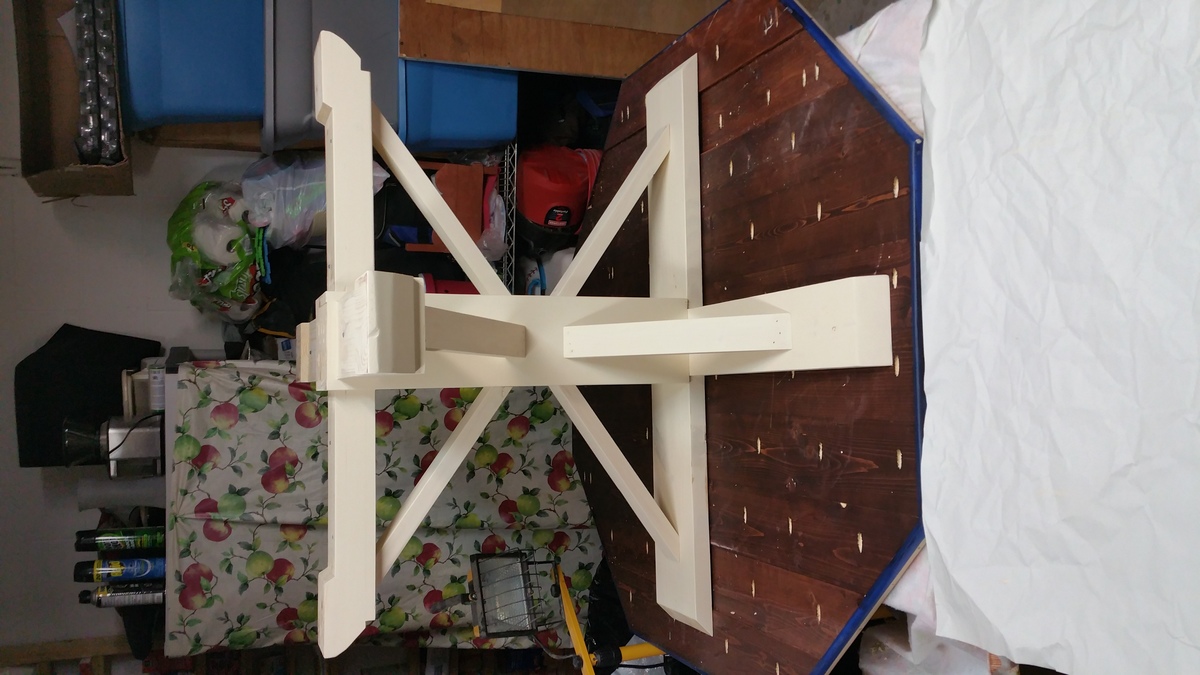
Octagon table with moulding
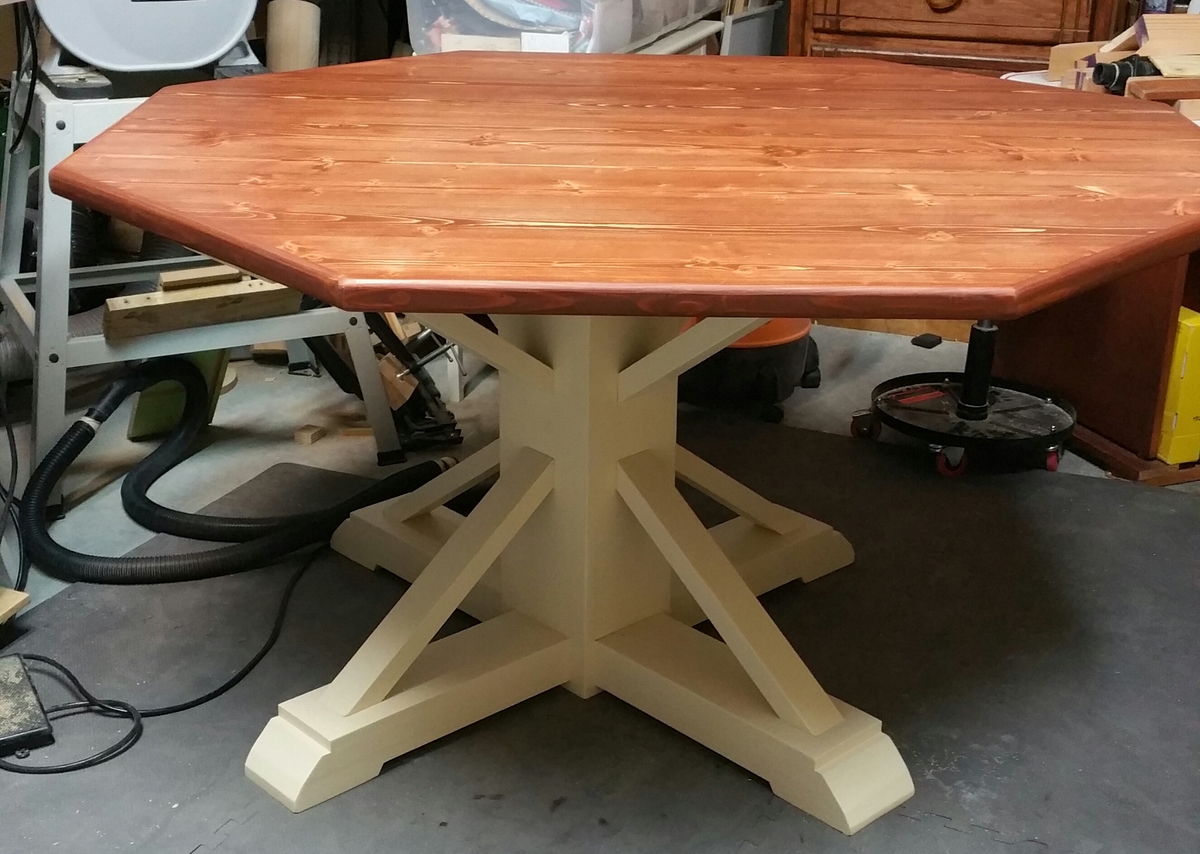
The angles were very challenging. I wanted to replicate the angles of 55 degrees. But of course my saw wouldn't cut them. So I made a quick jig for my miter saw that allowed the supports to be cut on their side just 10 degrees off 45 degrees equaling 55.
Built from Plan(s)
Estimated Cost
I used mostly cull lumber from Home Depot from 2x6s & 2x4s. I made my own moulding from 2x4s. Purchased the 1x8 full price. Around $100 with stain.
Estimated Time Investment
Week Long Project (20 Hours or More)
Finish Used
Varathane cabernet
Varathane matte touch Polyurethane
Applied stain with Terry cloth covered sponge from Harbor Freight.
4" best roller from home Depot for the clear coat.
Varathane matte touch Polyurethane
Applied stain with Terry cloth covered sponge from Harbor Freight.
4" best roller from home Depot for the clear coat.
Recommended Skill Level
Intermediate
Wine Holder
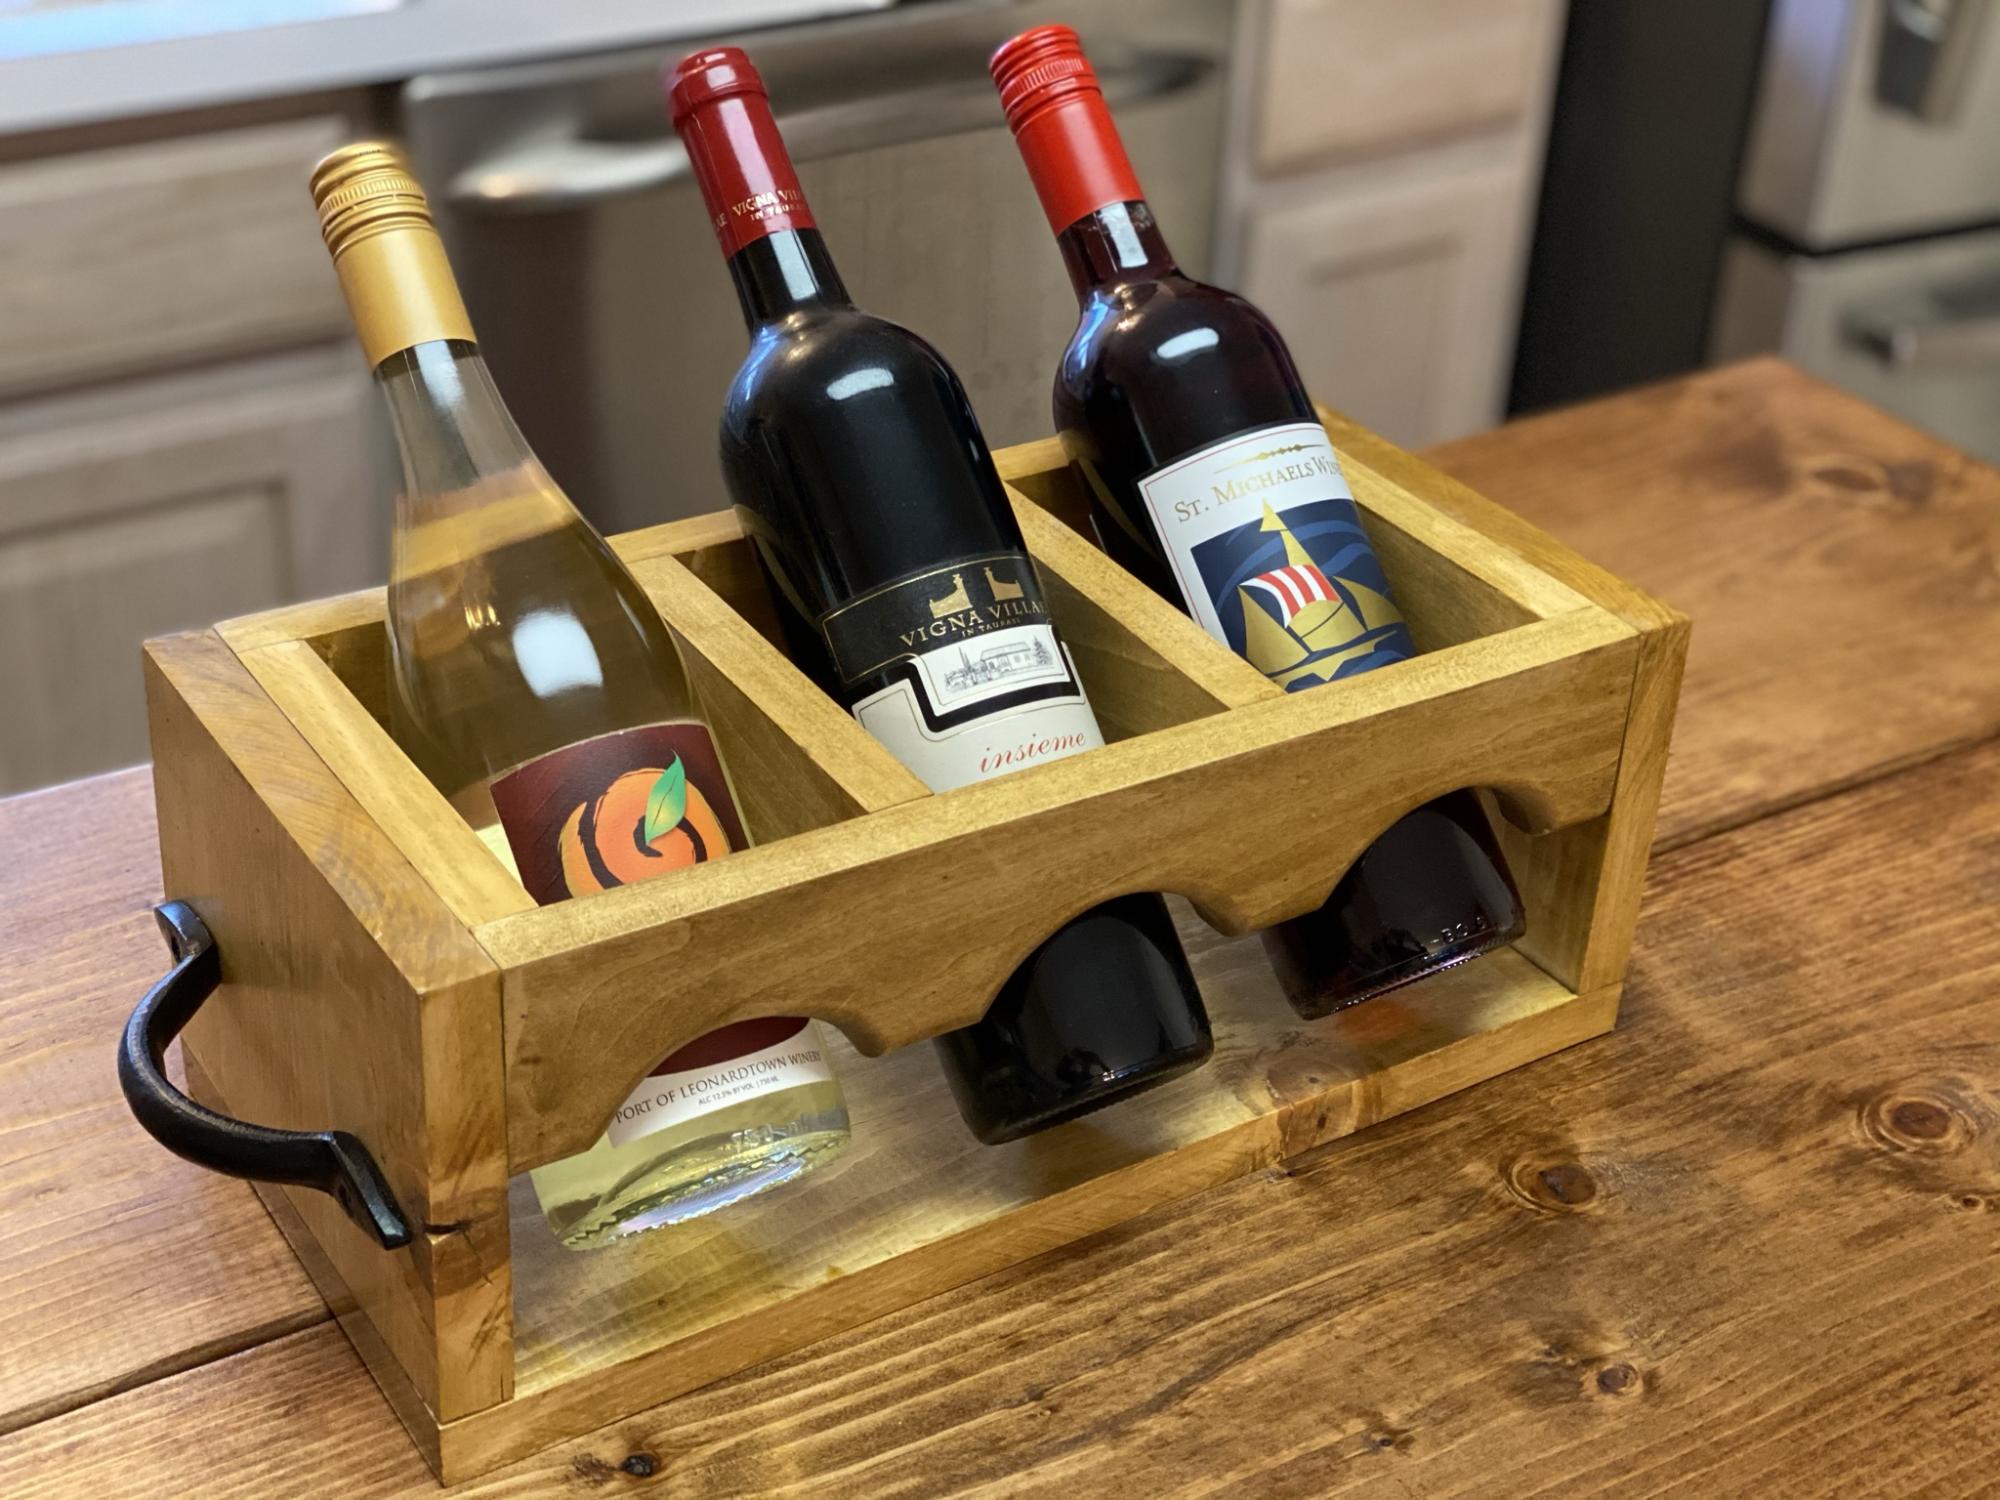
I made the wood wine holder as a Christmas gift for my mother-in-law. It's great! I modified the plans a bit by routing the curved edges with a roundover bit. It was a great project for some scrap Fir I had from a bed project.
Built from Plan(s)
Estimated Cost
$40
Estimated Time Investment
Afternoon Project (3-6 Hours)
Finish Used
Verethane Golden Oak
Recommended Skill Level
Beginner
Farm house bench LOVE IT!!
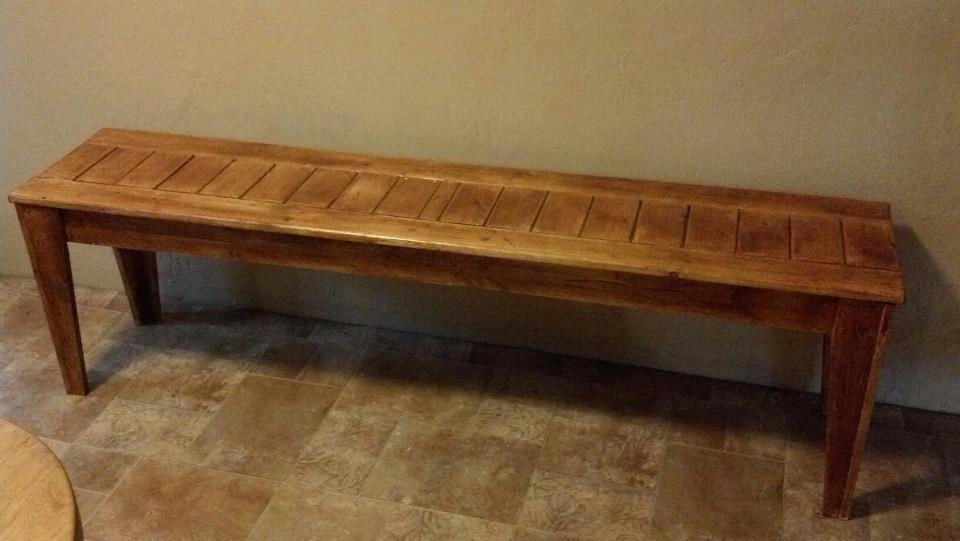
I have hunted for the perfect dining room bench for my large family but they were either to poorly crafted to withstand my crew, to small, or to pricey. Then I found this site showed the farm house bench to my husband and he said, "Hey I can build that!" and build it he did. He changed a few things here and there but the overall finished bench is AMAZING, and I LOVE IT!!! Thanks Ana!
Estimated Time Investment
Afternoon Project (3-6 Hours)
Recommended Skill Level
Beginner
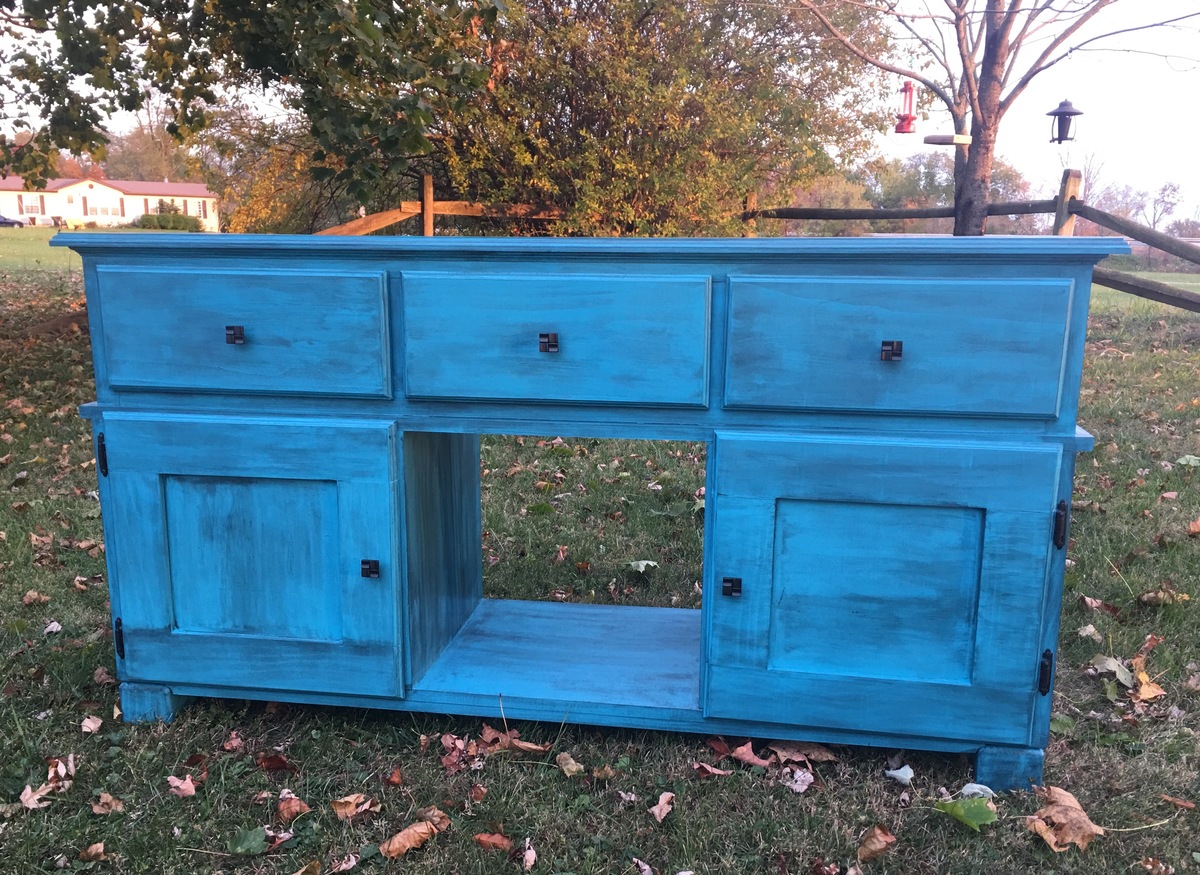
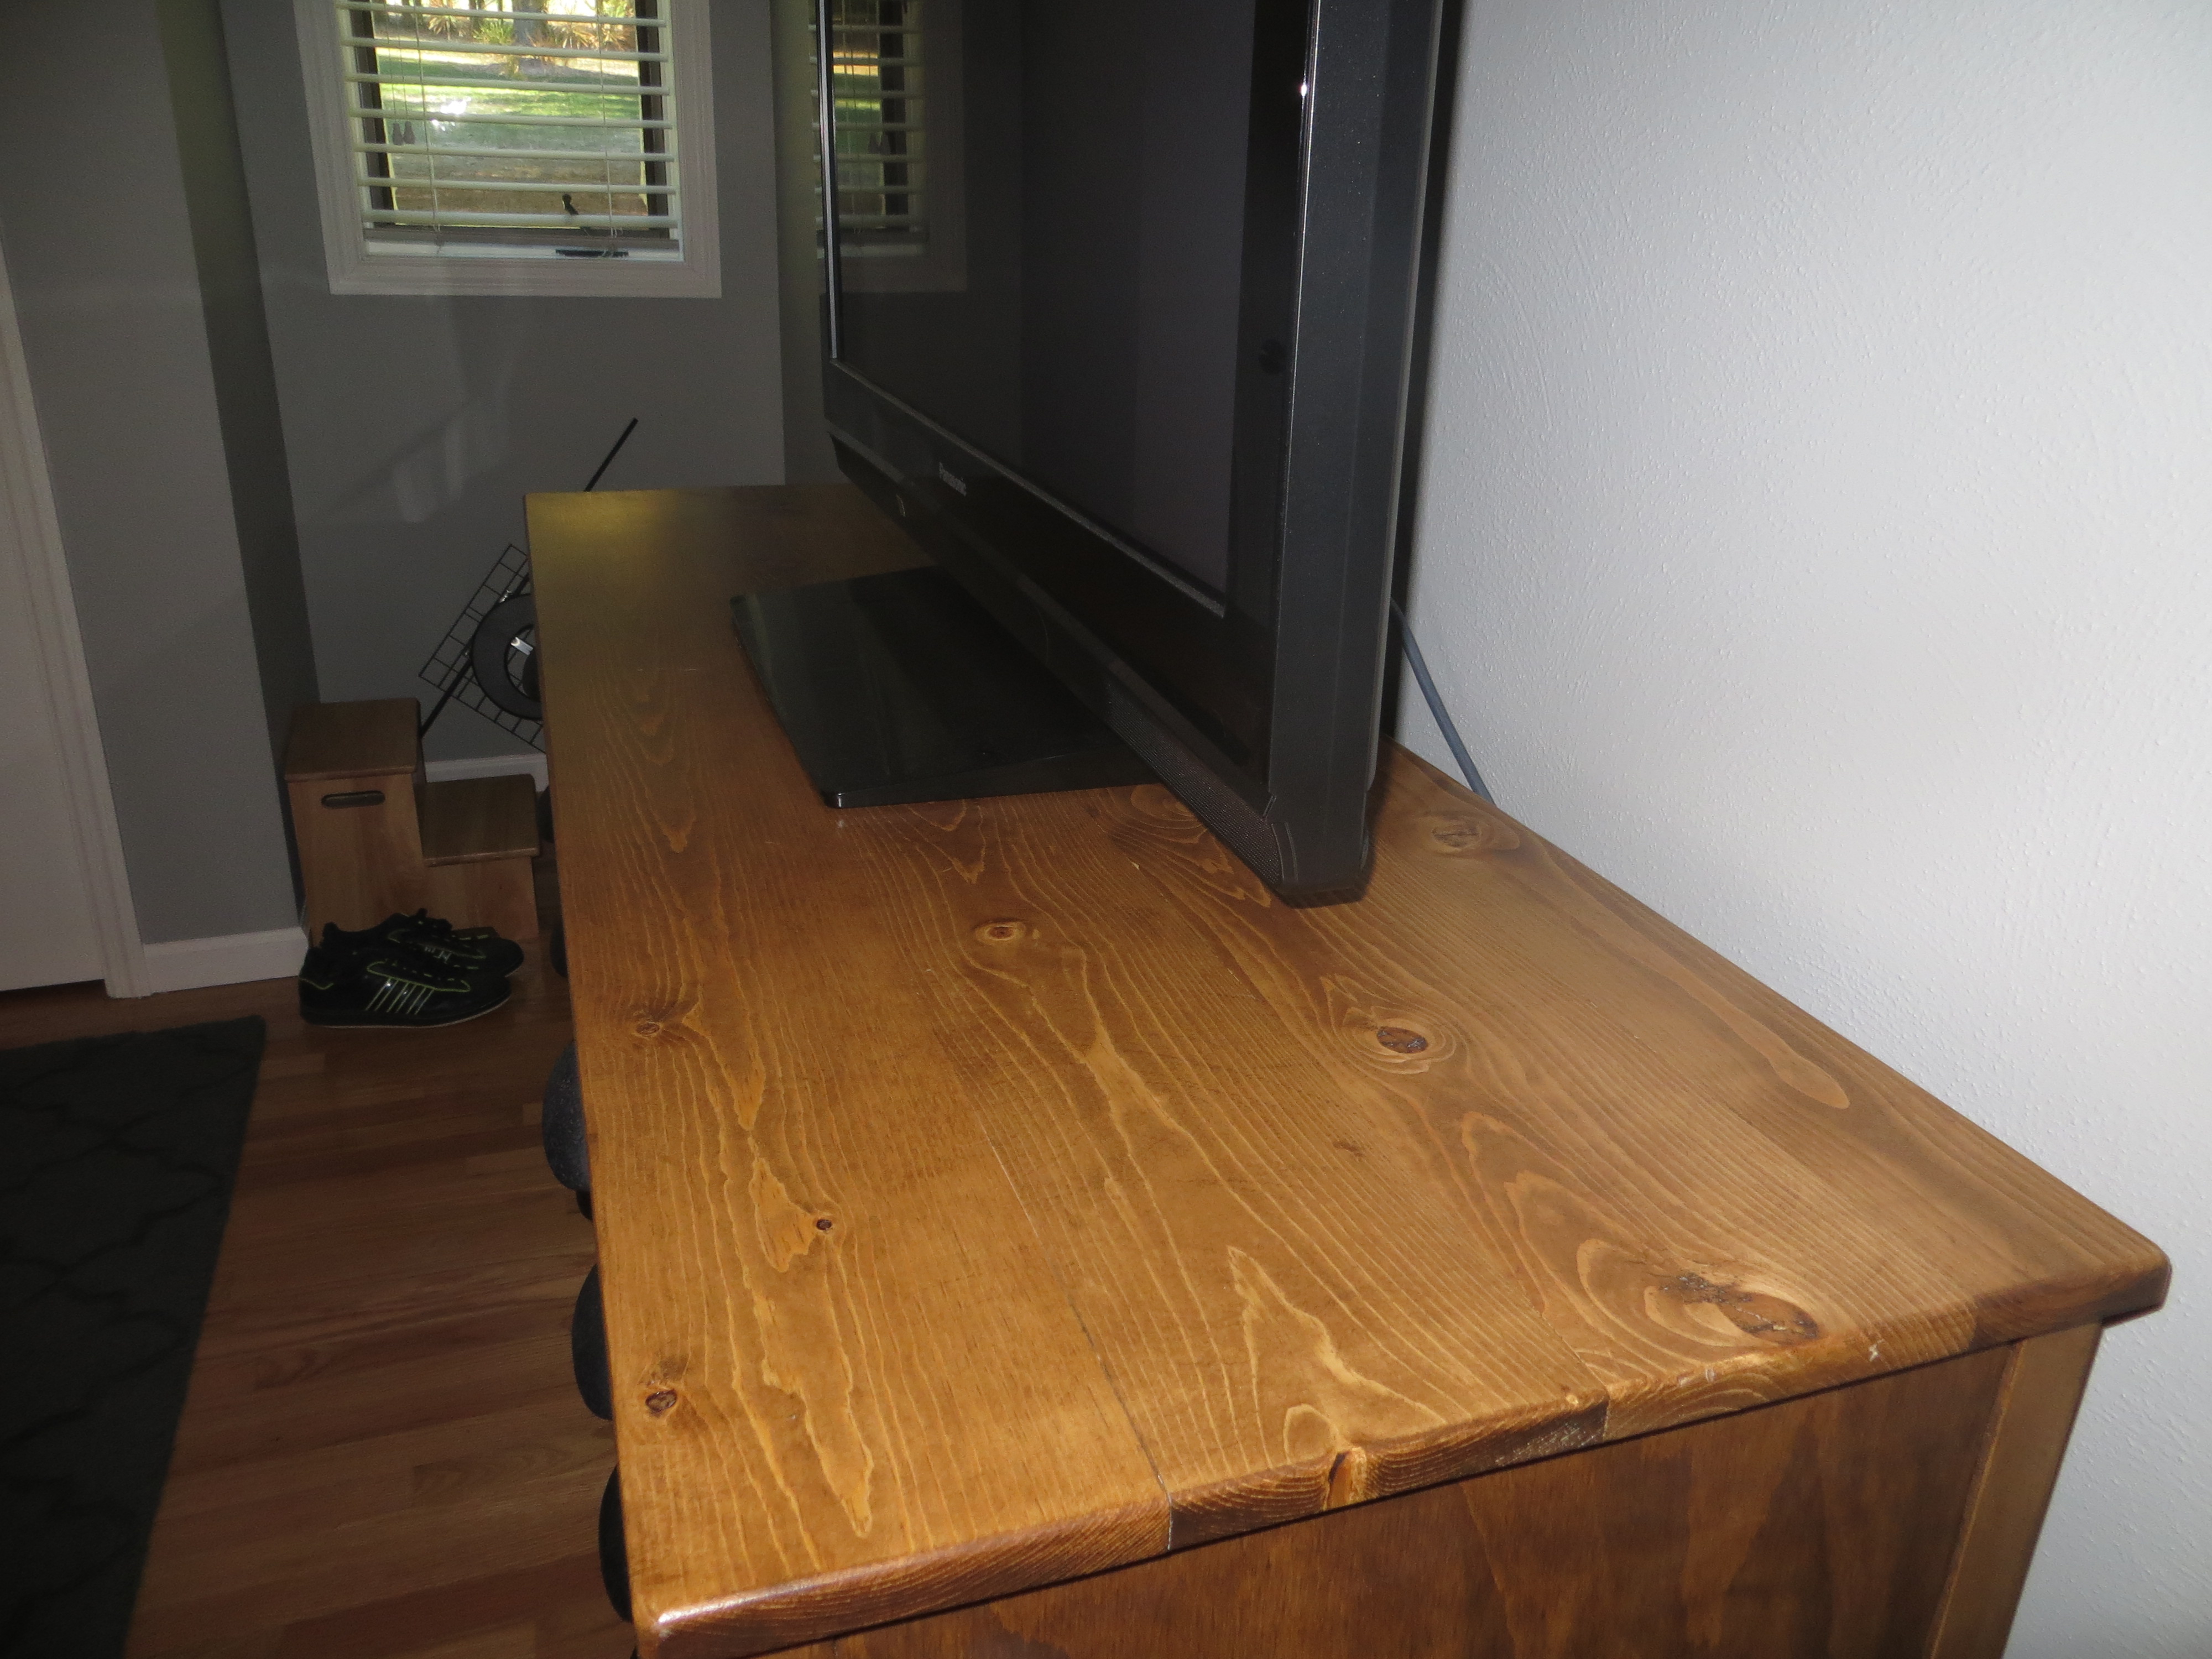
Printer's Console
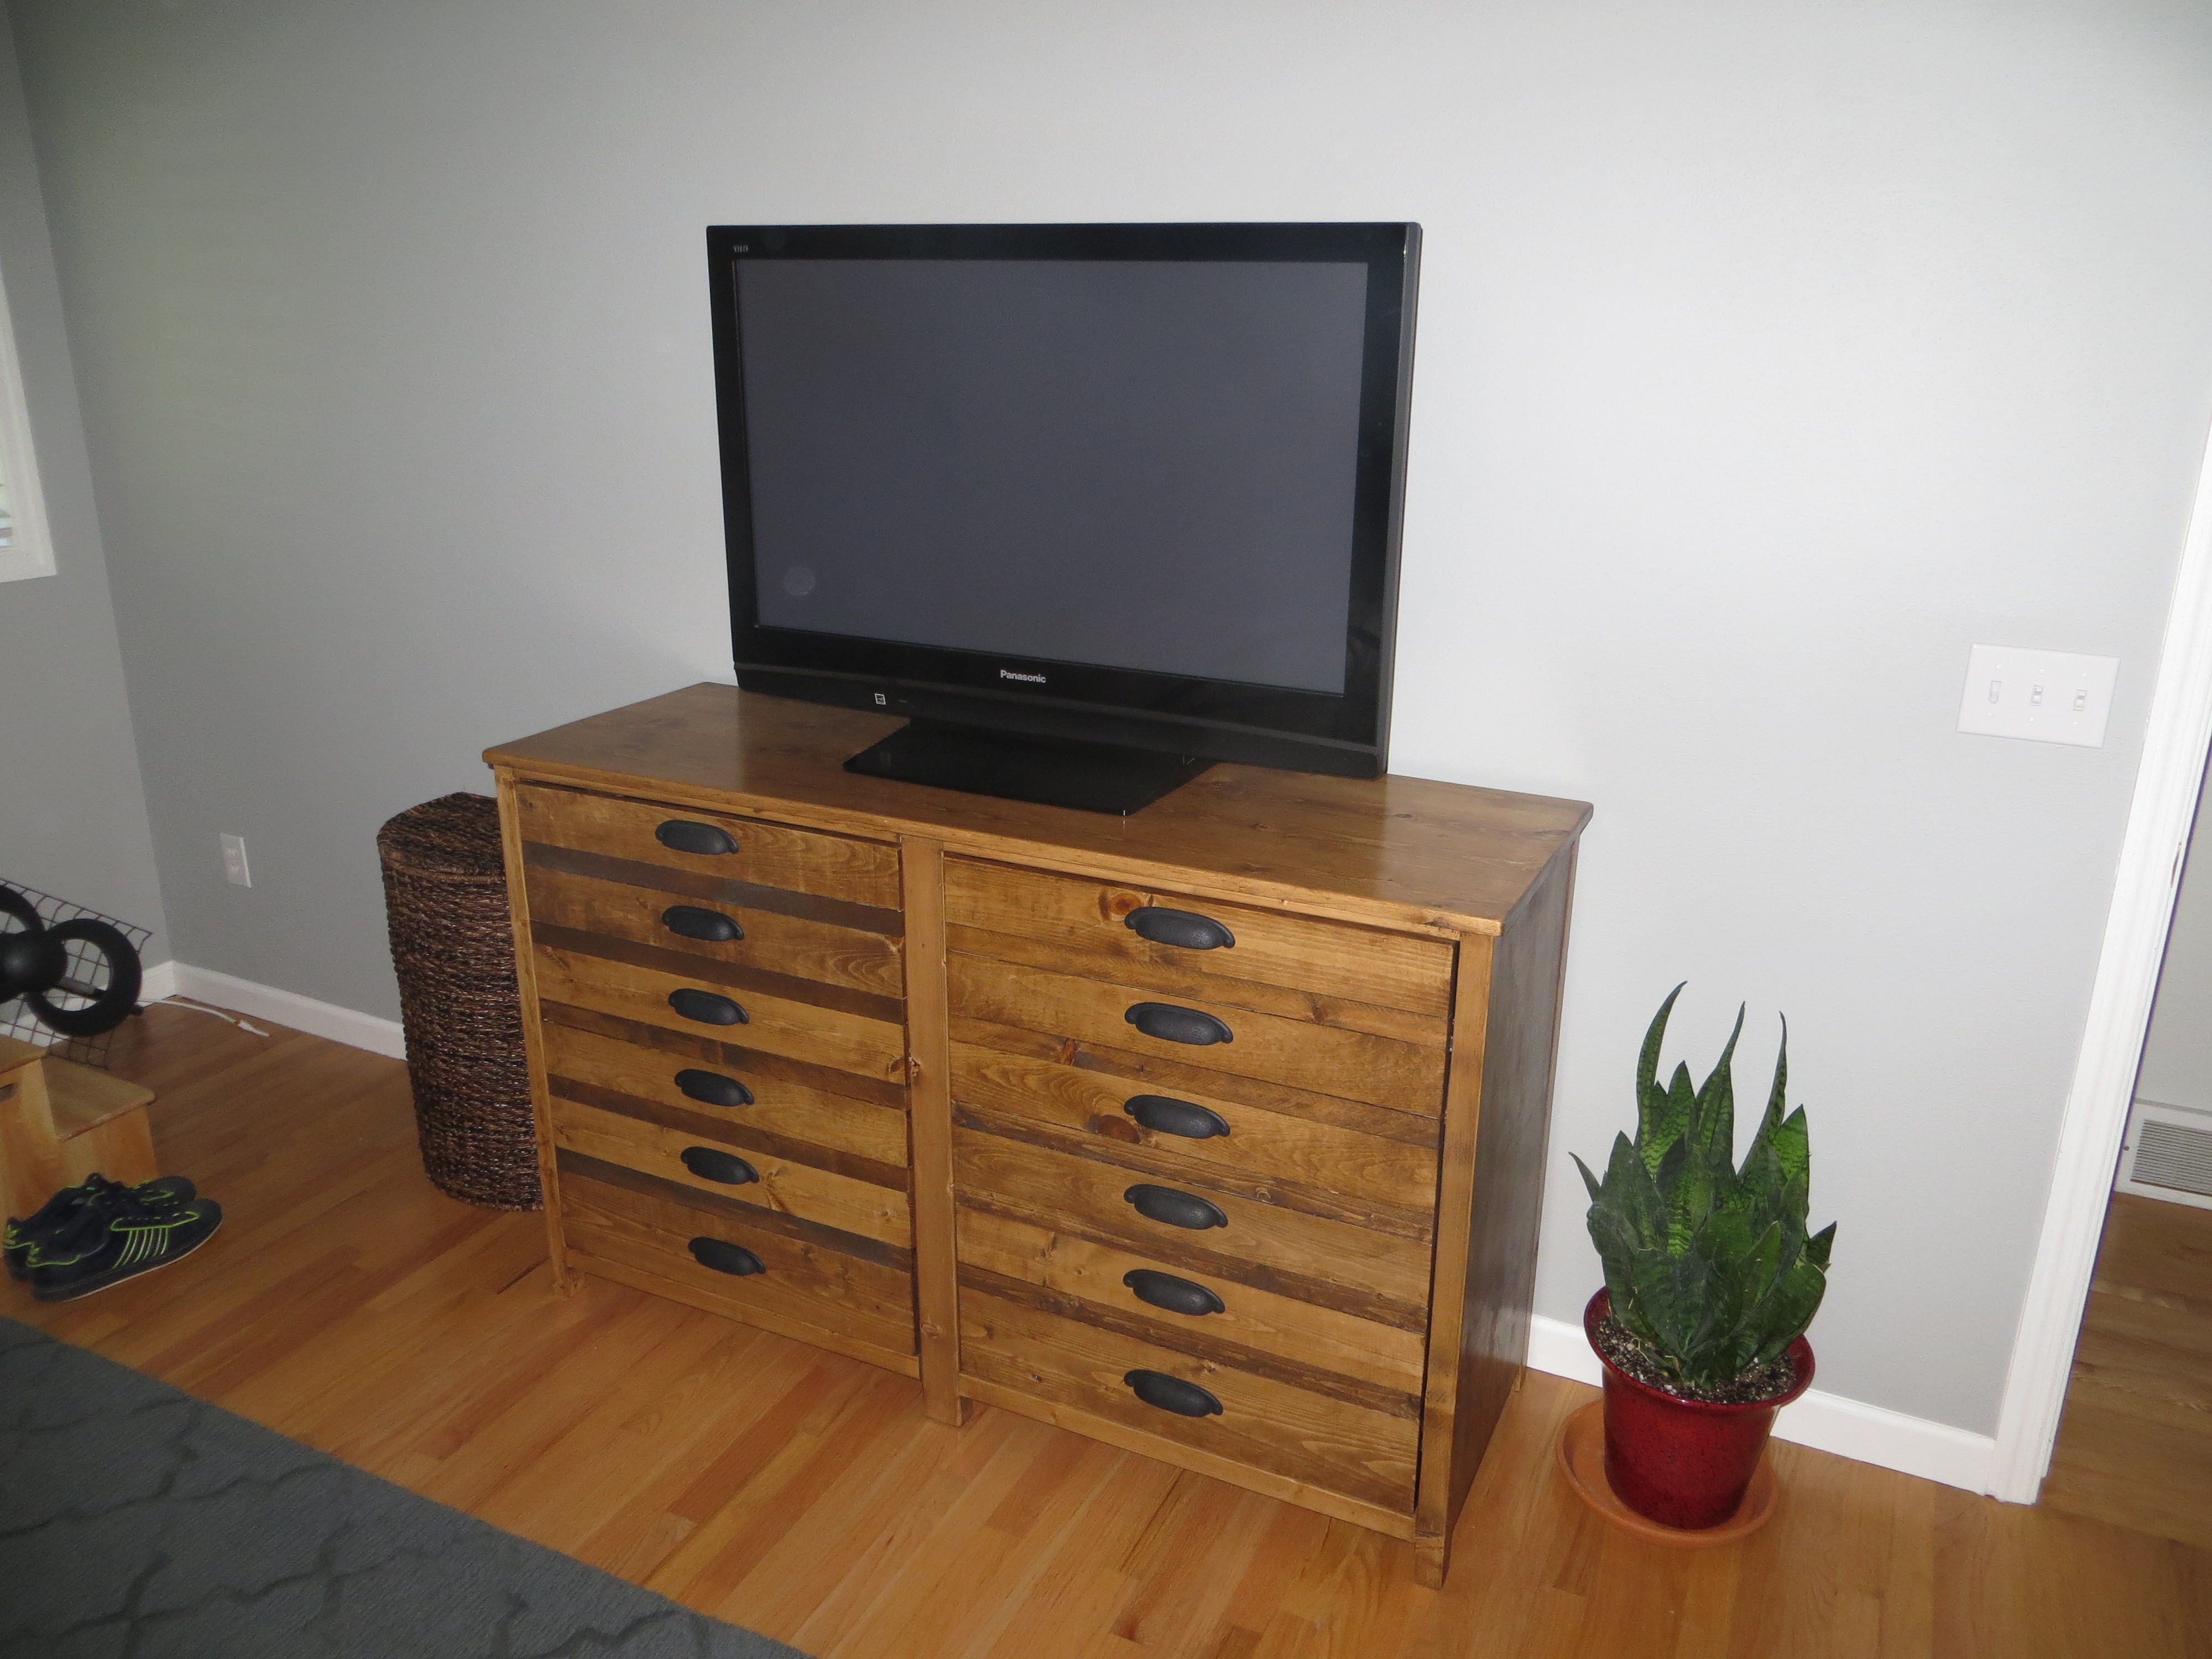
Followed the plans pretty close on this one.
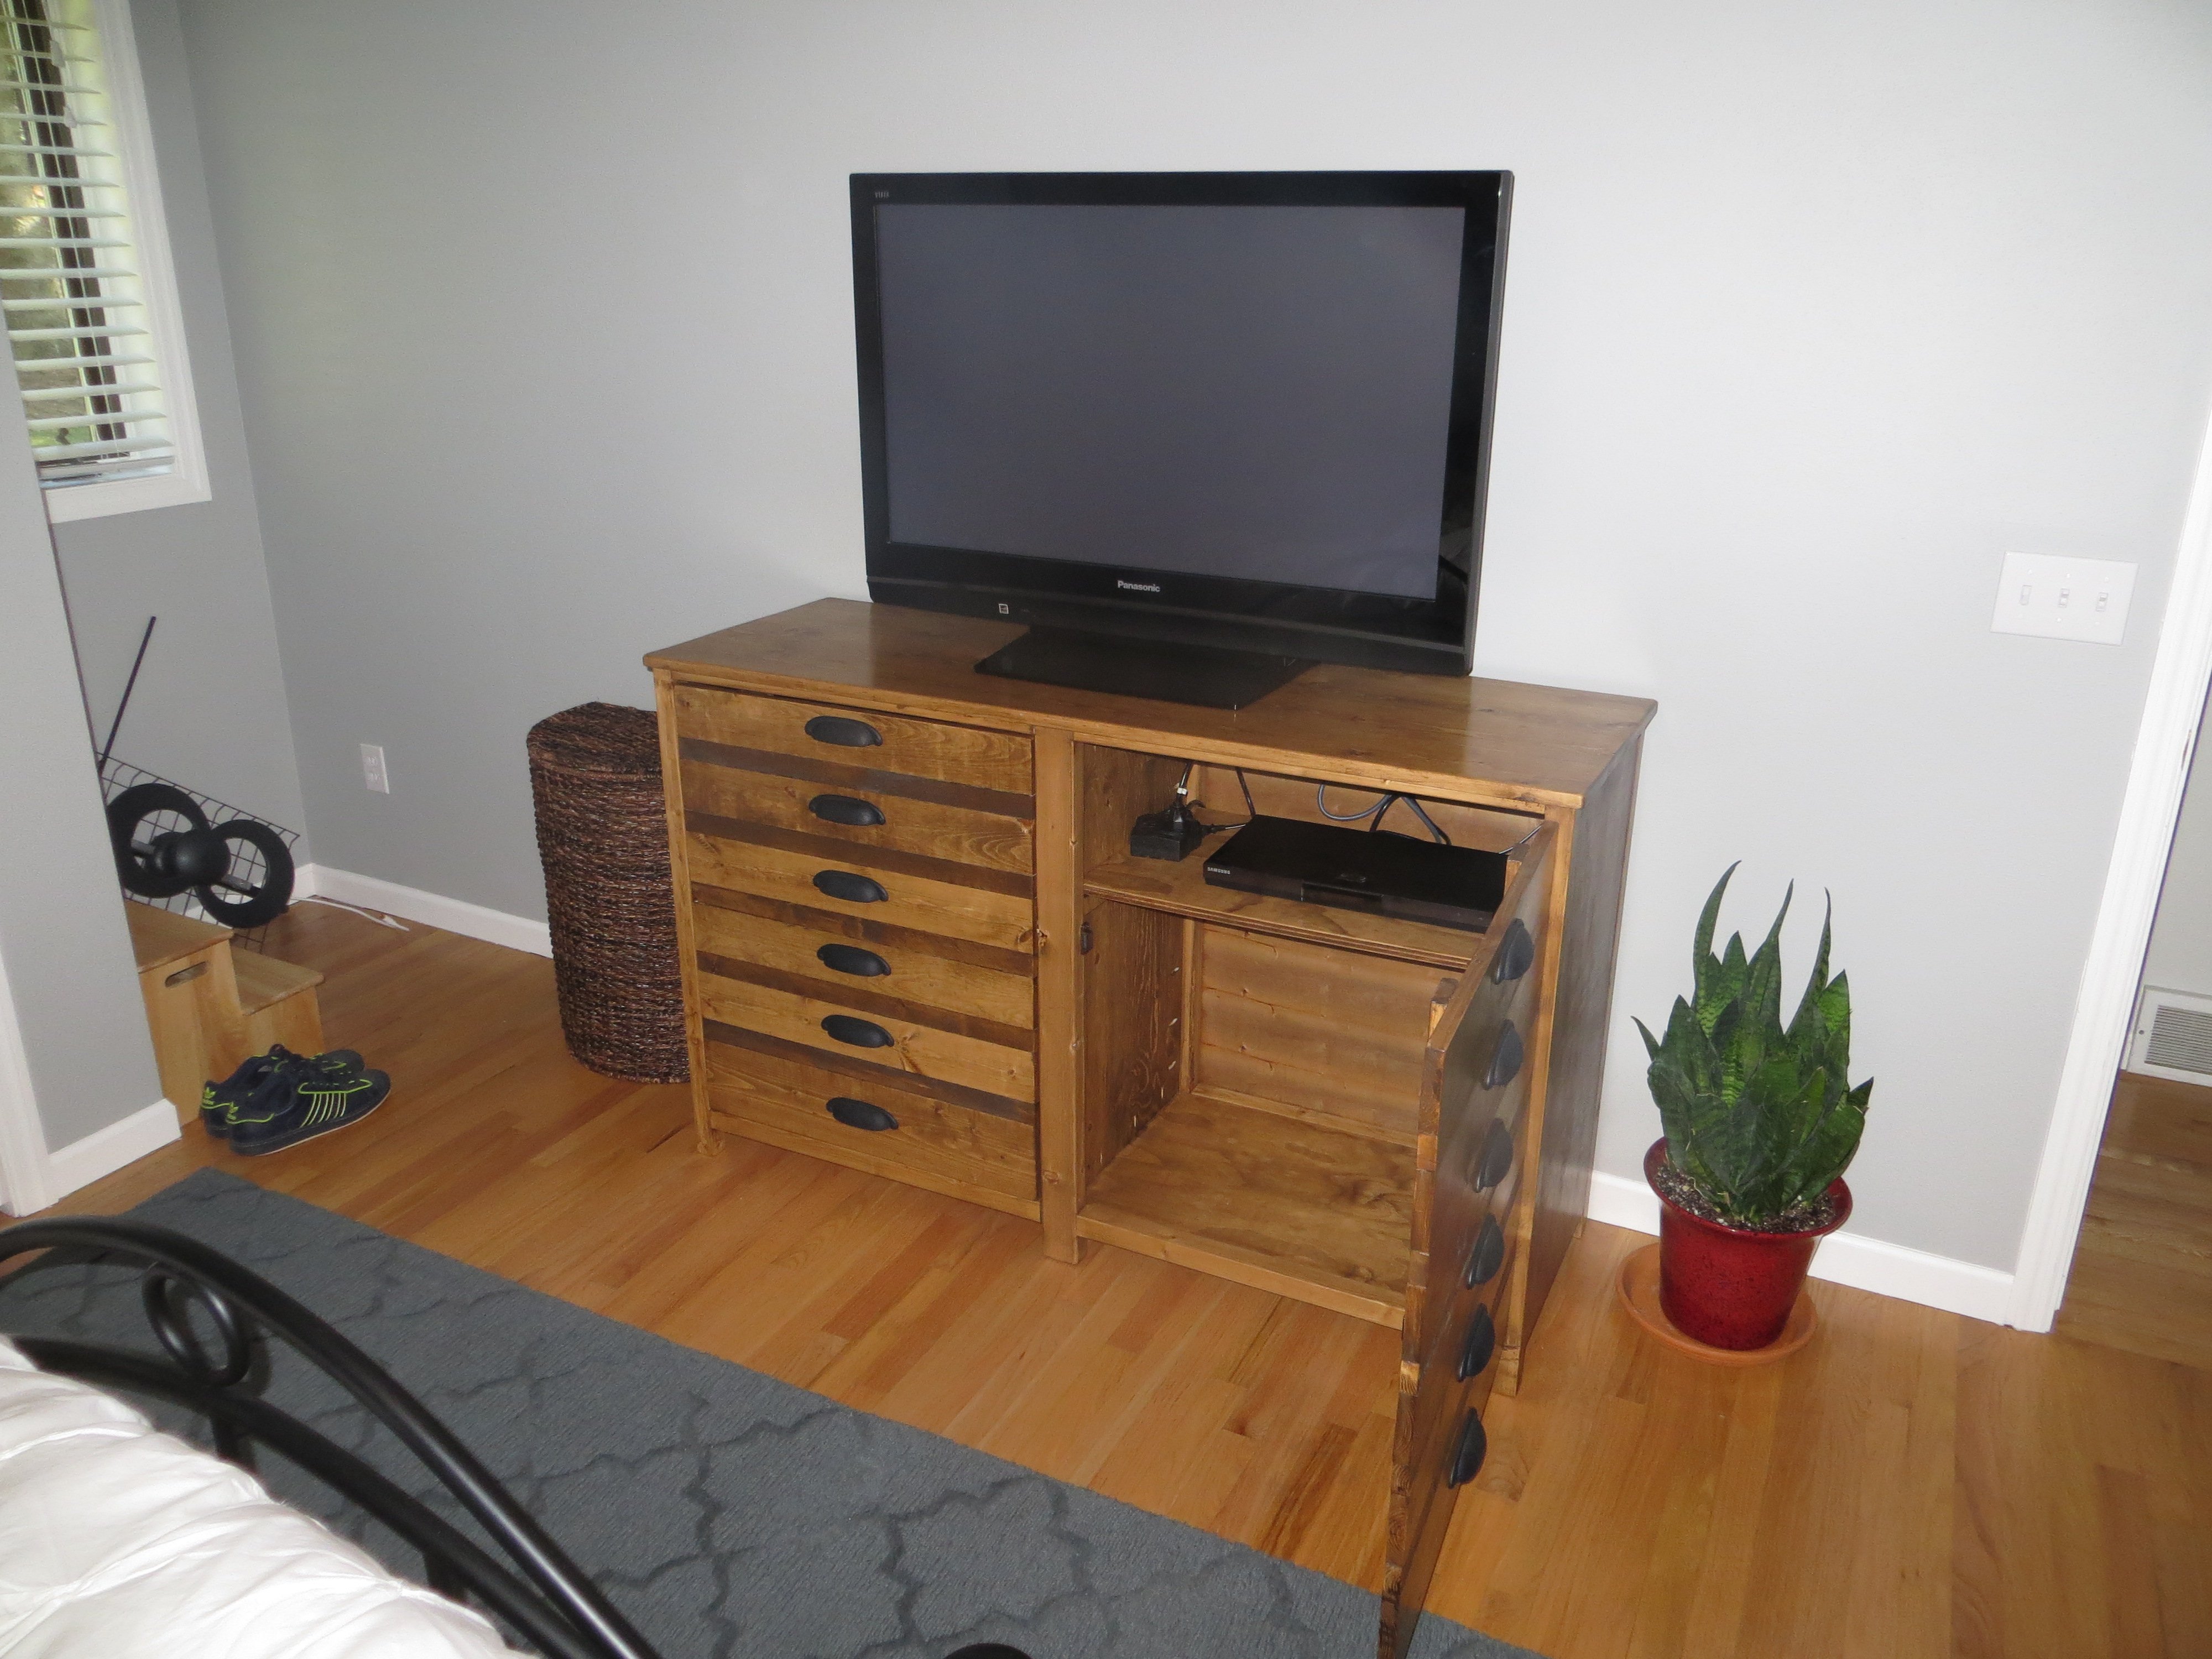
Built from Plan(s)
Estimated Cost
$150
Estimated Time Investment
Weekend Project (10-20 Hours)
Finish Used
stain, poly
Recommended Skill Level
Intermediate
Comments

Fri, 12/19/2014 - 17:34
I really love how this turned
I really love how this turned out. What stain did you use? Thanks!
I've started building the Triple Printers Console. I haven't quite decided on the color.
In reply to I really love how this turned by handmadewithash
Mon, 12/22/2014 - 18:19
Stain
The stain was Cabot's Dark Walnut wood stain.
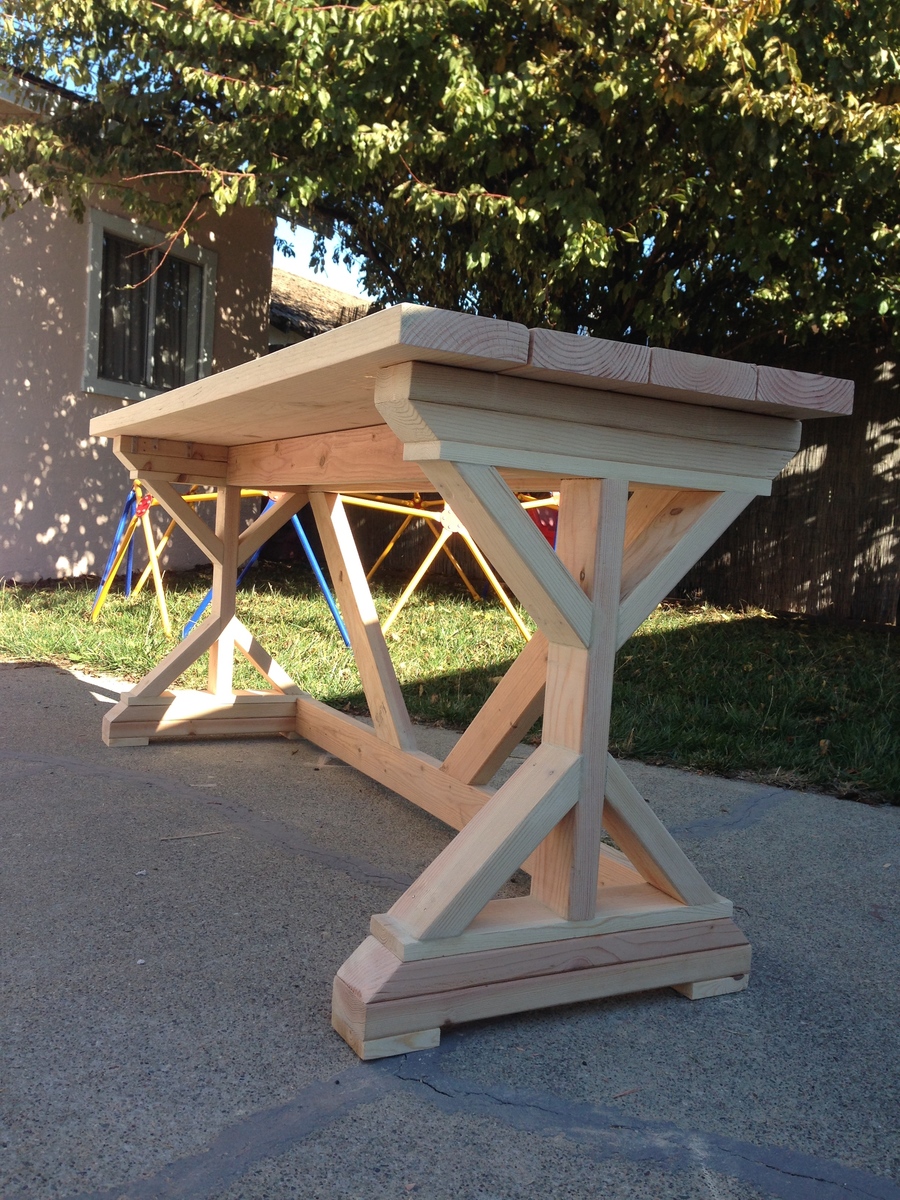
Fancy X Farmhouse table and Bench
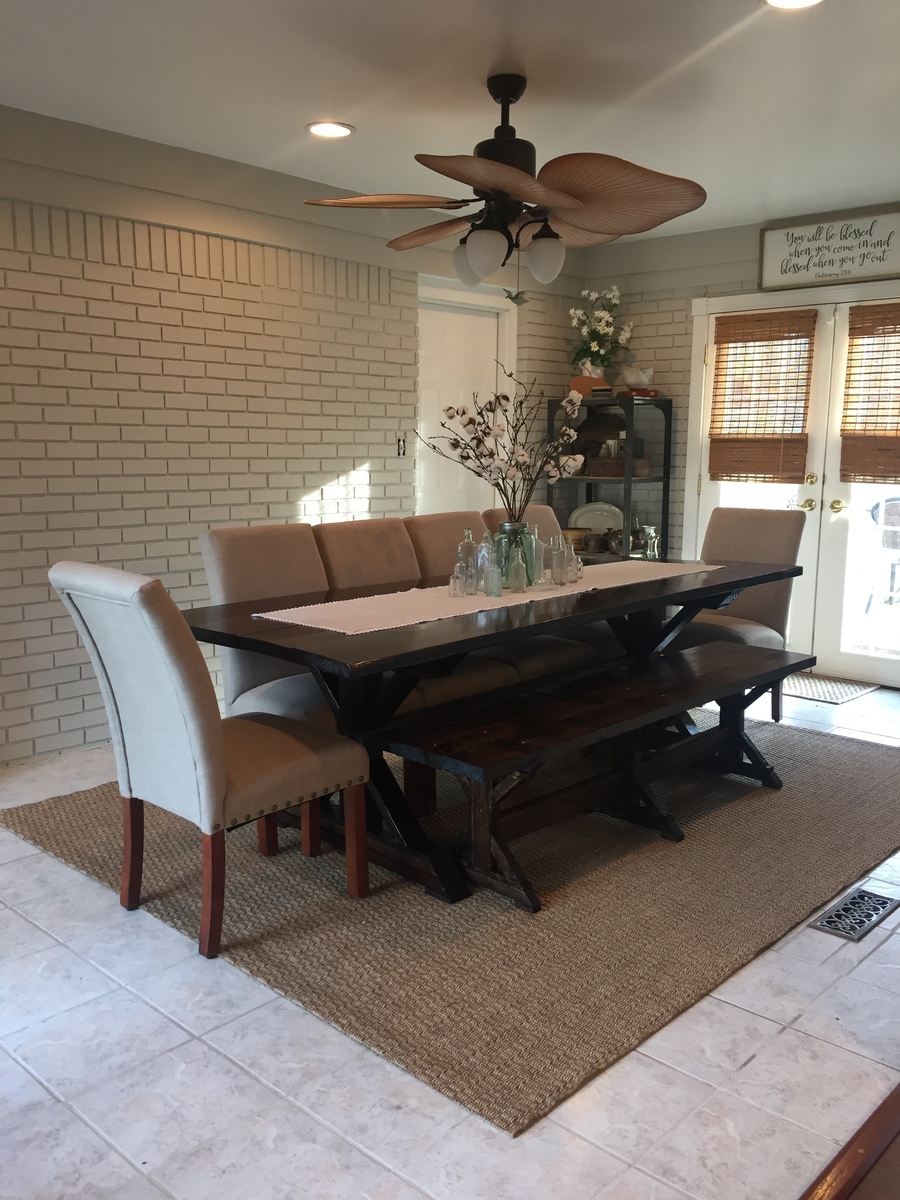
I absolutely love my rendition of the Fancy X Farmhouse Table (and bench). I took Ana's plans and combined them with some of the details from charmingimperfections.com to create the vision in my mind of exactly what i wanted. The build was not bad at all but the Kreg Jig is a MUST have tool! This was my frst experience with the KREG jig and i am now looking forward to many more DIY Builds! :)
Built from Plan(s)
Estimated Cost
Table $150
Bench $50
Bench $50
Estimated Time Investment
Week Long Project (20 Hours or More)
Finish Used
Dark Walnut with semigloss polyurethane
Recommended Skill Level
Beginner
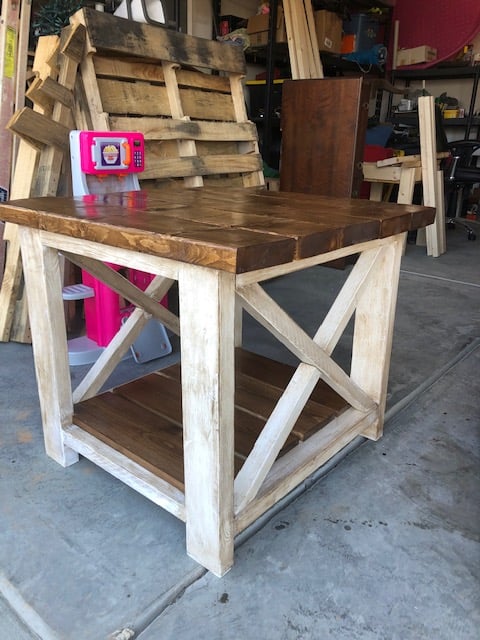
Rustic X end tables
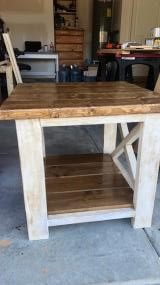
My first end tables, used the Rustic x plan except for the bottom shelf. I used a white chalky paint, with a brown wax to give it the rustic look, and stained the top walnut stain. Working on the coffee table to finish the set.
Built from Plan(s)
Estimated Cost
150
Estimated Time Investment
Weekend Project (10-20 Hours)
Finish Used
Top is walnut
Recommended Skill Level
Intermediate
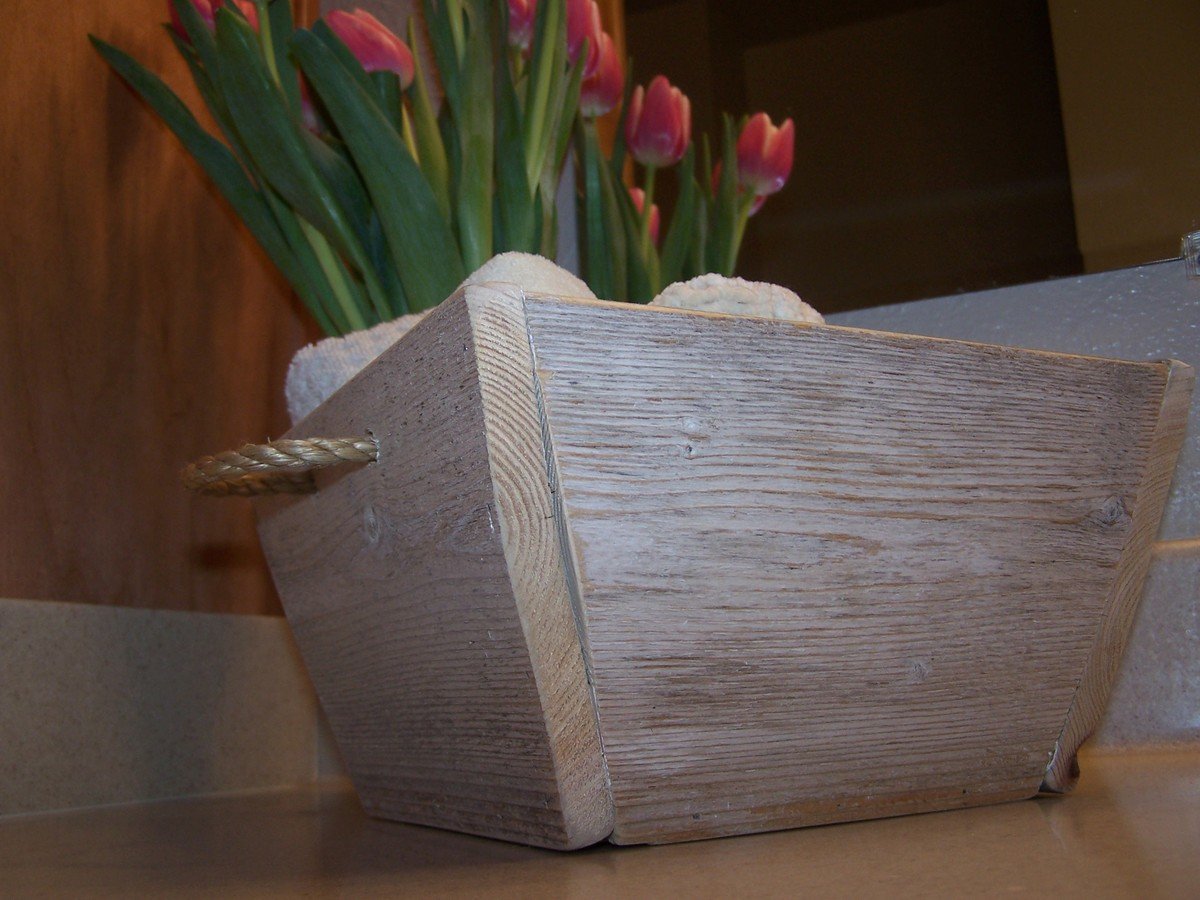
Tapered Crate
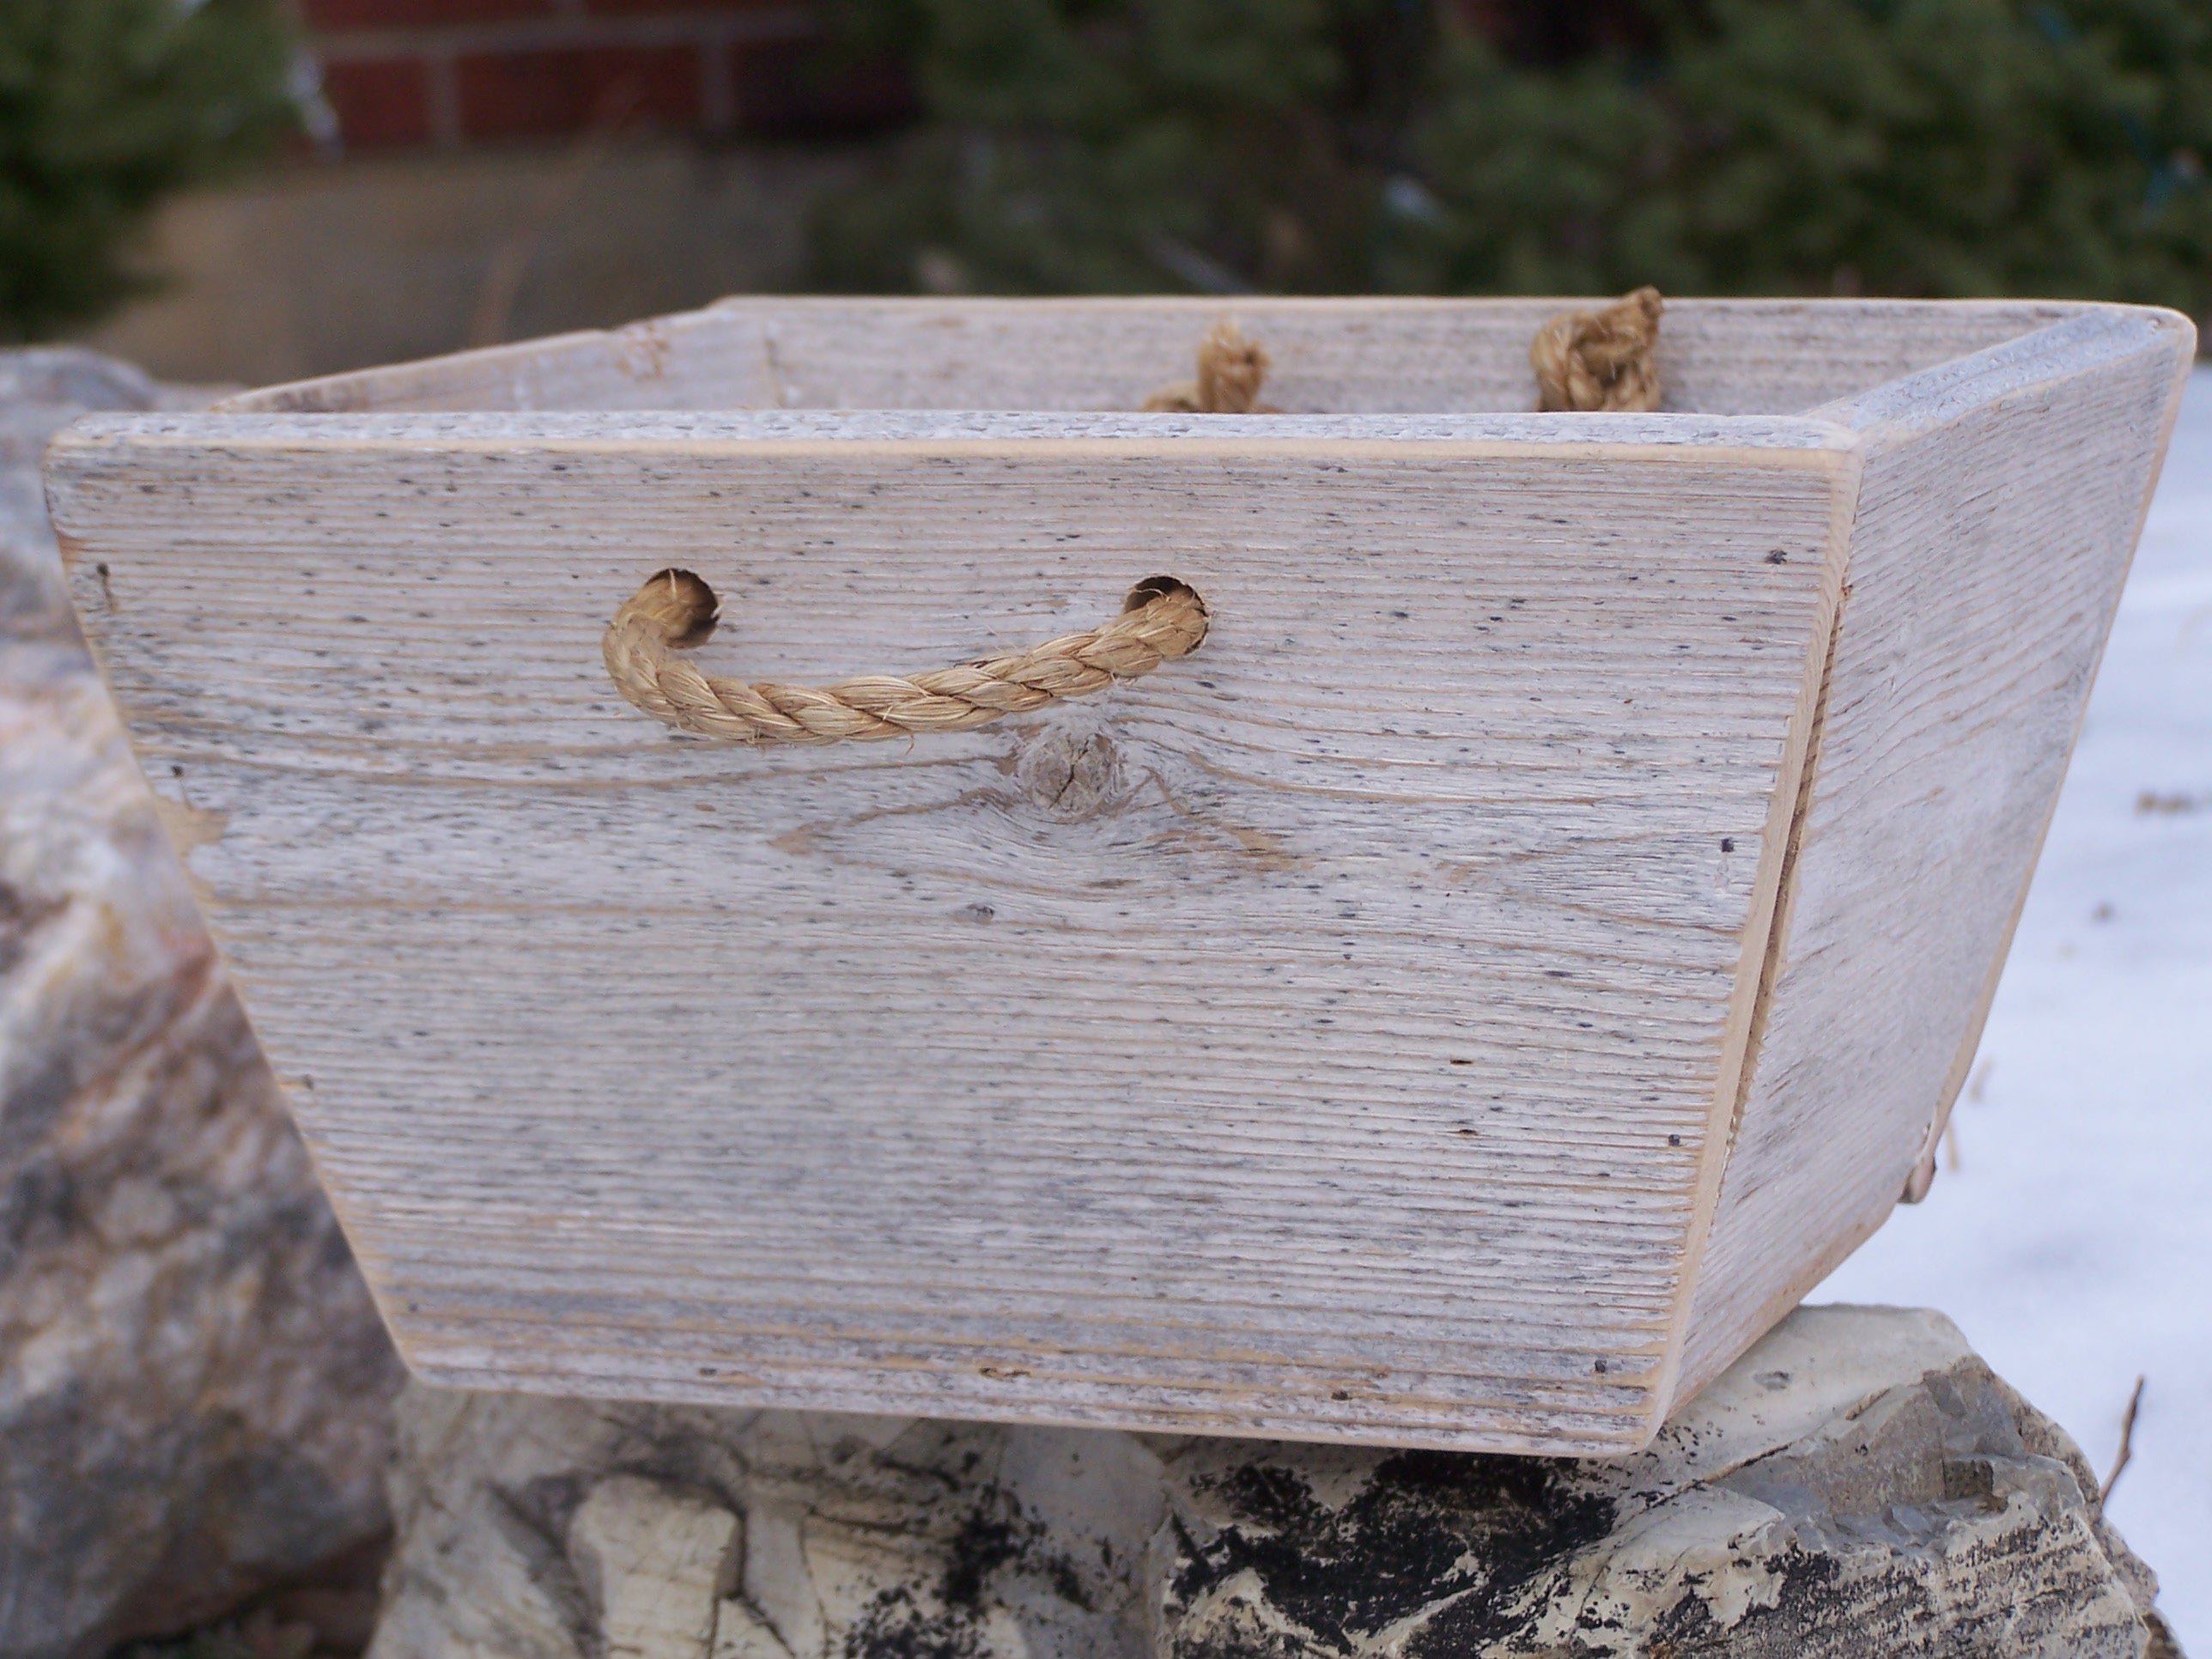
I was so excited when I saw the plan for this! I love making crates out of wood. It was quick and easy and I already had a cedar fence post! It was less than 30 minutes start to finish! For more pictures check out my blog post. Thanks Ana!
Built from Plan(s)
Estimated Cost
Free!
Estimated Time Investment
An Hour or Two (0-2 Hours)
Finish Used
It was naturally finished for me!
Recommended Skill Level
Starter Project
Comments

Harvest Bench
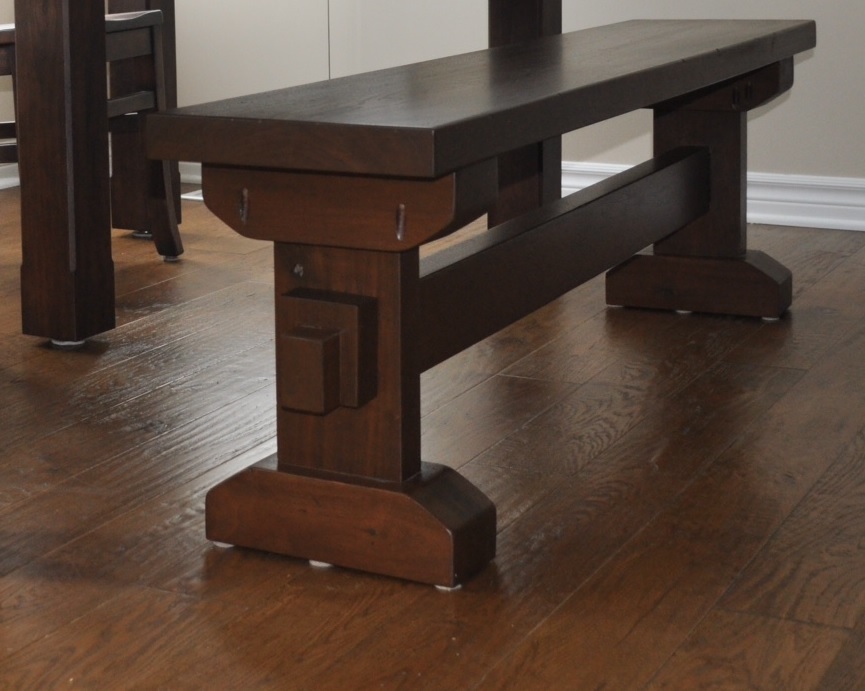
I purchased a harvest table from a local store that sells only solid wood furniture. The store had the option of purchasing a bench. I decided that I could save some cash and make the harvest bench myself.
For details, check out my blog - http://www.woodworkingfourdummies.com/blog/harvest-bench
Cheers,
Ian
Estimated Cost
$300.00
Finish Used
Custom Stain (optional) and polyurethane.
Recommended Skill Level
Starter Project
X Brace Twin Headboard
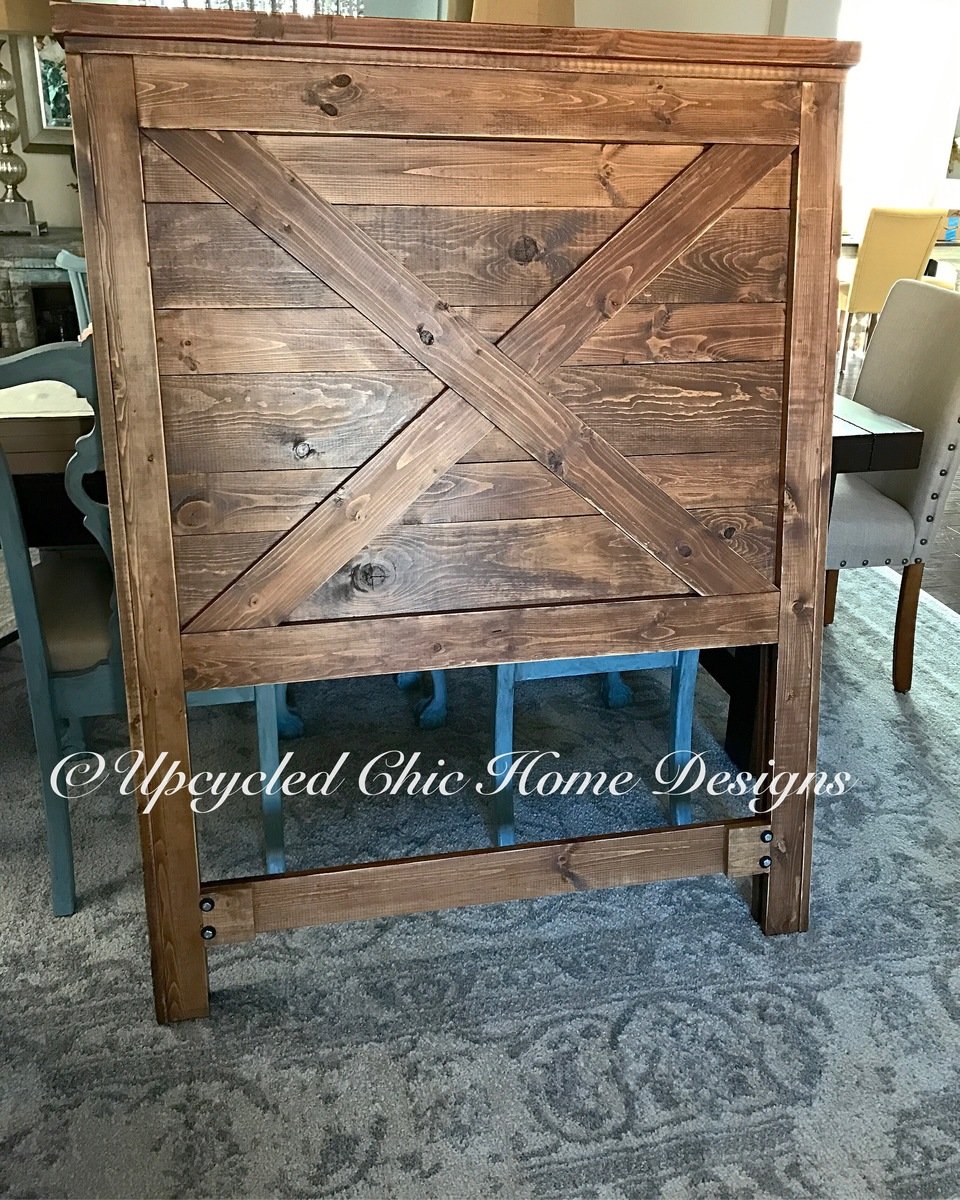
We took the plans for the twin headboard modification and added an x brace to make it look like a barn door. We also added a piece to the bottom for additional support for mounting to the boxspring as well as to prevent warping and narrowing of the posts.
Built from Plan(s)
Estimated Cost
$110
Estimated Time Investment
Afternoon Project (3-6 Hours)
Finish Used
Varathane 2X Ultimate Wood Stain in Early American and then lightly distressed. Minwax wipe on poly in satin.
Recommended Skill Level
Beginner
Coffee table
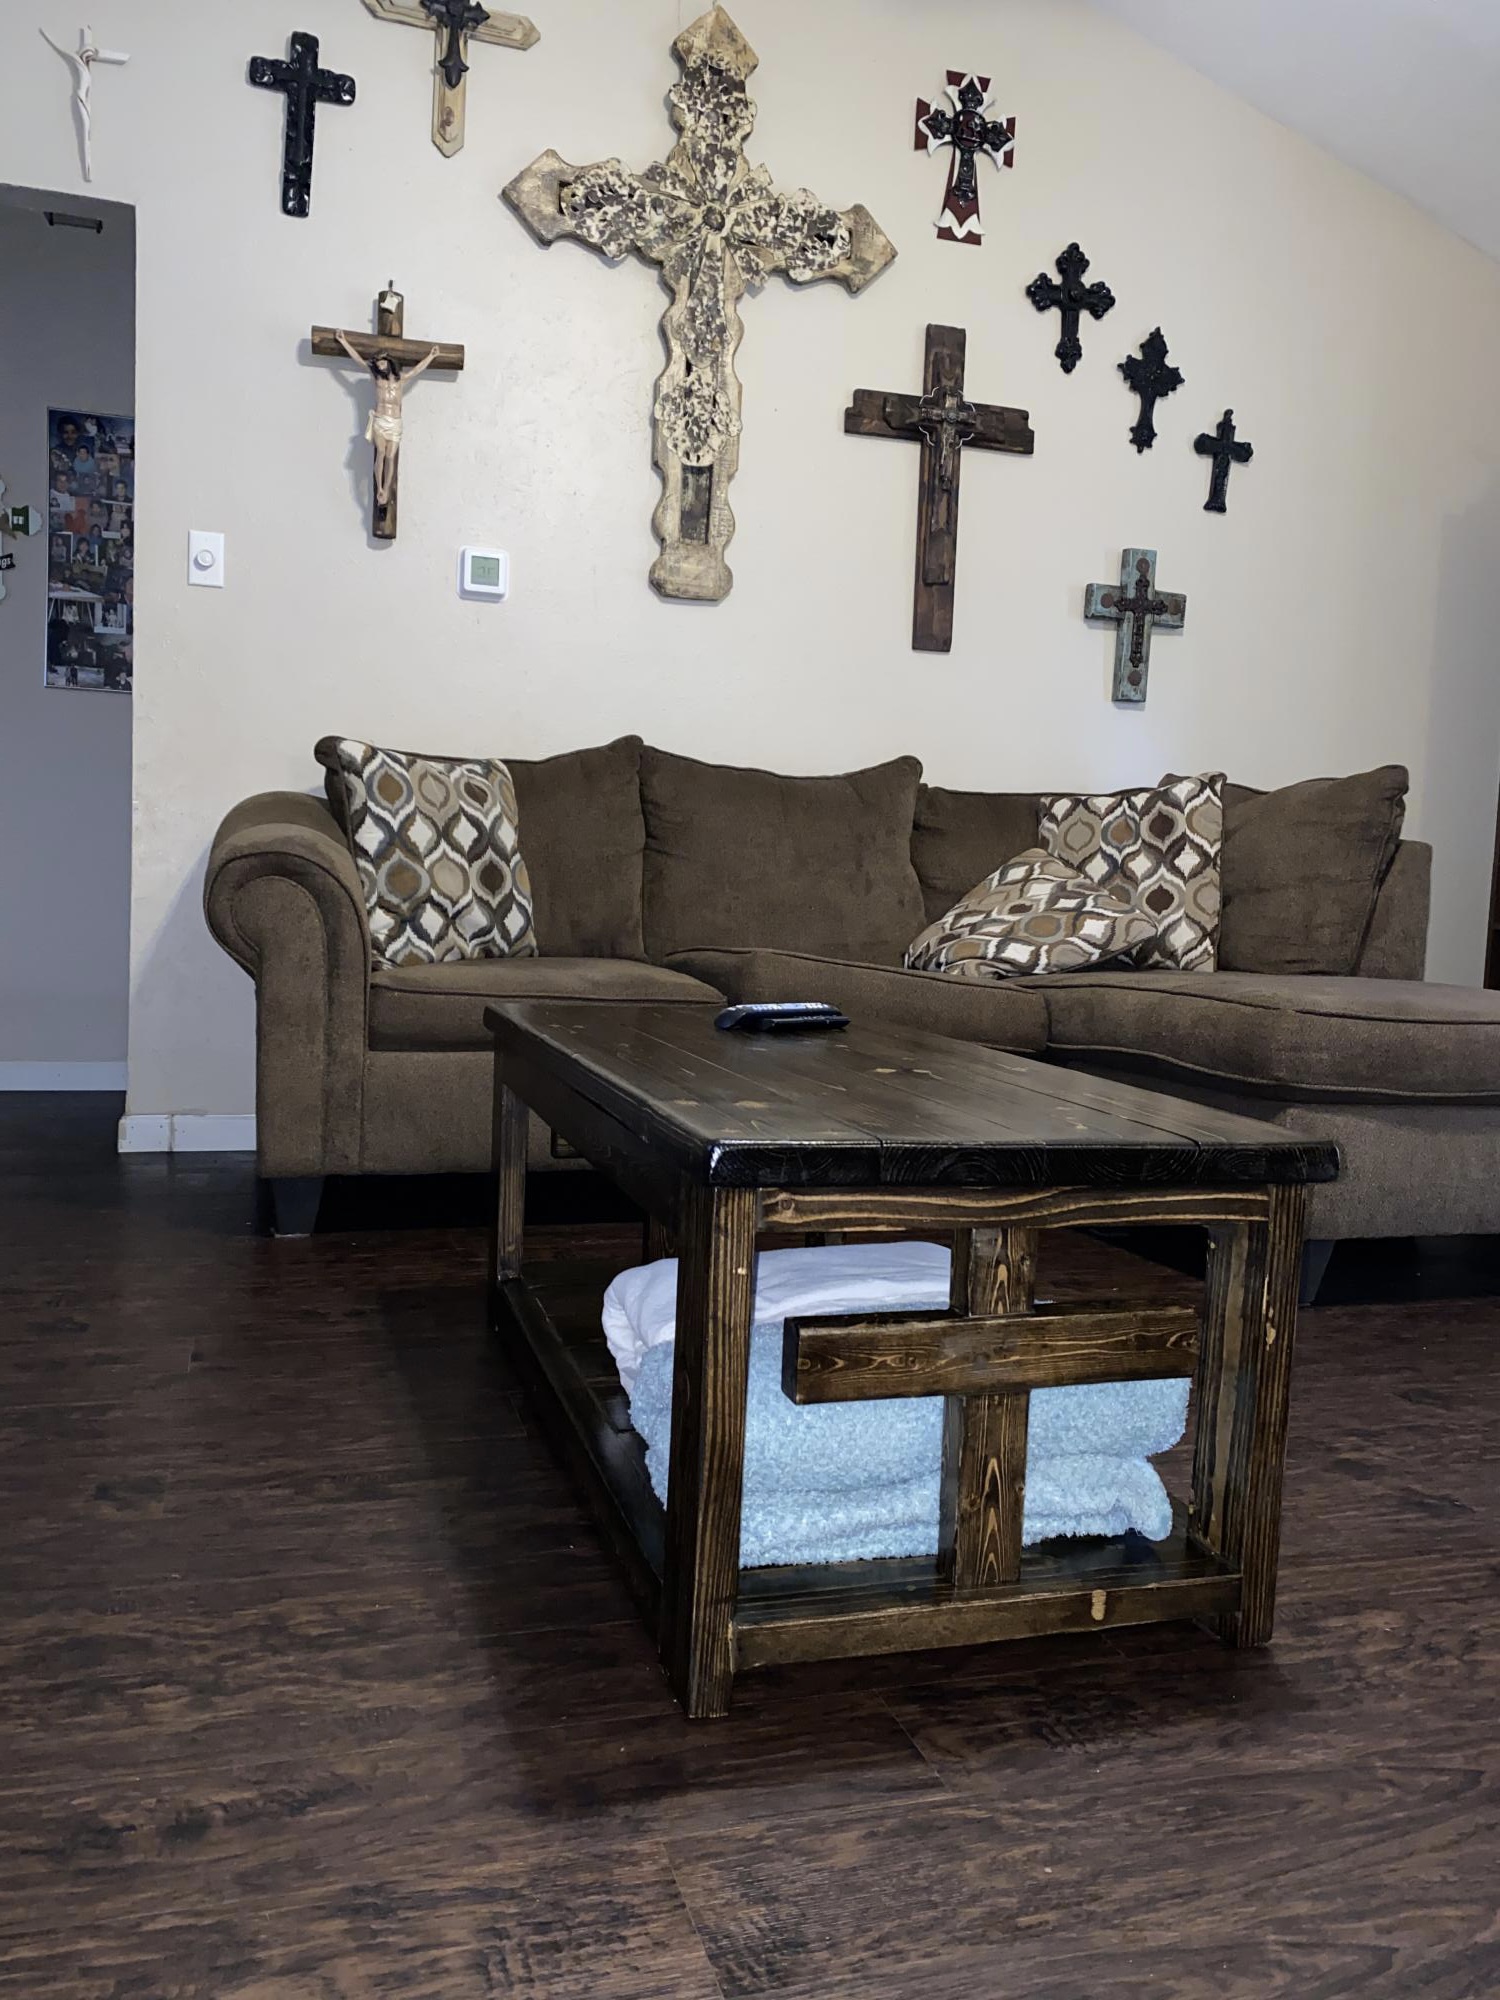
My second ever project my wife said I could do followed your plans are use pocket hose after asking about using them and you sent me a link on how to use it. I did not use the X instead my wife wanted me to Make a cross so it would go with the crosses in our living room thanks for the plans.
Built from Plan(s)
Estimated Cost
$56.00
Estimated Time Investment
Weekend Project (10-20 Hours)
Finish Used
Are used a minwax would finish and then I use up oil based polyurethane semi gloss from Behr
Recommended Skill Level
Beginner
Comments
first try :)
This took me an afternoon because I have never used a compound mitre saw before so I was teaching myself through trial & error.
It was really fun to try and I will definitly be making more!
Estimated Time Investment
Afternoon Project (3-6 Hours)
Finish Used
Minwax stain
Recommended Skill Level
Starter Project