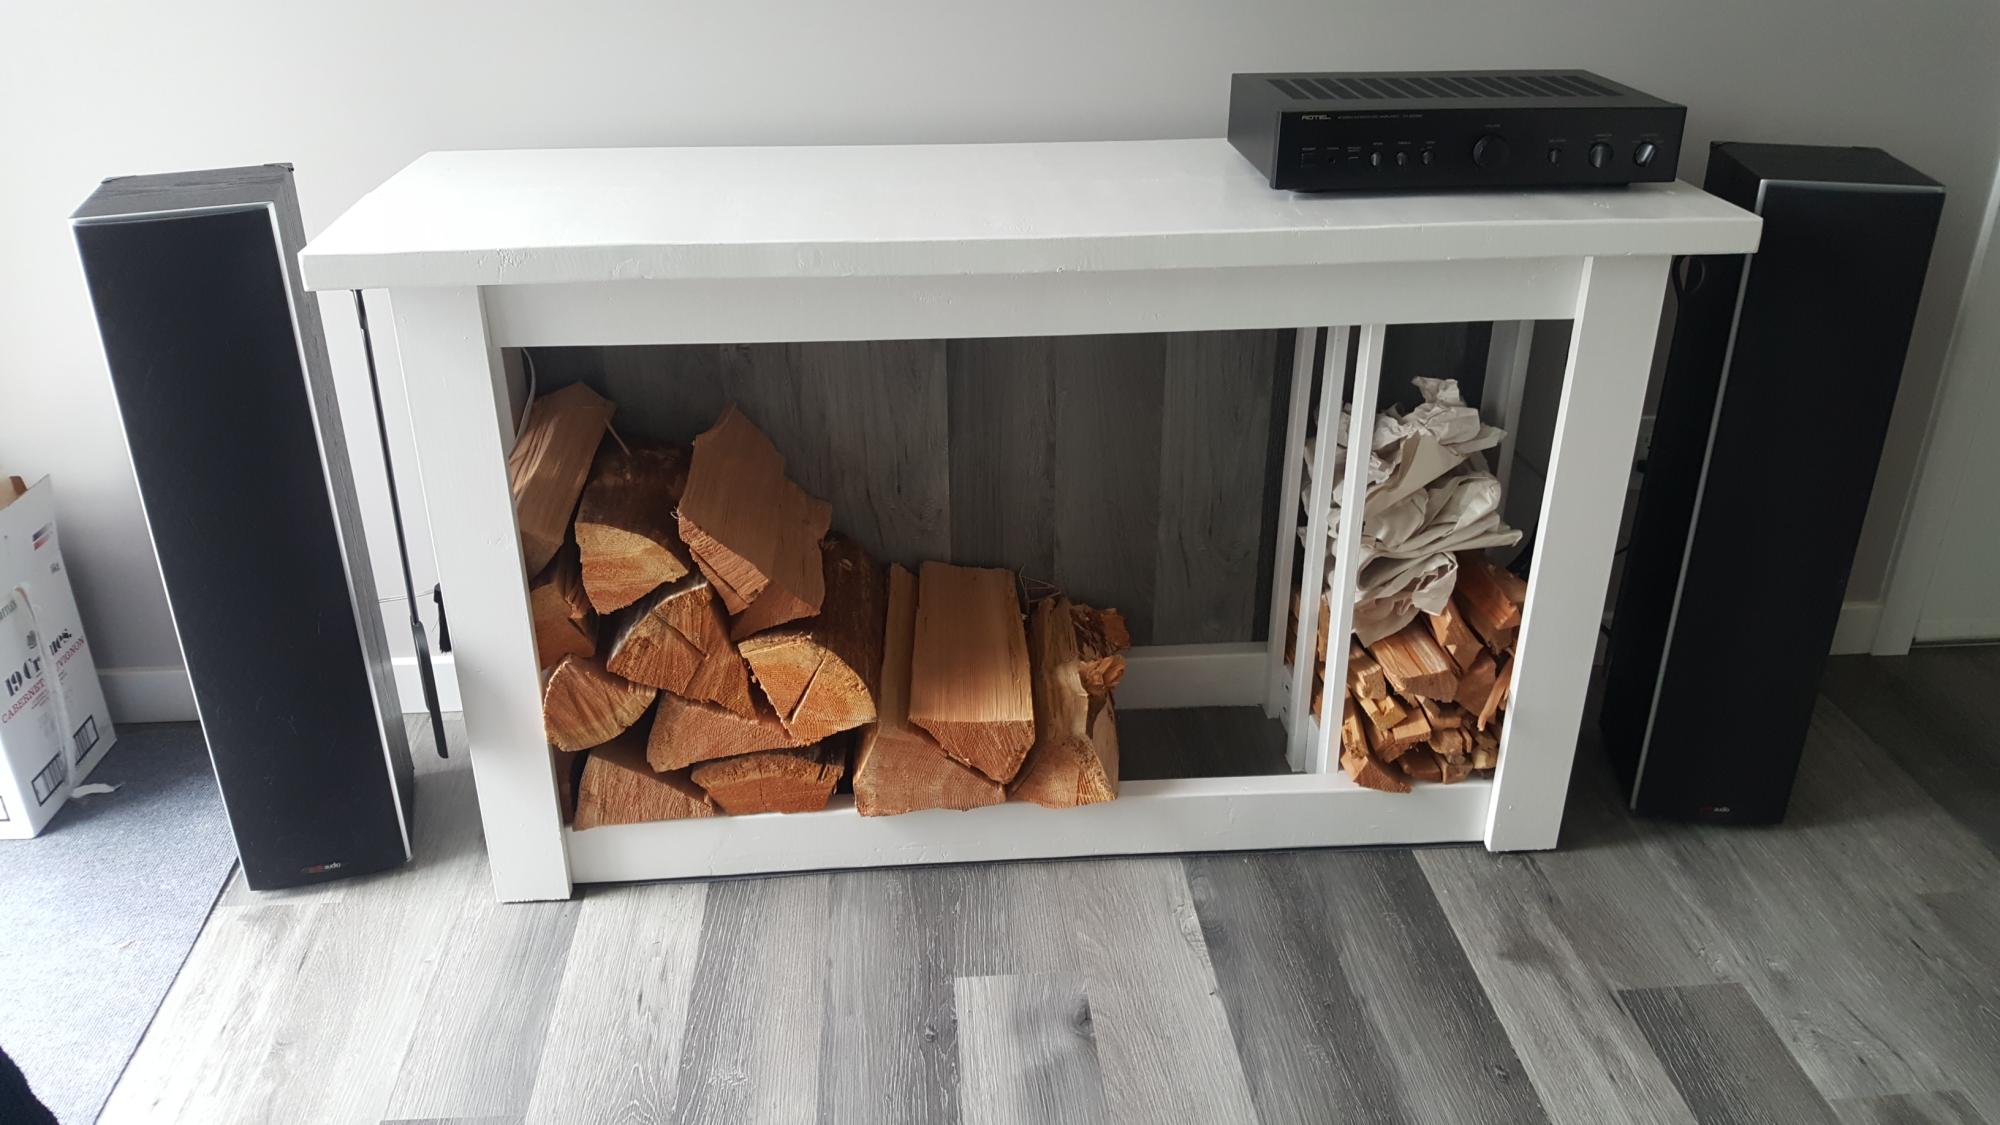
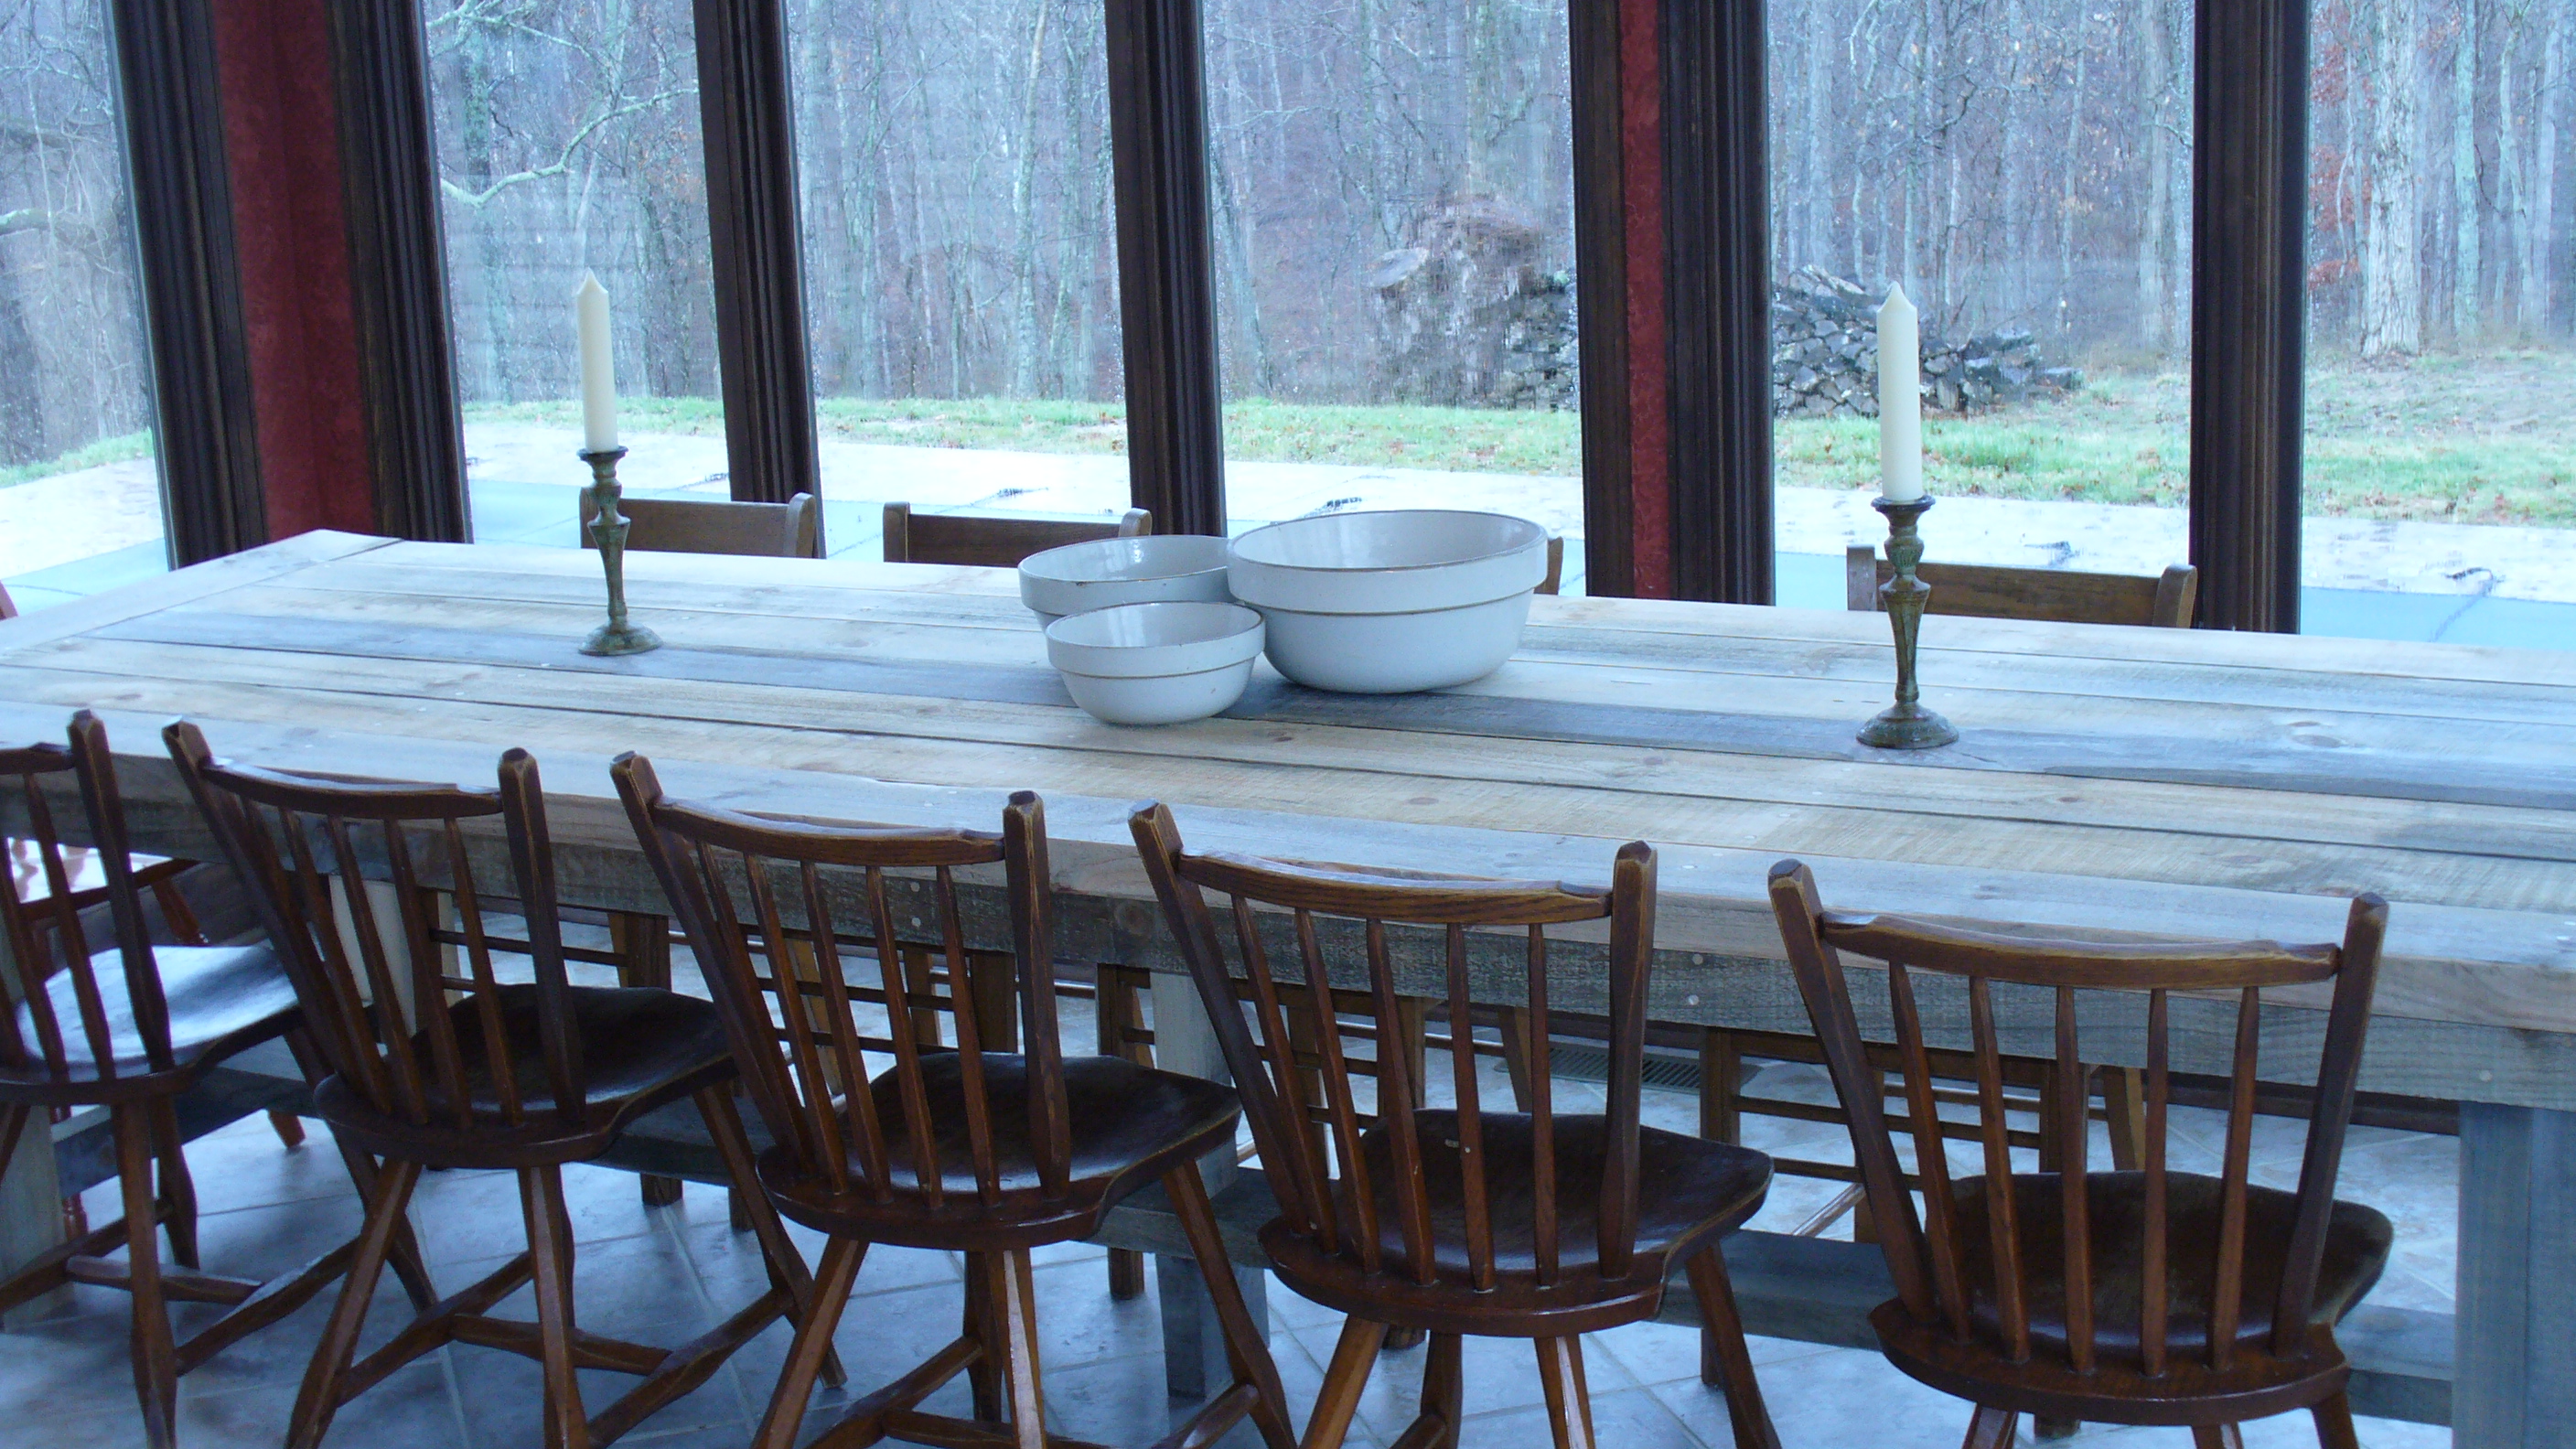
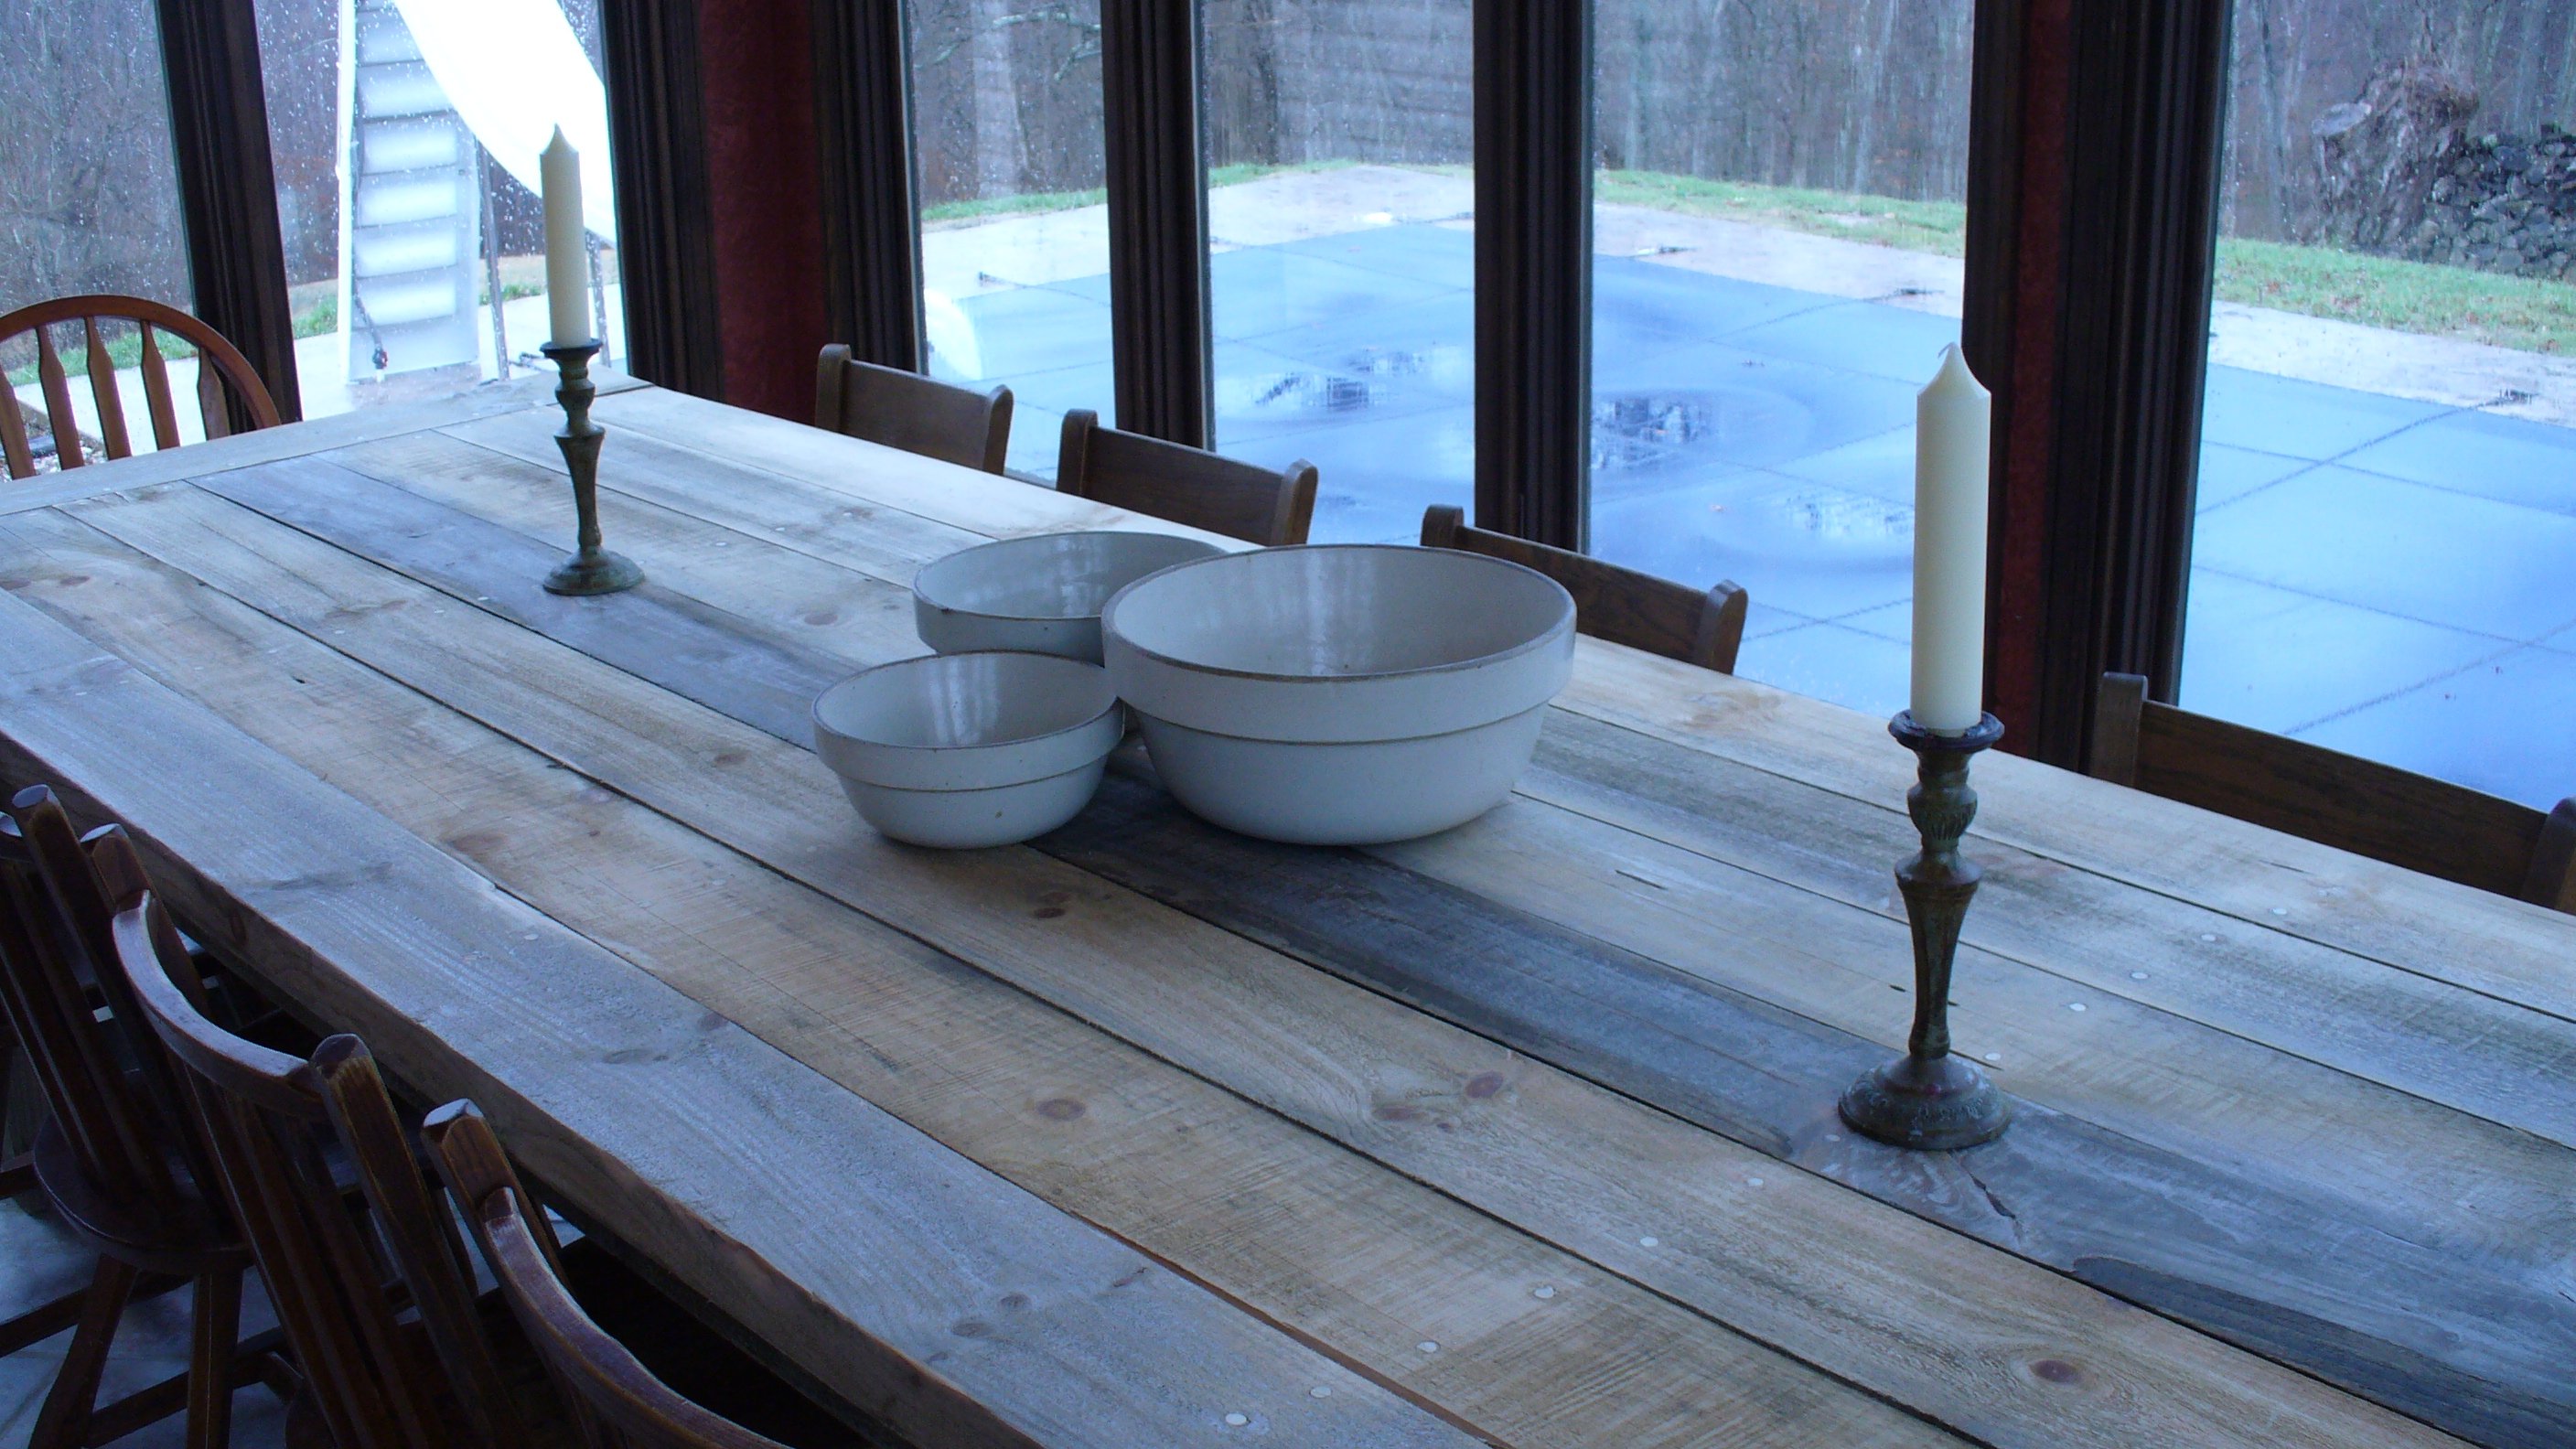
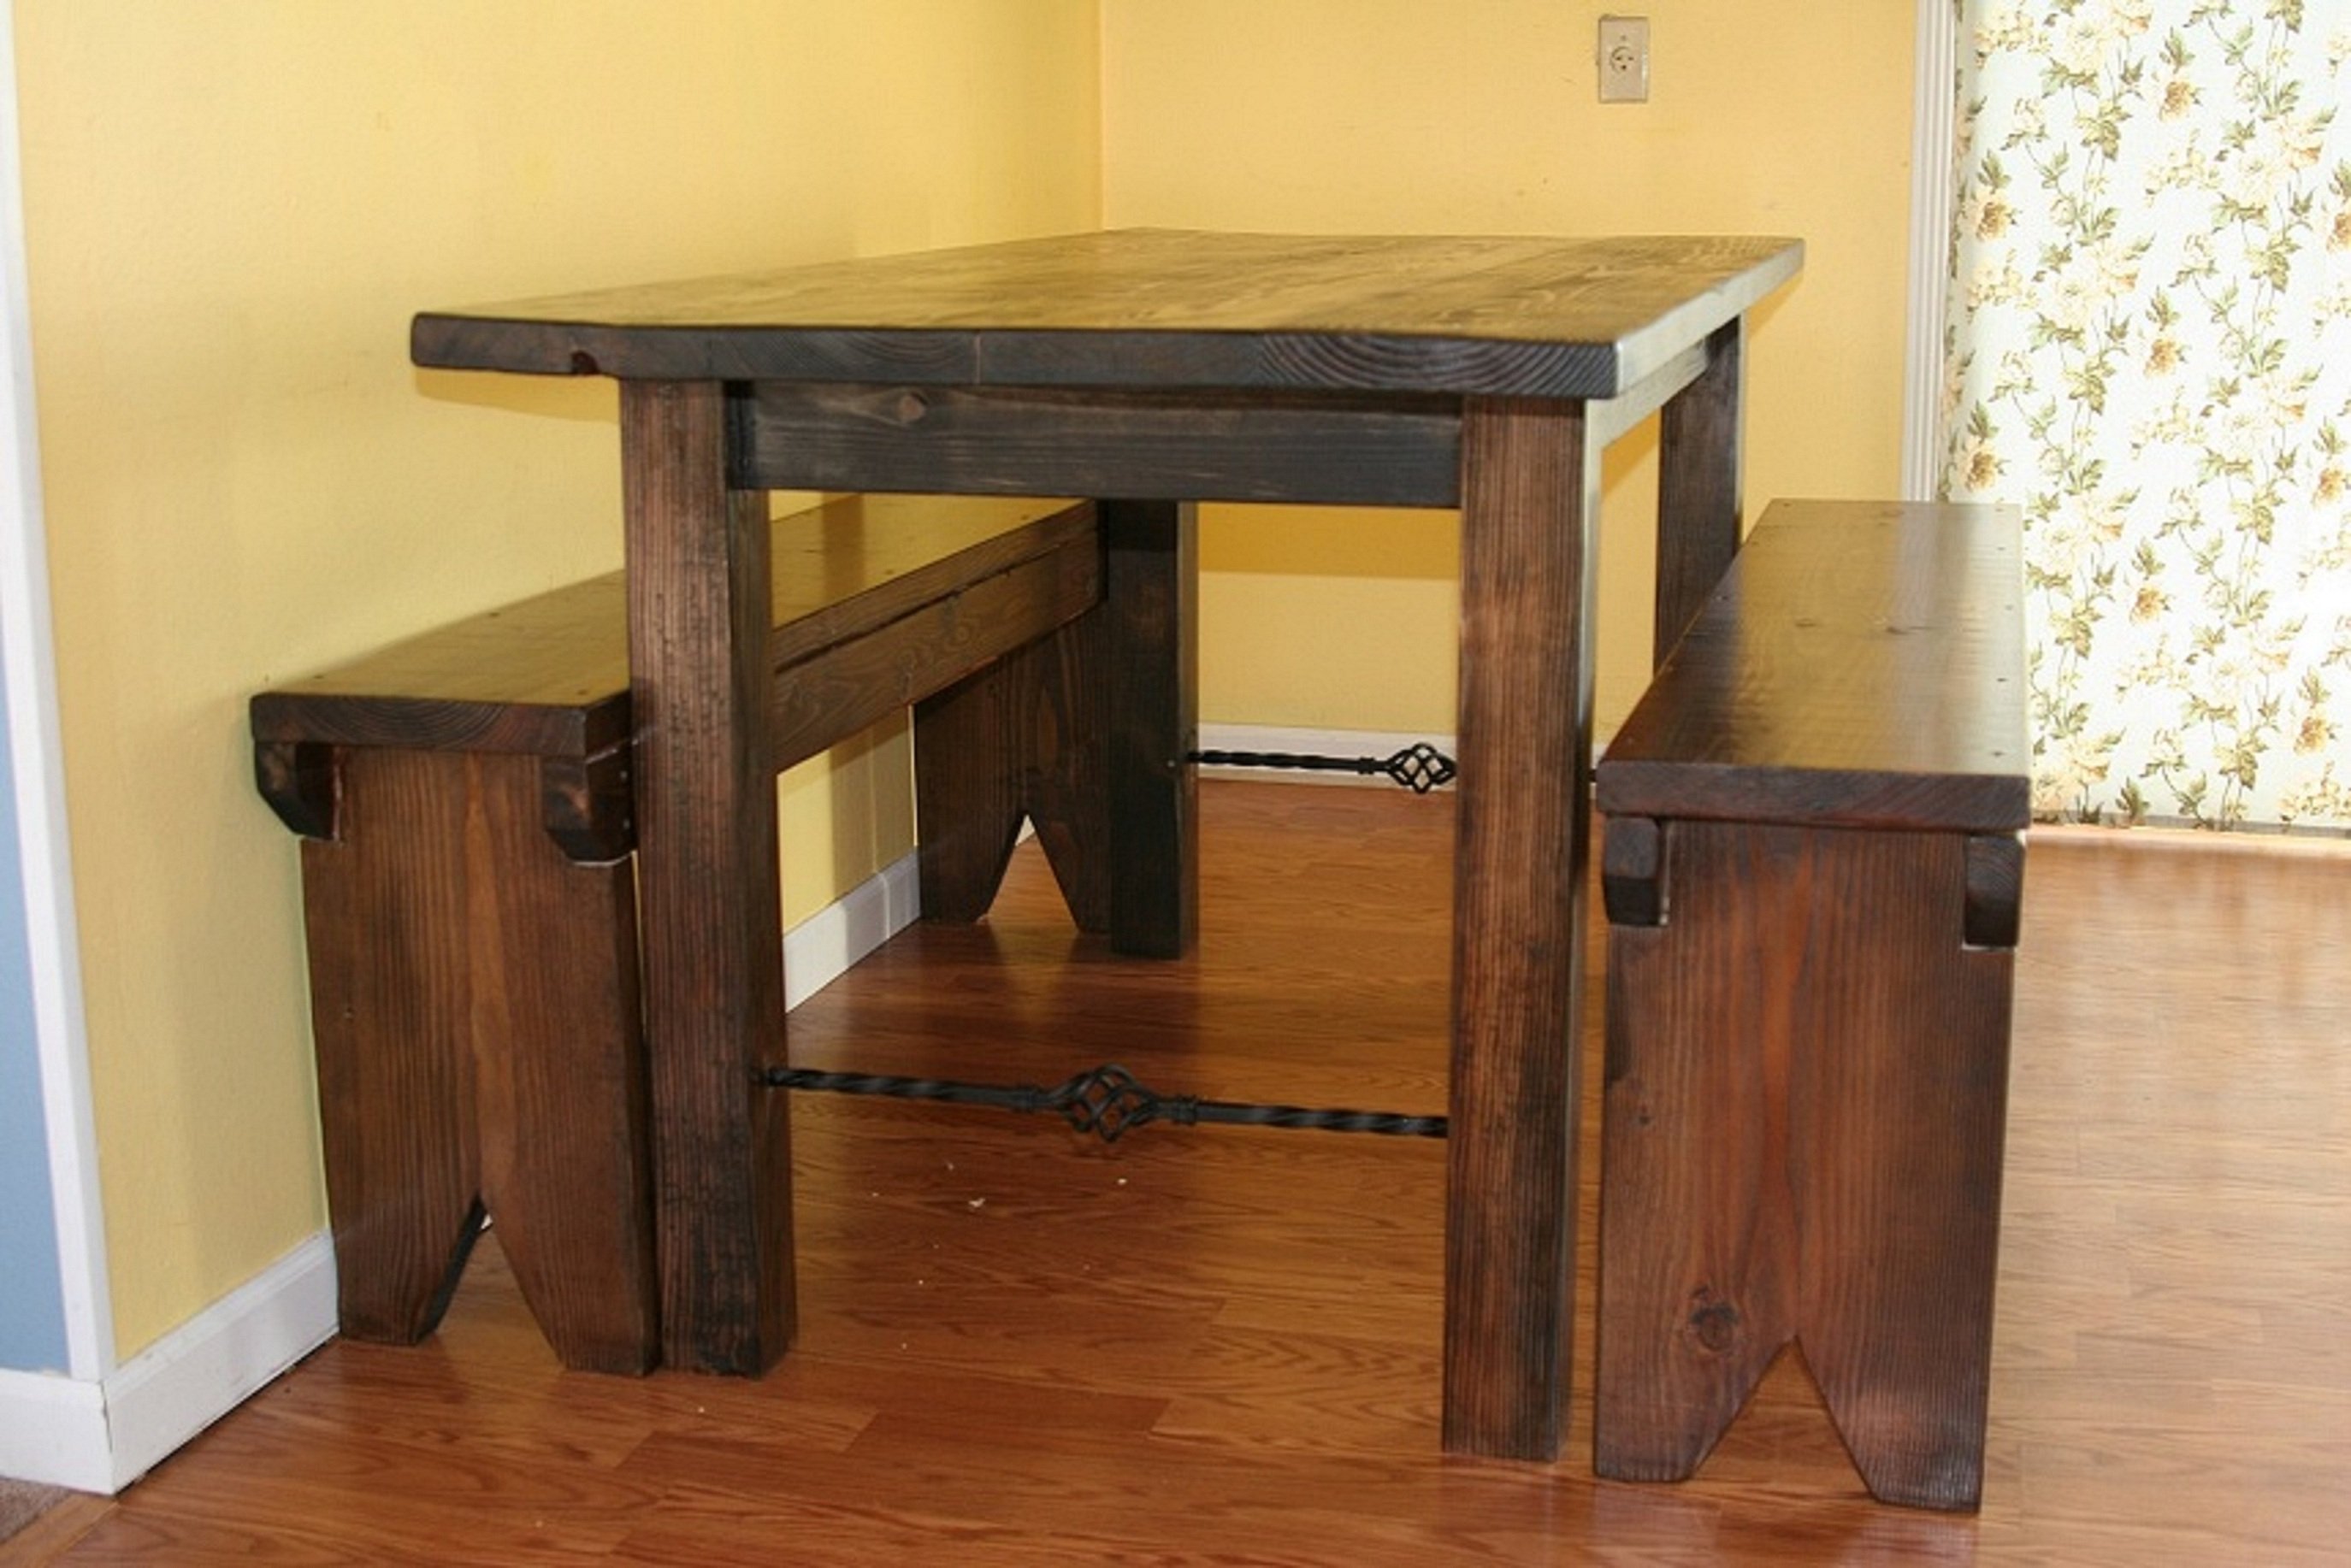
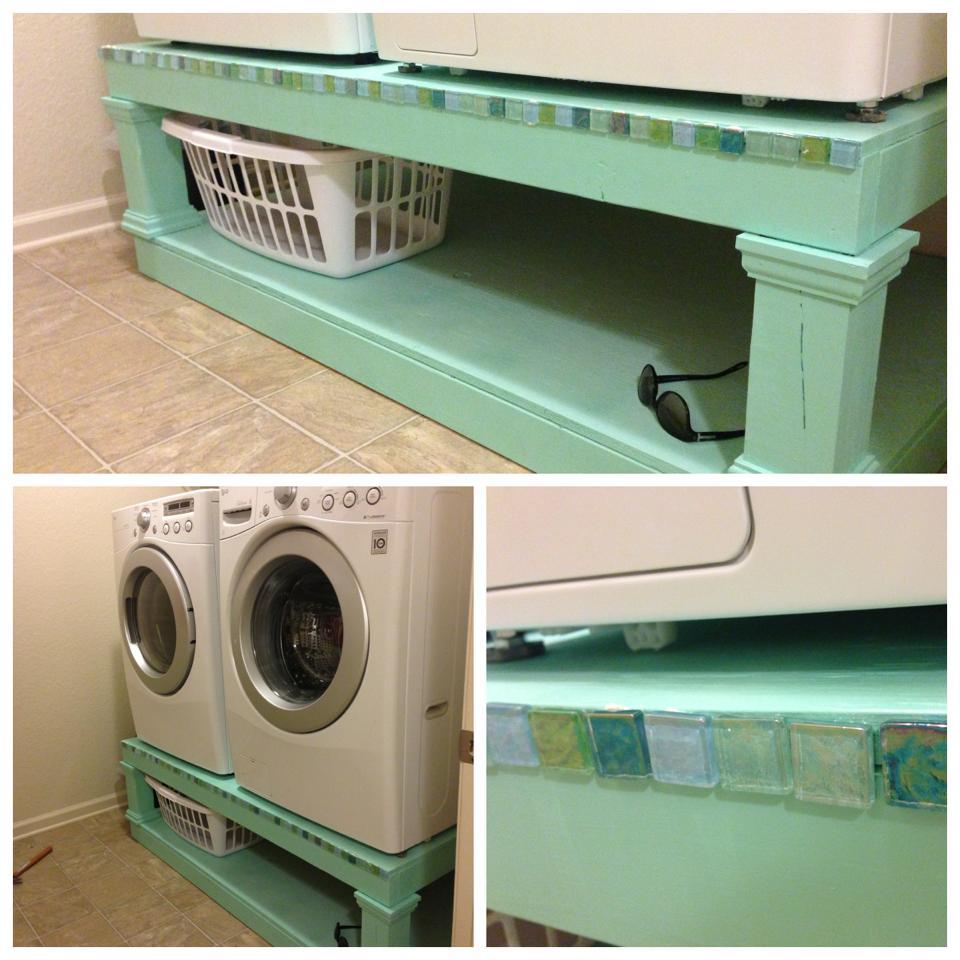
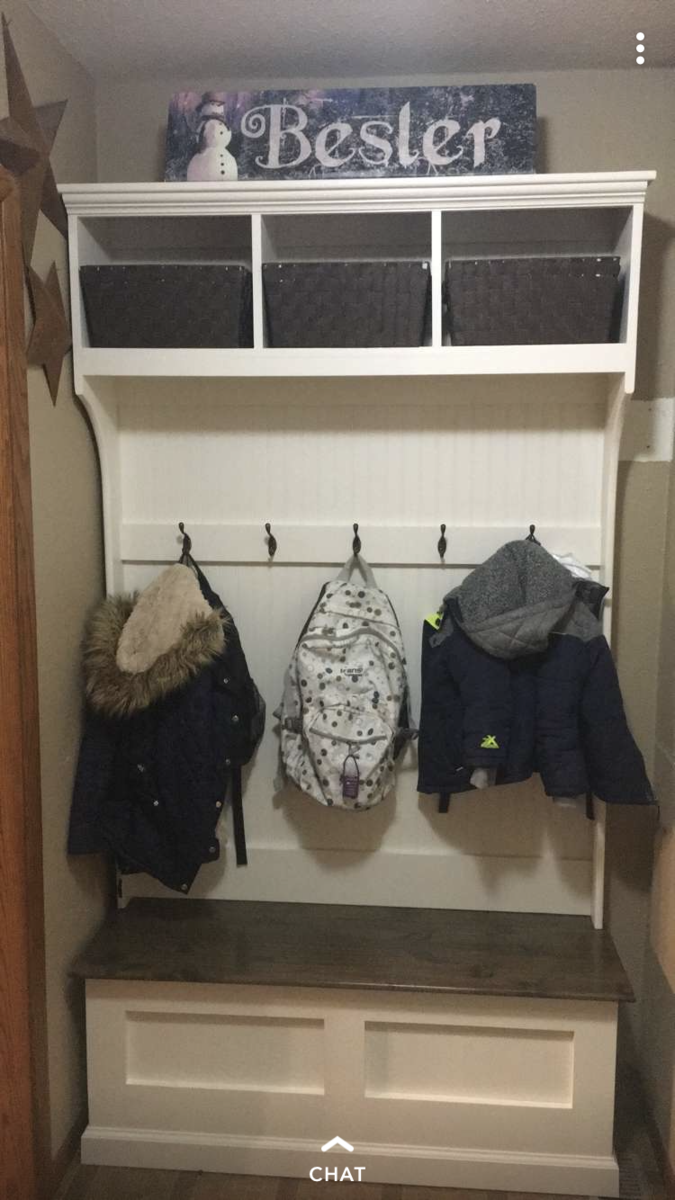
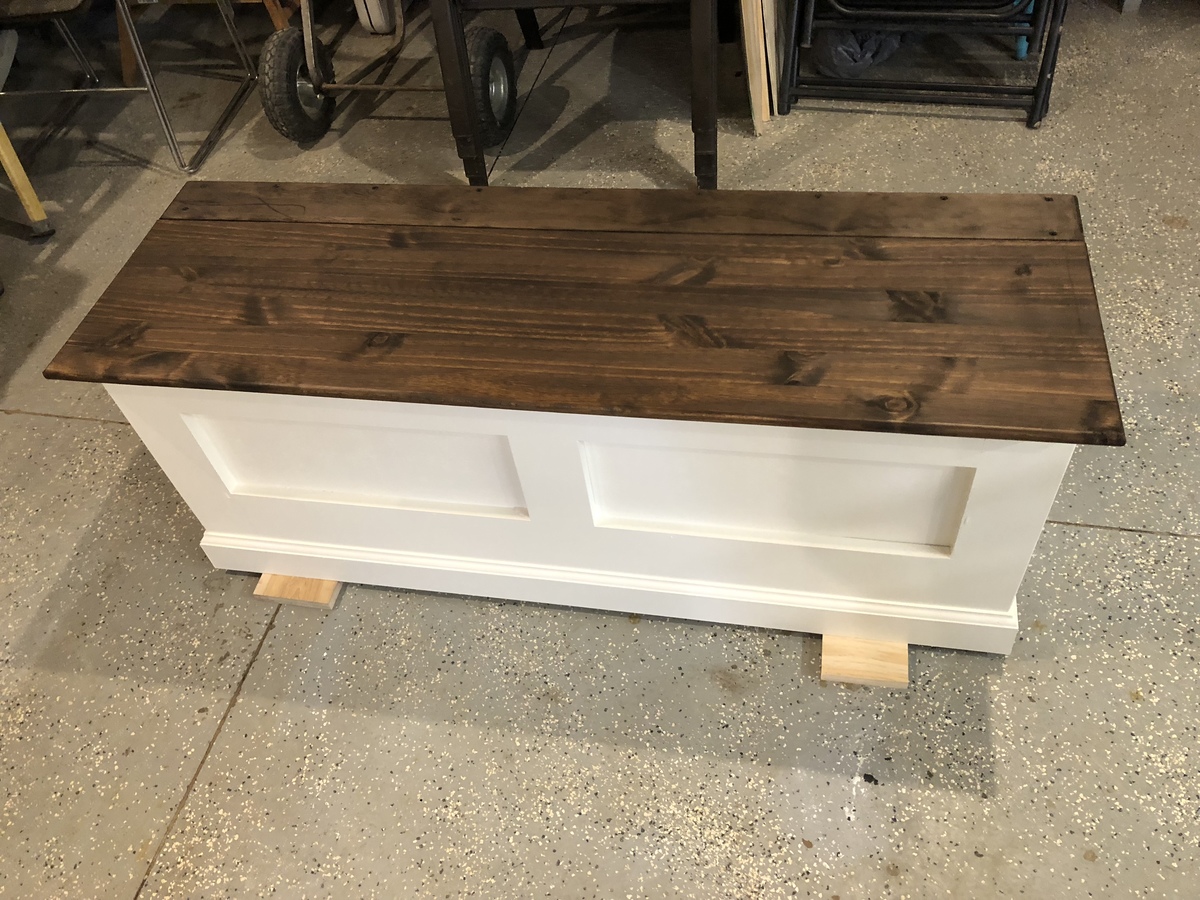
My Christmas present!
I was looking for a console table just like this one. A friend of mine told me to check out your website and I found this one. I was so excited. My husband bought a miter saw and I got my table. Lol. Love it.
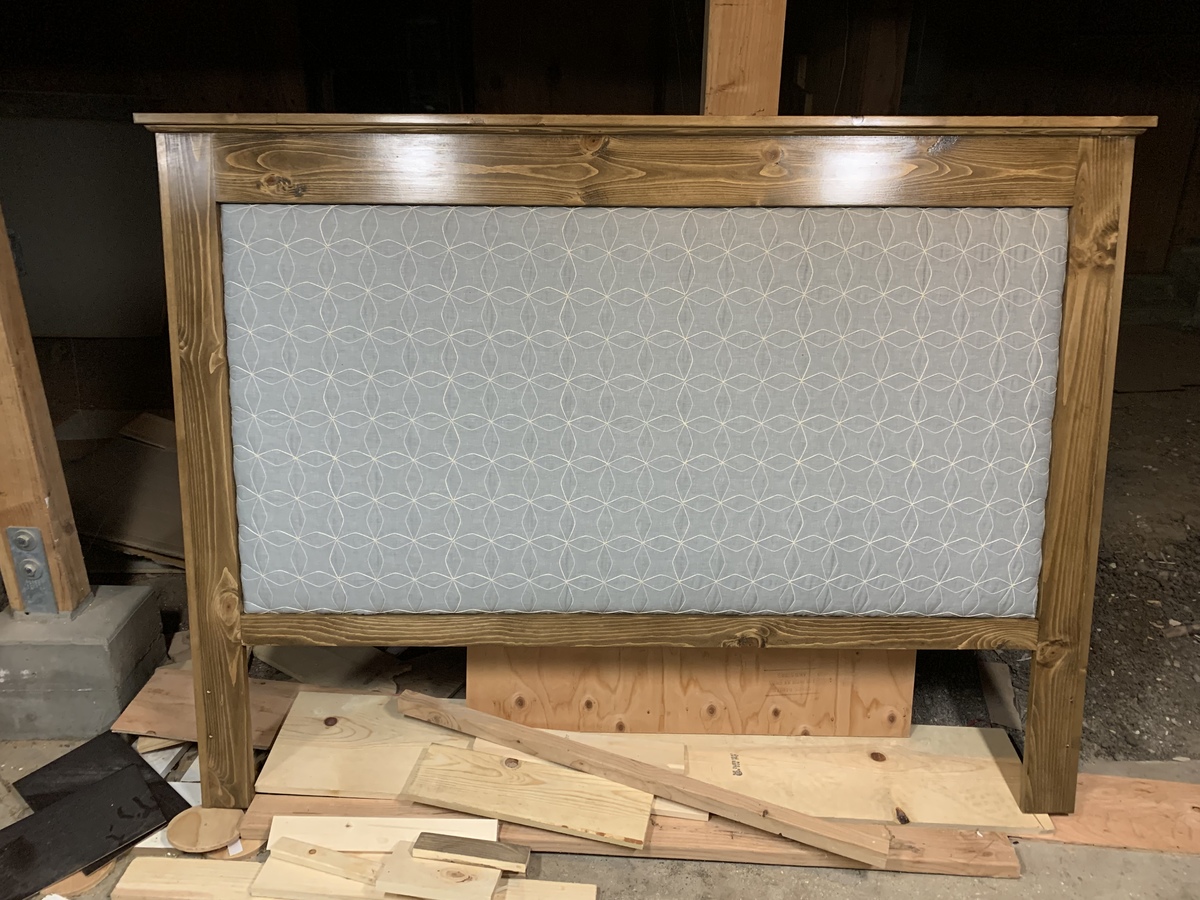
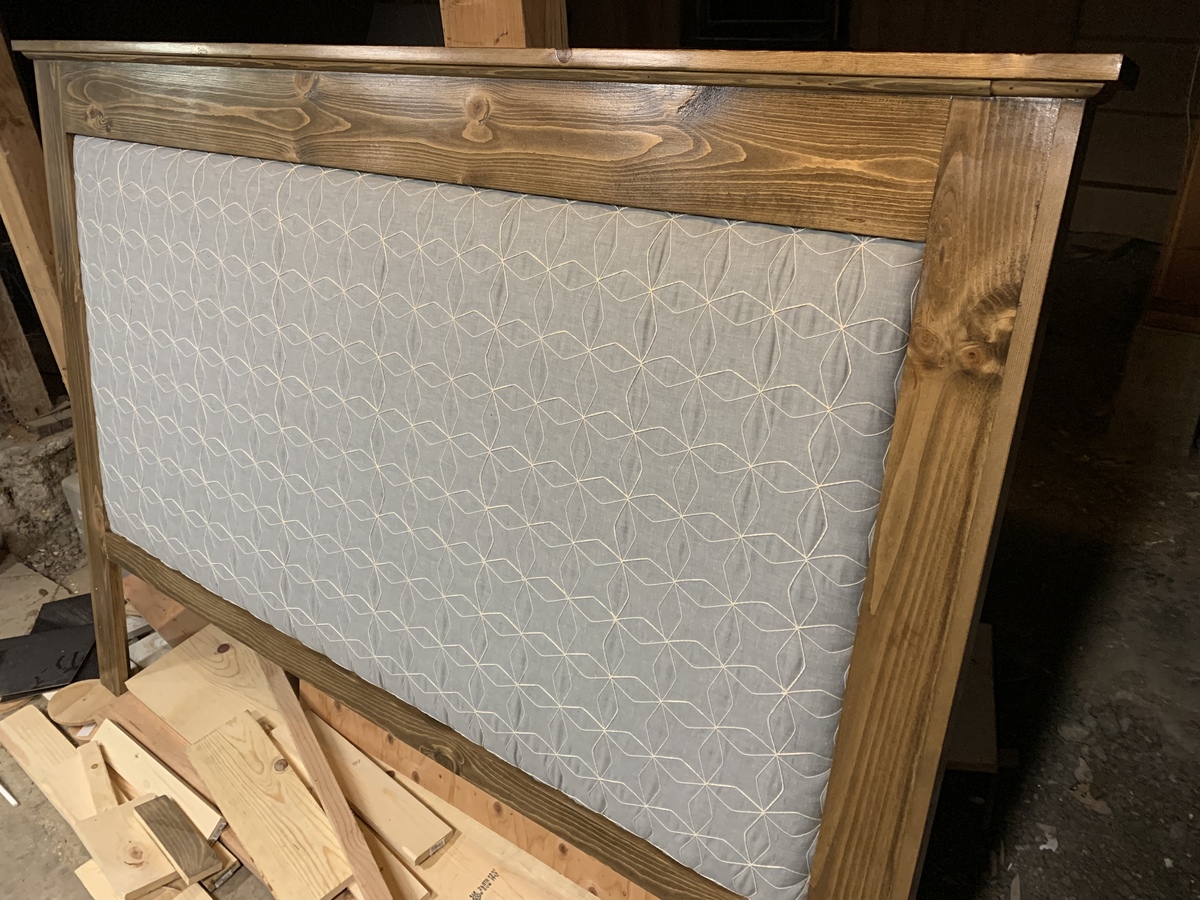
This was fun and easy to make. I made a few changes: it's only 4 ft wide and logs are 15 inches. Separate section for kindling and paper. Vinyl plank, matching our floor, for bottom and back. Added some hooks left and right for woodstove tools. I used the Kreg tool (new to me, love it). It was great to attach the top. I guess I didn't need to use it for the other parts, because the 1 by 4s would have covered the screws, but ... it was good practice with a new tool and the logs cover up the holes. Thanks Ana for all your great plans. I'm feeling encouraged to create some more stuff. Stay tuned.
I took this project on not sure how it would come out and I am very happy with the results!!
I wanted 3 shelves so I took apart the entire pallet (44 x 44) Sanded and spray painted two coats. Only advice is next time I will make sure the pallet is in better condition. Less time sanding. My 4 year old daughter loves her new reading area!
I've fixed up an old table and borrowed Ana's plans for farmhouse bench. I've modified them, and this is the outcome.
Love this table!
Sat, 01/05/2019 - 14:27
WOW! This is gorgeous! What a beautiful setting! Thank you for building and sharing!
We had an old heavy sleigh bed with headboard and footboard. It overwhelmed the room. We bought a basic metal bed frame. I made this headboard from Ana's plans, and my wife painted it. We really like this so much better.
11' Rustic Farm Table made out of 2" rough cut pine. Used a couple different plans from here and just kinda made it work to fit the space. Used a power sander to add some character and to smooth it out and wear it down in spots. Some of the wood wasn't as bluish gray, so I soaked steel wool in white vinegar and brushed it on, seemed to help a bit, especially on the fresh cuts.
Tue, 08/23/2011 - 05:21
Brings me back to my Grandparents house where our family filled the entire table! Great Job!
Mon, 10/31/2011 - 17:11
Absolutley stunning I am looking to make a farm house table to stay out side was going to use pressure treated lumber and pour a concrete top do u think this design will hold a 500 lb top?
Mon, 04/02/2012 - 06:26
we are in process of building our table and we want to keep the natural wood distressed look and we don't want the shiny lacquer look... how did you seal this table to protect from spills?
Wed, 06/13/2012 - 09:56
What did you use to secure the table-top boards to the base? I have some masonry nails that I have considered using but I'm worried that nails will not work as well in the long run since I plan on using my table outdoors. Do you remember what you used? How are they holding up?
Sat, 07/14/2012 - 06:05
I LOVE how you used the 2" rough cut pine! We need a 9 foot table for our huge banquet and this is perfect...the use of steel wool and vinegar is a great idea. You've inspired me, thanks!
Sun, 04/05/2015 - 19:45
Love this table!! Would love to have this big table for when all our family gets together.
This is my version of Patrick's jelly cupboard. I made some changes to he dimensions by making it taller and a bit wider.
Sun, 09/15/2013 - 17:57
Thank you very much I also forgot to add that the shelves are adjustable.
Wed, 06/11/2014 - 05:00
My husband and I built one of these last year and made it into a wine cabinet. My Mom wants us to build her one but she would like it to be a little bigger also. Do you mind me asking what you changed the measurements to? It looks like the perfect size for her. :)
Wed, 06/11/2014 - 12:23
I believe the measurements are 72" high by 35" wide by 12" deep. I built that last year and I sold it at a antique shop that I had a booth at. But to the best of my knowledge that was the measurements. Thanks for taking a look at it!!
Used scrap pine sitting around- a 1x10 and 1x3's. Most time consuming part was cutting out the hand holds. Wanted a rustic look, so I weathered the boards by first beating them with hammer, screwdriver and crowbar, then with tea and steel wool vinegar "stain" to age the boards. One coat of poly on top. Made the plugs with dowels, adds to the rustic look.
I've been building Ana White American Girl doll furniture for my two daughters for the last three years, culminating with my biggest build of all - a modified version of Ana's dollhouse.
My wife kept telling me it would end up being huge, and she was right. The great news is that it doubles as storage when the girls aren't playing! 2 Bedrooms, kitchen, living room, bathroom, and upstairs bonus room for dance and gymnastics. 78" tall x 76" wide, mounted to the wall studs for safety. Lots of joy in our home on Christmas day. Thanks Ana!
I enjoyed this build looking forward to making more.
For years I have wanted a dining room table with benches and after searching the net for plans for my husband to make it happen, I found Ana's site and knew that it was a possibility to build it and that it didn't have to be a project only for my husband. My husband built the table and my first build was the benches. My husband found a couple of wrought iron balusters that he used at supports on the table legs. We used 2 x instead of 1x which gave it a much bulkier look.
Tue, 09/20/2011 - 13:14
Nice job on the table. The stretchers are a great idea. The benches really get off the set.
Built according to plan, adding embellishment to cover decking seam. Painted with three coats of paint and a sprayed clear coat.
Customized for a California king.
Like so many others, I saw this and had to have one of my own. It was cute and quick - perfect! I had the same height issues that others had. The center supports are too tall for the 1x2 and 1x3 on the front. I wound up using all 1x3's, 2 on the front and 3 on the back. Because the cubbies came out a bit deeper, I thought I would try it as a utensil holder in the kitchen. Cute, huh.
Mon, 08/29/2011 - 11:01
What a great use for the cubbies! I never would have thought of that!
I needed a larger cage for our boa with easier access so that she would be handled more often.
All of this project came from scrapes and items I had laying around. 3 sets of handles, 4 sets of hinges and a torch. Too much fun.
4 recycled windows from a remodel project that I found on Craigslist ($10/each) and a half dozen 2x2's. All complete.
I really wish I was better at drawing, maybe I would make up a plan one of these days. Most of my projects are just improvised as I go along.
I was inspired by Anna Whites post, and went to work to alter the plan to fit the space in my daughters entryway. So final size is 48” wide and 80” high.
I built this super easy shelf for my earrings, necklaces and bracelets. I love that I can see what I have, before they were stored away in a drawer and not easily accessible for daily wear. I also enjoy that this was super inexpensive and easy to build! Planning to build another one for my daughters.
This was my first furniture project. I made this desk/vanity for my twin daughters' 9th birthday. I sized them to fit the space and added doors rather than drawers. I also made the stools using the plans for the upholstered bench - just resized. It was a fun project and I can't wait to start another! You can read more on my blog: http://karlakroese.blogspot.com/2011/08/new-hobby.html