Community Brag Posts

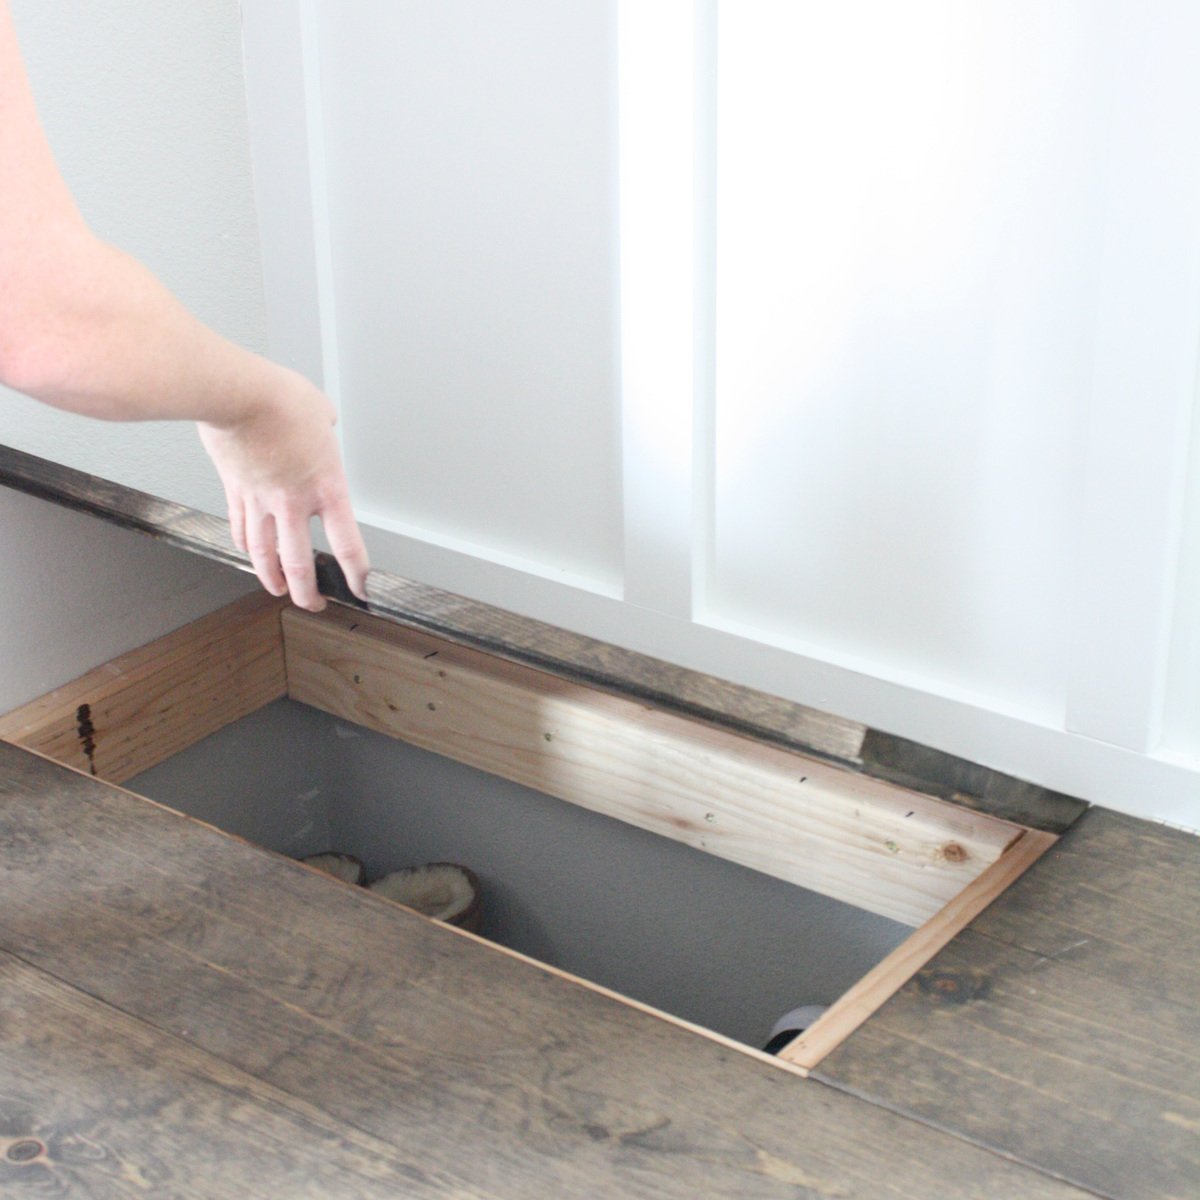
DIY Murphy bed made from solid wood

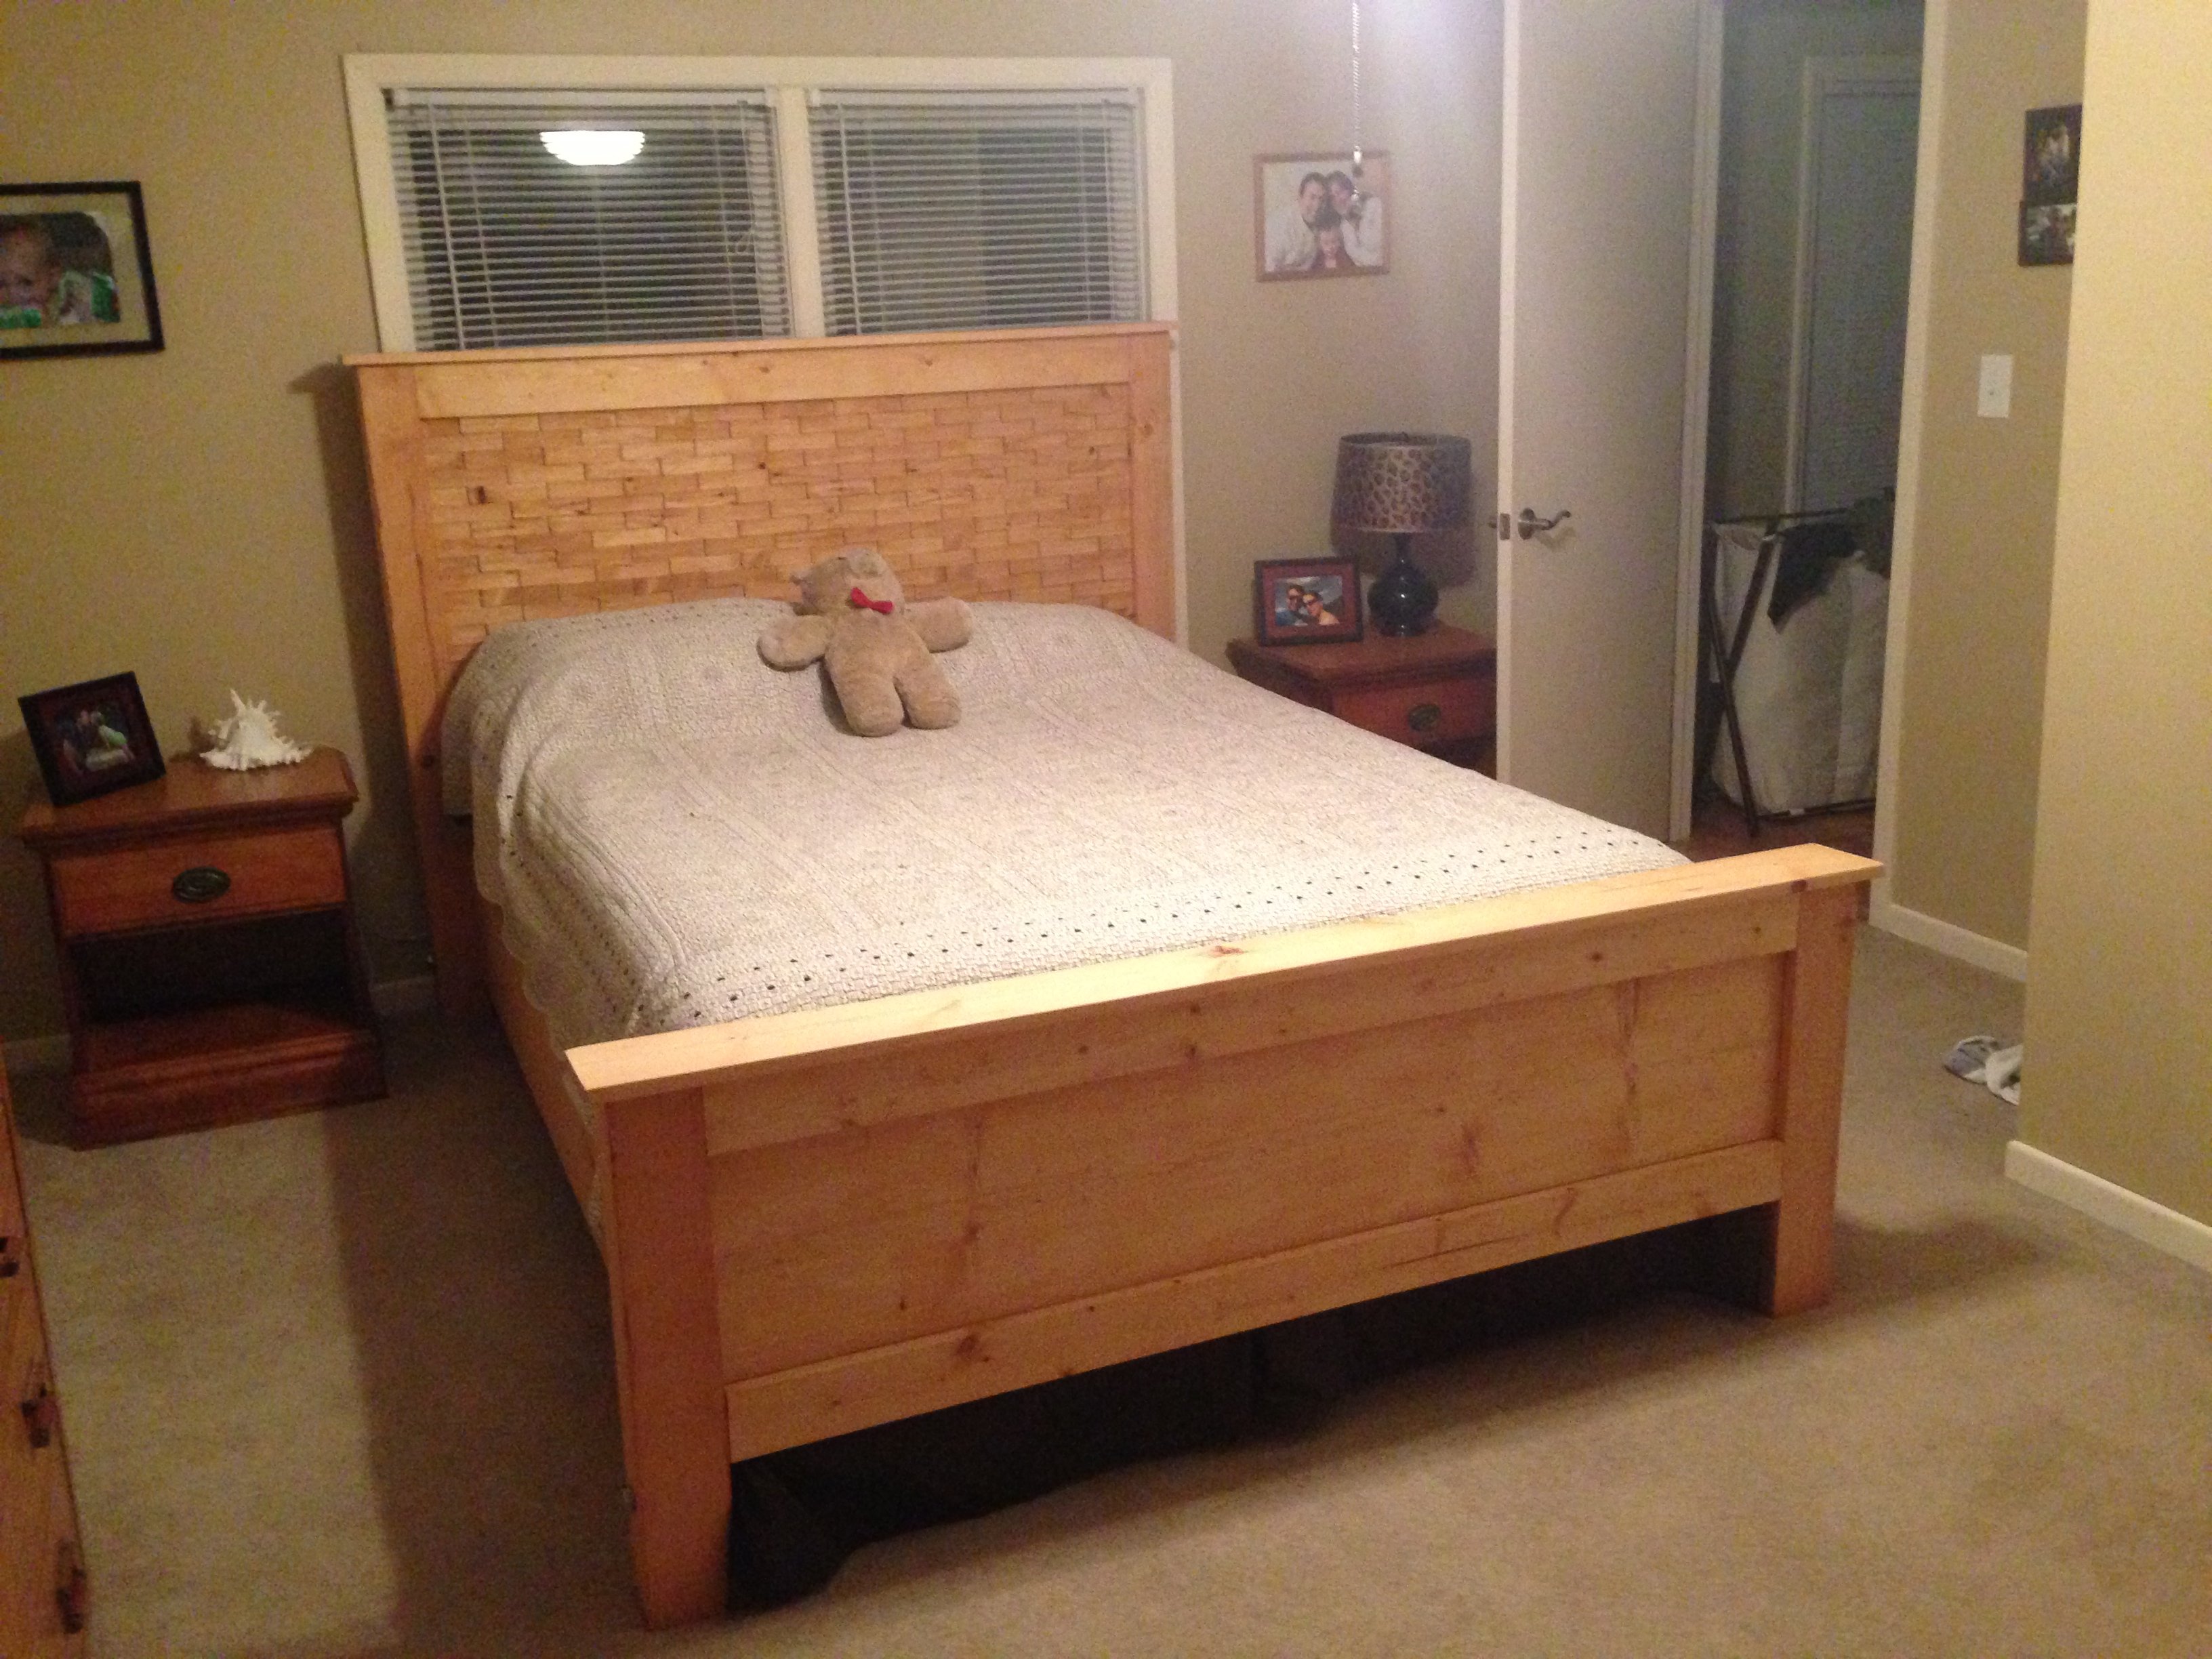
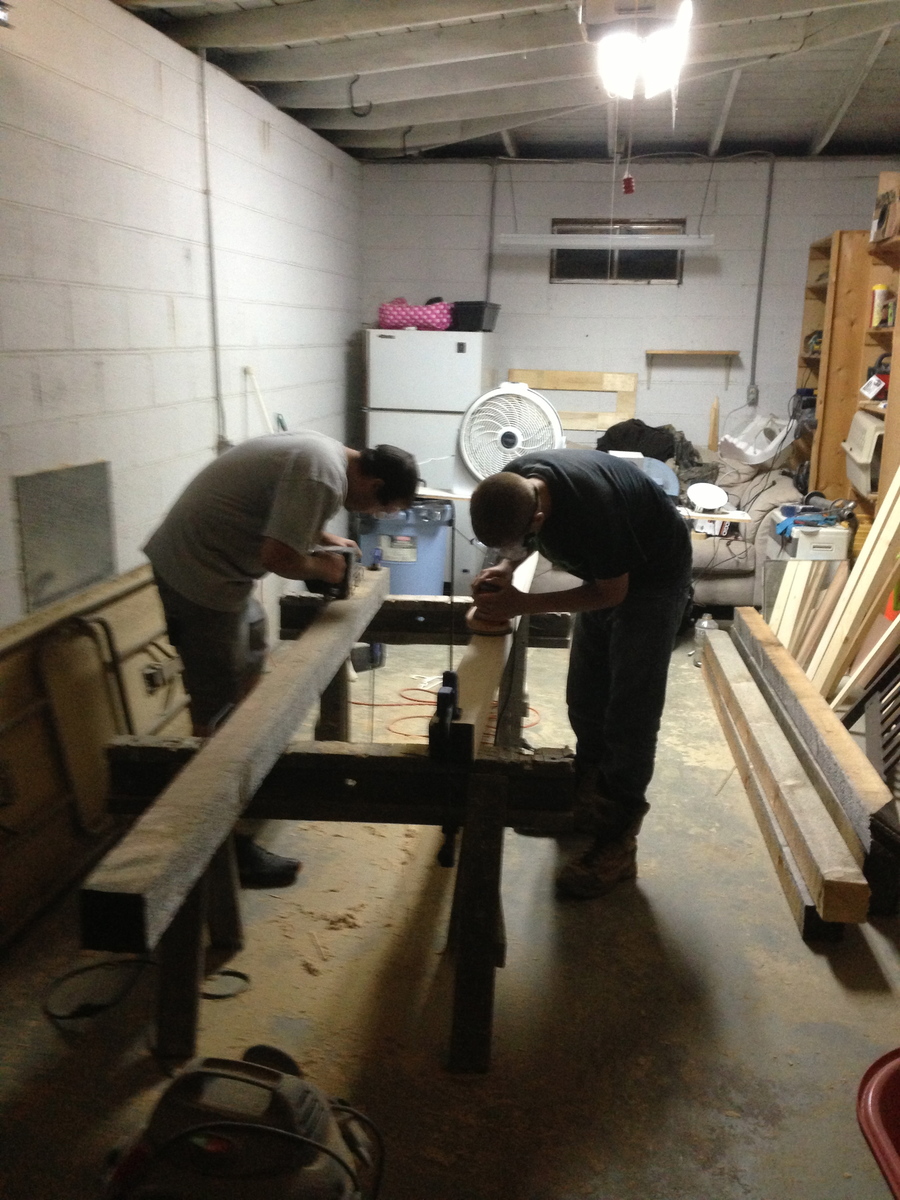
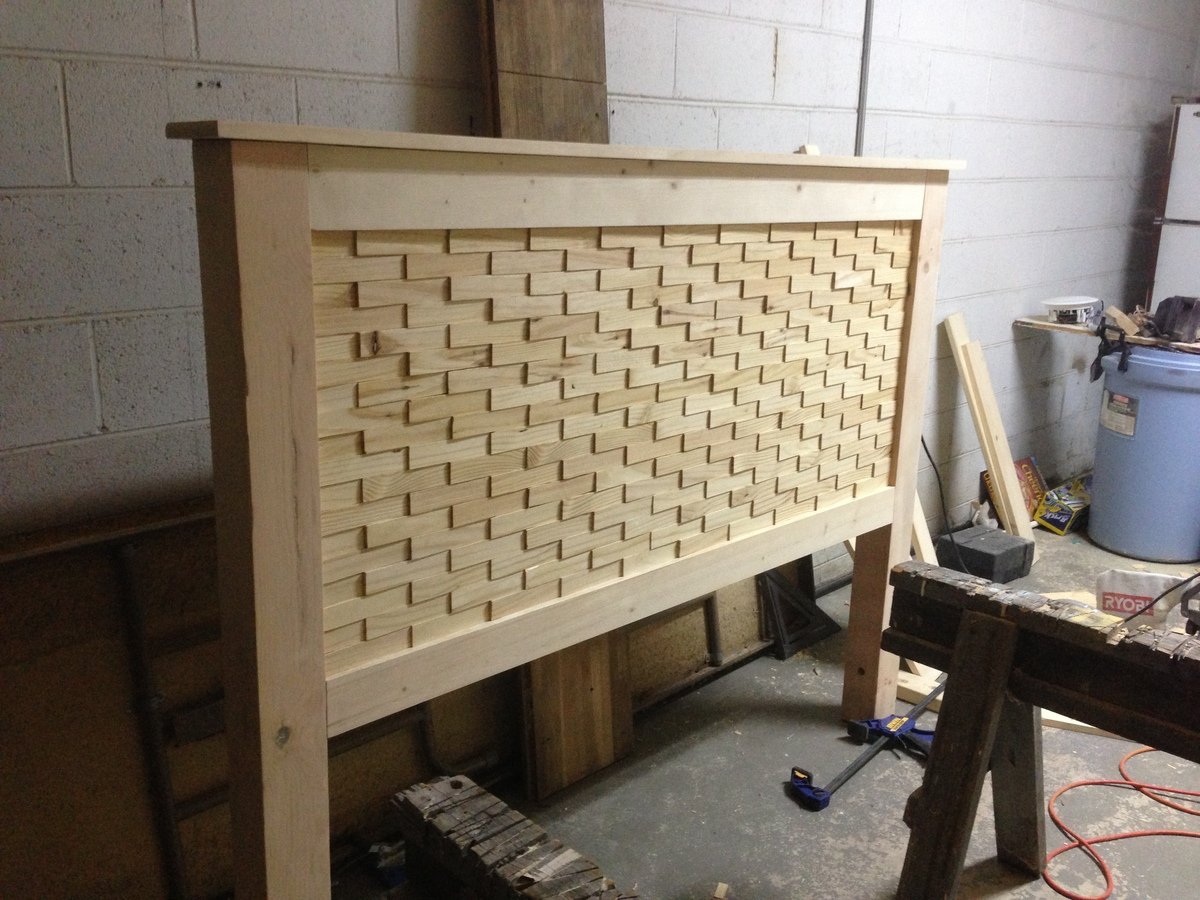
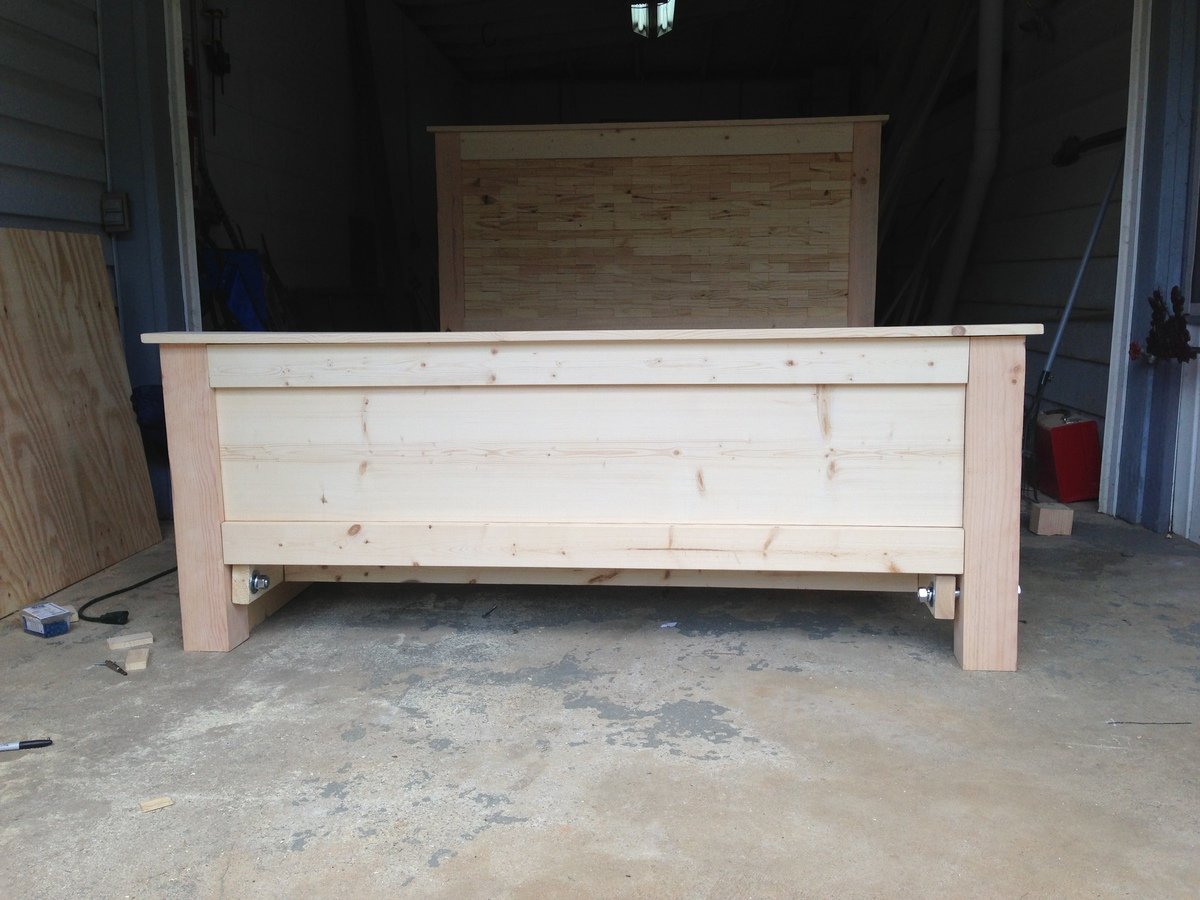
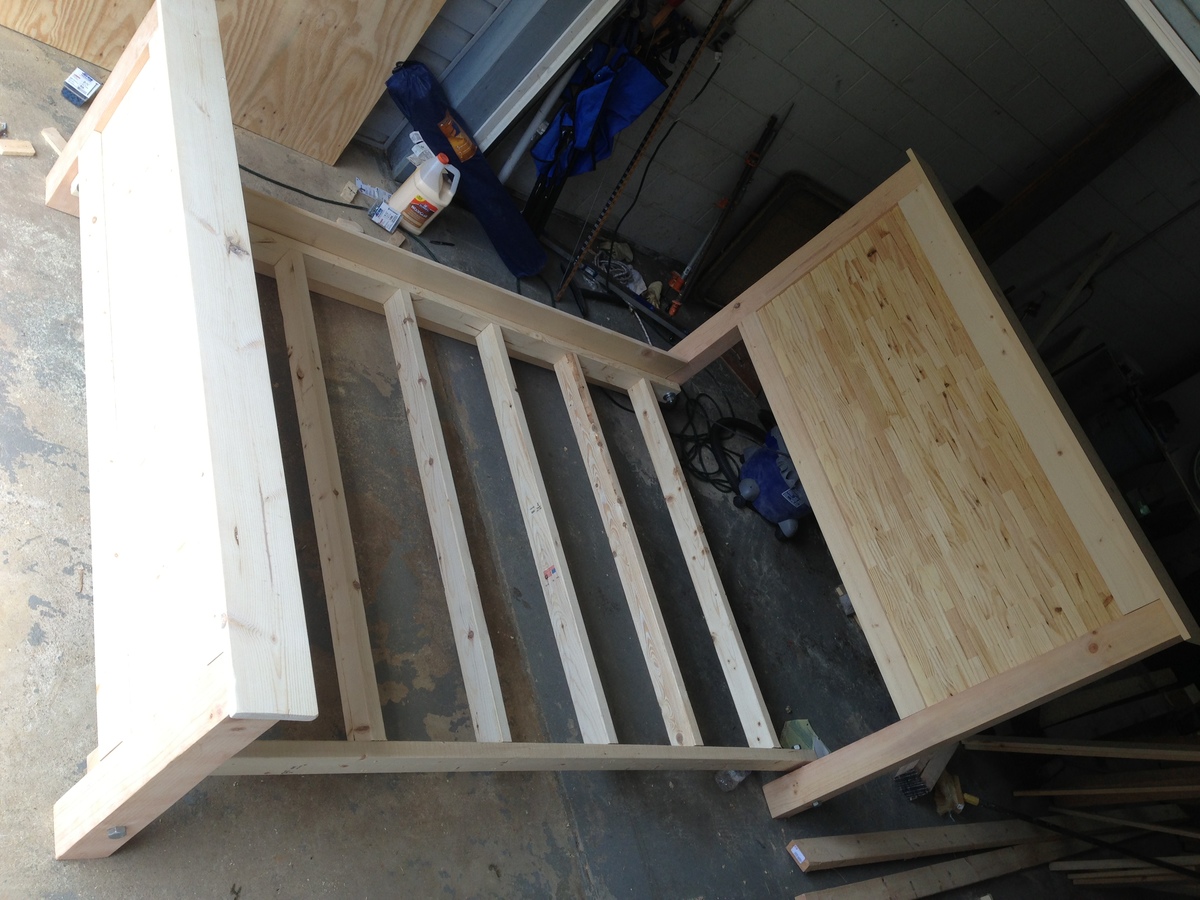
My husband used the plans from this website to make a single Murphy bed. He didn't make any changes, save for building the frame out of solid poplar and using birch plywood for the flat surface the mattress sits on when it's unfolded. We trimmed it to mimic the the lines of a built-in in the same room, and stained it Jacobean to make it look dark. It's a solid piece of furniture and is saving us tons of space.

Estimated Cost
$200
Estimated Time Investment
Weekend Project (10-20 Hours)
Finish Used
Minwax Jacobean
Recommended Skill Level
Intermediate

Hanging daybed

Submitted by hponce28 on Sun, 04/14/2013 - 14:24

I wanted to make a large porch swing but just couldn't find the exact design. I wanted to be able to stretch out and take a nap but also be able to have a back to lean against. Most plans that I found were just basically a box you could put a mattress in and then hang. So I found Ana's plan for a basic daybed and chopped off the legs and raised the back just a little. It's perfect!! Thanks Ana. The plans were very simple to follow. This is my first project and I think it turned out great.

Built from Plan(s)
Estimated Cost
$250
Estimated Time Investment
Weekend Project (10-20 Hours)
Finish Used
Colored stain in cocoa. Applied two coats.
Recommended Skill Level
Starter Project

Comments

melimew

Sat, 07/26/2014 - 07:37

Looking forward to do one like this !
Do you still have the measurement for the back you have raised ?
Really nice !

Thanks :-)

jdaybama

Tue, 11/18/2014 - 17:38

We made the bed and it looks awesome!  Thanks for making the plans easy to follow and providing the picture, which was a fantastic reference.  I do have a question for you in regard to how you hung the beg.  We would like to hang this from our porch, but can see that we simply have 2x4 roof trusses.  We are concerned that the weight of the bed (pretty heavy) plus mattress and support plus a person may be too much.  Any additional information you could provide on how you hung the swing would be greatly appreciated!  Thanks!

Students build an Outdoor Classroom

Submitted by Anonymous (not verified) on Sun, 11/27/2022 - 06:26

The high school environmental club built an outdoor learning space for classes. The plans were super easy to follow and the students were able to put them together with minimum direction. Imagine being able to take your lessons while out in a field beside the woods! Thank you Ana!

Slat Bench

Cost: $45
Made this bench smaller than the plan so it measures 48" X 18". Using it in a spare bedroom so it will eventually get stained to match the wood furniture.

Estimated Cost
45
Estimated Time Investment
Afternoon Project (3-6 Hours)
Finish Used
Haven't stained the wood, can't decide on a color.
Recommended Skill Level
Starter Project

Comments

Rapturee

Mon, 12/04/2017 - 09:17

That was my idea as well, to shorten it. My wife just asked me if we could part with a few chairs on the back side of our dining room table and if i would make a bench or two across the back wall. Well "of course" i said hahah!!  Nice job on yours!!   :{)

Lean-To Shed

Submitted by Anonymous (not verified) on Fri, 03/24/2023 - 13:17

I’m a first year teacher of construction class at Waterloo High School in Illinois. We recently used your Small Cedar shed instructions with some modifications for a class project. It’s a bear getting cedar right now, so we used T1-11 for the outside and 2x4 for the frame.

Built from Plan(s)

Comments

Herb & Flower Ladder

Submitted by Anonymous (not verified) on Mon, 05/09/2016 - 15:06

Living on a small city plot, this vertical ladder planter was just what I was looking for to grow my herbs and flowers. I am not an experienced builder but the plans were easy to follow. It didn't take me much time at all to complete this project. Now I am looking forward to fresh herbs and flowers all summer.

Recommended Skill Level
Beginner

Comments

Octagon picnic table

Submitted by Anonymous (not verified) on Wed, 05/24/2017 - 20:34

I love our new table. 

Built from Plan(s)
Estimated Cost
$150
Estimated Time Investment
Week Long Project (20 Hours or More)
Finish Used
Thompson deck stain (cedar) and black Laytex paint.

Recommended Skill Level
Intermediate
Seasonal And Holiday

Entry Shoe Bench

I've officially stopped stalking and started building! First project a modified spa bench. Still have to stain it, but it already makes the big pile of shoes by the door look neater! I'm a hands-on person and not afraid of power tools (got a band saw for my birthday!) but it's still a challenge building a piece of furniture. I've already learned lots of do's and don't do's for next time!
Thanx a bunch for your site, Ana! It definitely gets the mind plotting great projects to come!

Built from Plan(s)
Estimated Cost
~50$ (honestly, I can't remember!)
Estimated Time Investment
Day Project (6-9 Hours)
Finish Used
PolyShades Royal Mission, several coats... and a spray can of clear coat too.
Recommended Skill Level
Beginner

Chicken Coop A Frame

Submitted by mdownie on Wed, 05/22/2013 - 11:54

I built this A-Frame Chicken Coop using the Ana White plans. It turned out adorable, strong, and I am very pleased. Final cost was $250, and it took me 4 days (in real time, as a mom of 3). One Saturday at Lowes shopping, one Sunday afternoon cutting, and two days of assembly. Then a 5th for painting. Give or take a dozen extra runs to the hardware store! My brother-in-law helped cut the angles on his miter saw, and my uncle helped with assembly. I kinda doubt this could be done for $100 - maybe if you have a bunch of scrap materials and spare paint. We even have 7 or 8 hens in there! I only intended 3 to live in it, but my uncle added the extras and they all get along happily. I found the roof cap at Home Depot (didn't find at Lowes).

I would also like to point out that I was very afraid to do carpentry - I was afraid to even buy the lumber. But I asked for a lot of help from a lot of Lowe's and Home Depot people, and resisted the naysayers, and just got brave and did it. And it came out beautifully! If you are new to using power tools, get someone to assist, and you would need help anyway with holding things up while another drills.

Built from Plan(s)
Estimated Cost
250.00
Estimated Time Investment
Week Long Project (20 Hours or More)
Recommended Skill Level
Beginner

Comments

mdownie

Wed, 05/22/2013 - 11:59

As an extra note, I used Hardware cloth, not chicken wire. Wire will not keep dogs or predators out (and my dog immediately tried but failed to claw his way in). I bought I believe 36 inch tall rolls - the standard size that I could tell (not 30 inches like in the plans). But it fit perfectly, so I think maybe the plans had a typo? Lay out the lumber according to the plans and it will fit perfectly.

DIY Wood Shim bed plans - Queen

This Project was my second build. I had a few issues finding the materials required to even build it. Everything was found easily except the 4x4s. Everything here in my part of NC is either already pressure treated or cedar. Since everything else is Pine that really didn't float my boat. Plus for 1 4x4x8 of cedar cost $29 and for a color i didn't even want it wasn't even considerable. After calling around to a few places and no success i finally though of calling a lumber mill.

The Lumber mill had what i wanted for really cheap 4x4x8 for $5 but they were in rough condition. I had to do a lot of sanding to get them into workable condition. oh and by the way these are really 4x4s none of that 3.5in stuff here and man are they heavy.

Once i Started building my girlfriend decided she wanted the footboard to be higher and she didn't want to see any plywood for 1 we were going with a light finish and didn't think it would look to good. Instead of the footboard being at 20in high we raised it to 26. This allowed me to use some existing wood i already had to fill in the holes of exposed plywood. I used a 1x12 and 4 1x4s, i really only required 2 1x4 but to continue with the raised look of the footboard i used 4.

As far as the headboard goes i had to change that up a little bit as well. Im not sure if it was just because of the queen size or the fact that the lumber place i used to buy the 1x3s only had round edges so i opted to go with the 1x4s. Well because of that when i got to the last row of shims it was less than 1/2 the size. So resolve this issue again i used a existing 1x6 and replaced the top 1x4 with it. i made a line on the 1x6 which was taller then the headboard and cut it off with my circle saw so its now like a 1x5. Also on a side note when it came to the shims i cut them all 6in long due to the fact the center of the head board was 60in. it gave me an easy 10 shims per row. i used wood glue to hold them in place.

When it came to hooking the headboard and footboard to the bed frame i used 3/4s in-7in Lag bolts. this allows for easy on and off plus theres no way im breaking through them.

I loved this build but man those shim took forever. Sanding the 4x4s took me about 2 days. This job took me about 1 week to complete it working on it a few hours a night. But it was well worth it. I loved the way it turned out. its bigger than i though it would be but its workable.

Built from Plan(s)
Estimated Cost
200
Estimated Time Investment
Week Long Project (20 Hours or More)
Finish Used
I used Summer Oak as my finish of Choice. We didnt want anything to dark but had to have a fair amount of color in it.

To apply the finish we used a Cotton Rag and just rubbed it on. The finish for the shim part took me about an hour, well at least it felt like an hour and it gave my hands a definite workout.
Recommended Skill Level
Beginner

Comments

Dog kennel

Submitted by Anonymous (not verified) on Fri, 03/03/2023 - 06:54

In January, I came across your plans for the farmhouse, coffee table. I made it, and loved it! I had been wanting a new spin on kennels for our dogs. And thought your coffee table transformed into a dog kennel would be perfect, and they are!!

Comments

2x4 Outdoor Sectional and Coffee Table

Submitted by Anonymous (not verified) on Tue, 10/01/2019 - 17:56

I followed the instructions on the Ana White website, and followed a few of the commenters ideas to reduce the size slightly to minimize the wood costs. I used pocket holes wherever I could to try and reduce the amount of visible screw heads. The cushions were purchased at Big Lots and the cedar was purchased at the big home improvement store. My 5 year old and I worked on this and are so proud of how it turned out.

Estimated Cost
$250
Estimated Time Investment
Day Project (6-9 Hours)
Finish Used
Teak Oil
Recommended Skill Level
Intermediate

Comments

Seasonal And Holiday

Solid Maple Desk

Submitted by ccbuilder on Sun, 08/12/2012 - 14:29

This is a solid maple desk with two drawers finished with shellac and paste wax. I altered the plan by giving the desk and overhang, as well as changing the way the legs were built.

Built from Plan(s)
Estimated Cost
$250
Estimated Time Investment
Week Long Project (20 Hours or More)
Finish Used
Shellac and paste wax. I sanded until the surface was incredibly smooth and then used a high quality brush to apply the shellac.
Recommended Skill Level
Intermediate

Modified Industrial Style Coffee Table w/ Bottom Shelf

Submitted by danandbeth on Wed, 12/28/2016 - 08:36

Our first project!


We used the "Industrial Style Coffee Table as seen on DIY Network" plans and simply added a bottom shelf. This required an extra 2x2 bracer (same cut as top bracer) and 8 more 1x4s, cut slightly smaller than the top 1x4s in order to have them sit flush with the bottom 2x2s. The table is all pine.


We spaced the bottom shelf boards roughly a half inch apart (give or take - it's "rustic"!) and screwed in from the bottom just like the top boards. 


On the top shelf, we used 3 coats of Minwax Natural stain, and followed up with 3 coats of Minwax Satin Poly. We sanded these after attaching to the frame in order to achieve a level surface. We started with 80 grit, then 120, then 150. We then used 220 in between coats of poly. The result is a smooth, but not store-bought smooth surface, which we think works well.


We didn't spend as much time on the bottom shelf since they'll be mostly storing items, giving them just a quick 150 sand prior to 2 coats of stain and 2 coats of poly. Finally, we nailed in some plastic feet to keep it about a half inch off the floor.


All in all, being our first project, and going beyond what the original plans called for, it took us a few weeks to complete, working on it mostly on weekends and here and there in the evenings after work. We love the finished project and it works really well in our living room!


-Dan and Beth

Built from Plan(s)
Estimated Time Investment
Week Long Project (20 Hours or More)
Finish Used
Natural Stain (Minwax)
Satin Poly (Minwax)
Recommended Skill Level
Beginner

A-Frame Chicken Coop - Easy to Clean

Submitted by Anonymous (not verified) on Mon, 04/24/2017 - 14:25

Thanks for the free plans. I did have to make modifications for the doors. i hid the hinges to give it a clean look. i used cedar for the trim and Plywood Siding Panel T1-11 4 IN OC (Common: 19/32 in. x 4 ft. x 8 ft.; Actual: 0.563 in. x 48 in. x 96 in.) for the doors.  i used a metal flashing for the roof so it will vent.

Built from Plan(s)
Estimated Cost
$250
Estimated Time Investment
Week Long Project (20 Hours or More)
Finish Used
BEHR Transparent waterproofing finish (Cedar Natural Tone) NO 501
Recommended Skill Level
Intermediate
Seasonal And Holiday

Mudroom Bench

Submitted by hmctagg on Fri, 08/04/2017 - 20:03

We combined several ideas to create this built in mud room bench.  I searched high and low for the design I wanted and loved Ana's hidden storage.  It's perfect for off season stuff that would otherwise take up space in a closet.  It's such a pretty, functional space that gets so much use.  

Estimated Cost
We paid $1200 to have the entire structure built by a carpenter. It definitely could be done for less, but with two toddlers we just didn't have the time.
Estimated Time Investment
Weekend Project (10-20 Hours)
Finish Used
Minwax Dark Walnut
White trim paint
Recommended Skill Level
Intermediate

Modern Slat Top Outdoor Wood Bench

Submitted by ckaye on Sun, 07/07/2013 - 18:38

We wanted an outdoor bench for our front entrance way, this one is just what we were looking for! Thank you for the plans.

Estimated Time Investment
Day Project (6-9 Hours)
Finish Used
2" x 6" Spruce Black Stain
Recommended Skill Level
Beginner

Comments

beardjulie

Wed, 05/04/2016 - 10:01

I am really a novice. The plans say that the 1x4's should be 18-1/2" high? But the measurement of the vertical legs are 14", and the horizontal piece is 4" high, which adds to 18". It all looks flush in the photo. Could you explain what I am missing? Thank you so much!

In reply to by beardjulie

Rudystawarek

Wed, 05/04/2016 - 11:30

So from what i see in the plans Each 1x4 board is to be cut at 18" and the 2x4 is to be cut at 14-1/2". Cutting the 2x4 at 14-1/2" will insure the 1x4 and 2x4 are fluish for the end product. It doesnt seem to add up given the demensional names of the lumber hahaha however the actual width of a 2x4 (the one the will be going horizontal) is acutally 3-1/2". so then you cut you 2x4 leg piece at 14-1/2" and then lay the horizontal 2x4 on top the total height will be 18" and should be flush with your 1x4 that is cut at 18"

beardjulie

Fri, 05/27/2016 - 14:04

That is too funny! That is a dead give away that I'm new at this! Thanks you!

beardjulie

Fri, 05/27/2016 - 14:04

That is too funny! That is a dead give away that I'm new at this! Thanks you!

Spices!

We had these spices in a cabinet, which were impossible to see stuff in the back. This was a perfect solution.

Now, we also had more spices then we know what to do with, so we added a second rack at the bottom of the door as well. I just adapted the plans to be 30 inches tall to accommodate the size of the lower portion of the door. This was accomplished by removing the 1st and 3rd measurements for shelves, and using the remaining for an extra tall shelf.

I also only used a finish nailer (and wood glue),to assemble, in combination with a brad nailer to hold the back plywood on.

I also chose not to include the dowel buttons on the end, and did not cut the dowels to length; they were inserted all the way through and trimmed off with a Japanese pull saw (get one, you will LOVE it), then fastened through the front with the finish nailer, then sanded flush.

I also elected not to paint to finish the piece and leave the natural wood.

Built from Plan(s)
Estimated Cost
$33, including the extra shelves.
Estimated Time Investment
An Hour or Two (0-2 Hours)
Recommended Skill Level
Starter Project