Community Brag Posts

2x4 Outdoor Sectional with Matching Chairs, Ottomans and Table

Submitted by Anonymous (not verified) on Fri, 06/12/2020 - 20:51

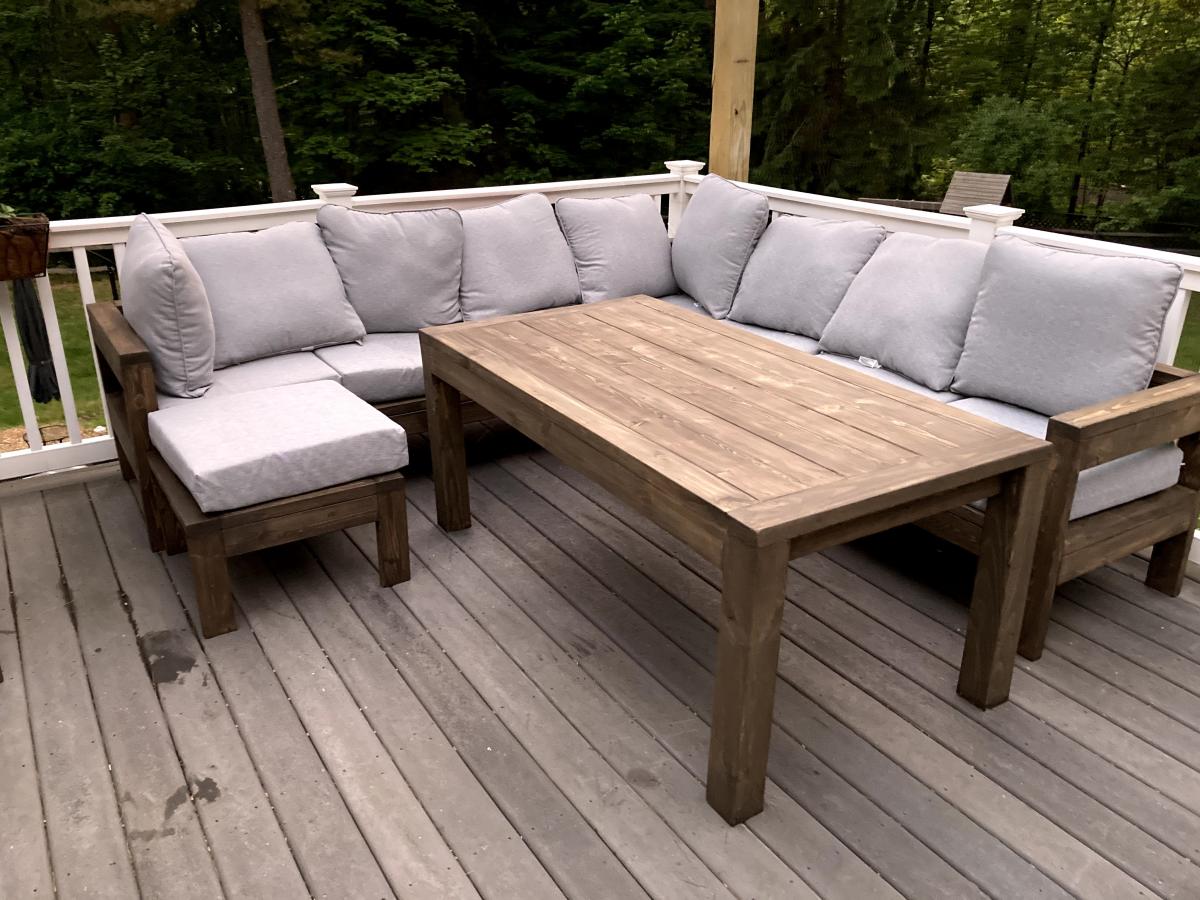
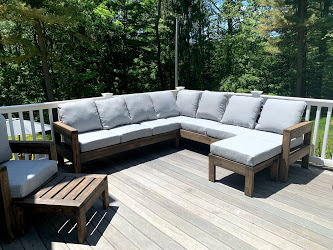
We were looking for outdoor furniture for our deck, and for the size and amount we needed it would have cost us at least $2000. We really like the idea of having an outdoor sectional that we can also use for dining, and we had trouble finding a set we liked. We found Ana's plans for the 2x4 Outdoor Sectional, and i loved the look. After seeing what others have done with the plans, I thought I would be able to modify it to get everything we needed for much less cost than buying a set.

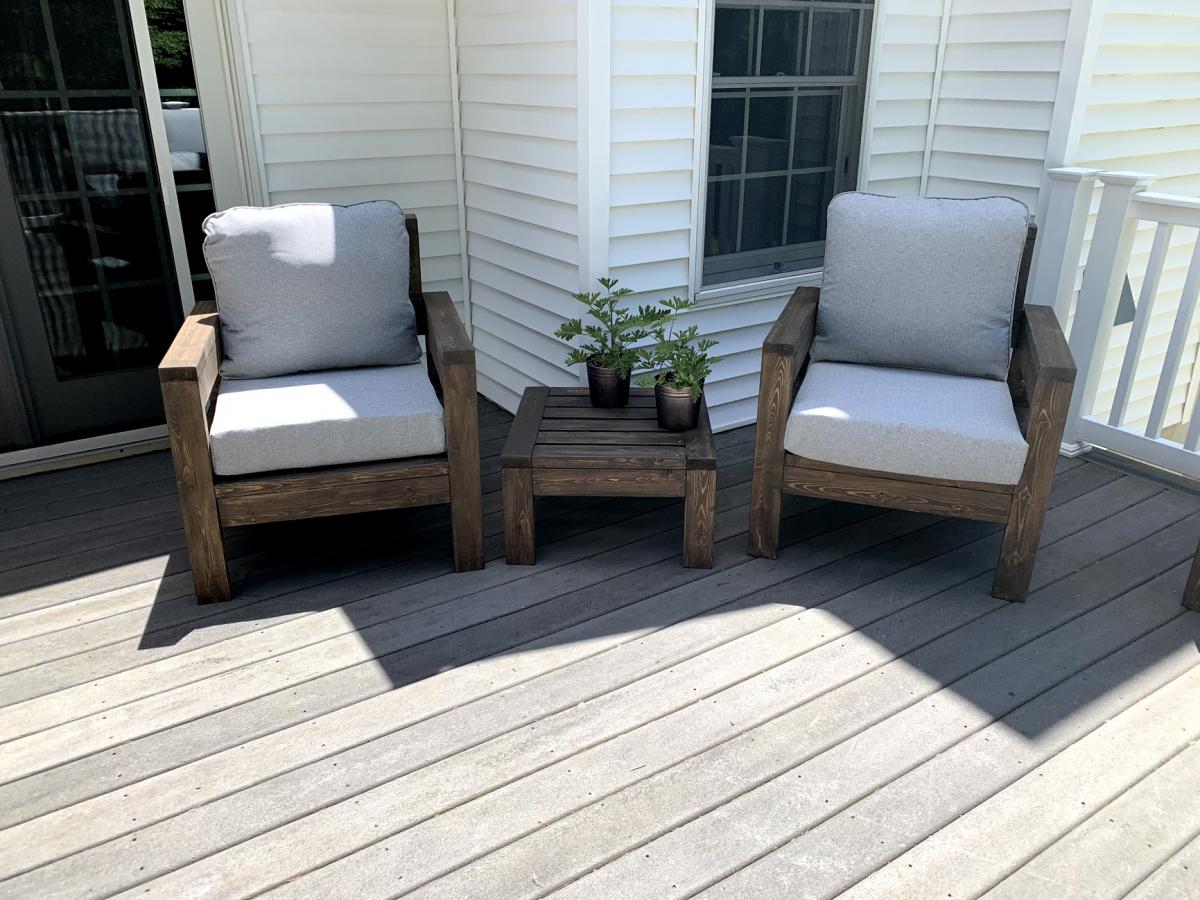
We ended up extending the size of the 2x4 outdoor sofa by one 24" section, for a total length of 96". I then used the same design to make two outdoor chairs, just reduced the length to 24". I modified the 2x4 outdoor coffee table plans to create two ottoman's that can be moved around to make the seating more lounge style Finally, I modified the coffee table plans to make a 5 foot outdoor dining table. All in all, it took about a week and I couldn't be happier with how it turned out!

Estimated Cost
$800 Total ($200 for the wood, $600 for the cushions)
Estimated Time Investment
Week Long Project (20 Hours or More)
Finish Used
Valspar Semi-Transparent Antique Oak Stain
Recommended Skill Level
Beginner

A's Full Size Loft Bed

Submitted by Hulsberg on Sun, 08/12/2012 - 14:58

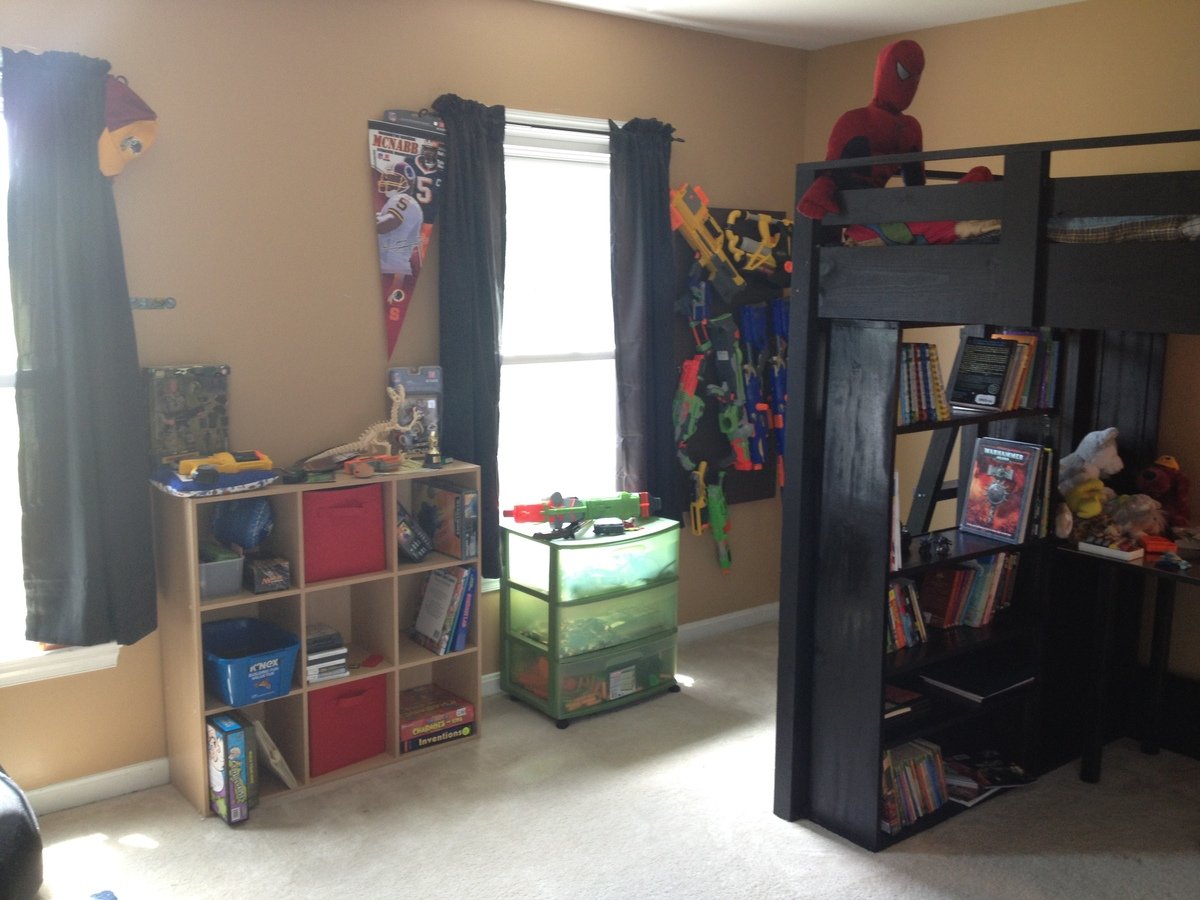
My son needed more room in his bedroom...and to be rid of the very girly furniture he inherited when he moved into his "big boy-ish" bedroom. At 10 yrs old, it was high time he got a bed that wasn't pink-tinged, white washed pine with 4 posters and enough curlicues to choke a forest. He also needed a desk which I couldn't really fit in his room with the armoire and chest of drawers that came with the Queen sized bed.

So off to Ikea we went and I saw a black loft bed for $300, but it was really, really high which meant I would have to cut it down and it was not sturdy at all. I looked at PB and saw the $1800 bed. Um, no - that wasn't happening. So, off to Ana-White I went and I'm so happy I did!

I built the full sized version of these plans and, to keep costs down, used wood I had on hand. This meant I had to work a bit at the cuts, but it all worked out.

Mods:
1) I modified the railings to have the ladder at the end of the bed to keep away from the ceiling fan.

2) Because I put the ladder at the end of the bed, I got very nervous about having a soon-to-be teen climbing on to a ladder secured to a 1x10 that was only connected to the side railings with glue and screws. So I sandwiched extra 1x3s over the bottom rails and attached them to the top railing.

3) I was very nervous about making sure that the bed was adequately supported so I put a 2x4 down the center instead of the 1x2.

4) I went a wee-bit overboard screwing things together to the point where it's a bit embarrassing and now I have to paint over the screw heads.

5) I made the ladder treads with 2x4's, modifying the inside spacer board cut lengths.

Because I had quite a bit of lumber on hand, the bed only ended up costing me about $90.

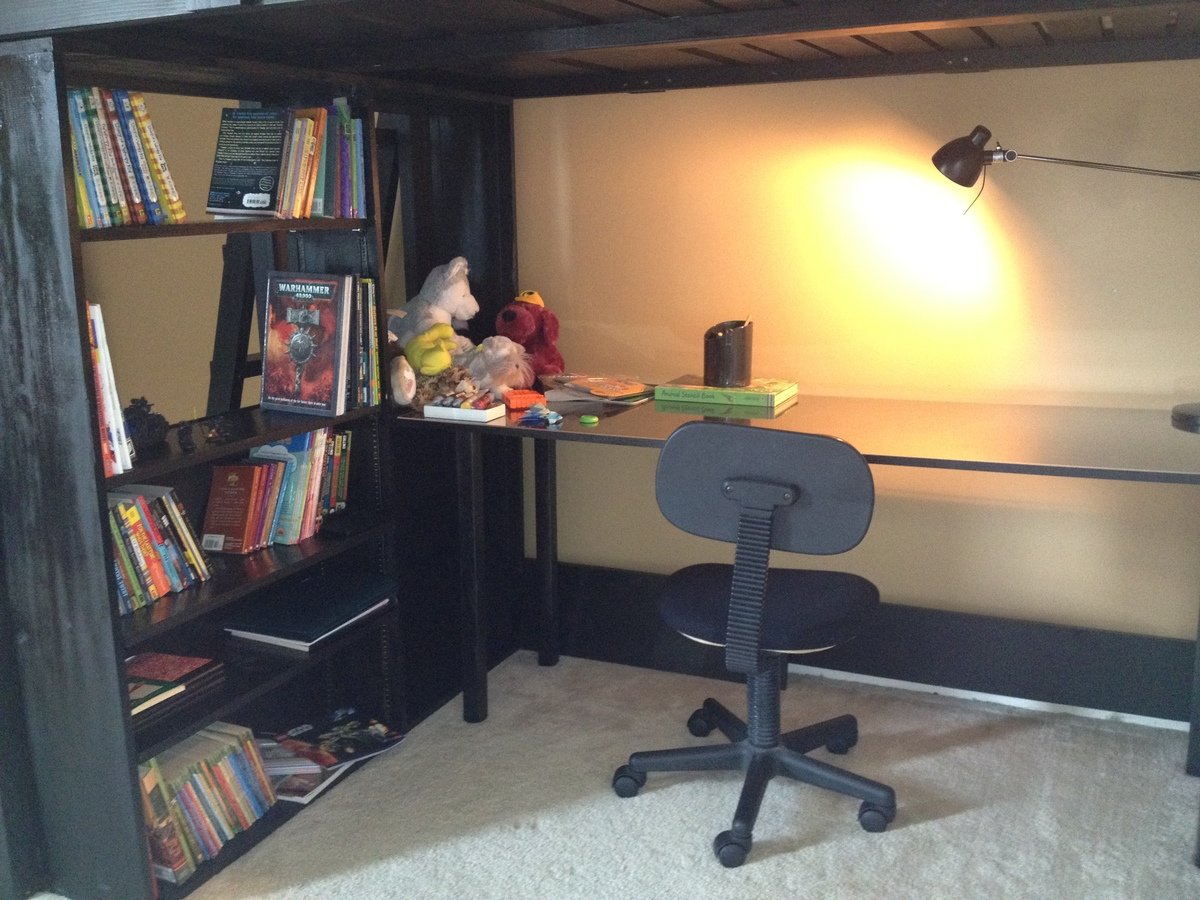
For the bookcase, I did end up buying the 1x12s and the adjustable shelf railings. I made the book shelf the entire width of of the bed and split the two sections based on width of the 1x24 board I bought for the desk. I only put the backer board up half way so that the daylight could get underneath the bed and make it not so cave-like.

The book case cost me about $70.

The desk was the easiest...but most costly item. A 1x6x24, 4 table legs and the table leg mounts ran me about $80. The plexiglass top that I had cut for the top cost me about $80.

Time wise, this would have taken me a lot less time than the 4 months it took - but I worked on it as I could and when I could, by myself. I got some friends to help me bring it upstairs and put it back together, but it was mostly done when I could fit in some time.

My son LOVES this and it really does give him so much room!!! Thanks Ana - I really appreciate it!
Built from Plan(s)
Estimated Cost
with paint, screws and bookcase hardware, about $450
Estimated Time Investment
Week Long Project (20 Hours or More)
Finish Used
gloss spray paint / primer in one.
Recommended Skill Level
Beginner

Comments

Jennifer P (not verified)

Fri, 01/18/2013 - 07:38

Hi!

To modify this to be full sized, I just added 15" to the width of the bed. Ana said this in the plans:

Cutting Instructions:

Converting to Full Size This bed can easily be converted to full size. You will simply need to add 15″ to all boards that run parallel to the ends. This includes the planks, end top pieces and the slats. Shopping list will need to be adjusted as well.

So I modified the cuts to the head and foot board parts and the full size mattress fits perfectly.

For the shelving underneath, I just looked at some of Ana's other plans for shelves and winged it.

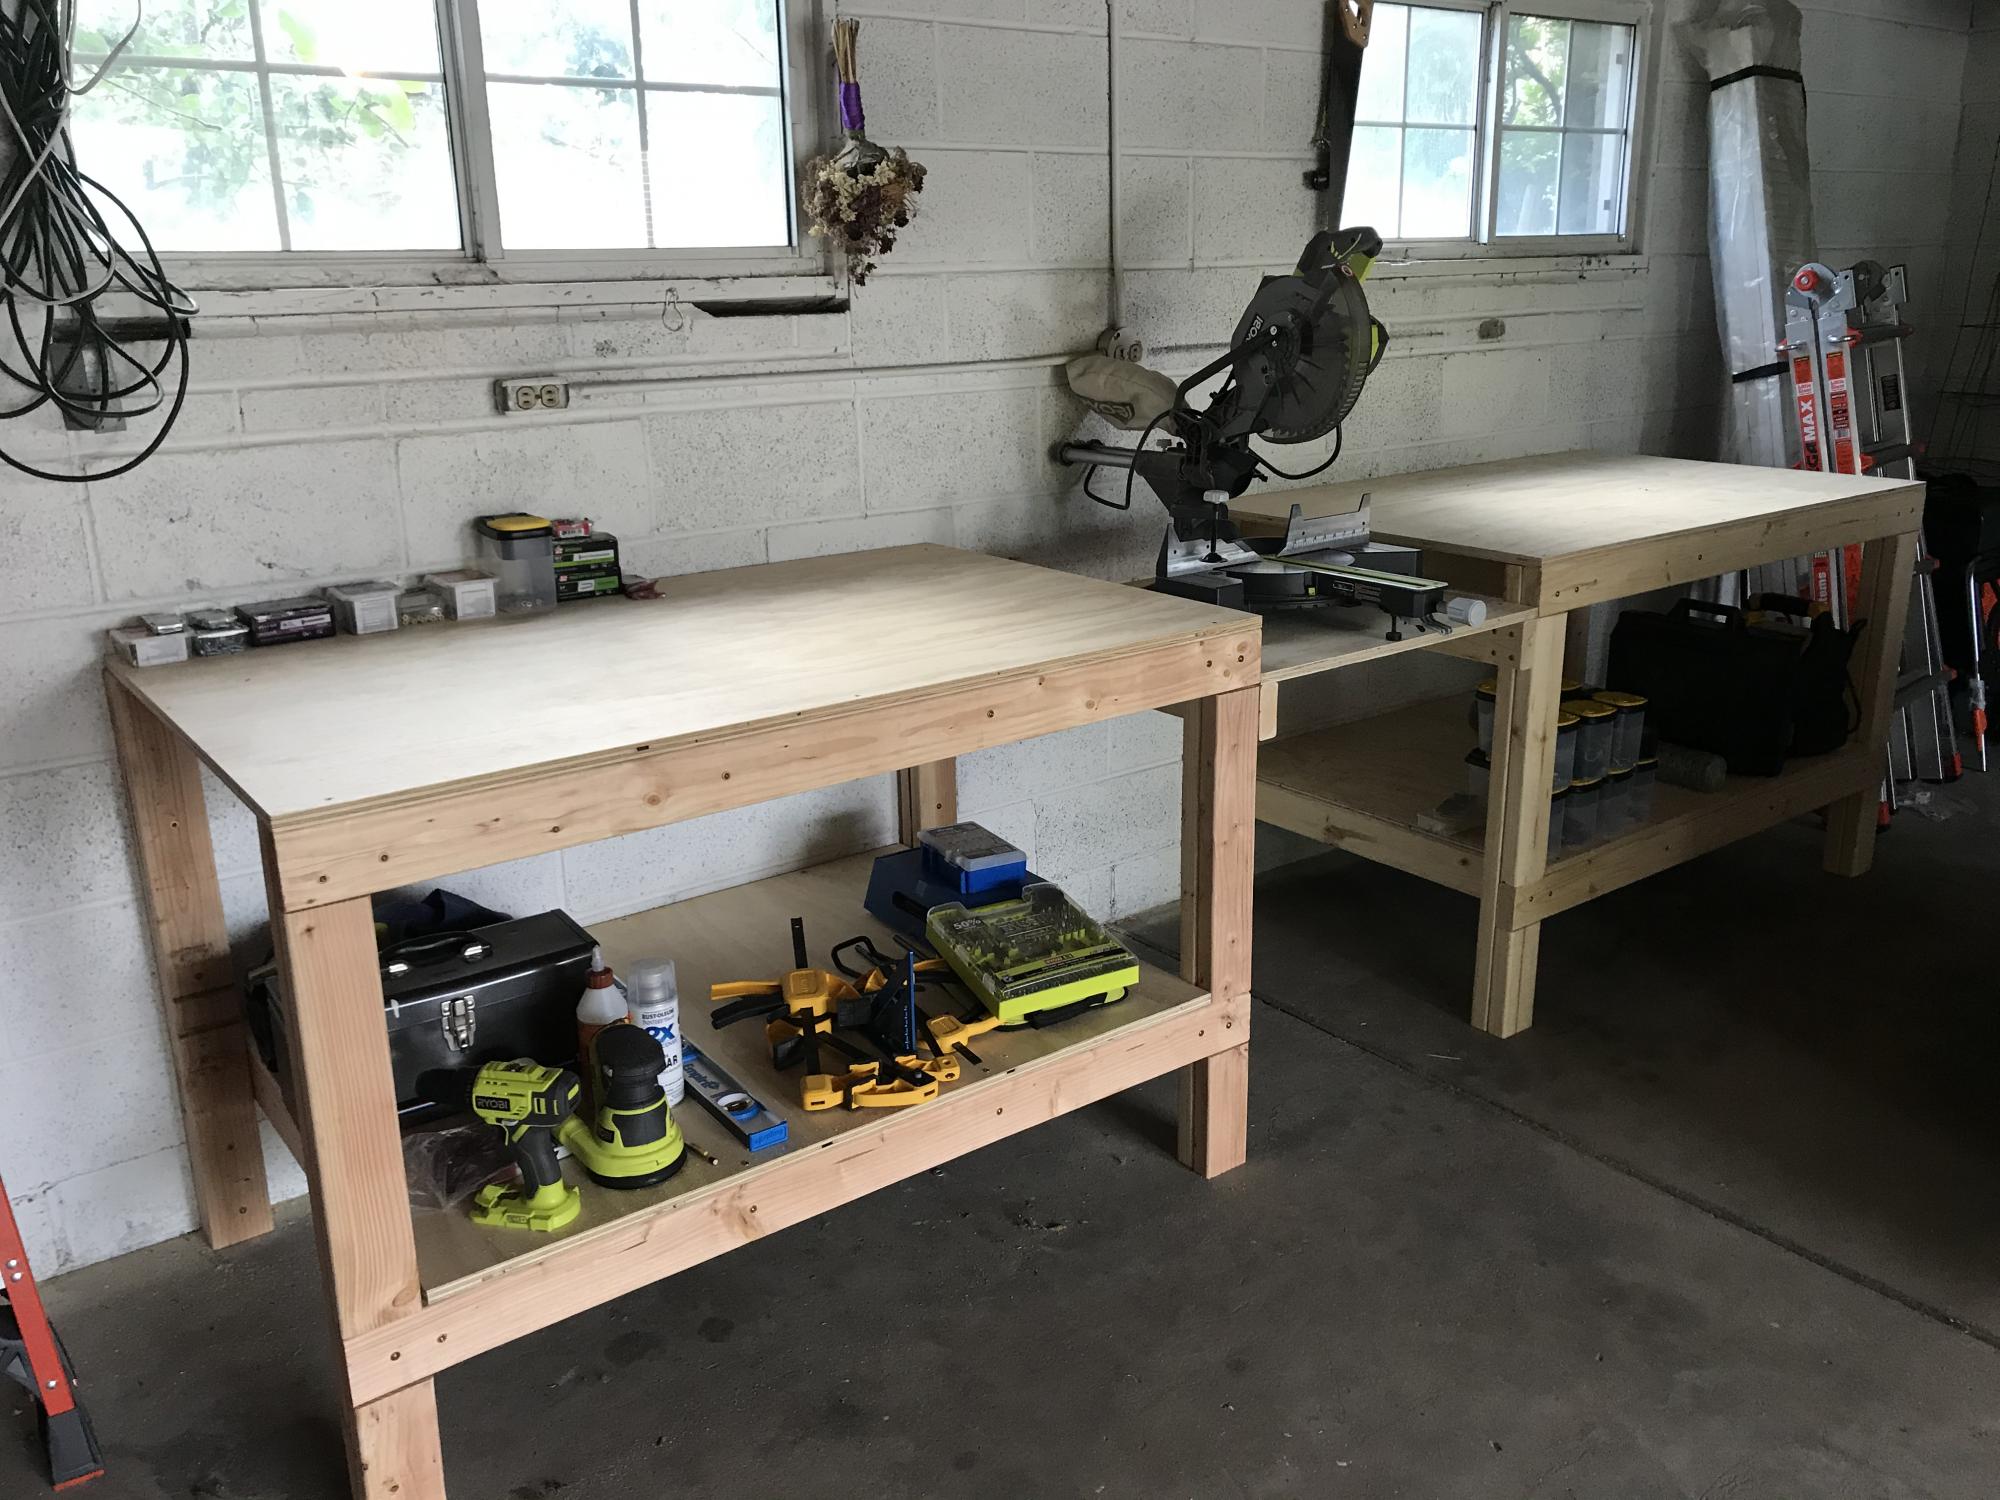
Workbench

Submitted by Ulrike on Sun, 06/21/2020 - 09:37

Built 2 of the workbenches for our garage. The plans made assembly very easy and quick. We had Home Depot cut the plywood to size.

Estimated Time Investment
Afternoon Project (3-6 Hours)

Comments

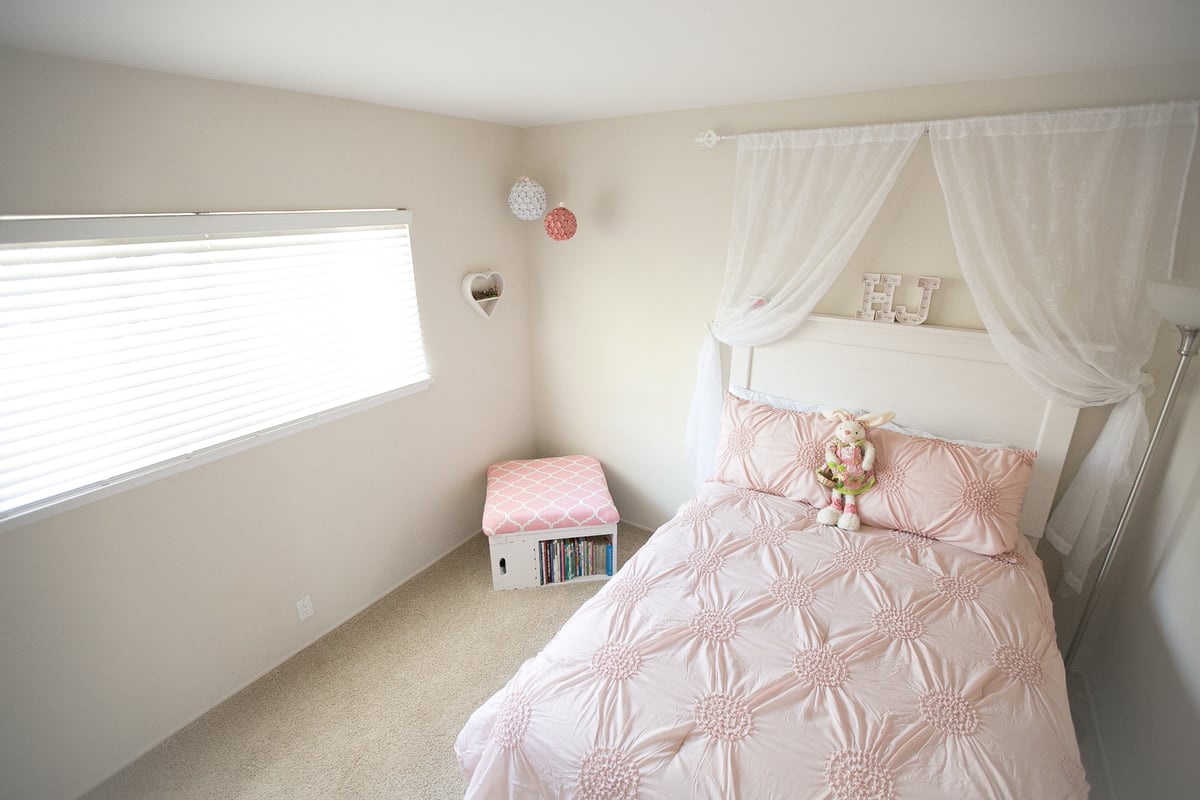
Pottery Barn Style - Full Size Headboard

Submitted by Oshynlover on Thu, 10/13/2016 - 03:21

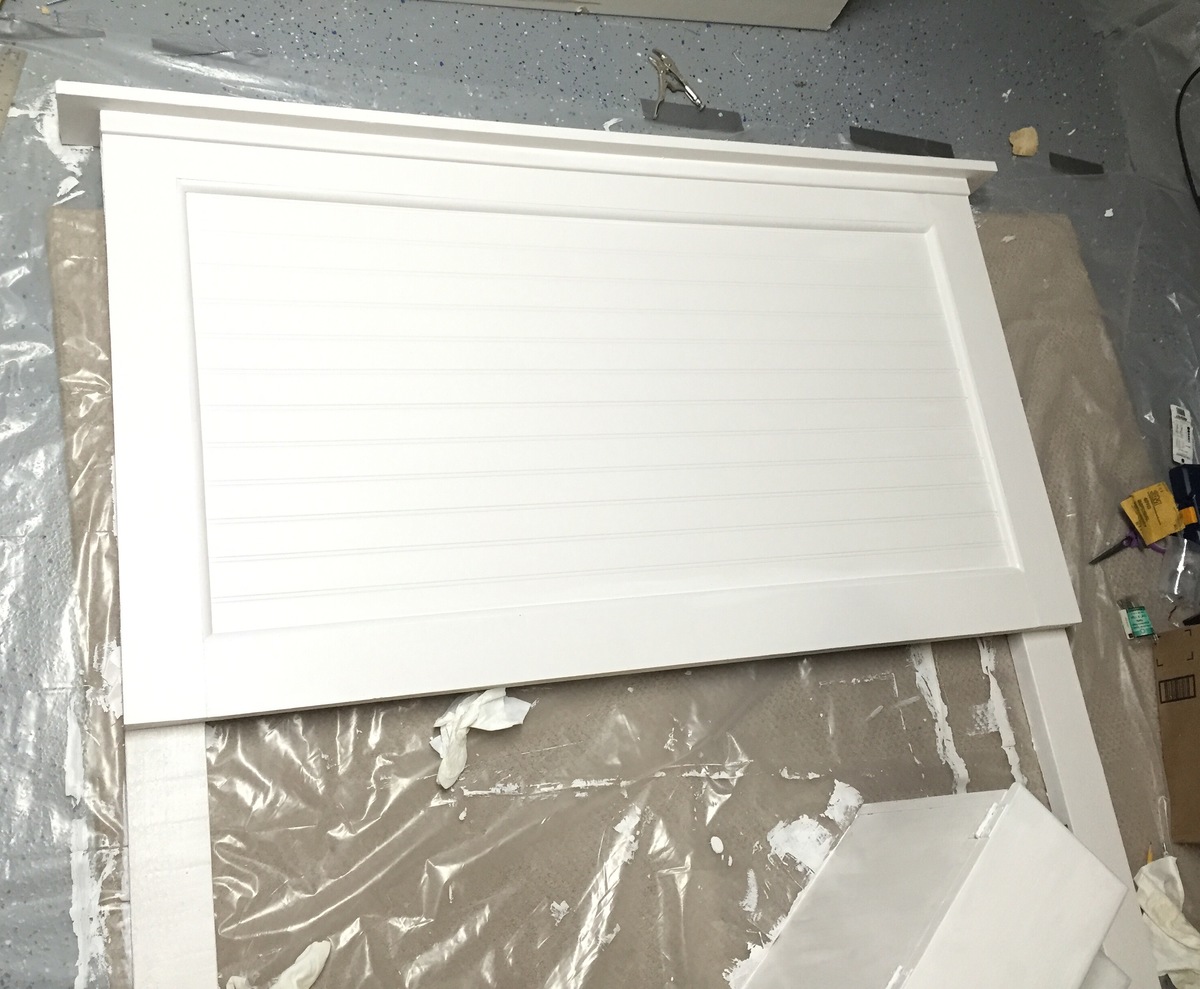
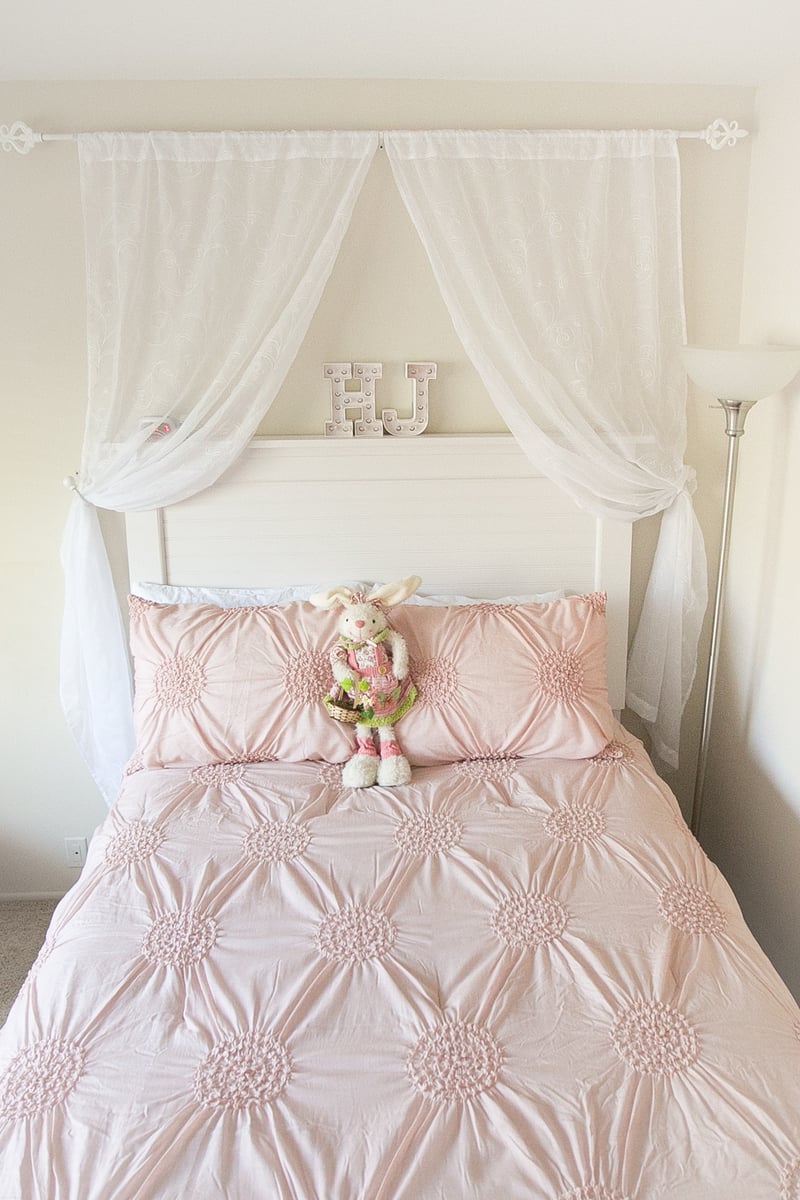
My very first big project!  My 6 year old daughter was in need of a new bed and a room makeover so I decided to build her a headboard which then turned into a whole new room!!! 


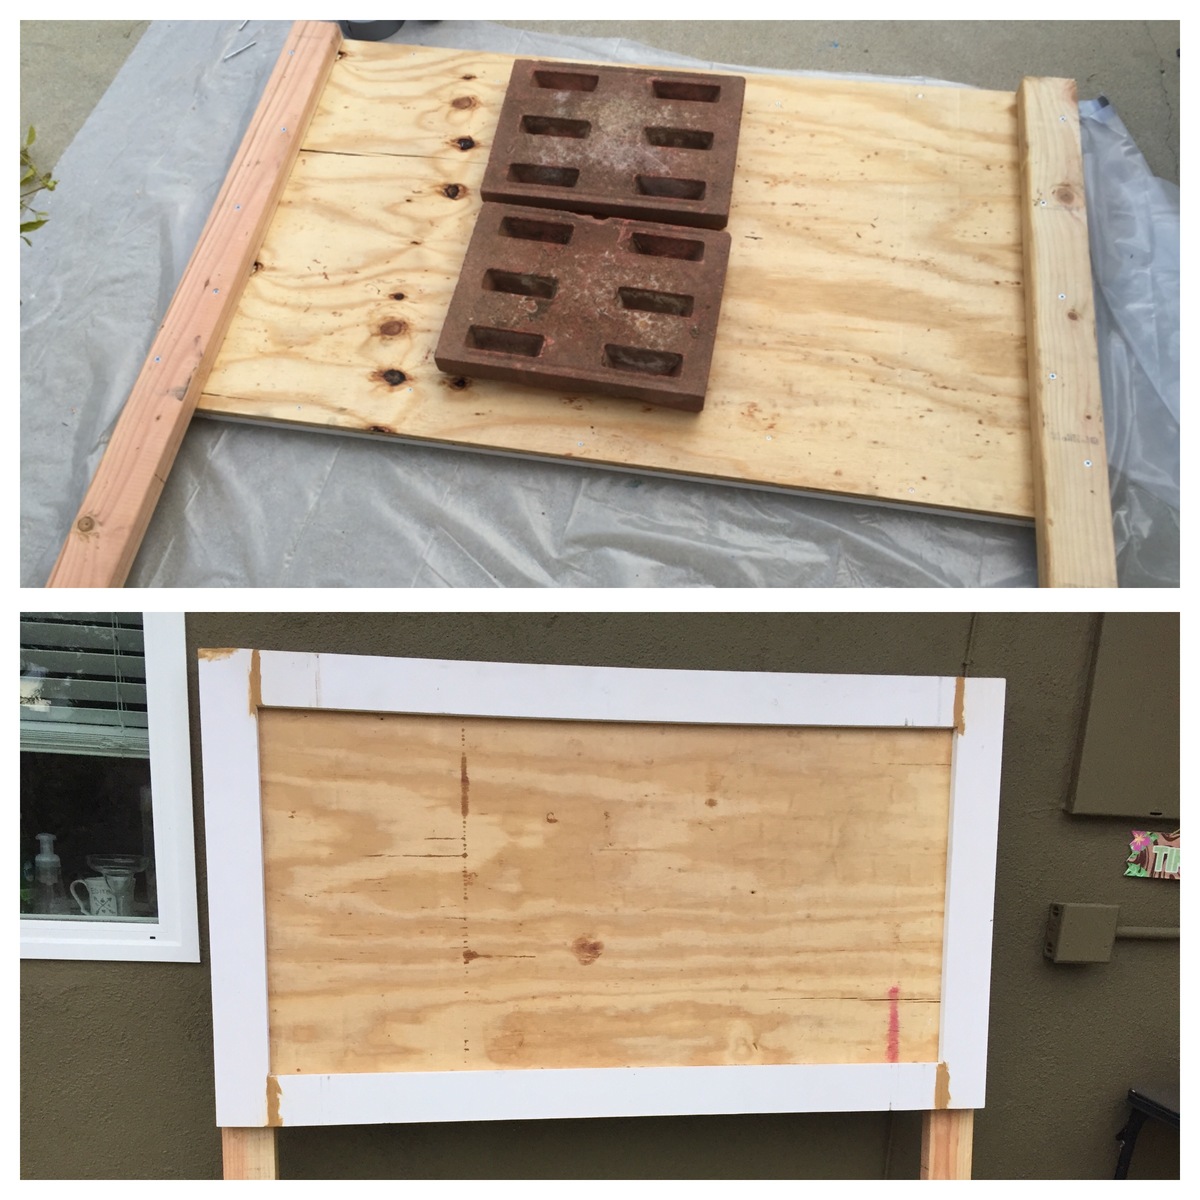
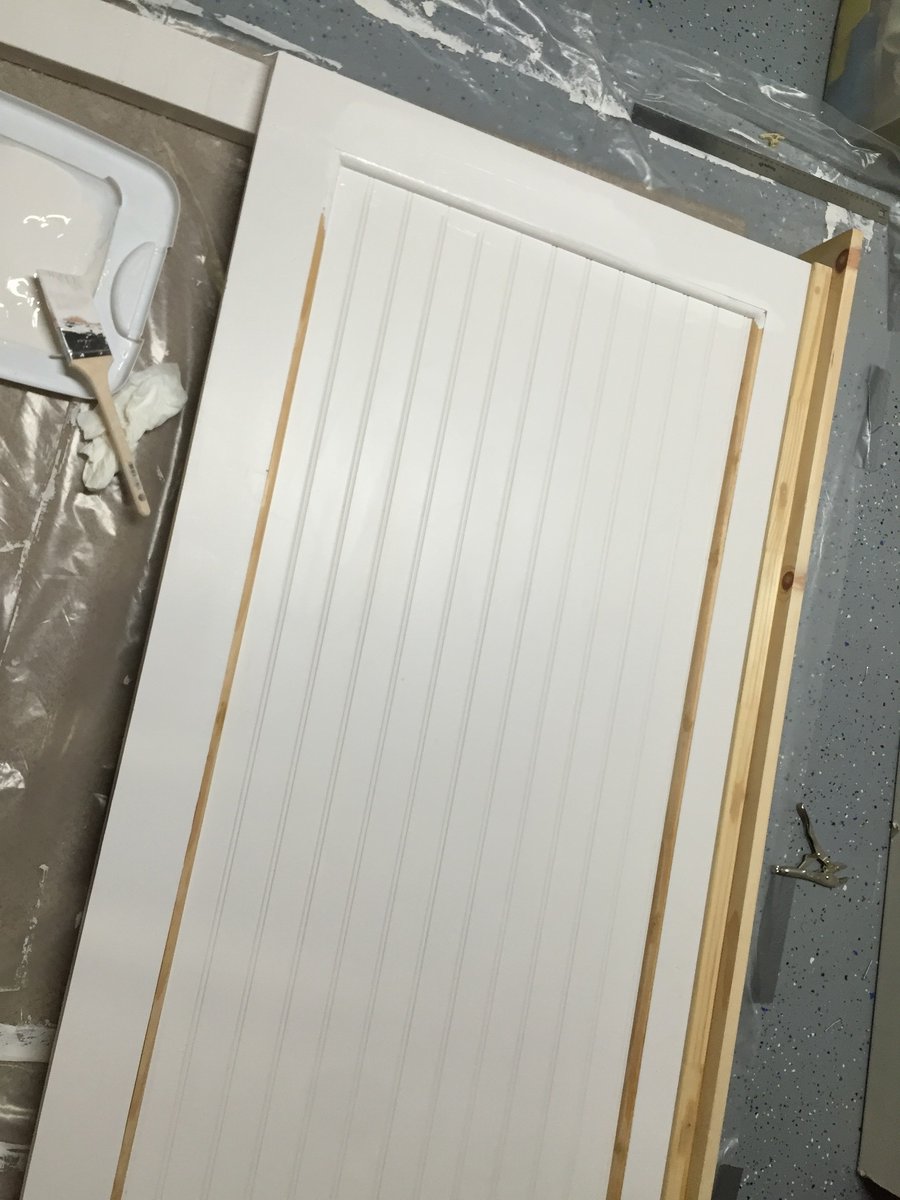
I really wanted it to it to have some dimension to it so I added some moldings and a mini shelf to the top of it.  I basically just designed it myself, based on what some of the $1000+ pottery barn ones look like and spent hours at the hardware store finding the perfect moldings.  


For the main backboard I used plywood, however to keep it light I used a sheet of molding and added a round edge to make it seamless.  


My my daughter was so excited Mommy built her whole room. 

Estimated Cost
$150 The Moldings added cost but can be made for less than $100 without it. But why would you??? It looks SO much better!!
Estimated Time Investment
Day Project (6-9 Hours)
Finish Used
Behr Semi Gloss
Recommended Skill Level
Beginner

Comments

Printer's Console or Sneaky Litterbox Cabinet? Cat Litter Box Cabinet

Submitted by Joni on Sun, 11/25/2012 - 08:12

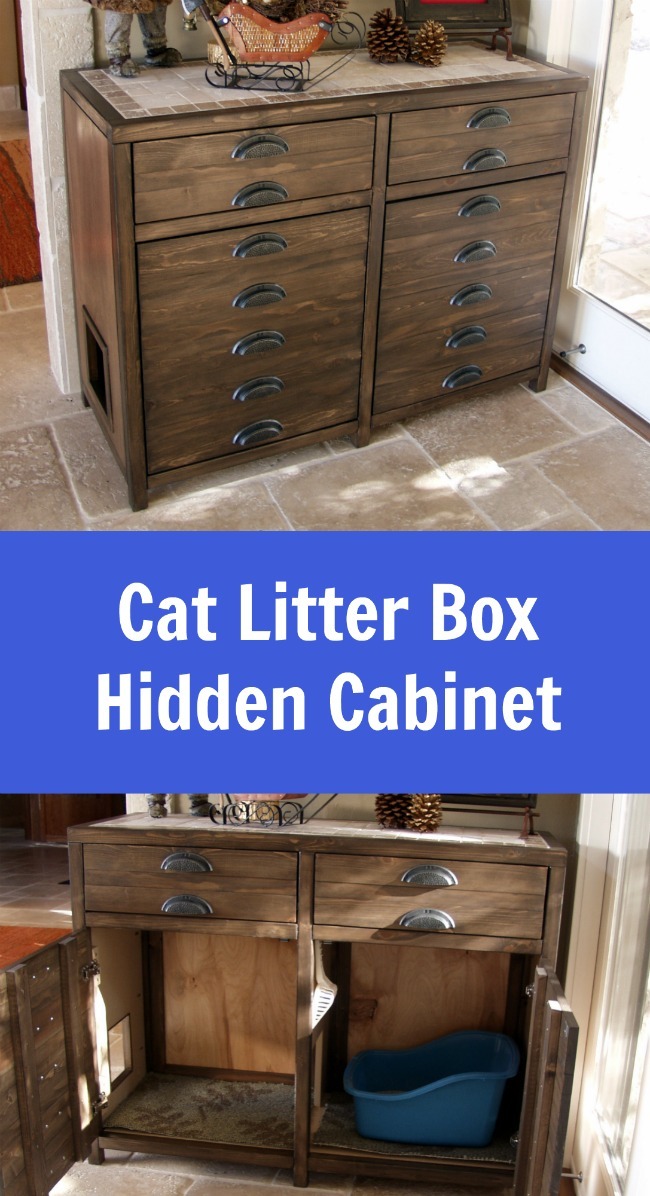
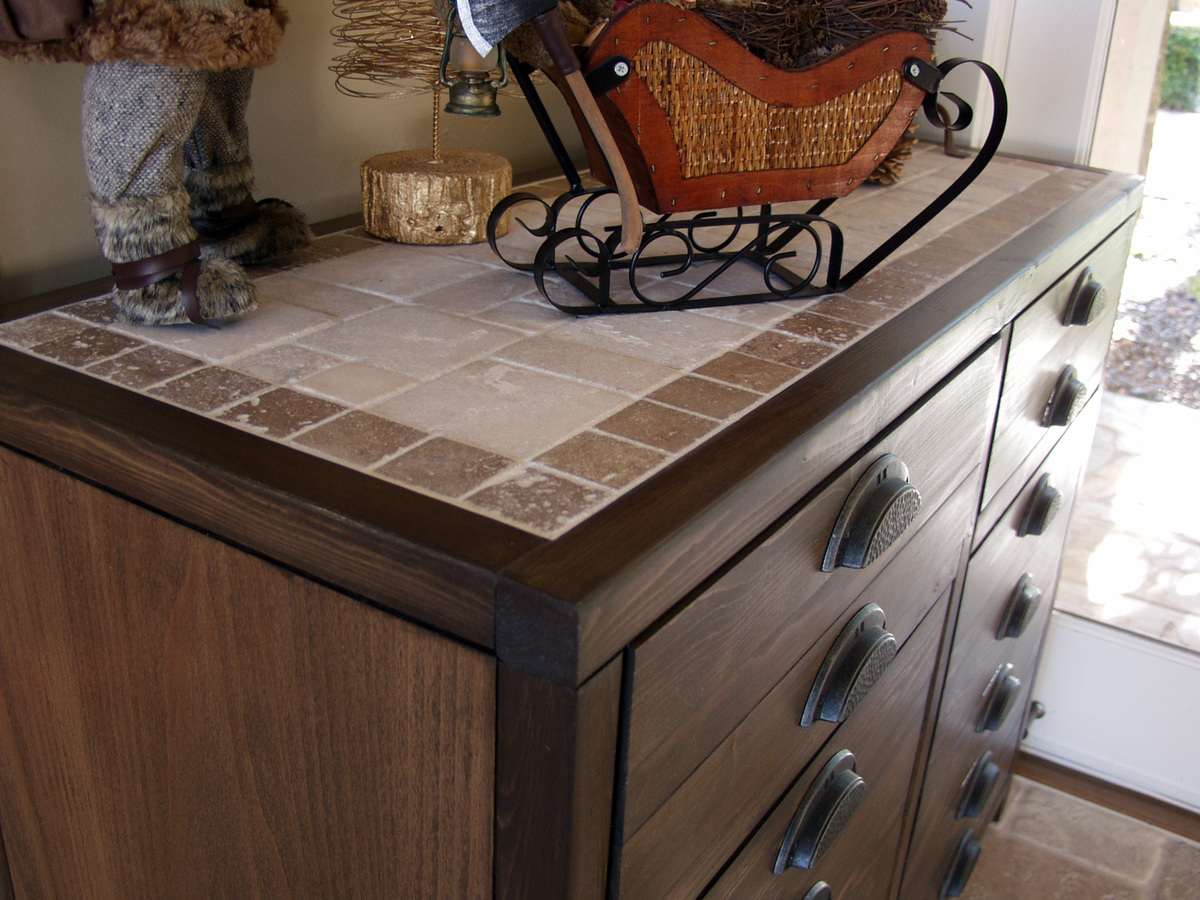
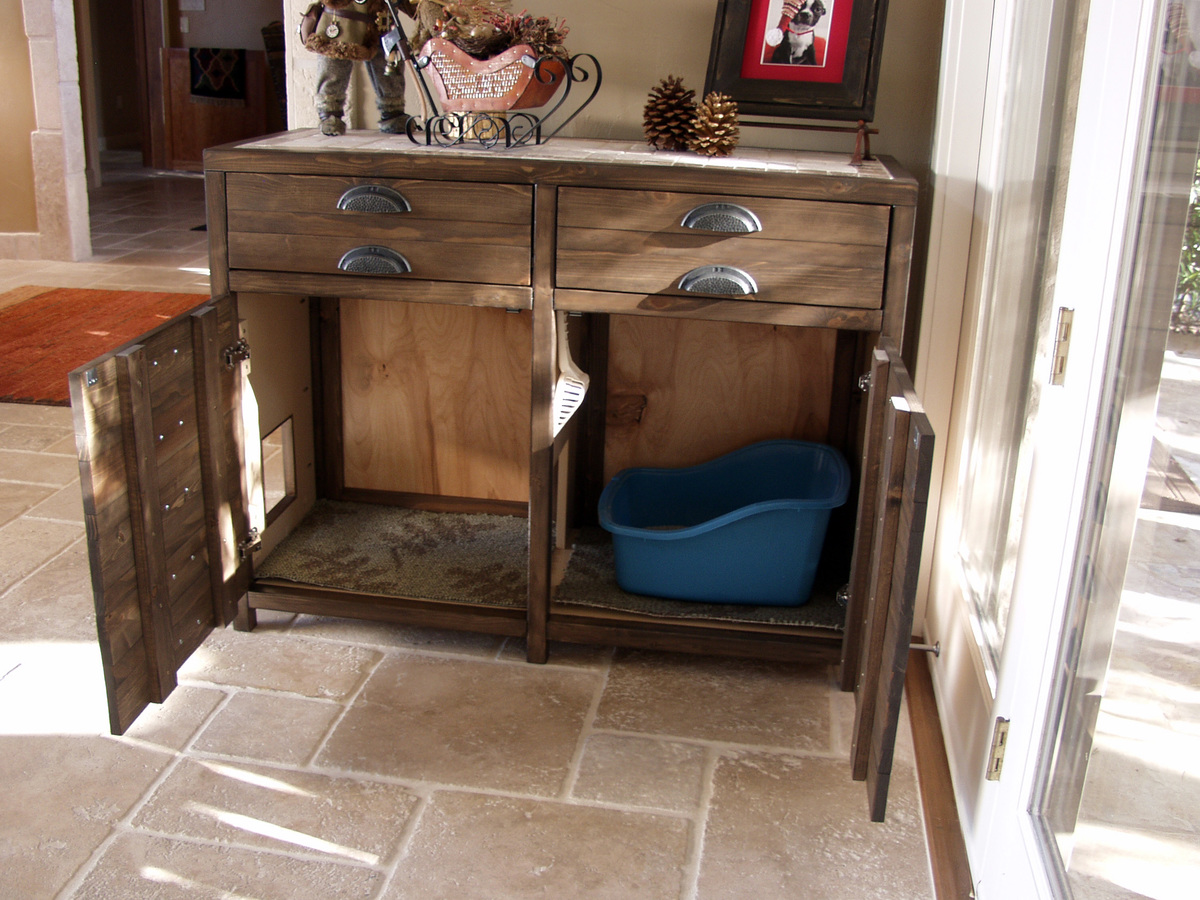
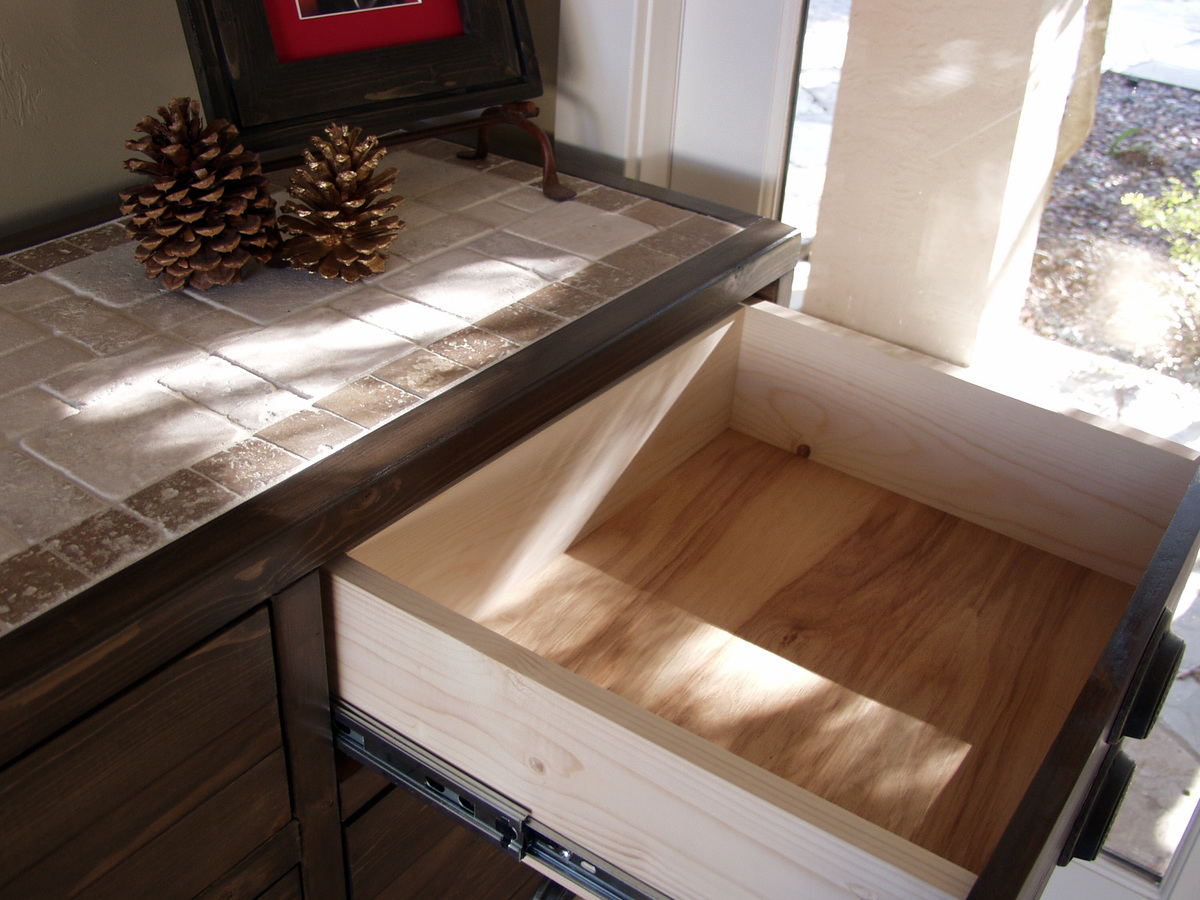
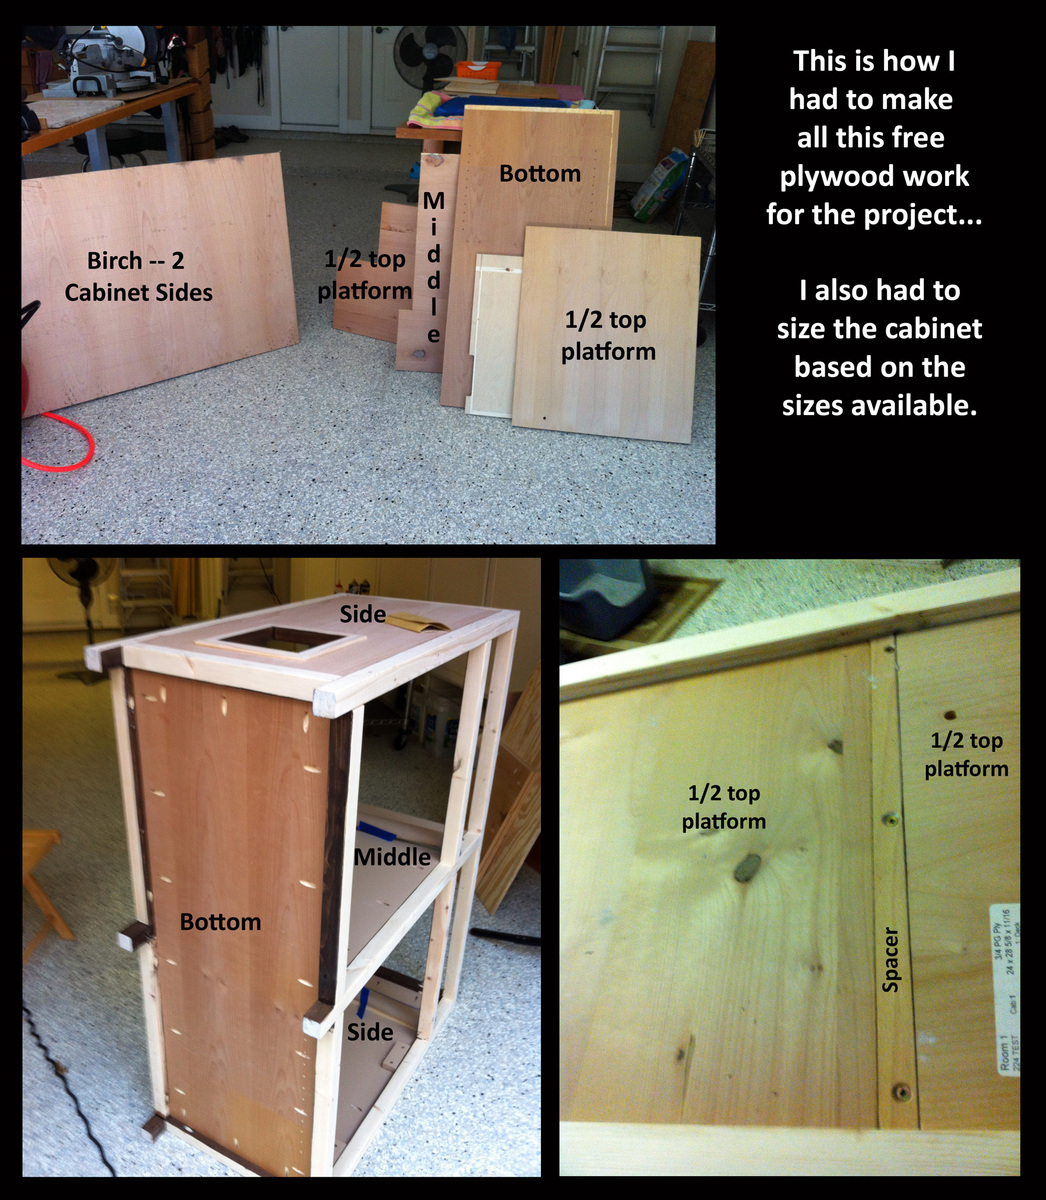
I had been wanting to build something to hide the litterbox for a long time. When I saw the Printer's Console plan, I knew this was the perfect plan for a cat litter box furniture. I loved that Jen Woodhouse's version was completely modified to her bar plan, so I thought I could modify for my litterbox idea. I modified the plans on size, as I was trying to use a bunch of mis-matched plywood. I also modified it to include a cat door, a cat passageway on interior panel, a vent on the back behind one of the drawers, and the stone top. I built a frame on the back to house the backing as an inset piece, as I didn't want it to be seen at all. I learned a very important lesson during this build. Not all 1x3s are created equal. Once I got my doors assembled, they were too big for the opening. I couldn't shave off the tiny amount needed, and couldn't make anything work short of starting over with 1x4s, sawing off a small amount, and cutting down the # of "drawers" (and handles). I wanted the inside to be fully finished (because cat pee on raw wood would not be good!). I had to finish certain "planes" prior to putting the thing together. I used kitchen and bath paint on the inside floor and sides for easy cleanup. The stone was carryover from construction on our house 12 years ago. The handles were an amazing deal @ $1.81/each .


Built from Plan(s)
Estimated Time Investment
Week Long Project (20 Hours or More)
Finish Used
Minwax Wood Conditioner, followed by a mix of American Walnut & Onyx Minwax water-based Stain. 3 Coats of Old Village Gel Varnish. On inside, I used a kitchen/bath paint.
Recommended Skill Level
Intermediate

Comments

blueskiesinNM

Mon, 06/17/2013 - 12:23

Love your use of the buffet. Our family has discussed making a piece of furniture like this for our smaller dog. Nice to see someone has done it! Our big dog has scheduled feedings but our little dog would prefer to be a free feeder. Poor thing chokes down his food in our pantry listening to our big dog breathing under the door waiting for him to finish. When he is done we open the door and the Big, greedy dog bolts in looking for left overs. A family member has to wait patiently for the little dog to finish so he can escape the pantry. I really don't want a doggy door in my pretty swinging bi-fold doors to my pantry which is also access to our kitchen.That would be a pain to have to keep closed all day. But this buffet idea is super cute! Thanks for the inspiration.
wayneled

Fri, 01/09/2015 - 22:01

I know this is an old post, but I'll ask anyway

I love this piece and am in the planning stages for ours. Thank you for sharing!

I am Wondering how you went about the table top. Did you install a 3/4 ply on top but not flush, allowing room for mortar and tile? If so how much room did you allow for the tile/mortar? 1/2 inch? How did you keep the surface of the tile level and uniform? Lastly, did you seal the tile with anything when you finished?

Aesthetically, the tile top really sets this piece off and I really want to make my own.

Thanks

Seasonal And Holiday

buffet/sideboard with expanded metal

Submitted by lworthy on Tue, 02/21/2017 - 14:40

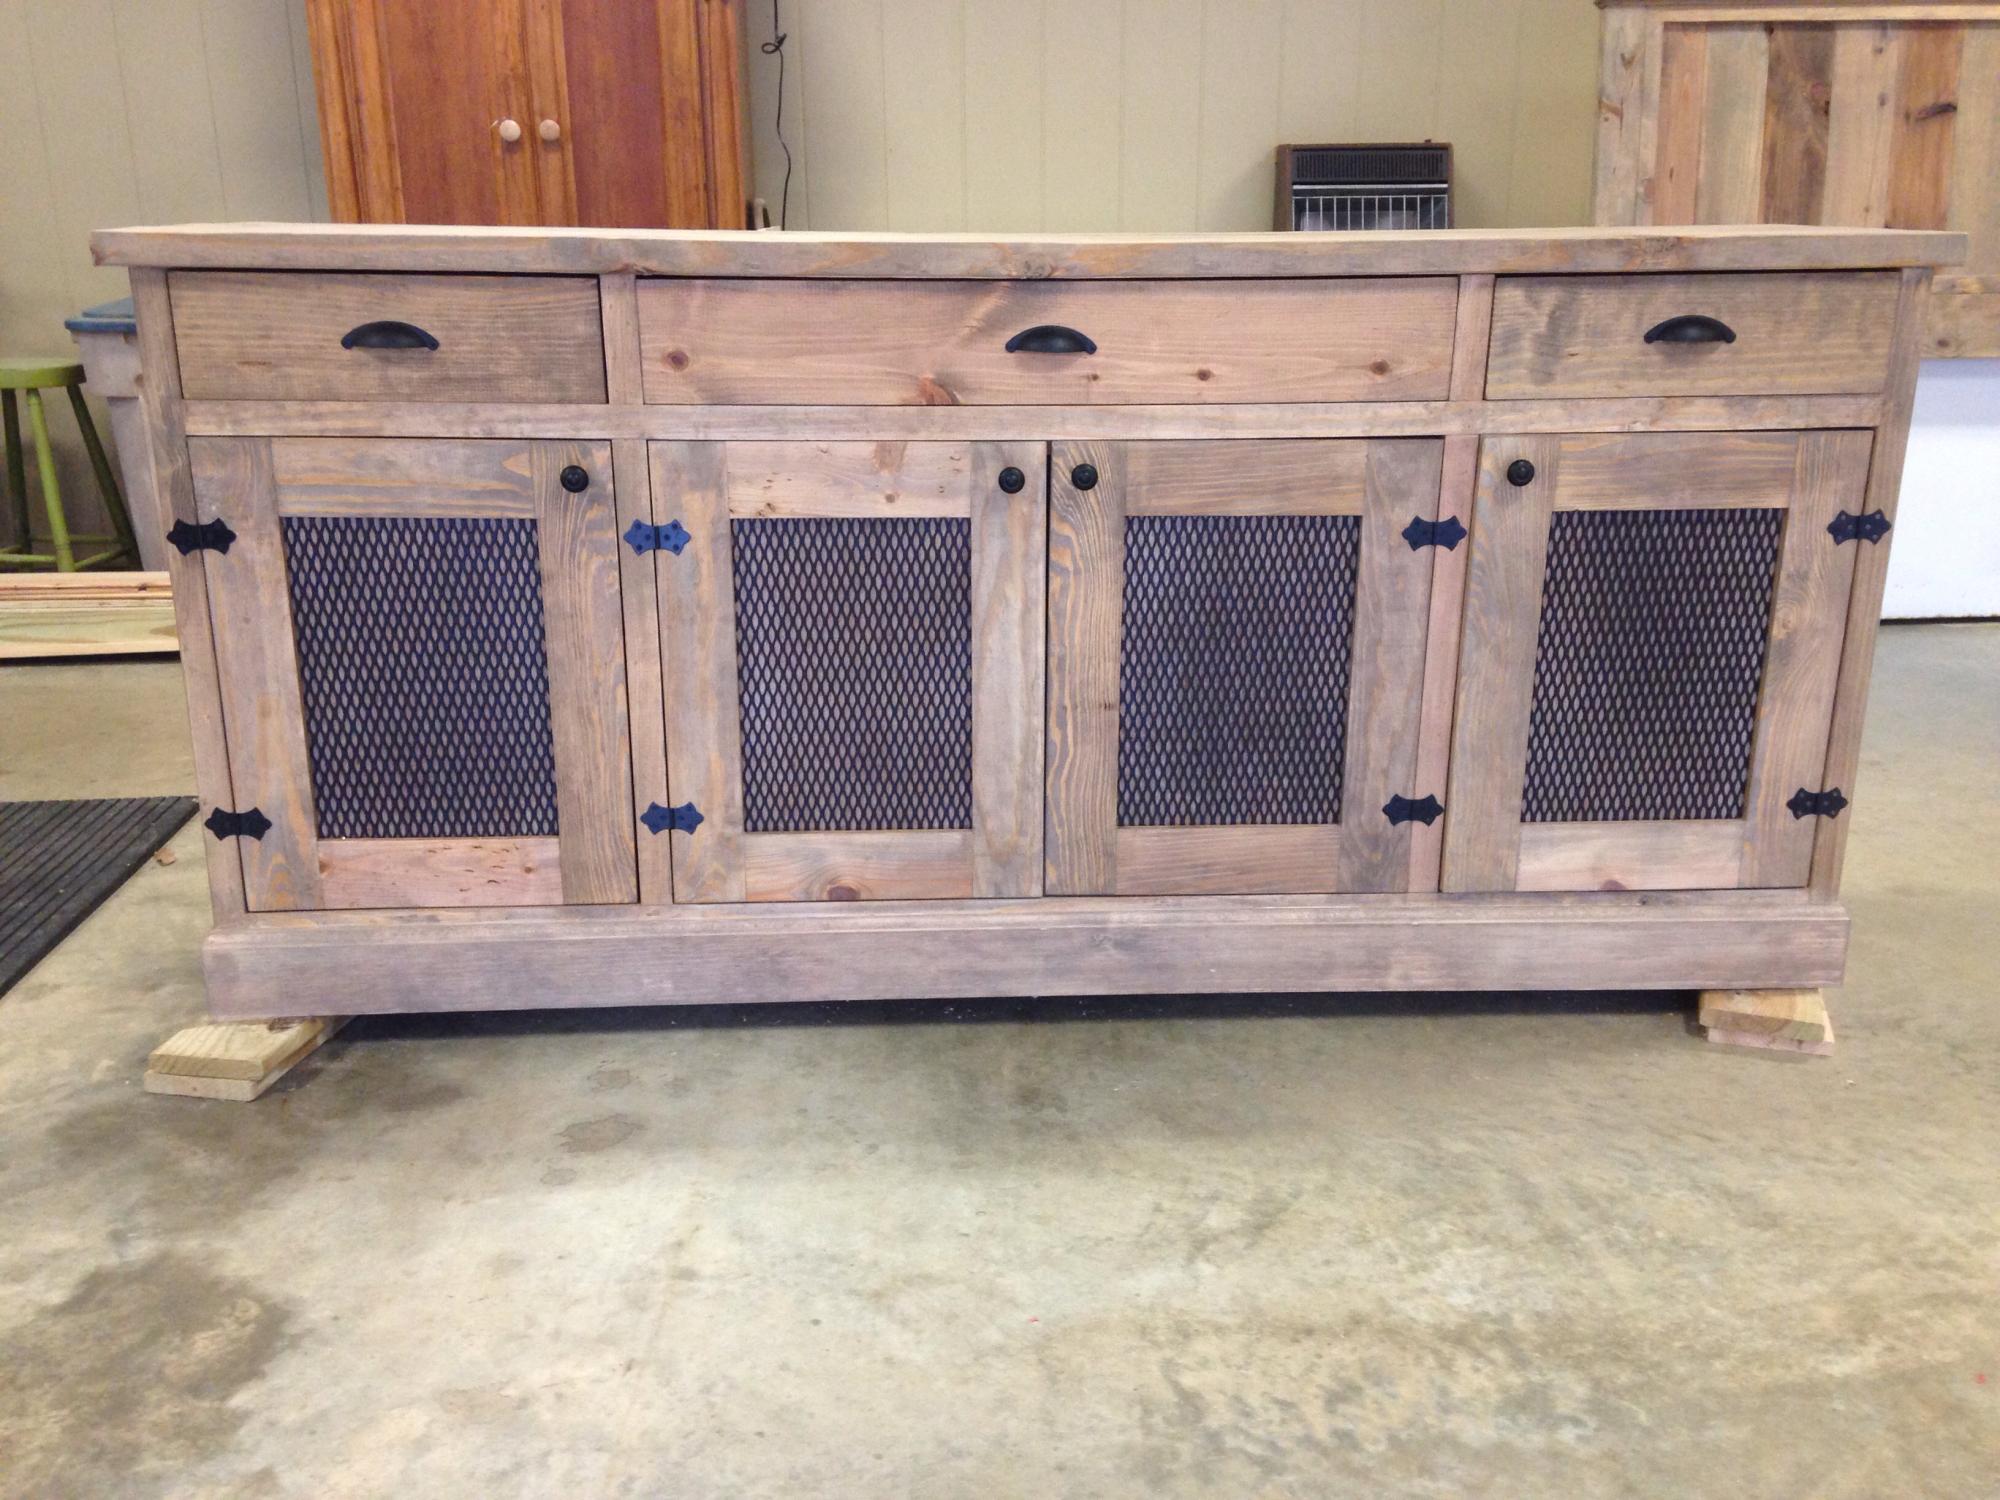
I really loved this plan of Ana's so I decided to build it for myself. I love the stain color on the one Mid Atlantic Rustic built and they were so kind to tell me the color and it turned out perfect! I will say if I ever built another I will make some adjustments with the doors and drawers and have them sitting on the outside of the facing. Those things were the devil for me!! I have only been building on my own for 6 months, so it was tricky for me. THE PIECE IS HUGE!!! I also added 2  2x4 supports under the bottom,

Happy Building

Built from Plan(s)
Estimated Time Investment
Weekend Project (10-20 Hours)
Finish Used
Minwax stain 2 step process
Recommended Skill Level
Intermediate

Comments

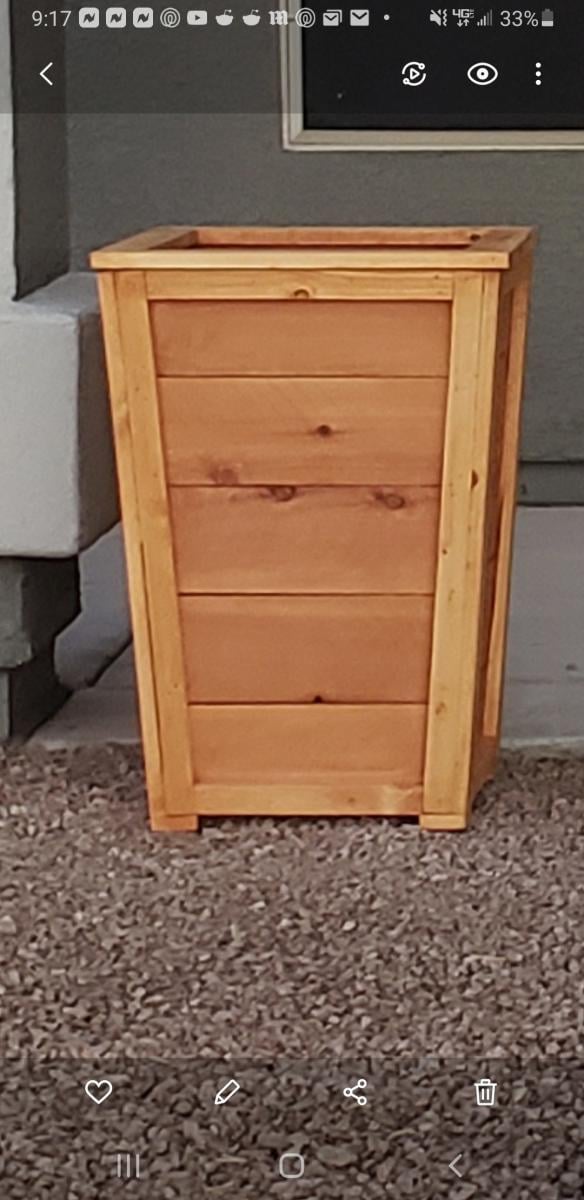
Front porch planters

Submitted by Anonymous (not verified) on Thu, 01/07/2021 - 20:21

Followed your plan but added extra 1 x 2 trim to the sides, feet made from 1 × 3 and 1x 3 trim around the top

Built from Plan(s)
Estimated Cost
$35 per planter
Estimated Time Investment
Afternoon Project (3-6 Hours)
Finish Used
Cedar Naturaltone Behr Waterproofing Wood Finish
Recommended Skill Level
Intermediate

Comments

Seasonal And Holiday

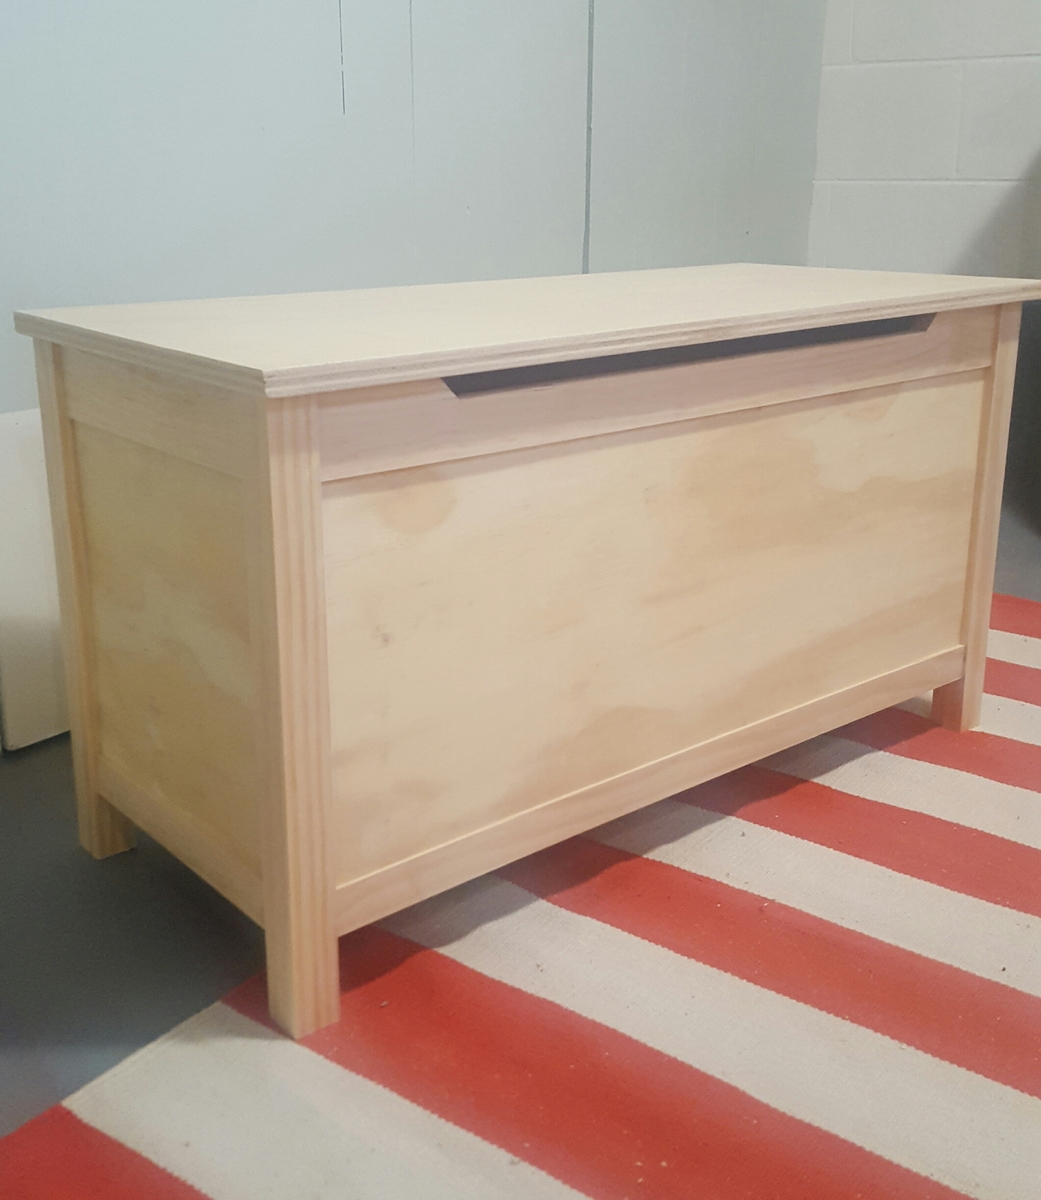
Modern Toy Box

Submitted by Anonymous (not verified) on Sun, 03/19/2017 - 14:32

I had a wonderful time making this toy box and learning new techniques. Having access to a table saw really made this project turn out awesome. I was able to get 1/4" shims made that allowed for easy, precise offsets. The family just loved it!
Built from Plan(s)
Estimated Cost
$100
Estimated Time Investment
Weekend Project (10-20 Hours)
Finish Used
ProClassic white paint
Recommended Skill Level
Intermediate

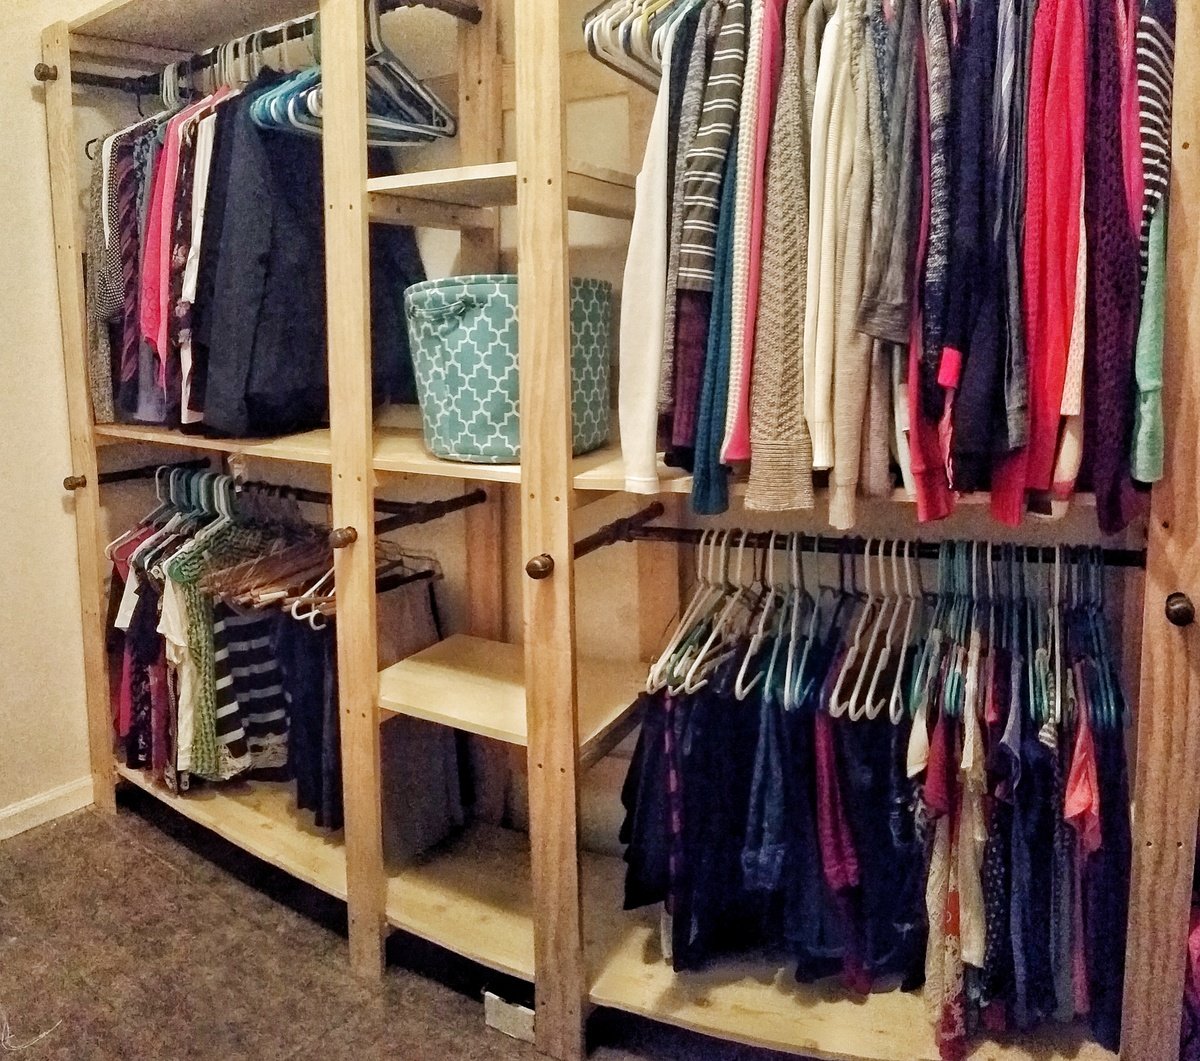
Modified for double hanging

Submitted by Anonymous (not verified) on Tue, 04/04/2017 - 14:50

I used 8 ft precut boards for shelves and modified the design so there was enough room for two racks on each side. In addition I screwed 1x4 to the studs to secure the shelving to the wall.  I have a 5 year old climber so it was best to be proactive and secure it. It was easy project took about 4 hours to complete.  I plan to paint the vertical boards a medium gray and stain the shelves a dark coffee color. 

Built from Plan(s)
Estimated Cost
$350
Estimated Time Investment
Afternoon Project (3-6 Hours)
Recommended Skill Level
Beginner

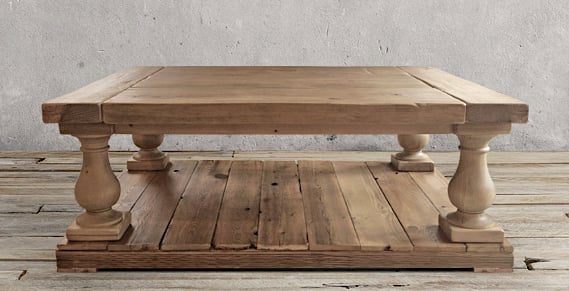
NEW Balustrade Coffee Table

Submitted by jhavinga on Wed, 02/25/2015 - 22:21

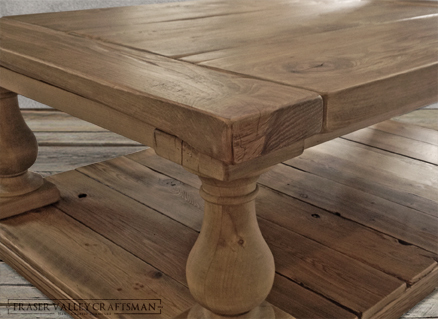
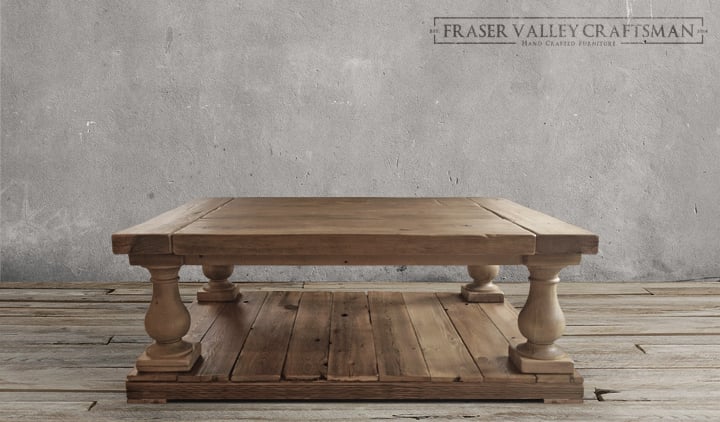
Here is the latest Table I have made. I cant get enough of this table design, the rustic bold feel blending with curved lines is awesome.

Built from Plan(s)
Estimated Cost
With reclaimed wood it was more than basic SPF at HD.
legs were $200 shipped to my door in Canada.
Wood was $125. Found from a local torn down barn! Very cool wood.
Stain/screws/glue $30.
Estimated Time Investment
Weekend Project (10-20 Hours)
Finish Used
My favourite combo! played with different levels of Weathered Oak and Special Walnut for each piece of wood so the whole table would flow together.
Recommended Skill Level
Beginner

Comments

Garden Enclosure with Custom Gate

Submitted by Anonymous (not verified) on Mon, 05/29/2017 - 09:54

I found the plans on the website last year but we never got around to building it.  So this year it was first on the list!!  I wanted a large enclosed garden because we had a hard time keeping our dogs out of our last boxed garden.  I followed the plans pretty closely, making minor changes to give us more room for planting. 


I did not use the corner wood pieces for bracing because I did not like how they looked.  Instead I used brackets made for decks that I can't see from the outside of the garden.  I also made a custom gate to mimic the custom railings I had made for our deck.  Added brackets to the outside for hanging baskets. Still needs to be stained and sealed.  Hoping to get that done next week.


Note:  I bought 22 2cubic feet bags of Miracle Grow Flower and Vegetable soil to fill the garden boxes.

Approximate costs were around $180.00 for wood/stain/gate hardware, netting and deck screws.

Approximate costs for the soil was $140.00.


I hope  

Built from Plan(s)
Estimated Cost
$180 for project
$140 for soil
Estimated Time Investment
Afternoon Project (3-6 Hours)
Recommended Skill Level
Beginner
Seasonal And Holiday

Triple Bunk Beds

Submitted by hughes3627 on Tue, 03/03/2015 - 07:22

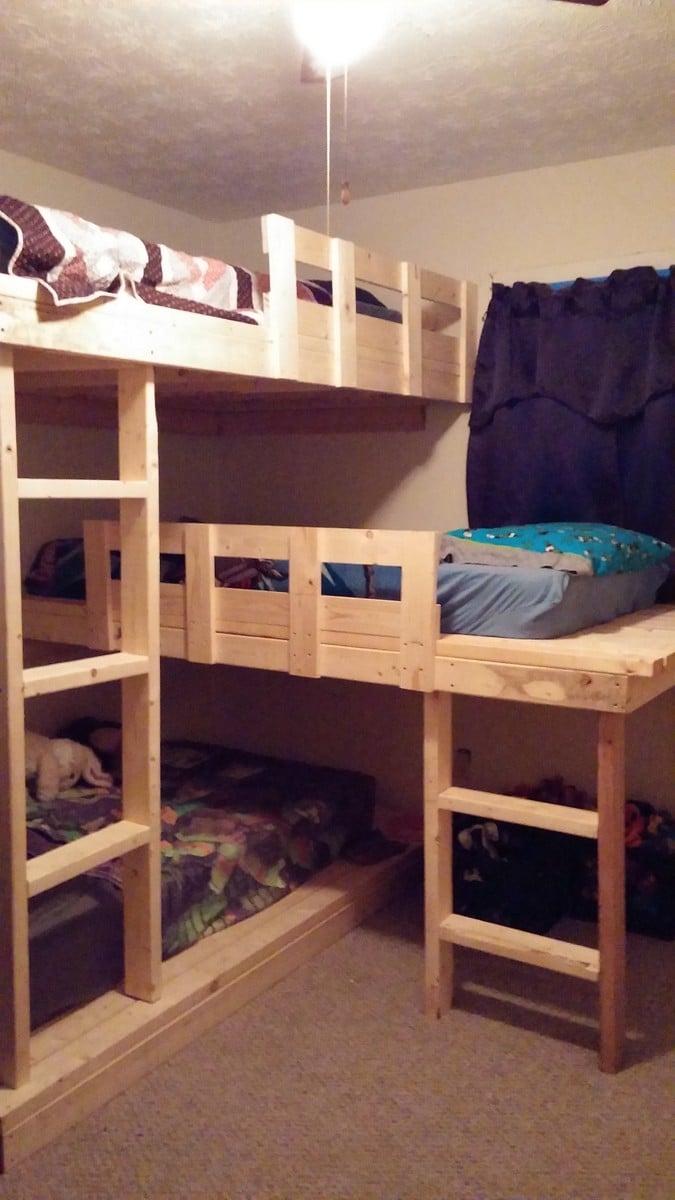
We needed a space saving alternative to individual twin beds...these were very simple to make. Our boys love them! We kept the same deminsions as the original plans and ended up having a little extra room on each bed for storage as well as toy storage under the second bed. Worked out very nicely and left space for the next project...a study station :)

Built from Plan(s)
Estimated Cost
About $230
Estimated Time Investment
Weekend Project (10-20 Hours)
Finish Used
Natural
Recommended Skill Level
Beginner

Comments

Beautiful Cedar Patio Table

Submitted by NeoMoses on Wed, 06/19/2013 - 13:48

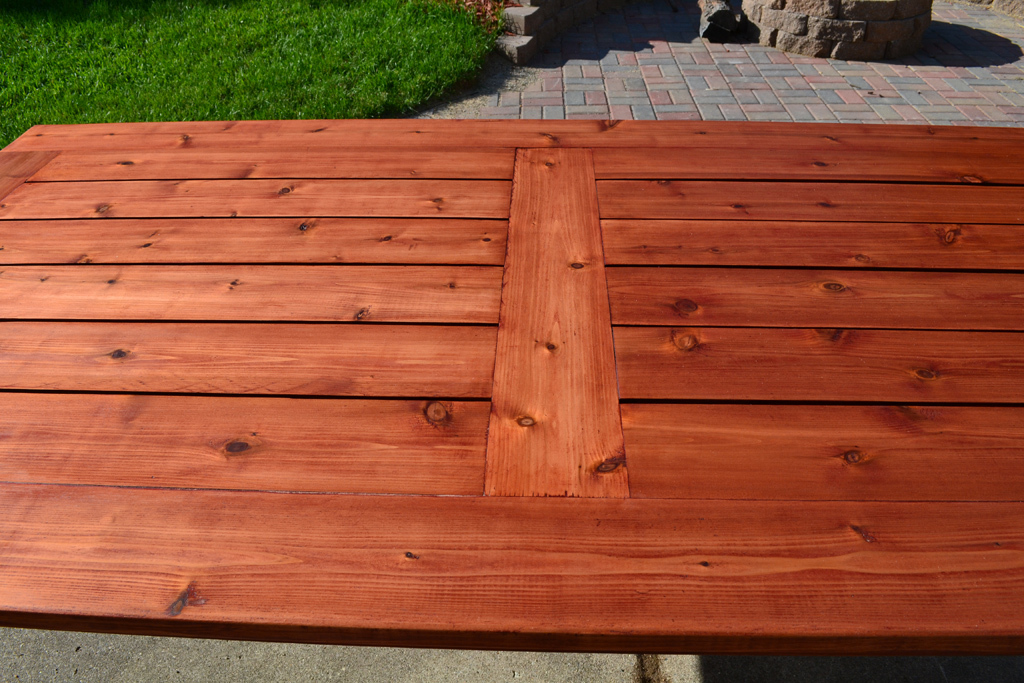
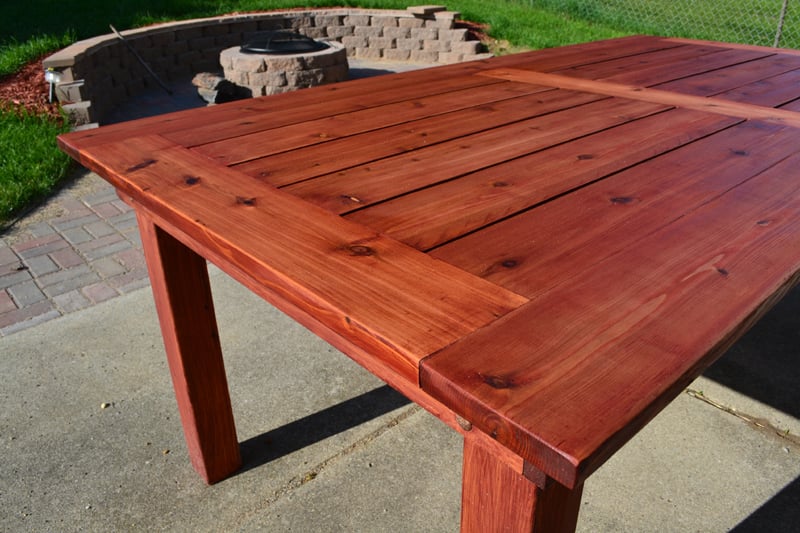
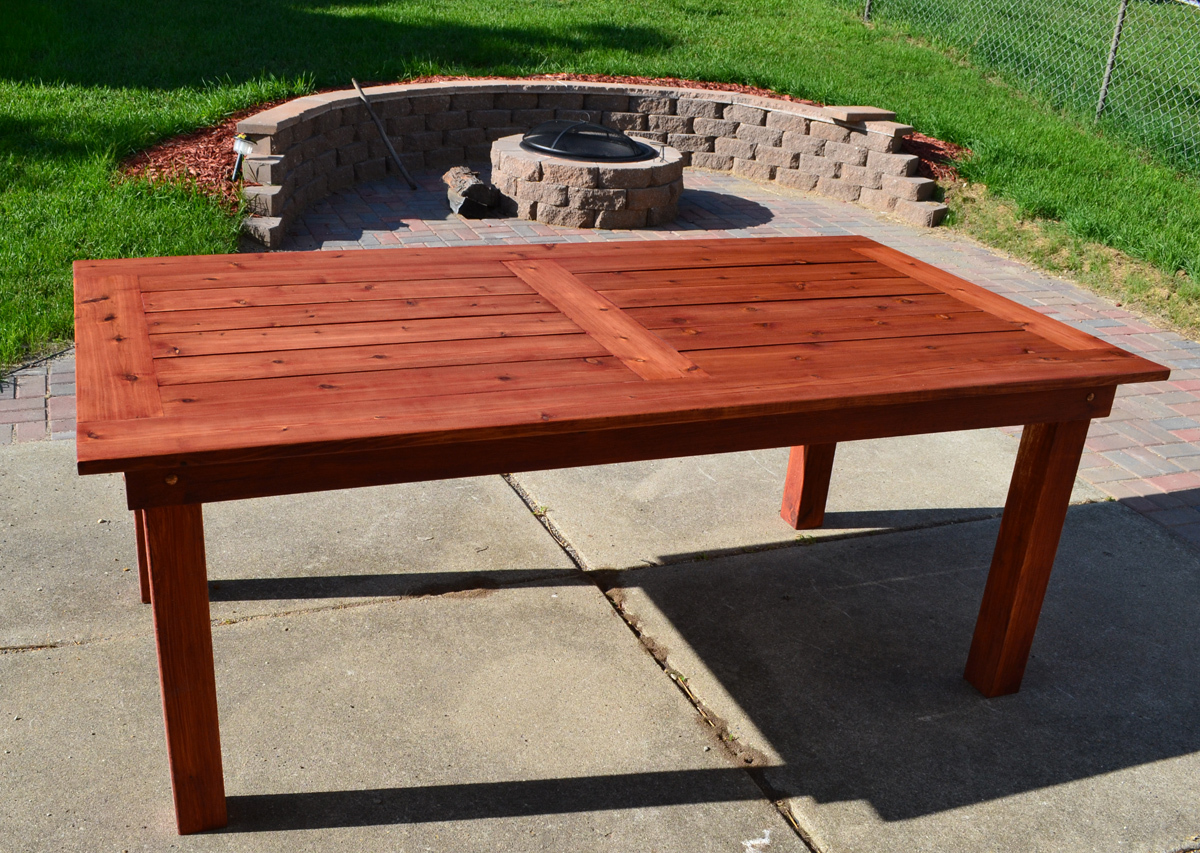
Slightly more elegant version of an outdoor cedar patio table. This is made from 100% cedar and joined using Kreg pocket hole screws. The finish is 2 coats of Sikkens Cetol MRD that has been hand rubbed on using a cloth, with 24 hours of dry time between coats.

Built from Plan(s)
Estimated Cost
$140
Estimated Time Investment
Weekend Project (10-20 Hours)
Finish Used
2 coats of Sikkens Cetol MRD, hand rubbed with cloth.
Recommended Skill Level
Beginner

Comments

odpdxo

Wed, 06/19/2013 - 23:22

I really like the way you modified this design and I would like to duplicate it. I am curious about how you changed to framework to accommodate table top with the boards running lengthwise. The original design has the framework running lengthwise, so I am assuming you added framing that runs perpendicular. Is there any way you could include pictures and measurements of the framework under the tabletop? Thanks. Great work!

Toddler daybed

Submitted by lazlolaz on Thu, 06/11/2015 - 17:44

I had quite a few 42" pieces of select pine left from the triple bunkbeds I made for grandkids and they needed a space for 3 of them and mom or dad to read bedtime stories so I decided to use the no longer needed crib mattress and build a daybed using that mattress as the cushion. I built it to incorporate a storage area underneath as in a small room every inch matters! My daughter-in-law decorated it with pillows for extra comfort when they are snuggled in for bedtime stories. Very easy build from leftover wood I had.

Estimated Time Investment
Day Project (6-9 Hours)
Finish Used
Oil based stain and wipe on varnish.
Recommended Skill Level
Beginner

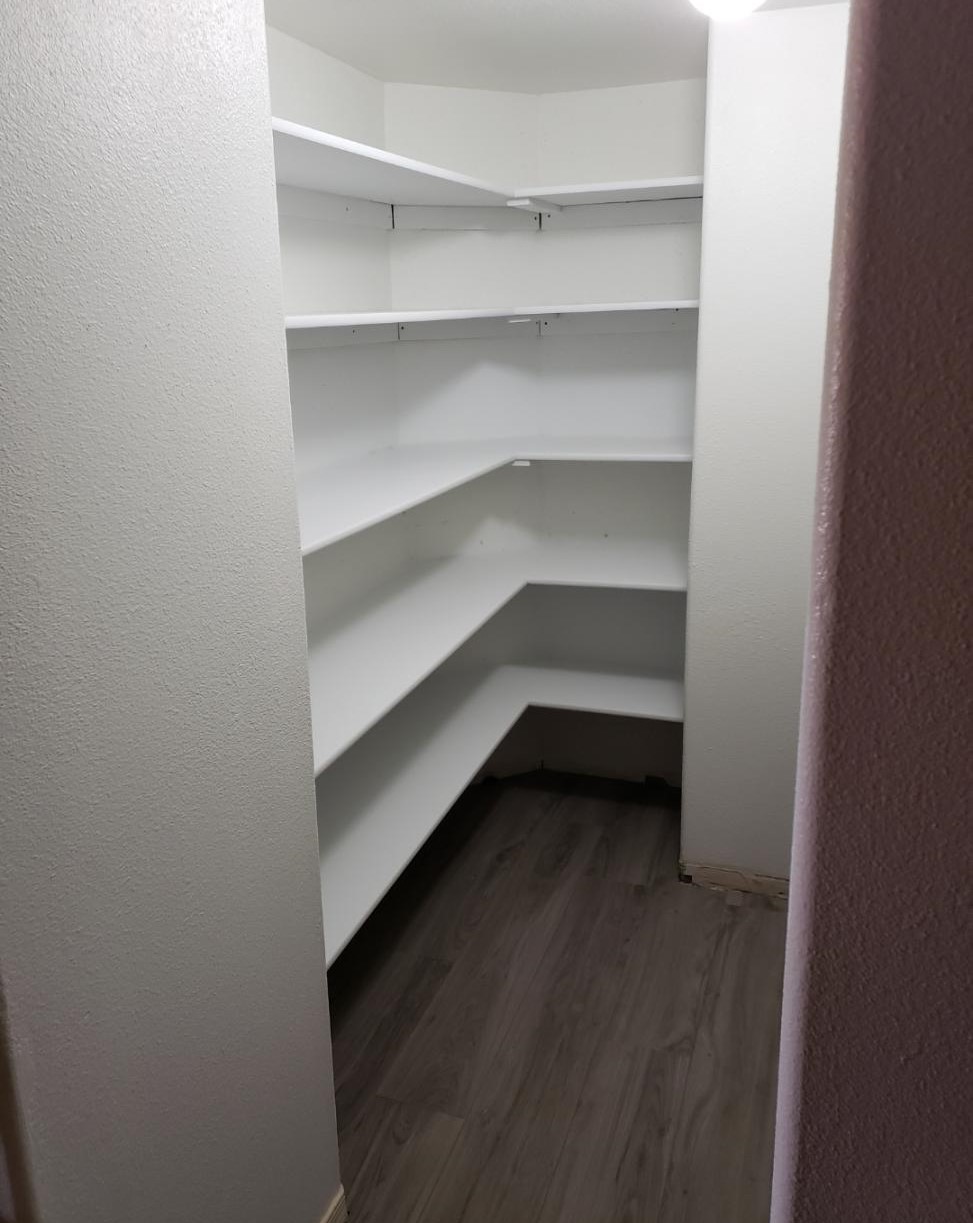
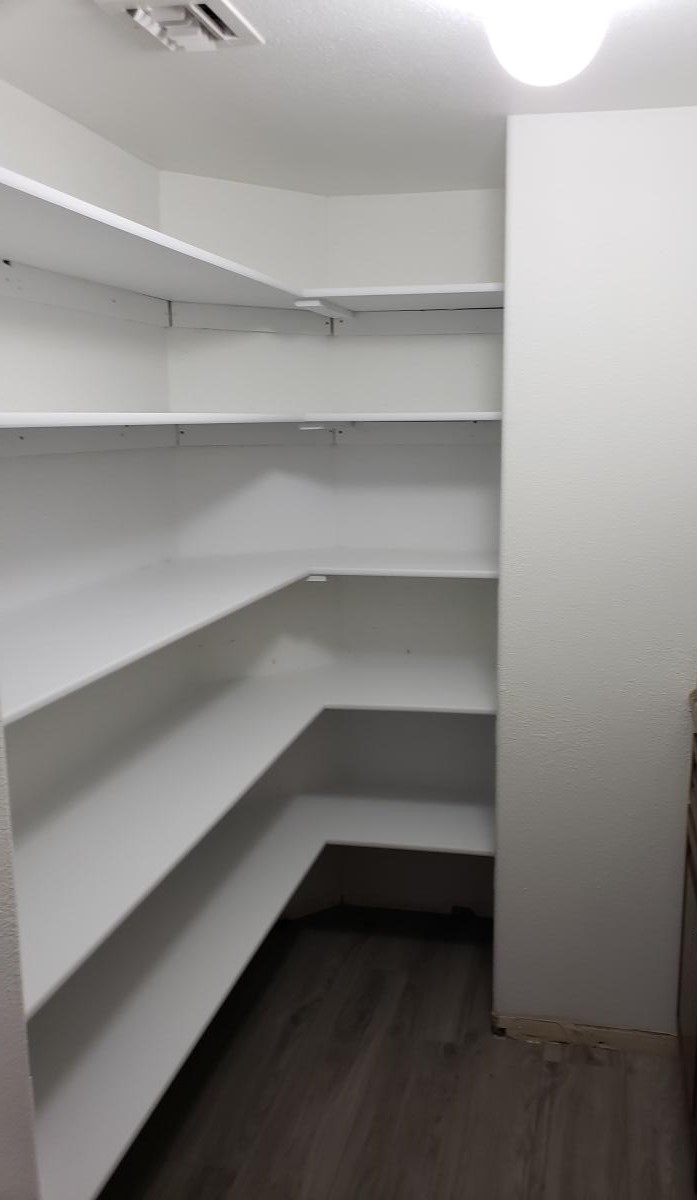
Pantry Shelves

Submitted by DIYAZMOM on Wed, 12/29/2021 - 09:03

We enclosed an unused wet bar and then I built the shelves to make it into a pantry.

Built from Plan(s)

Comments

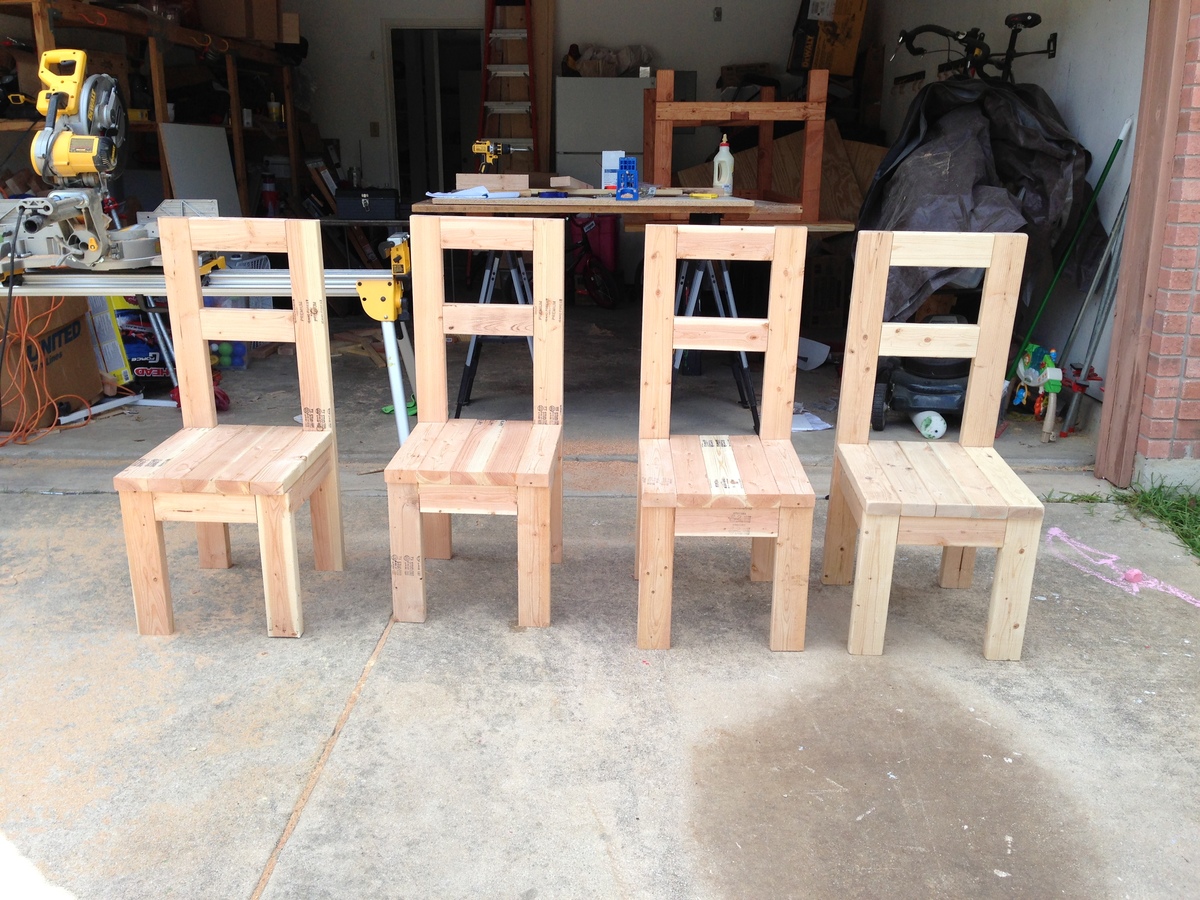
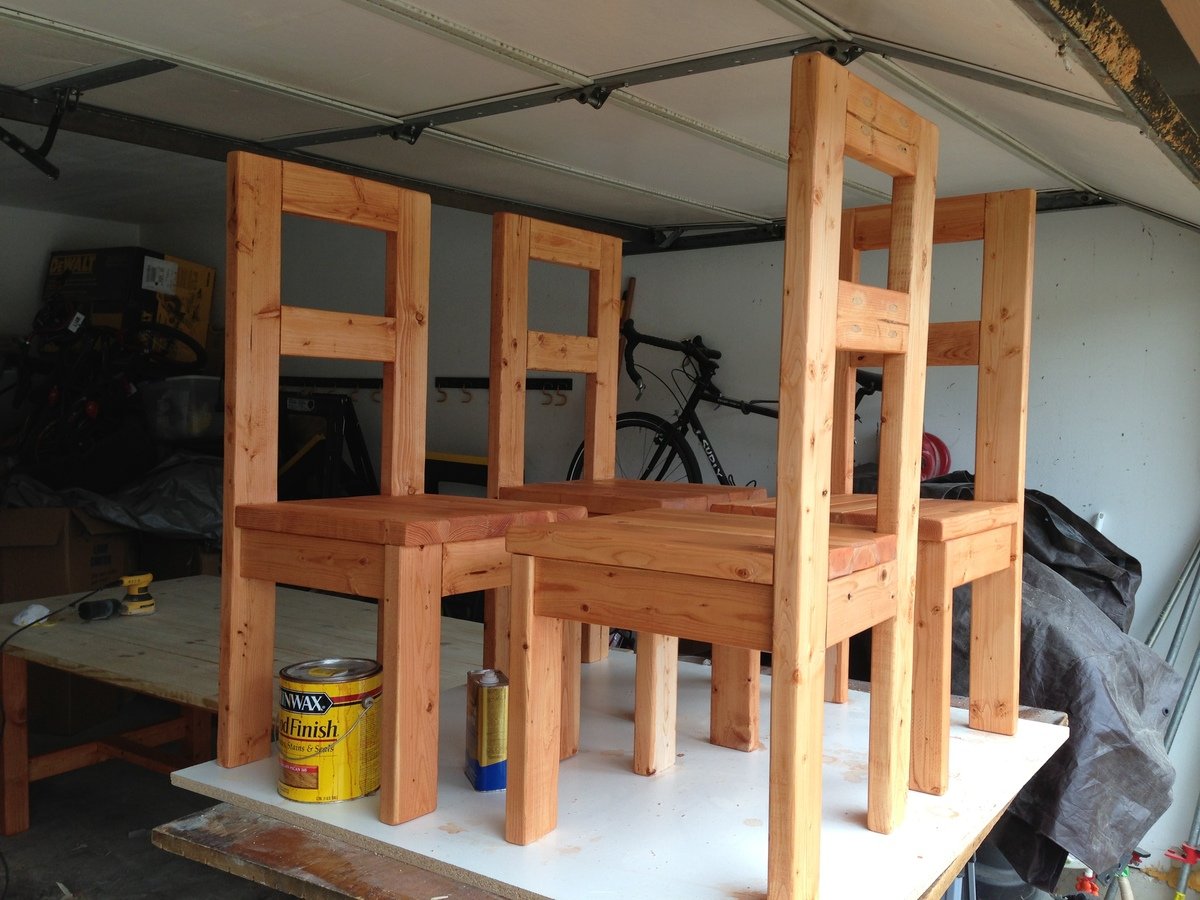
Modern Farmhouse Dining Room table with 2x4 chairs

Submitted by NeekosMac on Thu, 08/01/2013 - 13:28

Modern Farmhouse Dining Room Table (with pocket hole) and 2x4 chairs with plans reposted from morelikehome.net.

Surfed the site for the right plans and dove right in. Thank you for the inspiration all!

Estimated Cost
$200
Estimated Time Investment
Week Long Project (20 Hours or More)
Finish Used
Minwax Golden Pecan and Poly coat.
Recommended Skill Level
Beginner

Comments

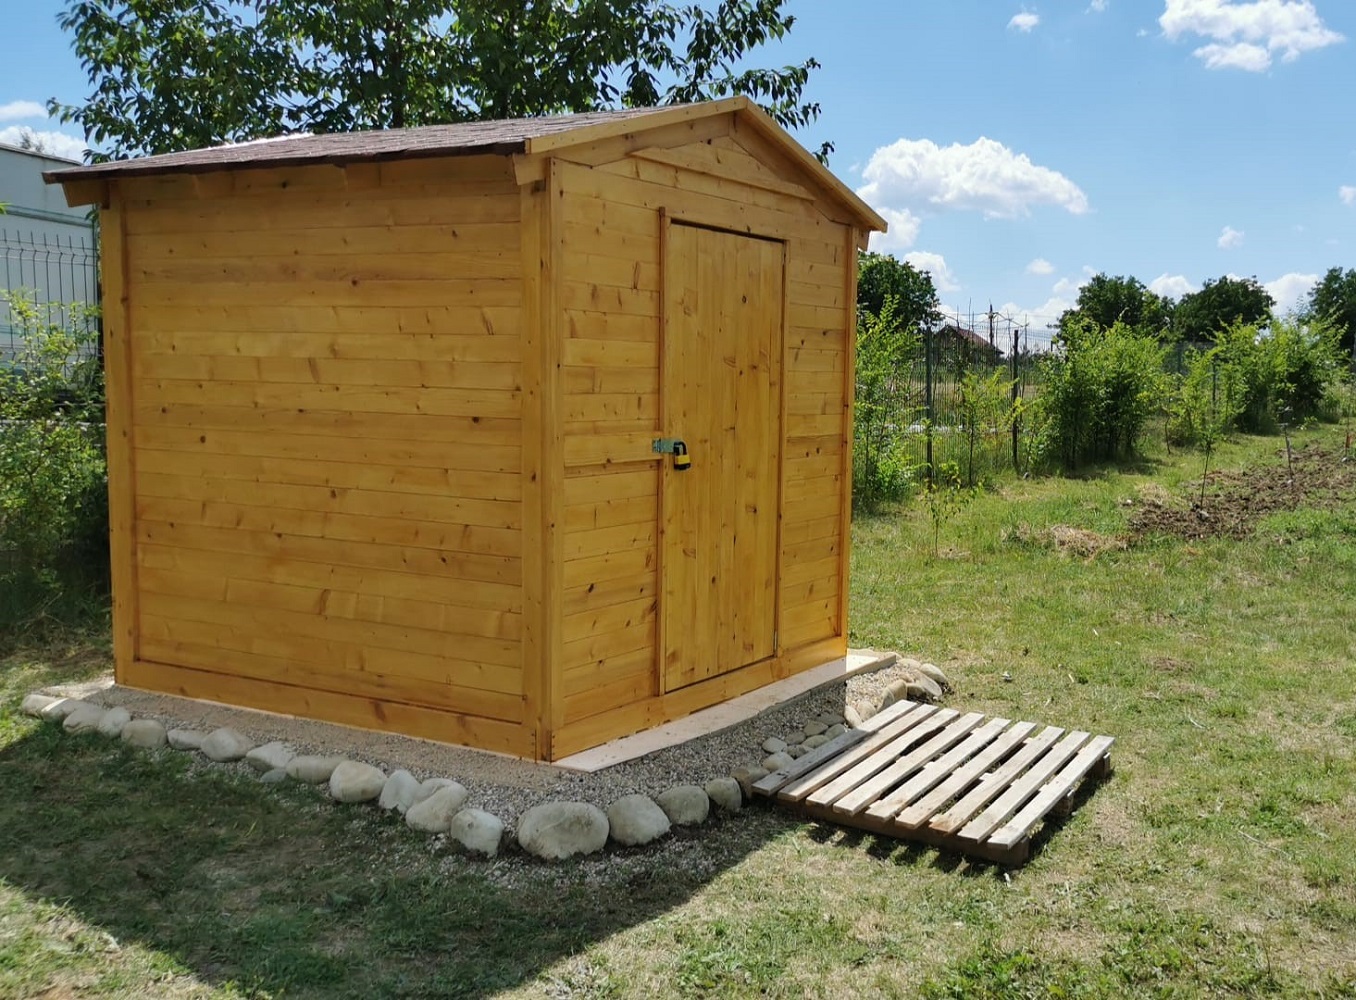
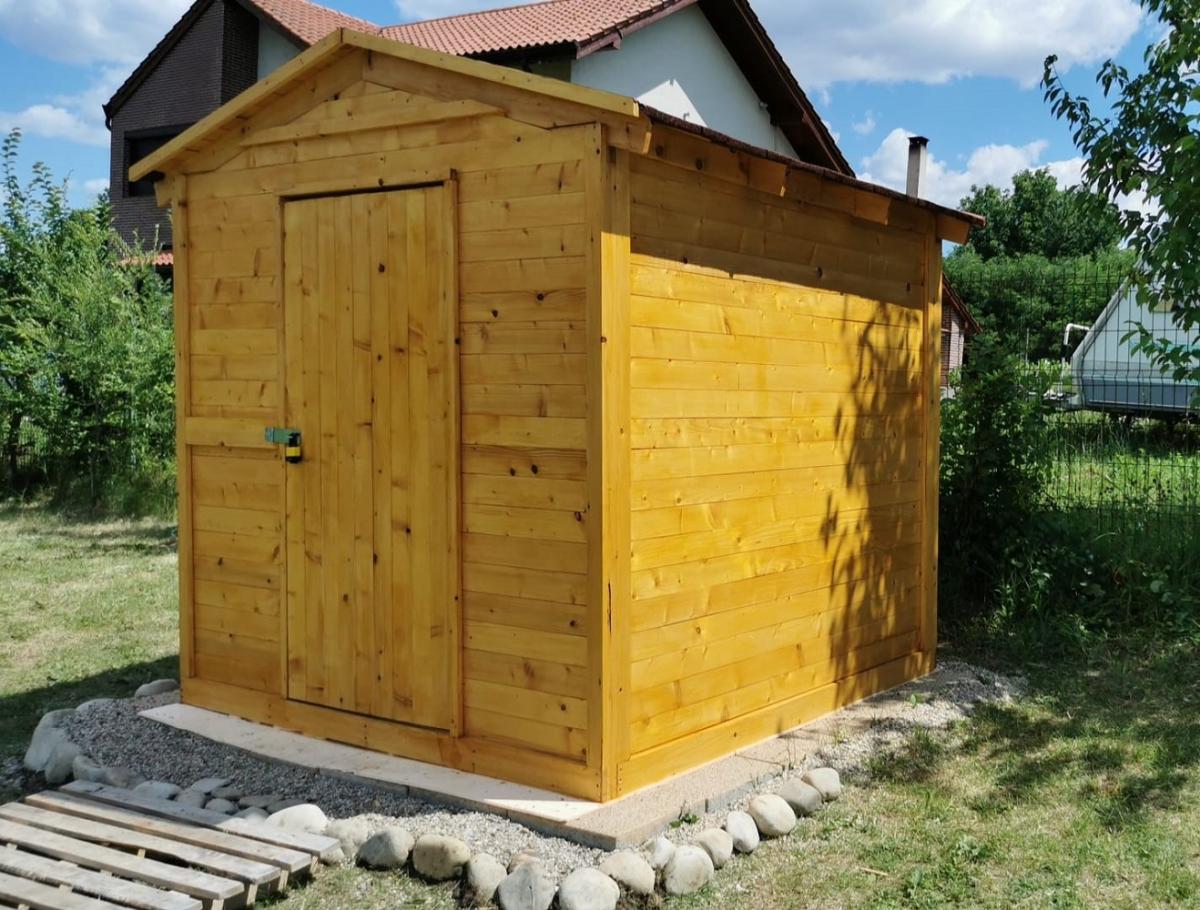
Wooden garden tools storage shed

Our last project was building a tiny garden tools storage shed. We used only 1 x 4 boards. We don't have any plans, but you can watch the entire building process on our YouTube channel. We are very proud of the way the project turned out.

Built from Plan(s)

Comments

Seasonal And Holiday

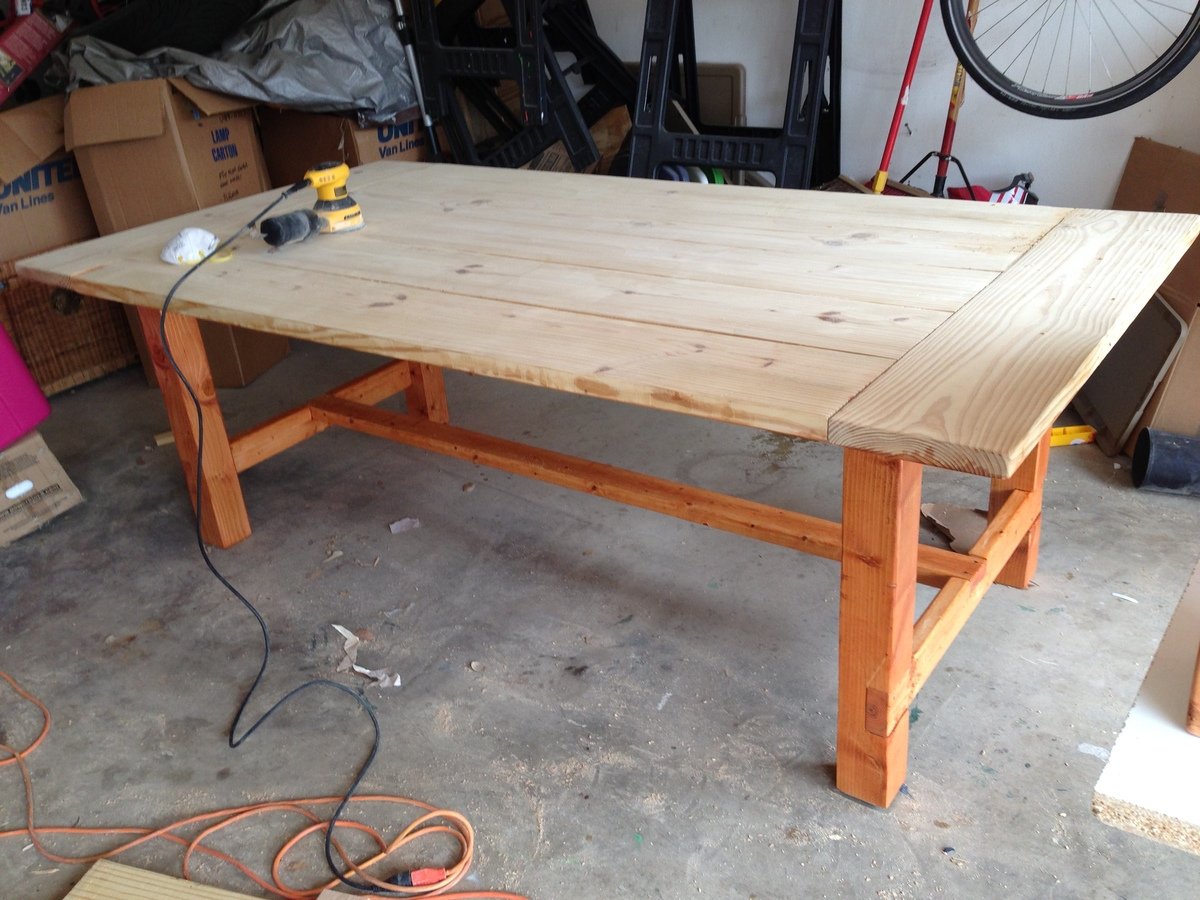
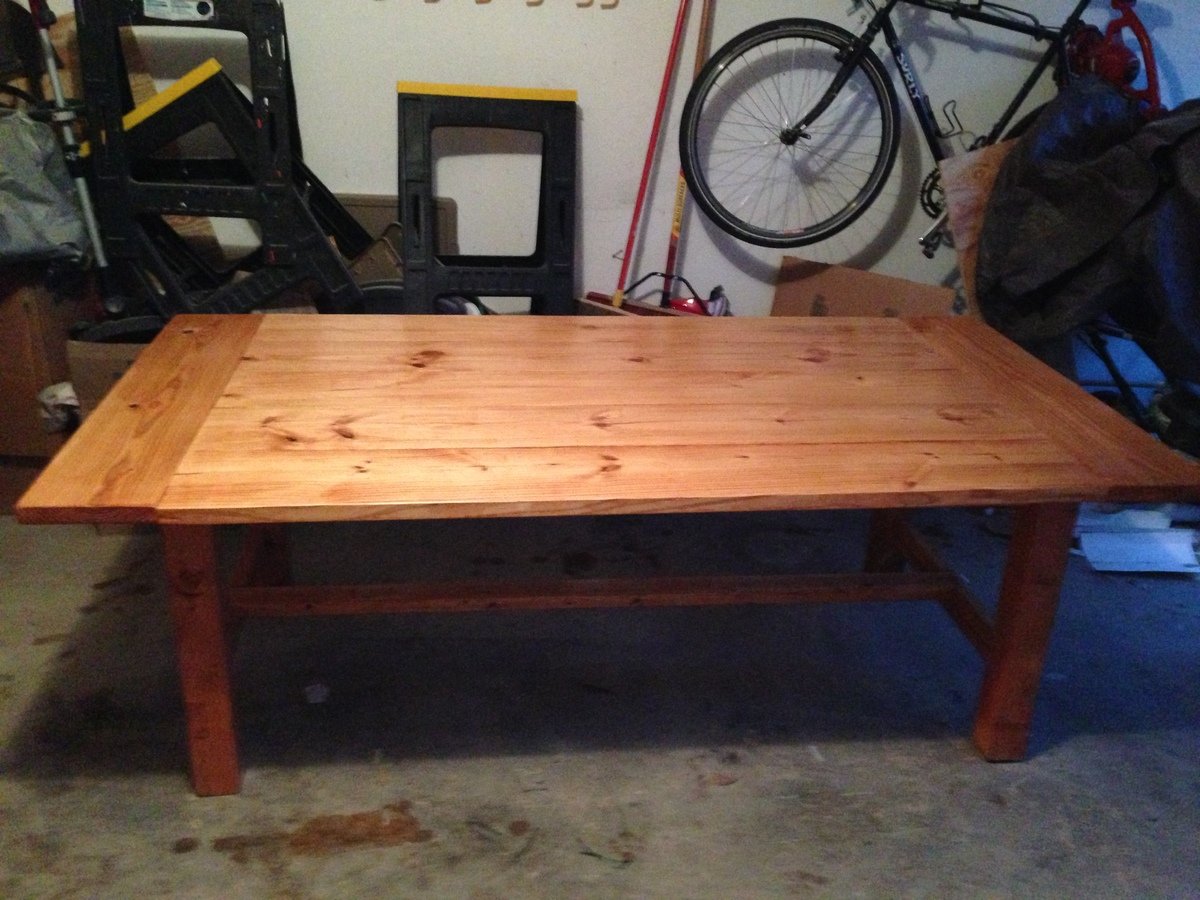
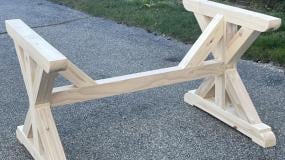
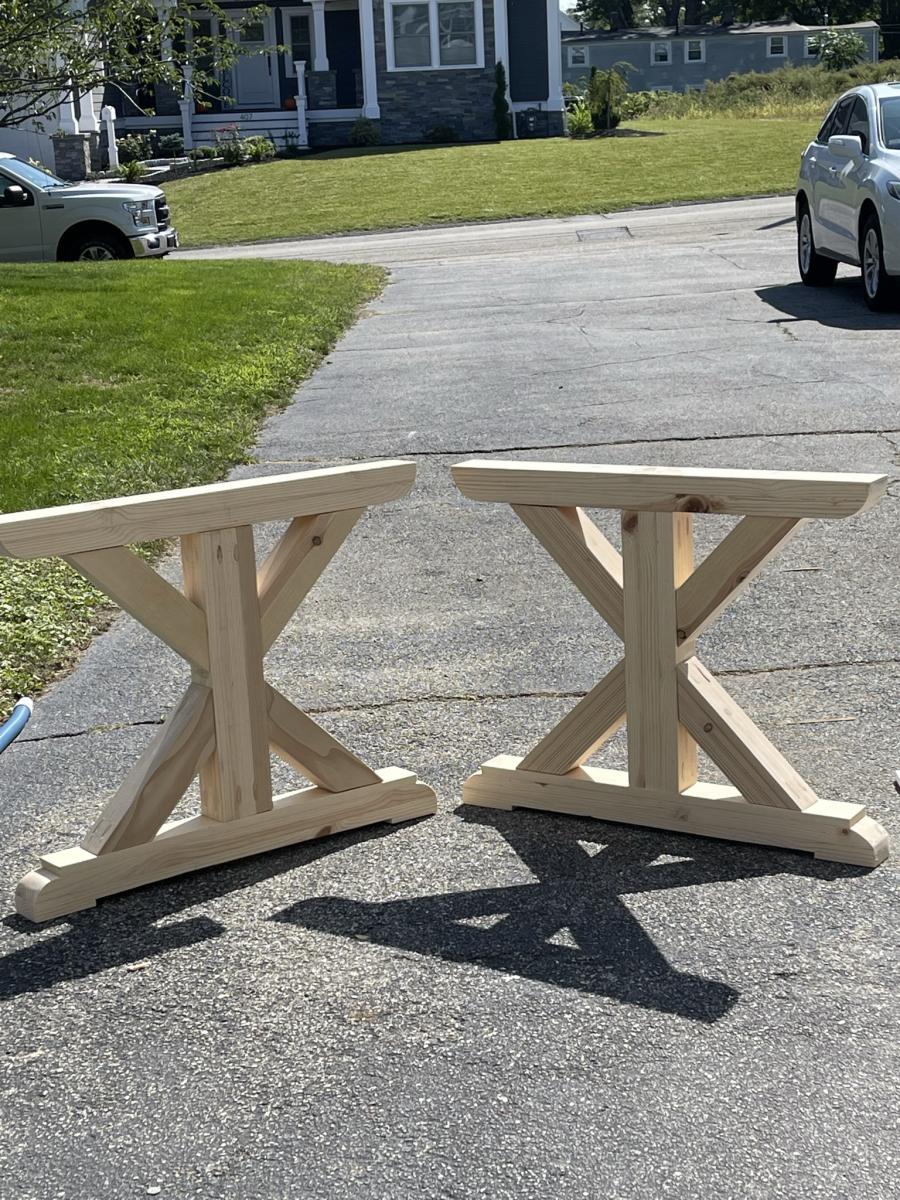
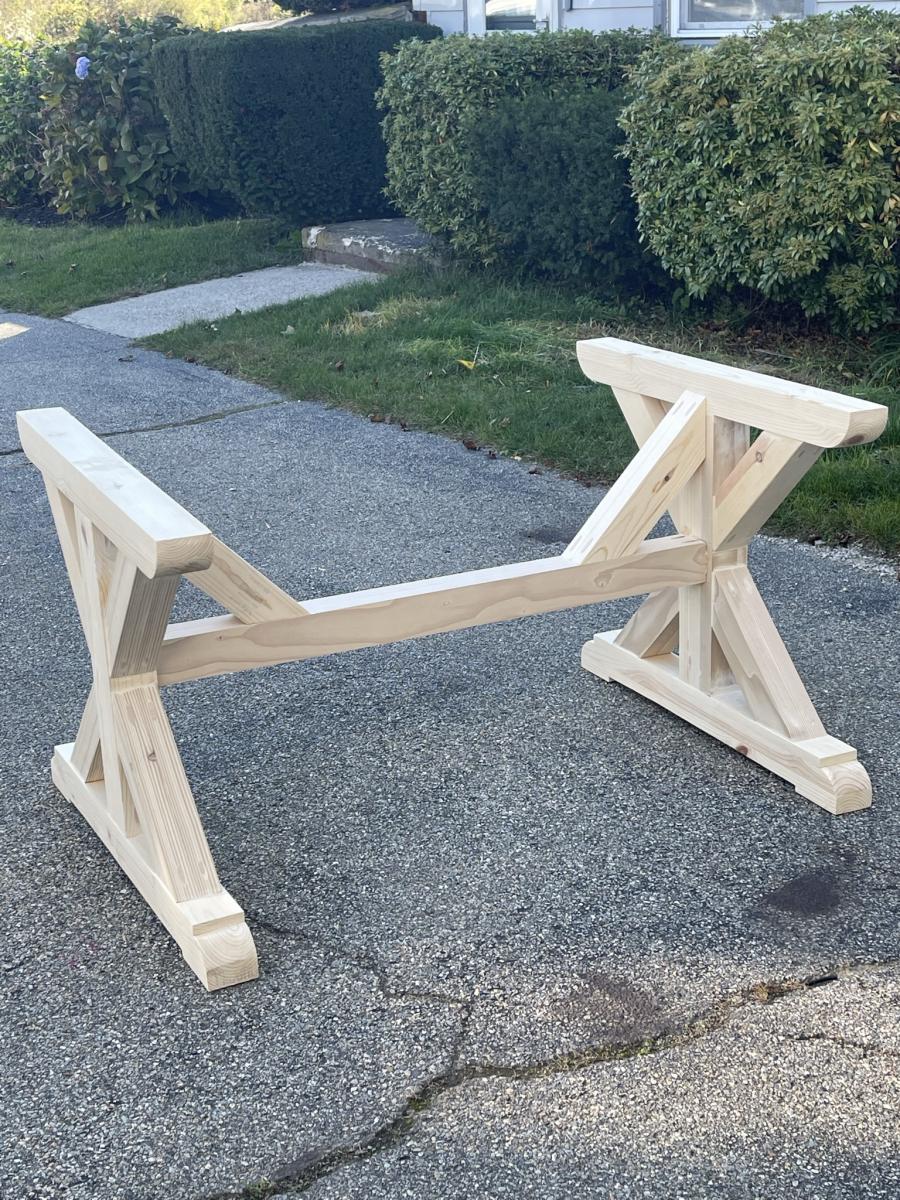
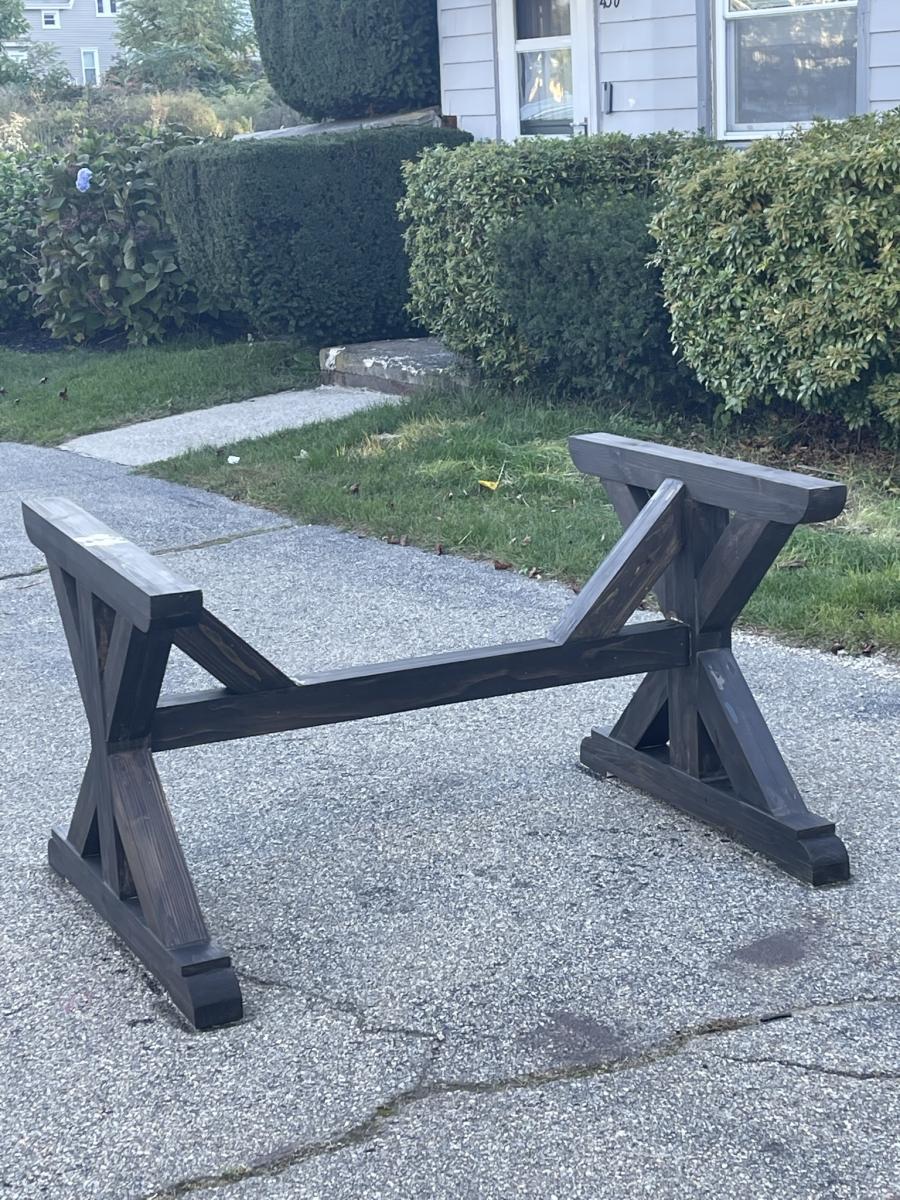
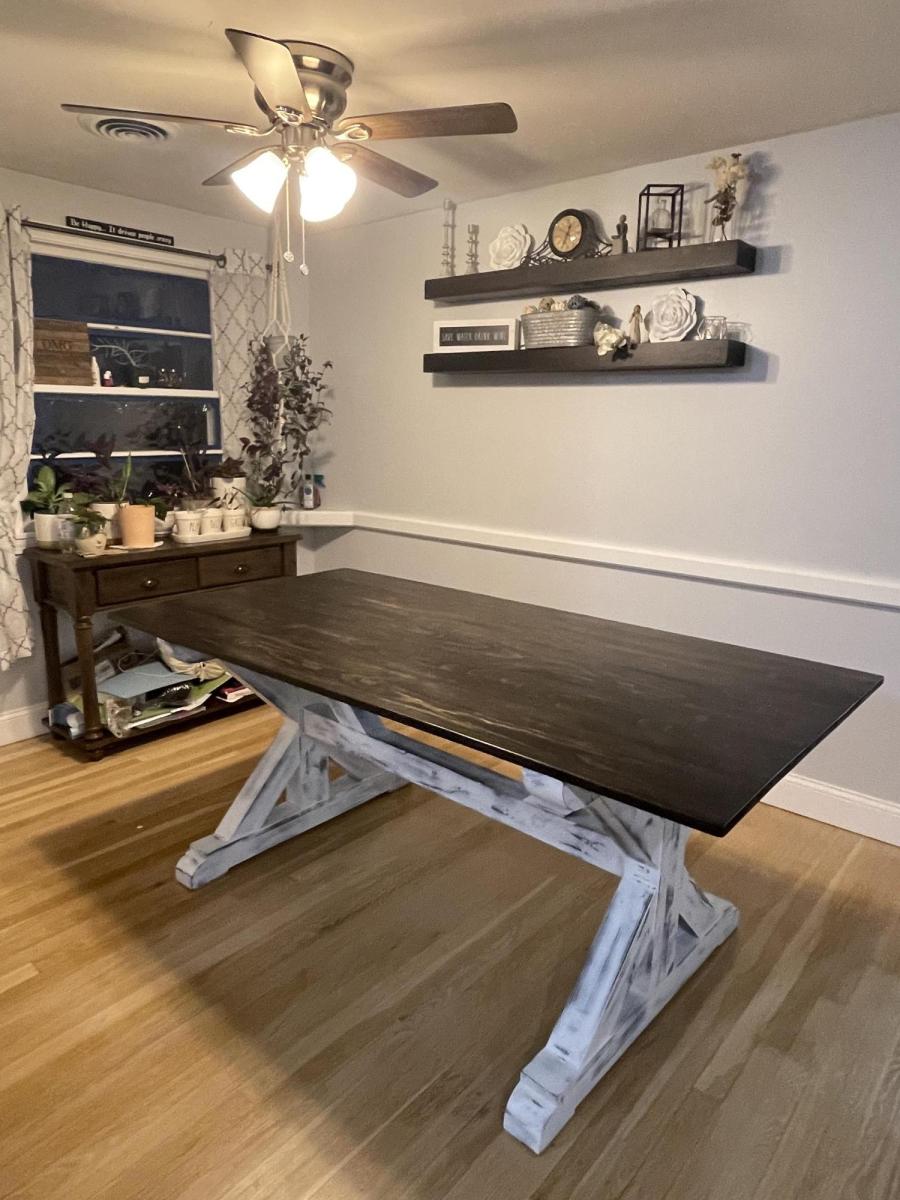
DIY farmhouse table

Submitted by Anonymous (not verified) on Wed, 12/28/2022 - 16:05

A farmhouse table I built based on one of your inspiration projects! All by hand and chiseled myself 😍

Built from Plan(s)

Comments

My Daughters Playhouse- My First Project

Submitted by SheilaS on Sun, 10/09/2011 - 08:32

My 2 year old daughter played in a playhouse at a farm and was just amazed by the "little house" every time we would see them at the store or driving down the road she would just scream "mom, its a little house, little house!" I knew I wanted to get her one and started to search. Couldn't believe the price of playhouse kits so I figured I could build it. This playhouse took about 2 weeks to finish but I only worked on it a couple of hours at a time just a couple times a week. Total cost for me for just the playhouse not including paint was $343.90. Thanks Ana for posting the plans and showing everyone that anyone can build!

Estimated Cost
$344.90
Estimated Time Investment
Weekend Project (10-20 Hours)
Recommended Skill Level
Beginner

Outdoor Sectional

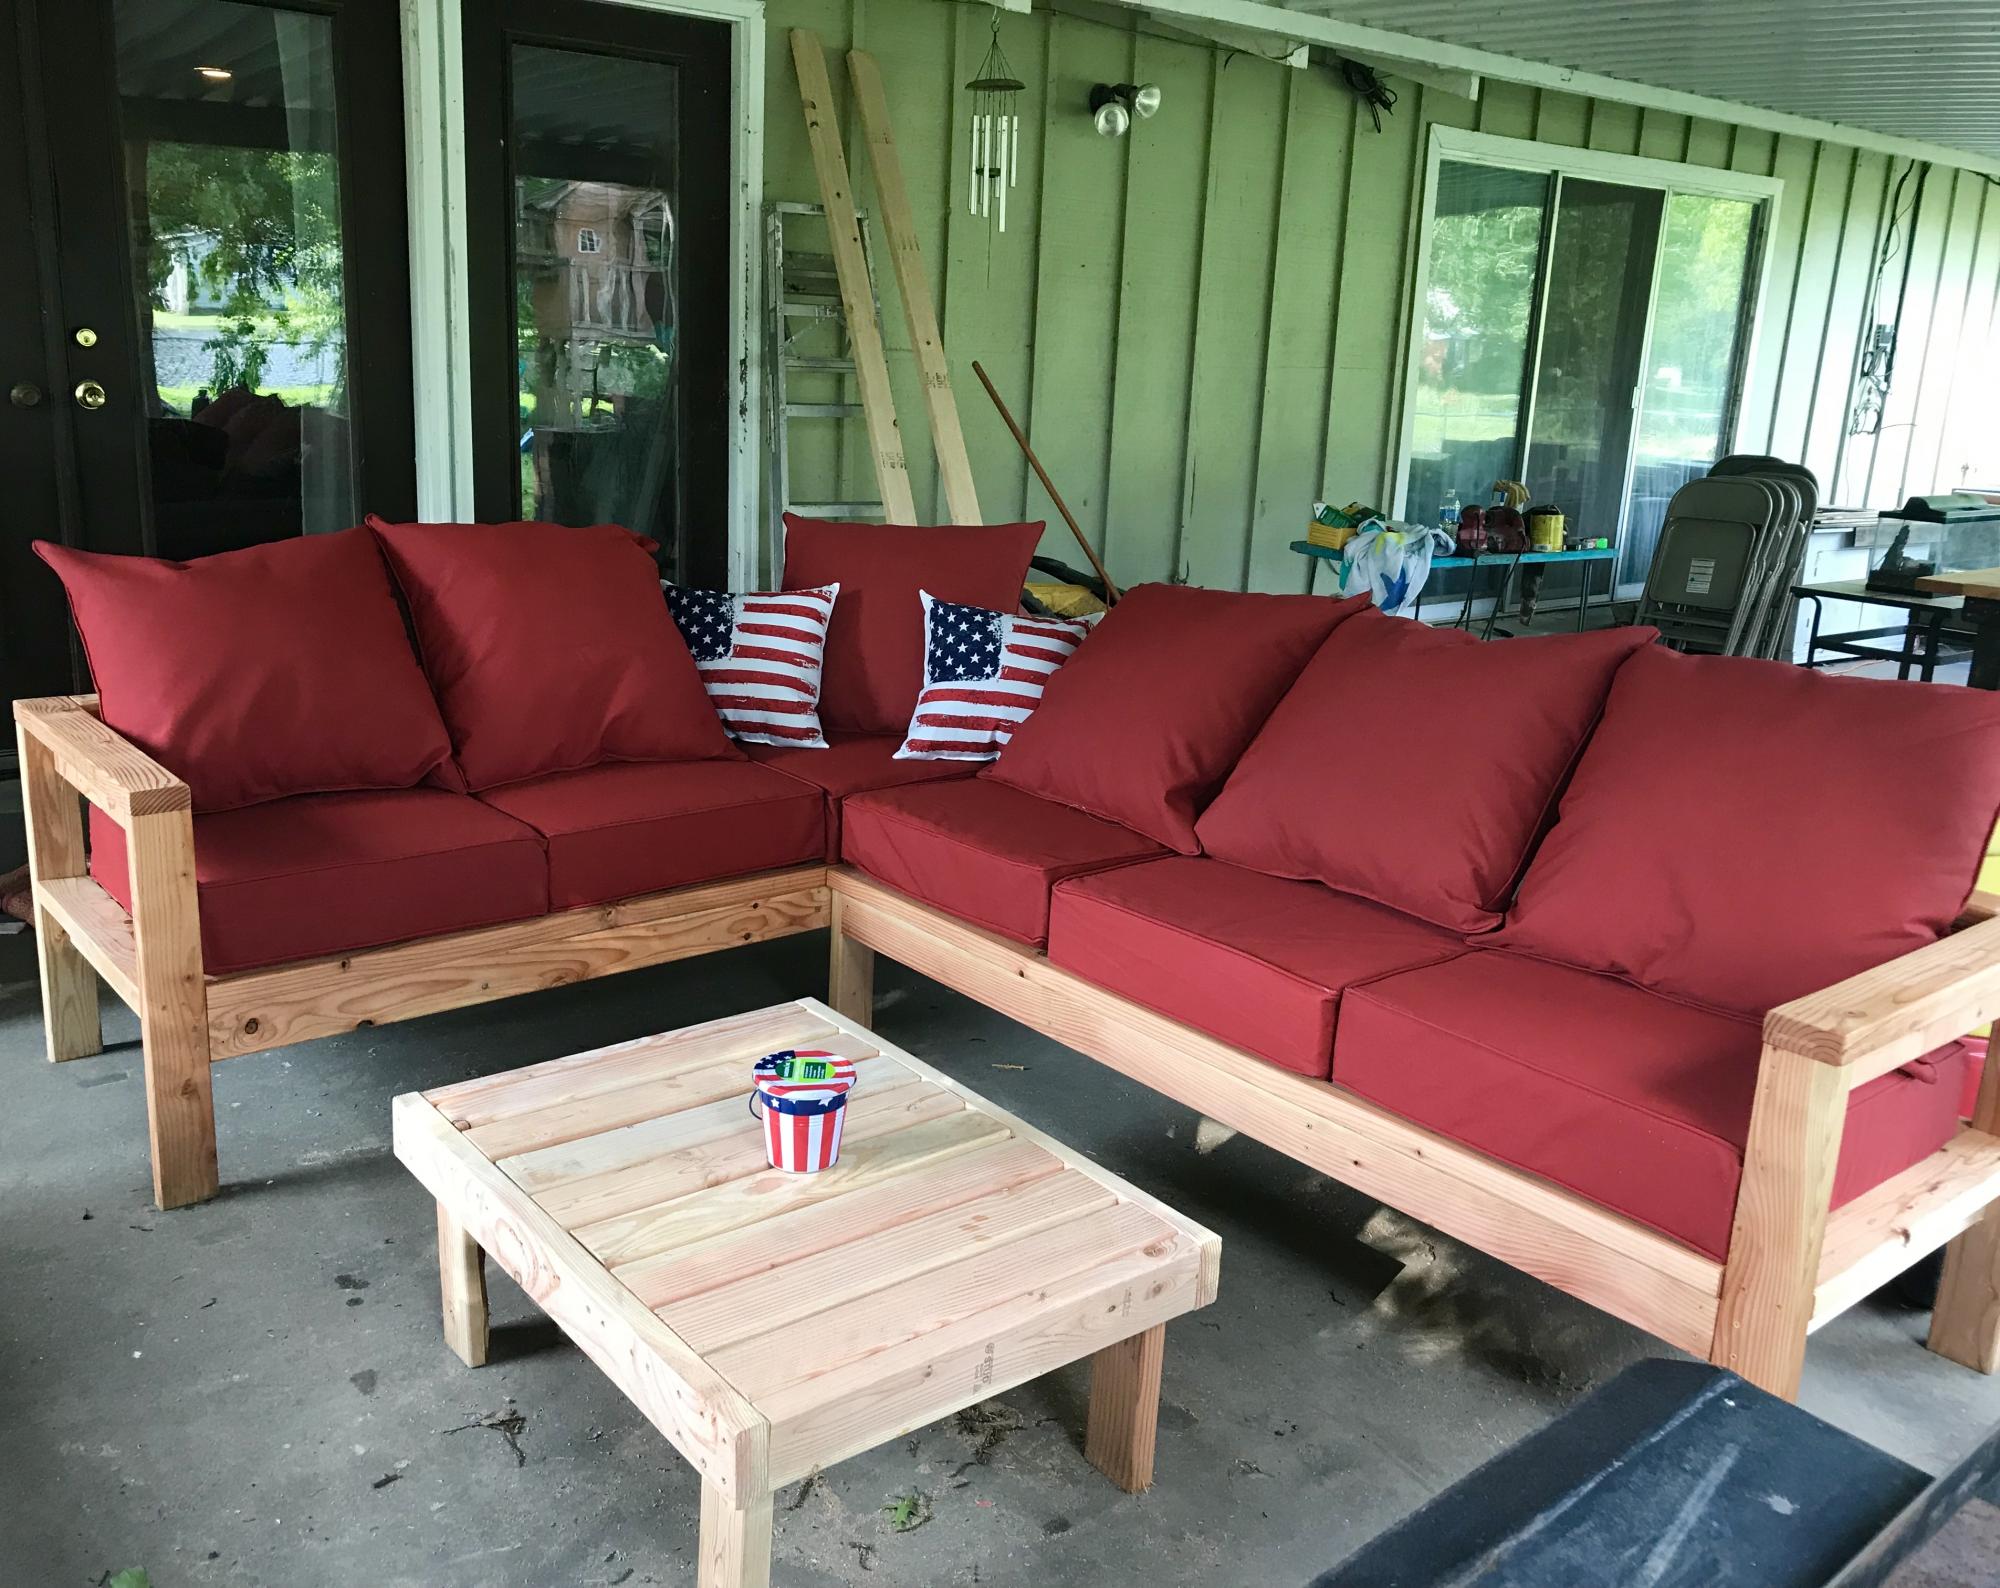
Submitted by ghozt21 on Mon, 05/27/2019 - 16:54

I followed the plans as written,  It took me about 6 hours and that includes sanding and staining. Very simple yet offers a very wow finish.  I think in total we spent about $300 for all supplies including cushions which was the most expensive part. I just finished it off with Teak Oil and an Americana theme for our covered patio.  We love it.  

Estimated Cost
$300
Estimated Time Investment
Day Project (6-9 Hours)
Finish Used
Teak oil
Recommended Skill Level
Beginner

Fancy Jewelry Box

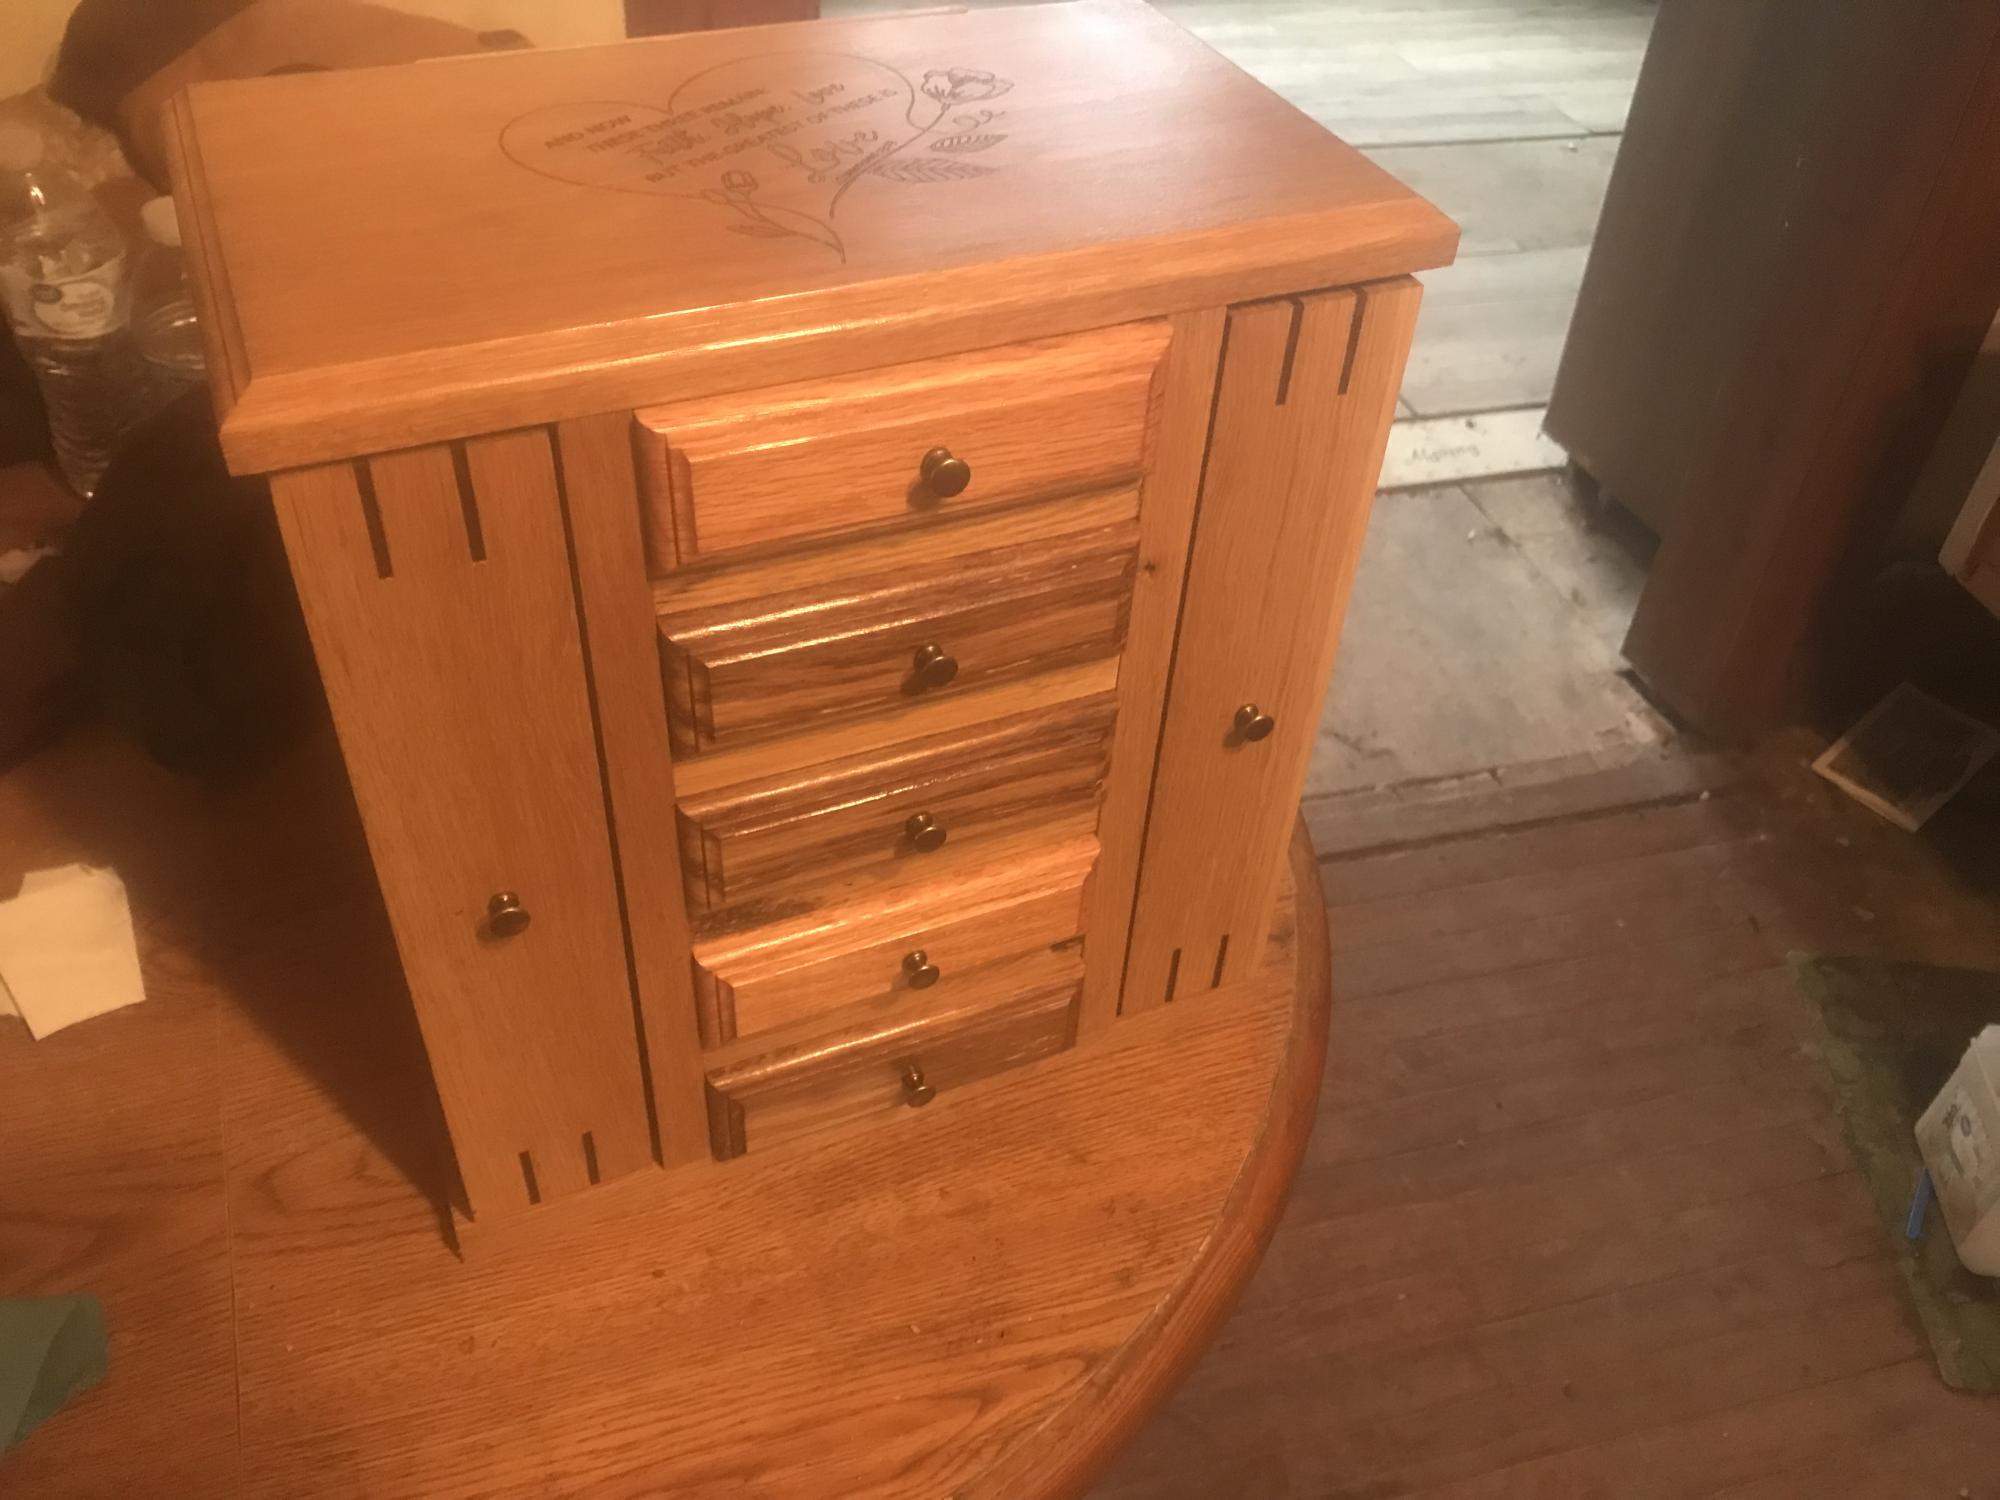
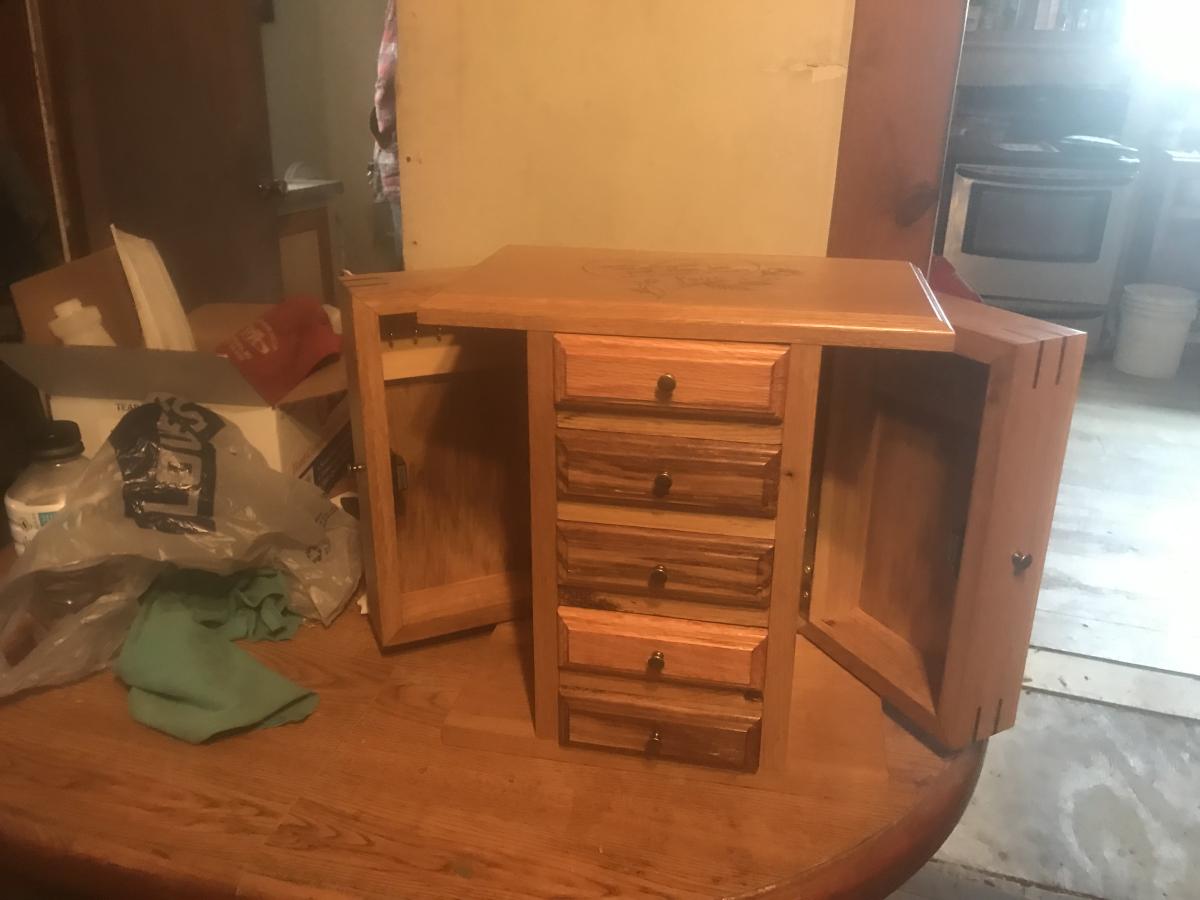
Submitted by dland41961 on Fri, 05/05/2023 - 07:59

Fancy Jewelry Box it came out very nice. Made with white oak.

Built from Plan(s)

Comments