Community Brag Posts

Country Rustic Shelf

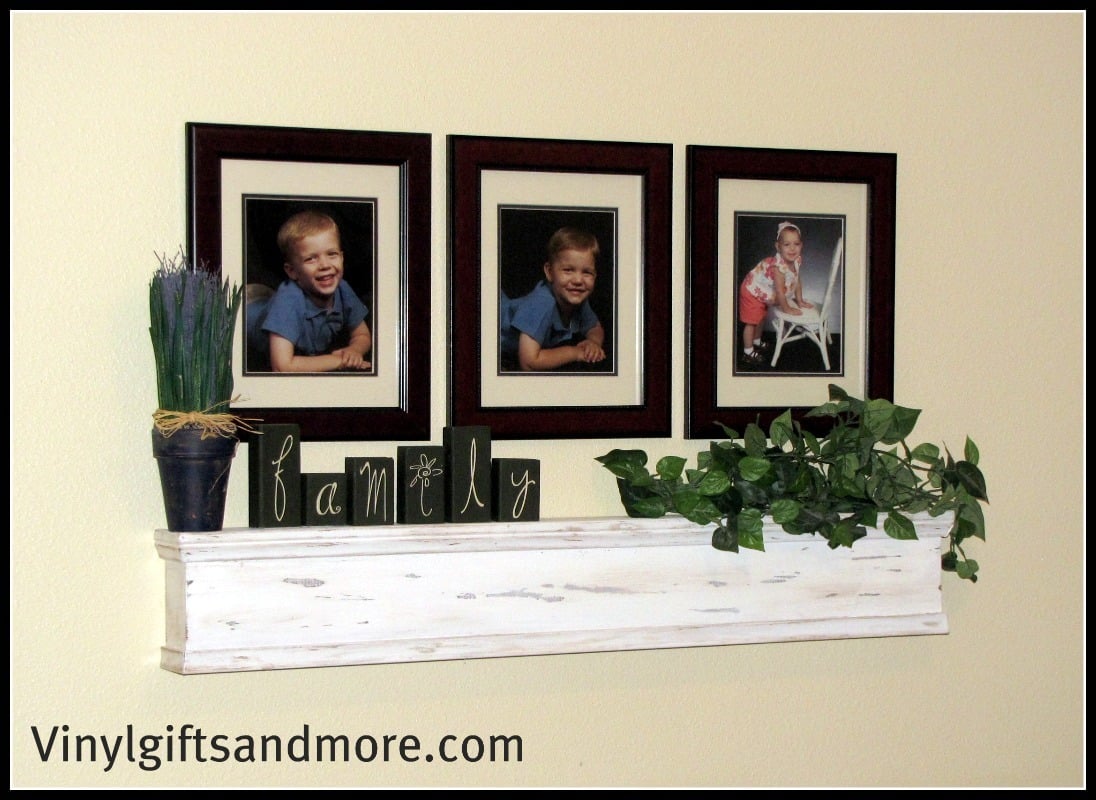
We just bought our first home a few months ago.  It is taking me a long time to decorate, because I am more picky about what goes on my walls.  I saw this shelf and I knew I had to build it.  It was really simple to do.  I even did it without my husband, and that is huge for me. I have step by step pictures on how to make this shelf on my blog.
supersaturdayldscrafts.blogspot.com

Ana's Barn Beam Ledges are very simular, but I turned them and added molding to the front.

Built from Plan(s)
Estimated Cost
20.00
Estimated Time Investment
Afternoon Project (3-6 Hours)
Finish Used
For the finish I used dark walnut gel stain, and then after the stain dried, I painted it with Home Depot Vermont Cream. When all the paint is dry, you sand the outside so the stain shines through to give it a more rustic country look.
Recommended Skill Level
Beginner

Wide Cabin Dresser

Submitted by mebohn on Fri, 06/07/2013 - 05:46

I This project is definitely the most difficult I've ever built. I've done lot of drawer slides before, but for some reason this one was the hardest. I think the culprit was squaring, which was mysterious to me bc I'm careful to take a square constantly. Could've been bowed boards, too. But, after some patience and forcing the boards to do what the should, it worked. I did rip down 2x4's for strength b/c our stores do not carry the upgraded 2x2's and furring strips would just not have been strong enough for a dresser. My son is very happy to finally have a place for his clothes. Thanks Ana for these plans!

Estimated Time Investment
Afternoon Project (3-6 Hours)
Finish Used
Steel Wool and vinegar, Rustoleum ultimate poly in matte
Recommended Skill Level
Advanced

Comments

spiceylg

Fri, 06/07/2013 - 08:26

Your efforts were worth it. This came out beautiful. Looks professional.

Rustic x end table

Submitted by ayoung82 on Sun, 05/10/2015 - 13:43

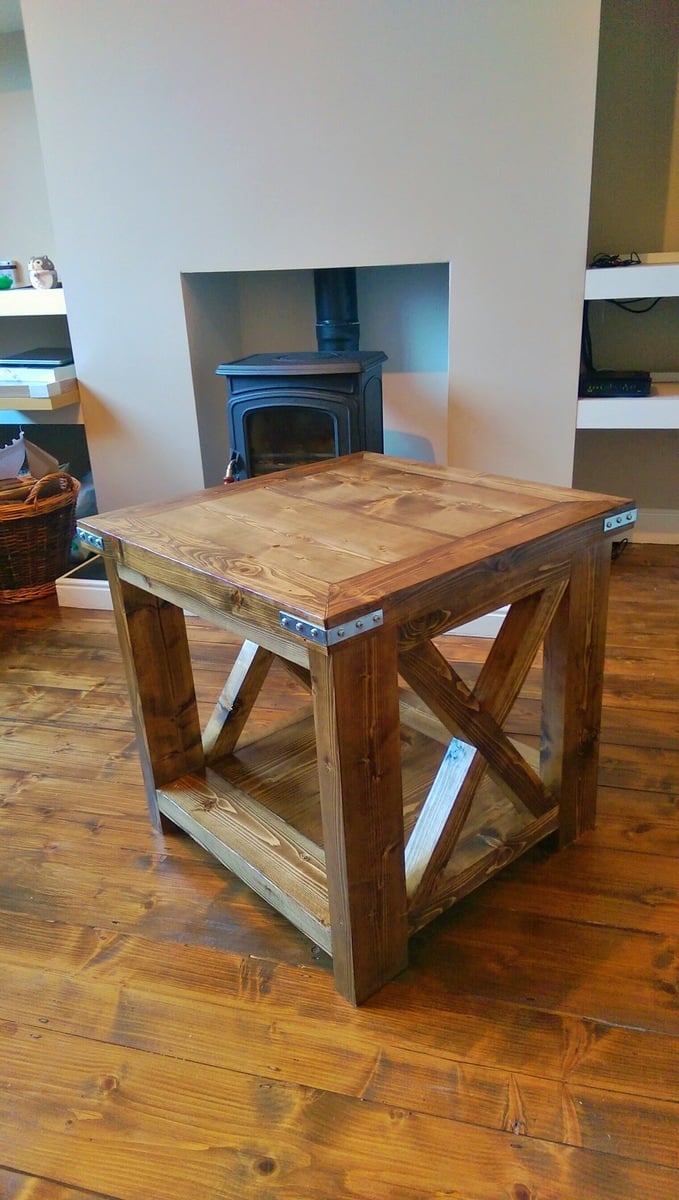
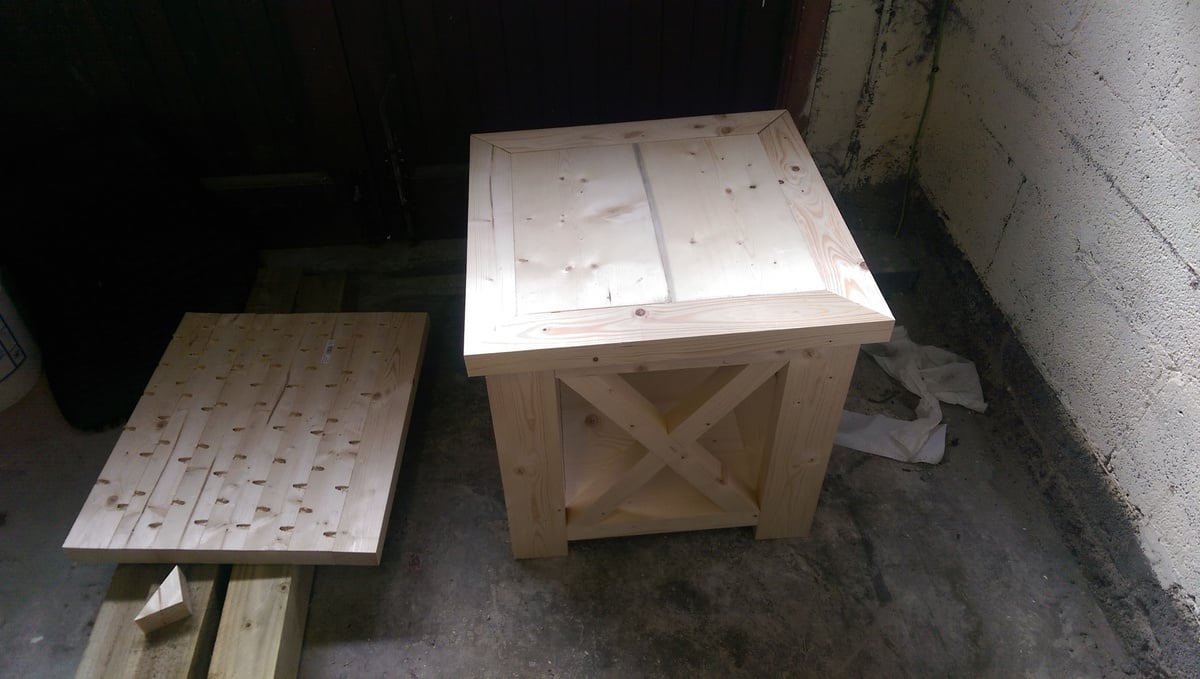
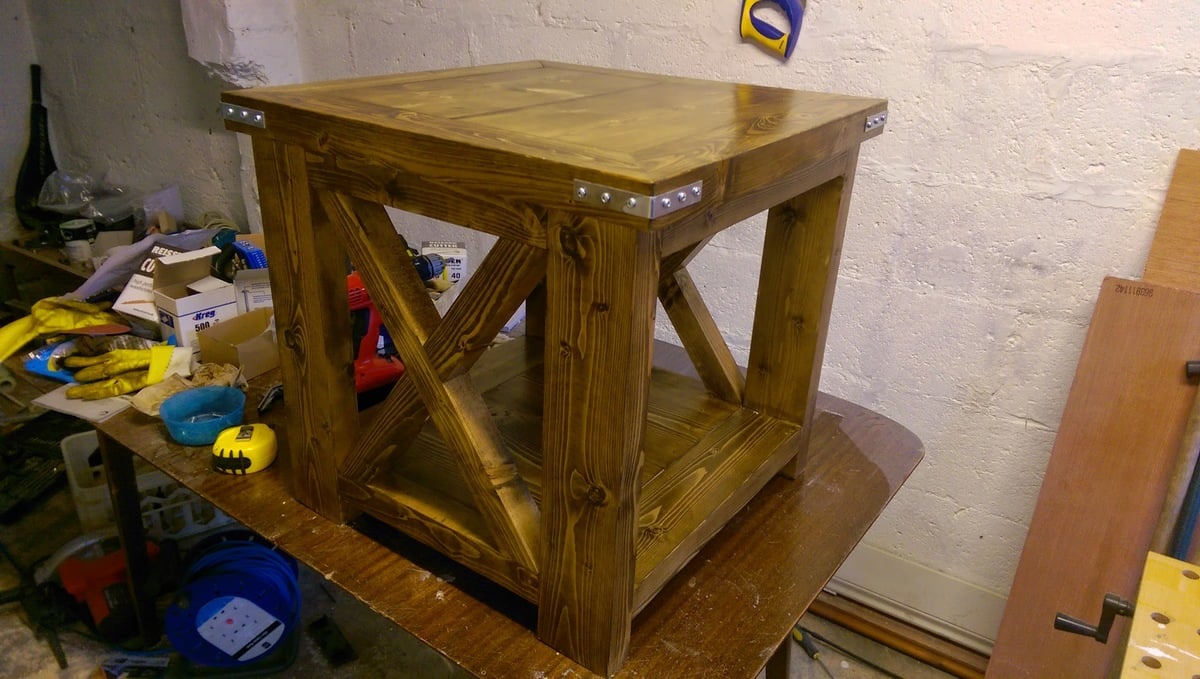
I had to redesign the top because my wood was too narrow and warped to make it as per the plan, and I'm too cheap to go and buy some more. I think it worked out OK. I enjoyed making this piece and I'm trying to develop my accuracy in wood working. My patience for the "finishing" element is improving, but I'm still a Sand-a-phobe.

Built from Plan(s)
Estimated Cost
€40
Estimated Time Investment
Weekend Project (10-20 Hours)
Finish Used
Satin Poly & Medium Maple Stain
Recommended Skill Level
Intermediate

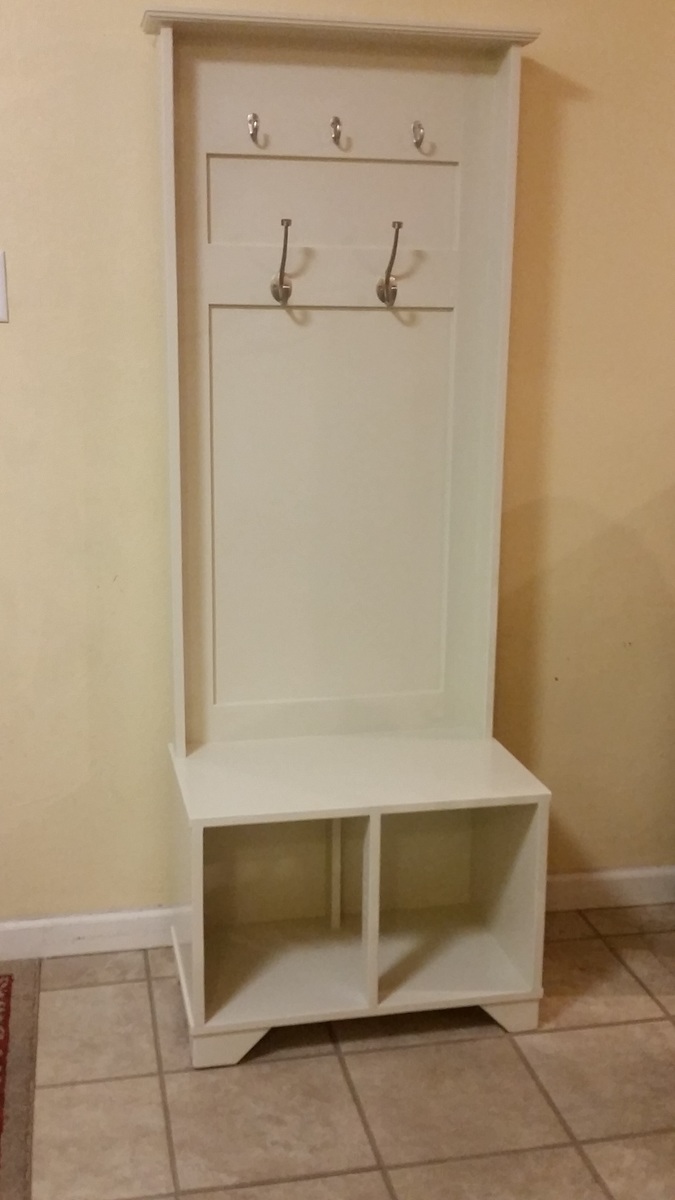
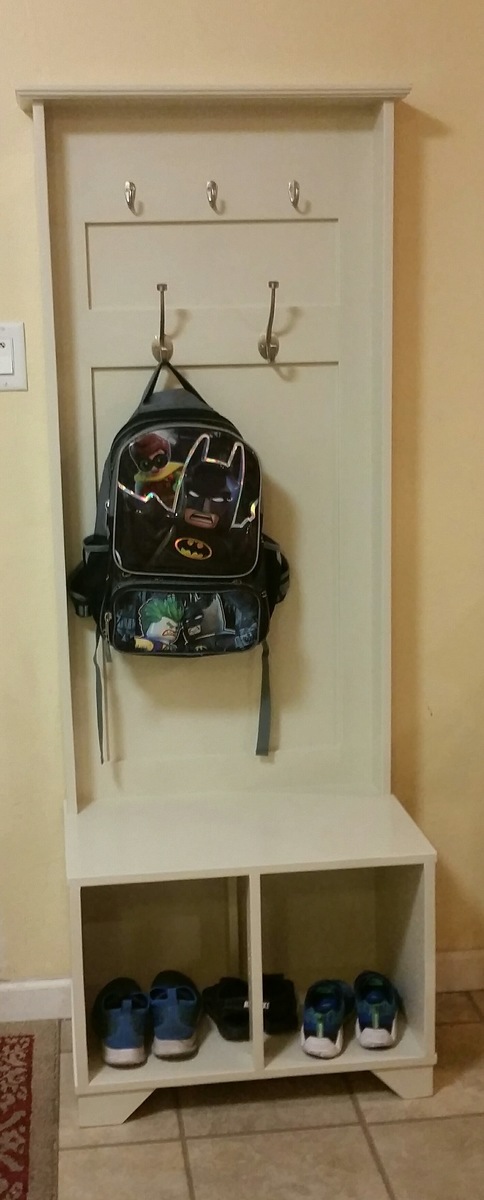
Hall Tree Bench DIY

Submitted by jimmysingh on Wed, 10/11/2017 - 08:13

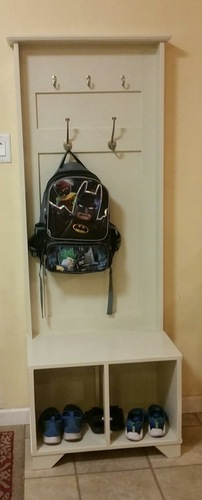
Modified From Ana's Fancy-hall-tree bench plan.

Built from Plan(s)
Estimated Cost
$150
Estimated Time Investment
Day Project (6-9 Hours)
Finish Used
White primer one coat, paint two coats, gloss water based polyurethane one coat
Recommended Skill Level
Intermediate

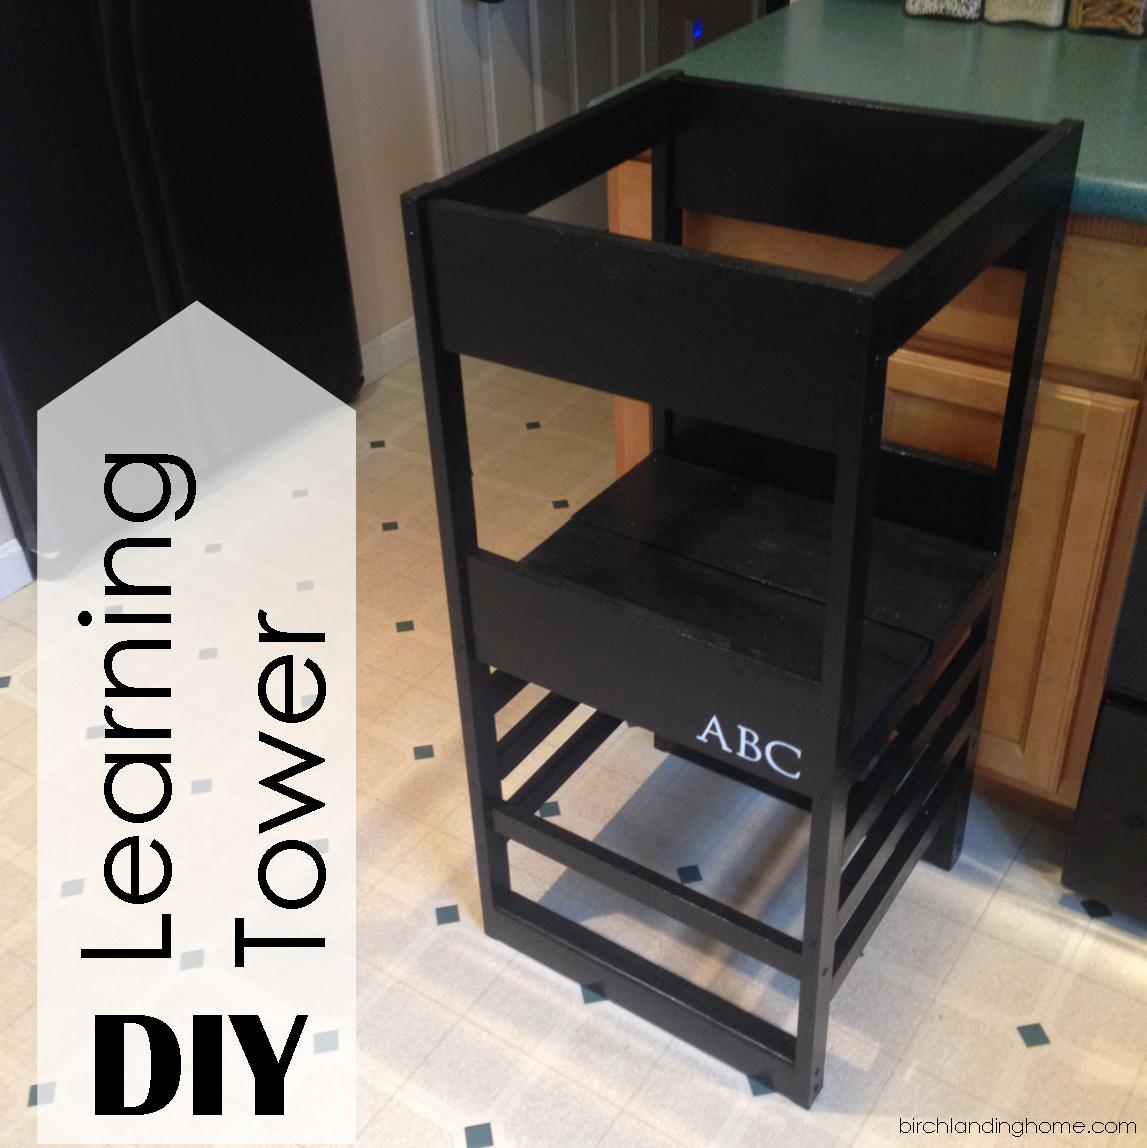
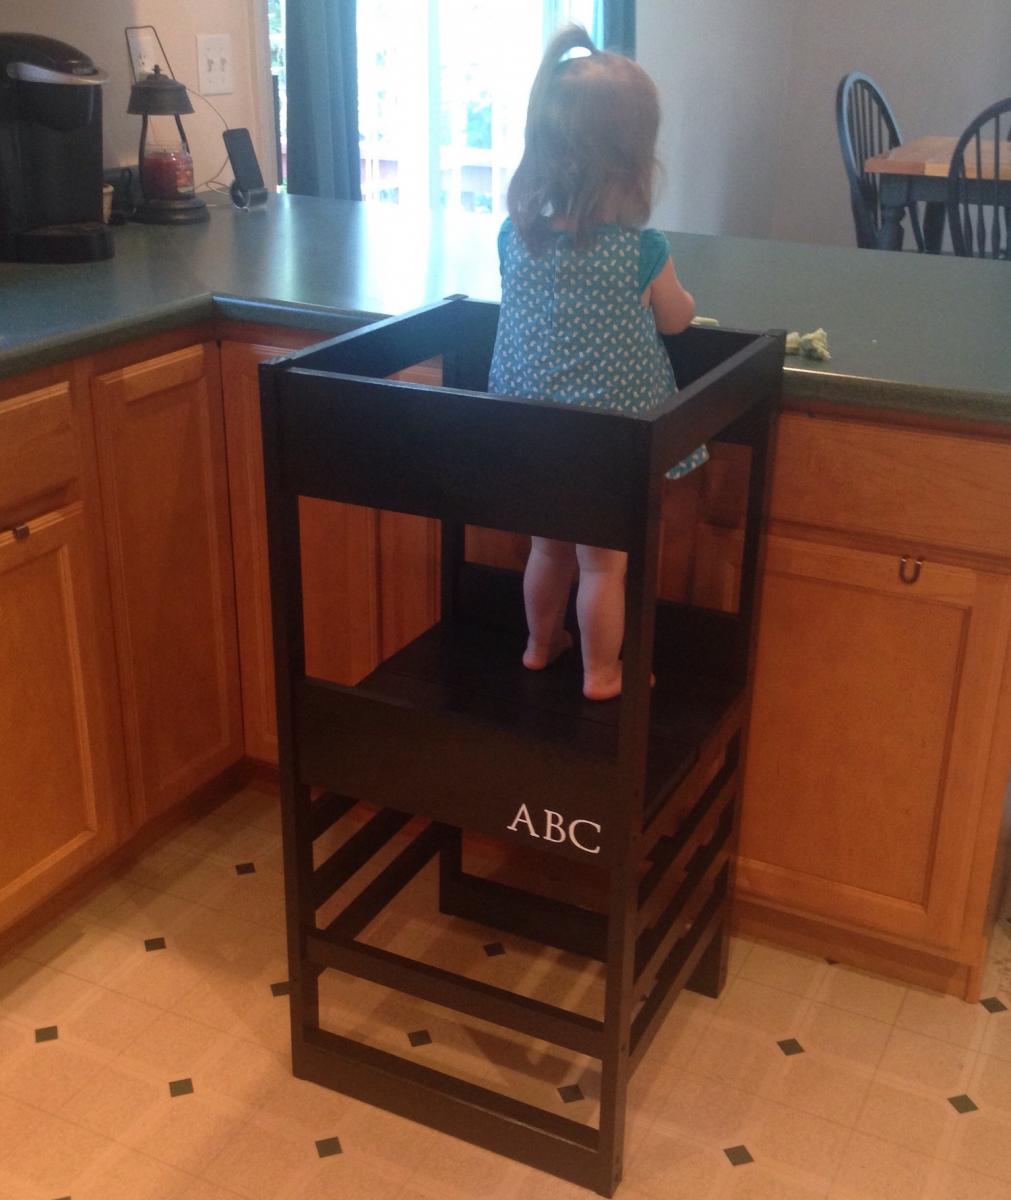
DIY Learning Tower / Kitchen Helper

Our little one may be happily playing independently but the second I go to make dinner she demands to be held and refuses to be put down, making cooking impossible. To help keep her occupied but still involved I've been eyeing a learning tower / kitchen helper on Amazon for months now, but at $200 it just wasn't in our budget. My sister-in-law had made a learning tower from a plan by Ana White and suggested I try to make one too. I was unsure at first, I've never made anything more complicated than a birdhouse, but I decided to give it a go!

Please see my blog post for additional photos and lessons learned during this project.

Built from Plan(s)

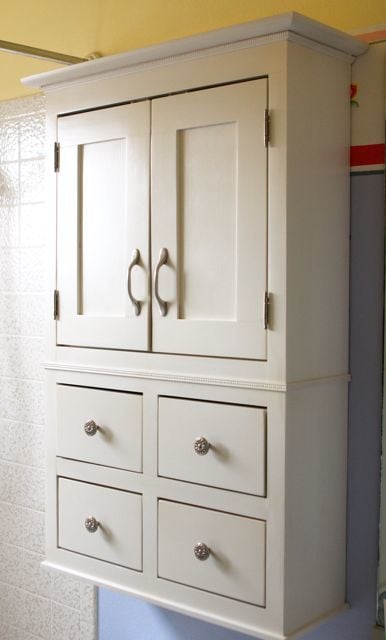
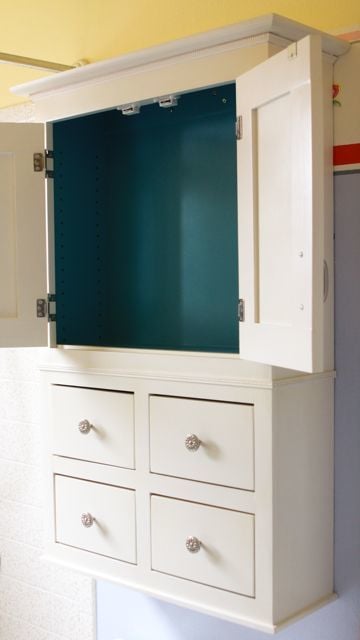
A bathroom cabinet for all that stuff!

Overall measurements: 24x40. I followed the same basic steps as the nursery armoire, but on a much smaller scale and with a 1x3 added to the back for hanging the cabinet on the wall. I sketched this out on my own and built it to fit above the toilet in my girls' bathroom.

For the first time, I used my table saw to route a space for the 1/8" MDF cabinet backing and drawer bottoms. I will probably use the same method again, but the MDF has to be absolutely square for it to work.

Also a first for me, I used a shelving jig to drill perfectly spaced shelf pin holes on the inside of the cabinet. I love the jig and the accompanying drill bit (from Woodcraft -- orange and blue do not carry it) and I'm looking forward to using it a lot more in the future.

The white latex paint finish is covered in Krylon "crystal clear" spray, which is (sadly) not actually crystal clear. I really like its durability and ease of application (re-coat after only one minute!), but will only use it on darker colored projects in the future. I'll have to sand, paint again, and recoat with my old standby, Minwax Polycrylic, to get rid of the yellow tones in the "crystal clear" Krylon spray.

Built from Plan(s)
Estimated Cost
$125
Estimated Time Investment
Weekend Project (10-20 Hours)
Finish Used
Spray primer followed by Sherwin-Williams ProClassic semi-gloss white (which I applied in several thinned coats). Krylon not-so "crystal clear" topcoat.
Recommended Skill Level
Beginner

Farmhouse Bunkbeds with Stairs

Submitted by Yodannos on Sun, 06/09/2013 - 13:19

We have a rental unit and decided to fill one room with 2 sets of bunk beds. One is a twin over a full. The other is a full over full. Due to a duct running through one corner, and limited amount of space, I decided to build a set of stairs on the 17" gap. I used the simple bunk bed plans, but modified it to the style of the farmhouse. Also, I changed several of the heights of the foot/head boards. The full over full will have a ladder coming off the end and is in progress.

Estimated Cost
$450
Estimated Time Investment
Week Long Project (20 Hours or More)
Finish Used
Minwax Ebony Stain. Satin Polyeurethene.
Recommended Skill Level
Intermediate

Farmhouse Queen Bed and Headboard

Thank You Ana-White for the amazing plans for this beautiful farmhouse queen bed! Not bad for the first try!

Built from Plan(s)
Estimated Cost
$150
Estimated Time Investment
Weekend Project (10-20 Hours)
Recommended Skill Level
Beginner

Comments

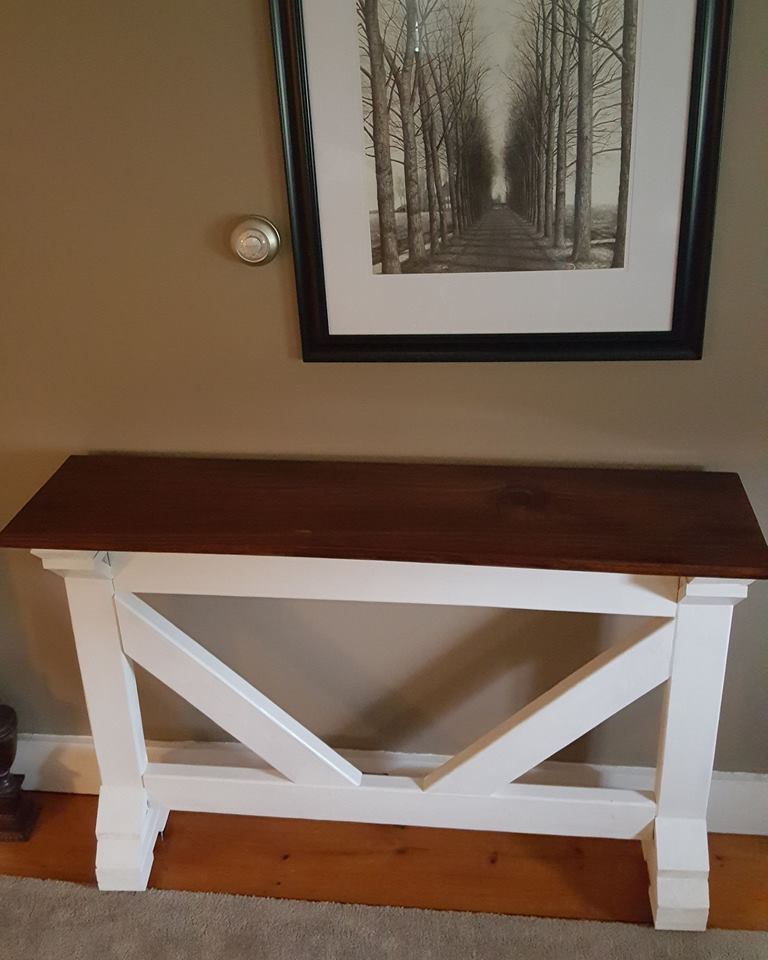
DIY Rustic Console Table

Submitted by Anonymous (not verified) on Mon, 10/23/2017 - 10:09

Built by Wndy D Keever-Keefe

"This was my very first build ever. Totally inspired by Ana White, I happened upon her site one day about 4 years ago and have since built lots of her plans."

Built from Plan(s)
Recommended Skill Level
Beginner

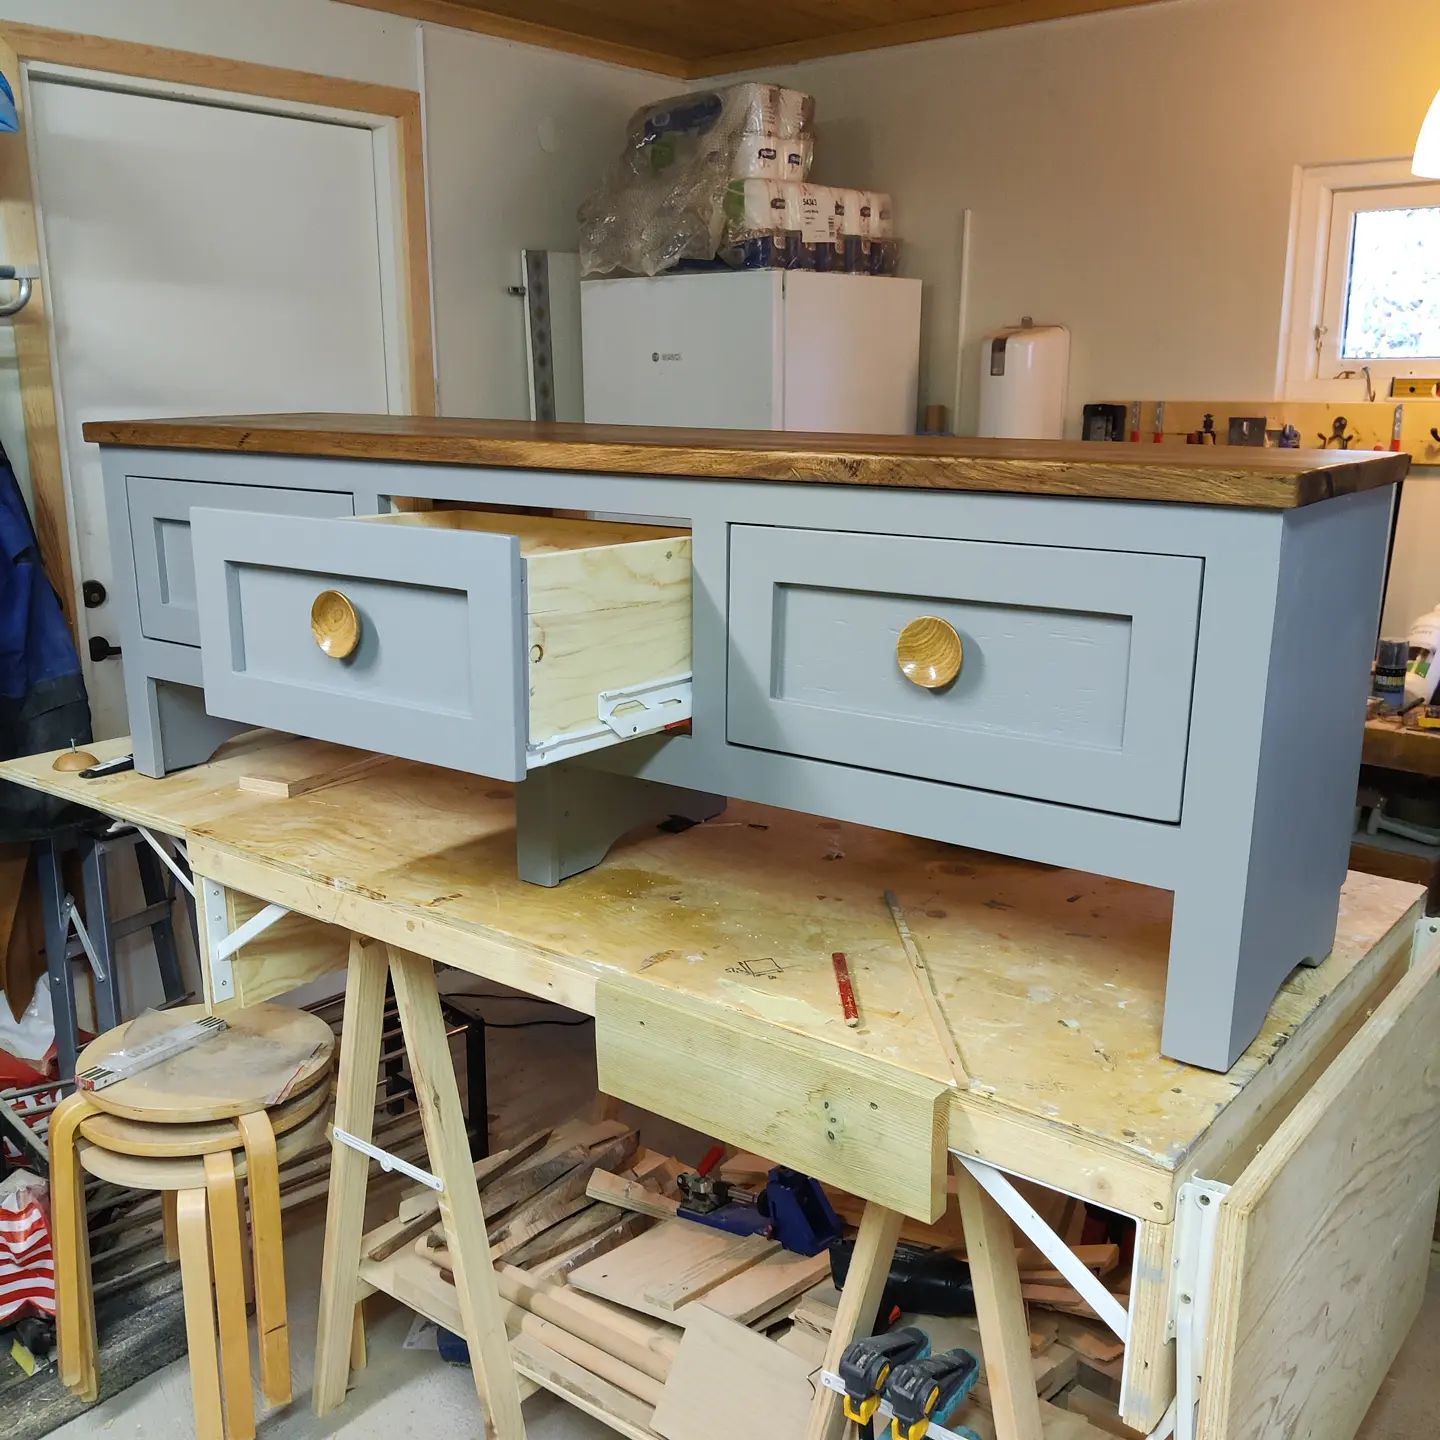
Modified mudroom bench - hall bench

Submitted by Anonymous (not verified) on Fri, 11/05/2021 - 09:18

Dear Ana White.,
First, I am a fan of your woodworkingand I follow you on YT. I like your approach to projects, making it simple and easy but still making very fine pieces that both are nice looking at and good for use.
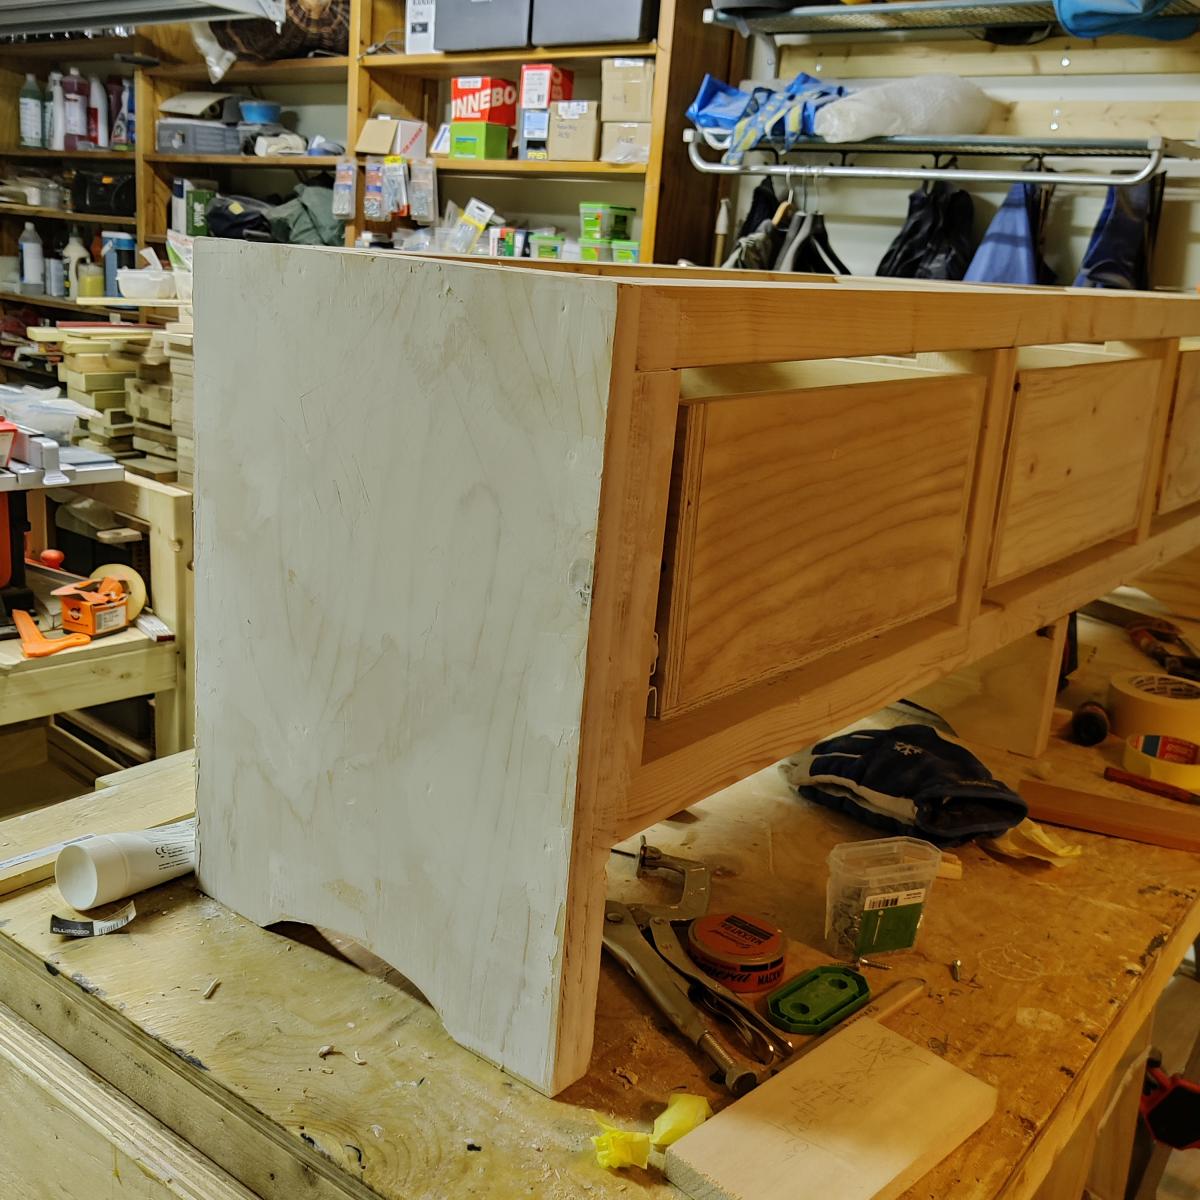
My former neighbor needed a bench in the hallway of her new apartment; with the desired measures (roughly) 5’x19-20”x18” (150x50x45 cm). And then I saw your mudroom bench on YouTube which inspired me building my own bench according to the general ideas from yours’. So, I made like a frame with 2x3”, then I let the plywood sides proceed down to the floor, leaving a space between the carcass and the floor of 15 cm (6”), for shoes. Three drawers and using a scrap bit as space block for the drawer slides it was not that hard to get them in place. The top sheet is a slab of massive oak that are sold as “shelf material” at our local store (Bauhaus, possibly the Swedish equivalent for home Depot?).
I think it turned out pretty well, and I am grateful for your work, inspiring me and making my own woodworking easier.
Best//Göran Redmo Tyresö, Stockholm Sweden

Built from Plan(s)

Comments

Planters

Submitted by Liz H. on Thu, 03/31/2011 - 11:33

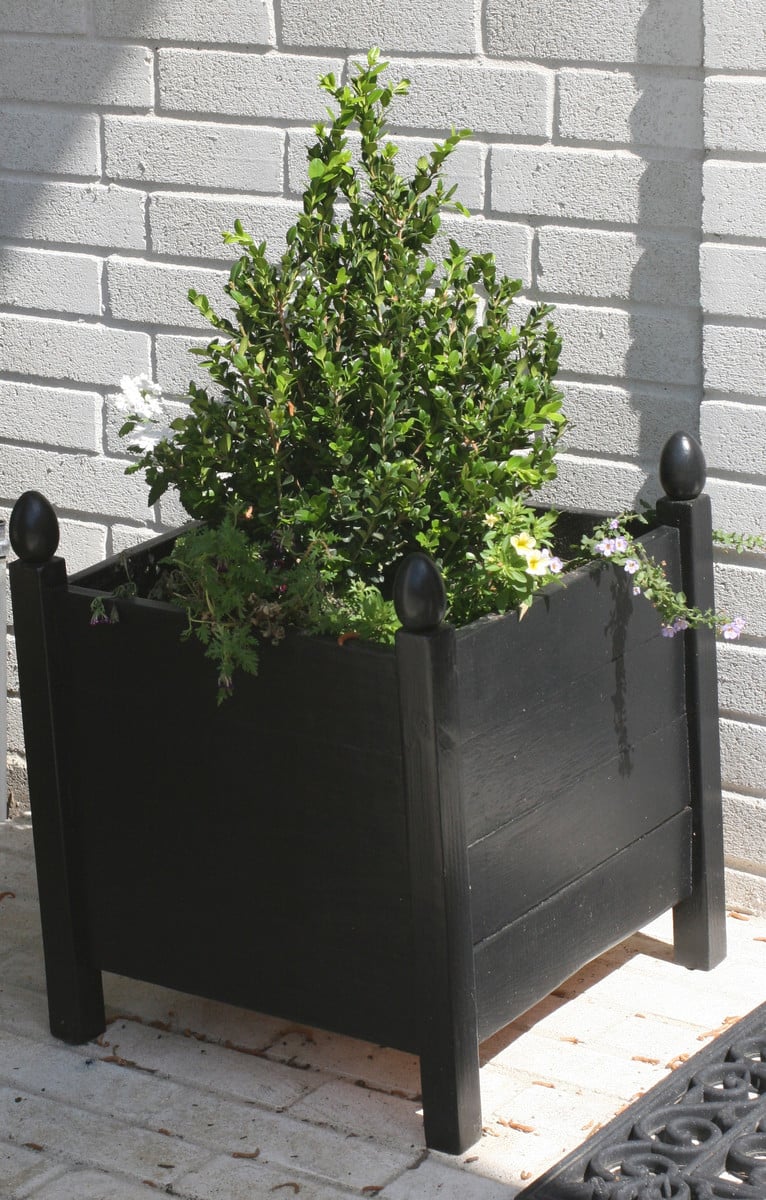
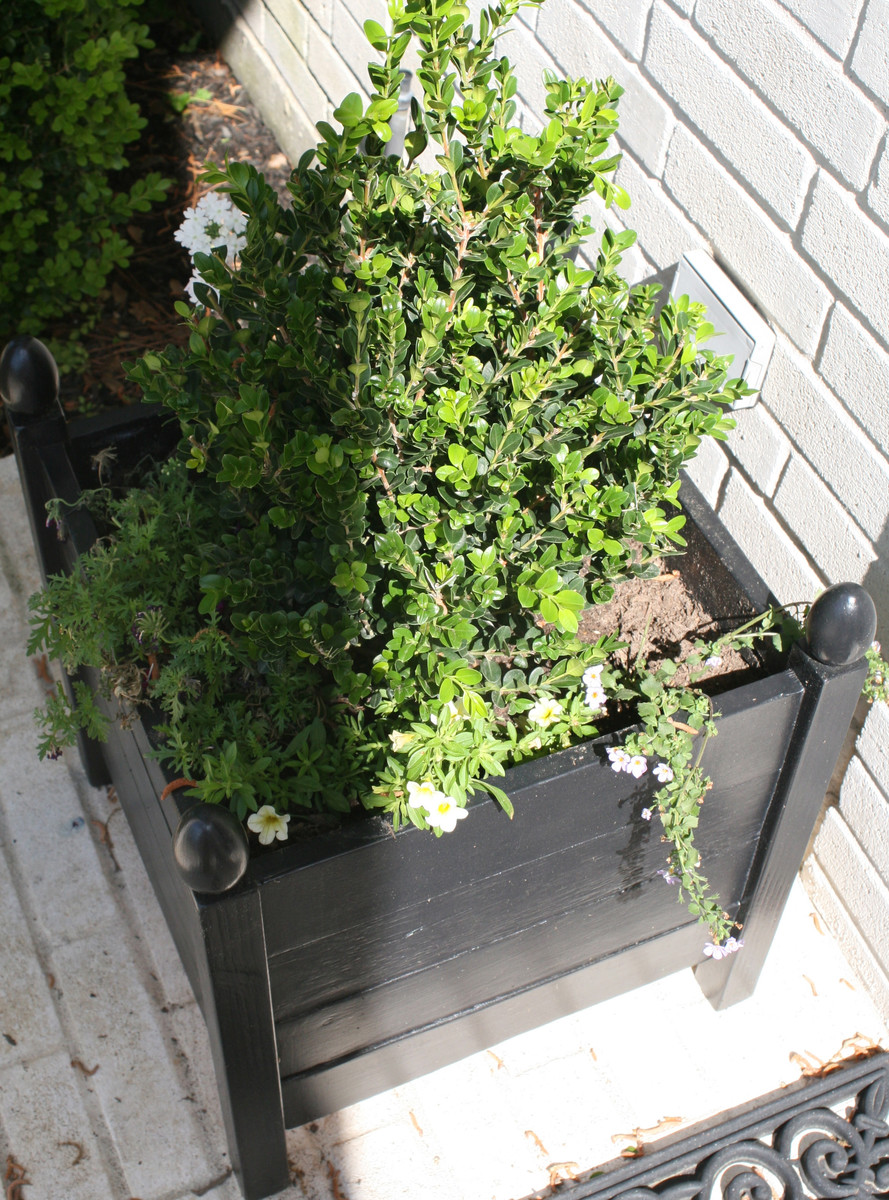
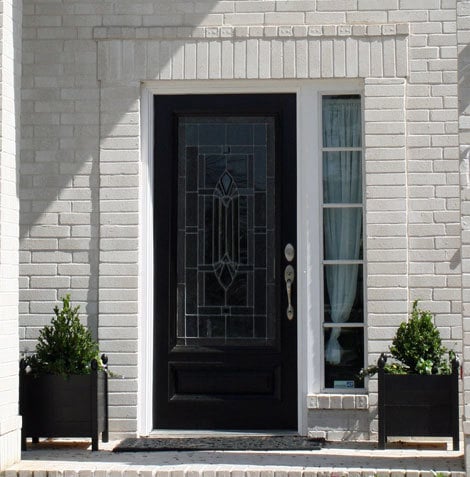
This was a fun easy build...I took the toy box plans and used 1X4s instead of solid sides and bottom.  I cut the legs short and put finals on.  

Estimated Cost
$25
Estimated Time Investment
Afternoon Project (3-6 Hours)
Finish Used
Black outdoor paint.
Recommended Skill Level
Starter Project

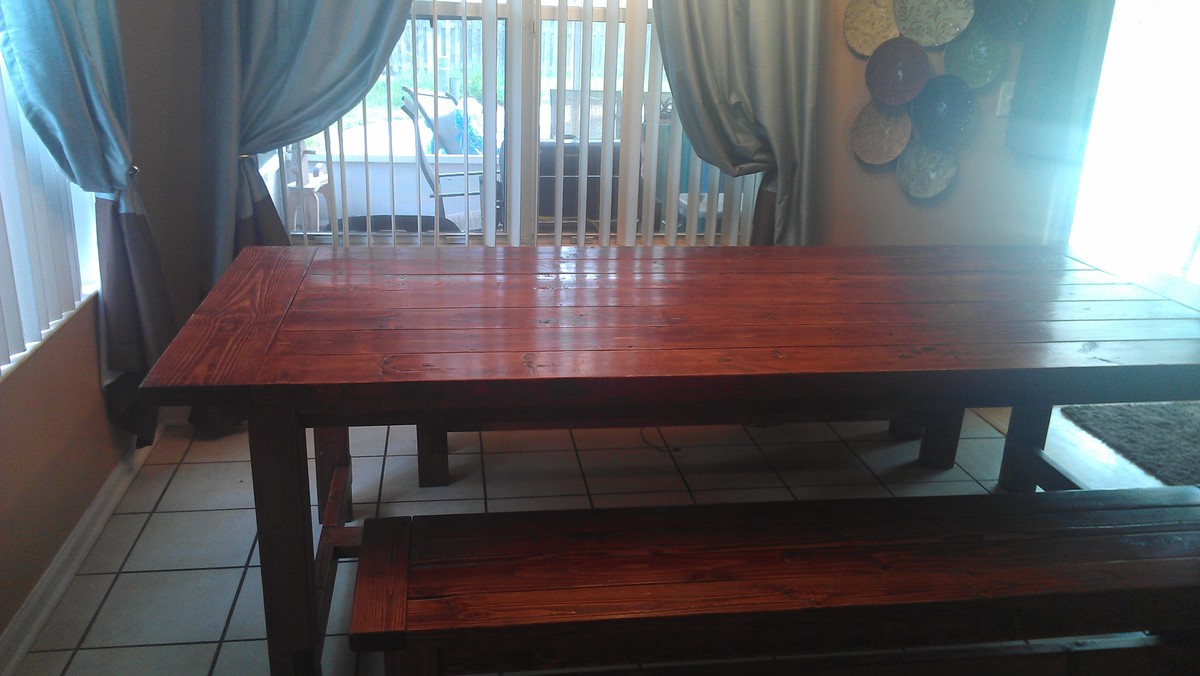
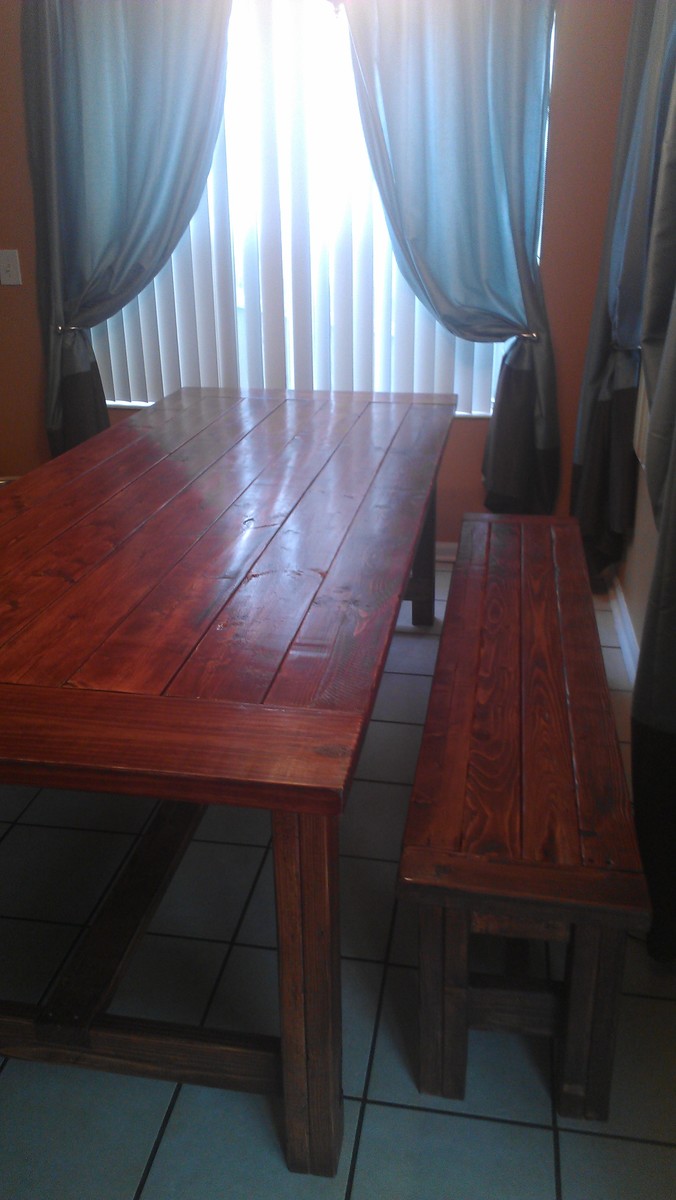
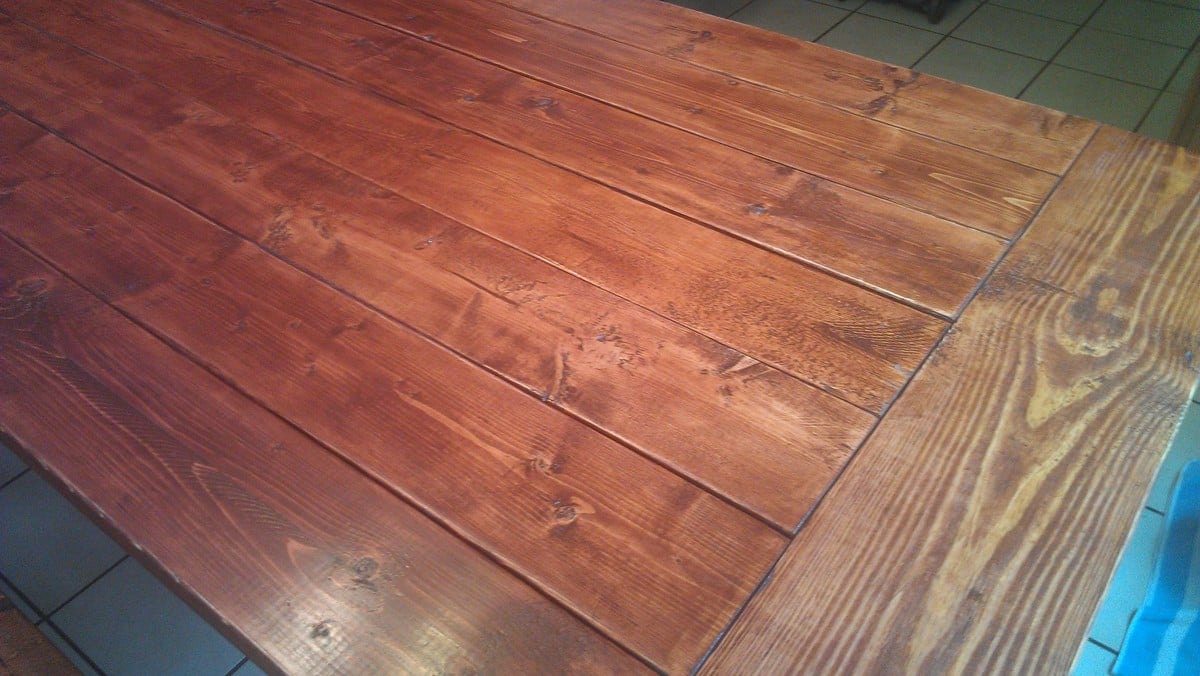
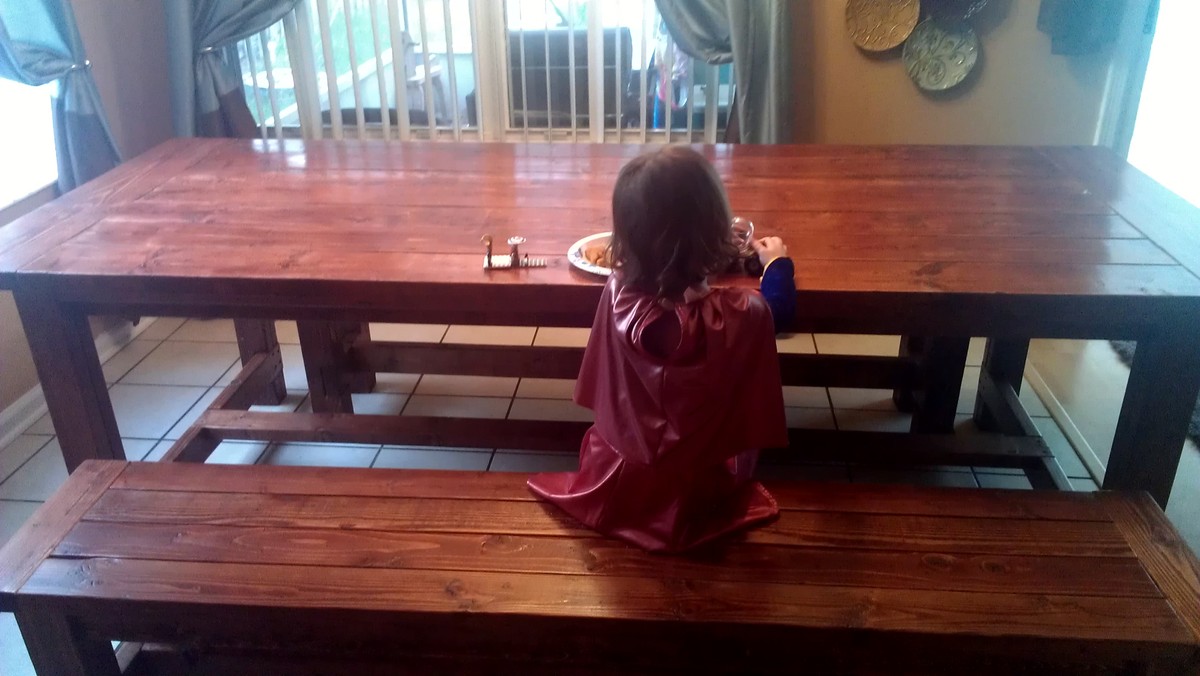
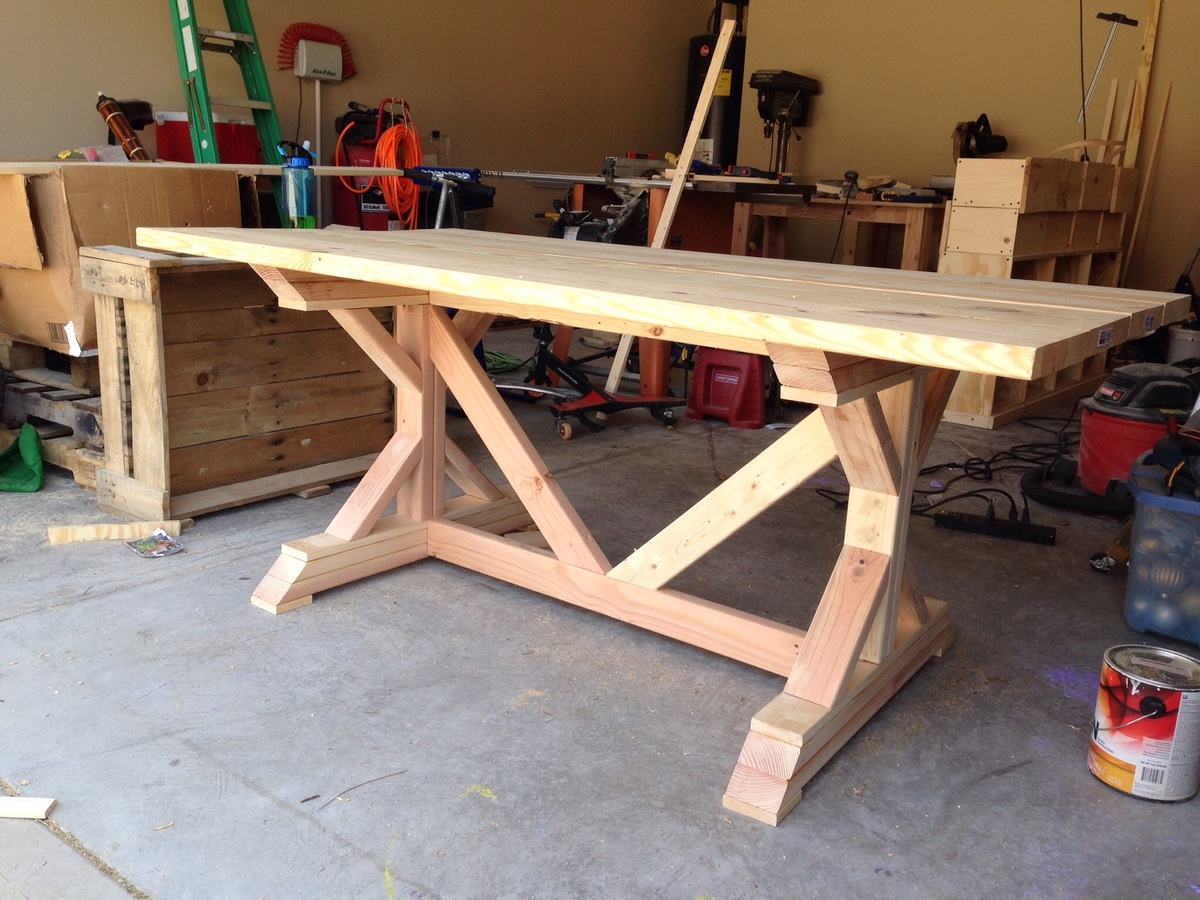
Farmhouse Table and benches

This is the first furniture building project that my husband and I have completed. It took us about 5 weekends to complete it- including finishing.

We started with the benches as recommended in some of the comments and ended up buying a pocket hole jig and redoing the tops of the benches before completing the table.

The stain is Minwax Red Chestnut and there are three coats of Minwax Fast Drying Polyurethane on it. We're so happy with it and can't wait to start the next project!

Estimated Cost
about $200
Estimated Time Investment
Week Long Project (20 Hours or More)
Finish Used
Minwax Red Chestnut stain- one coat
Minway Fast Drying Polyurethane in Semi Gloss
Recommended Skill Level
Beginner

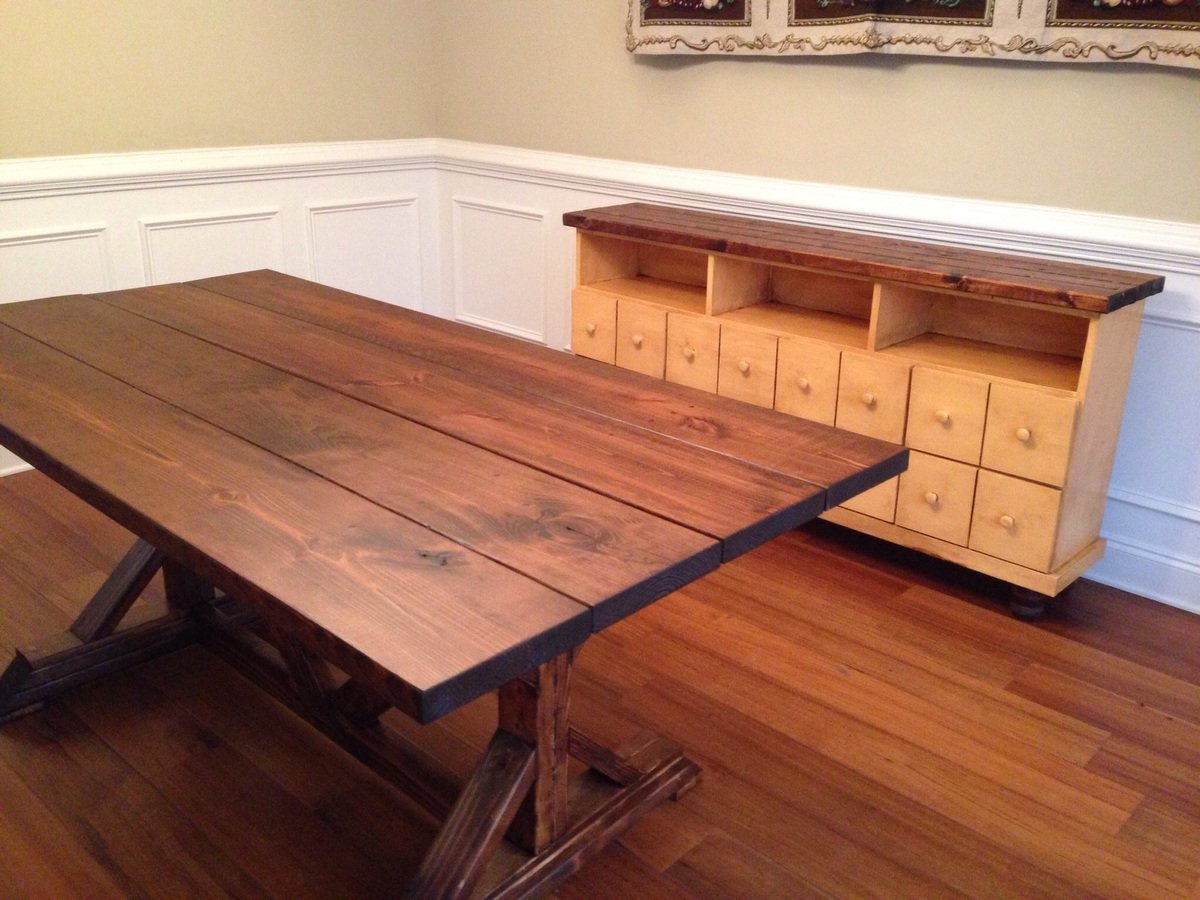
Built for my sister

Submitted by Diesel911 on Wed, 05/13/2015 - 11:45

Built for my sister. Because she liked mine so much :) I also built her an apothecary console to use as a side board in the dining room

Built from Plan(s)
Recommended Skill Level
Intermediate

Comments

Modern Adirondack Chair

Submitted by Sylka on Mon, 11/08/2021 - 15:39

What a great project! Simple and relatively easy. Very stylish chair!

Comments

Seasonal And Holiday

Farmhouse table & bench!

Submitted by jamie_C on Sun, 04/03/2011 - 19:42

This was quite the project- took us several weekends to finish (we don't have a garage or really any good working area- we rent.  Oh and we also have a toddler).  We assembled the table in the living room, stained it on our front sidewalk, did a couple coats of poly in the backyard, and finished the last coat of poly in the dining room!  (we know how heavy this table is, that's for sure!  We modified the original farmhouse table dimensions so that this table would fit in our oh-so-tiny dining room.  As you can tell, we also decided to build a bench to go with it.  We are extremely pleased with the results!

Estimated Cost
$125
Estimated Time Investment
Week Long Project (20 Hours or More)
Finish Used
Used wood filler on screw holes, and did LOTS of sanding. Used two coats of Cabot Early American stain. Followed by 3 coats of polyurethane, and 2 coats of Minwax Polycrylic on the table top.
Recommended Skill Level
Beginner

Hutch

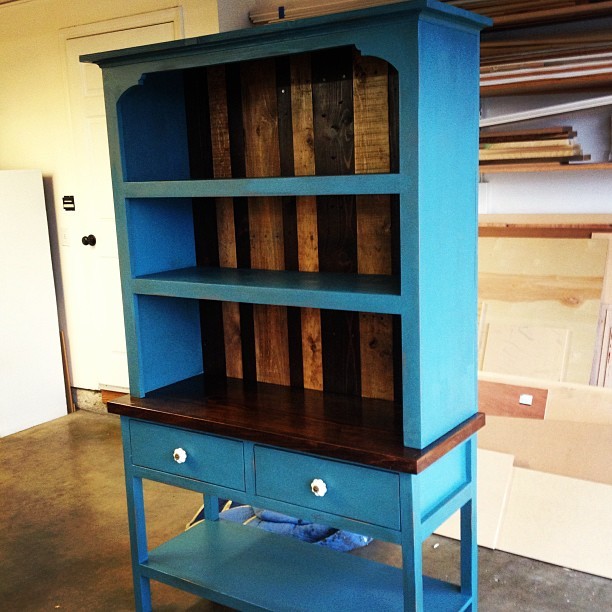
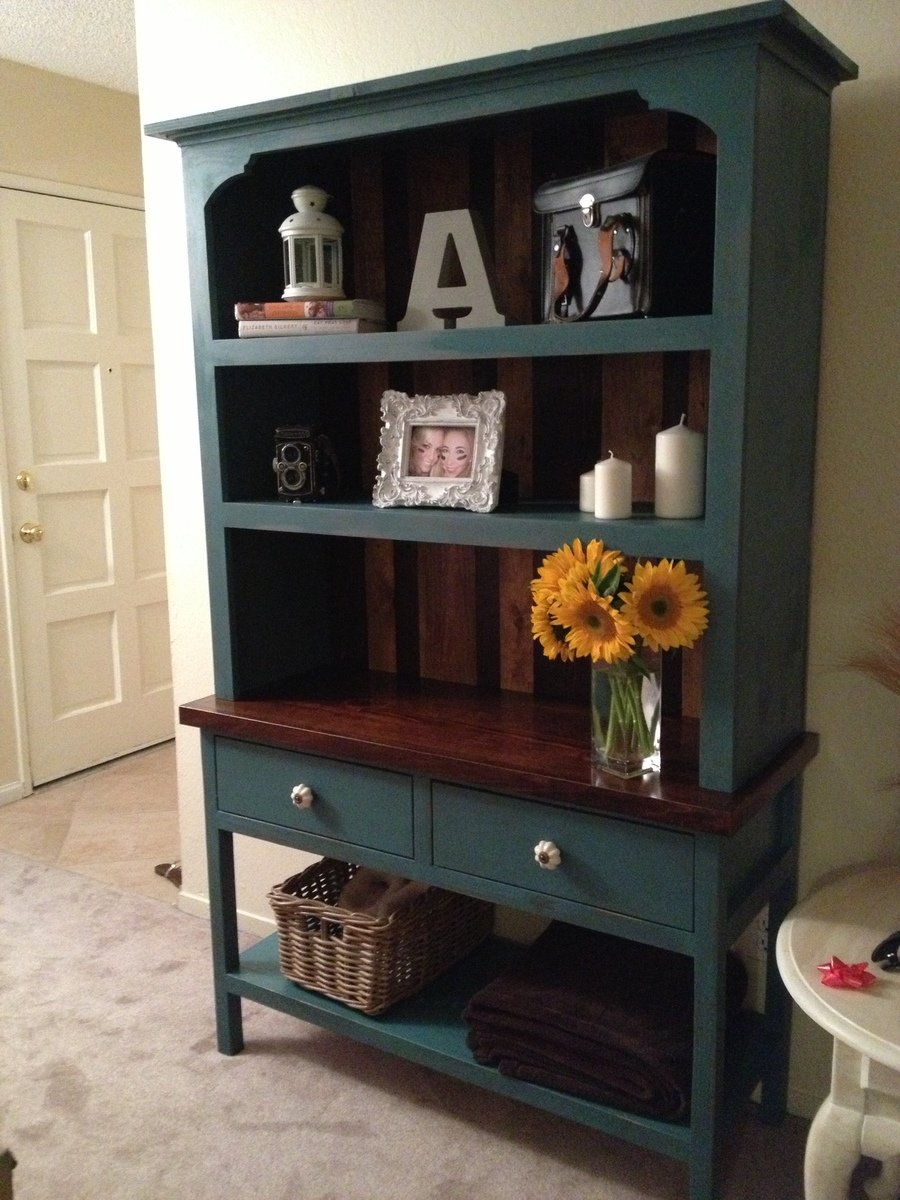
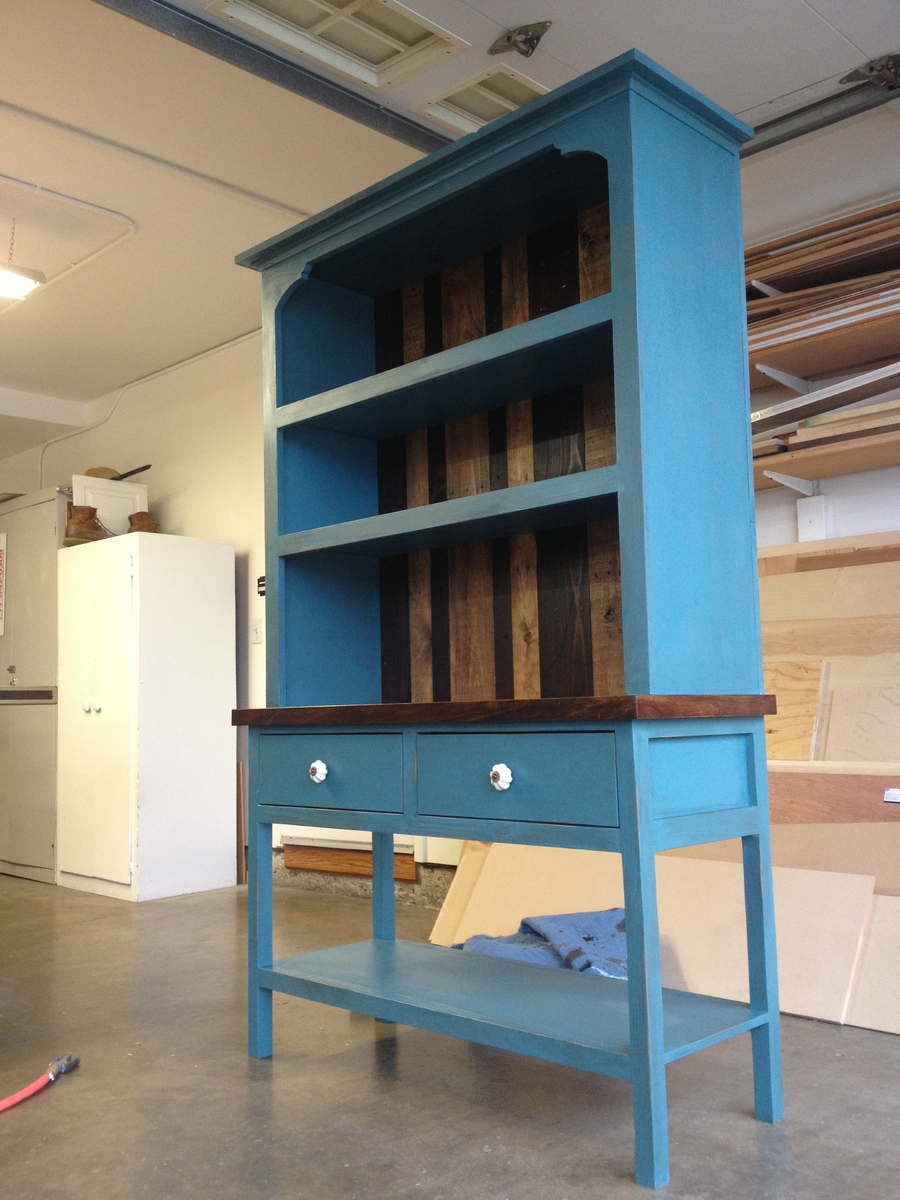
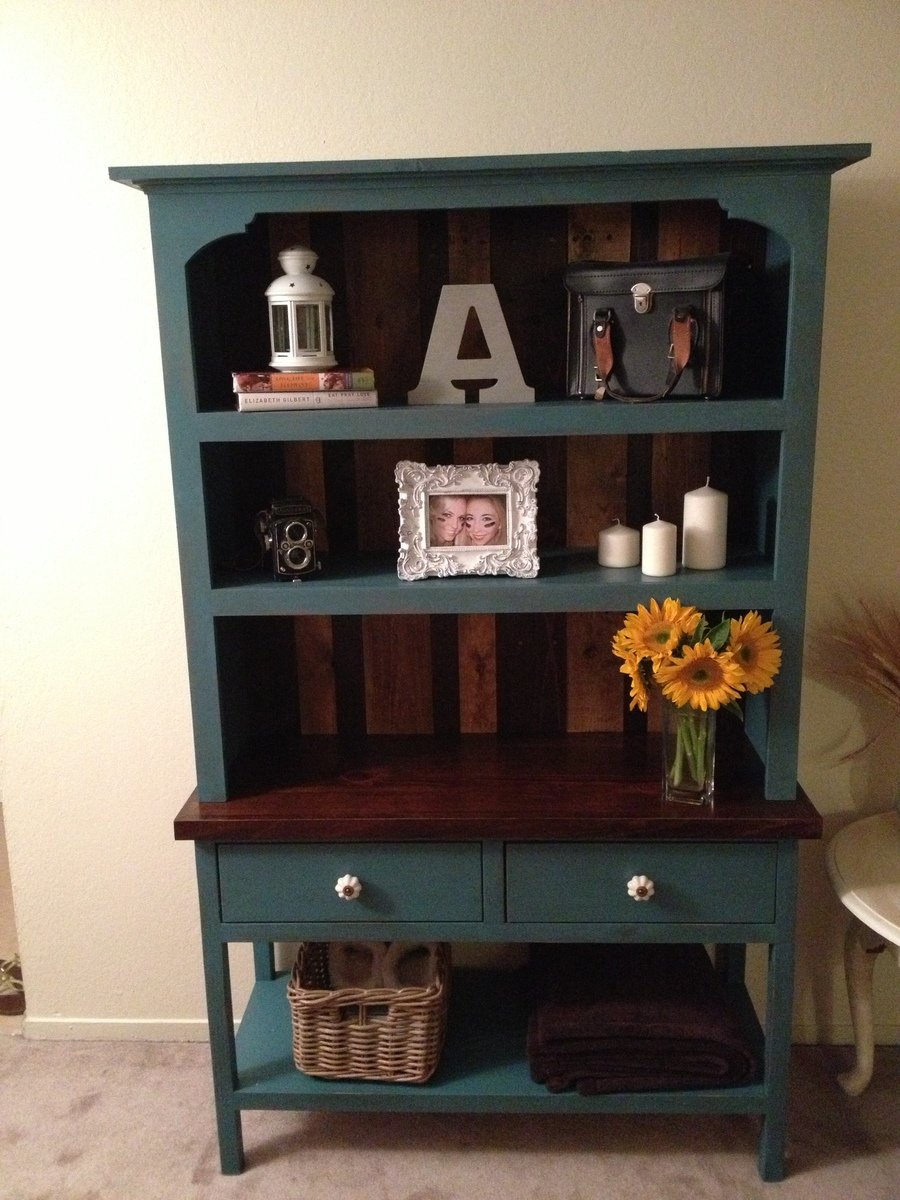
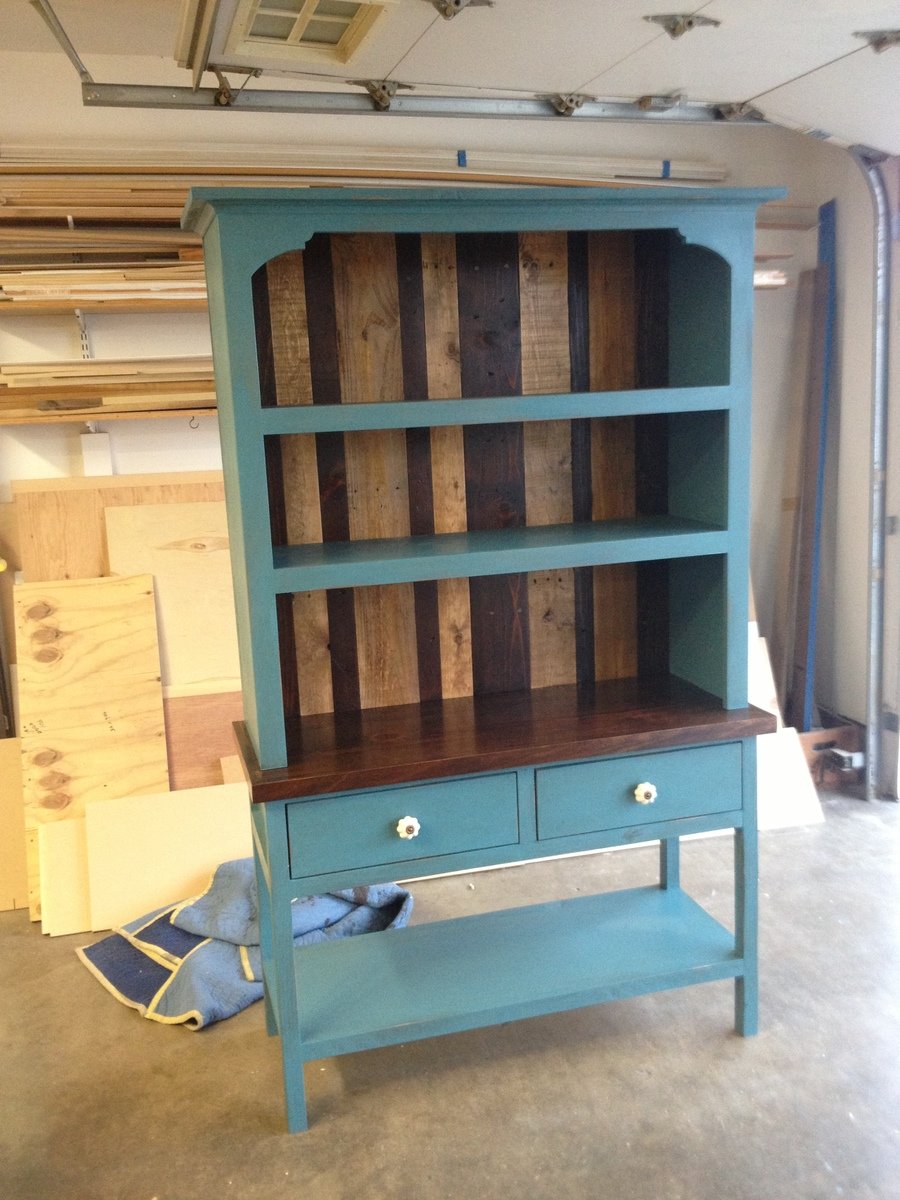
I built this hutch from Ana's book. I made a few modifications to the plans. The stained top and stained back planks are from reclaimed wood. If you build this hutch be sure to choose white knobs. I my opinion, its what makes those hutch pop. If anyone has any questions I would be happy to answer them. - Brad

Estimated Time Investment
Week Long Project (20 Hours or More)
Recommended Skill Level
Intermediate

Comments

mrsjones23

Tue, 10/28/2014 - 07:25

Hello! I am currently building this console table and hutch. At the moment, I am stuck on attaching the console legs to the side aprons. The legs are not sitting flush with the side aprons. Did you have this issue with your 2x2's when attaching them to the side aprons? If so, how did you fix this issue? The directions say to attach flush to the aprons but mine won't be flush on both sides, only one.

jwoelk

Sat, 07/25/2015 - 07:59

Where are the plans for this hutch? My wife wants this exact hutch for her birthday.

TeXas Kitchen Island

Submitted by Bandera89 on Sat, 05/16/2015 - 15:19

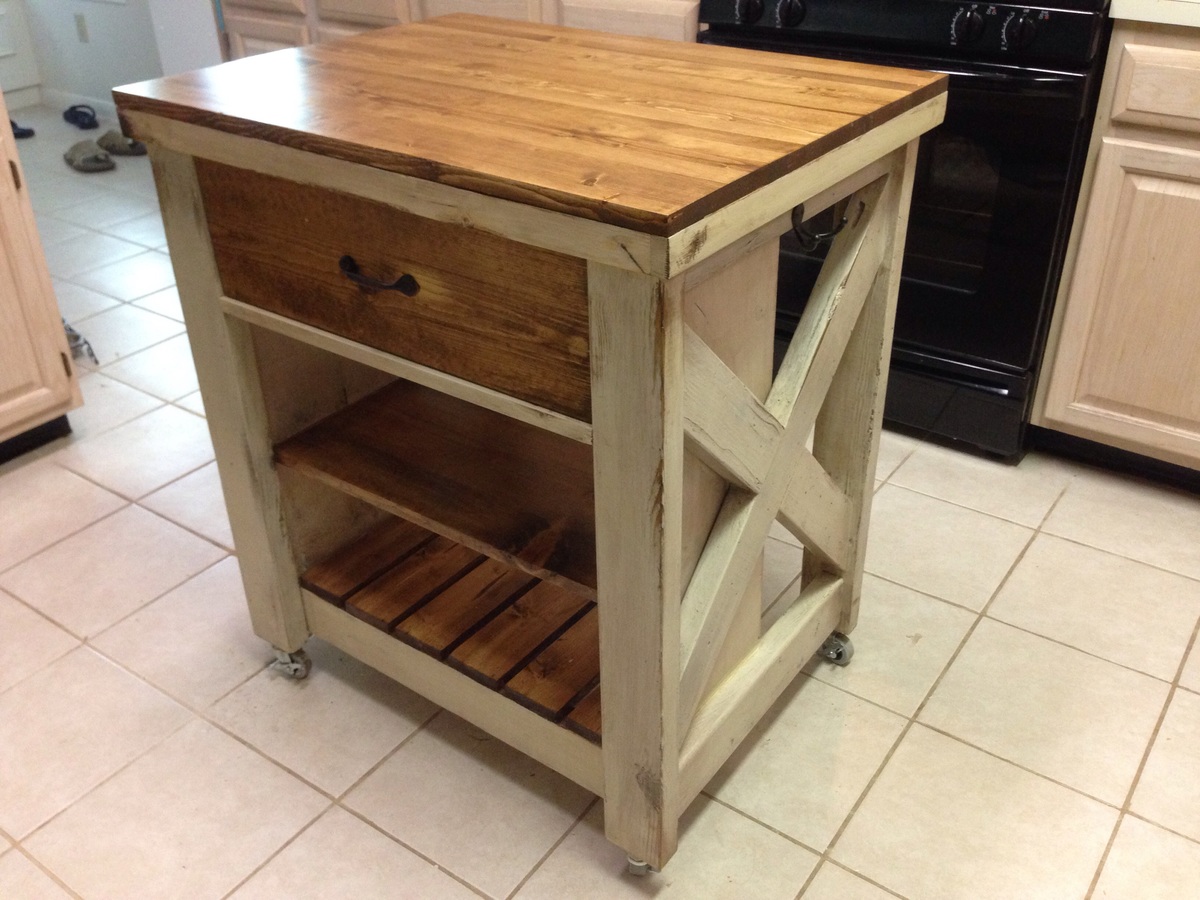
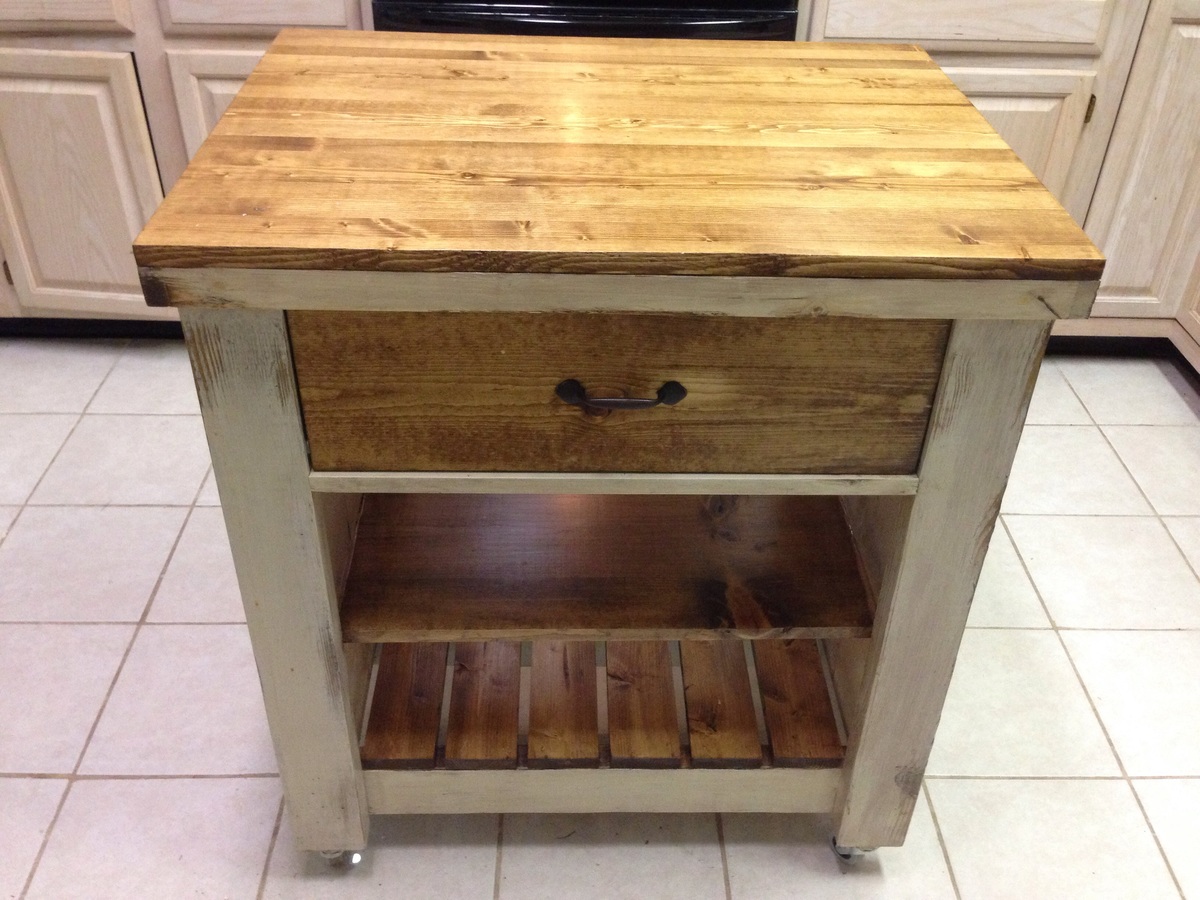
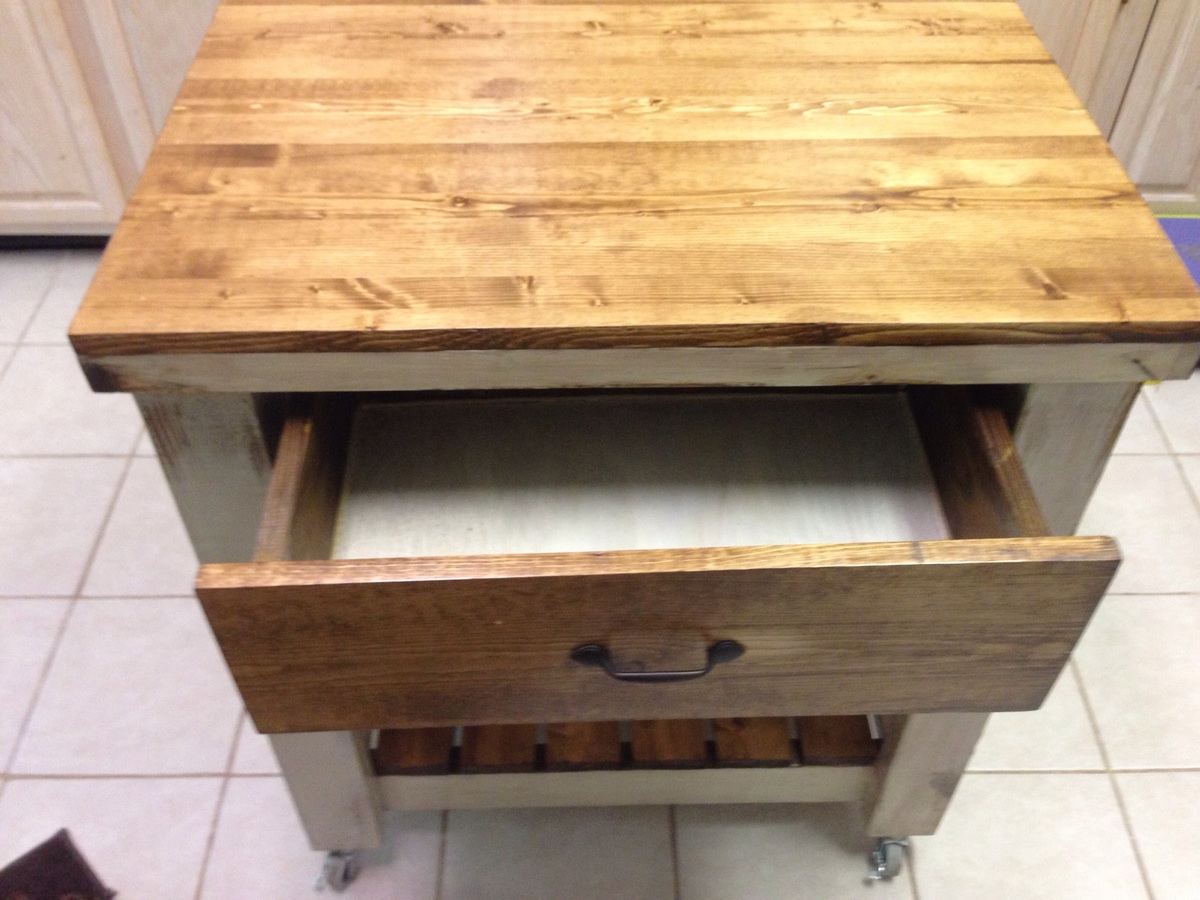
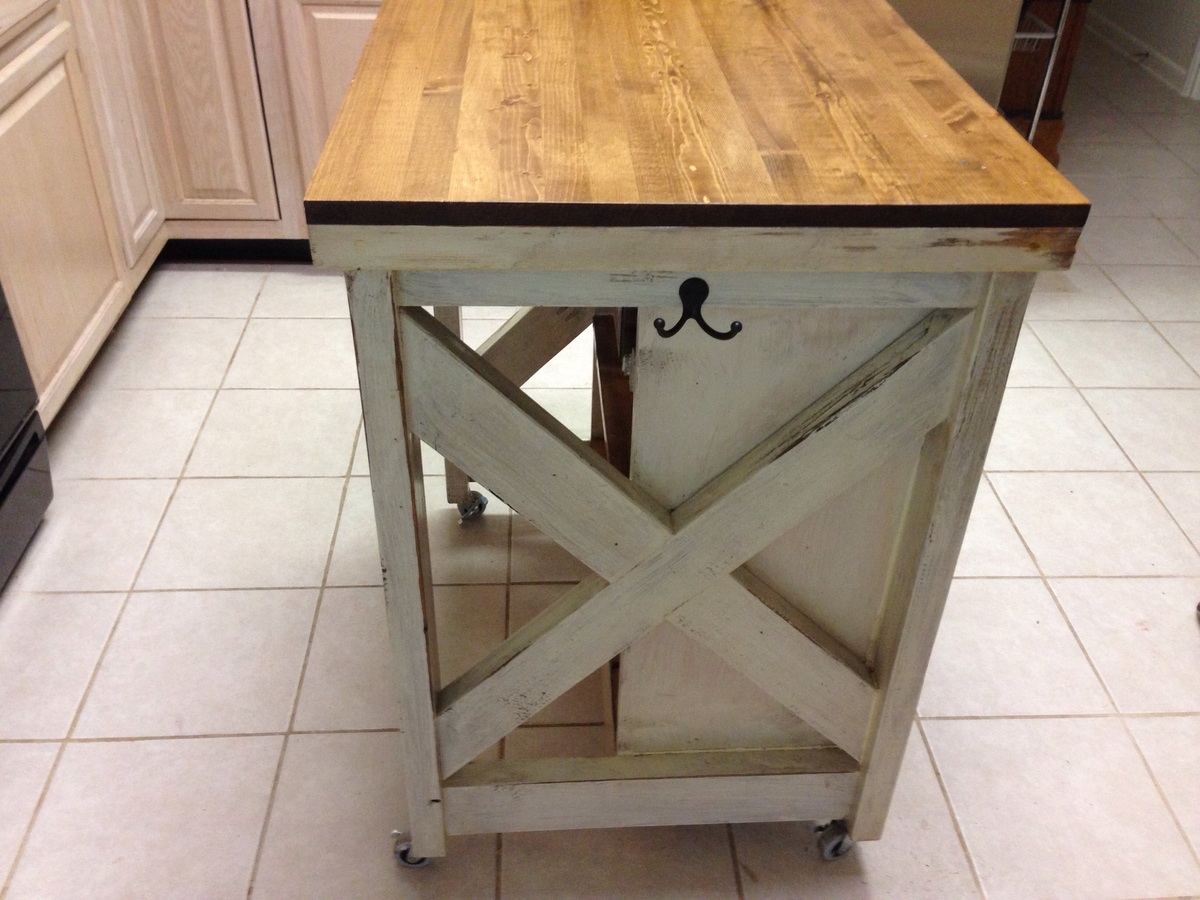
This kitchen island should be your next project. My wife wanted me to build an island for so long, but I never thought I had the skill to get it done. I can truly say this was only my second woodworking project and it was pretty simple. I learned a lot along the way and made a modification to the drawer rails. The key to my success was the Kreg jig. In the end it was a blast to build and I couldn't have done it without Ana's plans.

The rolling kitchen island is the central point of the kitchen now, even though we have 75'sf counter space to use. It seems to be used by everyone in the family whether it's getting something out of the fridge or using it for serving. Well worth the effort..

MODIFICATIONS: I made two small modifications to the project.
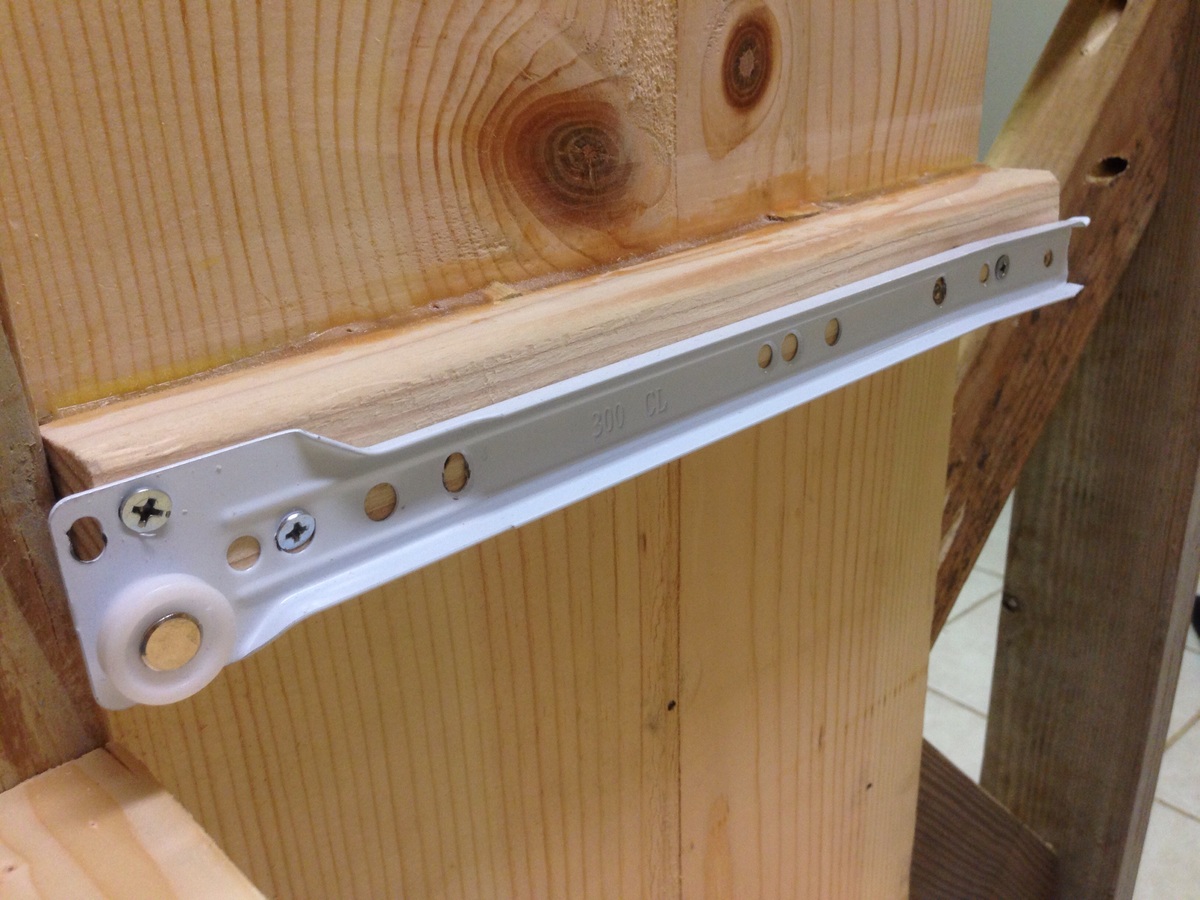
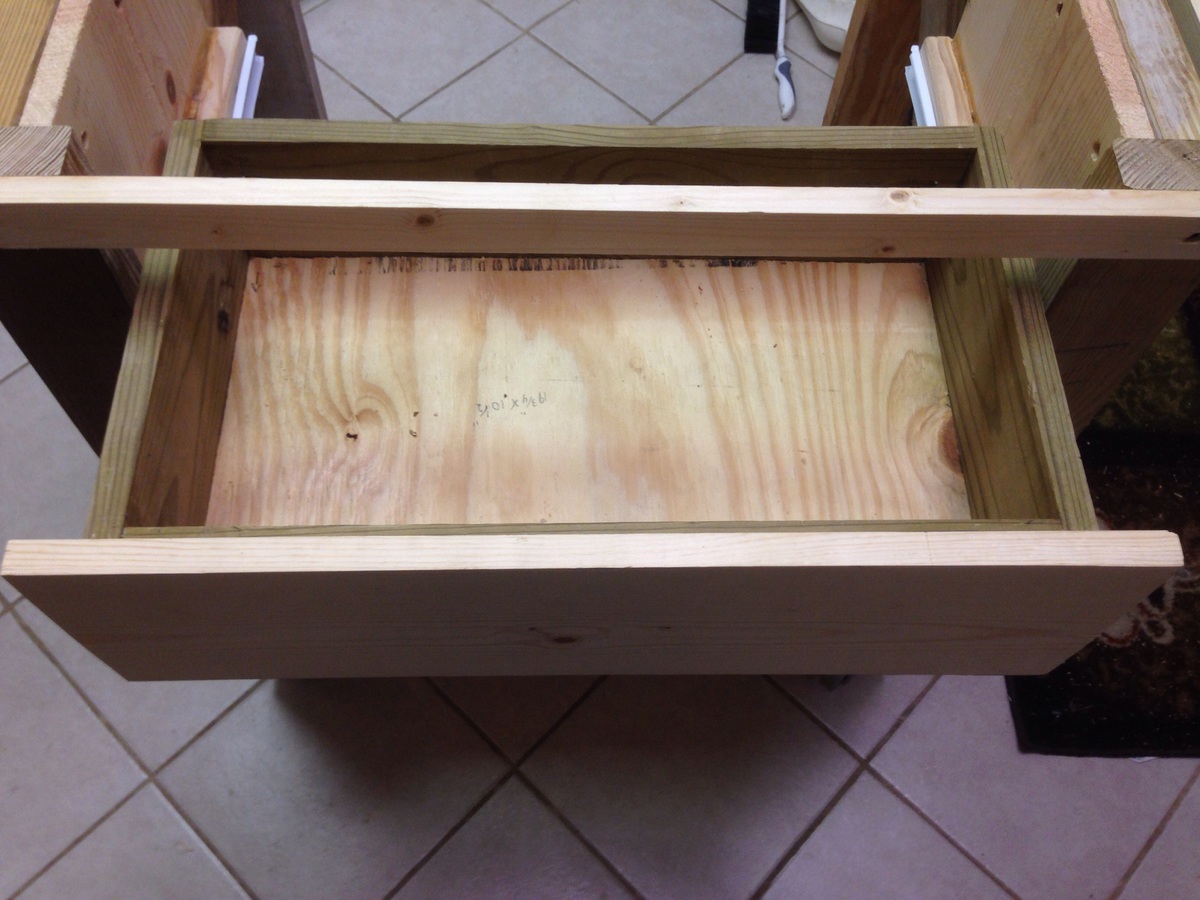
One was the casters. Instead of the plate casters I installed threaded stem casters with a T-nut in the bottom of the legs. The casters are adjustable so it's easy to keep level. The second mod was the drawers. I initially built the drawer with wood rails, but was not happy with the drawer falling to floor, if you pulled it out to far. Living in a humid climate, I could see the original rails swelling and then the drawer would be hard to operate. My solution was to add metal rolling sliders. I had to remove the 2 x 2's on inner cabinet and the 1 x 2s on the drawer itself. I added 1 x 2s on the inner cabinet, mounted 12" metal sliders ($5)) on the 1 x 2s and screwed the other half of slider on bottom of drawer. It may require a small shim behind sliders to make it fit perfect though. I provided photos of this mod. My drawer works perfect now. There is no dragging, no falling out and no wear.

Estimated Cost
$87
Estimated Time Investment
Weekend Project (10-20 Hours)
Finish Used
Stain: Minwax special walnut
Distressed finished:
Paint; Behr Ultra, Cream color, lightly sanded with spec. walnut stain over paint then 3 polyurethane coats. Top had 4 light coats of poly coat.
Recommended Skill Level
Intermediate

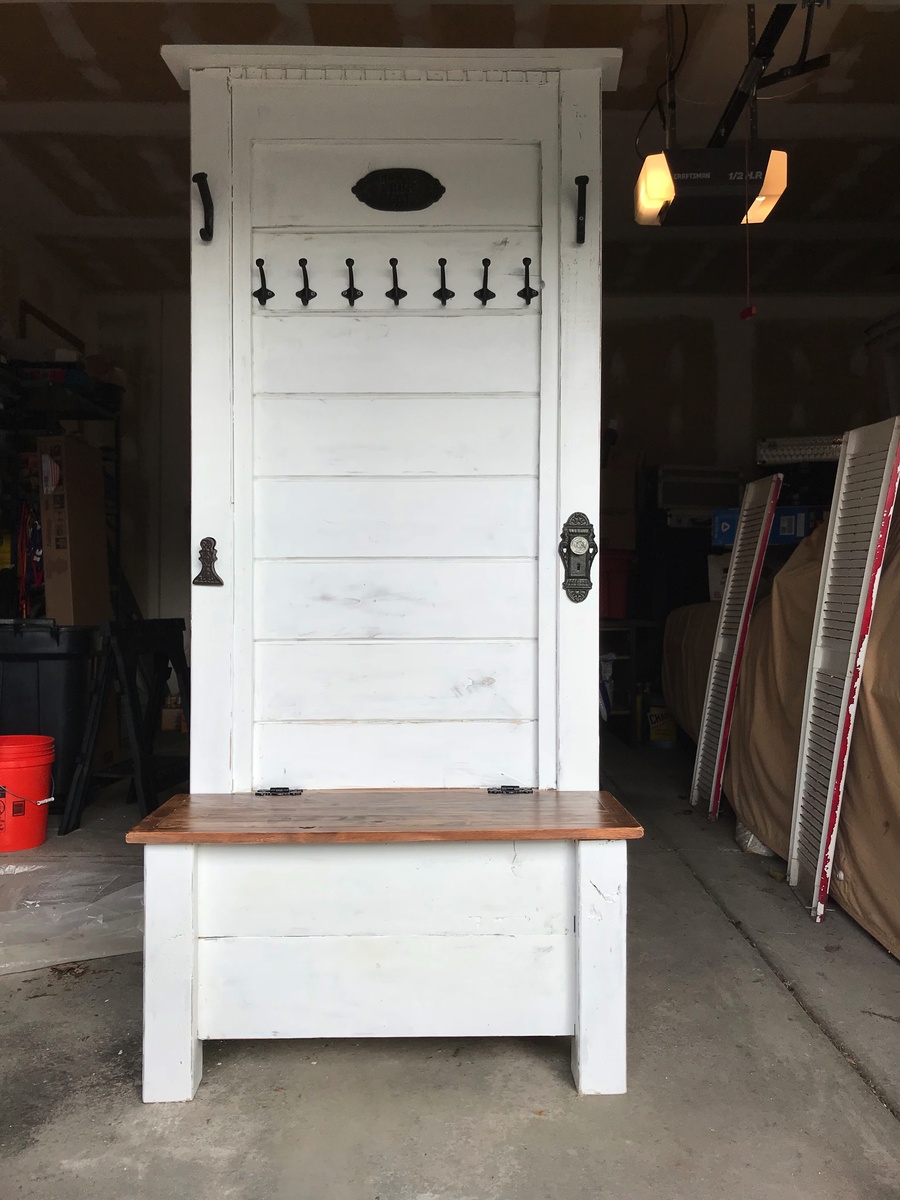
Hall Tree Storage Bench

Submitted by ScottyG on Sat, 12/02/2017 - 14:59

Hi Ana!  This project was pretty much inspired by ALL the great things you build on this site, as well as from watching a 'Fixer Upper' marathon (hence, the white color and shiplap).  Last Christmas, I promised my sister that I'd build her a hall tree since she's now up to 10 grandkids and needed more hooks for all those coats and hats.  Unfortunately, I also came down with a WICKED case of vertigo, so no power tools for yours truly. : (

Well...  The vertigo finally cleared up, so it was time to get out my trusty ol' Kreg Jig and fire up the tools.

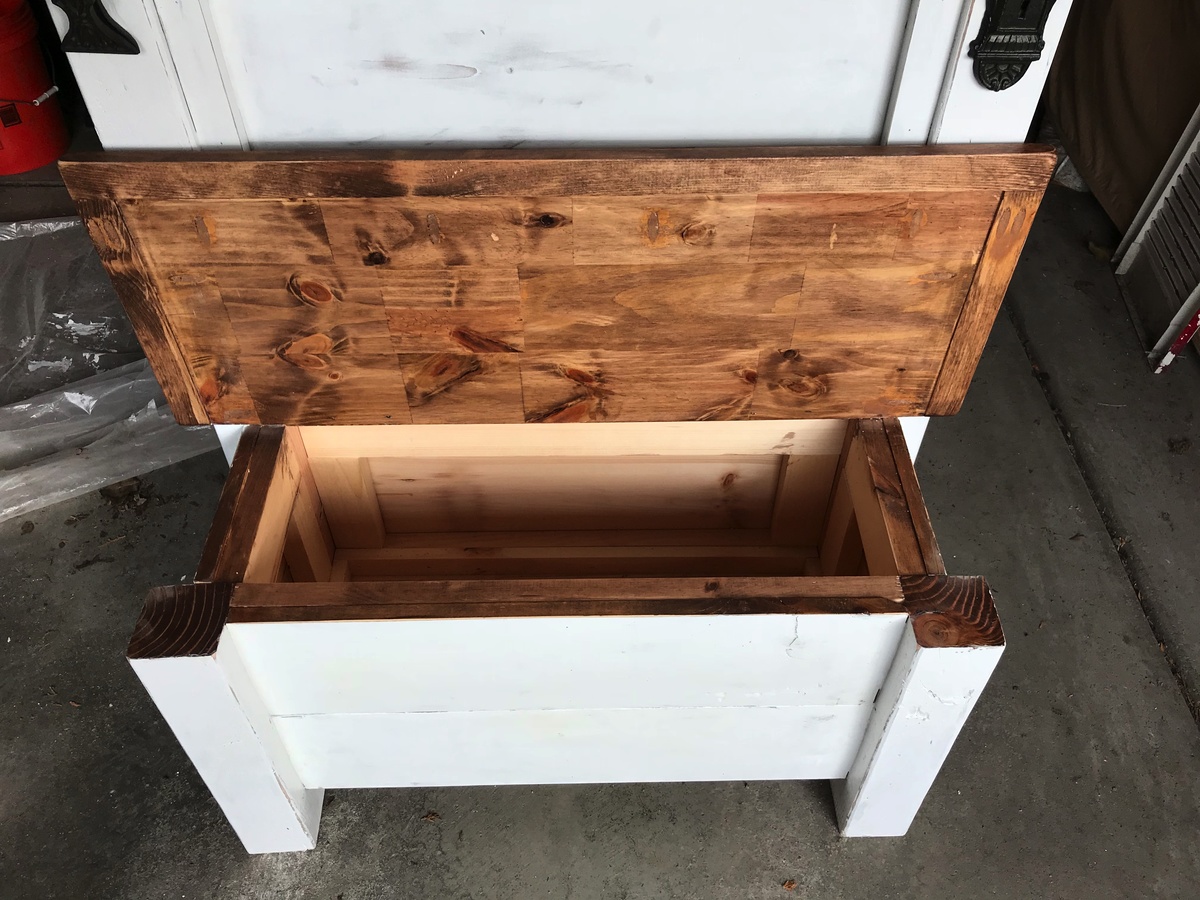
This project started with 2 4x4s.  I cut 17 1/2" off each, then used the long pieces as the back and the sort pieces as the front legs.  Then I built a rectangle (shored up by some cross supports) out of 2x3s and used those to attach the back legs together with pocket holes.  I did the same thing with the 2 front legs, then attached the 2 sets of legs together with shorter pieces of 2x3s that framed up the side.

Next, I added a front to back support to the underside, and then attached the bottom of the seat on top of that.  I built the front, back, and side pieces of the bench section by cutting a couple of 8' x 8" x .5" planks to size, and attached 2 pieces to each side by gluing and nailing them to the frame.   Then, I rans some shiplap up the back (glued and nailed to the back frame) and topped it all off with a mantle.

For the seat, I used a 12" project board ($11 at Lowes for a 6 foot section) because I love all the knotty details and nail marks.  I framed it out with 1x1 and attached with pocket screws on the underside.  I finished that piece by staining it in Rustoleum Dark Walnut.

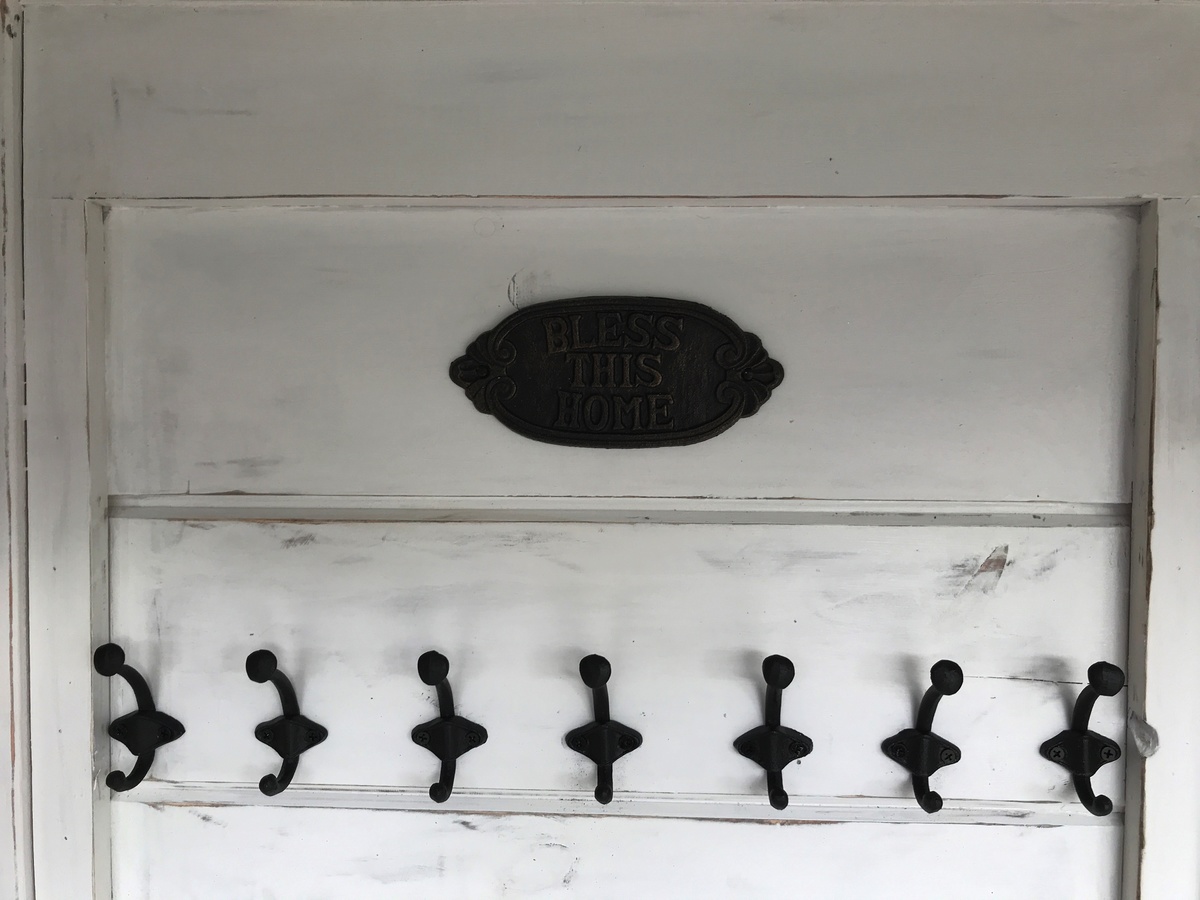
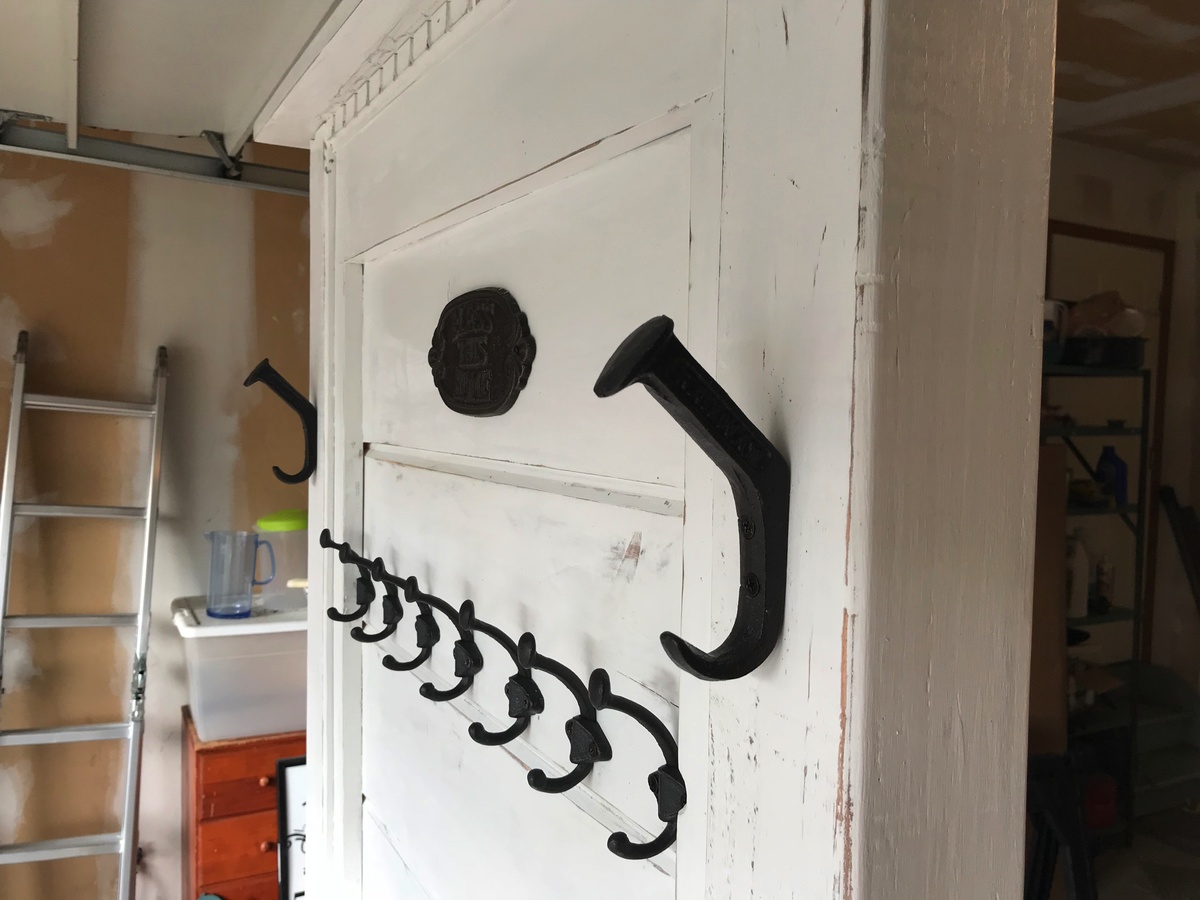
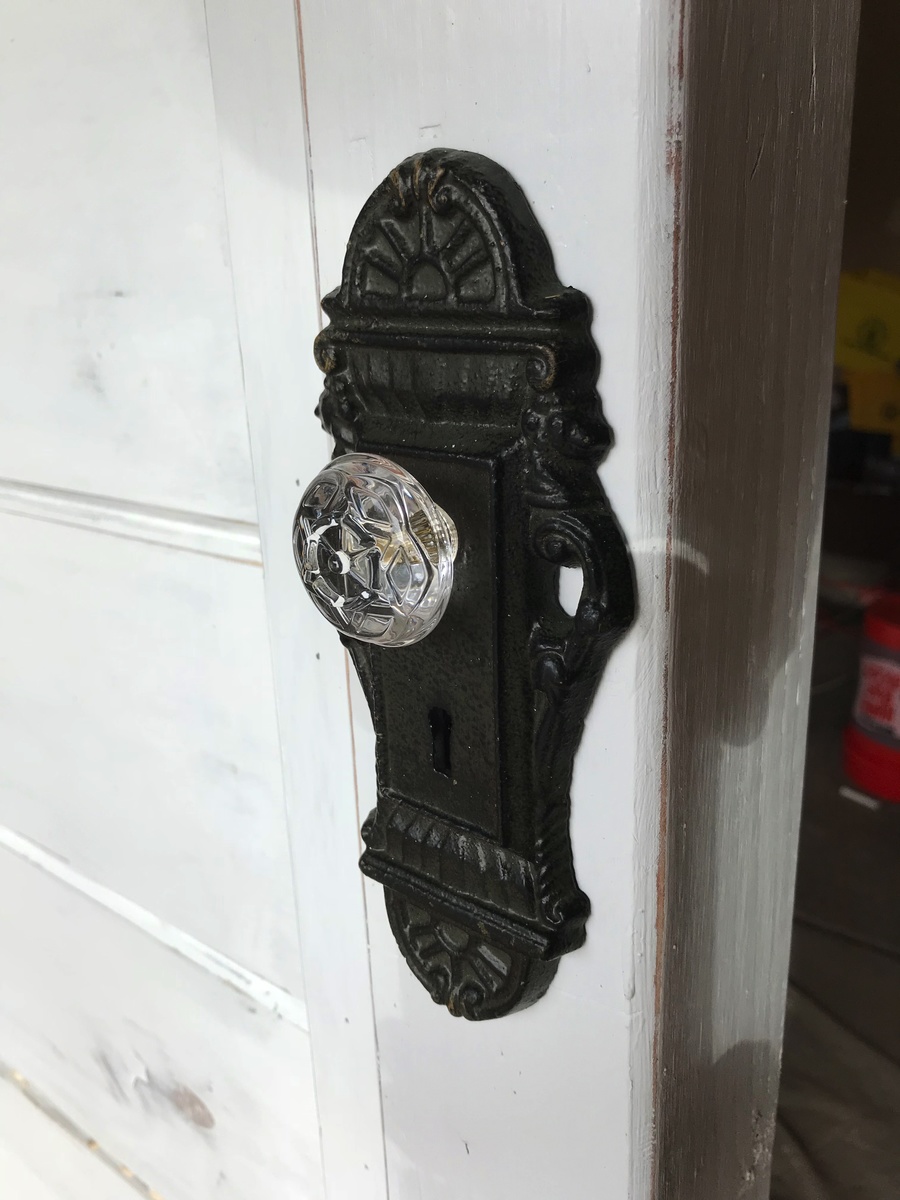
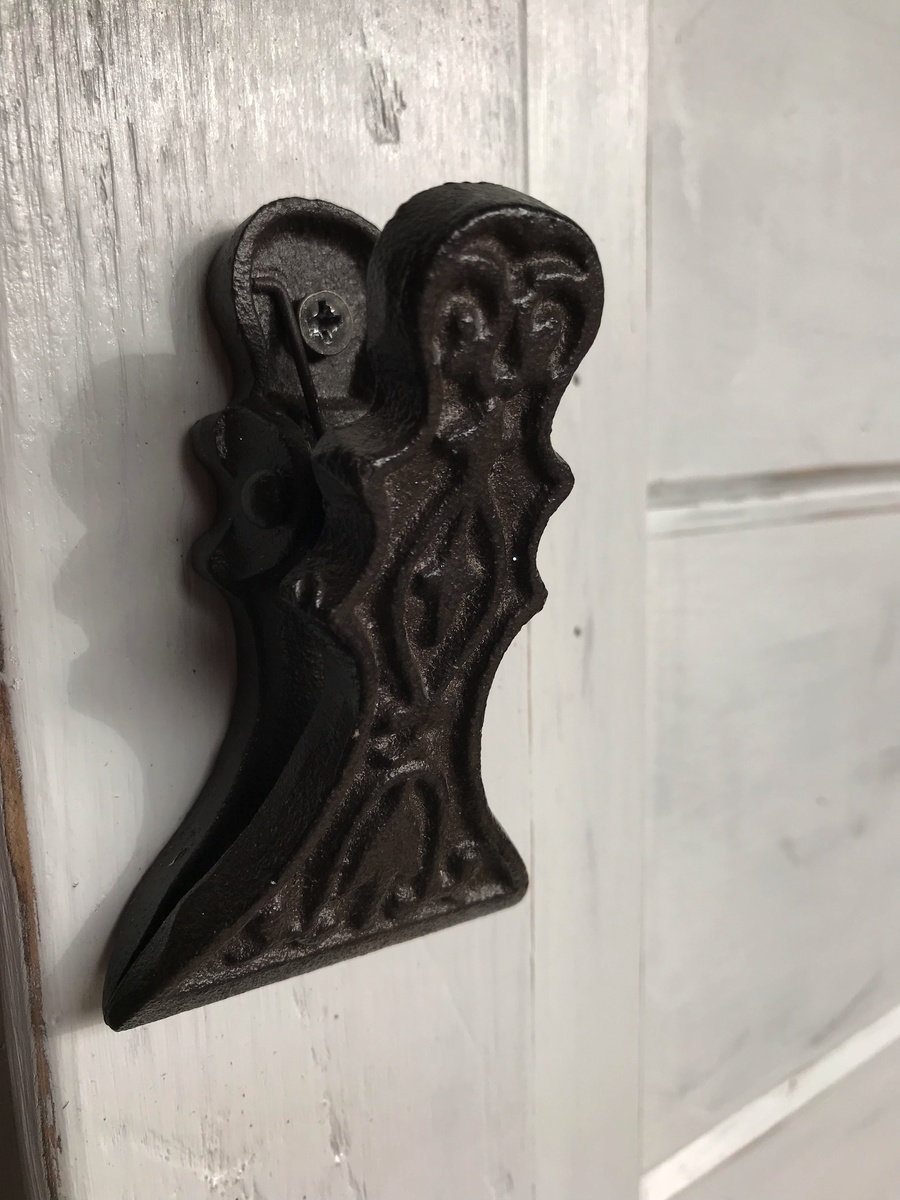
As for the rest, I just framed the shiplap section with leftover 1x1s, then sanded and stained the whole piece with the same Dark Walnut stain (so that something would show through after distressing).  Finally, I applied 2 coats of Rustoleum Linen White Chalk Paint (LOVE that stuff!), distressed it, and topped with one coat of Minwax 1 Coat Poly (ALSO love that stuff), and added some hardware and country do dads from Hobby Lobby (Rustic Hooks, 'Bless This Home' Sign, Decorative Doorknob, and "Mitten Clip" for wet mittens and gloves coming off little hands) .  What do you think?  ヅ
Estimated Cost
About $100
Estimated Time Investment
Weekend Project (10-20 Hours)
Finish Used
Rustoleum Dark Walnut Stain (Bench Seat), Rustoleum Linen White Chalk Paint (Rest of project), sealed with Minwax 1 coat poly.
Recommended Skill Level
Intermediate

Easy Clip Art Rails

Submitted by MeghanAnn on Tue, 04/05/2011 - 05:37

I had been holding onto some Martha Stewart Alphabet Cards since my, now 3 year old, son was a baby.  Some of them had been drawn on : ) so I couldn't hang up the alphabet, but I got creative with spelling some words out instead.  I am so thankful for Anna's plans, I finally found a way to hang these without buying a lot of picture frames!  My son loves them, and hangs his paintings and photos often.

Built from Plan(s)
Finish Used
Luscious Green spray paint by Valspar at Lowes.
Recommended Skill Level
Starter Project

Princess Castle bed with storage

Submitted by bbcarey on Tue, 06/25/2013 - 12:36

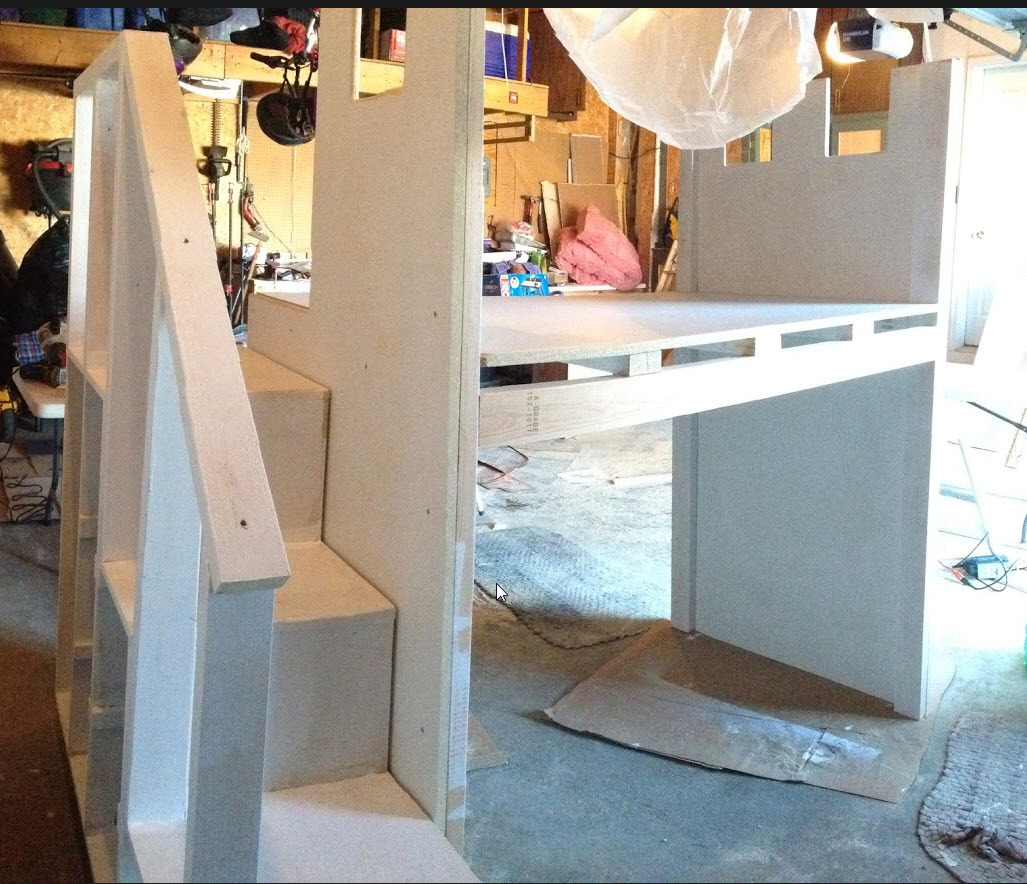
Our daughter has a very small room. She also LOVES disney princesses. So I wanted to build her a princess castle bed.... but how do you fit a castle bed in a 9x11 bedroom?

There were some plans on Ana's site (good plans), and others on-line. But many of these plans had the bed on the TOP of the castle, and we were concerned with her trying to make her way down if she needed to in the middle of the night.

She also loves her Disney princess canopy bed that she has now... so if I could somehow build the castle around that bed, we'd be set. Which is exactly what we did.

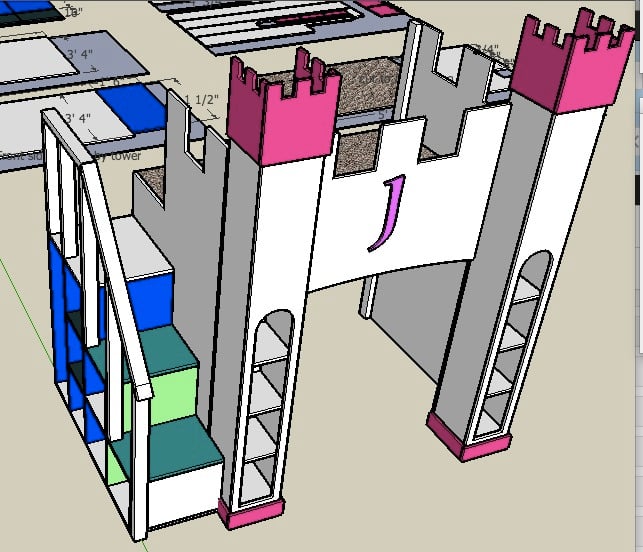
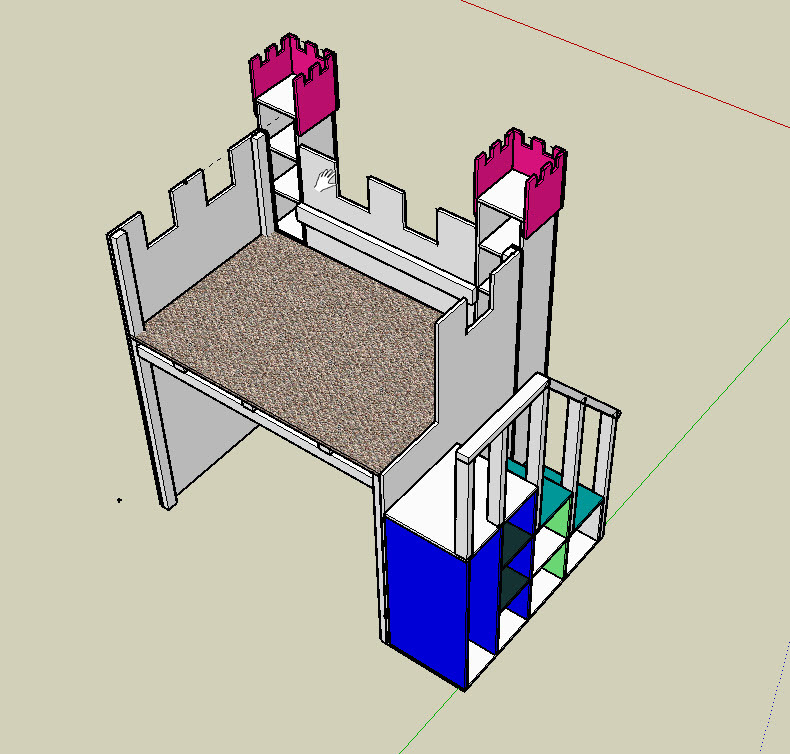
I reviewed several pictures online, and then designed this bed with Sketchup (I LOVE that tool).

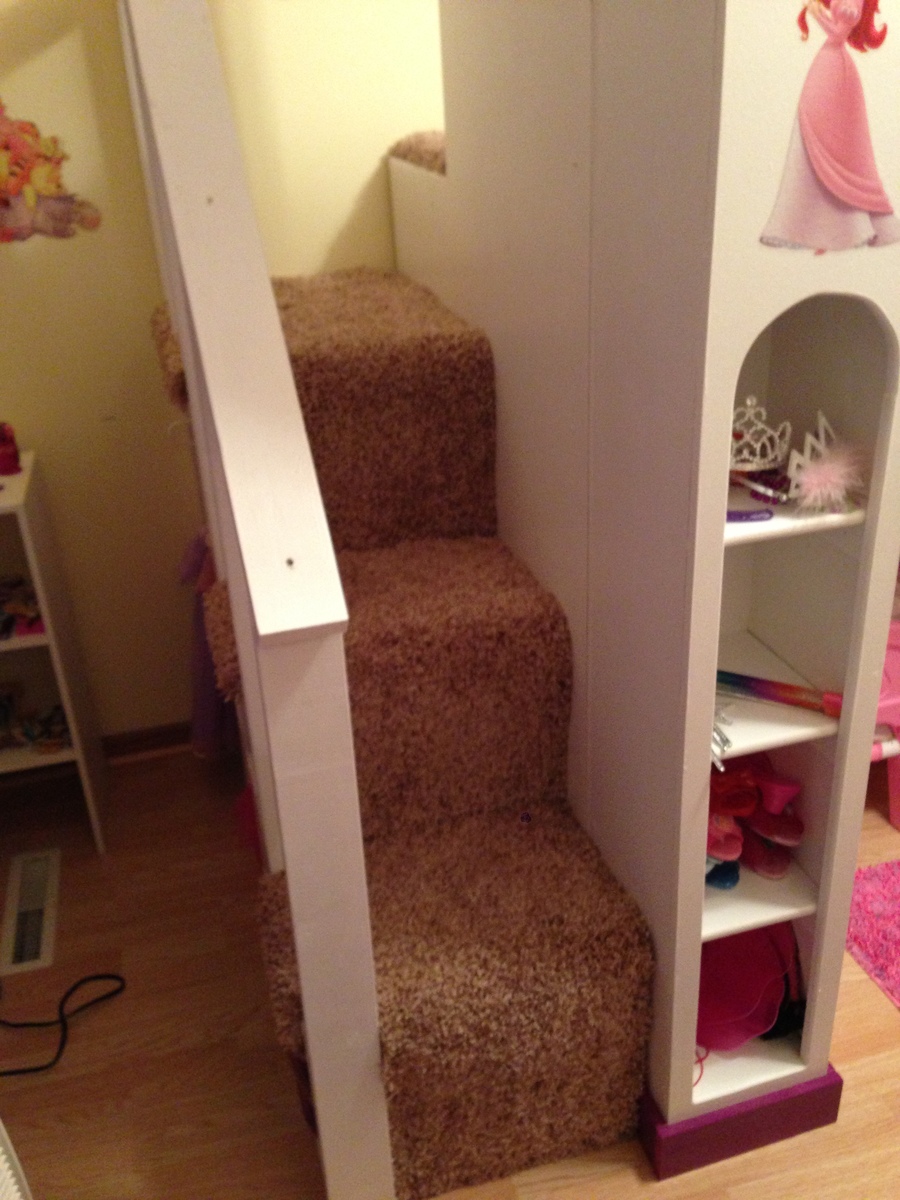
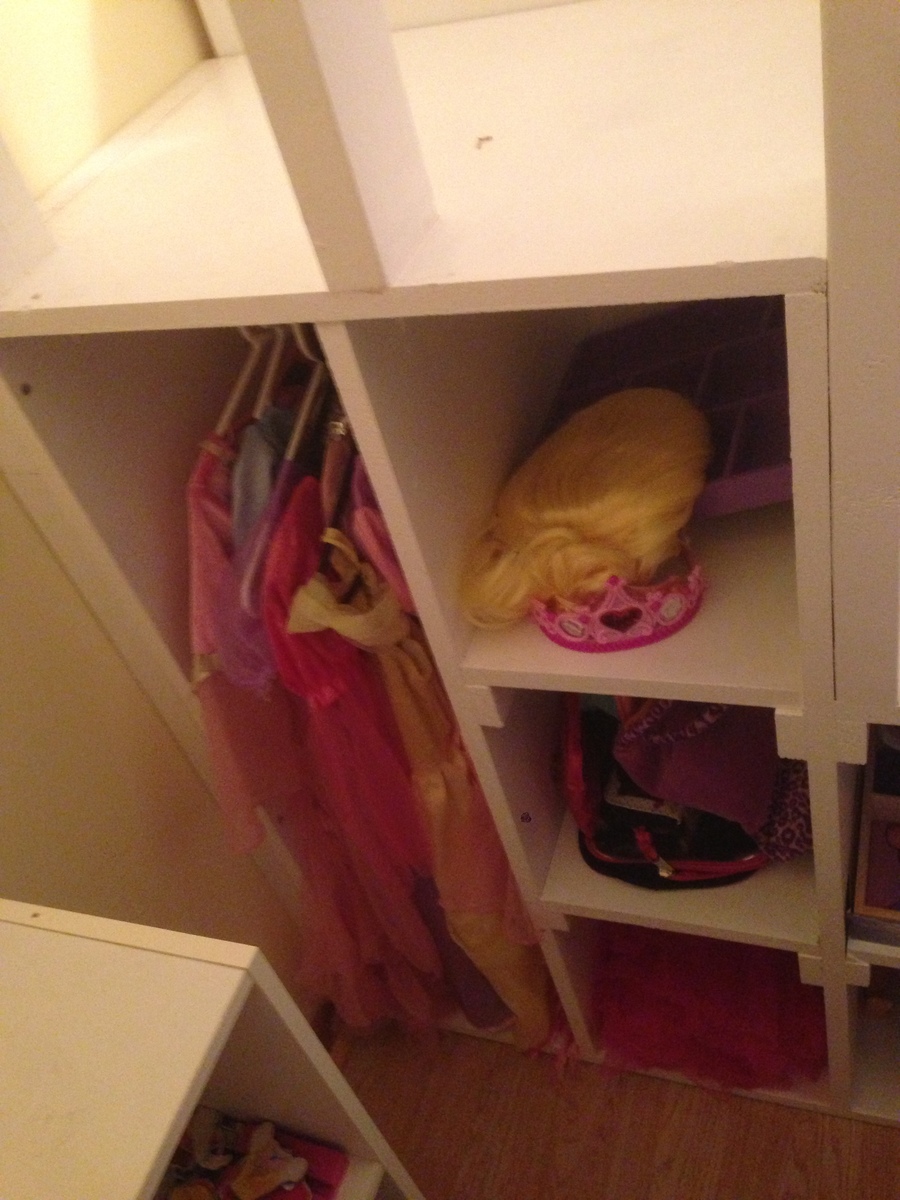
There is storage in the stairs, in the towers on the front down below, and in the back up on top. I also put rope lights inside around the ceiling over her bed for that 'Night light Princess glow."

There is also enough room on top for her bed if she wants to put it up there at some point in the future.

The idea for the decoration came from another poster who simply used the Vinyl Disney princess wall decals.

She loves it. Plus its big enough for daddy to read stories to her up in the loft at bedtime!

I've posted the plans on the sketchup warehouse... here is the link...

http://sketchup.google.com/3dwarehouse/details?mid=65f7fb029052c660cb6c…

If you can't find it with that search the sketchup warehouse for 'castle bed.'

Estimated Cost
$150
Estimated Time Investment
Week Long Project (20 Hours or More)
Finish Used
Latex interior paint. Castle top and trim were painted with spray paint.
Recommended Skill Level
Intermediate

Comments

ThaddeusSwarfburnIII

Sat, 07/27/2013 - 16:17

Nice work. We worried about the height for our three year old, and if I were to build another (hah!) I would definitely make it lower. Carpeting the stairs is a good idea, I think I'm going to do the same. You've done well to cram everything into a small footprint. We're house-shopping now, and the tape measure comes with us. Gotta have 2.8m in the kid's room! Decals are great. My daughter went off hers for a while - nothing breaks your heart like a kid saying they want to give away something you worked really hard to build, even if you know they don't mean it. My wife put on some big wall stickers of a tree with squirrels and birds and suddenly she's in love with it again. Princess indeed (eyeroll).

bbcarey

Sat, 07/27/2013 - 20:53

Interesting your commented today :-) I am doing a similar project for my son for his 3rd birthday (this weekend) making a Lightning McQueen garage for his Ligthning McQueen bed...

Thanks for your comments... the castle project was fun. Its been fun to be able to even do these things now that I've visited Ana's site. And yes- I know its going to be a bummer when they no longer want the castle, or the garage (I had my son's bed in his garage tonight and not knowing better he hopped on the bed and jumped and bumped his head bad... now he's scared to have the bed in the garage- AND ITS NOT EVEN DONE YET!)

Thanks again..