Community Brag Posts

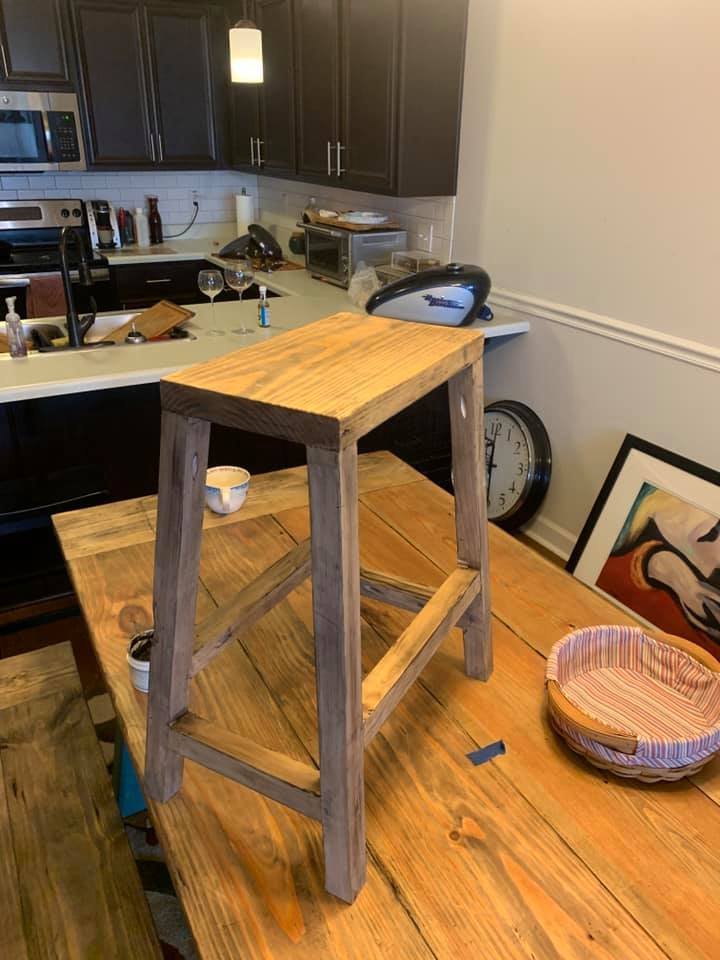
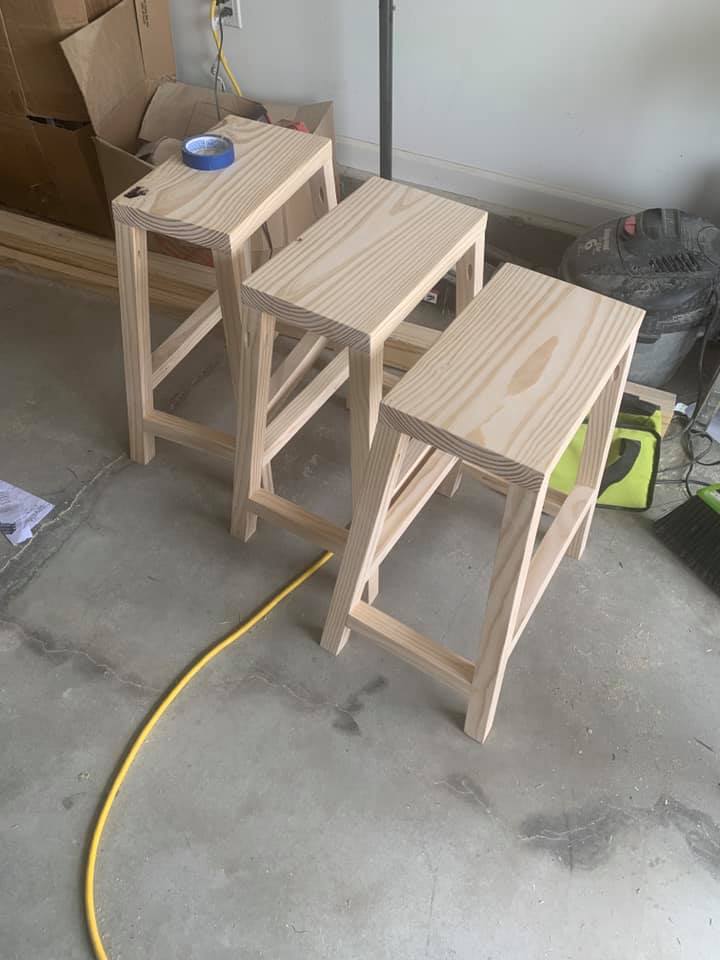
Farmhouse Counter Stools

Submitted by wbengle77 on Wed, 09/23/2020 - 09:09

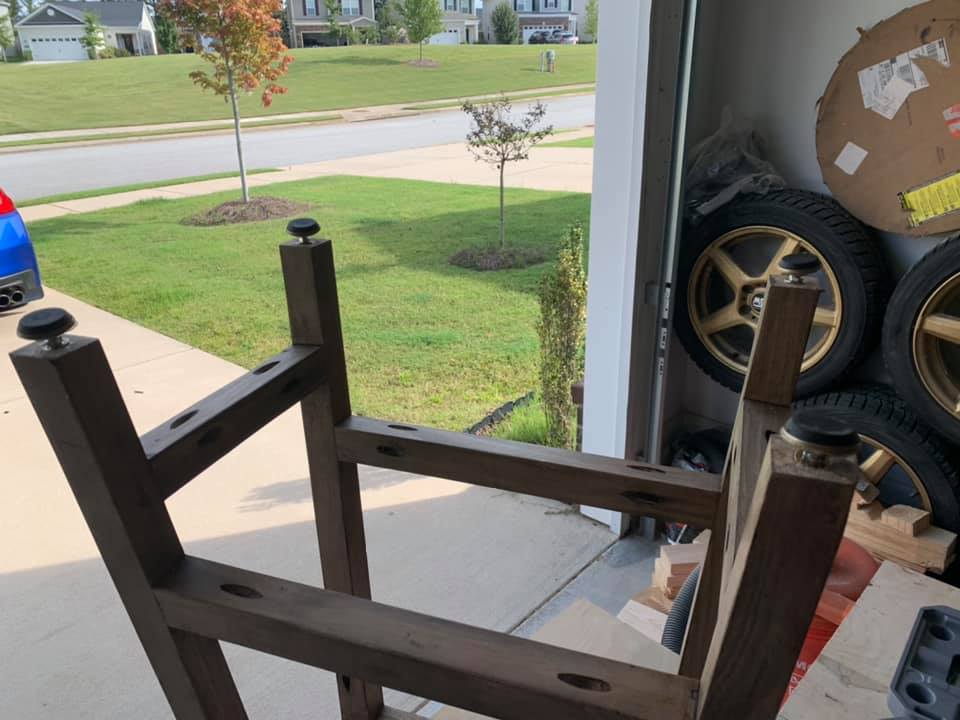
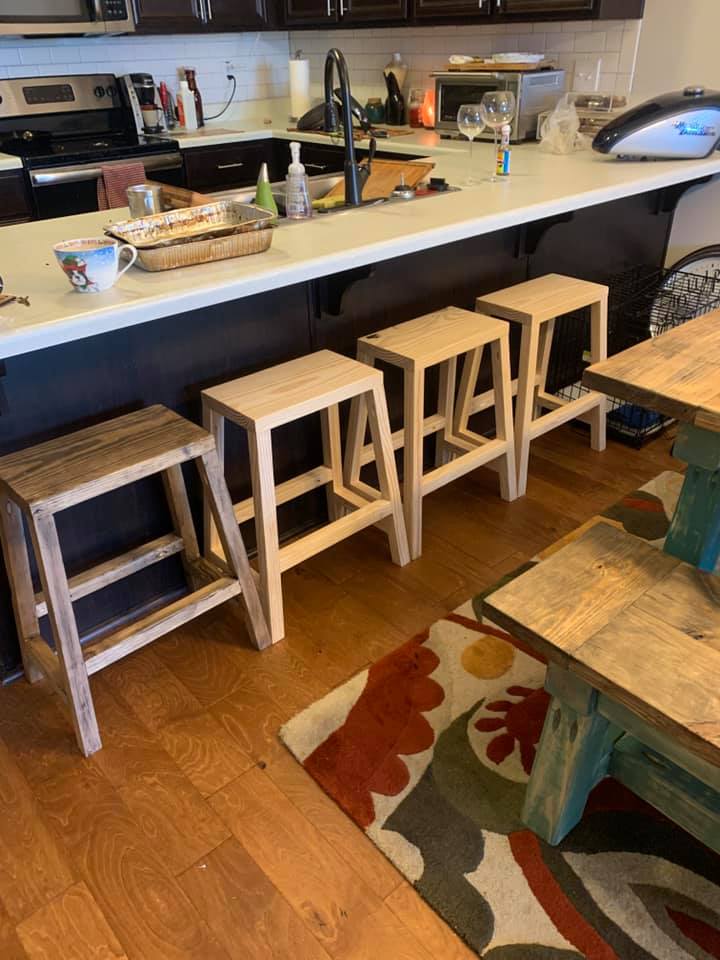
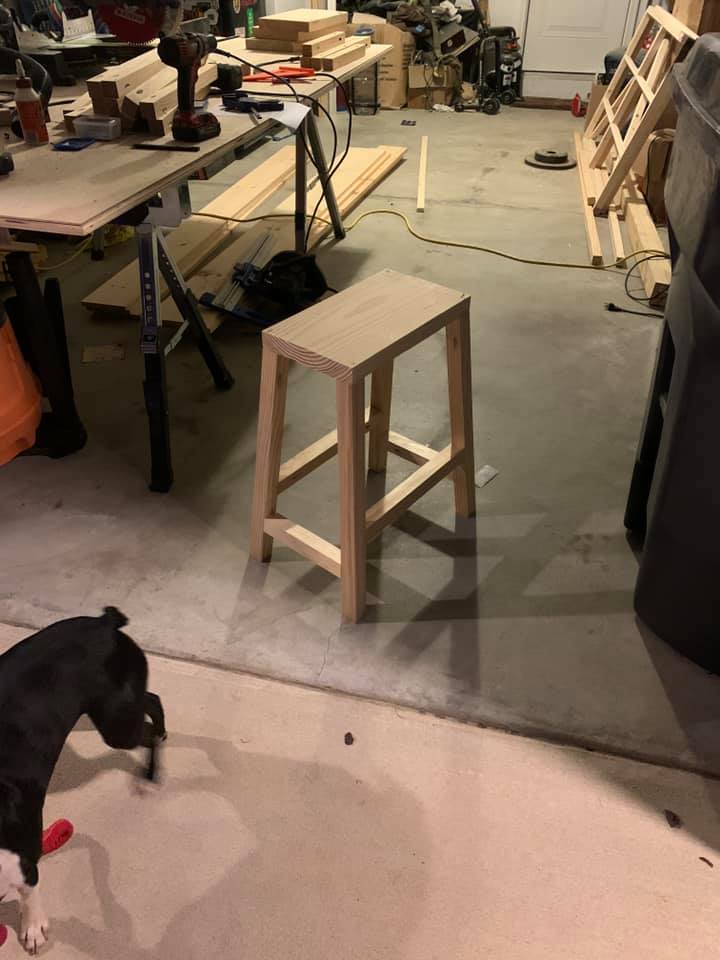
This was a pretty strait forward project, the only change i made was the wood used. I did not use the 2x2 furring strips i opted for the upgraded Select Pine Boards. So it changed from 3 bucks to 12 a board. I also used metal nylon feet.

Built from Plan(s)
Estimated Cost
depends on wood and finish
Estimated Time Investment
Afternoon Project (3-6 Hours)
Finish Used
I used an antiquing wax, then I used butcher block oil and wax to finish.
Recommended Skill Level
Starter Project

Comments

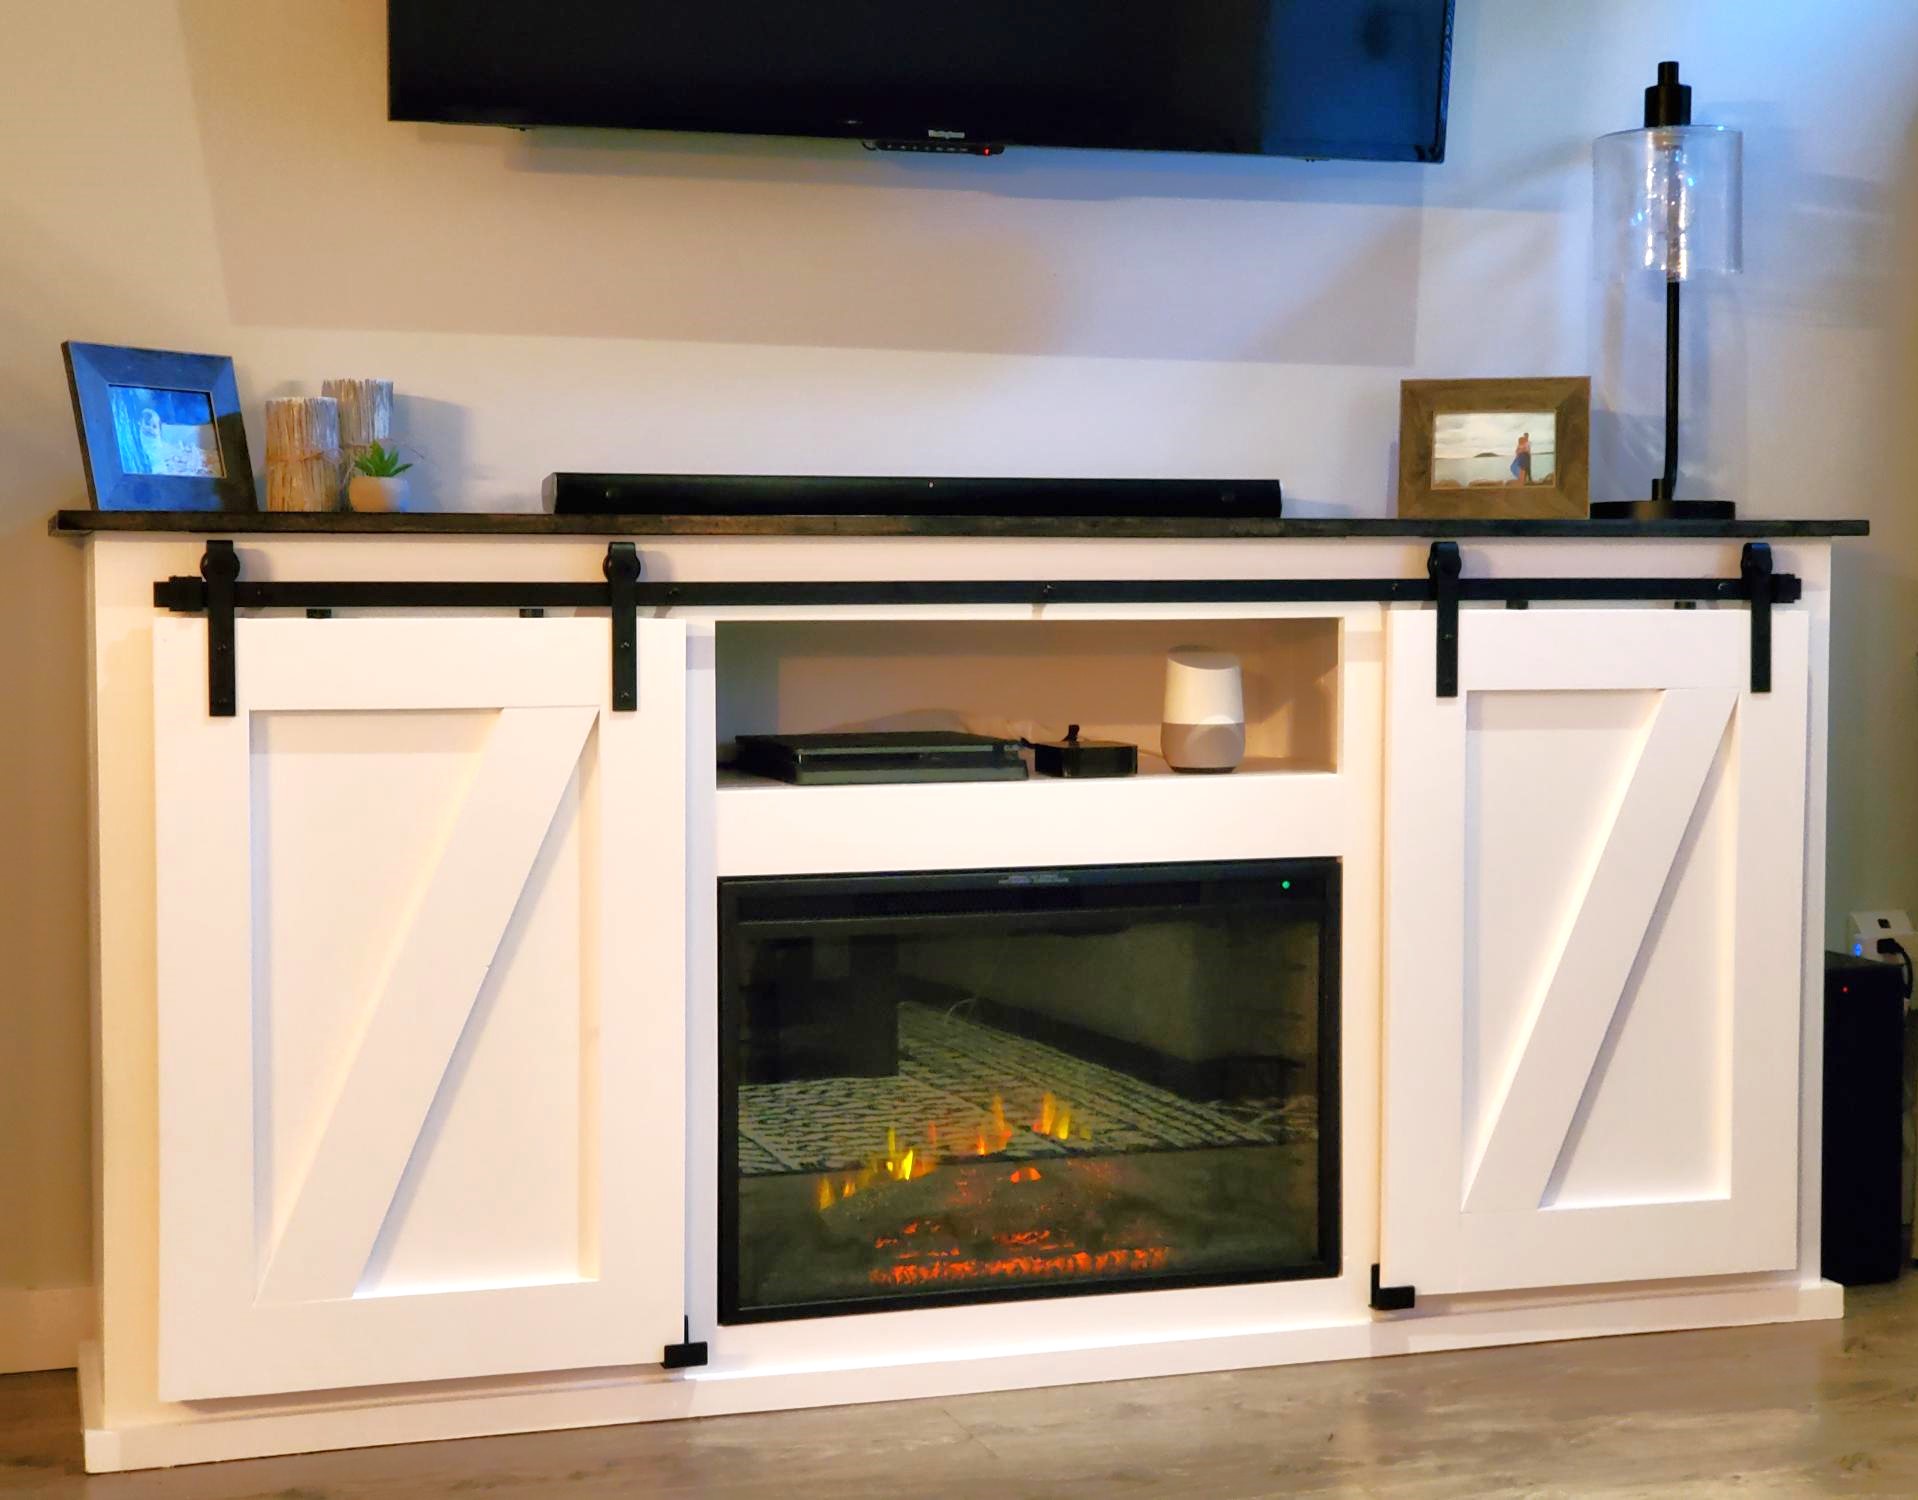
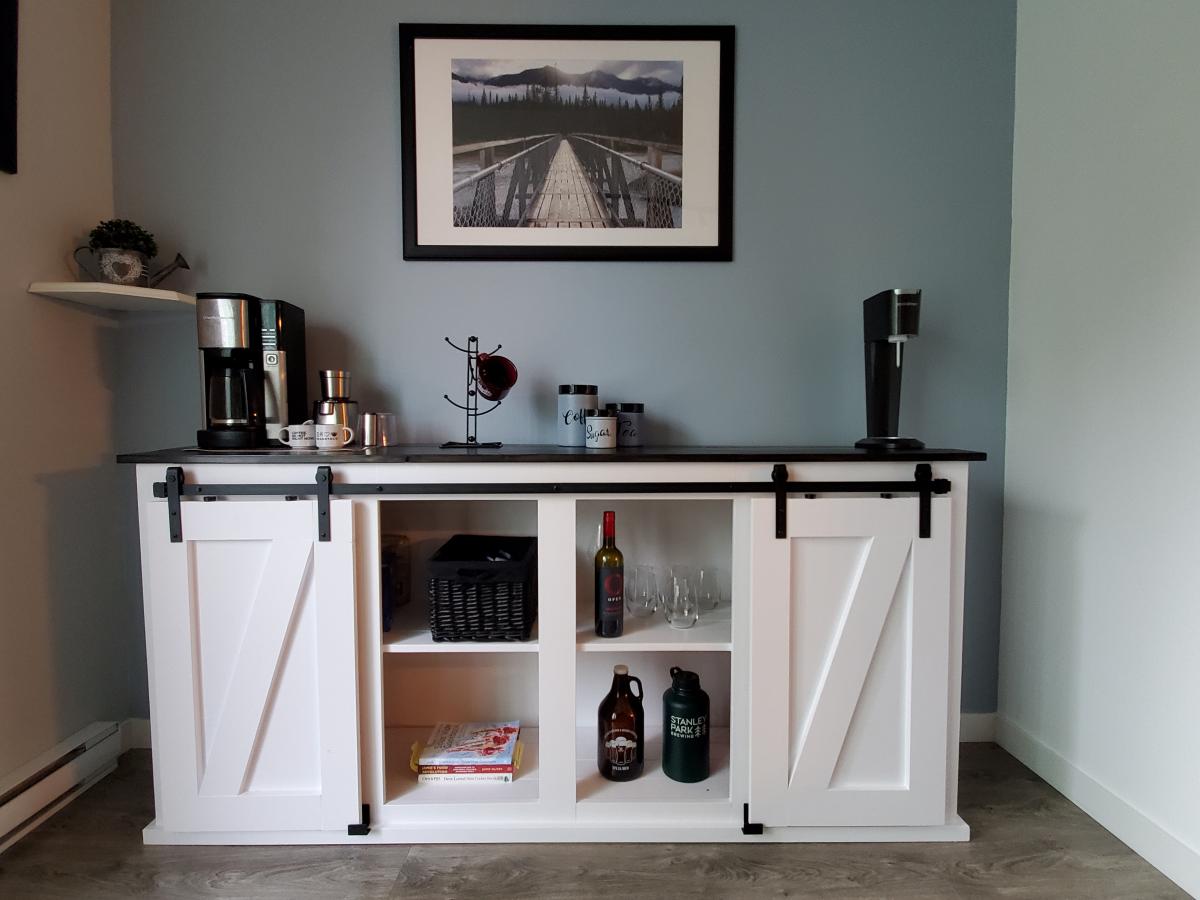
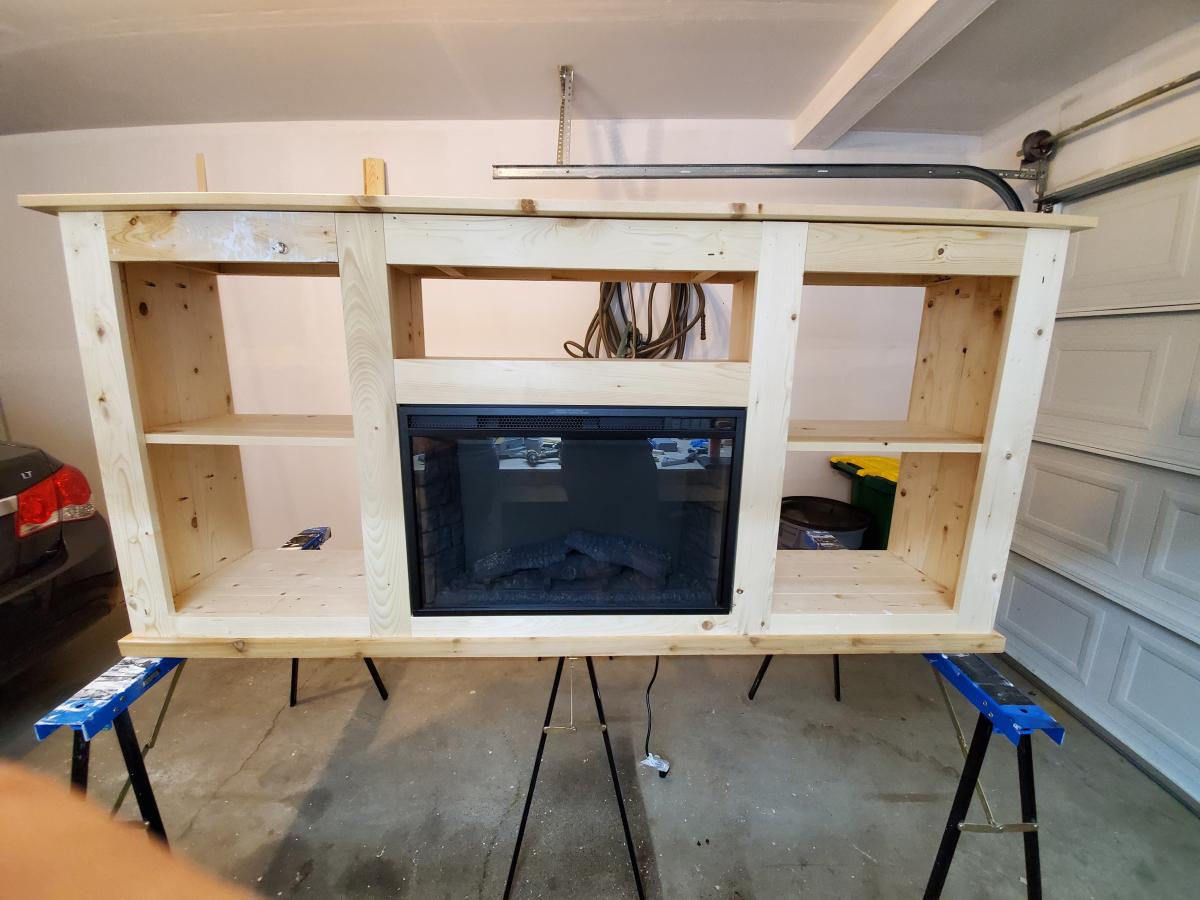
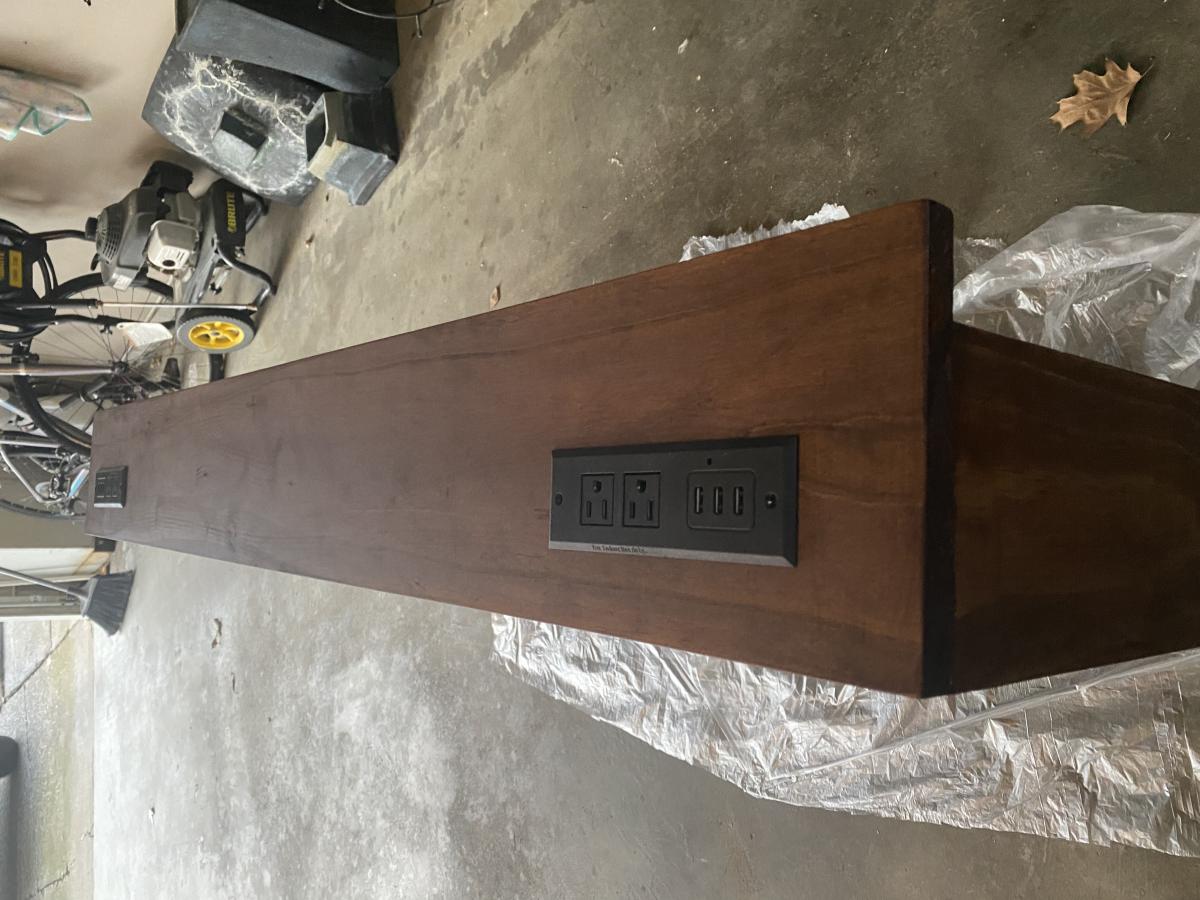
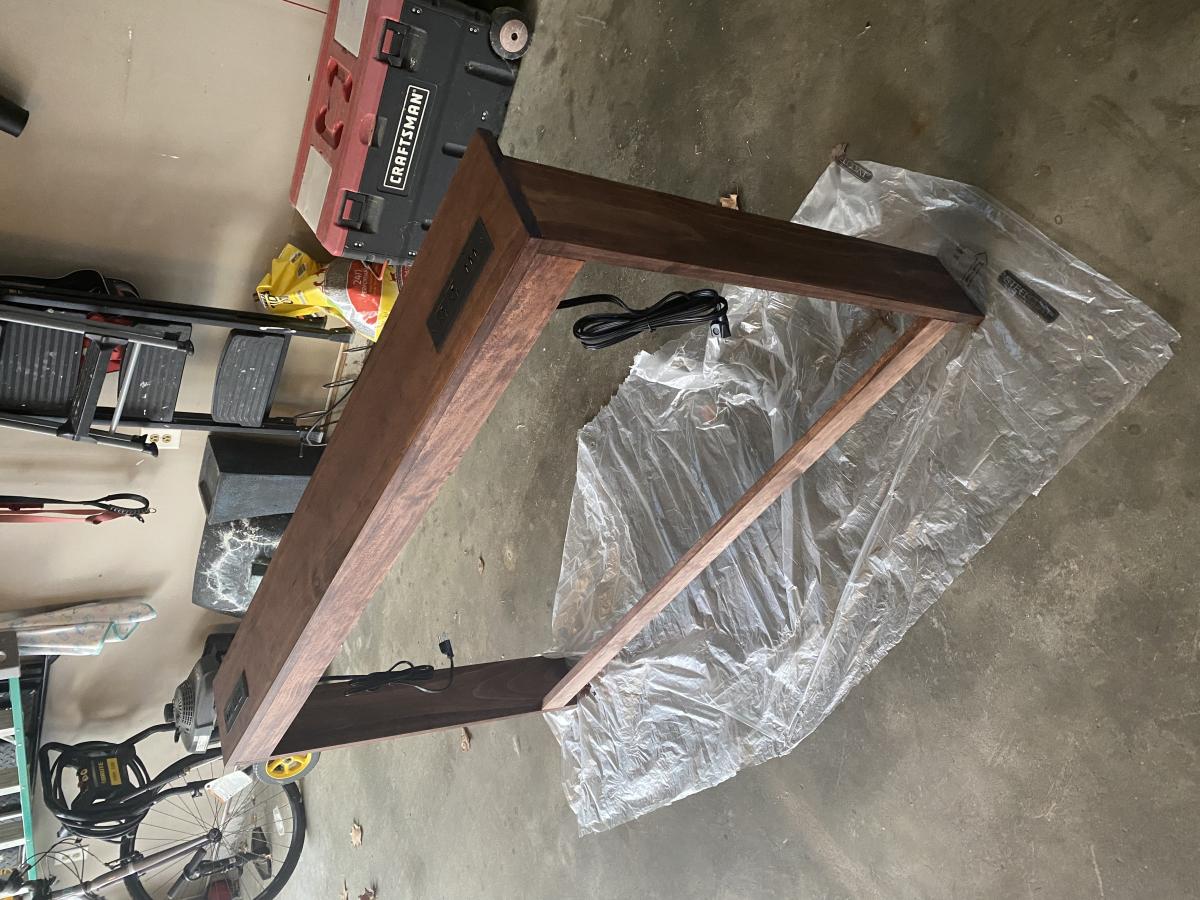
Grandy Barn Door Fireplace and Matching Console

Submitted by Anonymous (not verified) on Wed, 11/11/2020 - 17:38

We originally built the original console a while ago as an entertainment unit for underneath our television. We enjoyed the console so much that we decided that we wanted to do another modified console with a fireplace in it and make the other one into a buffet/storage area for the dining room.

Both of these are fairly modified from the plan, however the basic concepts remain the same. One big thing that we did was use 1x4s as much as possible to reduce the different sizes of lumber we were buying to both reduce complexity and end up with as little as possible scraps.

The frames are made of the 2x3s, The sides (4 deep), shelves, middle shelves and face frame are all 1x4s. The back and inside frames are scrap plywood. The top is 1x6s.

The addition of the fireplace was not difficult. What it did require us to do was to add the centre section and essentially create a box that is closed to the outside cabinets. If it were not closed off it wouldn't support the fireplace insert correctly. The important piece with the fireplace is to ensure you have enough clearance on the top and sides to allow the fireplace to mount safely without overheating. The nice thing about this setup is the additional shelf above the fireplace which we used for electronics. The wires go through the back of the cabinet and it looks very clean.

These are probably my favorite things I've built this year. They're simple to make and add a lot to any living space.
Built from Plan(s)
Estimated Cost
$500
Estimated Time Investment
Weekend Project (10-20 Hours)
Finish Used
White paint for body
Minwax Polyshades Classic Black for top
Recommended Skill Level
Beginner

Comments

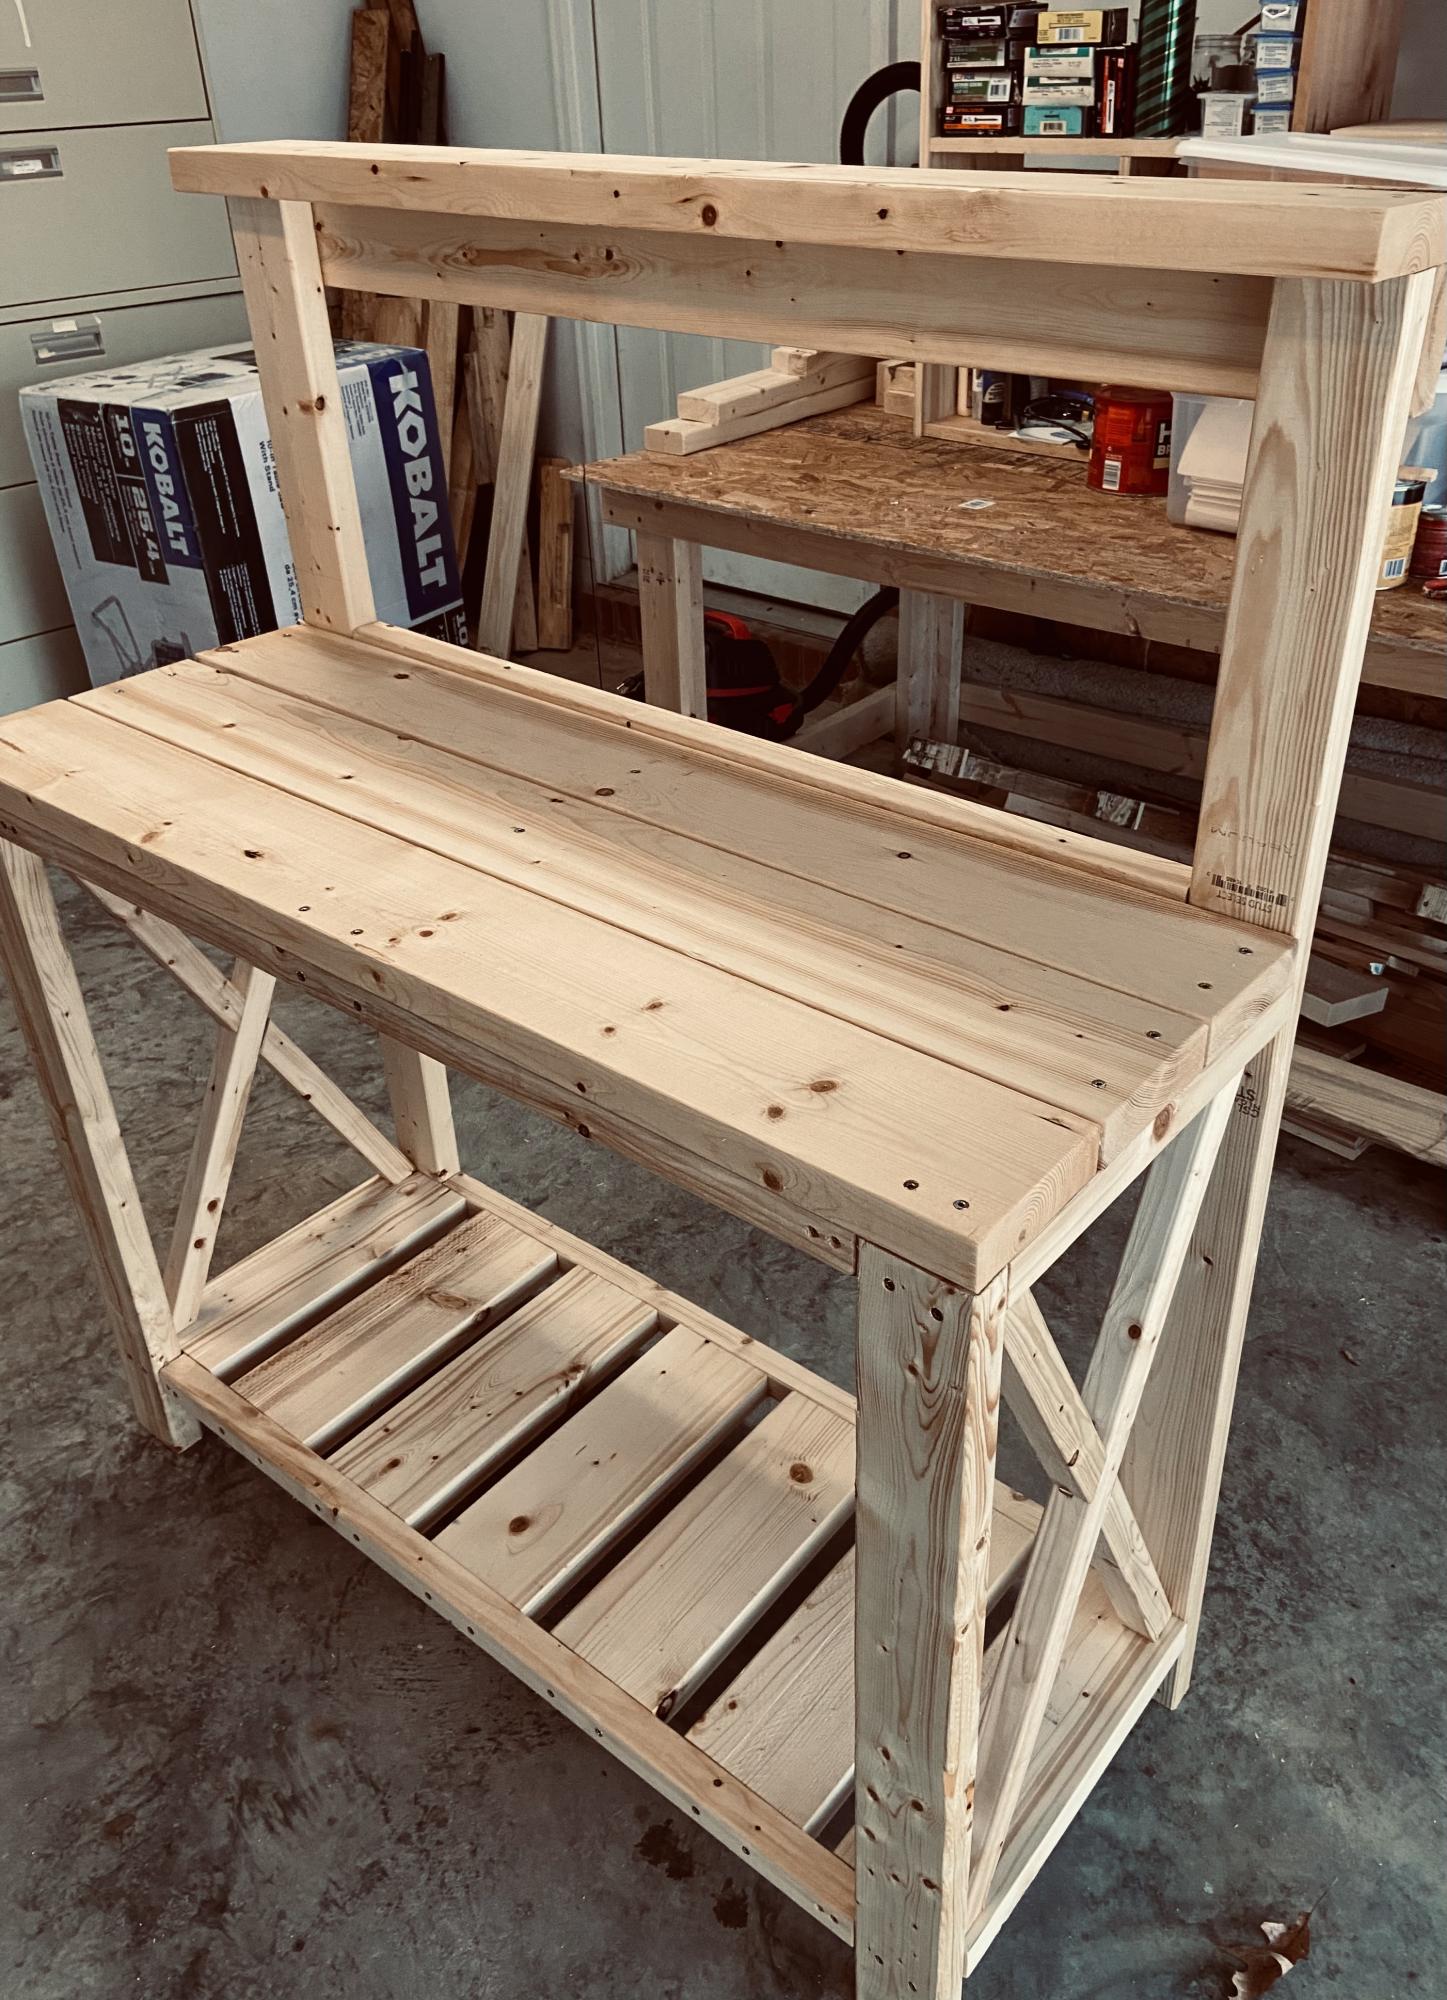
Potting Bench

I am a complete newbie to anything woodworking. I just turned 60 and used a drill for the first time about 9 months ago. Thanks to Anna and her plans and videos, I have developed some some self confidence in this art and absolutely loving it.

Farmhouse coffee table and king size bed is next.

Thank YOU Anna!!! You totally rock!!!!!!!!

Estimated Time Investment
Day Project (6-9 Hours)
Recommended Skill Level
Beginner

Comments

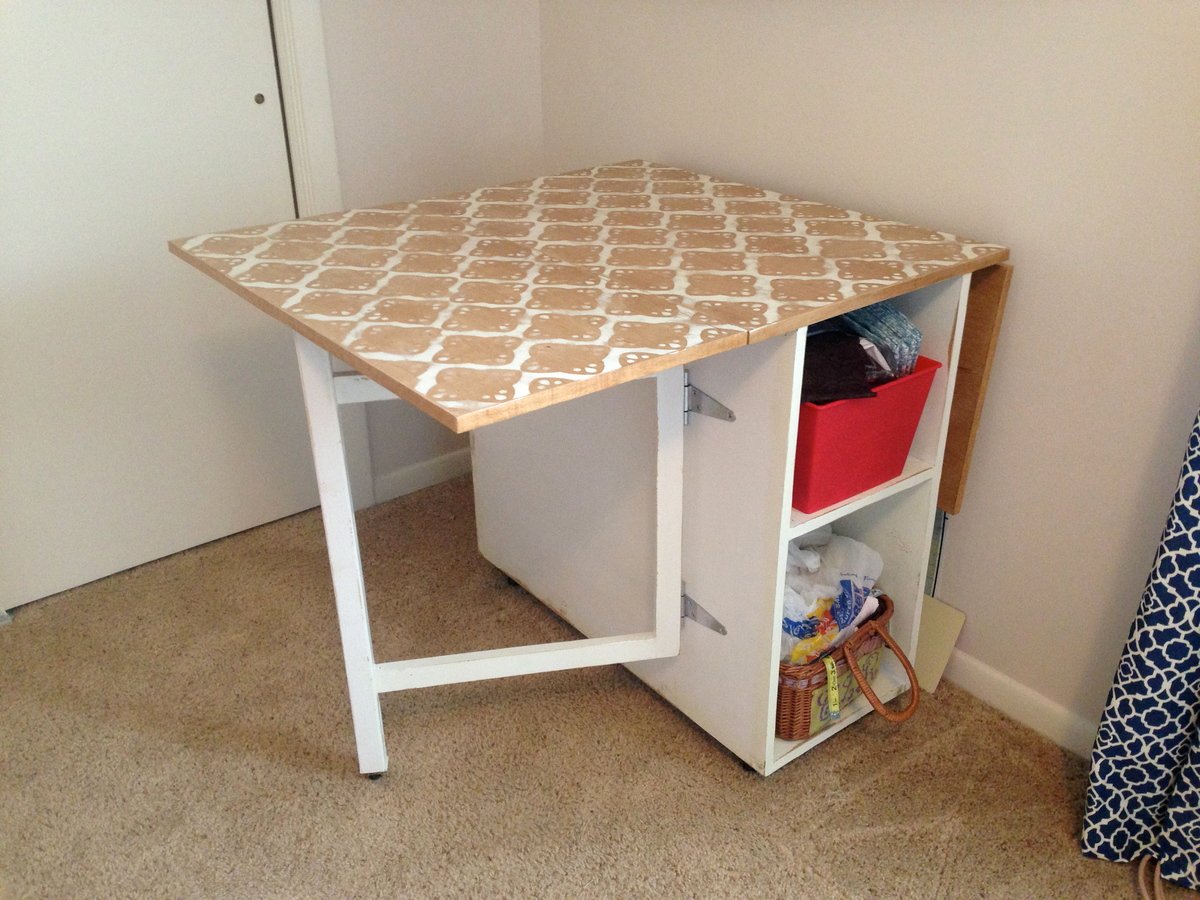
Gate-Leg Sewing Table

My husband and I built this table as our first project. We followed all of the dimensions from Ana's "Small Sewing Table" project here: http://ana-white.com/2010/10/plans/sewing-table-small-spaces?page=1 The only thing we changed was the size of the table top and the legs. We were worried about putting my heavy sewing machine on top of the leaf called for in the plan, so we created gate legs to support the leaves. Since the legs were going to be folded up in between the base and each leaf, we extended the center portion of the table top to accommodate the change. After it was assembled and stained, I decided that I didn't like the solid color, so I stenciled on a pattern with white latex enamel paint (what I had on hand) and continued to paint the base. After lightly scuffing it up with the sander, I layered 3 coats of poly on top. It has held up well, even after many large quilt projects! I just LOVE my sewing table!

Built from Plan(s)
Estimated Cost
$120
Estimated Time Investment
Weekend Project (10-20 Hours)
Finish Used
Golden Oak Minwax Stain
Polycrilic
Valspa Latex Enamel in Satin White
Recommended Skill Level
Beginner

Comments

TinyHouser

Fri, 08/05/2016 - 13:41

Hi there. Could you please tell me what the brackets are you used with the gateleg? Do you remember where you got them? Thank you!!!

Sandbox w/ Built In Seats

Submitted by Anonymous (not verified) on Wed, 06/14/2017 - 07:30

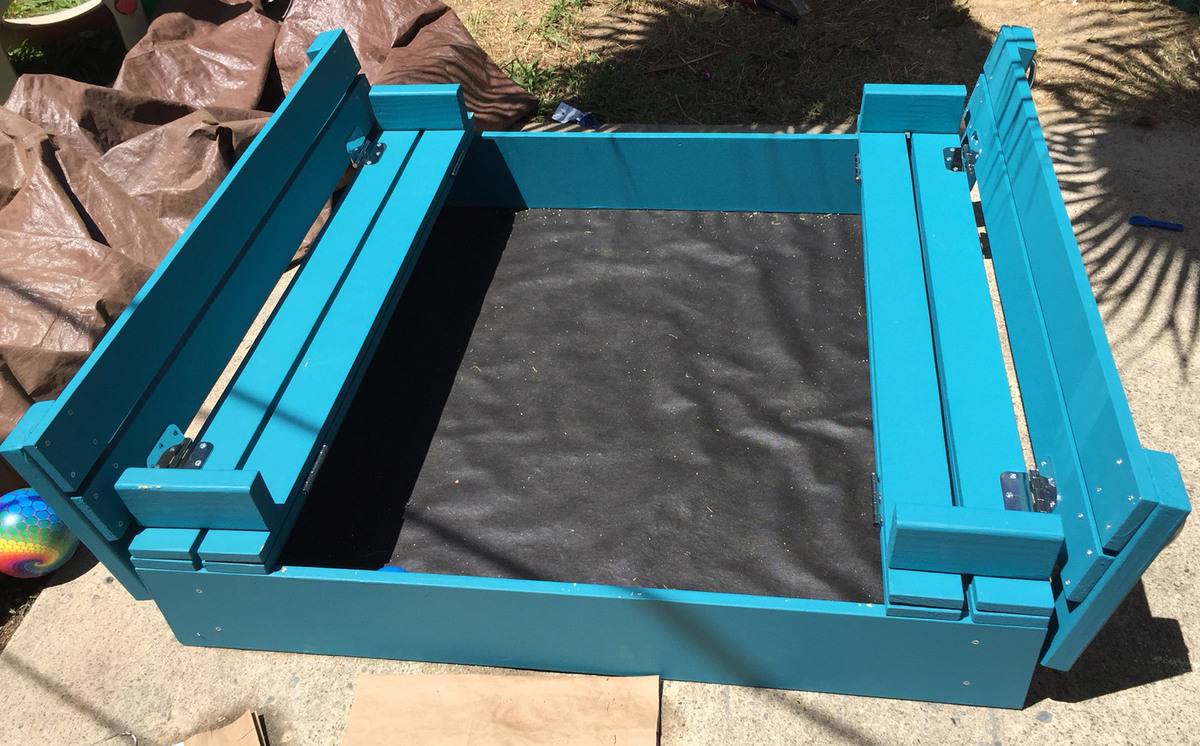
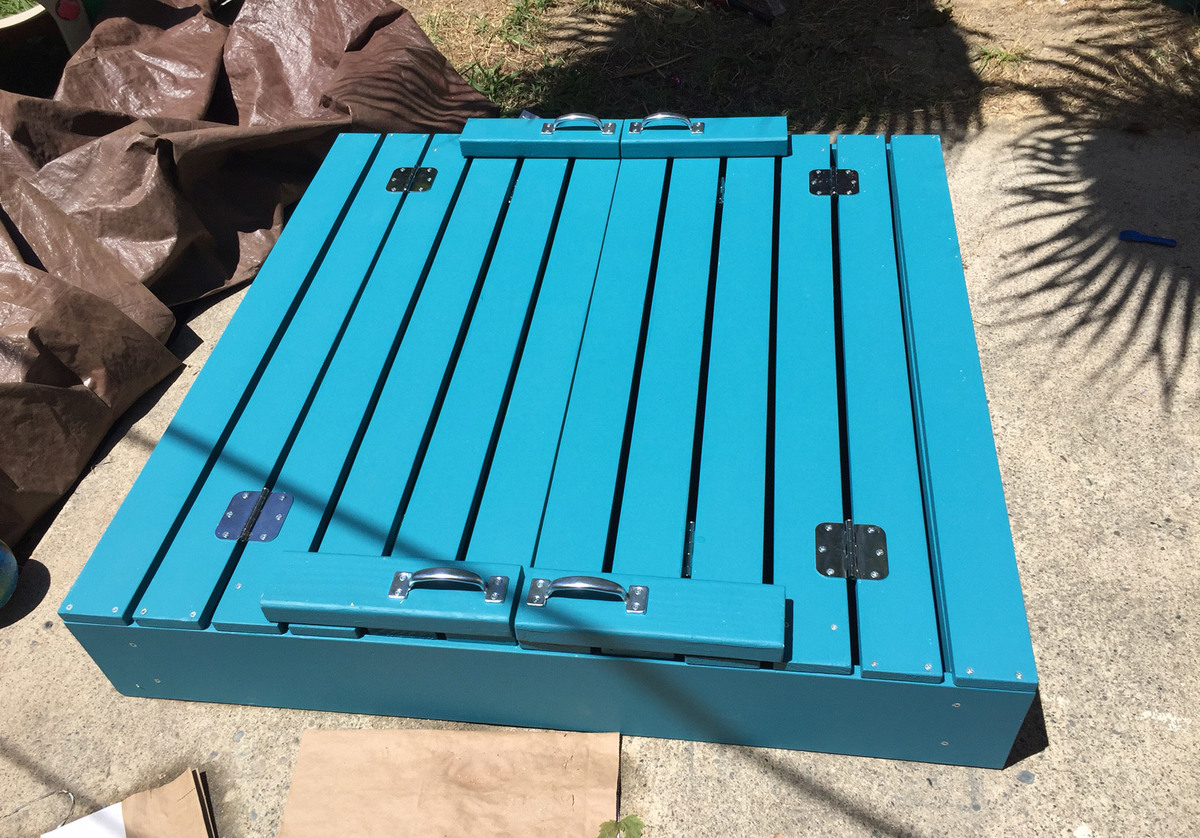
I have built some other stuff before, but not with paint and sanding and such. It was definitely a great learning project. There are imperfections, but it's a toy, so kids will be having fun and that is all that matters.

Built from Plan(s)
Estimated Cost
$100... but, the paint will be used on other projects, and I paid for better boards for on top.
Estimated Time Investment
Weekend Project (10-20 Hours)
Recommended Skill Level
Beginner

Comments

DIY Backyard Climbing Gym

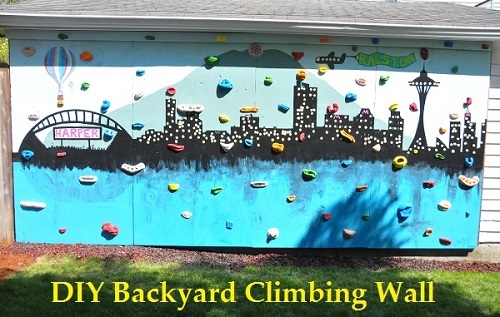
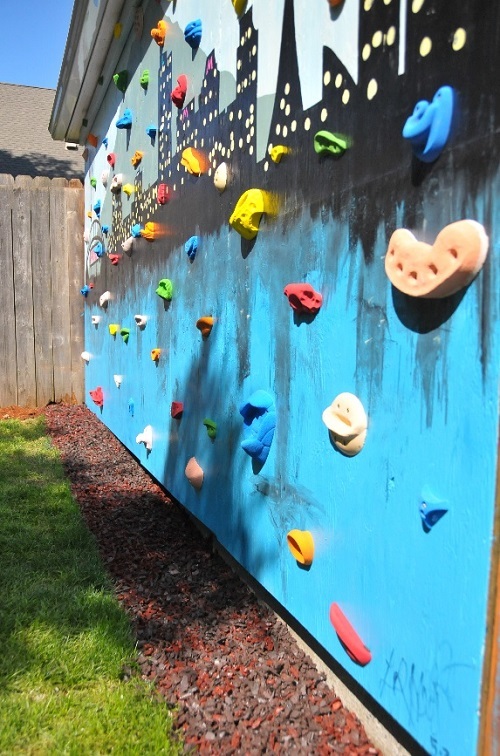
My very first woodworking project was Ana-White's farm house bed! I've made so many projects now, I decided to start fancy'ing up my backyard!. We took all pressure treated wood to make the wall foundation, painted it, sealed it, then used Screw on Holds to make the climbing portion.

I have a full tutorial listed here http://www.impatientlycrafty.com/2013/05/07/diy-backyard-climbing-wall/

Thanks Ana for helping inspire me to create more wood stuff!!!

Estimated Cost
$500
Estimated Time Investment
Weekend Project (10-20 Hours)
Finish Used
I painted with latex paint, and acrylic paint, then sealed it with rustoleum clear coat (4-5 coats)

we simply sketched out the design from ideas online..
Recommended Skill Level
Beginner

Sofa table

Submitted by kgclark31 on Sun, 01/02/2022 - 18:33

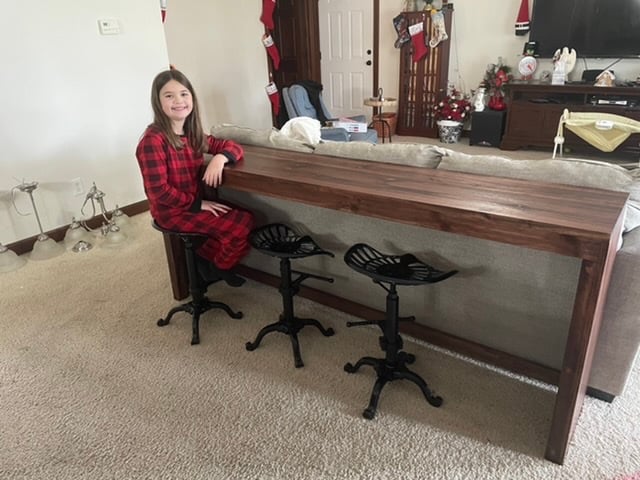
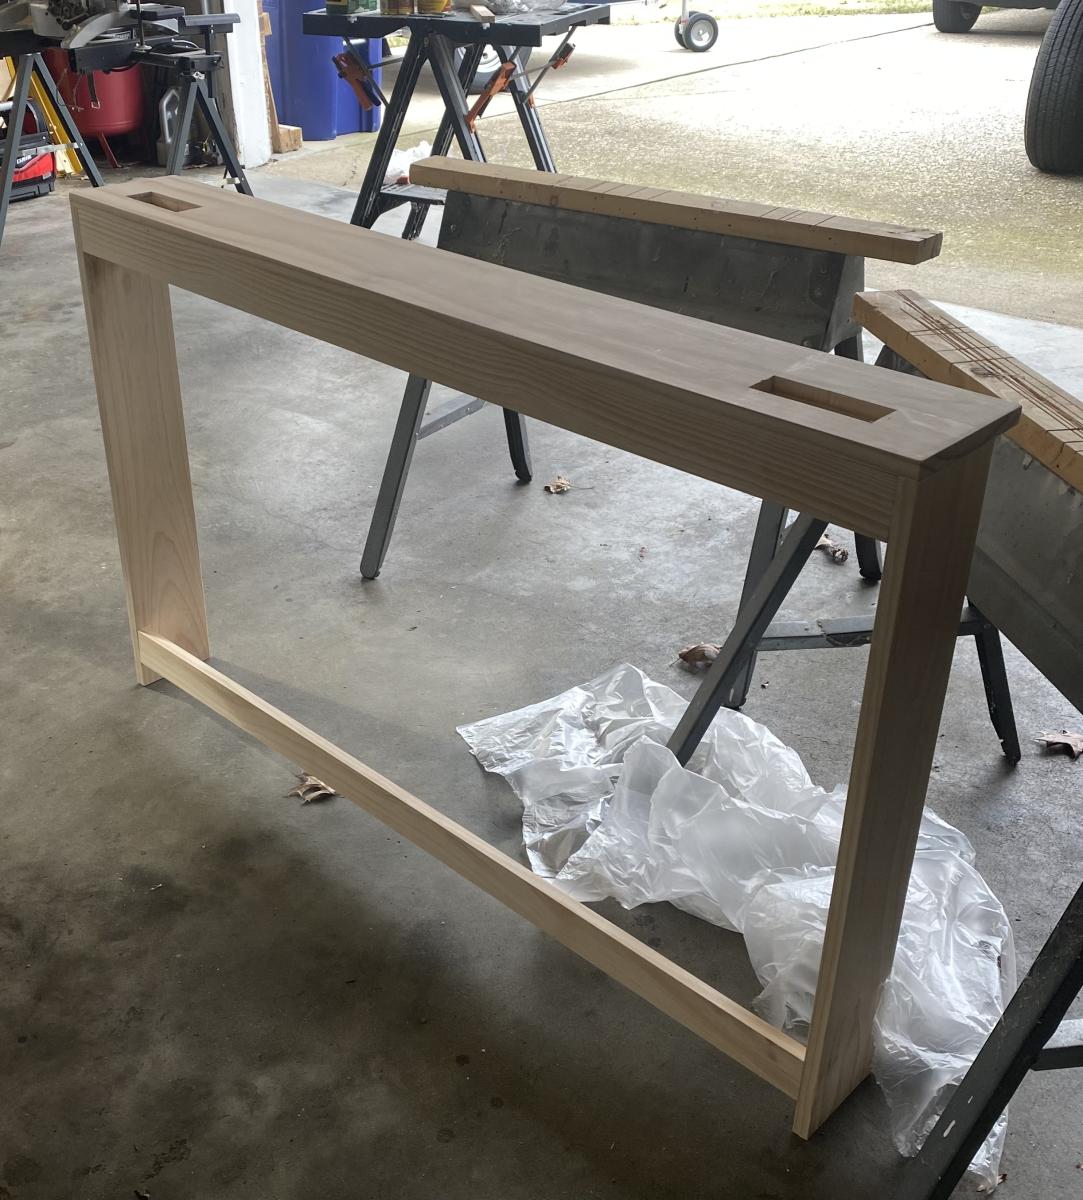
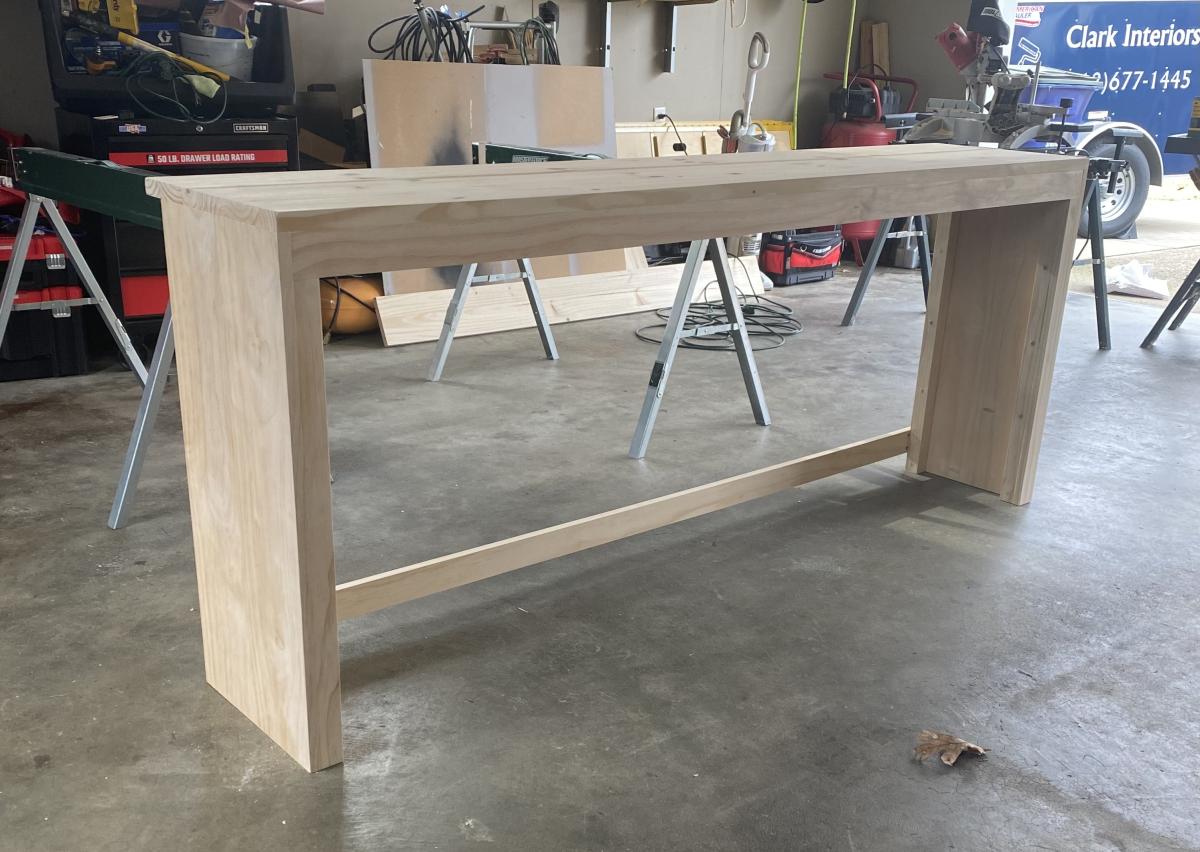
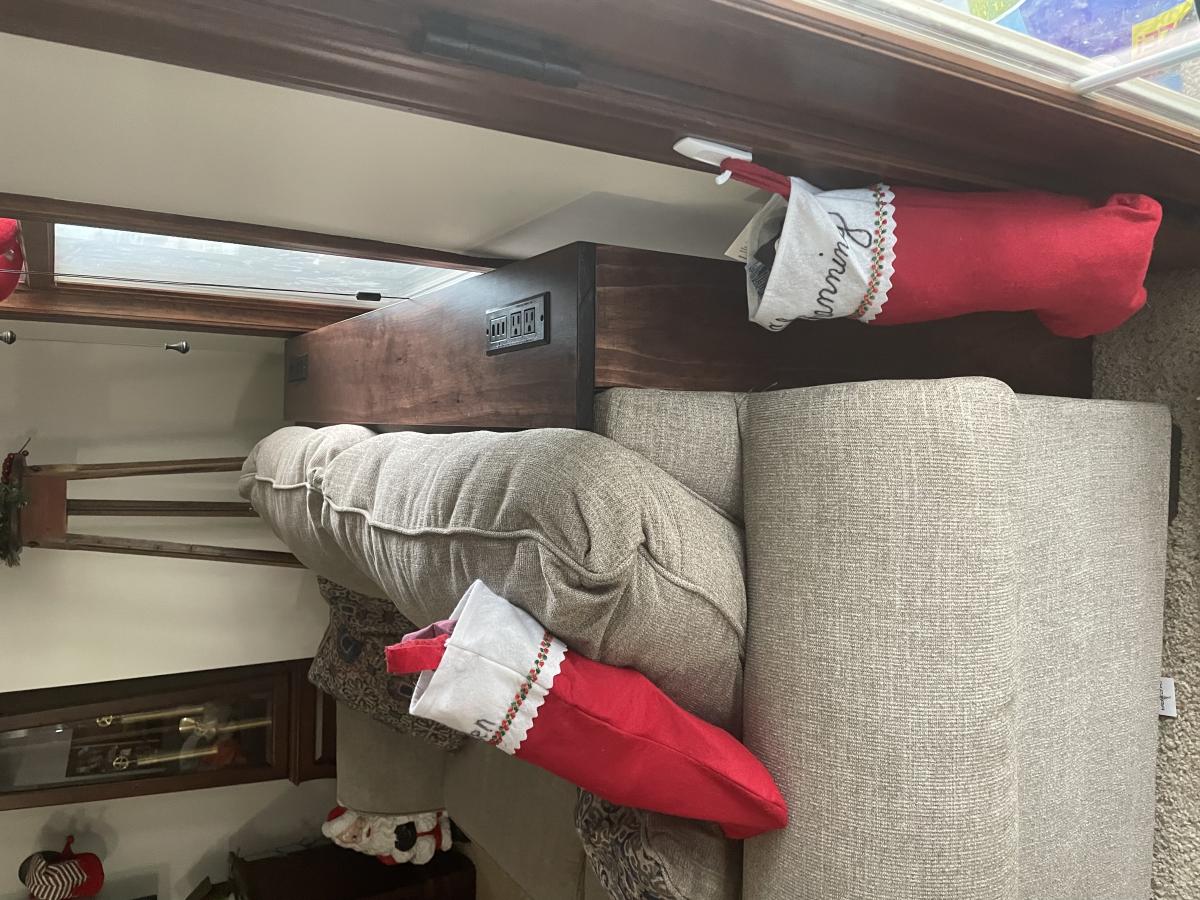
I built these sofa tables for my wife’s client. She has a interior paint business. Her client was talking about wanting she sofa tables, so she volunteered me to build the tables. I didn’t have a design for the tables, so I looked at several different designs and talked to the client on what she was looking for. So I just did some rough sketches and got some ideas from my wife. I used mostly 1 bys for the build, just depends on the size on what width and length of board you are going to need. The top of the large table is a 5/4 preglued board that Menards has in store, again depending on width and length on the size of board you use. I used the 5/4 board for better stability and strength. I used a red oak stain then applied several coats of poly to finish. On the top I used a 200 sandpaper after a couple of coats of poly to get the top smoother for more coats of poly. Over all the build was pretty easy if you have good woodworking knowledge. Used pocket holes (Kreg) to attach sides and frame to top. On the large top side I used two 1x8’s to get the width i needed. Joined them with pocket holes (Kreg). If you can dream it, you can build it.

Comments

Batmobile full Bed

Submitted by bbcarey on Mon, 08/03/2015 - 10:12

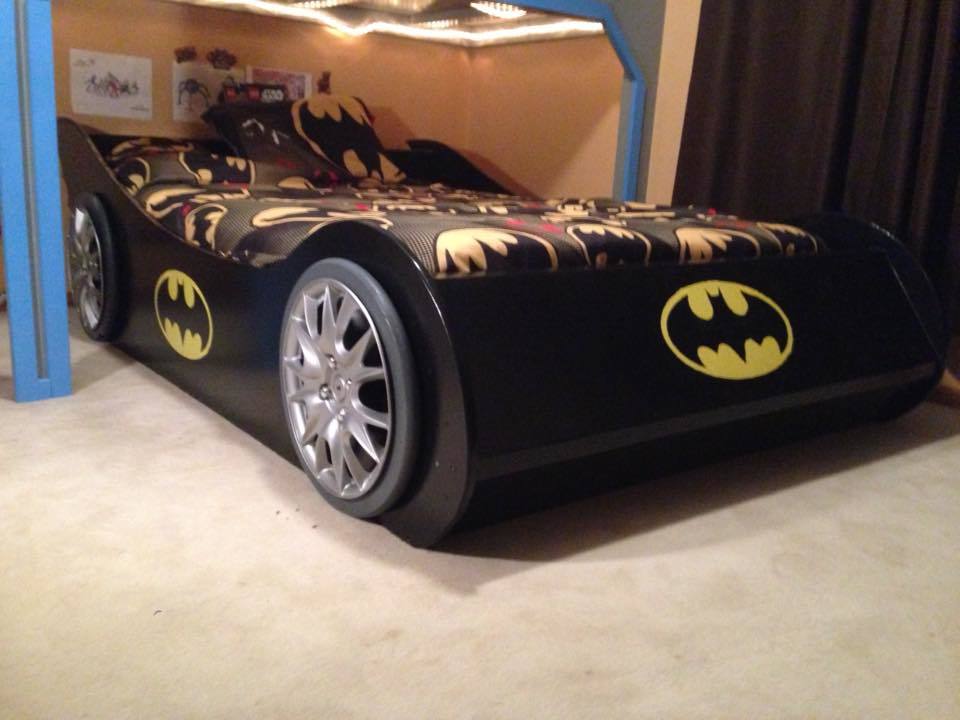
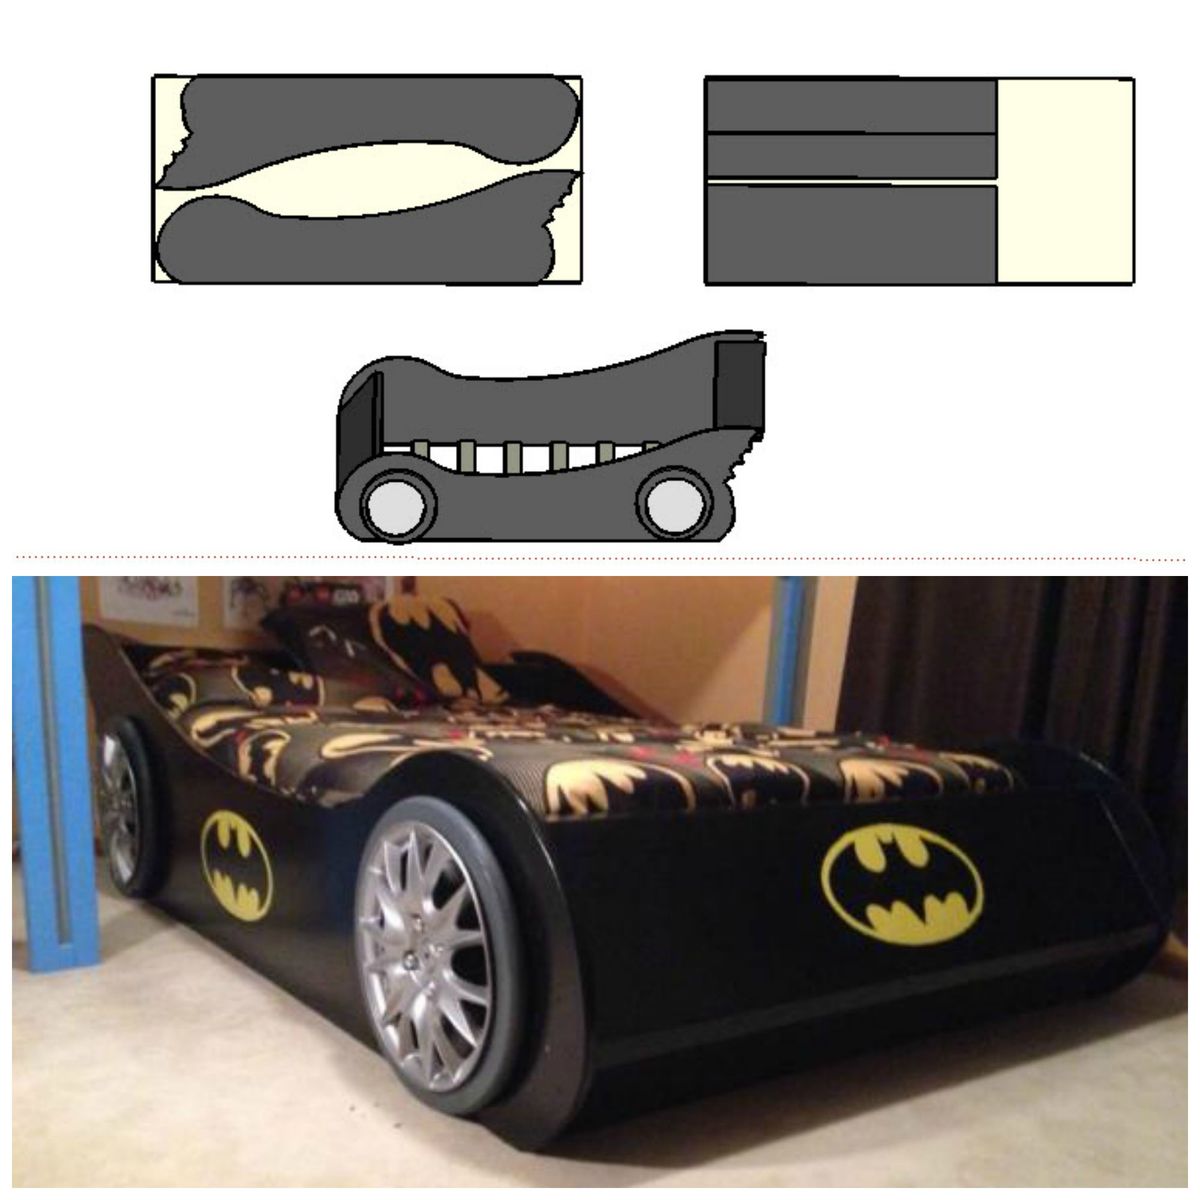
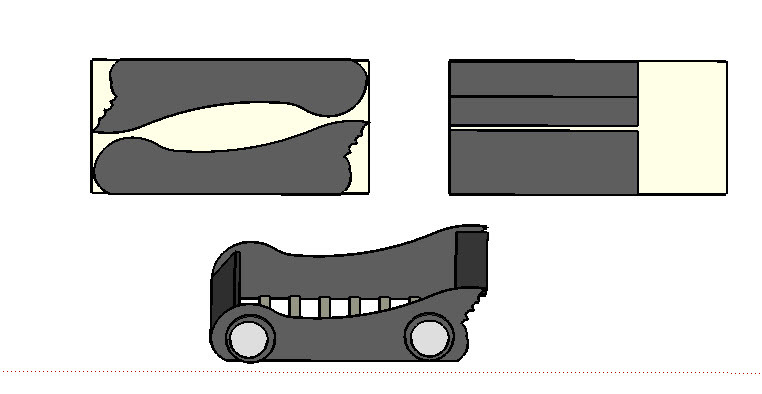
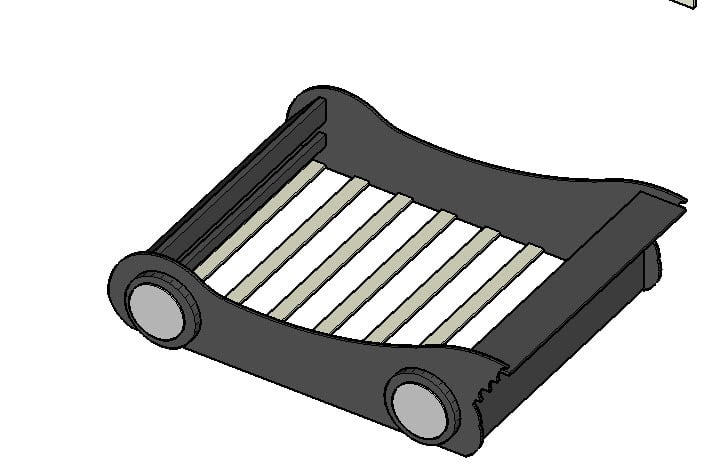
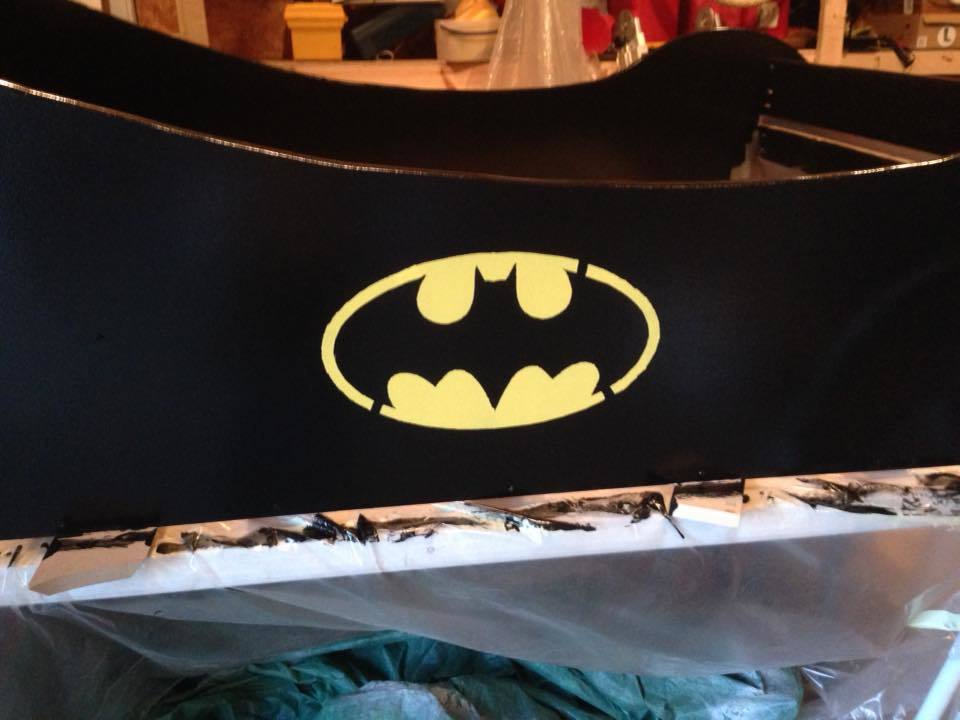
My son had a 'lightning Mcqueen' toddler bed- but we needed to get him into a little bigger bed.  We had a spare full bed, and Batman is his current favorite... Since there aren't Batman full race car beds- time to start planning and building from sketchup!  Took me about 2 weeks of evenings (after the kids go to bed) and about $110 in materials.  The model is available in the sketchup warehouse at:

https://3dwarehouse.sketchup.com/model.html?id=u6b750a53-37a4-4d52-9d31…


For the wheel covers I ordered online at Amazon for $25 for a set of 4.

For the Wheels both HD and Menards make a 18" wood table top for ~$7 that I just cut the middle out  with my router to fit the wheel covers.

The slats to hold the bed (made to fit both box spring and mattress) were just 1x4 pine boards from menards.

The body was made from 3/4 MDF, though you could of course use plywood. 

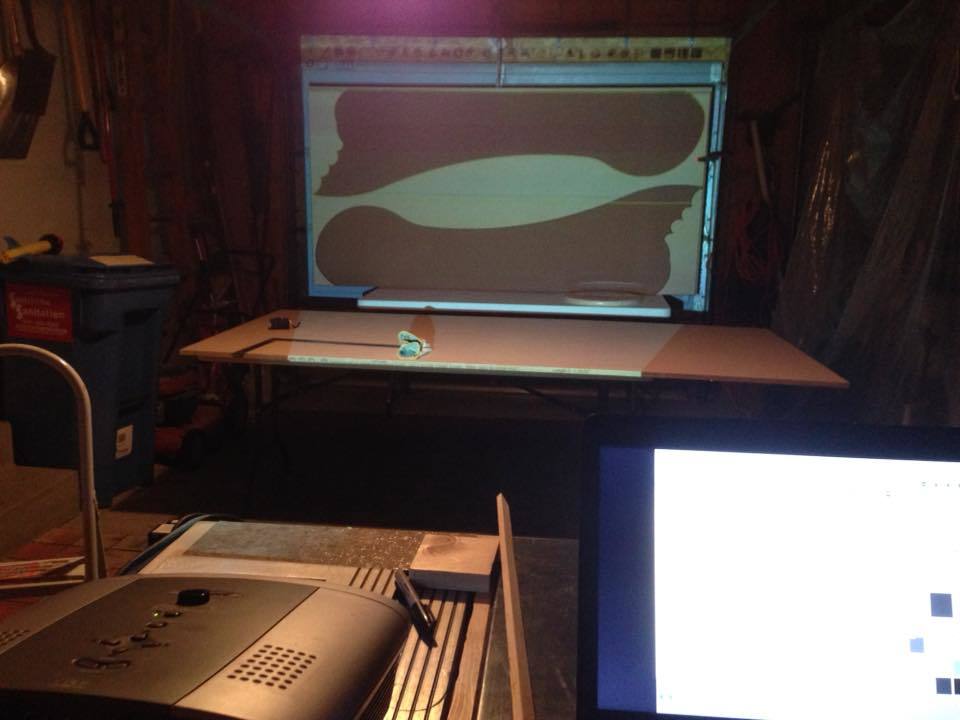
I used a projector to project the image from sketchup onto the board to get it transferred- else it would have been 50+ pages if printing..

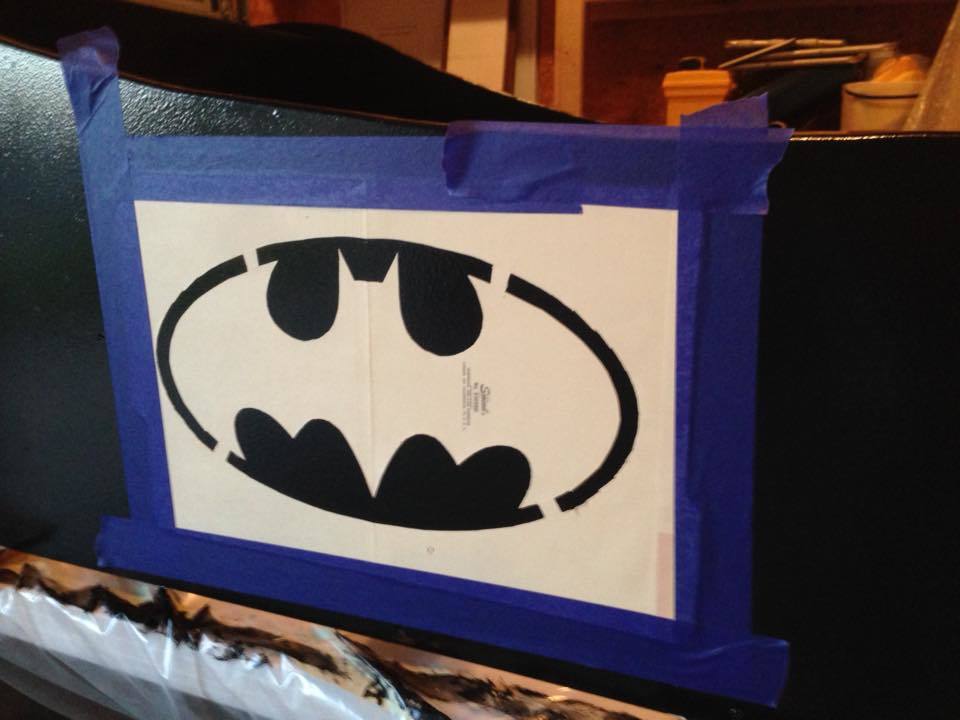
For the logos I just used a minila folder as my stencil and cut out the logo.  Needed to touch up the 'tabs' to hold the logo in the circle after pulling off the stencil.

Estimated Cost
$115
Estimated Time Investment
Week Long Project (20 Hours or More)
Finish Used
High gloss Latex paint.
Recommended Skill Level
Intermediate

Comments

In reply to by Ana White Admin

bbcarey

Fri, 01/29/2016 - 21:18

I give you credit when people ask how I got started in woodworking because until I found your site and my first project (library cart) then 2 helper stands for my kids and other friends kids and it just went on from there. The skils taken from this site and learning Sketchup have brought a lot of nice furniture to our home as well as a sense of confidence to me!! Thank you!

MoxieMan13

Sat, 09/12/2015 - 19:10

My son really wants this and I promised him that I would make it.  Do you have a PDF or anything of the outline of the batmobile?  Thanks! 

Woodlandfox

Sun, 02/21/2016 - 14:29

Thank you so much for the greatest idea ever!  We stumbled on this and believe it will be the perfect next bed for our son, however, we cannot download any of the files.  Do you have a PDF of the measurements or any other form you can upload so we can make this bed?  Thanks in advance!  Great work!

SDonahue9807

Tue, 12/06/2016 - 07:23

I apologize if I am just missing this, but... do you have step by step instructions on building this bed? I see the pictures of each part and its corresponding dimensions, but I cannot located instructions on assembling the bed. 


Thanks!

Rustic X beach beverage center

Submitted by one wolf on Tue, 09/08/2015 - 06:52

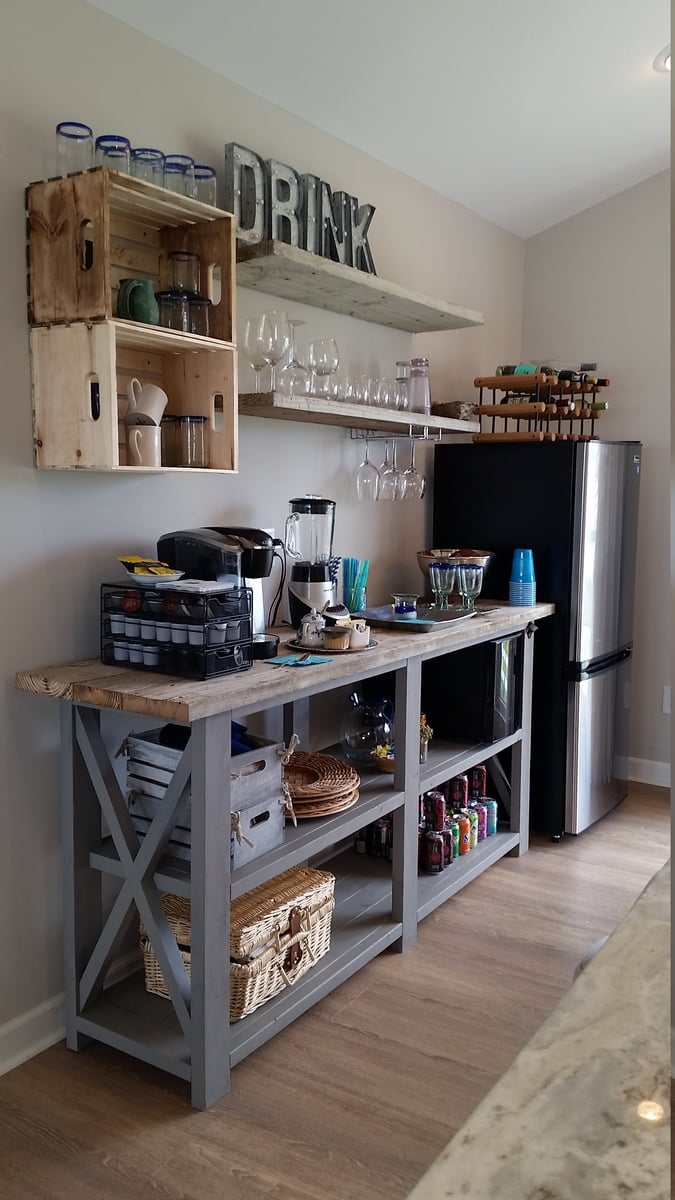
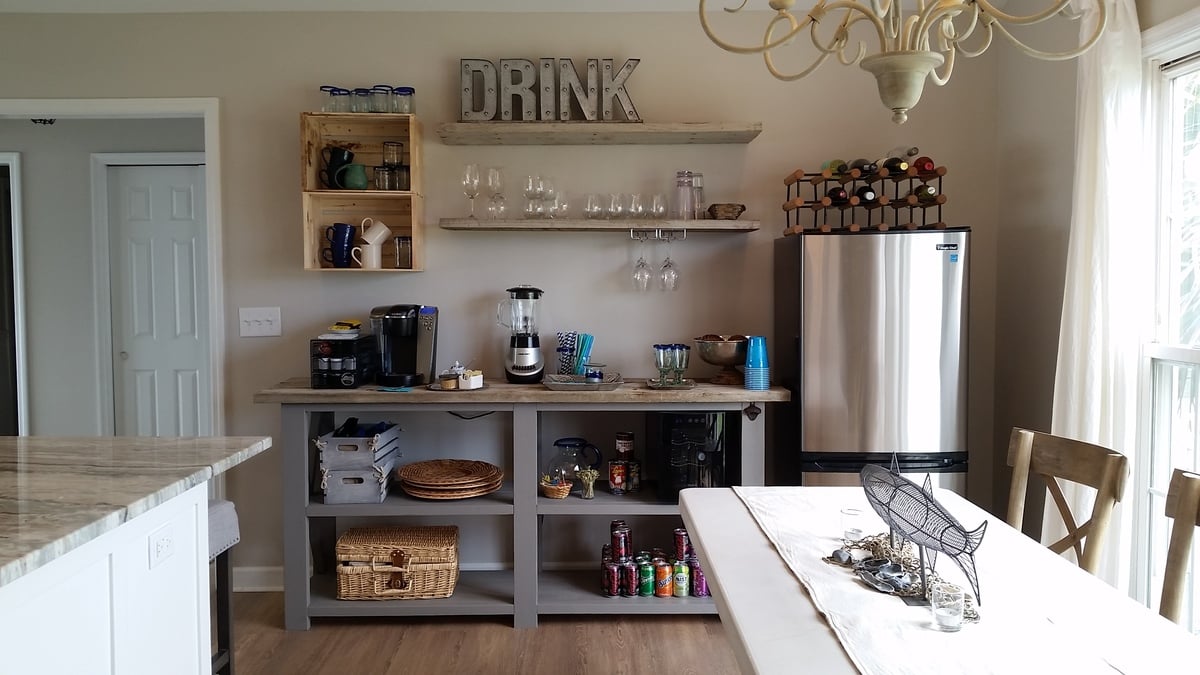
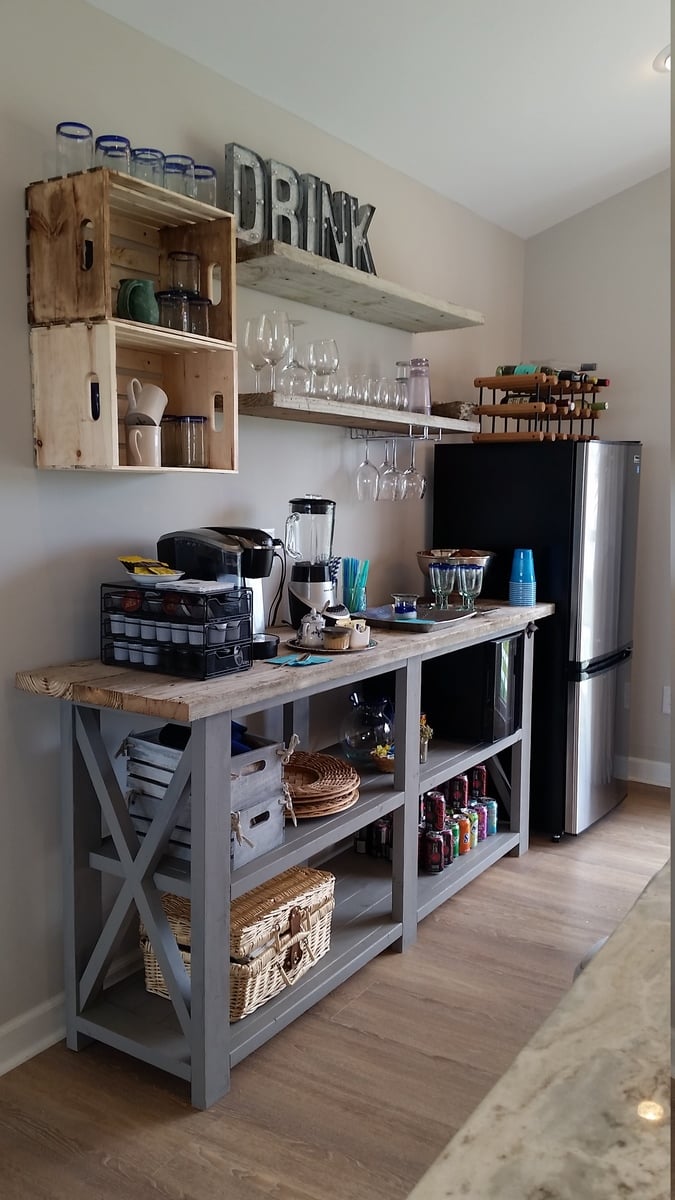
We used old dock wood for the surface of our X table for a nice beach house beverage center (sand bar!).  We adjusted the size to fit our space (a little longer and wider) and used additional studs for the shelves instead of 1" shelving, glued and PH/PS together.  To cut the X pieces I just held the 1x1 on the end of the table where it goes and marked the lines. Then I clamped a guide board at the correct angle on the table saw to make all the cuts, starting a bit long and shaving off until it just fit.  


With all the pocket holes and screws I wouldn't consider this a beginner project. Some additional steps and pictures in your description would help also.  End result is really nice.


Built from Plan(s)
Estimated Cost
$50
Estimated Time Investment
Weekend Project (10-20 Hours)
Finish Used
Patina wood from an old dock for the surface and the base is painted flat gray.
Recommended Skill Level
Intermediate

Comments

My $30 Closet Makeover!

Submitted by scokenour on Mon, 07/11/2011 - 12:57

This project is closest to the Simple Closet Organizer, but I wanted to be able to re-use the existing components of the closet. The only purchased materials were one sheet of cabinet grade plywood and dowel rod holders (since I already had paint and screws).

Estimated Cost
$30
Estimated Time Investment
Afternoon Project (3-6 Hours)
Finish Used
sand, prime, sand, paint
Recommended Skill Level
Beginner

Comments

Double Inset Bookshelf Doors

Submitted by dholubar on Wed, 08/21/2013 - 07:08

You made this project look so simple that I just had to try it. However, to suit my needs I had to make a few alterations to the plans. I had a set of bi-fold doors that were in need of replacement and I thought inset bookshelf doors would be the perfect way to replace them. This project was easy enough for me to do it myself and I am really new to the DIY game but I did have some help. I really love the way they turned out. You can read all about my my adventure at http://heresalittletmi.blogspot.com/2013/08/bookshelf-doors.html

Built from Plan(s)
Estimated Cost
$120.00
Recommended Skill Level
Beginner

Outdoor Sectional and Cocktail Ottoman

Submitted by Annacakes on Mon, 10/05/2015 - 11:48

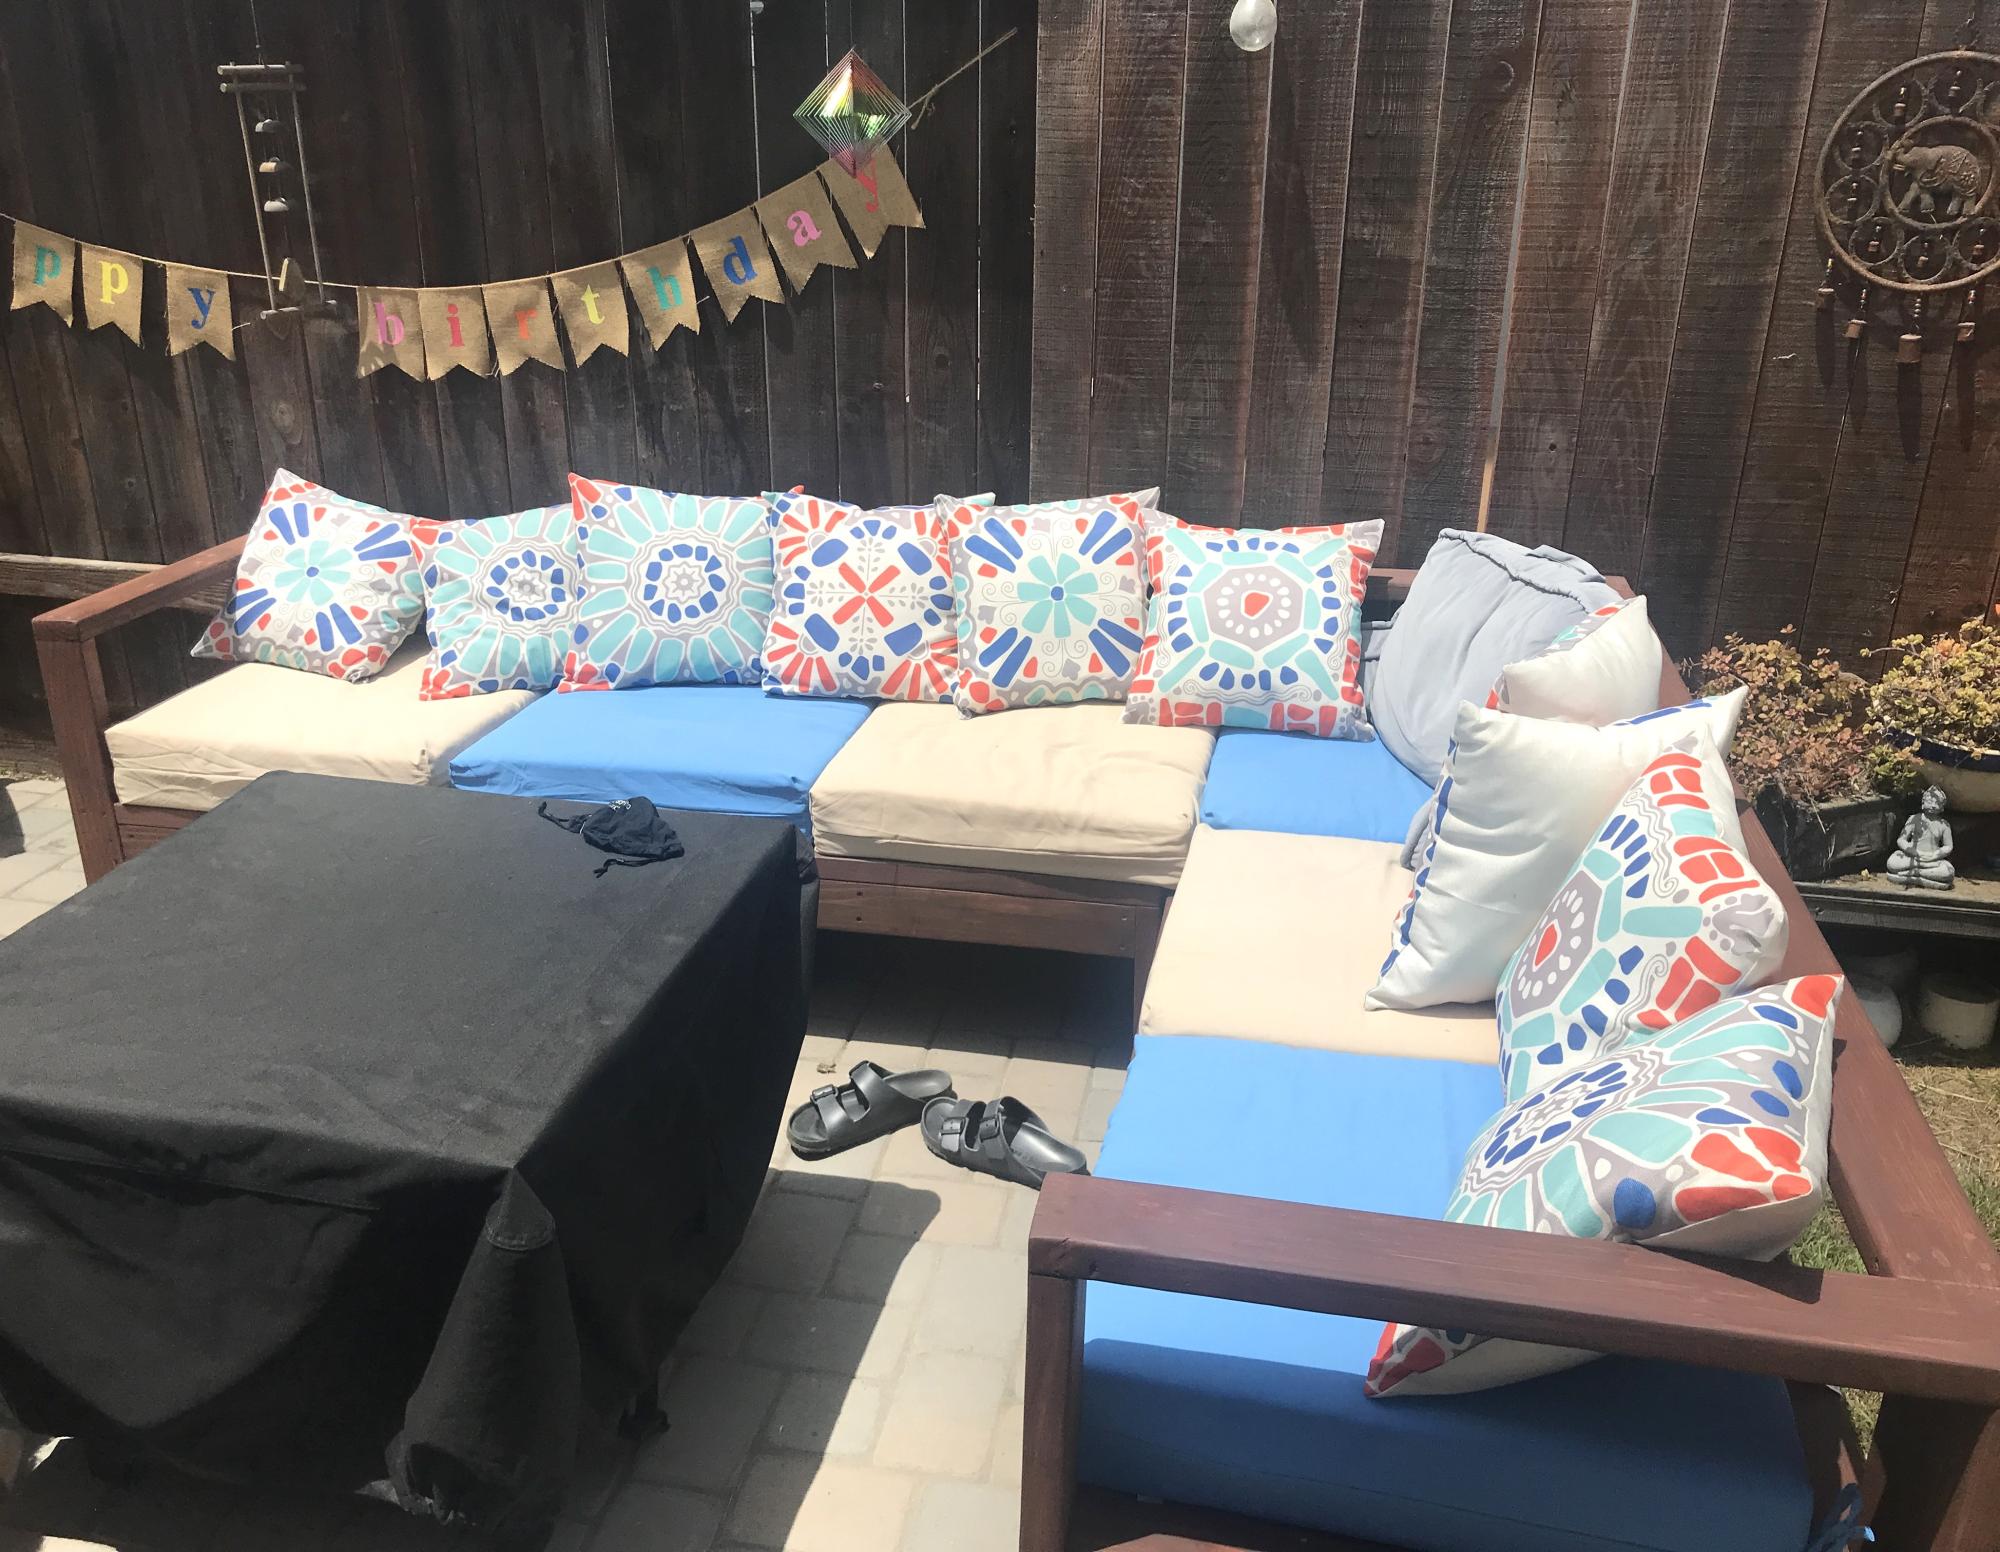
I made a few changes to Ana's plans to basically work with my cushions.  I found cushions on clearance at Ballard's Backroom.  I had to adjust the size of the sofas in order to fit the cushions.  I also adjusted the height of the sofa, as I found it to be a little higher than I would have liked.  The project took a while to complete, but it wasn't due to difficulty.  This was an easy project for a novice like myself.  I just primed every piece of wood with exterior primer and then painted the whole thing with 2 coats of exterior paint.  It was the drying time that added to the total project time.

I also made a cocktail ottoman out of a lounge chair cushion that I purchased at Ballard's.  Basically, the ottoman is a rectangular box built to the size of the cushion.  I added feet purchased at Home Depot just to make it look a little less box-like.  I applied a couple of coats of primer as well as the exterior paint to every piece.  

Estimated Cost
Not sure really, but I know it was a lot cheaper than the sectionals at the outdoor patio store down the street.
Estimated Time Investment
Weekend Project (10-20 Hours)
Finish Used
Binz Exterior Primer
Behr Ultra Exterior Paint in Satin Finish - Espresso Beans
Recommended Skill Level
Beginner

Comments

Bath cabinet, my FIRST project!

Submitted by kim french on Tue, 02/23/2016 - 13:10

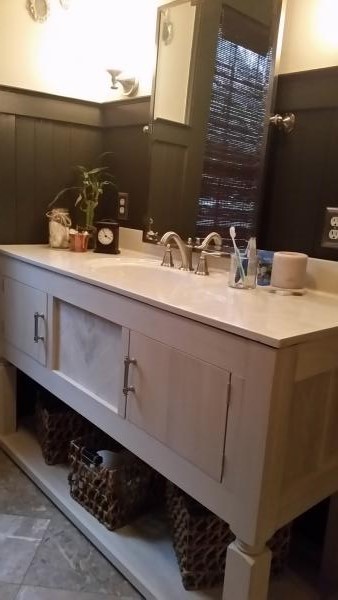
After contacting two cabinetry carpenters to do this project for me,  I came upon Ana's plan for the Momplex. I made some adjustments for my home abd surprised myself. 


My motto "what's the worse that can happen? I have to call someone! "

Built from Plan(s)
Estimated Cost
$500
Estimated Time Investment
Weekend Project (10-20 Hours)
Finish Used
Tinted kilz diluted with mineral spirits.
Recommended Skill Level
Starter Project

Comments

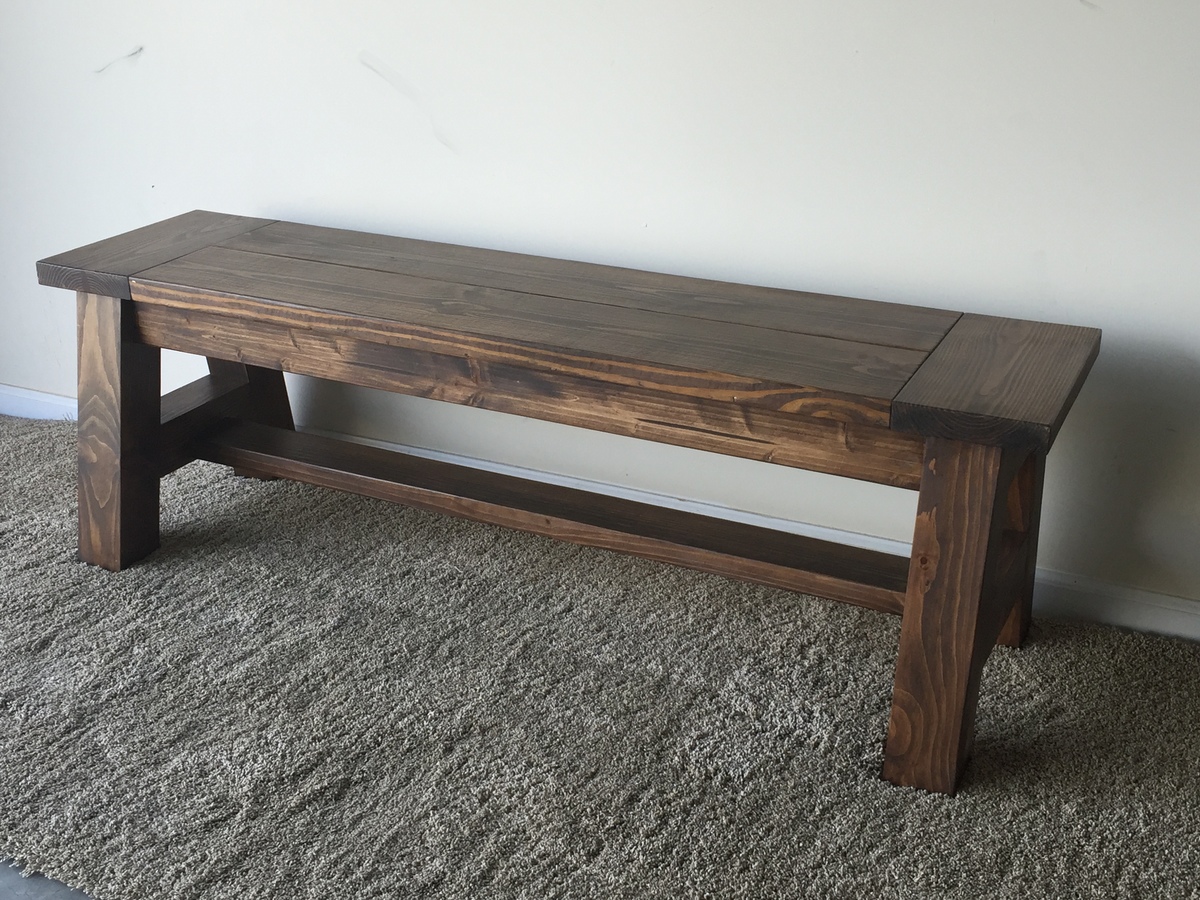
Bench with A Frame Ends

Submitted by AndyH on Tue, 03/29/2016 - 17:54

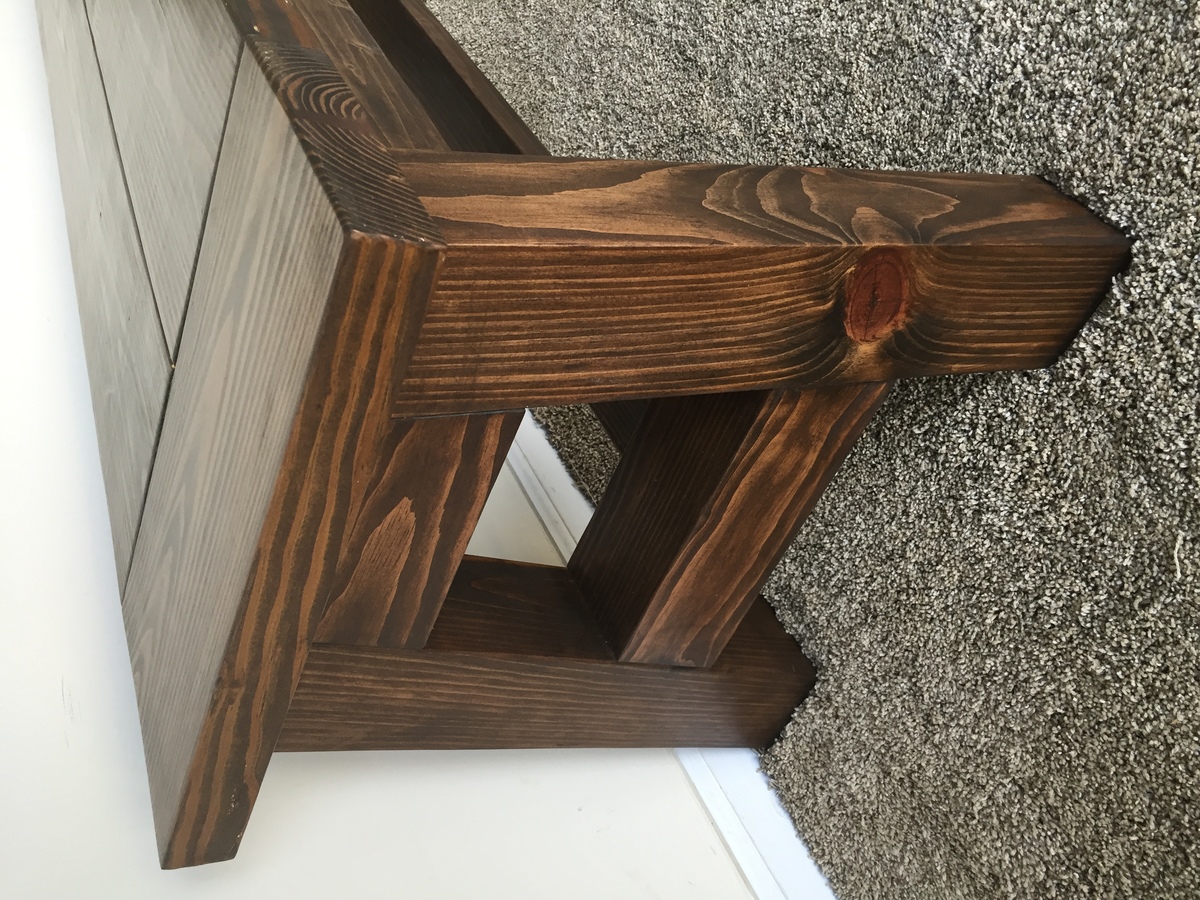
Bench made with A frame ends. 5 feet long, 17 inches high and 14.5 inches wide.

Estimated Cost
$30
Estimated Time Investment
Afternoon Project (3-6 Hours)
Finish Used
Varathane Kona and three coats of satin protector.
Recommended Skill Level
Beginner

Mary's sewing table

Submitted by Anonymous (not verified) on Mon, 12/23/2019 - 20:52

Built using your sewing table as the base idea. Pine cabinet, drawers and drawer fronts. The top is Hickory, poplar and red oak. base top dimension is 30x30 and folds out to 30x90. Mary will get this as a surprise on Christmas day. Cabinet and to is Varathane 3x. Casters are from Woodcraft and drawer slides are Hickory Hardware.

Built from Plan(s)
Estimated Cost
250.00
Estimated Time Investment
Week Long Project (20 Hours or More)
Finish Used
Varathane 3x
Recommended Skill Level
Intermediate

Comments

Mudroom Bench with Easy Drawers

Submitted by GeekAthair on Mon, 01/06/2020 - 20:12

We've been desperate for more storage in our little house and this build really helped. The whole bench is 103“ wide and each drawer gives us 24"x17" of usable space. We had to do some custom shaping for the benchtop (two joined fir 2x12's) fit as the walls are not square but in the end we were really pleased.
The hardest part of the project was getting all of this built and in place while working around a busy family as this is our only meal space and the majority of cutting/forming was done either on the weekends or after bedtimes. If I were to do this again I'd prioritize sending the kids to grandparents for the weekend and know king everything except for paint out in one go. 

We could have spent less time with the benchtop by using plywood like in the plans but we wanted the look of a separate benchtop. We may replace the fir with stained oak down the line but this should be plenty sturdy for the next several years. 

Built from Plan(s)
Estimated Cost
$300
Estimated Time Investment
Week Long Project (20 Hours or More)
Finish Used
Valspar paint, minwax clear poly
Recommended Skill Level
Intermediate

Comments

Rustic Countertop Organizer

Submitted by Anonymous (not verified) on Tue, 09/12/2023 - 10:14

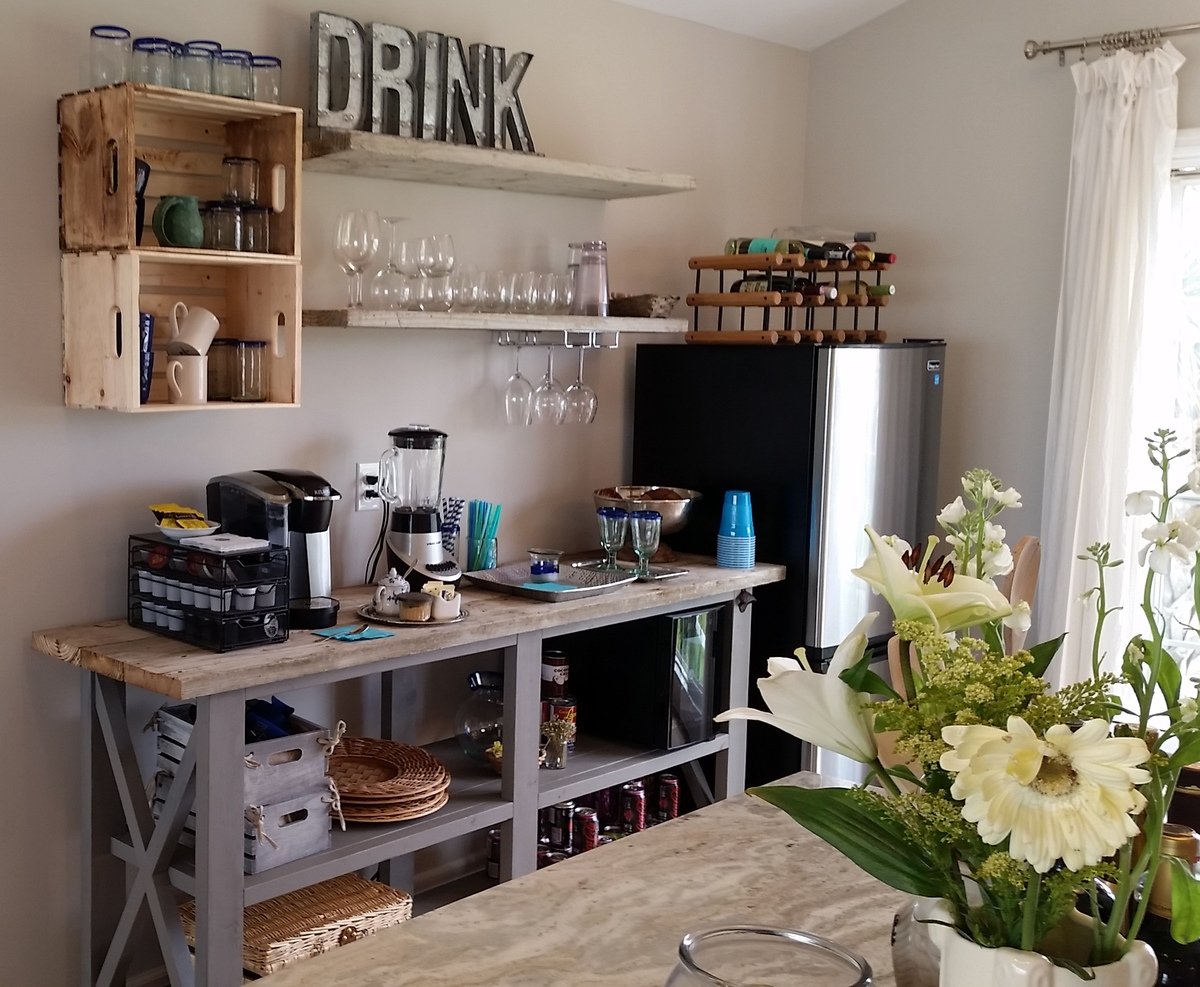
This is such a cute countertop organizer !  The possibilities for this are endless - maybe a tea / coffee bar or a hot chocolate bar - a breakfast bar or a snack bar ..... I may need to make another one...and definitely one for the bathroom !
.
The shelves slide to change the width or turn one and it becomes a corner piece!
 

Built from Plan(s)

Comments

Rustic bookcase

Submitted by kschuck on Sun, 02/02/2014 - 15:41

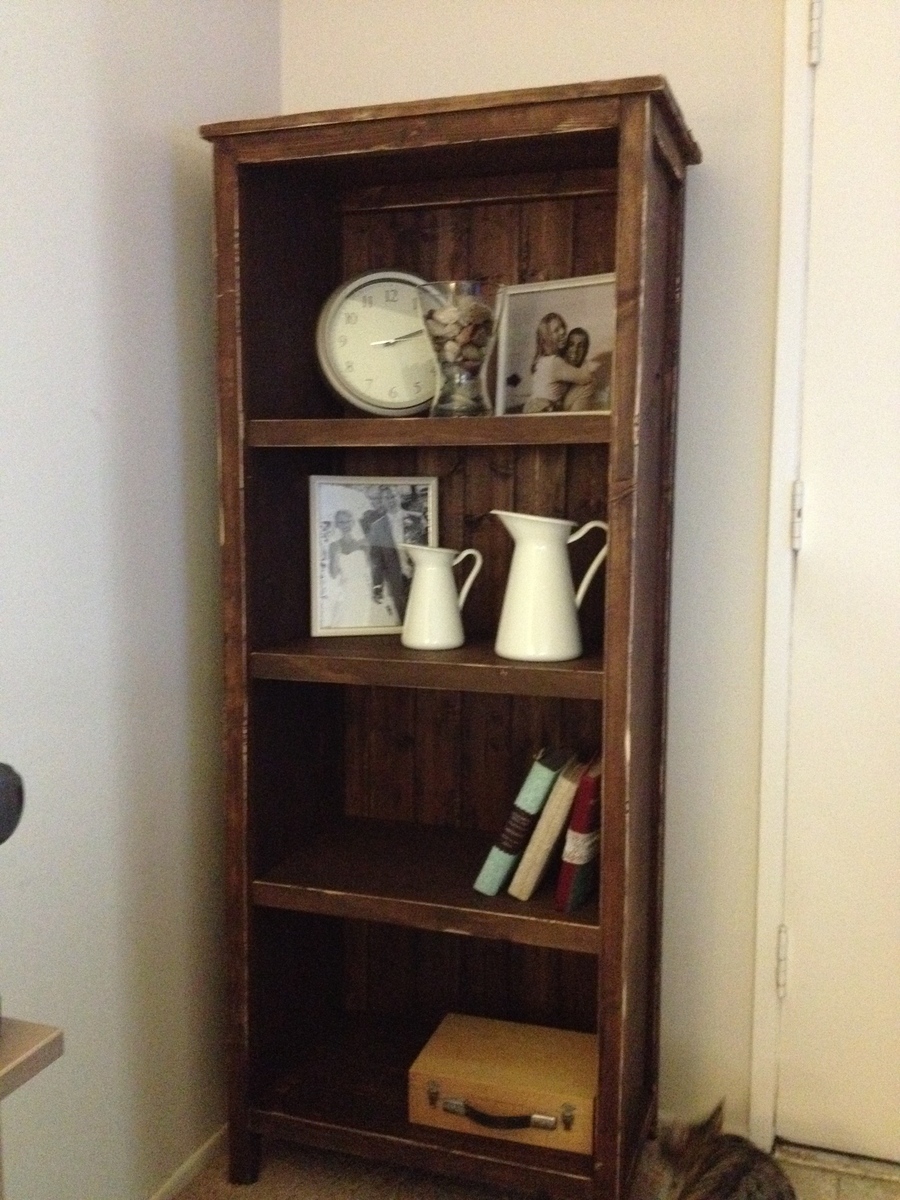
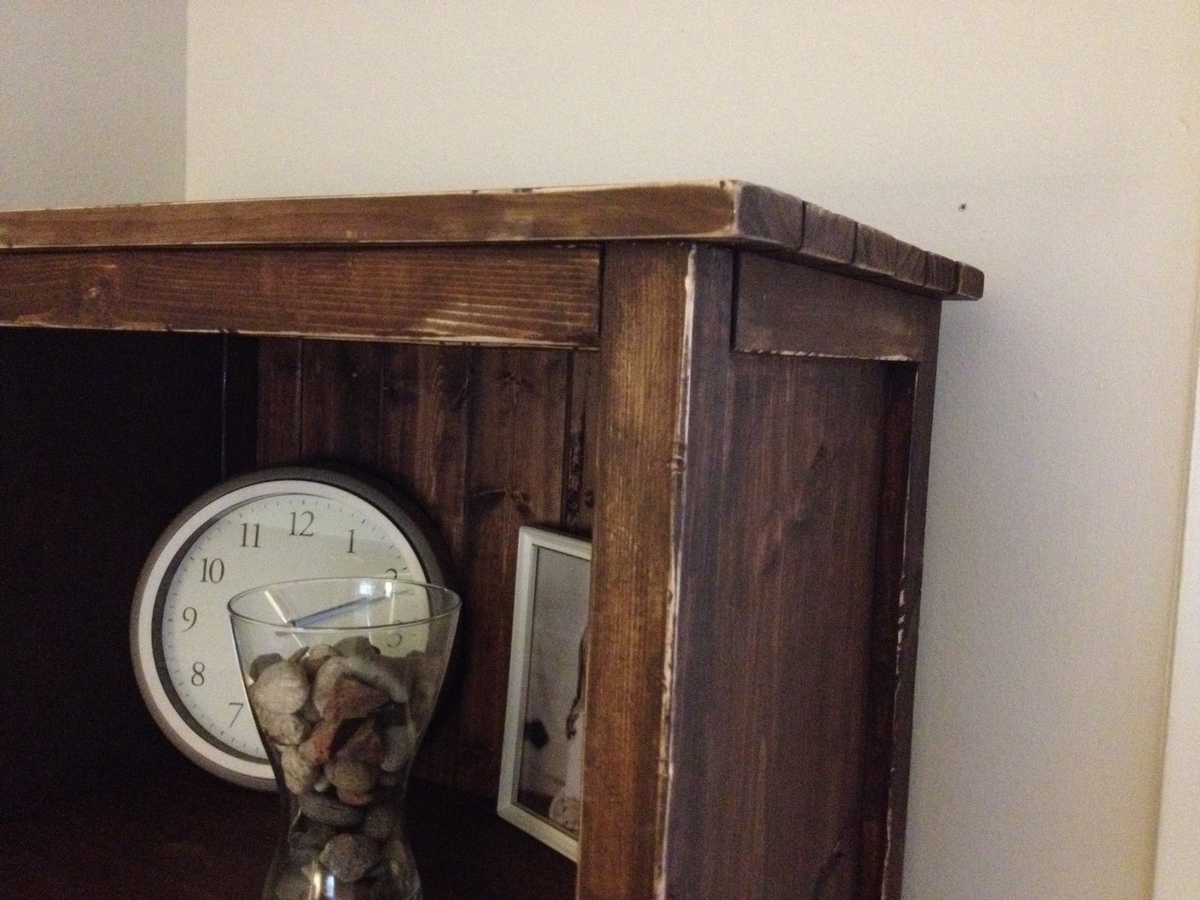
This was the first project my husband and I built from scratch. We experimented with our brand new Kregg Jig for a little while until we felt comfortable with it, and then nervously got started. Surprisingly, the only mishap we had was that we (ok, I) accidentally bought 1X10's instead of the 1X12's. Nothing a quick trip to Home Depot won't fix! We followed Ana's directions exactly, and definitely recommend the Kreg Jig! Our neighbor is a contract worker, and he was pretty impressed at how sturdy the bookcase was. The only part that gave us a little trouble was that our planking on the back (from Lowes), was a little too wide, so we had to trim it down a bit. This was also my first time staining, but thankfully I was going for the rustic look, so I just sanded off the corners and any weird spots.

Estimated Time Investment
Weekend Project (10-20 Hours)
Finish Used
Stained with Rustoleum Dark Walnut and finished with Minwax finishing paste wax
Recommended Skill Level
Beginner

Barn Door Bookcase/ Side Pantry

Submitted by BmoreITguy on Wed, 04/22/2020 - 05:57

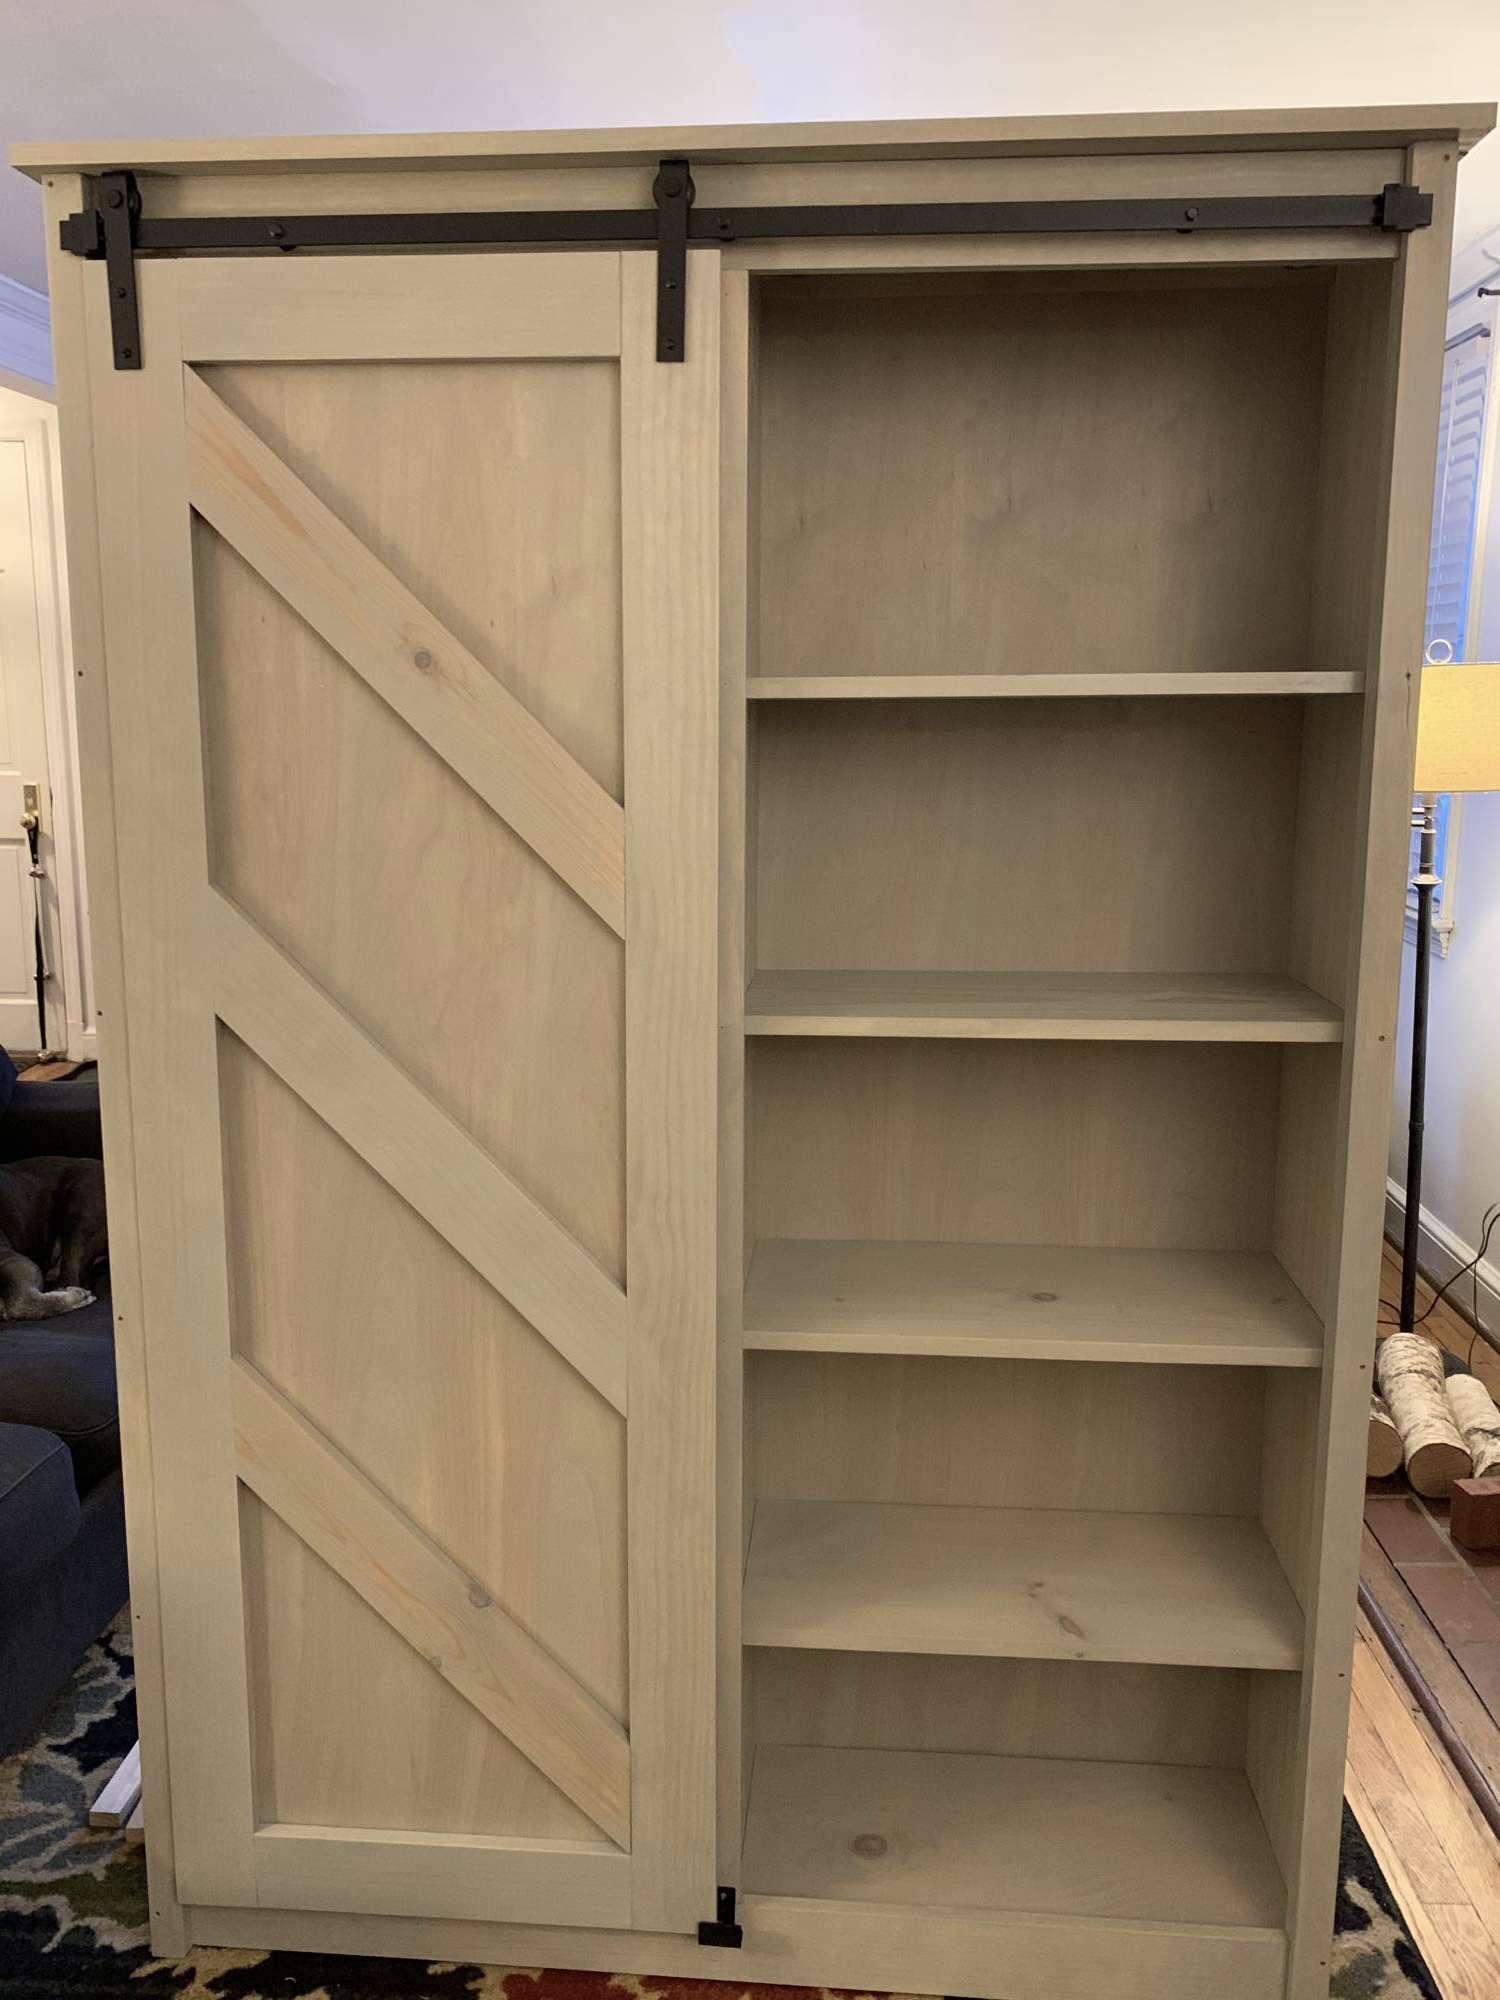
This took a lot of time and money but I like the way it looks. We have 4 kitchen cabinets and one drawer and no room for more so storage is tight.

Built from Plan(s)
Estimated Cost
400
Estimated Time Investment
Week Long Project (20 Hours or More)
Finish Used
Same as Ana’s
Recommended Skill Level
Advanced

Comments

BmoreITguy

Wed, 04/22/2020 - 06:00

Why is my picture sideways? Ana, one of the most frustrating things with this build was the mobile version of your site. Very laggy, typing lags, pages crash in the middle of typing or viewing and persistent ads are a nightmare
Outdoor Sofa Mash-up

Submitted by Anonymous (not verified) on Thu, 06/30/2016 - 19:51

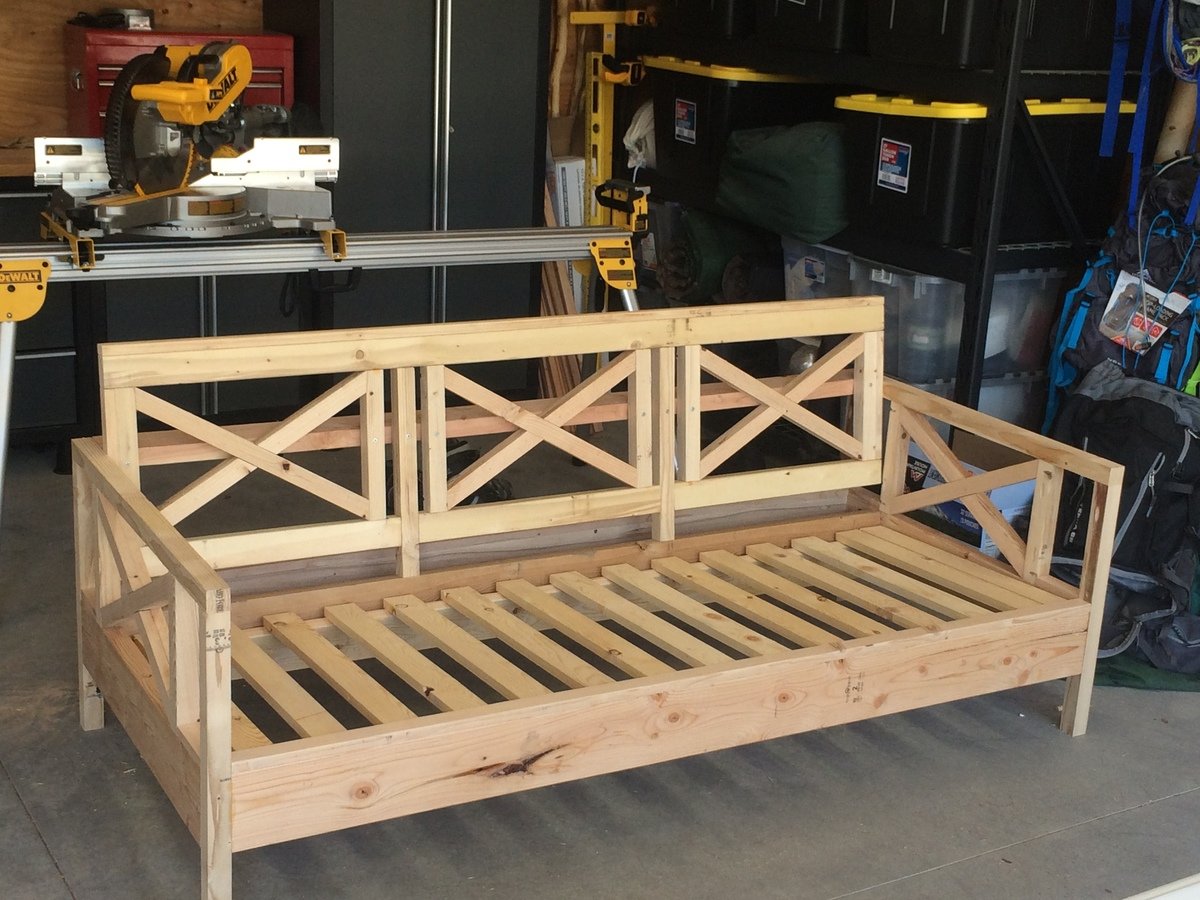
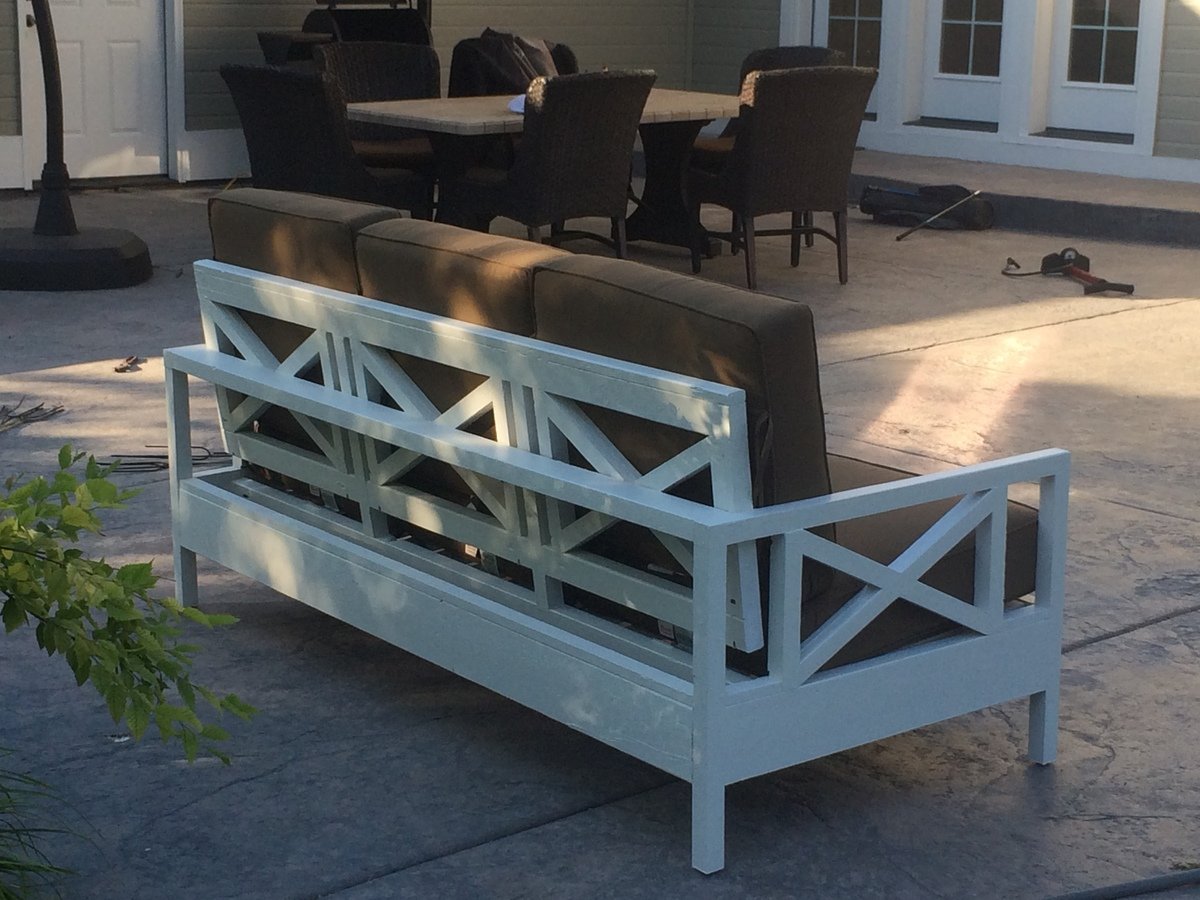
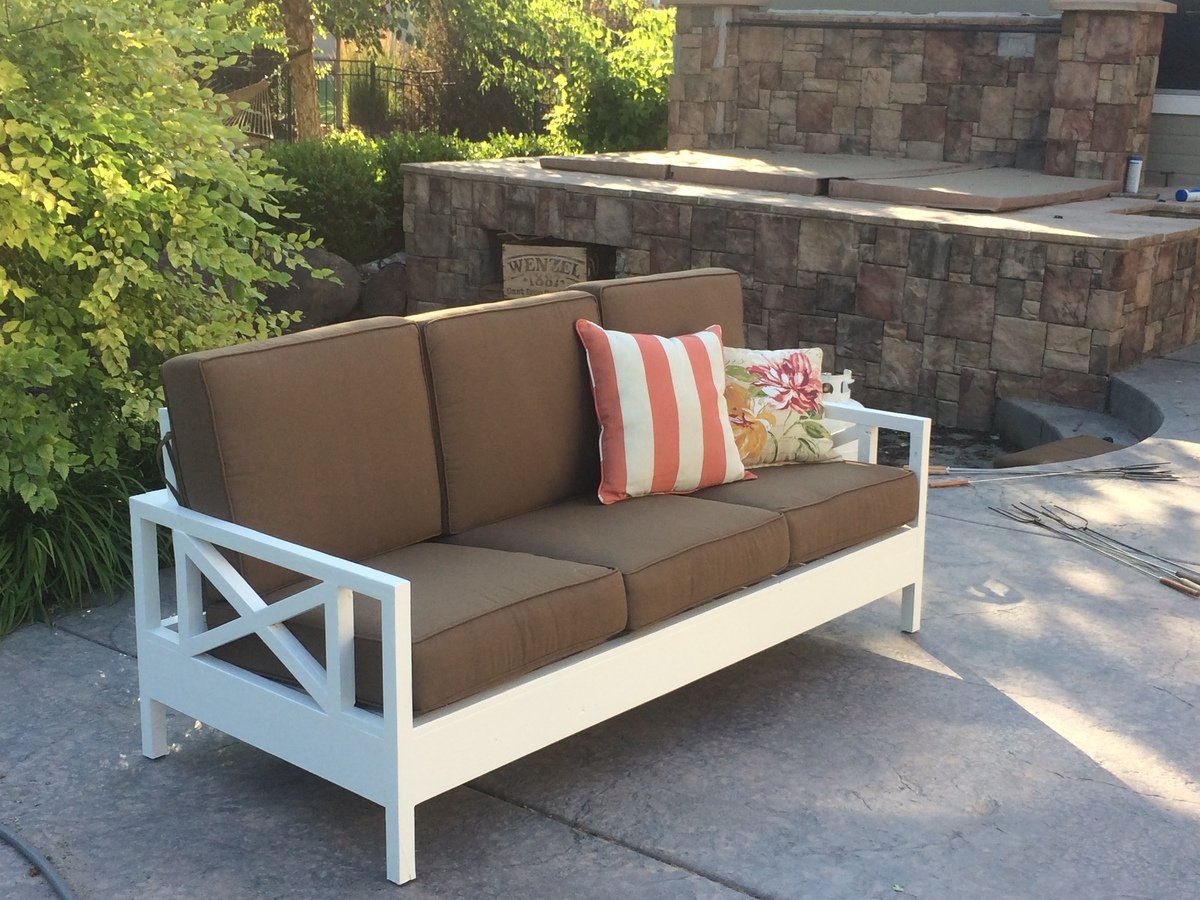
My wife loves the X pattern of the Weatherly Sofa, but wanted the tilted back from the Simple White Outdoor Sofa. This was our best of both worlds effort!
Estimated Cost
$85 for lumber and materials without cushions.
Estimated Time Investment
Afternoon Project (3-6 Hours)
Finish Used
Primer and outdoor paint.
Recommended Skill Level
Beginner

Comments

Katie.Belmont88

Wed, 07/06/2016 - 19:18

I love this! I was so excited until I realized that this was a brag and didn't have plans. I don't know if I'm as talented at modifying as you are. :)

Seasonal And Holiday