Community Brag Posts

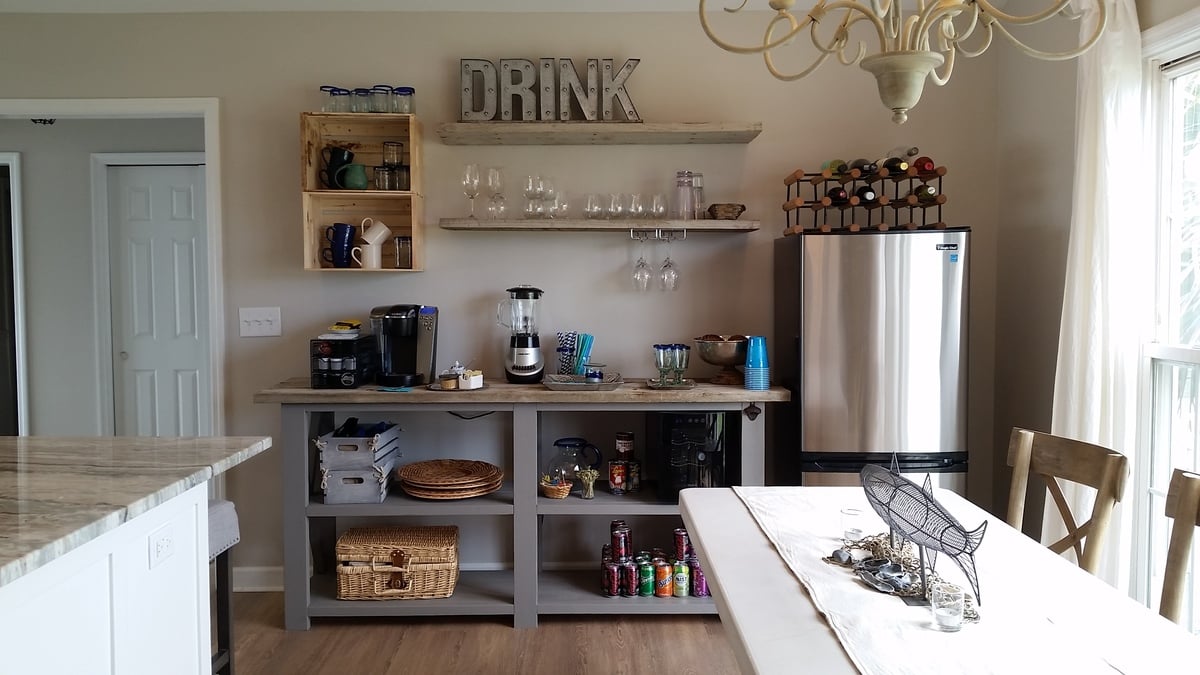
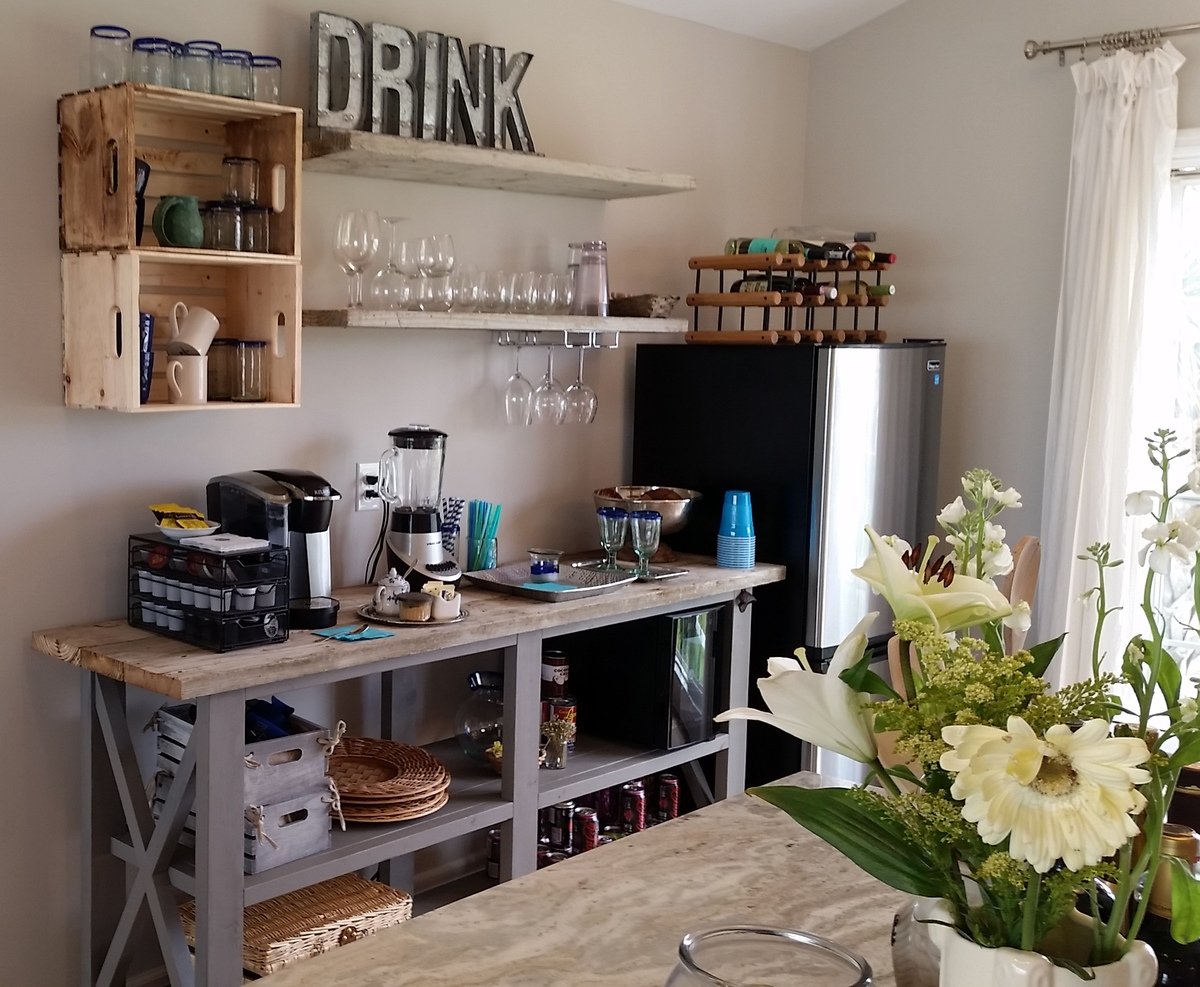
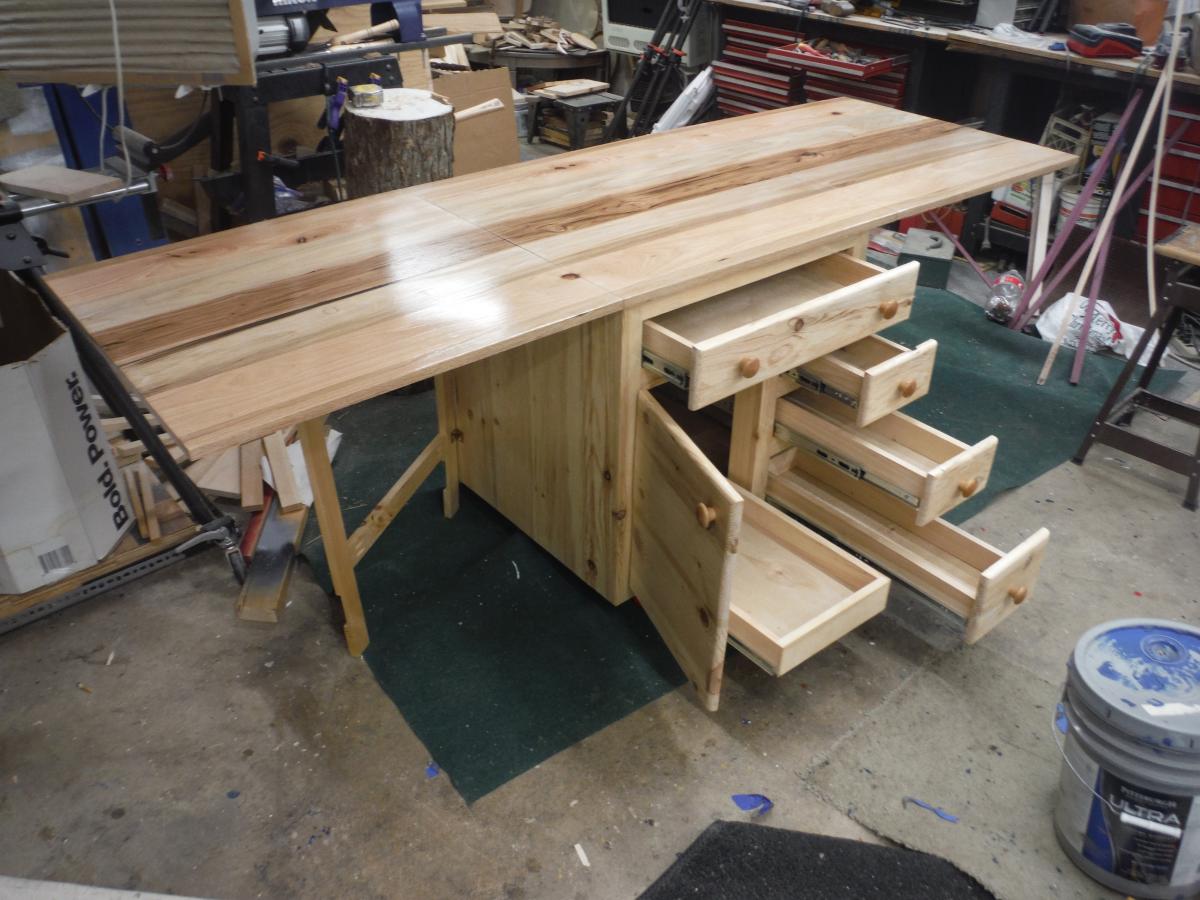
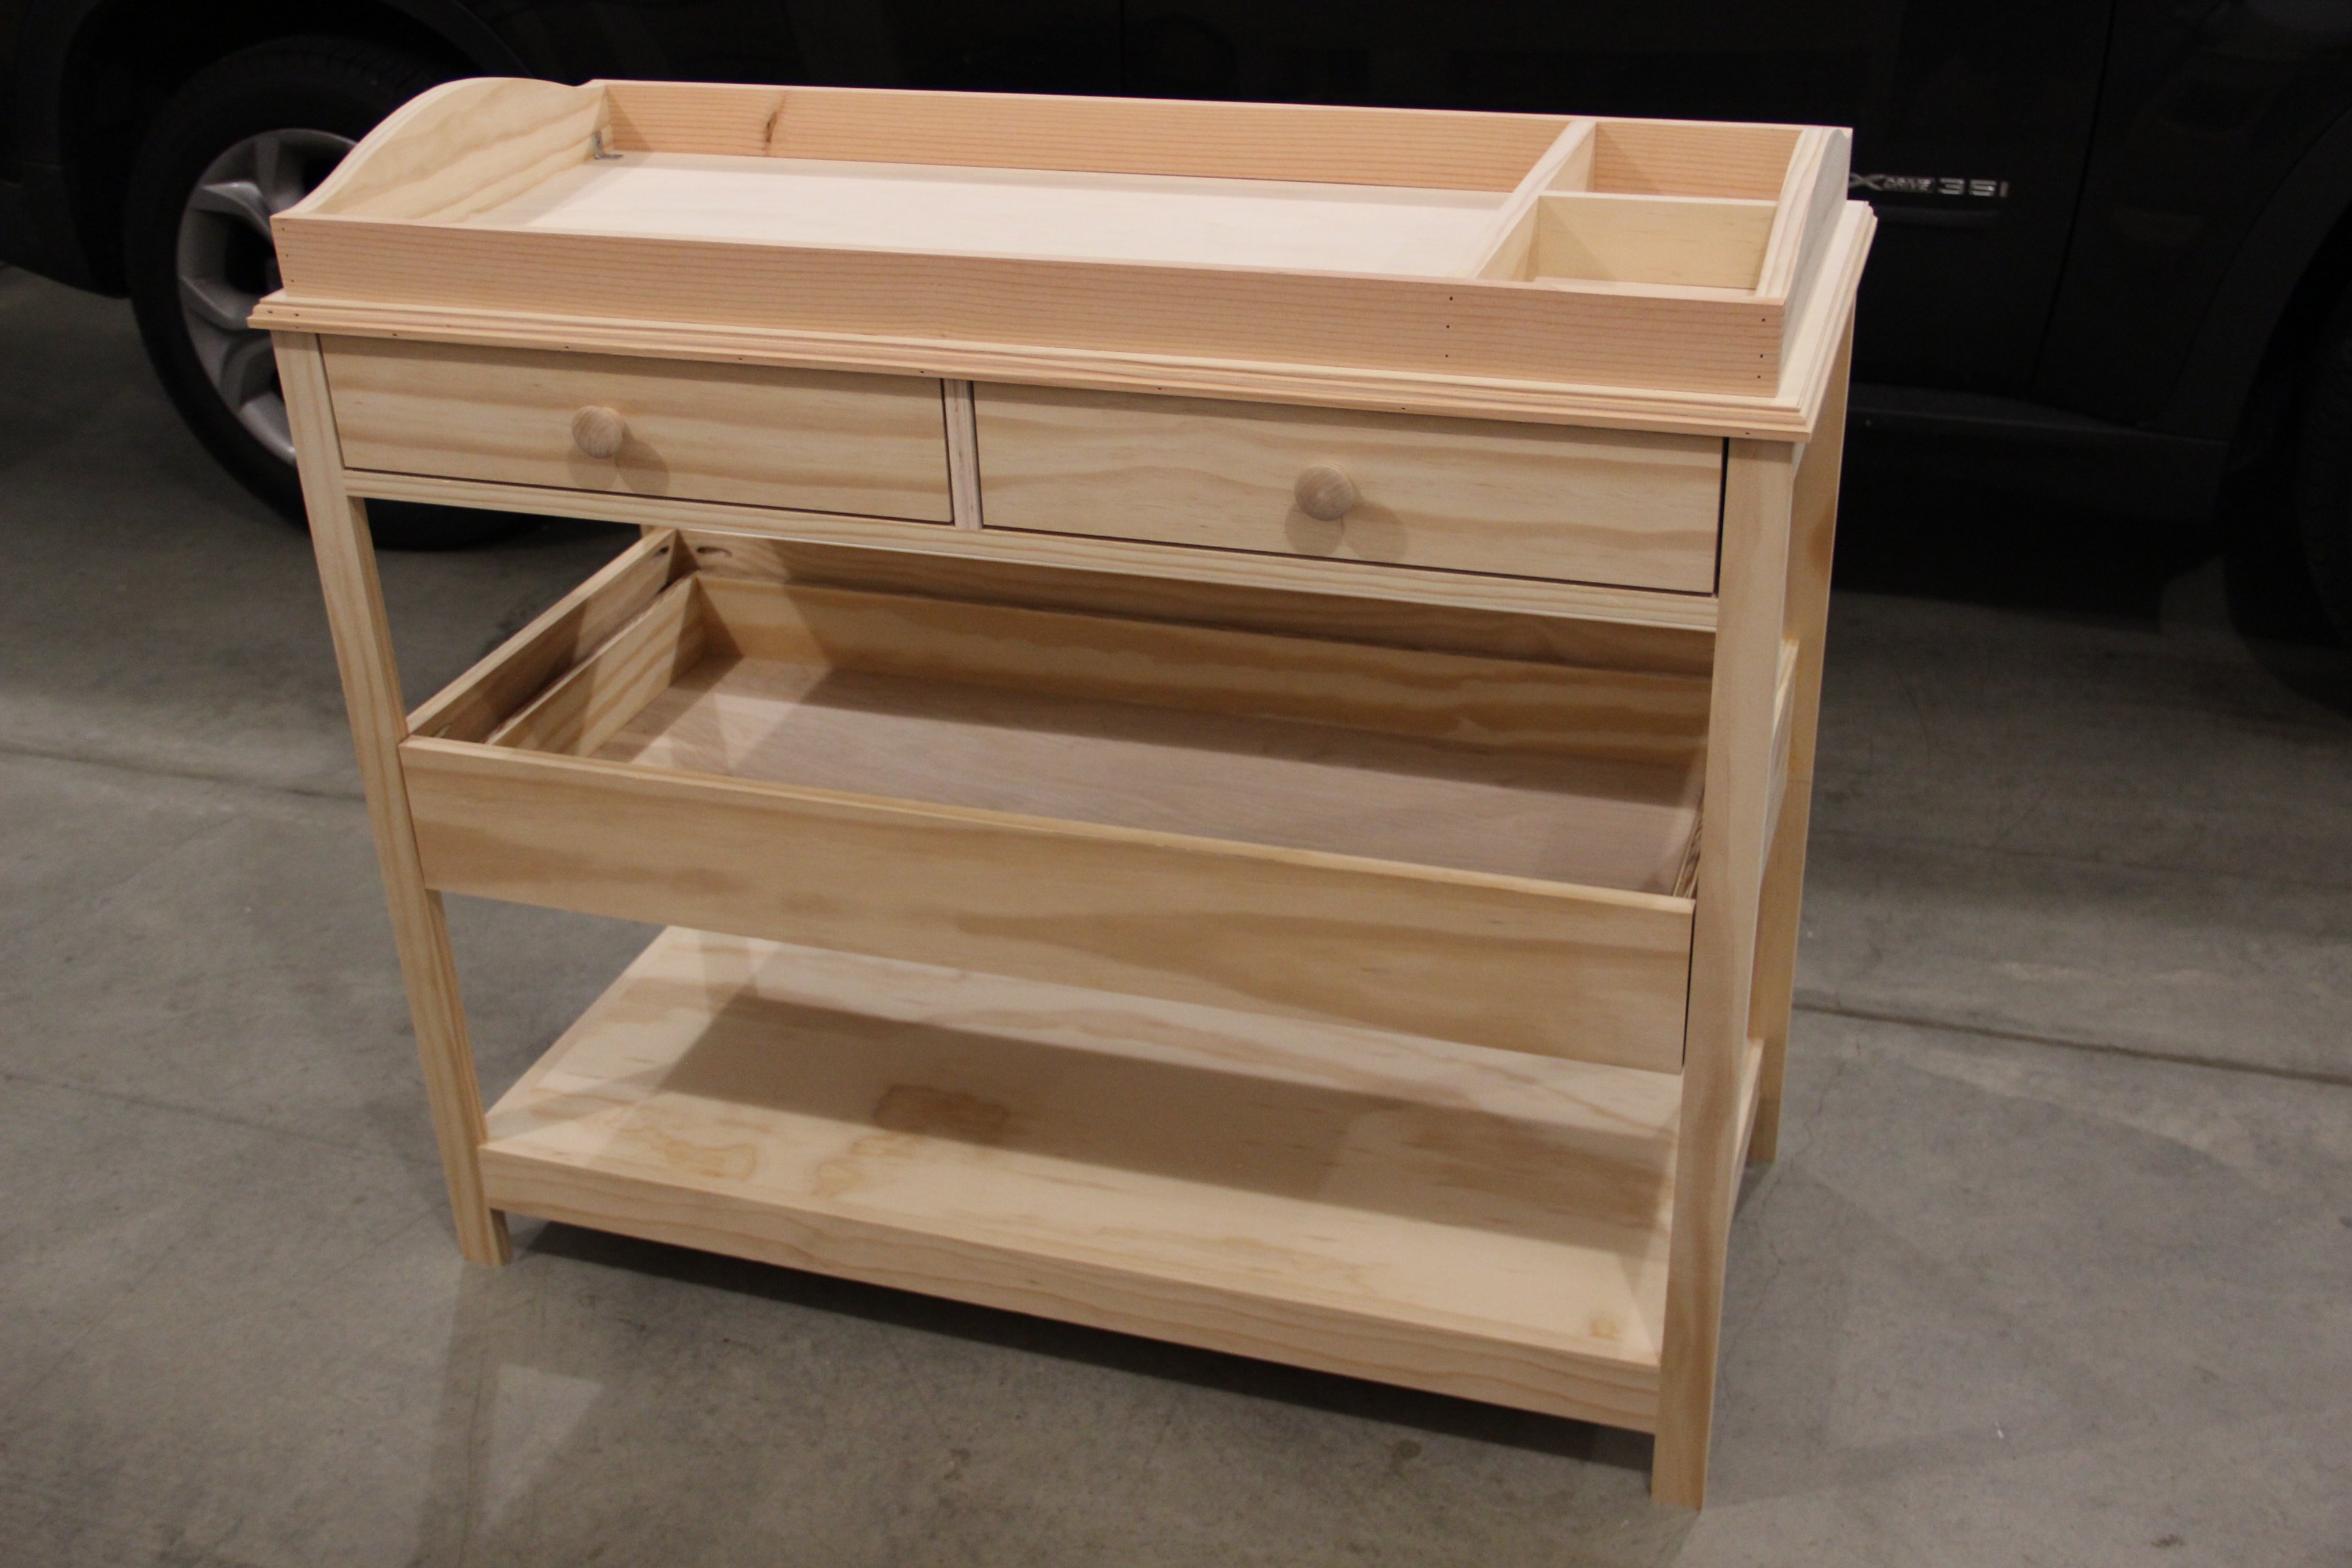
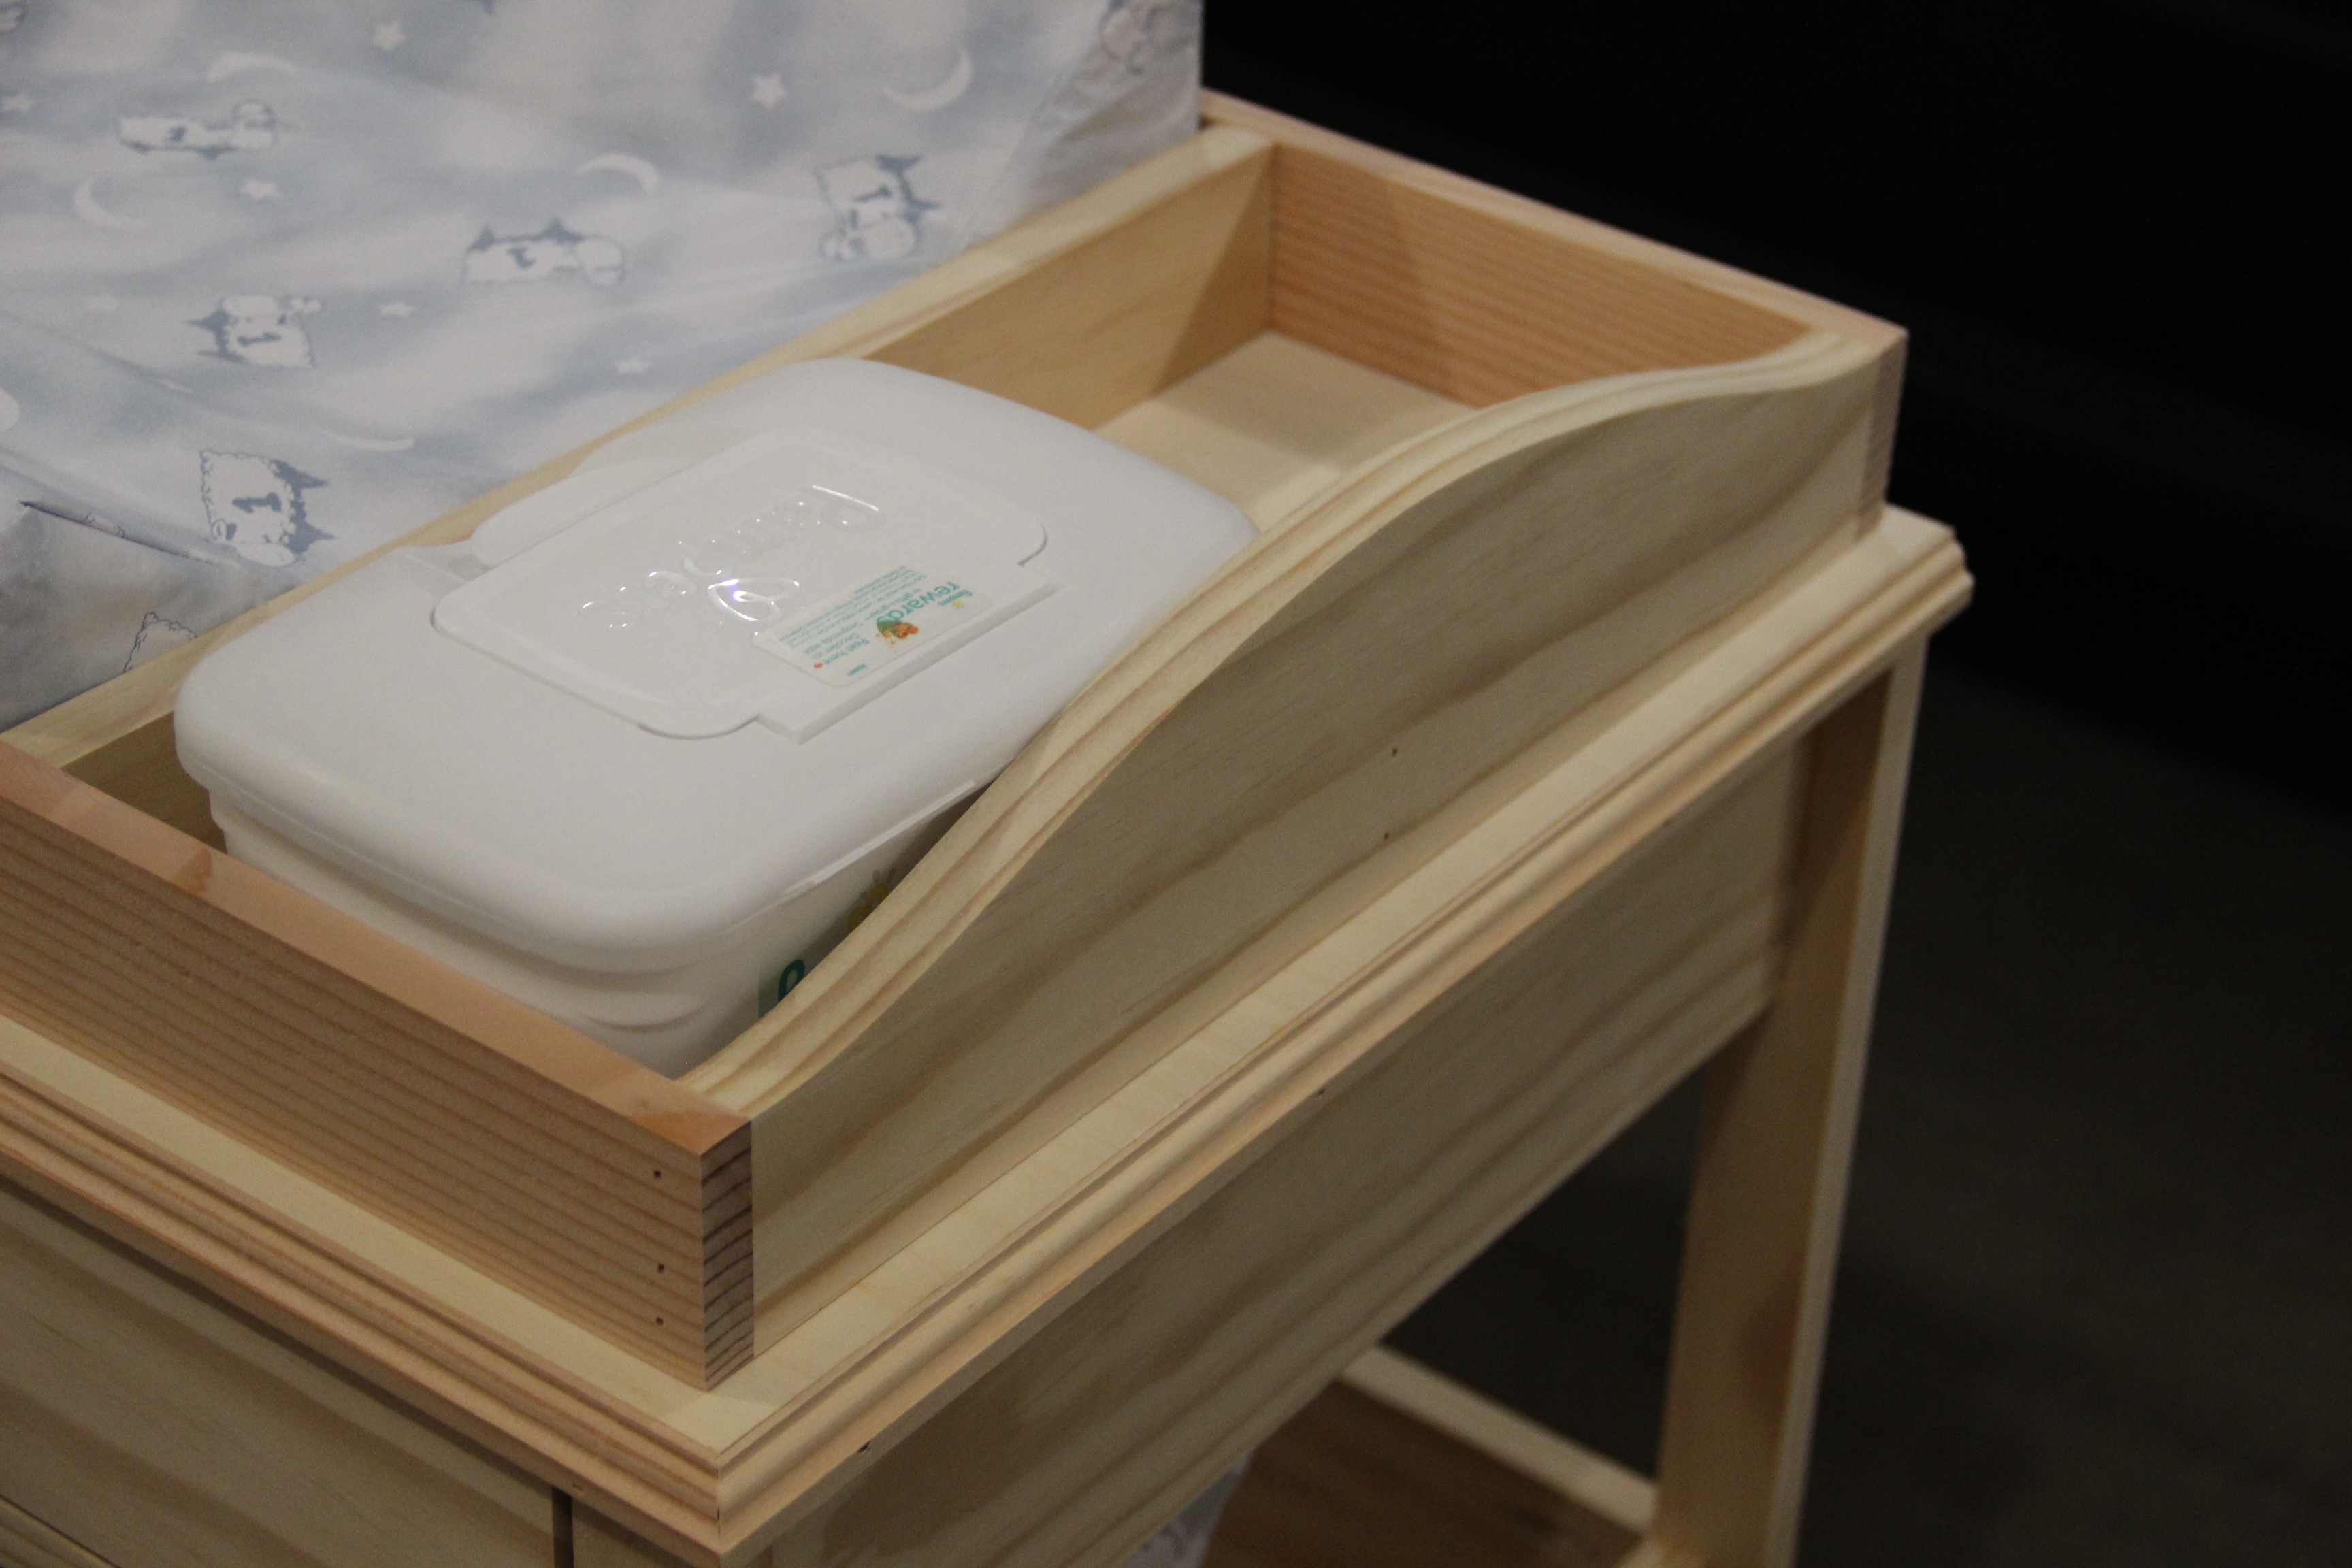
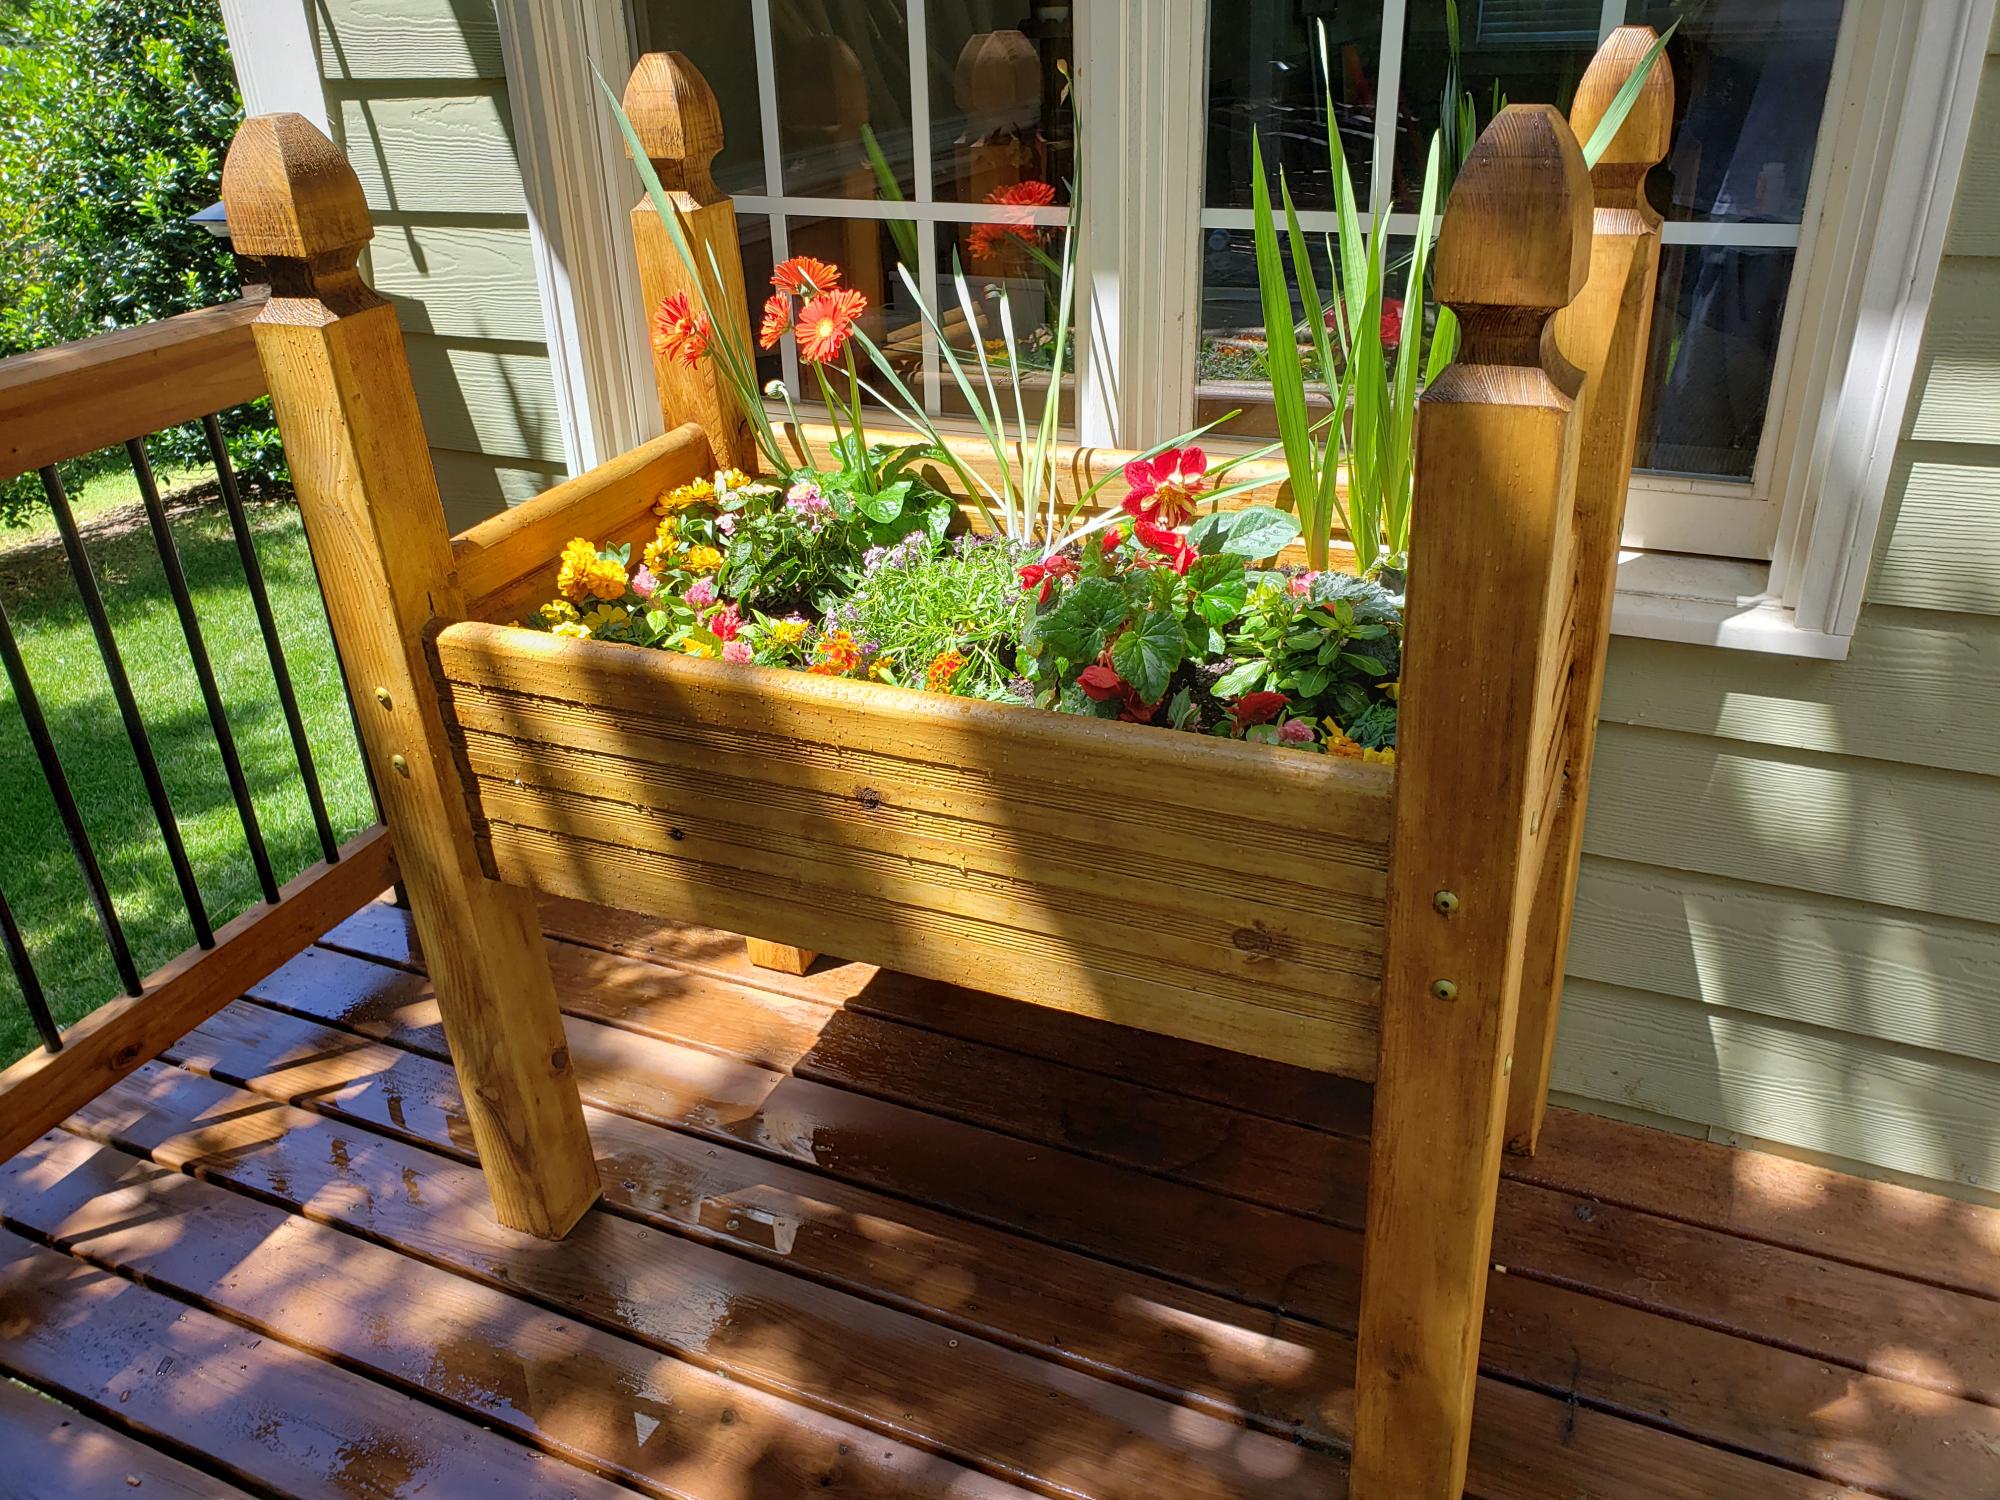
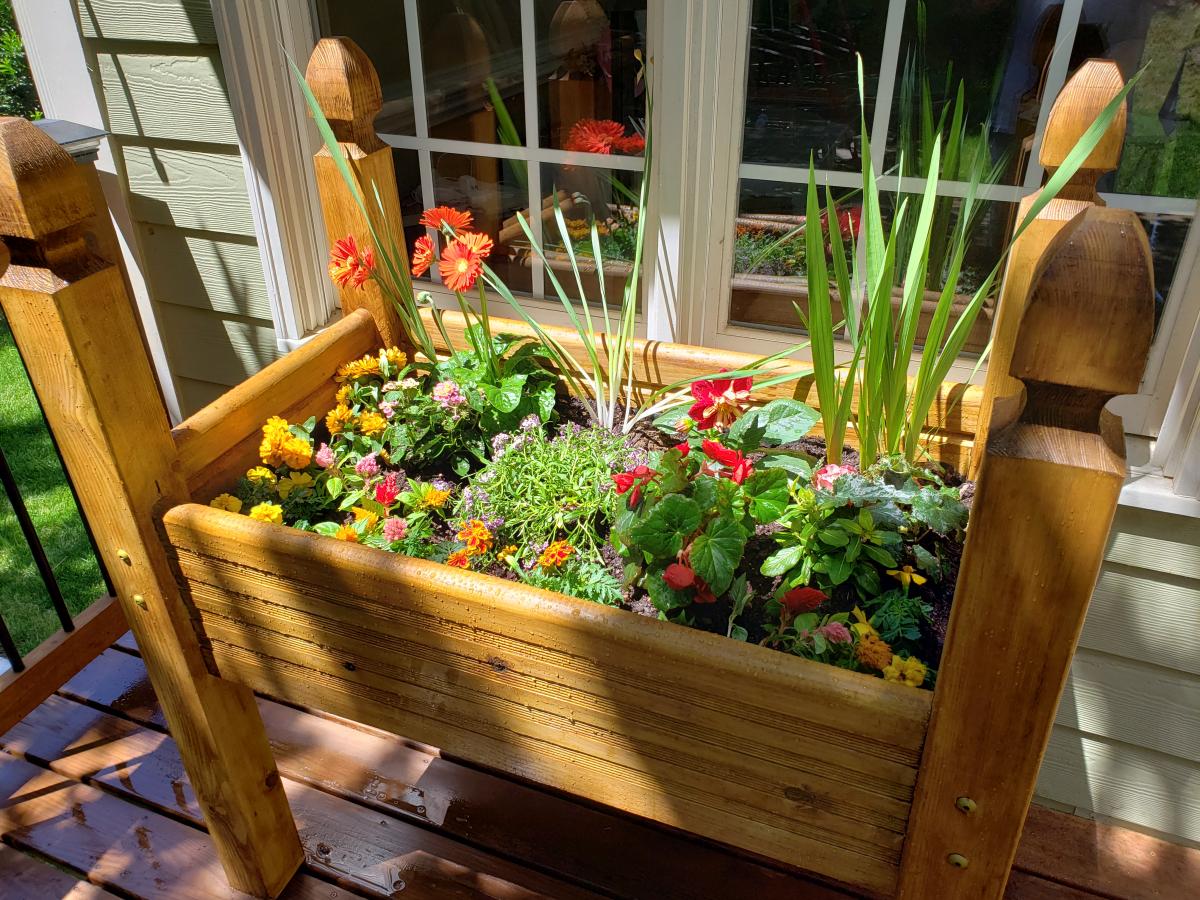
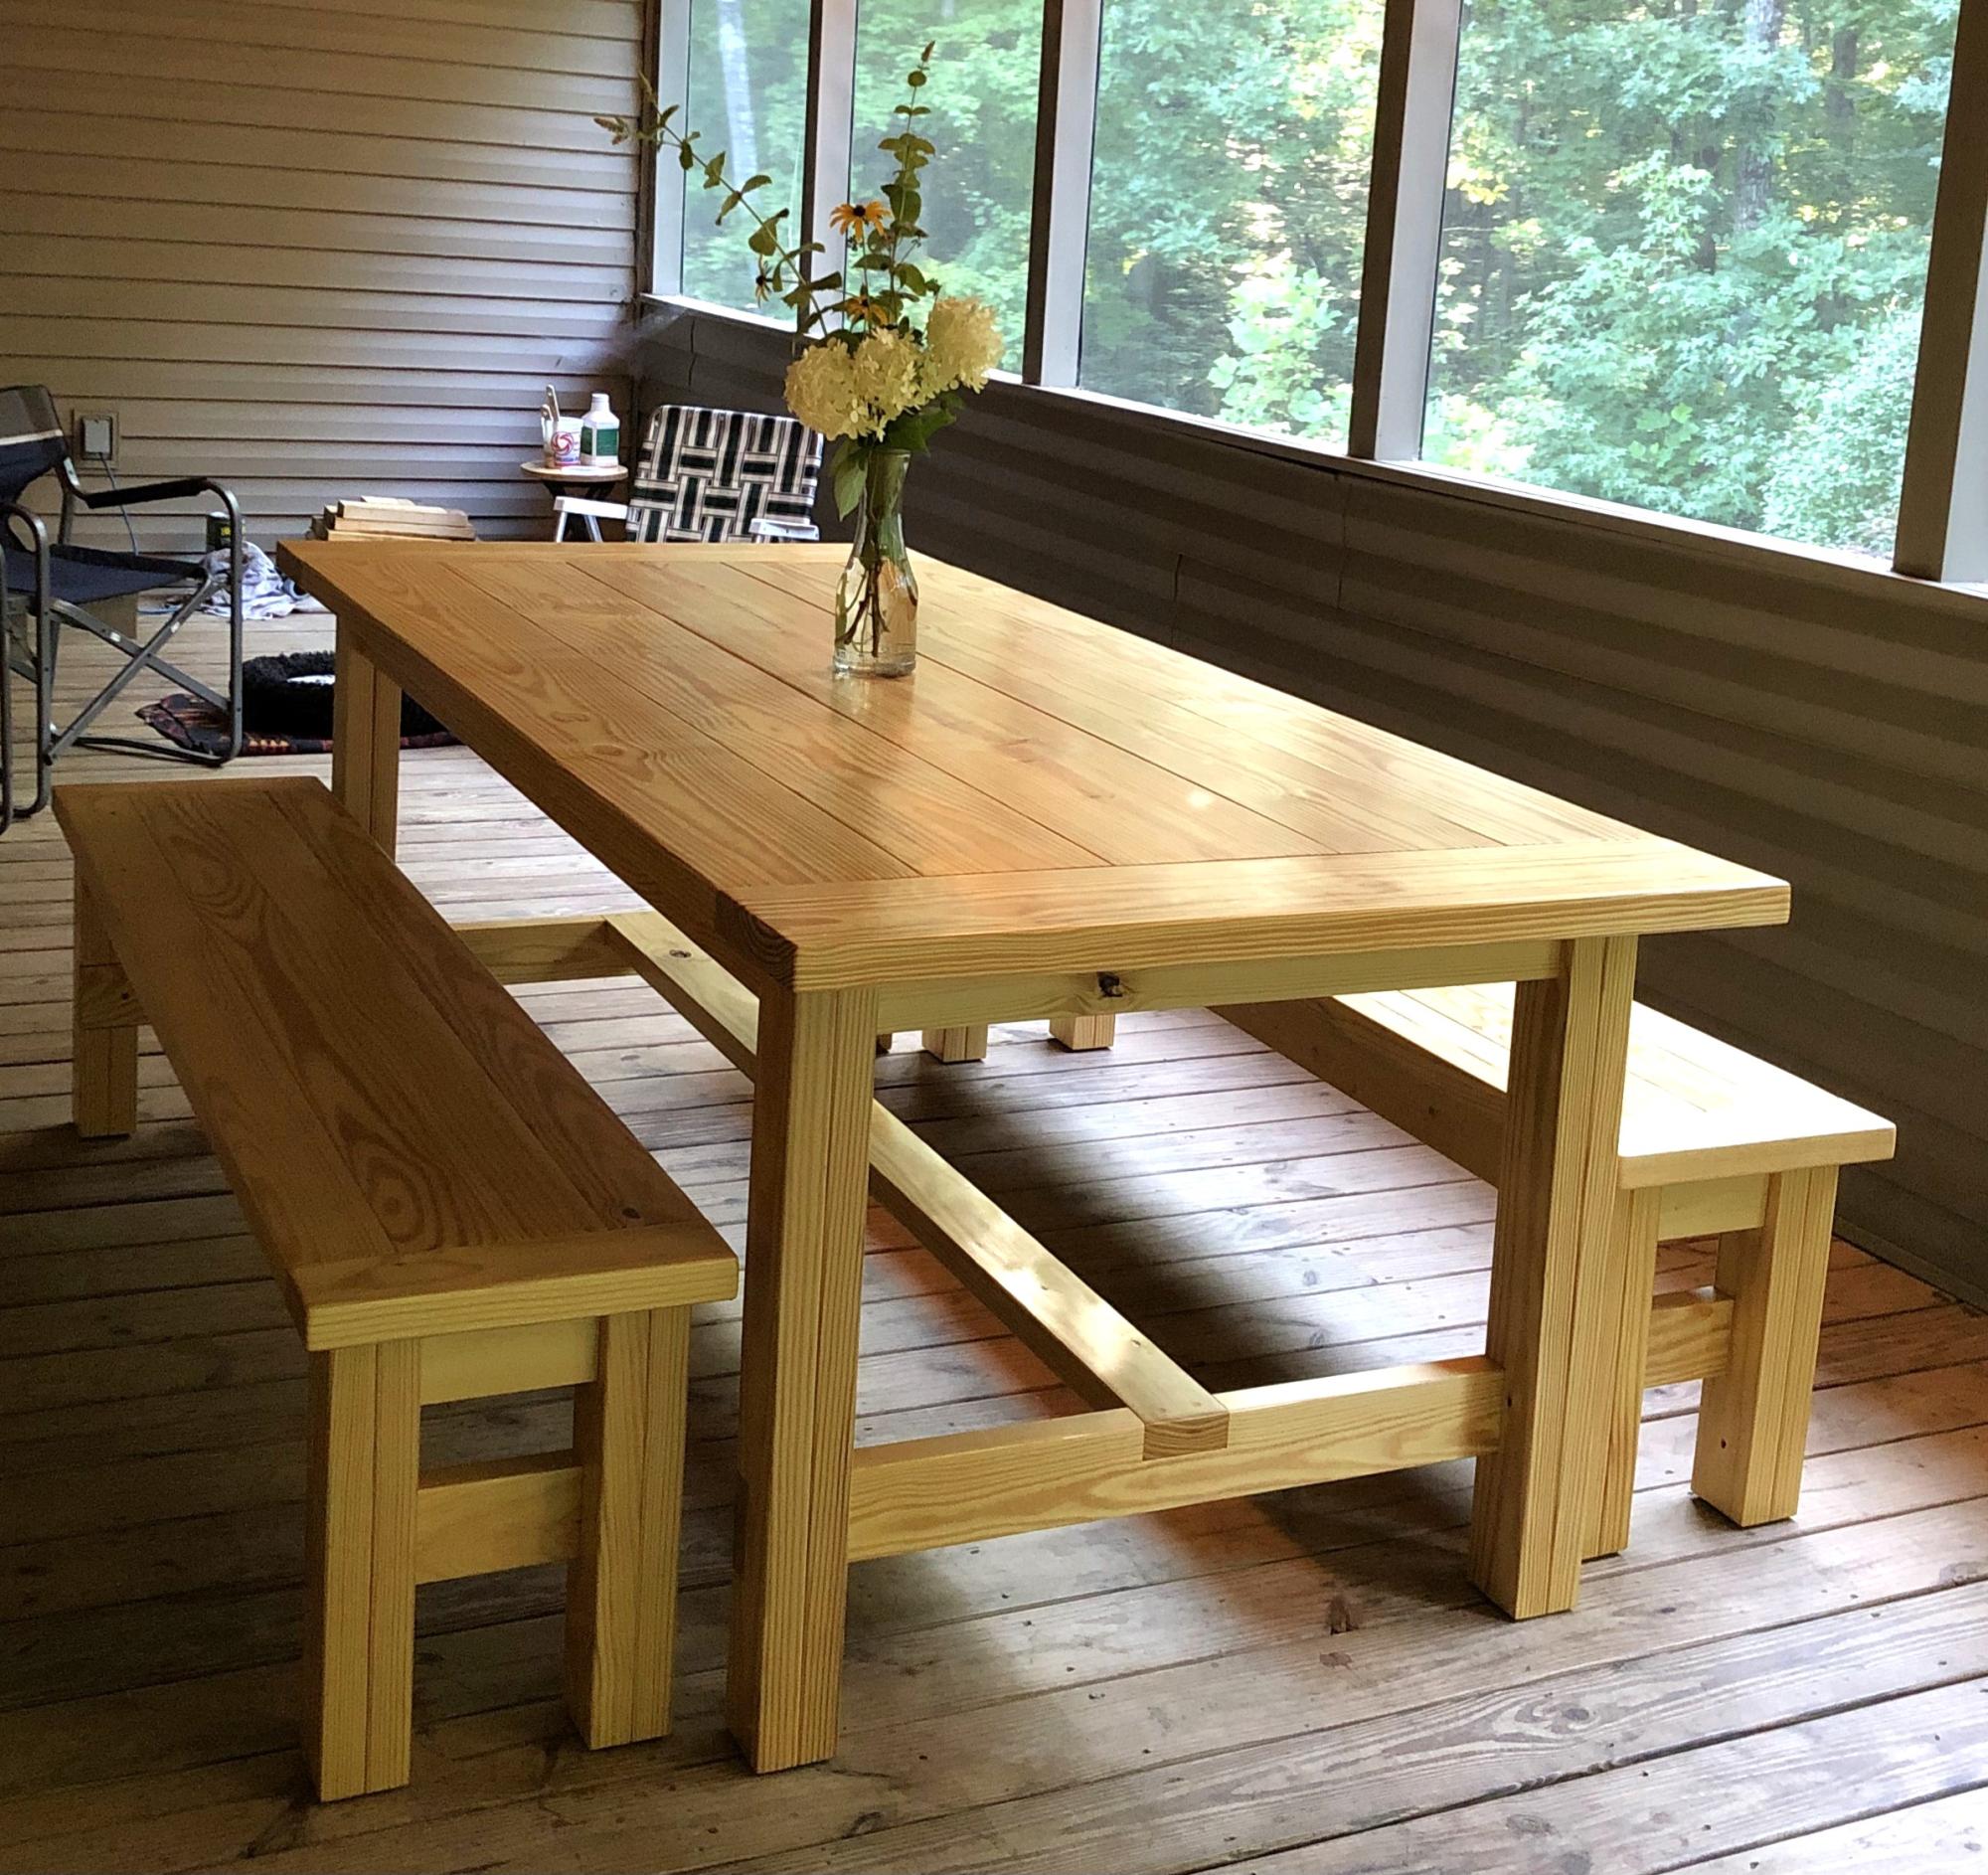
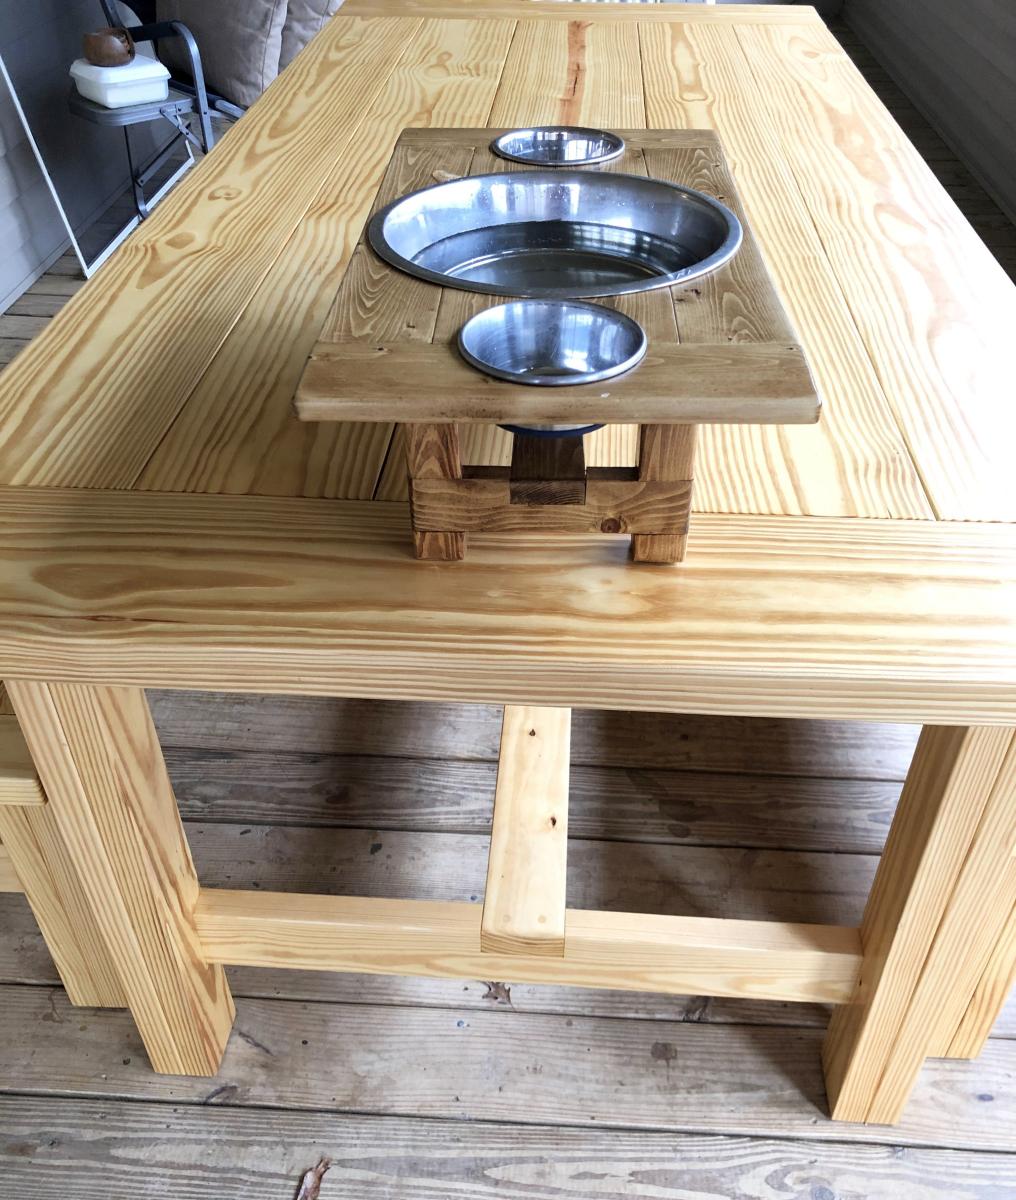
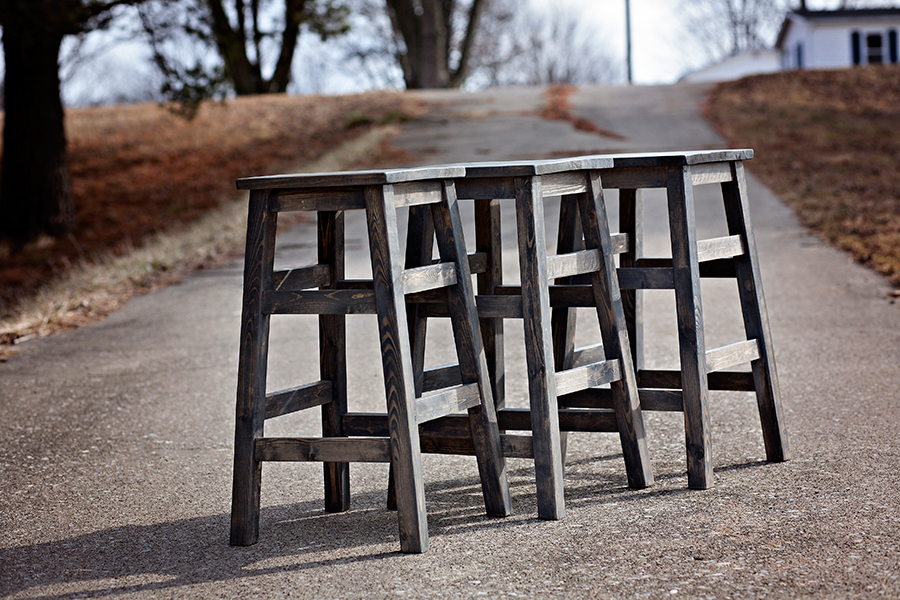
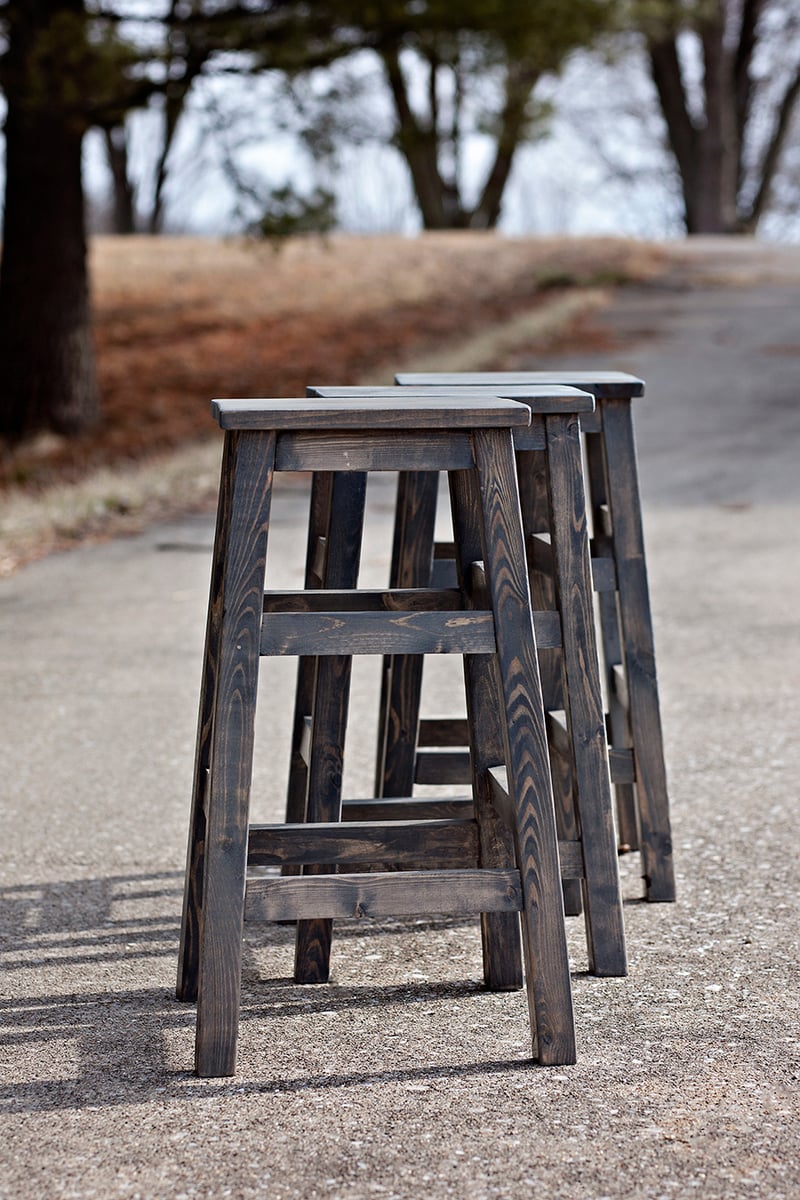
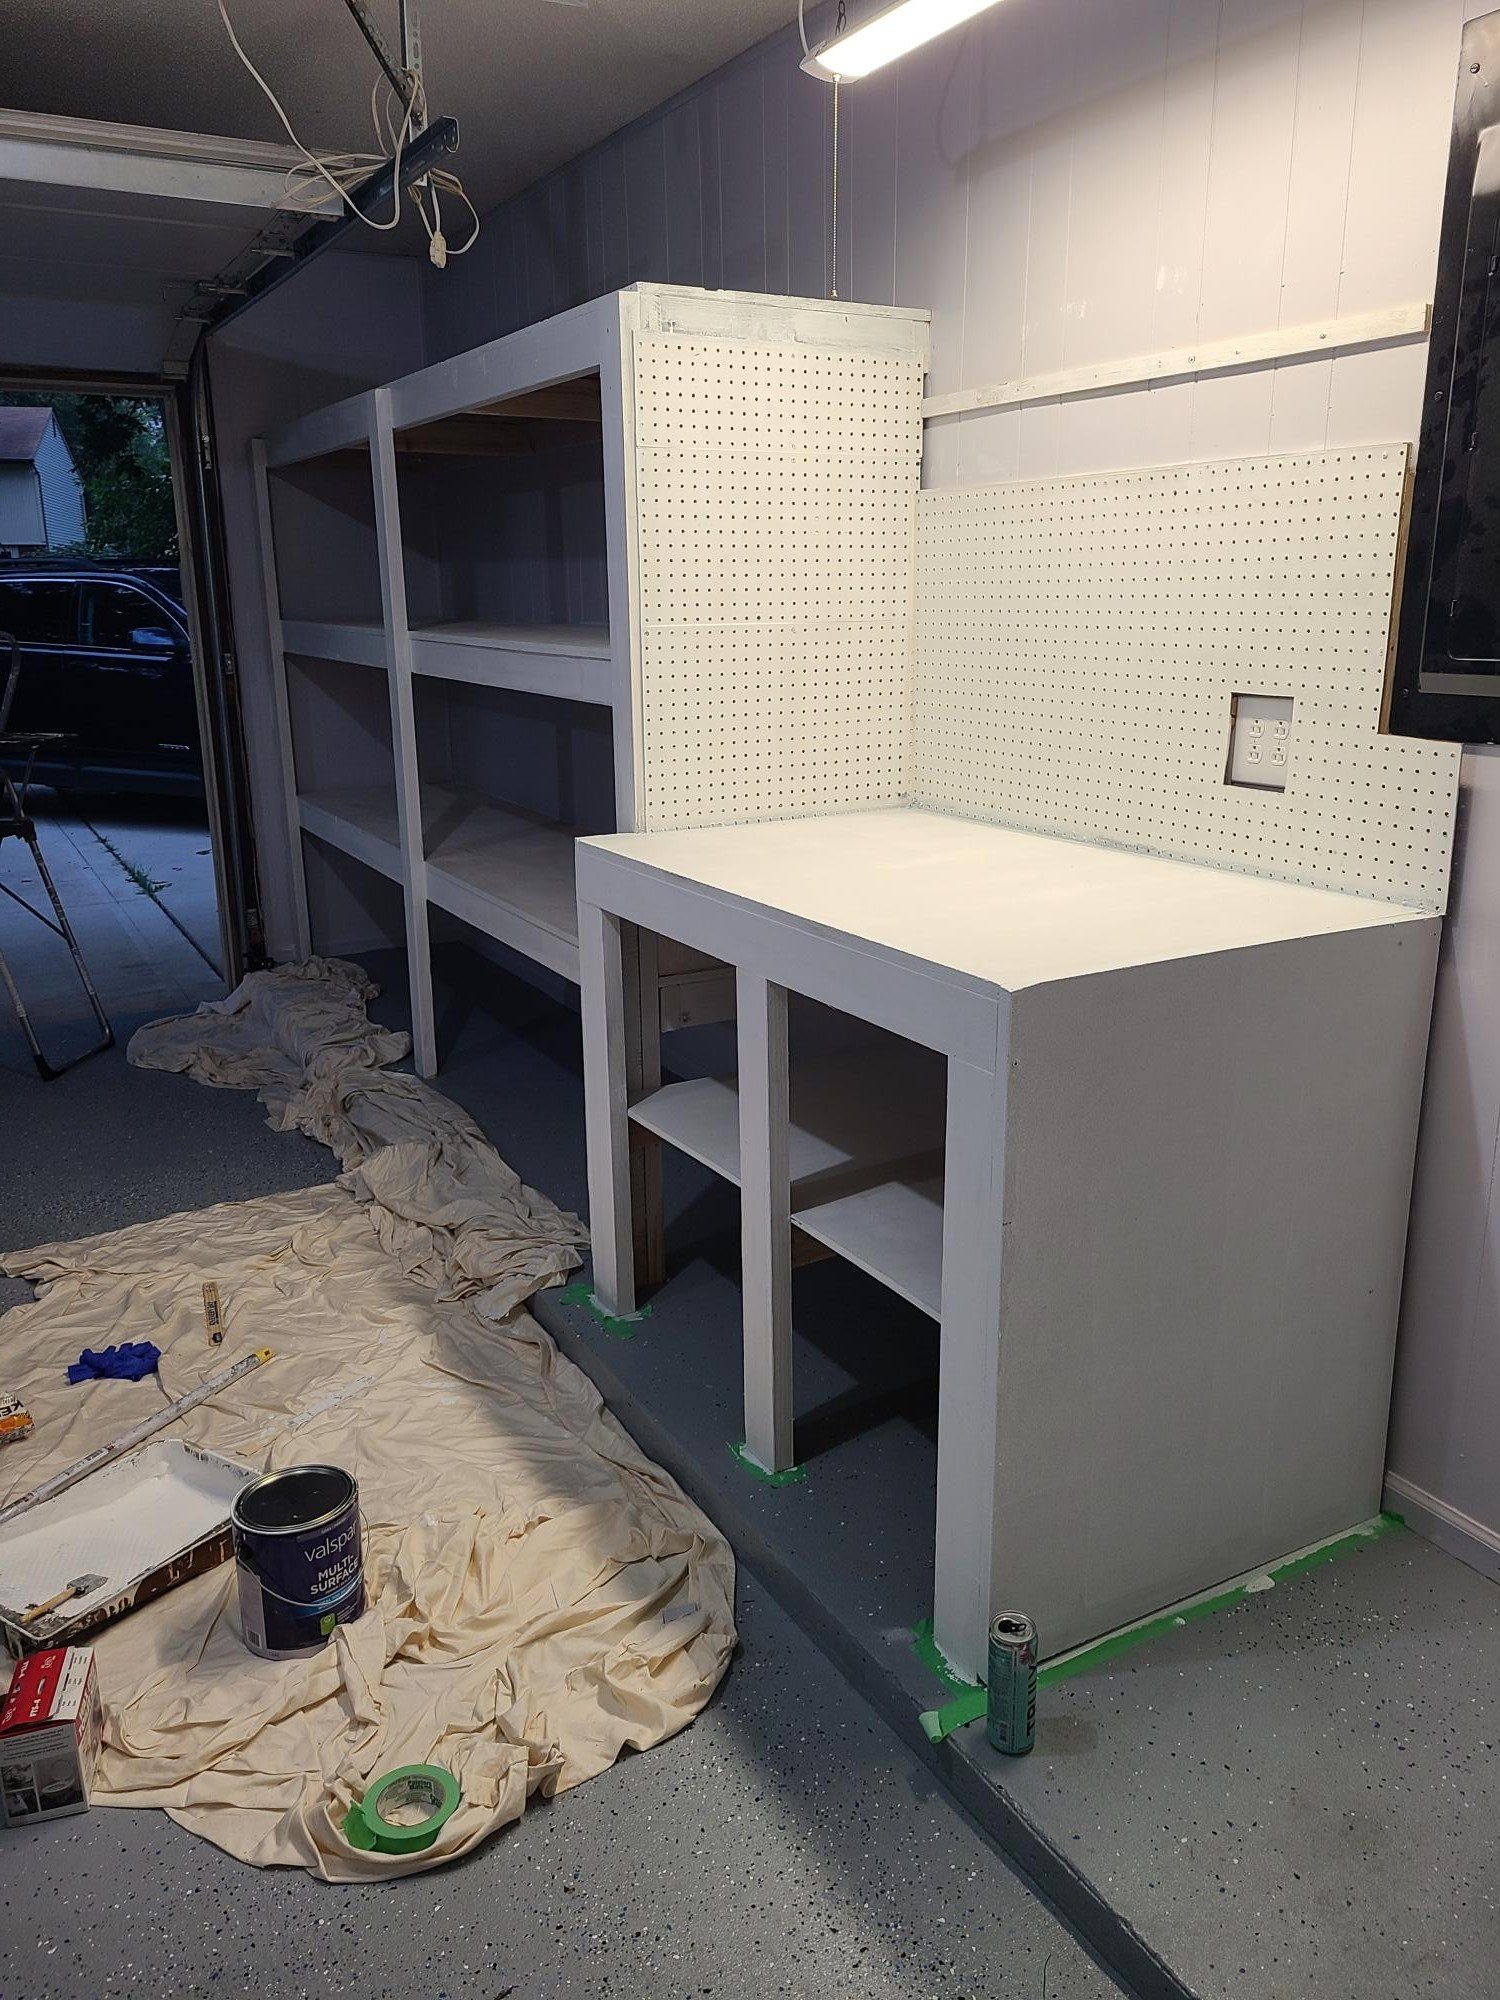
Rustic X beach beverage center

Submitted by one wolf on Tue, 09/08/2015 - 06:52

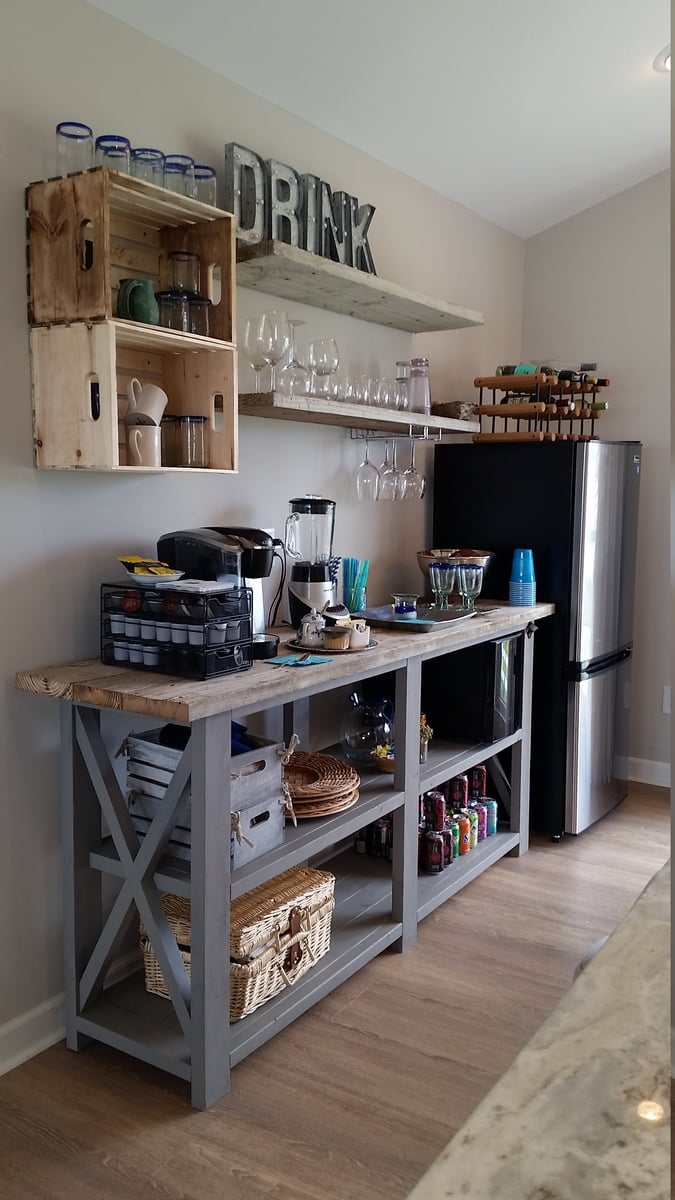
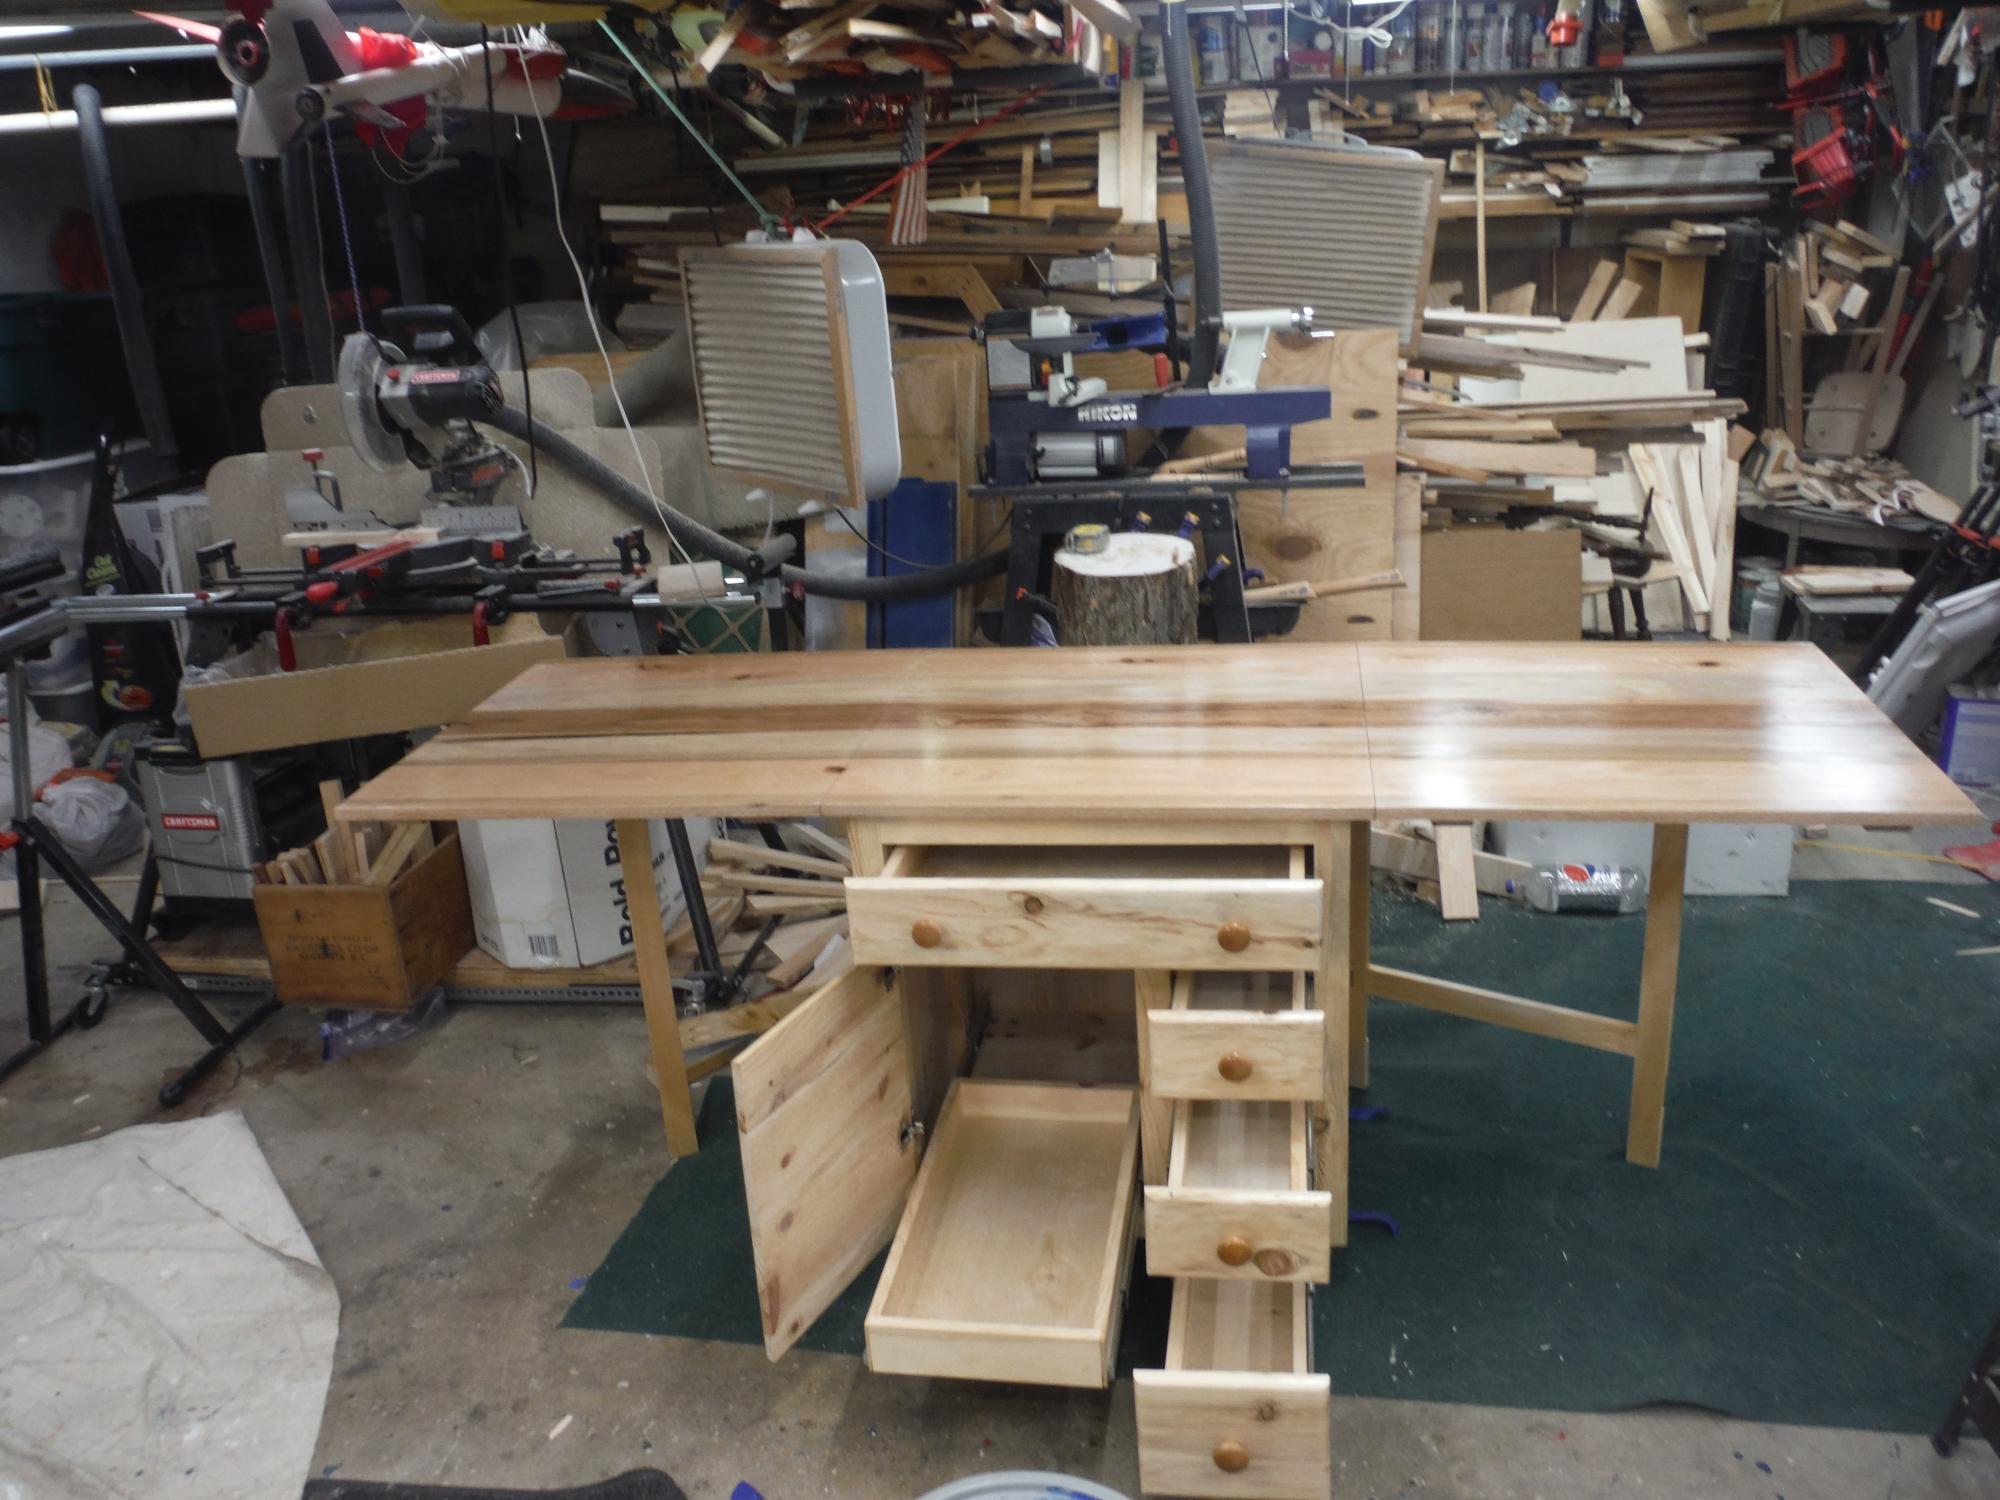
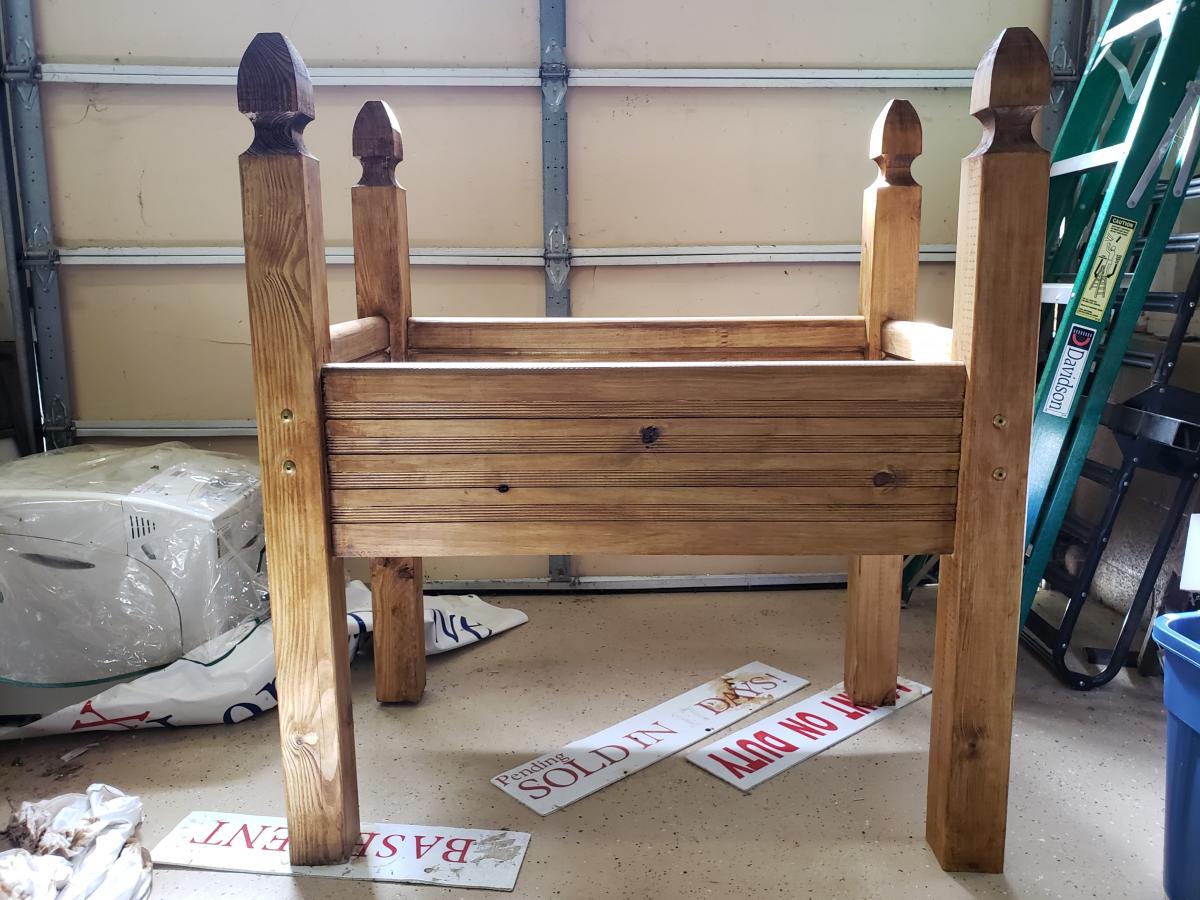
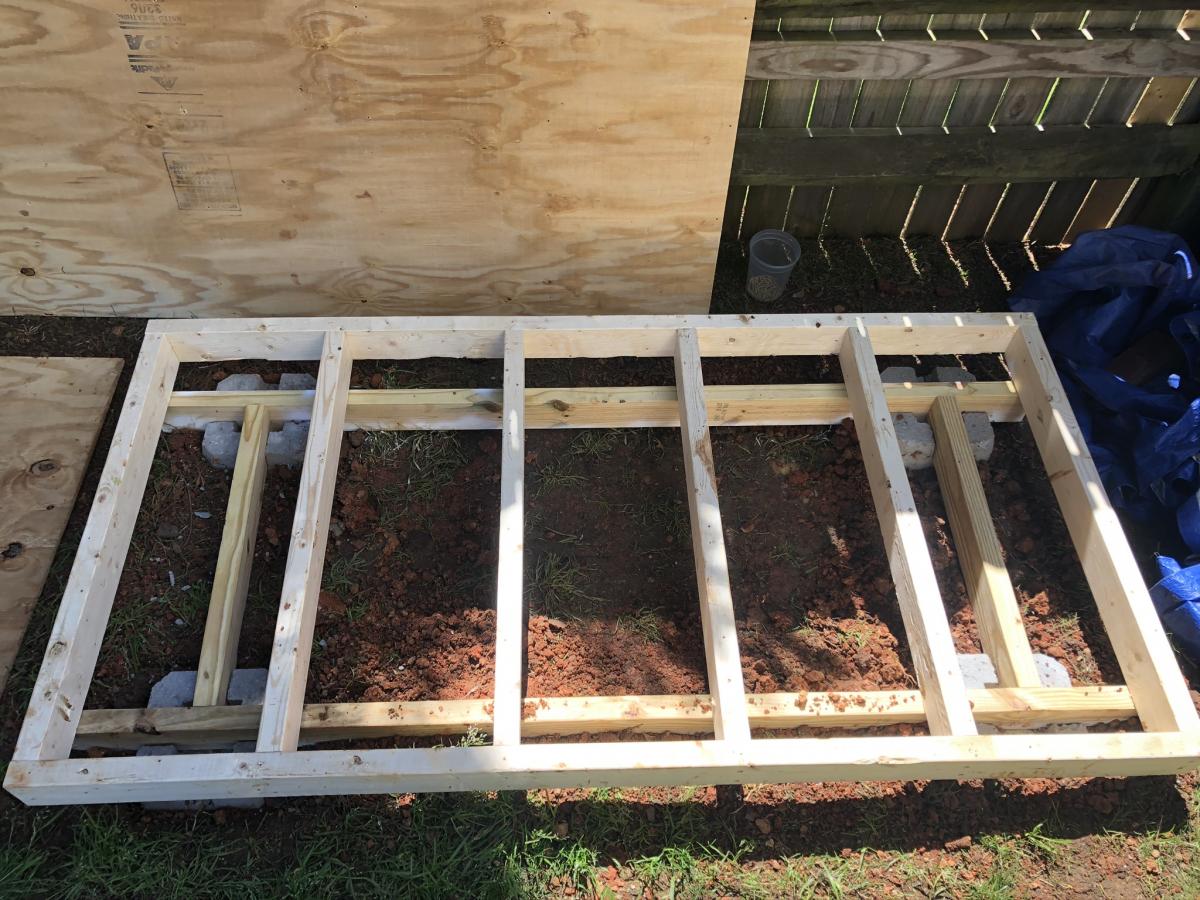
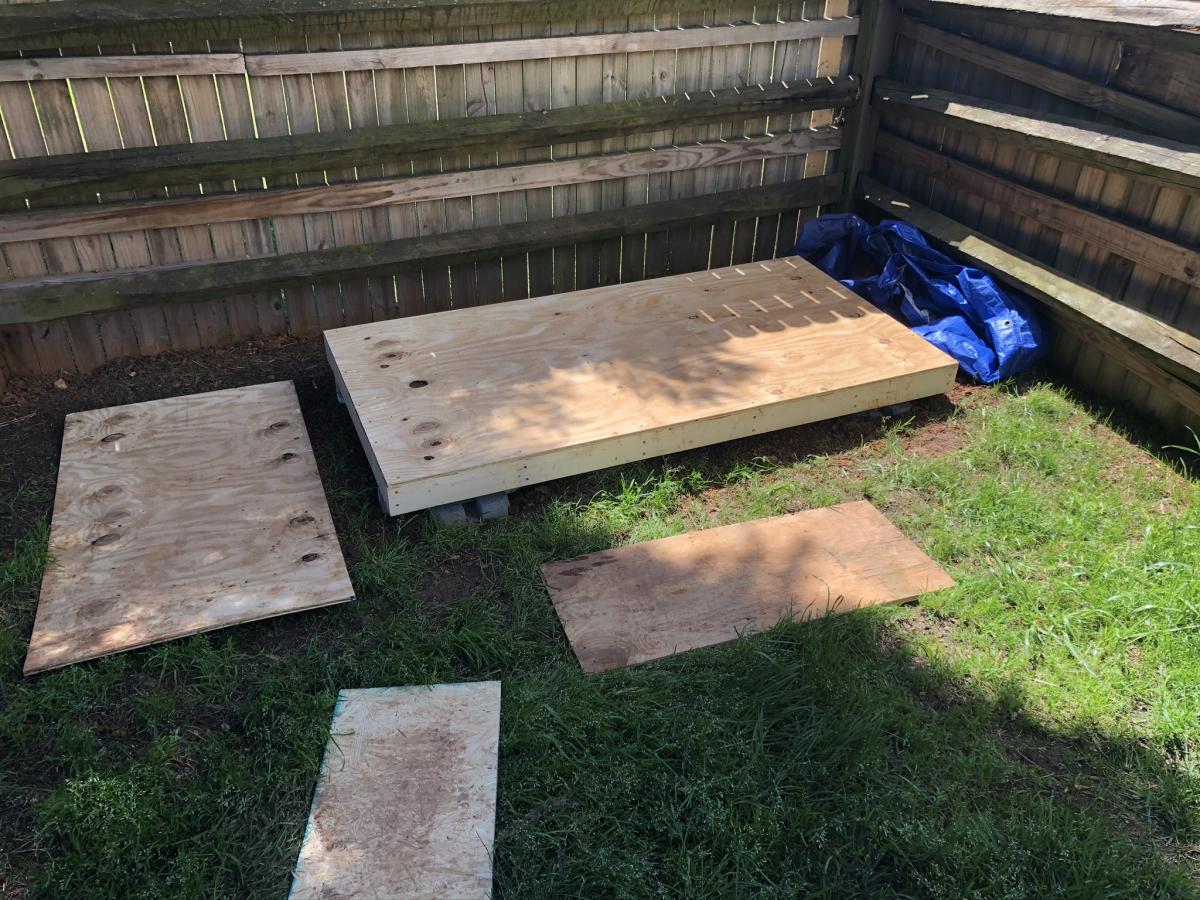
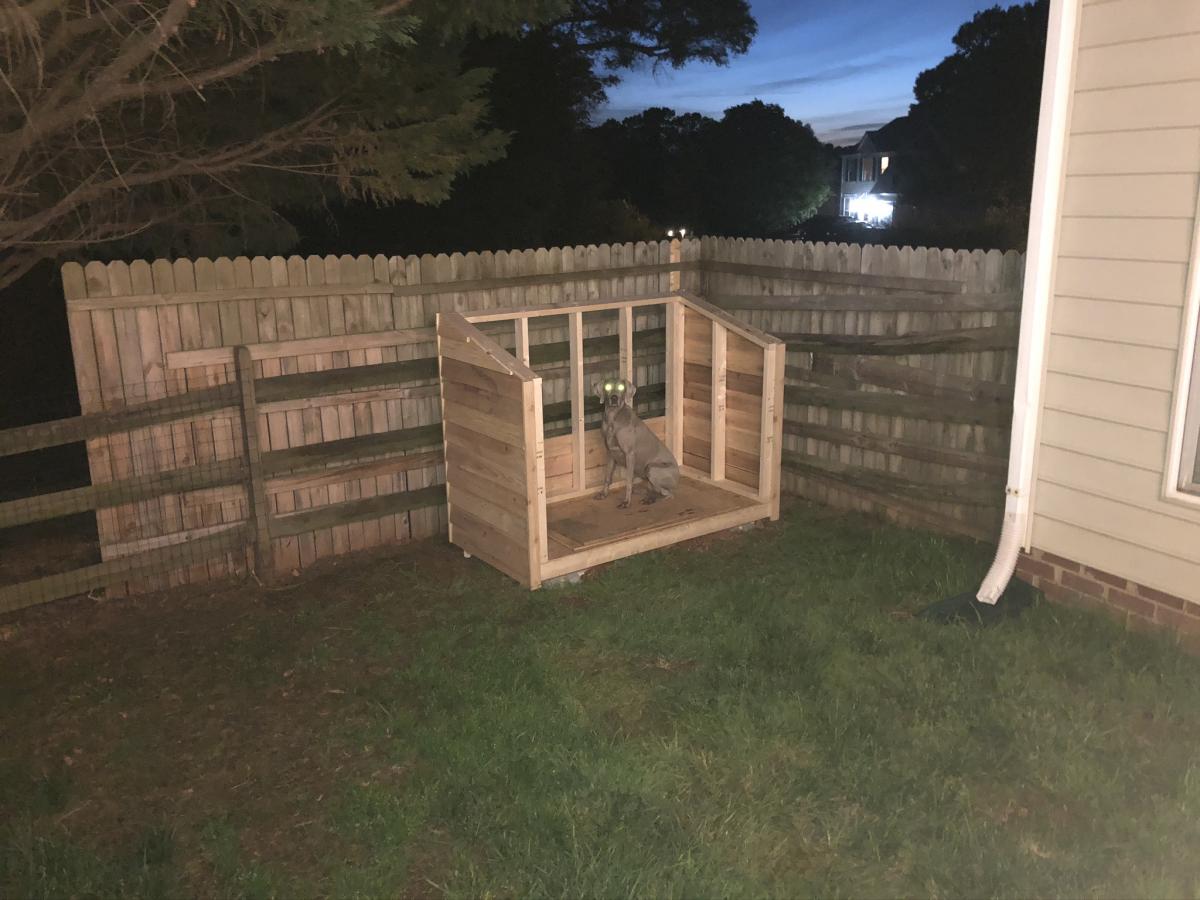
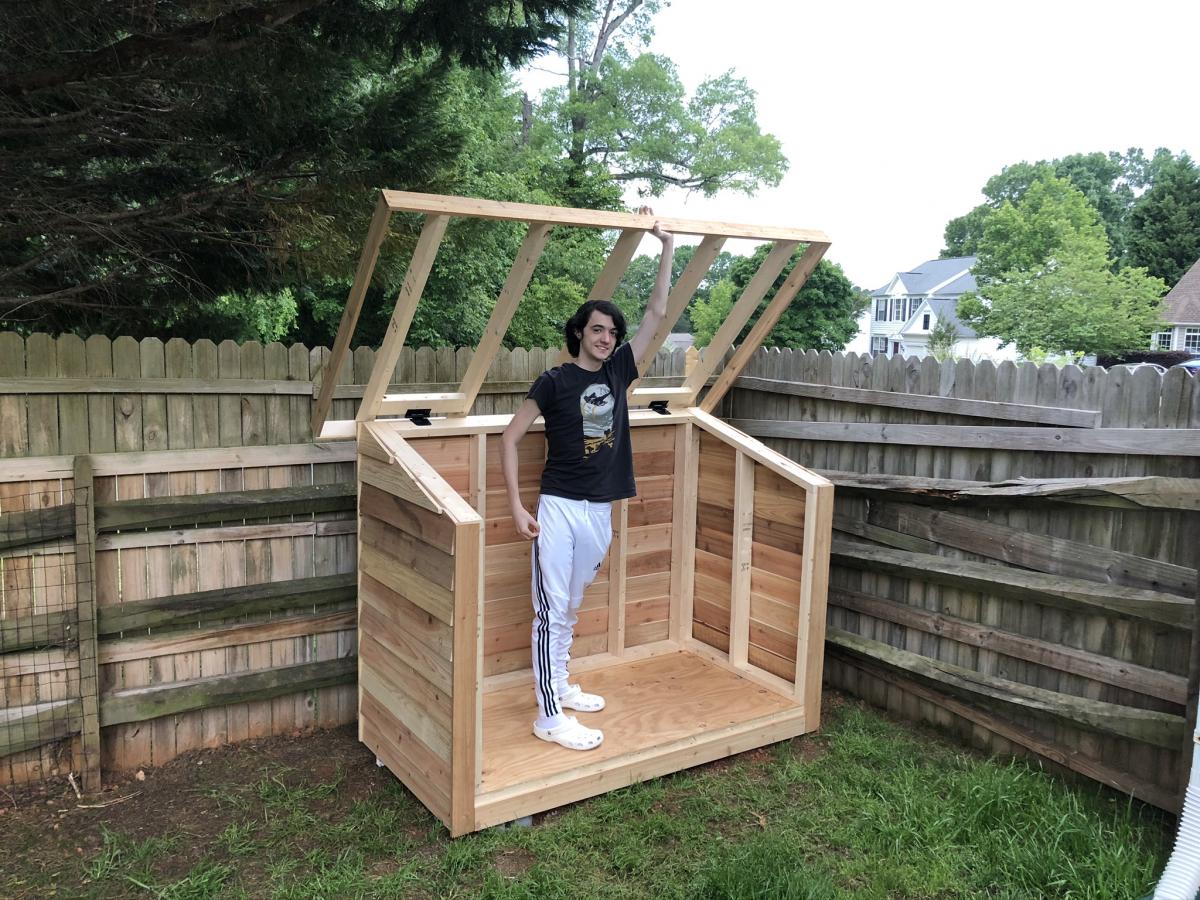
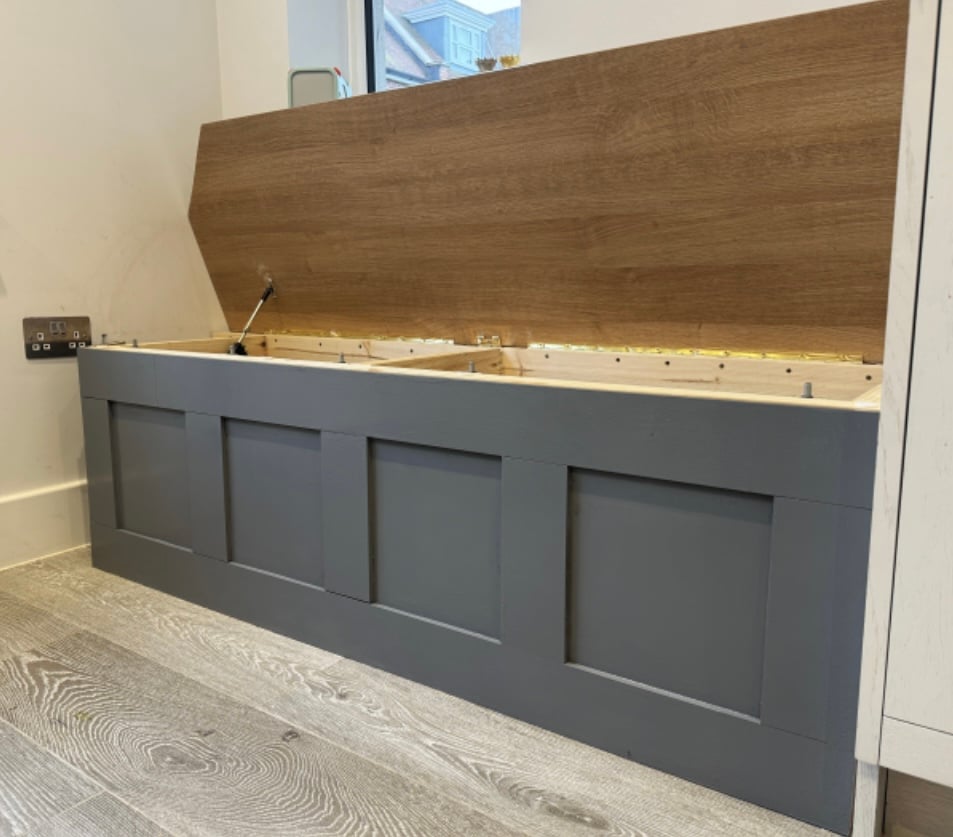
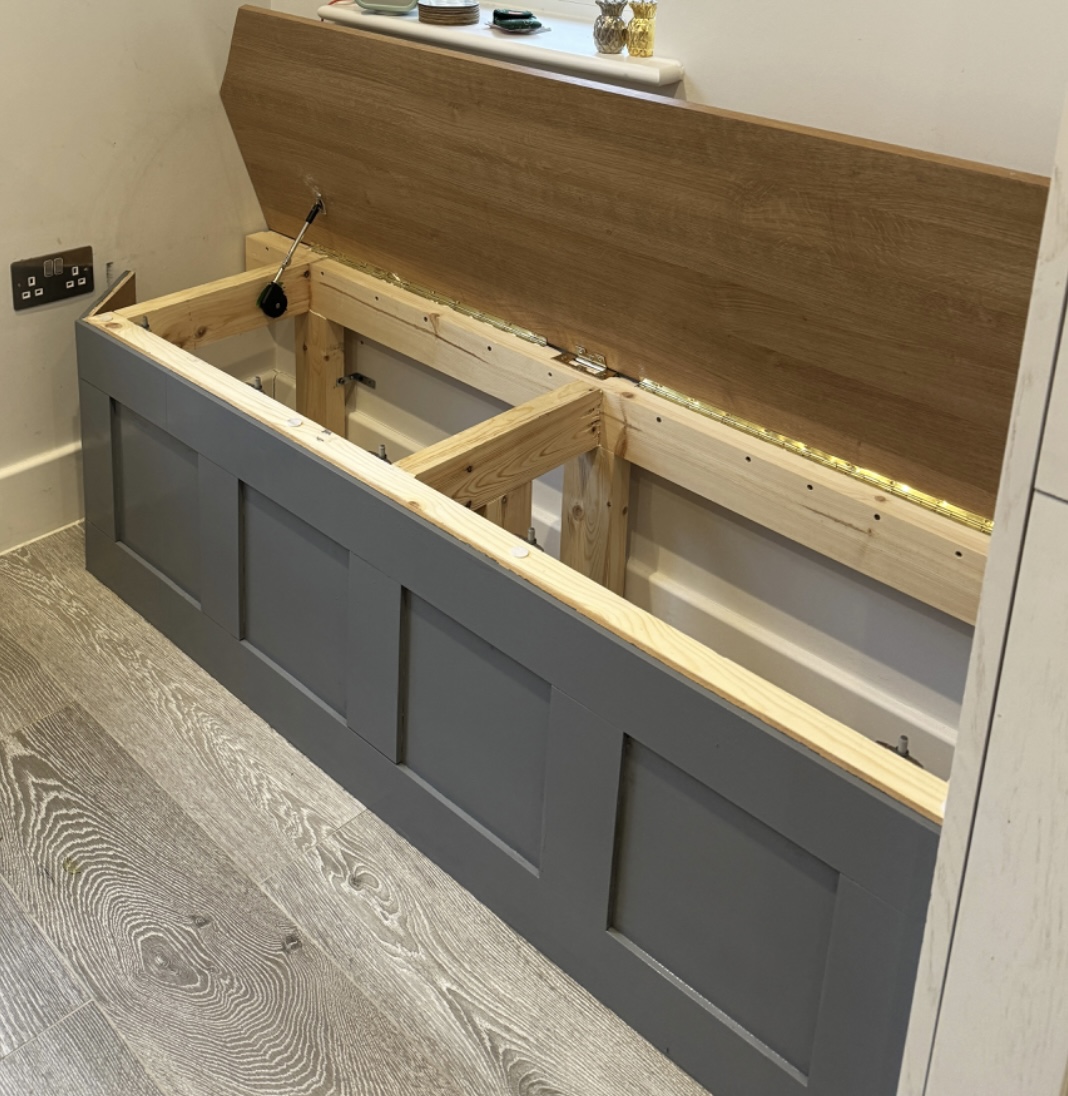
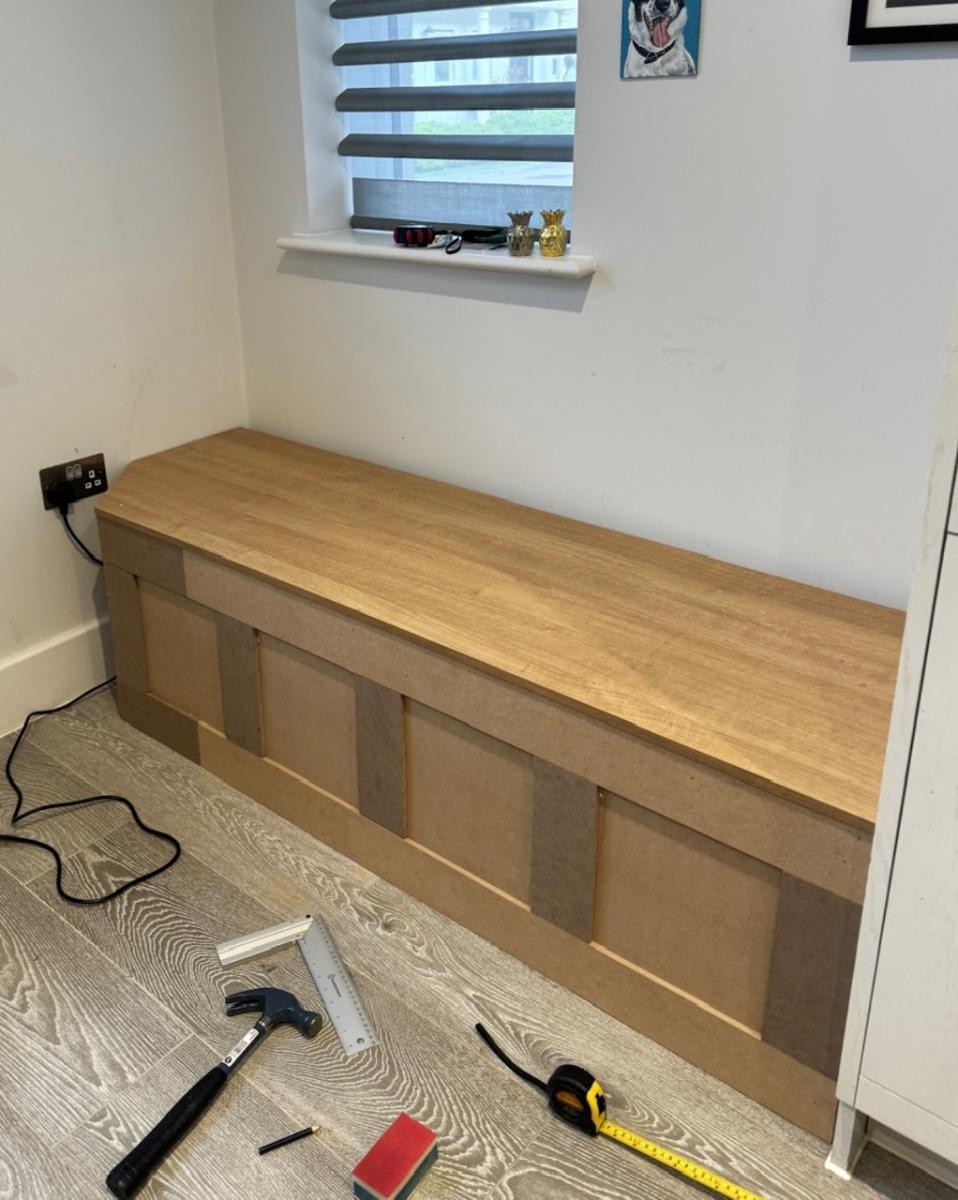
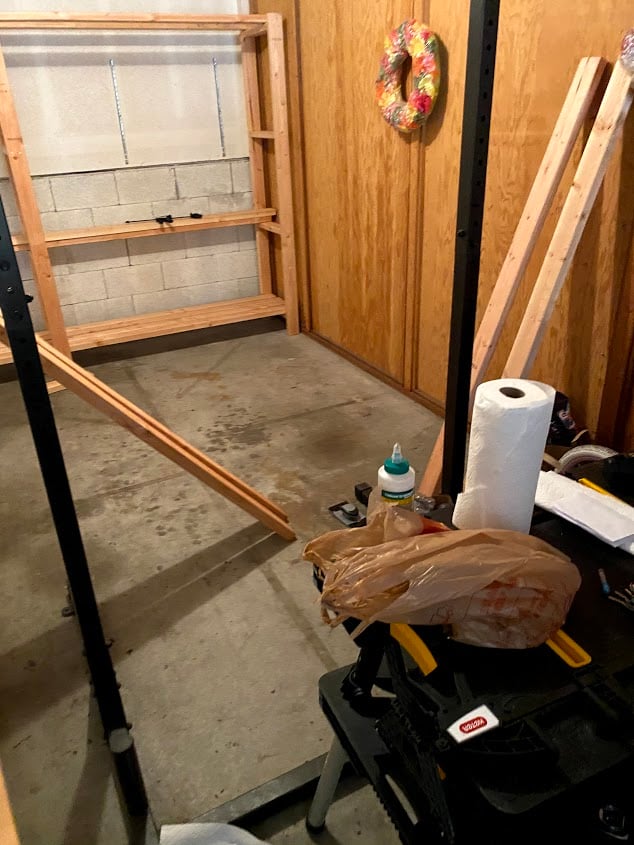
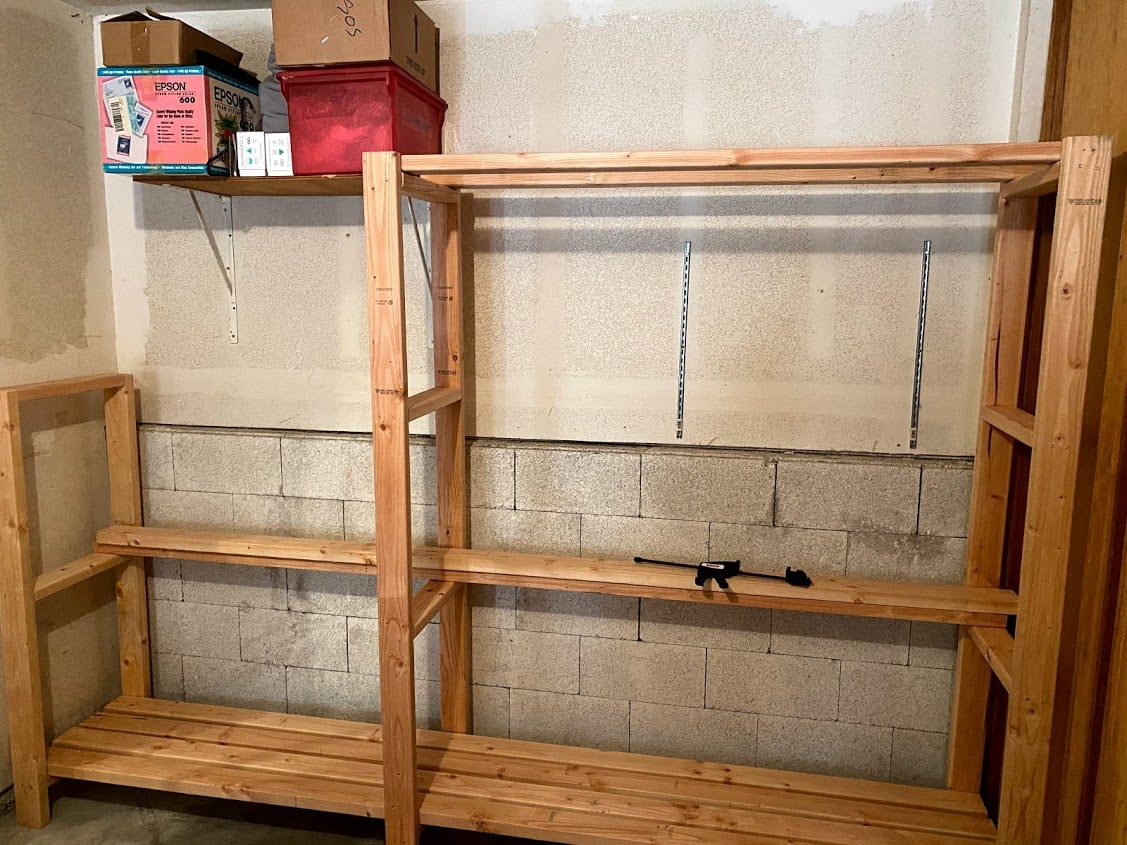
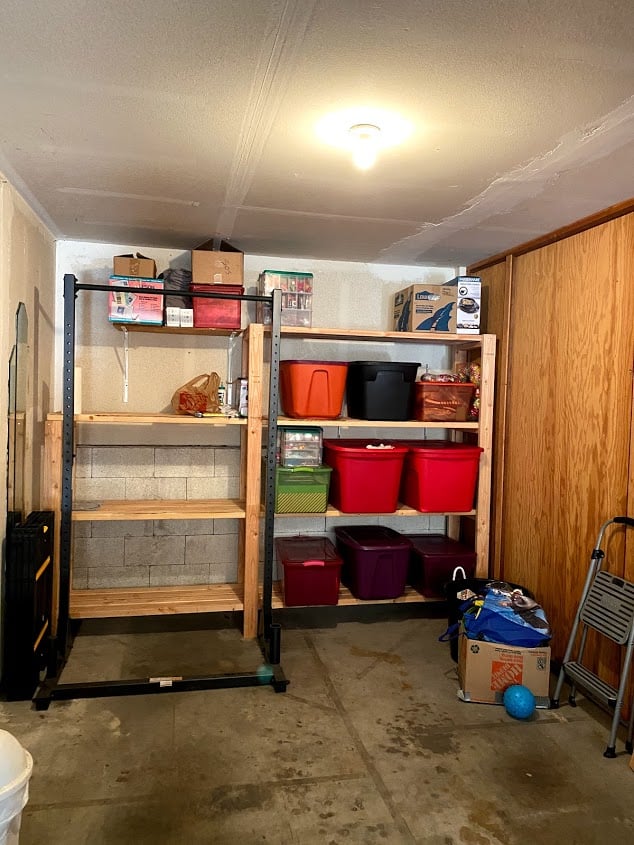
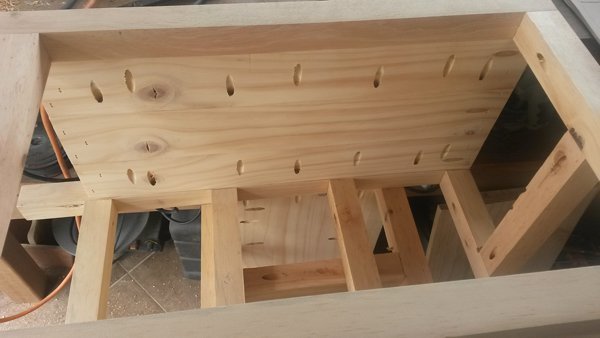
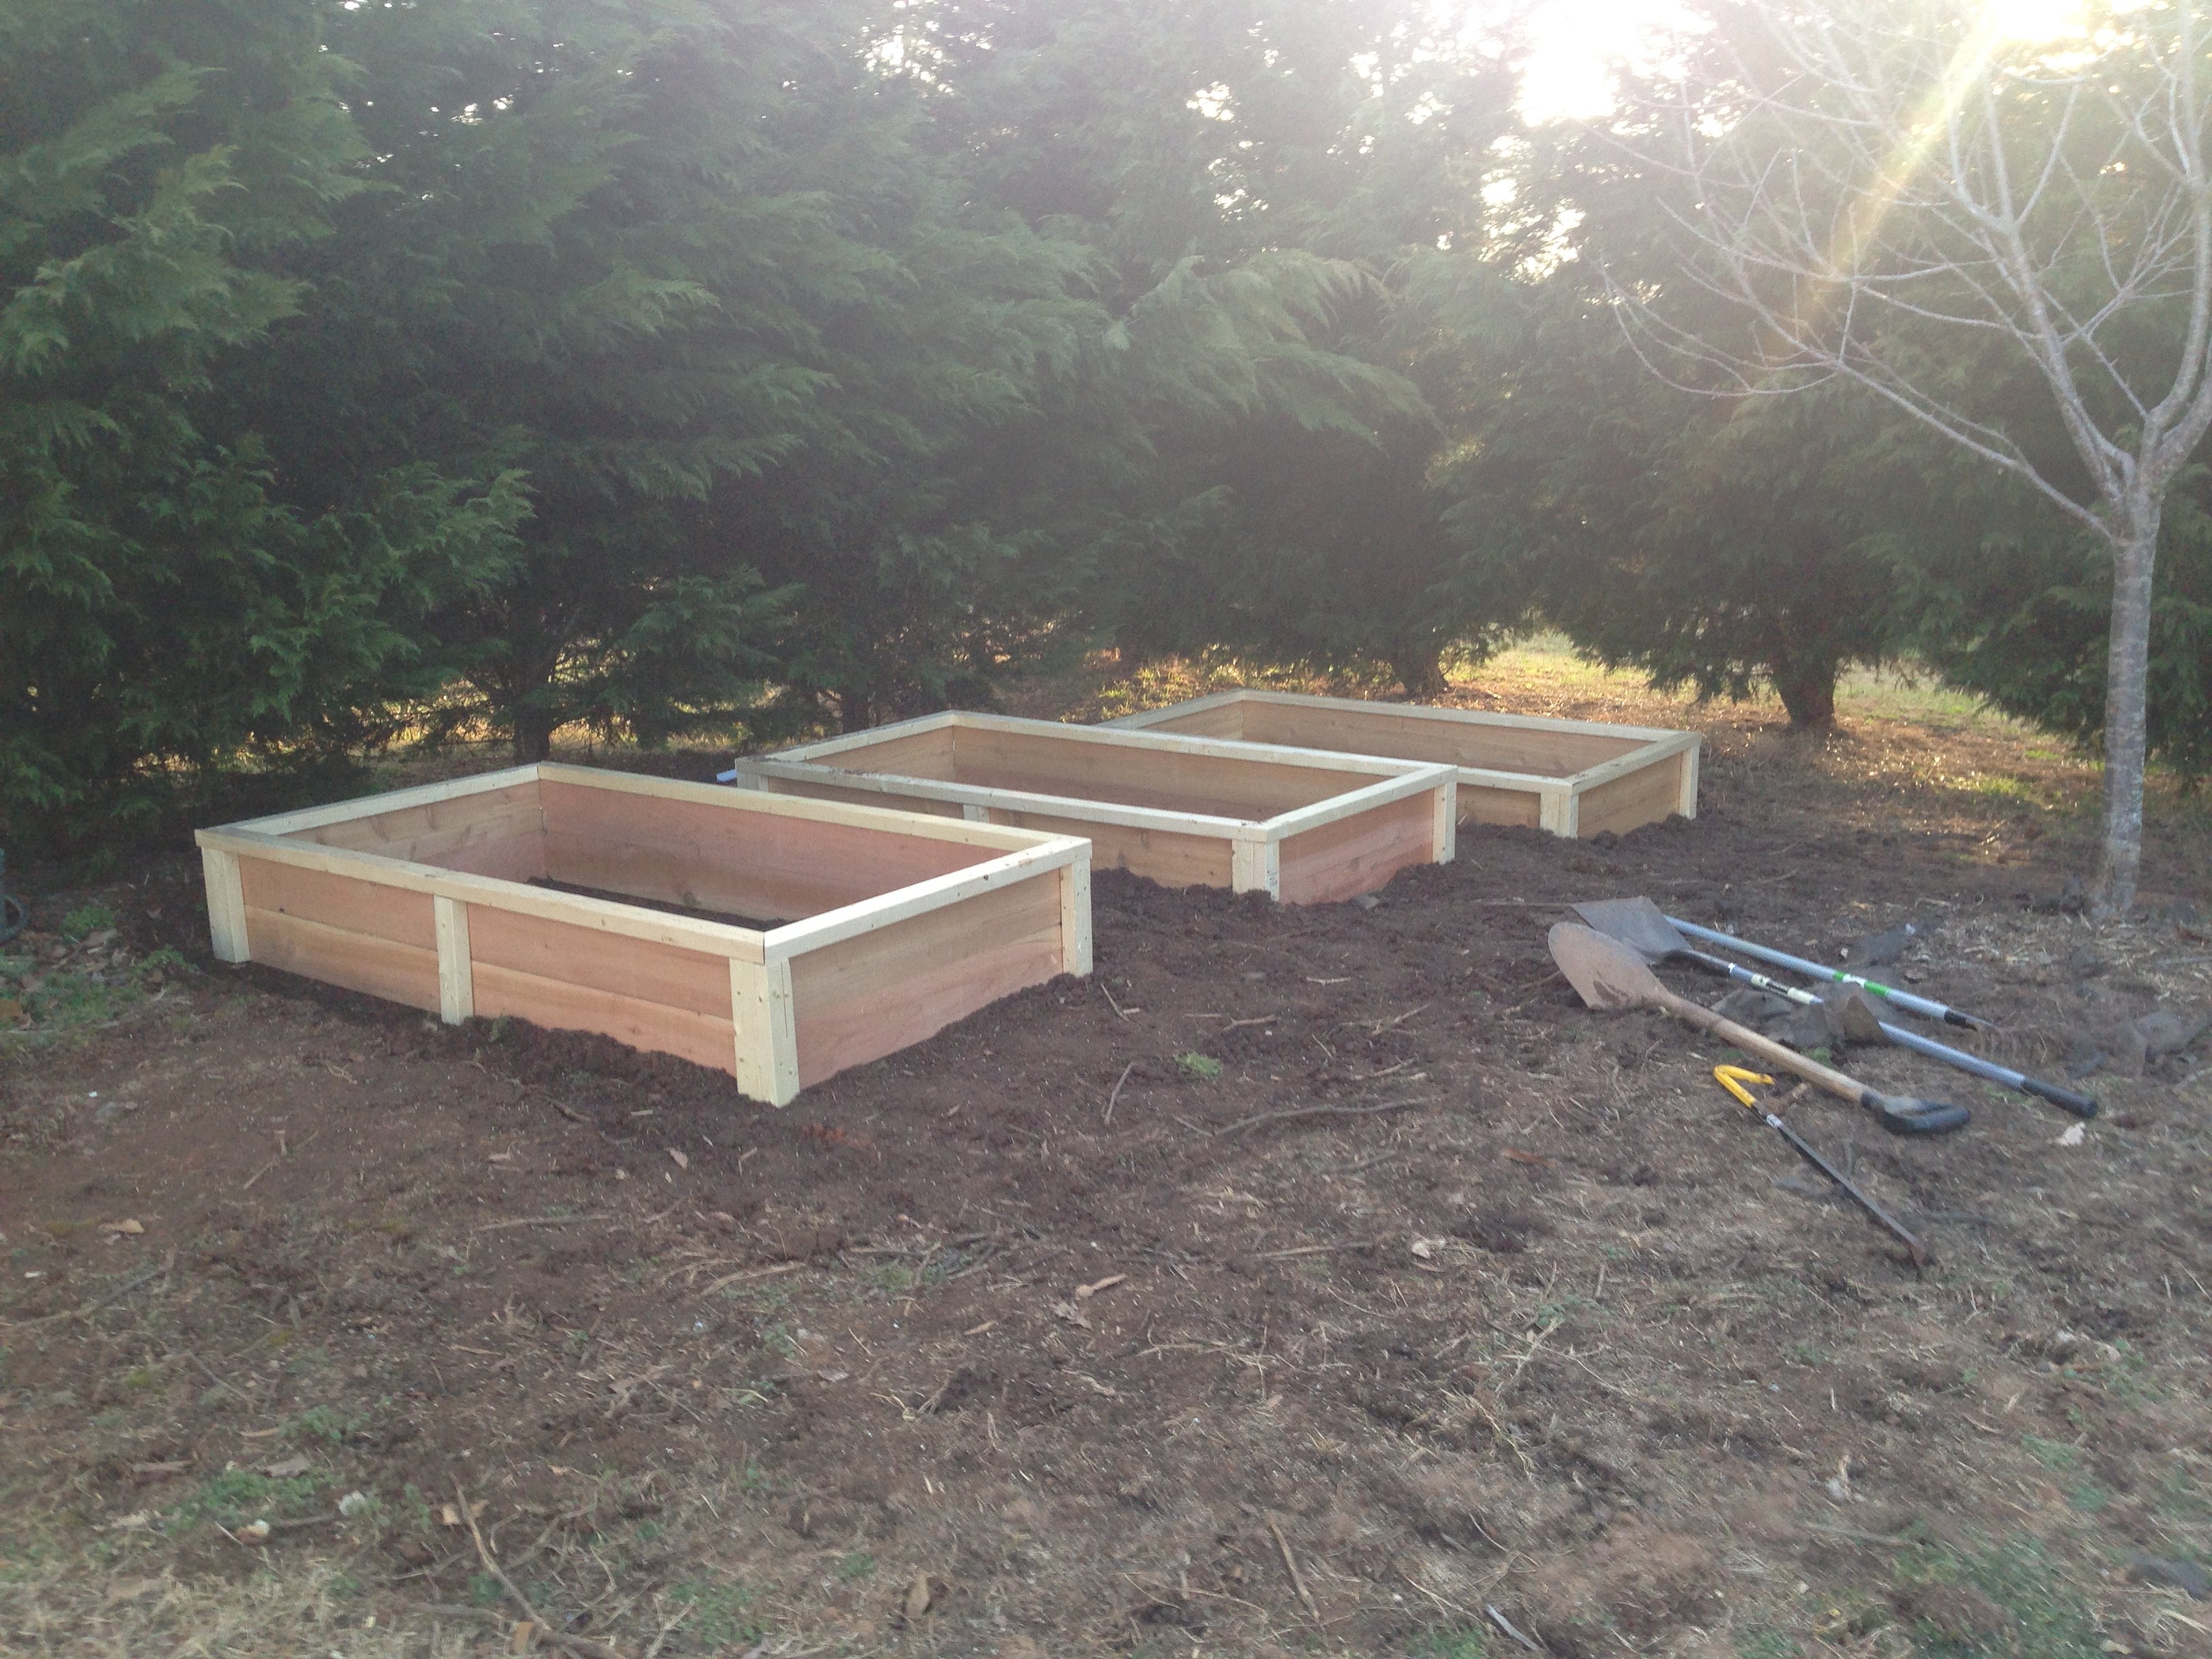
We used old dock wood for the surface of our X table for a nice beach house beverage center (sand bar!).  We adjusted the size to fit our space (a little longer and wider) and used additional studs for the shelves instead of 1" shelving, glued and PH/PS together.  To cut the X pieces I just held the 1x1 on the end of the table where it goes and marked the lines. Then I clamped a guide board at the correct angle on the table saw to make all the cuts, starting a bit long and shaving off until it just fit.  


With all the pocket holes and screws I wouldn't consider this a beginner project. Some additional steps and pictures in your description would help also.  End result is really nice.


Built from Plan(s)
Estimated Cost
$50
Estimated Time Investment
Weekend Project (10-20 Hours)
Finish Used
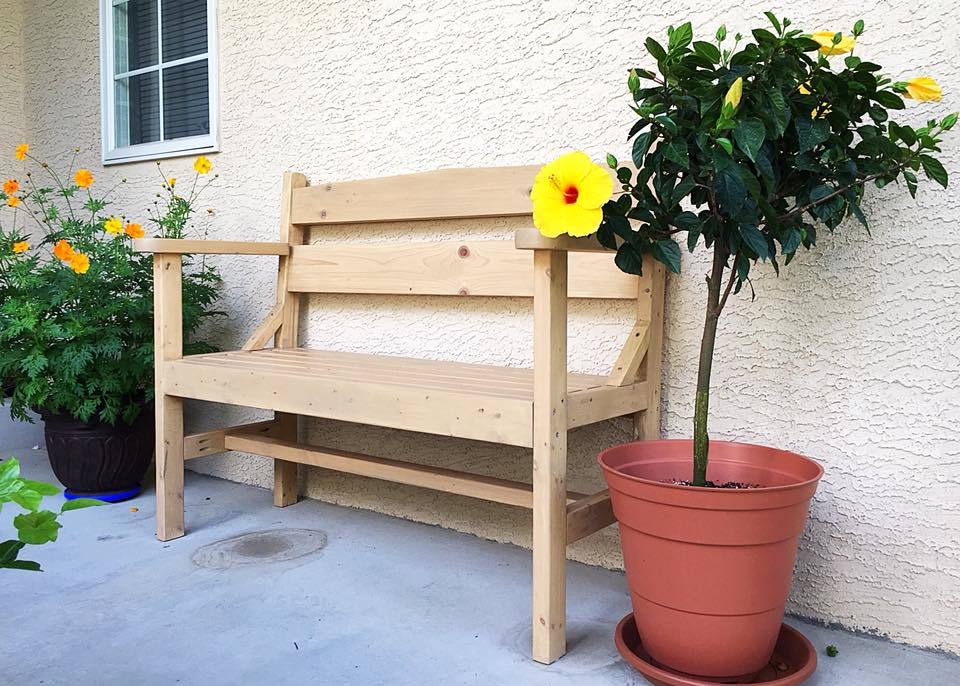
Patina wood from an old dock for the surface and the base is painted flat gray.
Recommended Skill Level
Intermediate

Comments

Garden Bench

Submitted by Amras on Fri, 08/10/2018 - 07:31

Used the plans changed some dimensions a little bit.

Built from Plan(s)
Estimated Time Investment
Weekend Project (10-20 Hours)
Finish Used
minwax wood stain and sealer
Recommended Skill Level
Beginner

Double Inset Bookshelf Doors

Submitted by dholubar on Wed, 08/21/2013 - 07:08

You made this project look so simple that I just had to try it. However, to suit my needs I had to make a few alterations to the plans. I had a set of bi-fold doors that were in need of replacement and I thought inset bookshelf doors would be the perfect way to replace them. This project was easy enough for me to do it myself and I am really new to the DIY game but I did have some help. I really love the way they turned out. You can read all about my my adventure at http://heresalittletmi.blogspot.com/2013/08/bookshelf-doors.html

Built from Plan(s)
Estimated Cost
$120.00
Recommended Skill Level
Beginner

Mary's sewing table

Submitted by Anonymous (not verified) on Mon, 12/23/2019 - 20:52

Built using your sewing table as the base idea. Pine cabinet, drawers and drawer fronts. The top is Hickory, poplar and red oak. base top dimension is 30x30 and folds out to 30x90. Mary will get this as a surprise on Christmas day. Cabinet and to is Varathane 3x. Casters are from Woodcraft and drawer slides are Hickory Hardware.

Built from Plan(s)
Estimated Cost
250.00
Estimated Time Investment
Week Long Project (20 Hours or More)
Finish Used
Varathane 3x
Recommended Skill Level
Intermediate

Comments

Changing table

Submitted by markmart74 on Thu, 07/07/2016 - 03:40

With the arrival of our first baby in 10 days,  the wife wanted a changing table. My only vision of a changing table was the ones in public restrooms. With the help of Google, I came across all the great diy ideas on this site. I combined 3 plans into 1 and came up with this. The project took 2 days to build. Next step is to prime and paint. 

Estimated Cost
90 - 100
Estimated Time Investment
Weekend Project (10-20 Hours)
Finish Used
Primer and paint
Recommended Skill Level
Intermediate

Comments

DIY Farmhouse Dollhouse

This is for my daughter’s 3rd birthday. I decopaged the walls and floor with patterned paper before assembling. I thought it would be easier.

I also didn’t bother with the middle ‘front’ door. The dollhouse in the example photos look beautiful from the outside, but kids don’t really play with the outside of the houses. So I made the windows a little bit bigger.

The windows and doors both looked terrible. My first time using a jigsaw was not a success. So I used tiny dowels for the trim around the door and craft sticks on the inside.

The last thing I need to do is put some lights in it. I ordered some fairy lights on amazon. I plan to use another dowel that I’m hoping I can wrap with the fairy lights and then wedge in the back on the ‘ceiling’ on the first floor and then Velcro the switch to the side of the house. It won’t look professional or anything, but being able to turn the lights on and off will be very fun.

Casey

Built from Plan(s)

Raised Bed Garden Mother's Day Present

My 15 year old daughter and I built this as a Mother's Day gift. We used basic ideas from plan, but while looking for wood we came across stair treads and decking posts that we thought would work. We were very happy with the results. This thing is very solid and much better quality than the more expensive kits you can buy.

Estimated Cost
$130 plus plants and dirt
Estimated Time Investment
Weekend Project (10-20 Hours)
Recommended Skill Level
Beginner

Short version of cedar shed

Submitted by Anonymous (not verified) on Sat, 05/16/2020 - 14:35

We wanted a shorter version, so that it would hide behind this fence. I just needed somewhere to store lawnmower, wheelbarrow, and a few yard supplies. I started putting the roof on hinges, but the gas struts couldn't support the 170 pound roof. So it's fixed in place (stronger structure anyway). That's why I went with 2x4's for the framed walls instead of 2x2's.

Built from Plan(s)
Estimated Cost
600
Estimated Time Investment
Weekend Project (10-20 Hours)
Finish Used
Not yet finished, will get to that.
Recommended Skill Level
Intermediate

Comments

Storage Dining Bench

Submitted by Anonymous (not verified) on Fri, 03/22/2024 - 07:34

Kitchen dining bench with storage. Due to the plugs being in an awkward position, I opted to build this bench with a facade as opposed to adding a back and sides. This also meant it had to be panelled in situ which was a fun challenge! It has piano hinges as well as soft close pistons making for a great storage bench that is in keeping with the rest of our kitchen.

Basement Storage Shelves

Submitted by Eddie A on Sun, 08/30/2020 - 22:59

We just moved into a new home and had a huge open storage area in the unfinished portion of our basement and we’ve got a lot of stuff so we needed to make the best use of that space and these shelves deliver big time. This shelf is 12’ long by 2’ deep with 2 each 24” and 18” tall shelves. Really simple construction and I got to use my Kreg HD jig for the first time on the cleats so these bad boys are SOLID! My wife love this one so much I’m building another one in the opposite side of the wall with all 4 shelves at 18” tall.

Estimated Cost
150
Estimated Time Investment
Afternoon Project (3-6 Hours)
Recommended Skill Level
Beginner

Garage Shelves - Freestanding (Modified)

Submitted by Anonymous (not verified) on Tue, 09/15/2020 - 20:45

First project ever! I have been planning to build this for at least a year, and I finally did it! I had to modify the plan to fit my space, but it worked out well. They cut the wood for me at the store, so I did not make any cuts myself, just assembled all of the pieces together. I used all 2x4s, 8' and 10', cut down to my measurements. I did not finish the shelves since it is just for the garage, but I did sand rough board edges and some of the faces. I just used an palm sander and coarse sandpaper (80 grit). Please double check all measurements and lists because I forgot to add my shorter shelf supports to the list and had to go back to the store. I also forgot to add the width of the top shelf to those two shorter supports, so the shelf boards are resting on the top instead of nestled into the supports. It turned out not to be a functional problem, but a good lesson to learn. I also learned to make sure my driver battery is charged fully before starting - that took a large chunk out of my first day building and I had to finish the next day. My husband helped with some lifting and holding, but I mostly did this on my own in one weekend, so you CAN do it! Don't wait like I did - it is soooooooo useful and it looks great! All of my friends are really impressed and it feels so good to have made something like this! Thank you Ana!!

Estimated Cost
$180
Estimated Time Investment
Weekend Project (10-20 Hours)
Finish Used
N/A
Recommended Skill Level
Beginner

Comments

Simplest Stool

Submitted by heksa on Thu, 02/26/2015 - 14:43

This was not my first woodworking project, but first where I had to figure out angles and bevels. So I'm pretty excited that all the pieces turned into stable stools.

Cutting wood and putting stools together took about an hour or two each .... filling kreg jigs holes and staining took a few weekends though. 


Built from Plan(s)
Estimated Cost
$10 per stool
Estimated Time Investment
An Hour or Two (0-2 Hours)
Finish Used
Minwax Classic Gray stain
Recommended Skill Level
Beginner

Comments

Murphy Bed

Submitted by Newfey on Fri, 07/19/2013 - 14:59

This is a Murphy Bed that I made for my daughter Alicia for their getaway home at Canadian Lakes, MI. Due to limited space i had to make it horizontal instead of the normal way of being vertical. It really comes in handy and takes up very little space.

Finish Used
Red paint mixed with Baking Soda
Recommended Skill Level
Intermediate

Comments

JoanneS

Fri, 07/19/2013 - 15:17

Looks great! Love the color and the trims you used. Where did you find your hinge hardware? PS- How did you like the baking soda paint? I've tried ASCP which was good but very pricey, and last time made my own with some plaster of paris. Your finish is lovely.

Newfey

Sat, 07/20/2013 - 18:47

I bought the spring hardware on line. I can't take the credit for the paint as my daughter did that part. She loves the way that the baking soda and paint covers everything and it is a whole lot less expensive than buying the commercial stuff.

Garage shelf and work bench

Submitted by Anonymous (not verified) on Wed, 08/10/2022 - 12:29

Used the plans from attached garage shelving to make a 10 ft, 24 inch wide shelf then used similar idea for workbench which I still need to put doors on. I love it! Such an easy plan!

Comments

Reclaimed Wood Look Bedside Table

Submitted by PhilCo on Sun, 11/29/2015 - 12:08

Having recently completed the Californian King size Bed, I needed matching bedside tables, these were an obvious choice, but due to the size of our bedroom, I had to downsize on the plan. Although I kept to the spirit of the plan, I made a few changes, other than just size. I made up the table tops and side panels, prior to assembly, much as I did with the bed, I pocket holed and glued the planks together to ensure they stay that way. I also decided to use hardwood runners, and not buy metal slides, because I had plenty of mahogany scrap, and the drawers are small, so it was easy to do. The drawer knobs were obviously bought, but to ensure they never come off, which is usually my problem with store bought knobs, I fixed them to the drawer face, using epoxy to glue the knob to the bolt, before attaching to the drawer carcase. I built these from pine and used a matt oak varnish to match the bed. The full build and more photos are on my Blog

Estimated Time Investment
Week Long Project (20 Hours or More)
Finish Used
Matt Oak Varnish
Recommended Skill Level
Intermediate

Cedar Fence Board Planter Box

Submitted by iowachap on Sat, 03/15/2014 - 19:40

Using Ana's 10 dollar raised garden planter box idea, I made my own using the cedar fence boards and then used 2 x 3 x 8 studs for the L corner supports and mid center support along with top rail. This photo is the first 3, I will have a total of 6 boxes. Will post more as I progress.

Estimated Cost
20 to 25 dollars per box
Estimated Time Investment
Afternoon Project (3-6 Hours)
Finish Used
I used 6 fence boards, 2 for each side of the 6' long runs, and 1 for each short 3' section cut in half.

I got the 6' x 5 1/2 " x 5/8 " cedar fence boards at the orange box

I used 2 x 3 x 8 boards for the corners the middle support and the top rail. I got these at the blue box

I used 2 " and 2 1/2" exterior star bit screws.

NOTE: I pre drilled holes in the fence boards and screwed all the boards to the L corner sections from the inside out, so the screws are on the inside of the box, they did not poke through the 2 x 3 boards.

Instead of trying to measure how far off the side of the board I needed to go to match the vertical 2 x 3 boards, I just cut 10 11 inch long 2 x3 sections, and then used the 2 1/2" screws and made 4 L corner pieces the shorter side I screwed the short 3 foot length fence boards too, once I had both my short sections screwed to the L corner sections, I then stood one up and screwed 2 of the 6' length boards to the L corner section. Then the other side.

Once all 4 walls were done, I would then measure 3' in the middle of the 6' long side runs, and put in an additional 2 x 3 x 11" again screwed from the inside of the box out.

Now that all the 2 x 3 x 11" L corners and side support sections were connected to the fence boards I then cut 76 1/4" 2 x3 boards one for each length run, and then 2 26" 2 x 3 sections that were all cut on 45 degree angle to complete the top rail.
Recommended Skill Level
Starter Project

Cedar Ladder Planter

Submitted by Anonymous (not verified) on Wed, 07/13/2016 - 10:51

I followed the plan directions to a "T" and it worked out so well! This projects gives me joy everytime I walk up my front steps. Thanks!

Estimated Cost
$30
Estimated Time Investment
Weekend Project (10-20 Hours)
Recommended Skill Level
Beginner
Seasonal And Holiday
Back