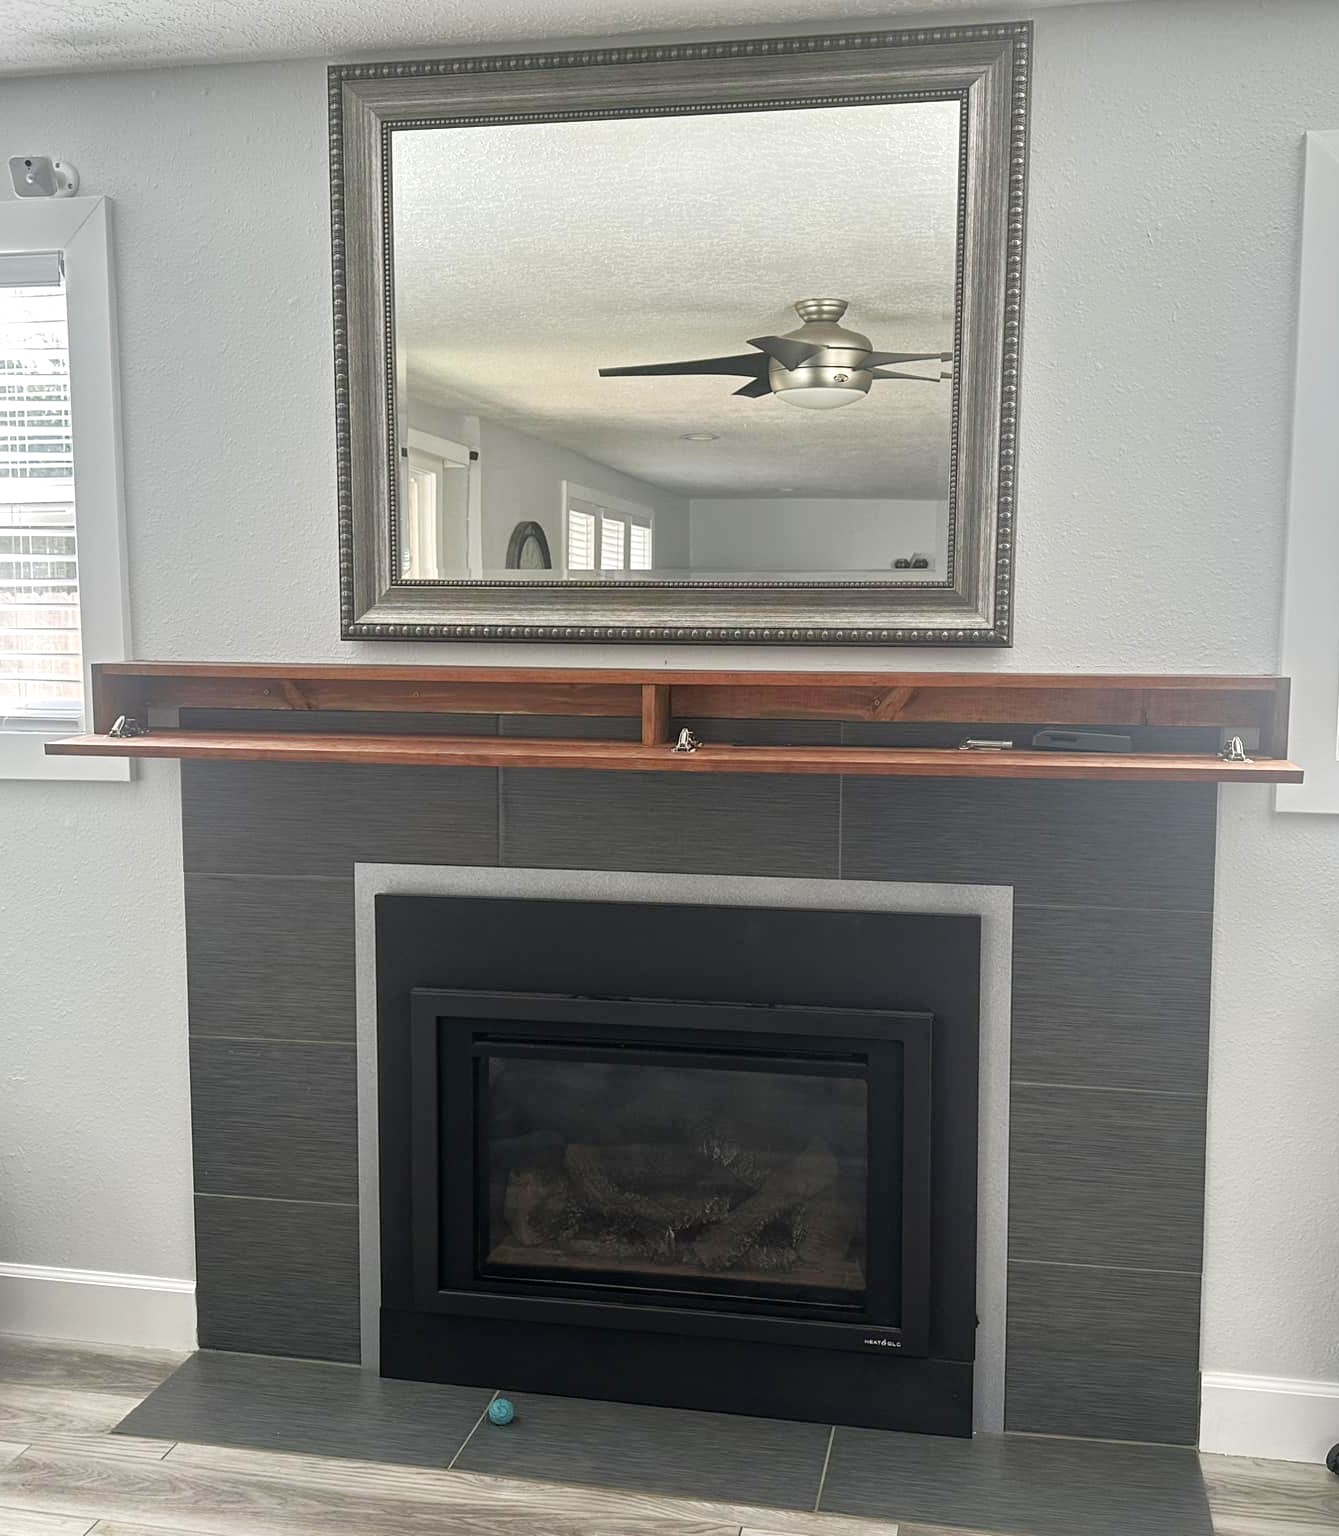
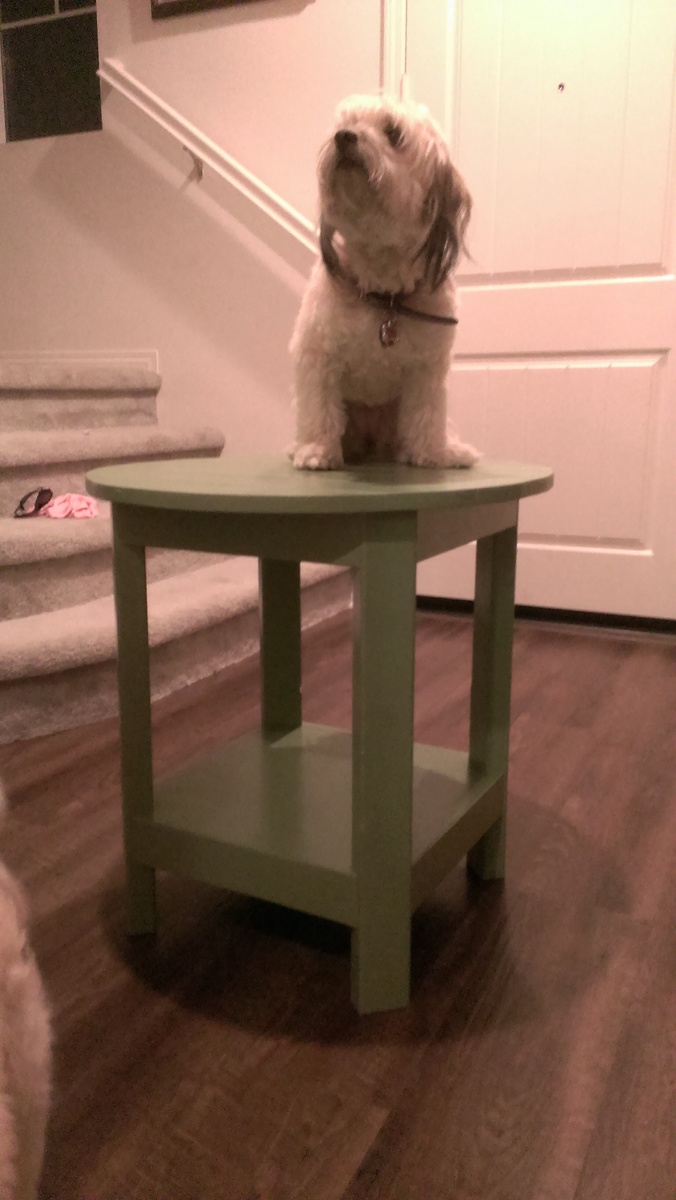
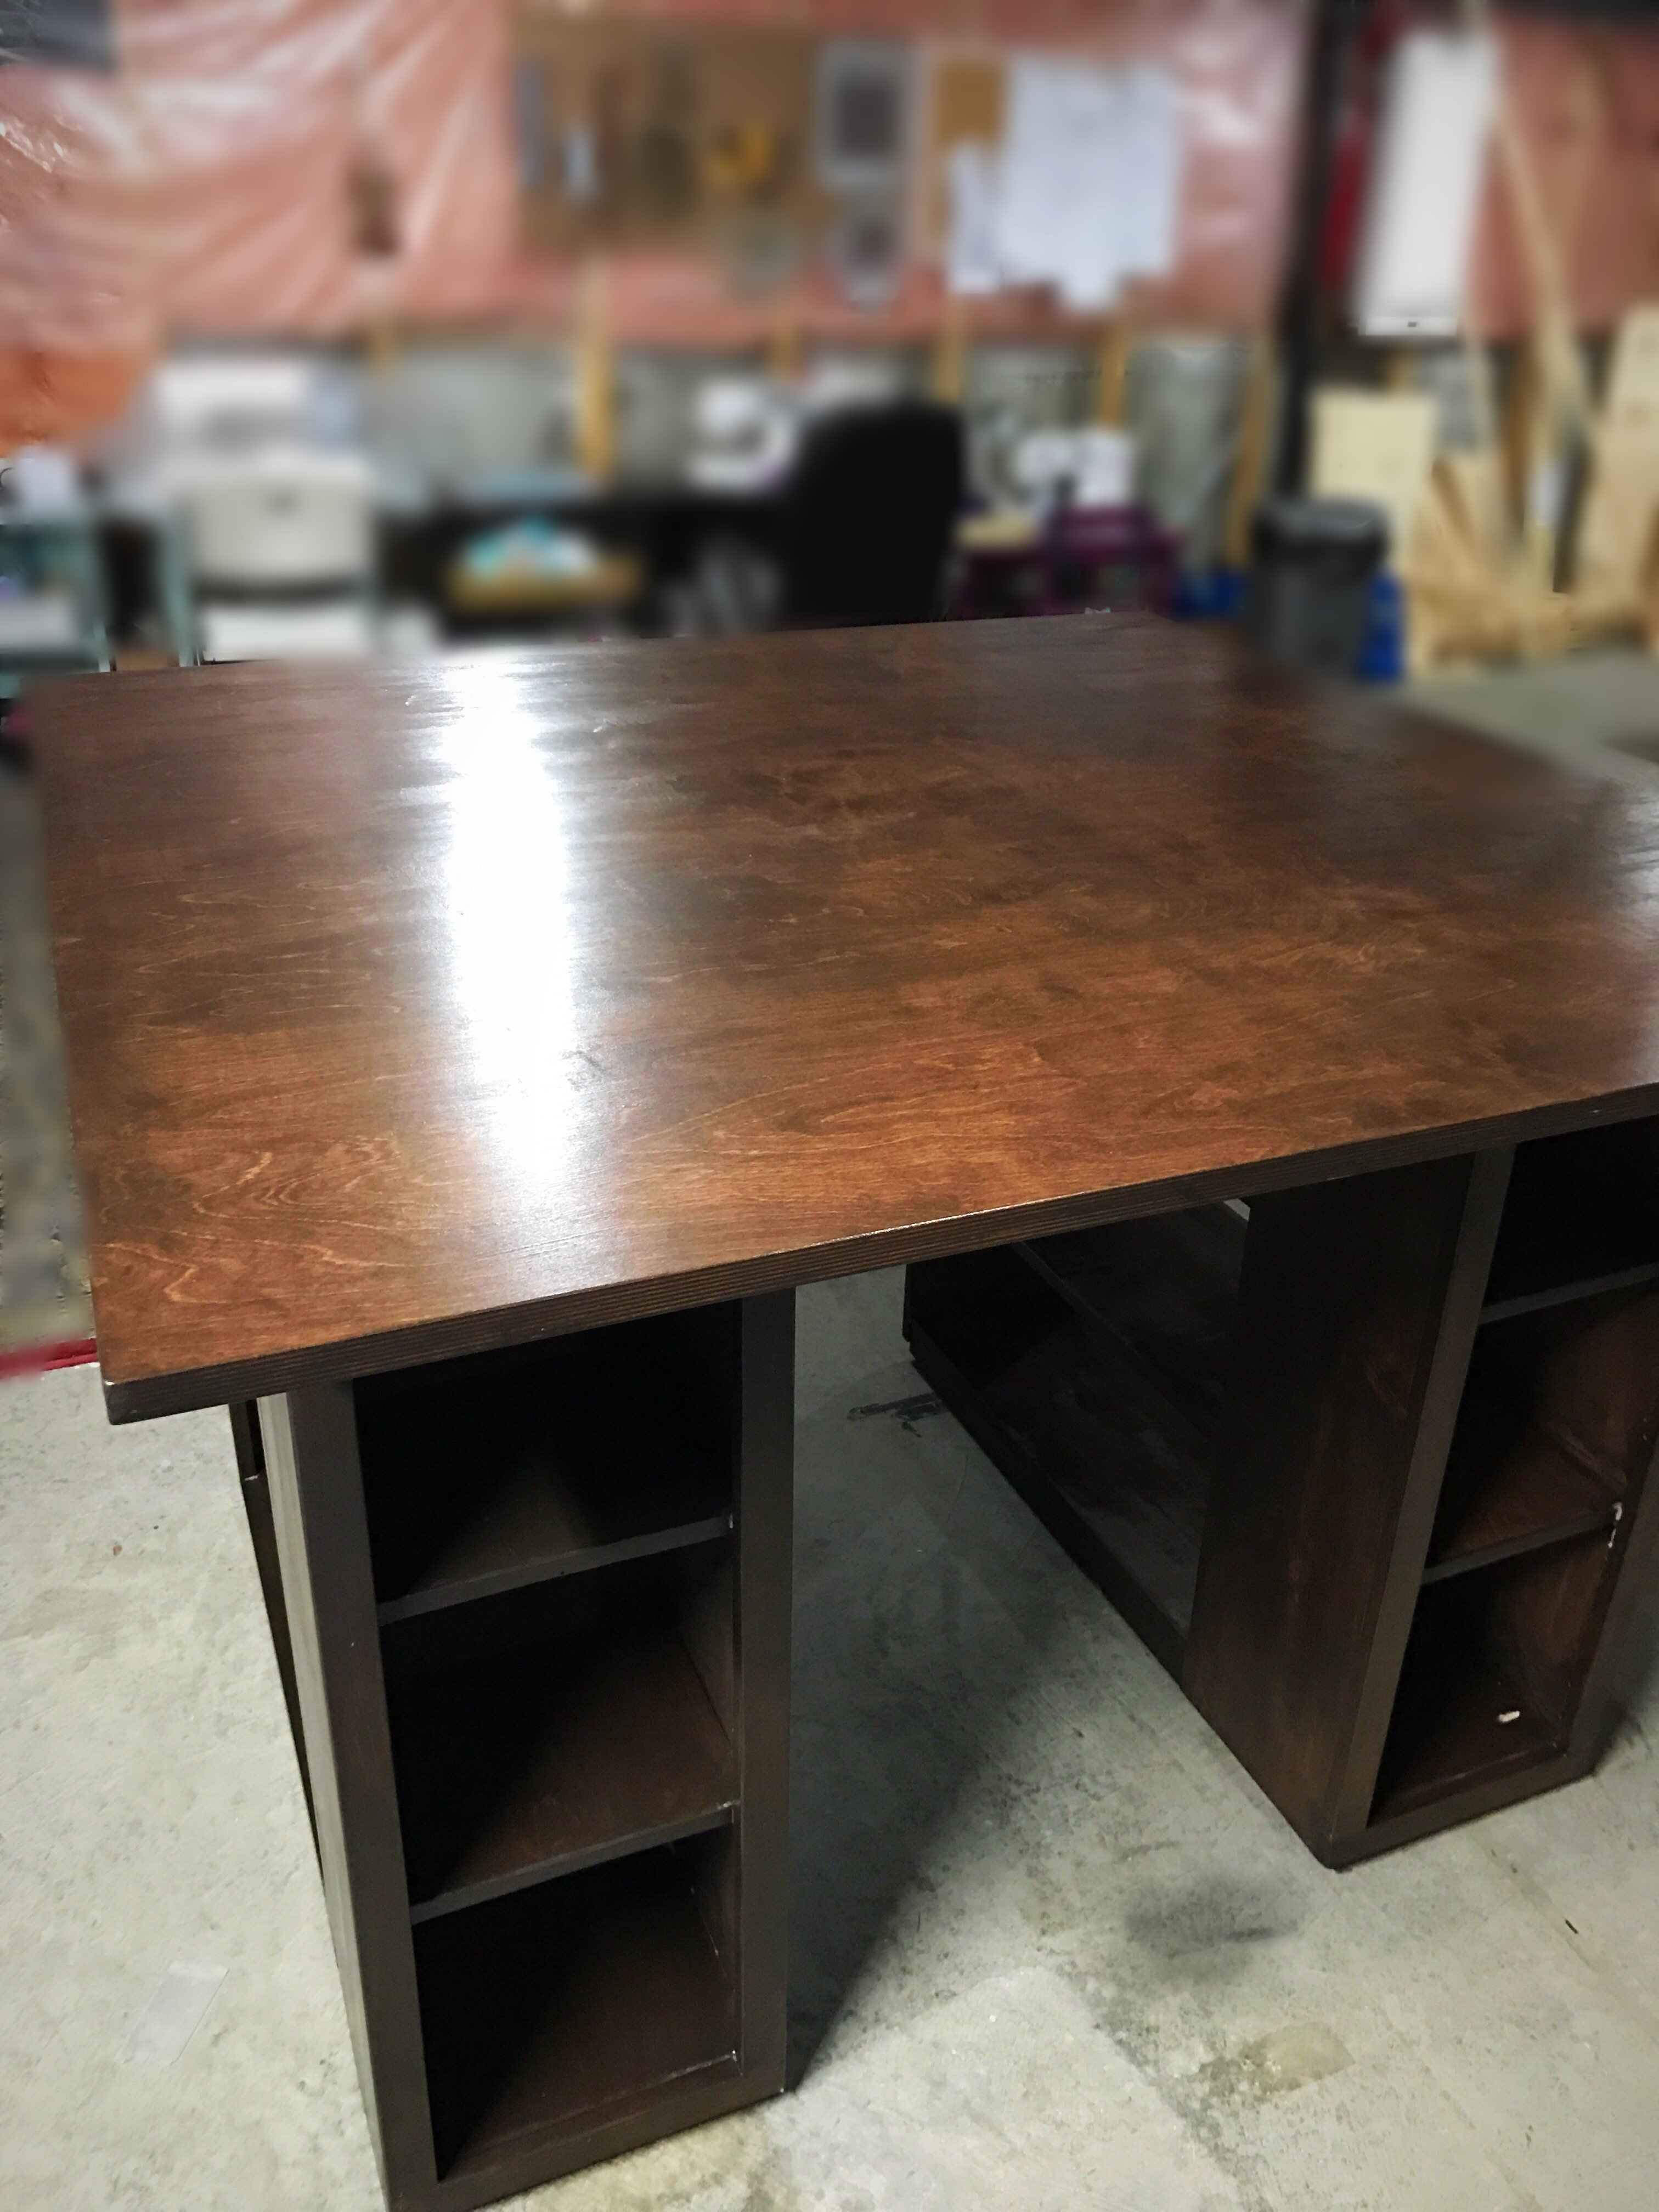
Night Tables
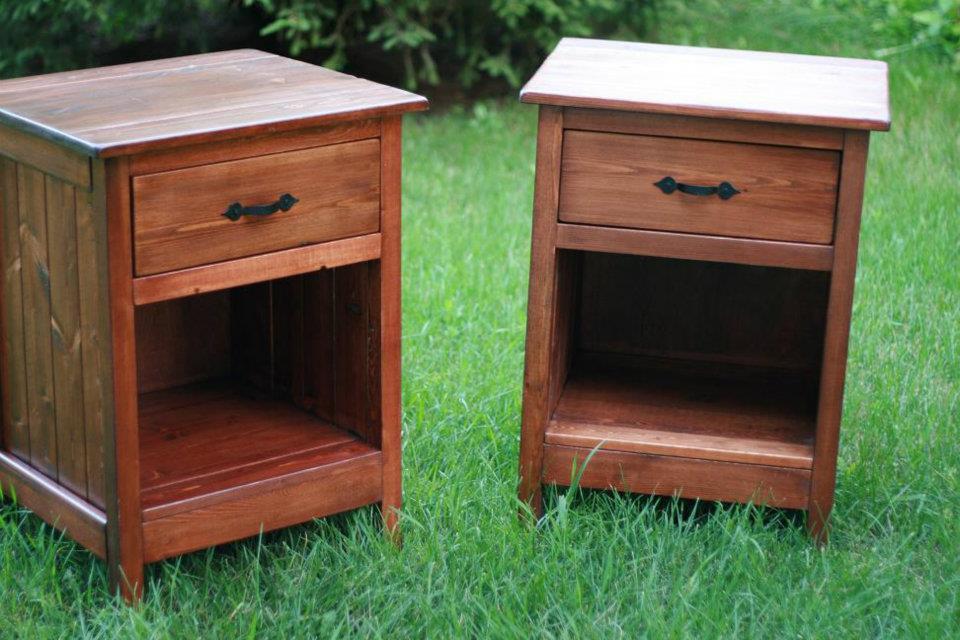
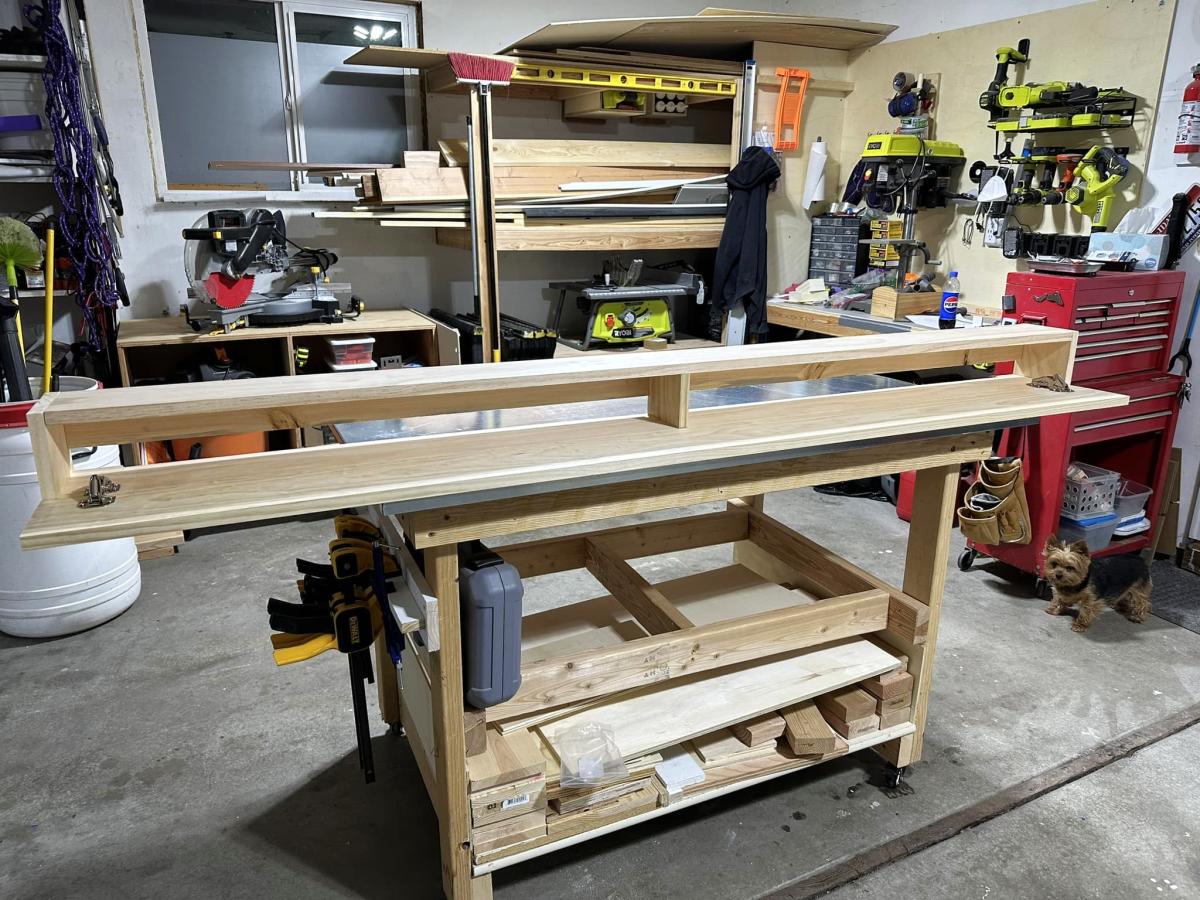
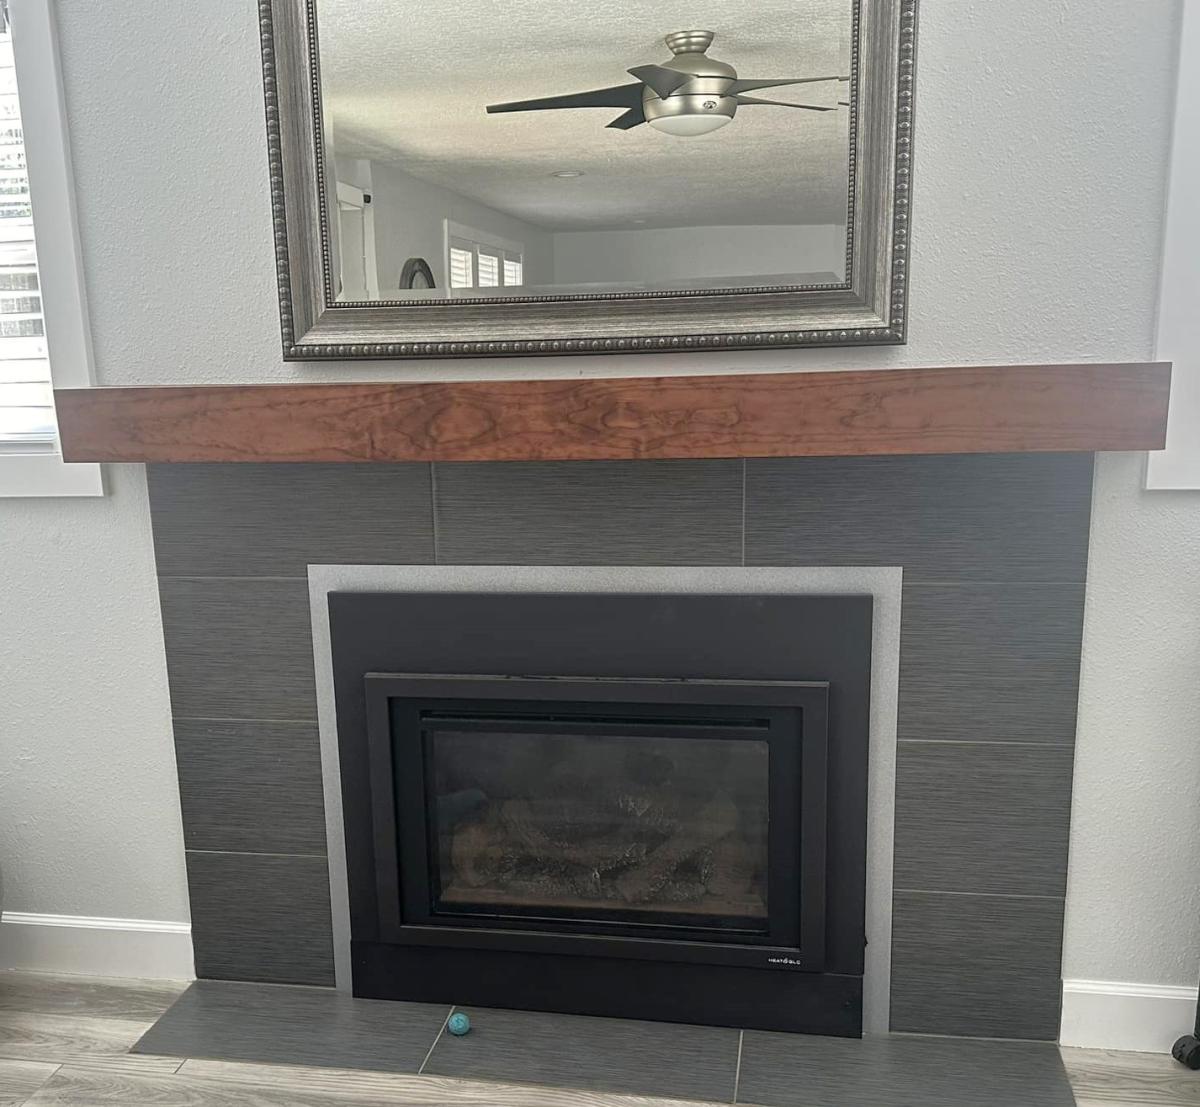
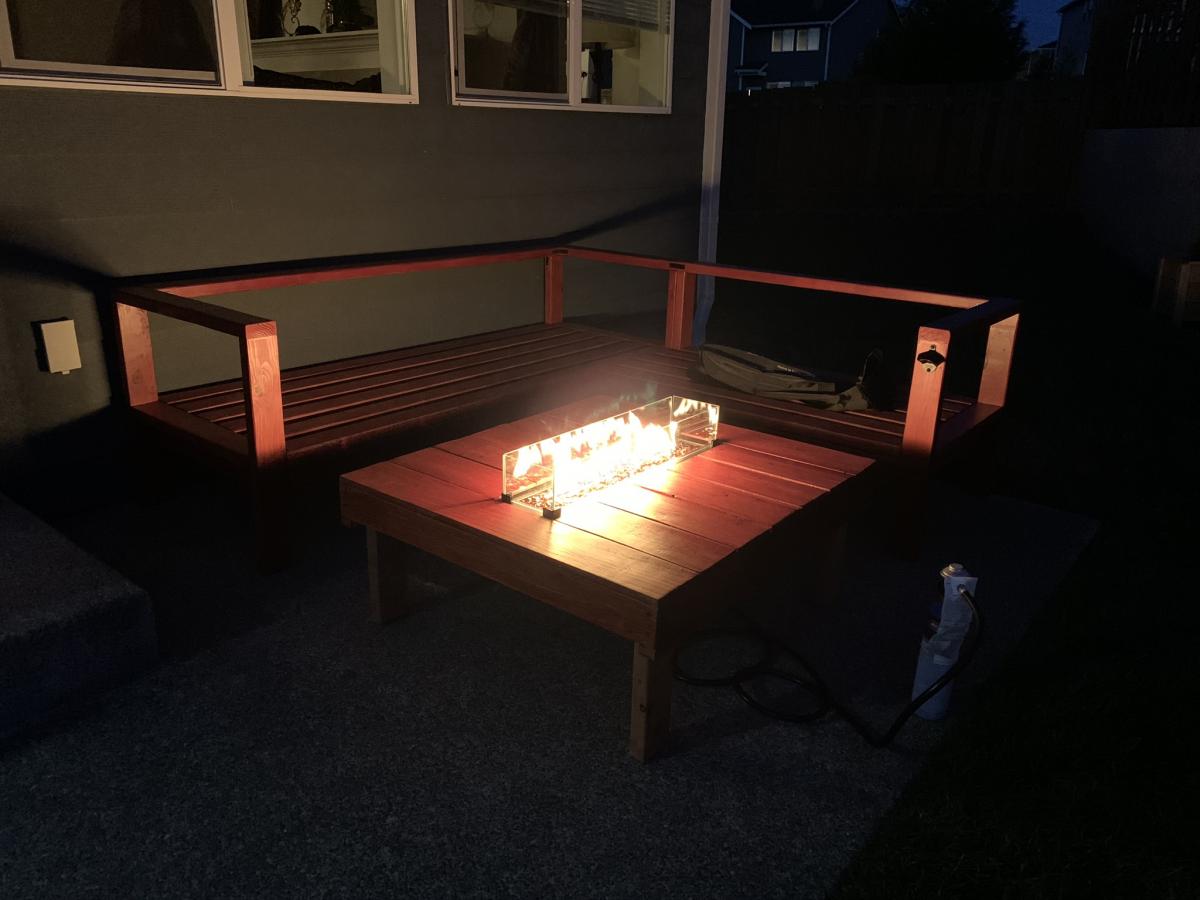
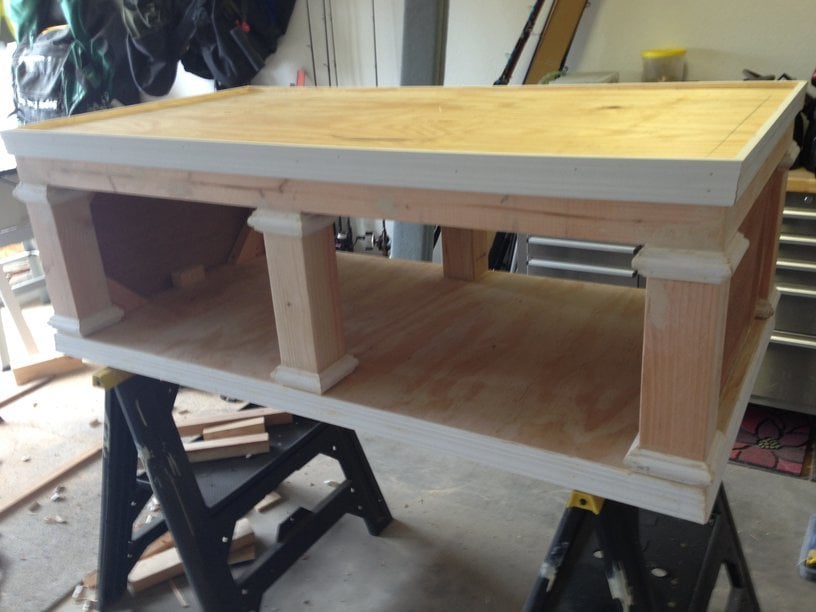
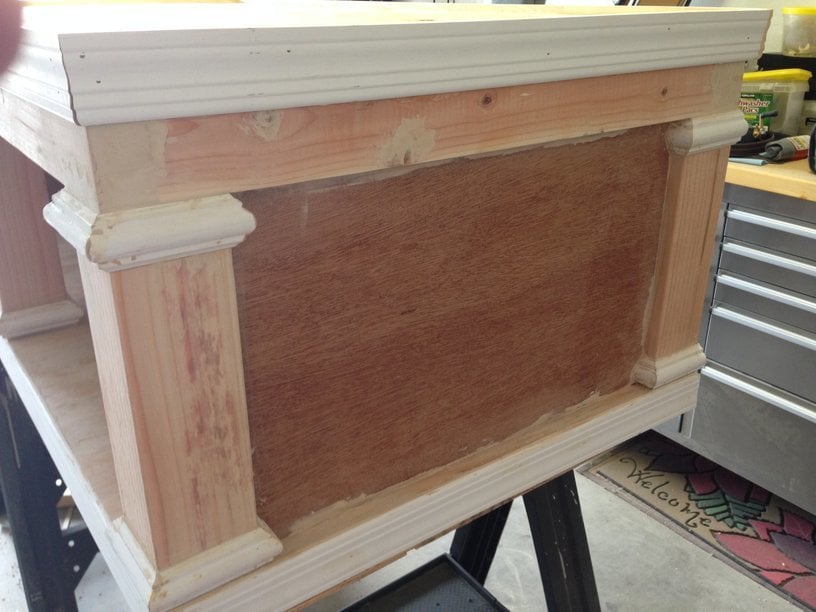
I used the plans for the Reclaimed Wood bedside tables but I didn't want to make all those drawers (being a beginner) so I settled on one. It took me fairly long to complete but really it should have been only a weekend project. I love the way they turned out.
Built from Plan(s)
Estimated Time Investment
Week Long Project (20 Hours or More)
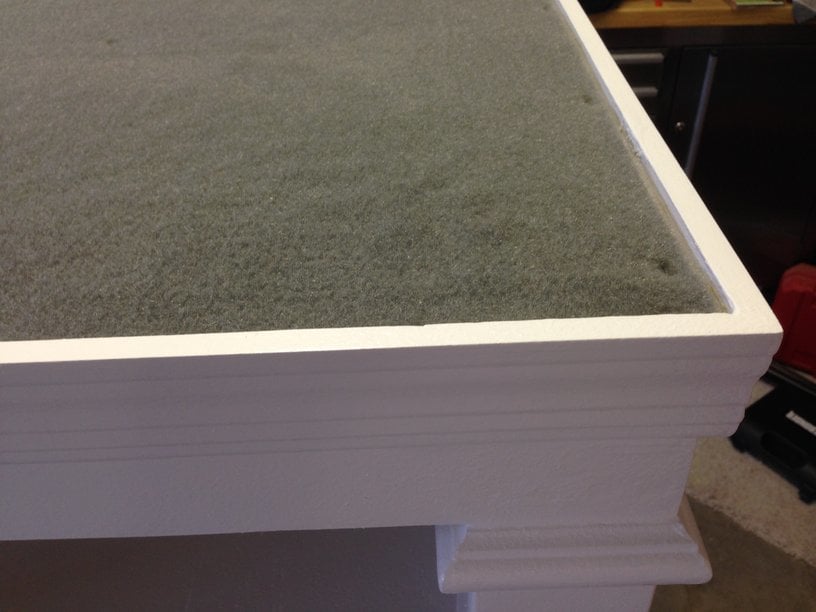
Finish Used
One coat each of Varathane's Early American followed by Red Mahogony. Two coats of poly.
Recommended Skill Level
Beginner


Comments
whitney_smith
Fri, 07/20/2012 - 11:12
These look fantastic!
These look fantastic!
Debi_G (not verified)
Fri, 07/20/2012 - 20:16
beautiful!
I too fear drawers.
Your bedside tables have turned out beautifully!
Pam the Goatherd
Sun, 07/22/2012 - 10:00
Good job! They turned out
Good job! They turned out beautifully!