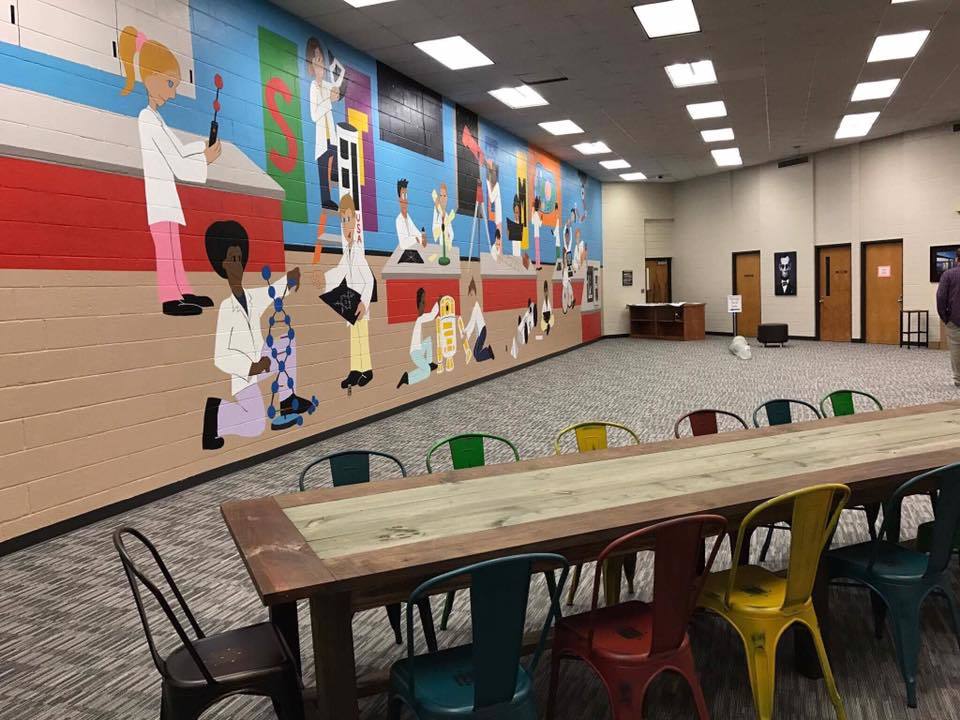
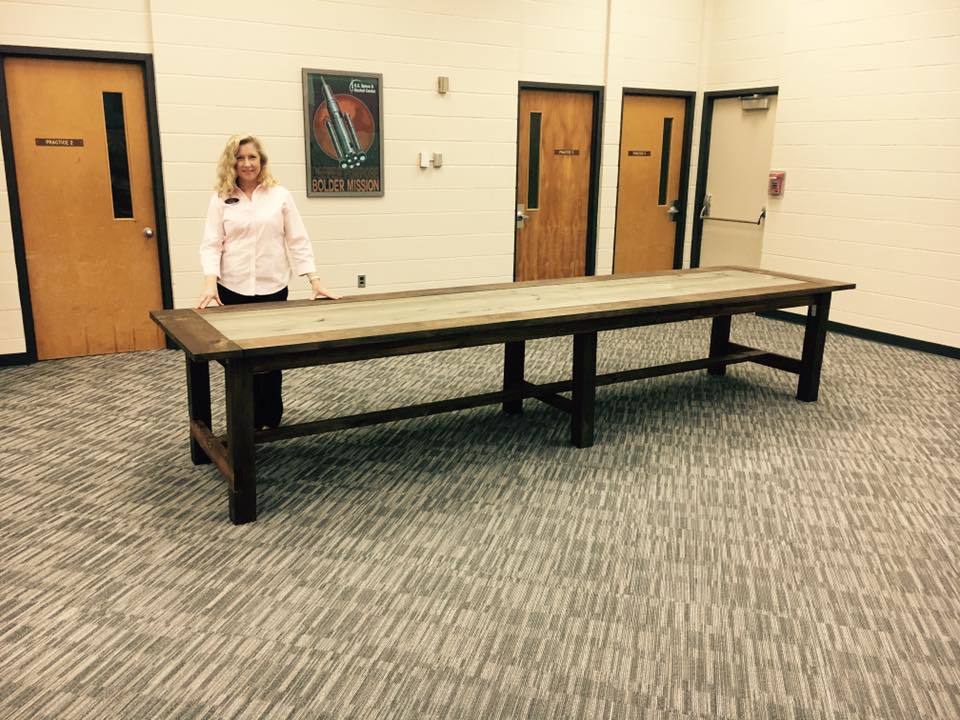
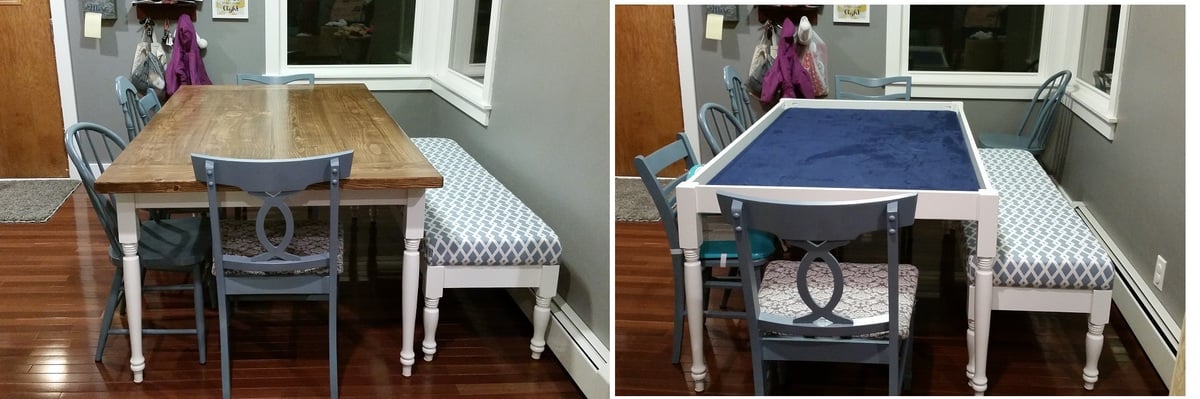
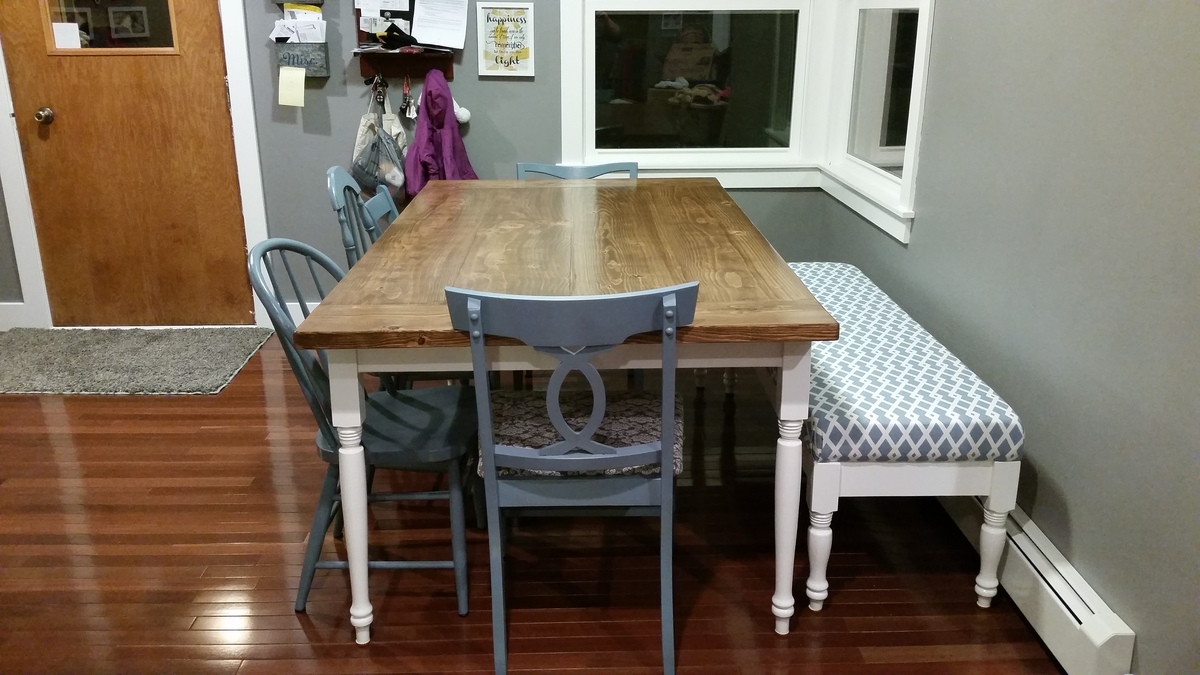
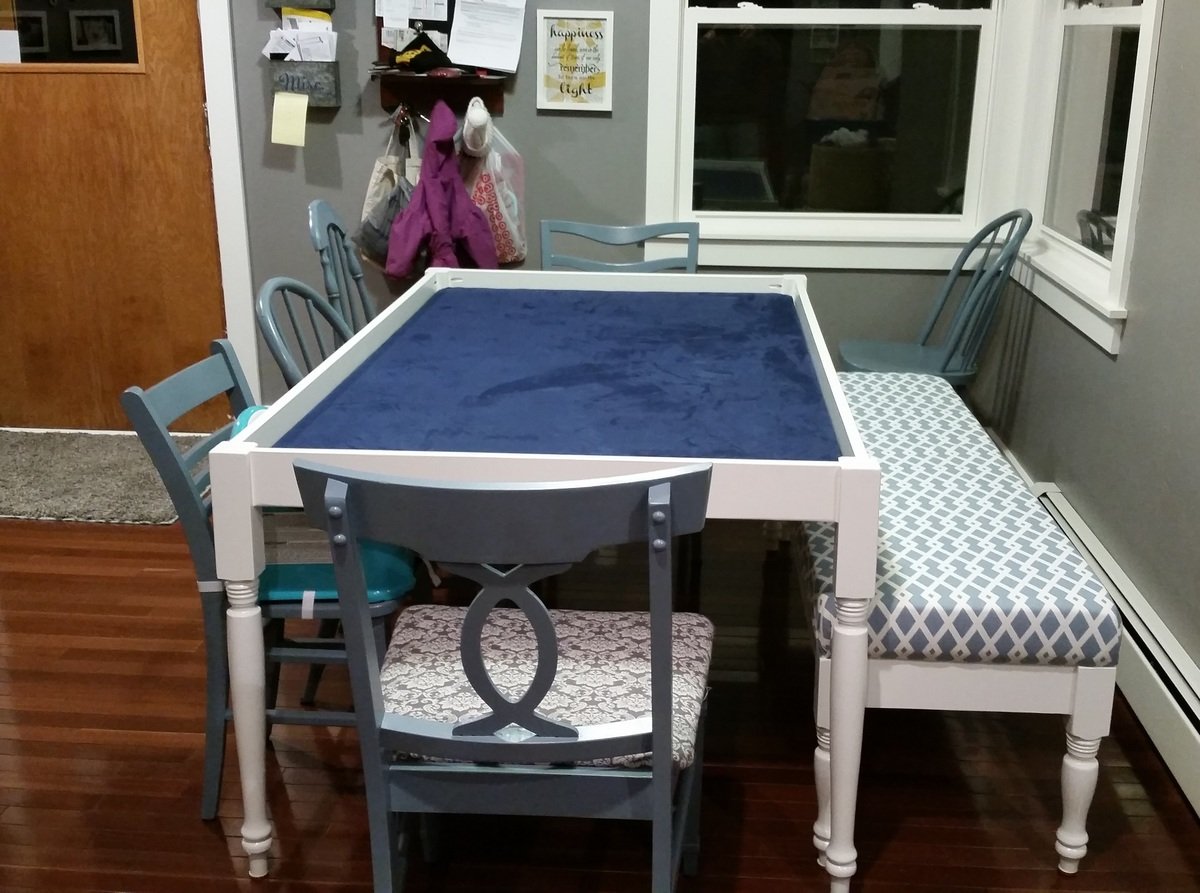
Farm House Table
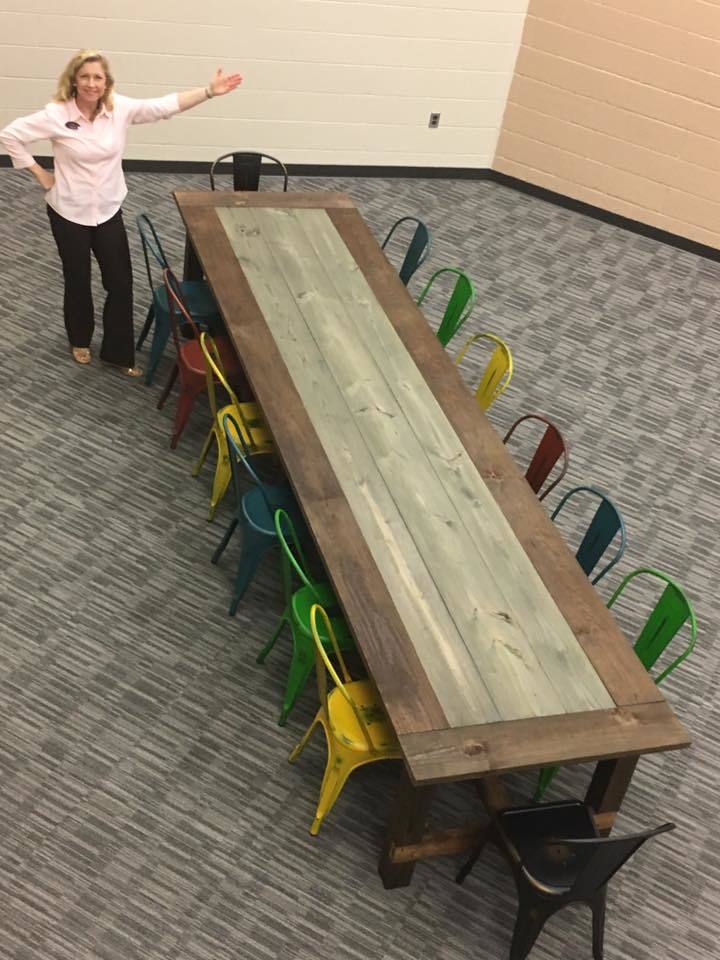
I am not a carpenter, I do not even have a tape measure. I got tasked by my leadership dothan class to build a farmhouse table for the academic dream room which is part of the Bright Key Program. Which is being renovated at Honeysuckle Middle School. Found your plans and got inspired. One glitch they wanted this table to be able to sit fourteen chairs. So I had to make a few adjustments like increasing the main boards to twelve foot. Because of your plans, many urban middle schoolers will have a place to get tutored considering cafeteria tables are so expensive. I am a believer of your plans. The positive feedback I received was well worth my time and would not of been a sucess without your plans. I did mine with pocket holes as well.
Built from Plan(s)
Estimated Cost
146.37
Estimated Time Investment
Weekend Project (10-20 Hours)
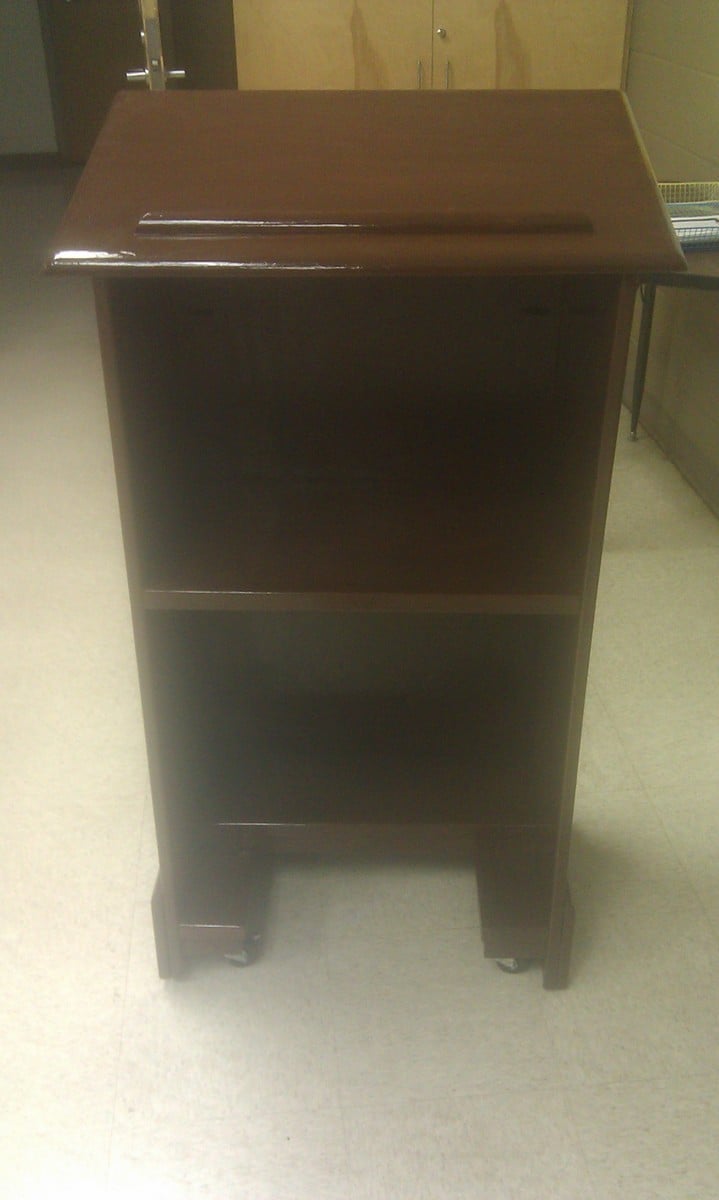
Finish Used
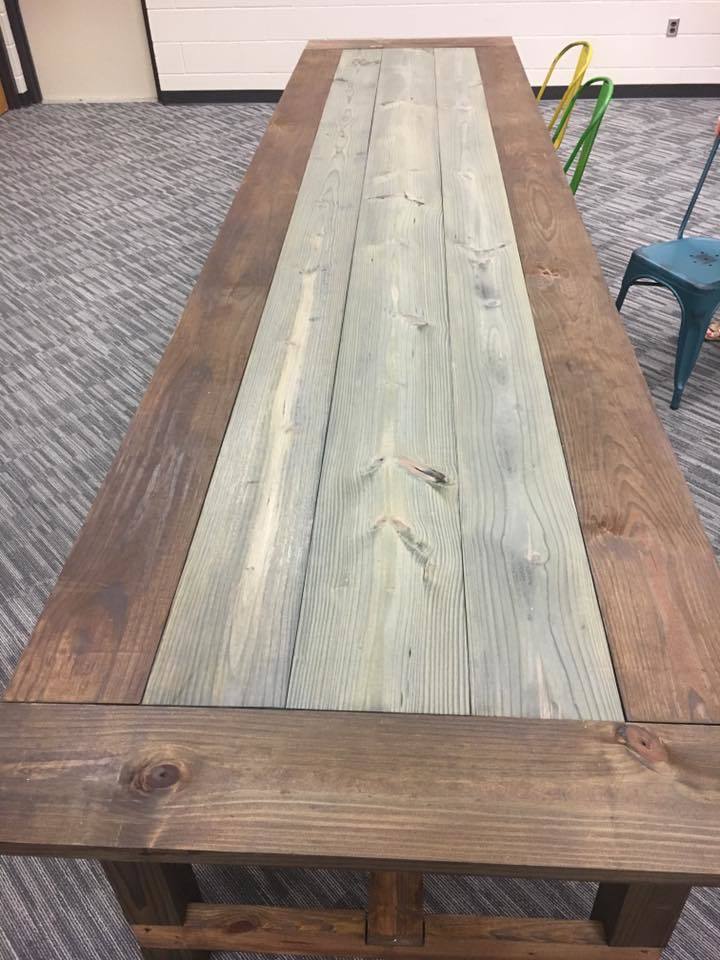
American 230 and the middle a bluish grey.
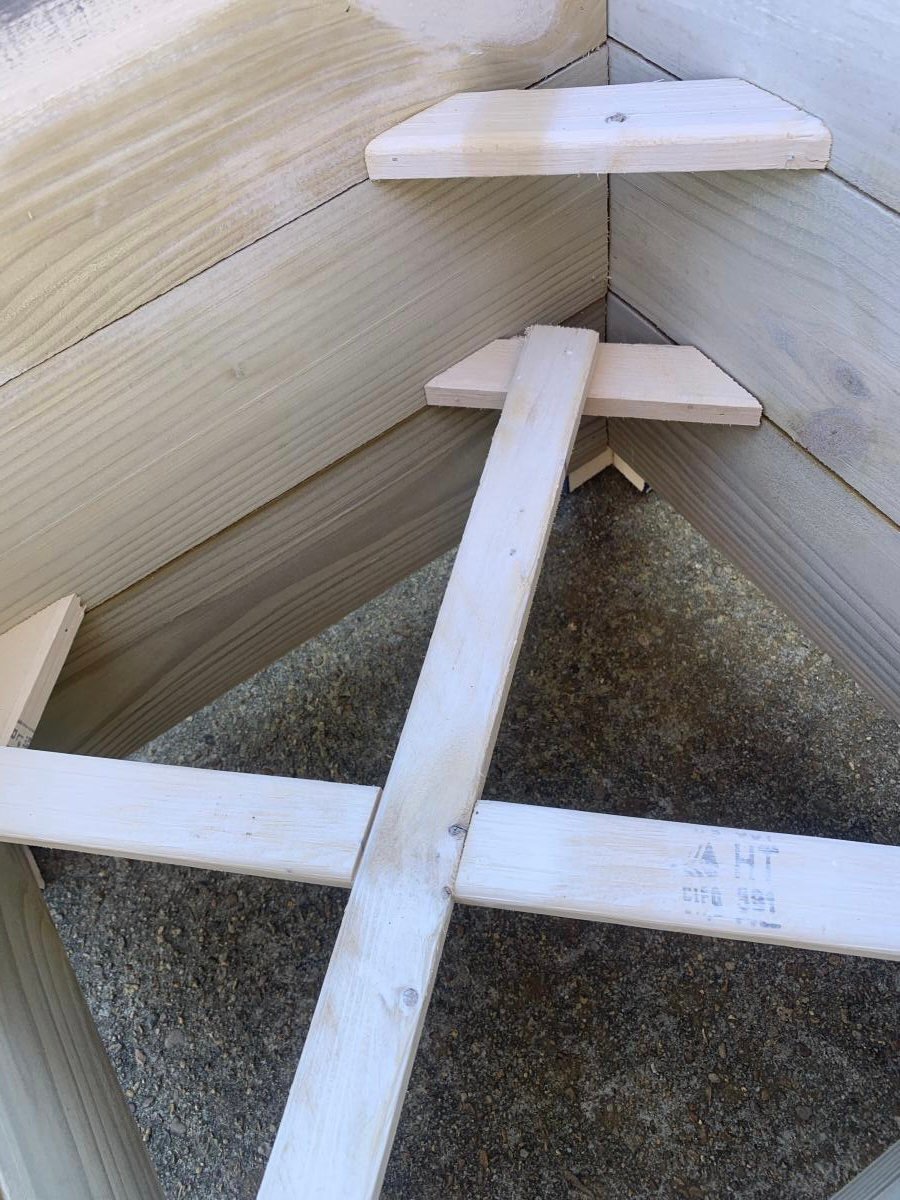
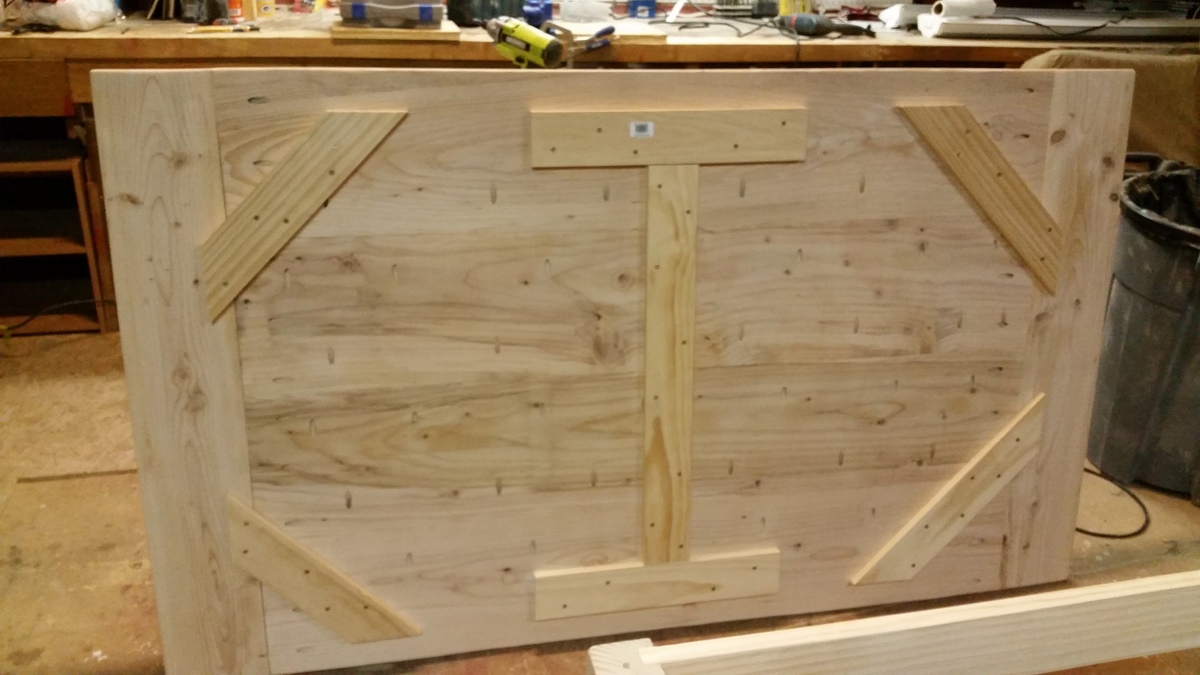
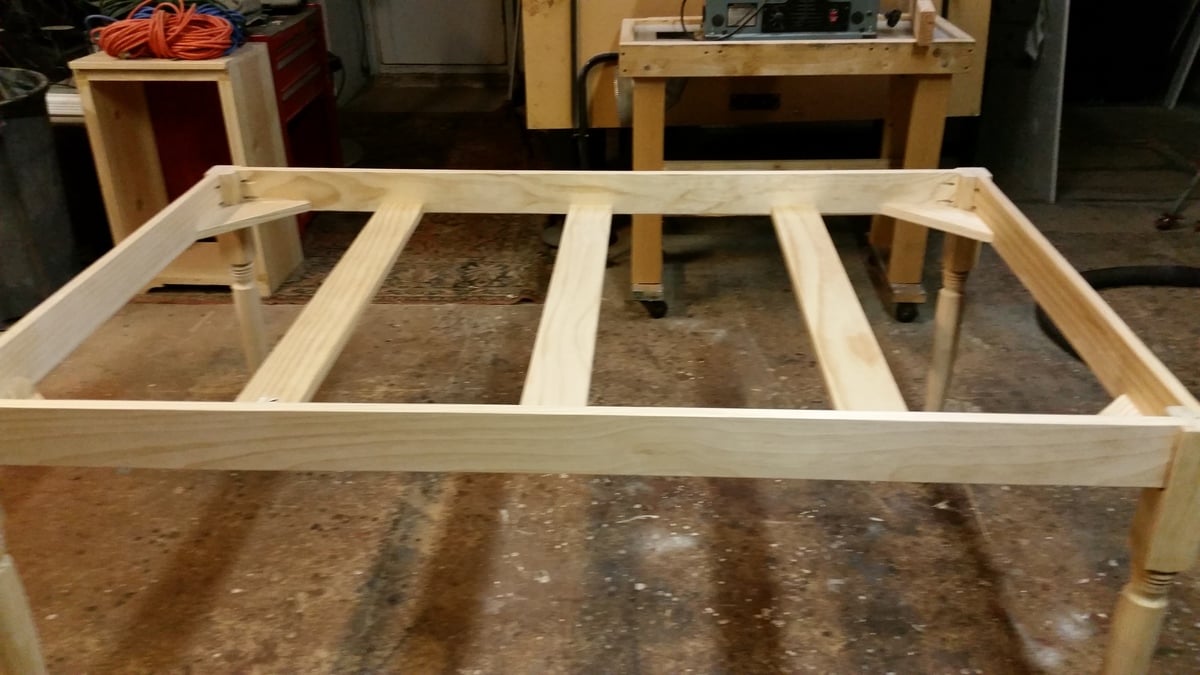
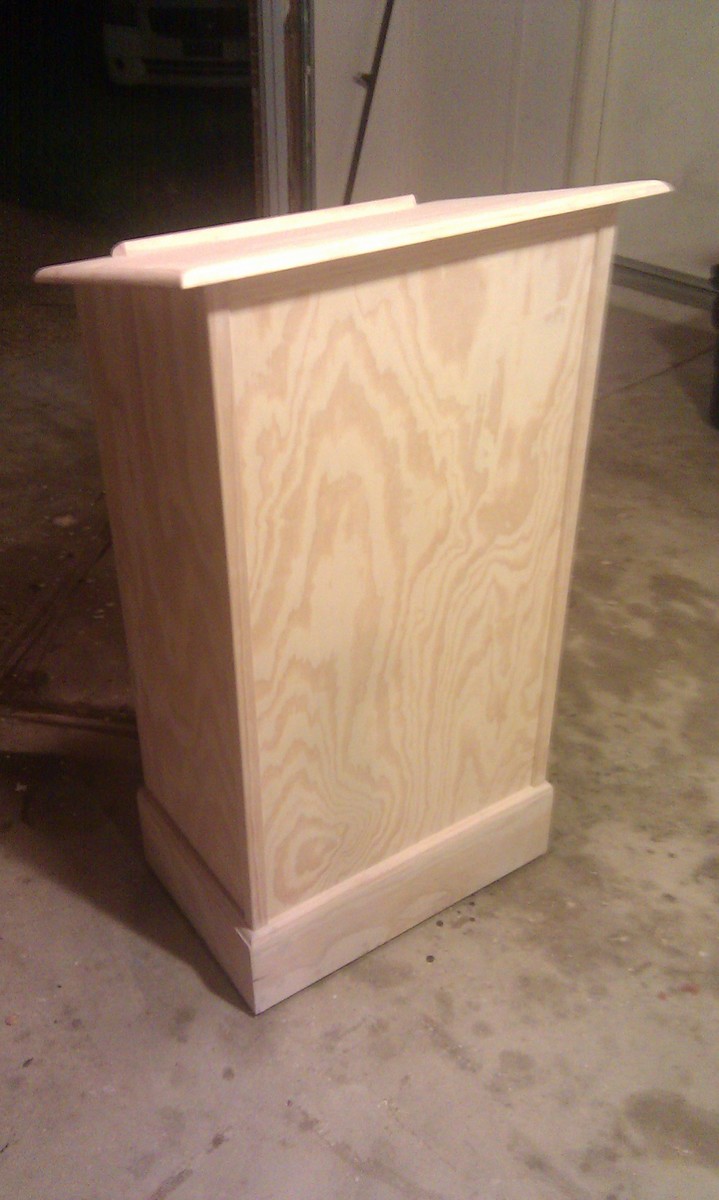
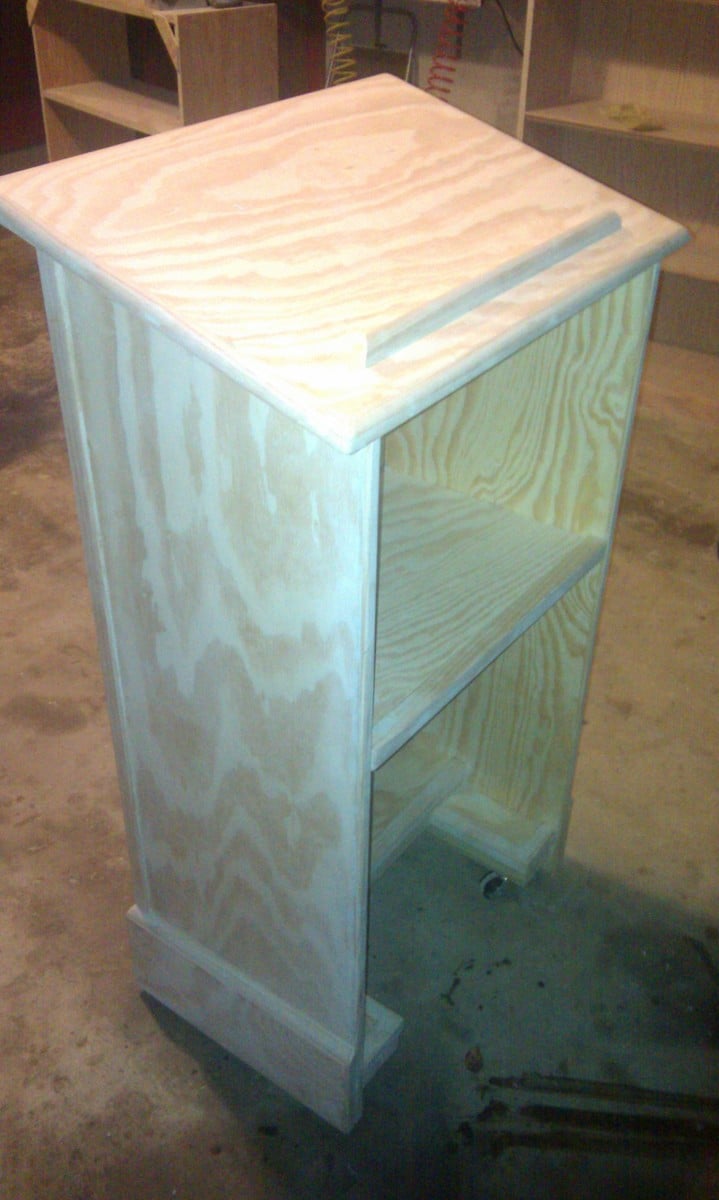
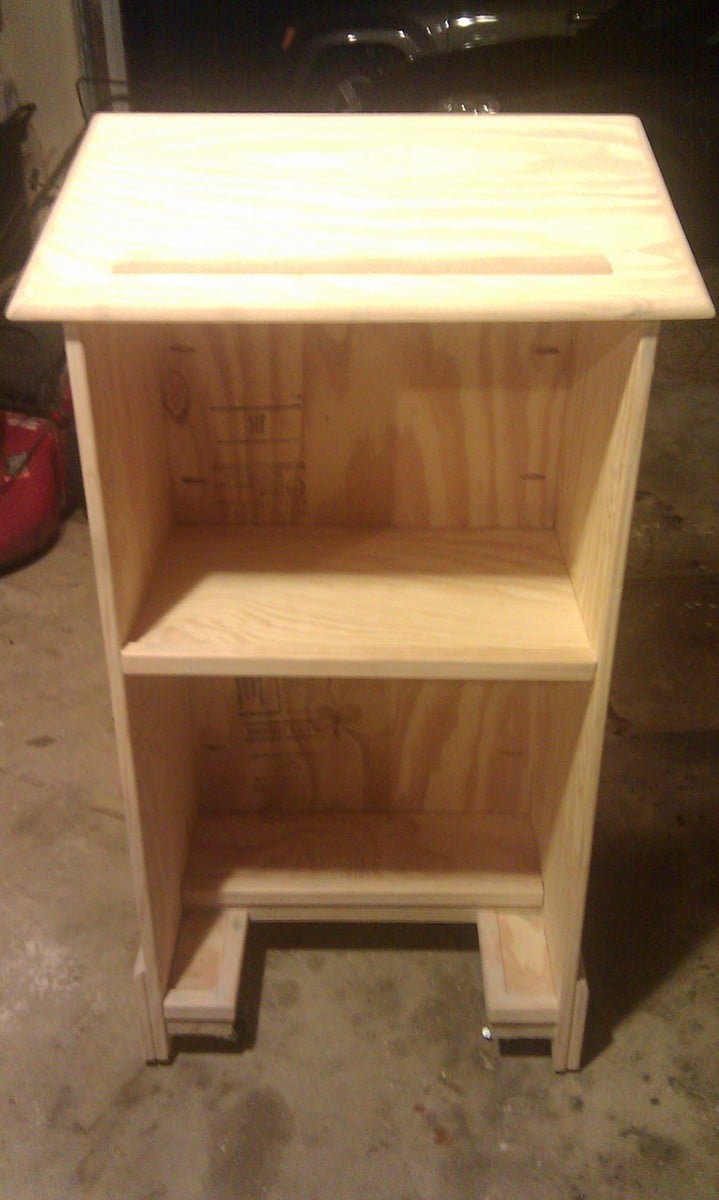
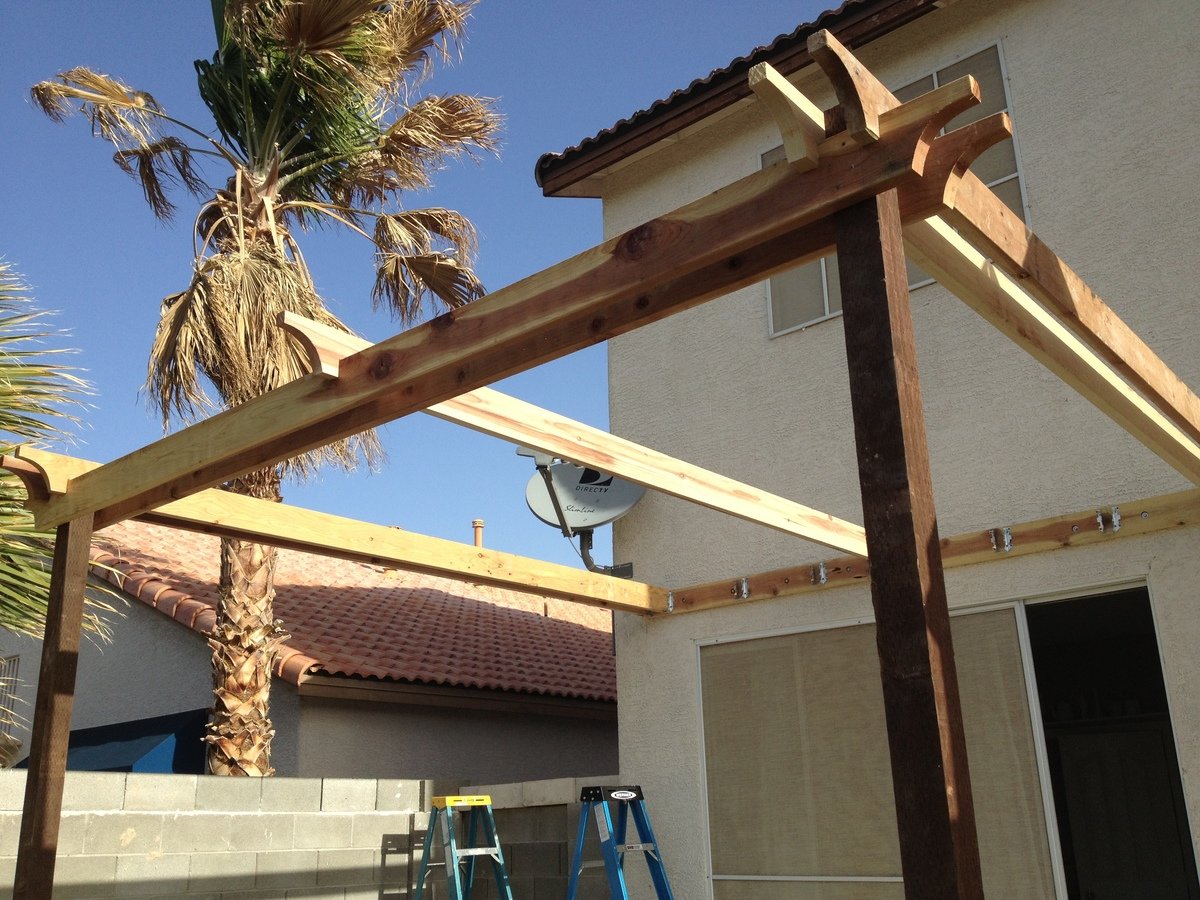
Spent an hour picking out lumber. All boards are not the same length. Ran through a planer and I found it eliminates the need to sand. But remember not to plane them to different heights. Pocket holes are great but I found some really nice table joints at Lowes that looked classy with the kreg screws.
Spent an hour picking out lumber. All boards are not the same length. Ran through a planer and I found it eliminates the need to sand. But remember not to plane them to different heights. Pocket holes are great but I found some really nice table joints at Lowes that looked classy with the kreg screws.
Recommended Skill Level
Beginner


Comments
Ana White Admin
Wed, 02/15/2017 - 11:01
Inspired!
Thank you for sharing, love this!
Drunknstein
Fri, 04/23/2021 - 21:20
Plans
Is there plans for this huge table