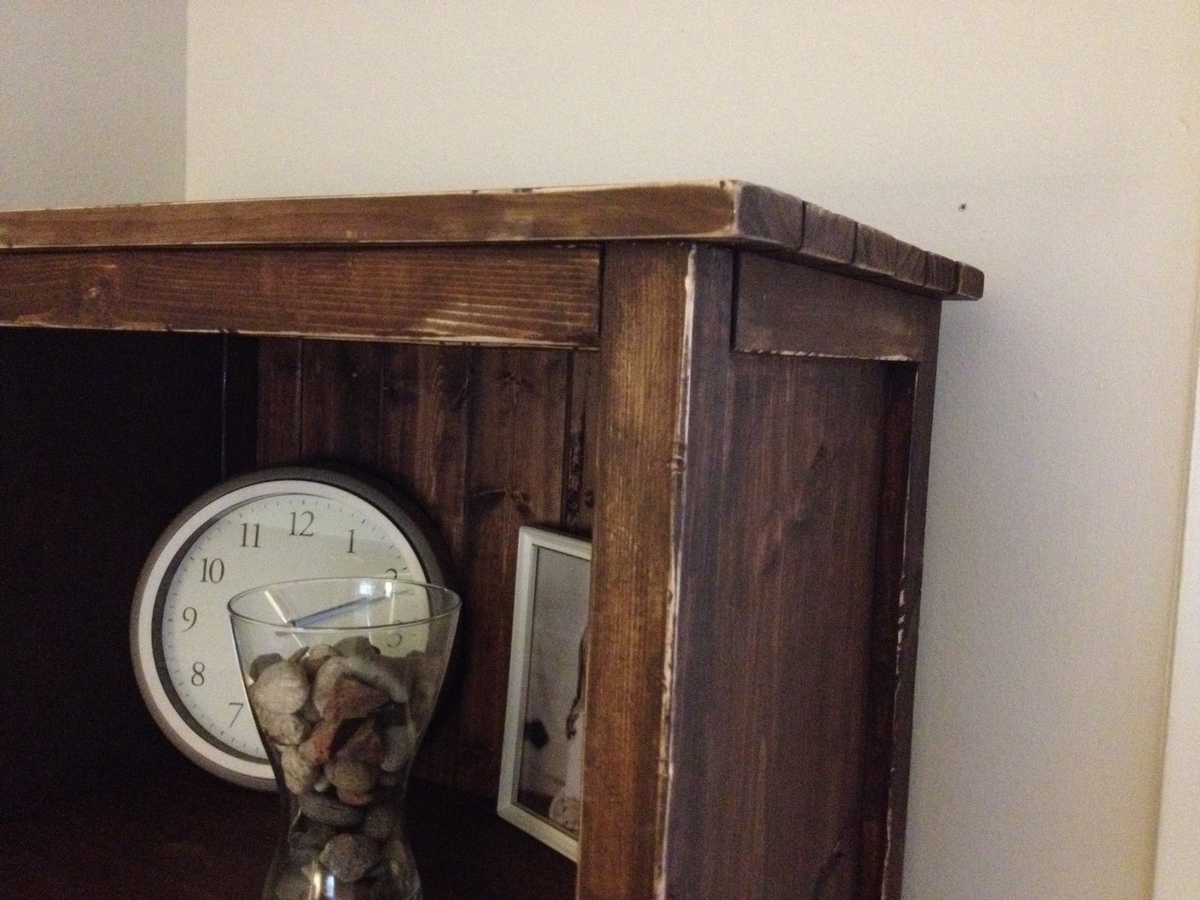
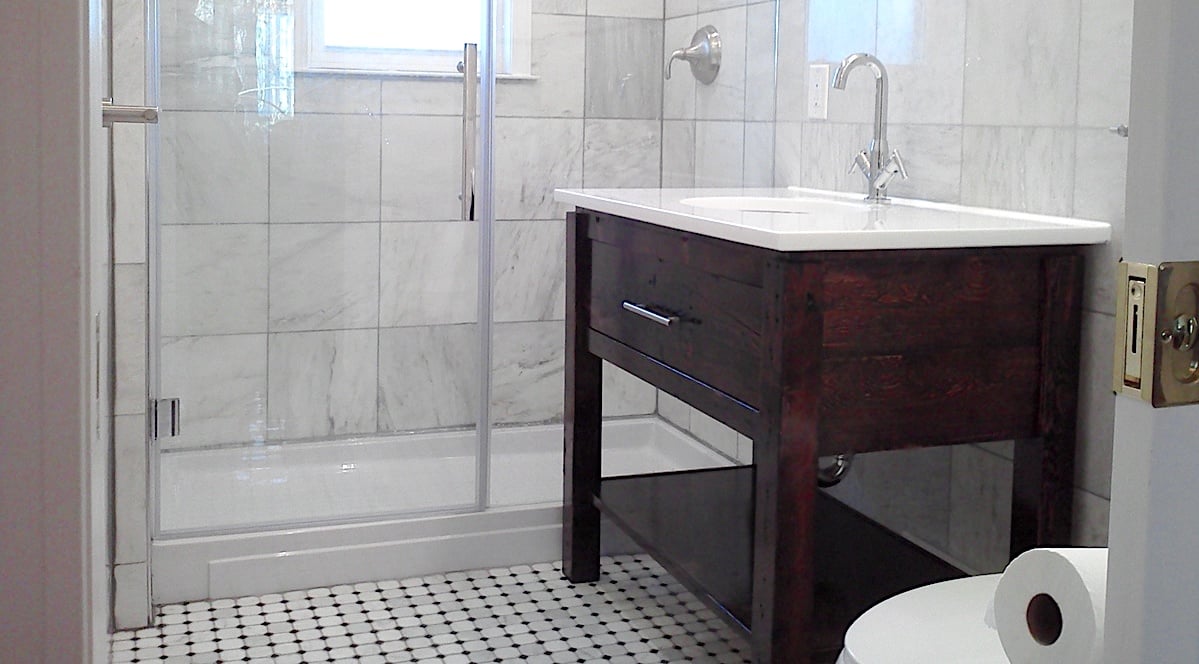
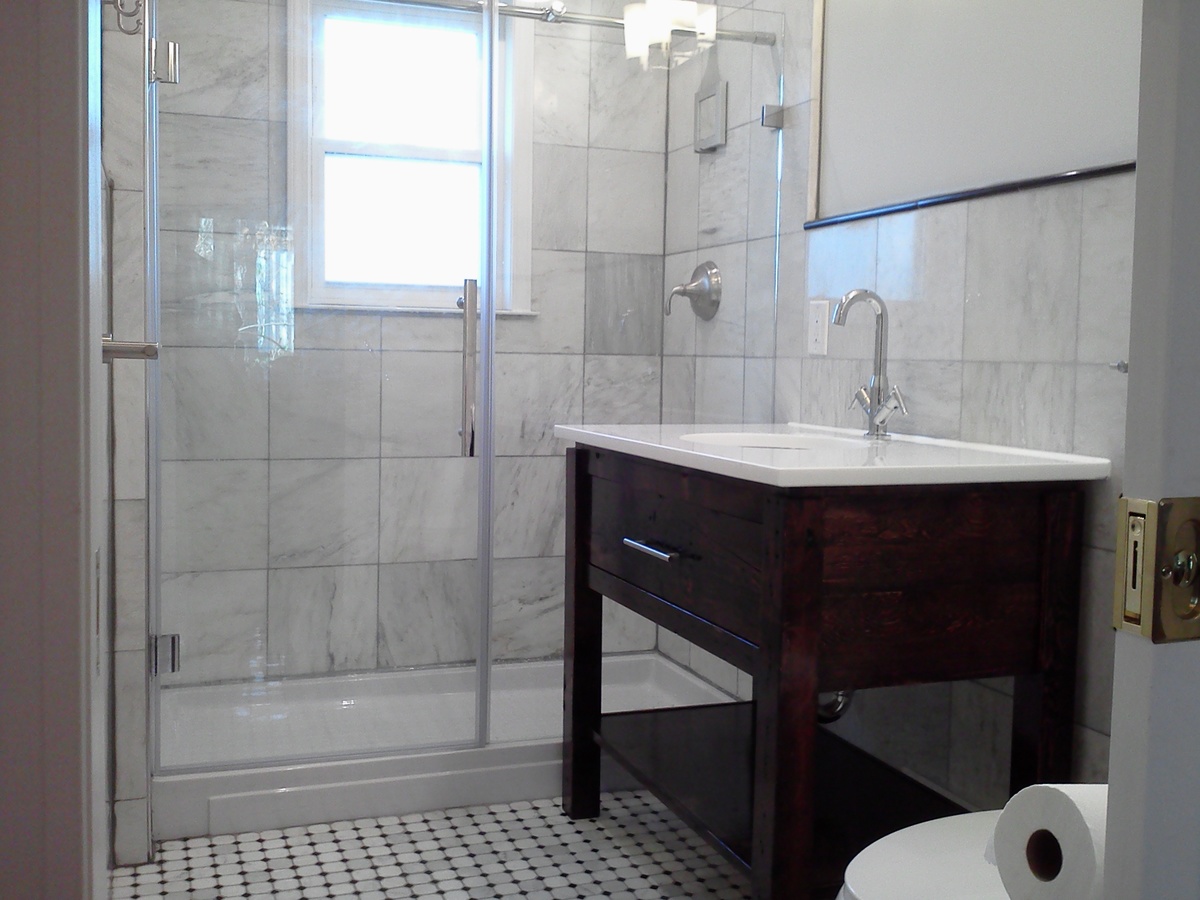
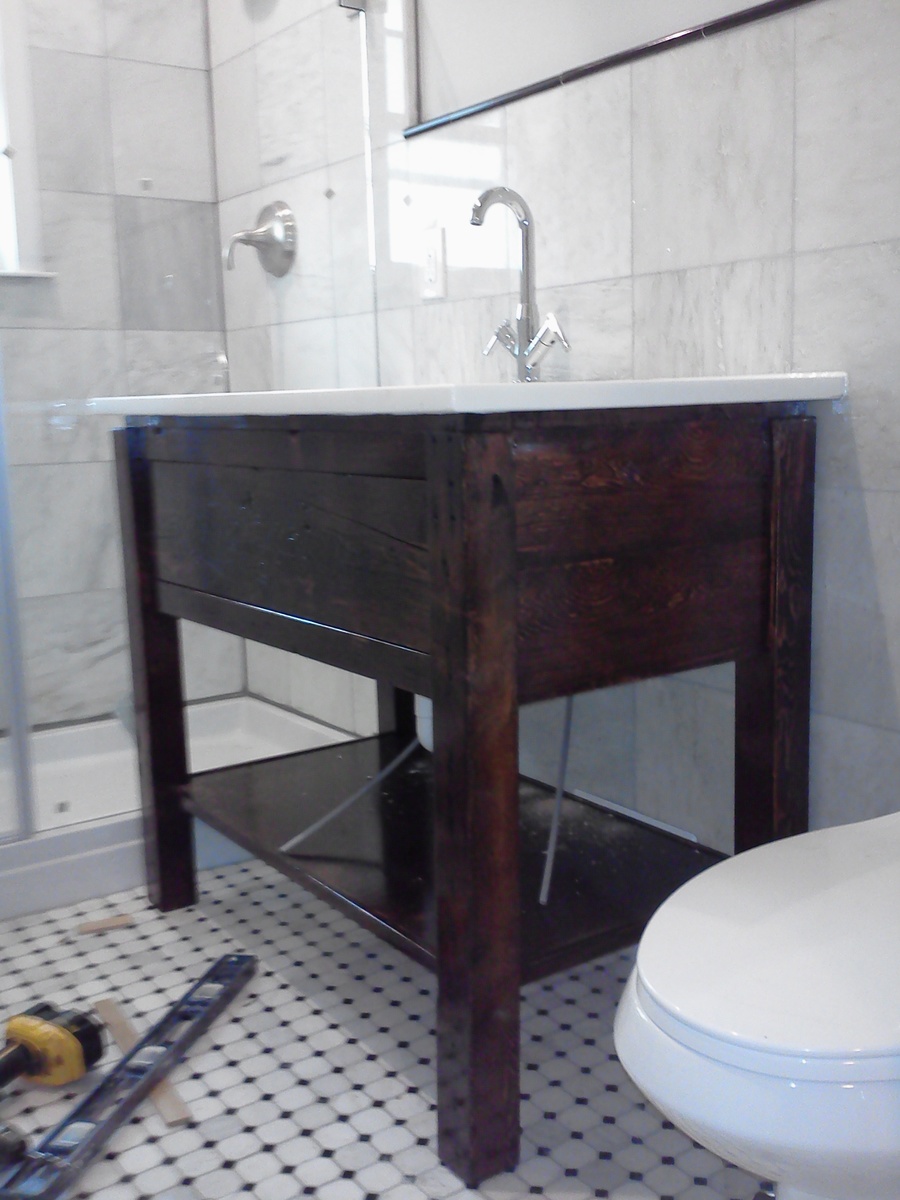
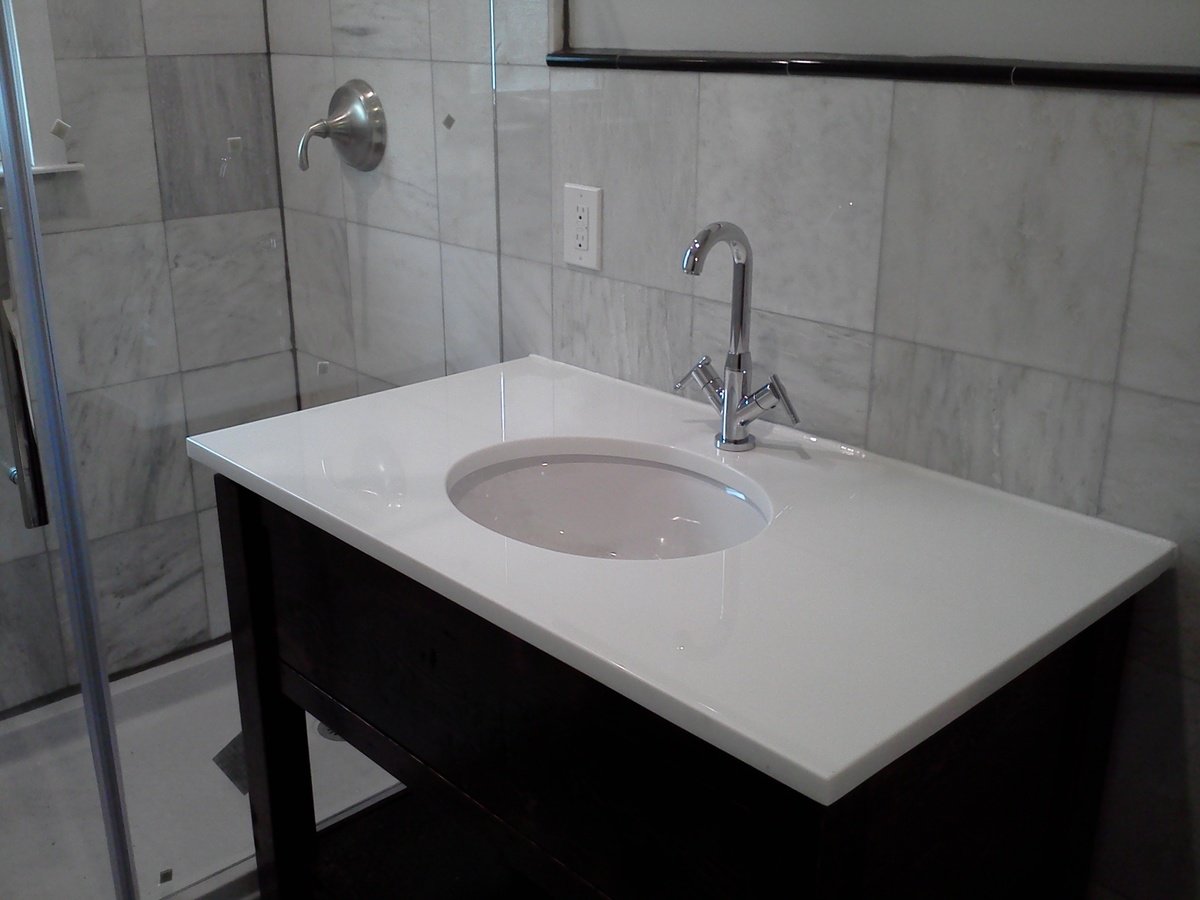
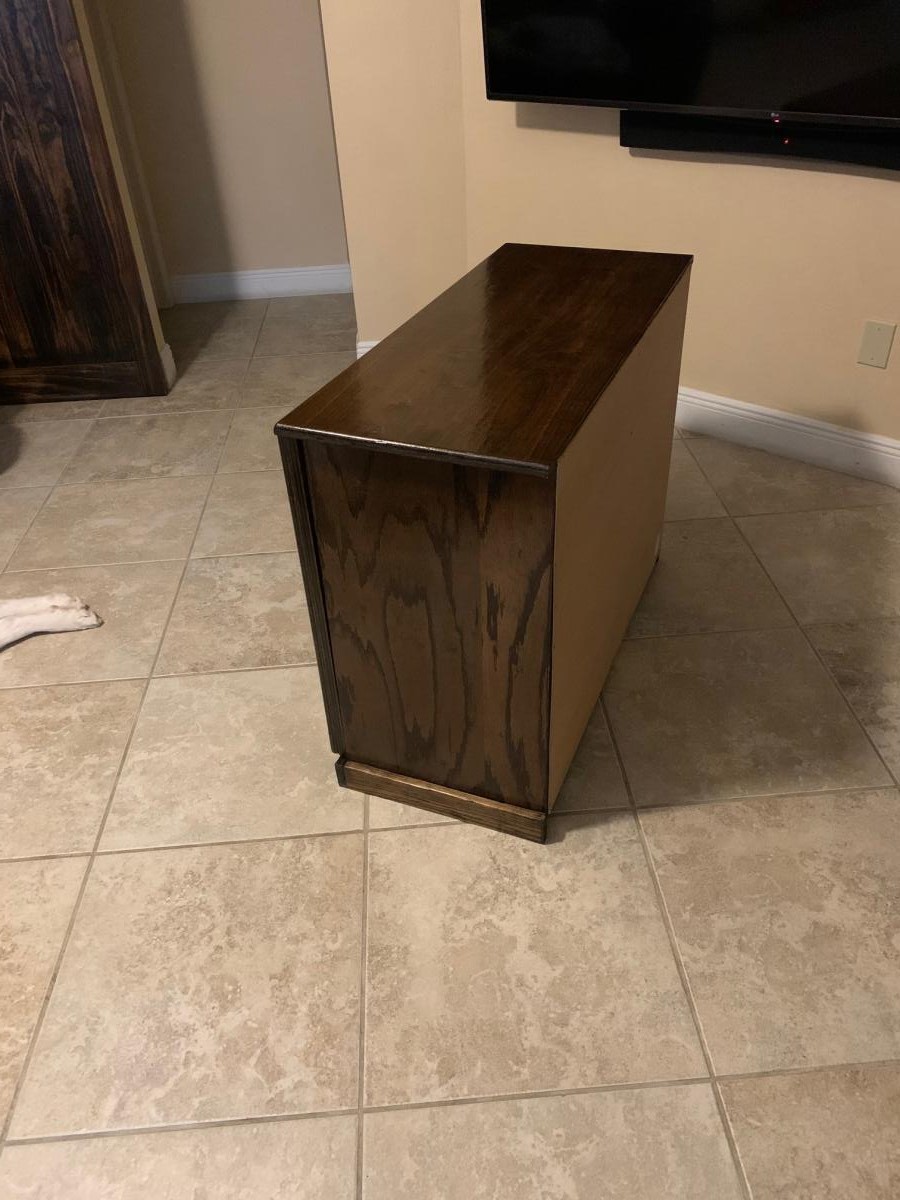
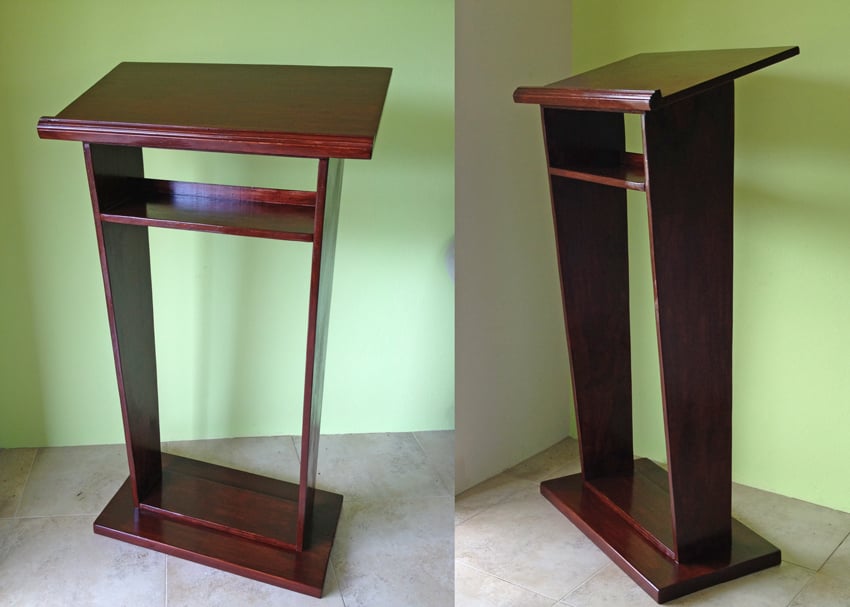
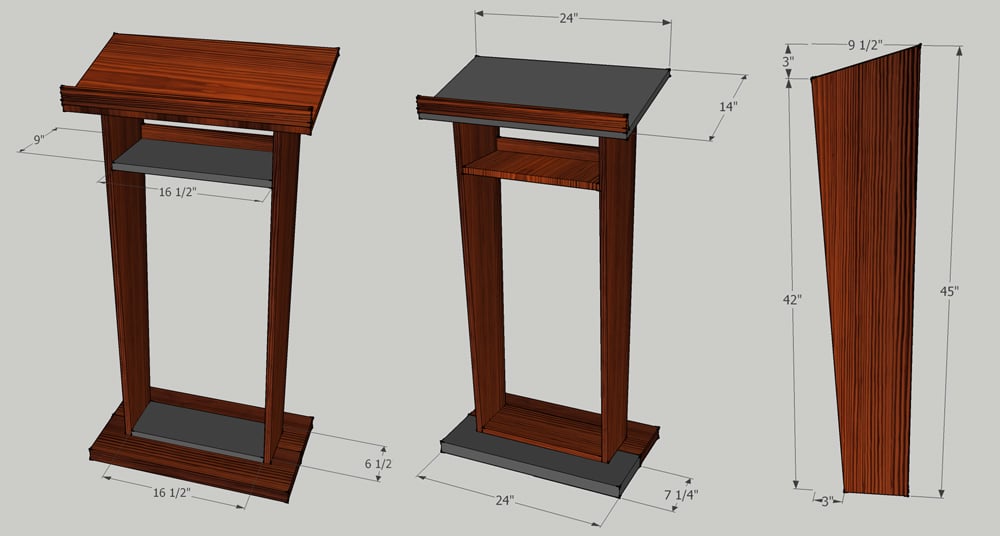
Bath cabinet, my FIRST project!
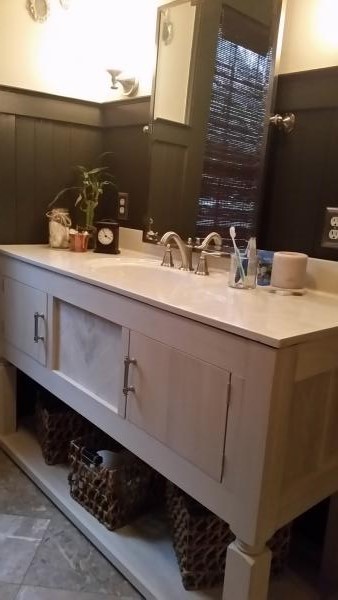
After contacting two cabinetry carpenters to do this project for me, I came upon Ana's plan for the Momplex. I made some adjustments for my home abd surprised myself.
My motto "what's the worse that can happen? I have to call someone! "
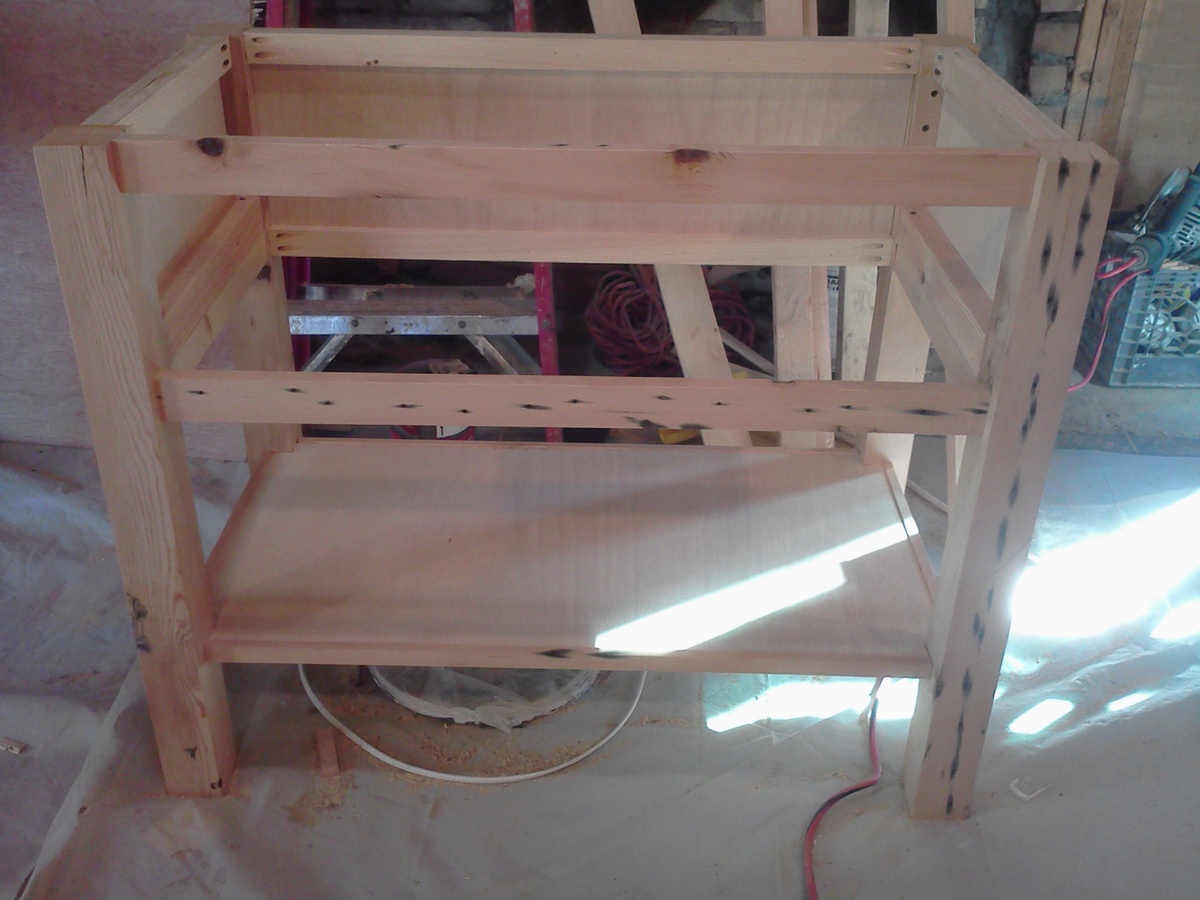
Built from Plan(s)
Estimated Cost
$500
Estimated Time Investment
Weekend Project (10-20 Hours)
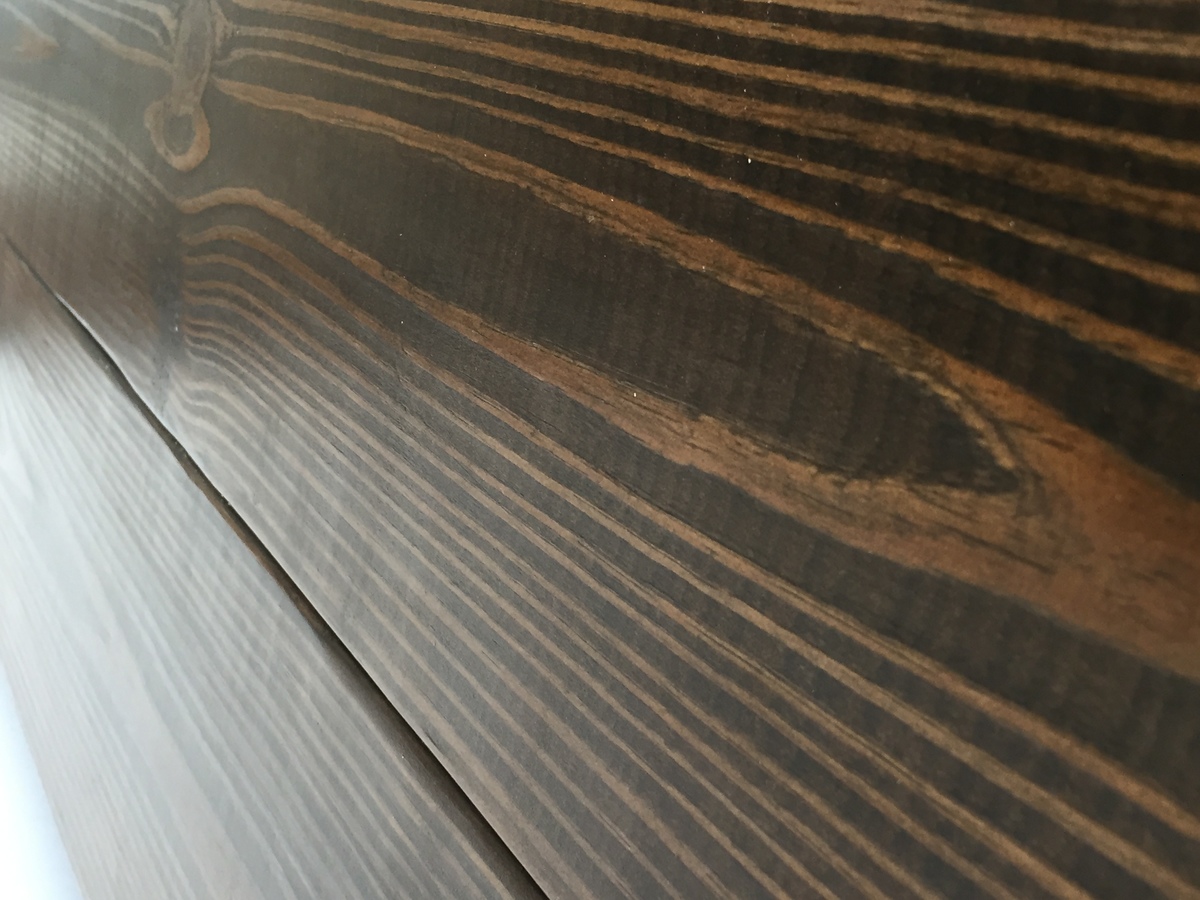
Finish Used
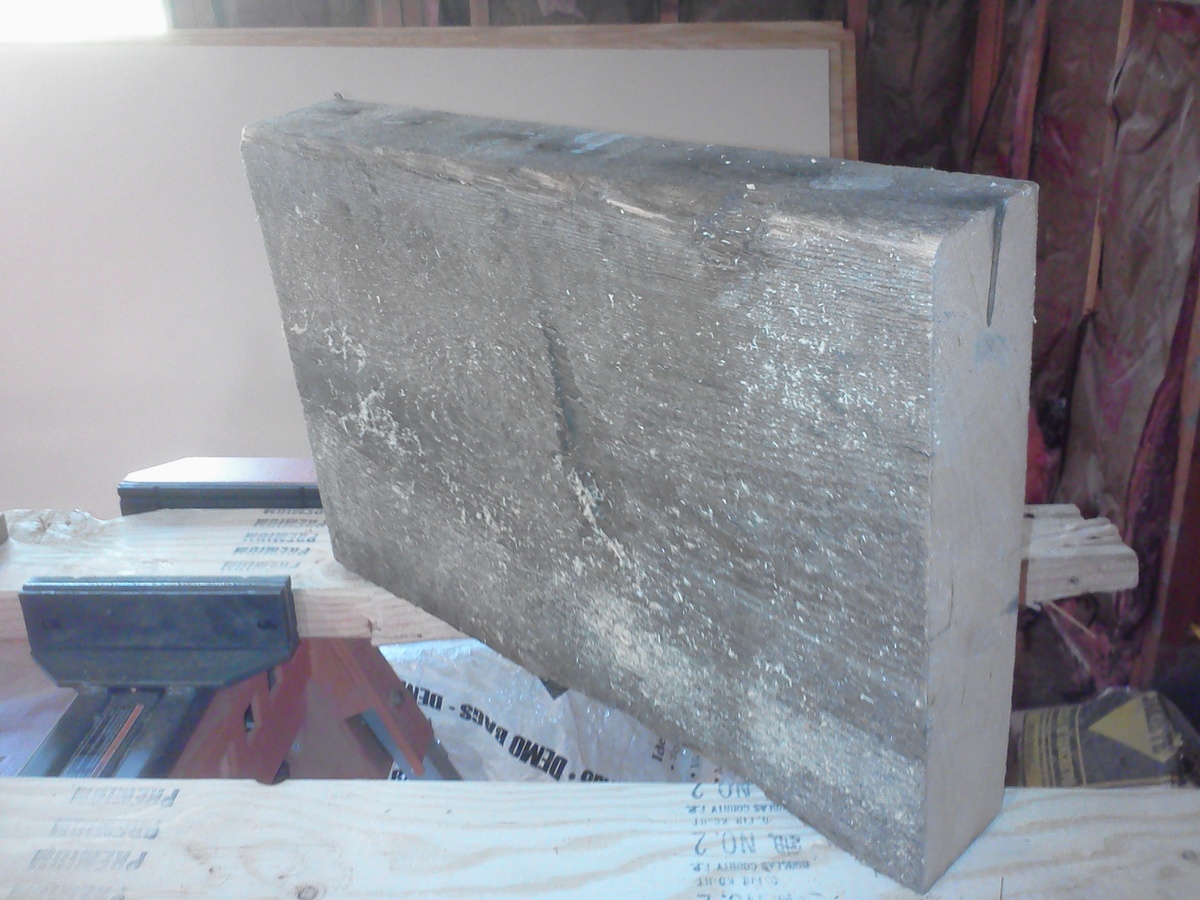
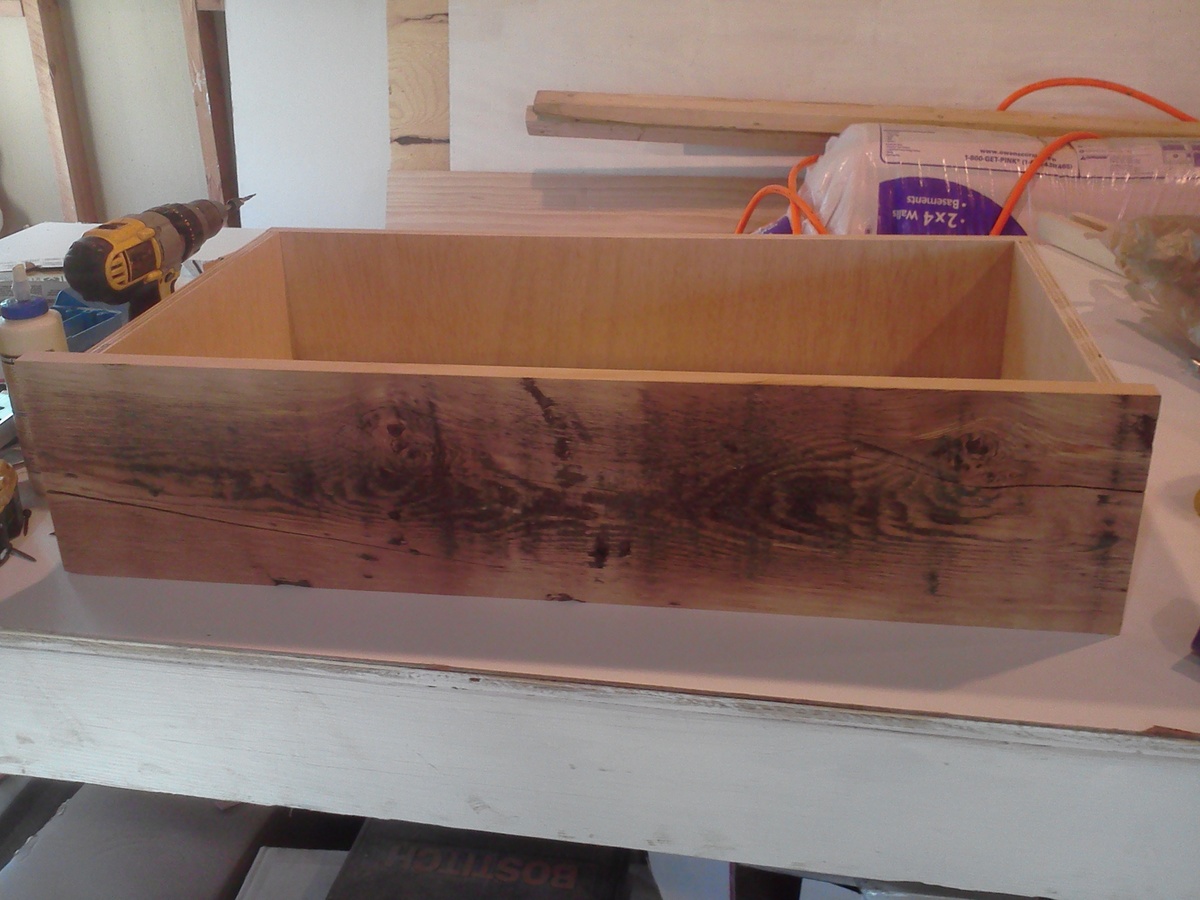
Tinted kilz diluted with mineral spirits.
Recommended Skill Level
Starter Project


Comments
krmoon81
Thu, 03/31/2016 - 22:33
Awesome
Your vanity came out great!!! Just finished mine..So much fun!