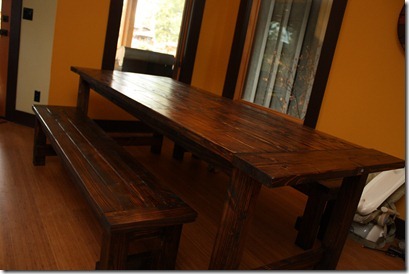
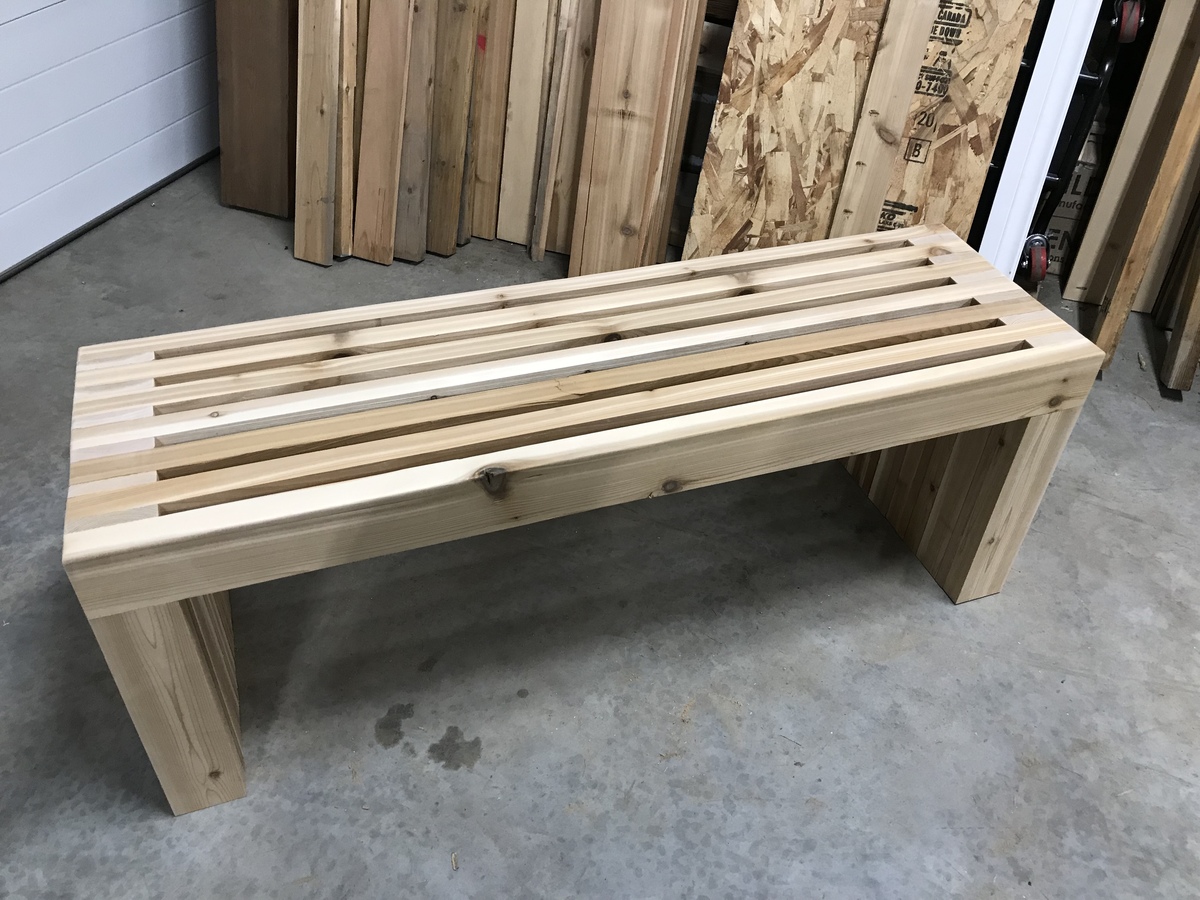
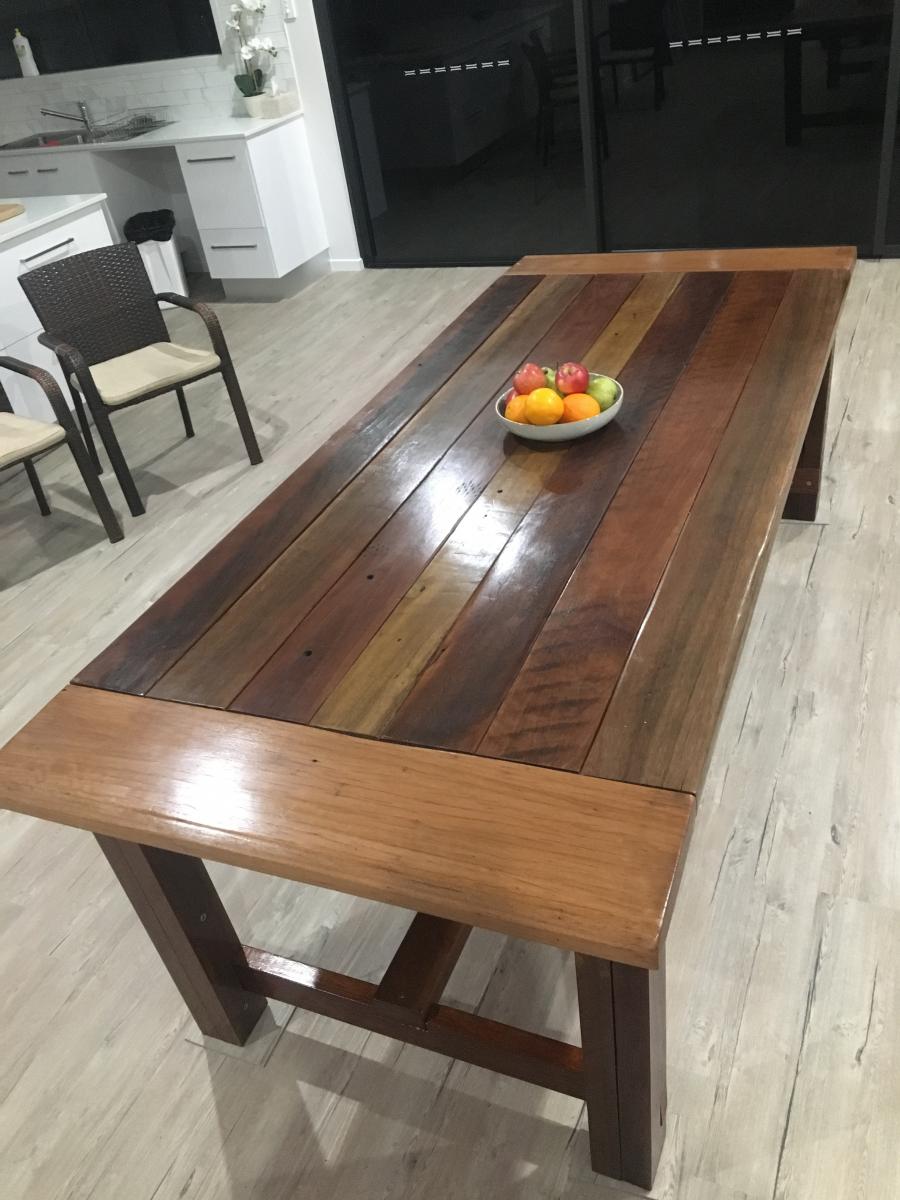
Community Brag Posts

Simple Modern Desk

Submitted by lilred02 on Sun, 07/17/2011 - 18:01

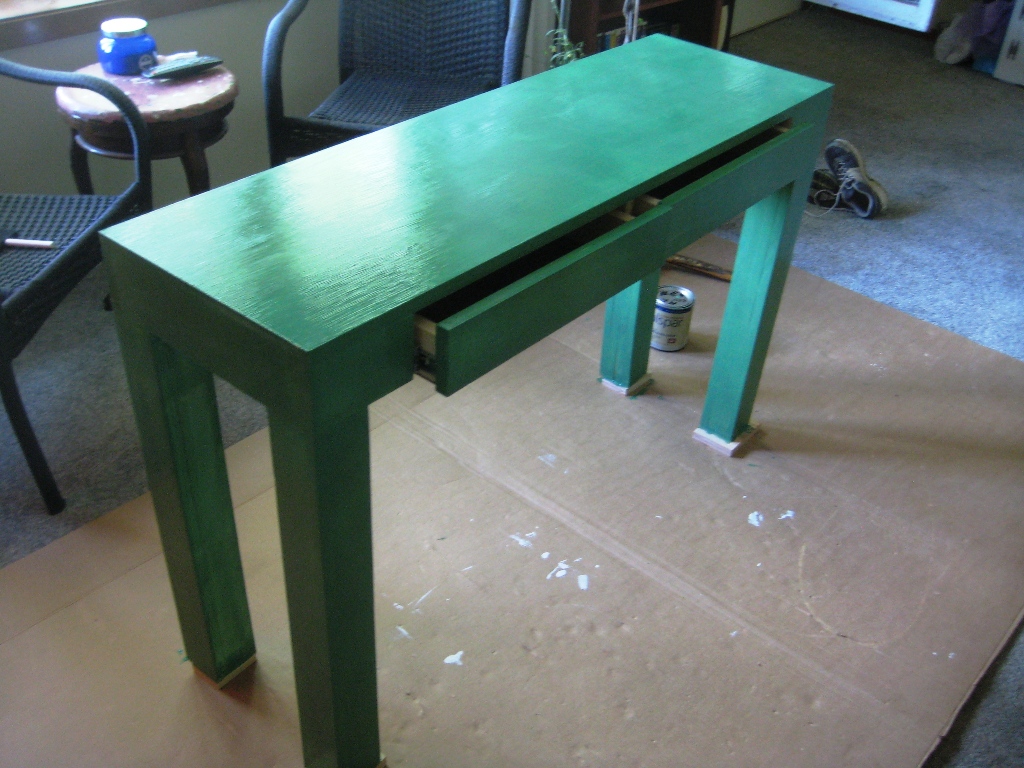
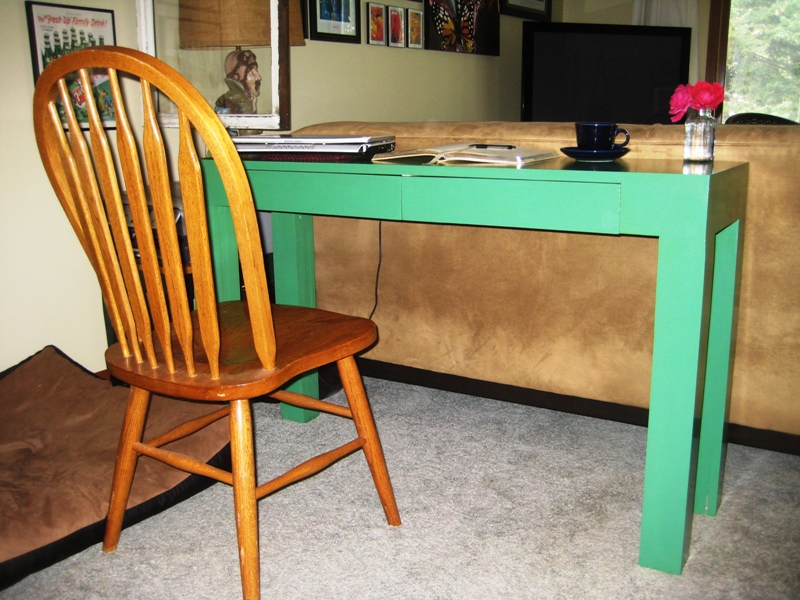
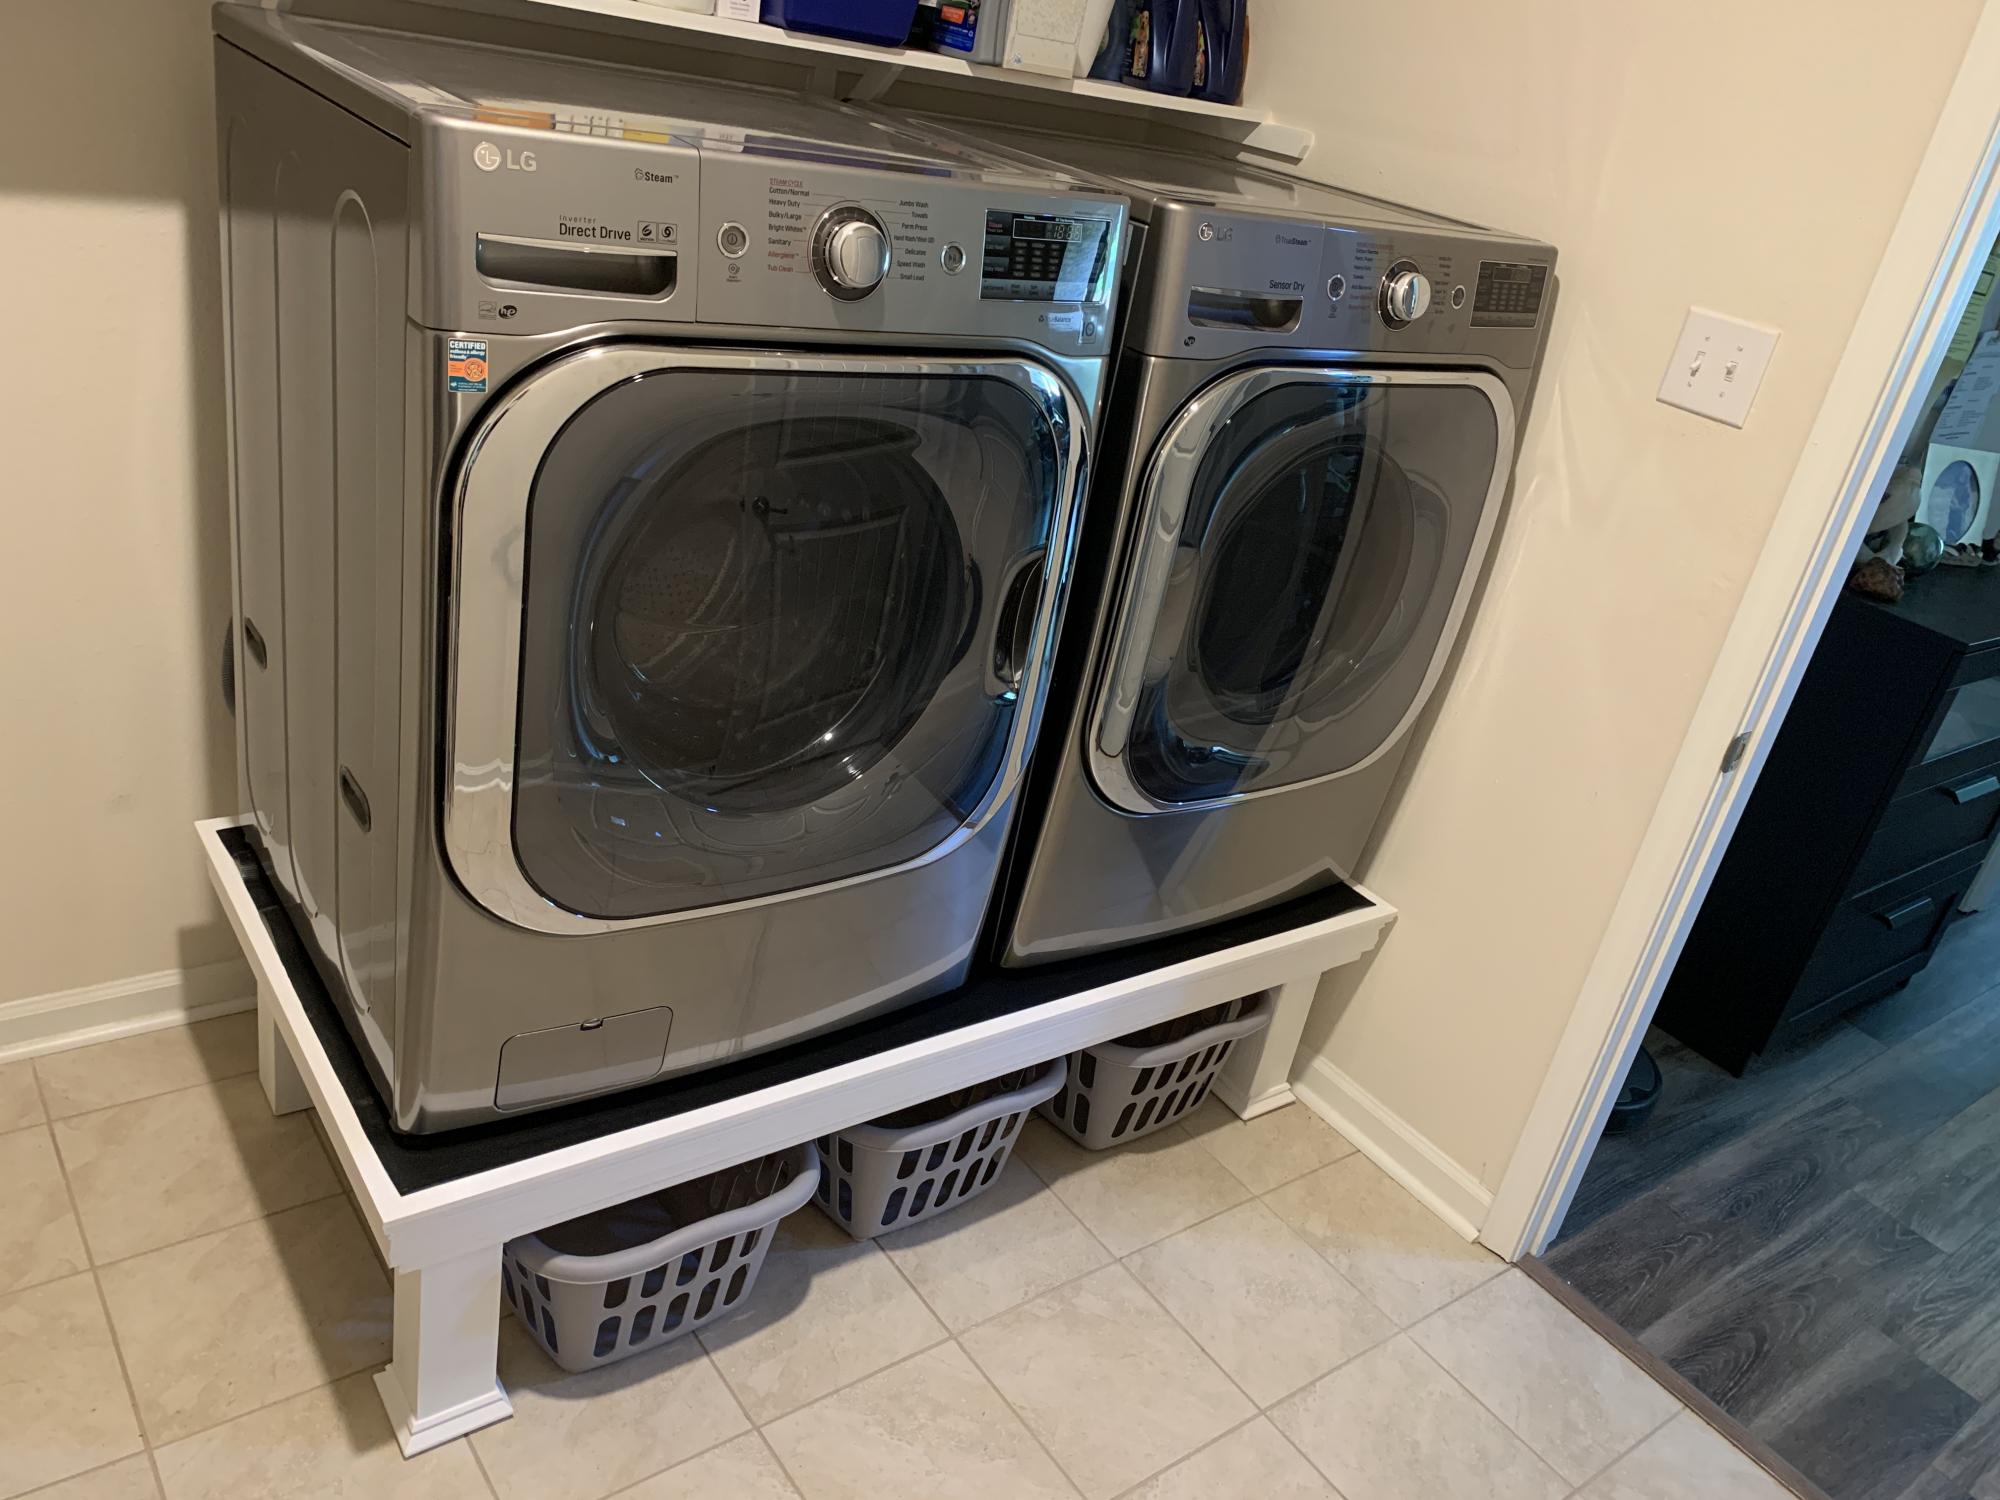
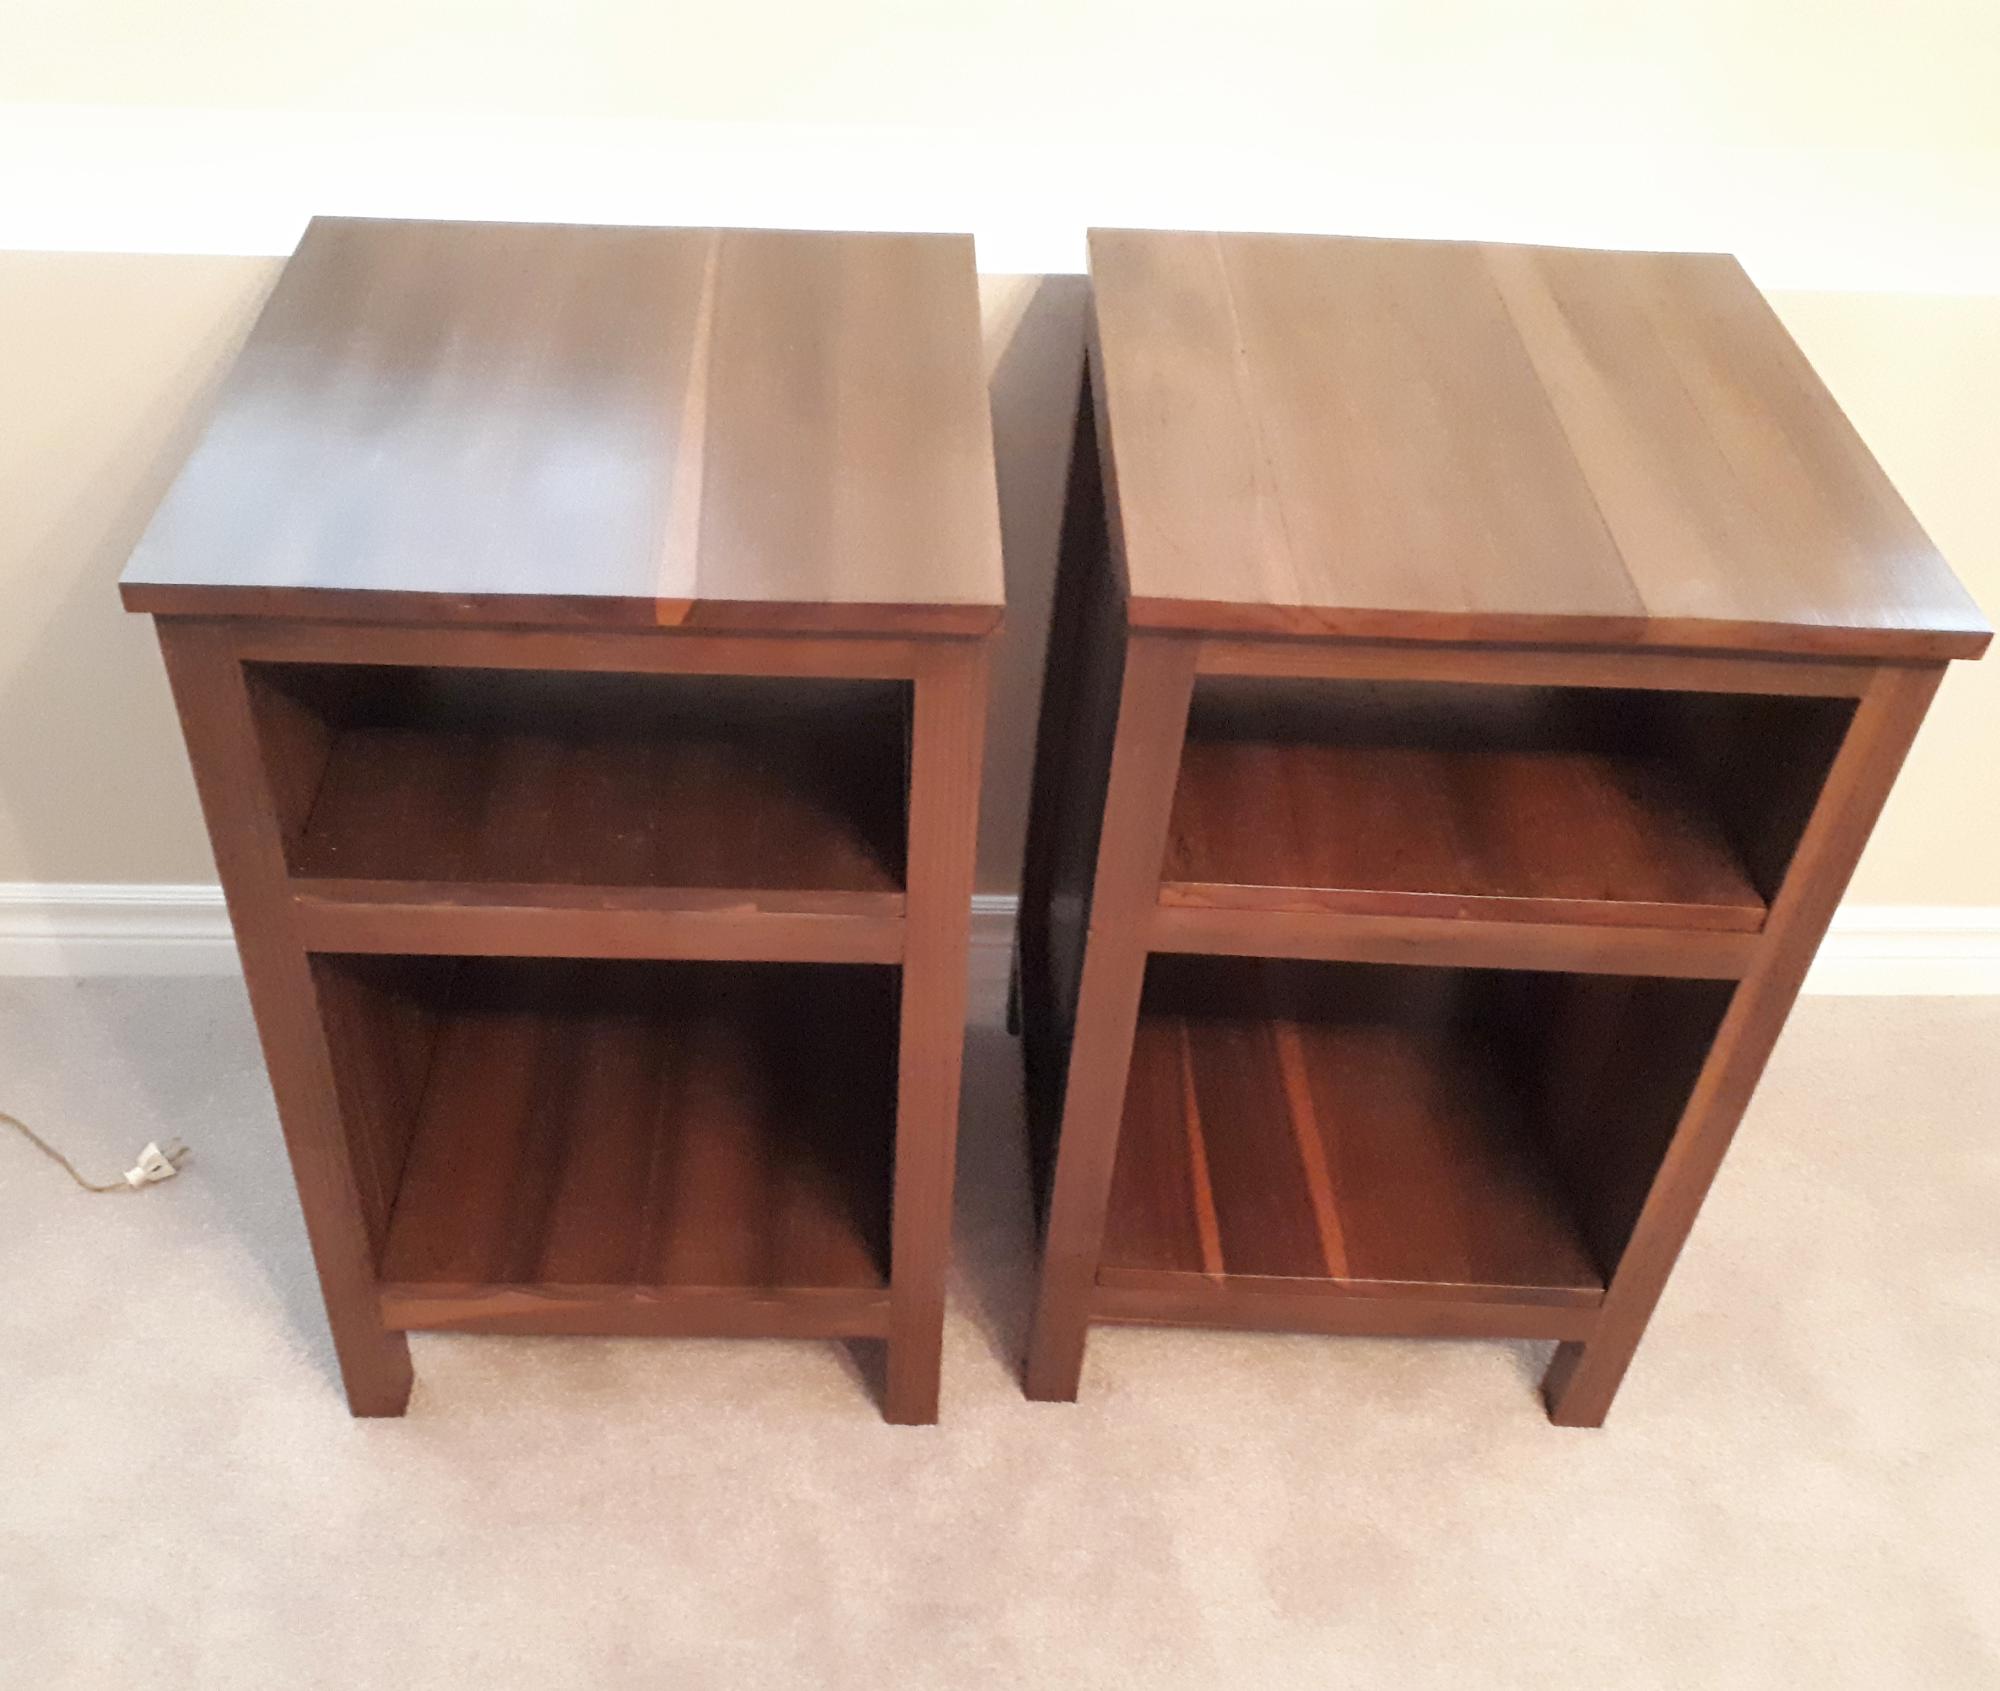
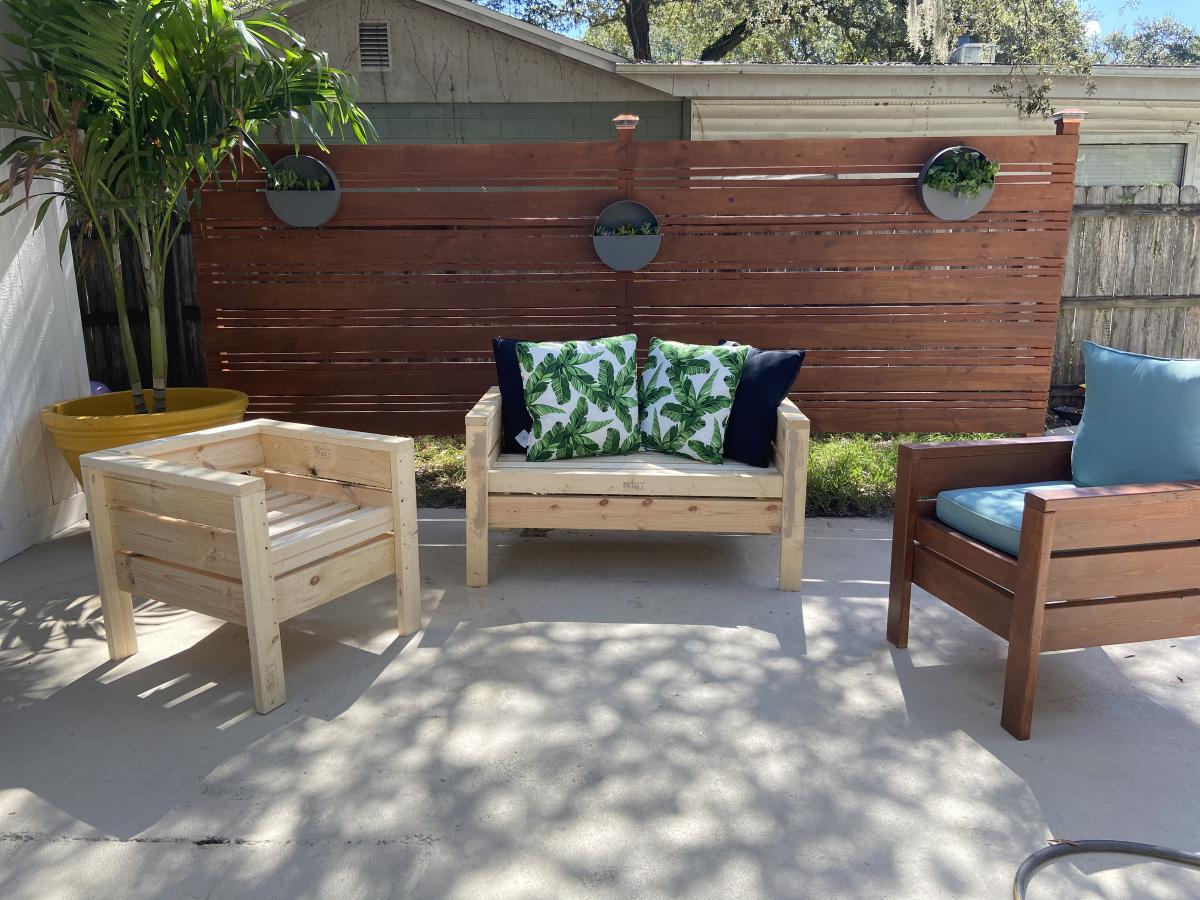
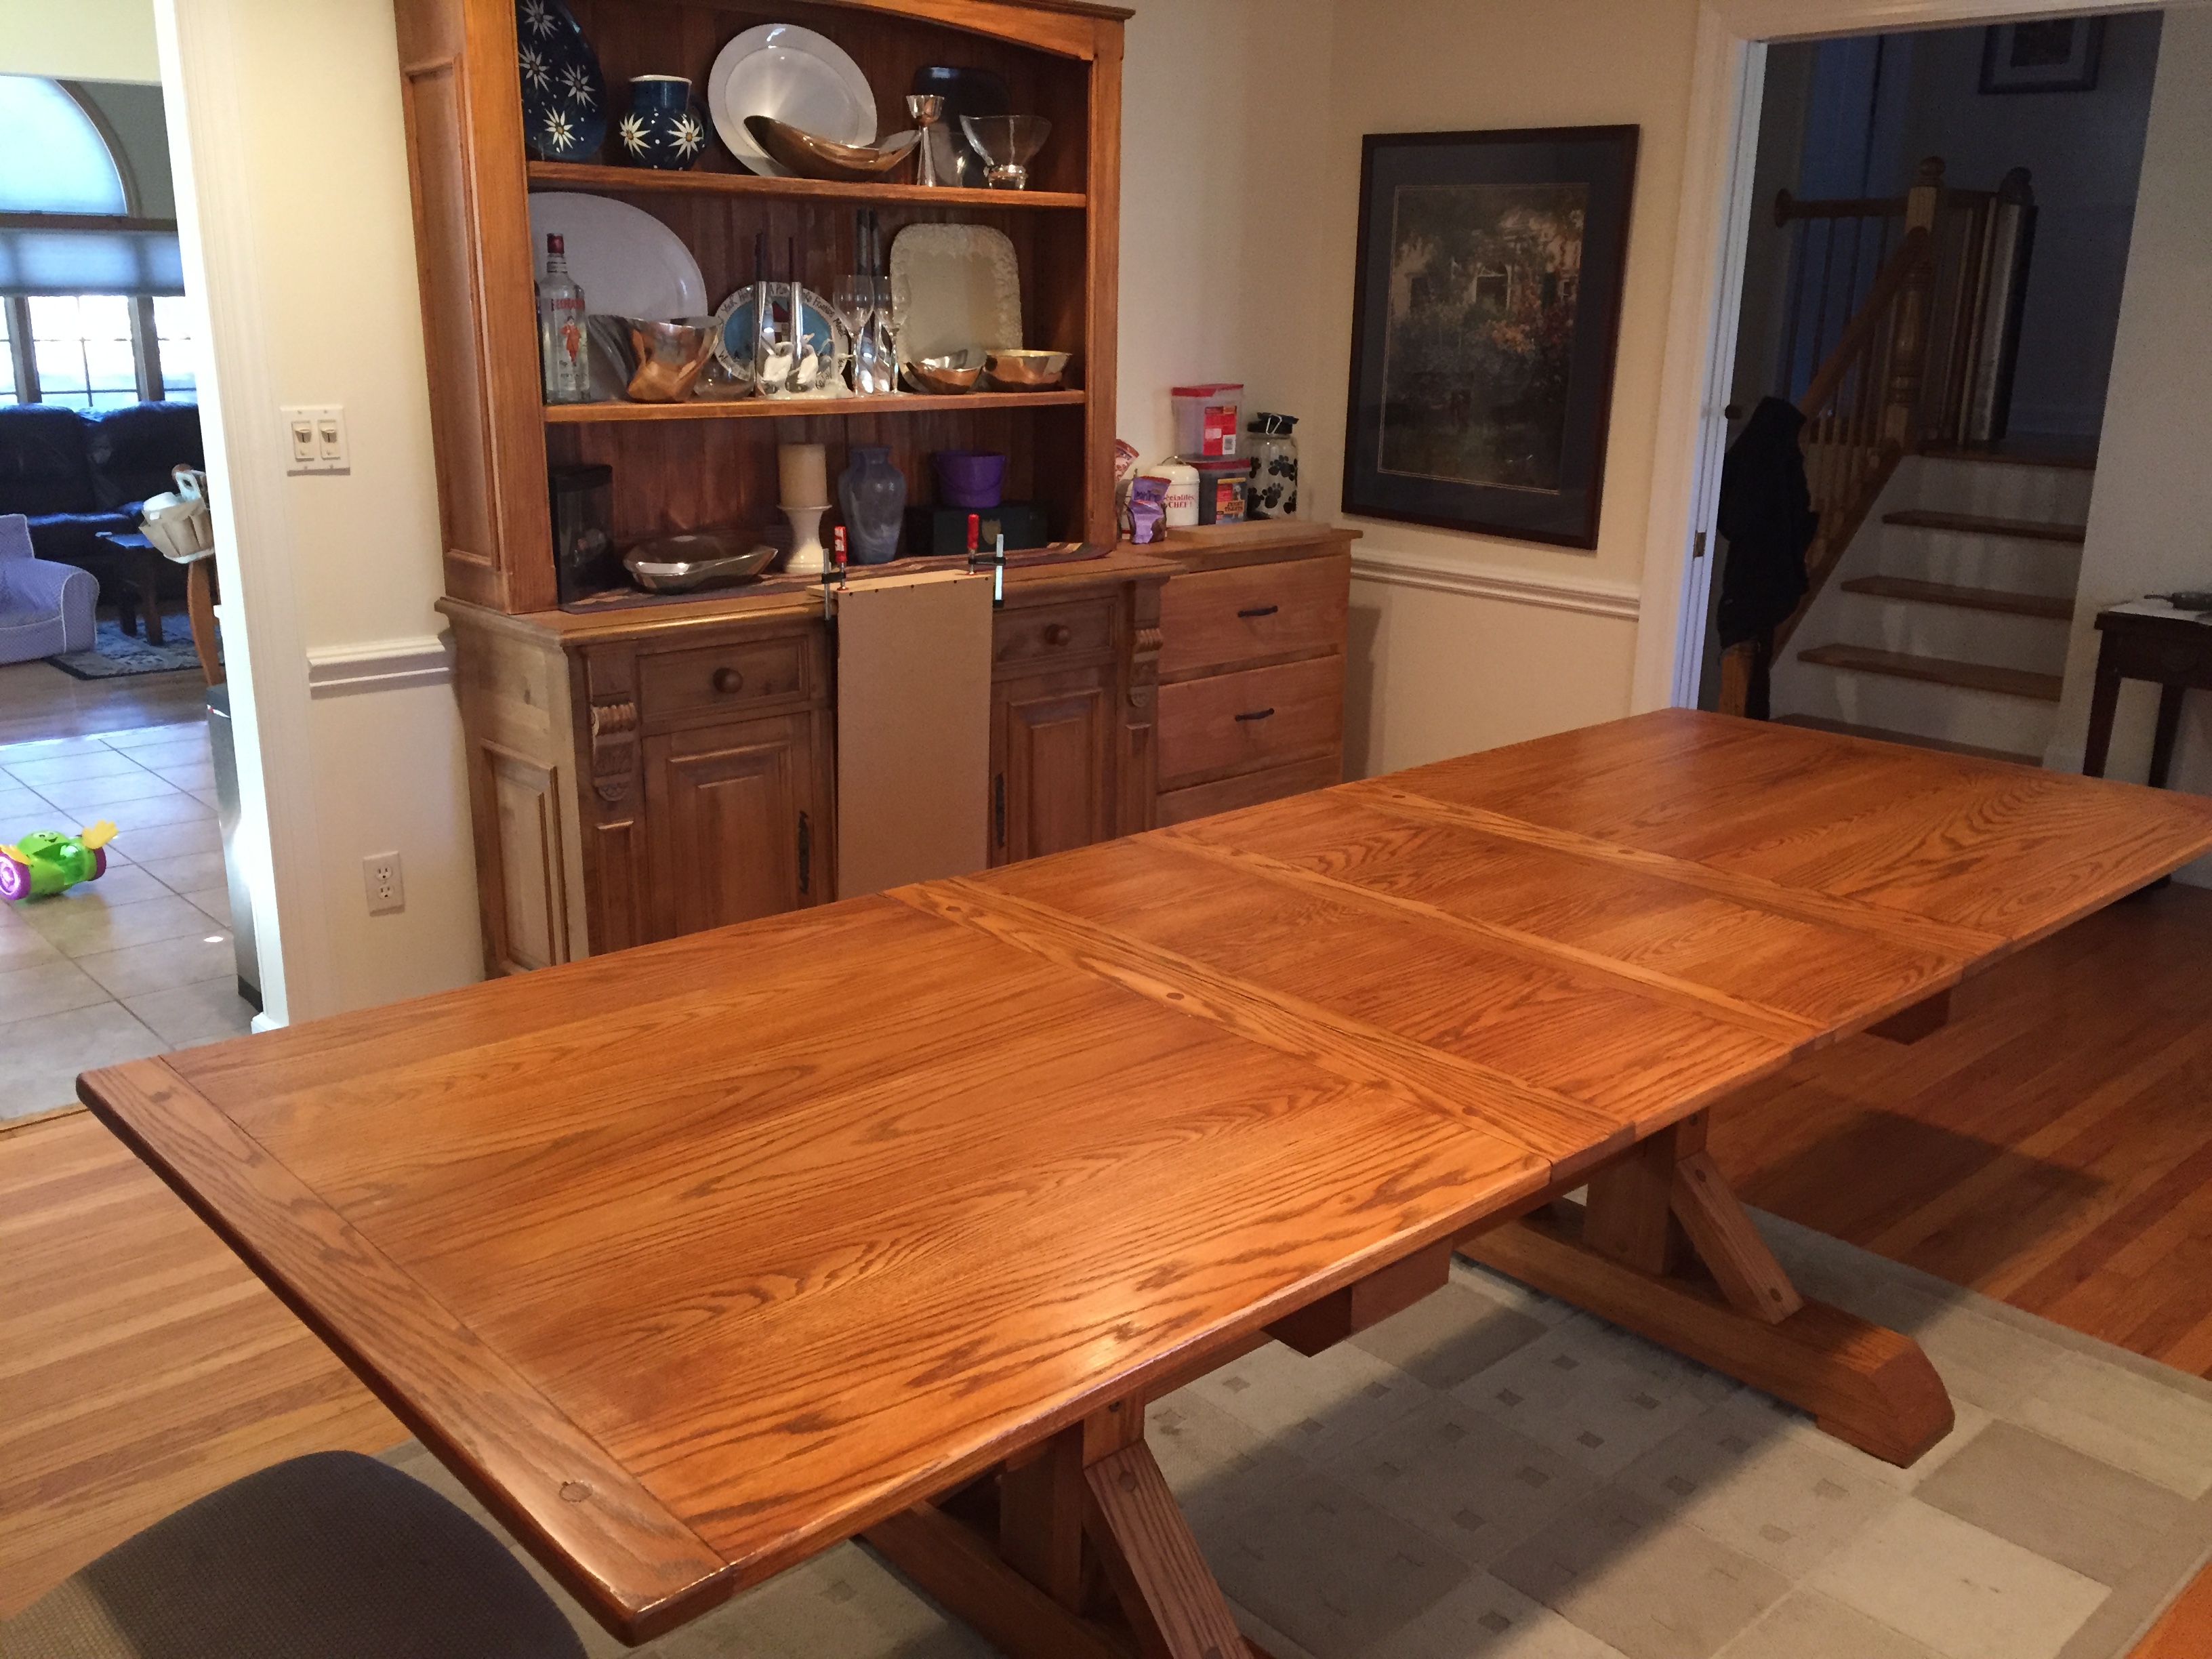
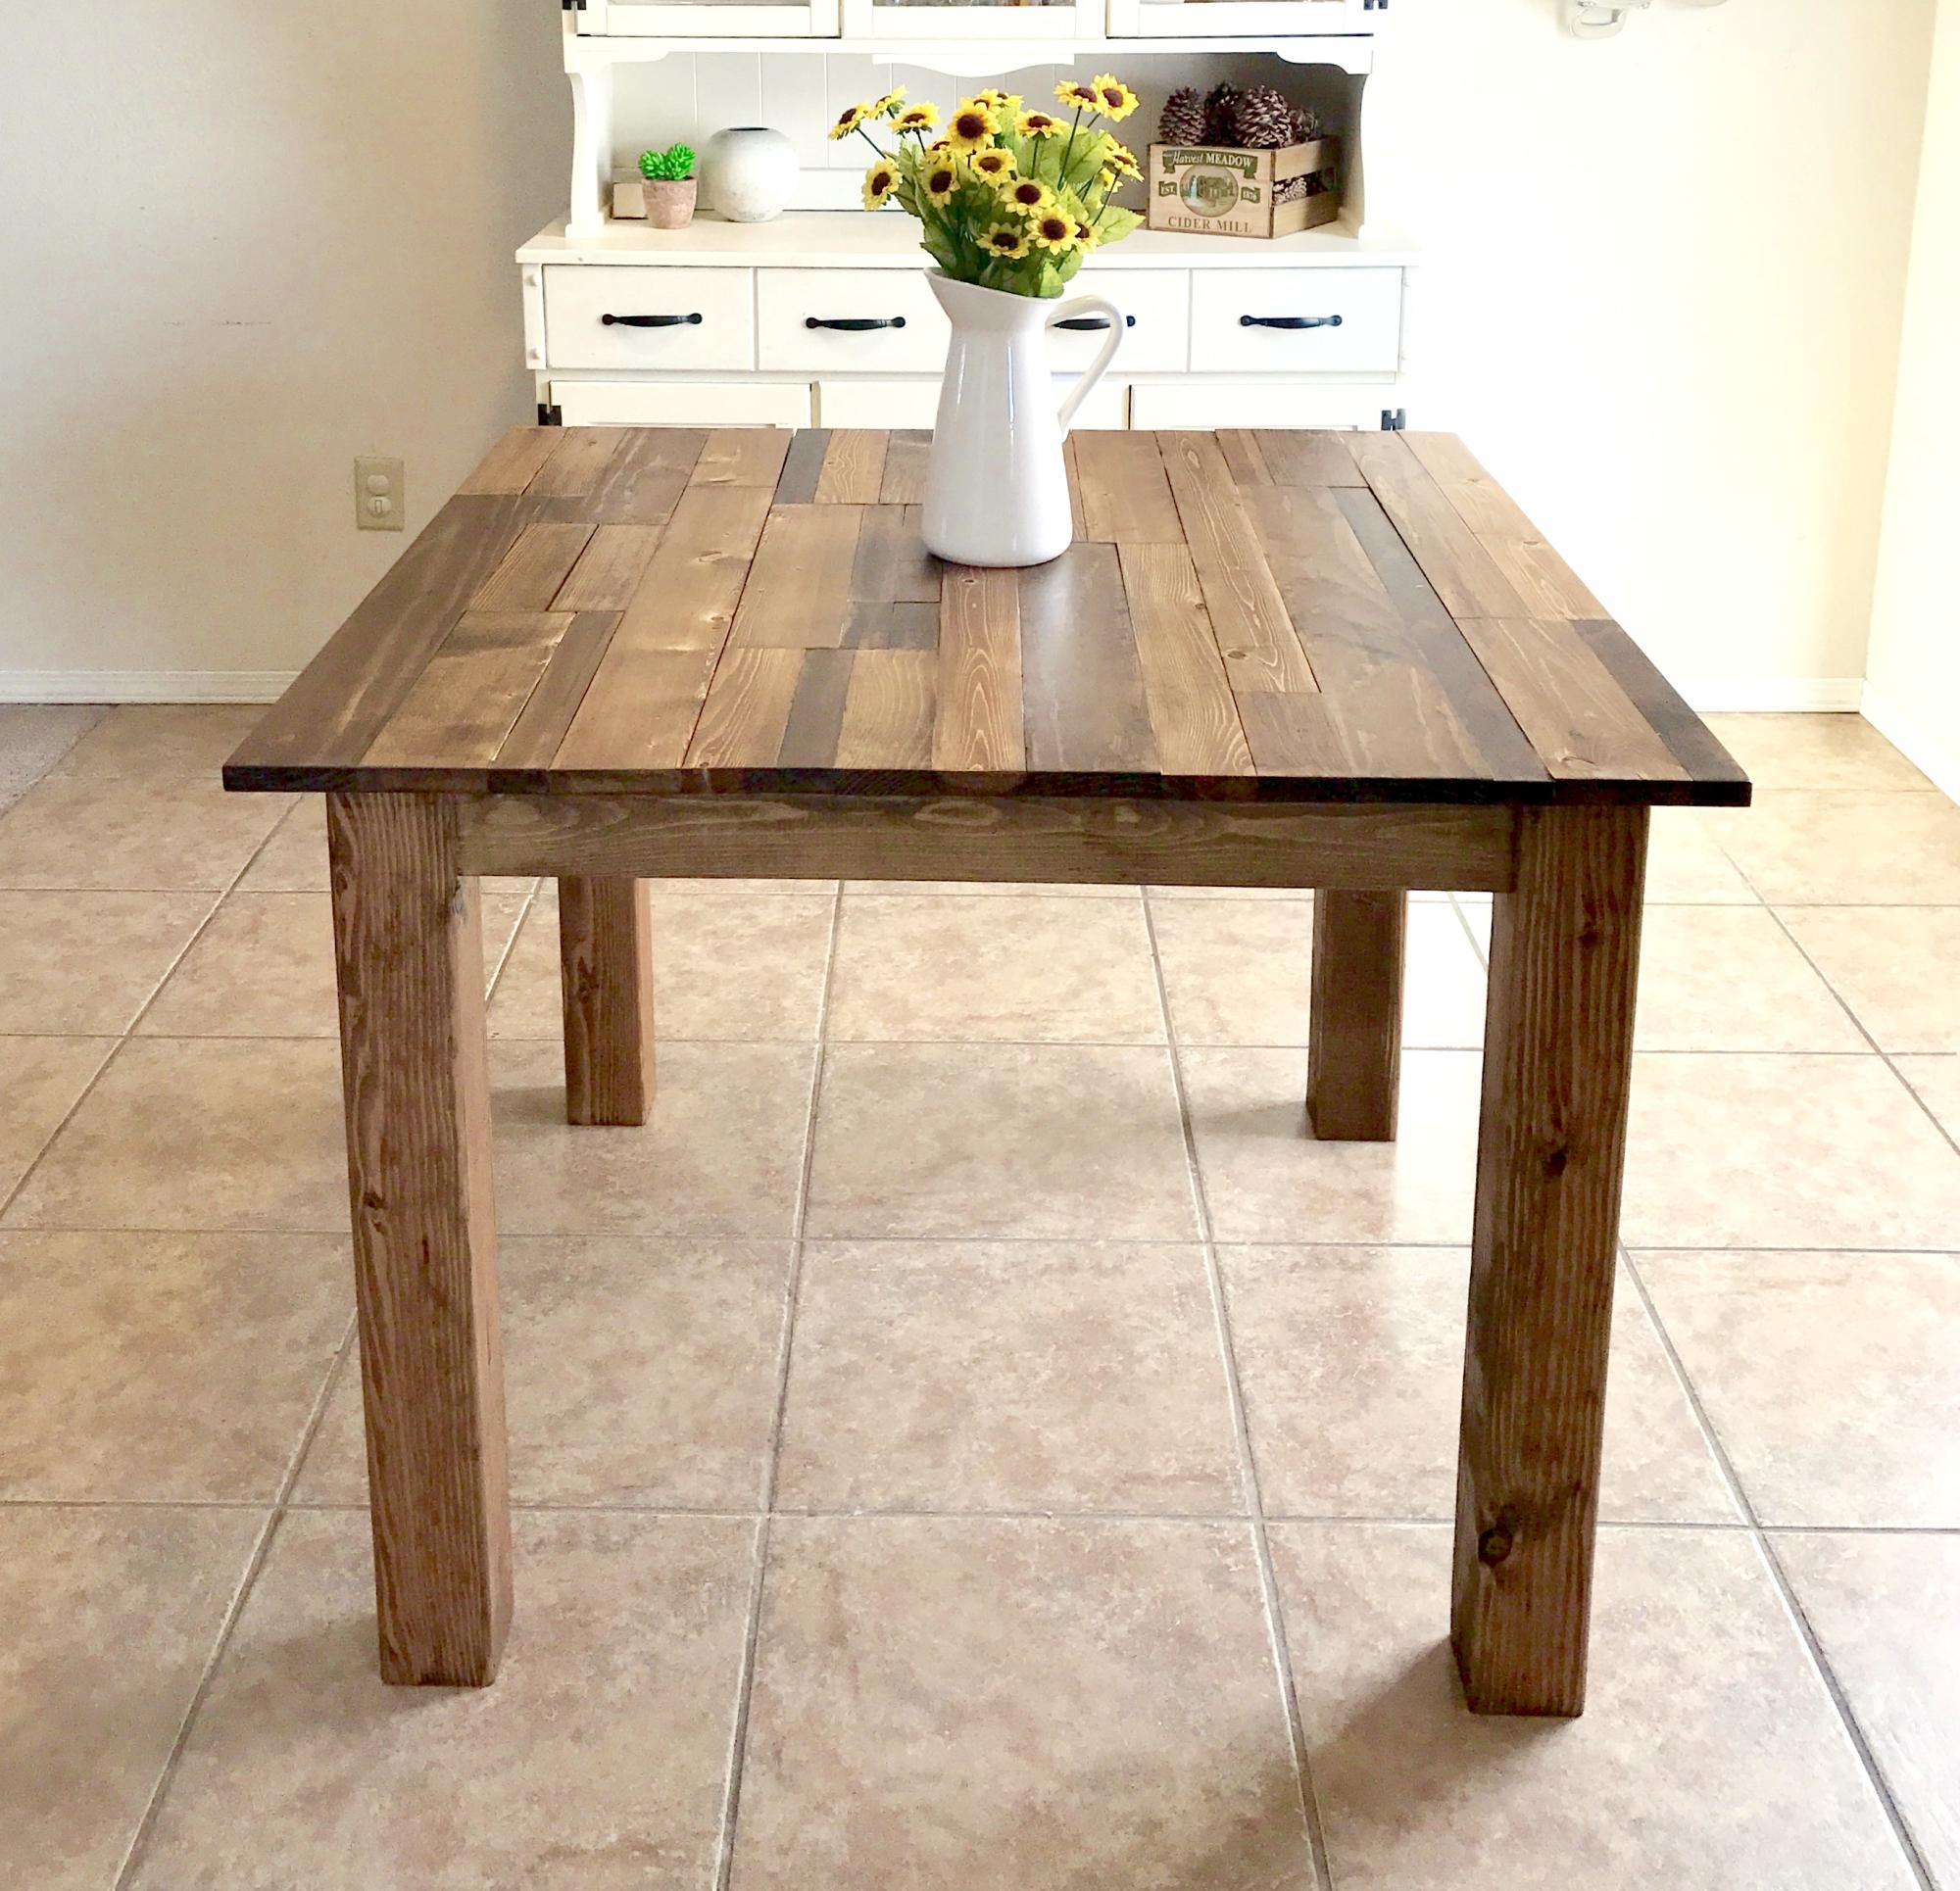
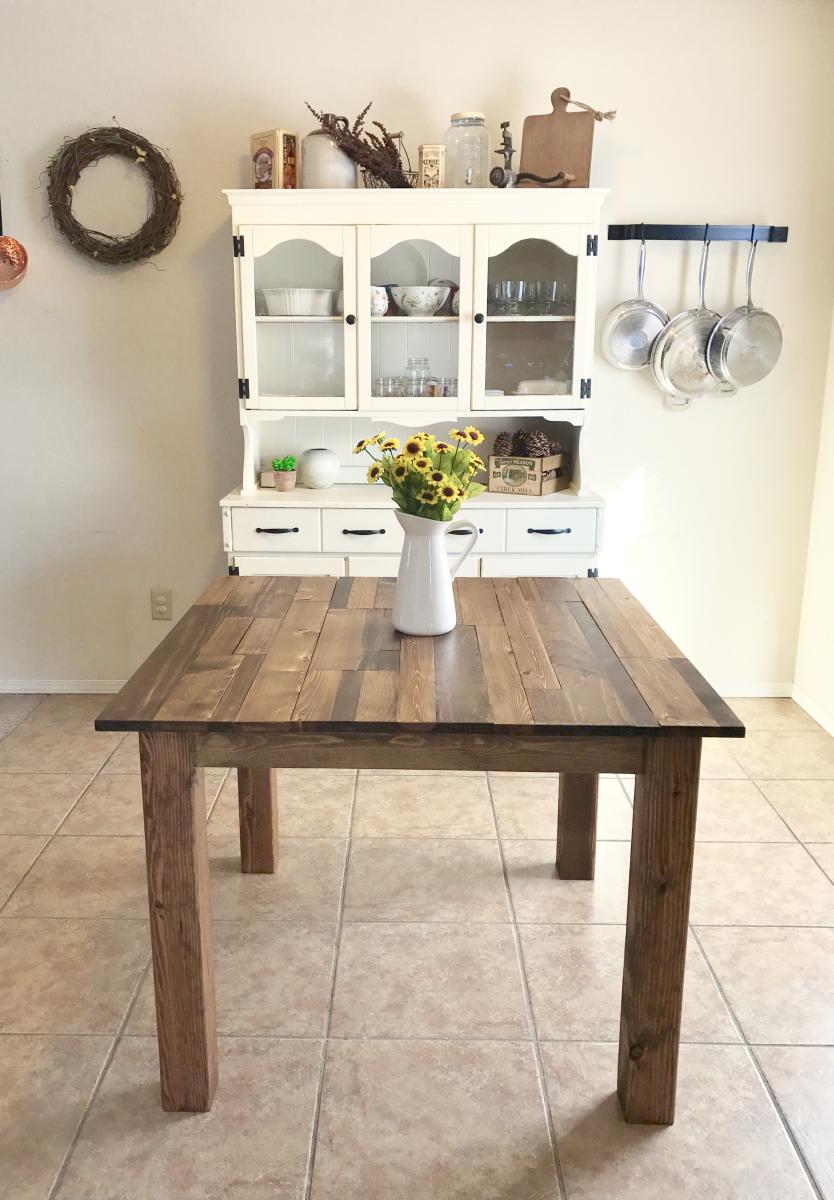
Built this a little smaller - only 15" deep and 42" wide for use behind the couch with multiple functions - laptop desk, dining room buffet table, and behind-the-couch-set-things-on table. Love it!

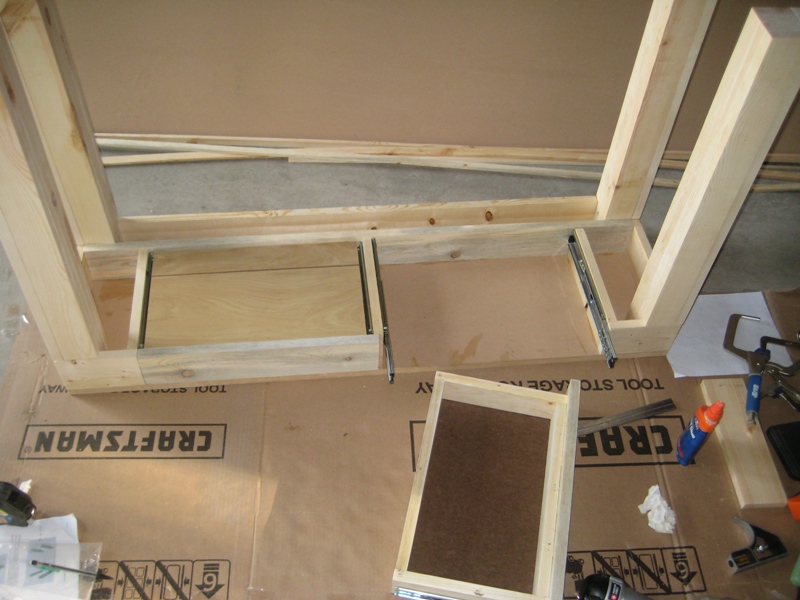
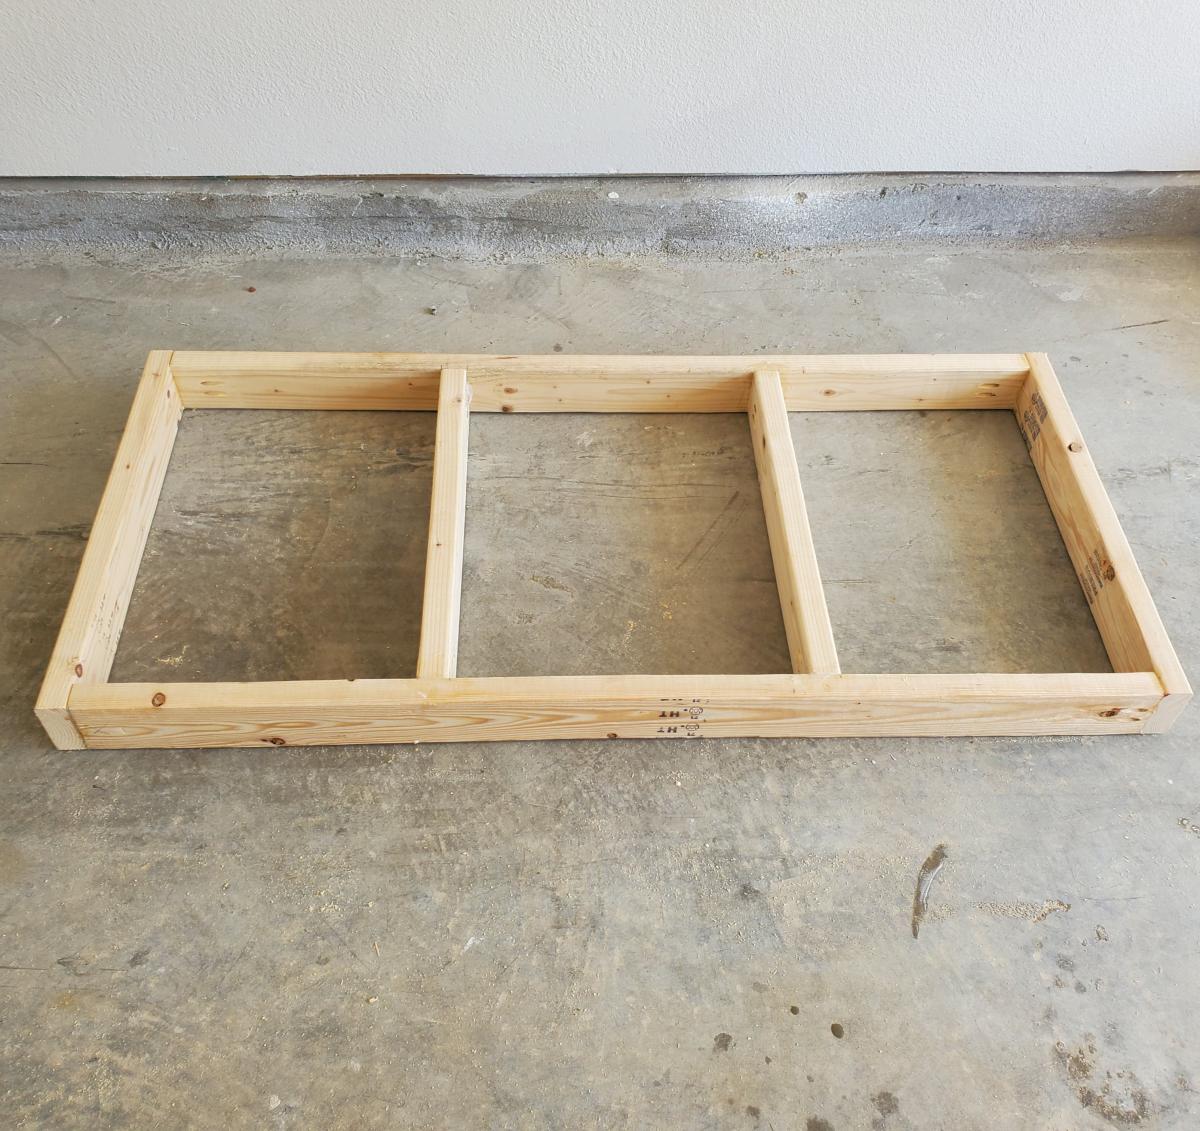
Tricky parts - the drawers. Because I changed the dimensions, I built the drawer box to fit my new dimensions and installed it. Then, I cut the sides of my drawers 10" deep (the smallest drawer slides I could find and a perfect fit). I laid the Hettich ball bearing drawer slides (from my local lumber and cabinet supplier, not big box) in the drawer box and trimmed down my drawer front/back until they fit nicely. If you're interested, it was 15 1/8" wide.

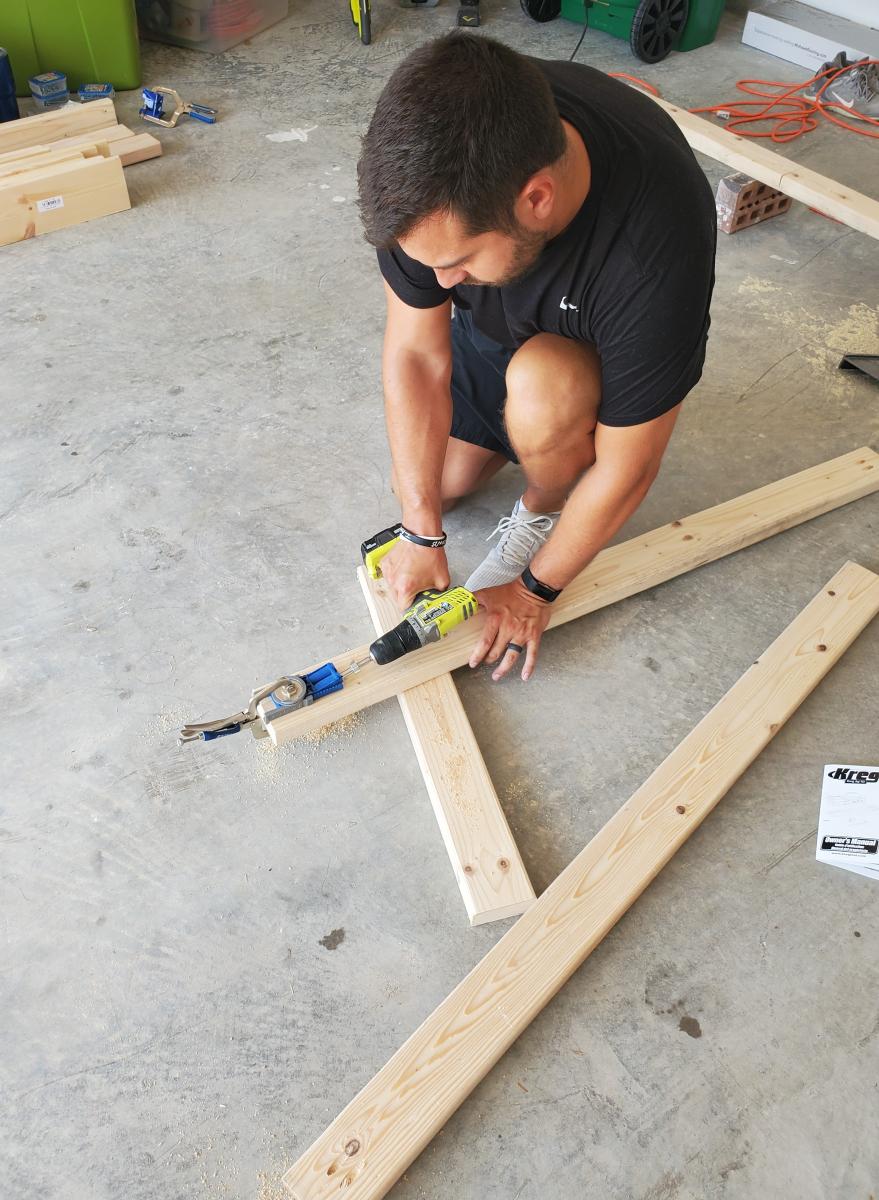
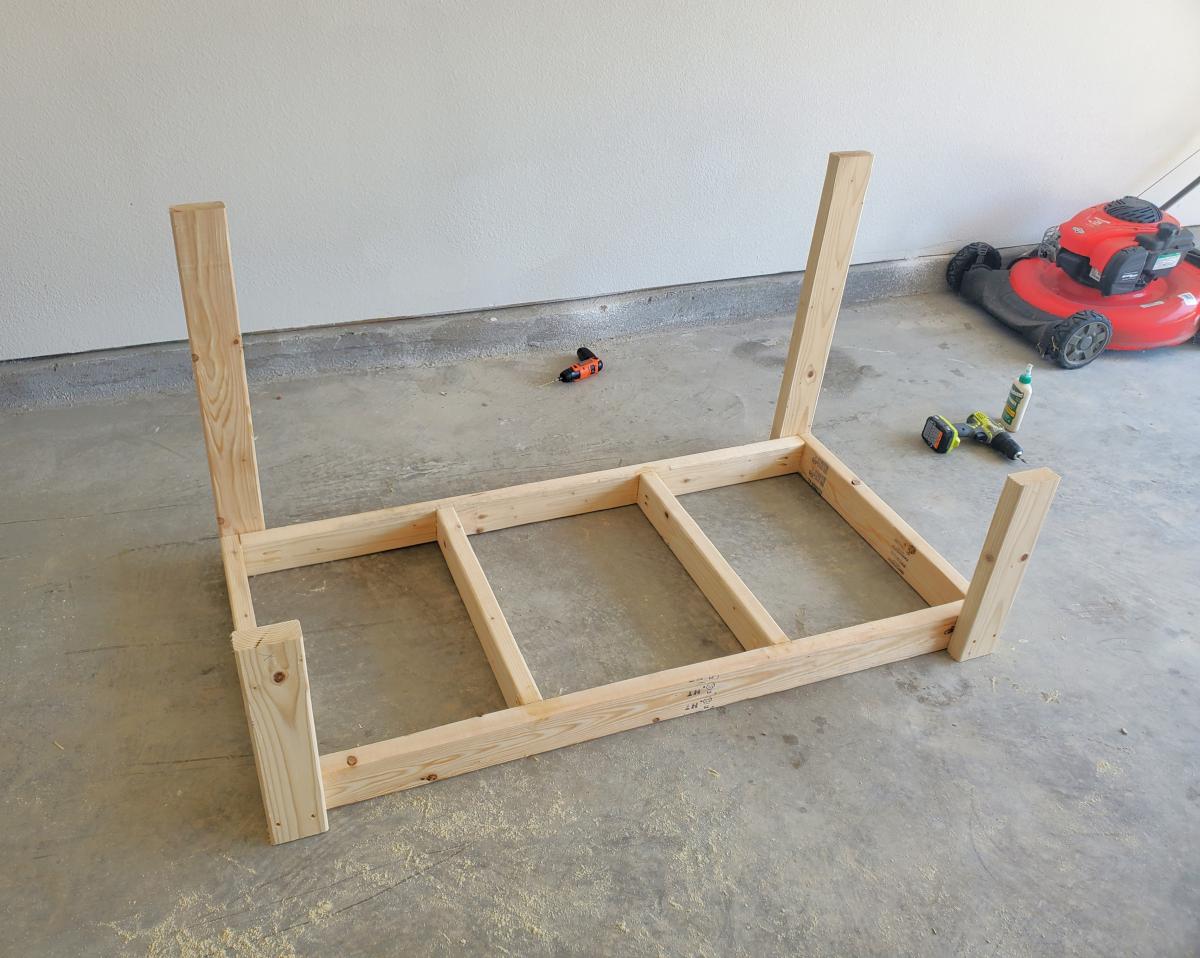
Nail gun is a must on this project!!! And remember to glue and use 2" nails.

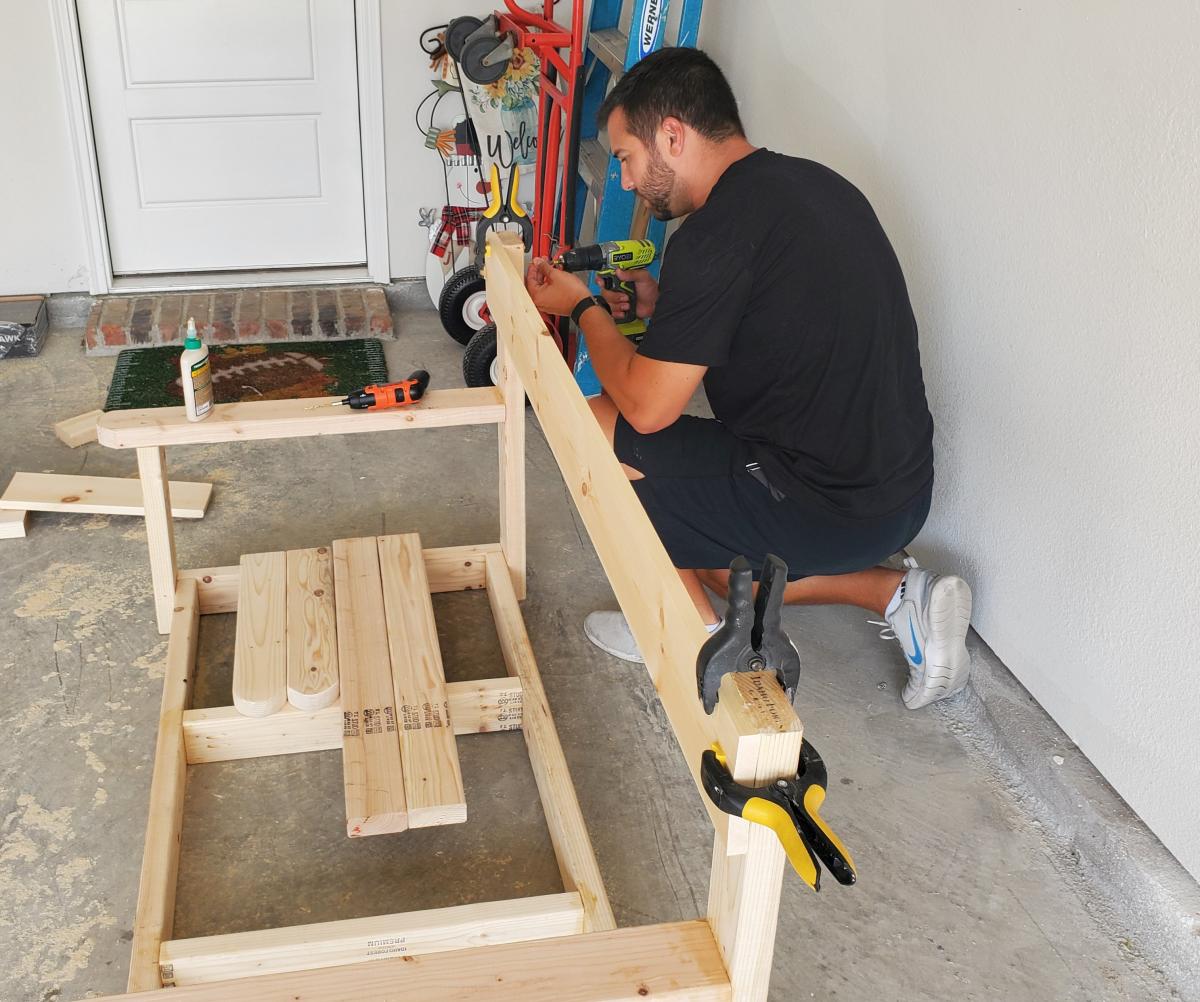
I used the Kreg jig to build my drawers because I'm familiar with building drawers that way and feel comfortable getting them squared. I highly recommend the Kreg jig!

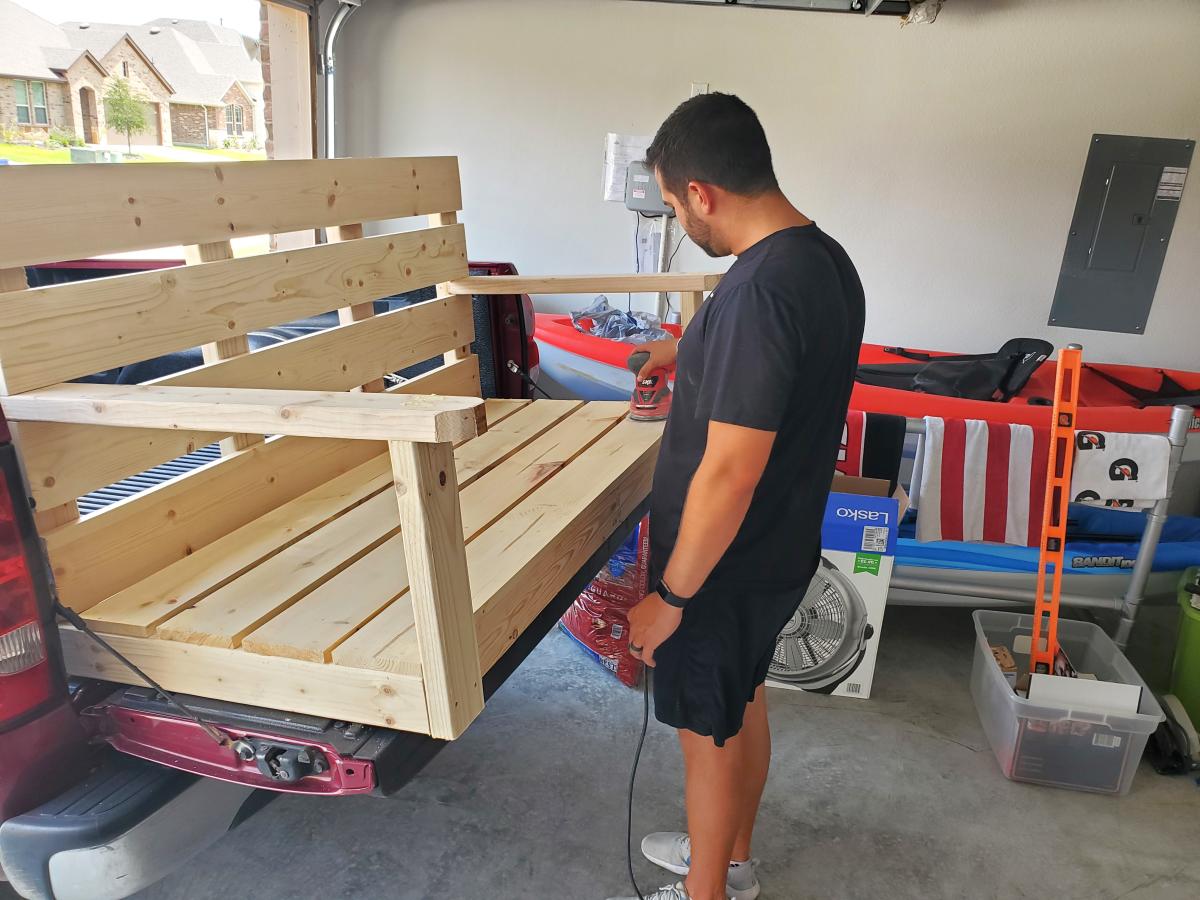
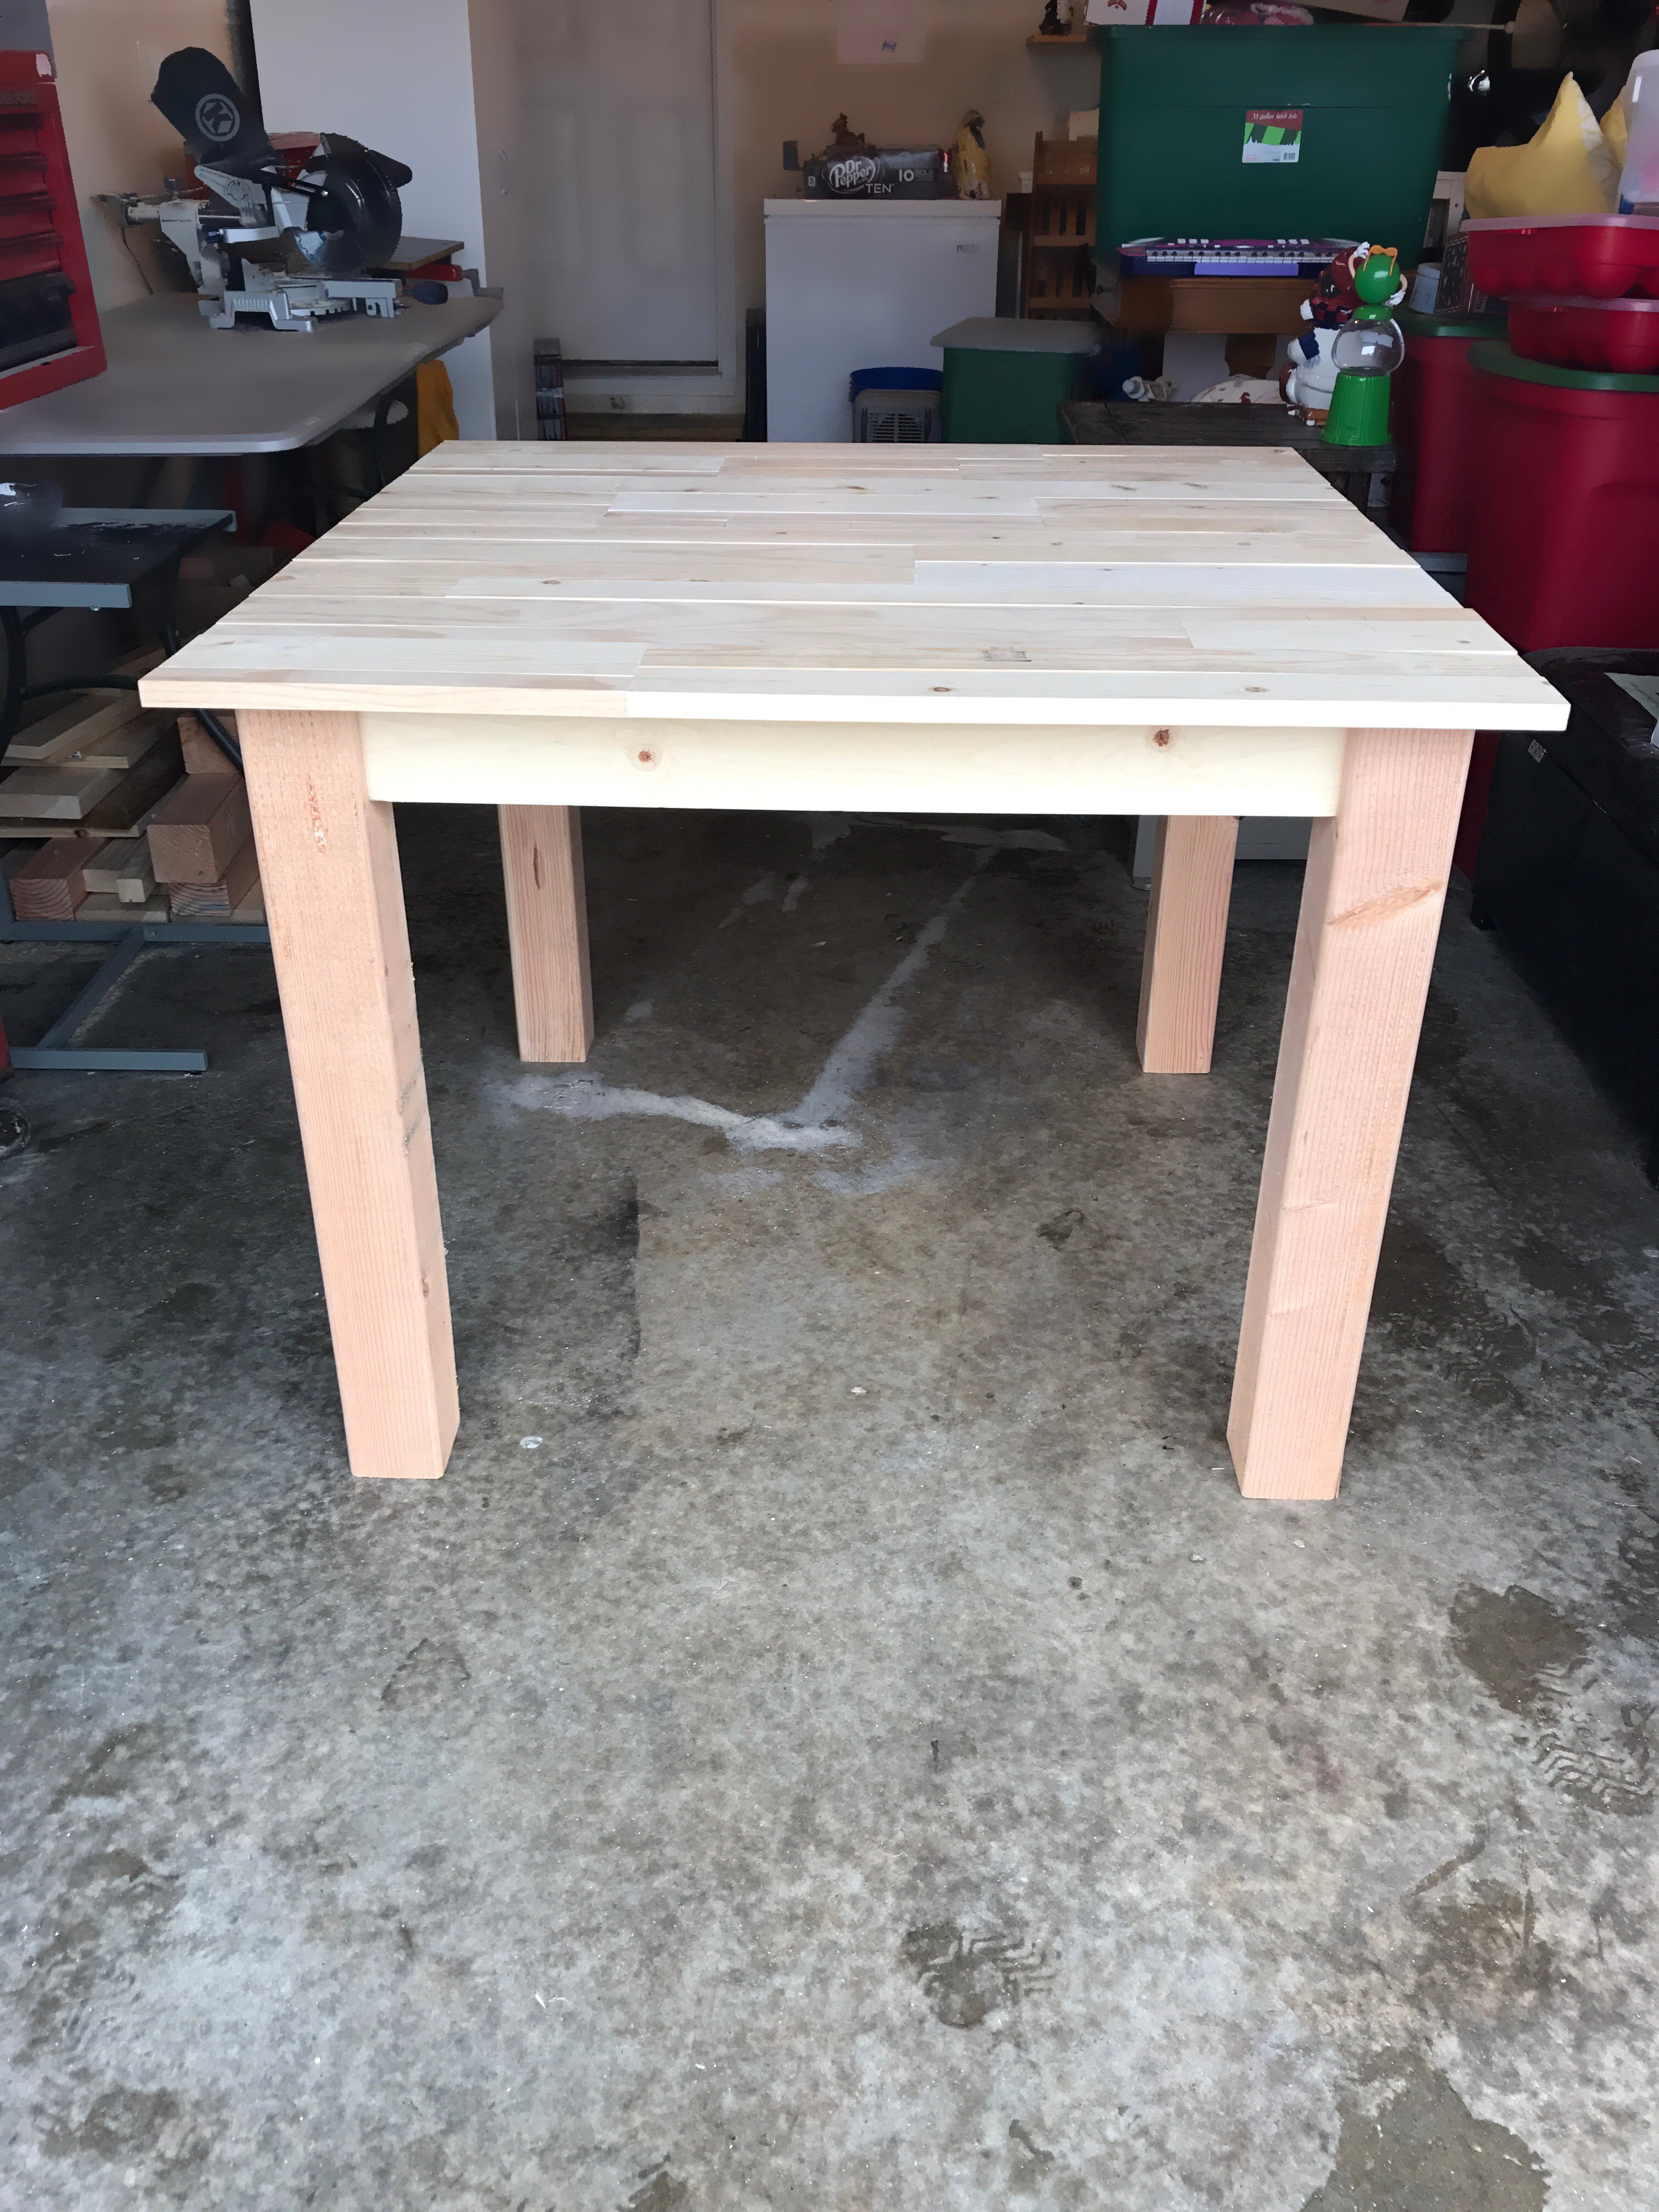
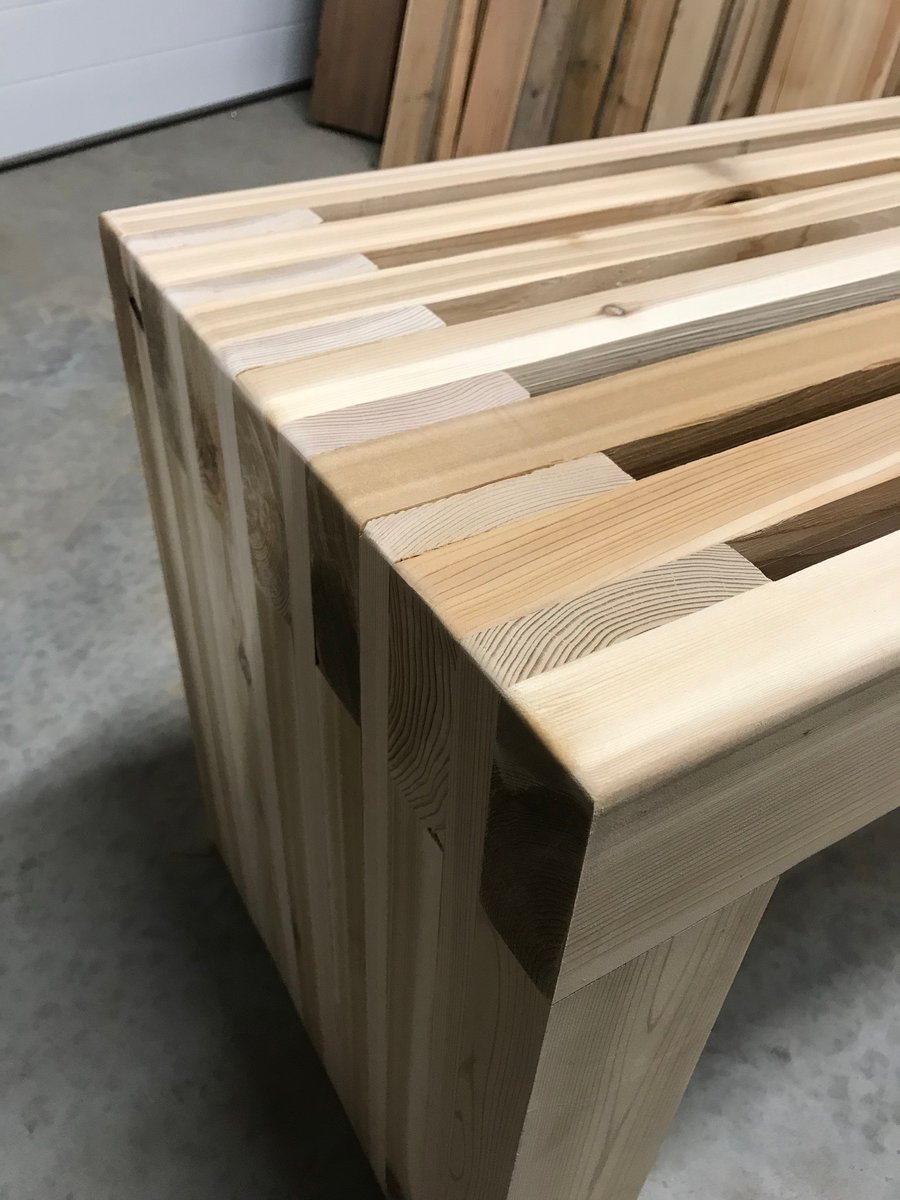
Then, I attacked it with my orbital sander until it was nice and smooth.

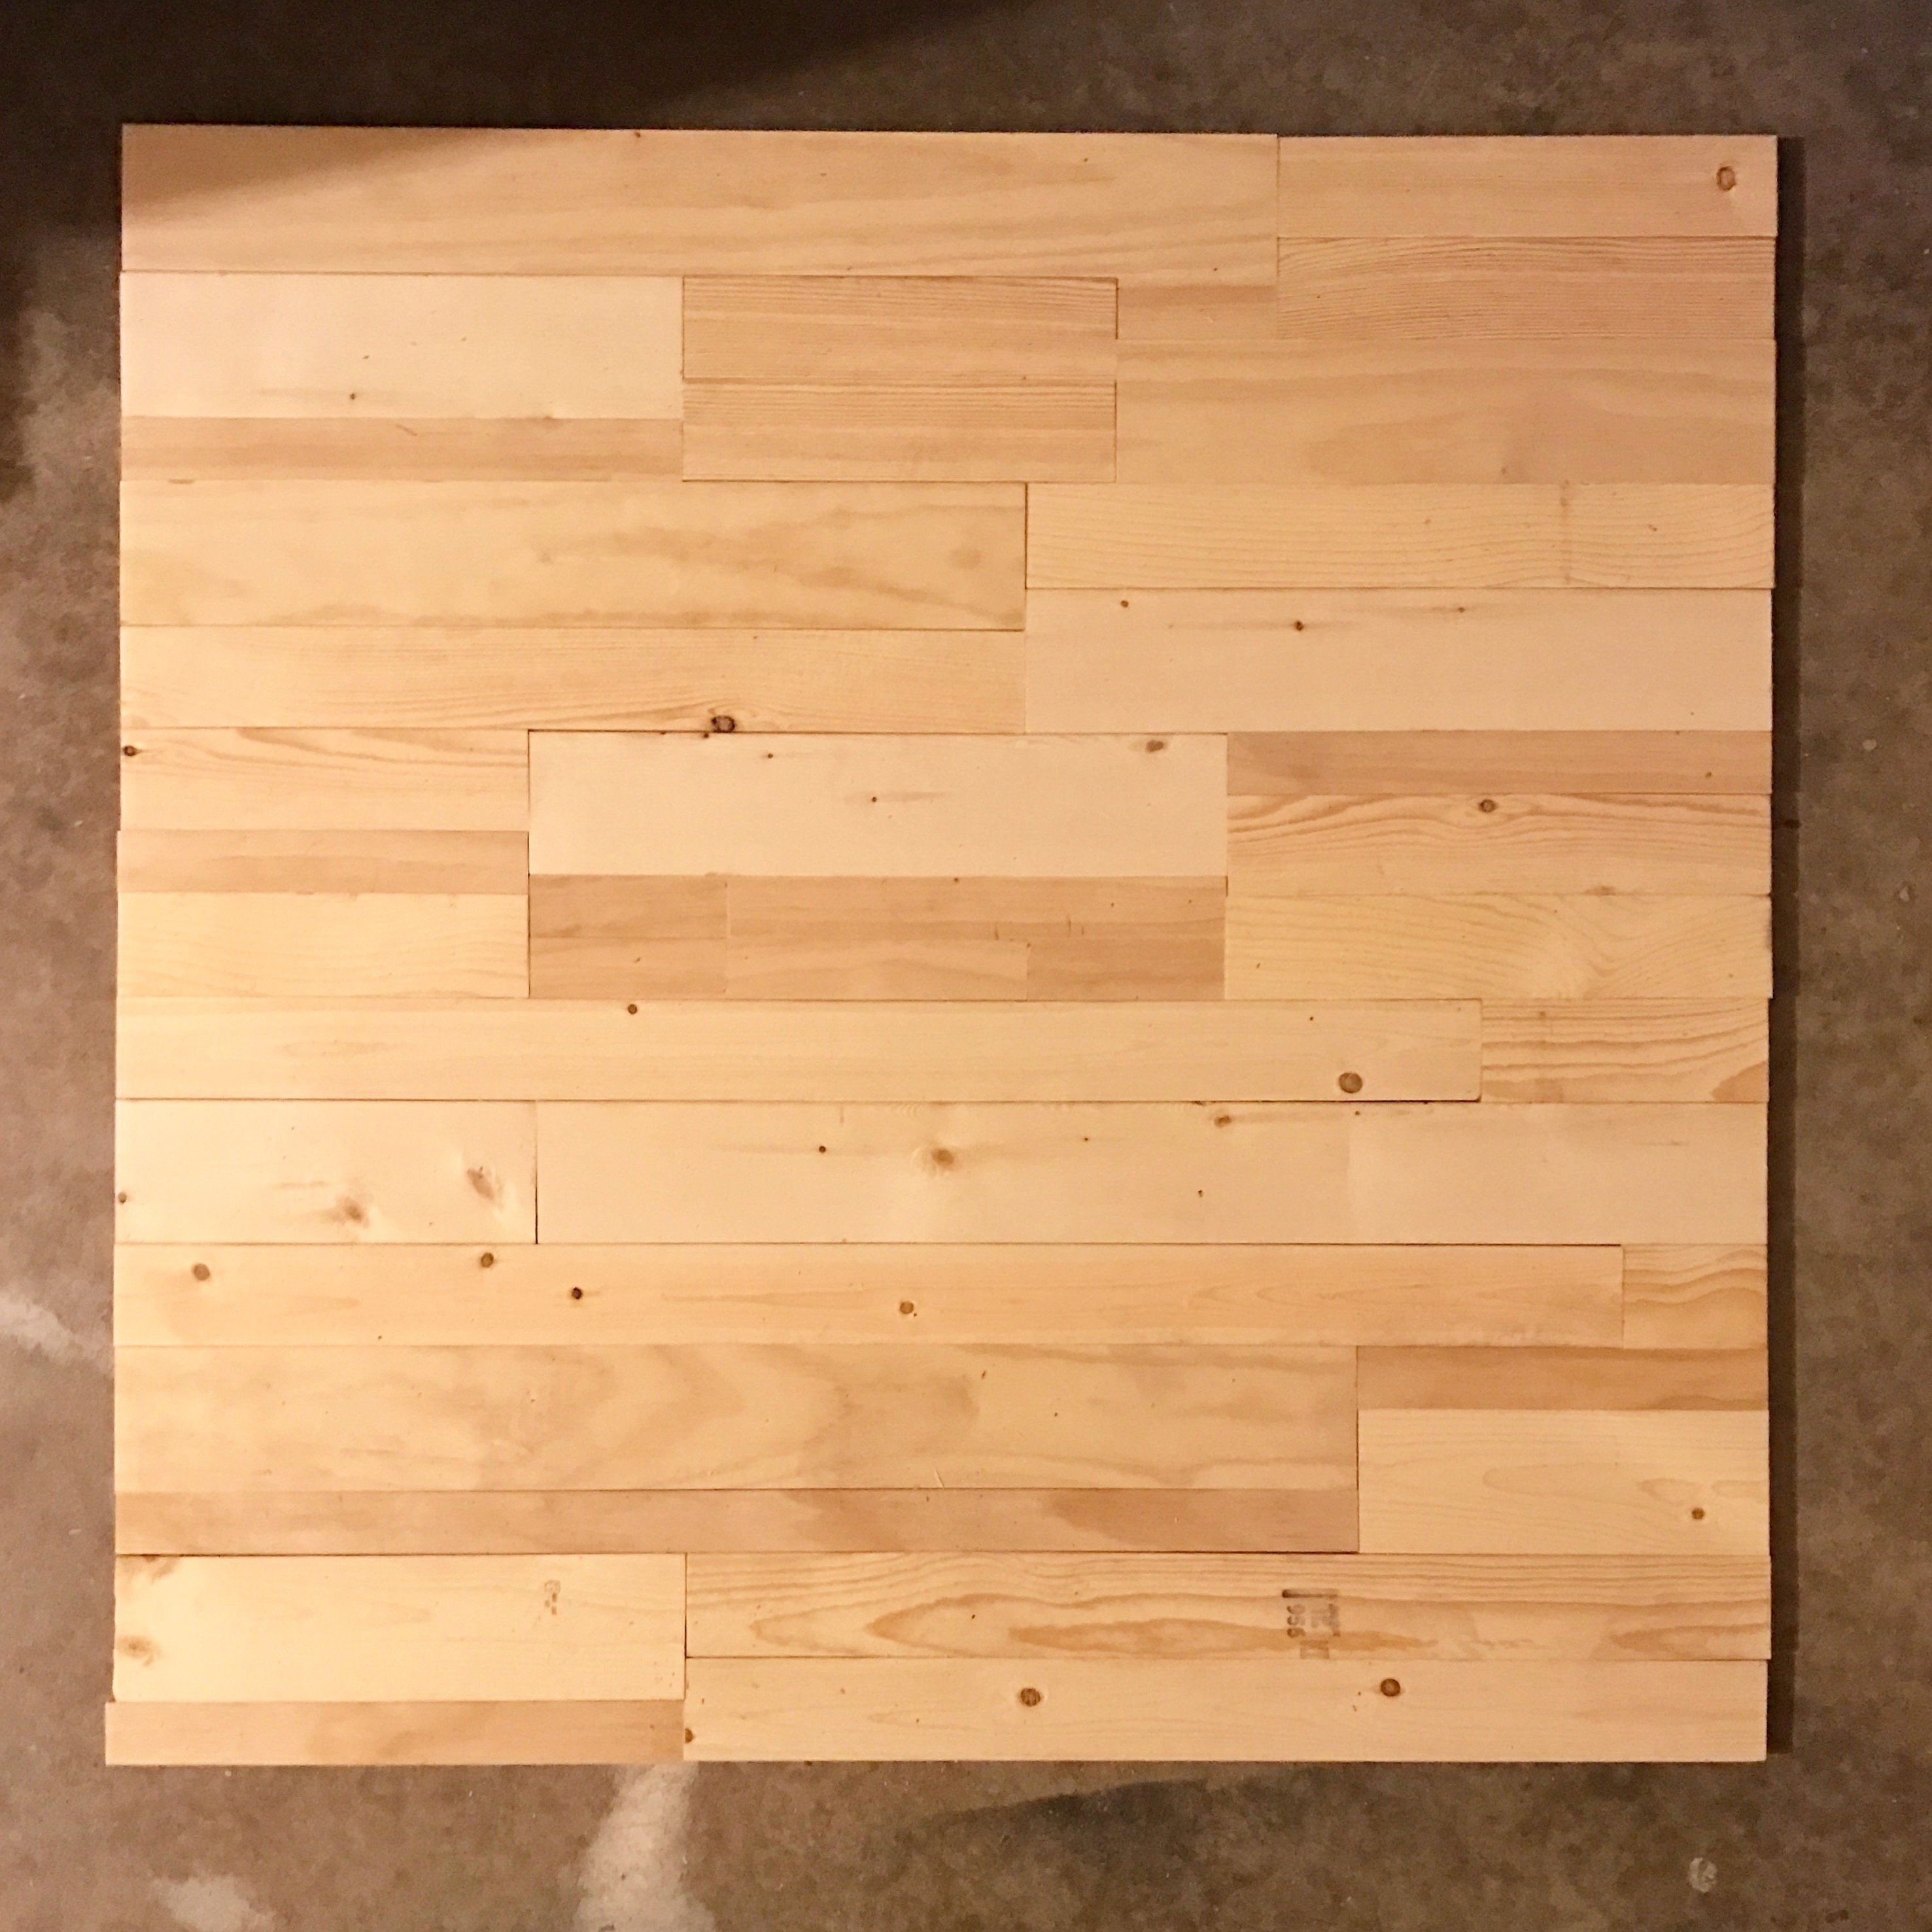
Love Ana's great patterns!

Built from Plan(s)
Estimated Cost
$85
Estimated Time Investment
Day Project (6-9 Hours)
Finish Used
lots of sanding, vacuum, wipe with microfiber cloth, spray primer, sand, vacuum, wipe, paint, sand, wipe, poly to finish. Use sponge brush to avoid brush strokes.
Recommended Skill Level
Beginner

Comments

simplyelle

Sat, 06/22/2013 - 13:34

I've been looking for a post with dimensions more similar to my sketch and found yours. Thanks! I must say that I'm a bit puzzled with how to attack my drawers. My table's dimensions being 44Lx16D. I am in desperate need of a comp table to fit along a short wall, but need it to be functional, hence the need for drawers. Were your drawer dimensions limited to the length of the drawer slides you found? If possible, I'd like my drawers deeper. However, I'm open to one longer, less complicated, drawer as well, lol. I'm curious. Help!

Photo Gallery Made Easy!

Submitted by mdean on Mon, 10/21/2013 - 12:50

I love my new photo ledges. I had a huge space on my wall and these ledges are perfect. The ledges were so easy to make. I got a kreg jig for my birthday (I never thought I would ask for a tool for a birthday present) and I have gotten so much use out of it. I saw similar ledges at pottery barn for 10 times the cost of this DIY project. I saved so much with these ledges. The kreg jig has already paid for itself. The ledges make it super easy to switch out photos and I love being able to display so many fun photos. Everyone who sees these ledges loves them!! This was my first project. Thanks Ana for the great plans!

Estimated Cost
$50
Estimated Time Investment
Afternoon Project (3-6 Hours)
Finish Used
White gloss spray praint
Recommended Skill Level
Starter Project

Comments

mdean

Mon, 10/21/2013 - 12:51

I might spray paint all the picture frames white or an oil rubbed bronze in the future...I'm not sure yet. Opinions?

JoanneS

Mon, 10/21/2013 - 18:27

Your gallery looks beautiful! Great job on your first project, congratulations!

(ps- I think the oil rubbed bronze would look super on the picture frames.)

Easy Build Fence Picket Planters

Submitted by vendo on Thu, 05/11/2023 - 12:14

I've been wanting to build this plan for quite some time! Took me about 2 hours to build and 1 hour to finish. Giving these as gifts for Mother's Day! Total cost was about $15 per planter. I scaled down the design after I found the plants I wanted to put in them. Ana has the best and easiest plans!


Seasonal And Holiday

Wood Porch Swing

Submitted by ccobb1612 on Thu, 11/16/2023 - 08:59

Made the large porch swing and changed length to fit into porch space. Used rope to hang for more rustic look.
Note - next time will possibly used 2x6 for arm rest to allow for drink holder hole and possibly on framing instead of 2x4s. DIL and new grandson love it.

Built from Plan(s)

Laundry Pedestal

Submitted by Kamoanui on Tue, 06/30/2020 - 09:42

This was quick build. First time for us using trim, so we wasted a few feet getting the angles right. We attached the legs directly to the frame, and did not use the metal brackets. We also did not build the floor frame. We measured how high/wide the laundry baskets ($3/piece at Target!) were, and made it to fit them. We added a piece of rubber mat to the top (bought at Lowe's). A few weeks later we helped our daughter and son in law build one for their new house!

Estimated Cost
$40
Estimated Time Investment
Afternoon Project (3-6 Hours)
Finish Used
White satin paint
Recommended Skill Level
Beginner

Open Shelf Nightstands

Submitted by Anonymous (not verified) on Tue, 04/30/2024 - 11:29

I built these for my daughter's birthday, after she showed me a set of night stands that resembled these from the site. I used cedar with a steel wool and viniger stain to give them a aged look. With 4 coats of a water based urathane as a finish. Your plans were accurate and simple to follow. Thanks

Outdoor Patio Set (Tall People Approved)

I was so excited to build this outdoor patio set! My husband and I looked high and low to find an affordable,“tall and sturdy people” outdoor patio set. The sturdy pieces we found were in the $600-$1000s... and I’m sorry.... we’re not paying that. Especially, since most of those sets were not built to hold up in the Florida rain and humidity. So my husband suggested... “ just build it!” I modified the leg length to 28 1/4”, since I have tall family. The cushions were found at Pier1 for a steal since they’re going out of business, so the chairs were modified to fit the cushion size 22”x 22”.

Estimated Cost
$250 with Cushions
Estimated Time Investment
Weekend Project (10-20 Hours)
Finish Used
Thompson Waterseal- transparent- Autumn Brown
Recommended Skill Level
Beginner

Dining Room Table - Dual Trestle and Extension Slides

My 40”x80” dining room table with equalizer extension slides that bring it to 110” when both leaves are installed. This was initially inspired by the Farm Hose trestle table. I've got details in some blog posts on my build. It’s not exactly the most complete blog with every detail, but it has a bunch of pictures along the way.

Estimated Cost
$1,200 for wood. Probably around $1,500 total if you add in some tools / supplies I didn't have.
Estimated Time Investment
Week Long Project (20 Hours or More)
Finish Used
Aqua Coat grain sealer. General Finishes Prairie Wheat Gel Stain, General Finishes Arm-R-Seal poly seal coat.
Recommended Skill Level
Intermediate

Comments

Can’t Believe We actually built this

Submitted by Anonymous (not verified) on Mon, 09/14/2020 - 13:48

5 1/2W x 5 1/2L x 8H.
Ana made this project very easy for me. I did the main building while hubby cut the wood & helped drill in hard to reach areas. Thank you Ana for boosting my confidence. I’ve never done anything trike this.

Built from Plan(s)
Estimated Cost
500.00
Estimated Time Investment
Weekend Project (10-20 Hours)
Finish Used
Did not have time to paint. Will have to be another long weekend. When I do, it’ll be white.
Recommended Skill Level
Beginner

Comments

Square Farmhouse Table

Submitted by eddingsr on Sun, 01/08/2017 - 13:17

I built this table for a friend who wanted a rustic, plank-top kitchen table. She wanted a square table with 4x4 legs. Since I don't have clamps, I used pocket holes and wood glue for the table top. Also, I only have a 7&1/4" miter saw, which means the 4x4s were too thick to cut. So I made one cut in the legs, then flipped them and made another. It worked! :) I sanded down the sides of the table top with 80 grit. They needed to be evened up since some of the planks were a little longer than others. I back braced underneathe the top with (3) 1x3s. Then, I sanded all over with 120, vacuumed, then wiped it down with a damp towel. Fun build!! 

Estimated Cost
~$100 for lumber, screws, wood glue, sandpaper, and finishing products.
Estimated Time Investment
Week Long Project (20 Hours or More)
Finish Used
For the finish I used Minwax wood conditioner, then a coat of Minwax stain in Provincial. I went back and put a second coat of stain on a few of the premium pine pieces, because they soaked up the first coat really well, and I wanted some darker pieces on top. I let those soak for about 15 minutes. Afterwards I did 2 coats of Polycrylic all over, then a third coat for the top only. I dry sanded between coats with 600 grit sandpaper.
Recommended Skill Level
Intermediate

DARE bookshelves letters

Submitted by Anonymous (not verified) on Mon, 03/15/2021 - 10:10

We built the letters bookshelves for our kids' room. First, we wanted to write READ on the wall, but in the end, we arranged them as DARE. We hope it will be a motivational message for our kids to have the courage to make the impossible possible.

The letters are built entirely out of MDF. The hardest thing was to make the curved walls. We cut a lot of curved MDF strips and glued them together to get the rounded shapes.

We described better the process on our blog!

Hope you like them as much as we do!

Estimated Cost
600
Estimated Time Investment
Week Long Project (20 Hours or More)
Finish Used
Polyurethane primer and white paint
Recommended Skill Level
Intermediate

Comments

grace1wilson

Sat, 04/23/2022 - 09:59

Congrats! I am so proud of them. I wish I also could write good essays, but it is very difficult for me to express myself and organize my thoughts and ideas. This is why it takes me a lot of time to write a good essay. So, sometimes I pay for paper writing because I like it when everything is done at the highest level. However, I really hope that these essays will help me to achieve my goals especially since I feel very motivated right now. Wish me good luck!

My First Project

Submitted by sbonander on Thu, 03/18/2021 - 08:16

I learned so much for this first project. I used redwood instead of cedar and finished it to match our fence. I coated the inside with flex seal. Next time, I'll drill drain holes nearer to the front edge of each box so they drain into the box below a bit better. I angled the bottoms of each box with a band saw on a 15 degree tilted platform. They fit like a glove! Thanks for a great plan.

Comments

Seasonal And Holiday

Kids picnic table

Submitted by Markb25 on Fri, 04/23/2021 - 23:33

I needed a picnic table to go with a playhouse I built for my daughter, this one is a modification of one saw on here with a few amendments. the original plan has the top from 6x6 in a traditional looking row and the seats also from 6x6 however, finding a straight piece of 6x6 in Cyprus is like trying to find a unicorn so I opted to use 2x4, I also decided to change the look of the top give it a solid edge all around. We can't get Cedar etc over here so I've had to use Nordic fir treated with high protection wood stain by V33.

Estimated Cost
150
Estimated Time Investment
Afternoon Project (3-6 Hours)
Finish Used
High protection wood stain in Walnut by V33
Recommended Skill Level
Beginner

Comments

Seasonal And Holiday

17” square, 2x4 side tables / stools

Submitted by Anonymous (not verified) on Mon, 10/04/2021 - 12:33

Well my wife bought 2 x 17” square seat cushions the problem was we didn’t have any stools to put them on so decided to enhance our front seating patio area with 2 solid 2x4 side tables that would double up as stools.
I based the design on Ana’s table design but decided to counter sink all the screws & cut plugs to suit so no screw heads could be seen, they turned out perfect & very robust, perfect for the U.K. weather, my wife finished them in grey outdoor paint to match the furniture, all in all they took only around 6hrs to make & paint.

Built from Plan(s)

Comments

Cedar Slat Top Bench

Submitted by Anonymous (not verified) on Tue, 01/15/2019 - 21:48

I really enjoy making this bench. I build them out of cedar and vary from 4’-6’. My customers love them. Simple prep work consisting of planing all boards to same dimensions can save a lot of time in sanding. Building 3 more this week. 

Estimated Time Investment
An Hour or Two (0-2 Hours)
Recommended Skill Level
Beginner

Comments

Fireplace with recessed TV mount

Submitted by medicscott on Thu, 02/16/2023 - 07:46

This is a very custom fireplace that I built for my wife as a 40th wedding anniversary gift. It is built around a Samsung 55” Frame TV and a Vivo motorized mount. The motorized mount allows the TV to be lowered to a better viewing height than the standard above mantle position which is usually too high for comfortable viewing.

In order to maintain the flush mount effect with the TV in art mode, I recessed the mount into the fireplace. That required building a “back” frame for the TV mount then the outer frame for the surround. I covered the outer frame with ½” OSB then ship lap. The mantle and hearth is made from Poplar with walnut stain and Polyurethane satin top coat. The hearth opens for storage.

This was sourced from several different plan sets with a lot of customization and input from the Technical Support Staff at Vizo-US.

Comments

Ana White

Thu, 02/16/2023 - 09:46

Happy Anniversary!
This is a beautiful, well thought out project.
I was hoping someone would do the recessed mount, and you nailed it! It's so much better with the tv flush like yours.
Also love the motorized mount.
Thank you very much for sharing photos.
Ana

Outdoor hangout using 2x4 and fence boards

Submitted by sylvialh on Sun, 06/16/2019 - 18:13

Bought enough lumber for one sofa but ended up using old fence boards for the  decking so had enough lumber to make the sectional and a shortened coffee table. 

Great way to save some cash even if u have to buy the fence posts. 

Added a reinforcing piece to the one armed sofa between the legs using a kreg jig to stabilize the legs a bit more. 

Waiting on my foam from Amazon to finish off this project!

Used inspiration from the beer/wine cooler patio table and made the middle of the table removable to add a buck underneath later. 

Note the 5 year old patio set, also an ana white project from back in the day!

Super quick build!

I did find that the measurements for customizing it for your cushion size seemed about 1.5 inches too big for all the depth pieces so I sized down but I haven't received my foam yet so maybe I'm wrong but Smth to think about. I didn't want my cushions to slide around so I took that into consideration when building. 

Estimated Cost
60$ CAD for the high density foam for each sofa (3x24x72) plus throw cushions for the back.

11 2x4x10 - cost varies depending on cedar or PT
Fence boards were reused

Outdoor Fabric to cover the foam
Estimated Time Investment
Afternoon Project (3-6 Hours)
Finish Used
None yet
Recommended Skill Level
Beginner

Mothers Day

Submitted by Anonymous (not verified) on Wed, 05/17/2023 - 20:20

I made this tall planter for my Mom for Mothers Day. She loves it!

Built from Plan(s)

Comments

Rustic Farm House Table

Submitted by Scotto on Mon, 09/30/2019 - 22:00

First Crack at any wood work since high school. All timber used was reclaimed hard wood, hours of

planing,sanding and clamping (its heavy). A few mistakes but that's learning.

Estimated Cost
$300 Australian
Estimated Time Investment
Week Long Project (20 Hours or More)
Finish Used
Estapol - Tung oil
Recommended Skill Level
Intermediate