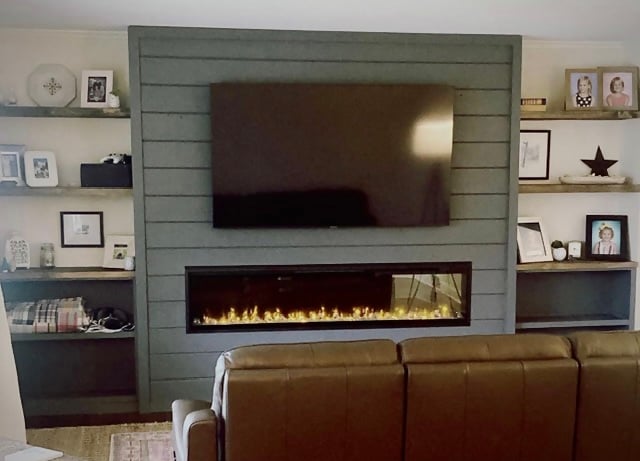
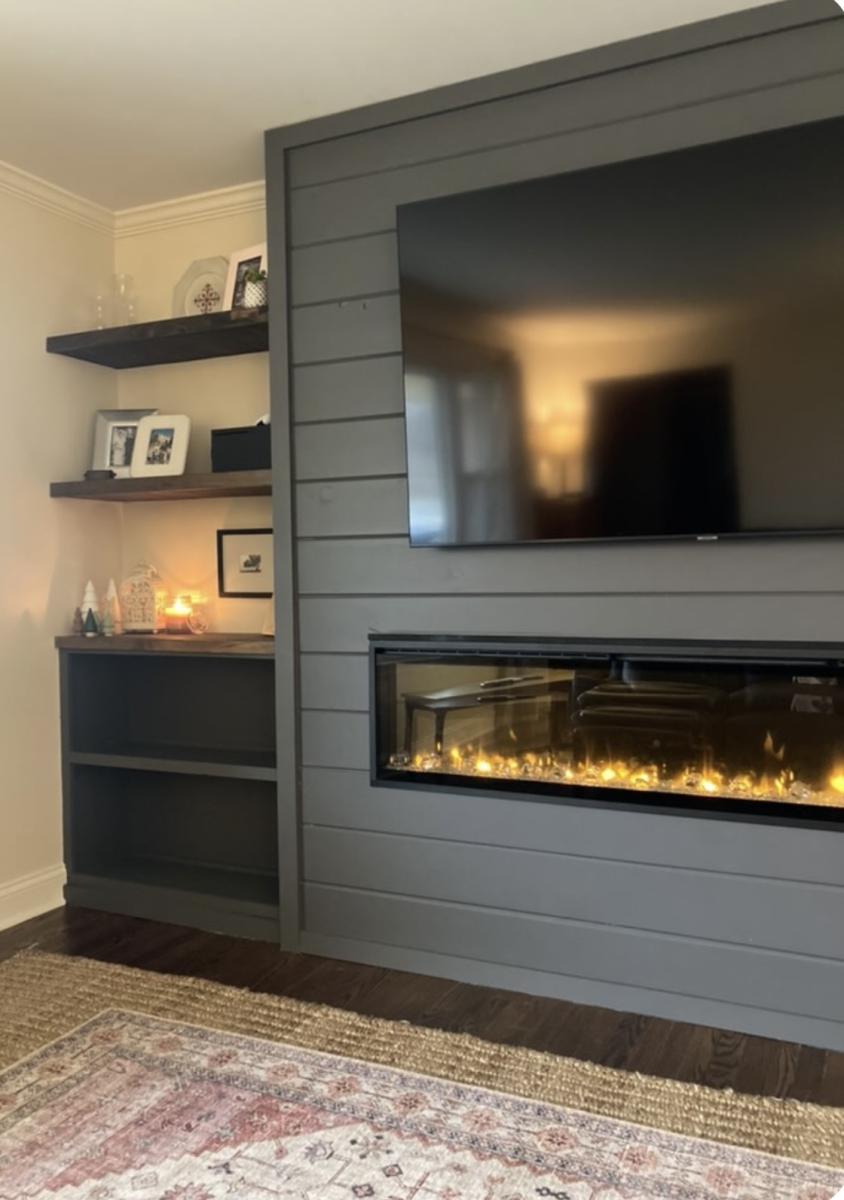
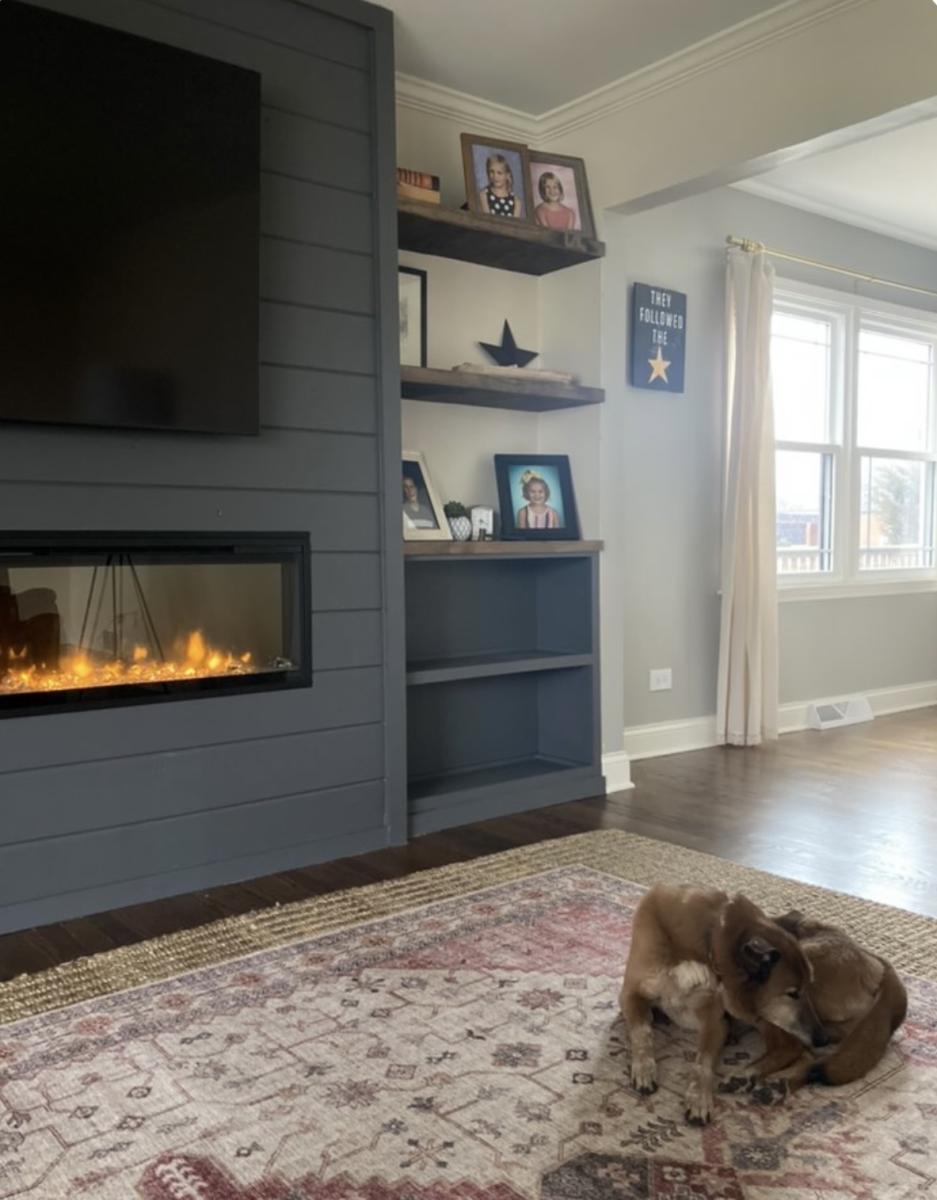
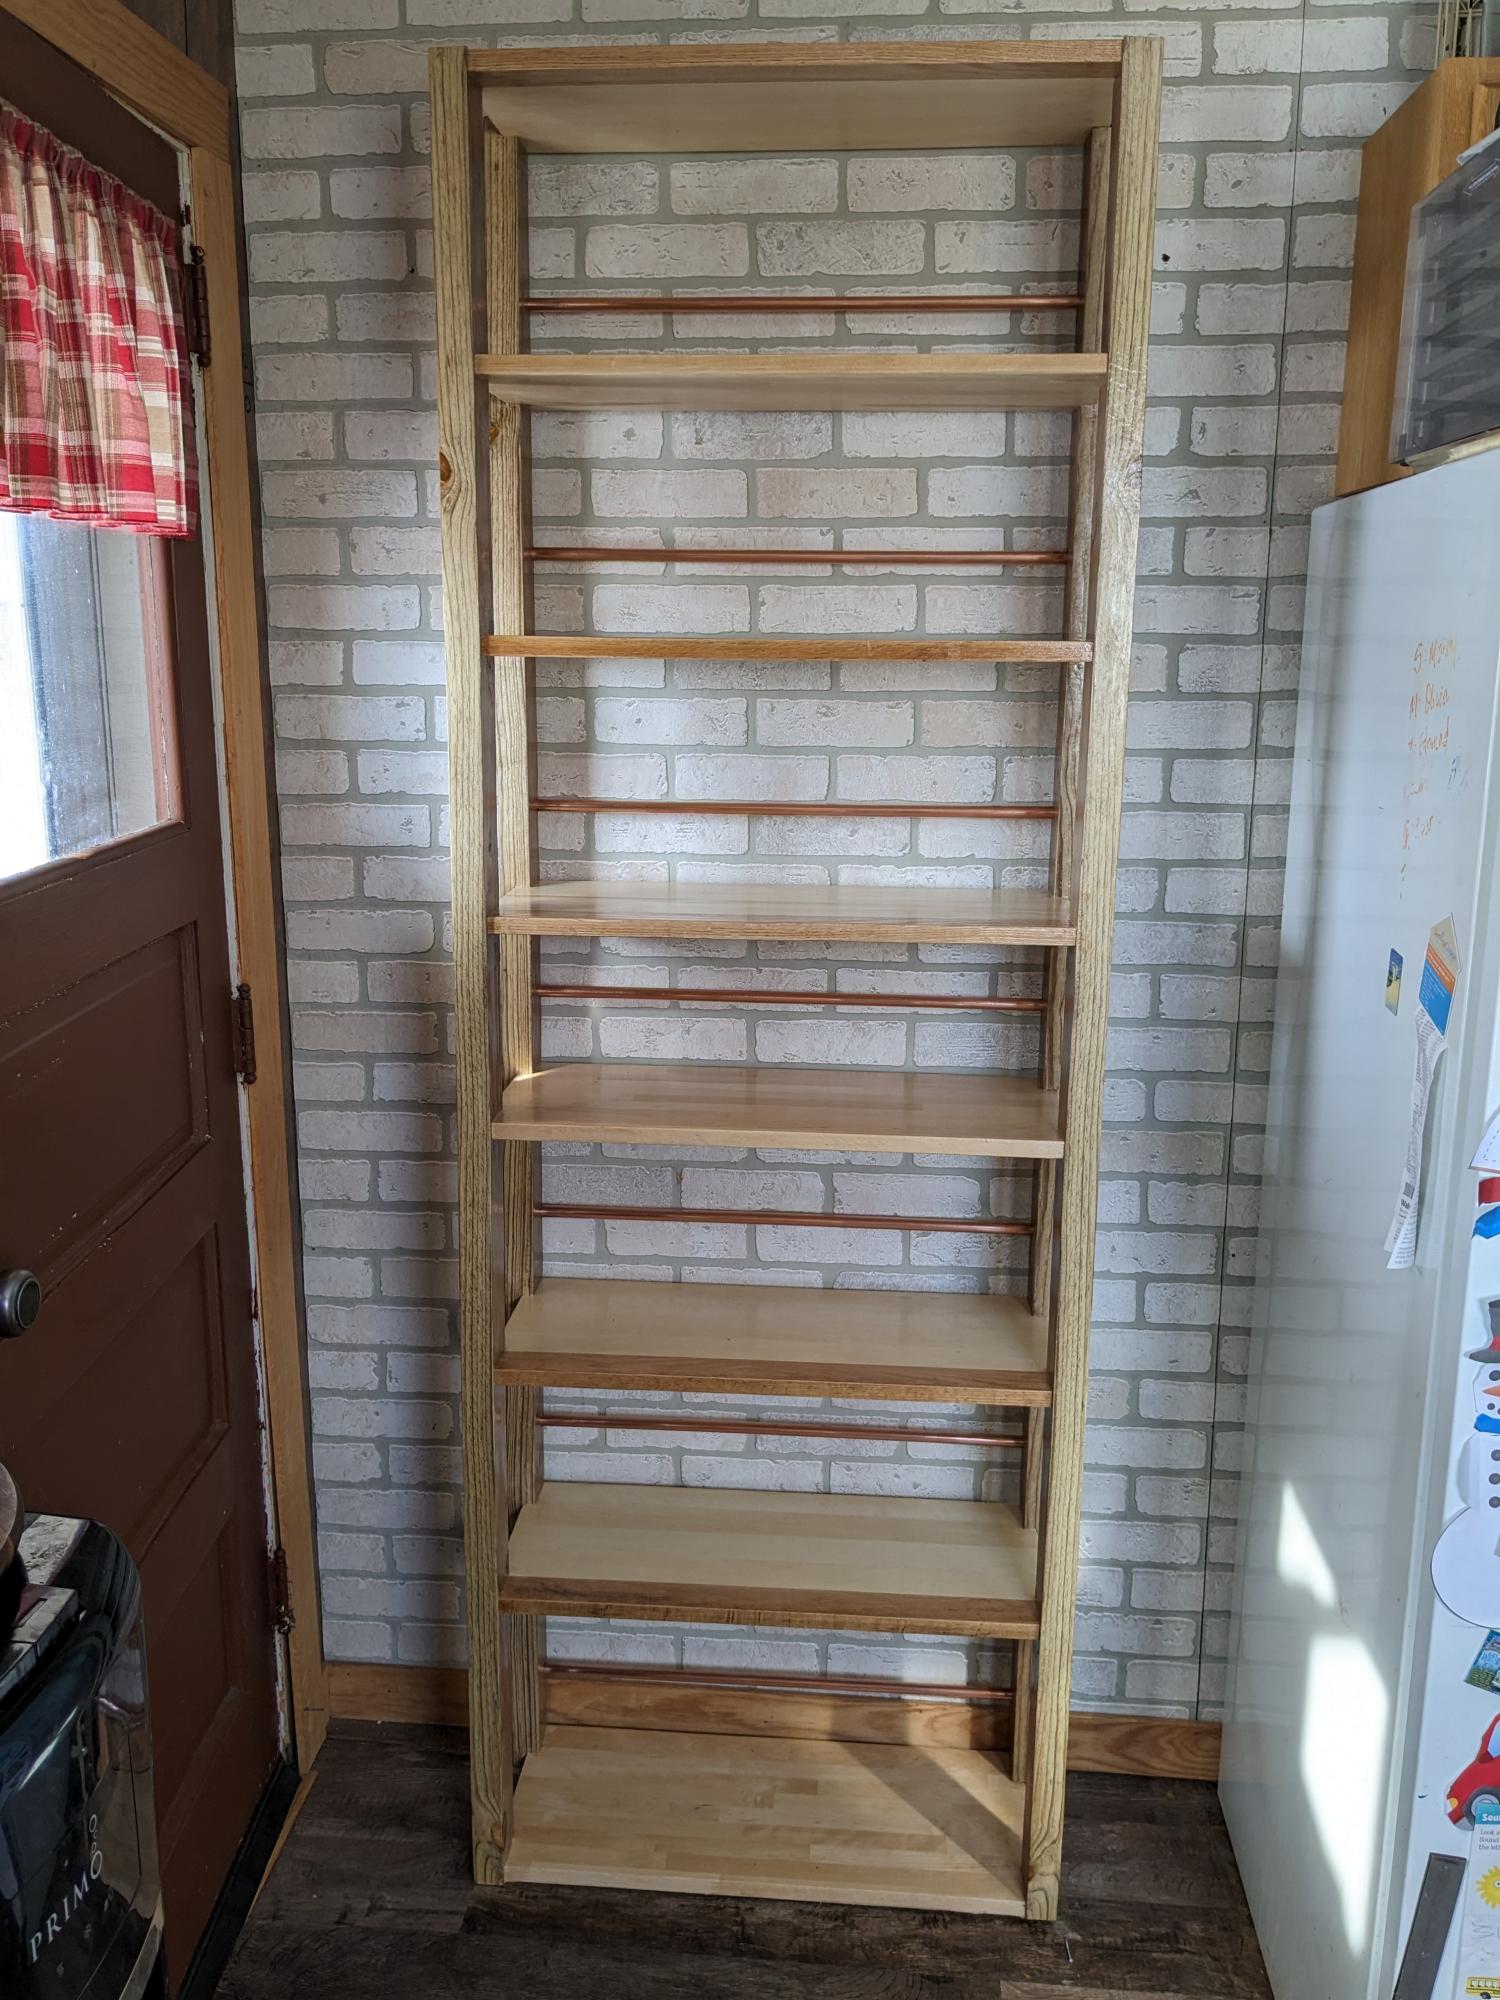
Kitchen Tower Cabinet
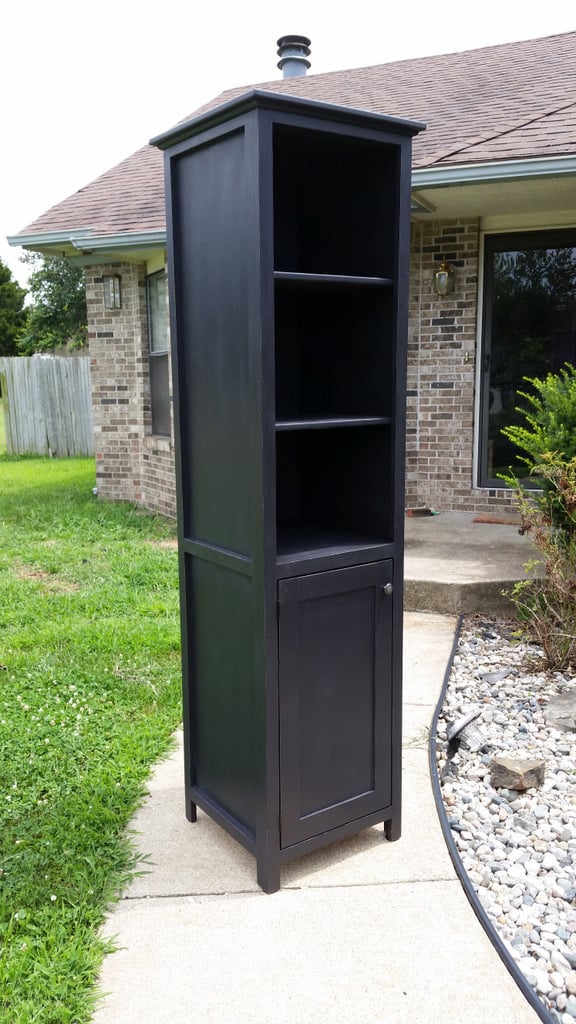
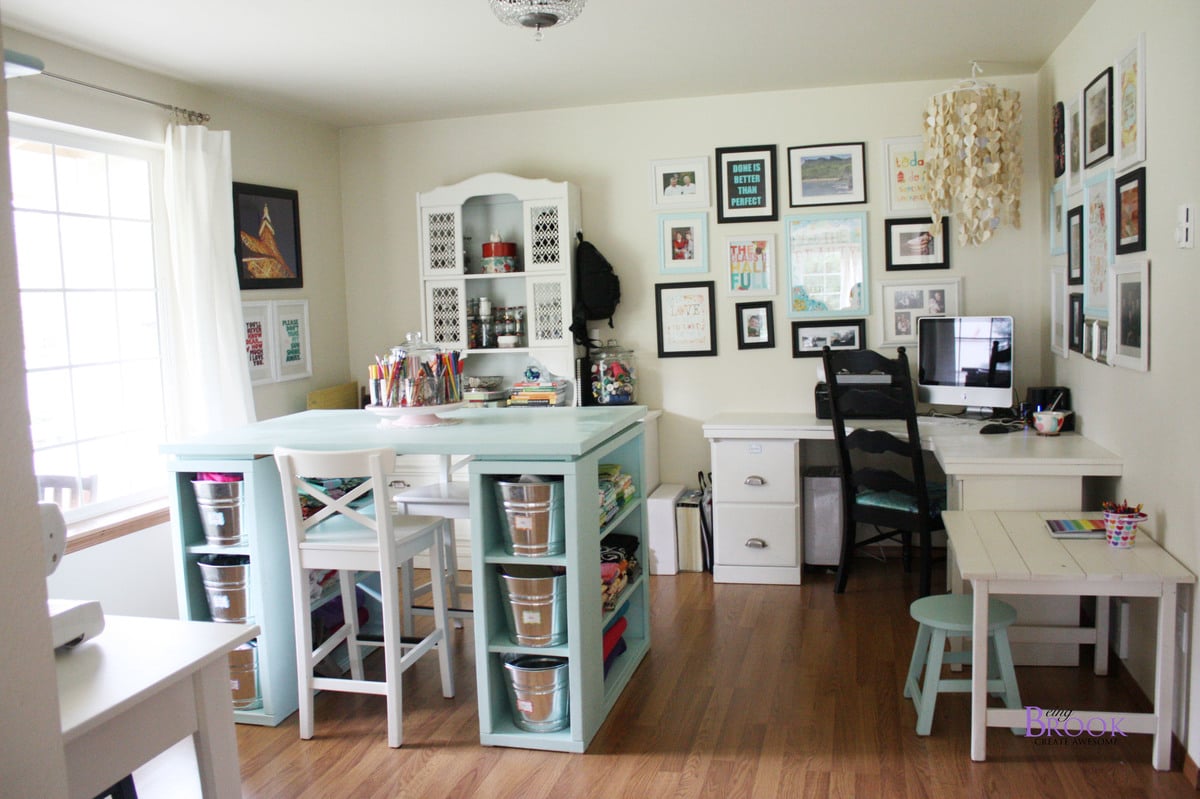
This is our first Ana White project and we're pretty happy with the results. We modified the plans a bit to use 1/4" plywood for the sides instead of the heavy 3/4" ply. Specifically built for our kitchen since we couldn't find one that we really liked or could afford. Pottery Barn seriously sells this for $1200?!?! Score!
Built from Plan(s)
Estimated Cost
$70 + finishing
Estimated Time Investment
Weekend Project (10-20 Hours)
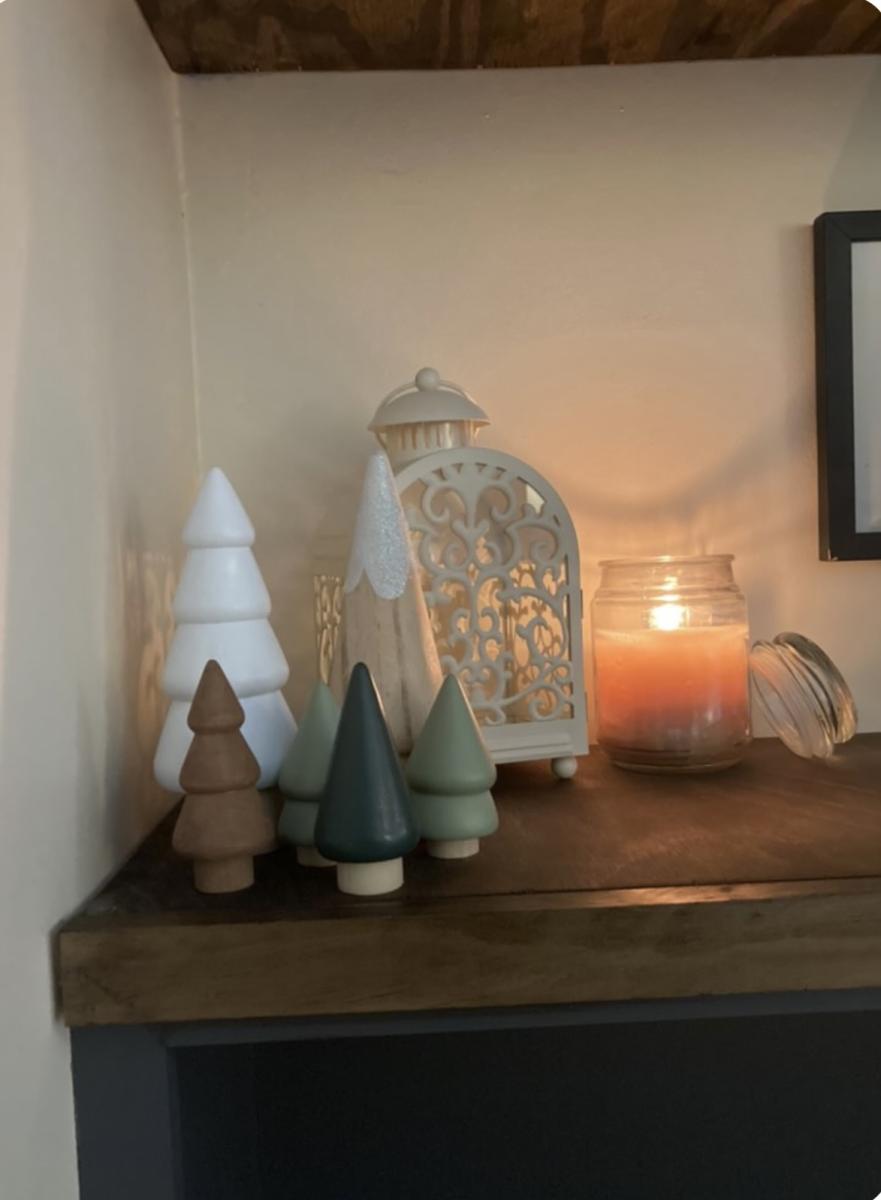
Finish Used
DIY chalk paint and wax - distressed.
Recommended Skill Level
Intermediate