Kids Picnic Table
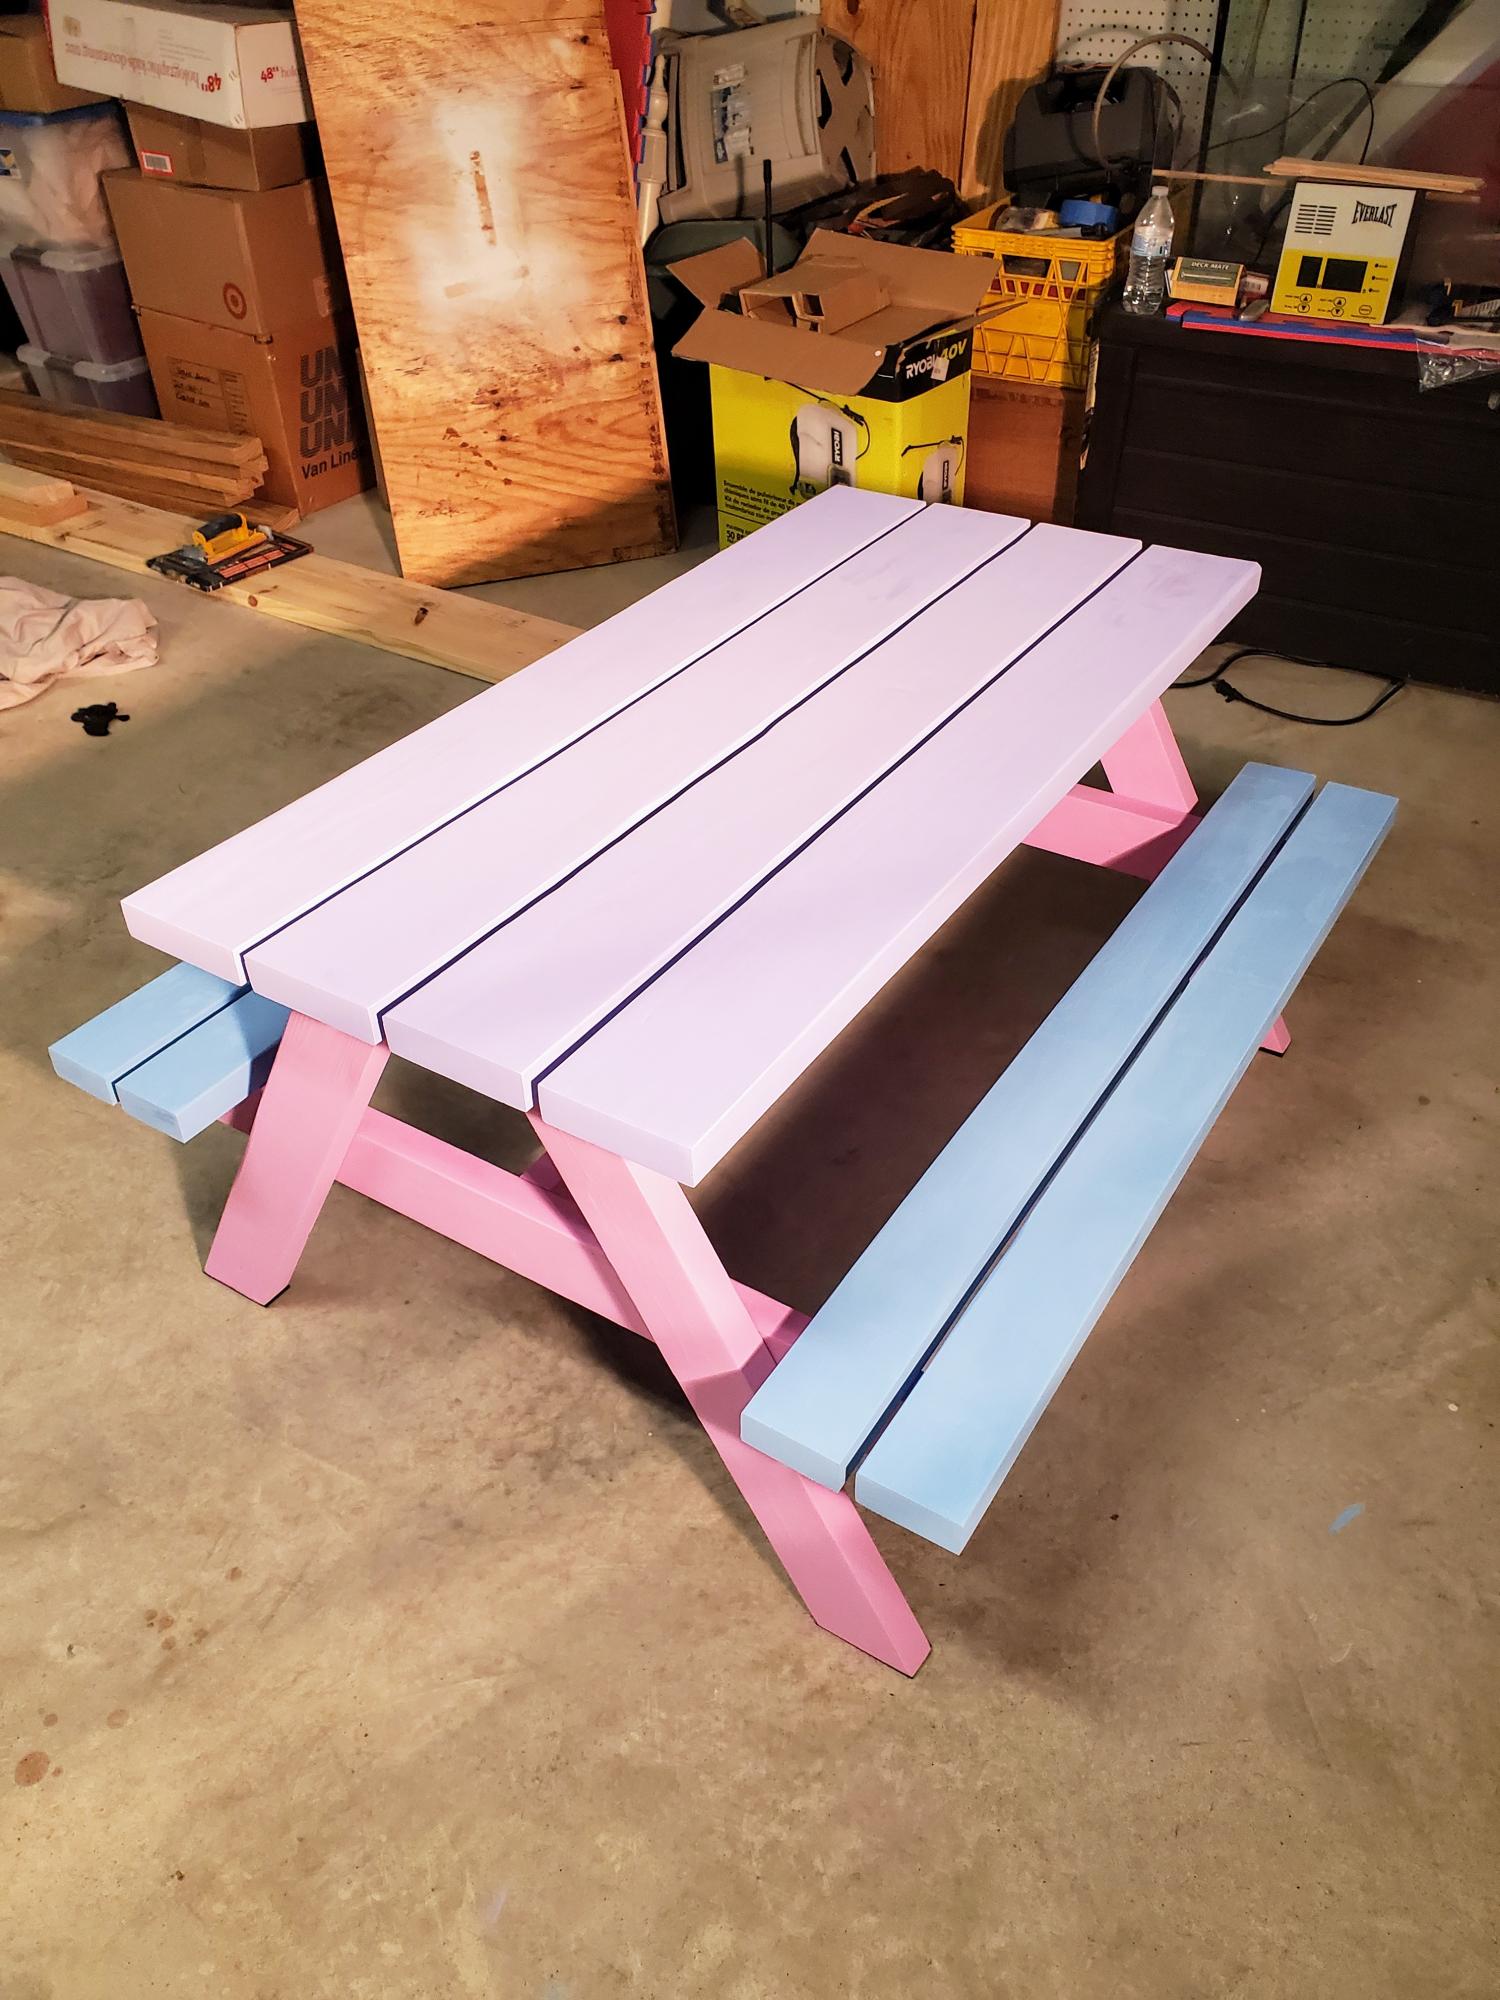
Fun and easy project!
Built from Plan(s)
Fun and easy project!
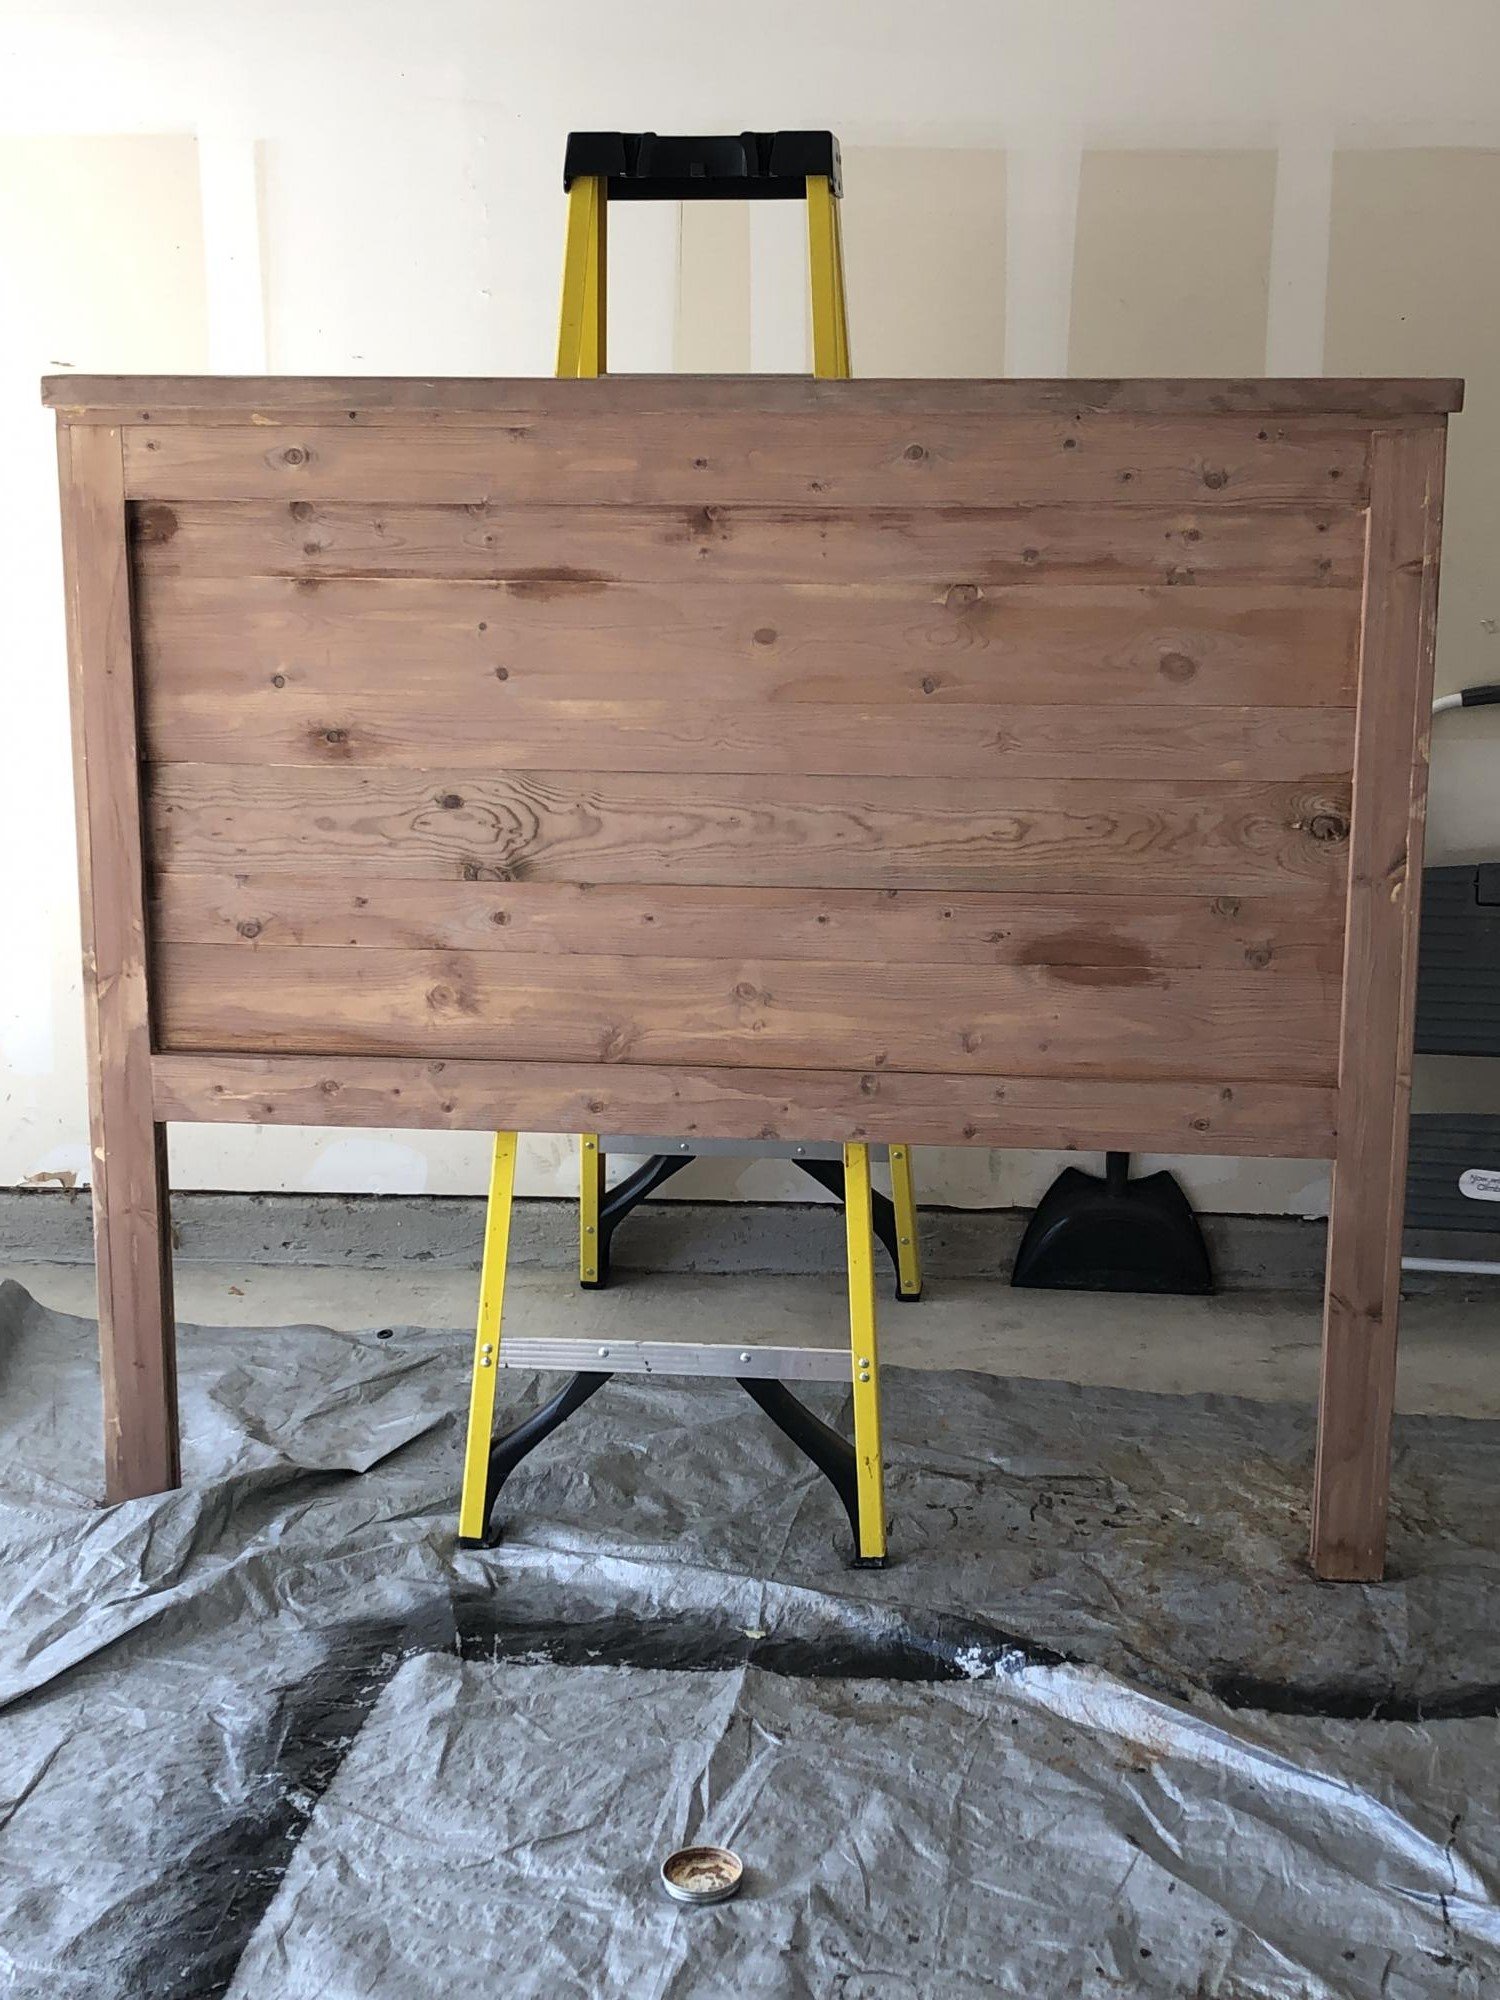
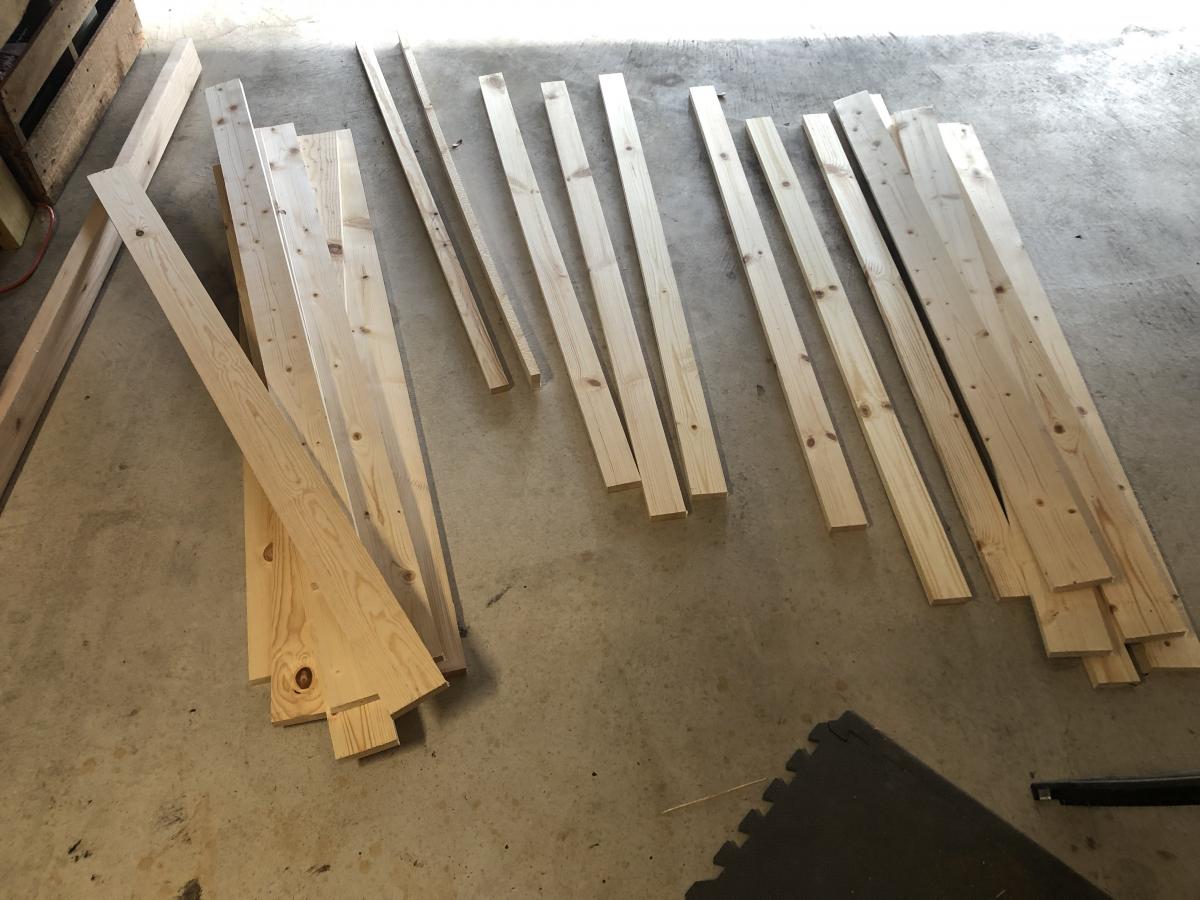
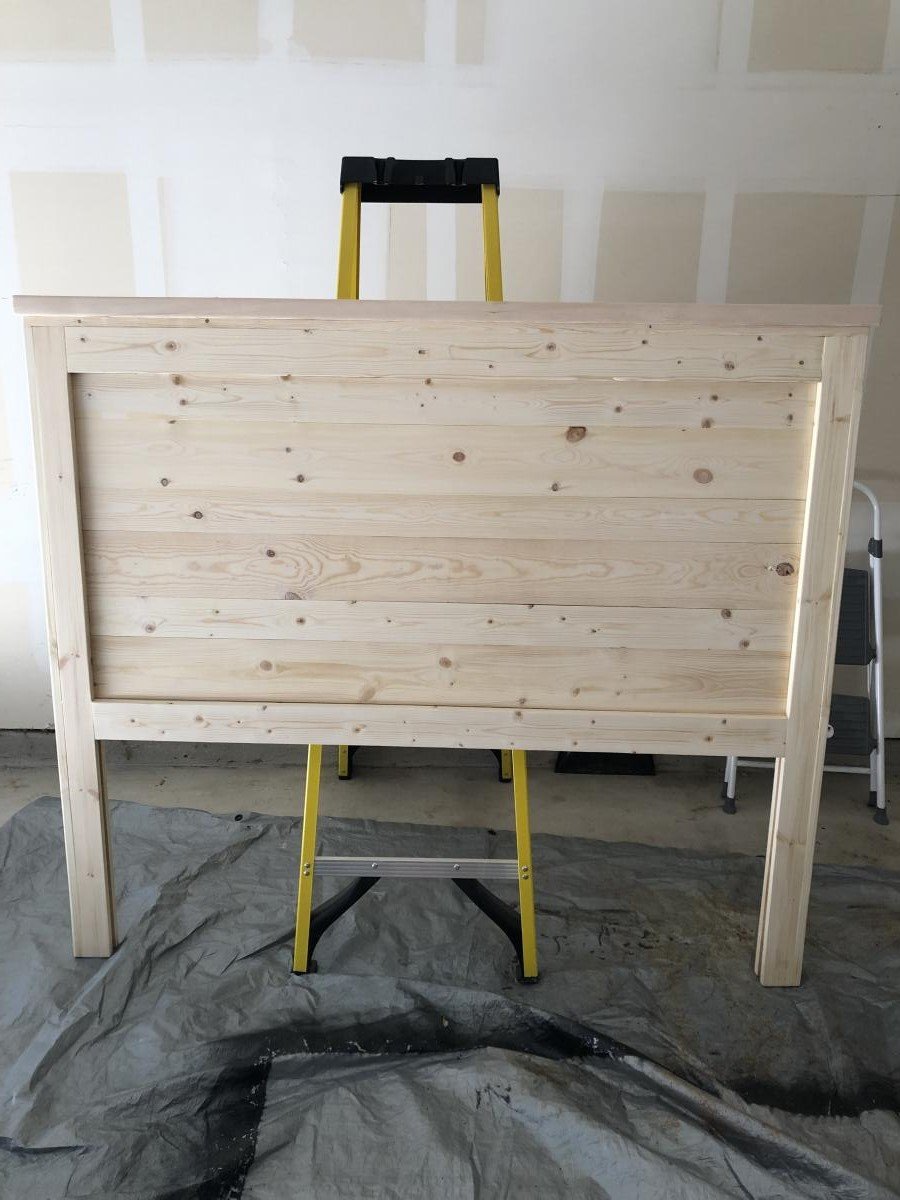
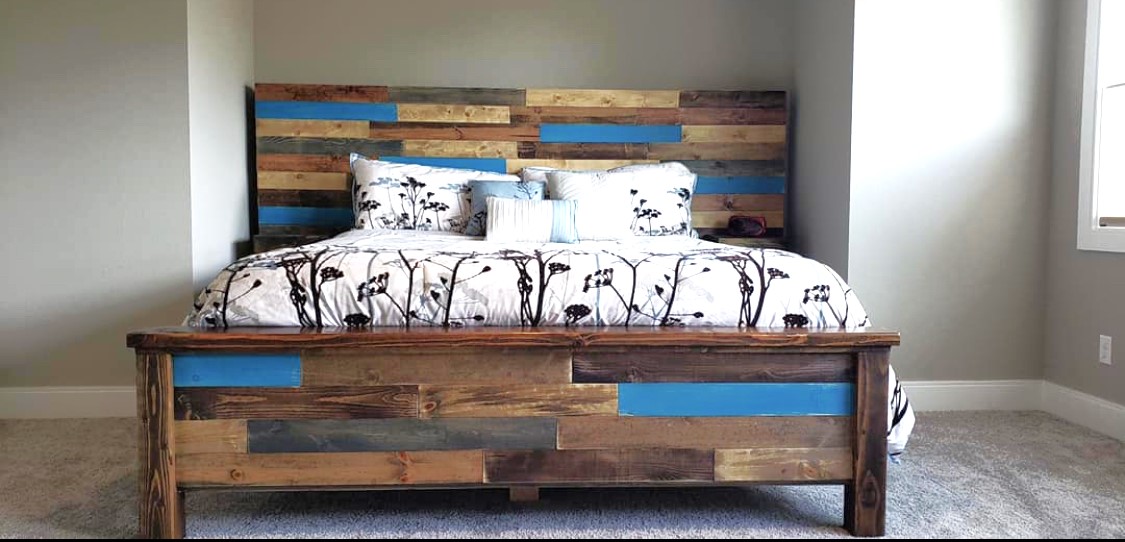
The plans for this headboard are great. Very easy to follow and the cut list is spot on. I used some choice pine from Lowe’s ($63) and then used the vinegar with steel wool mixture to age the wood. That’s where this piece is at right now. Trying to decide if I want to leave it or put a light satin clear coat.
Thank you for the plans!!
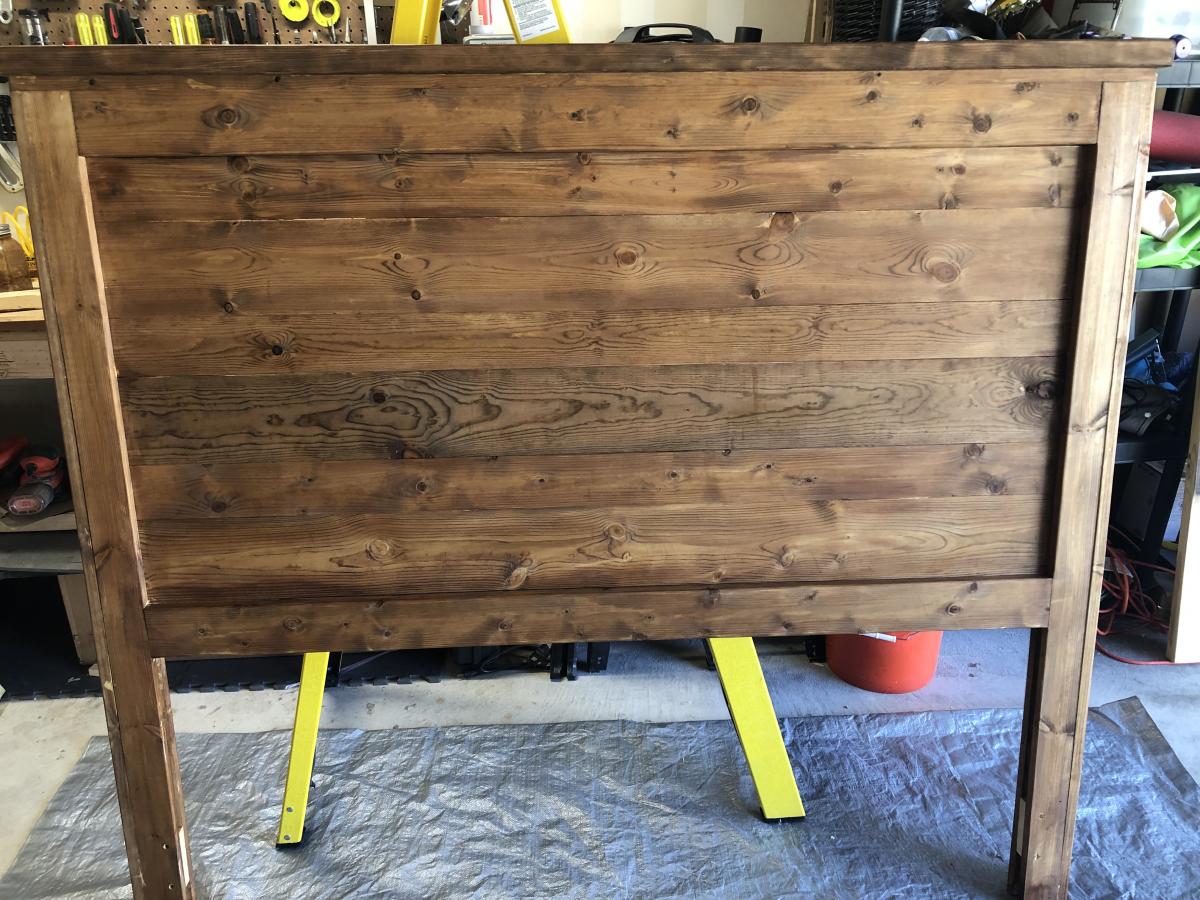
OK.....I added 2 more pics. I added 1 coat of Satin Clear Poly witch gave it a richer look.


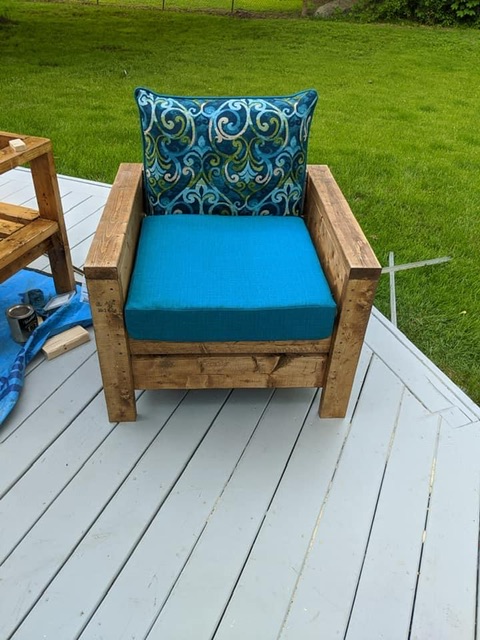
I needed patio furniture and happened to come across Anna White’s site. It is a great beginner’s project. I was so happy with how they turned out.
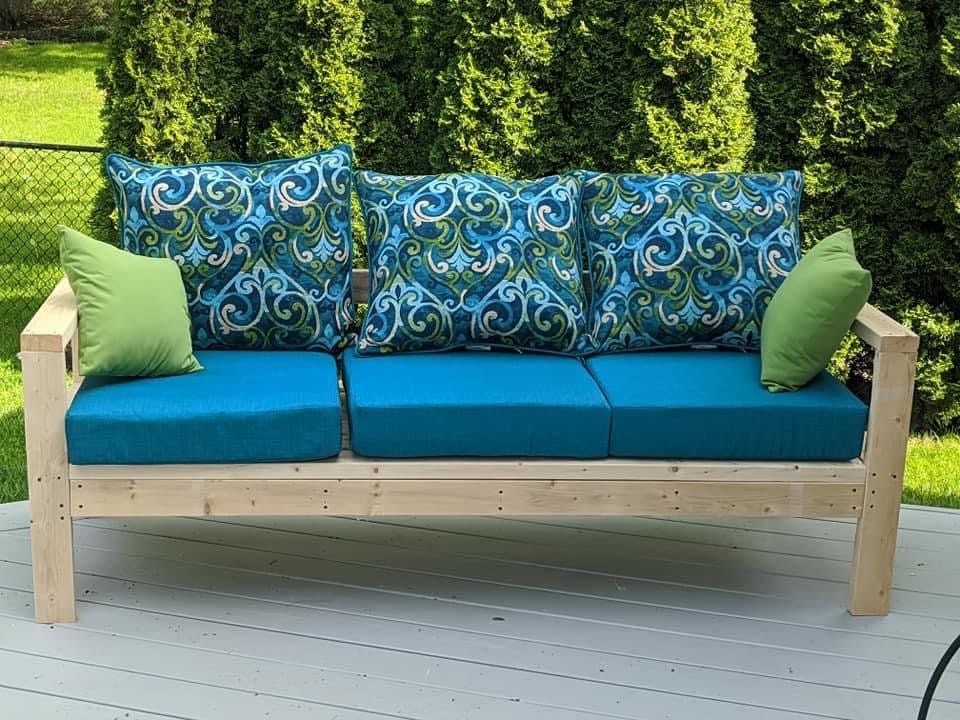
Thank you for the plan, this is the result.
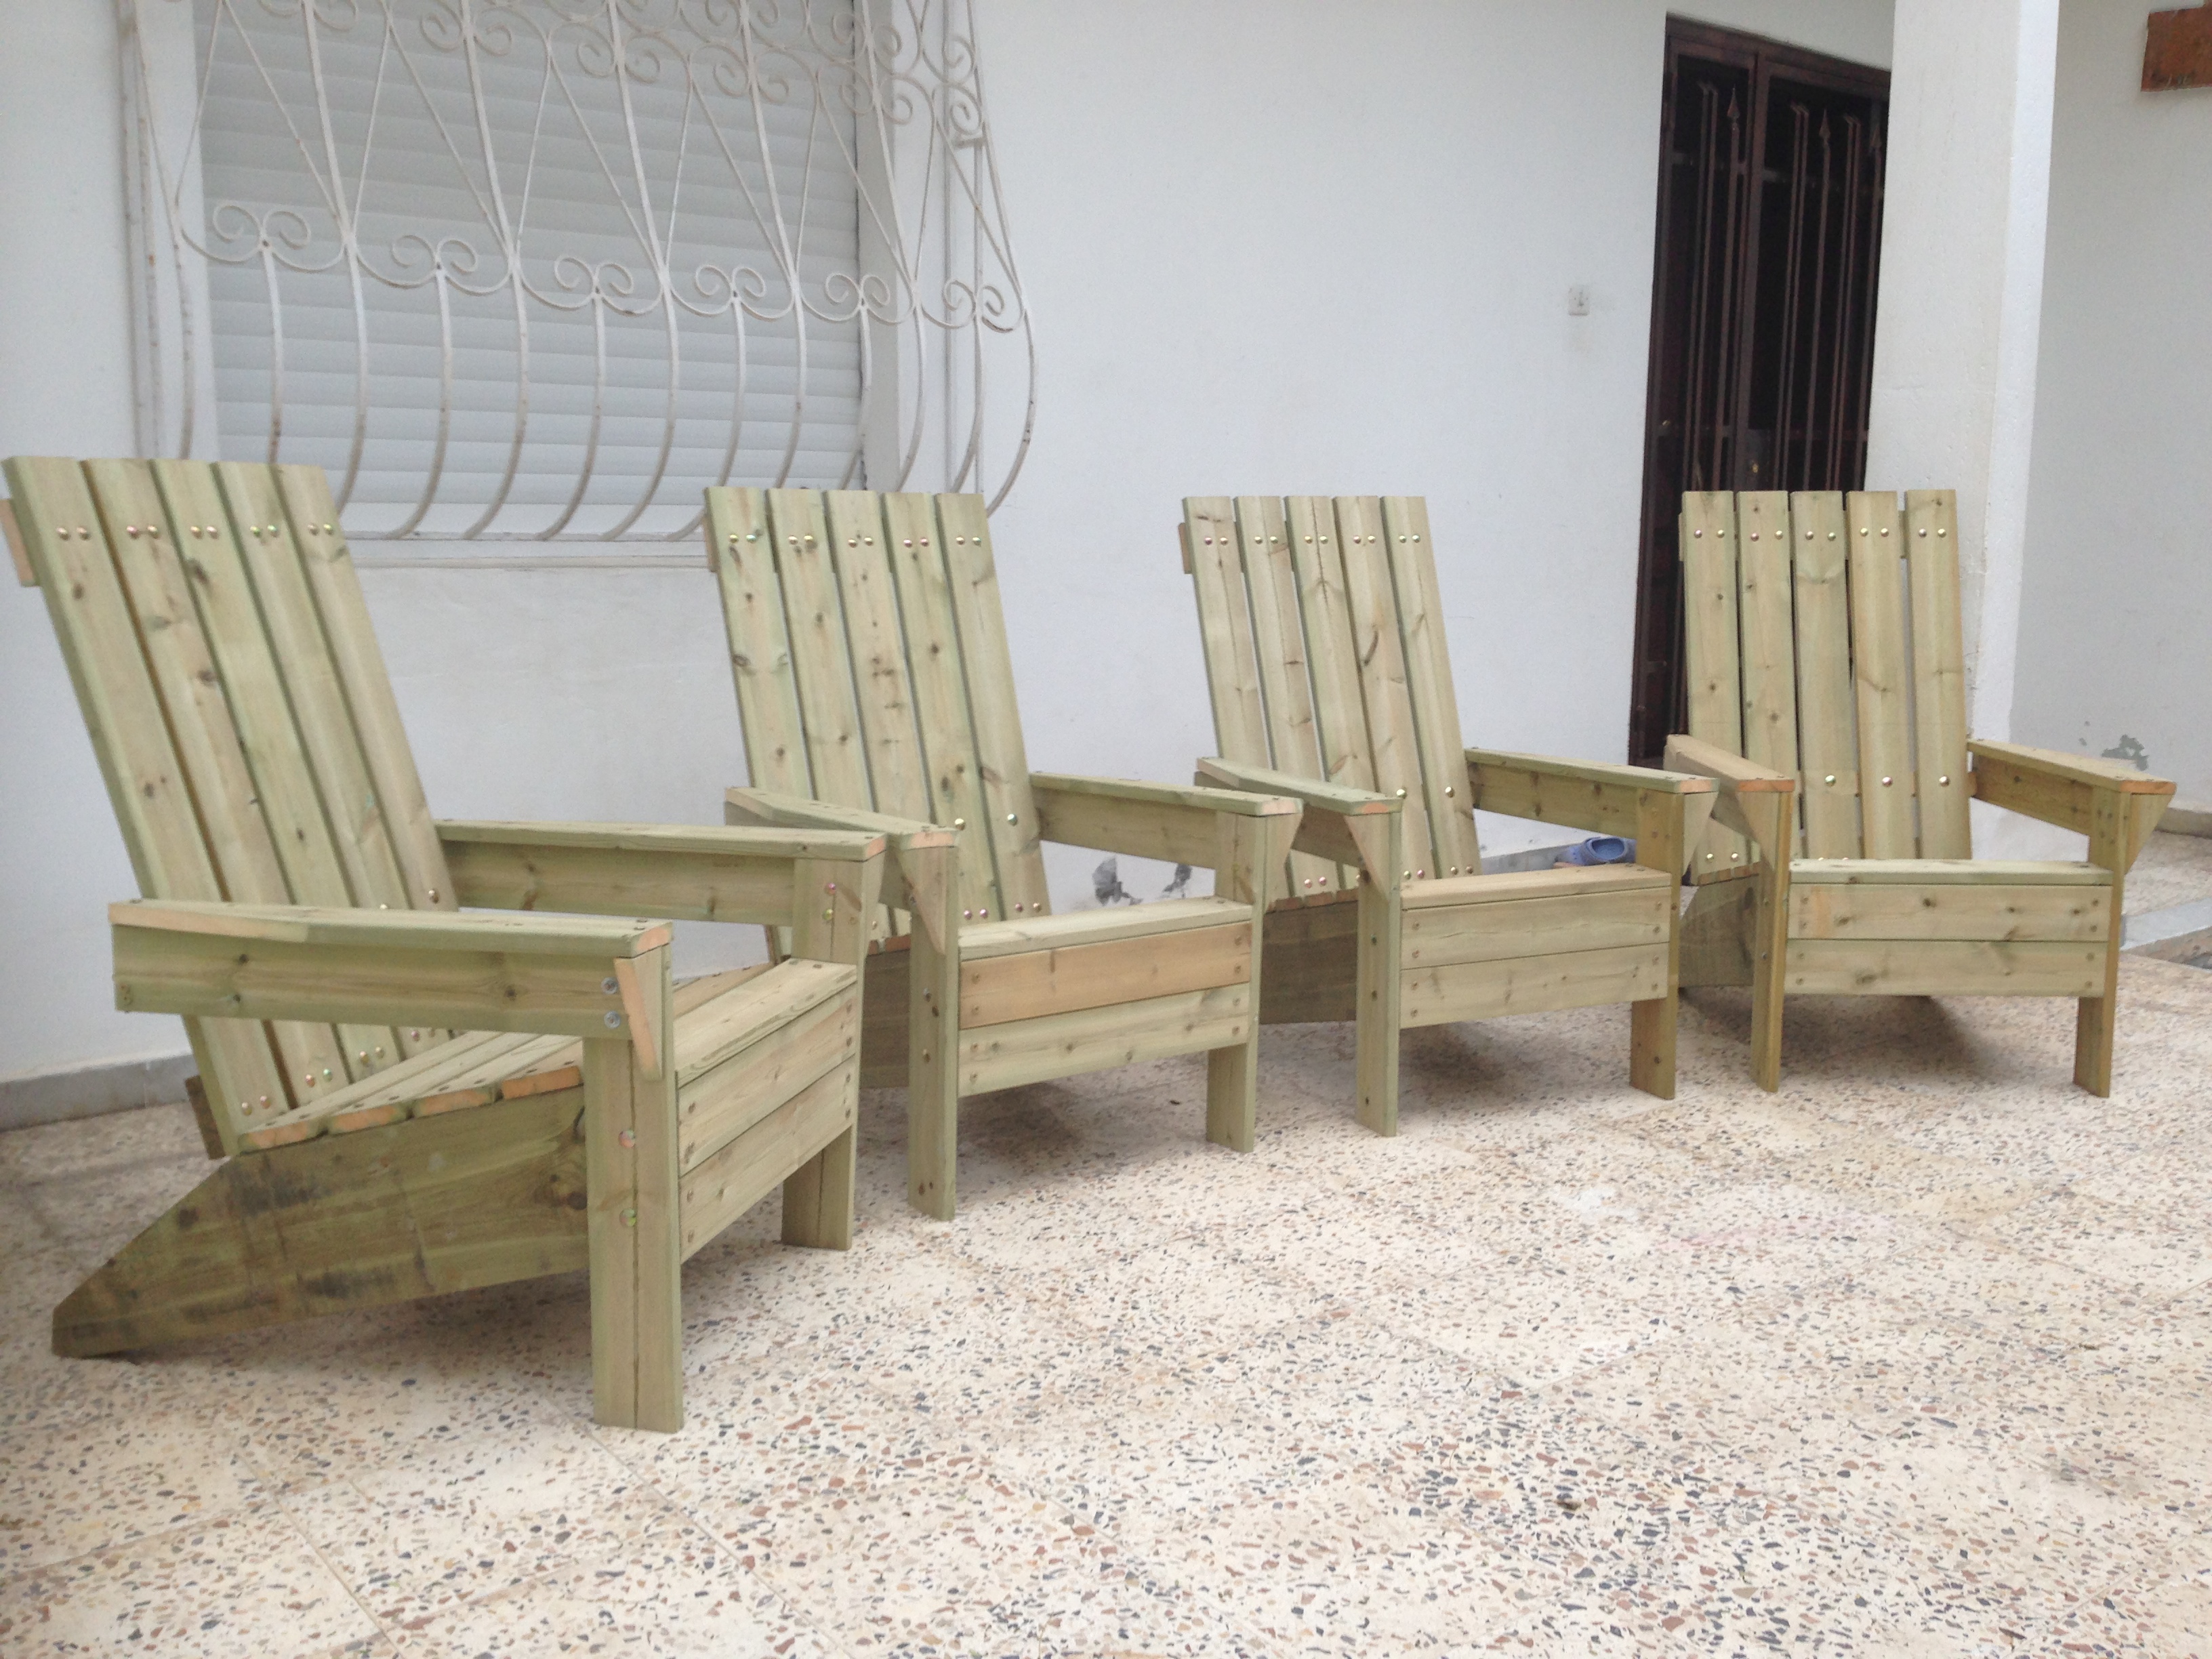
Loved doing this build, I have been thinking of making these for a while.
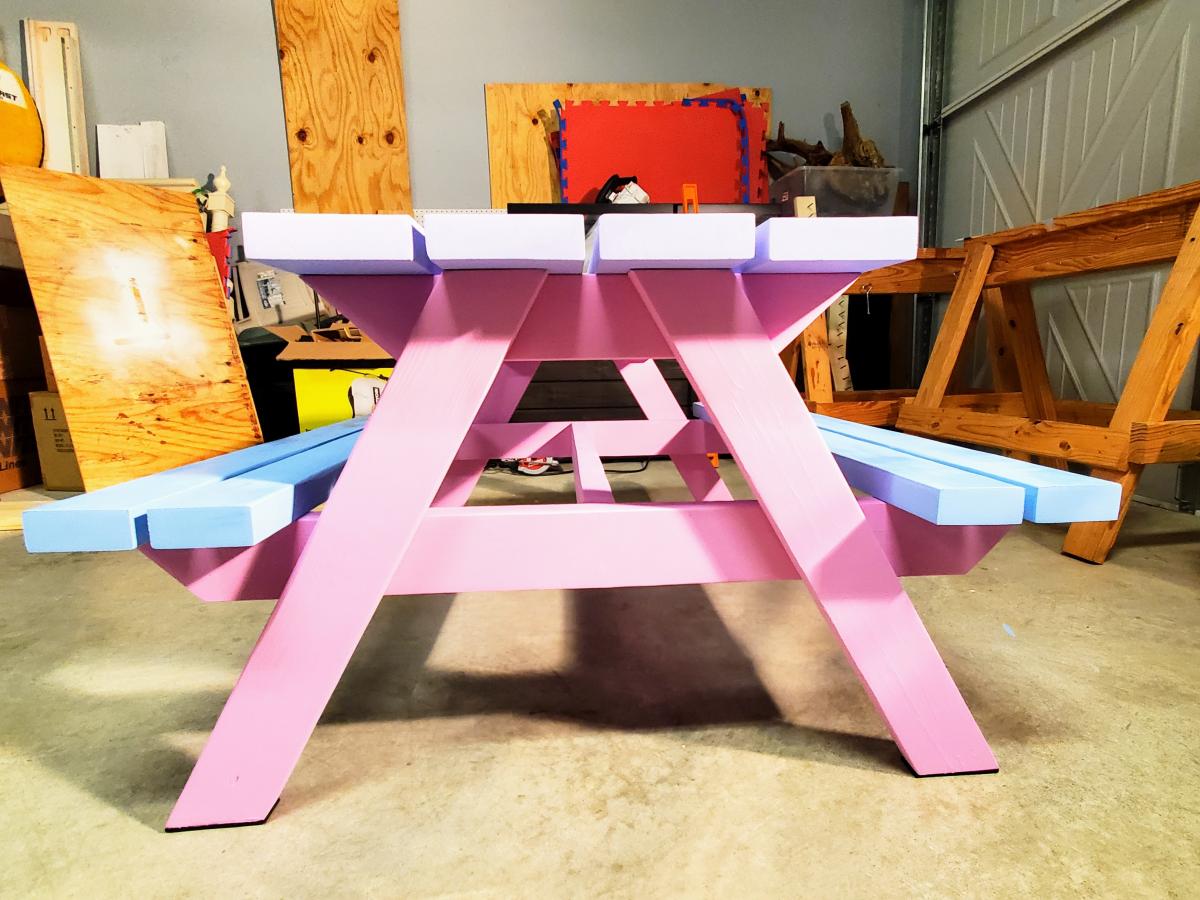
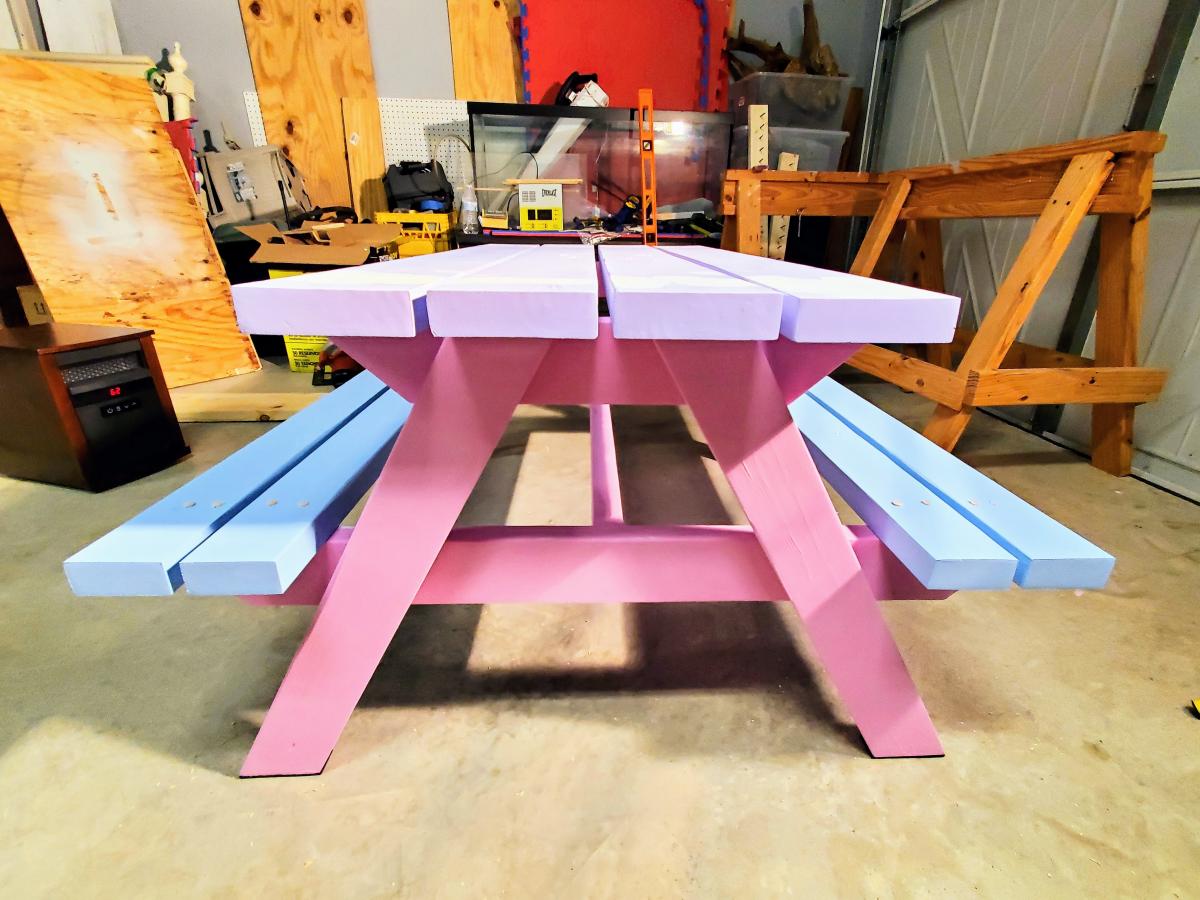
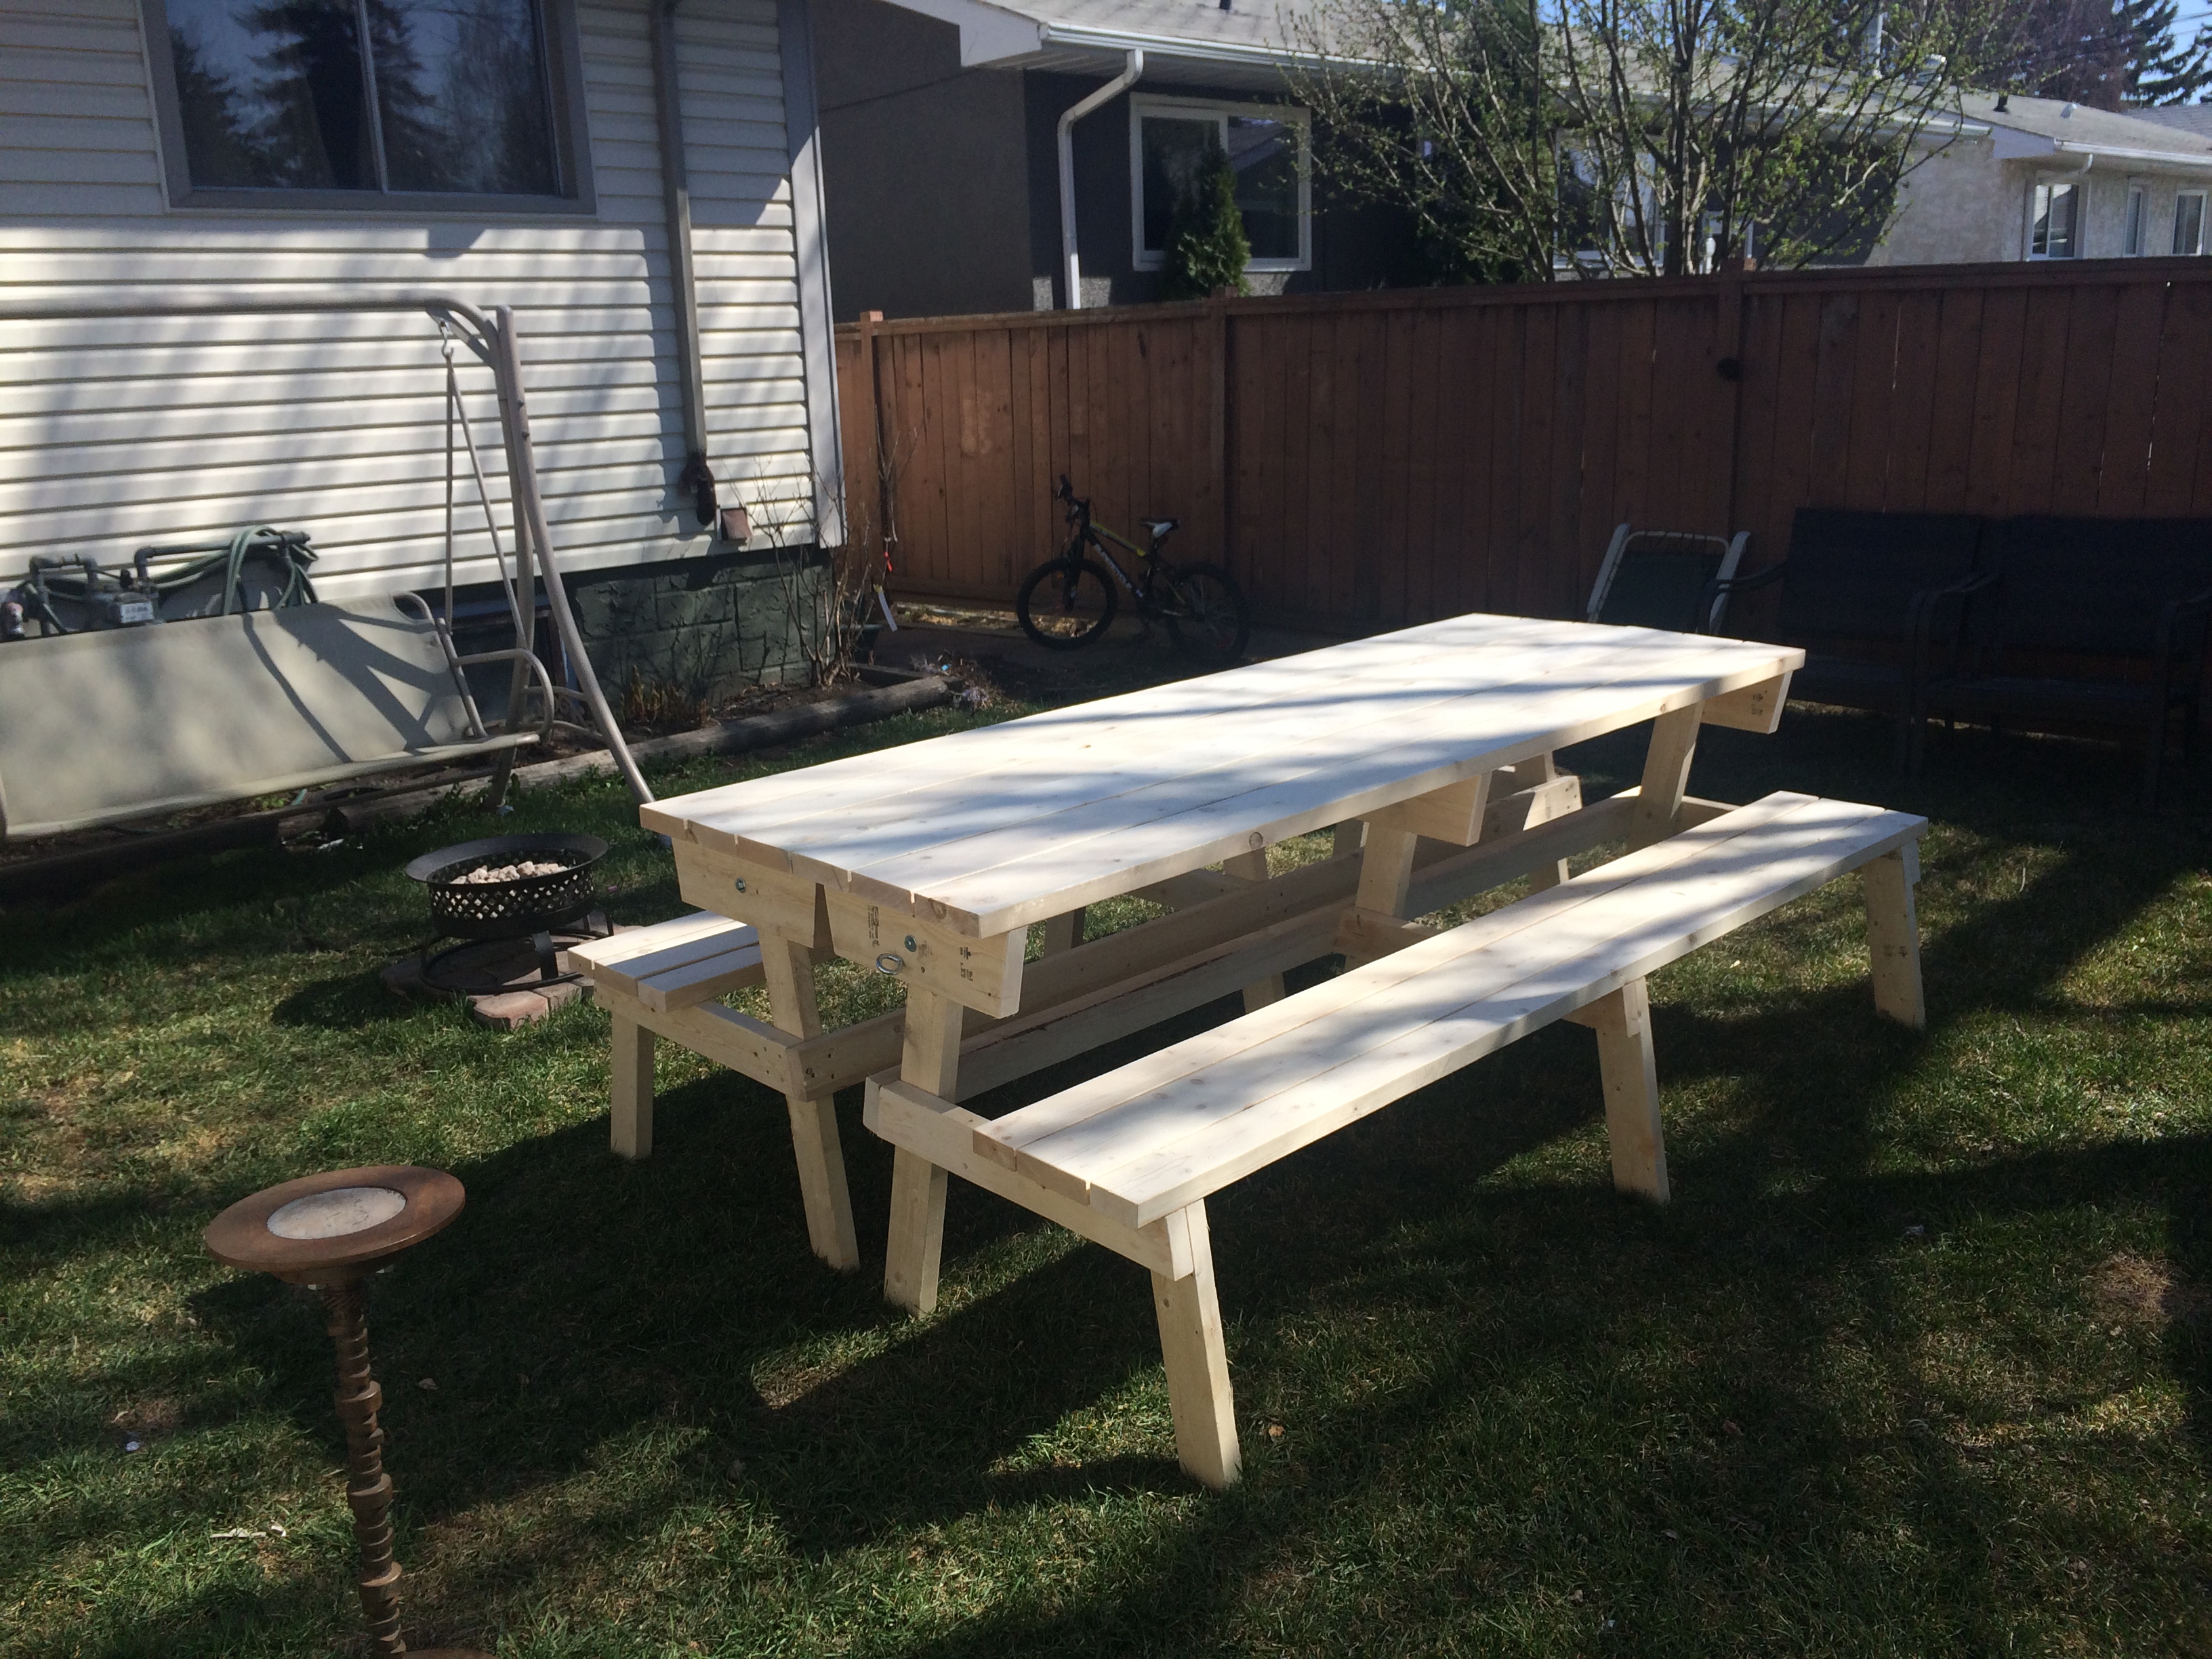
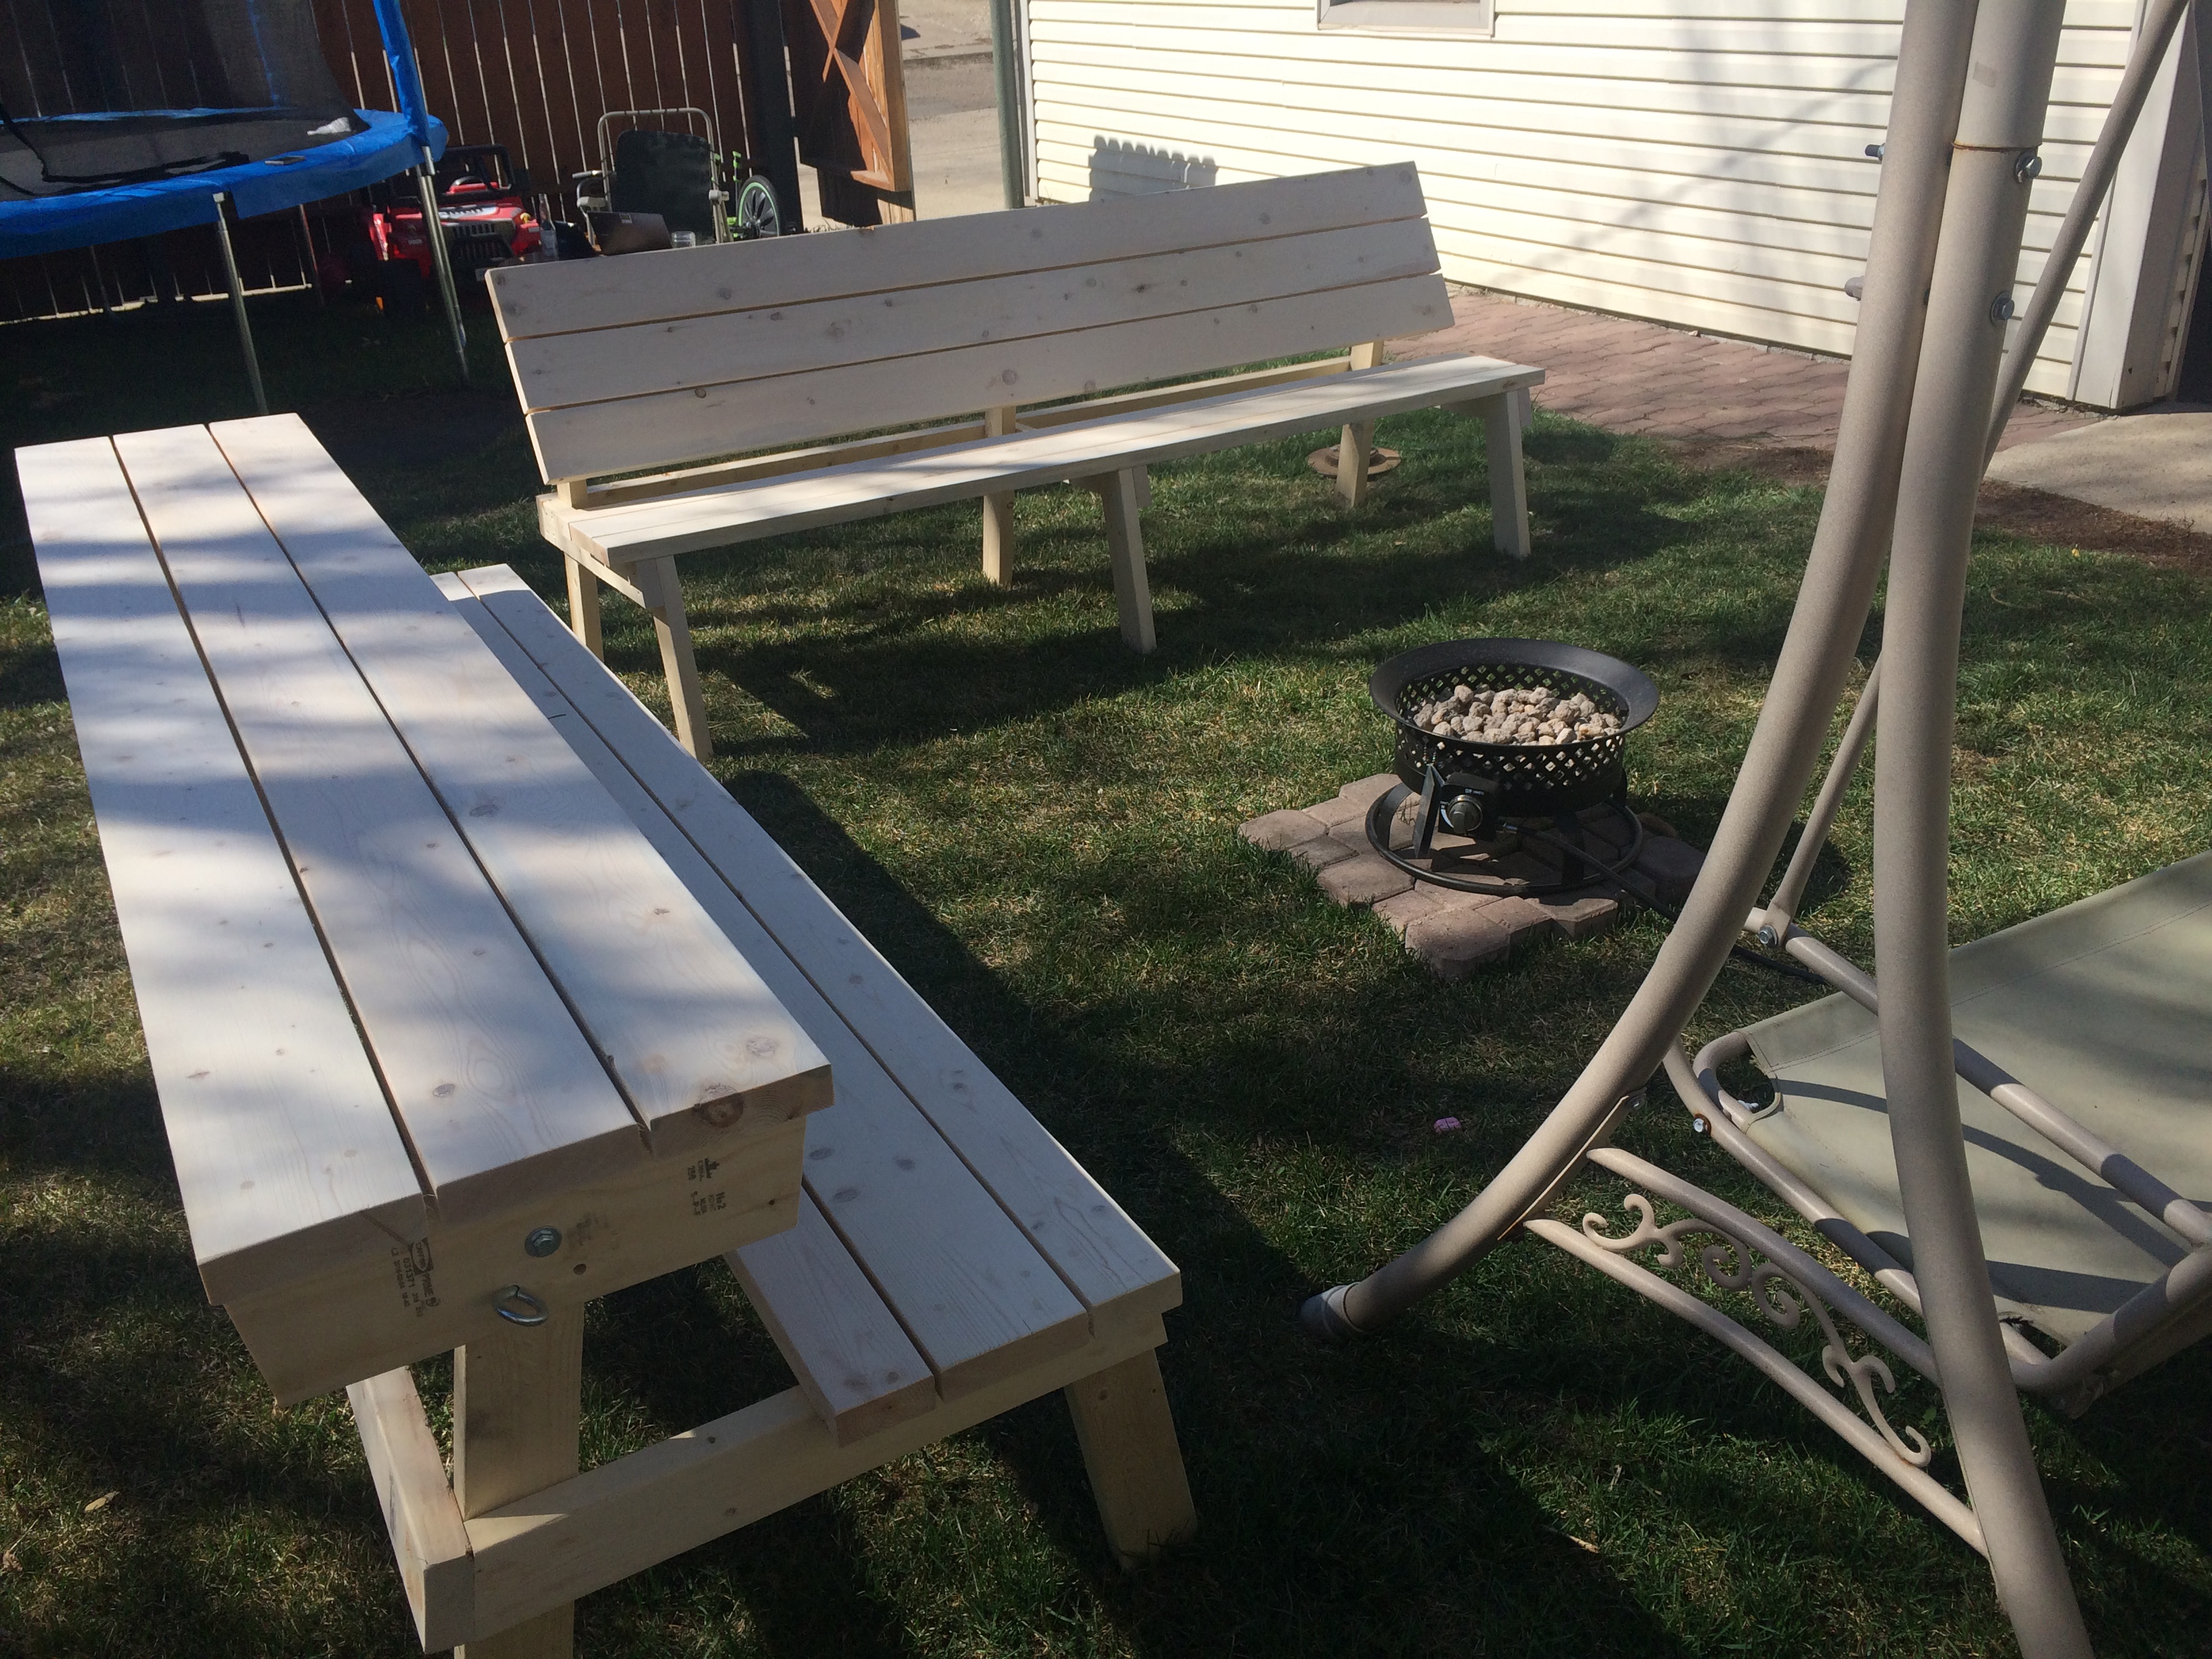
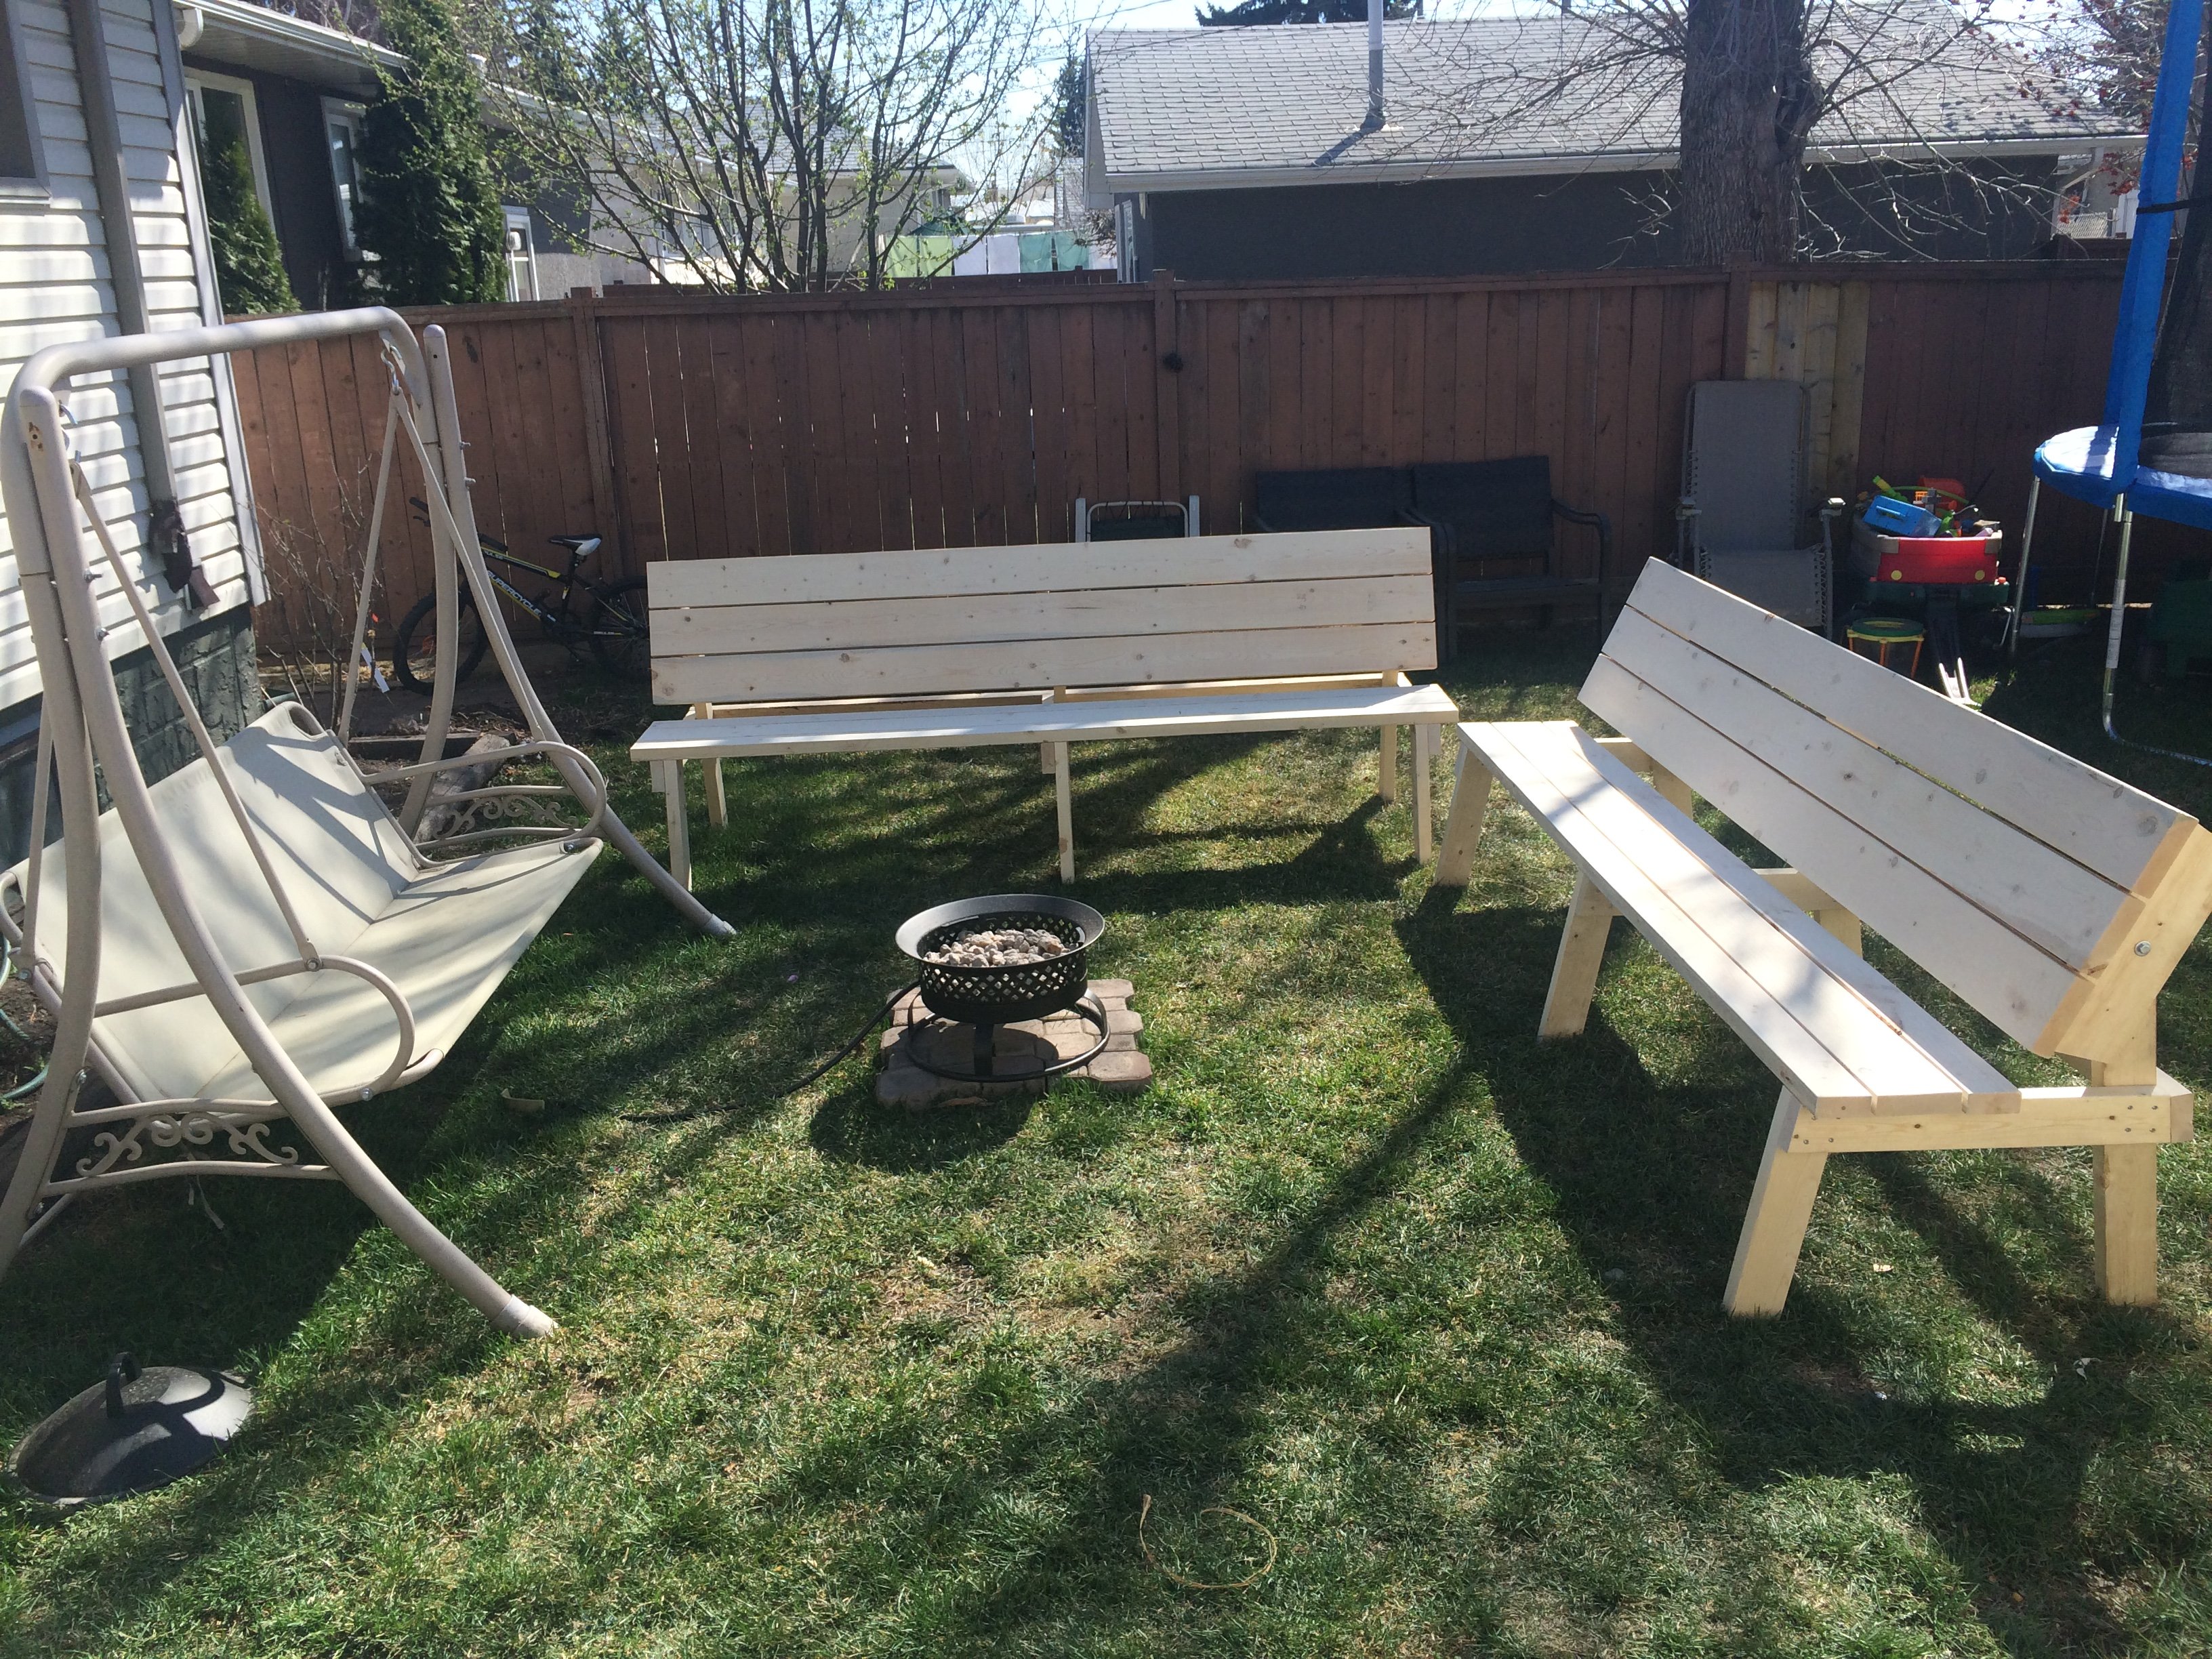
Based off of a few of the comments I read, I modified the plans a little bit. Instead of using three 2 x 6s for the benches, I used two 2x4s with one 2 x 6 in the centre. Shortened up the bench support length by 3" to make up for the difference. This allowed for a smaller seat, which is easier to get in and out of when in table mode, but still plenty to sit on when used as a bench.
I am trying to come up with an alternate system for pinning the table in each position. I have found that after only a few uses, the table has some wiggle in the top, most likely from the bolts going in and out repeatedly. I would love some ideas on how to get these to hold nice and snug when in each position!
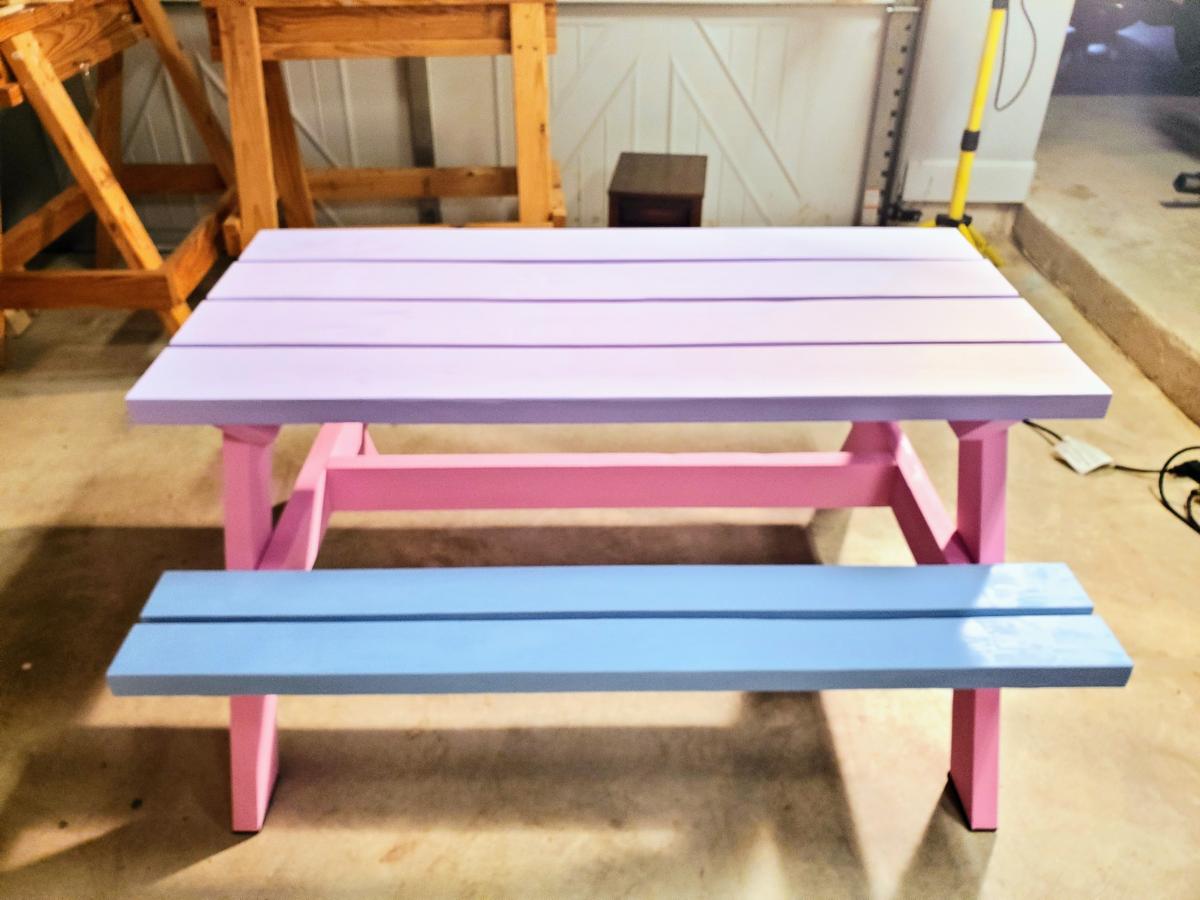
I posted a few pictures of these on my Facebook page, where I now have been asked how much I am selling them for and have about 3 orders already placed! Looks like the spring will be busier than expected!
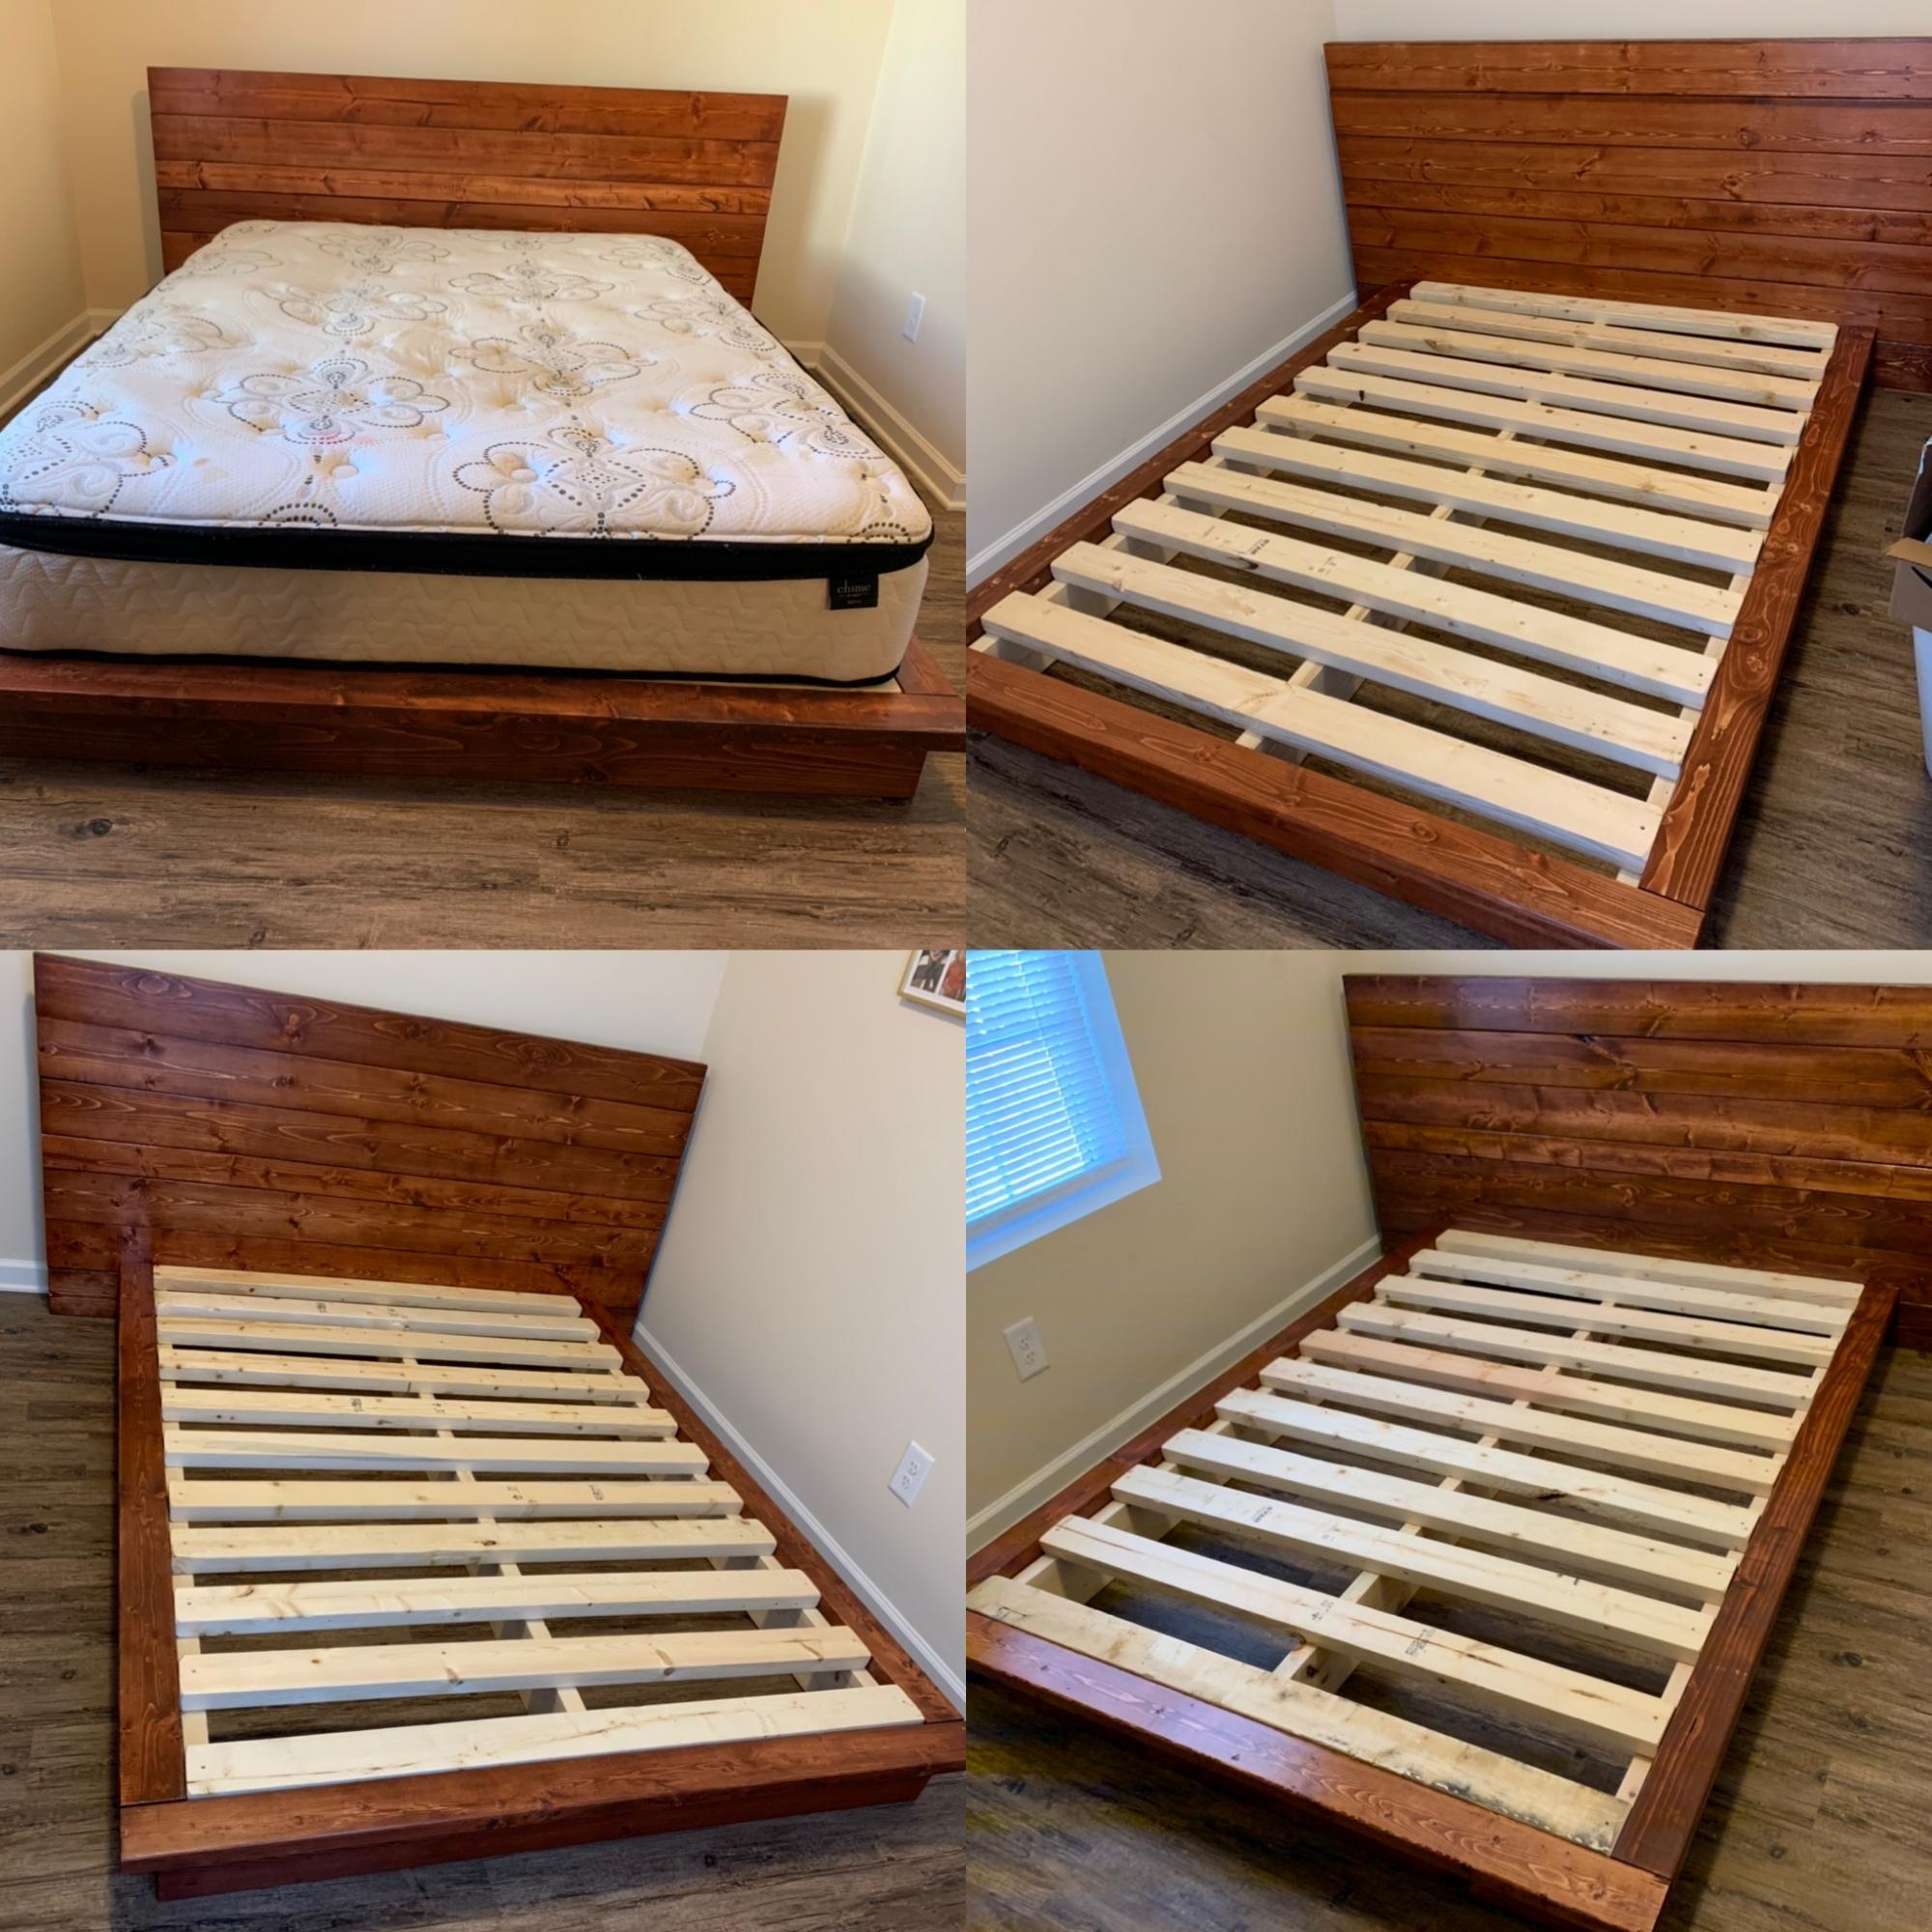
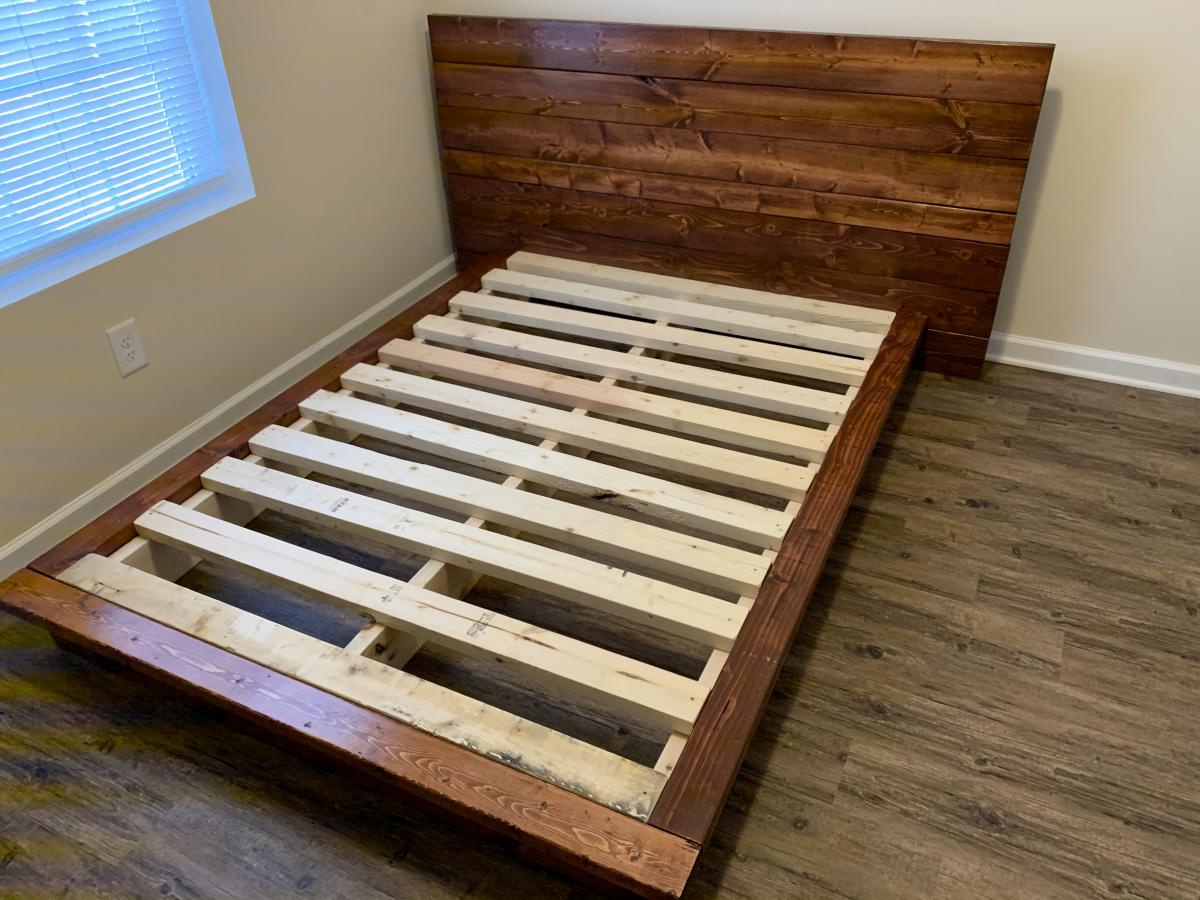
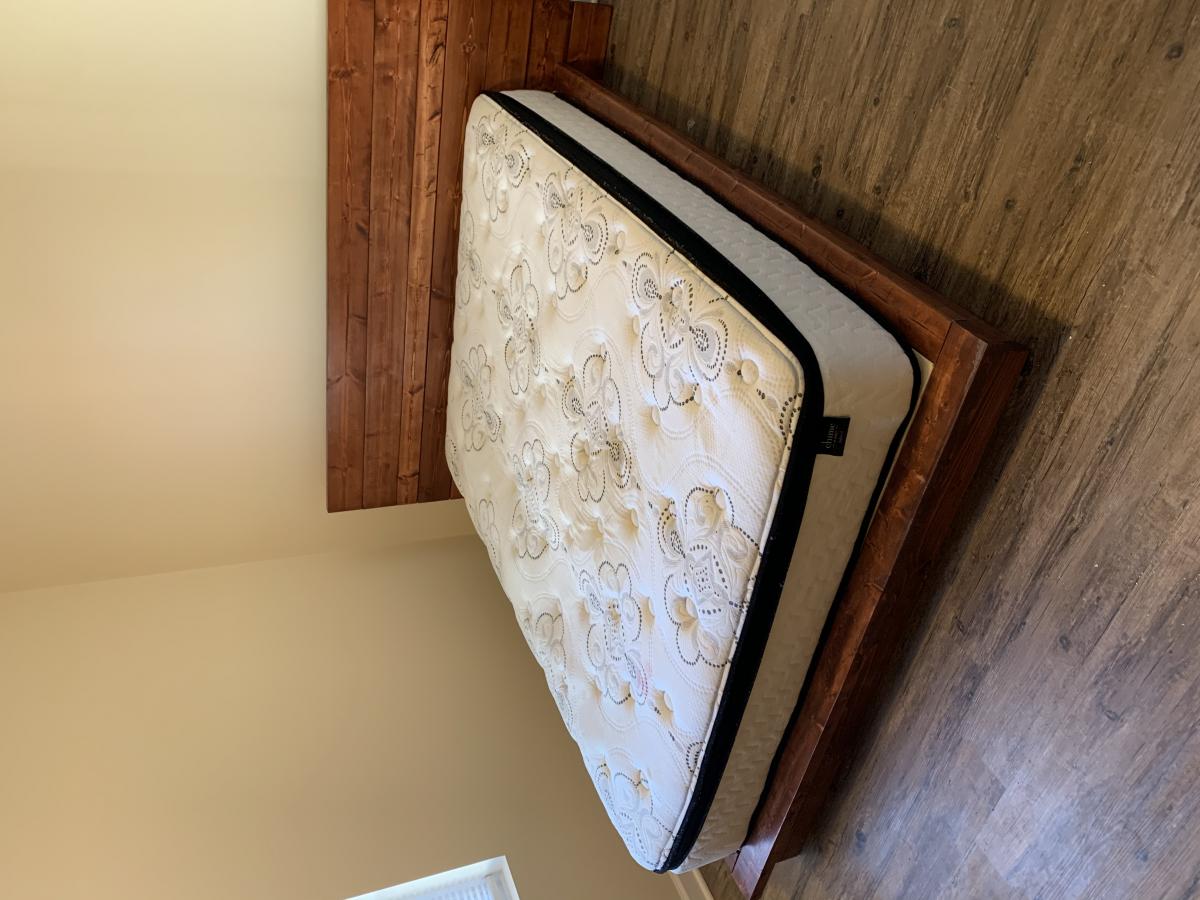
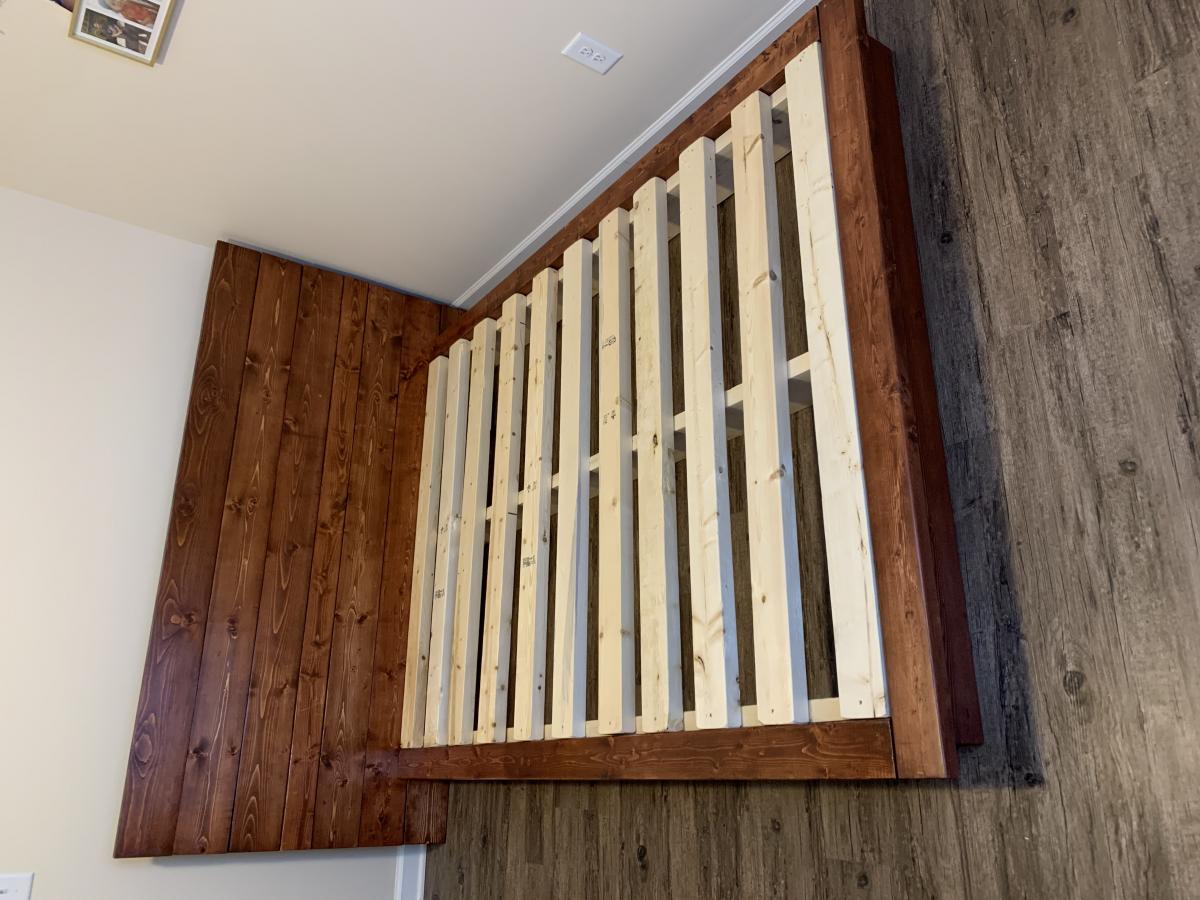
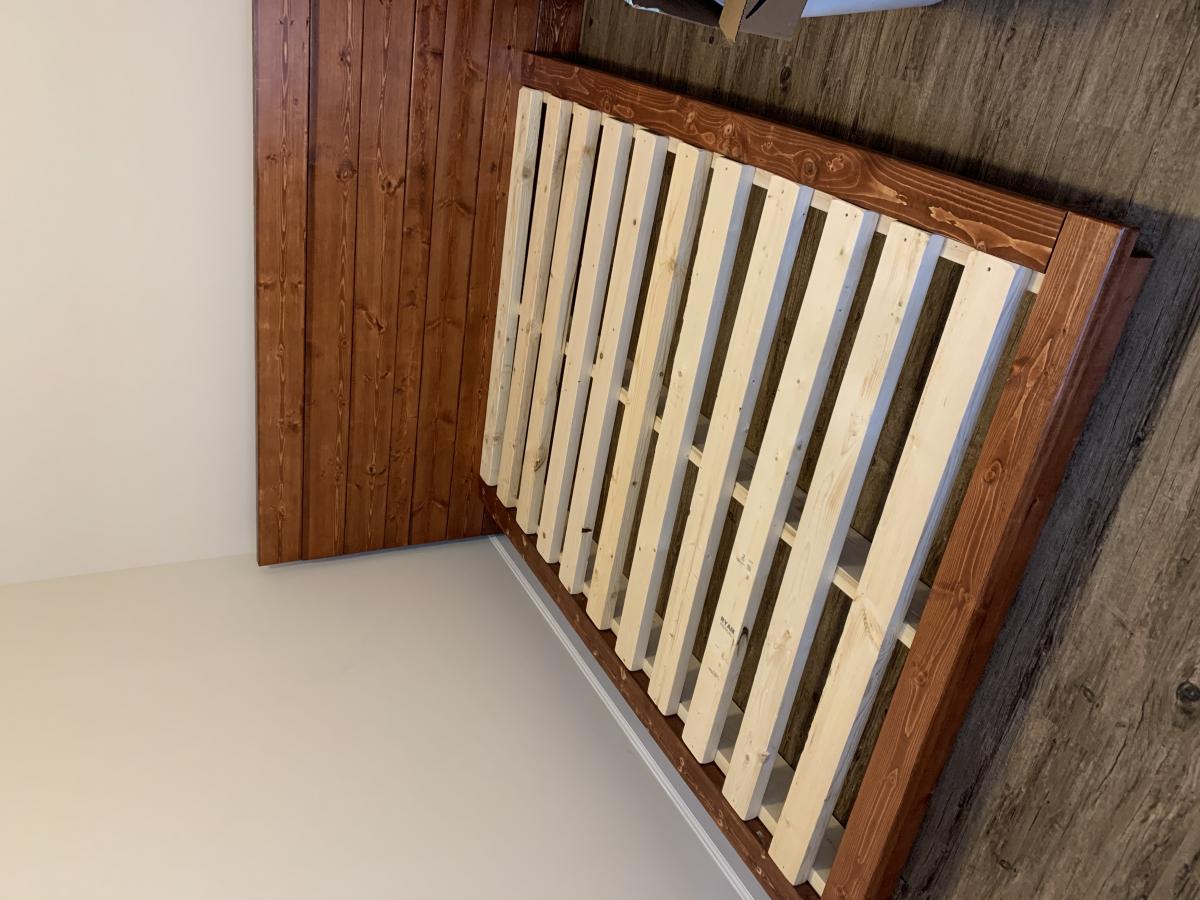
A lady that my husband works with just got her forever home through Habitat for Humanity. We wanted to do something special for her and her kids so we used Anna’s platform plans to build one queen and 3 full size bed frames. The plans were easy to follow and assembly was a snap on delivery.
To make the fulls we took the queen dimensions and modified the cuts for the full size mattress dimensions.
Thank you Anna for helping us to make 4 beautiful additions to our friends home.
Small coop with run. Awesome plan.
Jinks hill farms
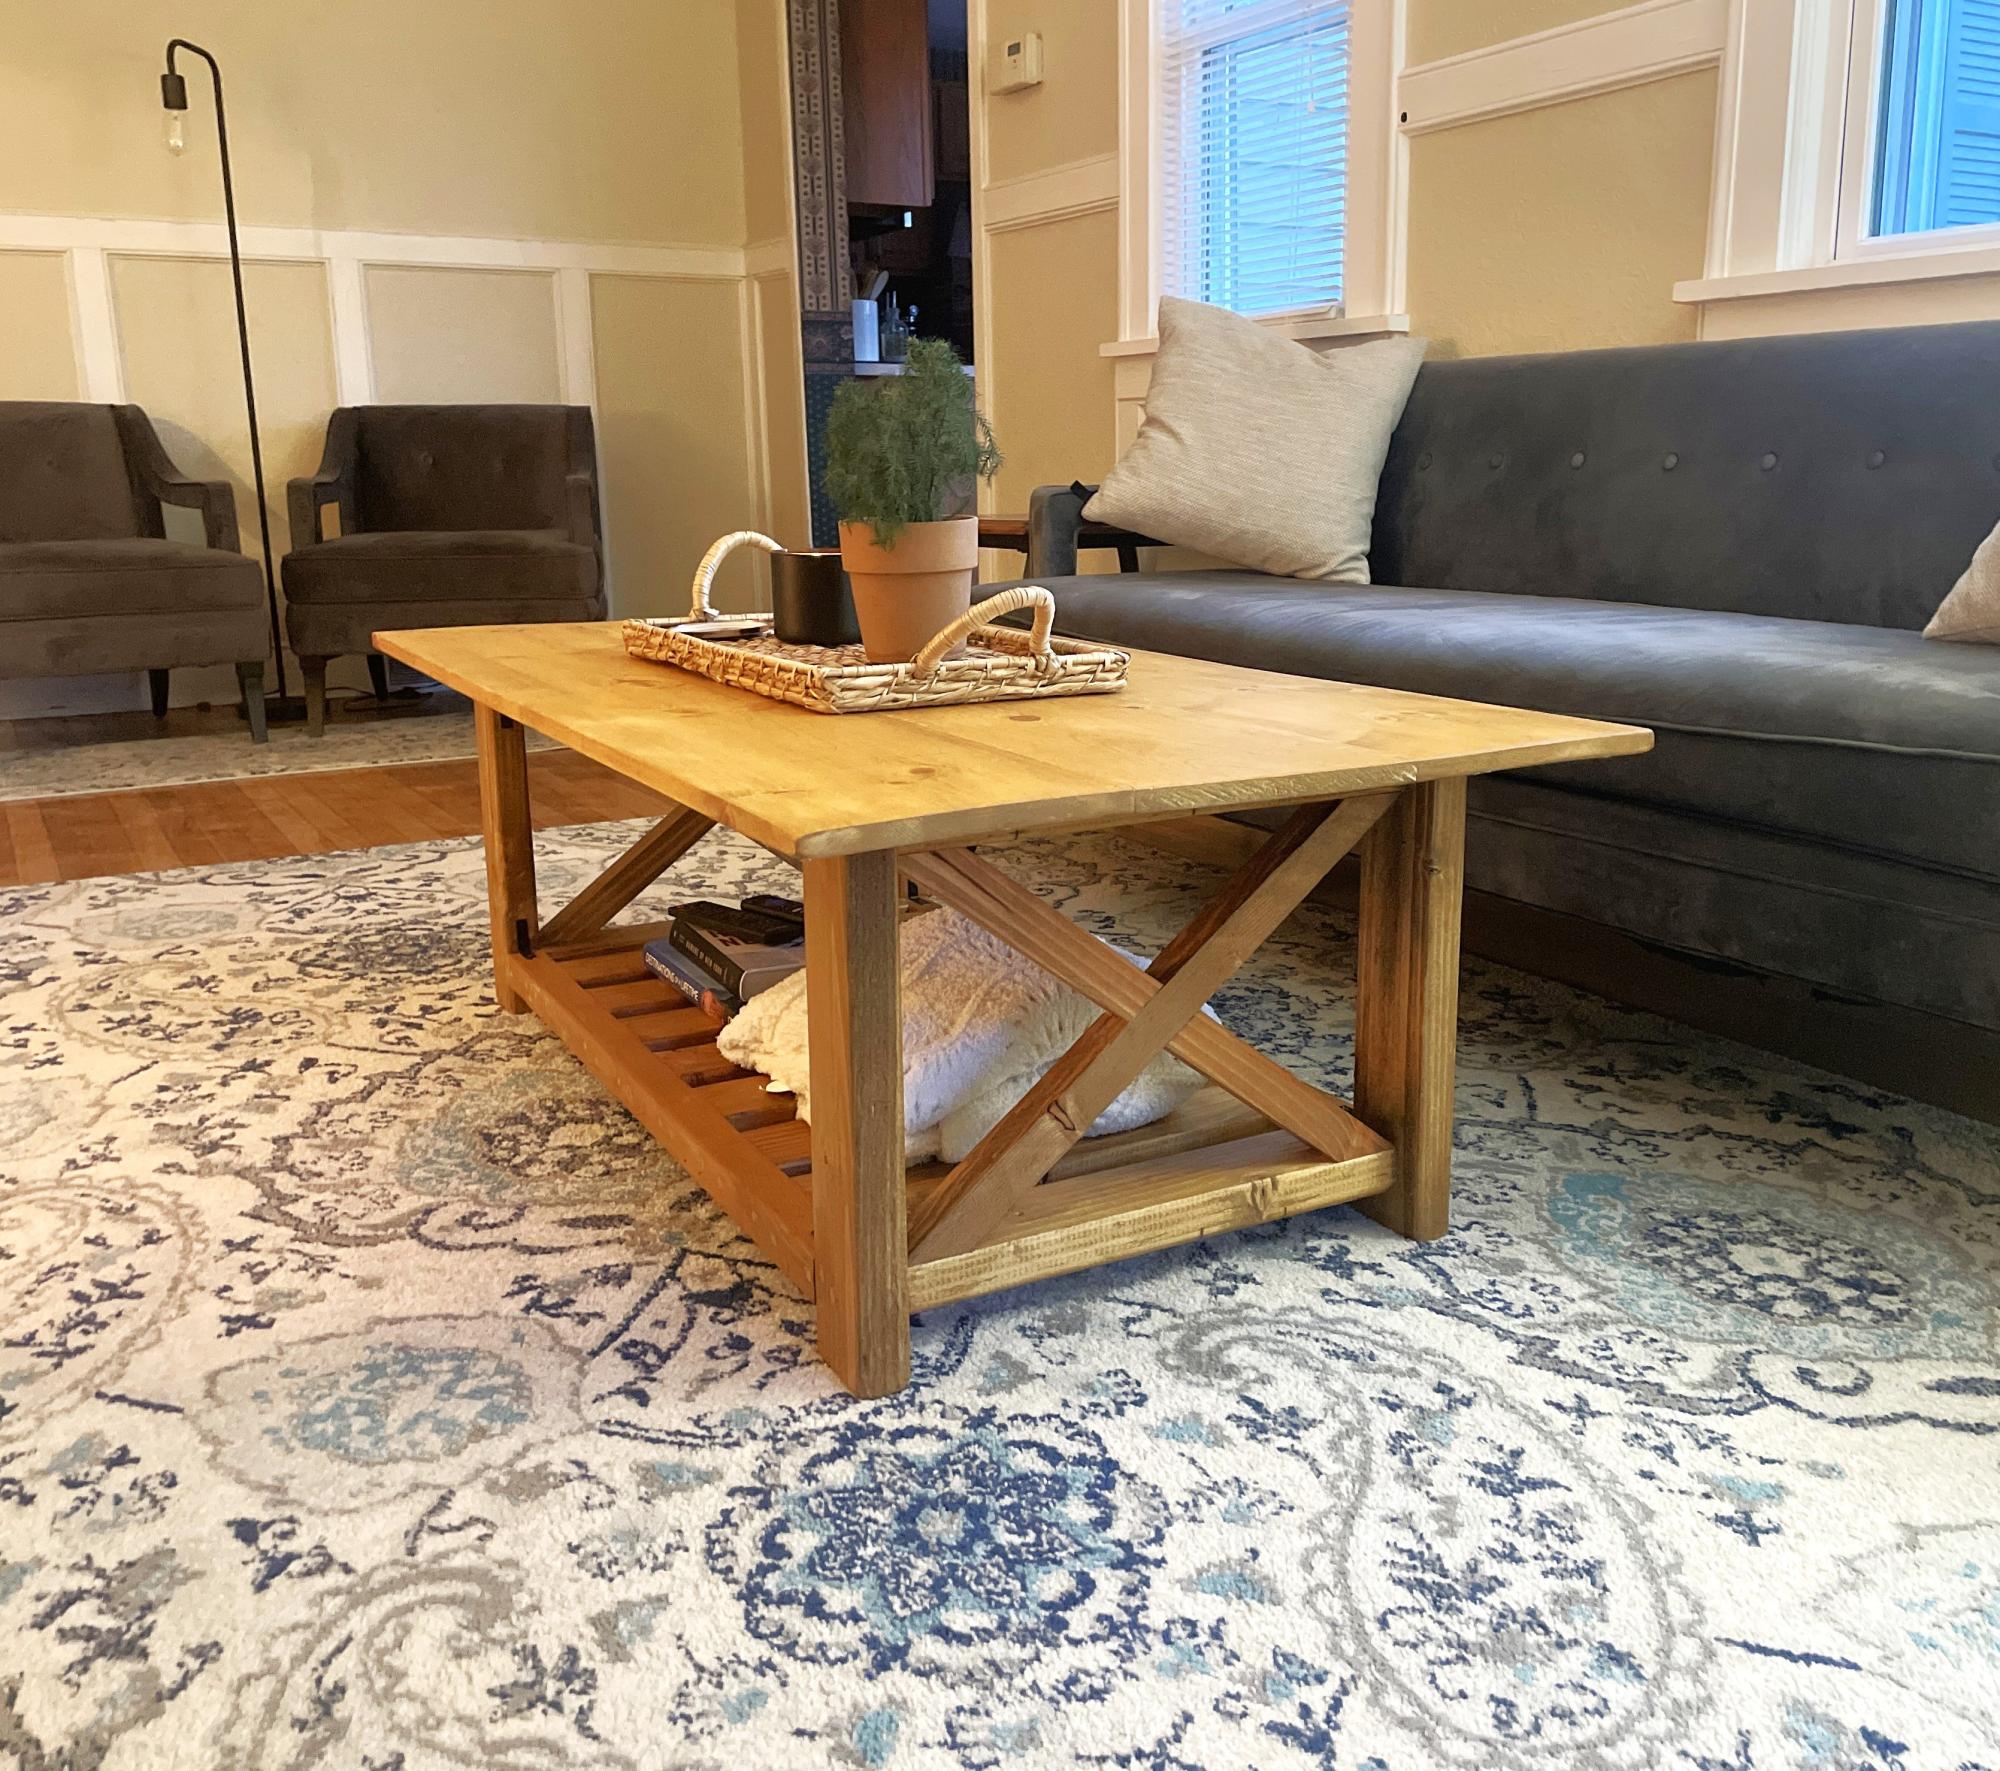
Coffee table! Golden oak stain on pine lumber.
Jack Hutchinson
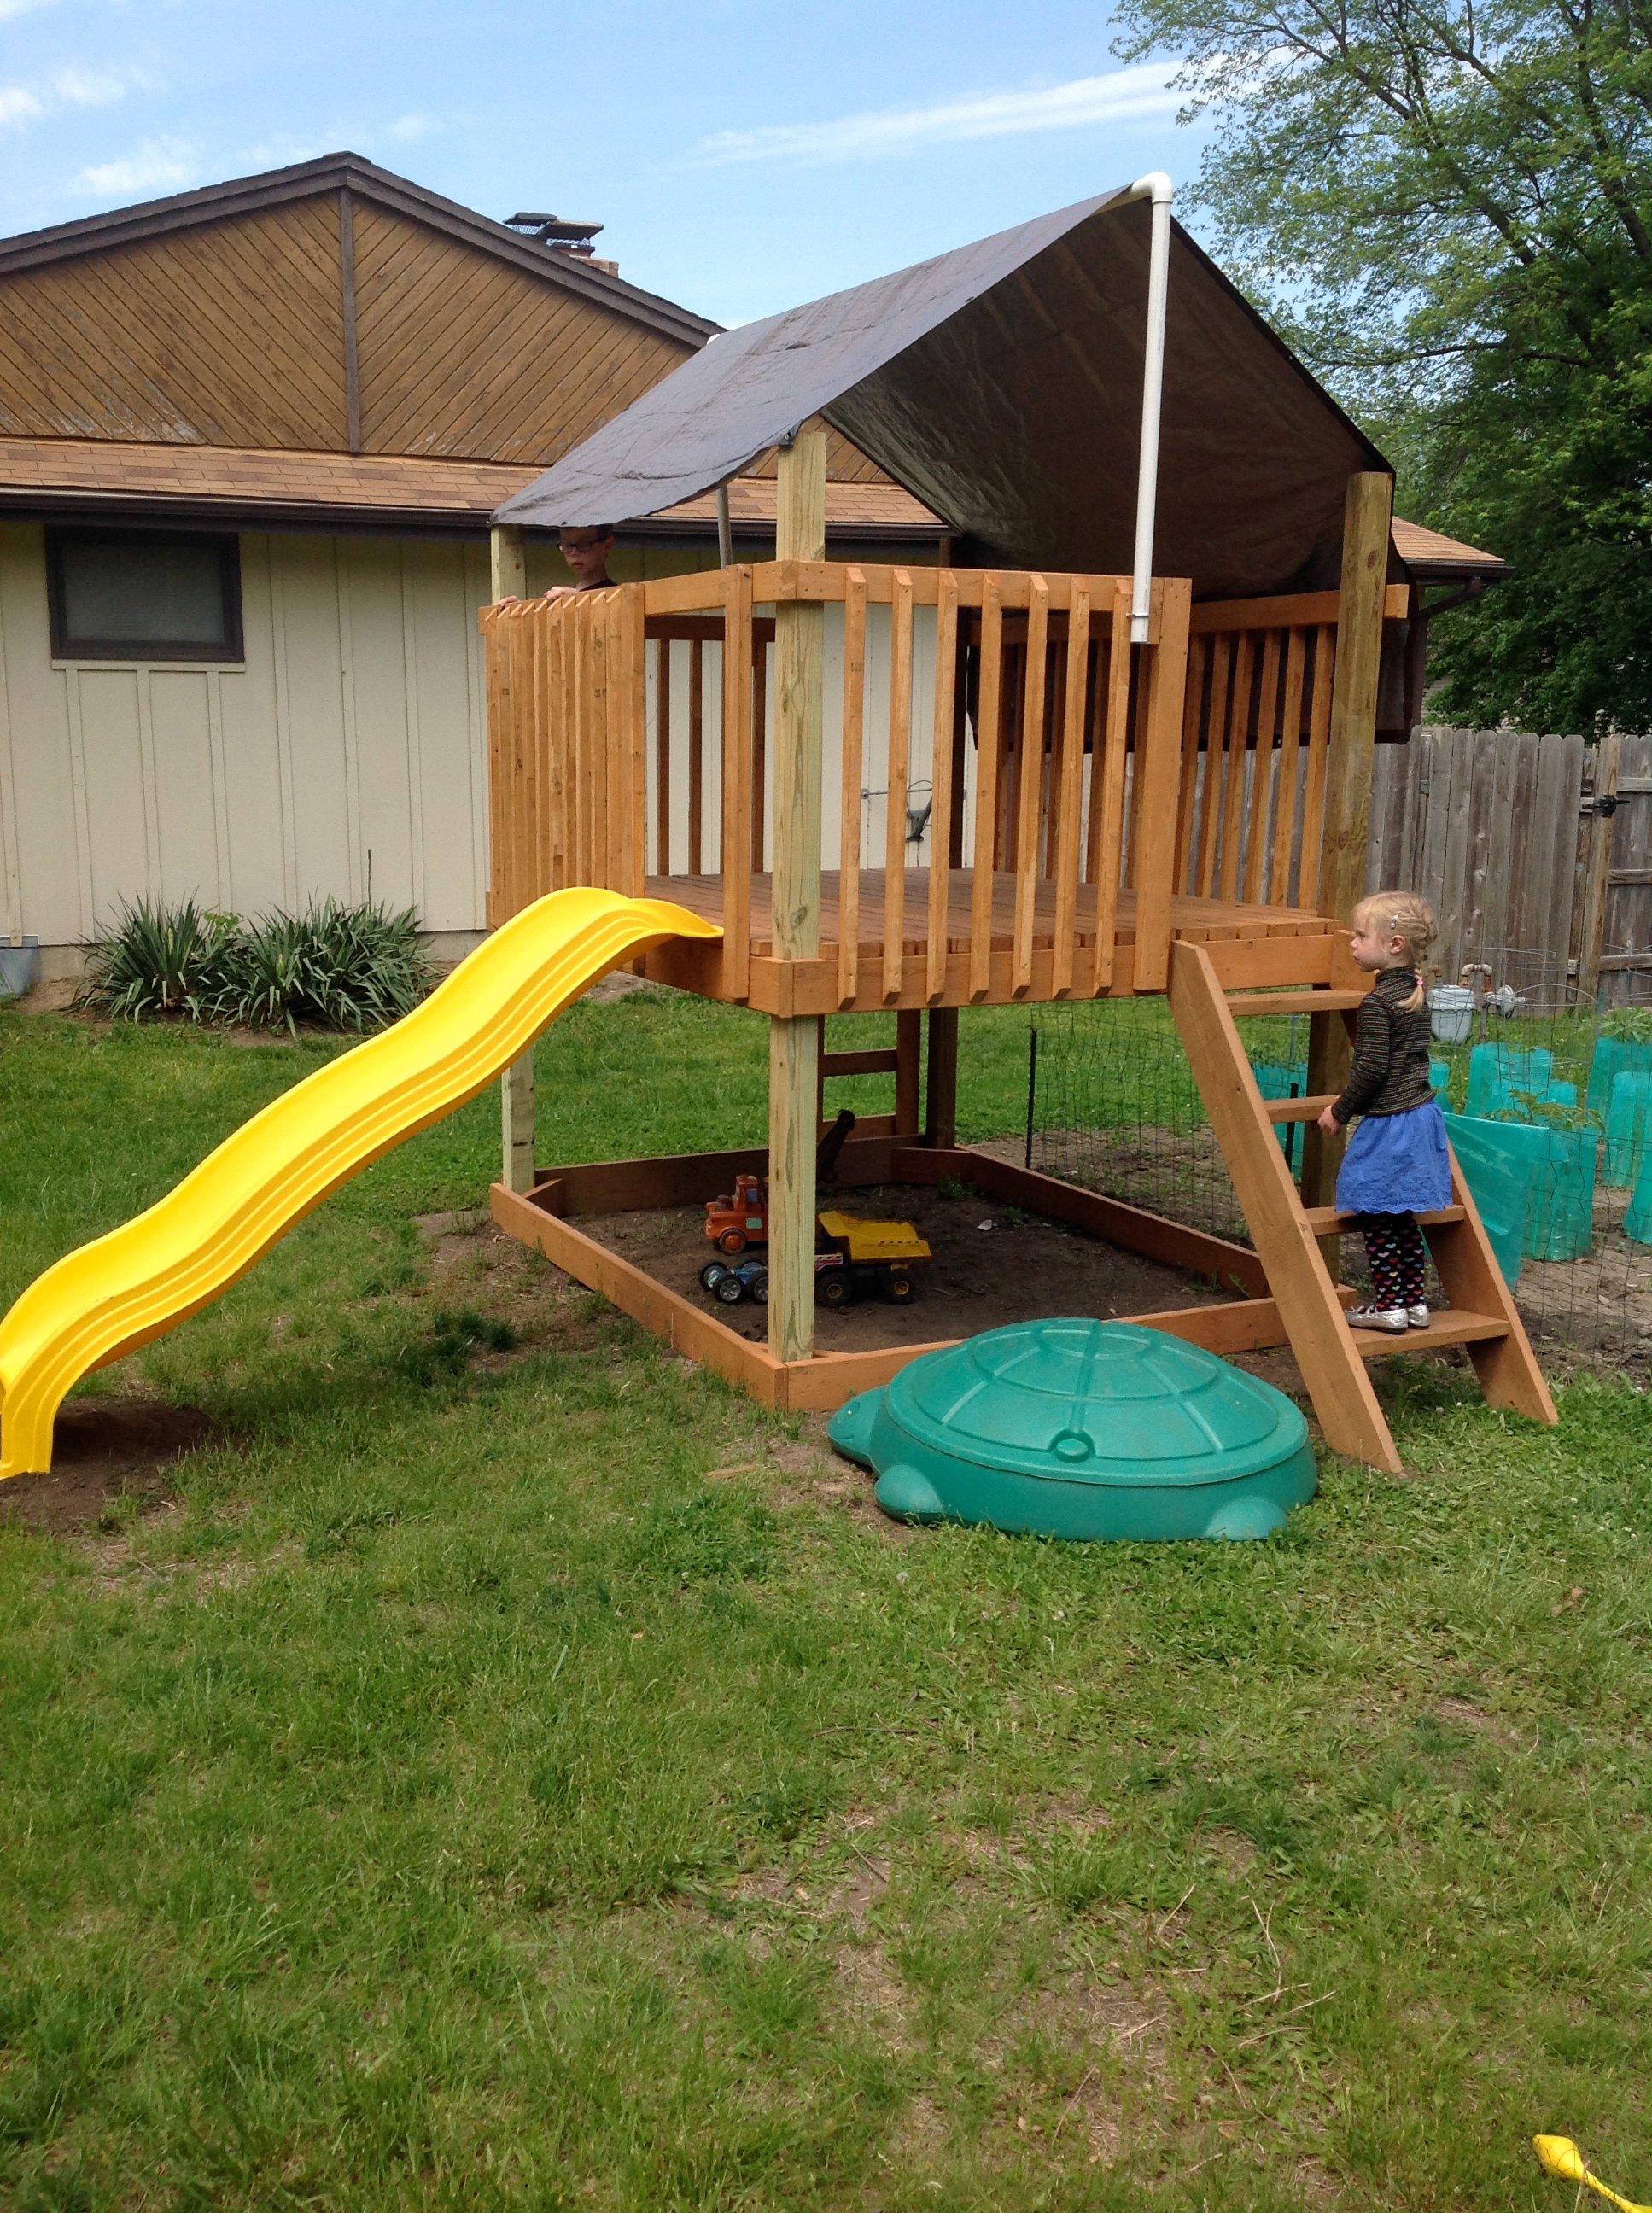
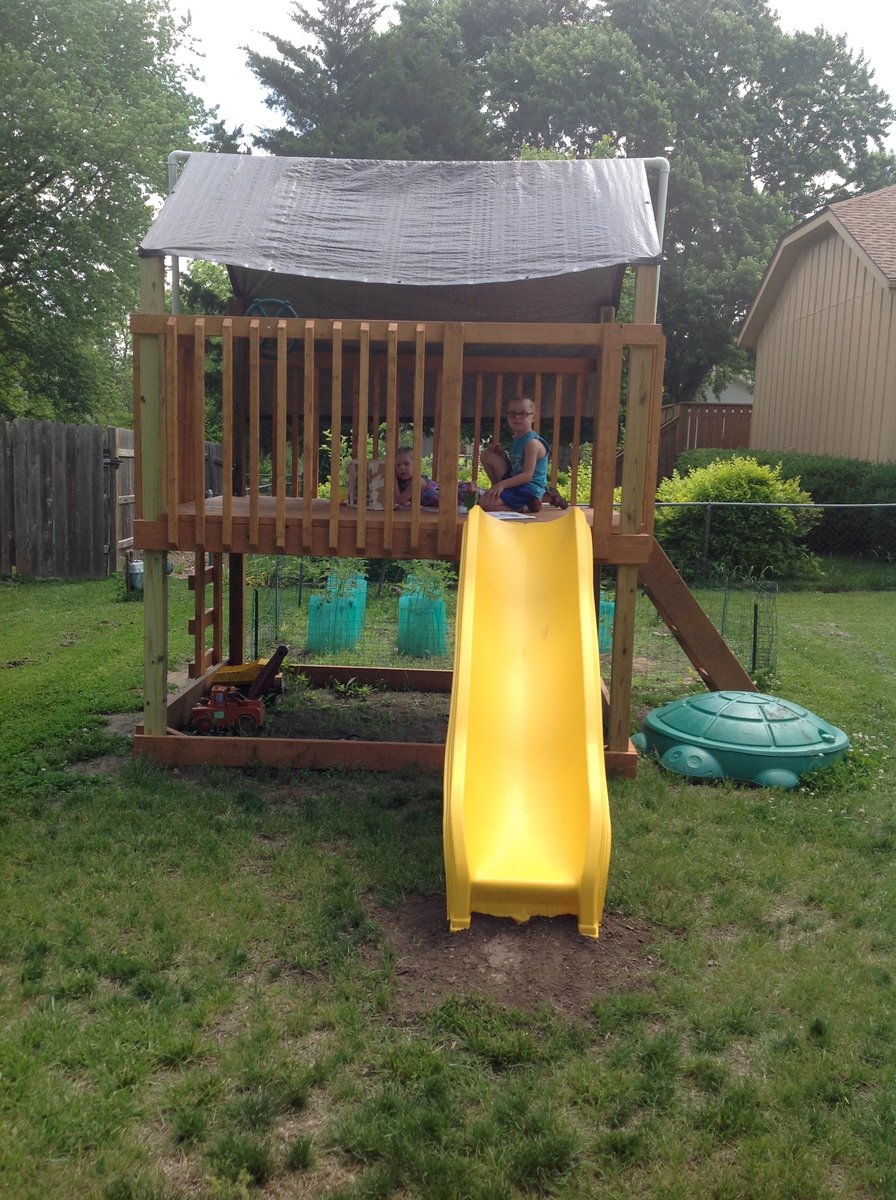
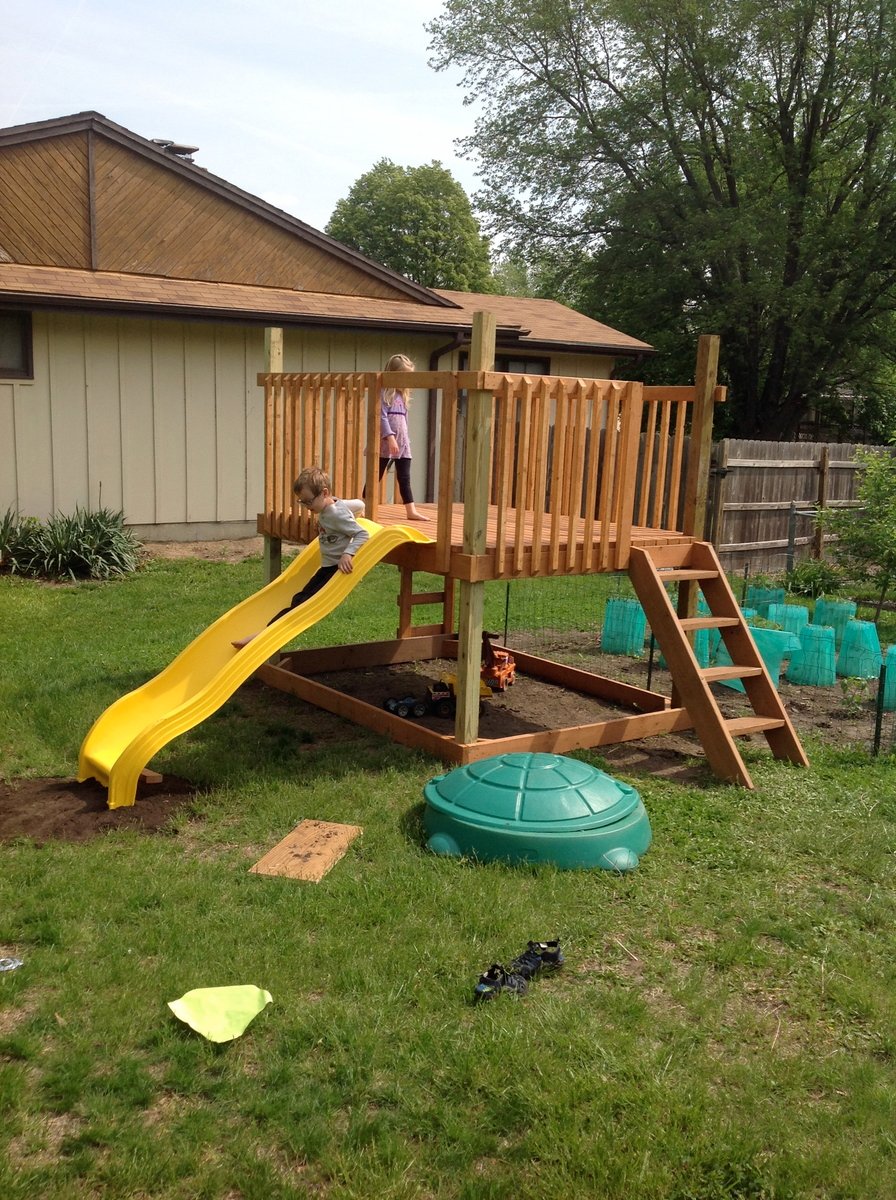
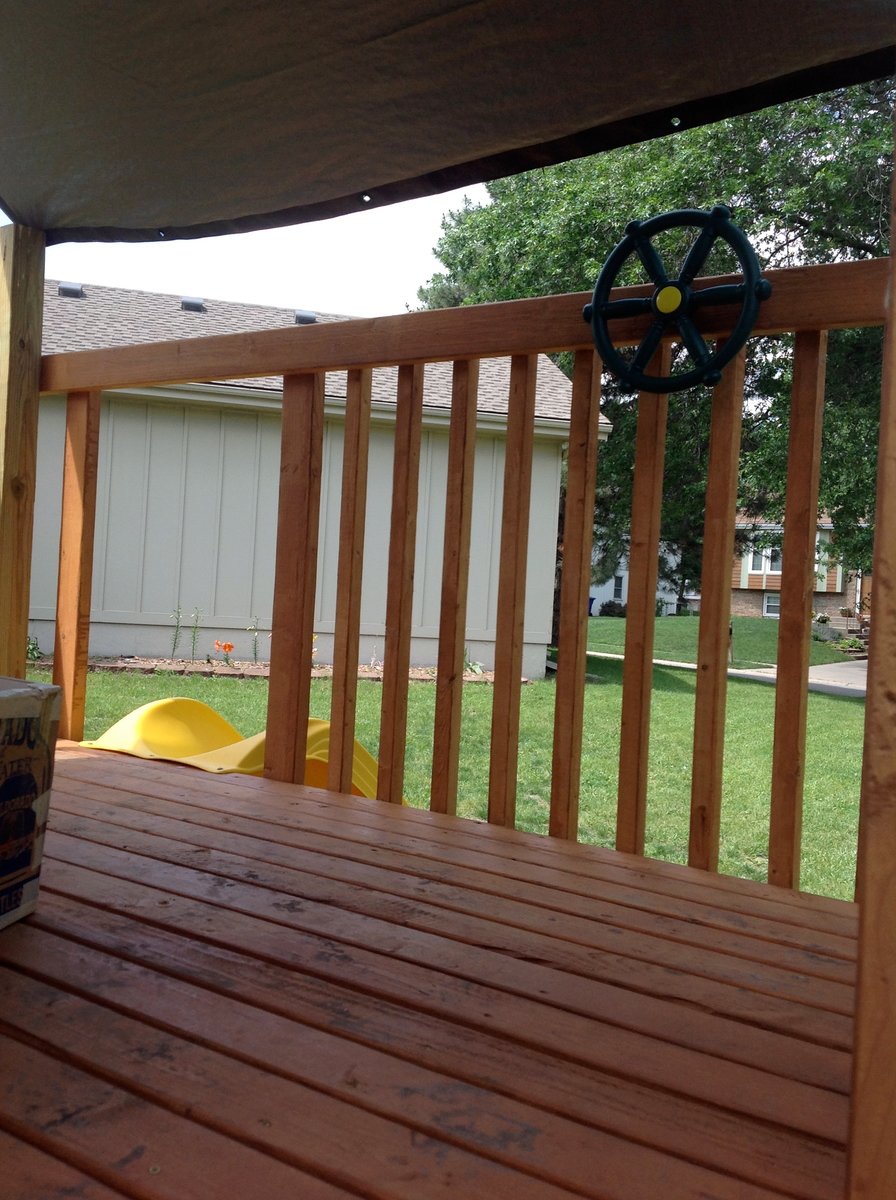
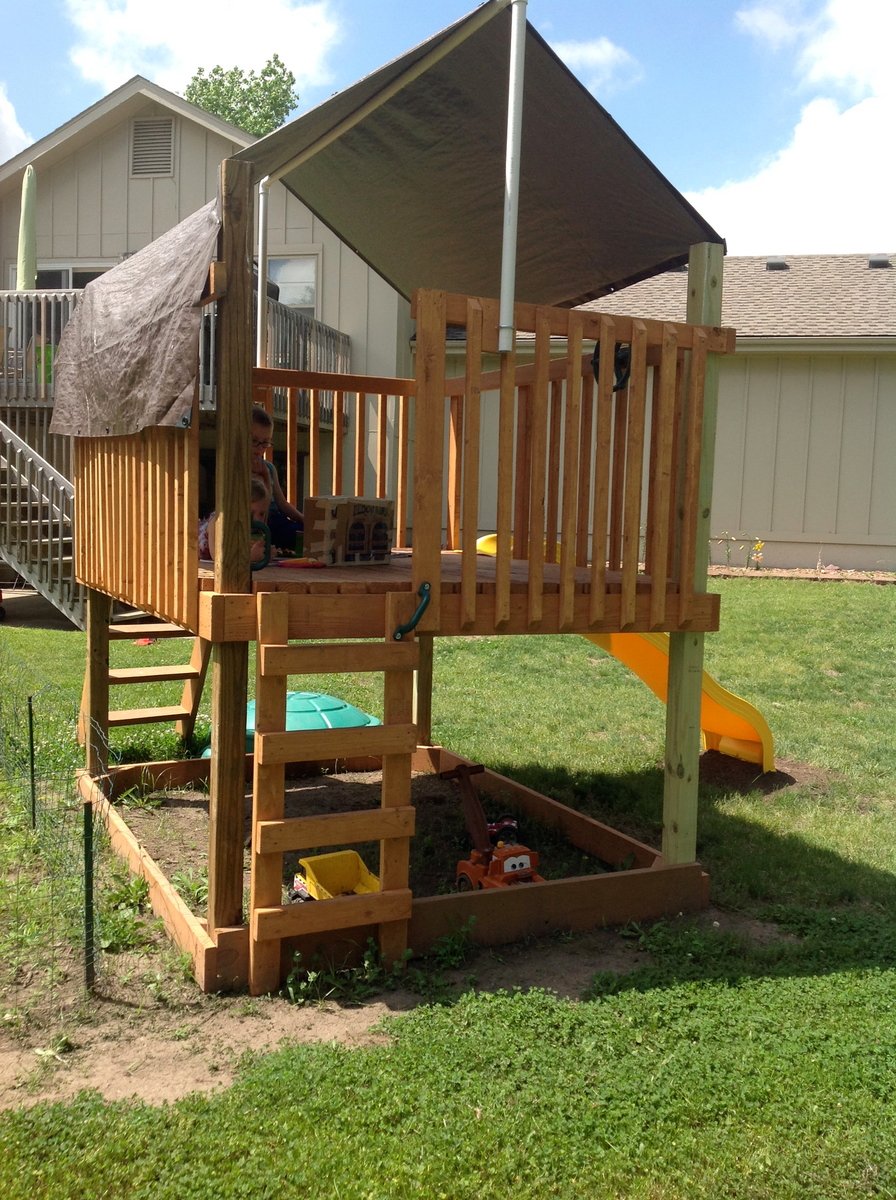
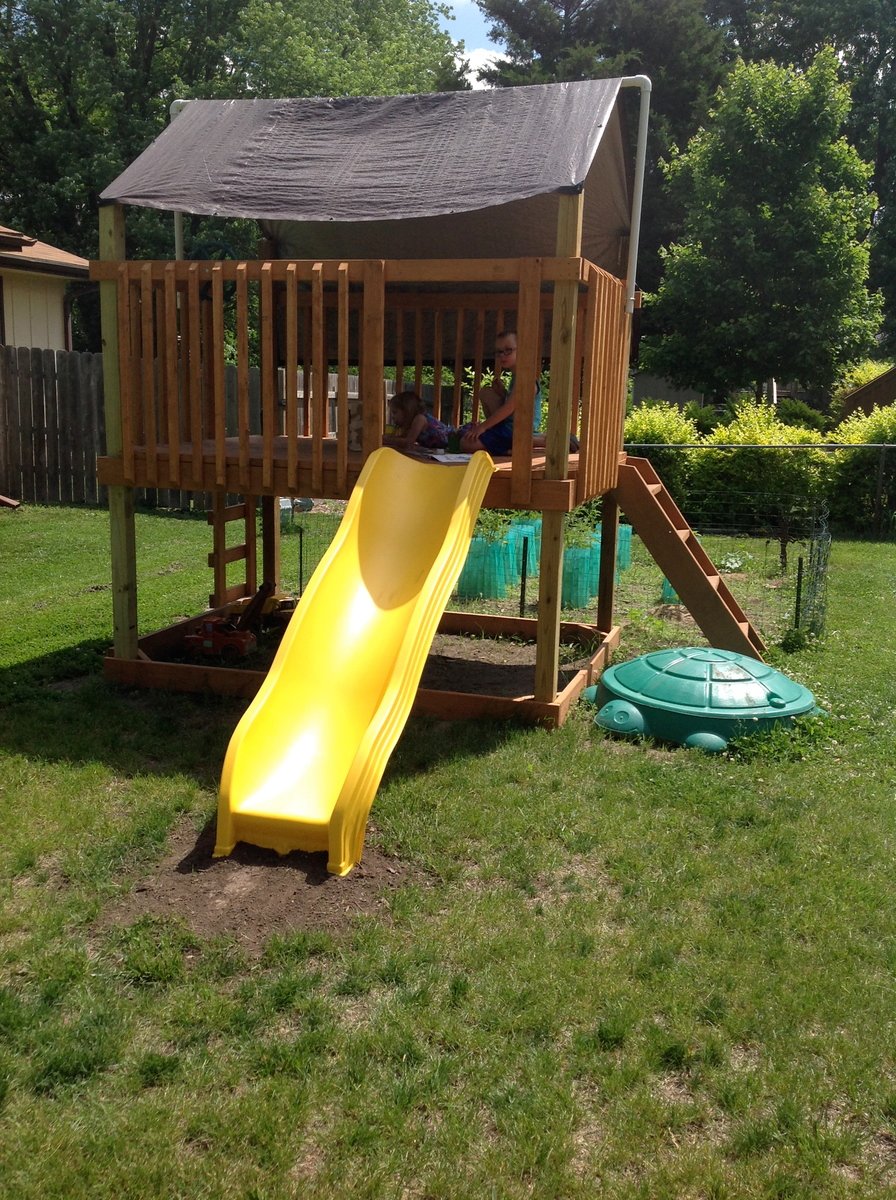
I wanted to build a structure for the kids to play in, but not include a playhouse. I used the playhouse deck design and made it slightly smaller (6 feet by 8 feet). The "roof" is removable to provide shade when it's sunny. It's just PVC and a tarp - pretty simple, but it does the job. I used treated posts and untreated lumber for the rest of it. I painted everything in my garage before assembling it. Once all of the wood at been painted, but came together pretty quickly!
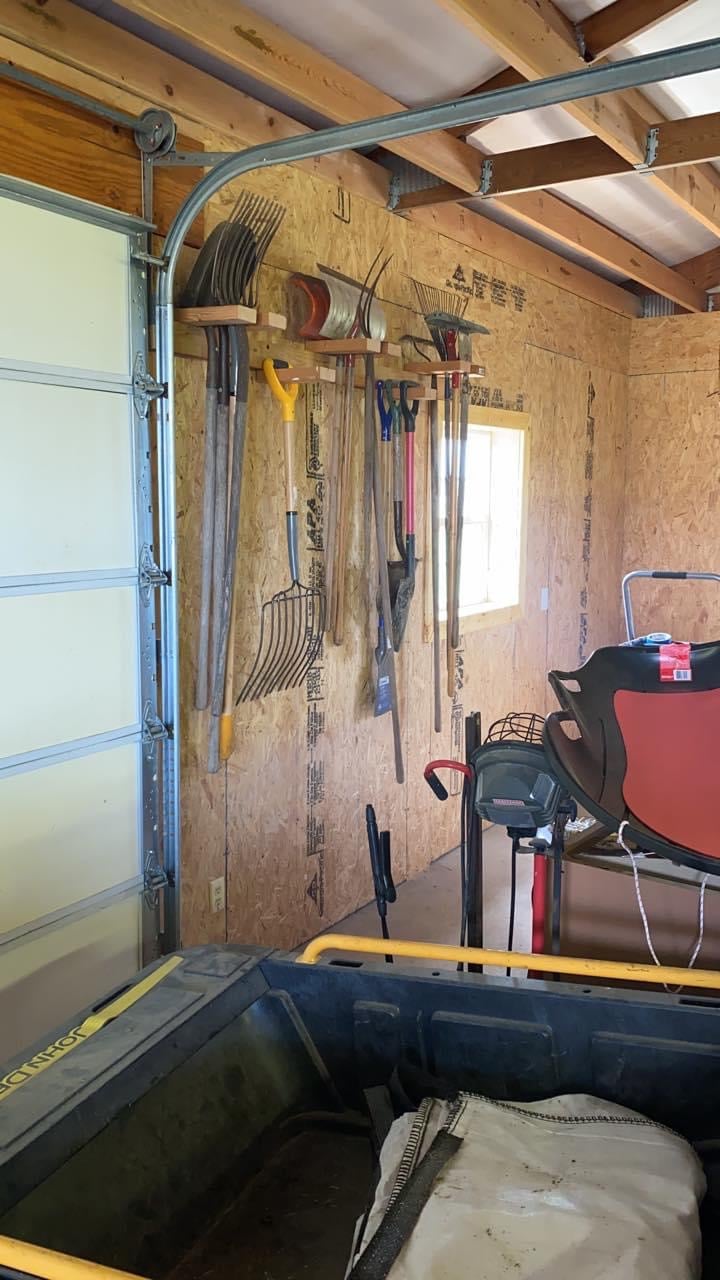
Had all my tools leaning up in the corner of my shed until I saw your post. Thanks

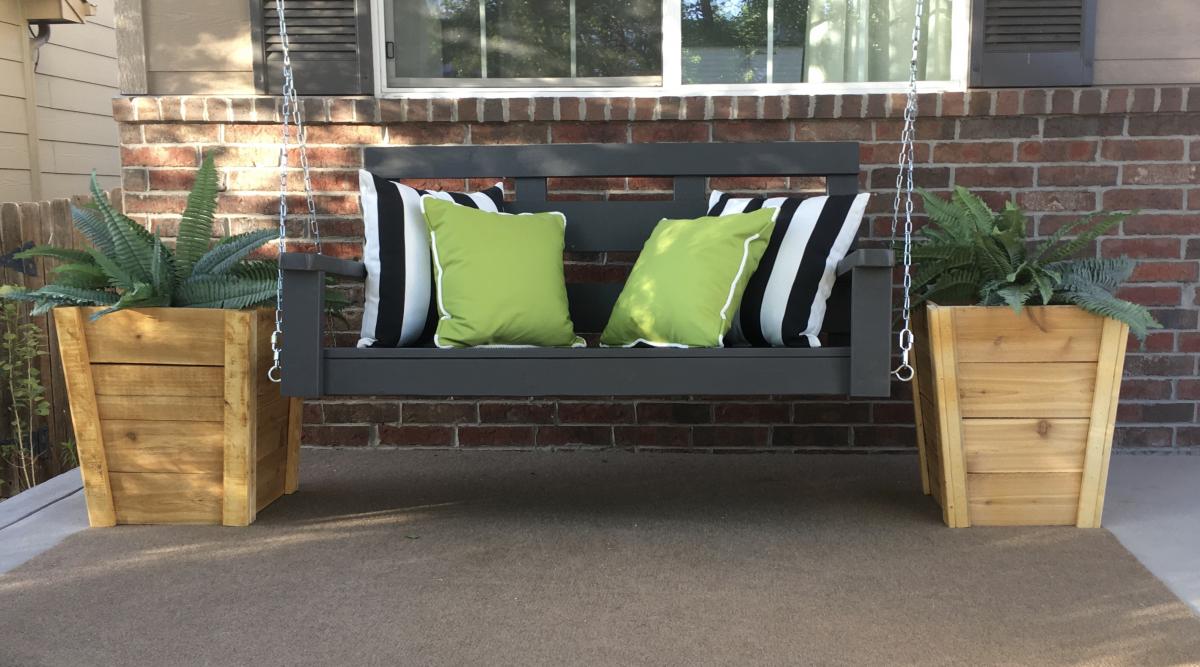
Made the swing and two sets of planters since we were on stay Home orders. I’d never done anything like this...ever! My husband helped me hang the swing. We love, love the results. (Now to make a seat cushion😆) I couldn’t tag the plans for the modern square planter boxes. They are huge and I can hardly wait until Christmas to put trees in all four!

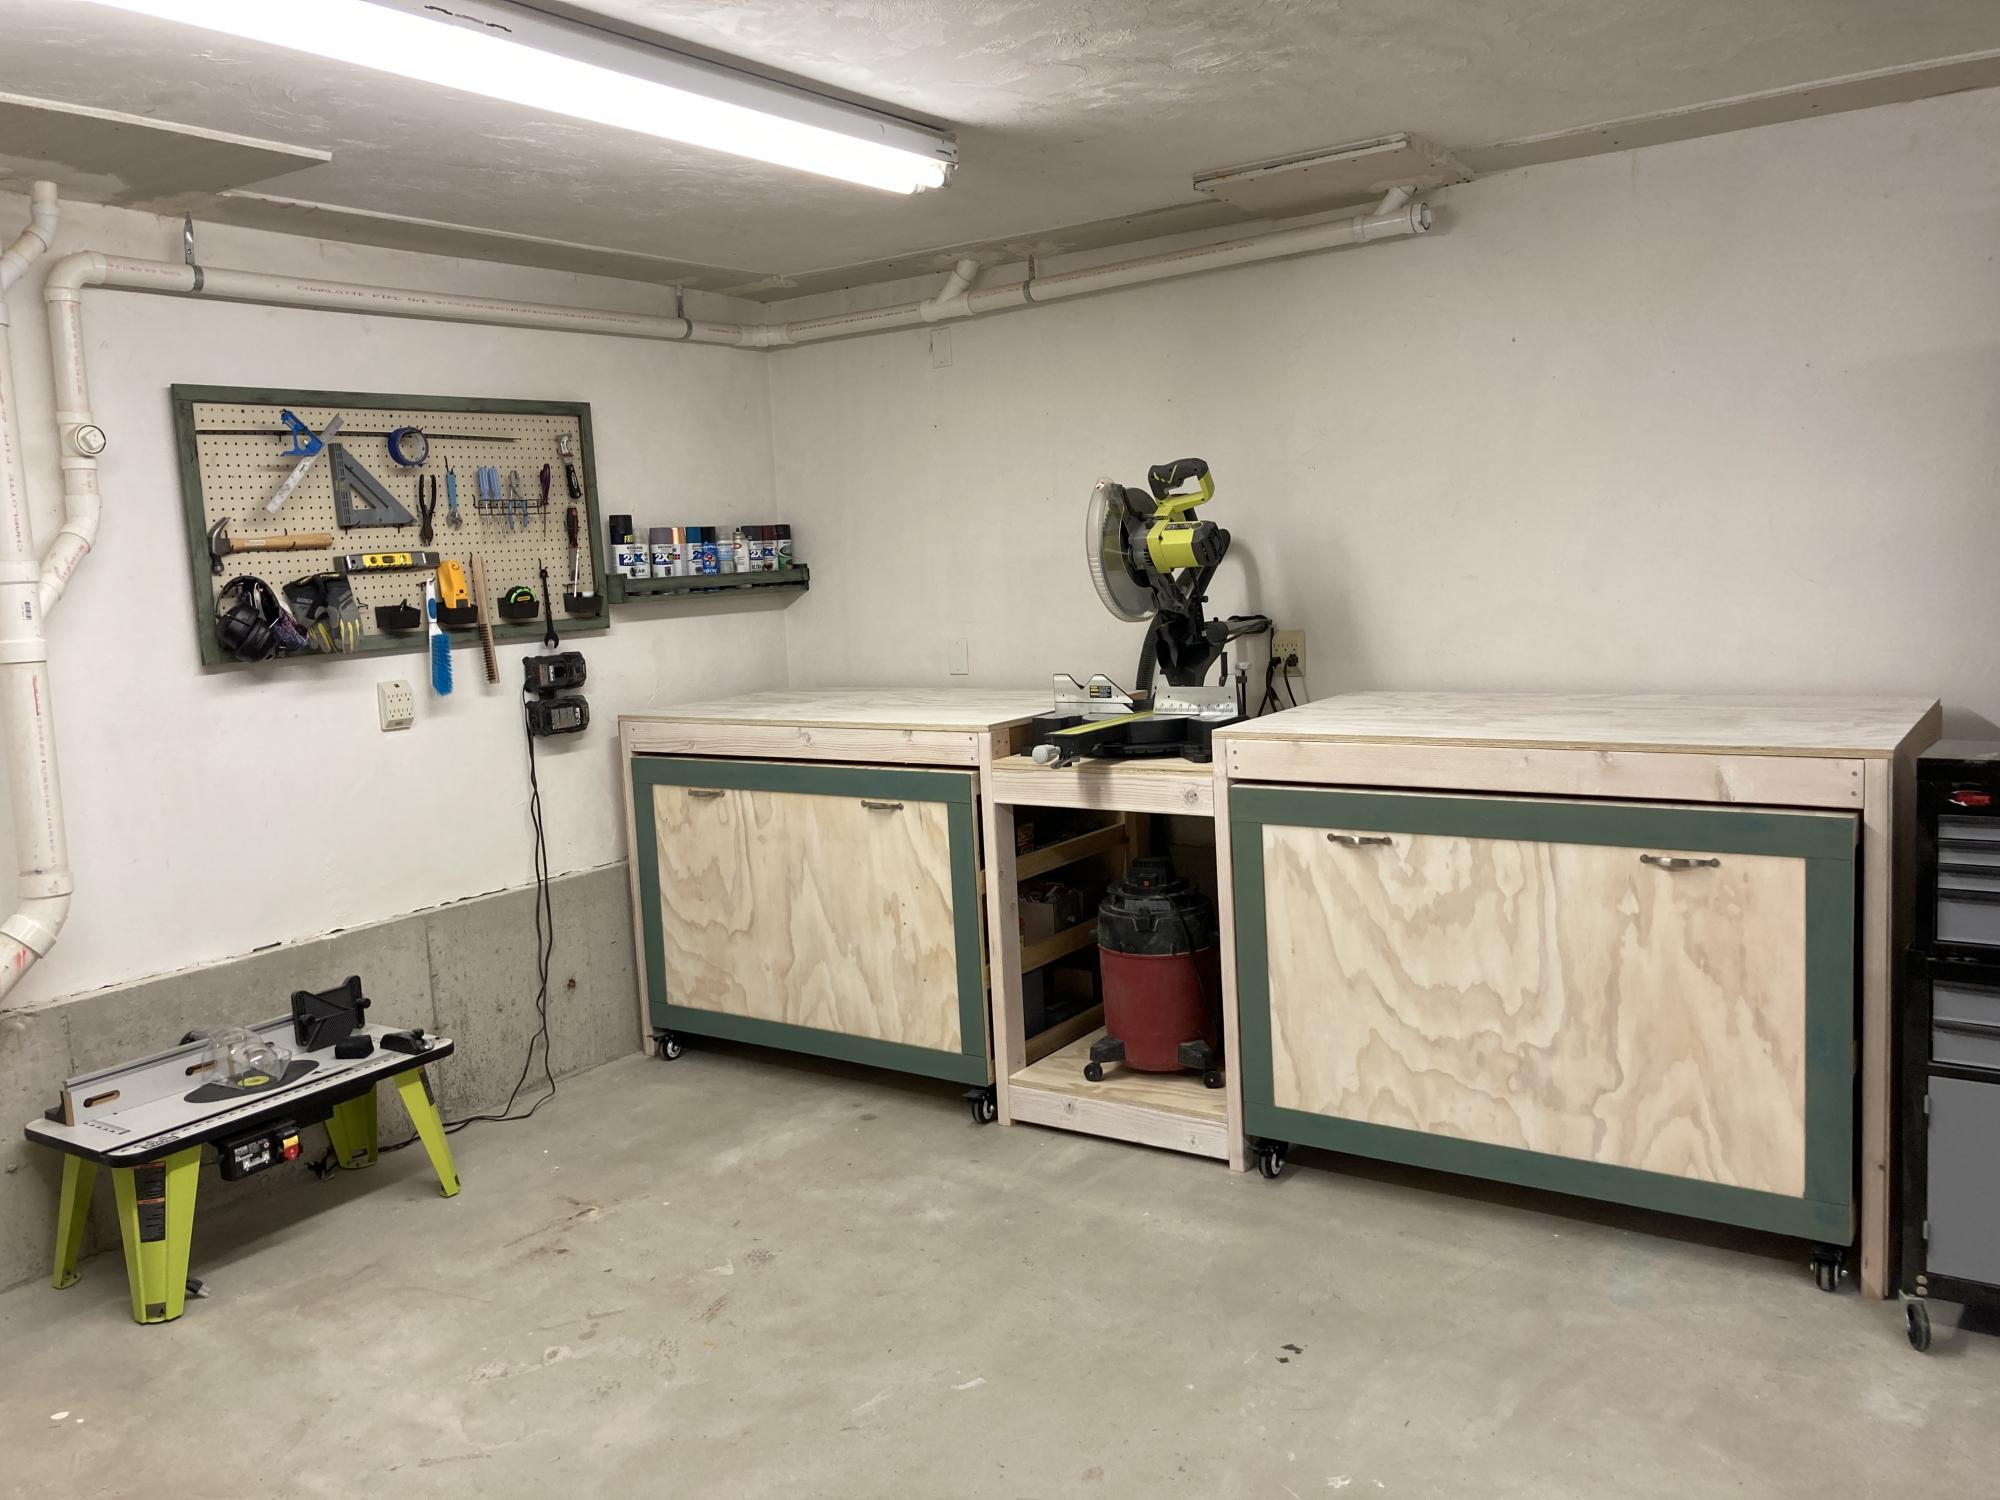
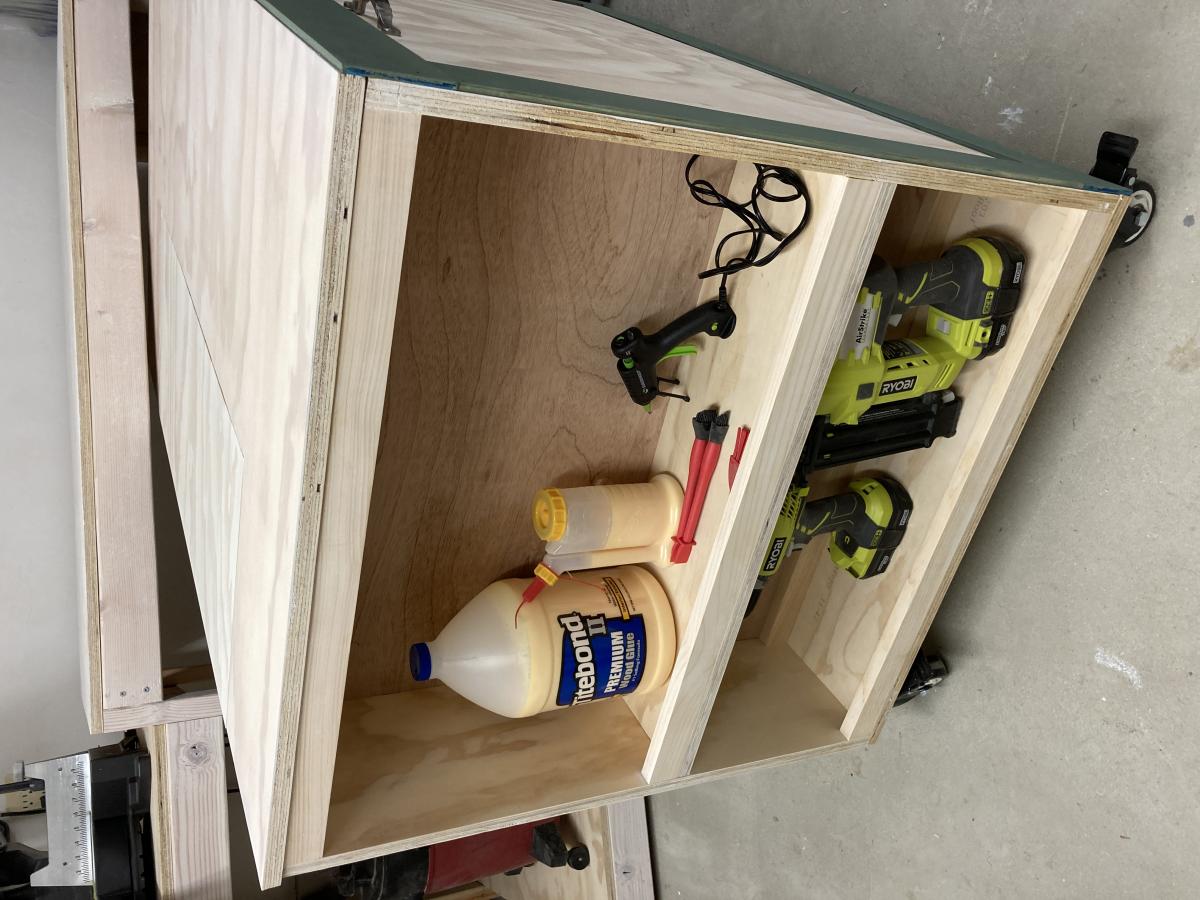
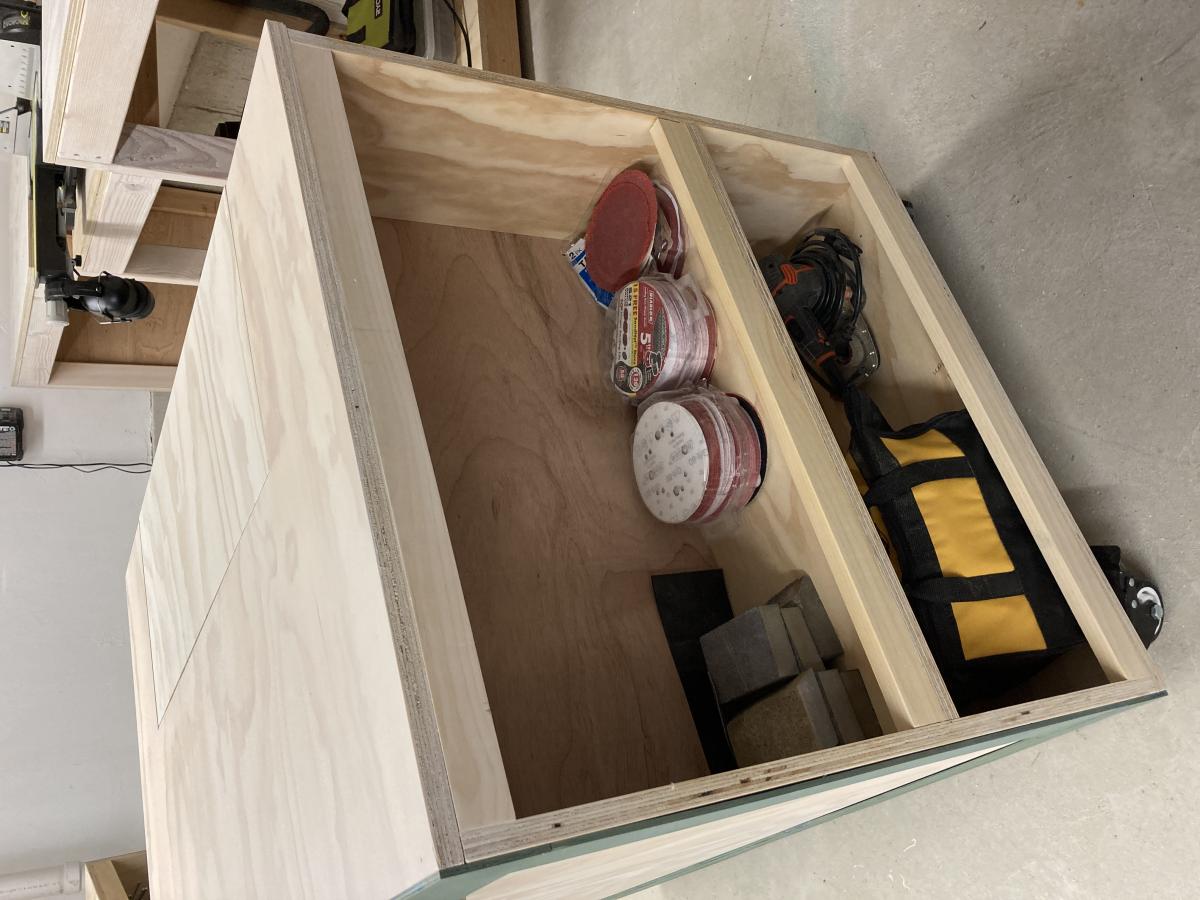
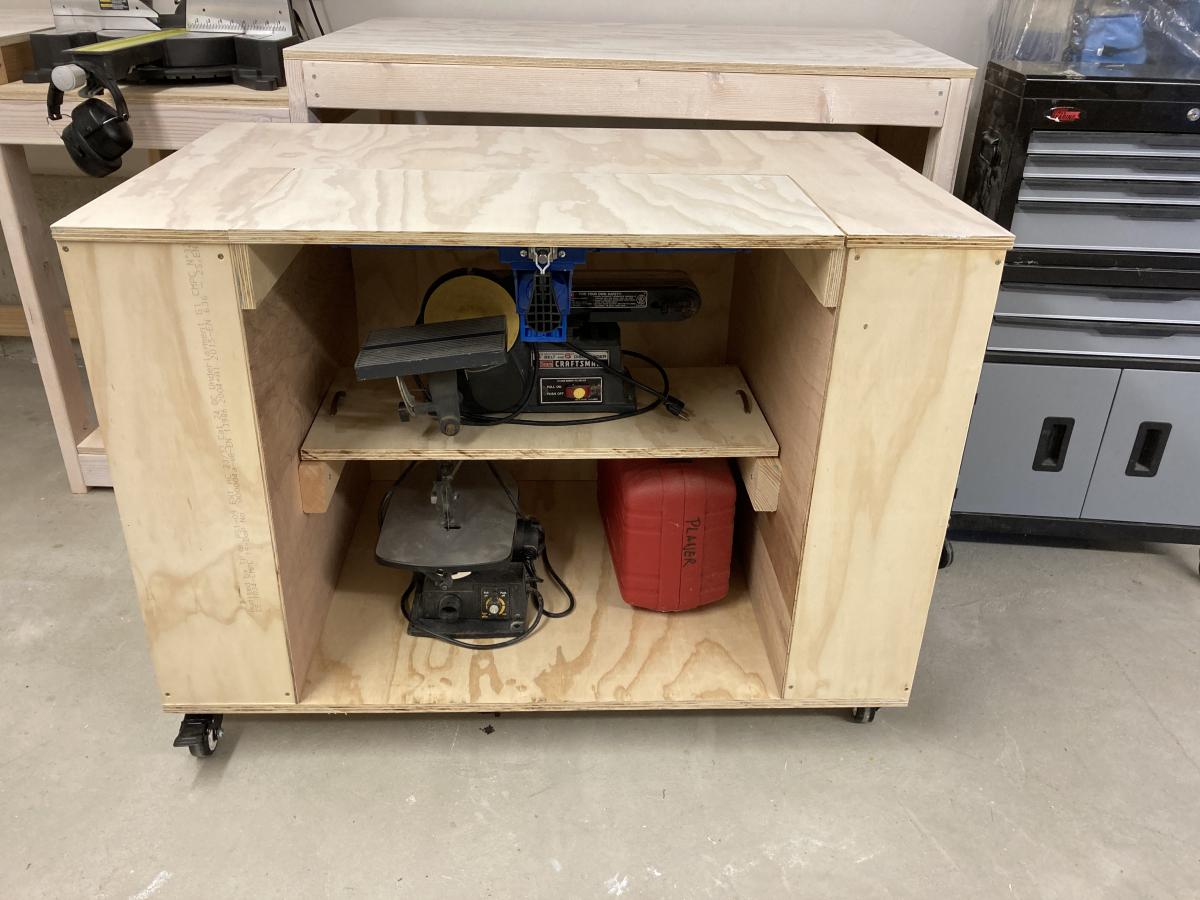
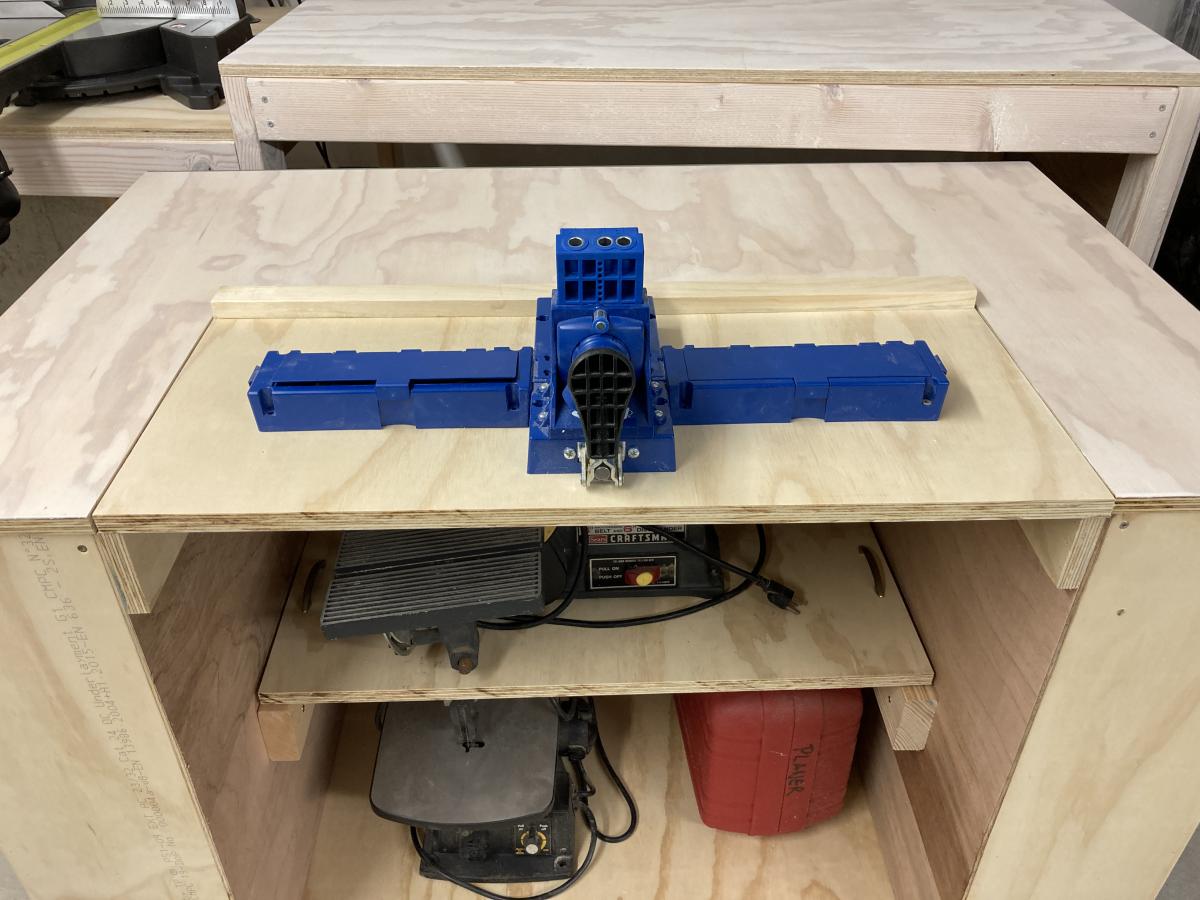
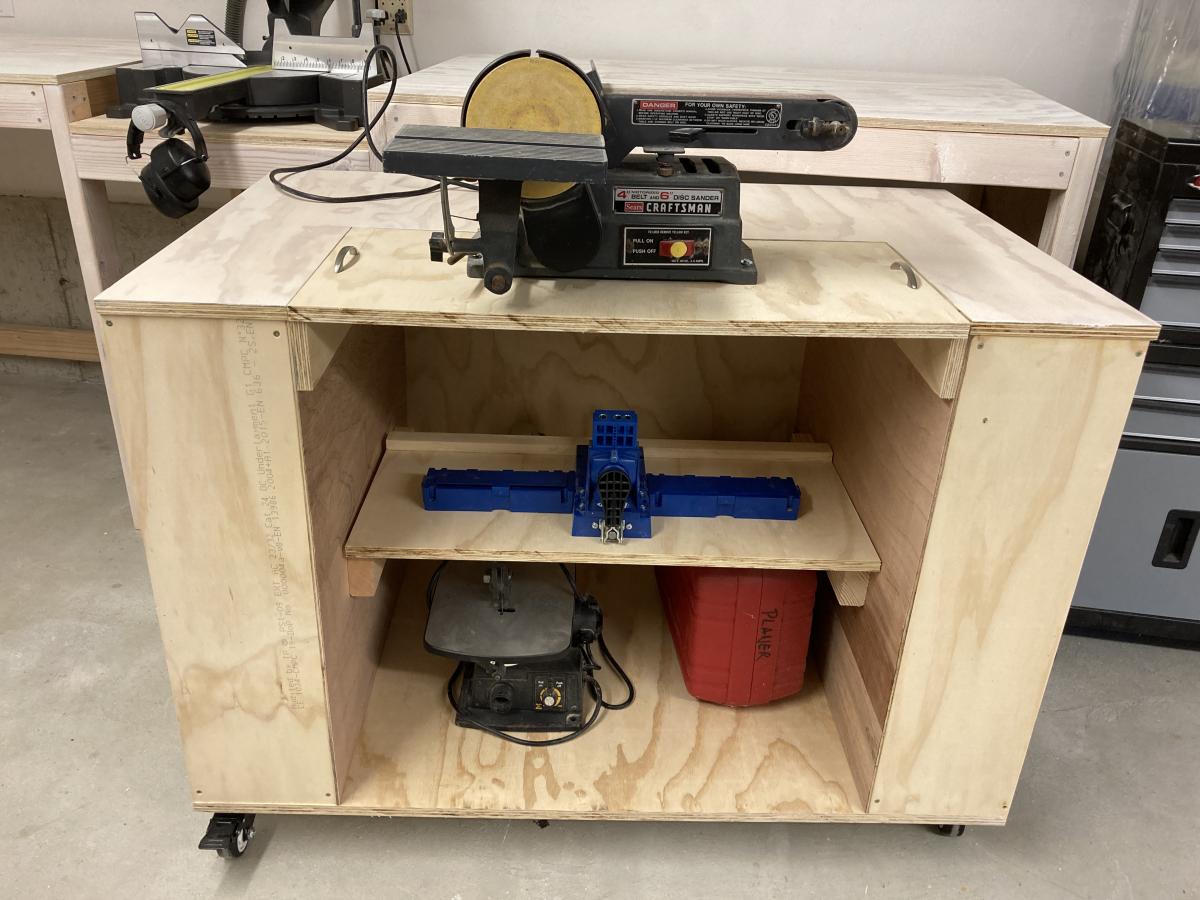
When I first saw Ana's Ultimate Work Bench I was blown away. I *had* to make this. I love how neat the garage looks when everything is put away.
I had to make a few extra cuts in order to allow room for my table saw fence, but other than that the only thing I did differently was to pretty it up using a white gel wood stain that I sealed with finishing paste. I also added trim using the leftover 1/4 inch plywood.
Thank you for being such an inspiration, Ana. I love your plans!
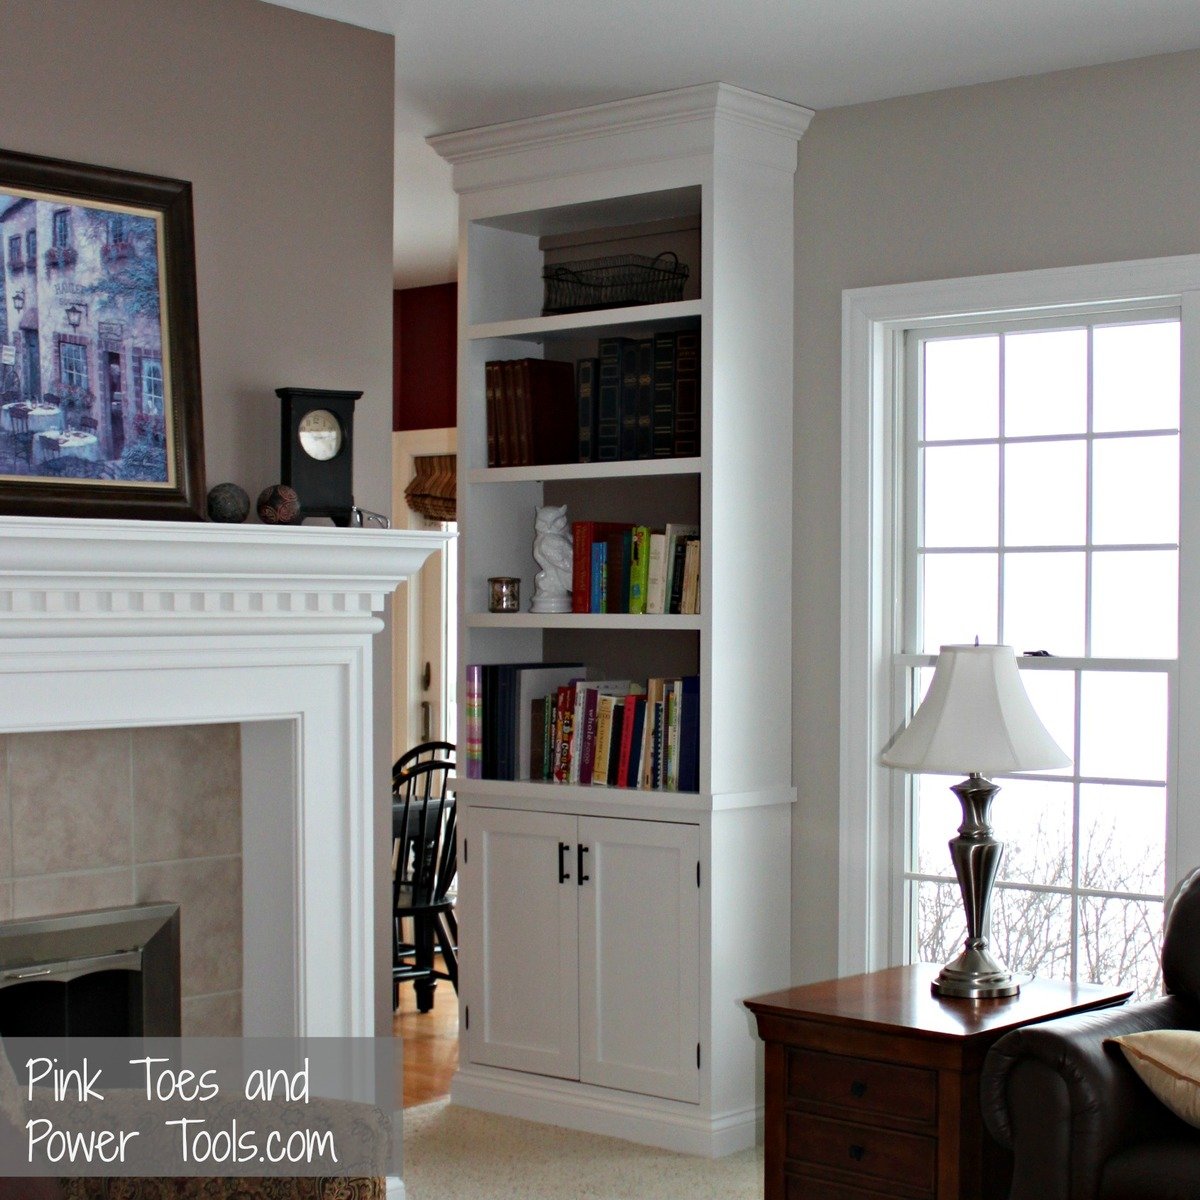
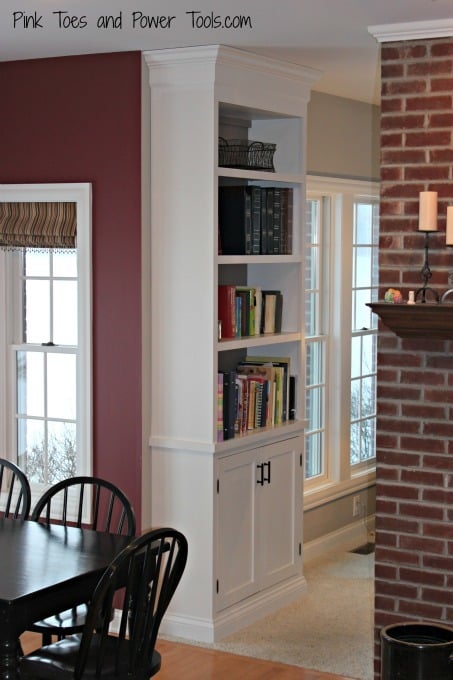
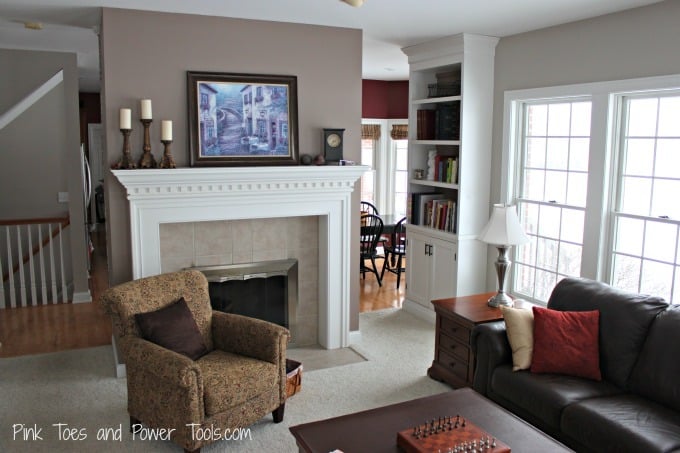
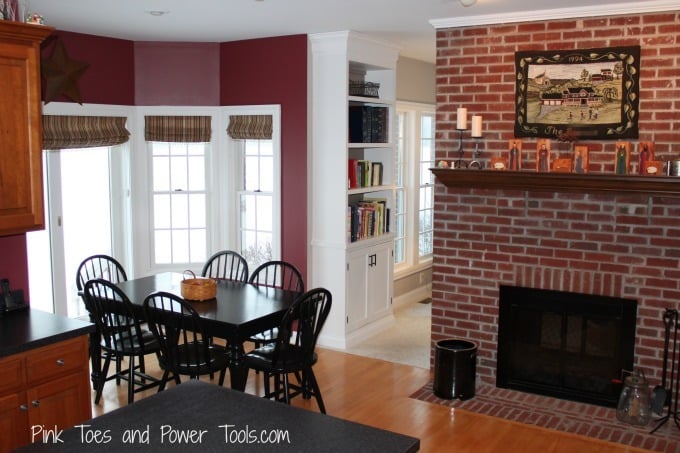
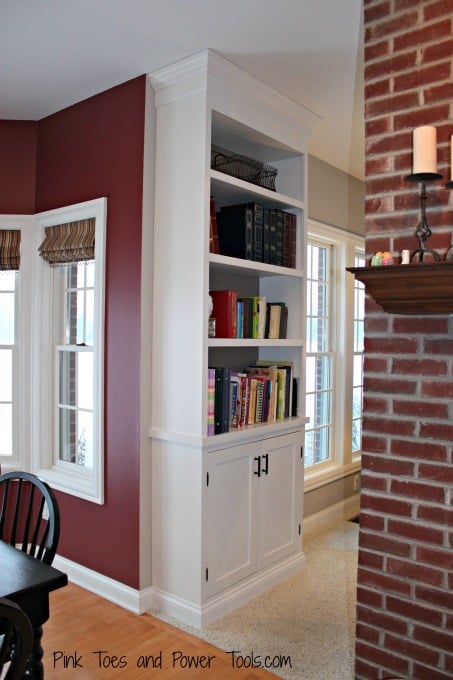
I didn't really follow any of Ana's plans for this build, but it is a result of using her plans up to this point in my woodworking journey that enabled me to complete this one! I don't own a table saw, so this was constructed using a circular saw, miter saw, Kreg jig, and a nail gun. It was the first time I've had to cut and attach crown molding, and I also learned how to cope baseboard trim using a Dremel. Another first was using a router to rabbet out the back so the plywood back wasn't visible from the sides. I learn something new every build :)
I'm thrilled with the change in the room with this new project. We had two narrower bookcases side-by-side in there before, and they were about the height of the windows with a stain color that didn't match any of the other wood pieces in the rooms. This cabinet looks like it belongs in the room.

Thu, 12/27/2012 - 07:54
Very well done. It fits right in and looks absolutely beautiful. I am working and practicing to reach your skill level so I can do amazing things too!
My dog loves to people watch all day while I'm at work and she needed a new bed so I took the plans for the lower platform and modified them so it would stand alone. Took the platform and put it on the bottom so that her bed would sit inside instead of on top where she could more easily fall off.
I tried building without PH screws at first and all I ended up with was a lot of cracked and wasted lumber. Got the PH jig and finished the whole build myself in 2 hours. Sanding, staining, and sealing tomorrow but I'm just so excited about it I had to post now!
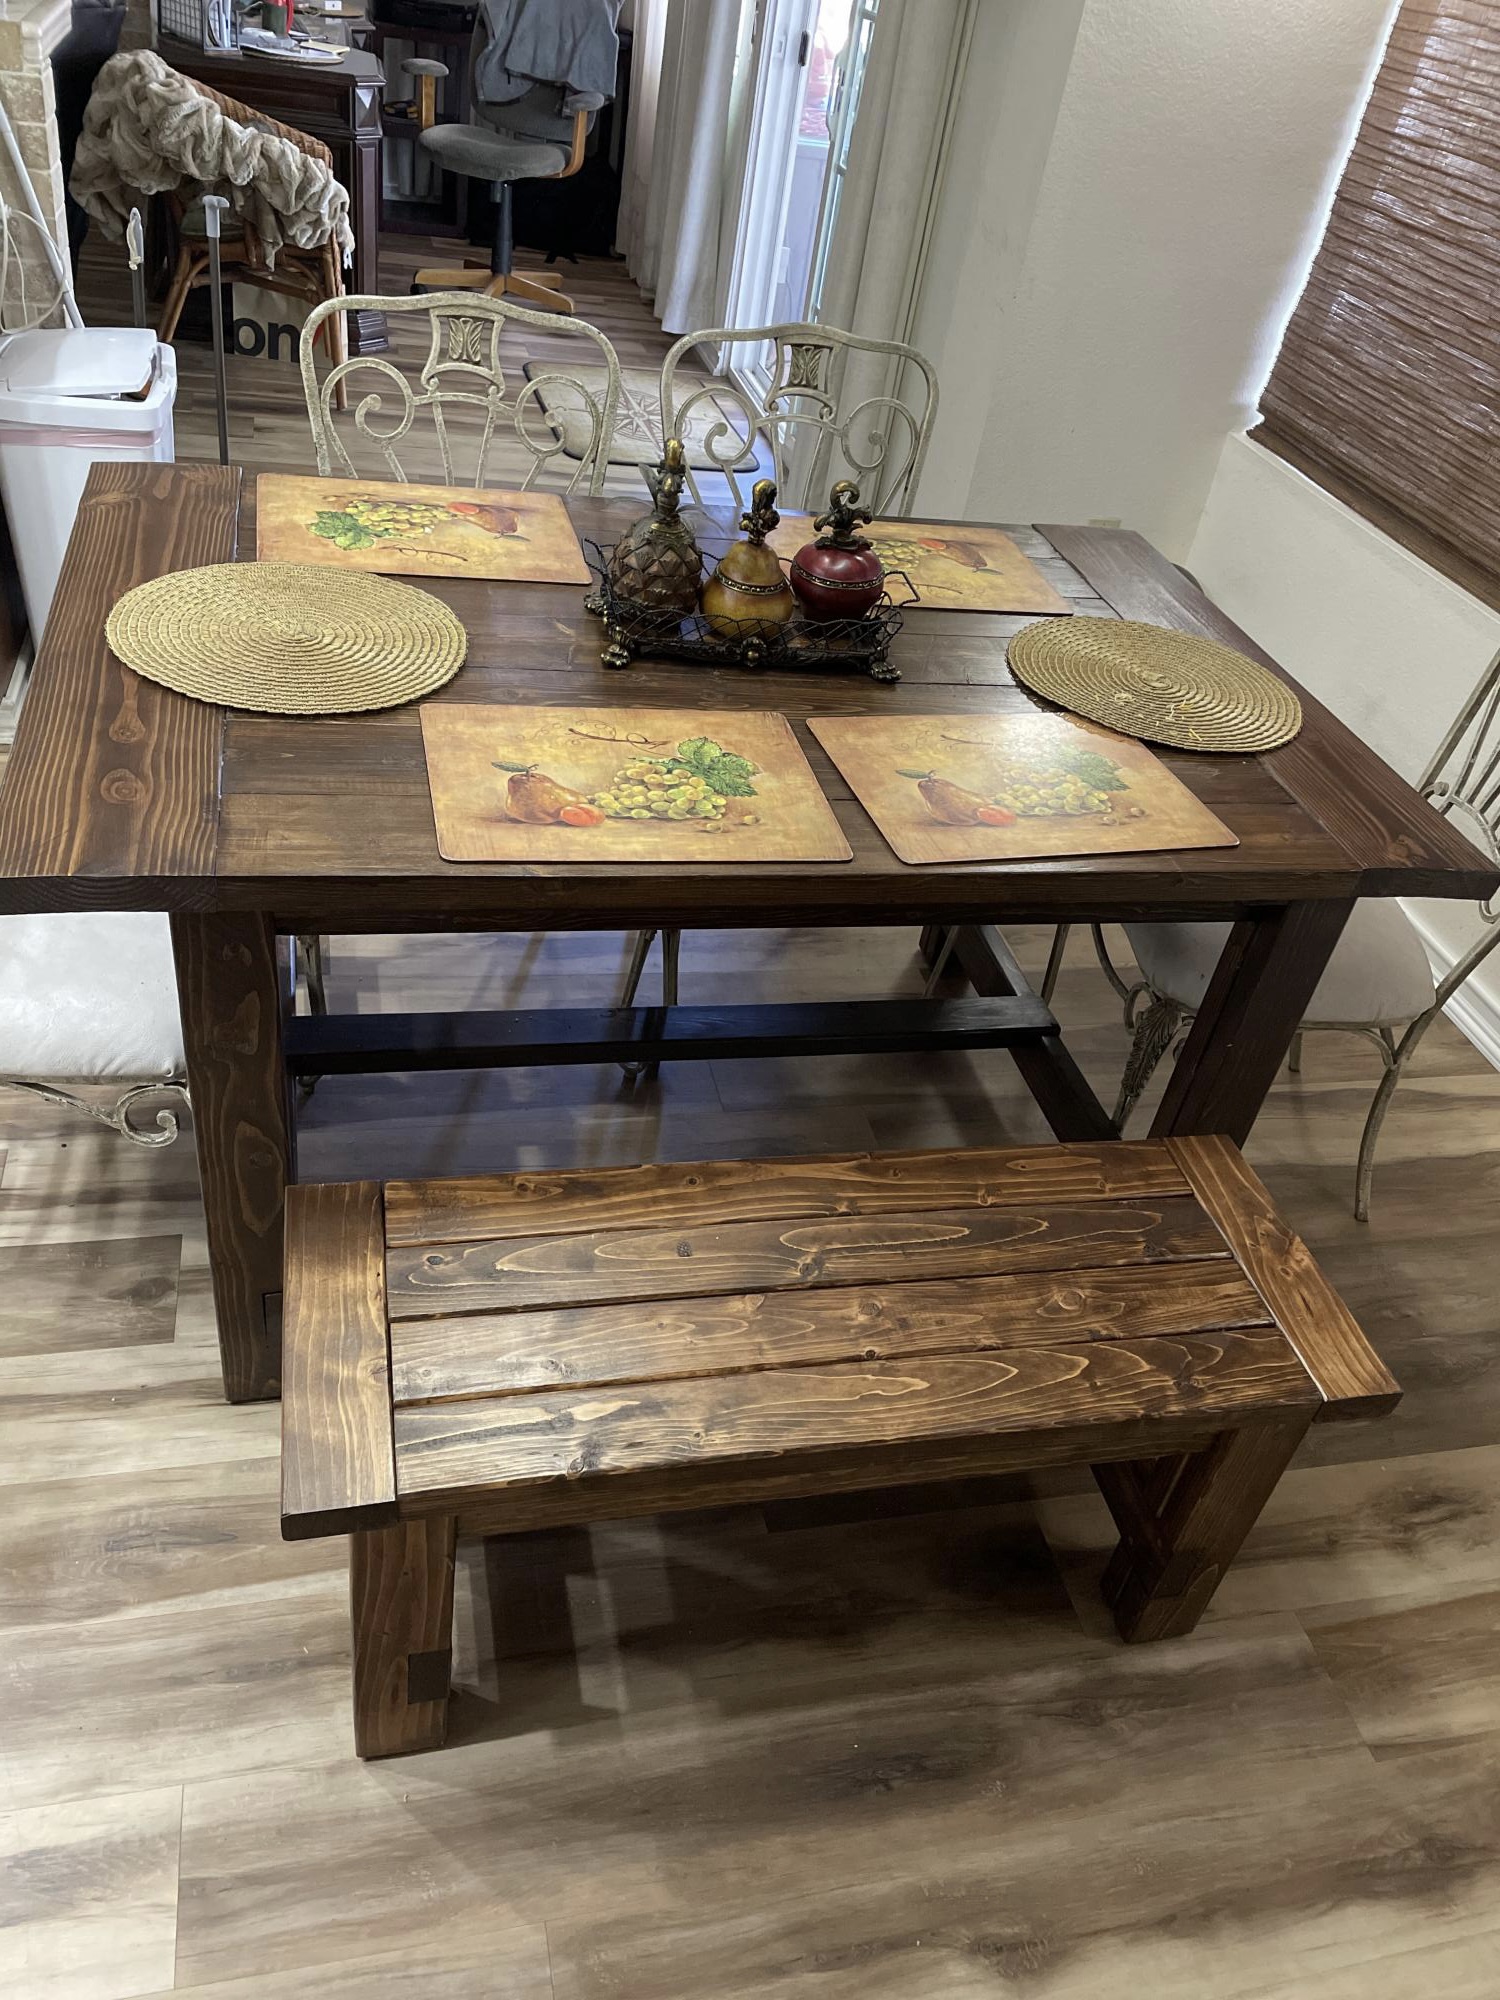
I used a few pocket holes and cut it down to 5 ft long(I have a smaller kitchen). The plans made it real easy to do so. The bench was also cut down.
Tue, 10/05/2021 - 09:12
Perfect solution for a smaller dining area, love it! Thank you for sharing:)
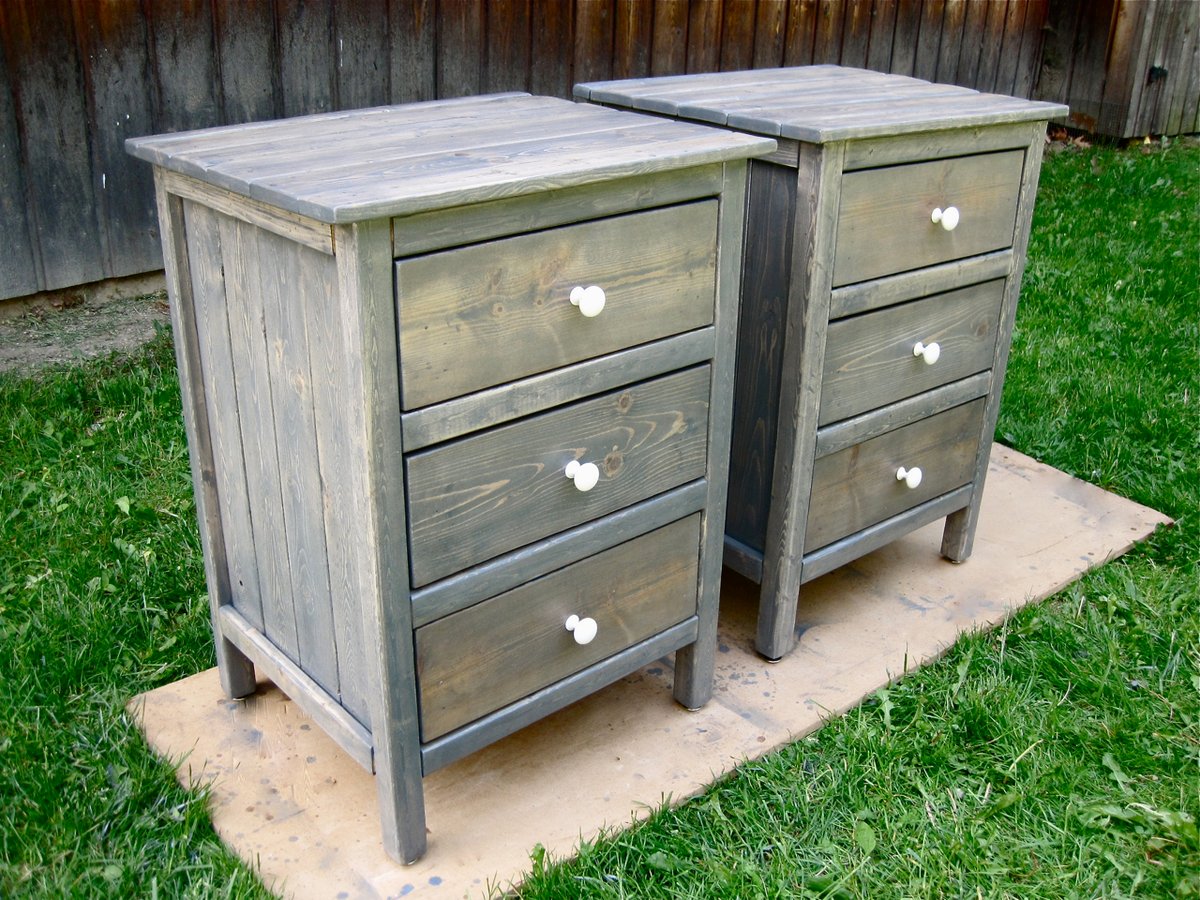
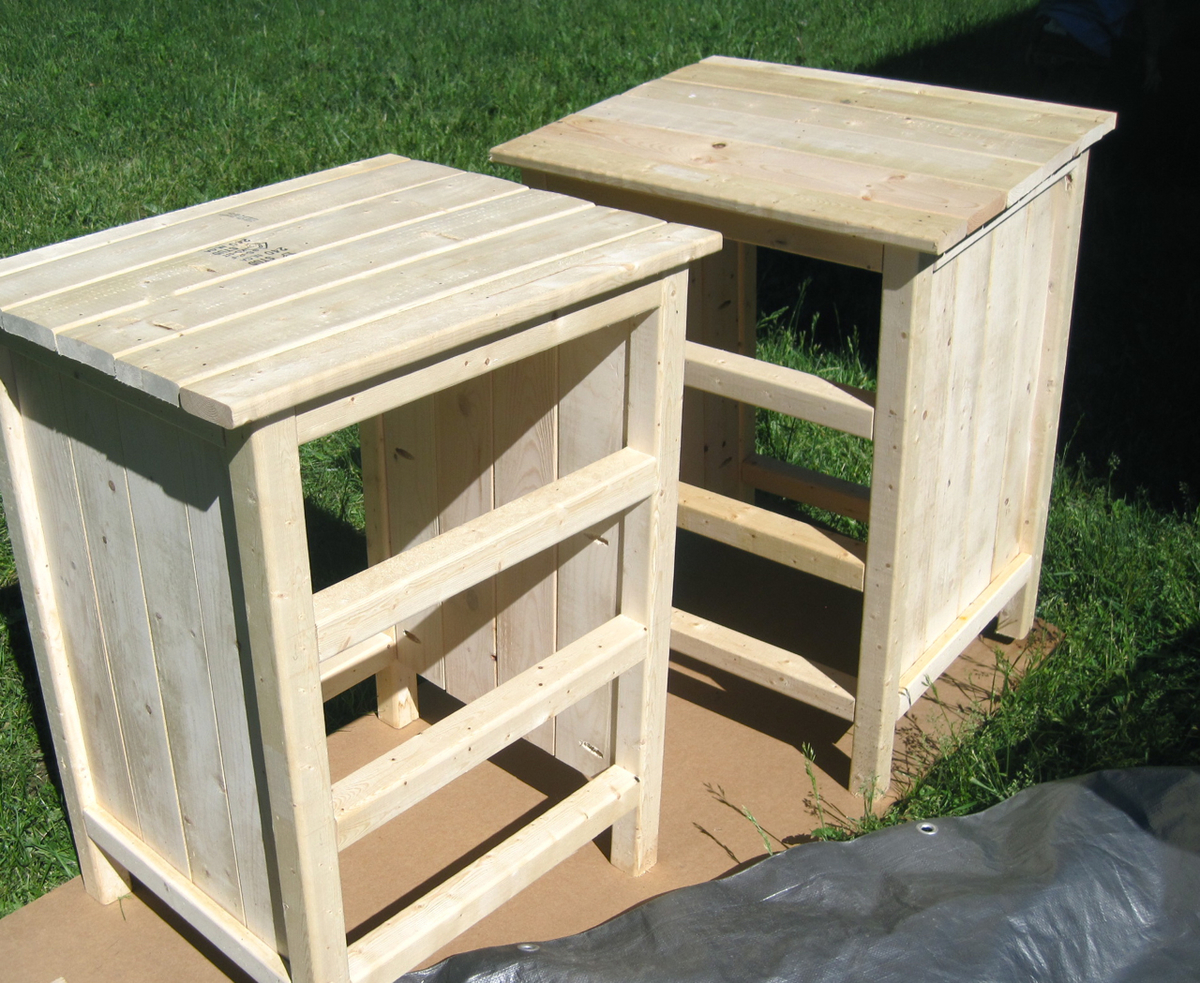
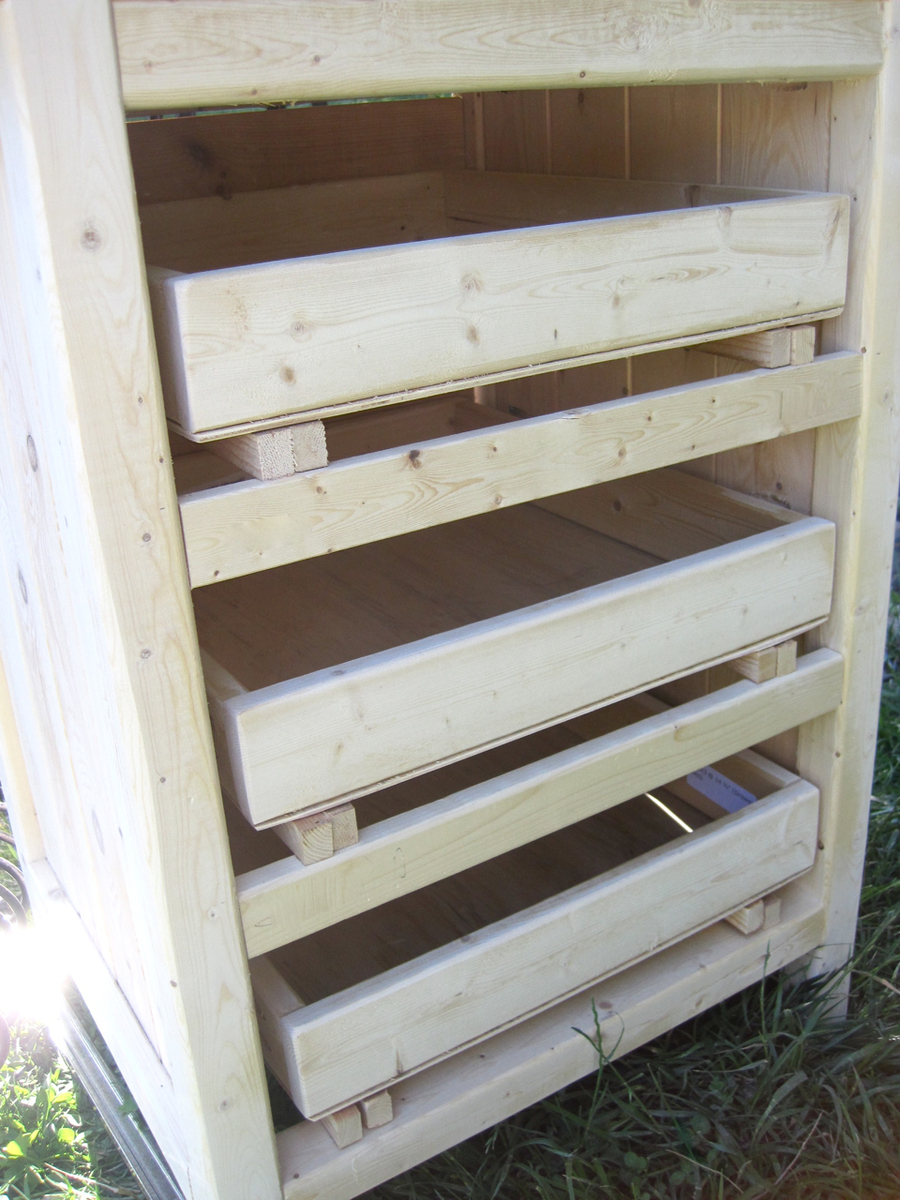
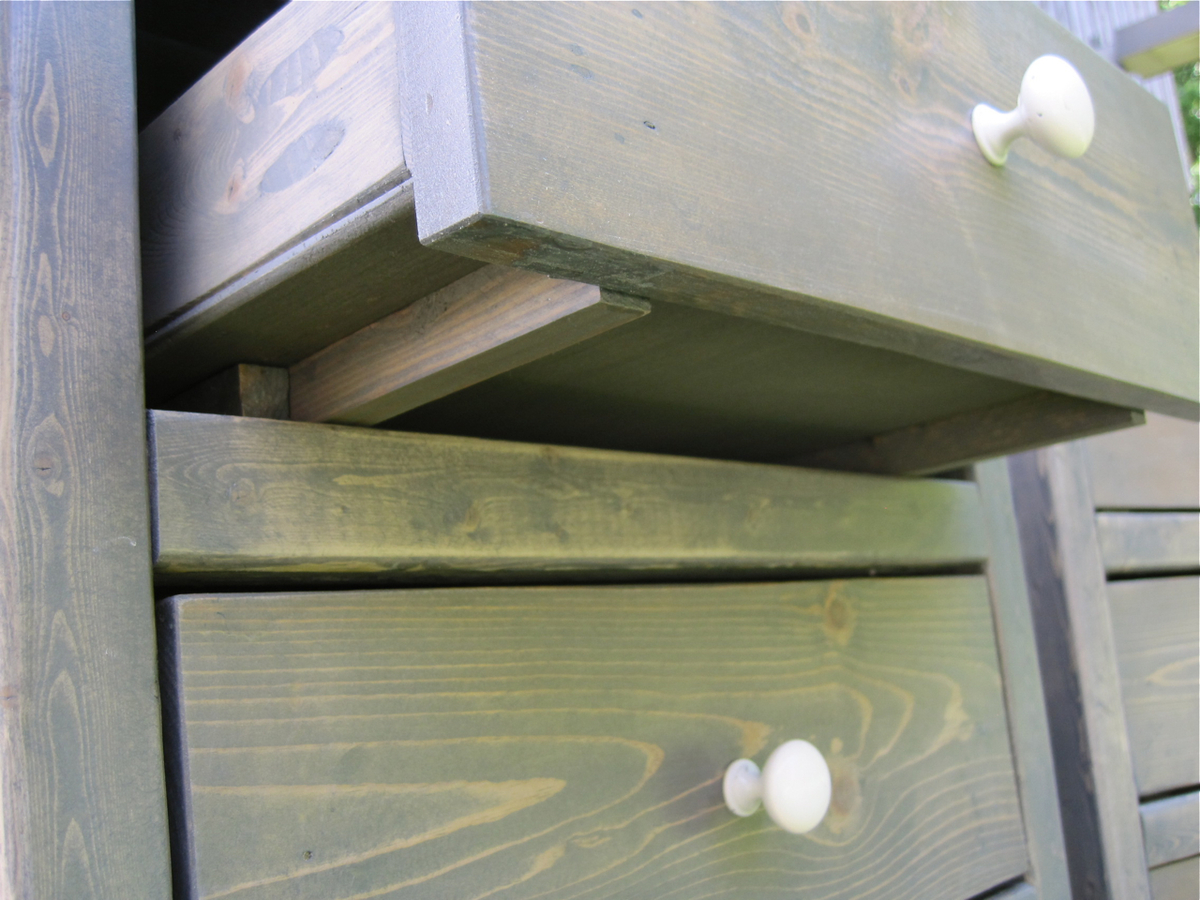
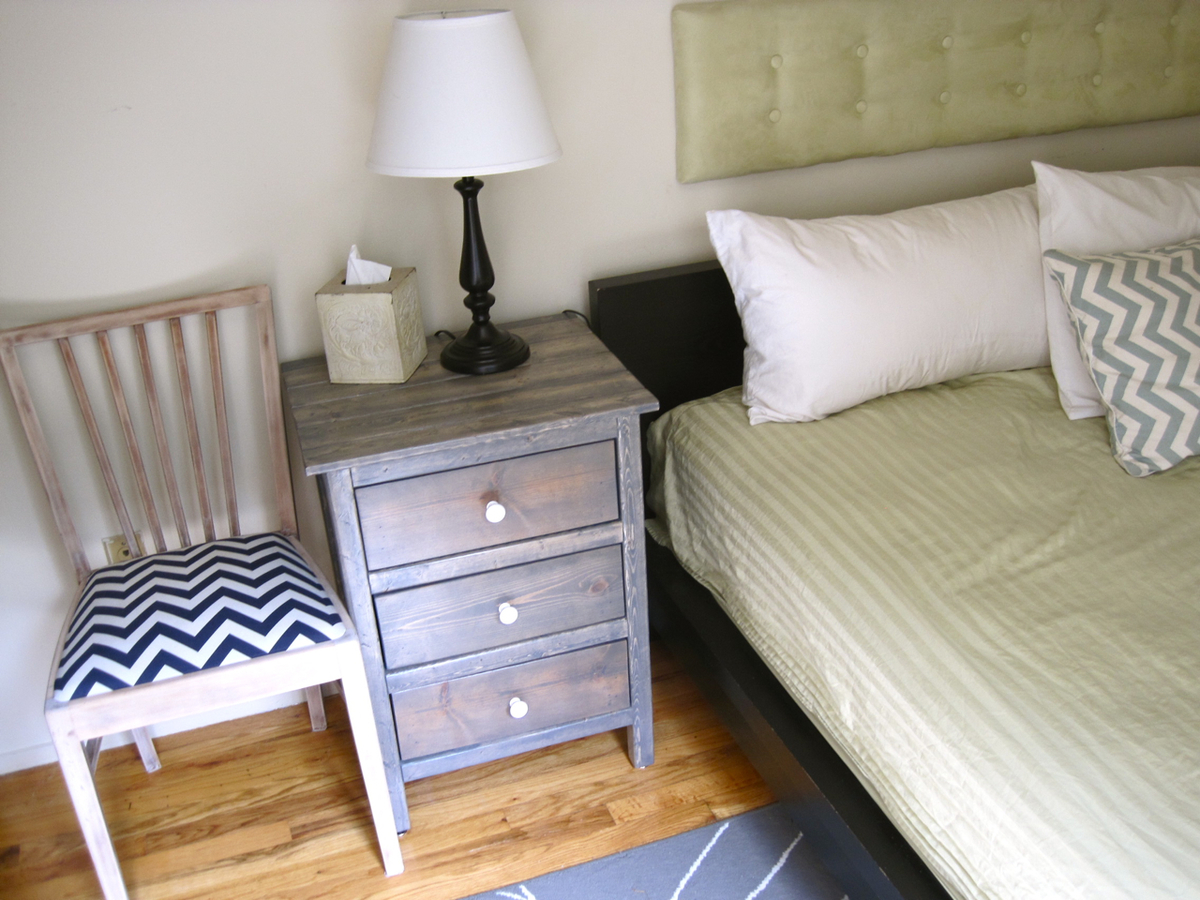
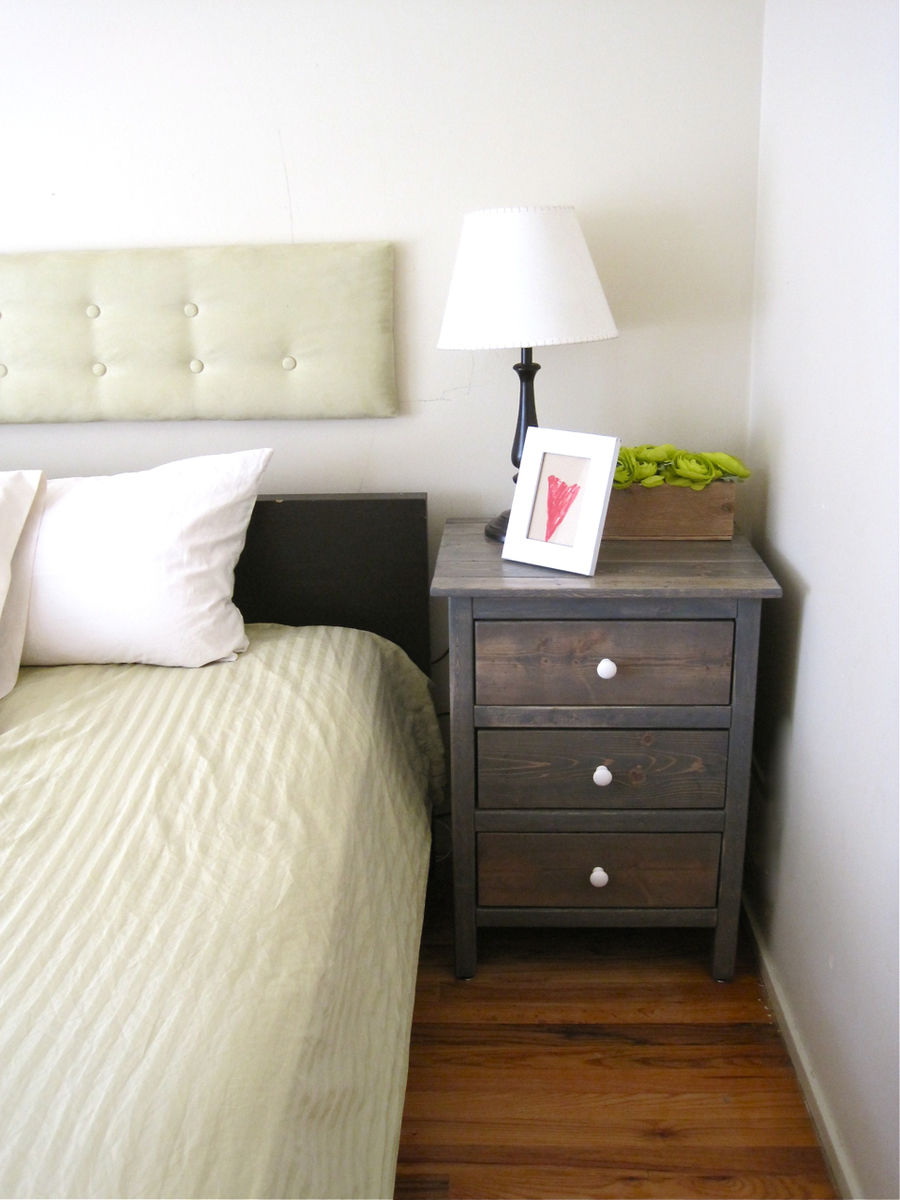
I followed the plans almost exact except I used wire finish nails to attach the top boards and drawer faces (with glue) to give it a handmade-rustic look. I also didn't use the euro metal drawer slides but instead ripped my own out of 3/4-inch thick pieces of wood by 16" long and attached them under the drawers and on top of the front/back stretchers (I had to add back stretchers for the top 2-drawers since they weren't in the plan). I also added adjustable metal slides to the legs to give it a nicer look.
Fri, 10/03/2014 - 09:34
What is the original plan name with demensions for these night stands?
Thank you.
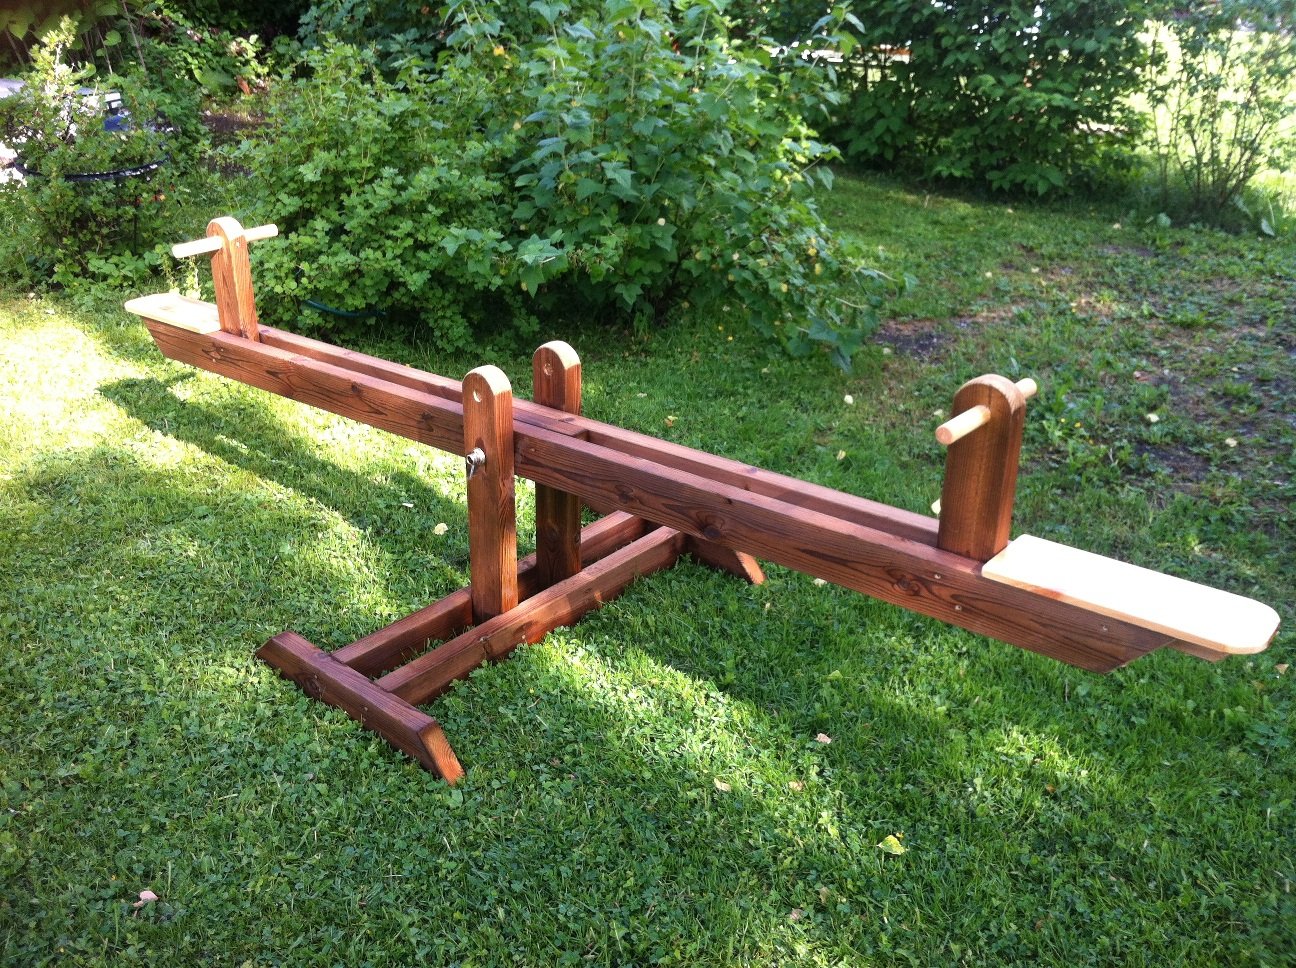
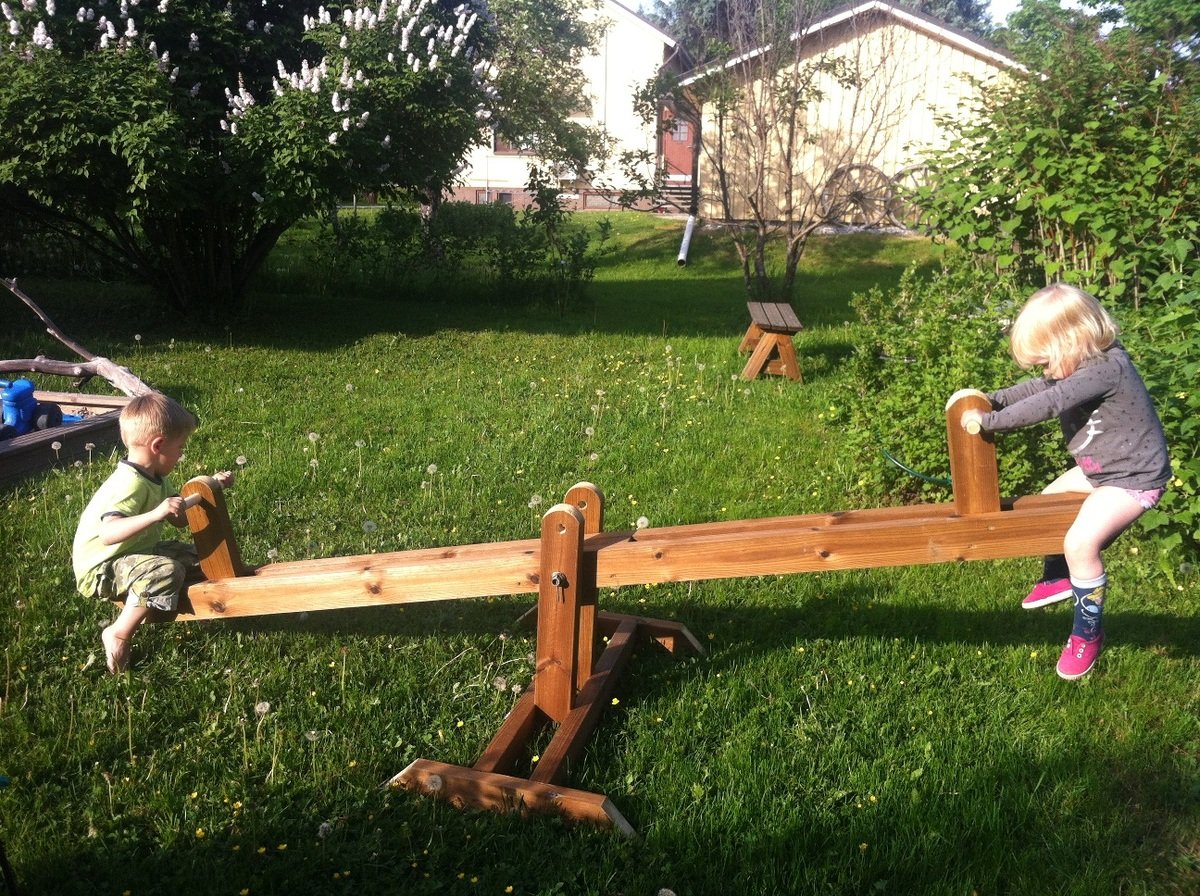
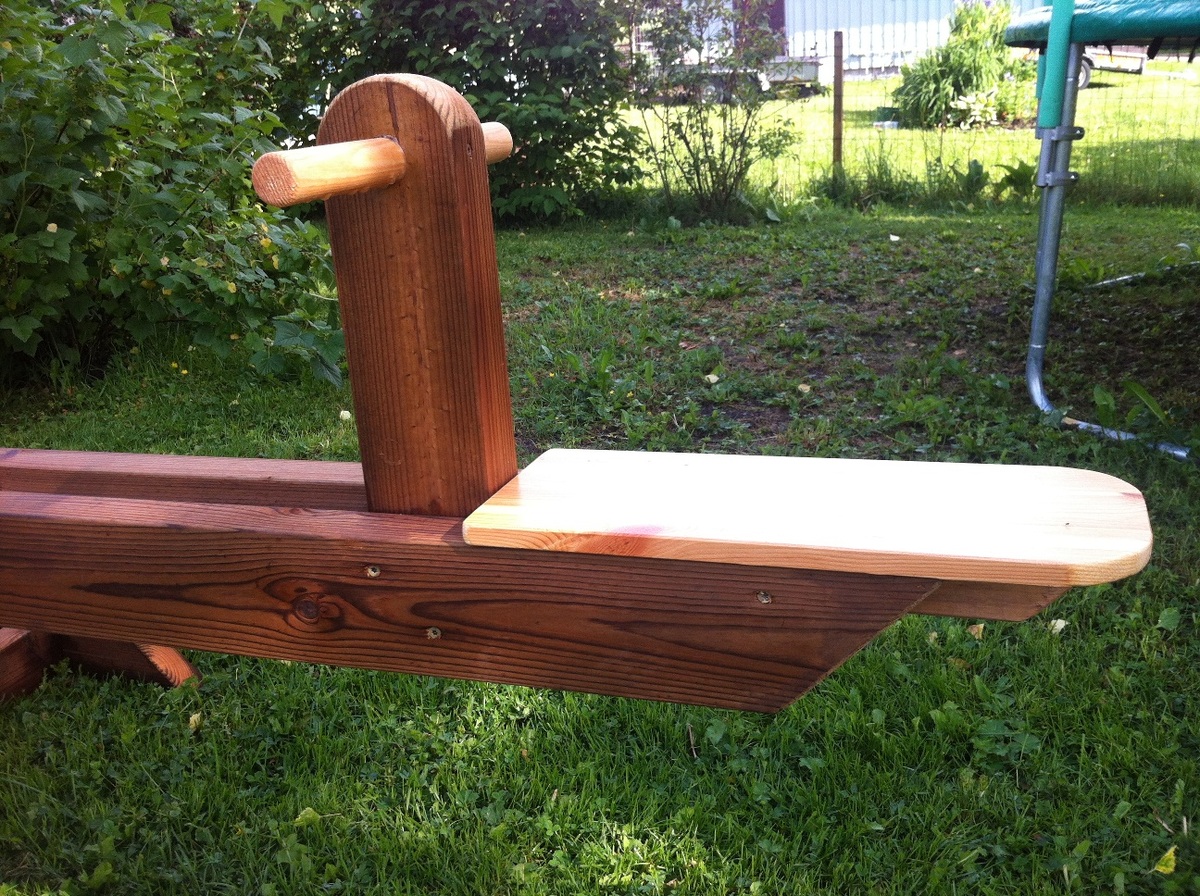
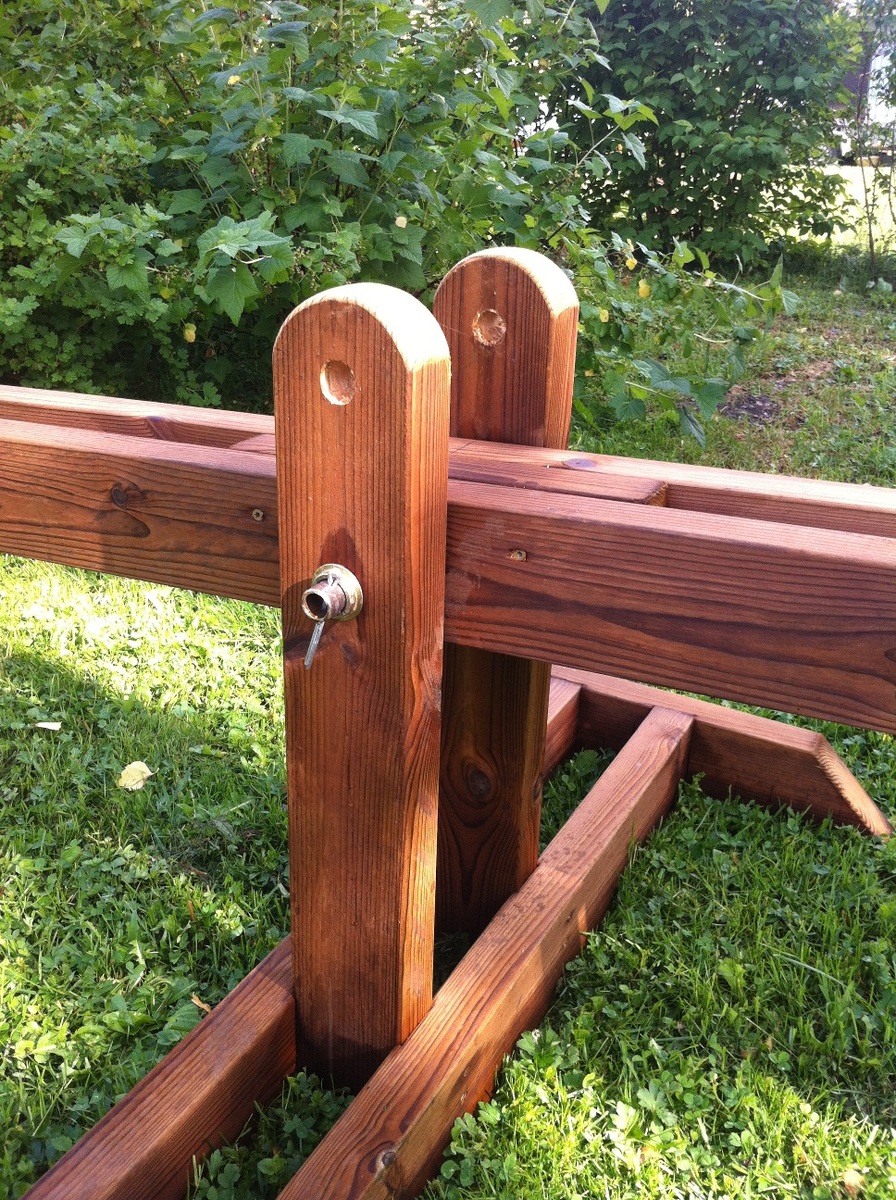
Greetings from Finland. I made teeter-totter from excellent plans Ana has donatet for all of us. I used treated wood, so I didn't need to paint the project (and never will :-) Handles and seats are made from raw wood. Gives also nice twin color look. To add some extra support I embed the beams at foot.

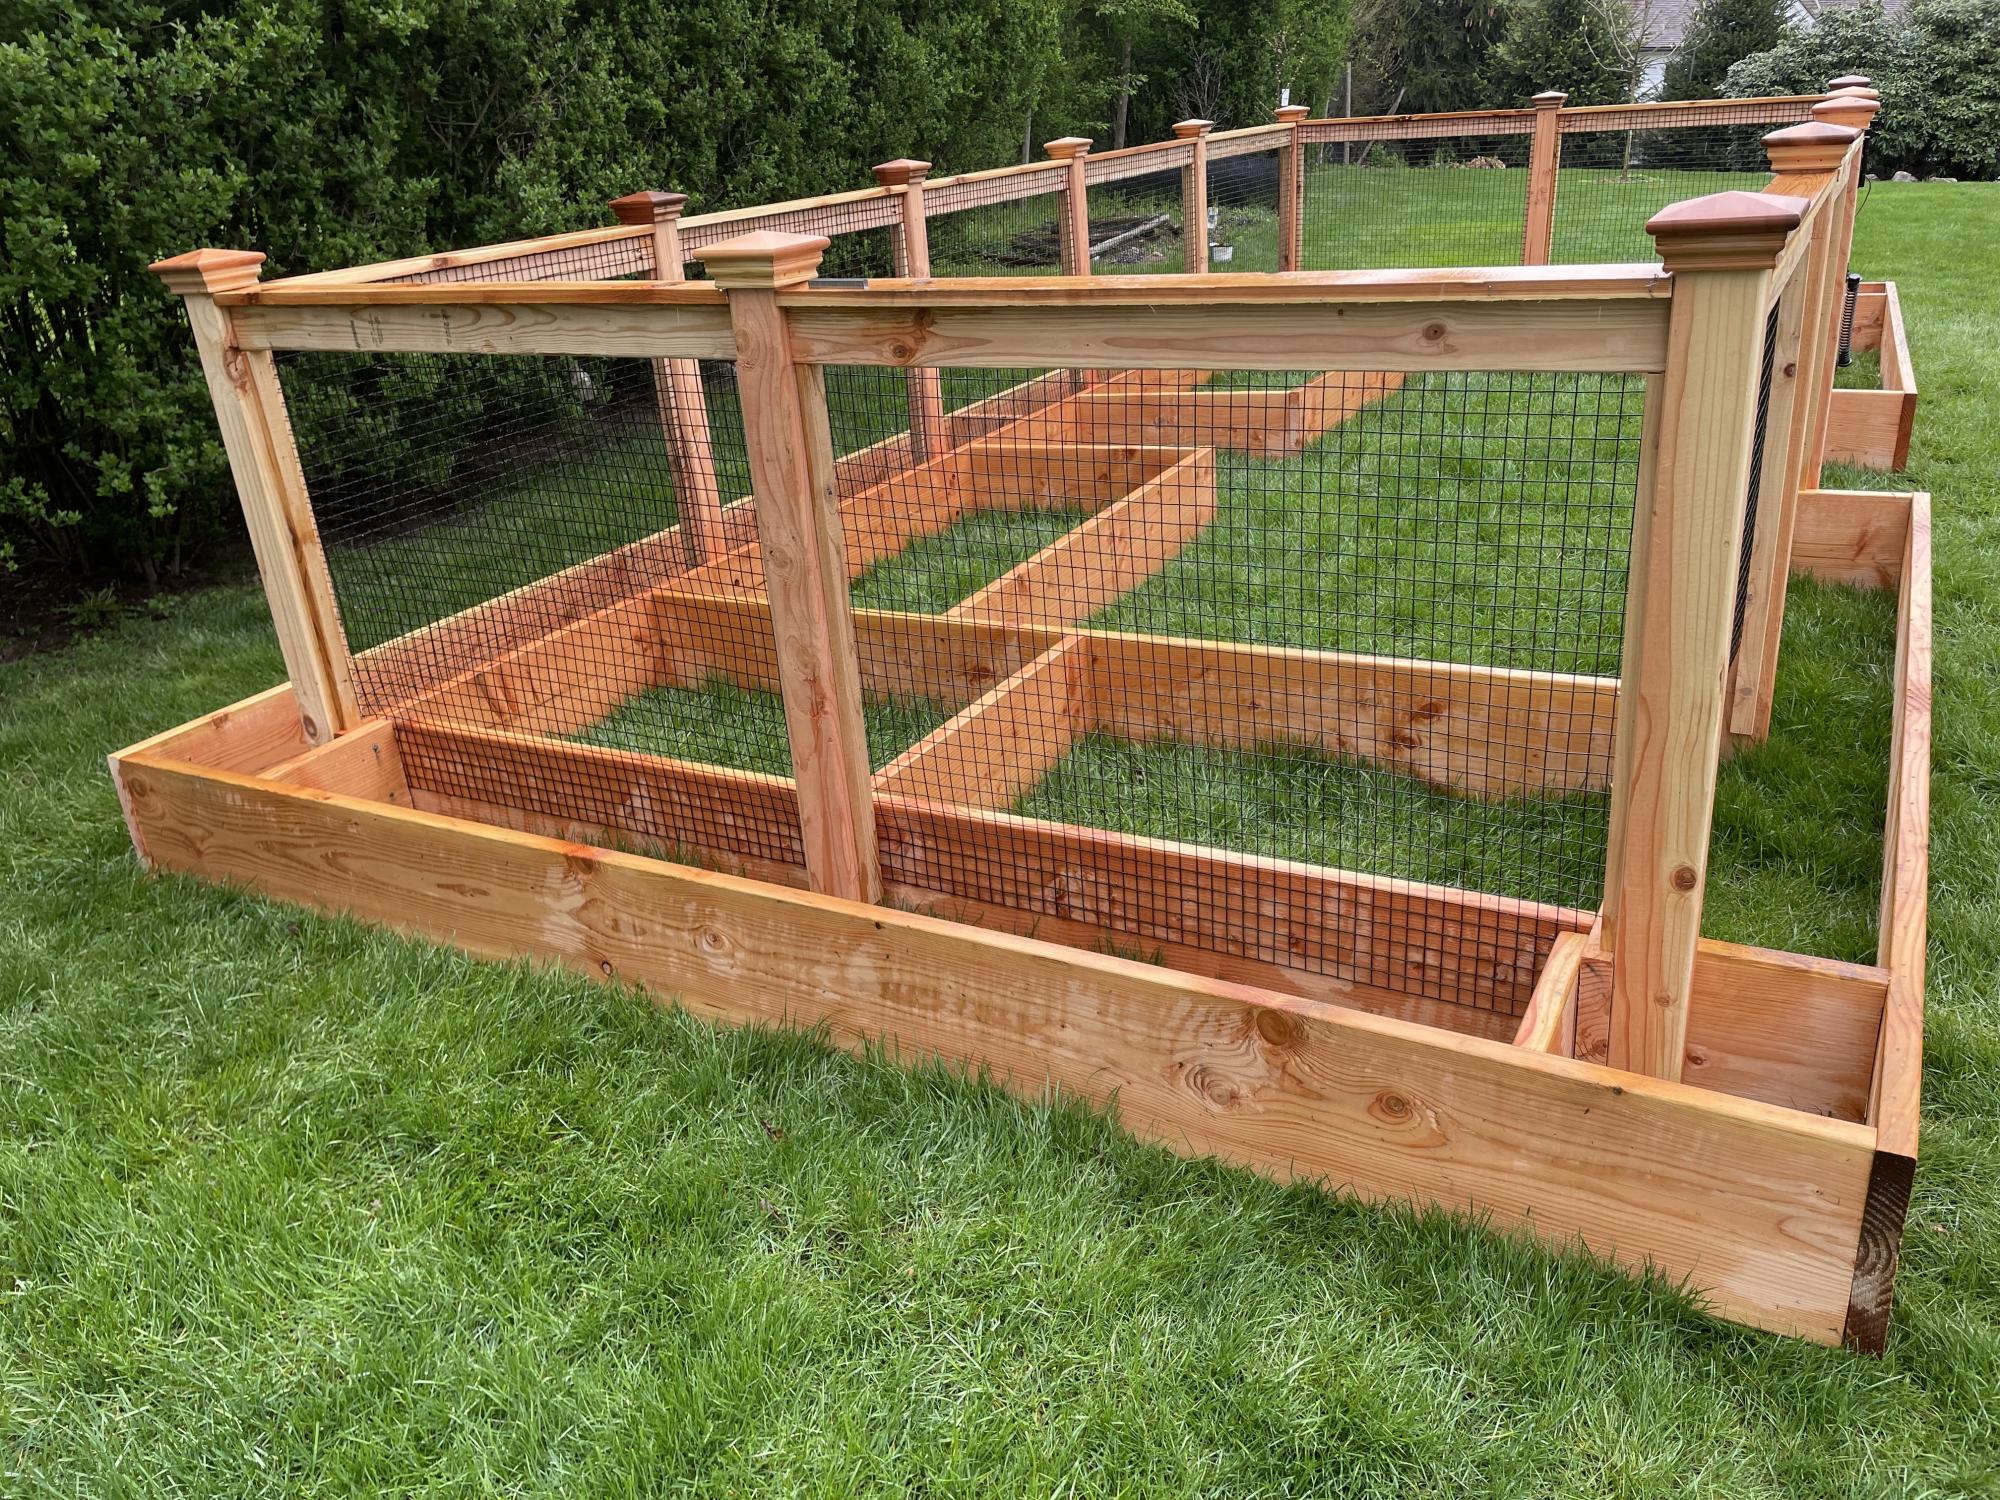
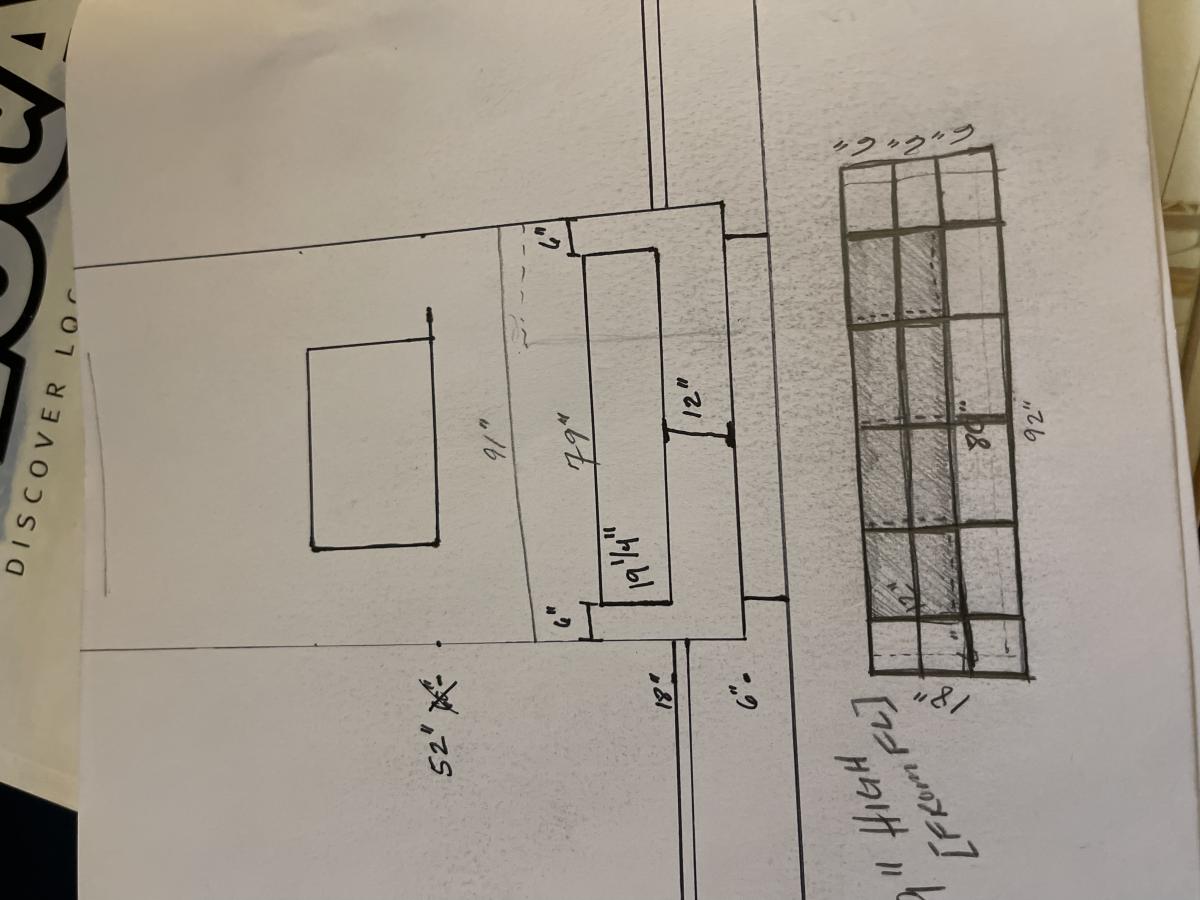
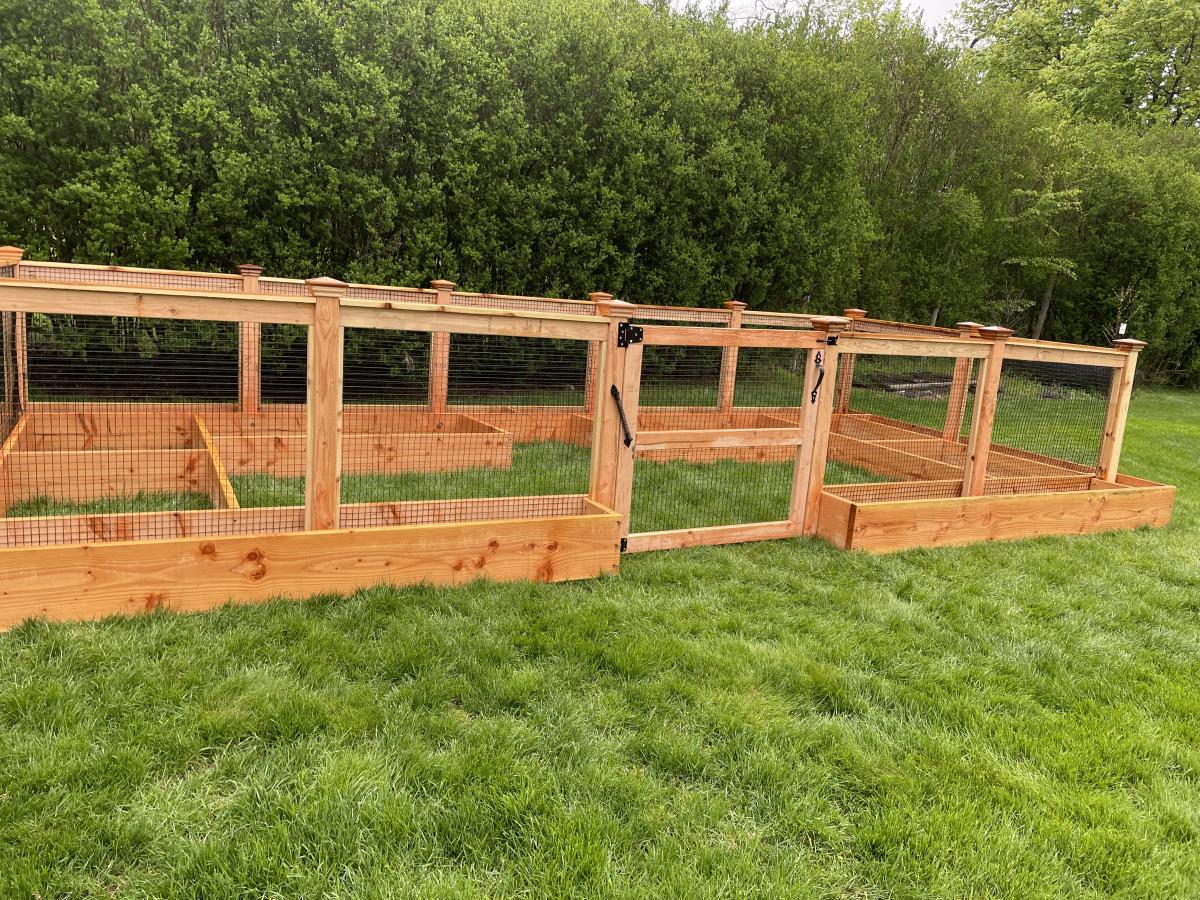
A vegetable garden with an outside ring to plant marigolds to keep deer away.

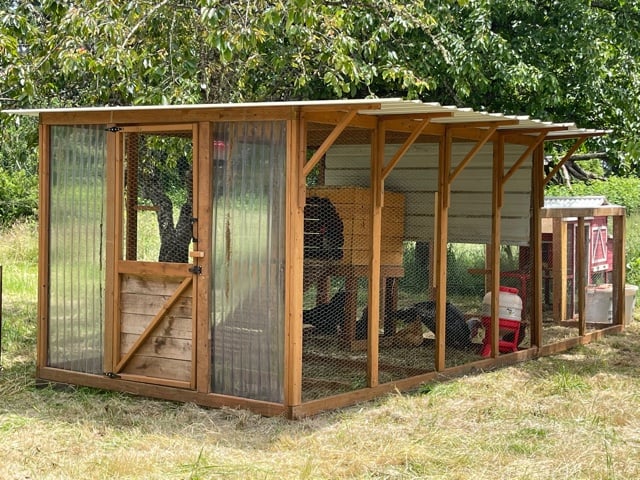
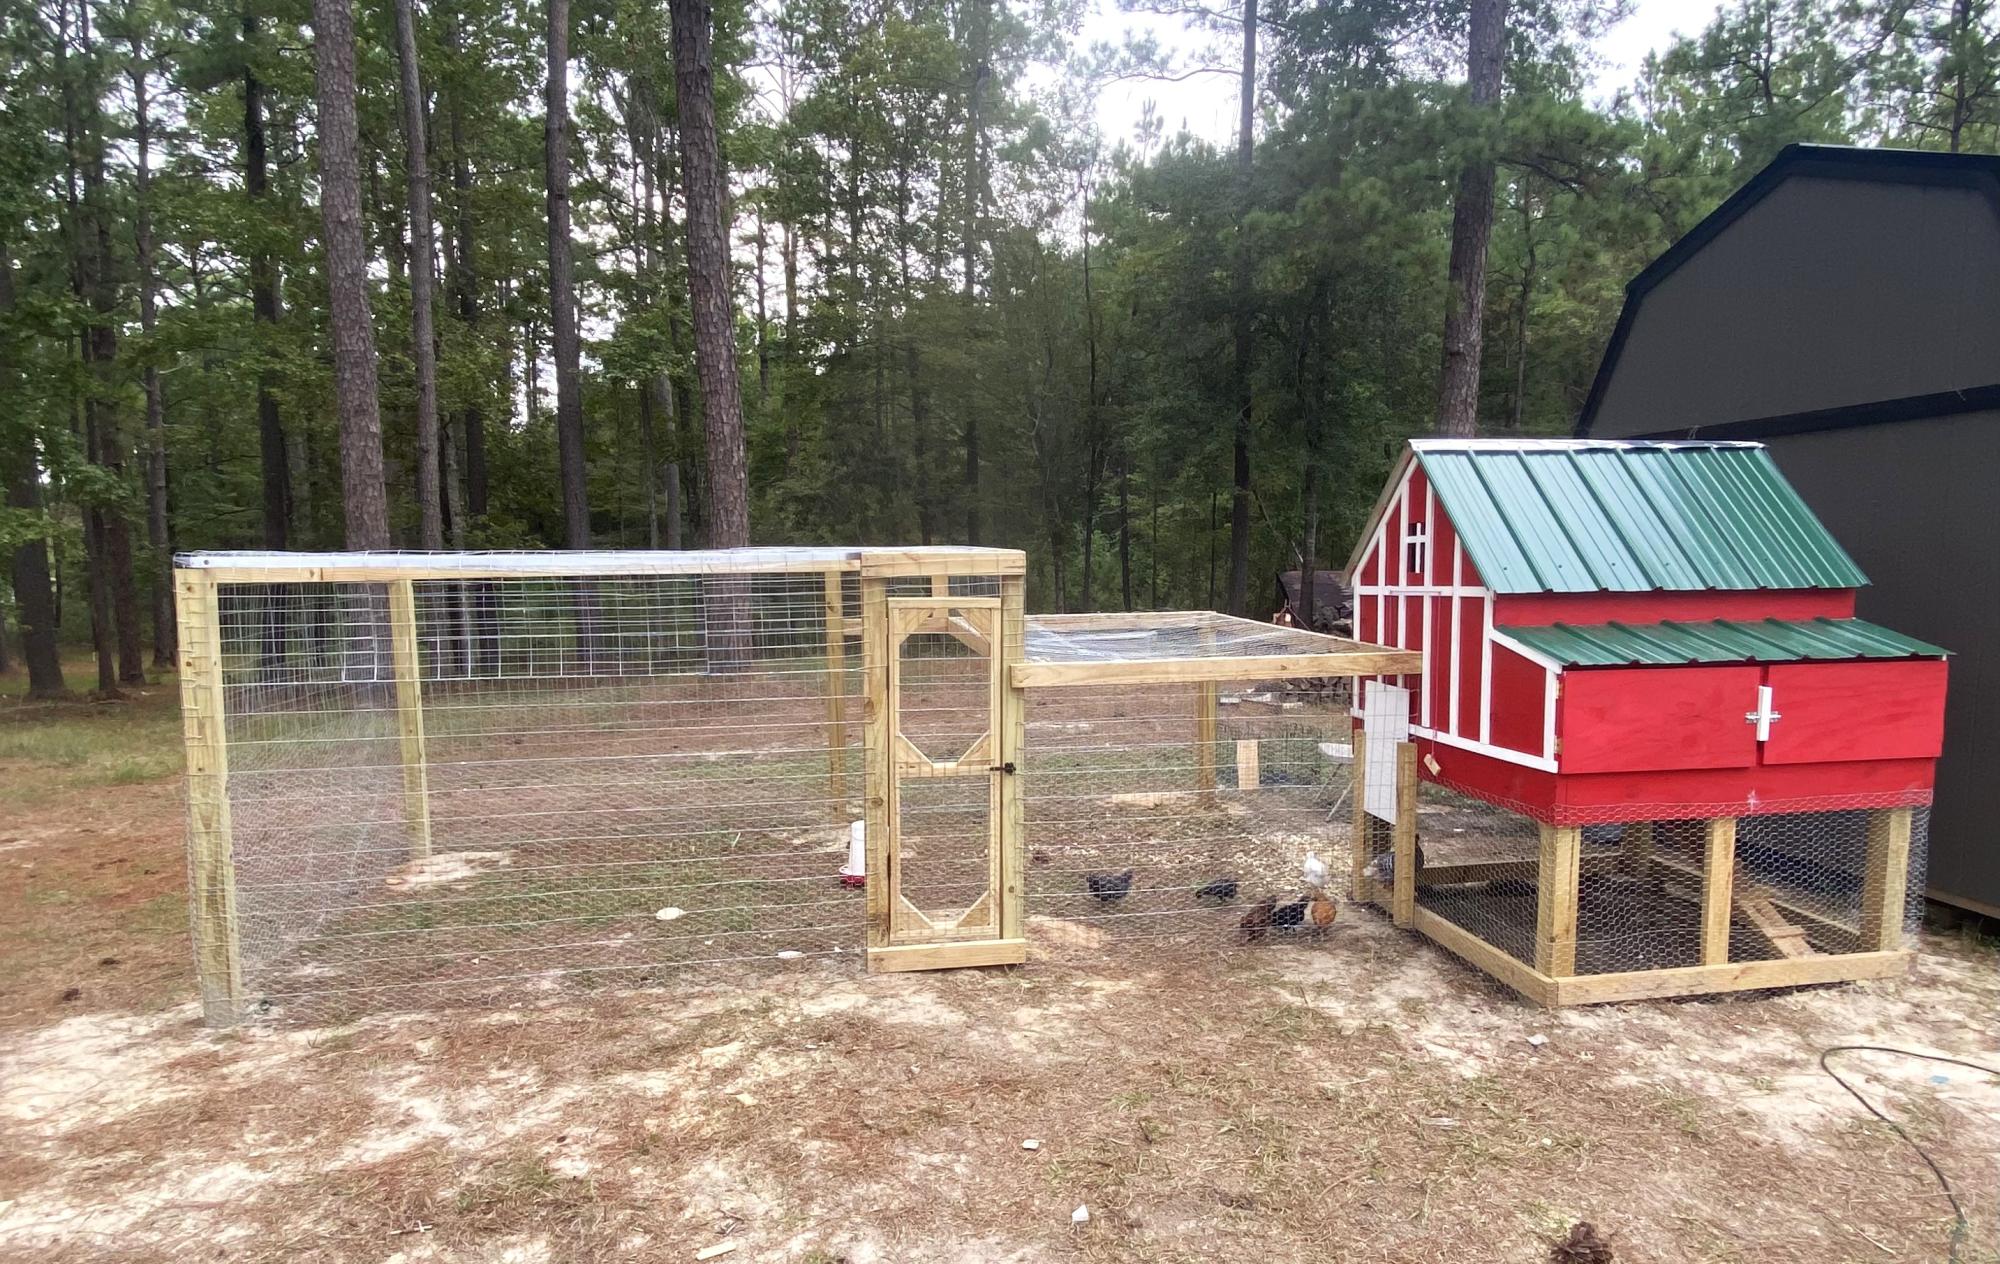
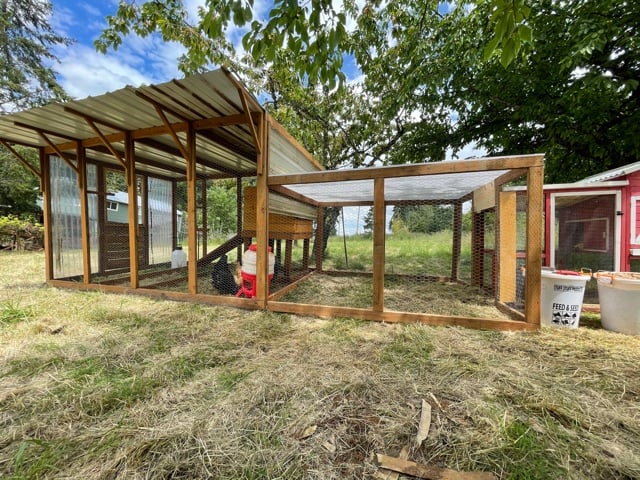
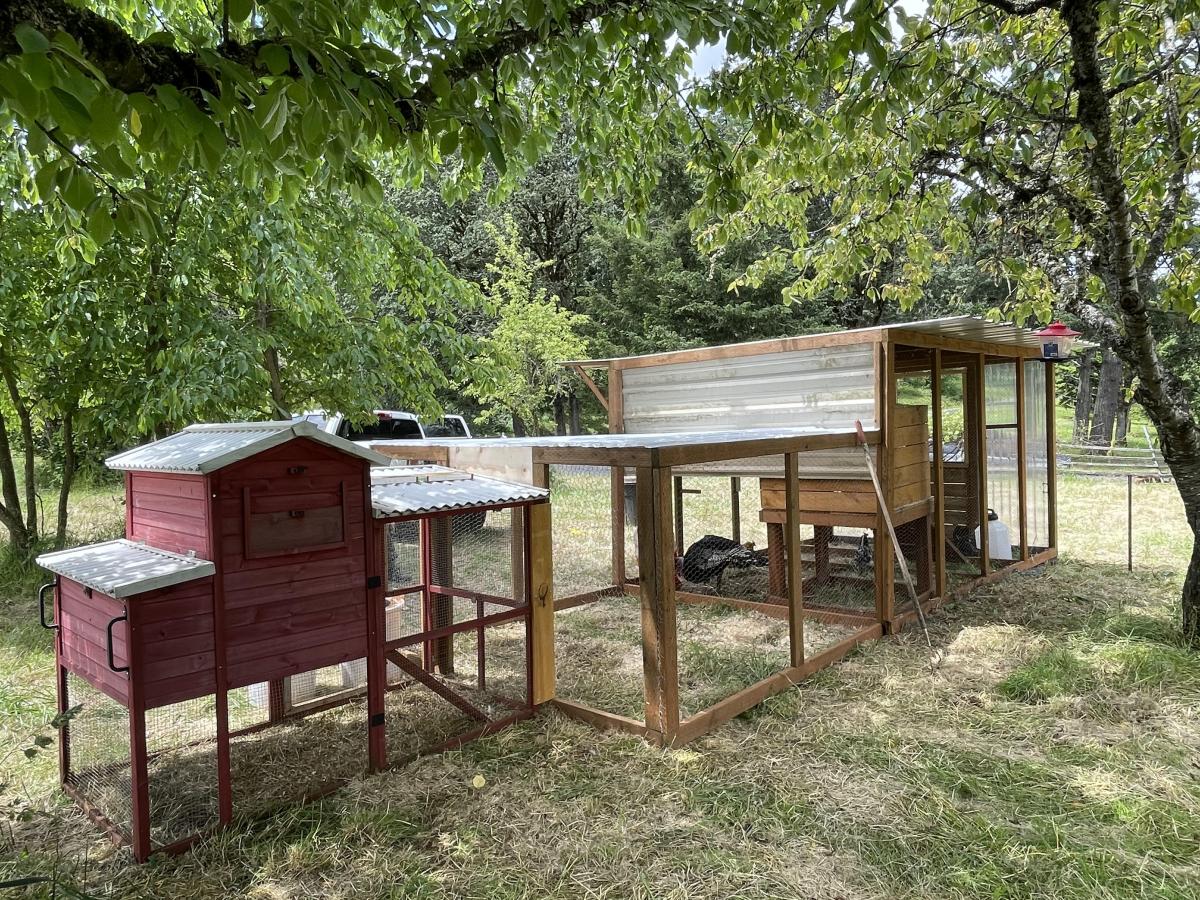
I had to move our original coop to another property, so decided to do a little upgrade. We used Ana's Chicken Run plan for both of the large sections and just added a roof. We attached the run to a small red coop that we purchased. Ana's plans are great for modifying for any size, as you can see the main tall portion is from her run plan just built taller and we added a door to the front.
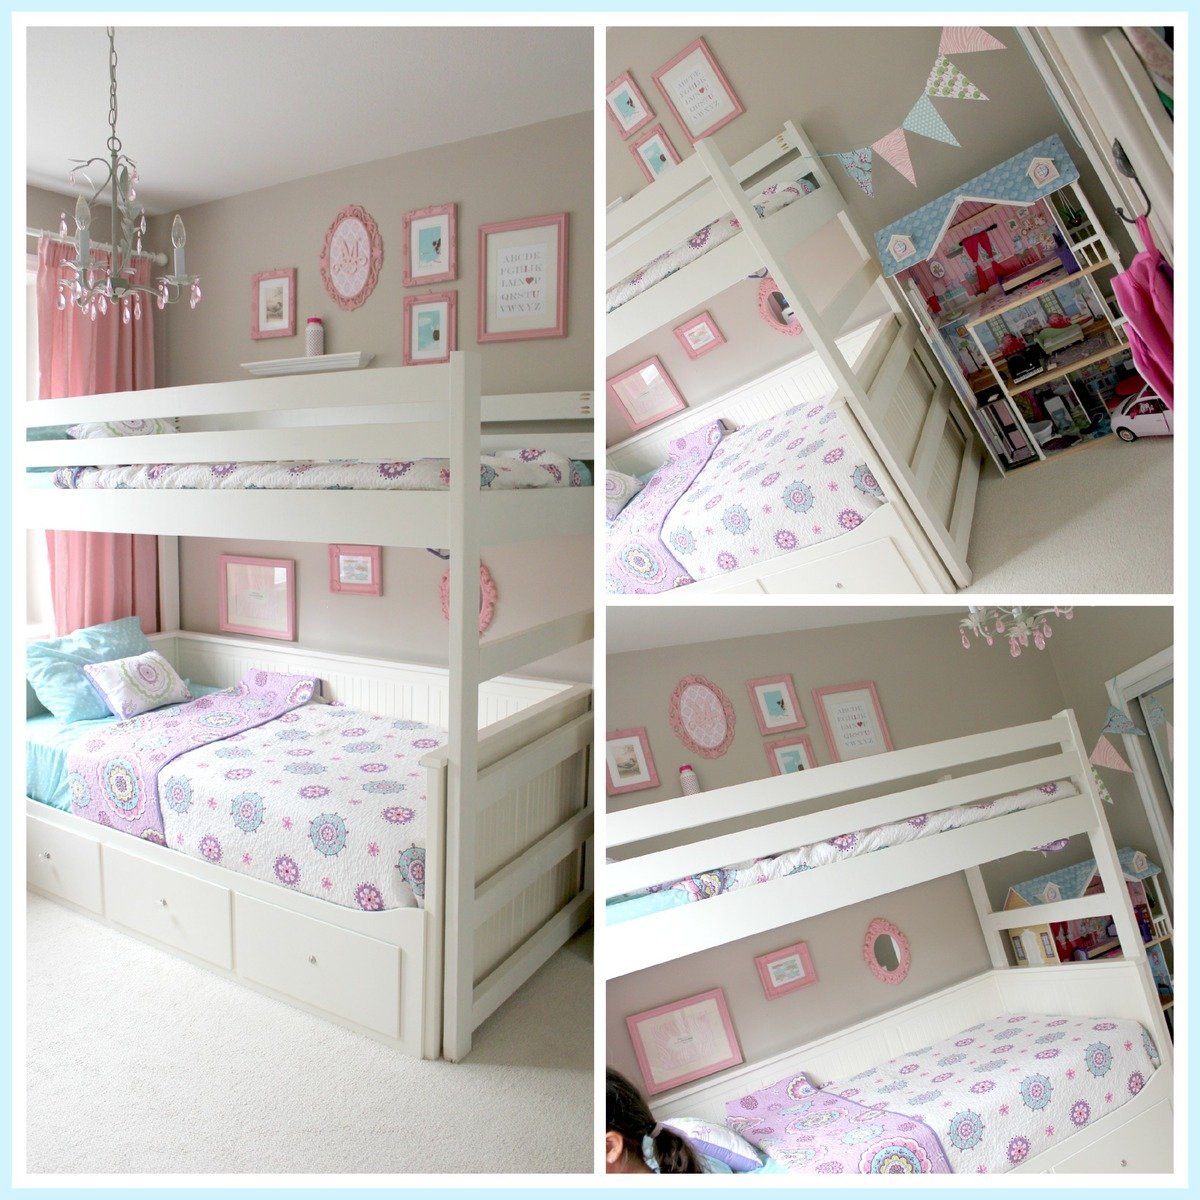
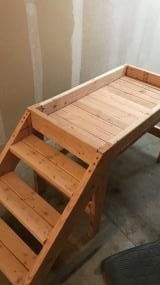
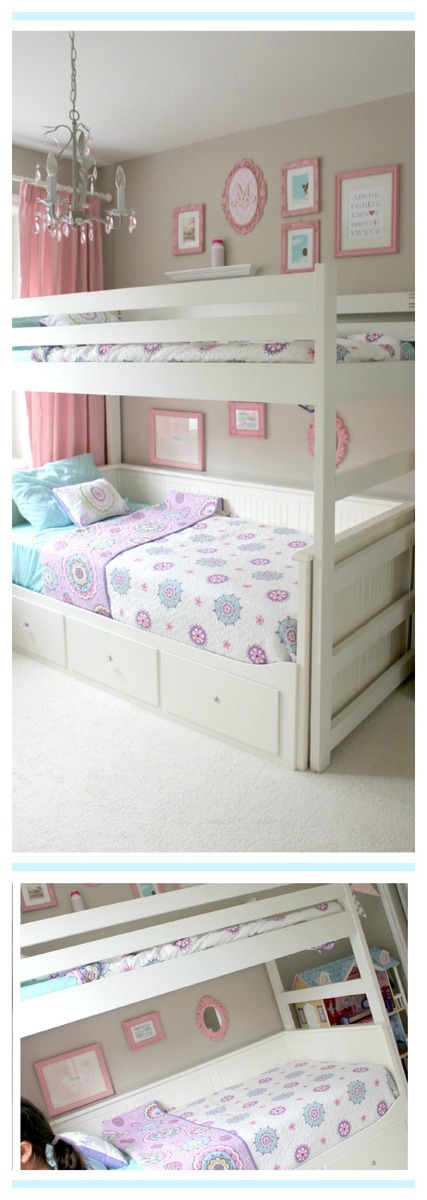
I liked the simple design of the camp loft bed, so I took the plan and modified it to fit over top of our existing Ikea daybed. I adjusted the width of the loft bed and made it a little taller, so that I could sit on the bottom bed and read to the kids with out hitting my head on the loft bed all the time.
I built the ladder into the side of the loft bed so that it wouldn't interfere with the drawers on the front of the daybed. This worked out well, as it also gives the girls more room to play!
This build is super easy, but I have to say that I don't like working with 2x4s. They are so rough....I spent a lot of time sanding and filling, and it's still not perfect. But I'm ok with it ;) I may add another cross support because it is a bit wobbly (probably b/c I made it taller).
The finish is a color matched 'All surface enamel' from Sherwin Williams.
Wed, 08/04/2021 - 06:38
Hello Millhouse. I love the loft bed you created. I have the exact hemnes daybed for my daughter and I beg to build the same loft bed. Do you have the exact modified plan you used with the measurements that fit the bottom bed? This would be super helpful!! Thanks in advance!


Comments
Ana White Admin
Tue, 02/07/2023 - 07:25
Super cute!
Love the fun cheery colors! Thanks for sharing.