Doll Farmhouse Bed
I made these for my two nieces and soon to be born daughter for Xmas. I used 1" hobby foam for the mattress.
This project was for a garage entry and is perfect for what was needed. As described in the plans, it took about 9 hours. We chose to use Home Depot instead of Lowe's for materials. Some cuts were not done correctly and some missing. Went back once to complete. Rented a Nailer which was huge! Well worth it. The plans did not include how to attach the lockers to the benches, so we used 'L' brackets. May have missed those directions somewhere? We had orignally planned to make 3 benches and 4 lockers. Decided to use an existing bench in place of the middle Braden bench and worked just fine. Would not use pine again, but only plywood. Many pieces were warped and difficult to get lockers square, and we picked out the lumber! We chose not to add the drawers to the benches, but will add canvas bins for shoes.
We needed some privacy from the neighbors and to hide their pool equipment and voilà!!! 4 2x4 for the frame 22 1x4 for the slats
I used one of the plans found on the site but modified it by making mine 8 inches wider. They are slightly higher as well to match what I replaced in our master bedroom. This was actually the first project that I took on after looking at bedroom furniture for over a month and realizing how expensive cheap furniture is.
Your easy to follow 2x4 proje ts turned out amazing. My outdoor set is complete. The chairs, also, came from your plans. I built all of it by myself in one weekend. Thank you
I built this for my little girl for Christmas. I think it is one of the cutest $20 presents I have ever gotten her.
Thanks to my sister in law who made the bedding. I also placed felt squares on each corner to make sliding the drawer out of the wood floor a breeze.
Wed, 12/21/2011 - 20:11
What a lucky little girl to have a momma (or dad??) who can build her such a cute gift. Great job.
Tue, 01/10/2012 - 08:49
Sorry it took me so long to get back with you. I got the plans on Ana-white.com all I did was search for doll furniture.
I used the farmhouse doll bed as inspiration, and ran with it. Mostly I made it up as I went along- but it's sturdy, and cute. I still need to finalize the cushion, but I'm happy with it overall.
Loved this! It was really easy. Can't wait to build more!
Just finished baseball season and made this light for our coach with finishing touches of all players signing the balls.
Darling Mud Kitchen by Sarah Jean Gammon
"I had this idea of making Sonny a mud-kitchen, a kids play kitchen for the yard. I mentioned it to Brent and he laughed saying he had enough projects on his list. This was not something he was going to build. Sooo I built this all by my self...or as Sonny would say, “me do this my own self”. It cost ~30 bucks in lumber and a trip to the thrift store for some second hand pots and pans. 3 hours later, a little paint, a little stain and voila... Sonny Side Up Mud Kitchen! Thanks for the plans Ana."
Farmhouse style doll beds modified width one less slat.
My 11 year old is a girlie girl and has been asking my wife and I for the American Girl Star Armoire cabinet for 2 years. I found a similar plan here on Ana-White's Plan page. I decide to use a little nice quality wood (Aspen) instead of just a clear pine wood. It turned out nicer than even I could have expected.
My daughter got this for her 11 Bday this past Sunday and has already filled the cabinet with all her special AG Dresses. I added my own twist by putting a 1/4" Chalkboard back on it so she can use it to play school with her AG Dolls.
I have a couple people interested in making one for them for Christmas. :)
My next project will be one of the bunk-beds featured on Ana's website.
I loved this plan. It fits perfect in our daughter's bedroom as a night stand.
Farmhouse Table and Bench. Made from all redwood. Table is all new wood, and half the bench was from reclaimed redwood. Used Danish Oil and Spar Urethane to finish the tops, and paint to finish the legs.
Mon, 07/22/2019 - 11:14
What a gorgeous table and chairs. the top is done very nicely! Love it!
Great plans and easy to follow!
Finally completed my Farmhouse table and bench today and couldn't wait to post pics (brag). Many, many thanks to Ana for sharing her talents with us. I am thoroughly enjoying my new hobby.
Fri, 12/30/2011 - 00:58
What a breathtakingly beautiful farmhouse table and bench! Thank you for sharing, I'm so impressed and inspired!
Sun, 01/08/2012 - 12:40
I love this! You should sell this or any other woodworking you have like on Etsy. If you did I would definitely buy this! Awesome job!
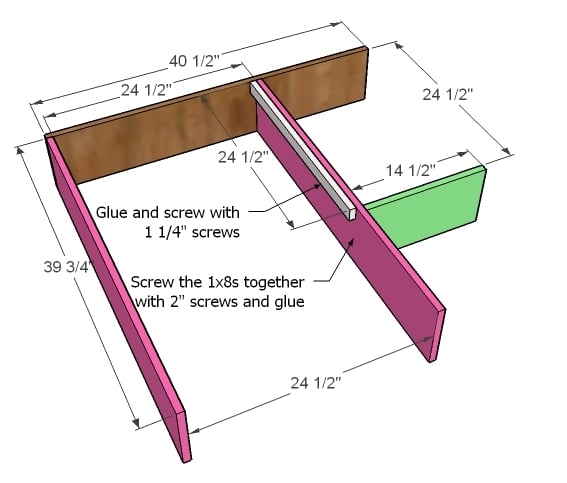
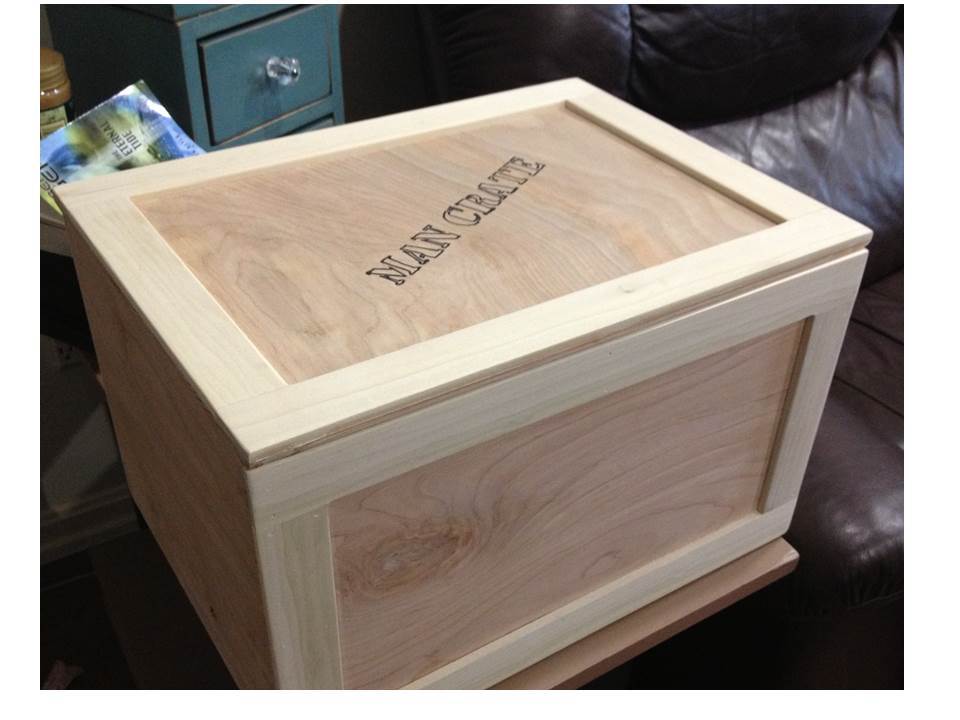
This man crate is a gift for a co worker who is retiring. We'll put all his keepsake gifts in here and he'll have to open it with a crowbar. :) The dimensions on this were adjusted to the size of 17" long, 12" wide, and 10 3/4" high (about the size of a case of copier paper). It is made with 1/2" birch plywood and poplar craft boards. I chose to use the hardwood plywood since I found out folks would be signing it, and it's much easier to write on this with a ballpoint pen than on regular plywood. Plus, less sanding for me to do ! ;)
To keep it from being so heavy when it's filled, I substituted 1/4" plywood for the top and bottom, and left the trim off of the ends. I arranged the pieces so the trim on the front & back covered the cut ends of the 1/2" plywood.
The lettering was traced on (it's "Stencil" font, in 105 pt size, printed from Powerpoint) using a ballpoint pen to dent the surface, then a black Sharpie pen to outline. Hubby thought it looked nice just with the letters in outline, and that's shown in the picture.
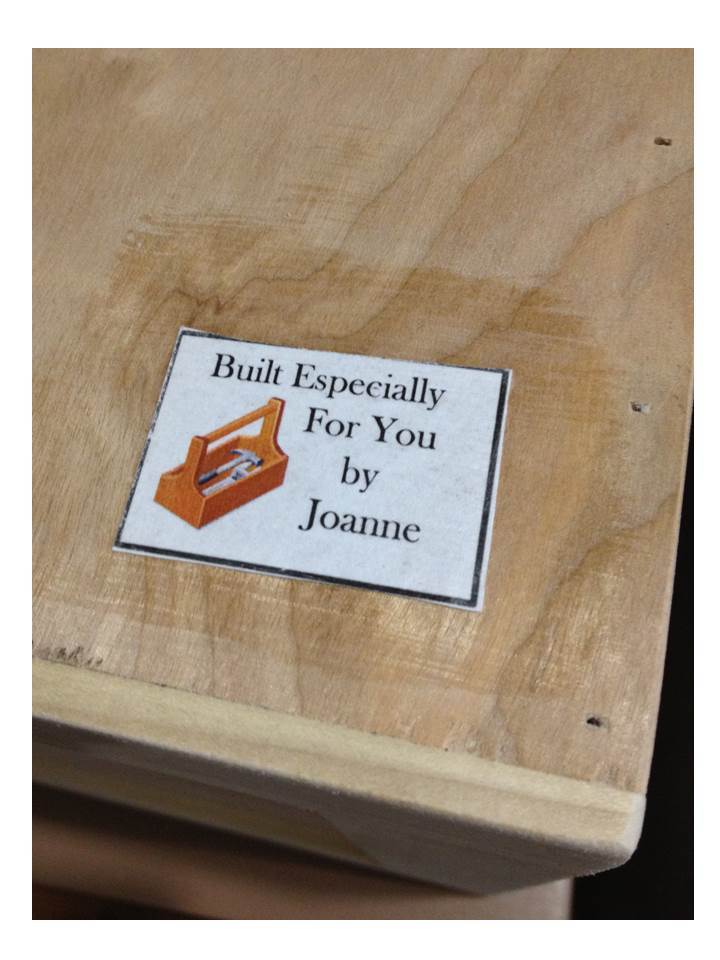
Also on this one, I made a little gift tag with some clip-art, and mod-podge'd it to the bottom.
Tue, 11/19/2013 - 16:03
The man crate was a big hit at the retirement party! I think we're starting a tradition ;) We had his wife stash the crowbar, and when it was time for him to open it, we asked, "does anyone have a crowbar?" - and then his wife said, "Here you go!" and pulls one out of her shoulder bag! It was a hoot! :)
I loved the idea of building a washer and dryer pedestal for extra laundry basket storage underneath! Sashua's is beautiful so I took her idea and modified it a bit to work for me. My washer is very, very heavy and I was worried that if there was no support under the weight in the middle, it would start to bow and sag. The original plan also put the washer too high for me to have been able to use without a step stool. So in my modification I screwed cleats into the 2X4 frame of the laundry room wall, placed the 3/4" plywood on top of it and screwed it in. In the front, I used 4X4's as the two corner leg supports and then added two 1X6 supports in the front center, creating three laundry basket bays. I placed it directly onto the floor as opposed to building the bottom base. This saved me money since I was able to buy half the lumber and also allowed me to lower the height of the platform while leaving enough space for my baskets. The top of my platform is approximately 14 1/2" high, which is just low enough so that I can see into the soap filling compartment at the top of the washer. Being that I'm only 5'2" I would have needed to use a step stool to use my washer at the original 19 1/2" plan height. I framed the top edge of the platform with 2X2's, to ensure that my washer or dryer never walked off the edge. Finally, I added some trim along the front edge and around the legs and that's it!
Mon, 02/15/2016 - 12:25
I REALLY like this modified version, I think it looks GREAT! when you say you screwed cleats to the back wall, are you talking a 2x4 across the back fastened to the studs, or what did you use? I think my wife would love this version, and I may just have to get started on one myself.
I needed some furniture for a summer tv room ( cooler downstairs) I was making. These sidetables and tv stand are loosely based off Ana's work.
I did this bed today in just a few hours. I am new to this site and have lots of project to be posted. I thank my wife for the lovely display. I am stationed in the Navy overseas and good furniture is hard to come by. The Euro makes stuff expensive and the military store carries lots of expensive "cheap" stuff. I started with a picnic table for the kids this past summer and my Facebook went out of control with request to build stuff. So, I do a lot of look a likes. I get to build things and my fellow service members get nice furniture for the cost of wood.(I get a little for me too). I hope you enjoy my projects because there are many more to come. If you want plans just ask I keep them in my head and can type them down and email them to you. Thanks Ana White for the great ideas! Happy New Year everyone.
Comments
beingbrook
Mon, 12/19/2011 - 14:52
So adorable!!
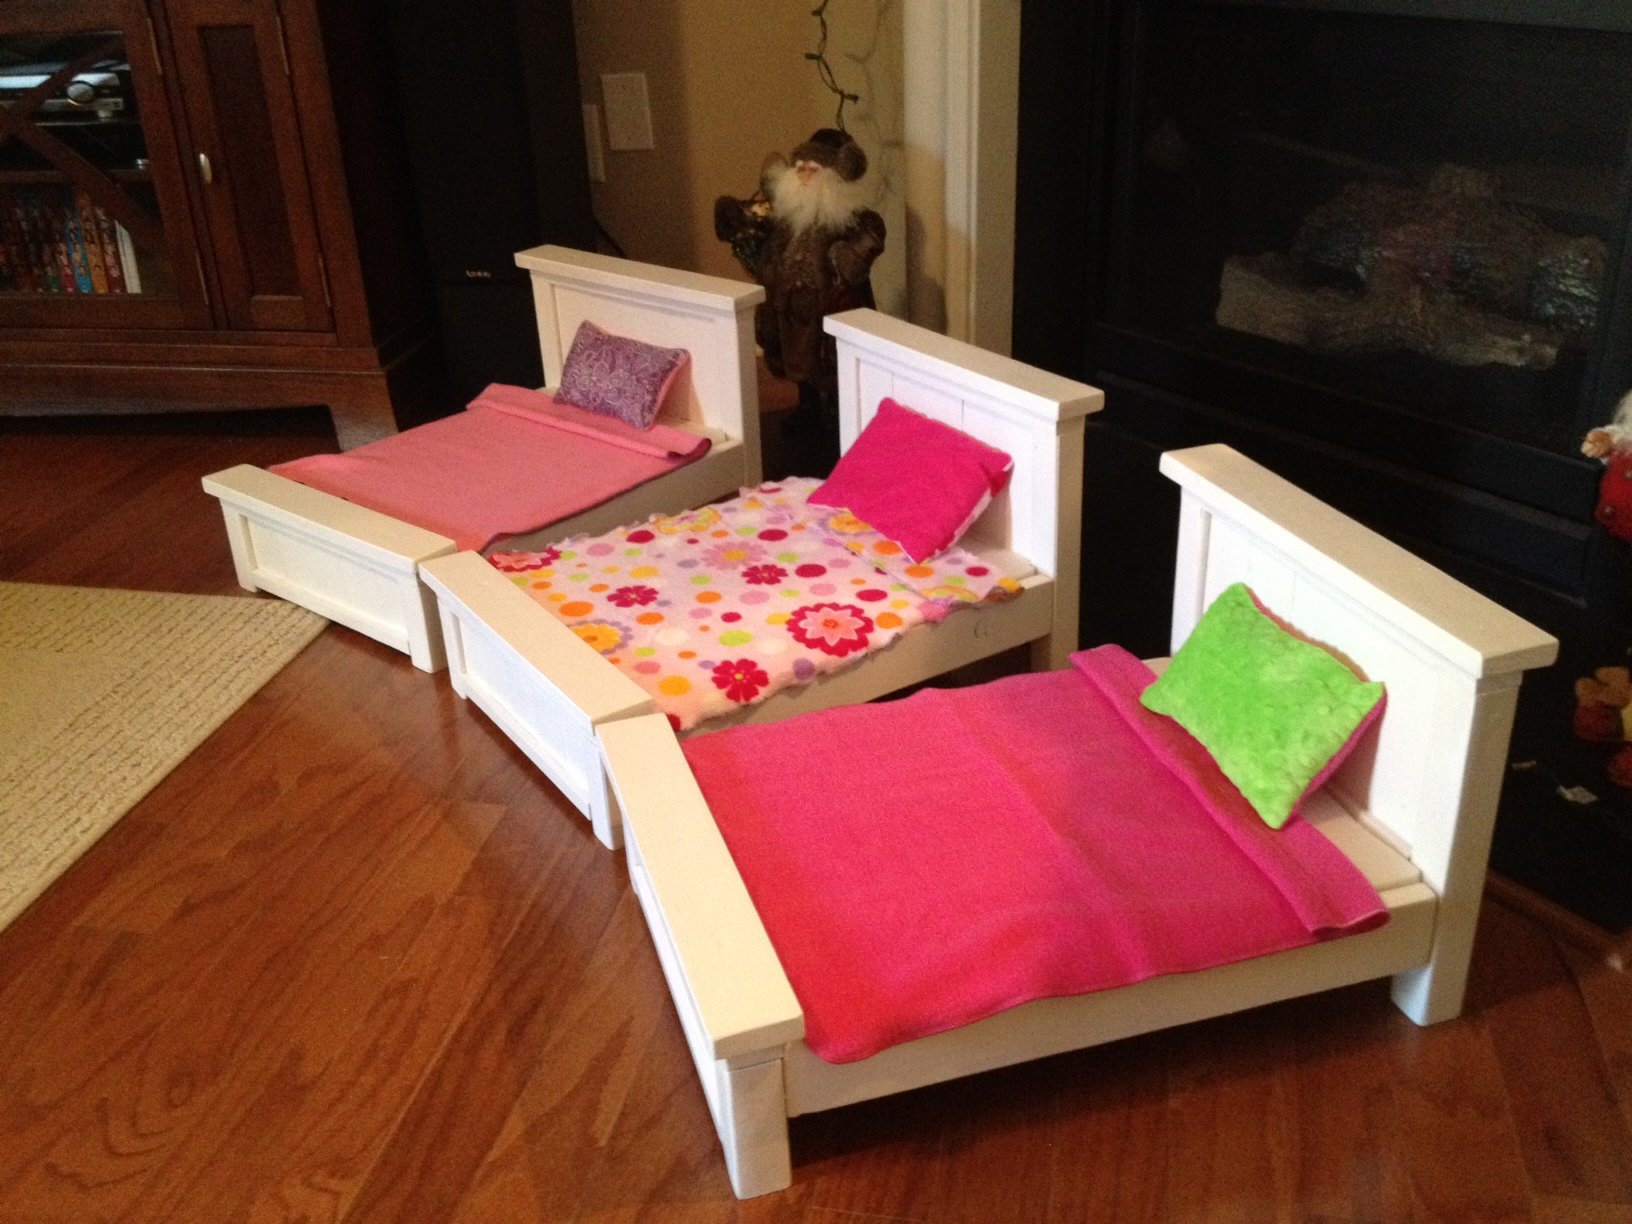
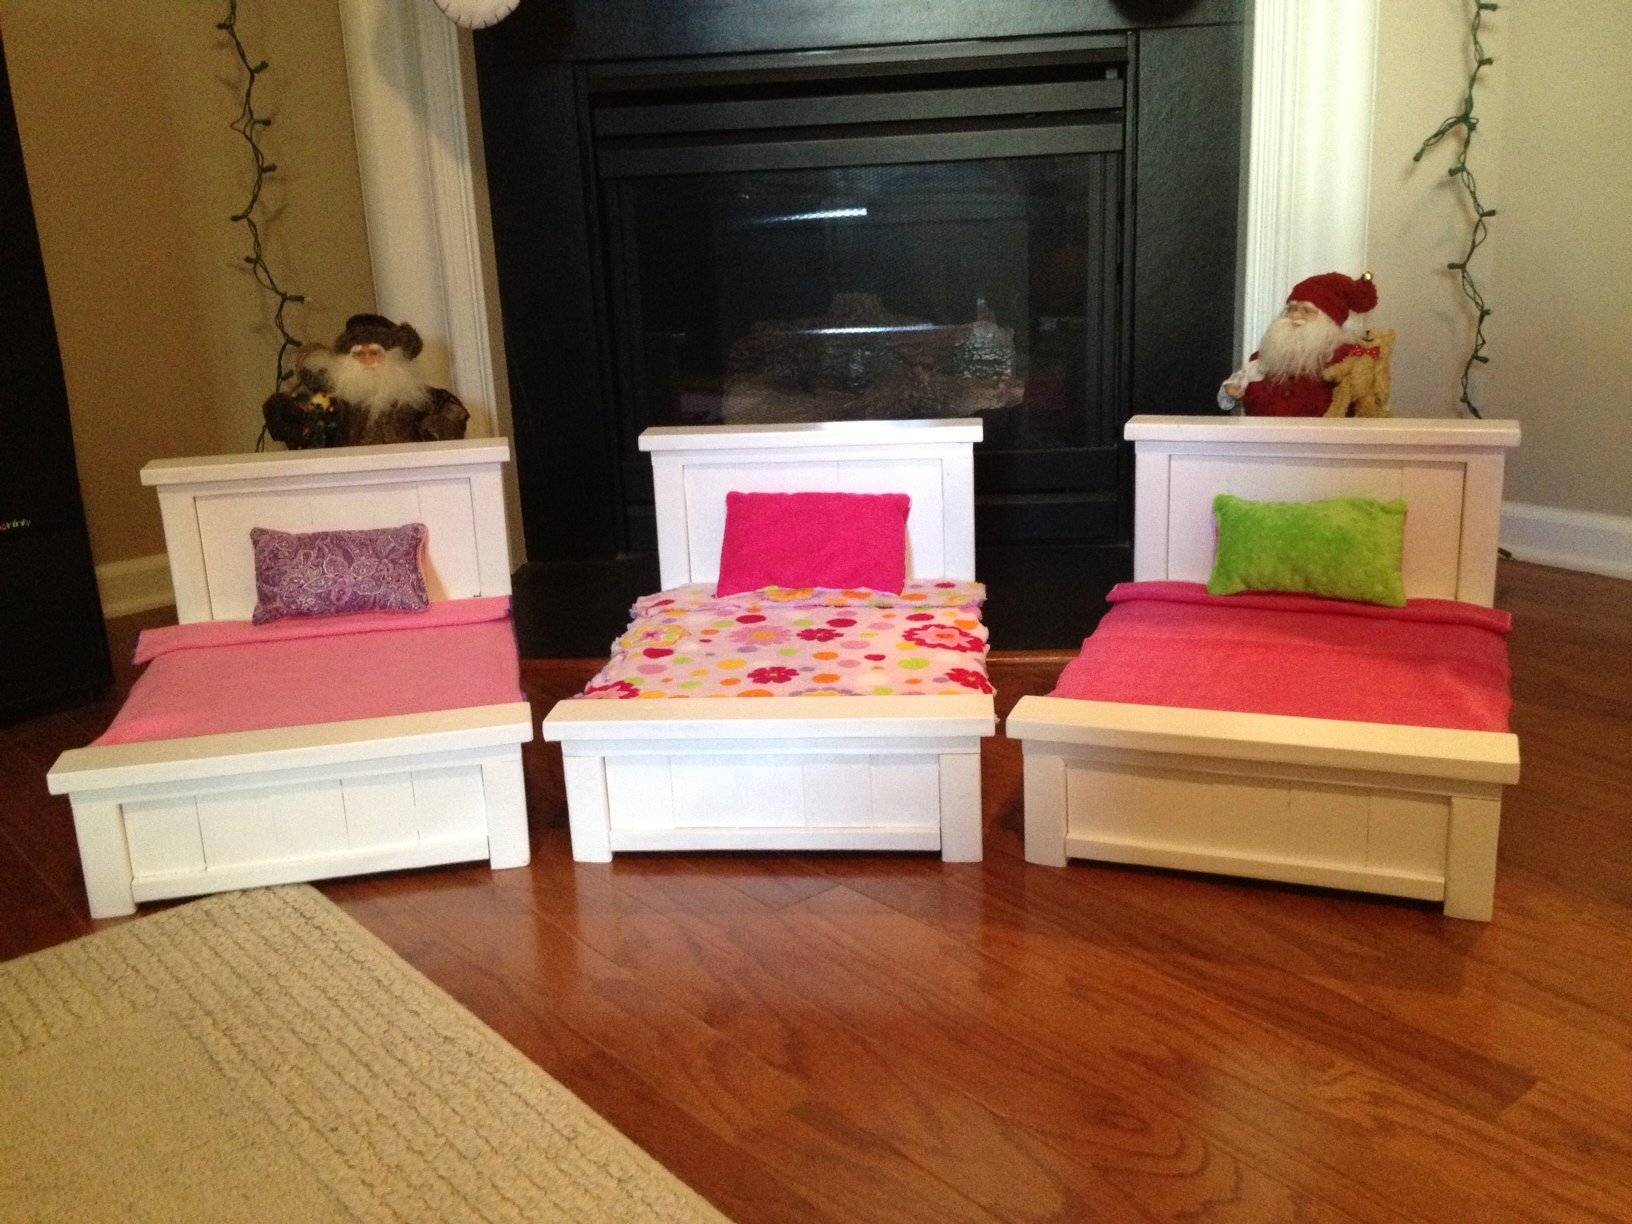
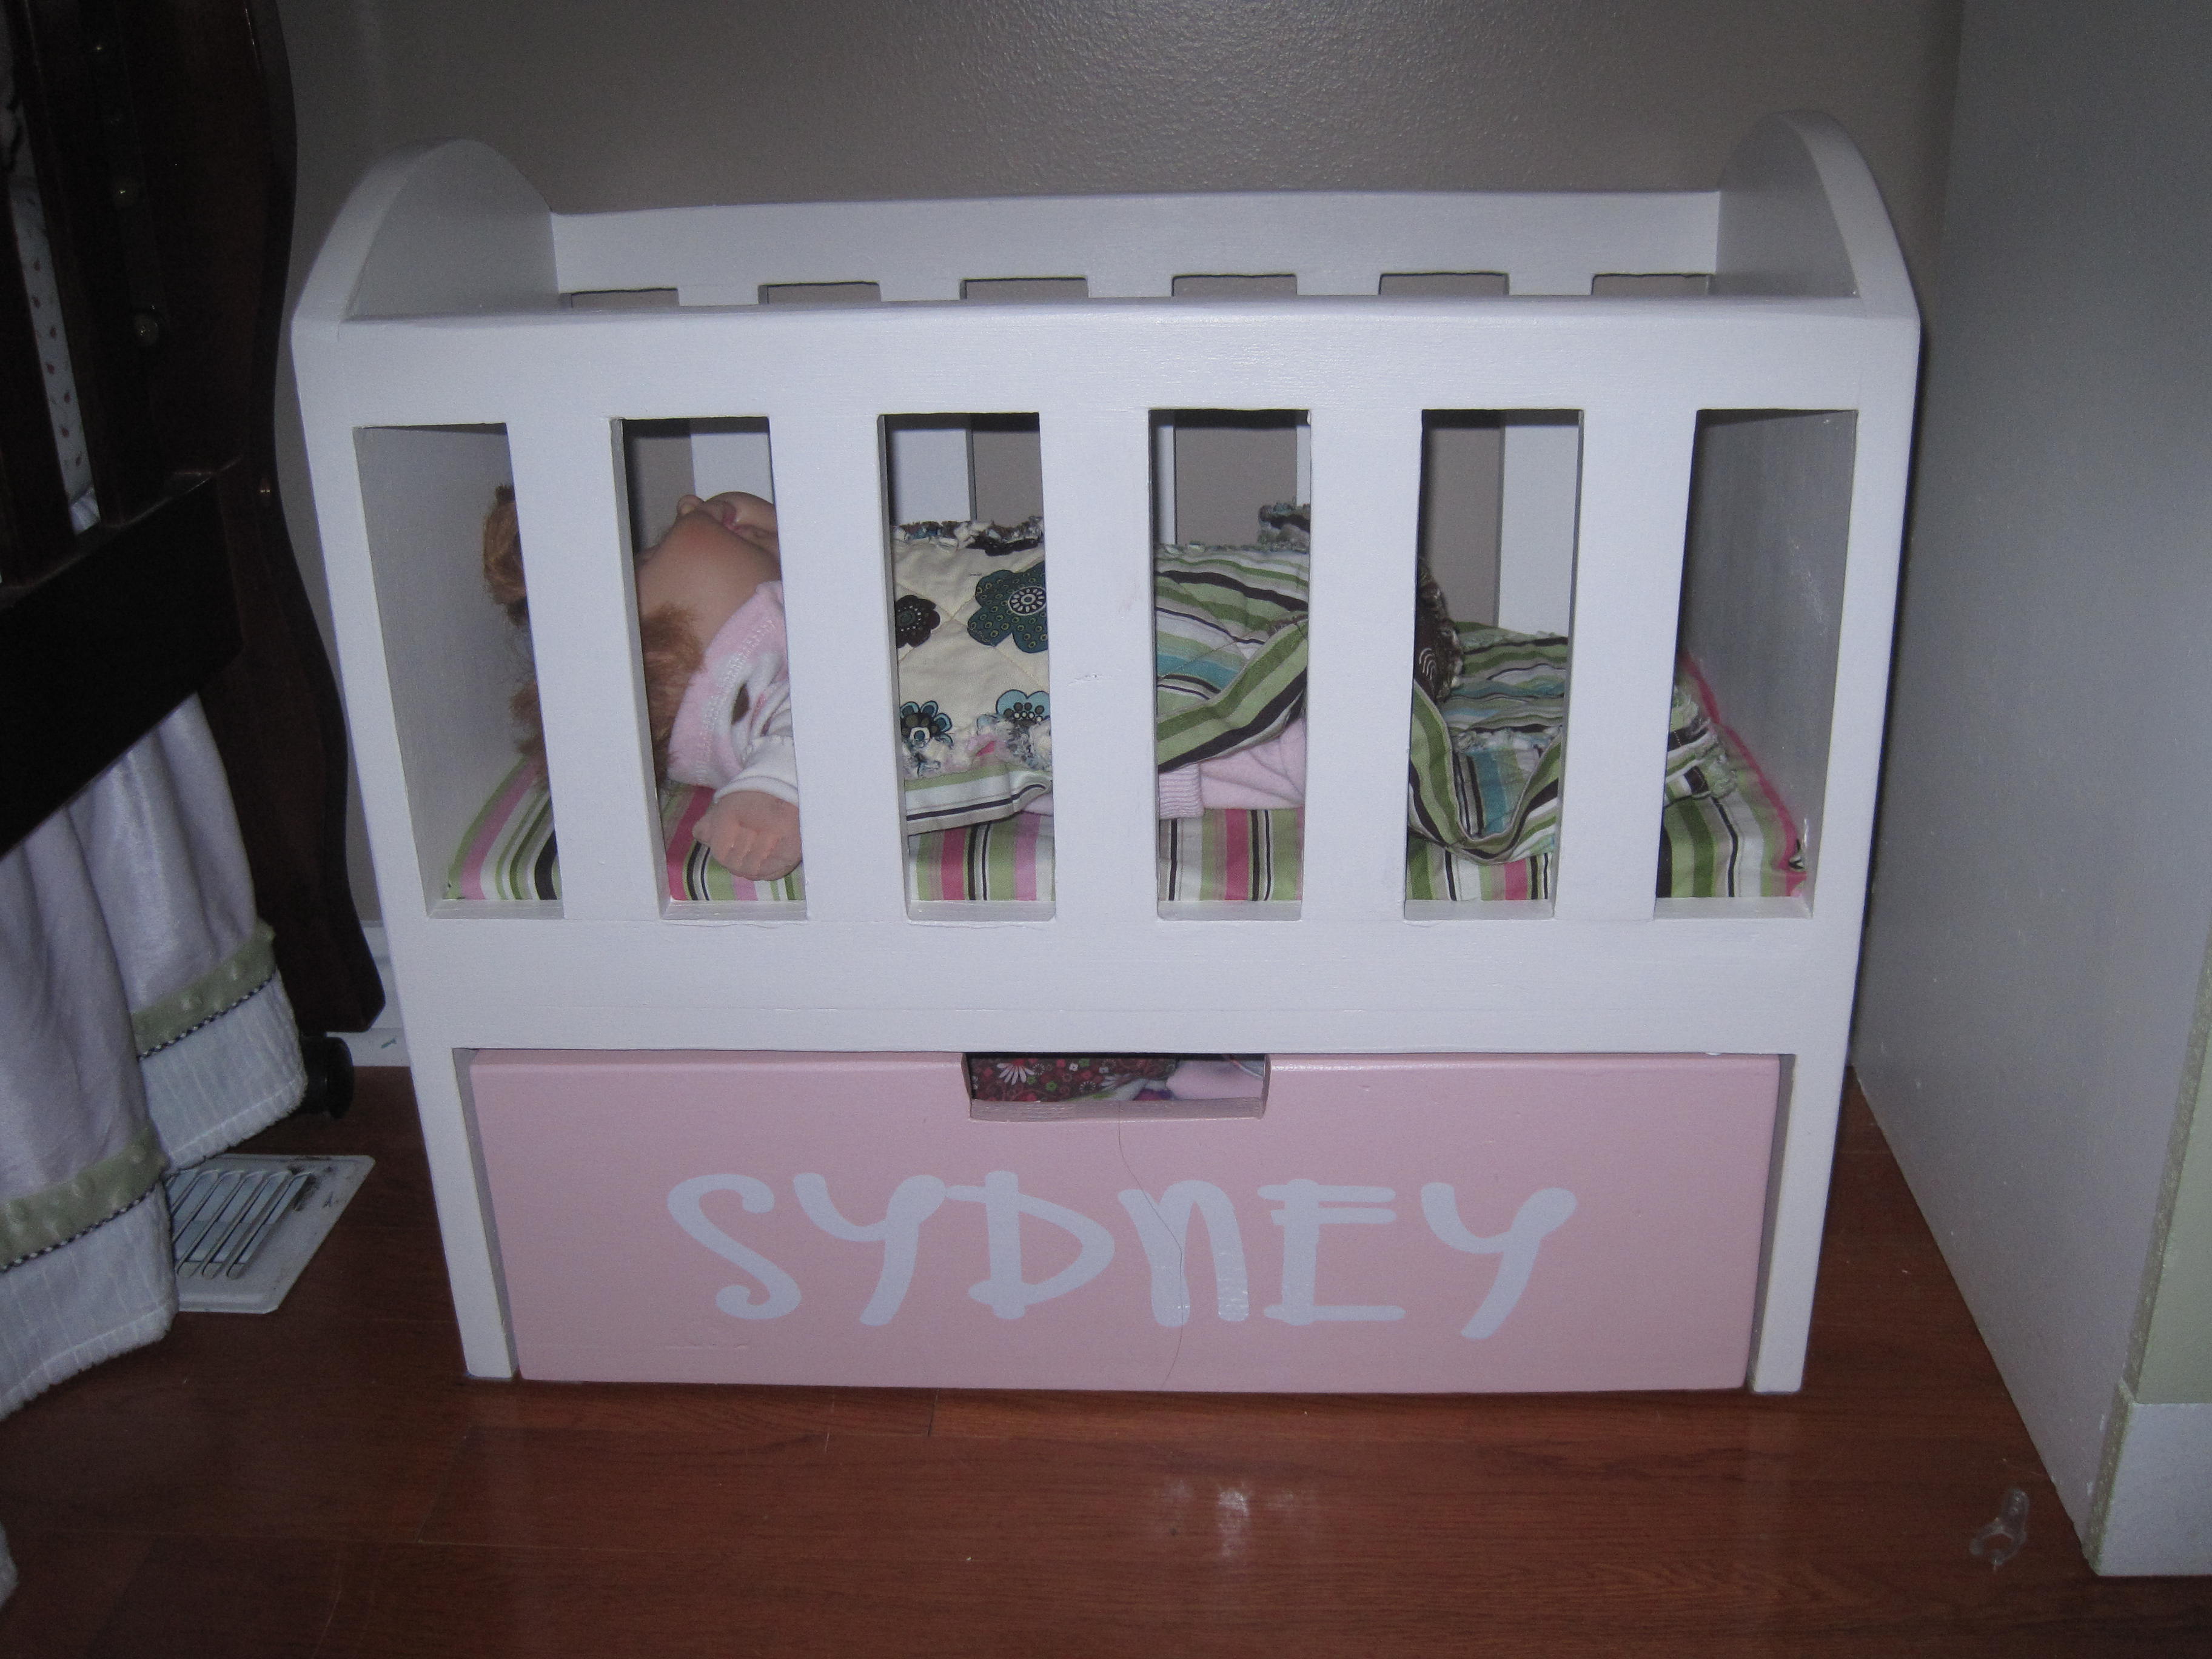
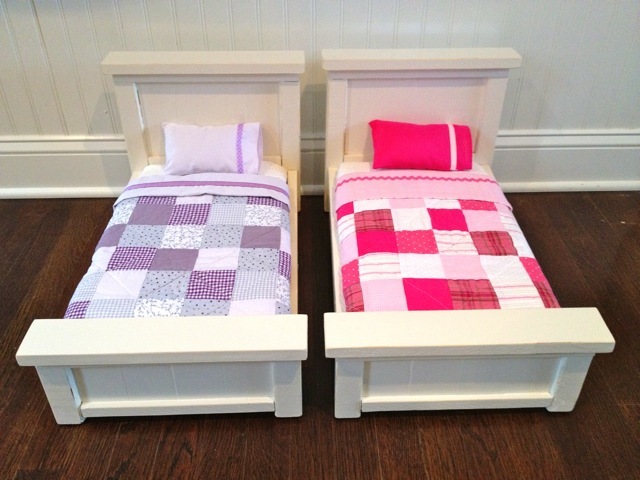
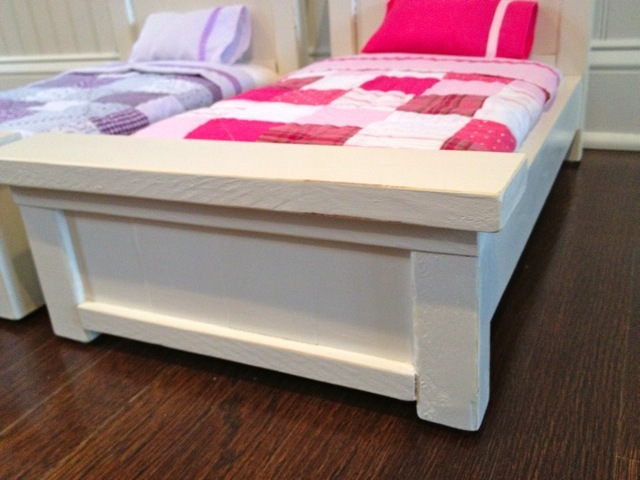
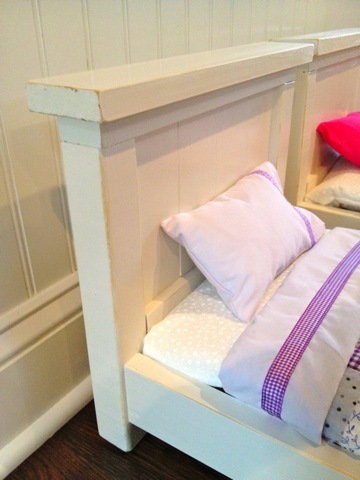
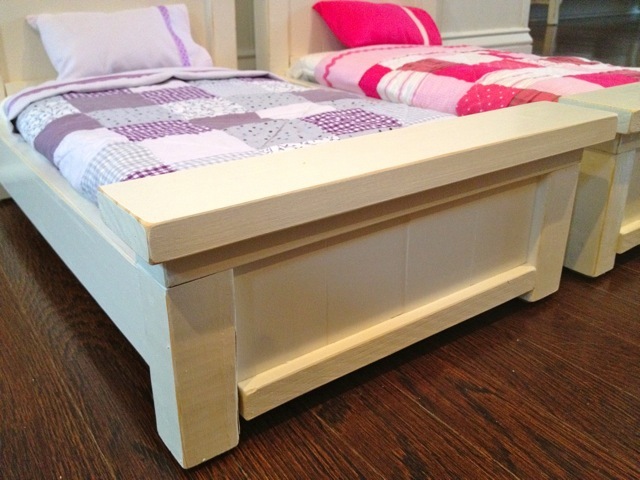
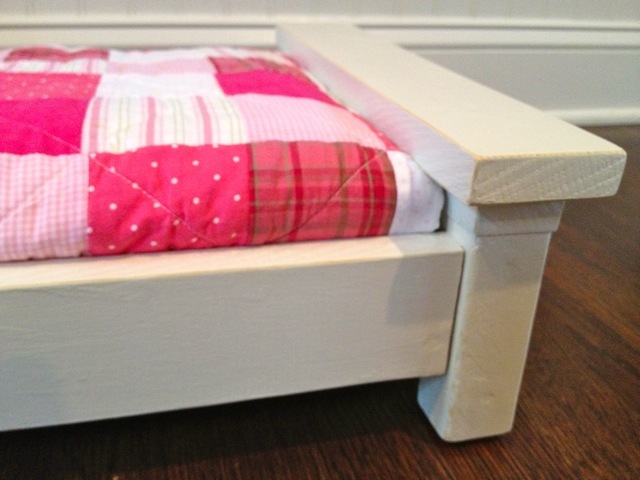
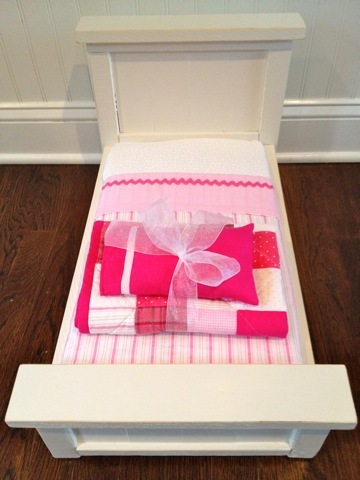
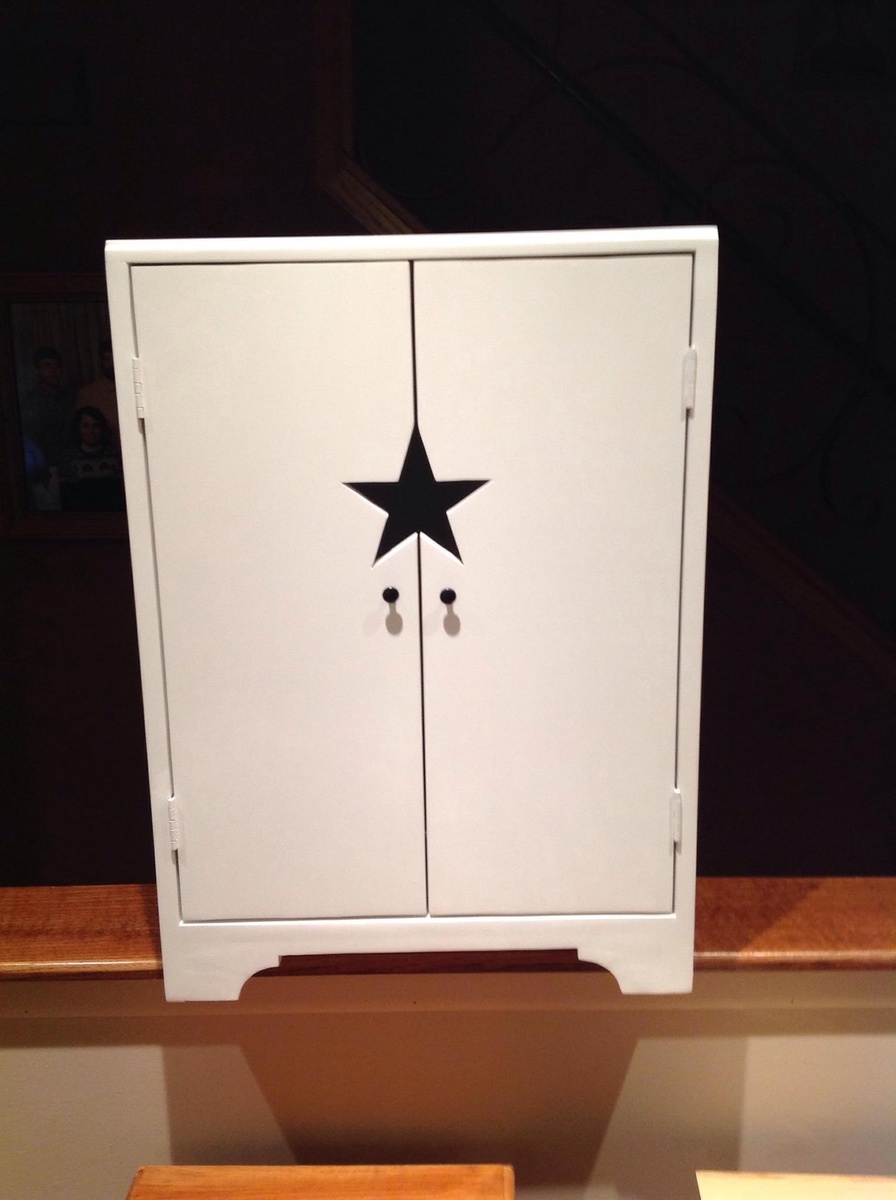
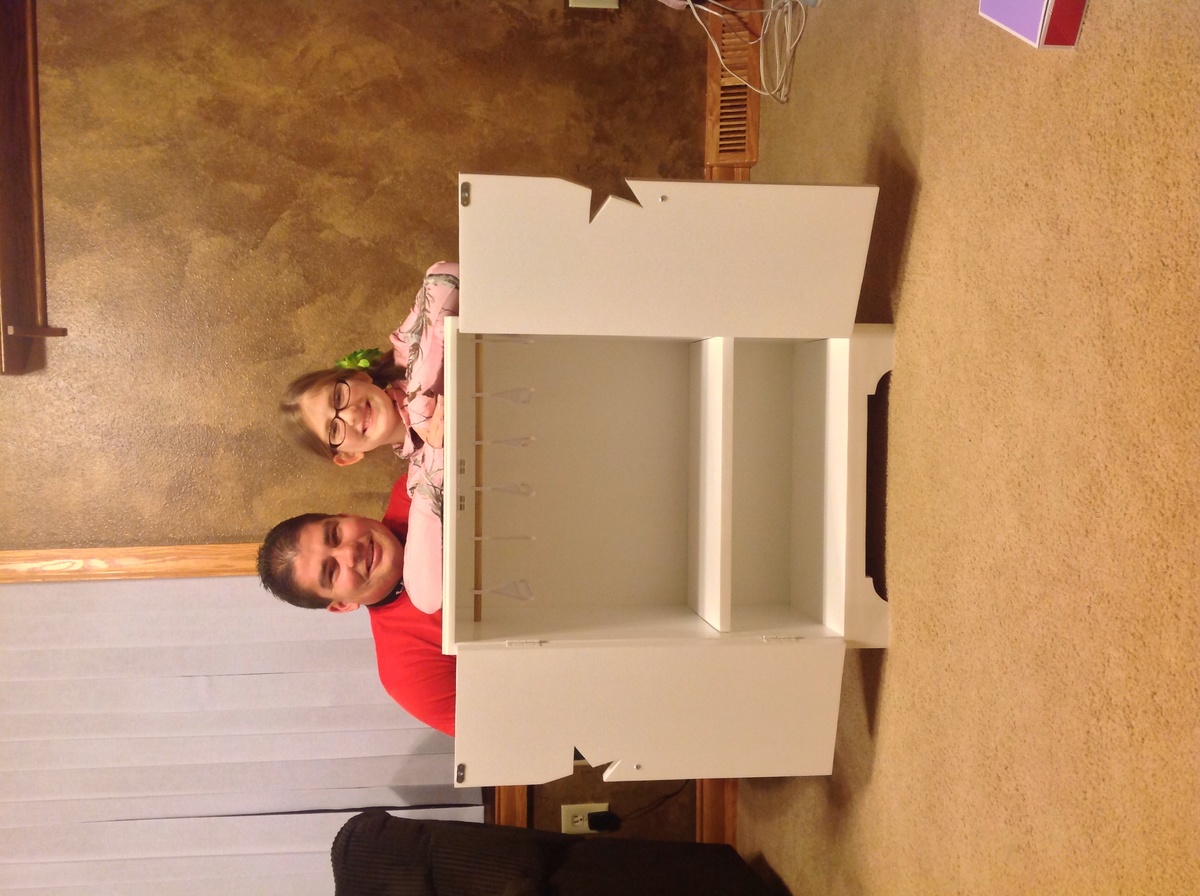
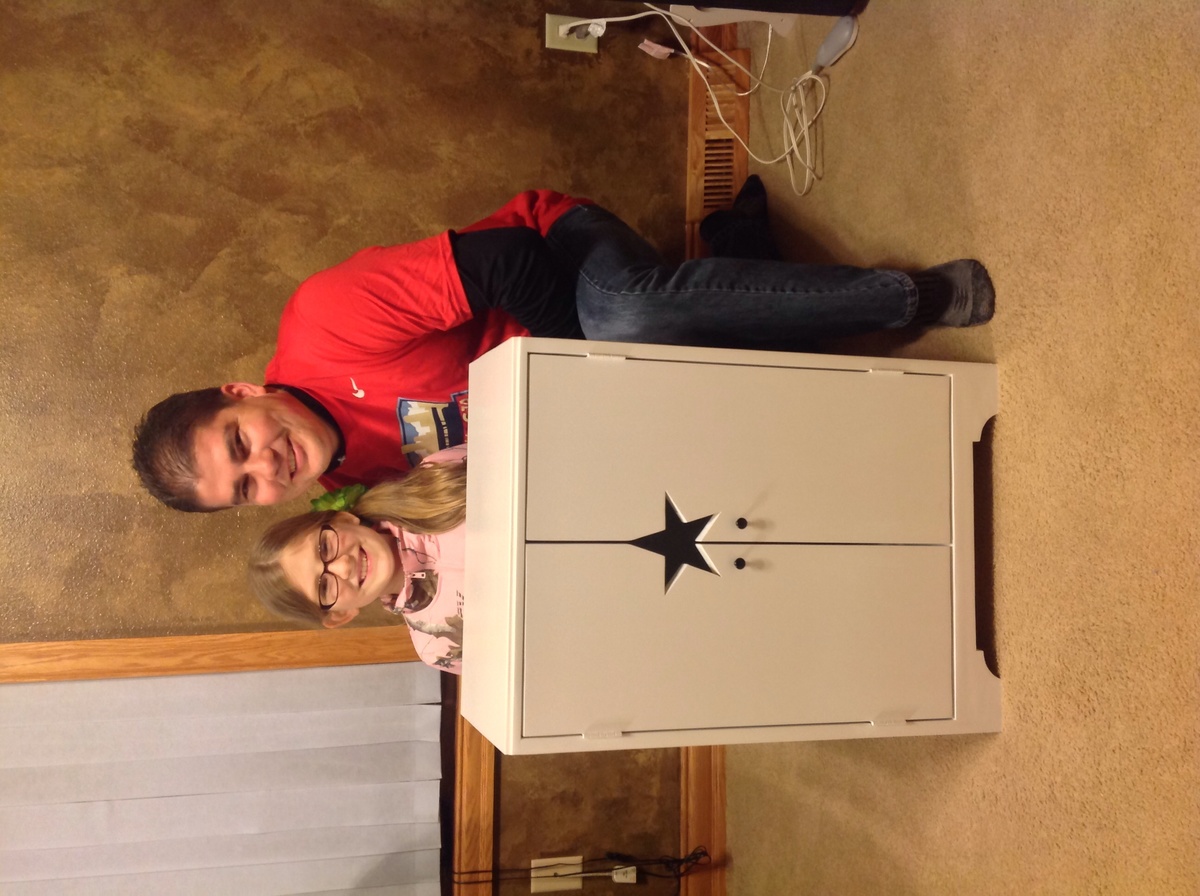
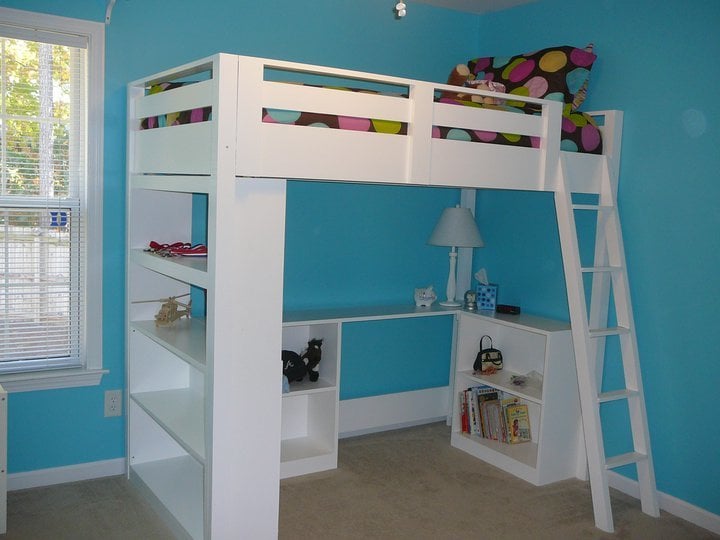
Love the beds and the bedding is super cute! I bet your nieces will love their Christmas present!
kmatt55
Mon, 12/19/2011 - 16:54
Thanks, I hope so too!!
Thanks, I hope so too!! Maybe next year I'll make your bunk beds for them!!